Blog by Steve Laug
Reading the title of this blog you might wonder why I called it another painful Carey pipe. As this refurb description unfolds I think it will become clear what I mean by the title. In the Montana pipes that my brother Jeff sent me there were four E.A. Carey Magic Inch Patent pipes. I worked on the first one in the photo below, the Freehand and found that the bowl was a piece of cake. Getting the plastic apparatus cleaned in the shank was a challenge that took a lot of pipe cleaner and patience to move through. Because of that I have honestly been avoiding working on any of the others in the foursome. I have worked on a lot of others that have been sitting just because the cleaning is a pain, but more importantly trying to clean up the chewed up stems and getting any kind of shine on them is painstaking. The plastic cleans up well enough and I am able to repair the bite marks. The dents will not raise with heat, the inside of the stem takes a lot of scrubbing and is cavernous so lots of cotton swabs are sacrificed and lots of pipe cleaners. The plastic does not take kindly to the boiling alcohol of a retort so I am left to do the work by hand. Then once cleaned polishing the stem feels like an impossible challenge. I don’t remember how many hours of sanding with micromesh pads and then carefully, lightly buffing with the buffer went into bringing the shine on the Freehand so the lot just sat taunting me in my refurb box.
Finally, a few days ago I went through the remaining threesome to see if I had any sudden urge to work on one of them. I looked them over one at a time, examining the internals, the condition of the rim and the briar and also the stem….argghh. The stems on all of them have identical chew and bite marks. All were a mess. One of them stood out to me though and I ventured into working on it. It is the second pipe down from the top in the photo below (I have circled it in red).
 Before I jumped into working on it I figured I better take some of the advice noted in the photo to the left. These Carey’s are time consuming and I find myself frustrated often in the process of polishing the stem.
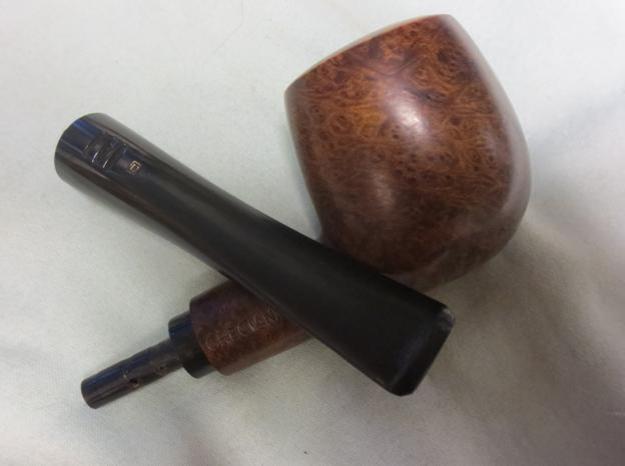
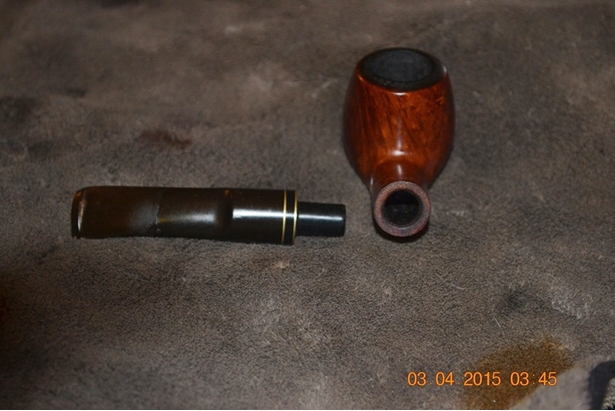
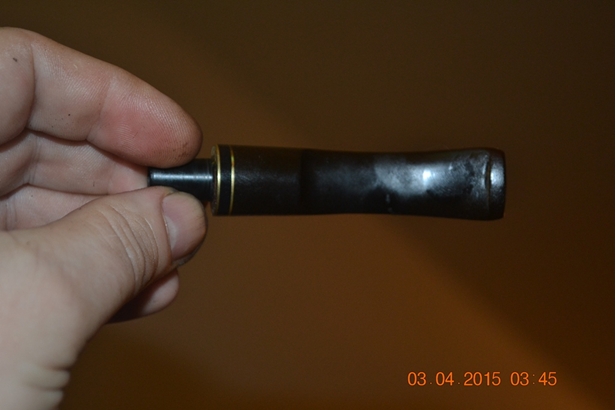
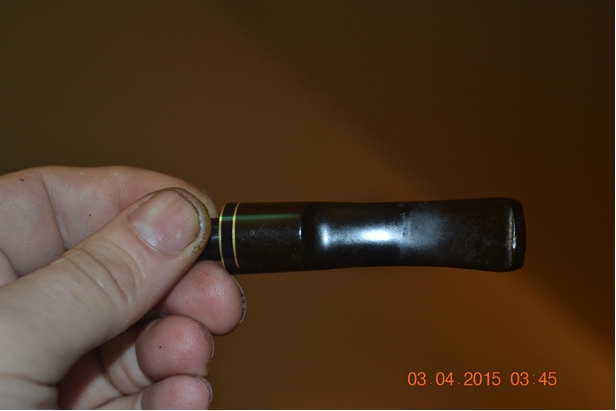
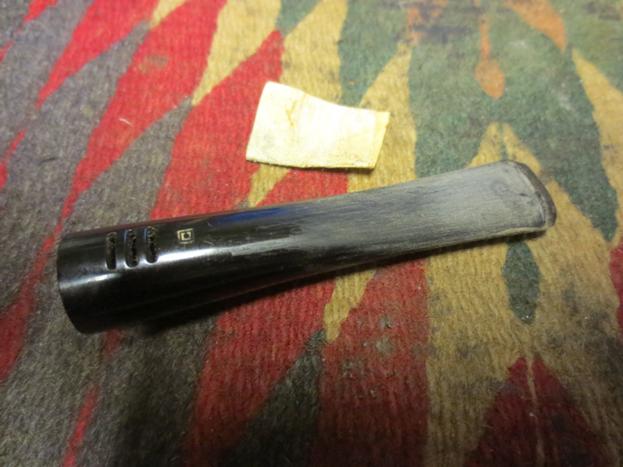
I knew without looking to deeply at this old pipe that it would be another one that drove me to the edge. The finish on the briar was dull and dirty. There was some interesting grain poking through – birdseye on the sides and cross grain on the back and front. The stamping was very clean and sharp. The rim was crowned and had a significant lava overflow build up on the top. The good thing was that there was no damage to either the inner or outer edge of the rim. The bowl still was half full of unsmoked tobacco but appeared to be heavily caked. It was hard and dense. The stem was a mess. Once I took it off the apparatus extending from the shank there was still a dirty papyrate filter in place on the tube. The inside of the stem was dark and oily. The outside was covered with deep tooth marks and also a generous case of tooth chatter. There was also a gummy substance on the clean top half of each stem that probably came from price tags that were in place at the antique shop where my brother found them.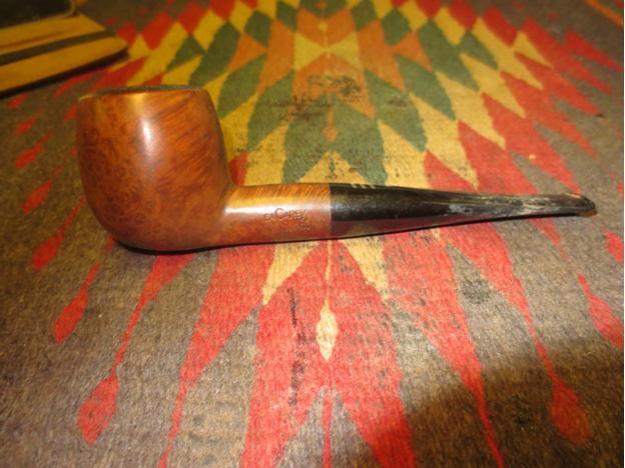

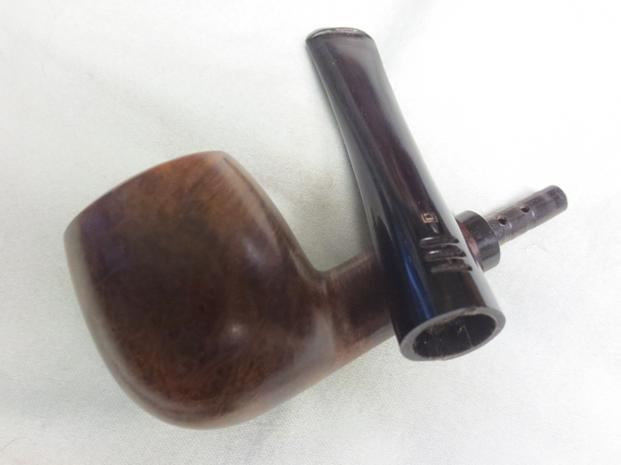
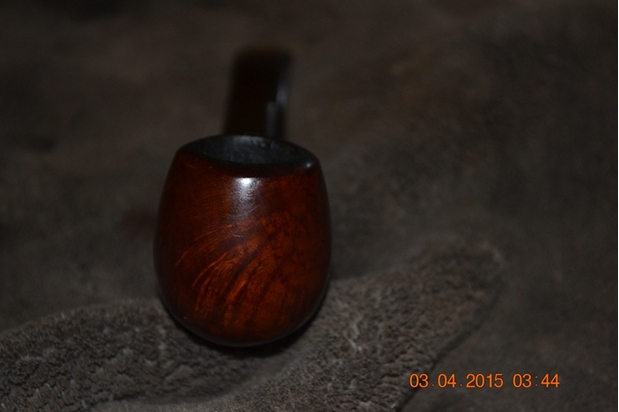
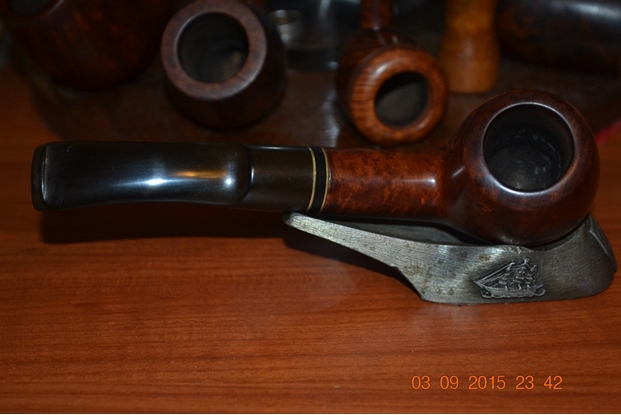
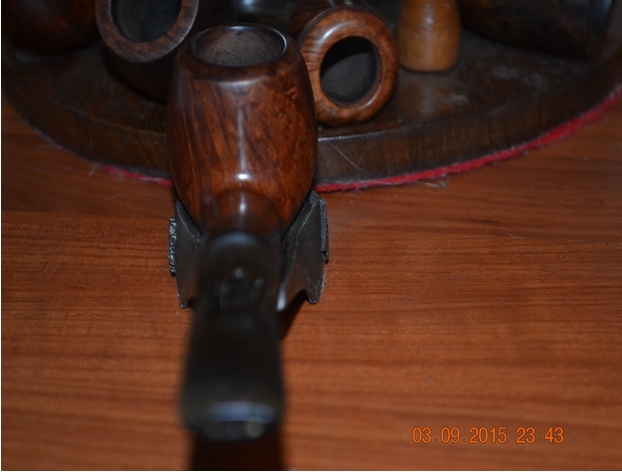
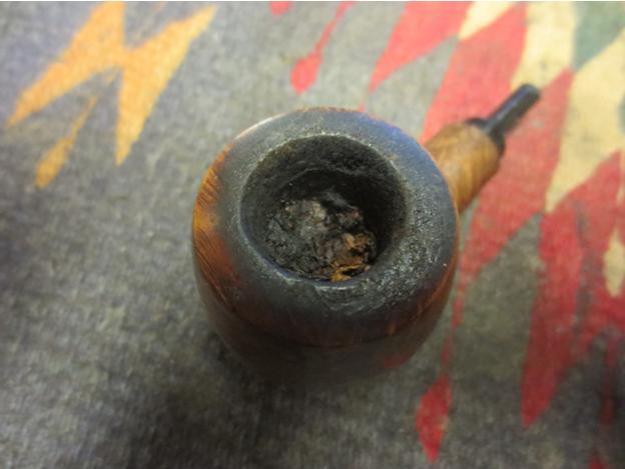
 I took the next two photos to show the set up of the apparatus with the papyrate filter in place and the state of the bowl and the rim.
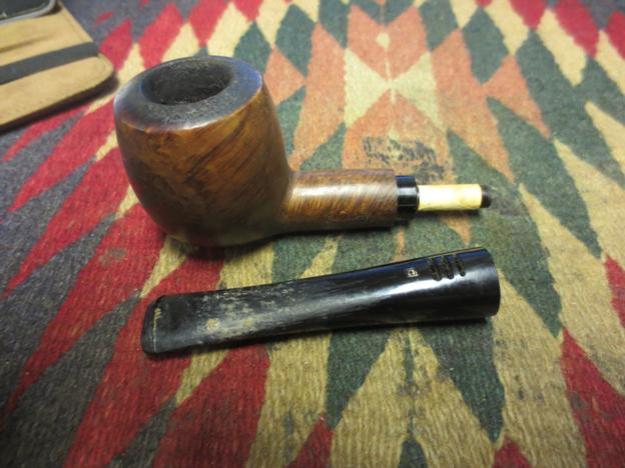
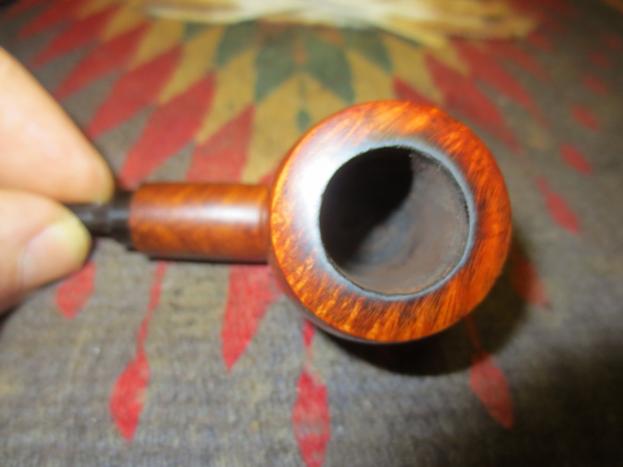
 The lava overflow on the rim took a lot of elbow grease to scrub it clean. I used Murphy’s Oil Soap and cotton pads to scrub it until I had it clean. I wiped down the rest of the bowl with the soap and then rinsed it with running water. I dried of the bowl and then cleaned out the shank with pipe cleaners and alcohol.
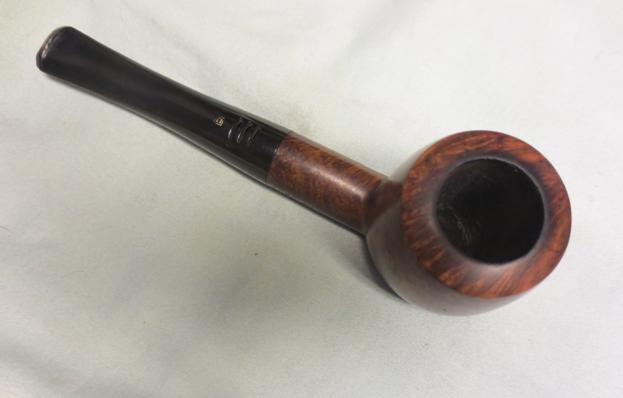
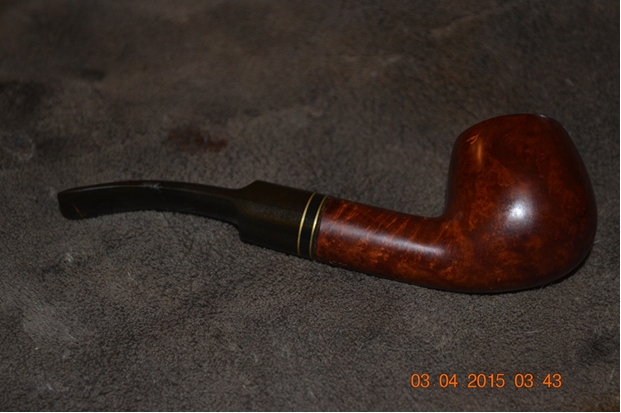
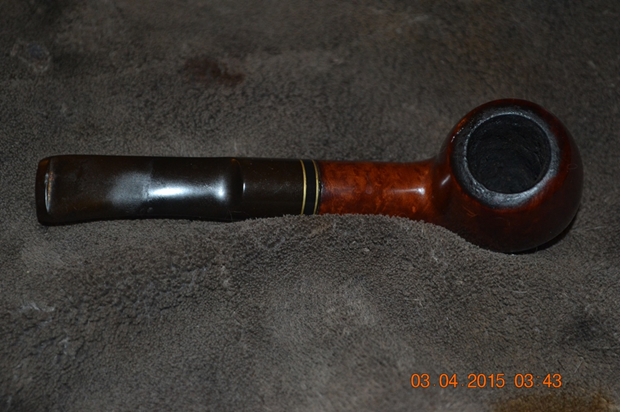
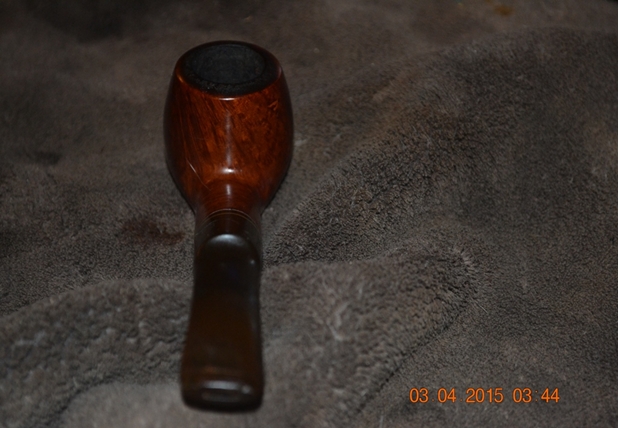
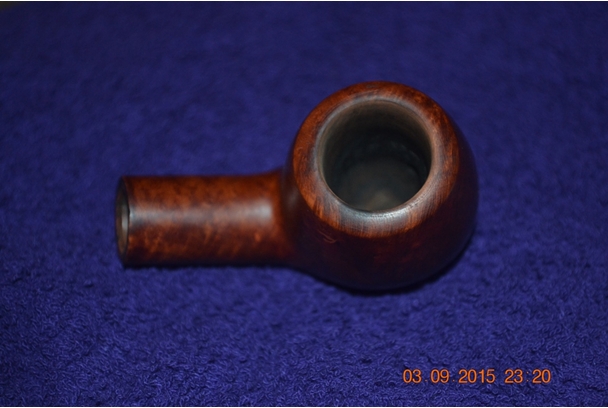
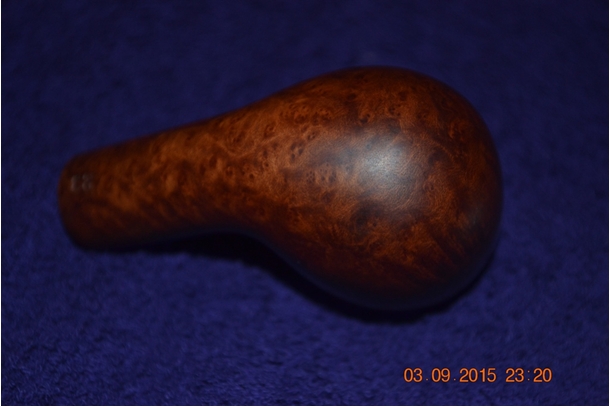
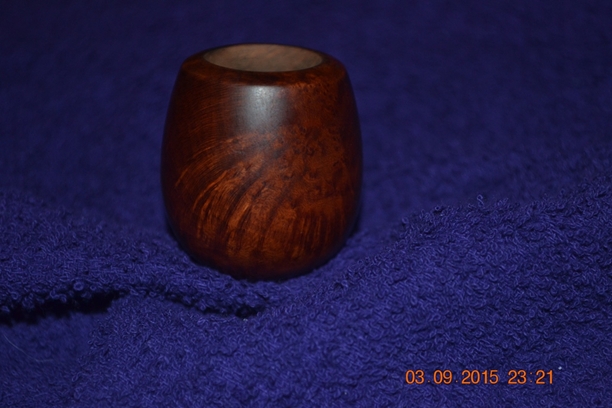
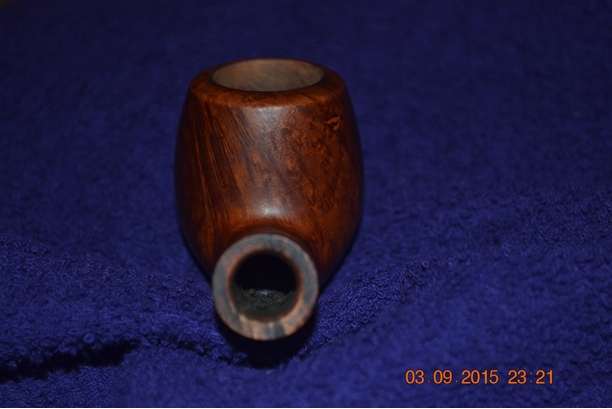
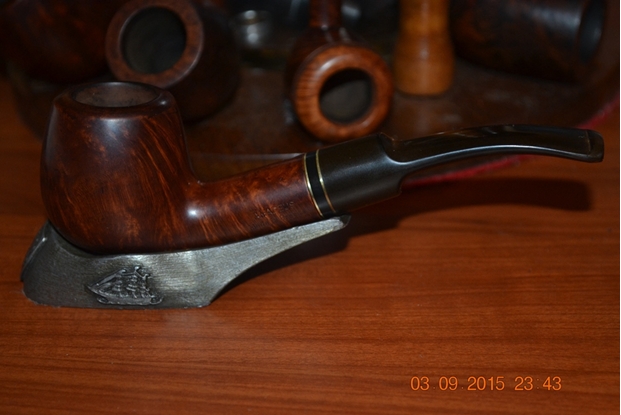
 With the briar clean and the internals of the bowl and shank clean I gave the bowl a light wipe down with olive oil so that I could see the grain more clearly. I took the next photos to show the beauty of this bowl.
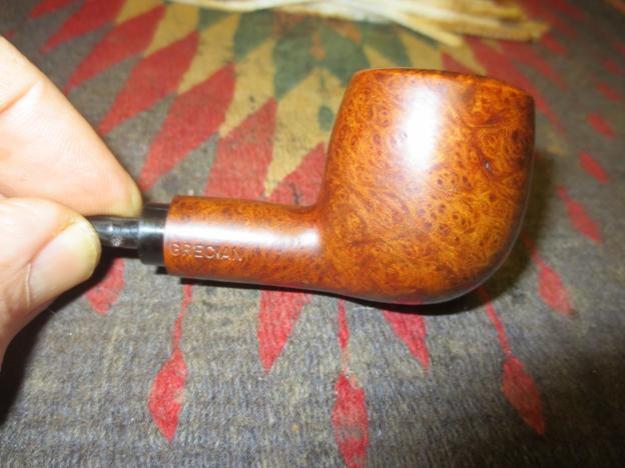
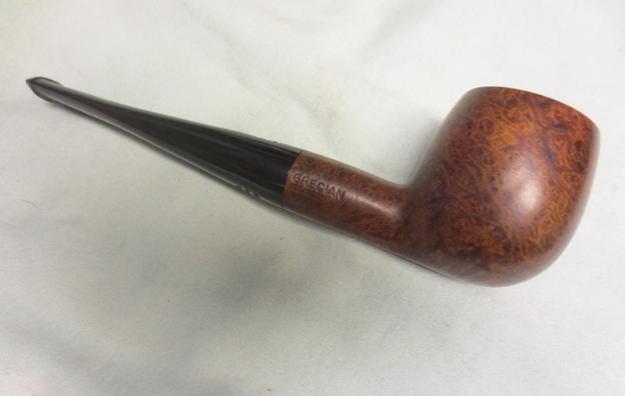
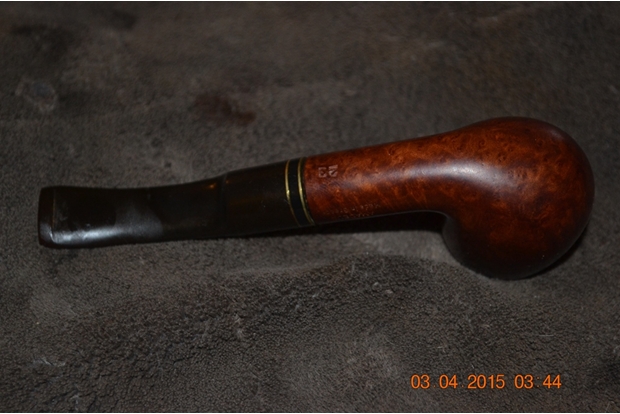
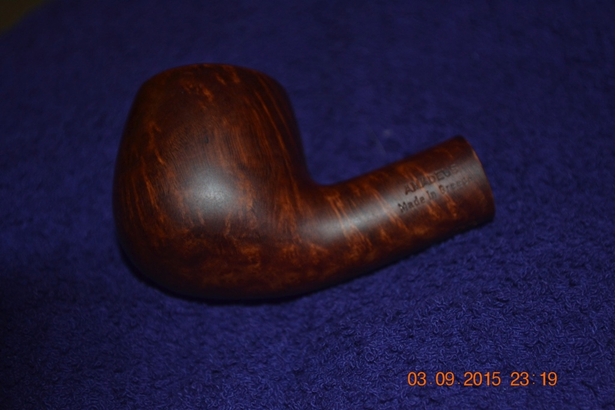
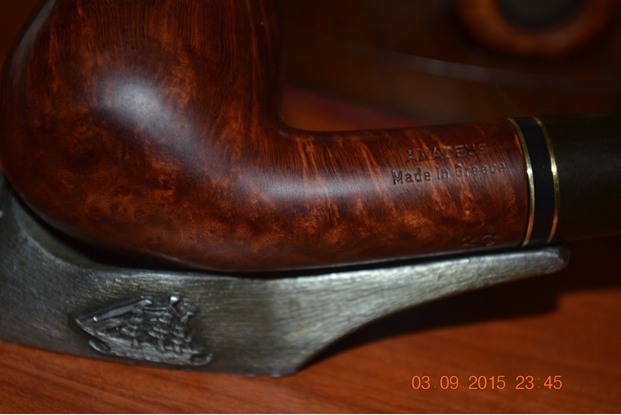
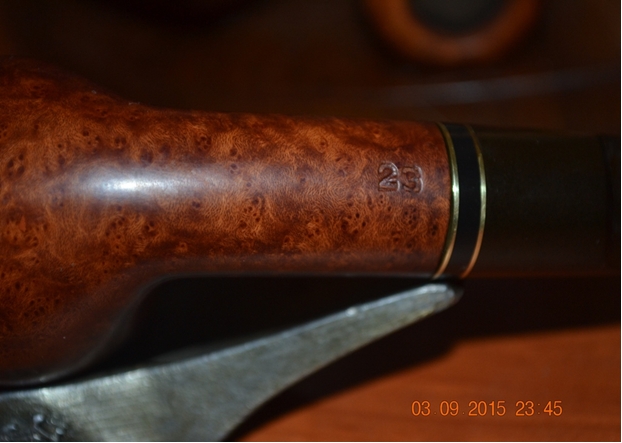
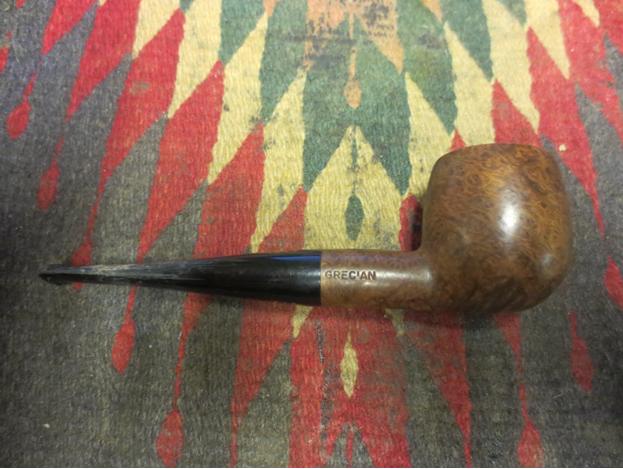
 The next photo shows the stamping on the left side of the shank. The right side is stamped Grecian.
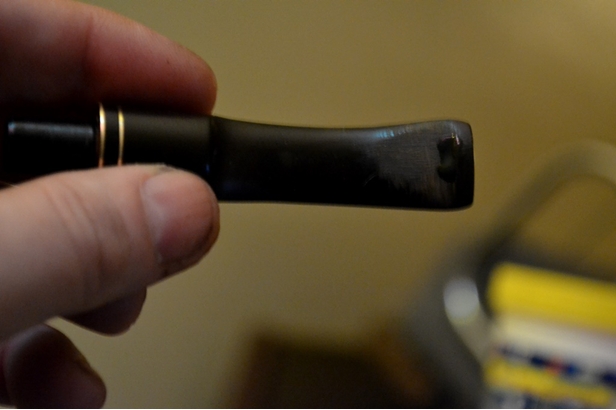
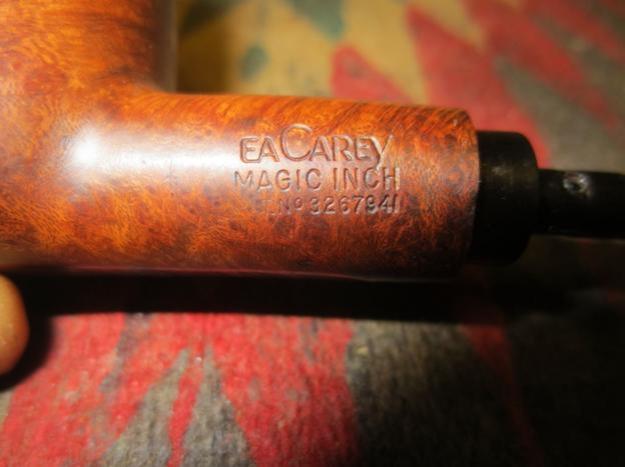 I set the bowl aside to work on the stem. I sanded it with 220 grit sandpaper and a fine grit sanding sponge to clean off the tooth chatter and the grime. I wiped it down with alcohol on the outside to prepare it or the repairs on the deep tooth marks. I used black super glue and put drops into the dents, leaving a bubble so that when it dried and shrunk down the dents would be filled and could be sanded.
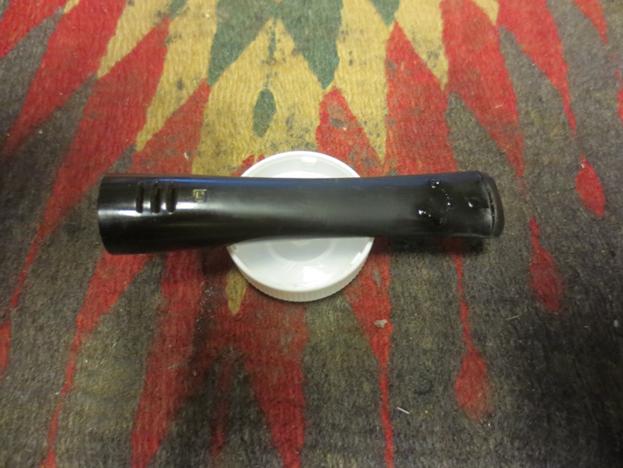
 When the glue dried I sanded the stem with 220 grit sandpaper once again to blend the patches into the surface of the stem.
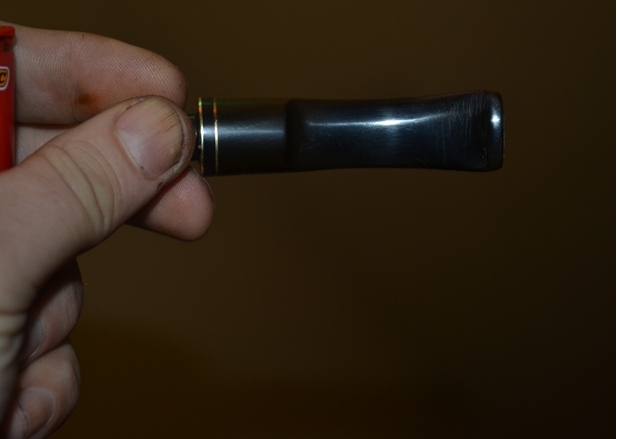
 Before going any further I decided it was time to clean out the inside of the stem. I used cotton swabs, pipe cleaners and alcohol to clean out the internals.
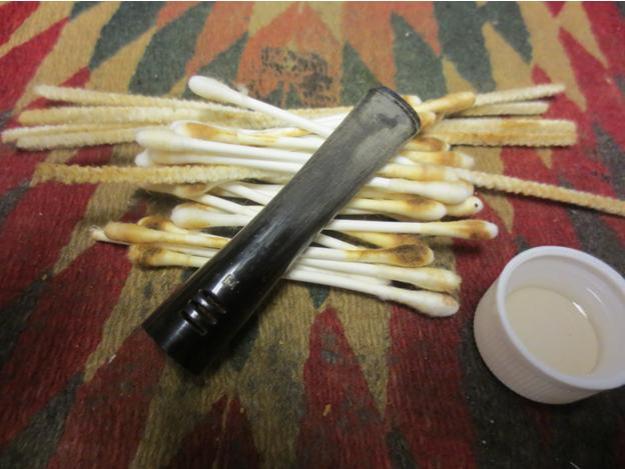 With the inside cleaned and the repairs smoothed out I sanded the stem with a medium and a fine grit sanding sponge. They removed many of the scratches and the stem was beginning to take shape. I was not getting too excited however as this was when the tedious work really started.
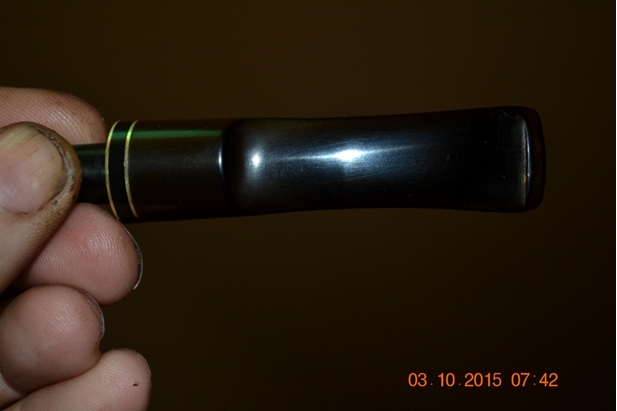
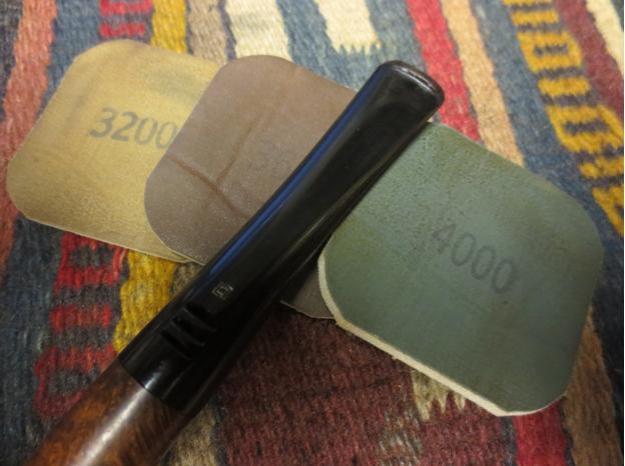
 I wet sanded the stem with 1500-2400 grit micromesh sanding pads and then gave the stem a coat of Obsidian Oil. It does not absorb into the stem material so I use it to give me more bite between the various grit pads of micromesh. I dry sanded with 3200-4000 grit pads and gave it another coat of oil. I buffed it lightly with White Diamond and then finished sanding with 6000-12000 grit pads. I gave it a last coat of oil to wipe down the dust and then hand buffed it.
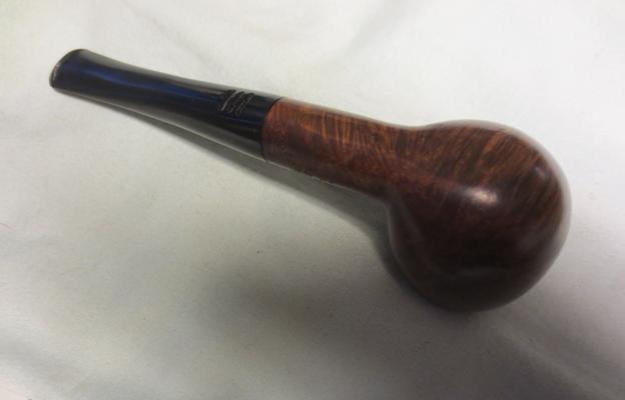
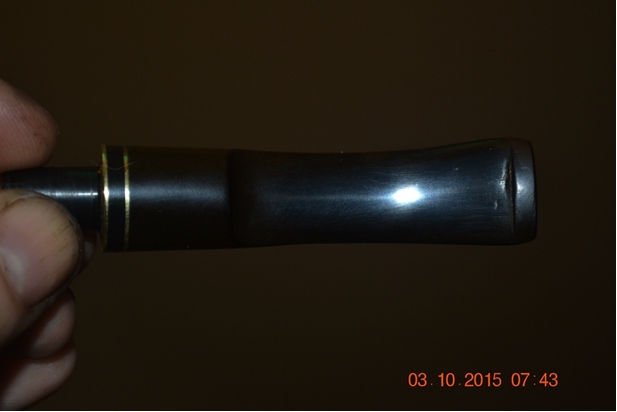
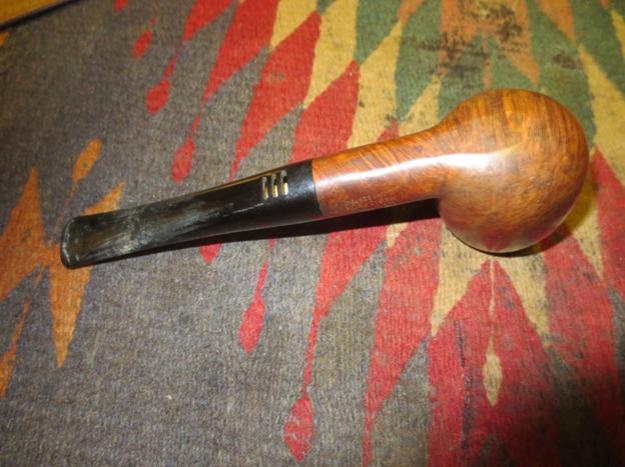
 I buffed the pipe with Blue Diamond Polish on the wheel and then gave it multiple coats of carnauba wax. I buffed it with a clean flannel buff and then buffed it by hand with a microfibre cloth. I don’t know how many hours I have in this stem but it certainly seemed to take forever. The bowl cleaned up great and the briar is quite remarkable. The beauty of the grain comes through clearly and the finished pipe looks great. I have two more Carey’s to clean up but I think I will wait awhile to tackle them. This one gets me half way through the lot. The finished pipe is shown in the photos below. Thanks for looking.