Blog by Dal Stanton
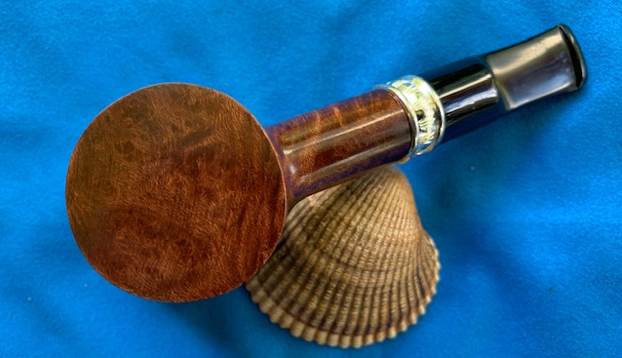
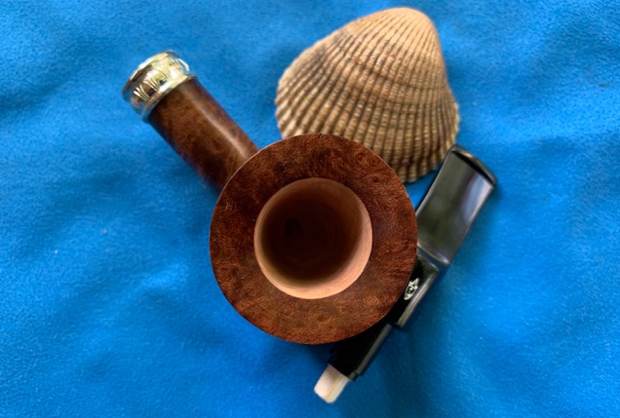
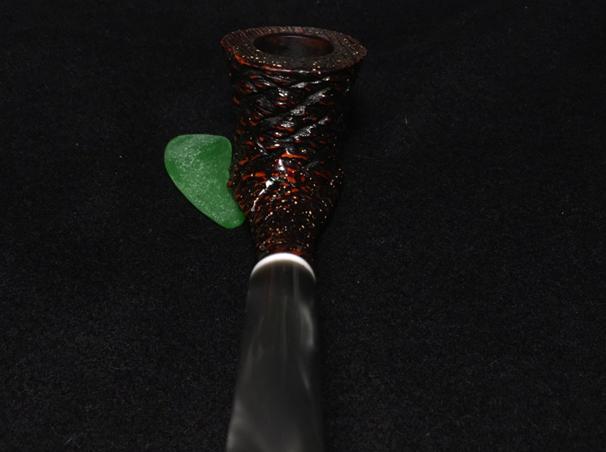
The next pipe on my work table is at 2 o’clock in this Lot of 13 I acquired from an eBay seller in Nevada. There were several other pipes that attracted me in this lot as well, especially the Cherry Wood Ropp at the 4 o’clock position. The LHS Purex at 9 o’clock is also an interesting shape – most of these are still waiting in my ‘Help Me!’ basket. The Butz Choquin Cadre Noir got the attention of a couple who are in Bulgaria working with us for the summer. Joy saw the pipe and wanted it as a gift for her brother. I think it was the combination of the rustified Leprechaun shape and the gray marble acrylic stem that got her attention.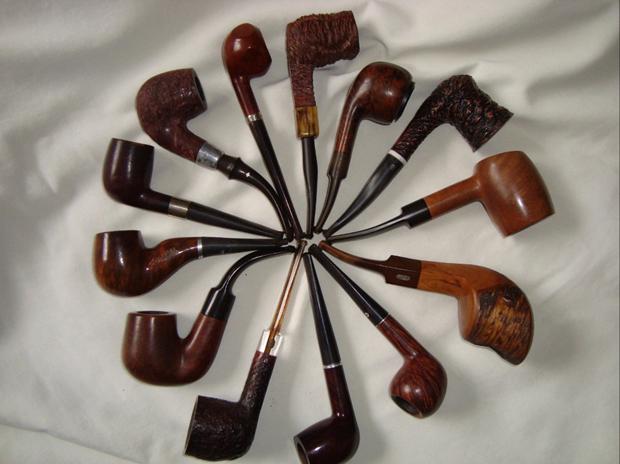 When I bring the BC to my worktable, I take additional pictures to fill in the gaps.
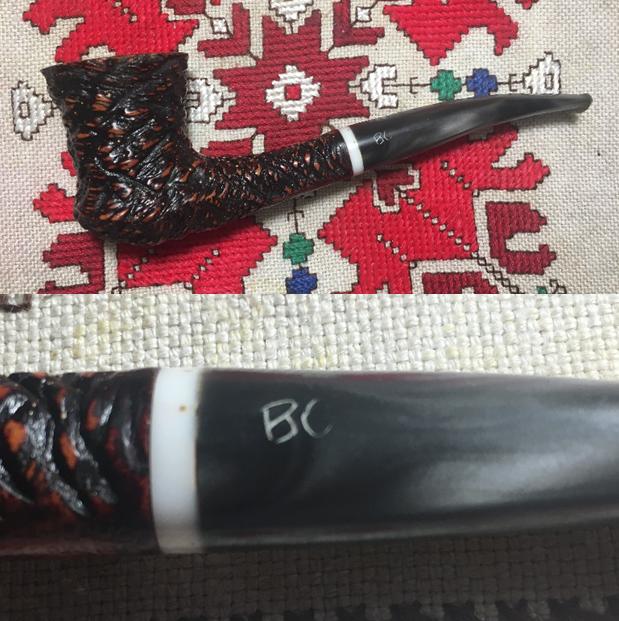
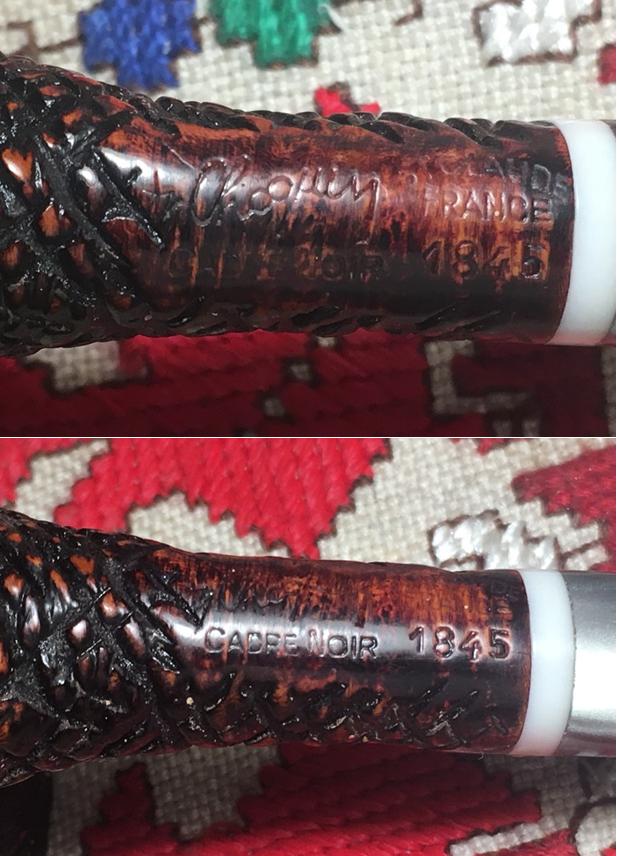
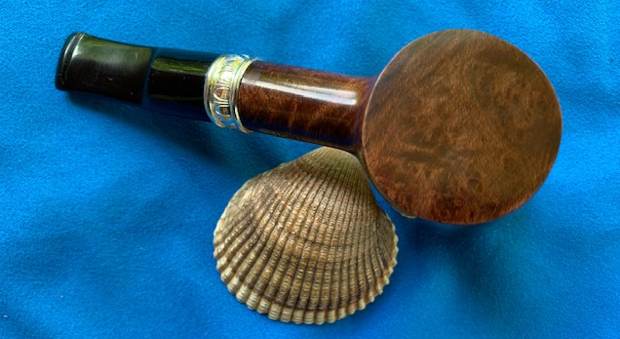
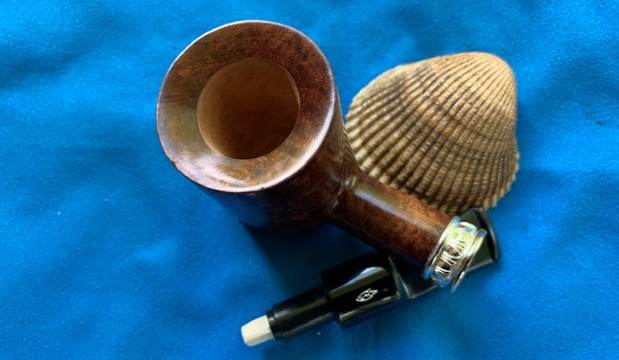
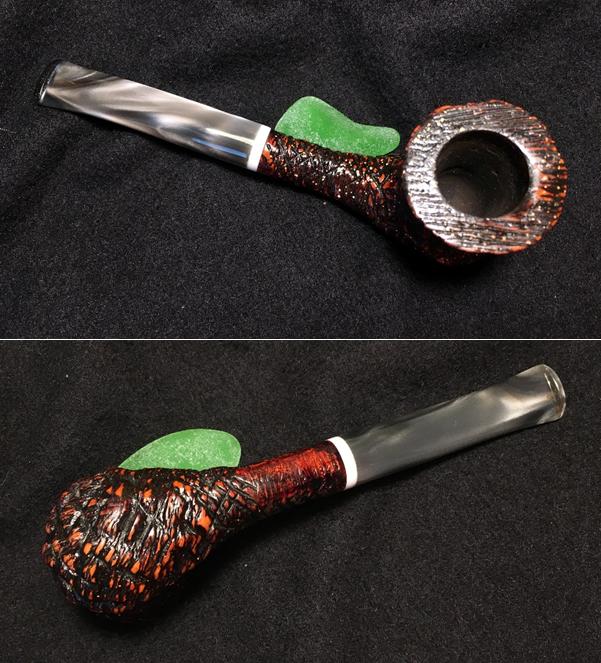
 The nomenclature is stamped on the lower side of the shank with the left side of the stamping reading in a fancy script, ‘Choquin’ [over] ‘Cadre Noir’ which means in French according to Google Translate, ‘Black Framework’ or ‘Black Setting’. On the right side of the stamping is an arched ST CLAUDE [over] FRANCE [over] 1845 – which I’m assuming is a shape number. Pipephil was helpful in identifying the 1845 as a shape number. The C’est bon below is the same BC pipe shape in a smooth version, which I described above as a Leprechaun – perhaps a mix between freehand and Dublin? The bowl moves from a wide rim, a narrower mid-section and then flares out again at the heel with ridges tapering toward the shank. Very nice looking.
 Searching for the BC Cadre Noir online, one finds several examples of what TobaccoPipes.com describes as a BC line depicting a “modern pipe”.
BC’s Cadre Noir pipes are a unique rusticated pipe with an ostentatious clear acrylic stem. Unlike most rusticated tobacco pipes, this one is thoroughly modern.
Another listing of a 1772 Brandy shape sheds light on the actual understanding of Cadre Noir.
The Cadre Noir is a world-famous French riding school for jockeys and horses. This Butz-Choquin pipe, in order to pay some form of tribute to the country’s prized institute, has a rustic finish consisting of parallel trenches running across the bowl. With a black and clear acrylic stem, this 1772 brandy shaped pipe is a dapper addition to both a pipe collection and an equestrian’s repertoire.
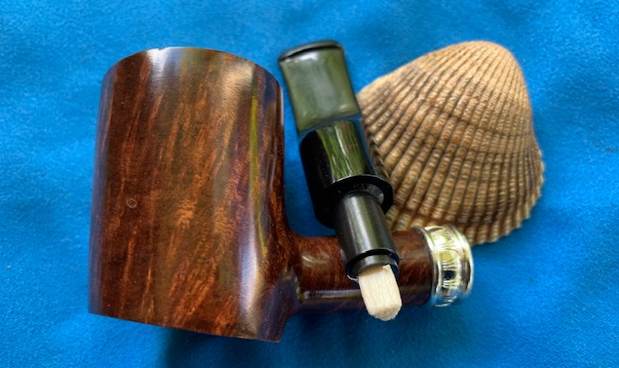
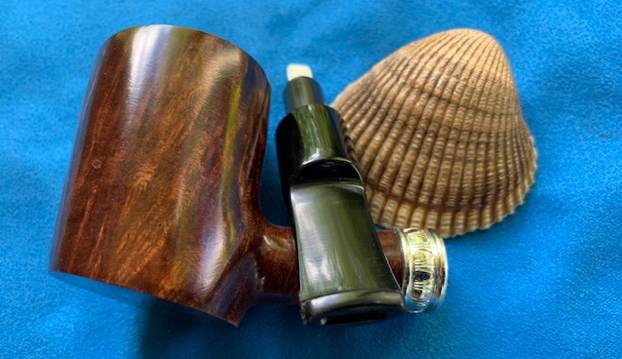
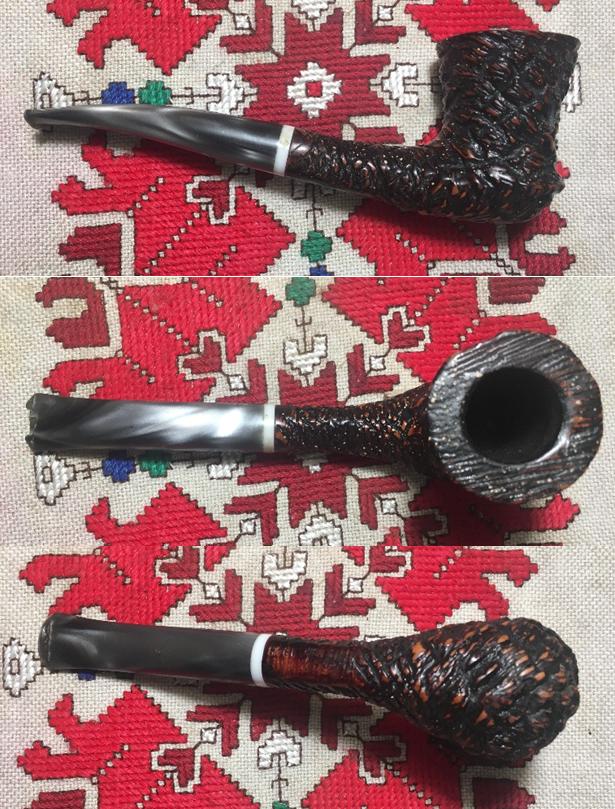
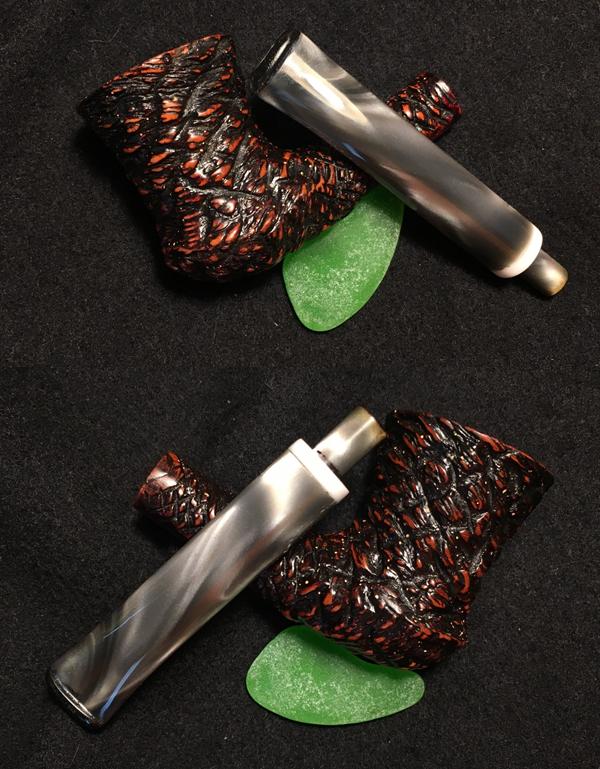
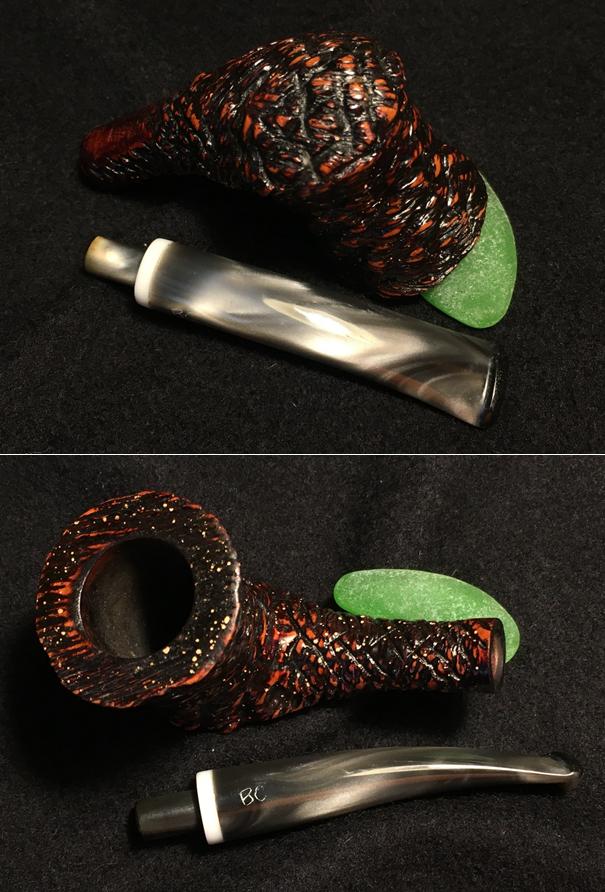
The BC before me does not have a clear acrylic stem, yet it could be described as opaque in places. The only thing that is a significant obstacle to recommissioning this BC Cadre Noir is the damage to the gray swirl acrylic stem. The pipe generally needs only a clean-up. The upper button has chipped off and needs to be rebuilt. The challenge in this rebuild is getting anywhere close to matching the colors of the patch material and the acrylic stem grays. Before I begin any repairs, I clean the pipe. Starting with the fire chamber, using the Savinelli Pipe Knife, I scrape out the minor carbon build up on the chamber walls. Following this, using 240 grit sanding paper wrapped around a Sharpie Pen I clean the chamber out further. I finish by wiping the chamber with a cotton pad wetted with alcohol to remove the carbon dust. 
 Now looking to the external rustified surface, I use Murphy’s Oil Soap undiluted with a cotton pad and a bristled tooth brush to get into the nooks and crannies of the surface. The pictures show the cleaning.
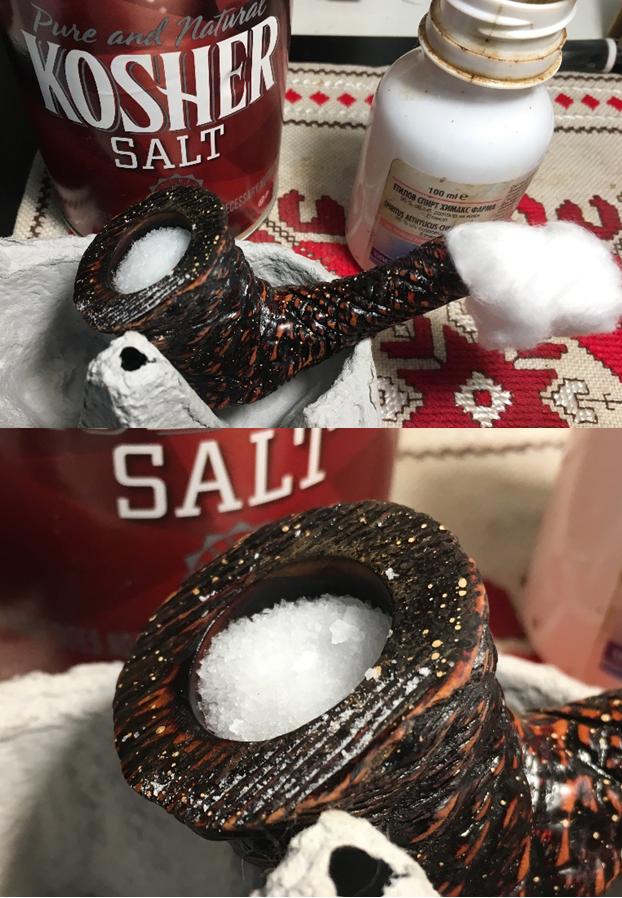
 Switching to the internals, I use pipe cleaners and cotton swabs to do the job. When I realize my time is waning, I decide to complete the internal cleaning and refreshing with the use of a salt – alcohol bath. Using kosher salt, I fill the bowl, and stretch and twist a cotton ball to create a wick to stuff down the mortise. I fill the bowl with alcohol until it surfaces over the salt and I put it aside to let it soak for several hours.
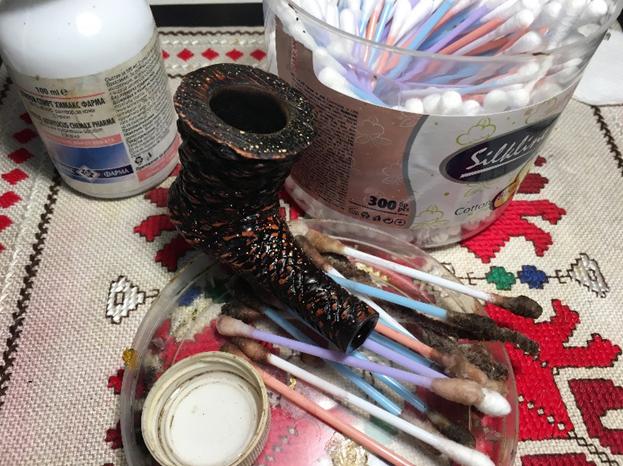
 The soak did the job when I return home later that day. The salt and wick had absorbed the oils and tars from the briar. I toss the old salt, wipe the chamber with paper towel and use a bristle brush to remove all the salt residue. I return to using cotton swabs and as billed, the soak had done the job. The pictures show the cleaning process.
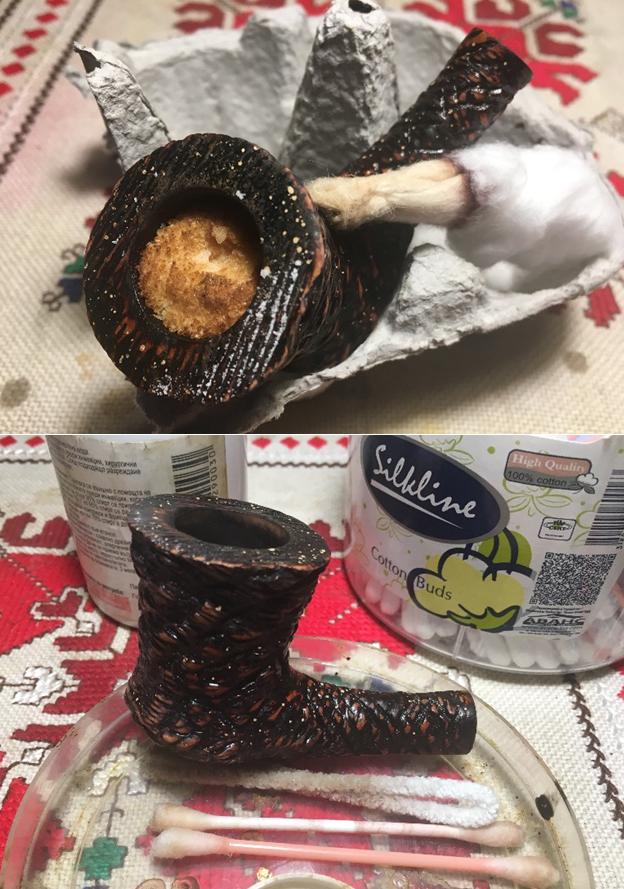 Now to the acrylic stem. I first clean the internals which were in great shape.
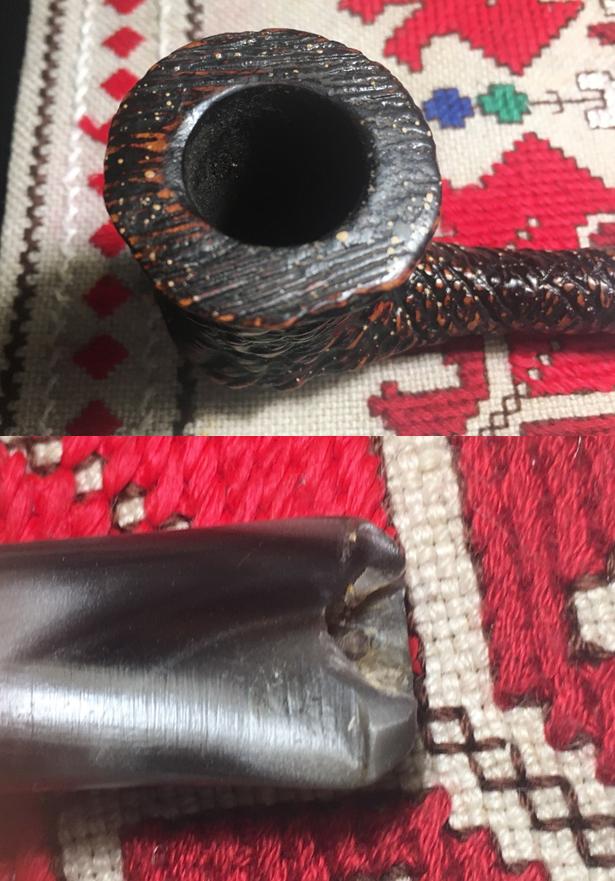
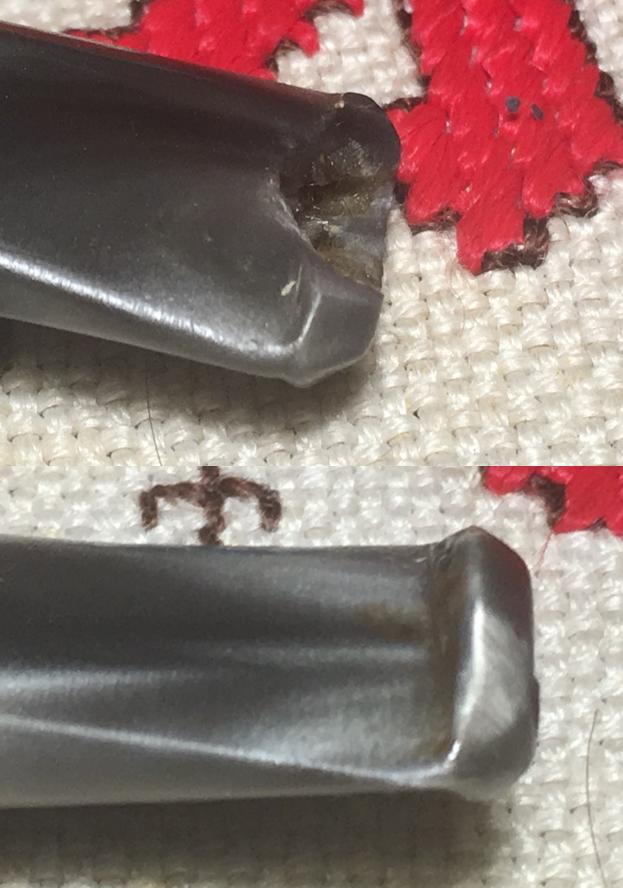
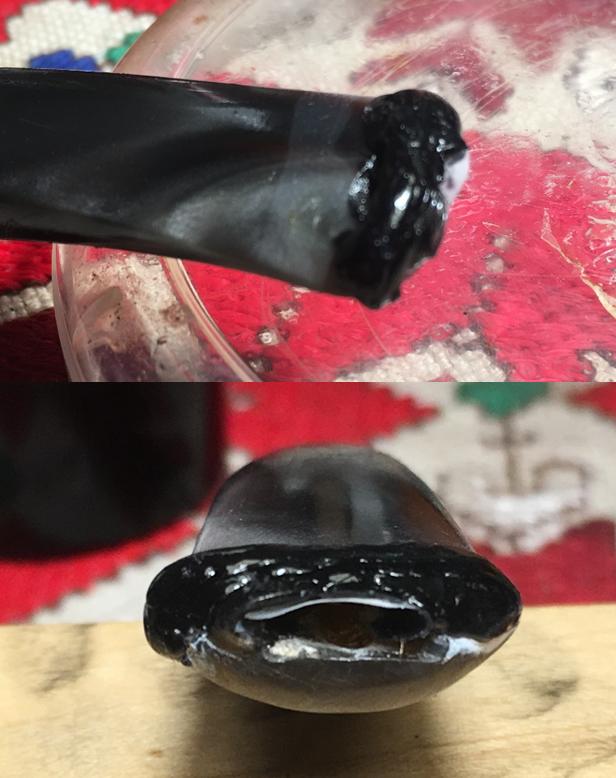
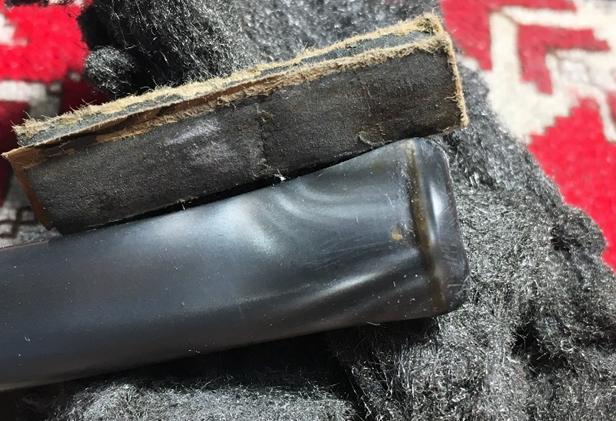
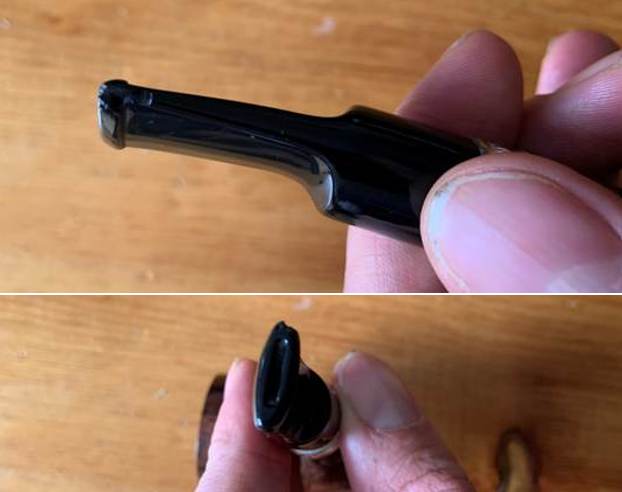
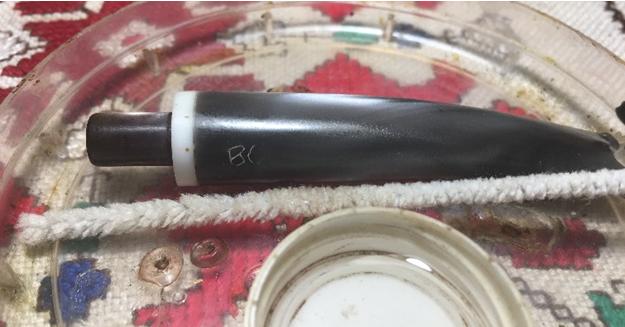 The major challenge I face with this BC Cadre Noir 1845, is the acrylic stem button repair. I did a repair on a Meerschaum’s Bakelite stem which was a clinic in trial and error, but finally realizing success. That Meerschaum is now a good friend in my rotation and you can see the Bakelite stem repair at The Pipe Steward blog site here: LINK. I take some additional close-ups of the chipped button.
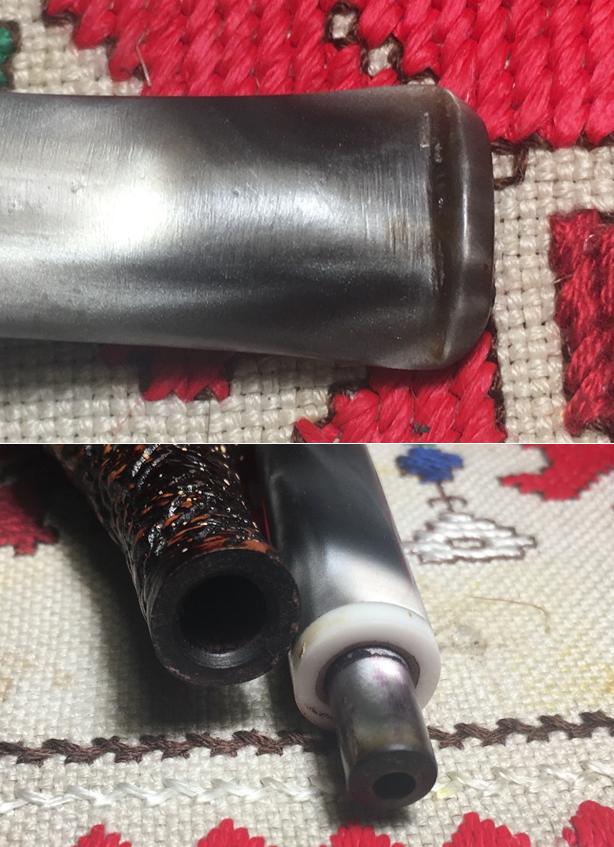
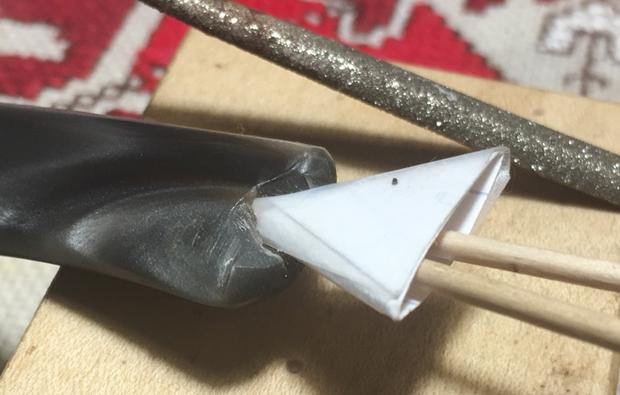
 This acrylic stem has a gray marble color. The good news is that the lower button (pictured above) is intact and acts as a template for the upper button rebuild. The challenge is matching the patch material color with the multi-colored hues of gray. My idea of how to approach this is to use clear thick CA glue as a base. I will mix some white acrylic paint with it to create the light base. Then, I will very gradually add activated charcoal to the mixture to create the movement toward the grays. I have no idea how the white acrylic paint and the CA glue will react together. I begin this repair using a needle file to work on the button while its exposed – filing down the lower surface of the slot which is rough from the break. I then cut an index card forming a triangle, cover it with scotch tape which prevents the patch material from adhering to it, and insert it into the slot acting as a mold. The mold will shape the slot area as well as guard the airway from the patch material seeping into it and clogging it.
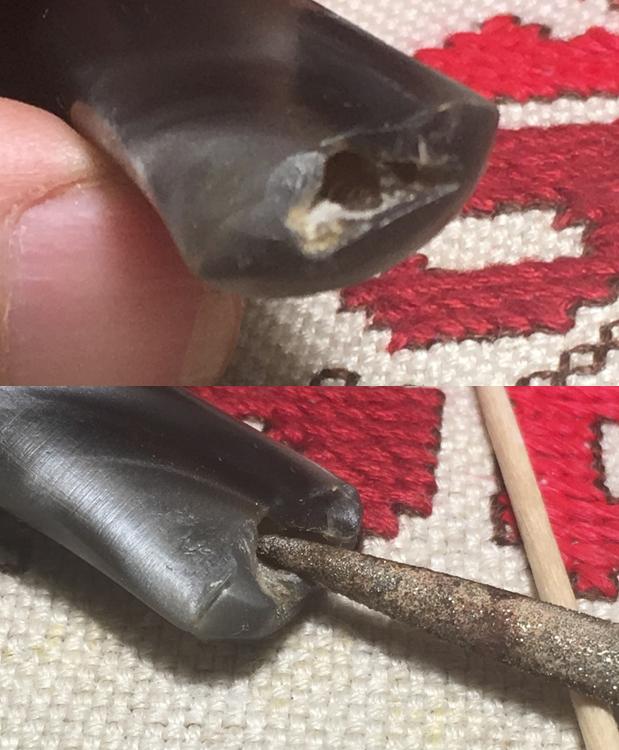
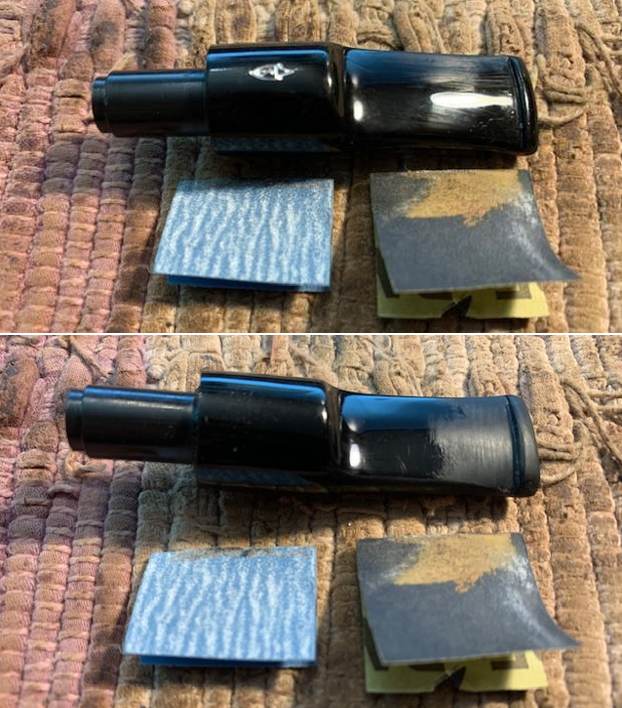
 Well, mixing white acrylic paint with CA glue doesn’t work, so don’t try that path! The paint immediately gummed up as it was mixed and did not provide a lightening effect. To build the button, I end up simply applying thick CA glue and charcoal powder mixture to the button and spraying it with an accelerator to shorten the curing time. It doesn’t have the gray hue I was wanting to blend better, but it should look ok after sanding and shaping. I pull out the index mold and the slot looks rough now, but good. Using a flat needle file, I start shaping the button lip. Without a doubt – in my opinion, button rebuilding is the most time consuming and meticulous aspect of restoring estate pipes. Patiently, I file the button and slot to a shape that is consistent with the original button curvature. Using the lower lip as the template, I shape, file, shape, file…. It’s looking good. Pictures show the progress.
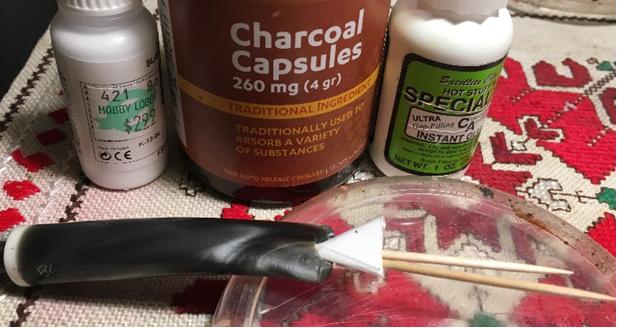

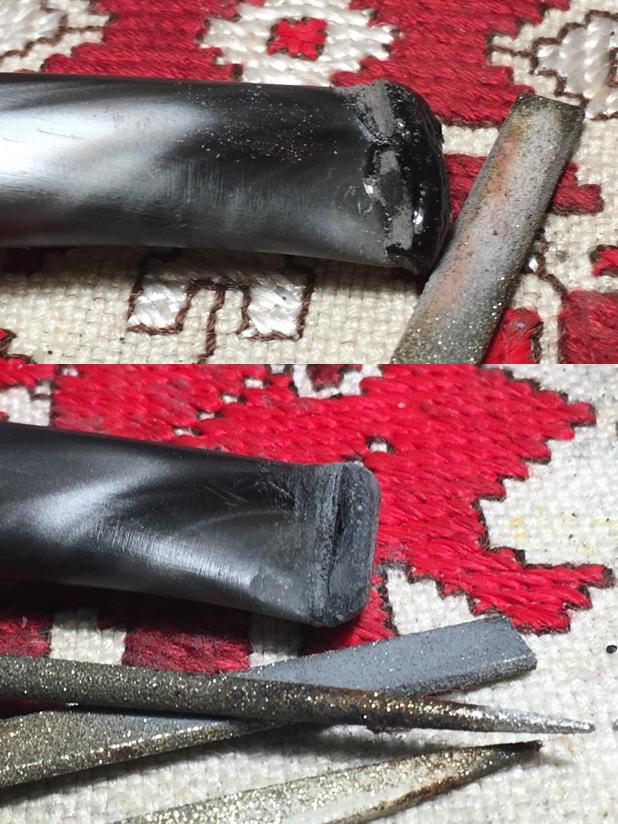
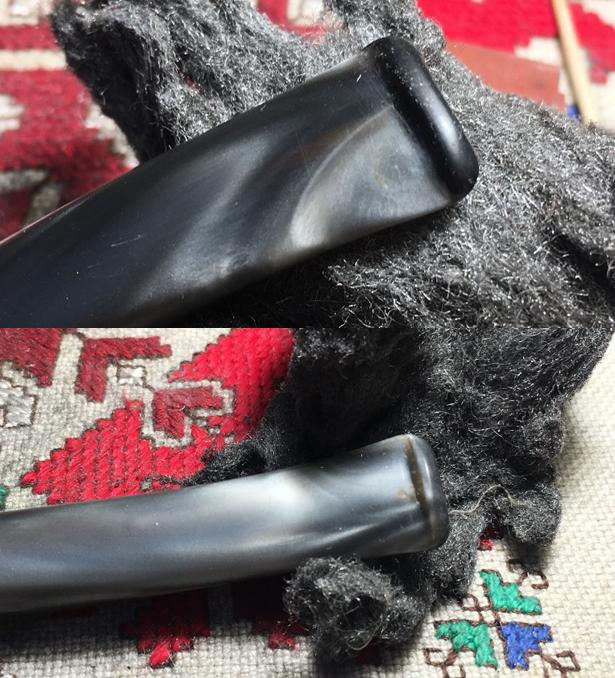
 With the main file sculpting done, I use 240 grit sanding paper and sand the button, bit, and slot to blend the patch and the native acrylic. Then, using 600 grit paper I fine tune, then a hearty buffing with 0000 steel wool.
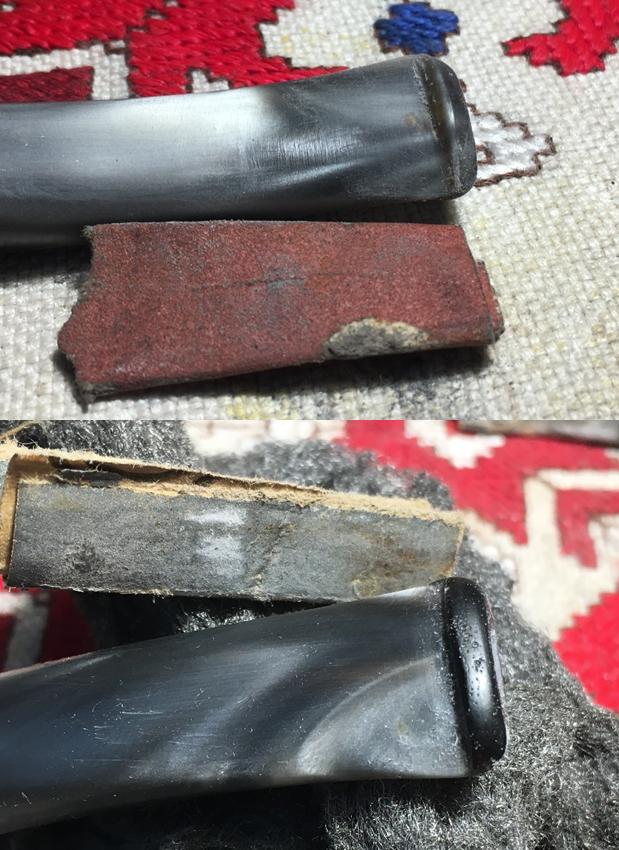
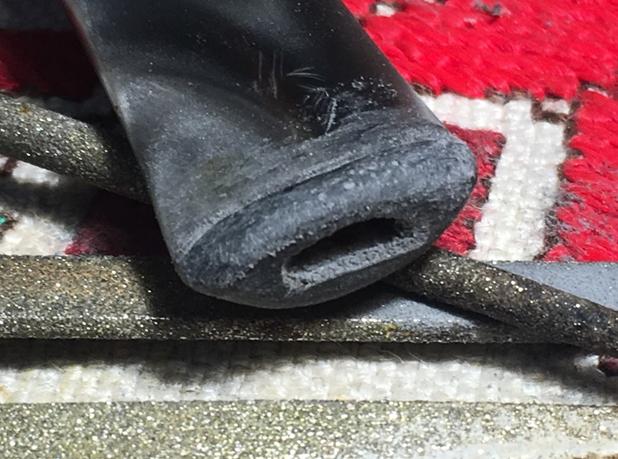
 Often when rebuilding a button, the patch material reveals air pockets as the sanding and buffing move toward the final stages. This button was no different. To cover these air pockets, I paint a fine layer of thick CA glue over the lip with a tooth pick. The air pocket pits are filled with the CA glue. I again run over the lip surface with a light 240 grit, then 600 grit papers, then the final 0000 grade steel wool buff to blend.
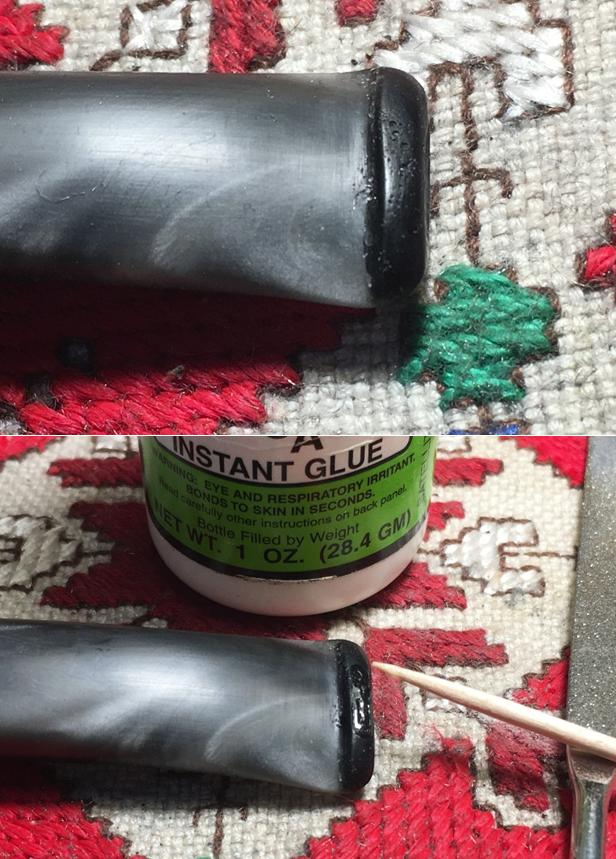
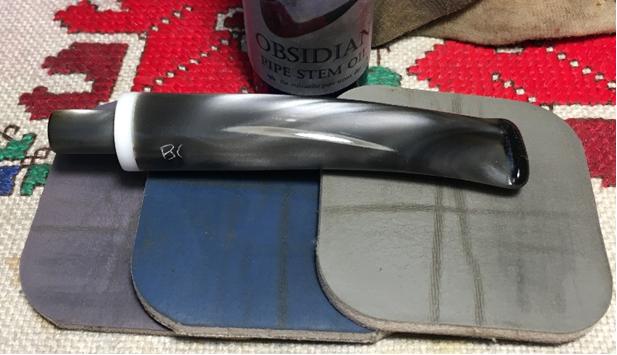
 With the button repair completed, I move on with the micromesh pad sanding of the acrylic stem. I wet sand using pads 1500 to 2400. I follow this with pads 3200 to 4000 then finish with pads 6000 to 12000. I’m careful to avoid the ‘BC’ stem stamping as I sand. During the sanding, I also sand the white acrylic divider between stem and shank to spruce it up as well. Even though I don’t believe the application of Obsidian Oil helps an acrylic stem, I do it anyway because it looks good and seems to bring out the marbling. I have to admit, the button’s rebuild came out better than expected. Even though I couldn’t create the gray hue in the patch material, the black seems to blend perfectly with the stem. The dubbing of this Butz-Choquin Cadre Noir as being a ‘modern’ pipe, I think fits well with the results – looks great. The pictures show the stem’s progress.
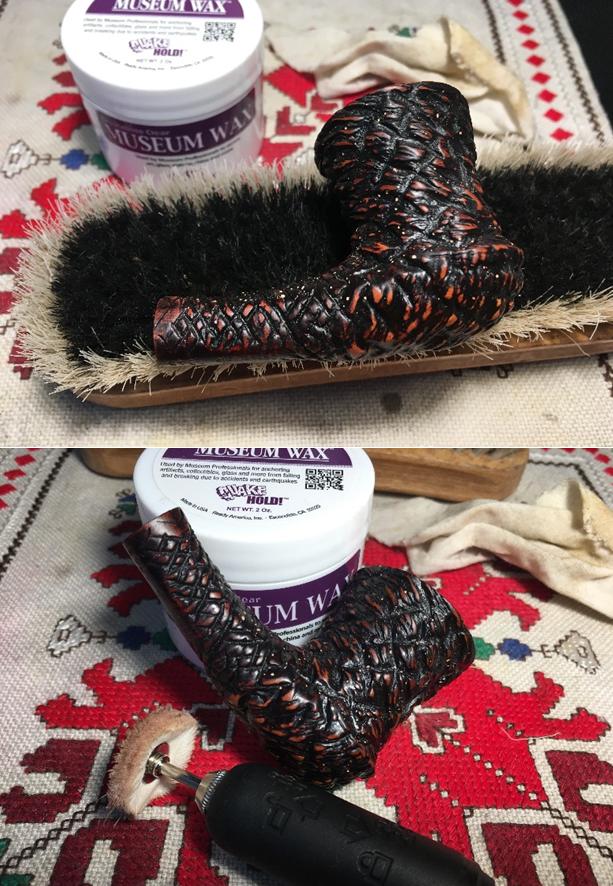
 Next, I look at the BC’s rustified stummel. The dark deep contours of the bubbled rustication make the peaks of the bubbles stand out. I like the Leprechaun look of the pipe. To polish and protect the surface, I use Museum Wax wetted with a bit of spittle, applying it with a cotton cloth. I work the wax into the crooks and crannies of the rustification. After working the Museum Wax into the rustified surface, I do an initial hand buff with a bristled shoe brush. Following this, to deepen the buff and heighten the shine, I mount the Dremel with a cotton cloth buffing wheel set at 40% speed and buff the surface further. Pictures show the progress.
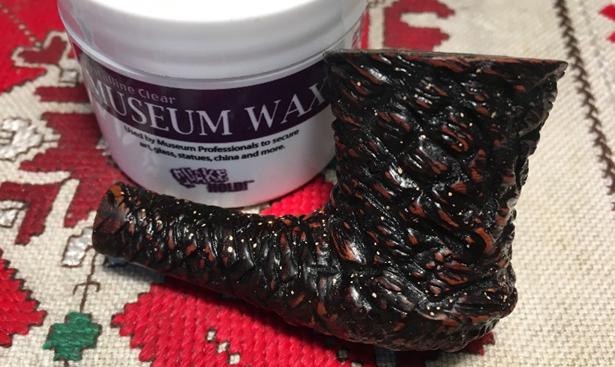
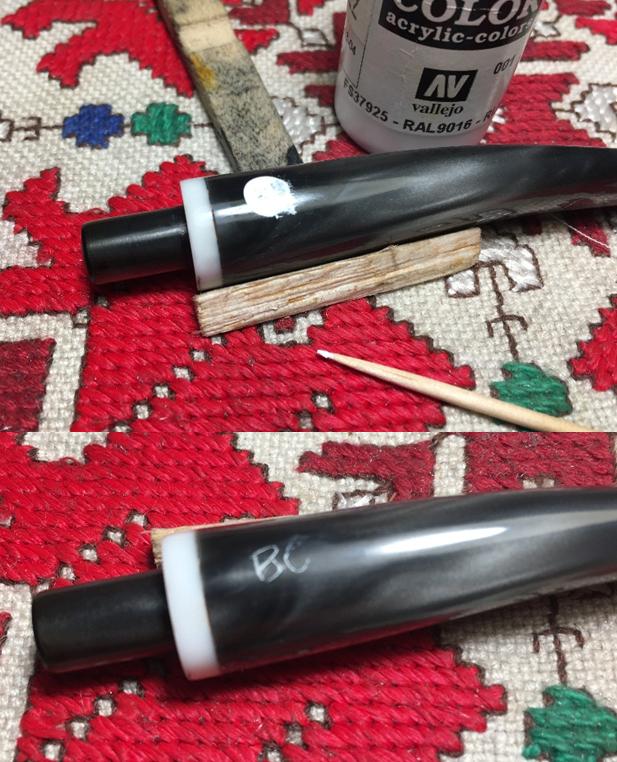
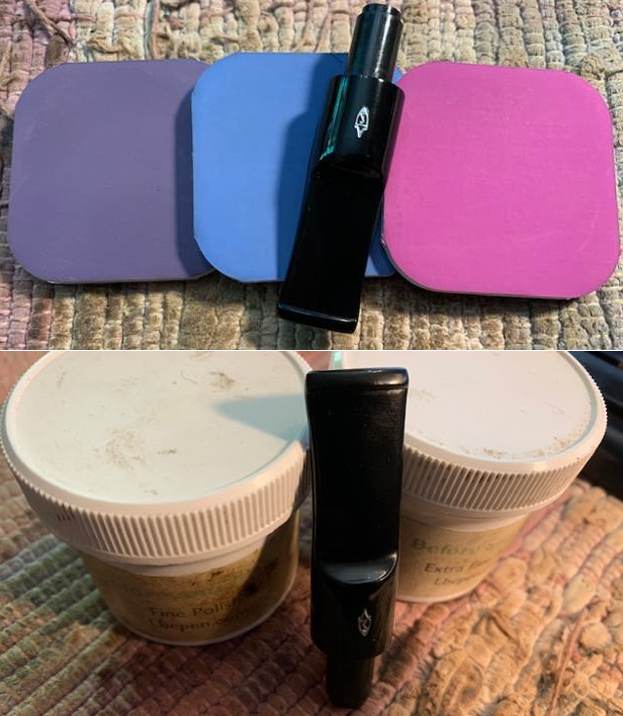
 Again, picking up the stem, after mounting the Dremel with a cotton cloth wheel for Blue Diamond, I buff the acrylic stem with a high gloss using the compound. Before applying carnauba wax to the stem, I want to freshen the ‘BC’ stamping on the side of the stem. The ‘C’ has grown less distinct. Using white acrylic paint, I apply it over the stamping hoping that there’s enough edge left in the ‘C’ to hold the paint. After it dries, I gently rub off the excess paint using the middle flat edge of a tooth pick. The ‘BC’ is a bit more distinct now. Pictures show the progress.
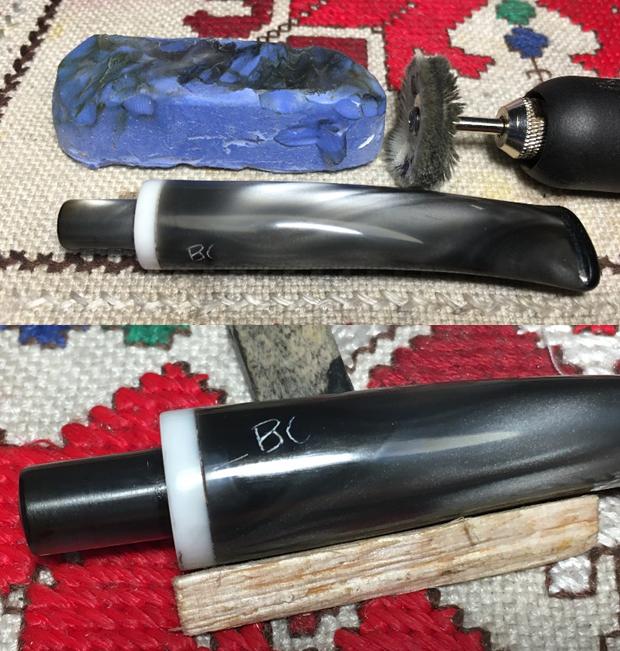
 The cotton cloth is mounted on the Dremel and I apply carnauba wax to the acrylic stem at 40% speed. After applying the carnauba over the stem, I reunite the gray marbled acrylic stem with the Leprechaun stummel and give it a good hand buff using a micromesh cloth.
I’m very pleased with the outcome of the button rebuild and how well the patch material blends with the gray marble acrylic stem. This French made Butz-Choquin Cadre Noir 1845, is a unique shape and will draw attention. I’m happy to recommission this BC for Joy’s brother who will be his new steward. Joy’s gift benefits the Daughters of Bulgaria, our work here in Bulgaria with women and girls who have been trafficked and sexually exploited. Thanks Joy! To learn more about how my restorations help, check out my blog, The Pipe Steward. Thanks for joining me!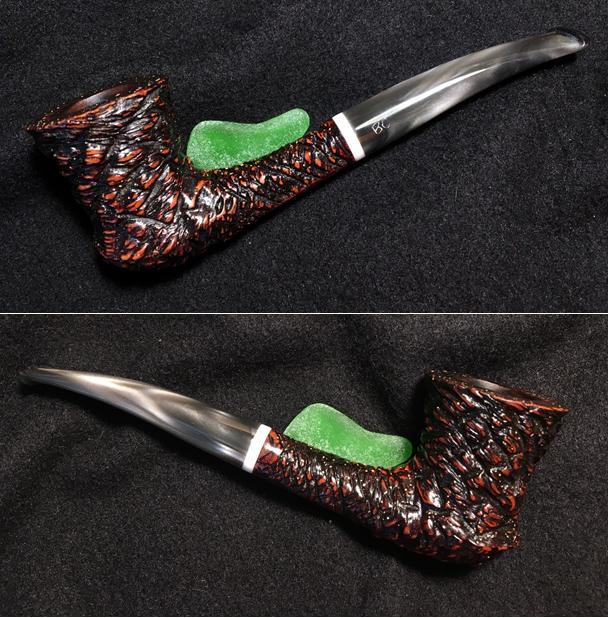

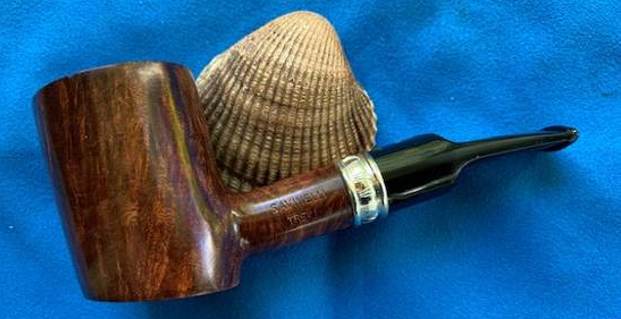
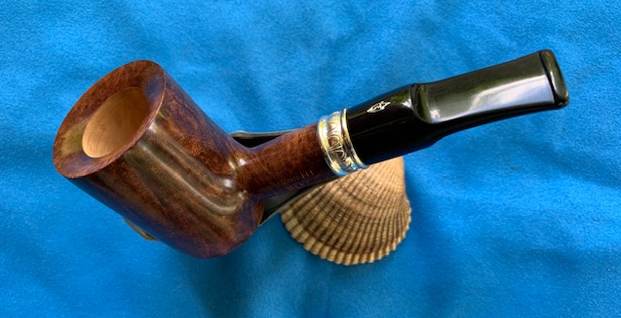
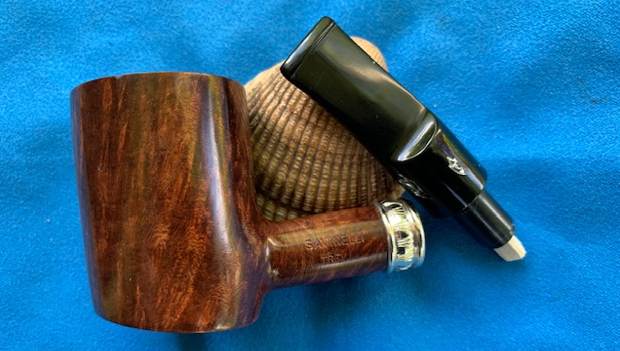
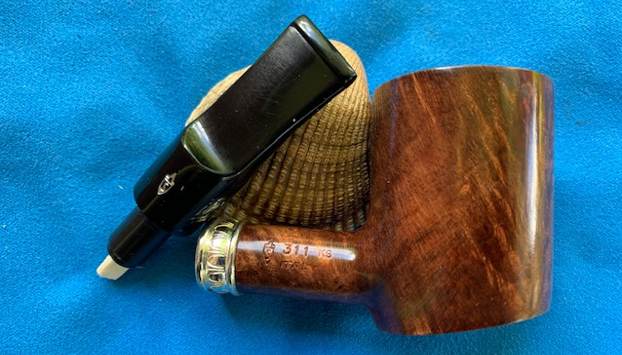
 We wrote back and forth and I let him know I could fix it. Yesterday Josh dropped off the pipe at my house for repair. This morning I decided to tackle the repair on this pipe. The fact that he had never smoked it and that it was new really touched me and decided it would be the next pipe on the worktable. I took photos of the pipe to give a sense of the beauty of the piece. It is a smooth finished Poker with what looks like a Walnut finish. The band on the shank is silver. The stem is acrylic with a silver Savinelli logo on the top of the saddle. The shank is stamped on the left side and read Savinelli [over] Trevi. On the right side it had the Savinelli Shield S followed by 311KS [over] Italy. The pipe had an inwardly beveled rim top and the bowl was smooth, unsmoked briar. The pipe had a Savinelli Balsa Filter in the tenon.
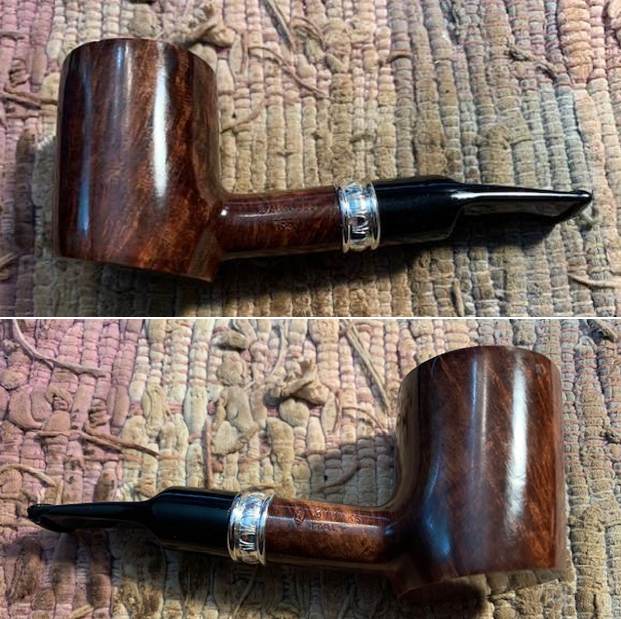
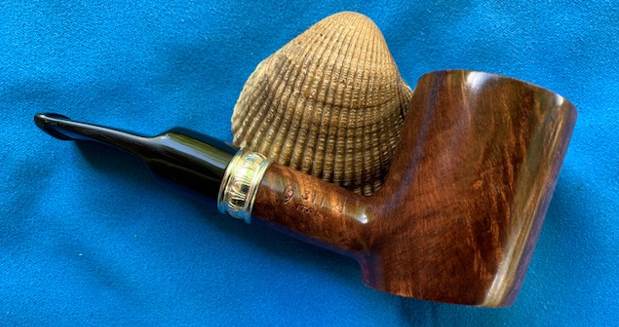
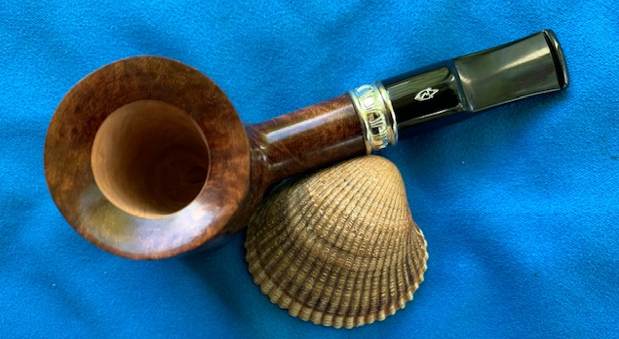
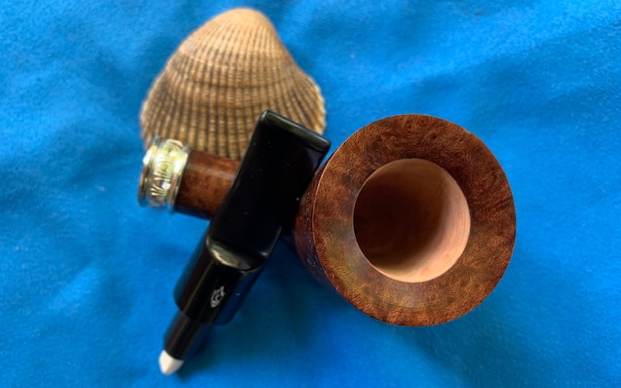
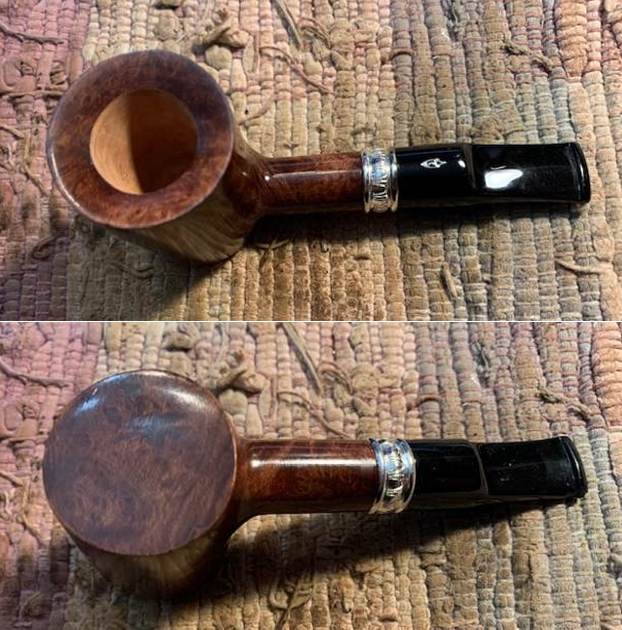 I took a photo of the rim top and bowl to give a sense of the shape and finish of the bowl. It is a pretty pipe. I also took photos of the acrylic stem to show the general condition apart from the chipped right underside of the button and the stem (encircled in red in the photo below).
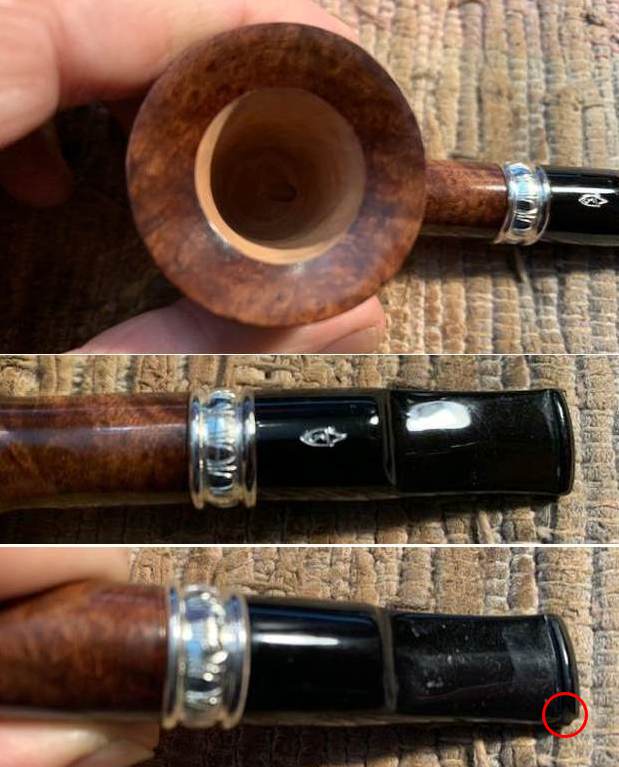 I took photos of the stamping to try and capture it. The shiny varnish finish reflects light so much that the stamping is not clear in the photos. It reads as noted above.
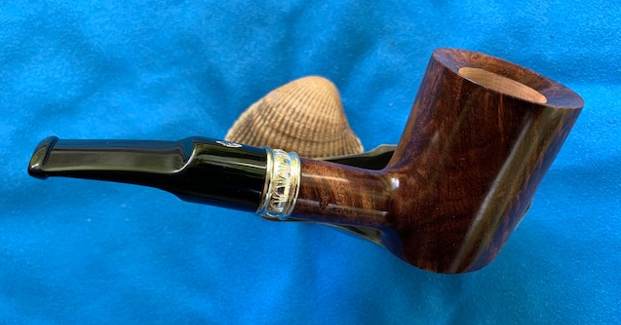
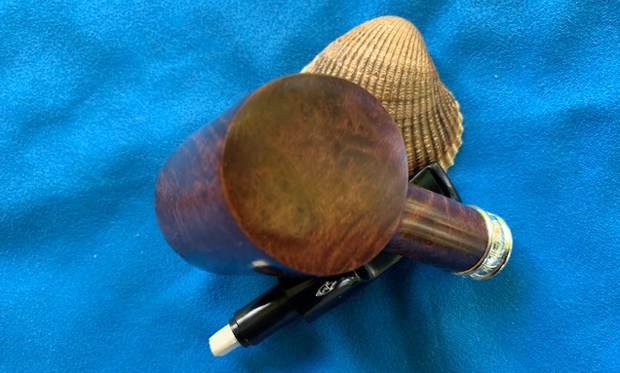
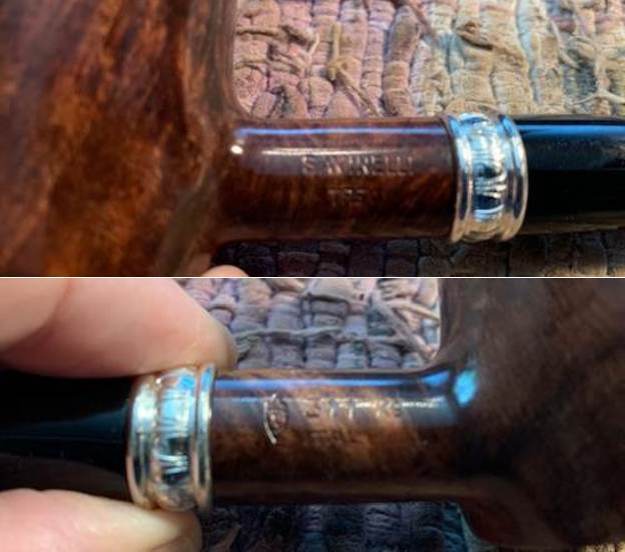 I removed the stem and took a photo of the pipe. It is a proportionally nice looking pipe.
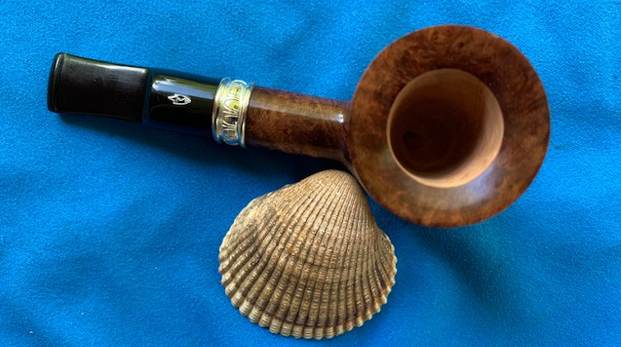
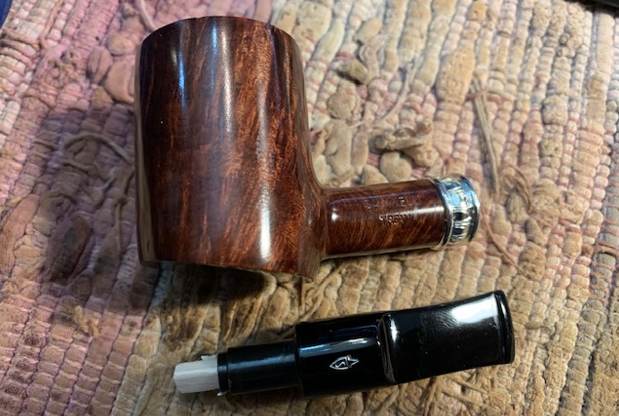 Now it was time to work on the stem. I cleaned off the chipped area with alcohol and a cotton swab to remove any debris. I took photos of the chipped area before I started working on it. You can see the damage. Though it is small it is rough to the touch and would certainly be rough to the mouth. I have drawn a red box around the damage in the photos below.
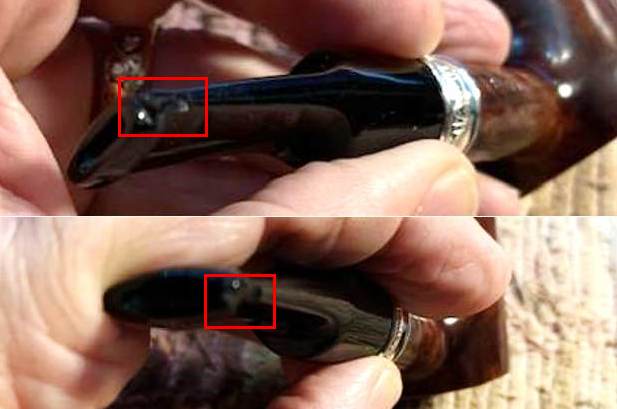 I carefully filled in the chipped area with black CA glue and pressed it into the chipped spots with a tooth pick. I laid the stem aside to let the repair cure. Once the repair cured I reshaped the button with a piece of 220 grit sandpaper. I worked over the right edge and the button to match what was on the other side of the stem. Once finished it looked better. I started polishing the acrylic with 400 grit wet dry sandpaper.
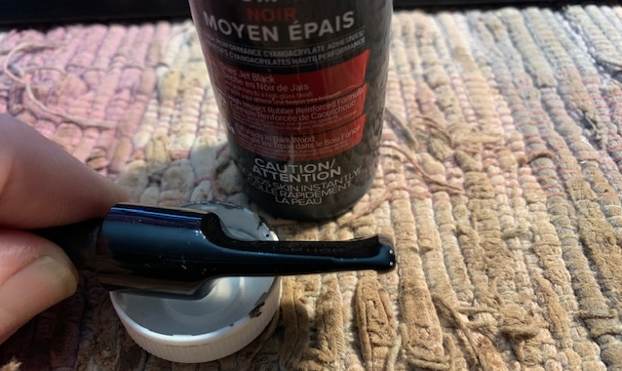
 I set the bowl aside and turned to work on the stem. I polished the acrylic stem with micromesh sanding pads – 1500-12000 grit pads. I wiped it down with Obsidian Oil after each sanding pad. I used Before & After Pipe Polish – both Fine and Extra Fine to further polish the stem and gave it a final coat of Obsidian Oil to finish it.
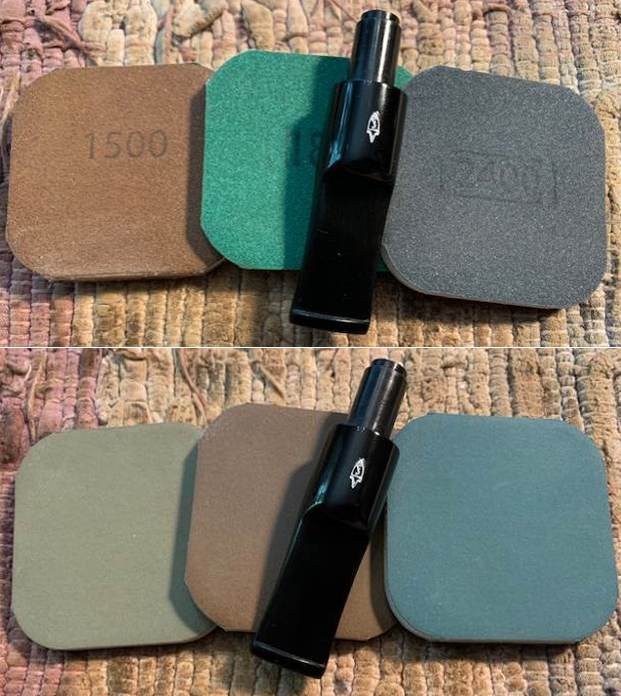
 With the stem repaired on this Savinelli Trevi 311KS Poker it is ready to go back to Josh so he can enjoy his first bowl in his new pipe. It is a great looking pipe with a rich walnut finish that highlights the grain and works well with the silver band and the polished acrylic stem. I put the stem back on the bowl and carefully buffed the pipe with Blue Diamond on the buffing wheel using a light touch on the briar. I gave the bowl and the stem multiple coats of carnauba wax on the buffing wheel and followed that by buffing the entire pipe with a clean buffing pad. I hand buffed the pipe with a microfiber cloth to deepen the shine. I have email Josh and let him know it is ready to pick up. I take a moment to remind myself and each of us that we are trustees of pipes that will outlive us and the lives of many other pipe men and women who carry on the trust of their care and use. Thanks for reading this blog and my reflections on the pipe while I worked on it.