By Steve Laug
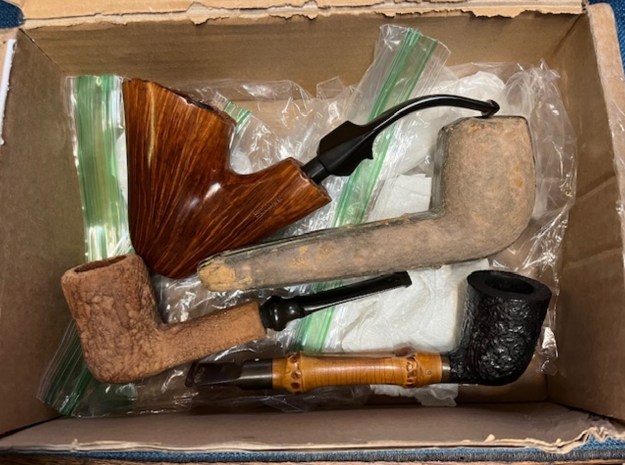
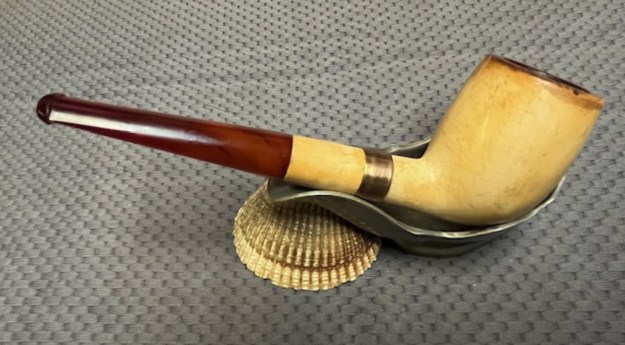
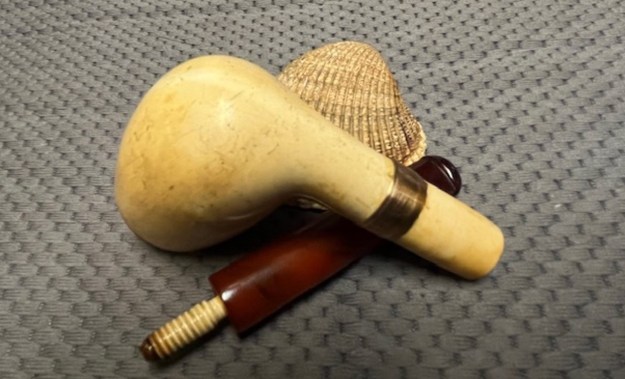
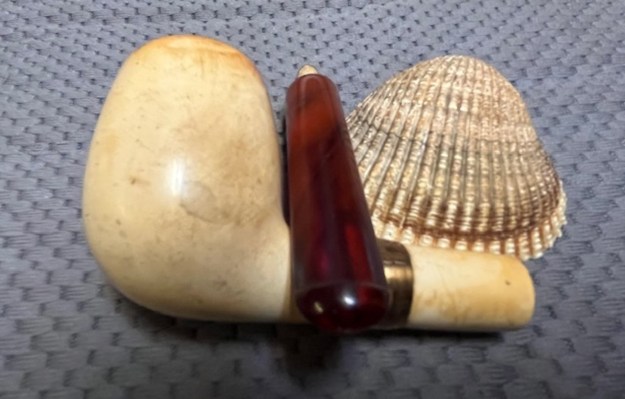
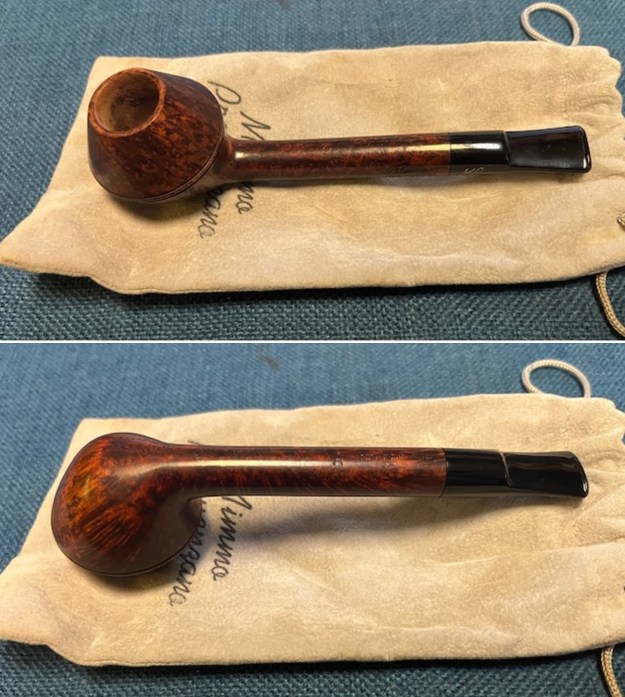
The next pipe I chose to work on was one that we purchased on 12/09/2024 from the same seller in Wellsville, Kansas, USA that sold us the Armellini Pipe. The pipe came with a Mimmo Provenzano pipe sock and is stamped on the left side of the shank and reads Mimmo [over] Provenzano. On the underside of the shank it is stamped A followed by hand made in Italy. I have never held or worked on a Mimmo Provenzano pipe before. At first, I mixed it up with Mimmo who is the amazing briar cutter and pipe maker. I soon learned that this is a different Mimmo. This one is a beauty that follows the grain on the smooth briar. The pipe is a long shank, saddle stem Rhodesian. The base and the Bull cap look very good on the pipe separated by a set of twin rings. The briar bowl and shank were smooth and well grained. The rim top is also smooth and very clean. The exterior of the pipe was dusty but still looked very good. It has a no cake in the bowl and some darkening on the bowl walls mid bowl. It had obviously been lightly smoked – maybe once or twice no more. The stem is a thin bladed saddle stem that is comfortable. It is stamped with an MP logo on the left side of the saddle. There was some minimal oxidation and had some light tooth marks and chatter on both sides ahead of the button. Jeff took photos of the pipe before he started his clean up work. 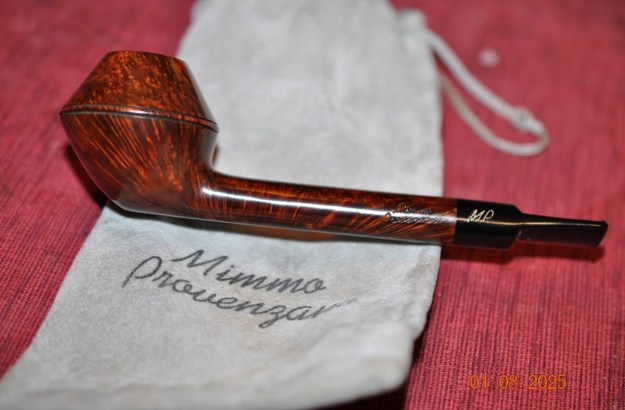
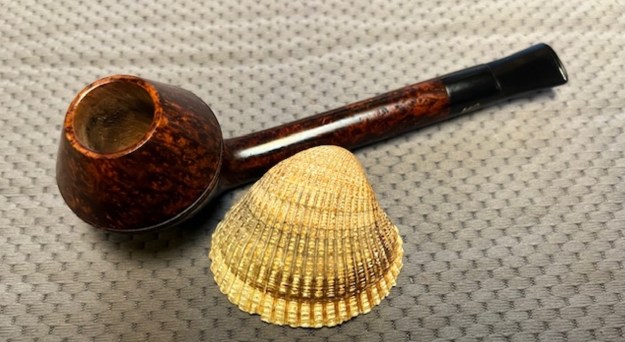
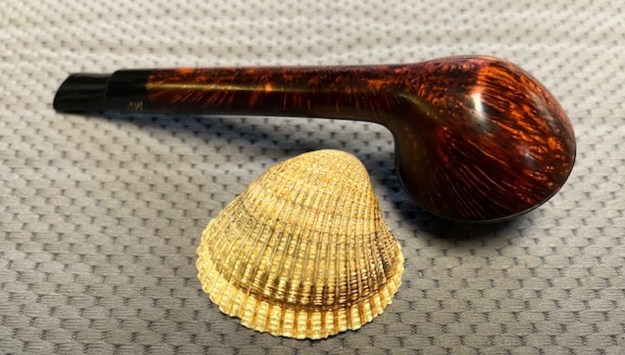
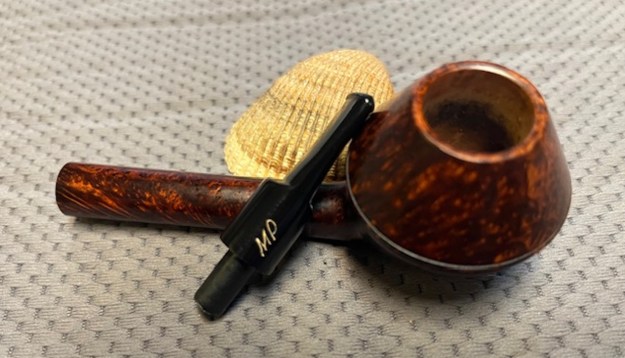
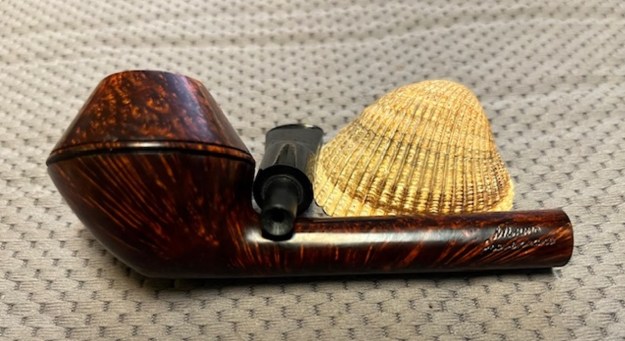
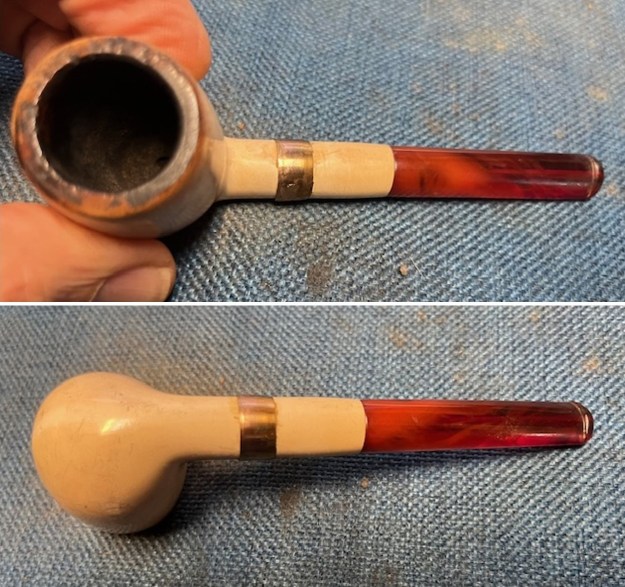
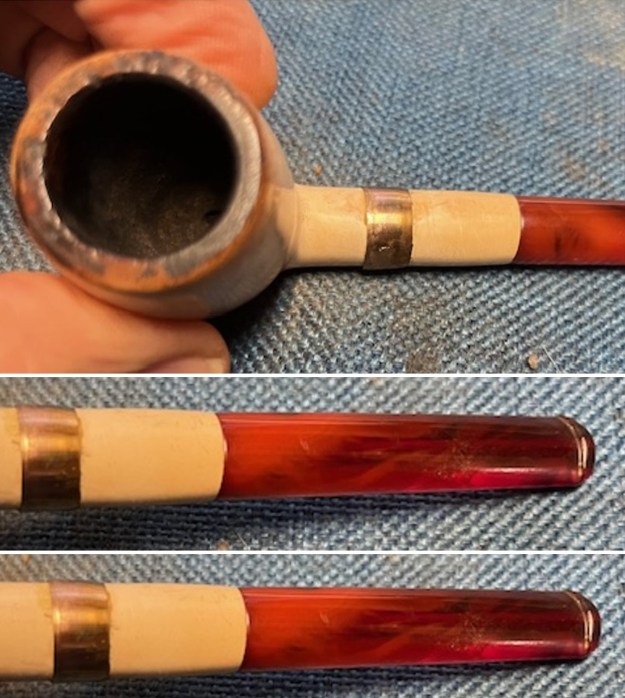
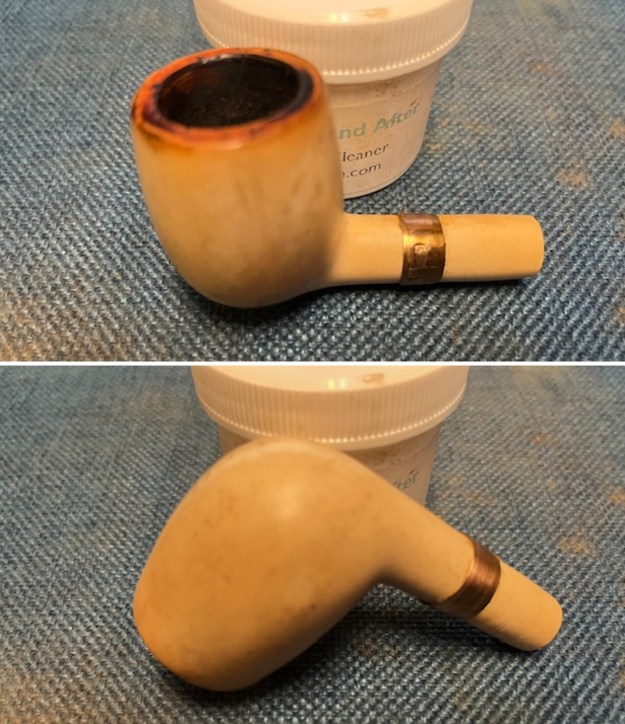
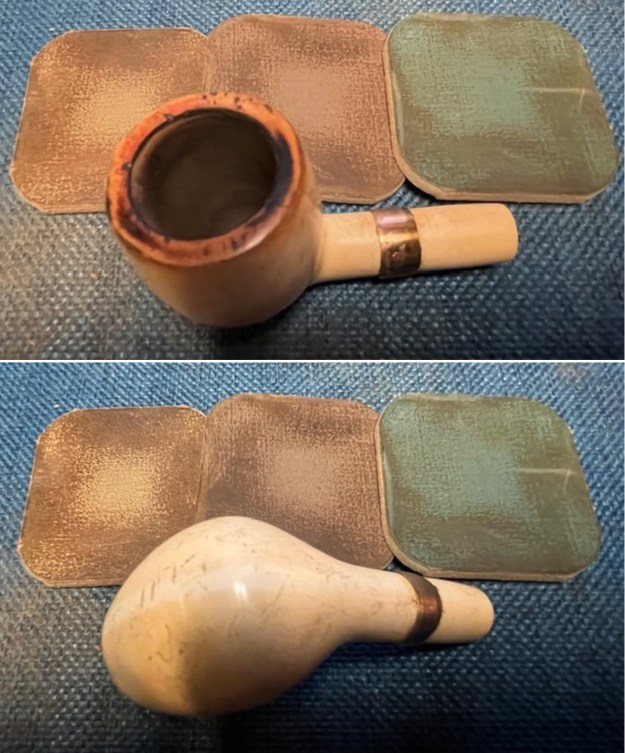
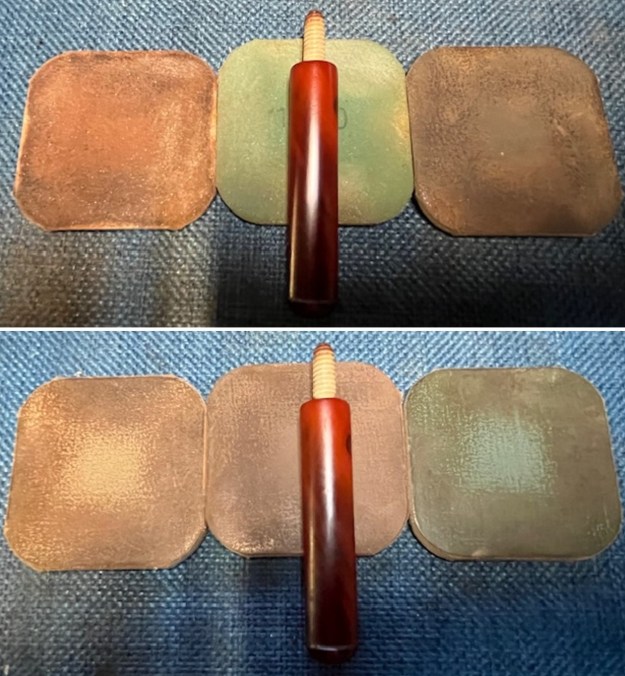
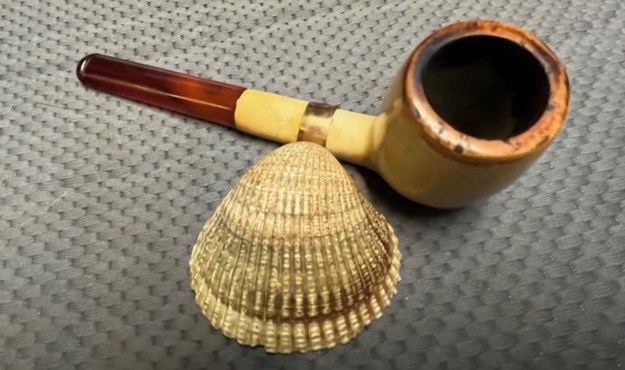
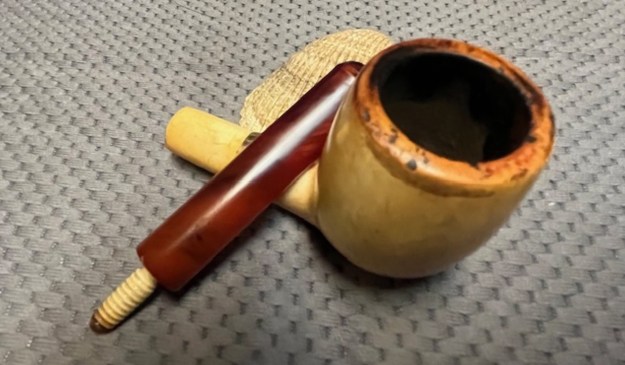
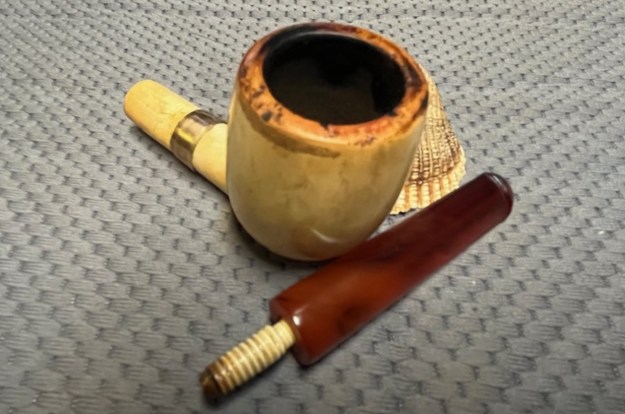
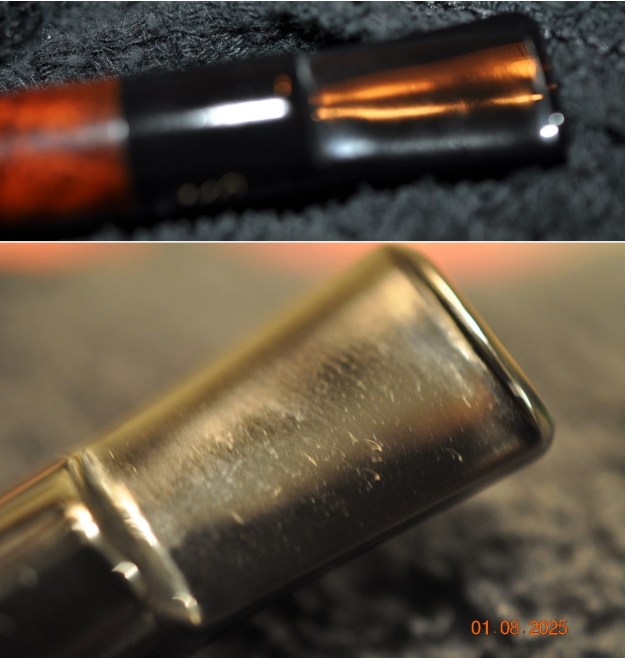
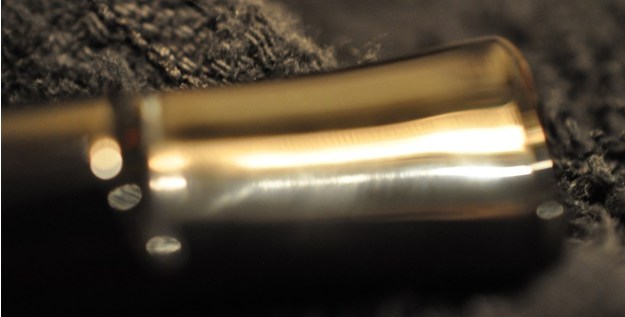
 Jeff took photos of the rim top and stem to show the general condition of the pipe. The bowl is clean and lightly smoke. There was some light spots of lava on the rim top. The stem looked good under the dirt and grime. There was light oxidation and had some light tooth marks or chatter. It should cleanup very well.
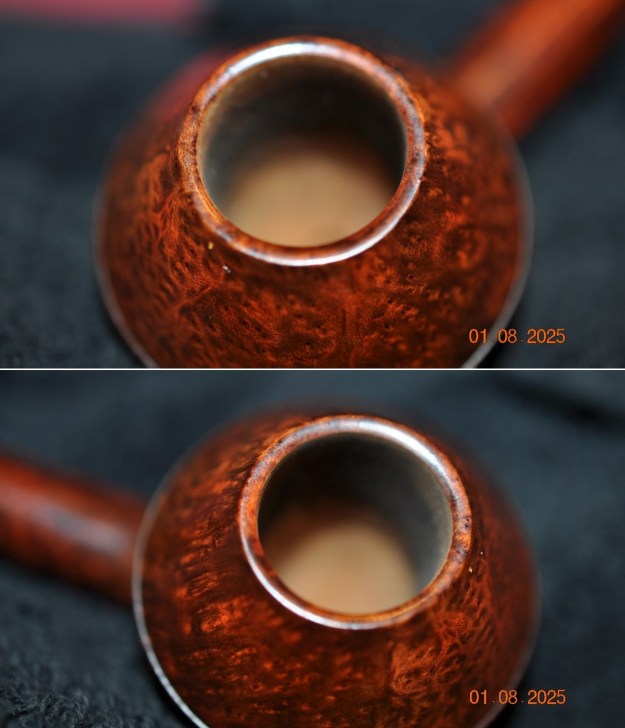
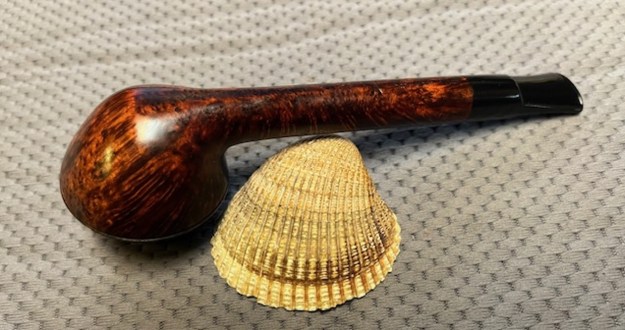
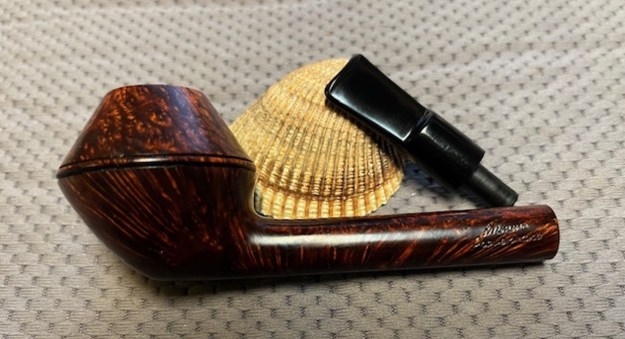
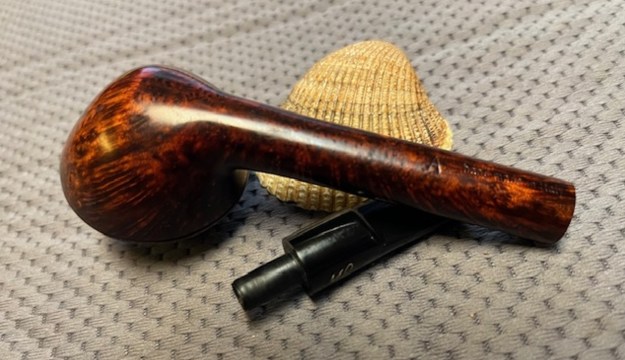
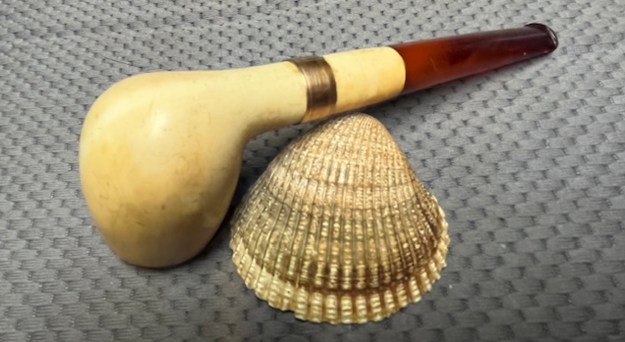
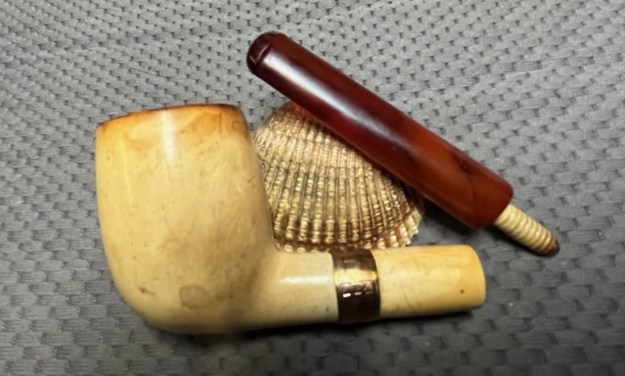
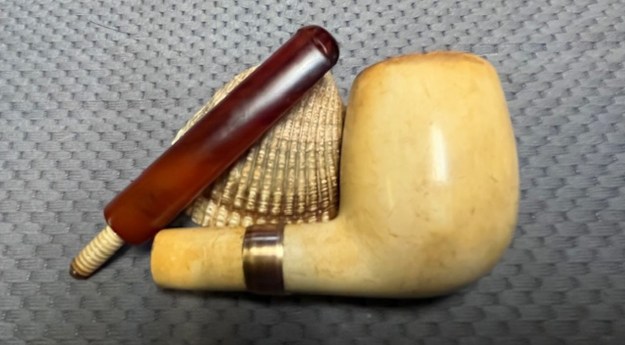
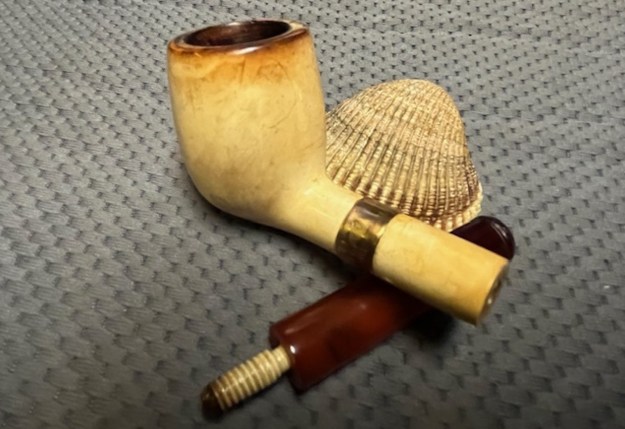
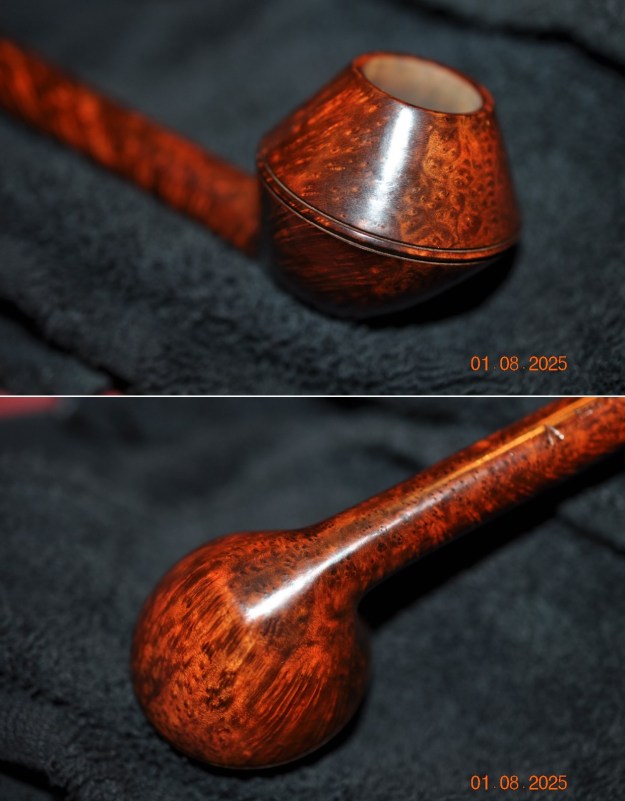
 Jeff took photos of the bowl sides and heel to show the beautiful grain that was around this bowl even though the grime on the finish hides it some. The pipe had obviously been well loved and cared for by the previous pipeman. It is relatively unsmoked so it makes me wonder.
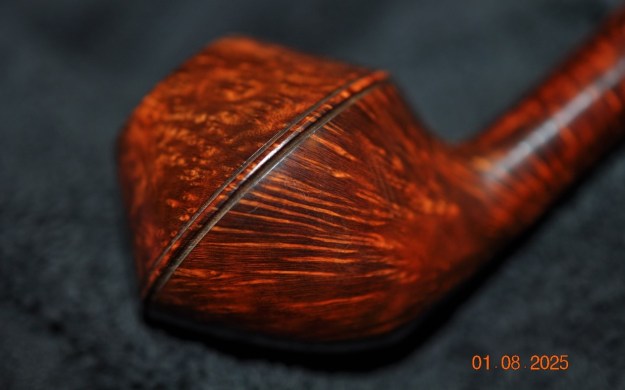
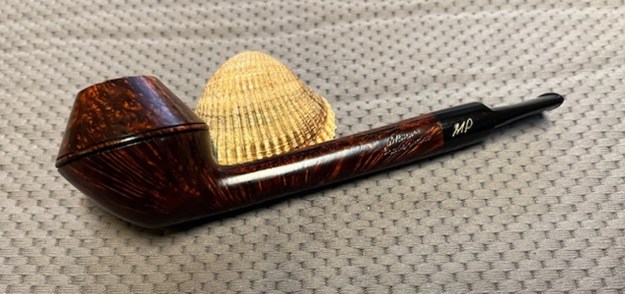
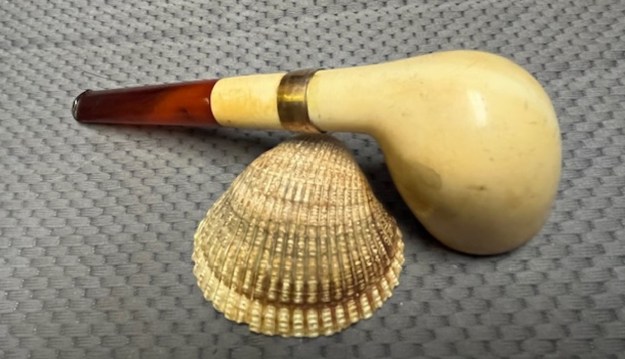
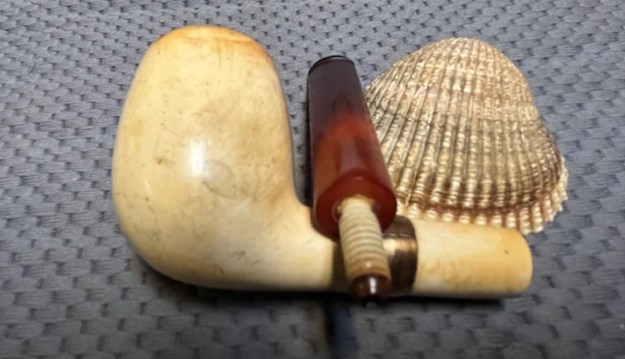
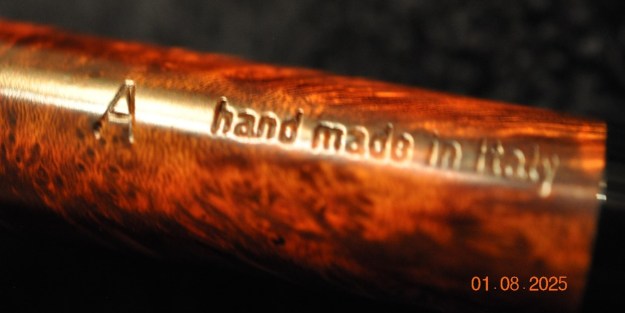
 He took photos of the sides of the shank to show the stamping. The stamping is clear and readable in the photos below as noted above. The stem had an MP logo on the left side.
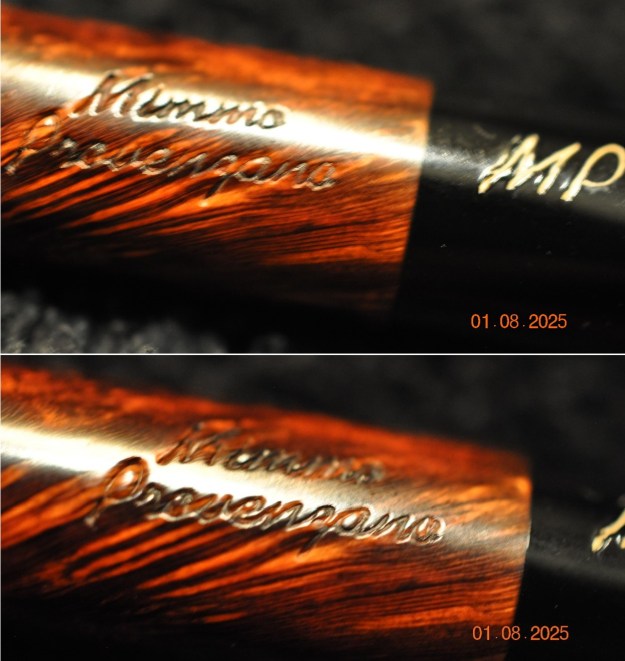
 Before I started my own work on the pipe I wanted to correct my ignorance of the brand and correct my conception of who Mimmo was. I wanted to have clarity before I worked on his pipe.
I turned my favourite go to sites on background of brands. The first is Pipephil’s site (http://www.pipephil.eu/logos/en/logo-p5.html). There I looked up the Mimmo Provenzano brand. I have copied the pertinent information below. I have included a screen capture of the section on the brand below. I have also included the sidebar information below that.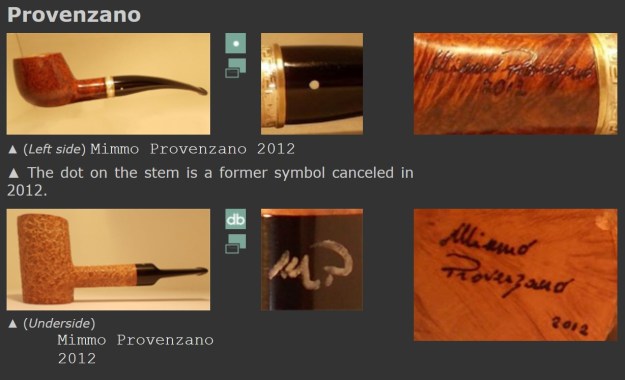 Artisan: Mimmo Provenzano (born 1968) started carving pipes in 2009. His pipes are distributed by Mario Lubinsky. Grading (not stamped) Smooth pipes (ascending): A B C. Rusticated pipes: R
From this link I was able to learn that the pipe I was working on was made after he changed his stem logo in 2012. Interestingly the pipe was stamped with the letter A for a grade stamp on the pipe. It was a well-made, beautiful pipe.
I turned to my second favorite site for background information – Pipedia to see what they had for the brand (https://pipedia.org/wiki/Provenzano). Interestingly the article as written by Mimmo himself. It was brief but included some photos. I quote it in full below.
My name is Mimmo Provenzano and I am an Italian pipe craftsman. I started my activity in 2009 for fun. My pipes are all hand made.
Then I did a google search of the brand and found that Smokingpipes.com sold Mimmo’s pipes and had a short introduction (https://www.smokingpipes.com/pipes/new/mimmo-provenzano/). It gave me more information on his work. I quote it below.
Mimmo came into the craft earnestly, as both a pipe smoker, and a sculptor specializing in wood as his medium. As such he takes great pride in his work and insists that every step be carried out in the traditional way — from curing to block selection, hand turning to sanding, and using only analine stains and carnuaba wax. Considering his adherence to this tradition, it’s surprising to learn that he still manages to carve around 1,000 pipes a year.
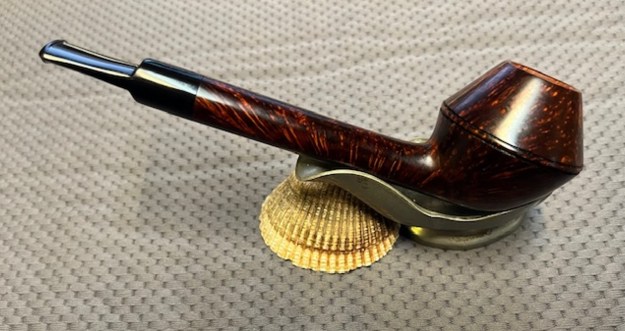
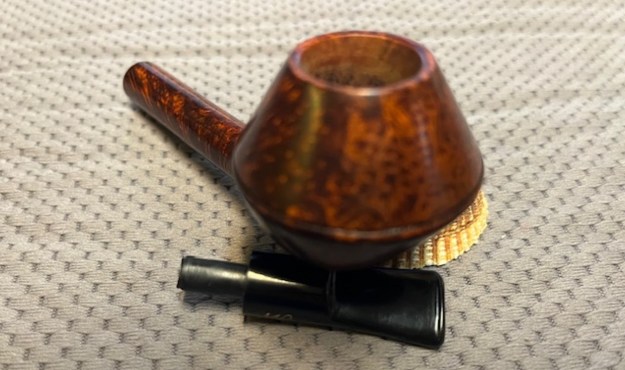
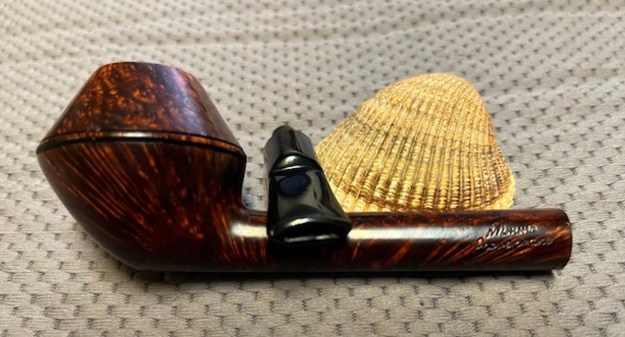
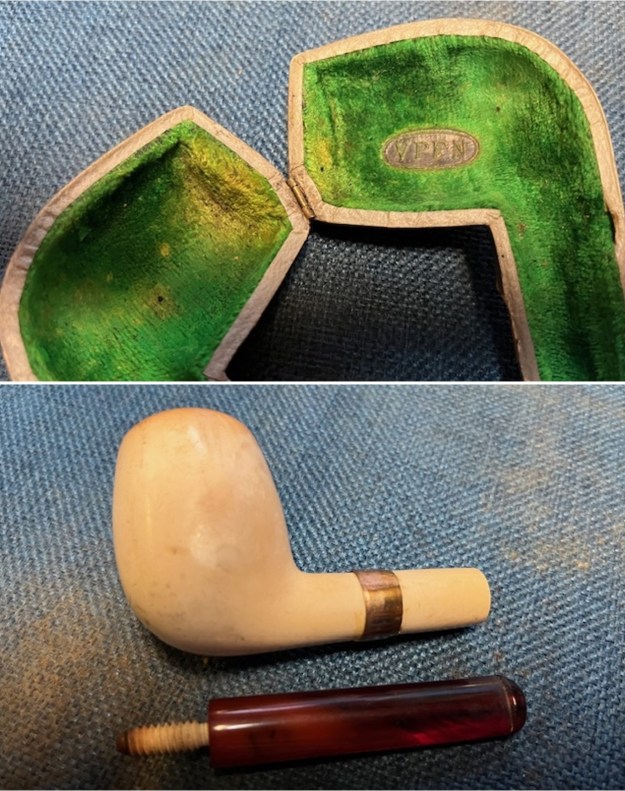
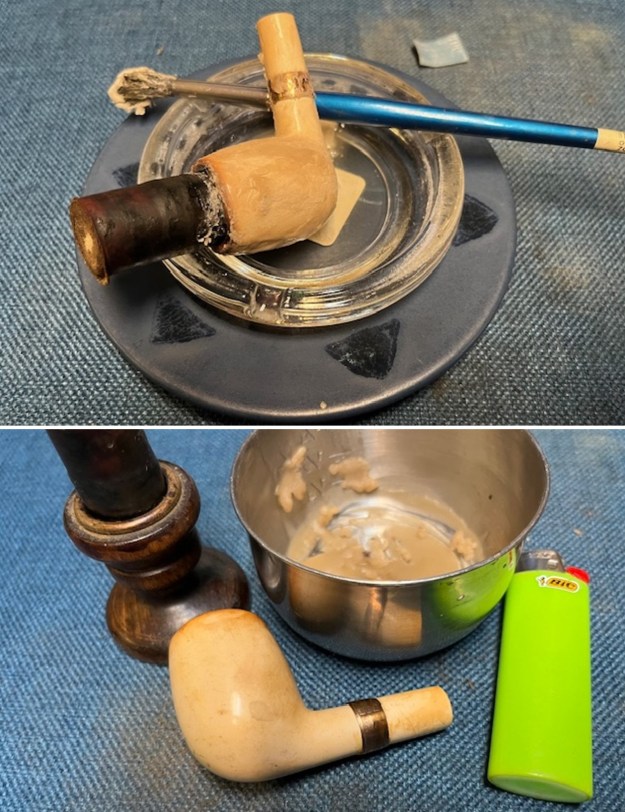
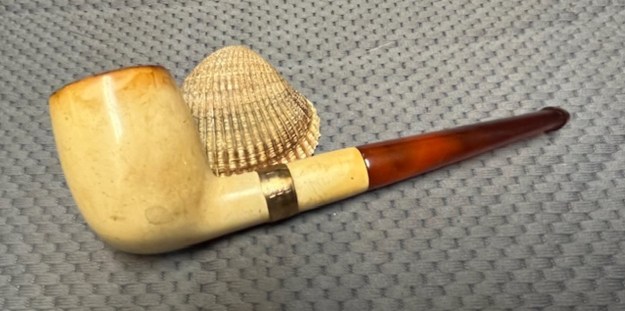
Jeff did a great job cleaning up the light debris in this barely used pipe. He wiped out the bowl and cleaned out the debris with a swab. He scrubbed out the mortise and the airway in the shank and the stem with alcohol, cotton swabs and pipe cleaners. He scrubbed the exterior of the bowl, rim and shank with a tooth brush and Murphy’s Oil Soap to the oils and tars on the bowl, rim and shank. He removed the light lava coat on the top of the rim. He rinsed the bowl under running water. He dried it off with a soft cloth. Once the grime was removed the finish underneath was in stellar condition. The stain and the look of the finish was very well done. He scrubbed the exterior of the stem with Soft Scrub then soaked it in a bath of Briarville’s Pipe Stem Deoxidizer. He rinsed off the deoxidizer with warm water and wiped the bowl and stem down with a light coat of olive oil to rehydrate both. The pipe really was quite stunning. I took photos of the pipe with its pipe sock to show its condition before I started my work on it.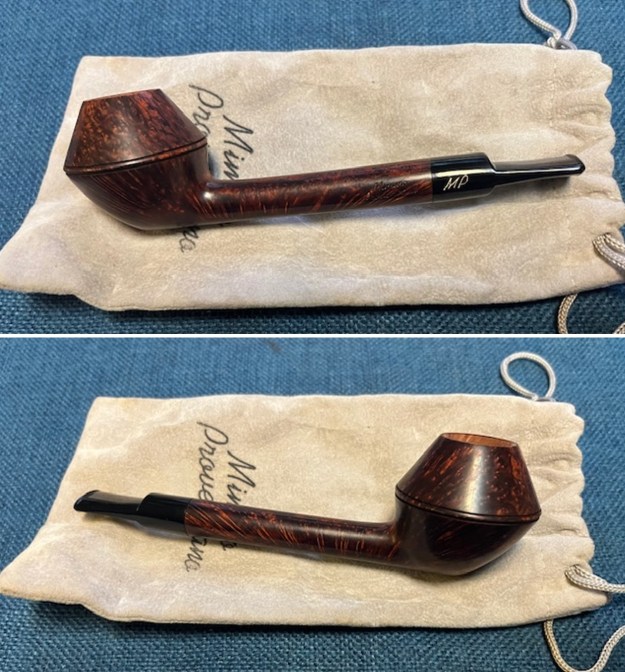
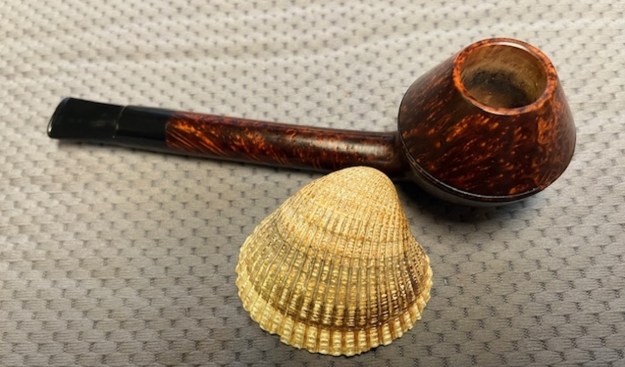
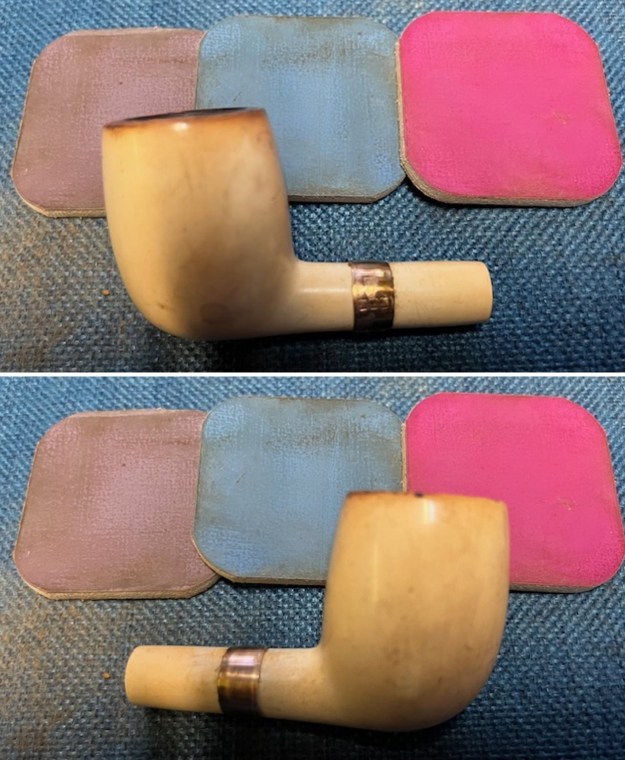
 I took a close up photo of the rim top and edges to show how well it had cleaned up and the edges around the bowl. I also took close up photos of the stem to show the light tooth chatter on the surface ahead of the button on both sides.
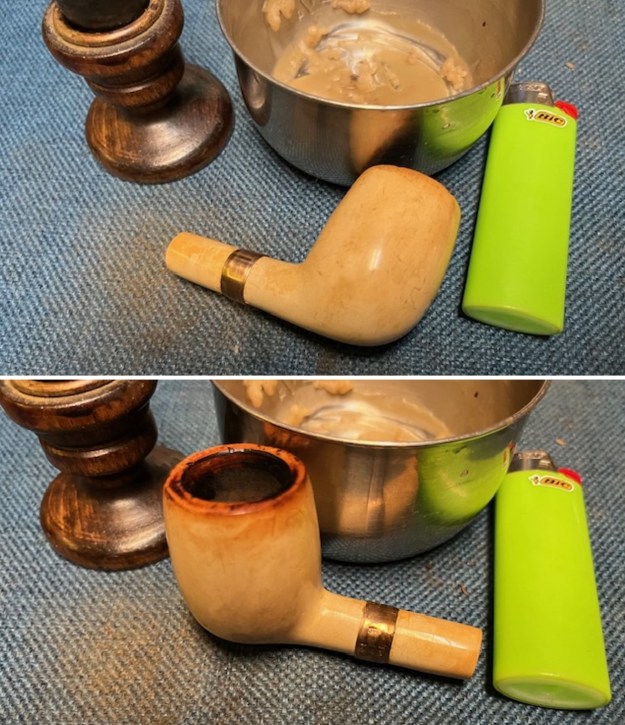
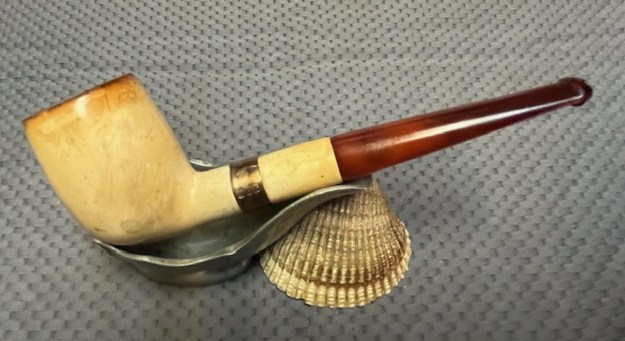
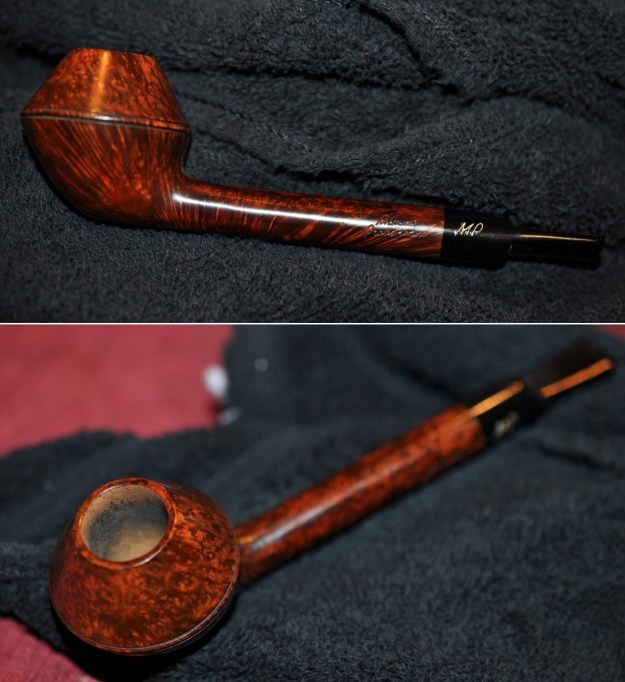
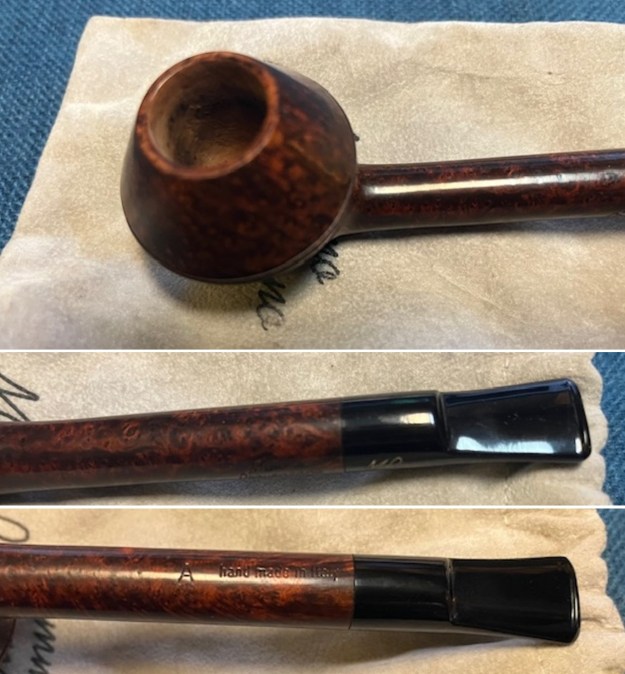 I took a photo of the stamping on the left and underside of the shank. It is clear and readable as noted above. The first photo shows the MP logo on the left side of the left side of the saddle stem. I removed the stem and took a photo of the pipe to show the proportions of the pipe. It is a beauty.
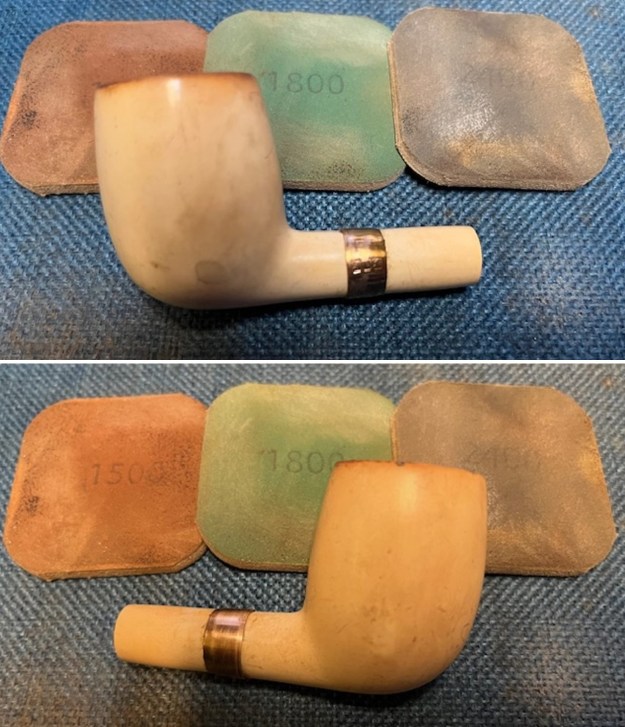
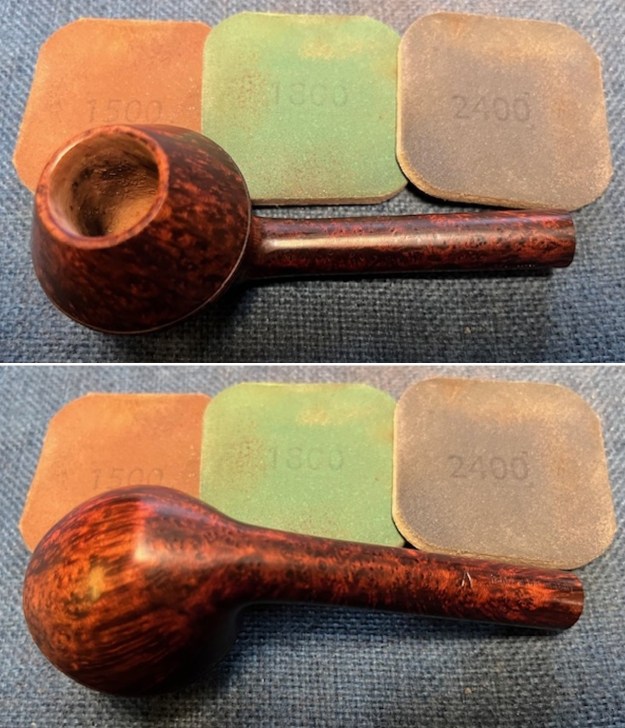
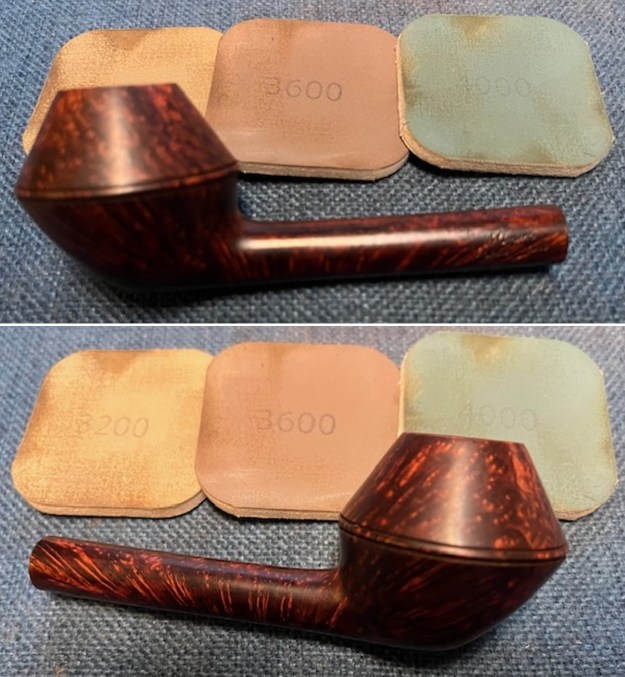
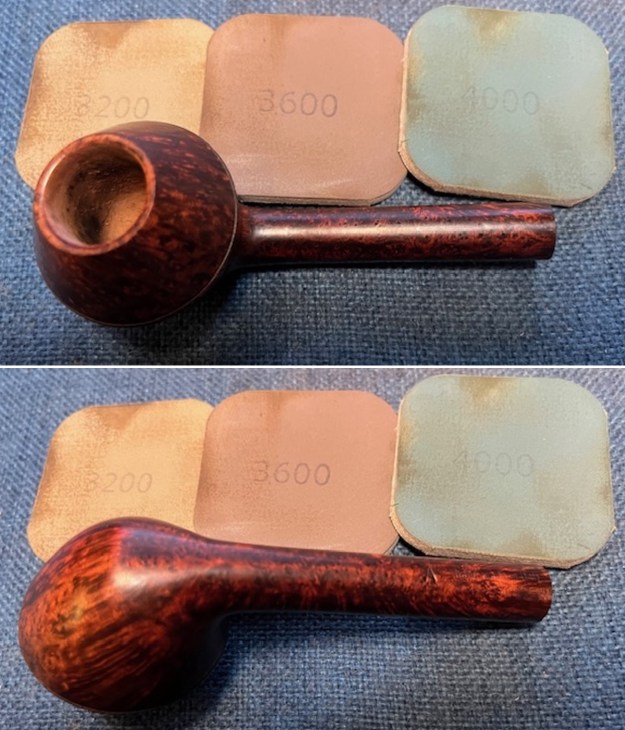
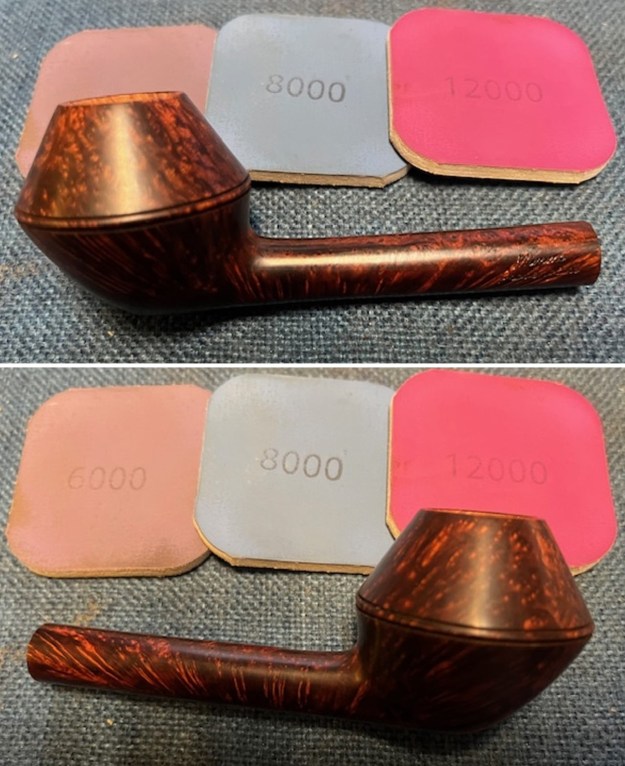
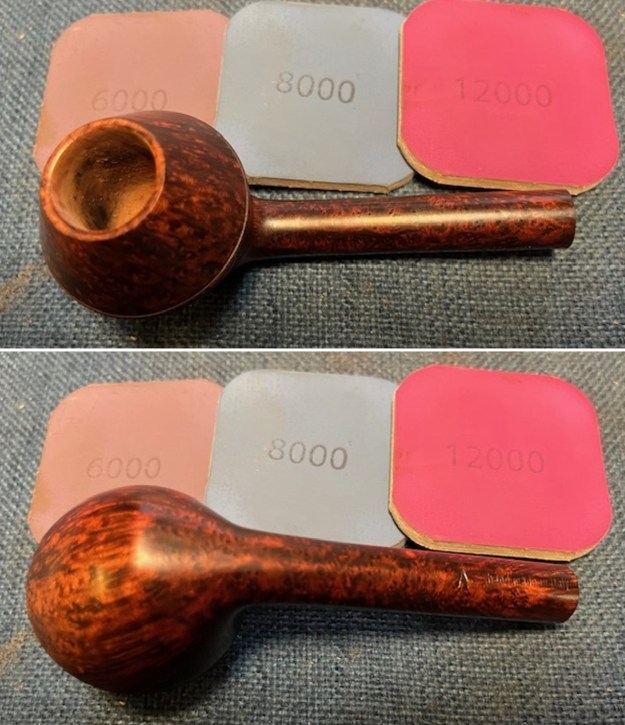
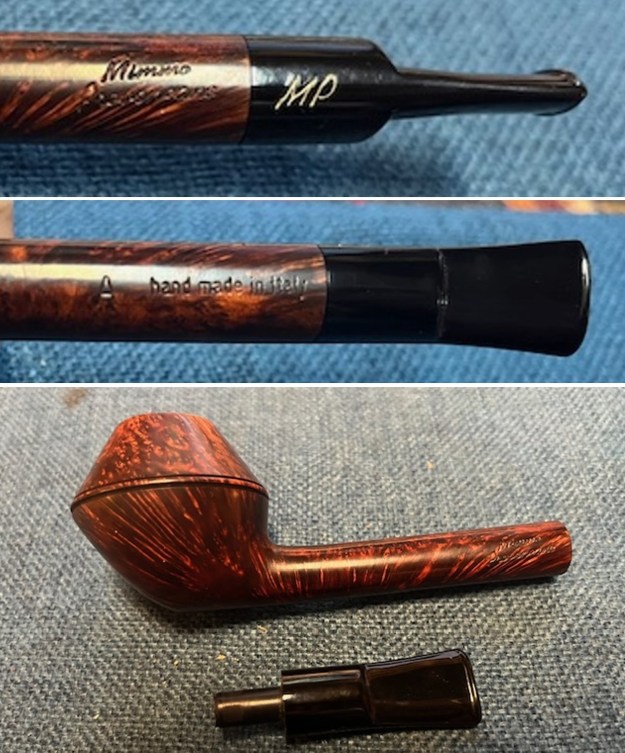 The bowl was so clean that I turned to immediately polish the briar with micromesh sanding pads – dry sanding with 1500-12000 grit sanding pads. I wiped the bowl down with a damp cloth after each sanding pad. The grain really began to sing.
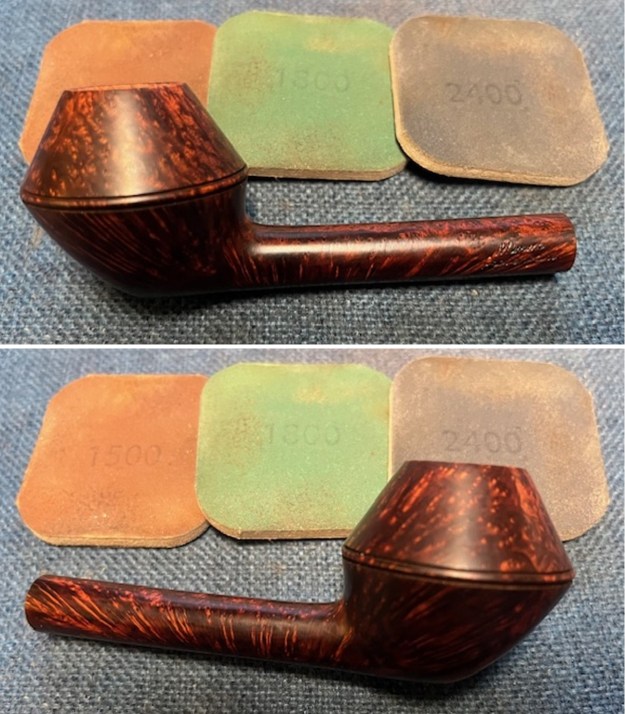
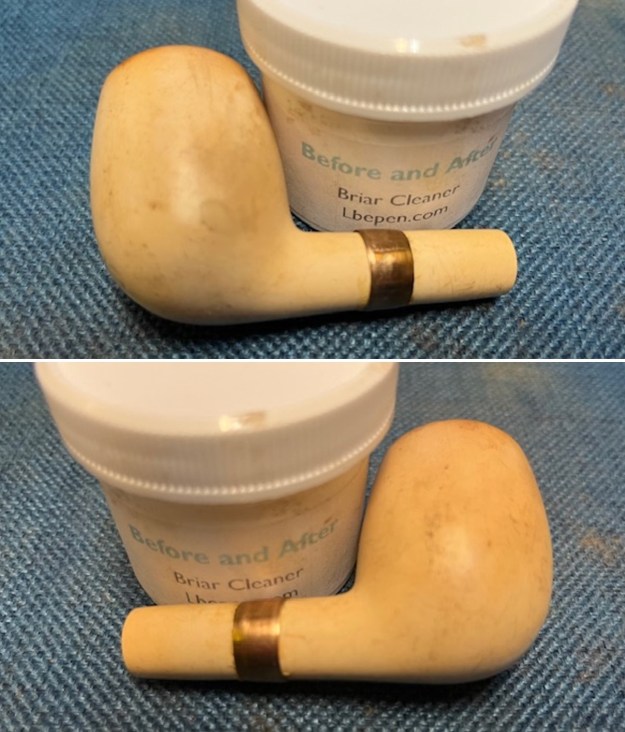
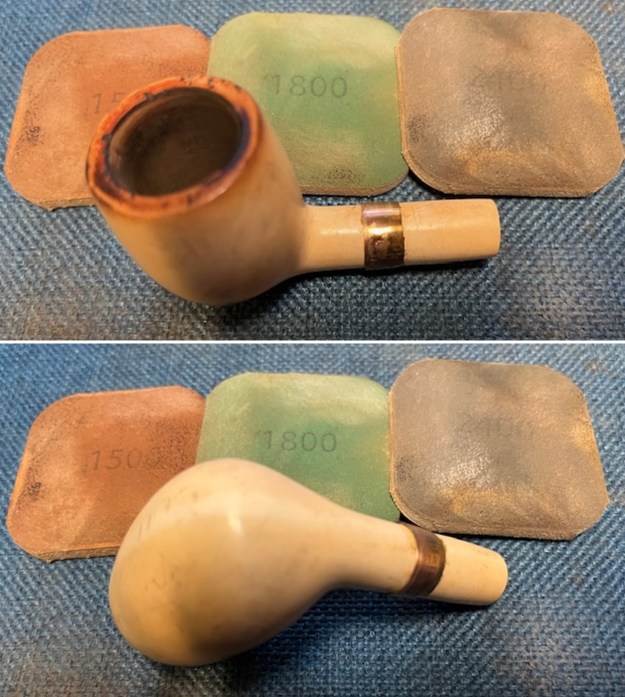
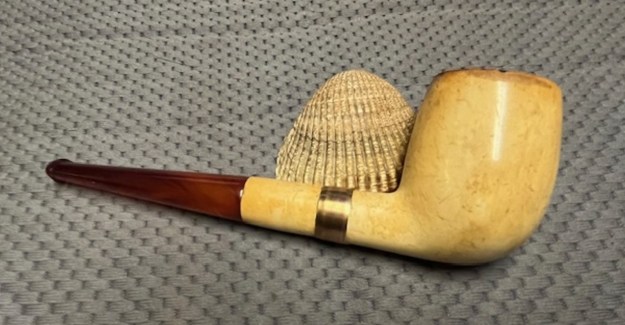
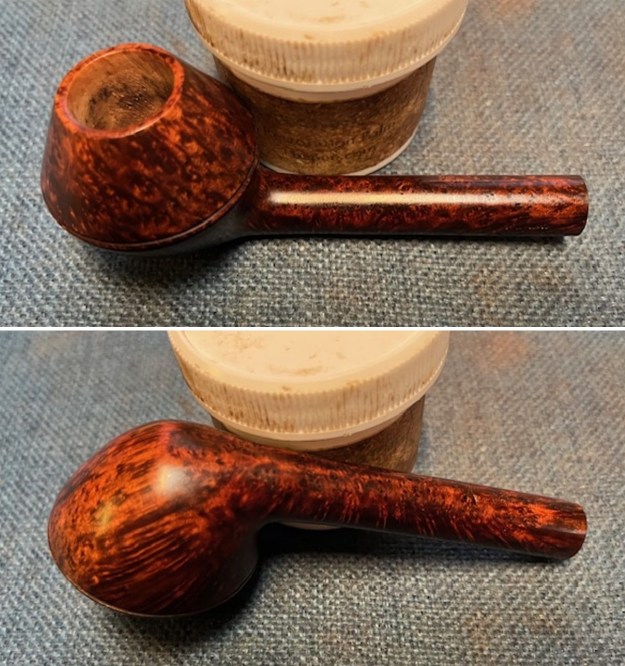
 I worked some Before & After Restoration Balm into the surface of the briar with my fingertips to clean, enliven and protect the briar. I used a shoe brush to work the balm into the twin rings around the cap. I let the balm sit for 15 minutes and then buffed with a cotton cloth to raise the shine. The photos show the bowl at this point in the restoration process.
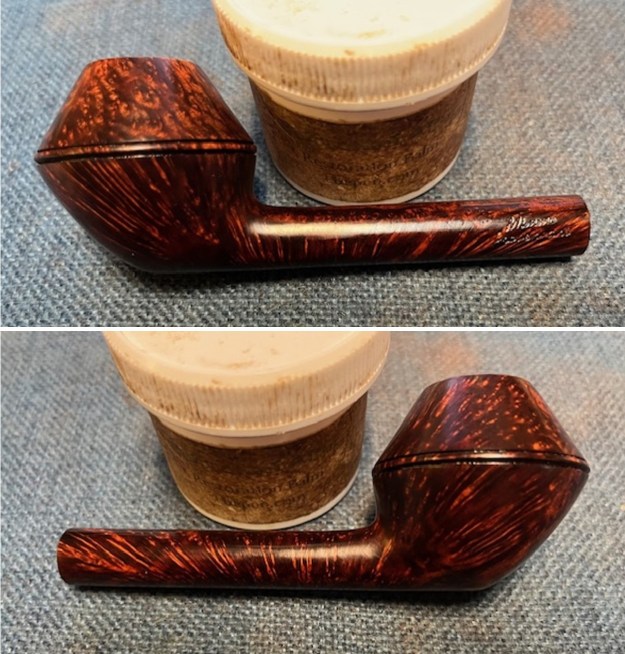
 I polished the stem with micromesh sanding pads – dry sanding with 1500-12000 grit sanding pads. I wiped it down after each sanding pad with Obsidian Oil. I polished it with Before & After Pipe Stem Polish – both Fine and Extra Fine. I gave it another coat of Obsidian Oil.
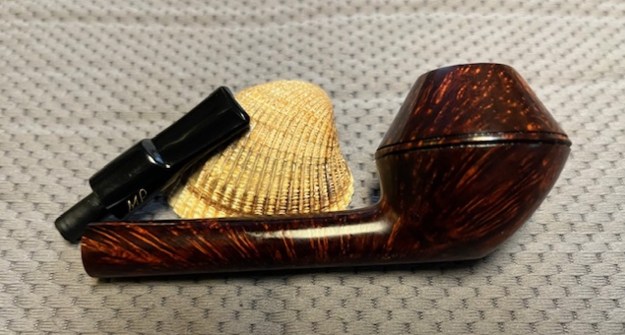
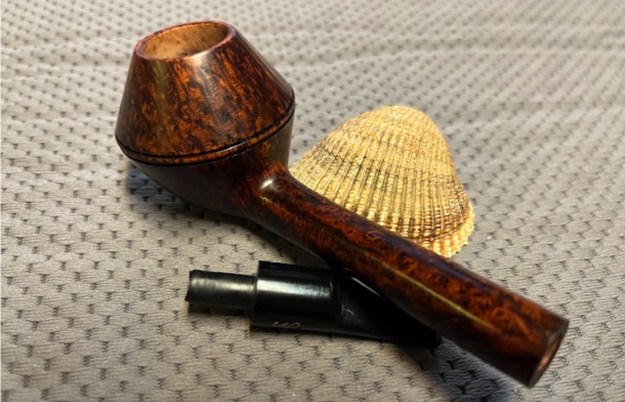
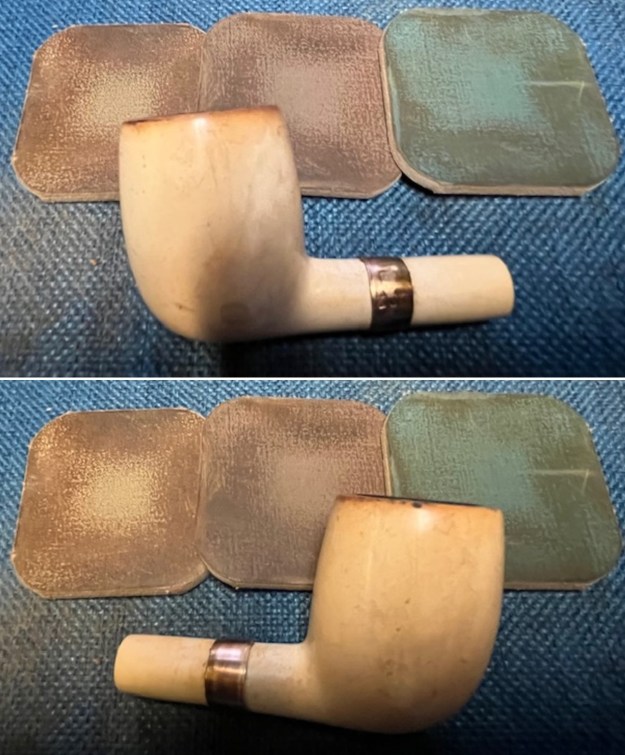
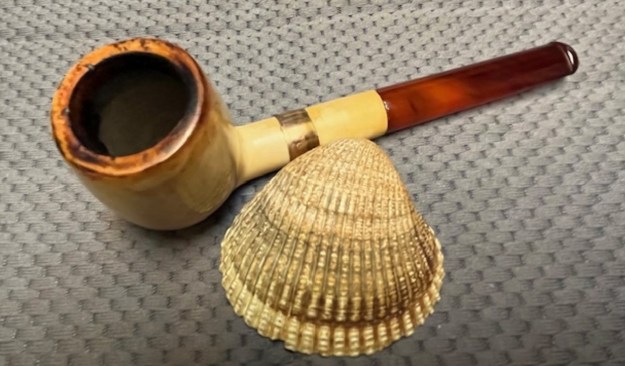
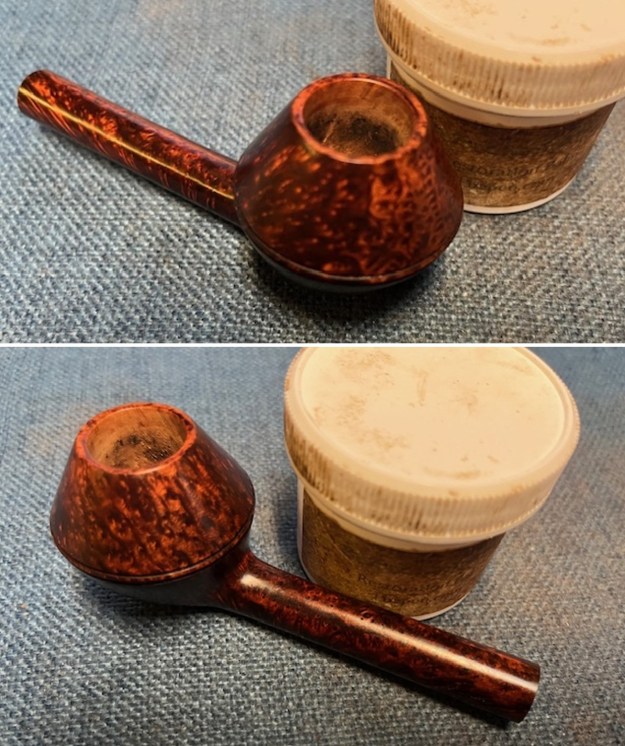
 I am really happy with the way that this Mimmo Provenzano Long Shank Rhodesian Grade A turned out. It really is a beautiful looking pipe with a unique shape and smooth finish. The vulcanite short saddle stem is really nice. The briar really came alive with the buffing. The rich brown and black stains of the finish gave the pipe a sense of depth with the polishing and waxing. I put the stem back on the bowl and carefully buffed the pipe with Blue Diamond on the buffing wheel using a light touch on the briar. I gave the bowl and the stem multiple coats of carnauba wax on the buffing wheel. I buffed the pipe with a clean buffing pad to raise the shine. I hand buffed the pipe with a microfiber cloth to deepen the shine. The finished Mimmo Provenzano Long Shank Rhodesian really is a beauty and feels great in the hand and looks very good. Give the finished pipe a look in the photos below. The dimensions of the pipe are Length: 5 ¾ inches, Height: 1 ¾ inches, Outside diameter of the bowl: 1 inch, Chamber diameter: 5/8 of an inch. The weight of the pipe is 35 grams/1.23 ounces. The pipe will be going on the rebornpipes store in the Italian Pipe Makers Section if you would like to add it to your collection. Thanks for reading this blog and my reflections on the pipe while I worked on it. It was a fun one to work on!