Tag Archives: re-rusticating a pipe rim

A Peterson’s Donegal Rocky 05 Reborn


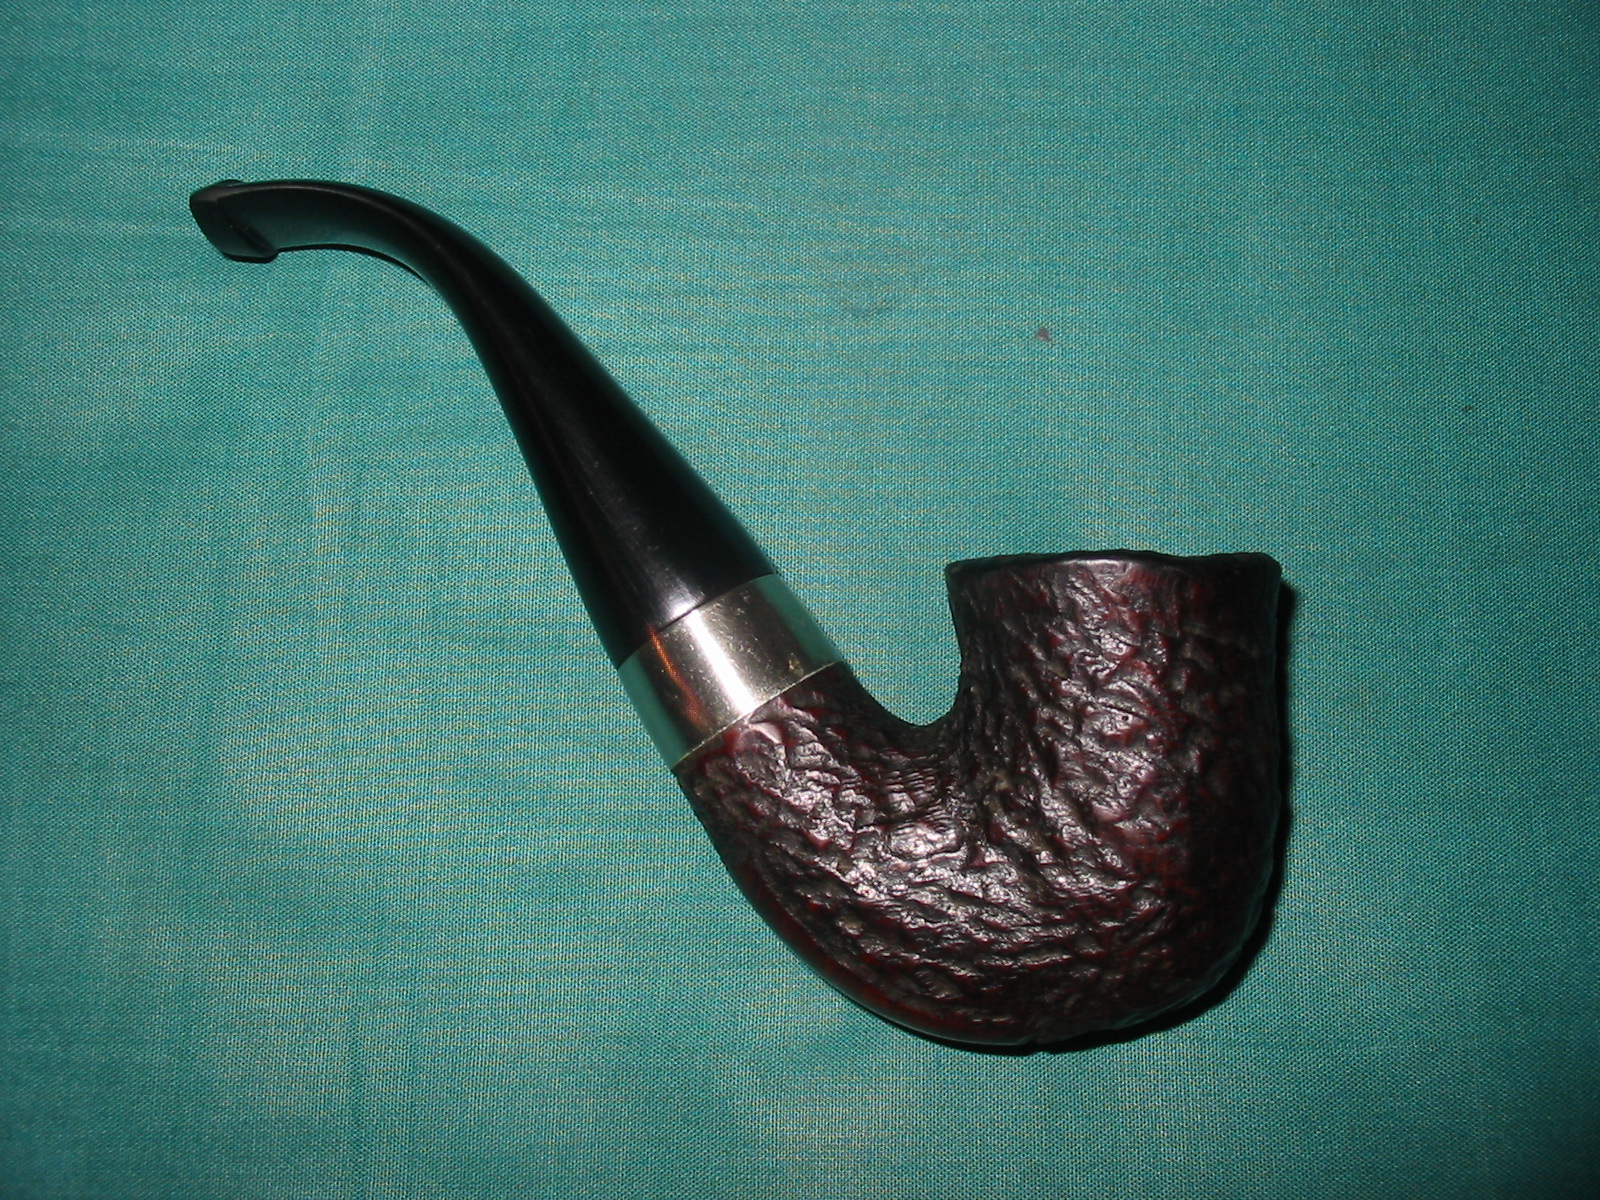
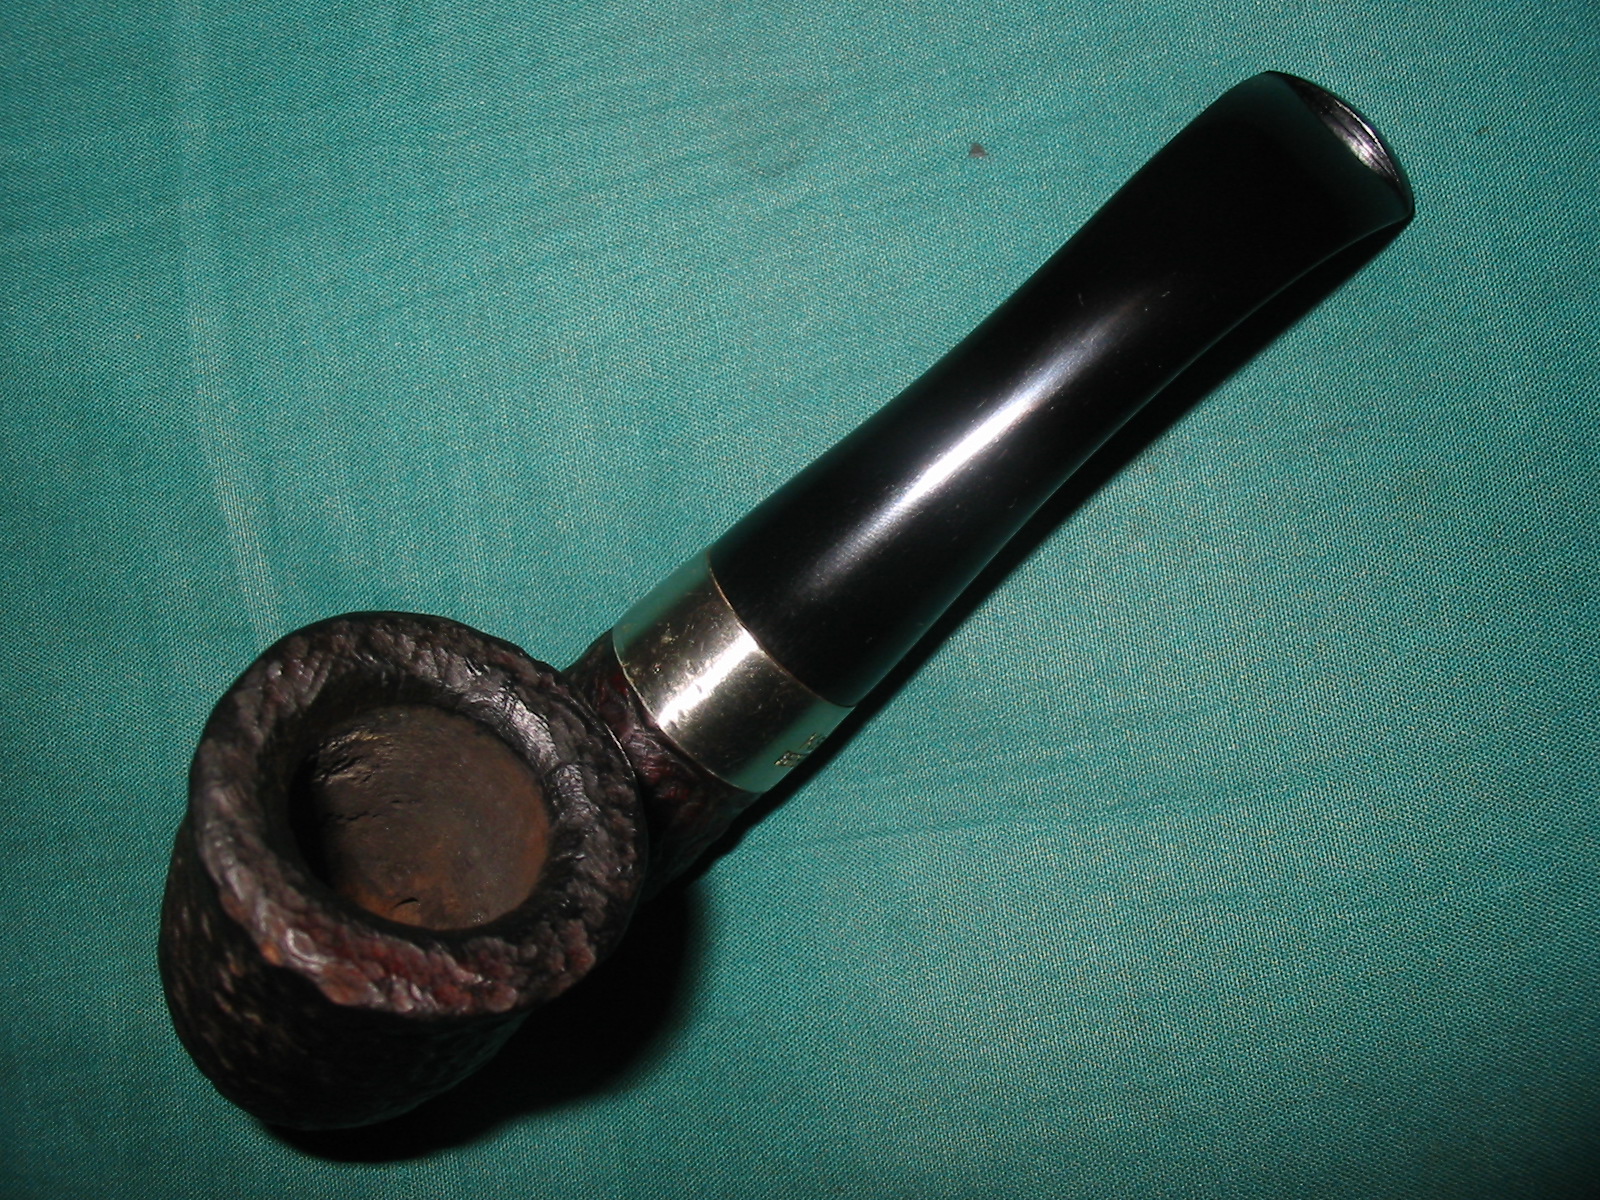
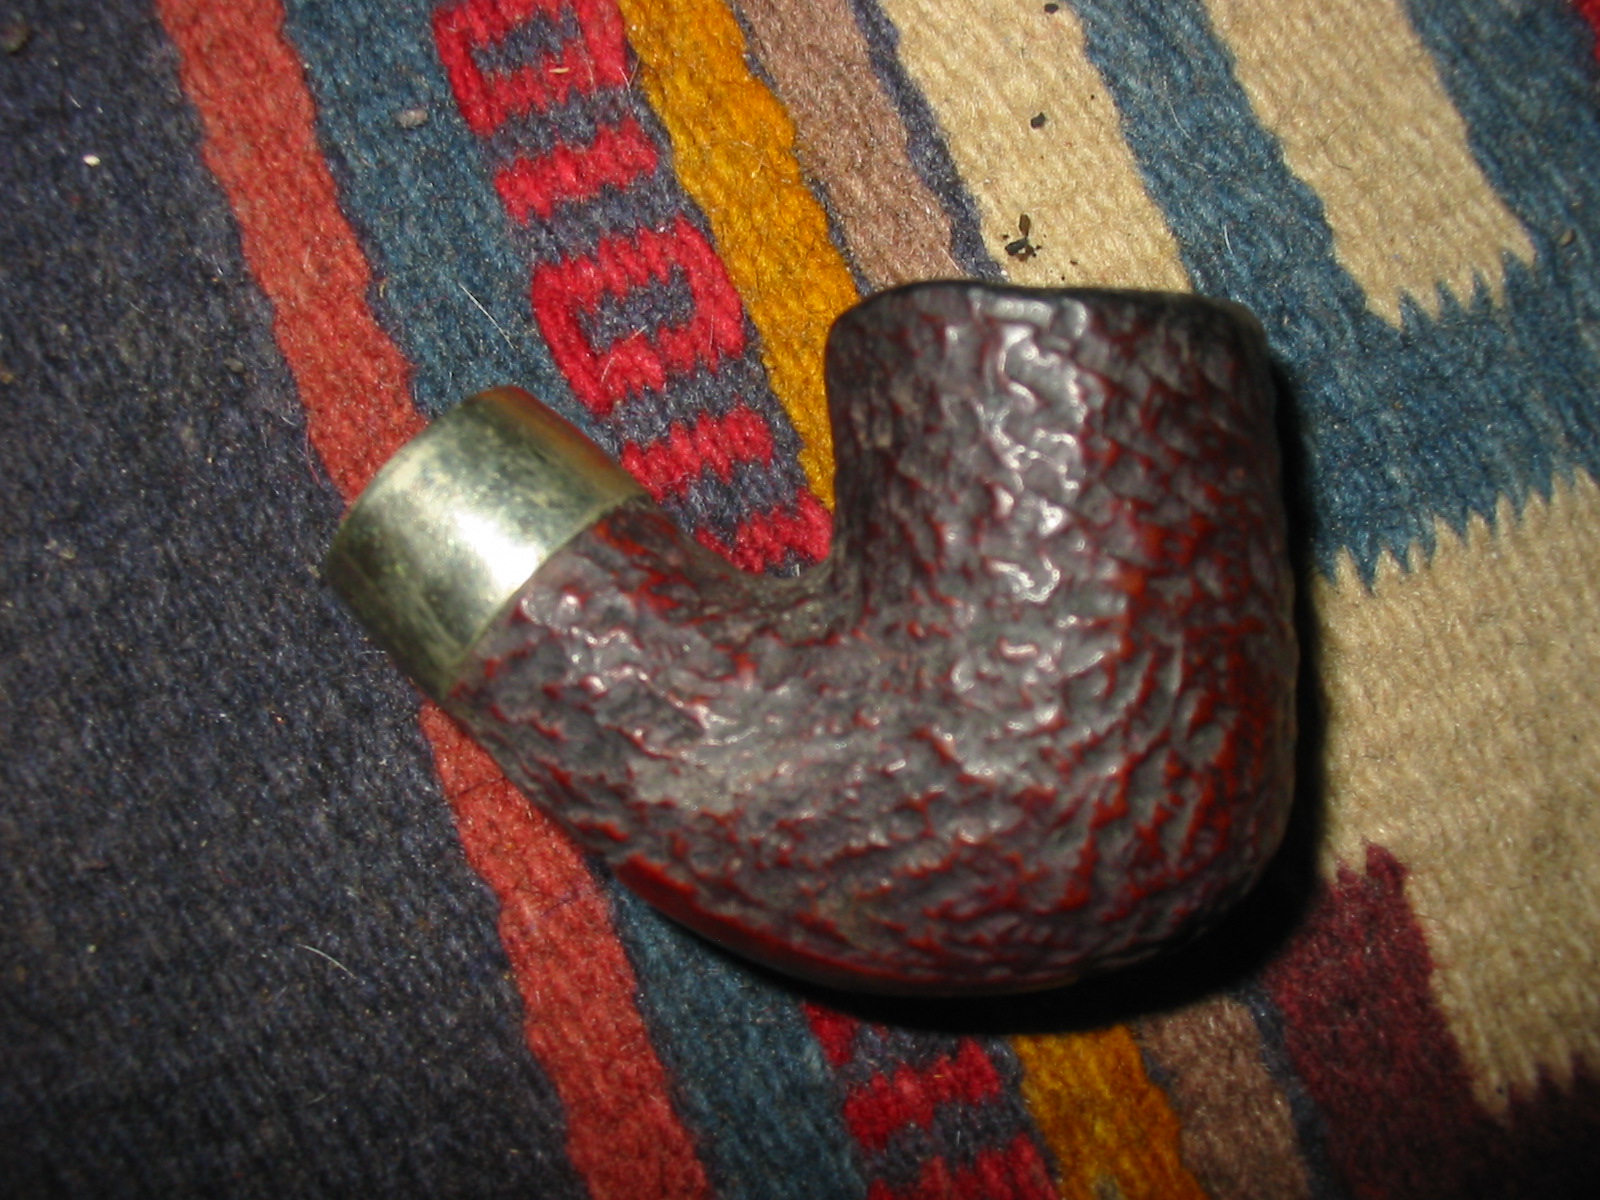
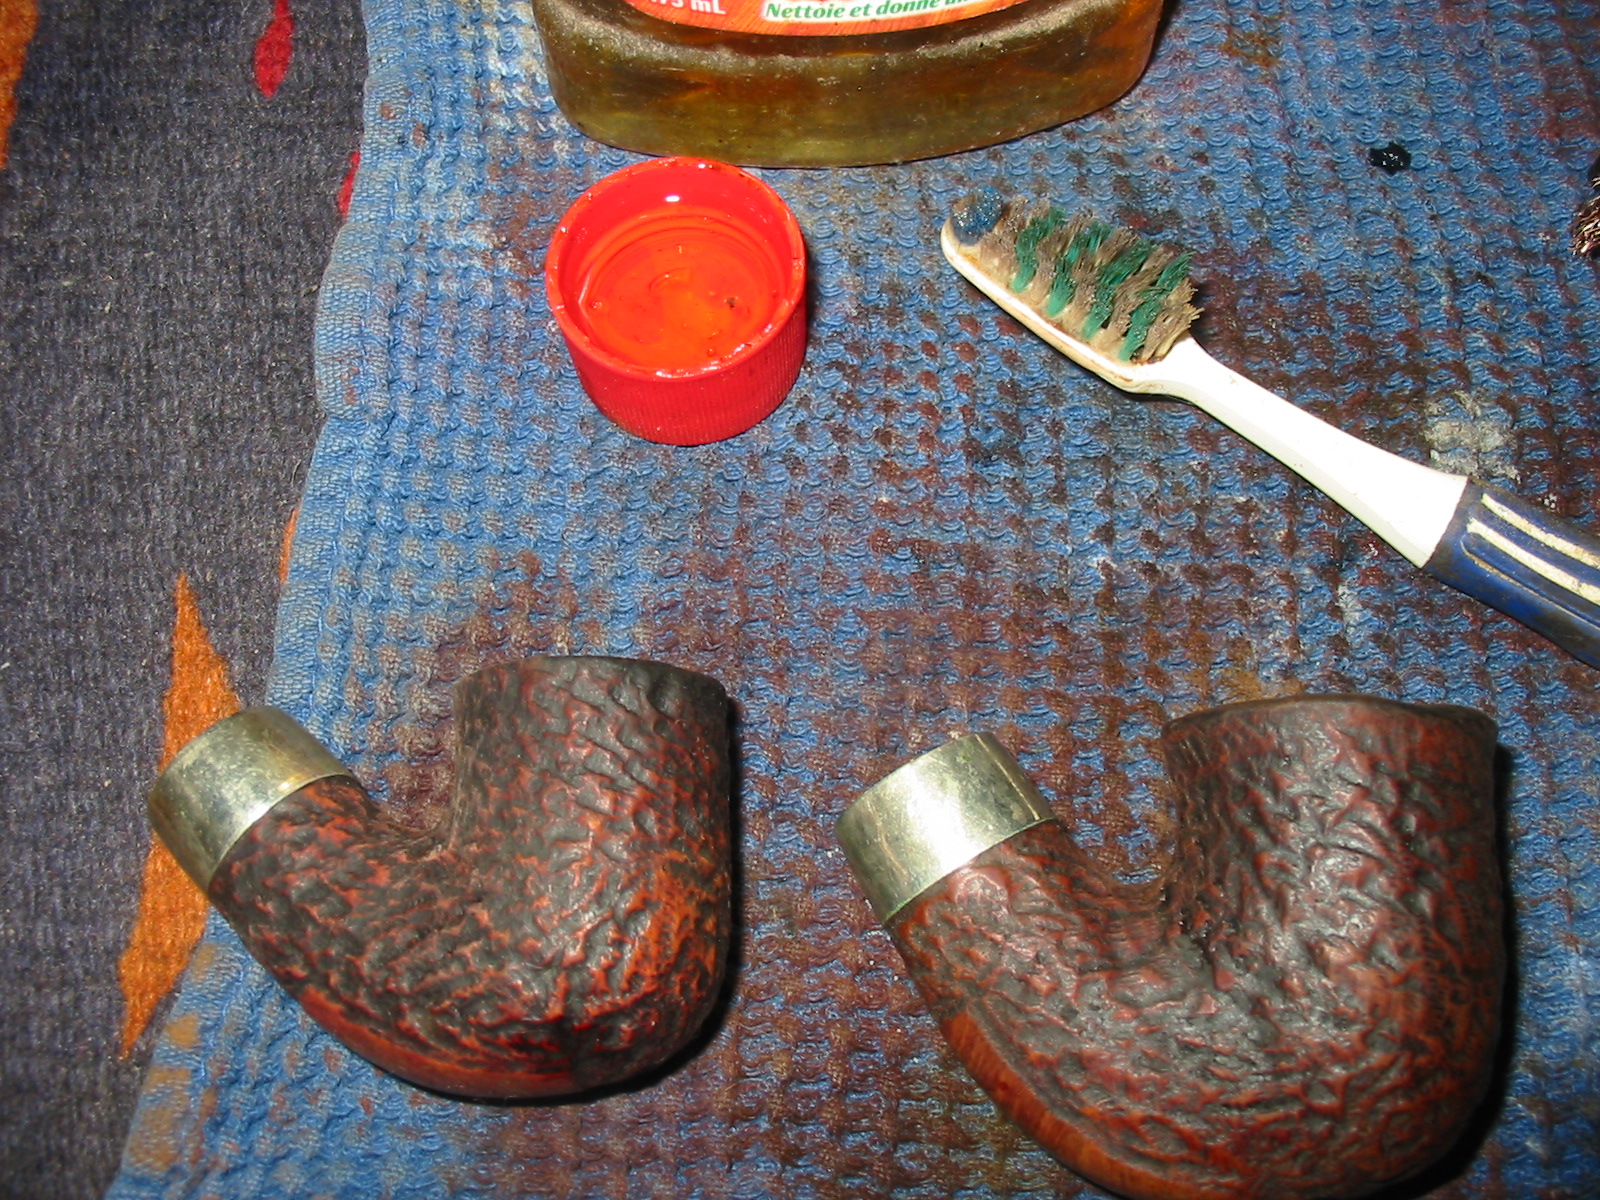
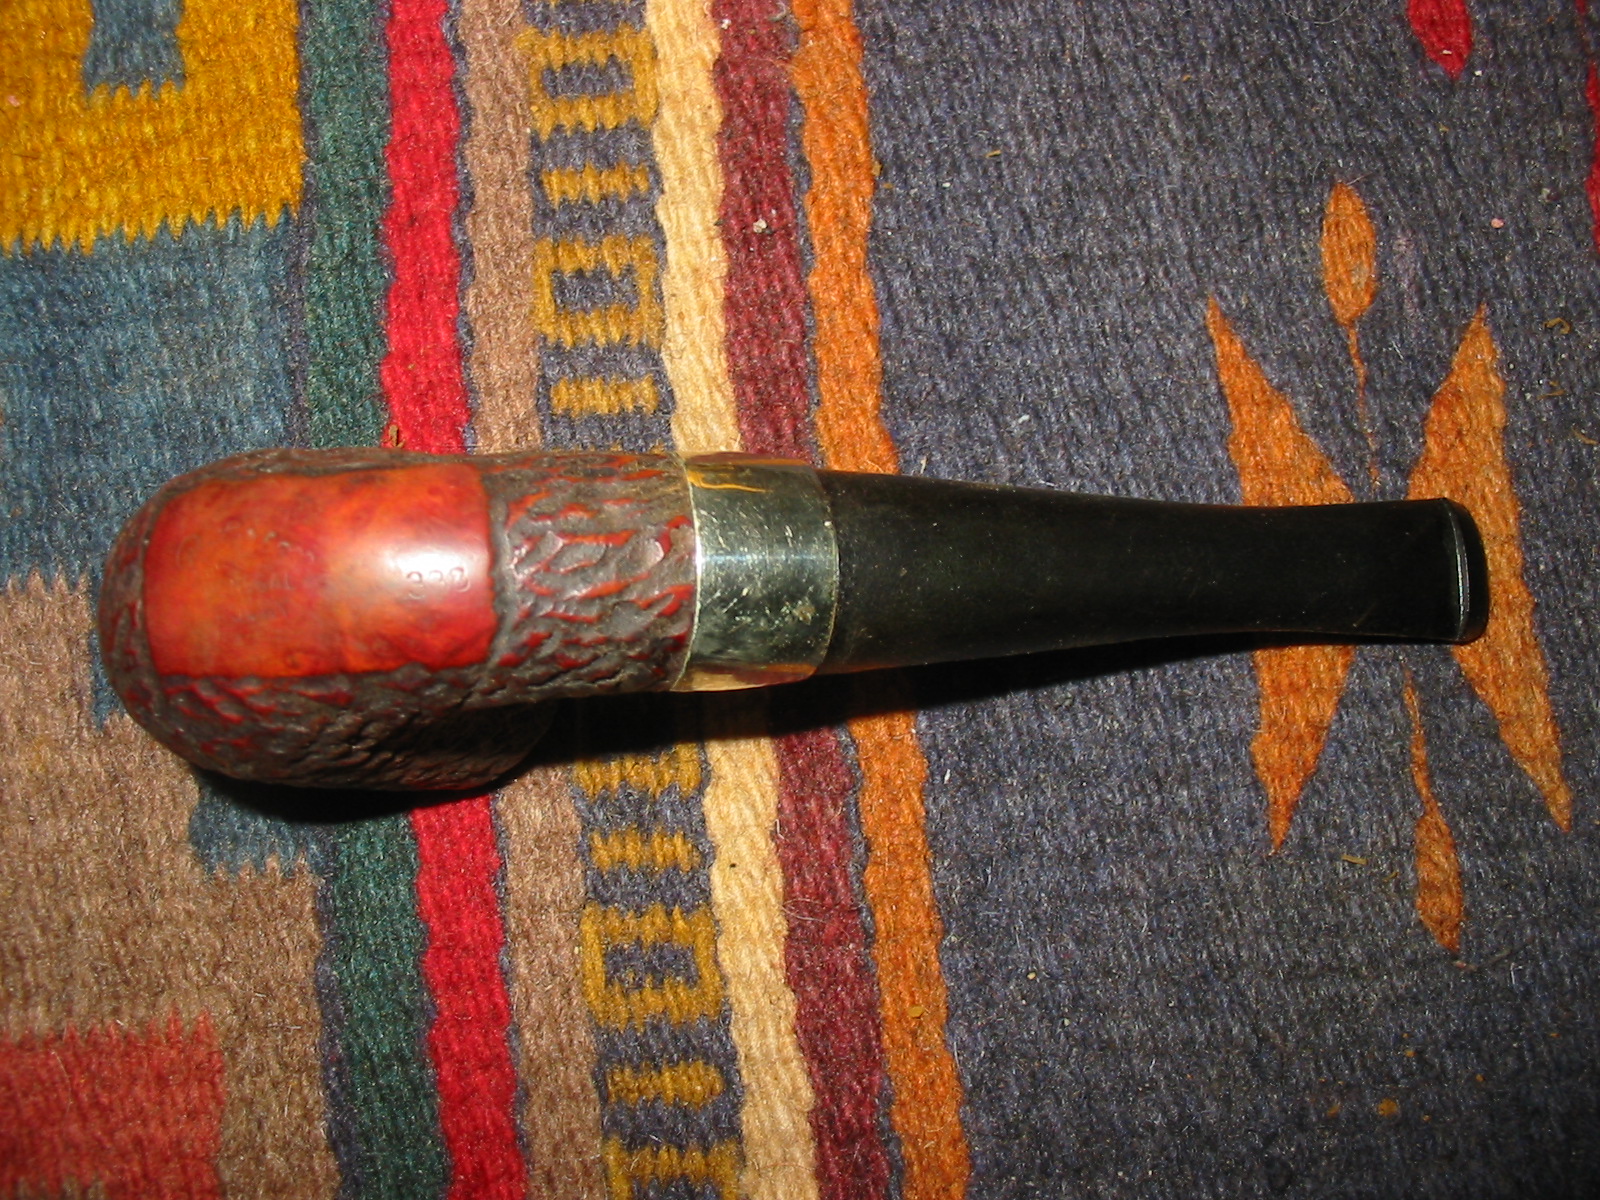
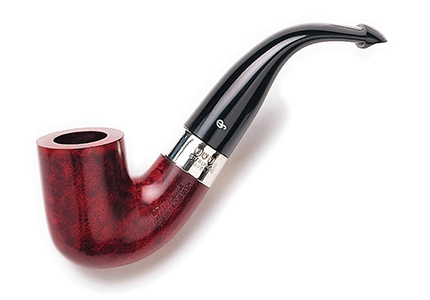
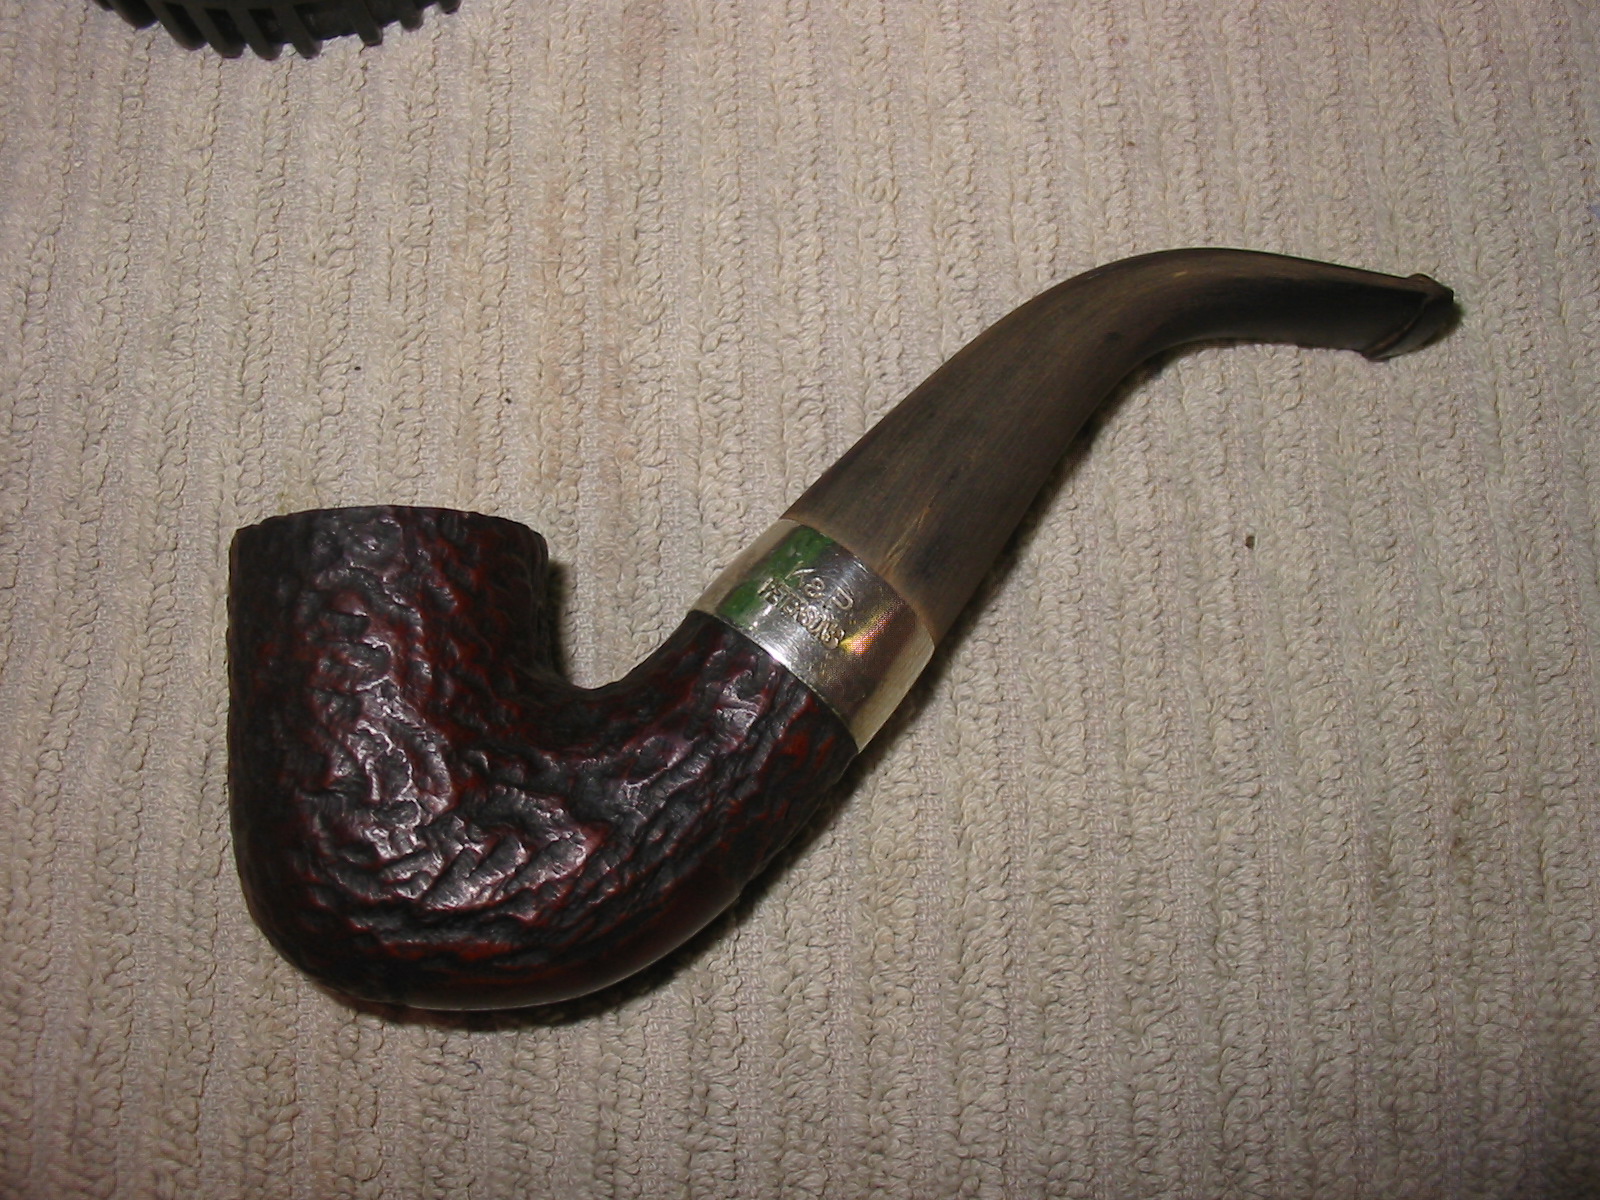
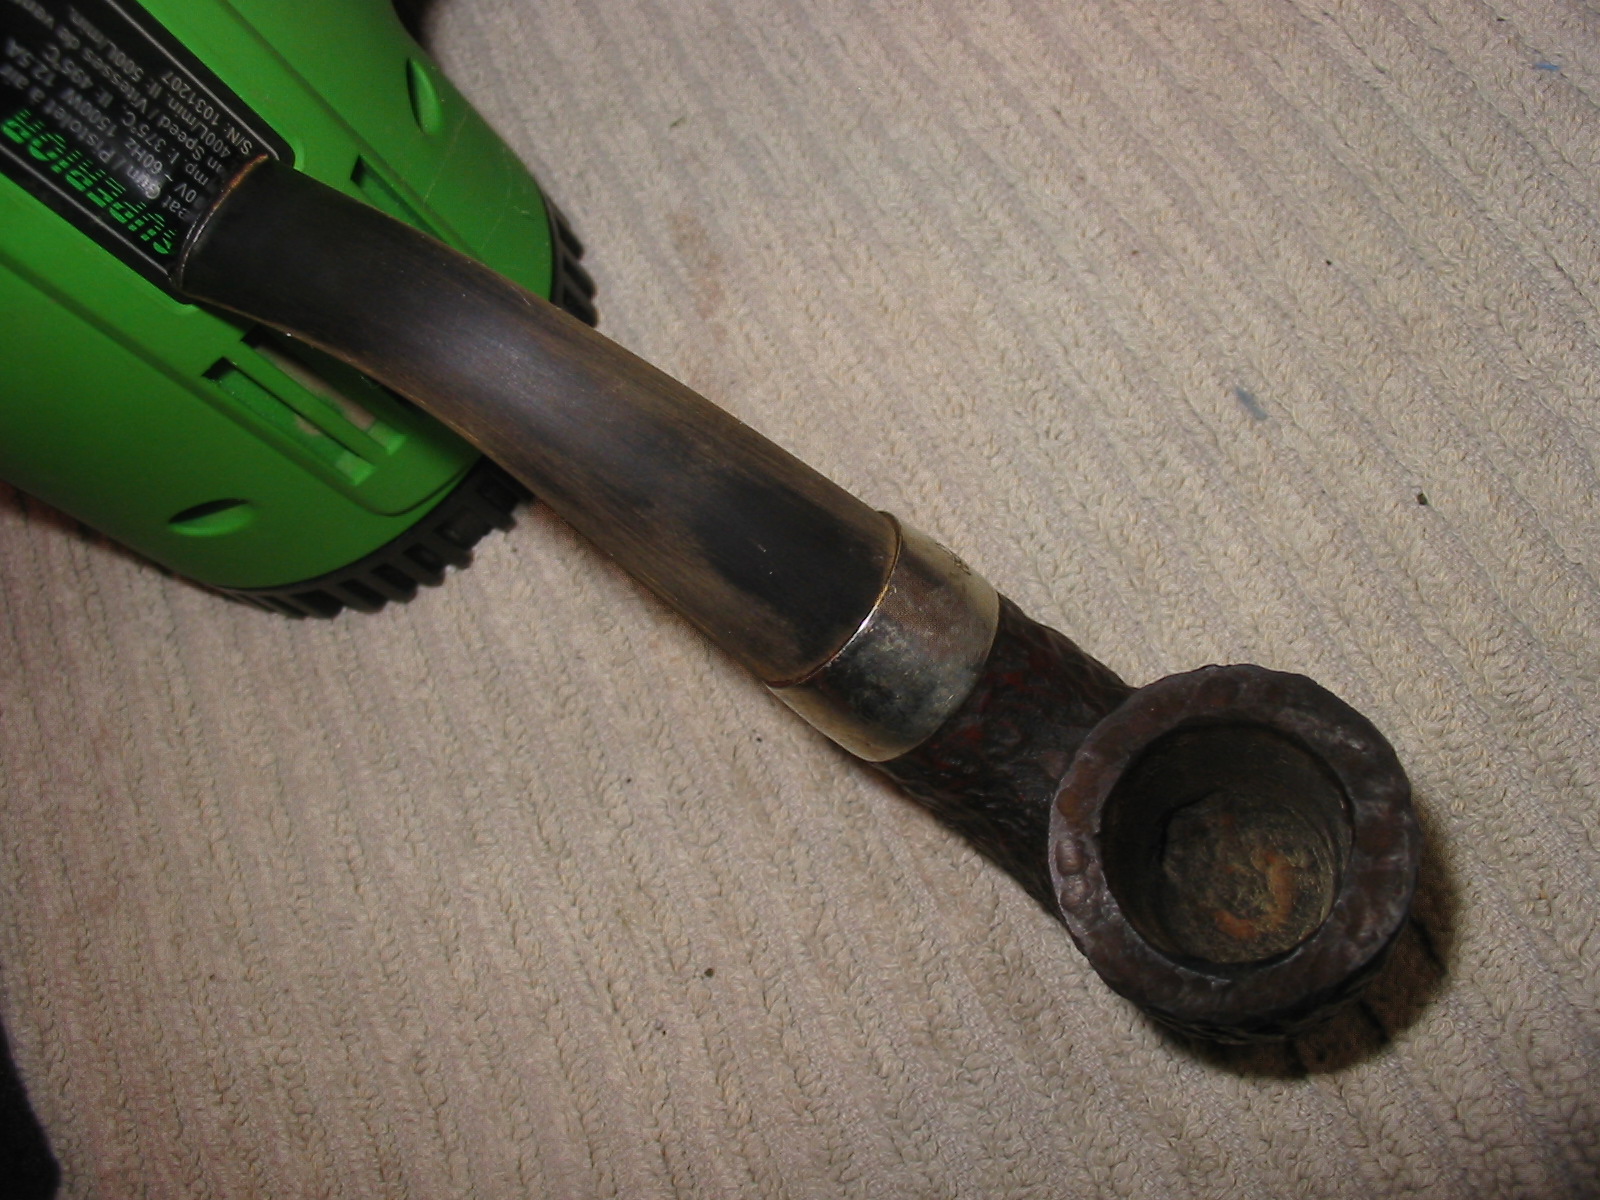
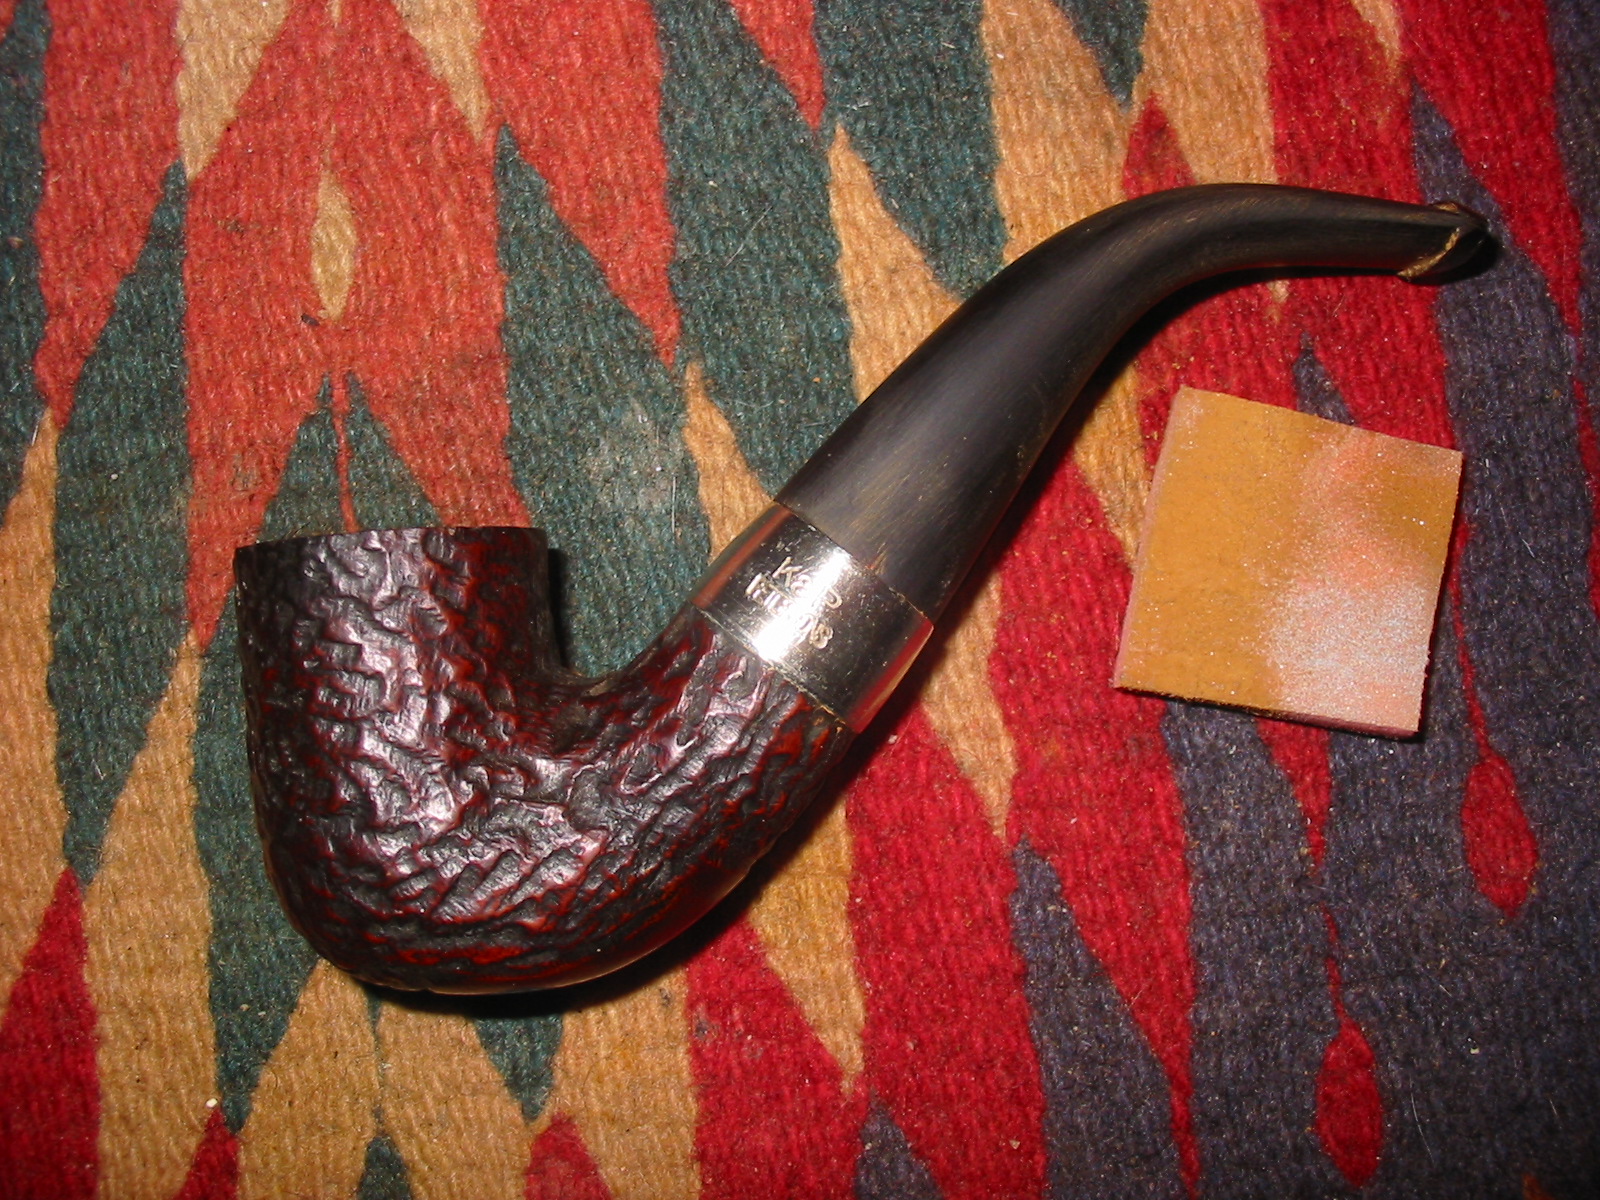
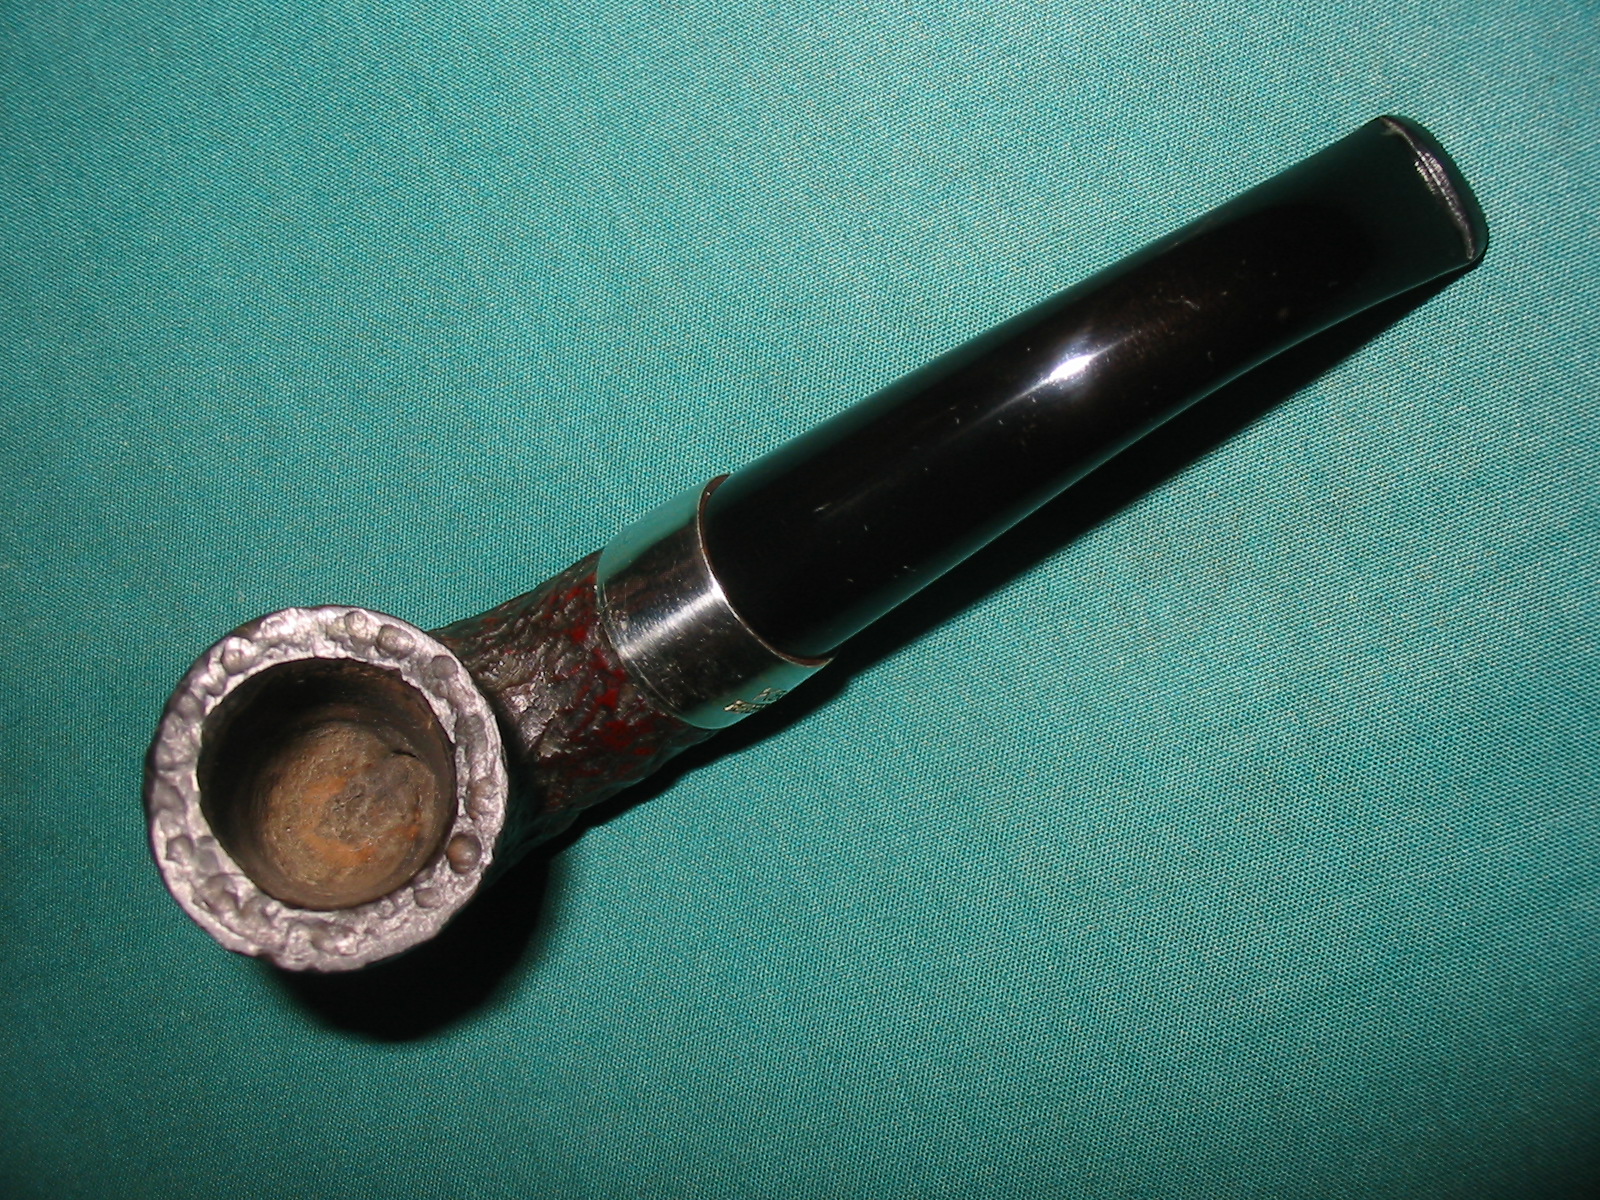
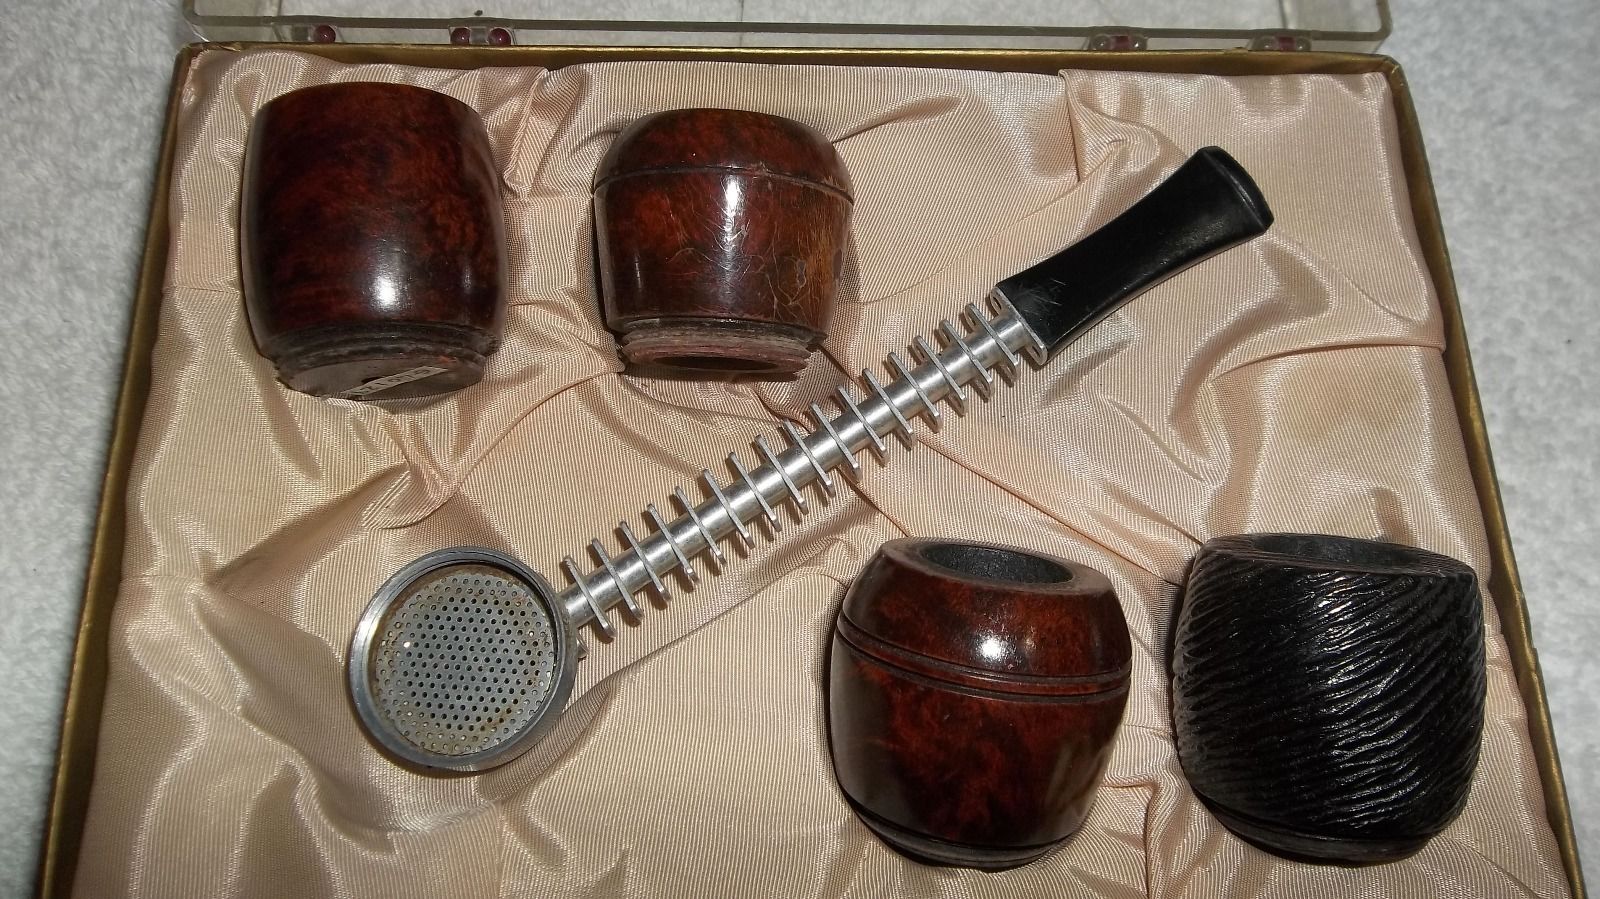
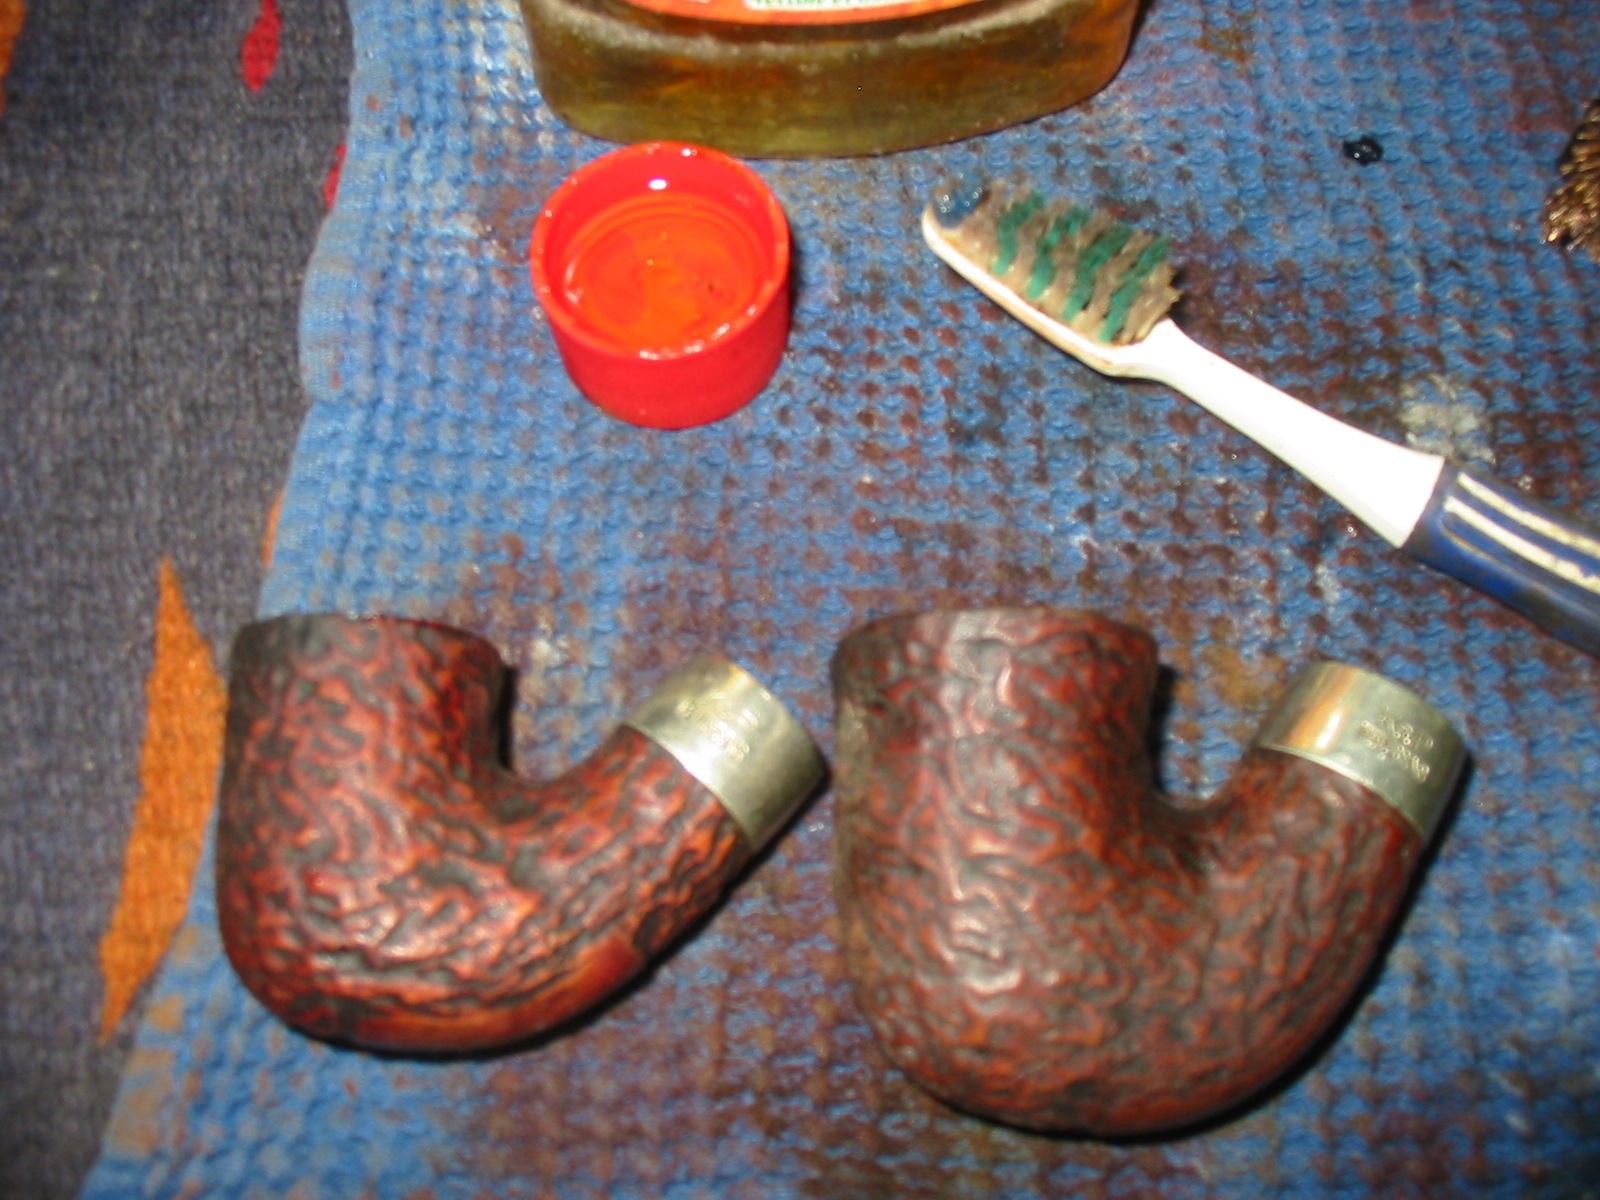
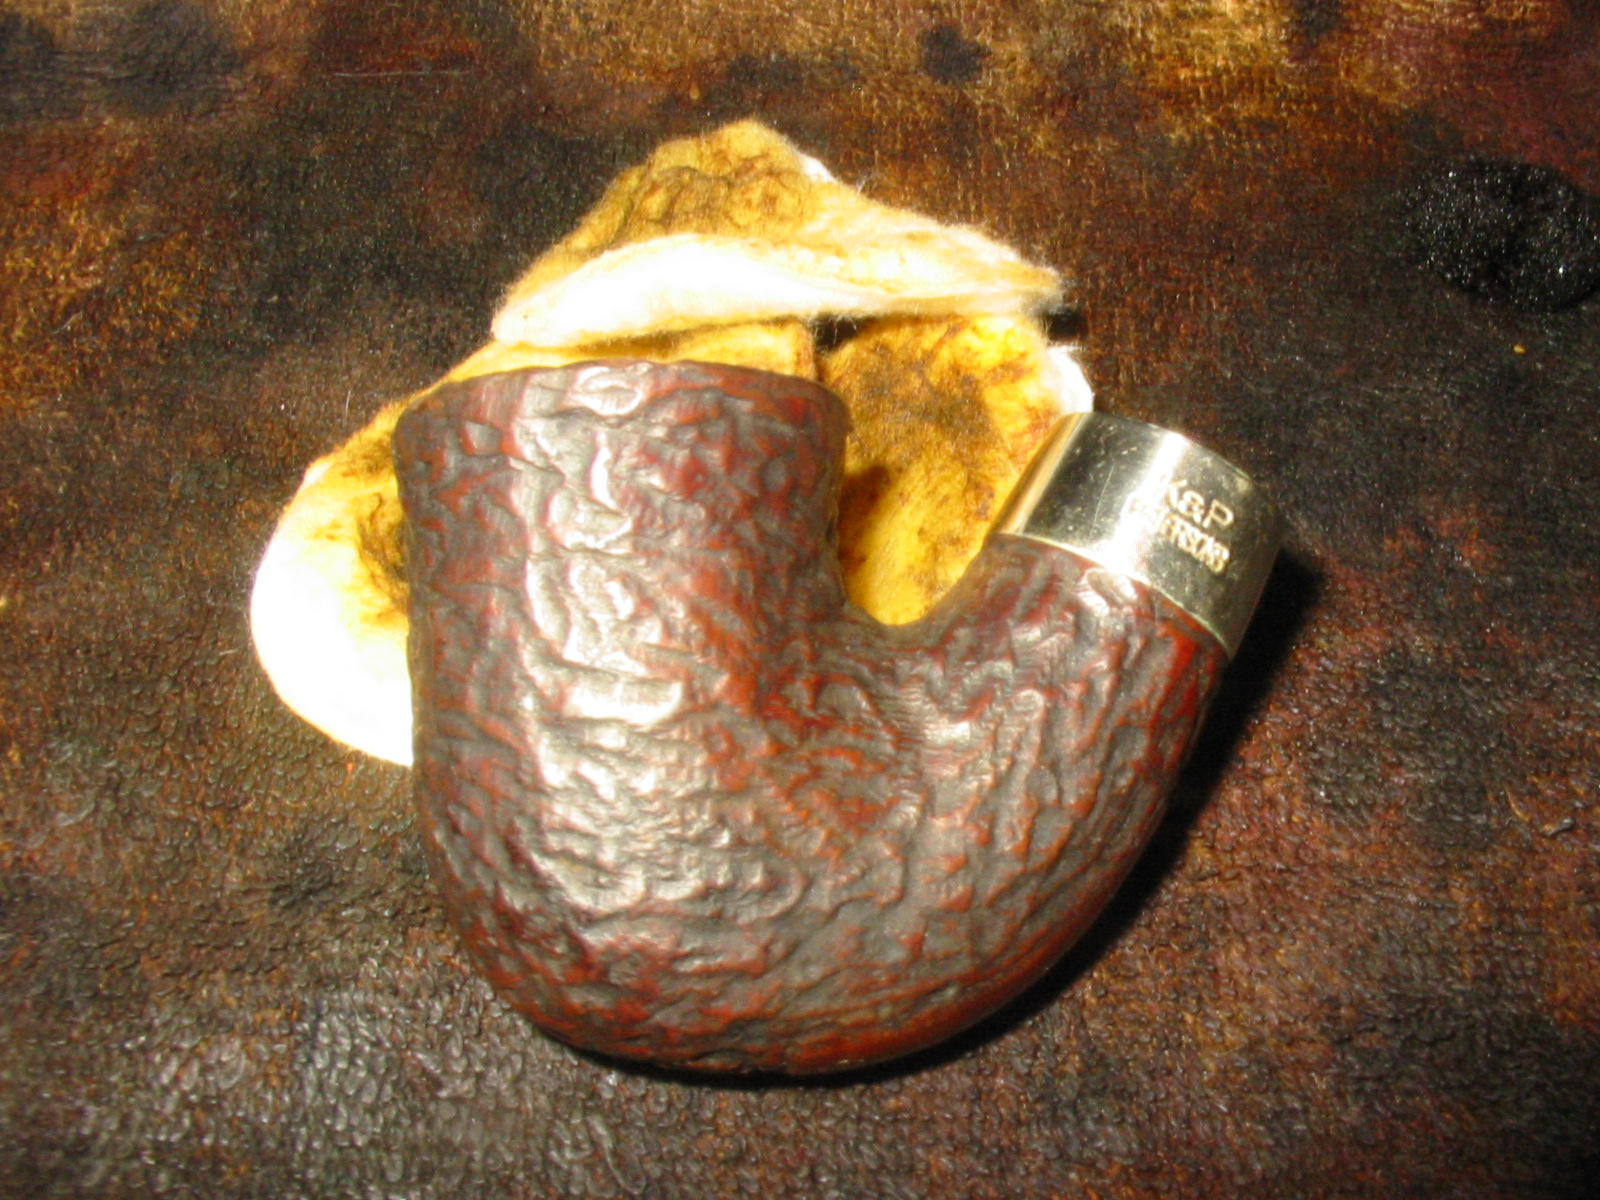
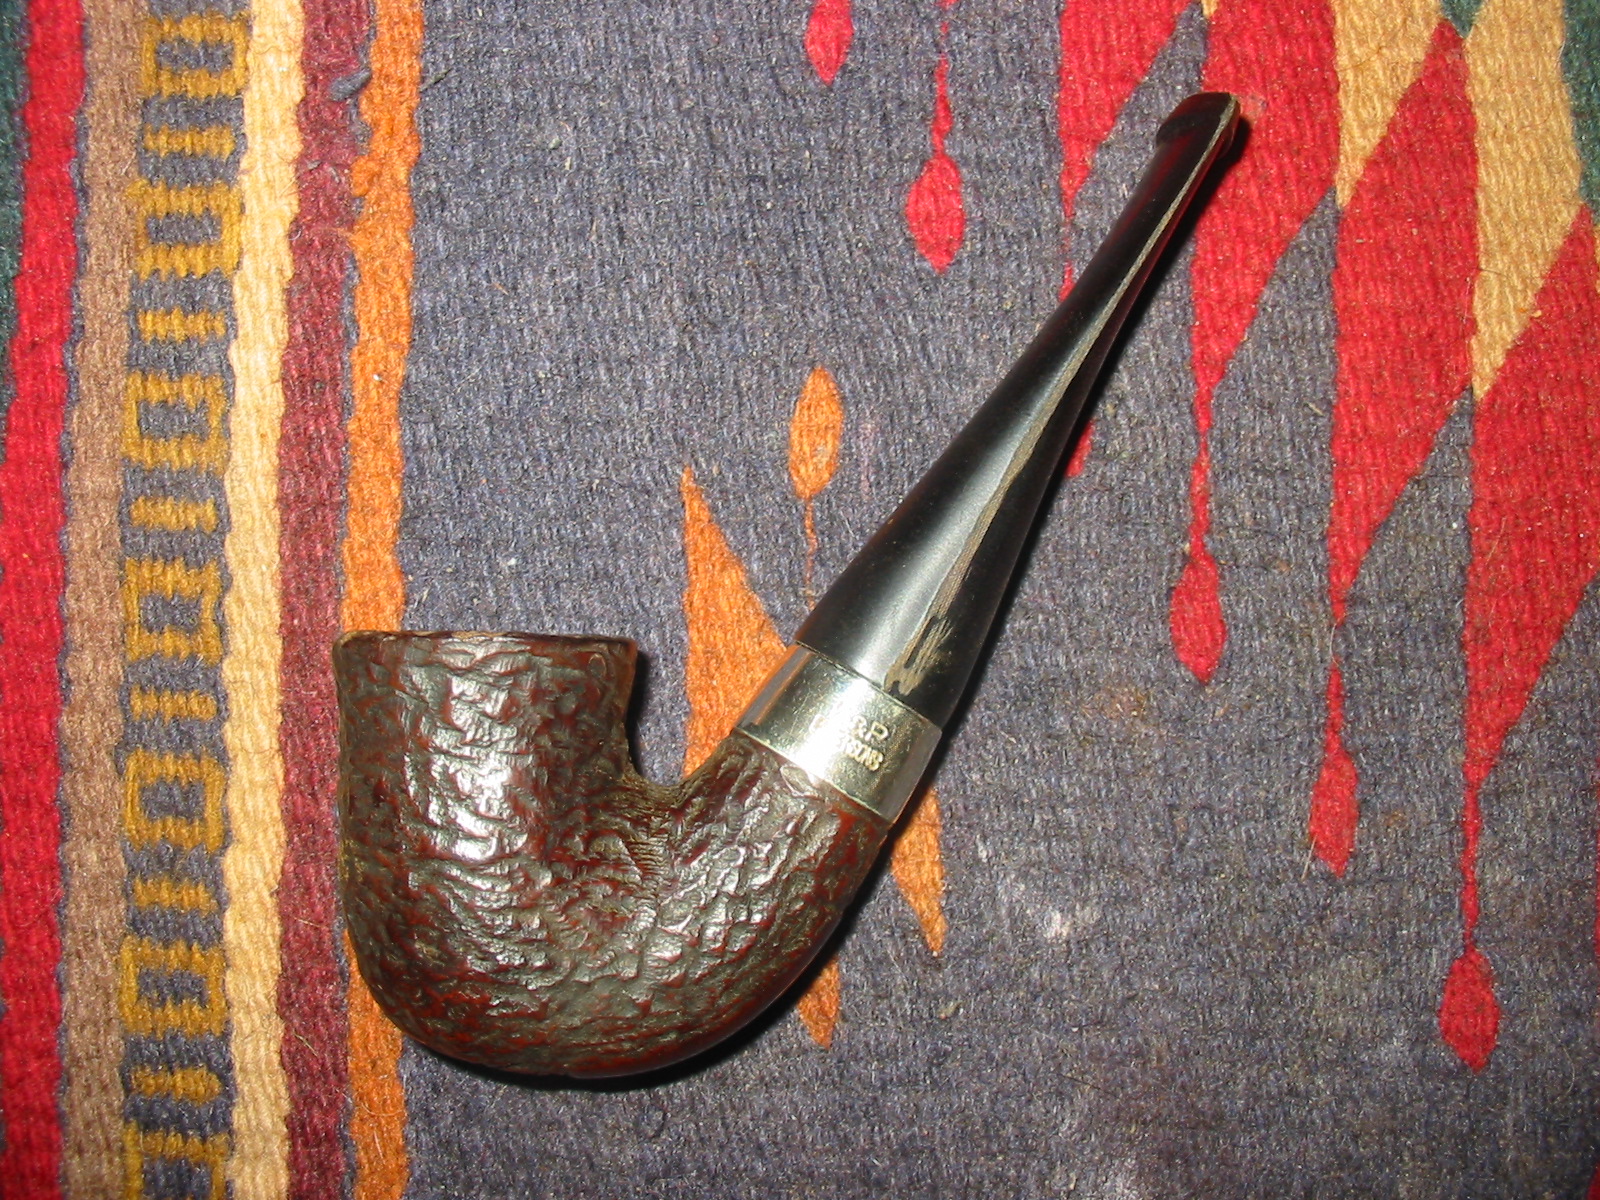
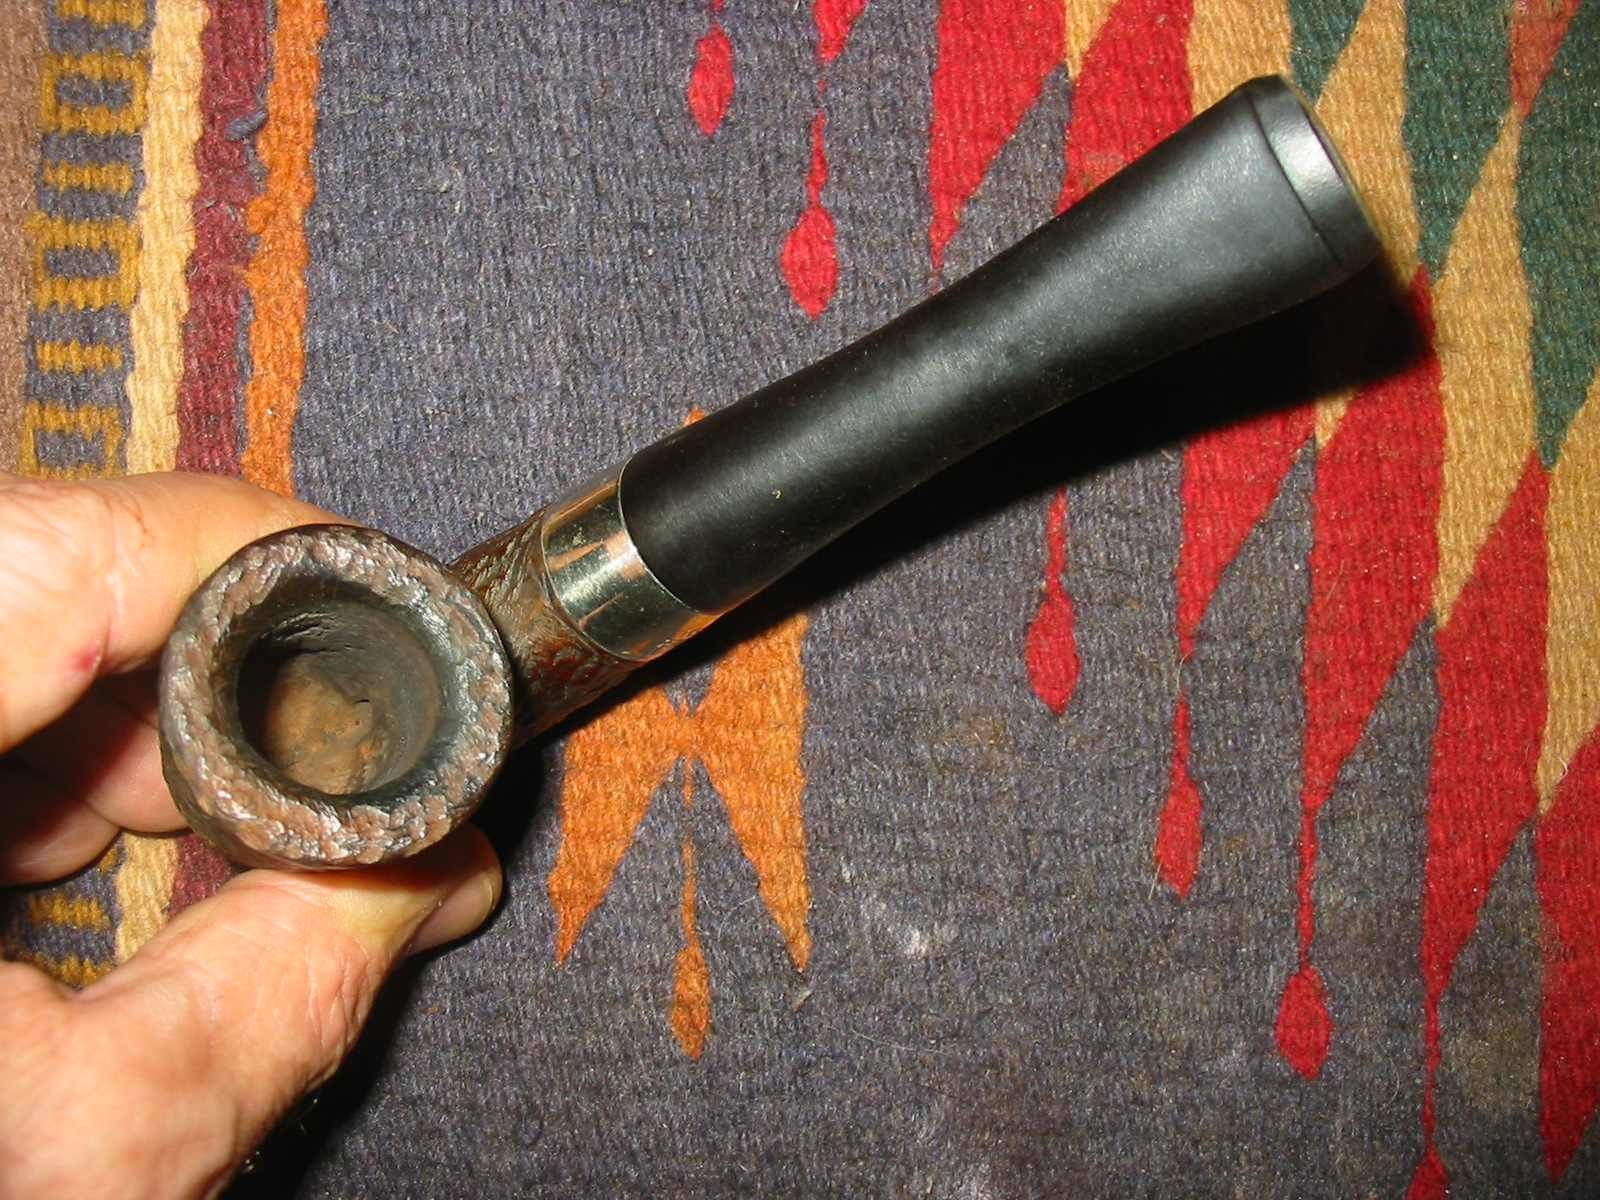
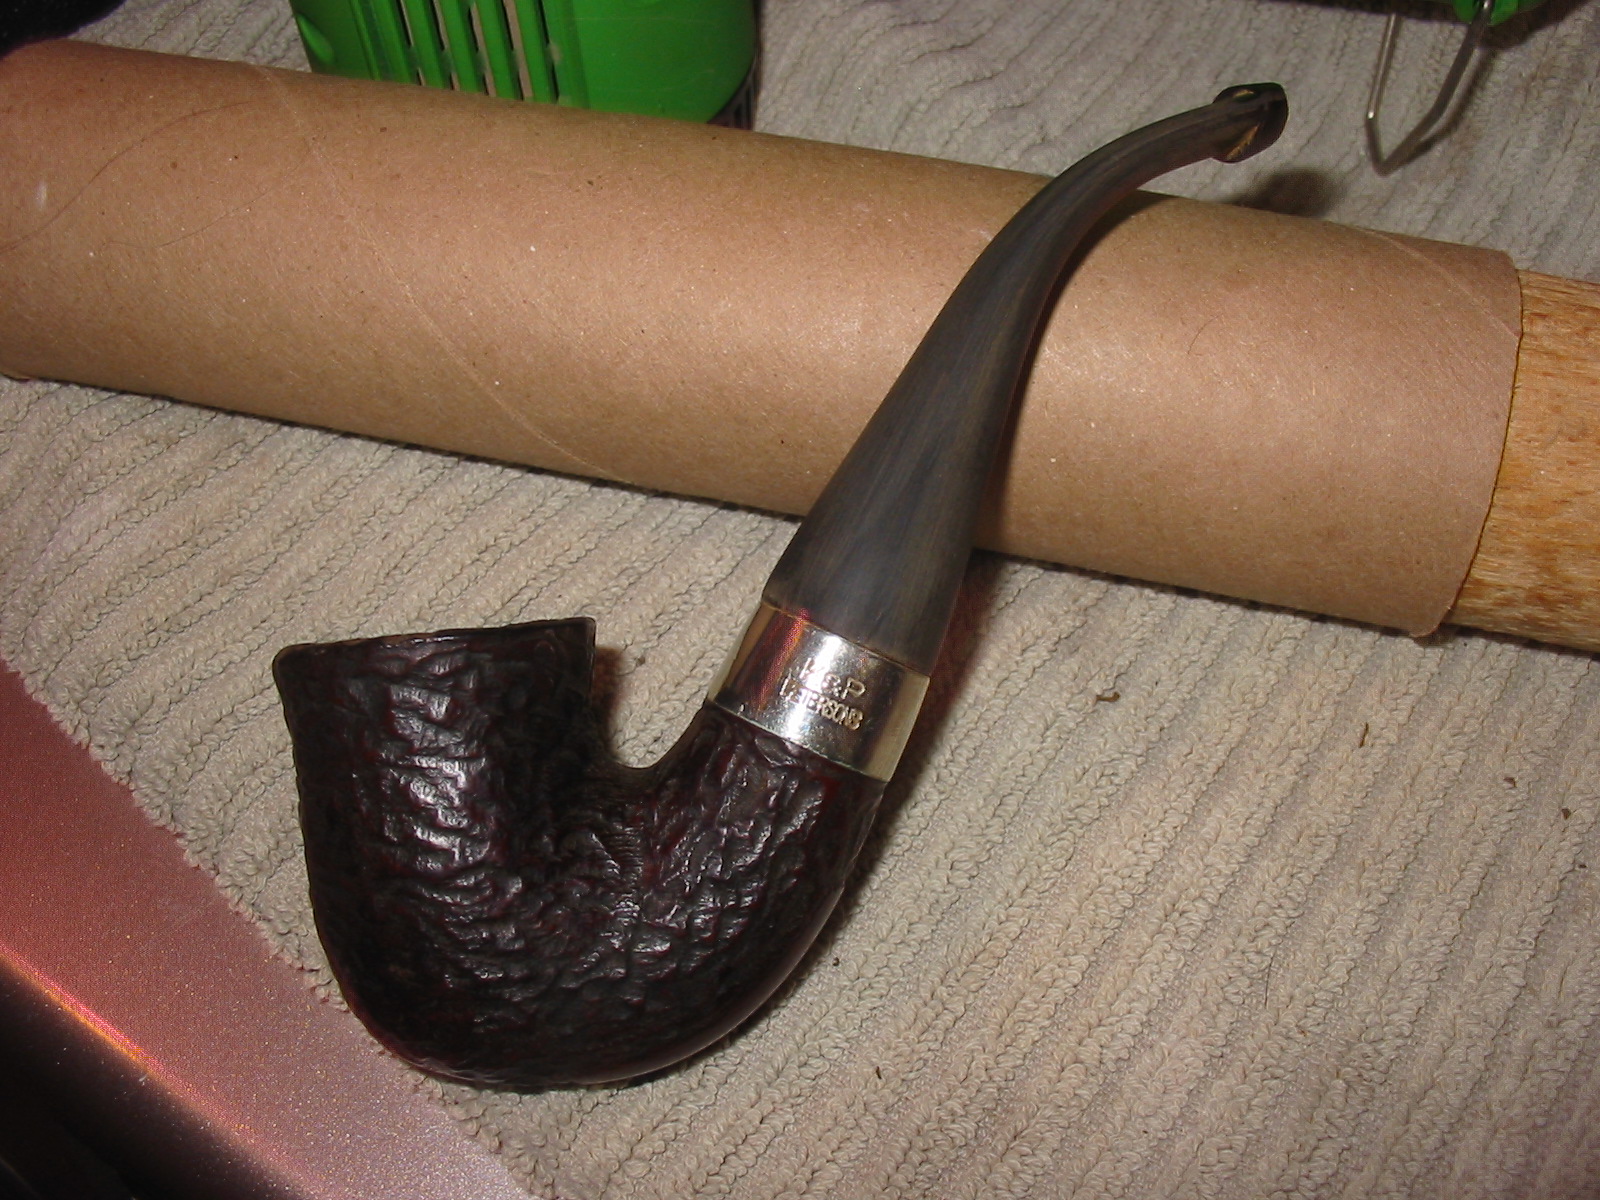
The third pipe in the Peterson trio of pipes shown in the photo below came to the worktable today. It is a Peterson’s Donegal Rocky 05 bent Dublin. It is the second pipe in the photo below. The bowl was badly caked – uneven and broken. The rim had a thick coat of tar and carbon buildup and was damaged on the right front side of the rim. The stem was missing and the nickel band was tarnished but undented. The finish was worn and the grooves of the rustication were filled with grit and grime from years of smoking. Like the other two pipes in this lot it must have been a favourite of the previous owner to be smoked to this degree. The inside of the shank was clogged with thick tars and oils and I was unable to blow air through it.
$_57
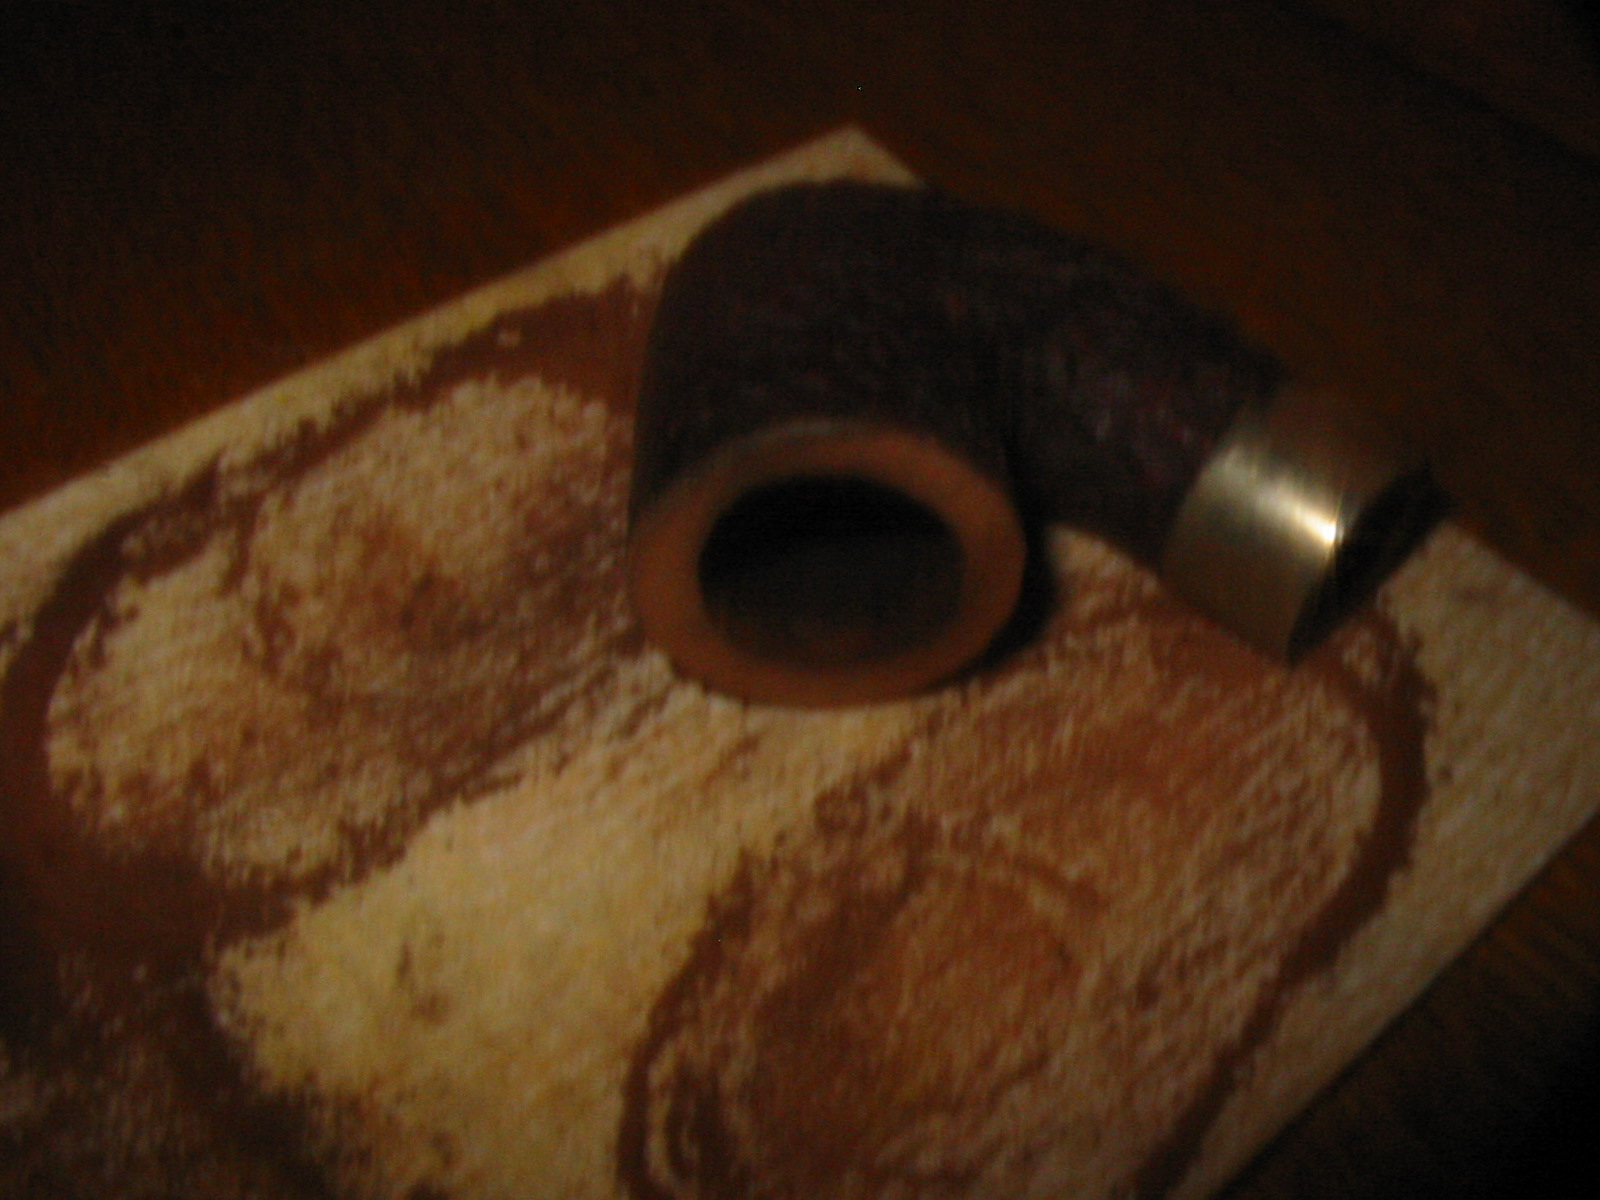
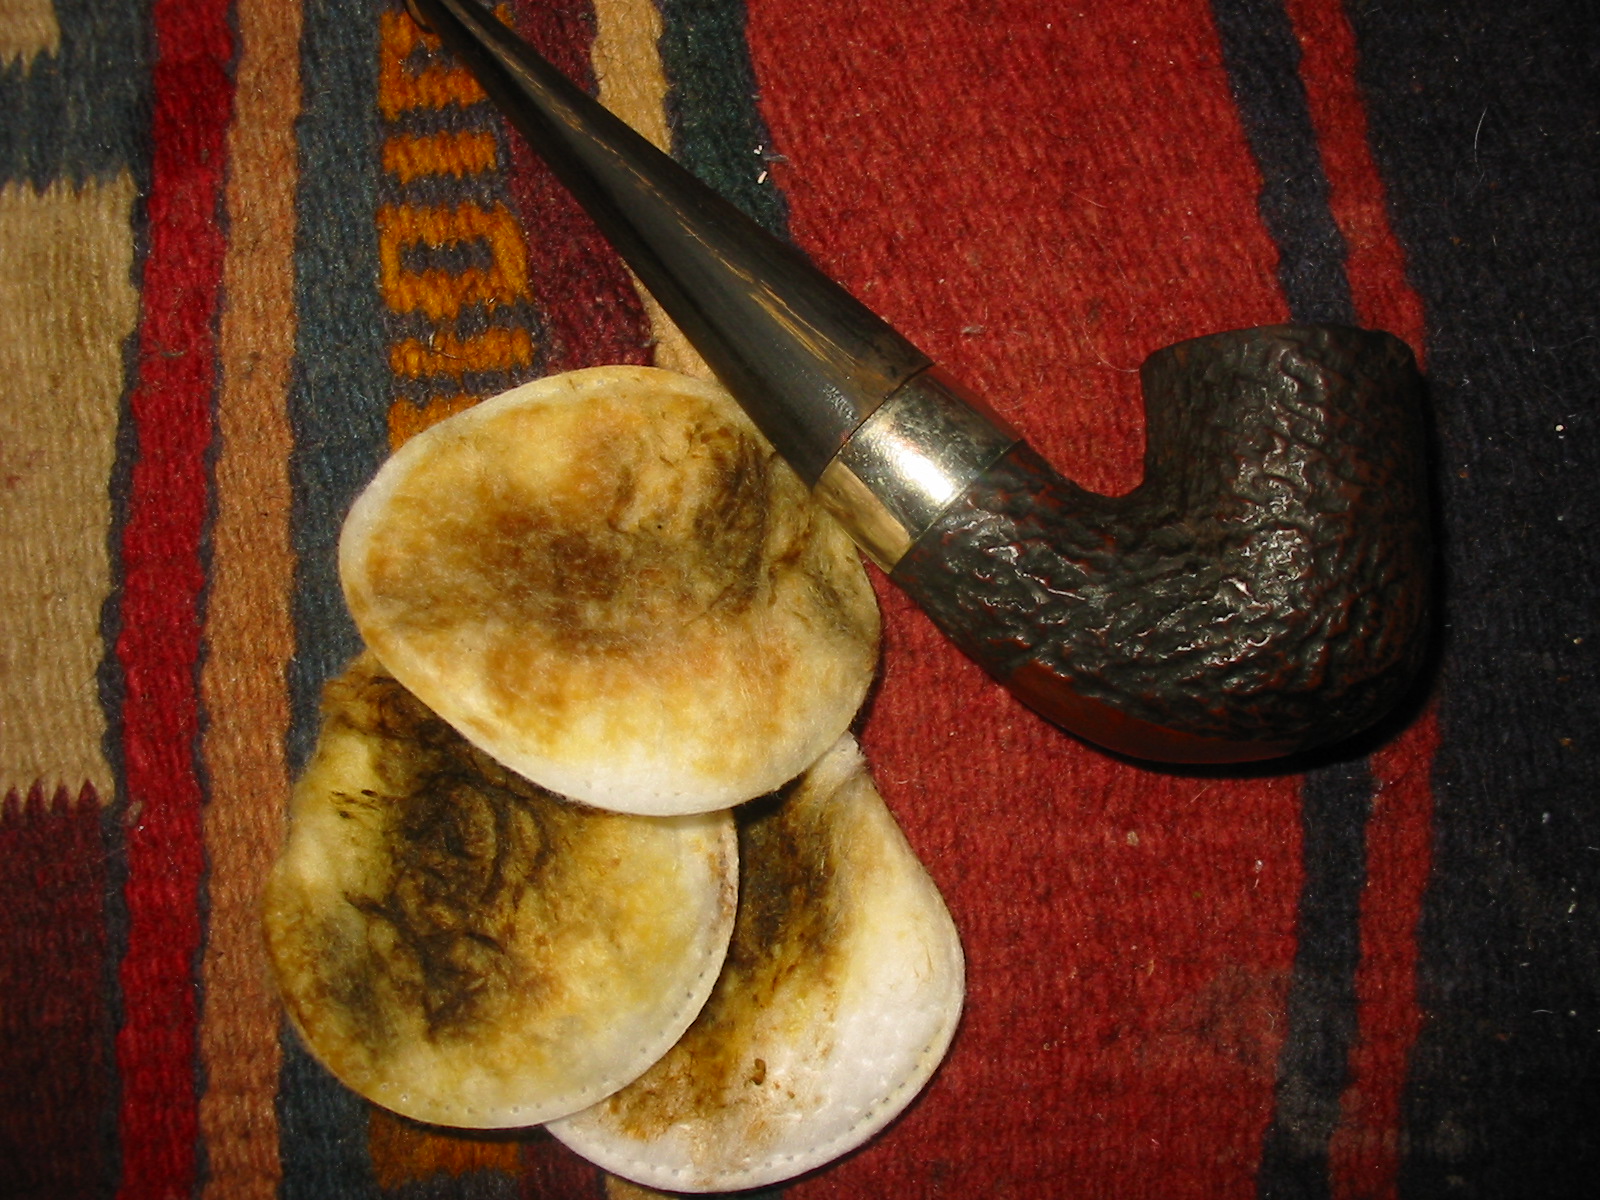
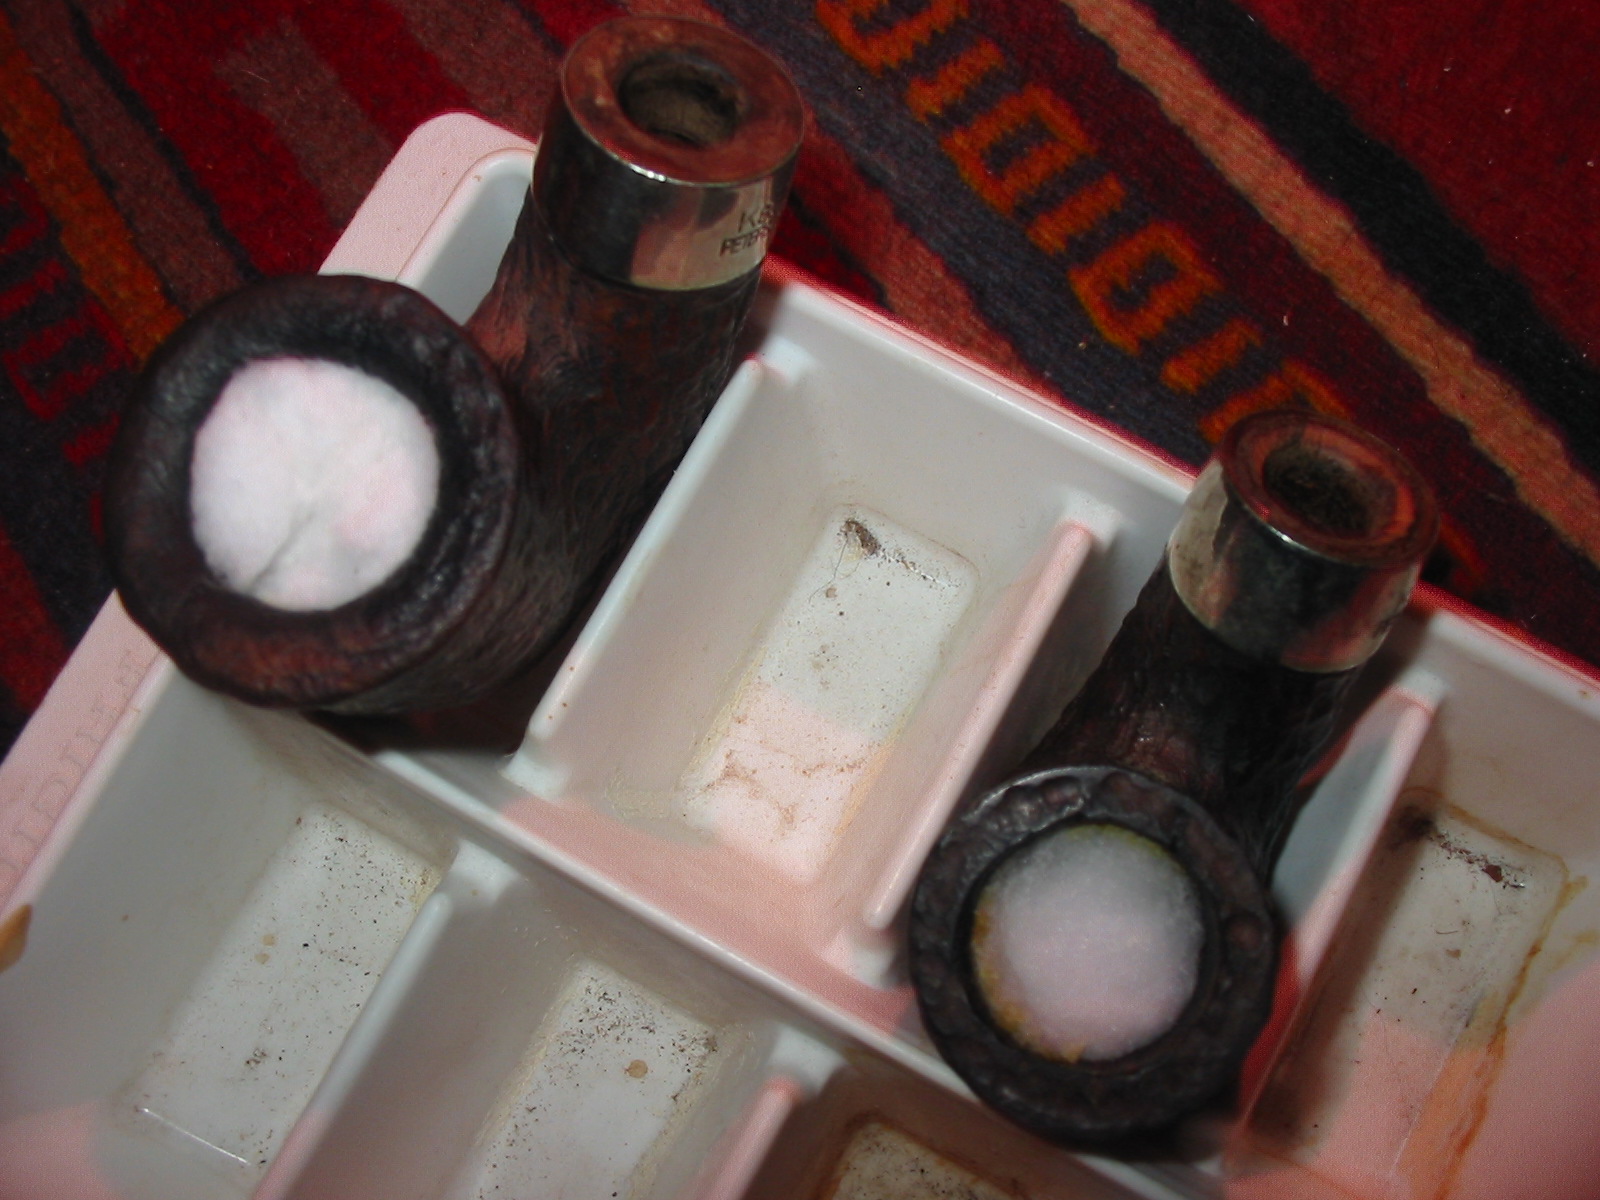
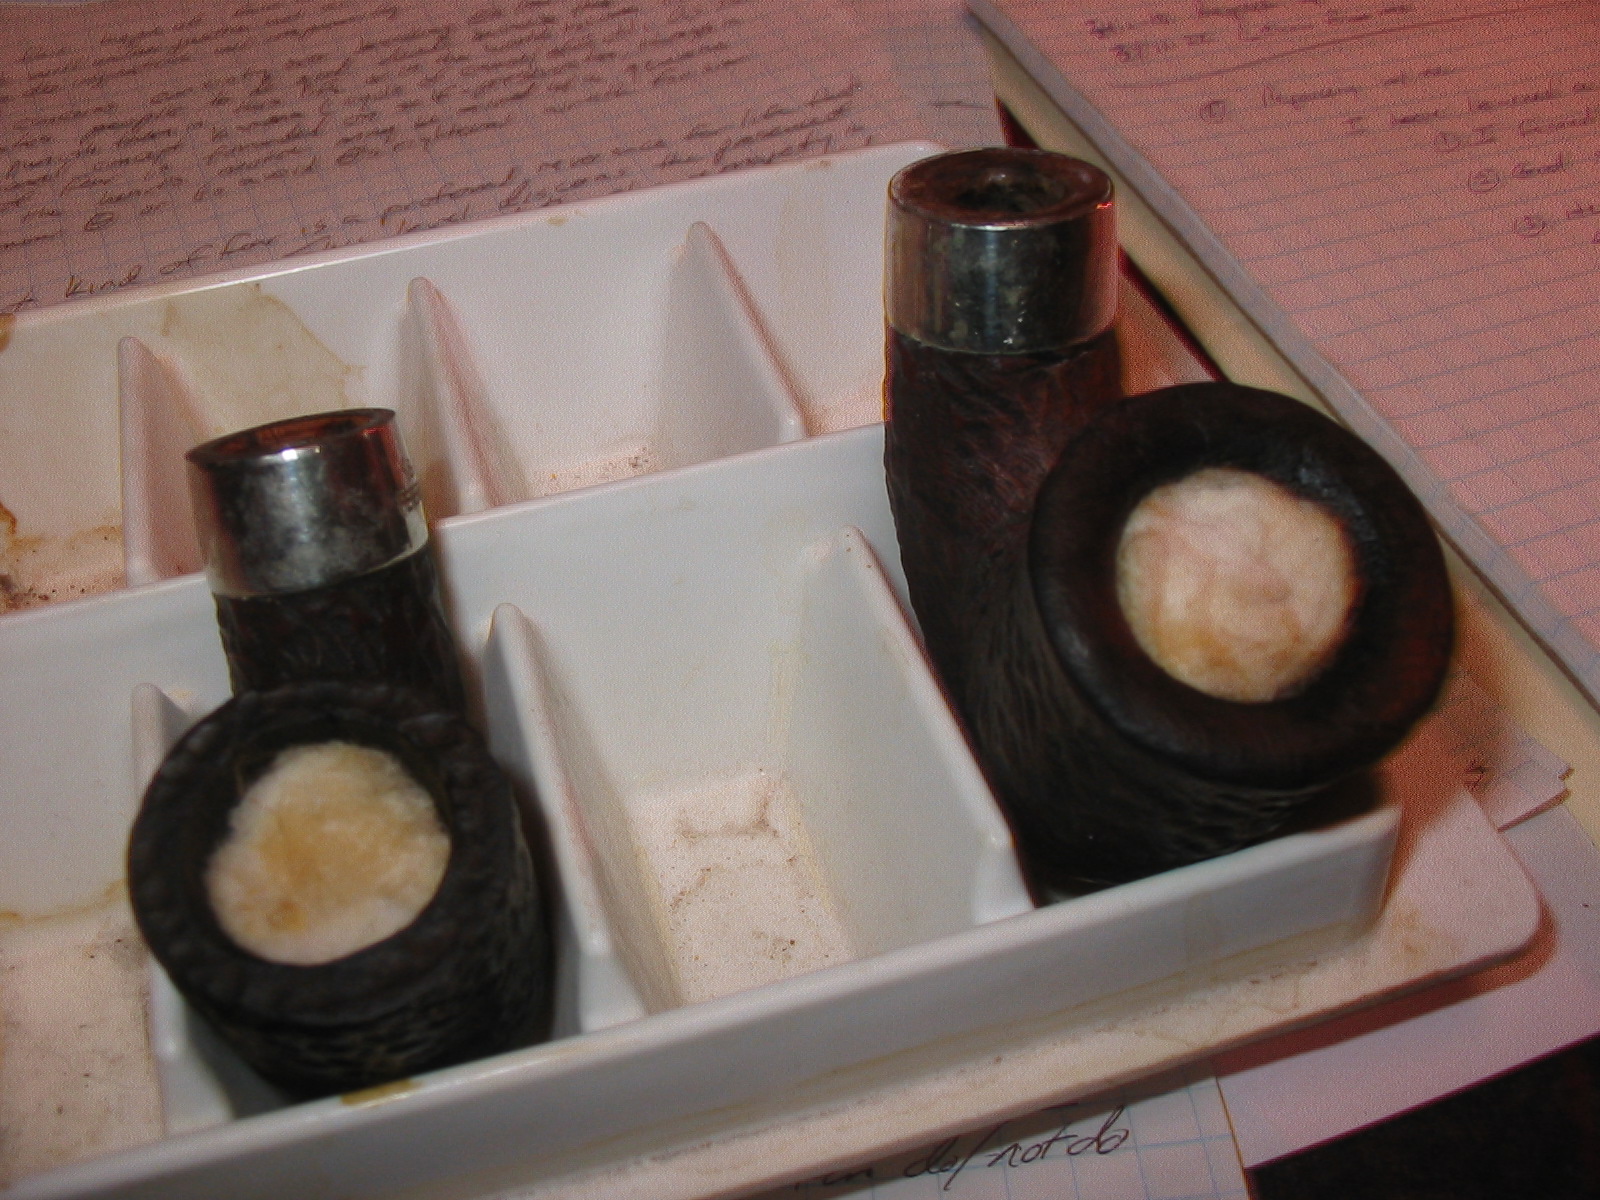
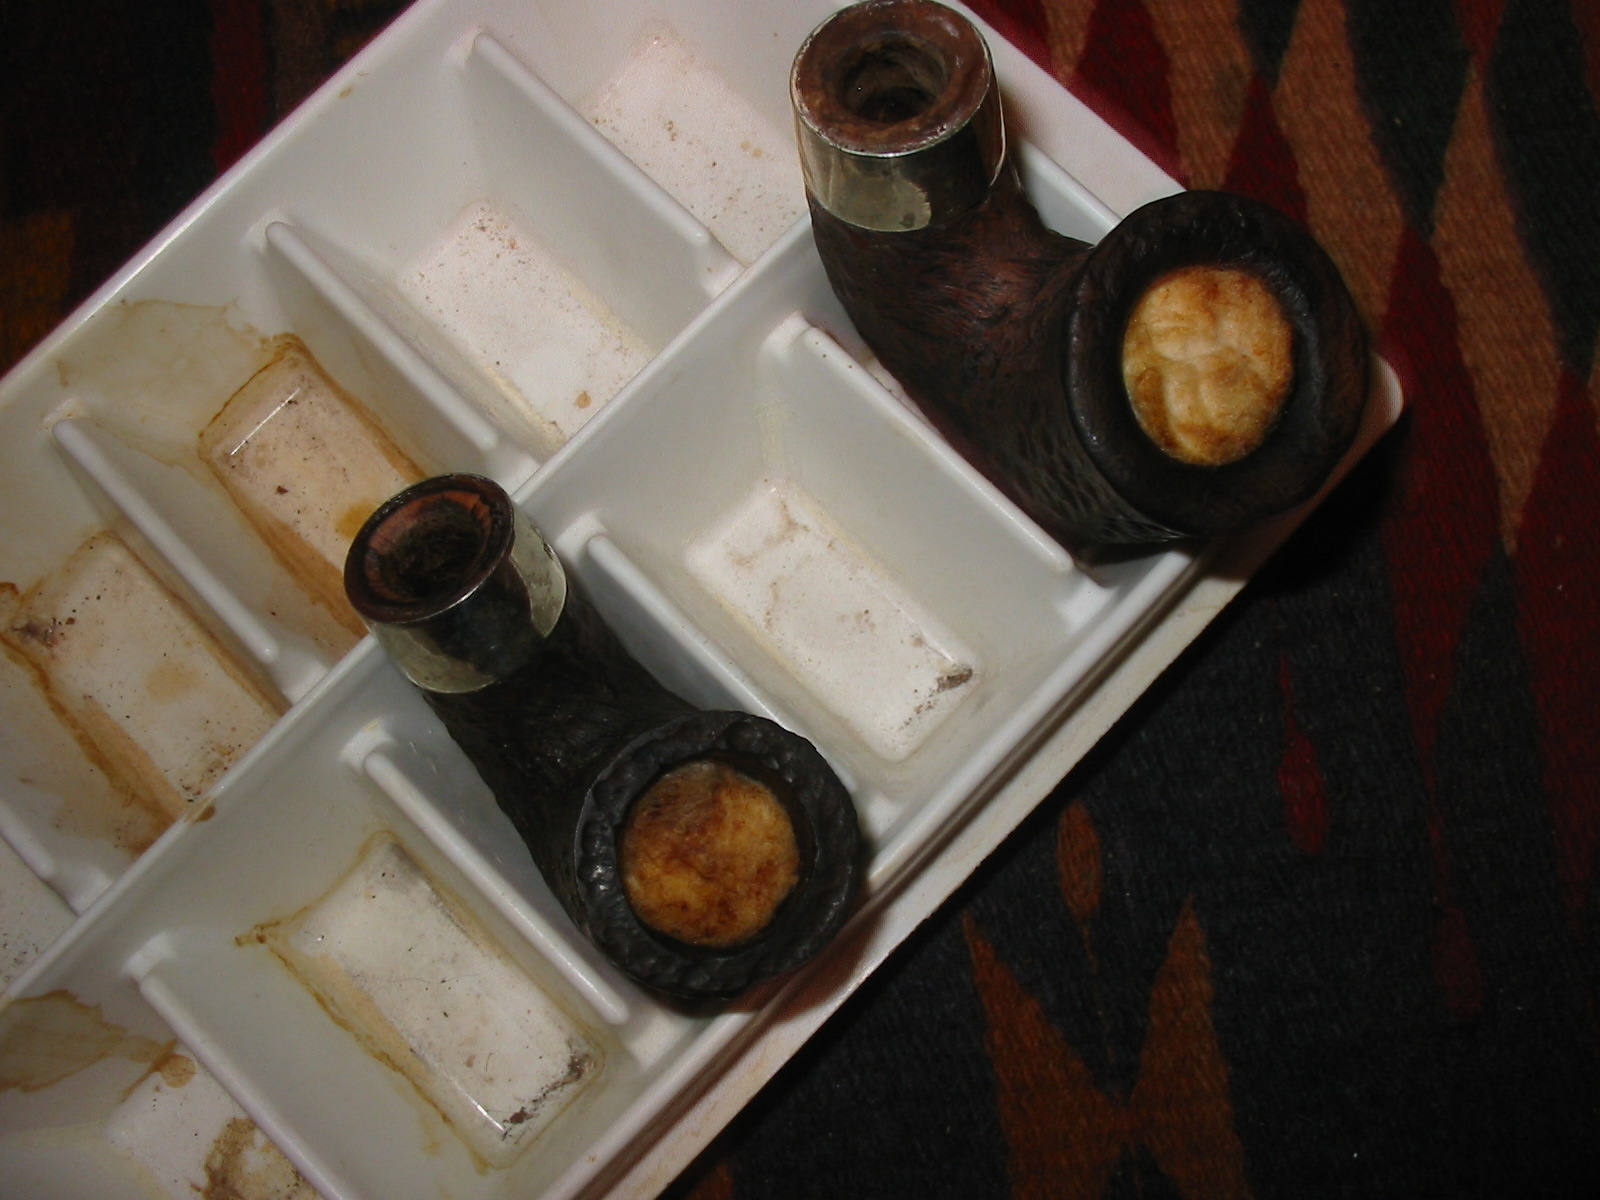
I reamed the bowl with a PipNet reamer until the cake was gone and the bowl was bare wood. My goal was to take back all the cake and rebuild a new smooth one. I pushed a paper clip through the airway to open the clog. I used cotton swabs, shank brushes and a drill bit to remove all of the grime and buildup in the airway and the shank. I scrubbed the exterior of the bowl with a soft bristle tooth brush and Murphy’s Oil Soap. I rinsed it under warm water to remove the soap and patted it dry. Once it was clean I filled the bowl with cotton balls and used an ear syringe to fill the bowl with isopropyl alcohol. I let the bowl sit over night in an ice cube tray to keep it upright. The first photo shows the set up when I first filled it. The second photo below shows the bowl after it had soaked over twelve hours.
IMG_7127

IMG_7152

IMG_7153
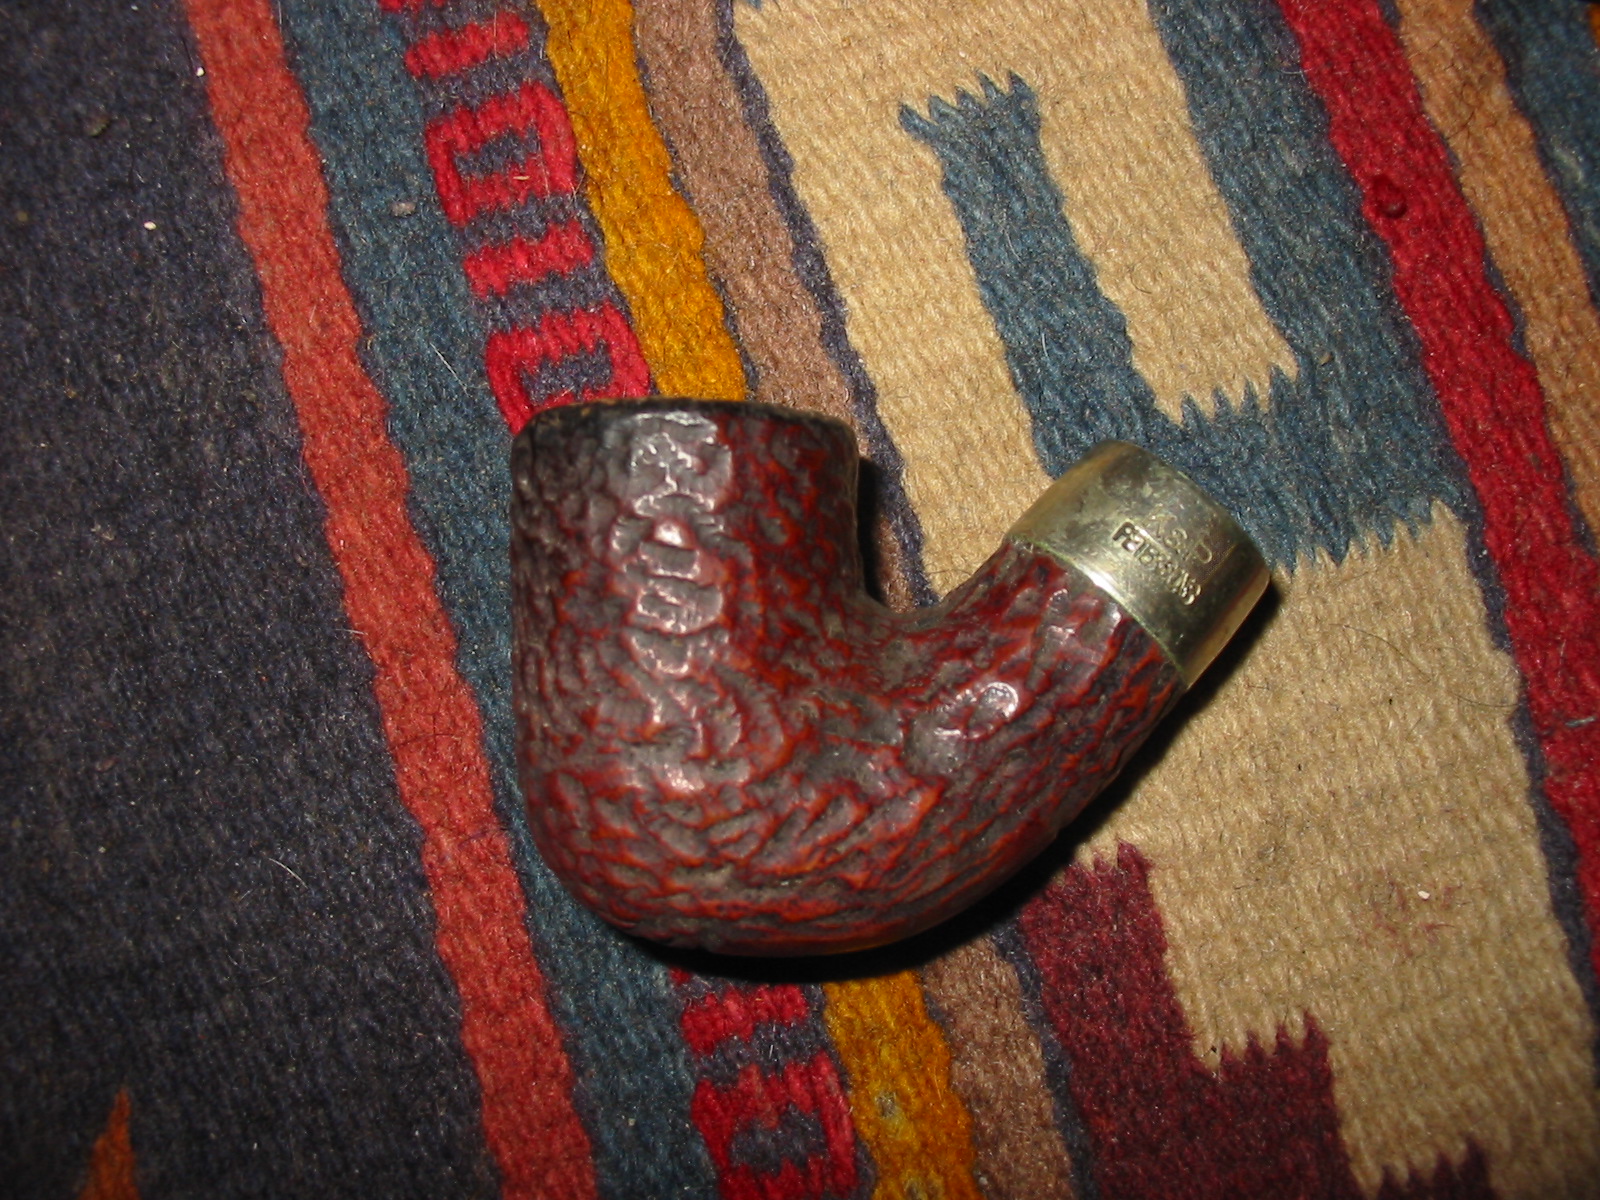
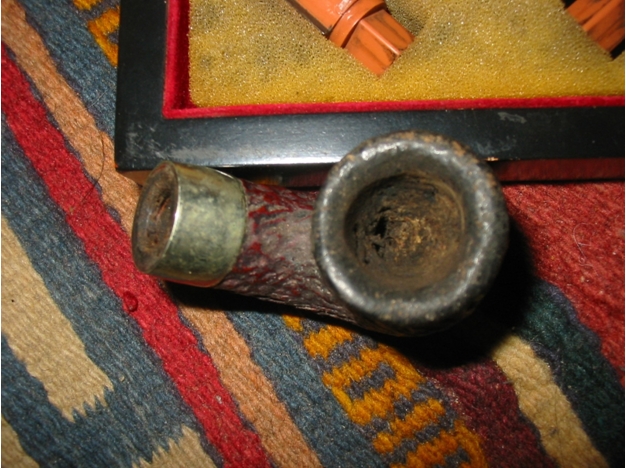
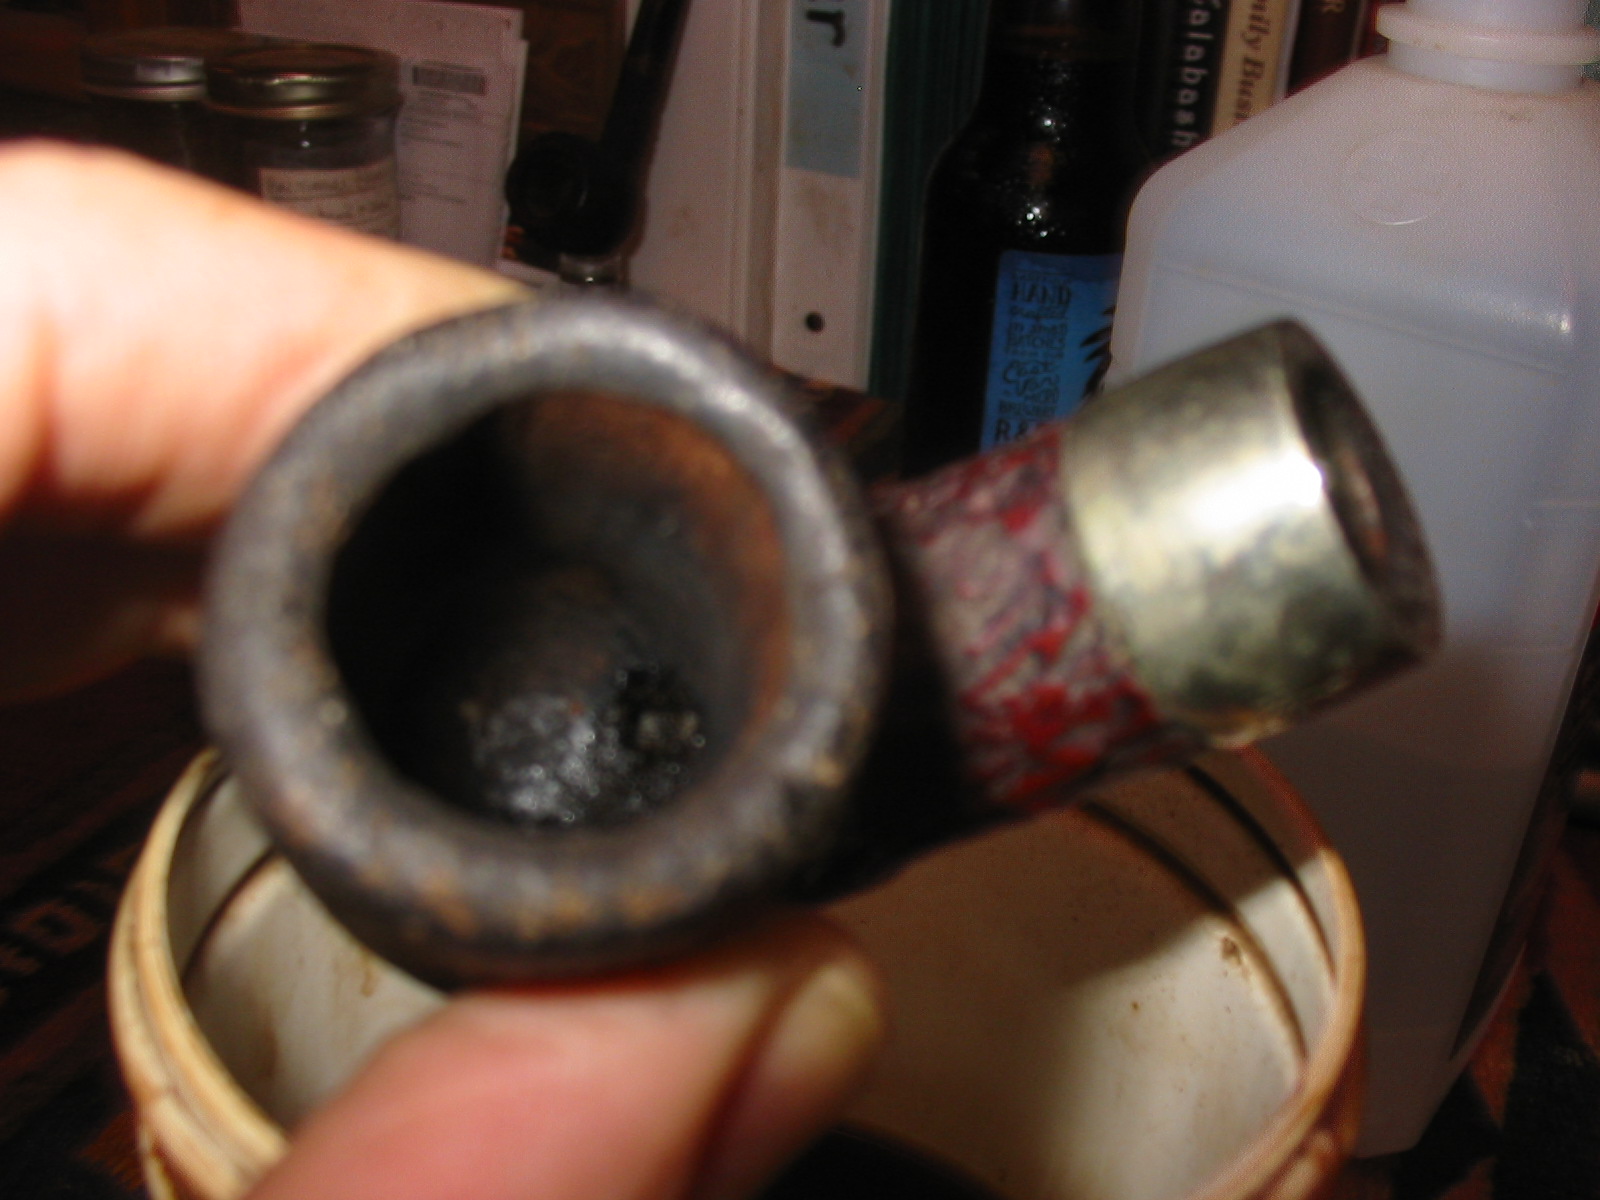
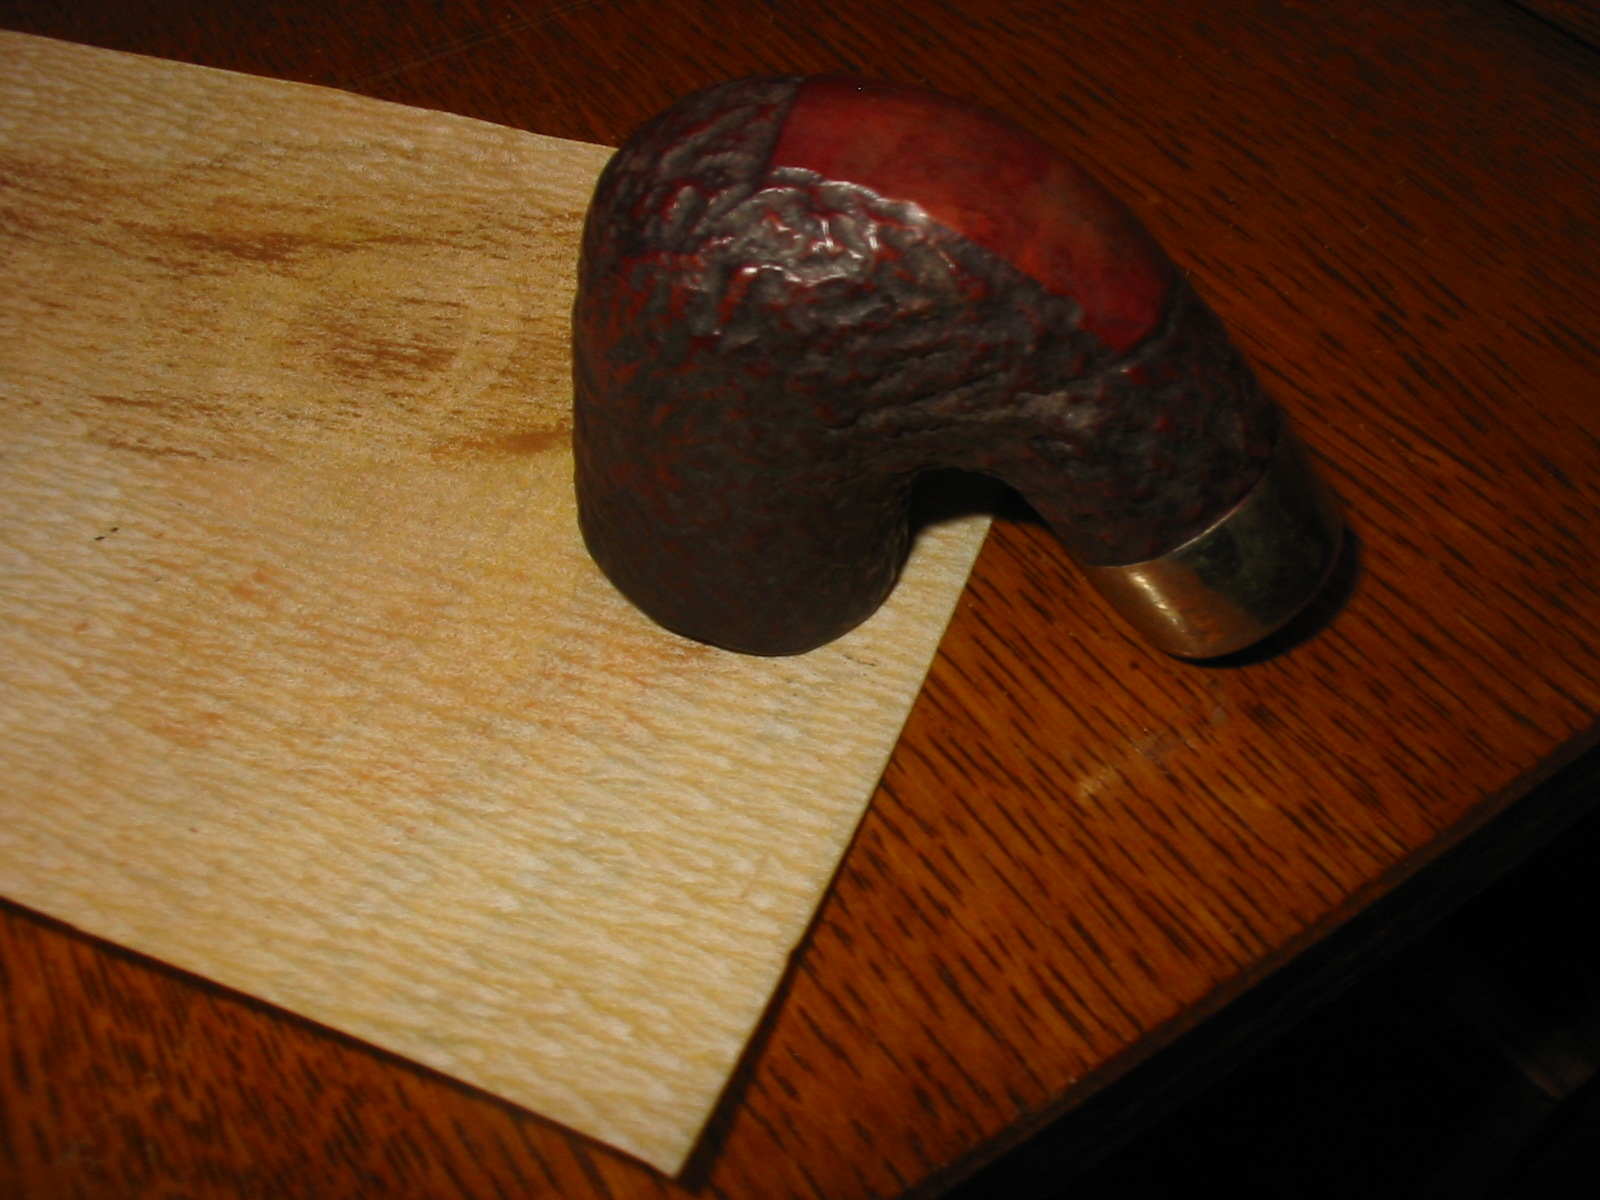
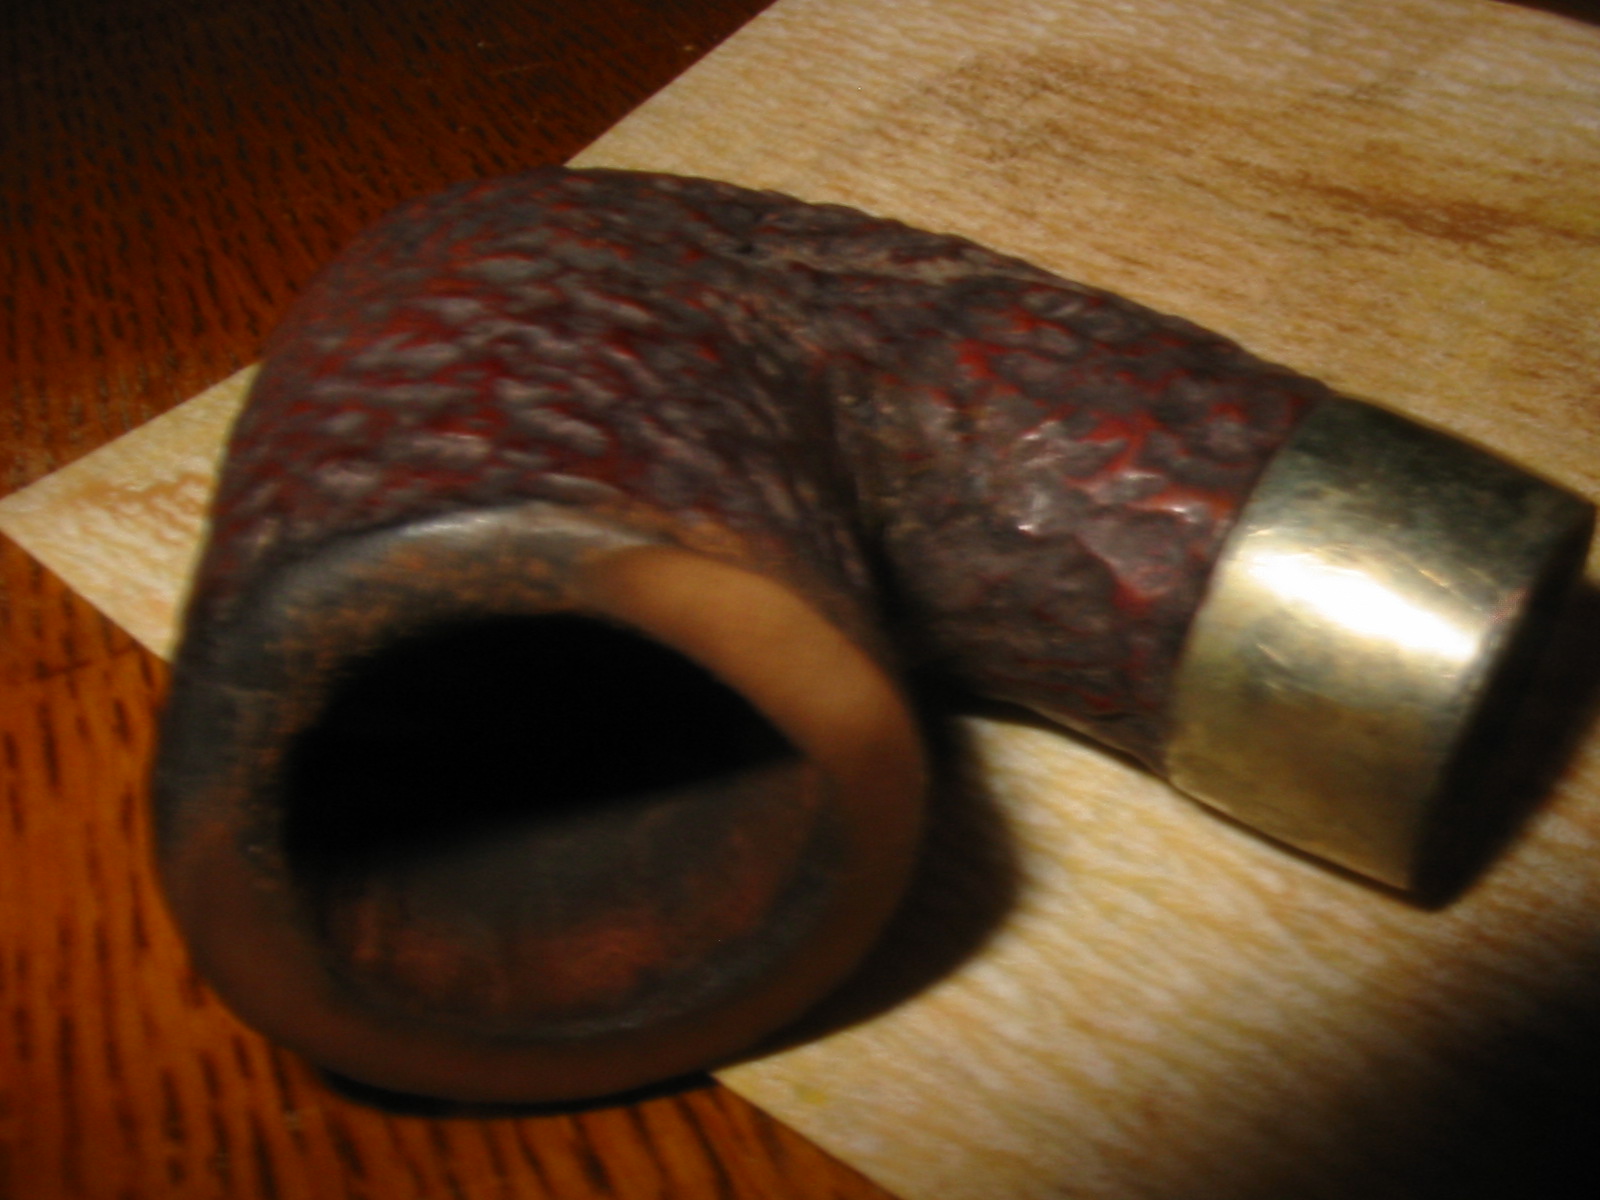
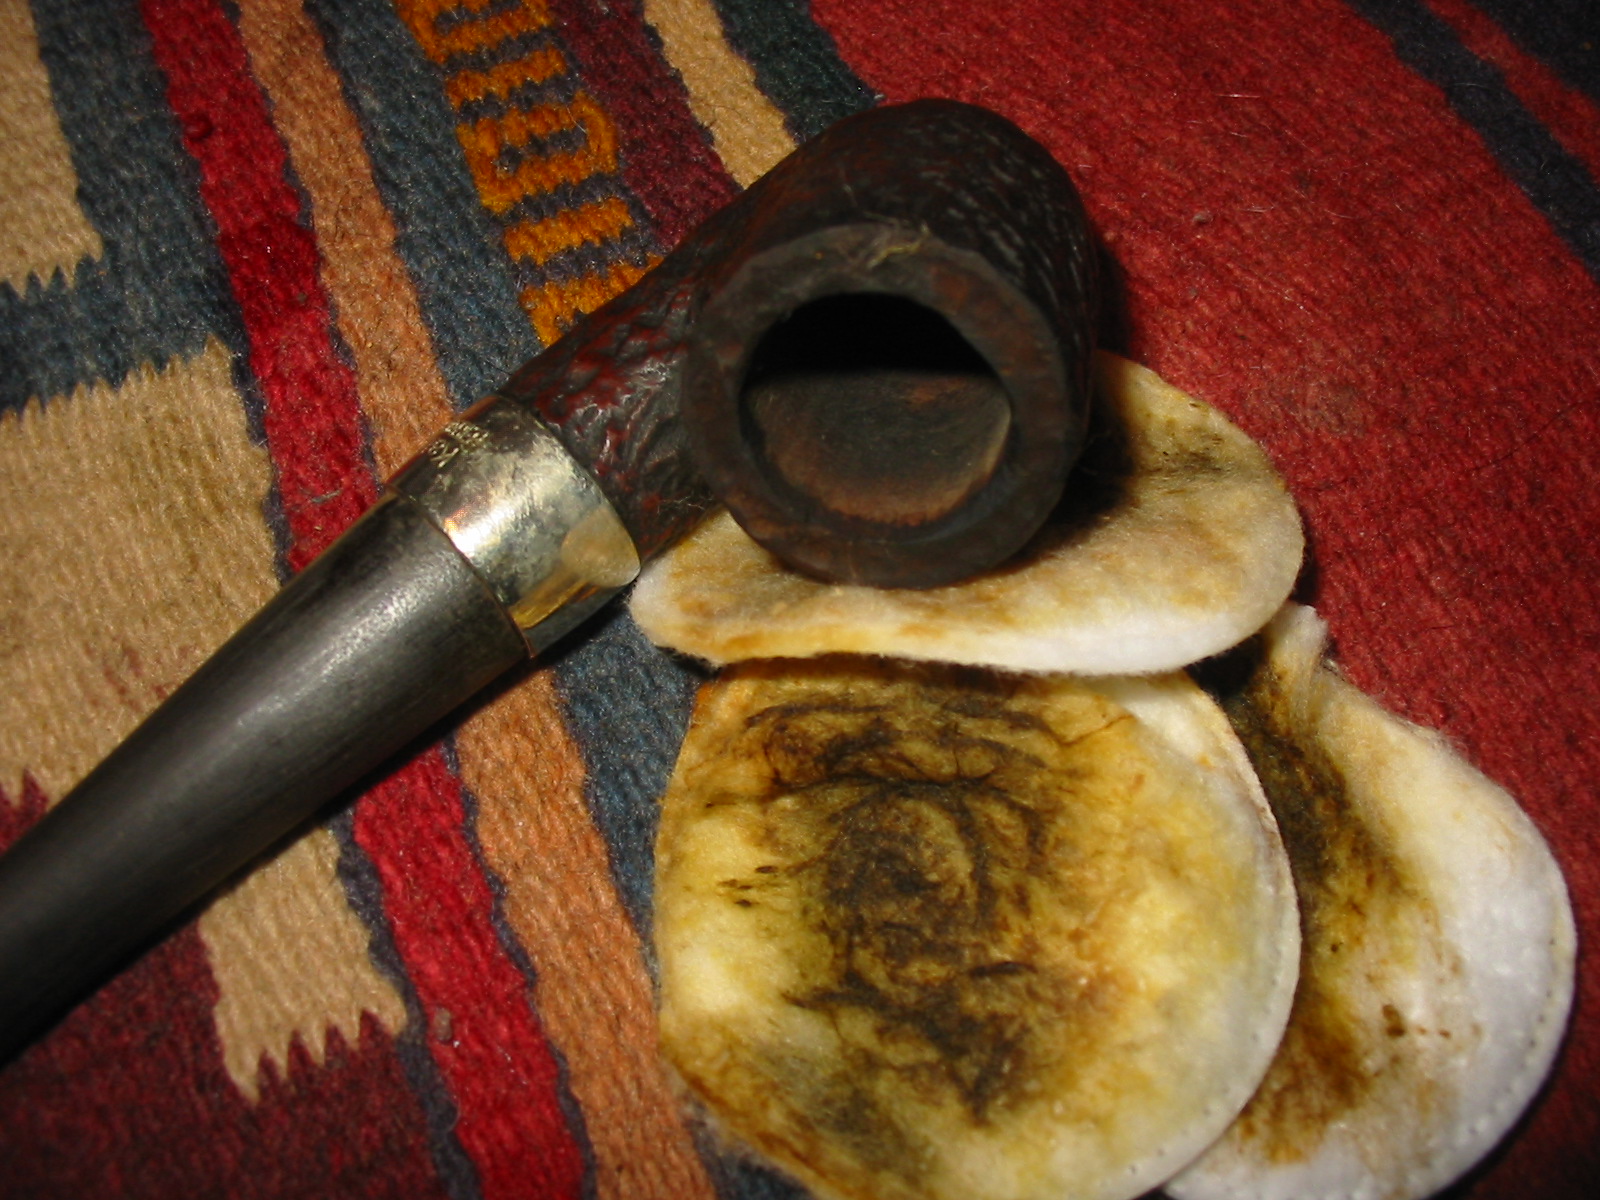
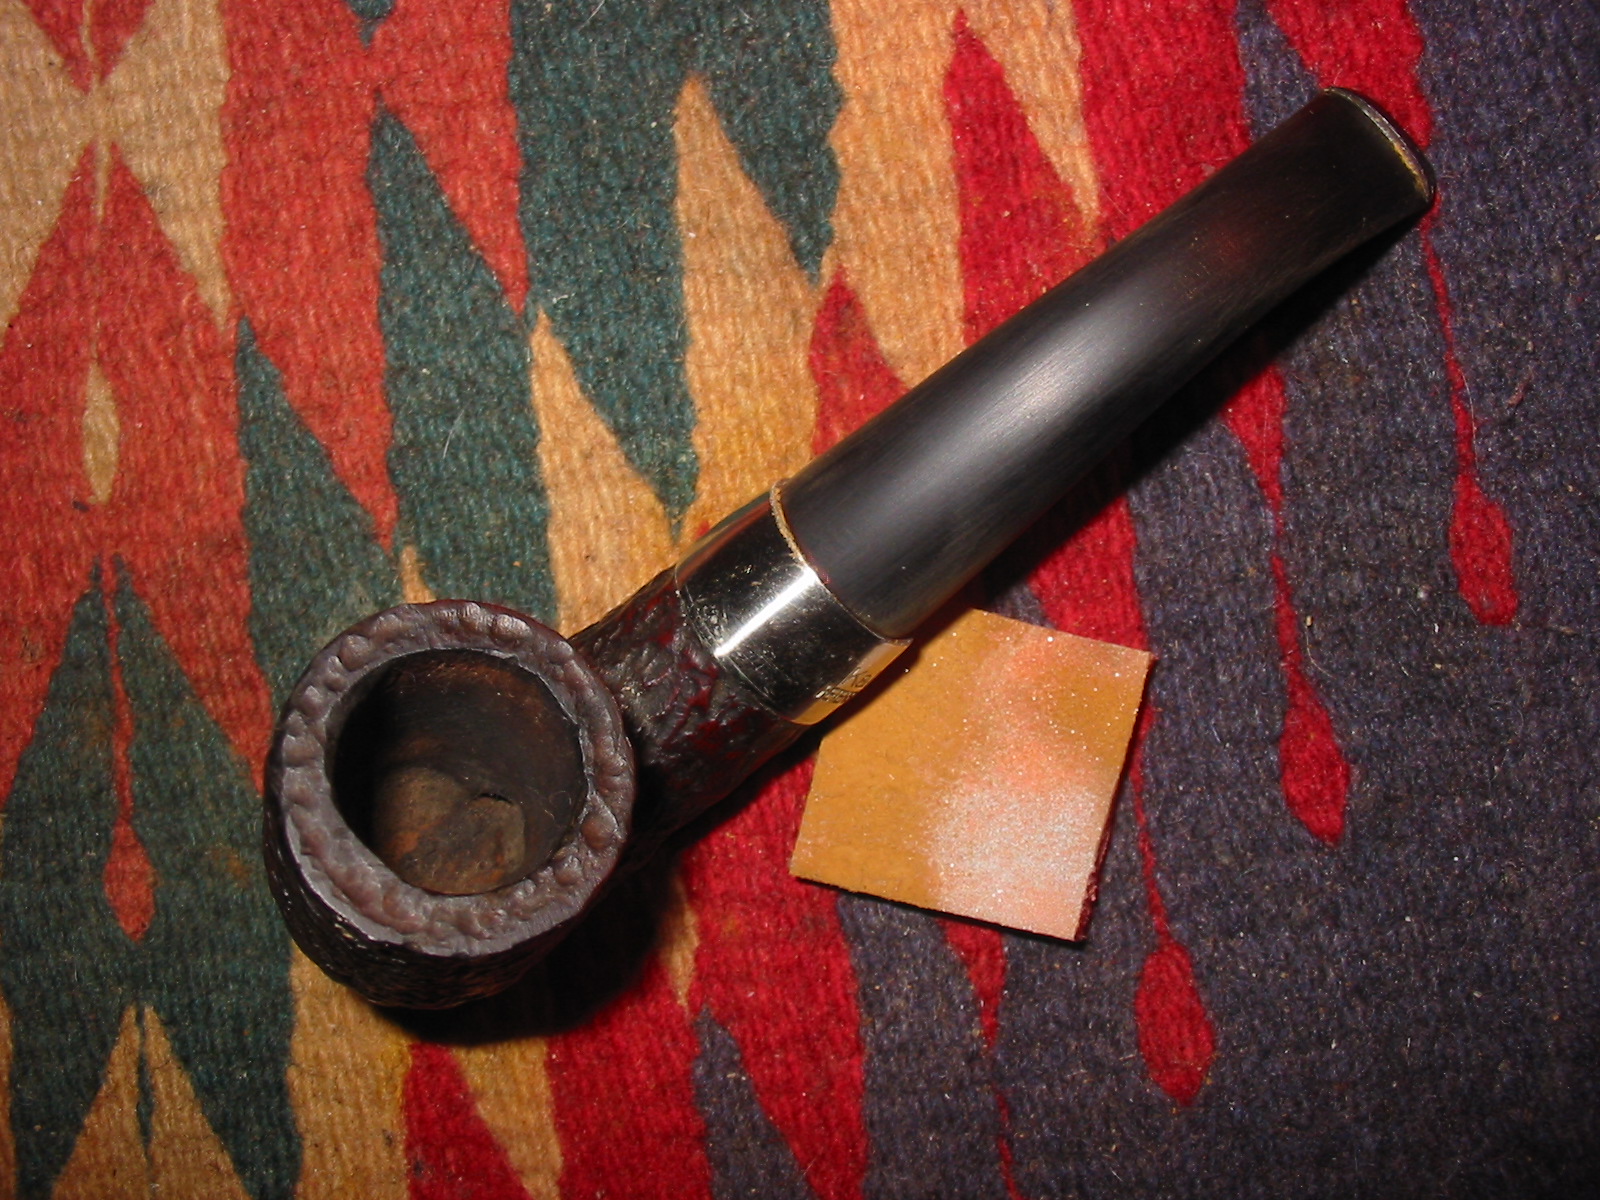
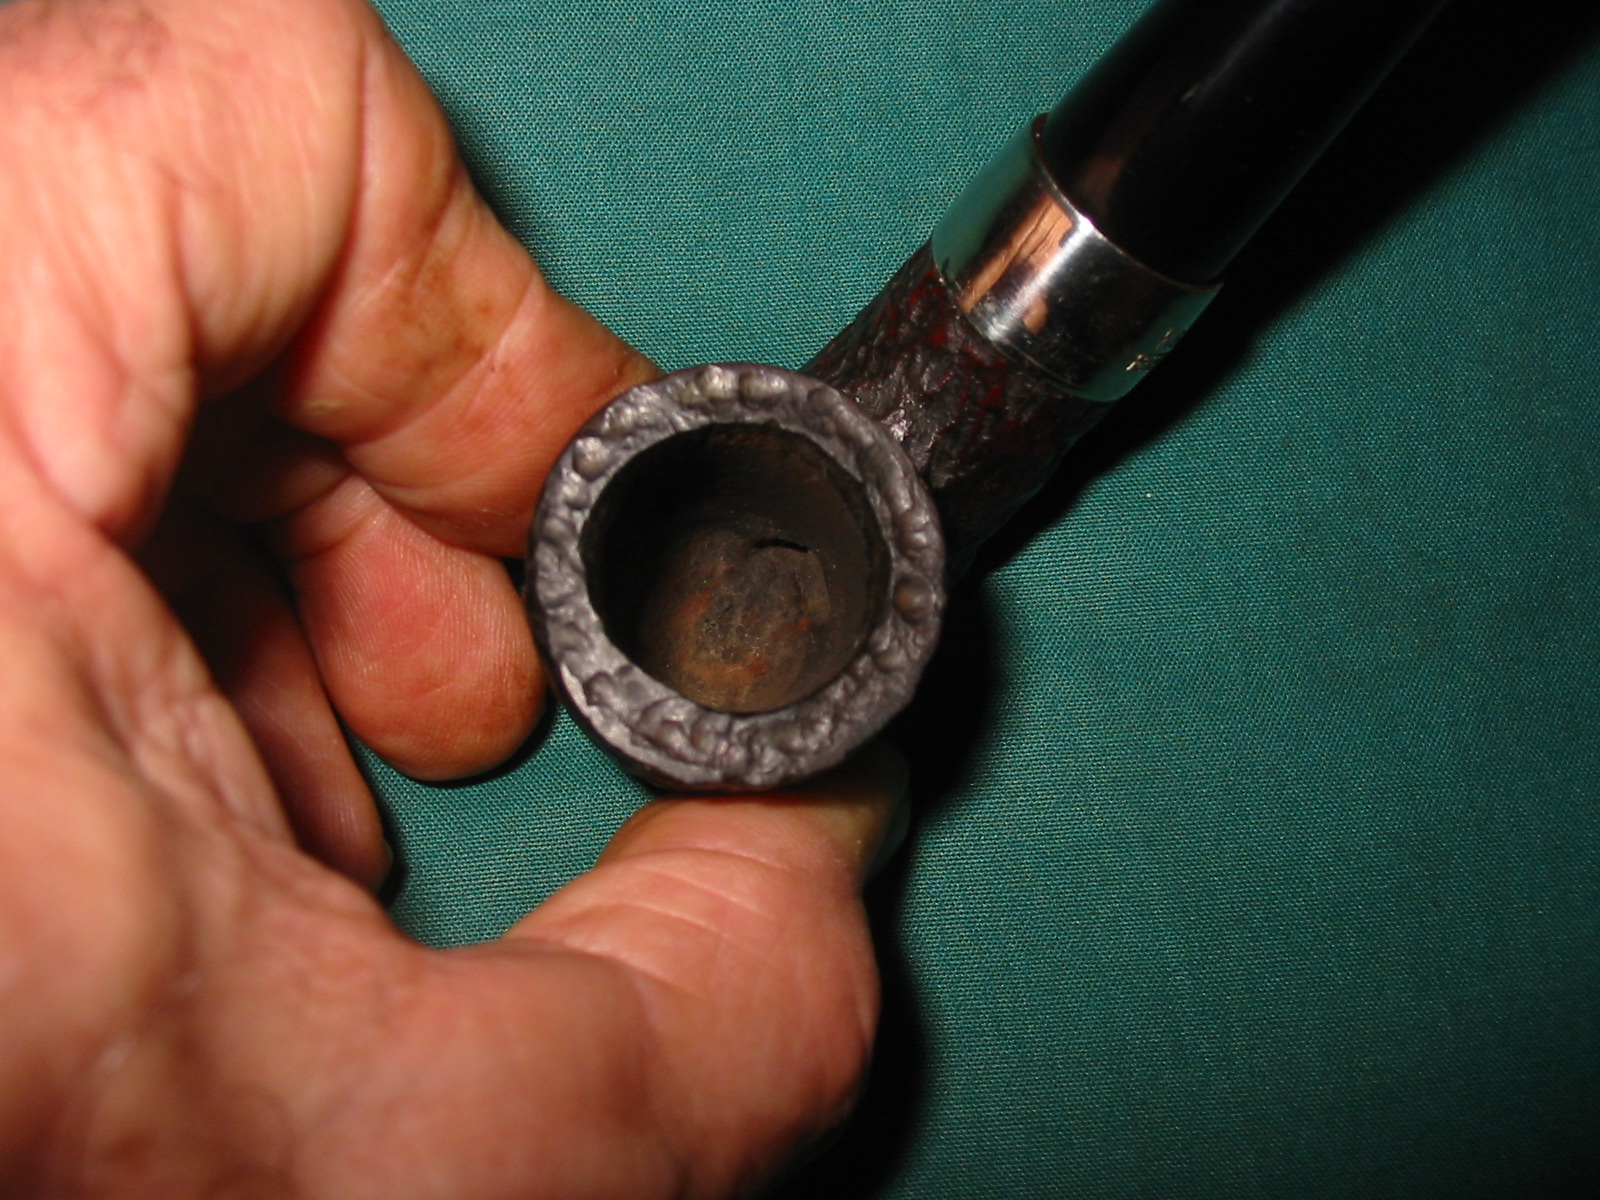
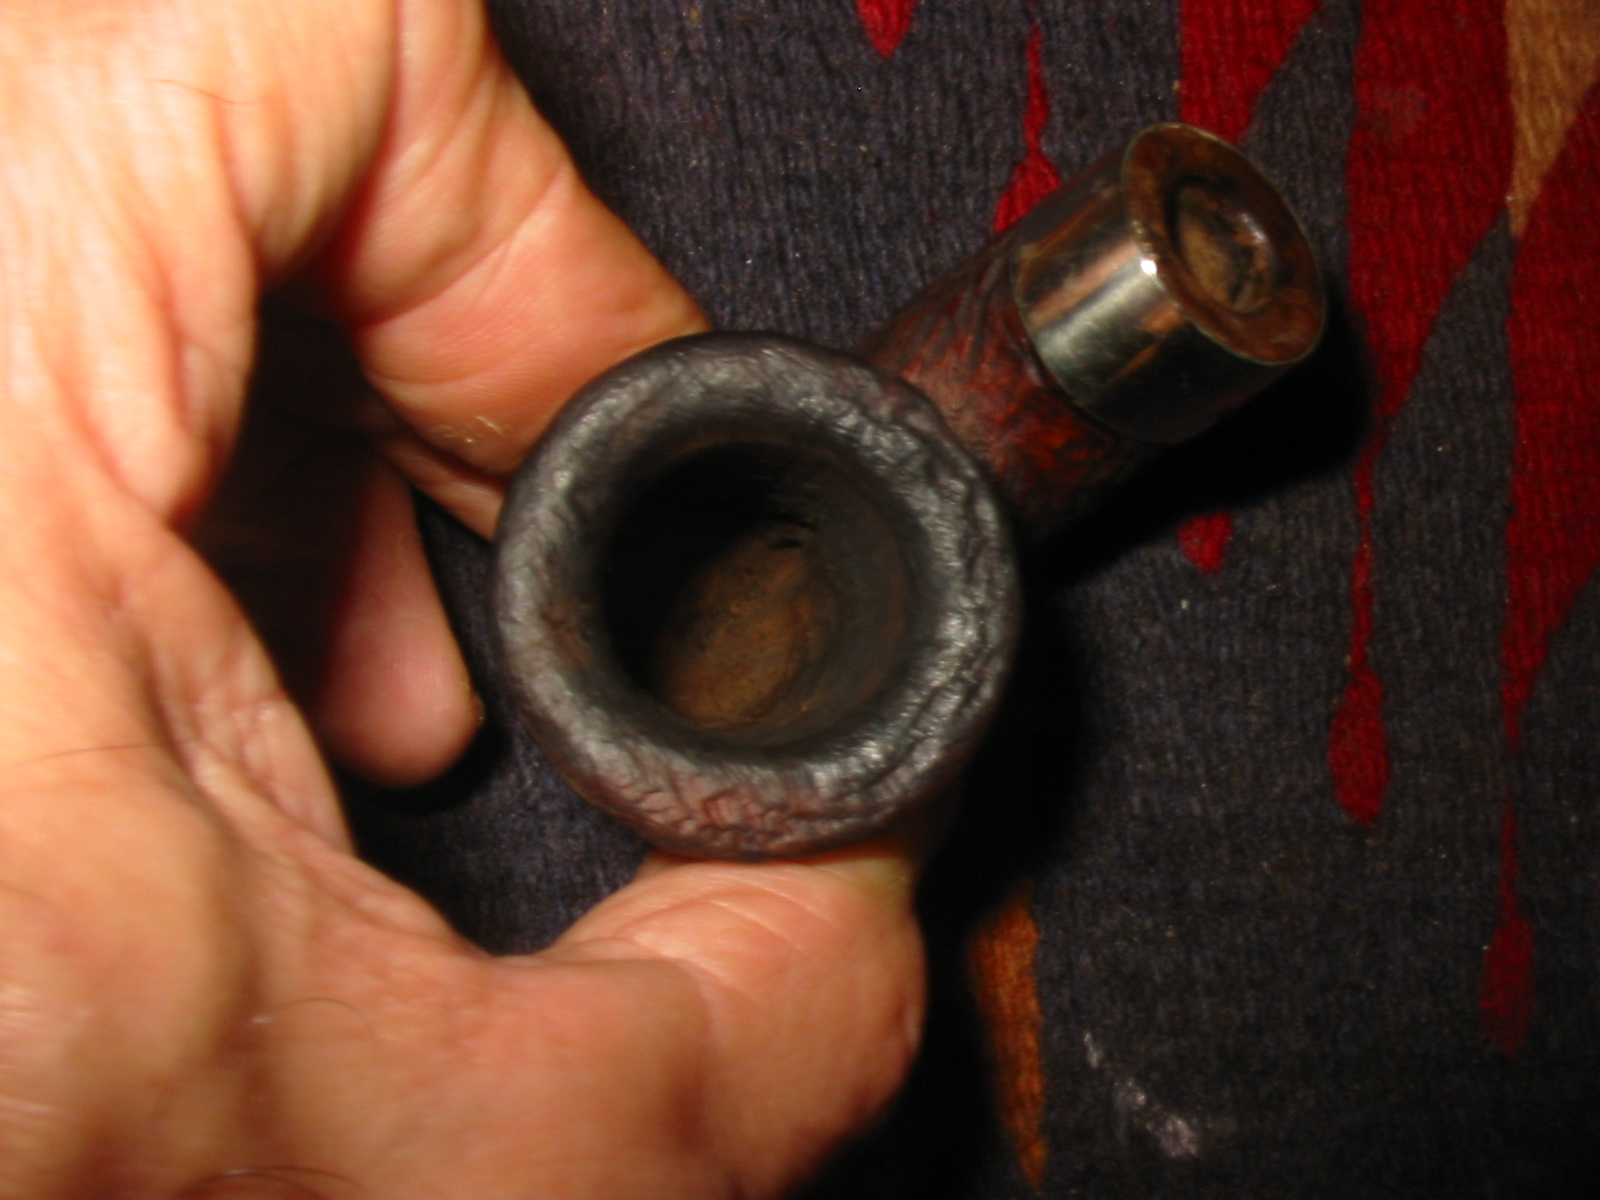
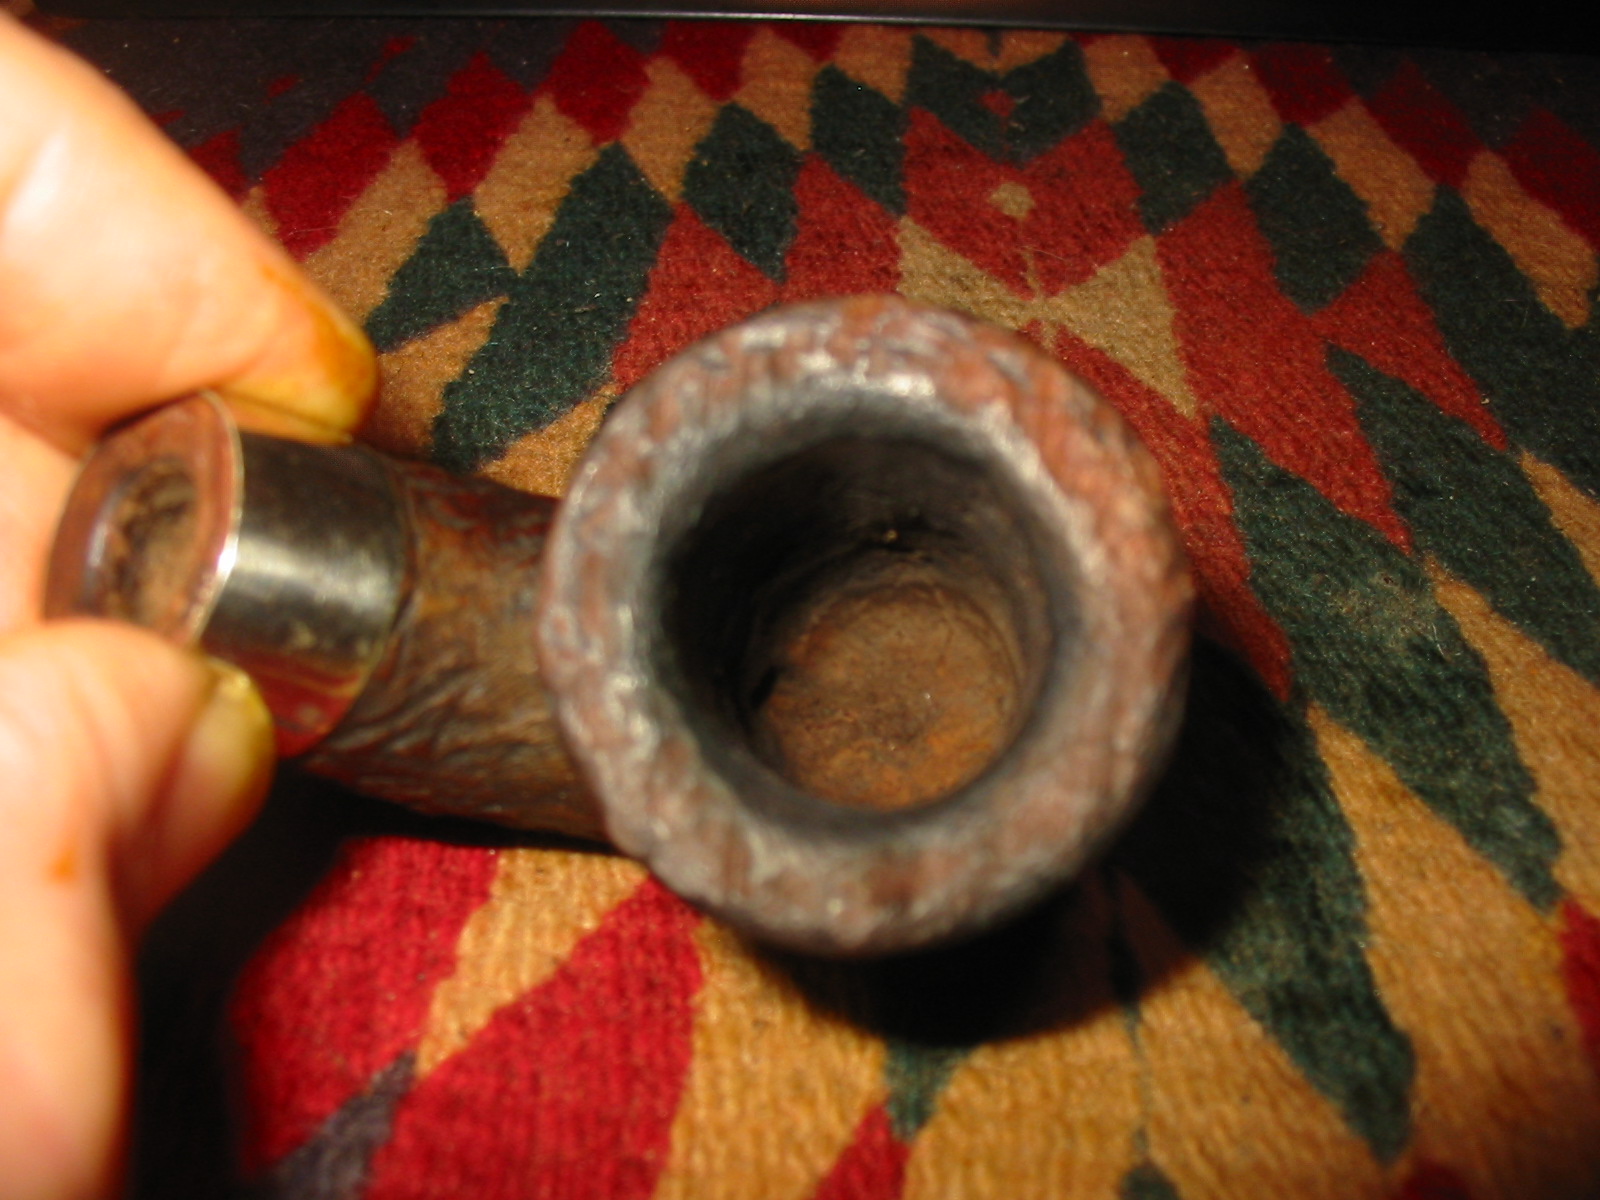
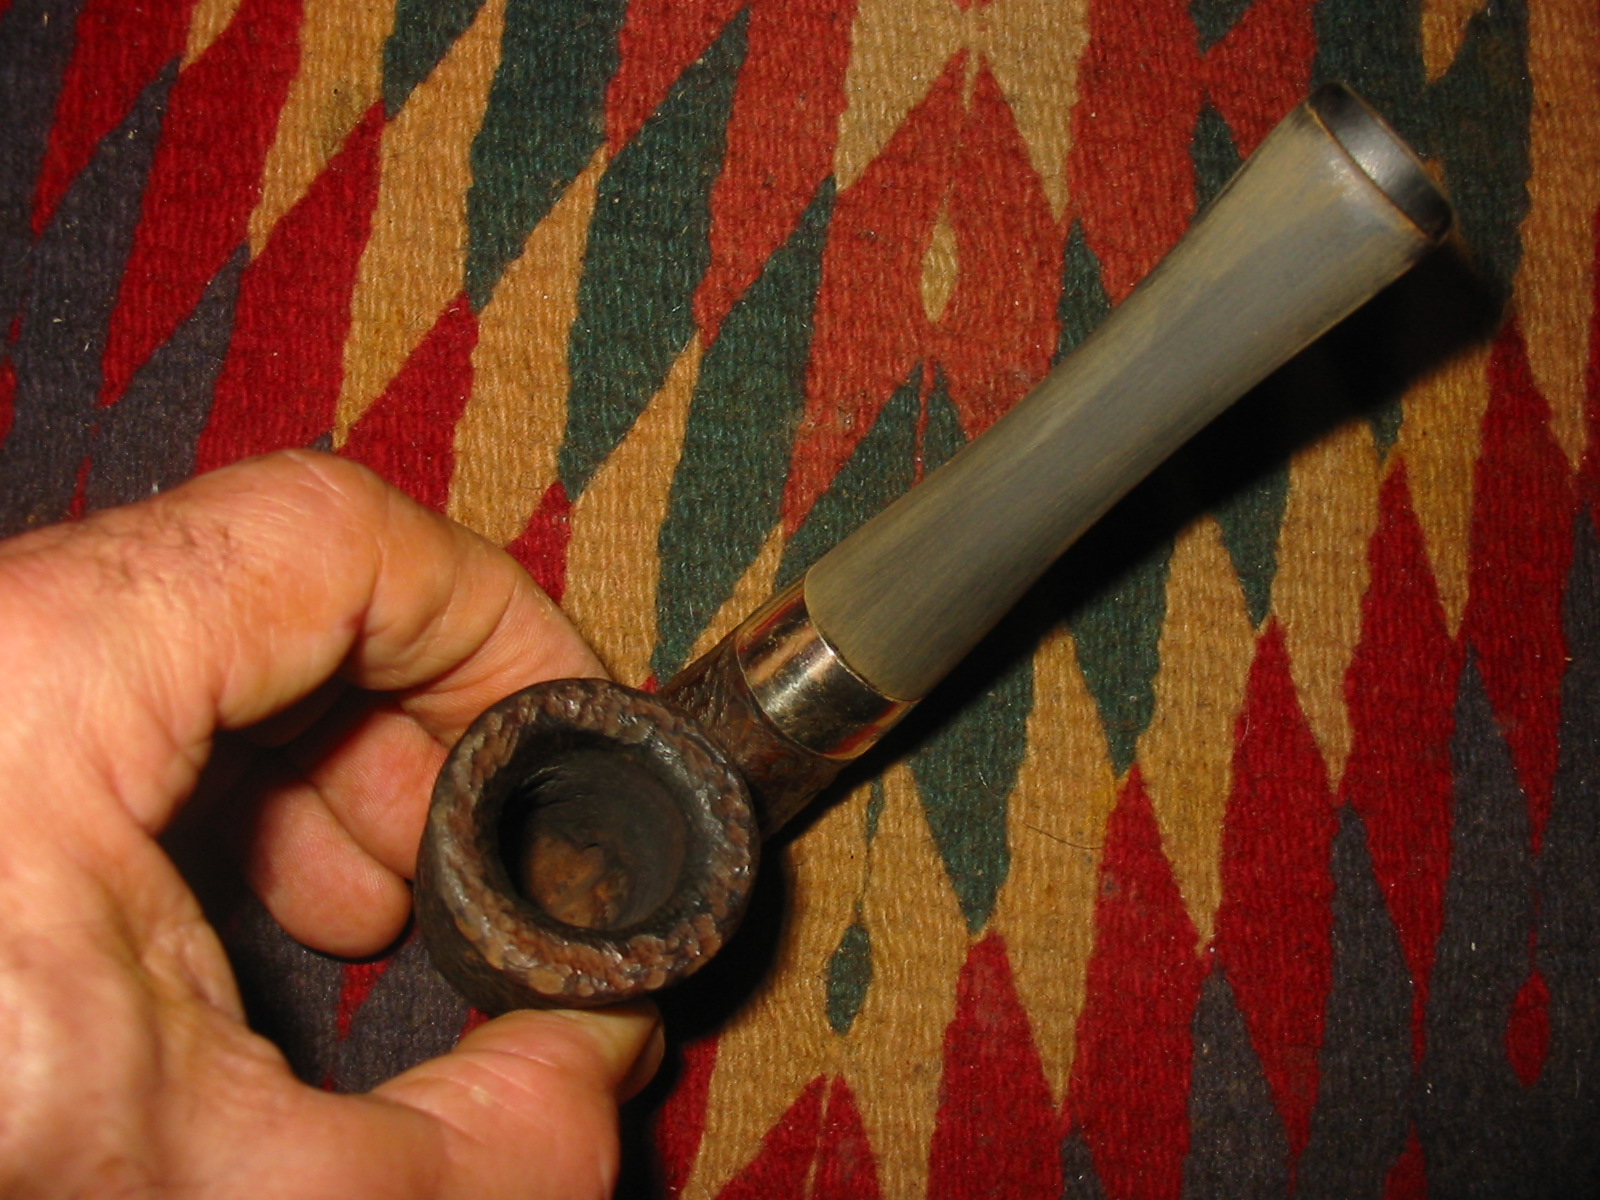
I took the dirty cotton balls out and washed out the bowl and shank with clean isopropyl alcohol and cotton swabs. While it was drying I scrubbed the rim with a brass tire brush to clean off the build up on the rustication. In the photo below the damage to the rustication is very evident. It is burned and worn smooth on the right front and side.
IMG_7173
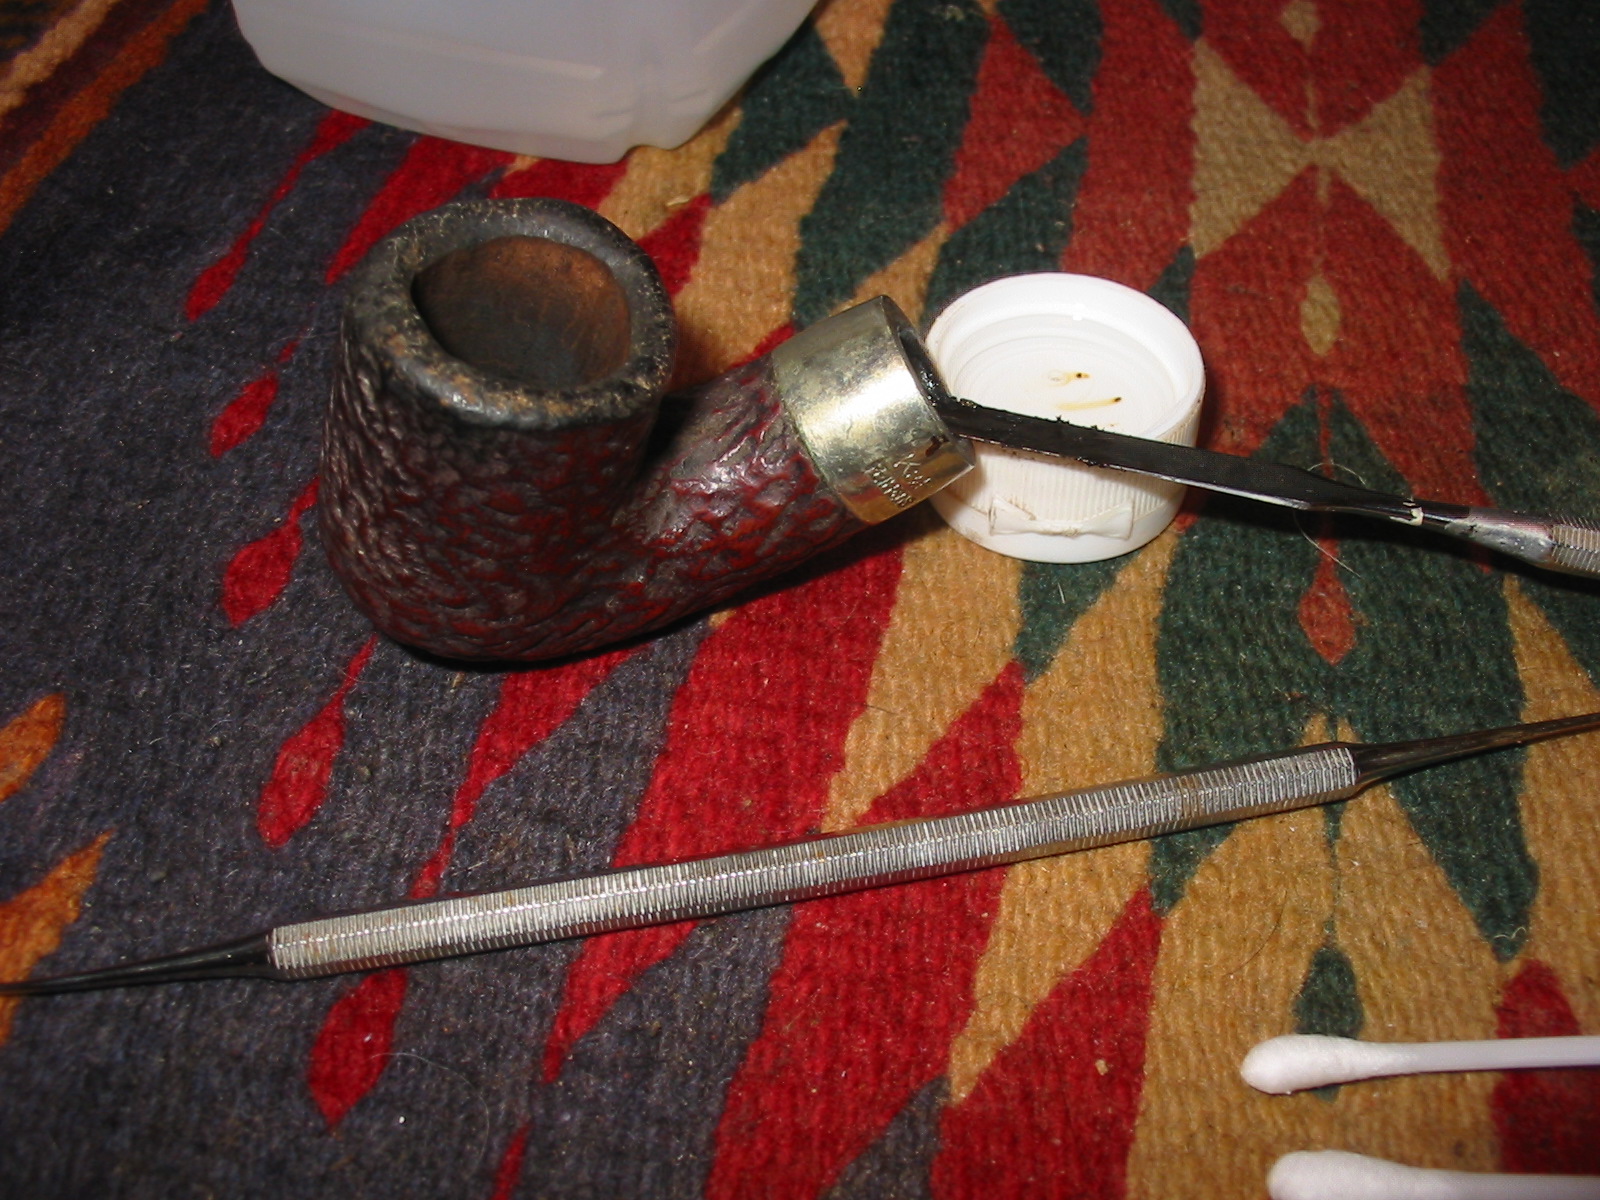
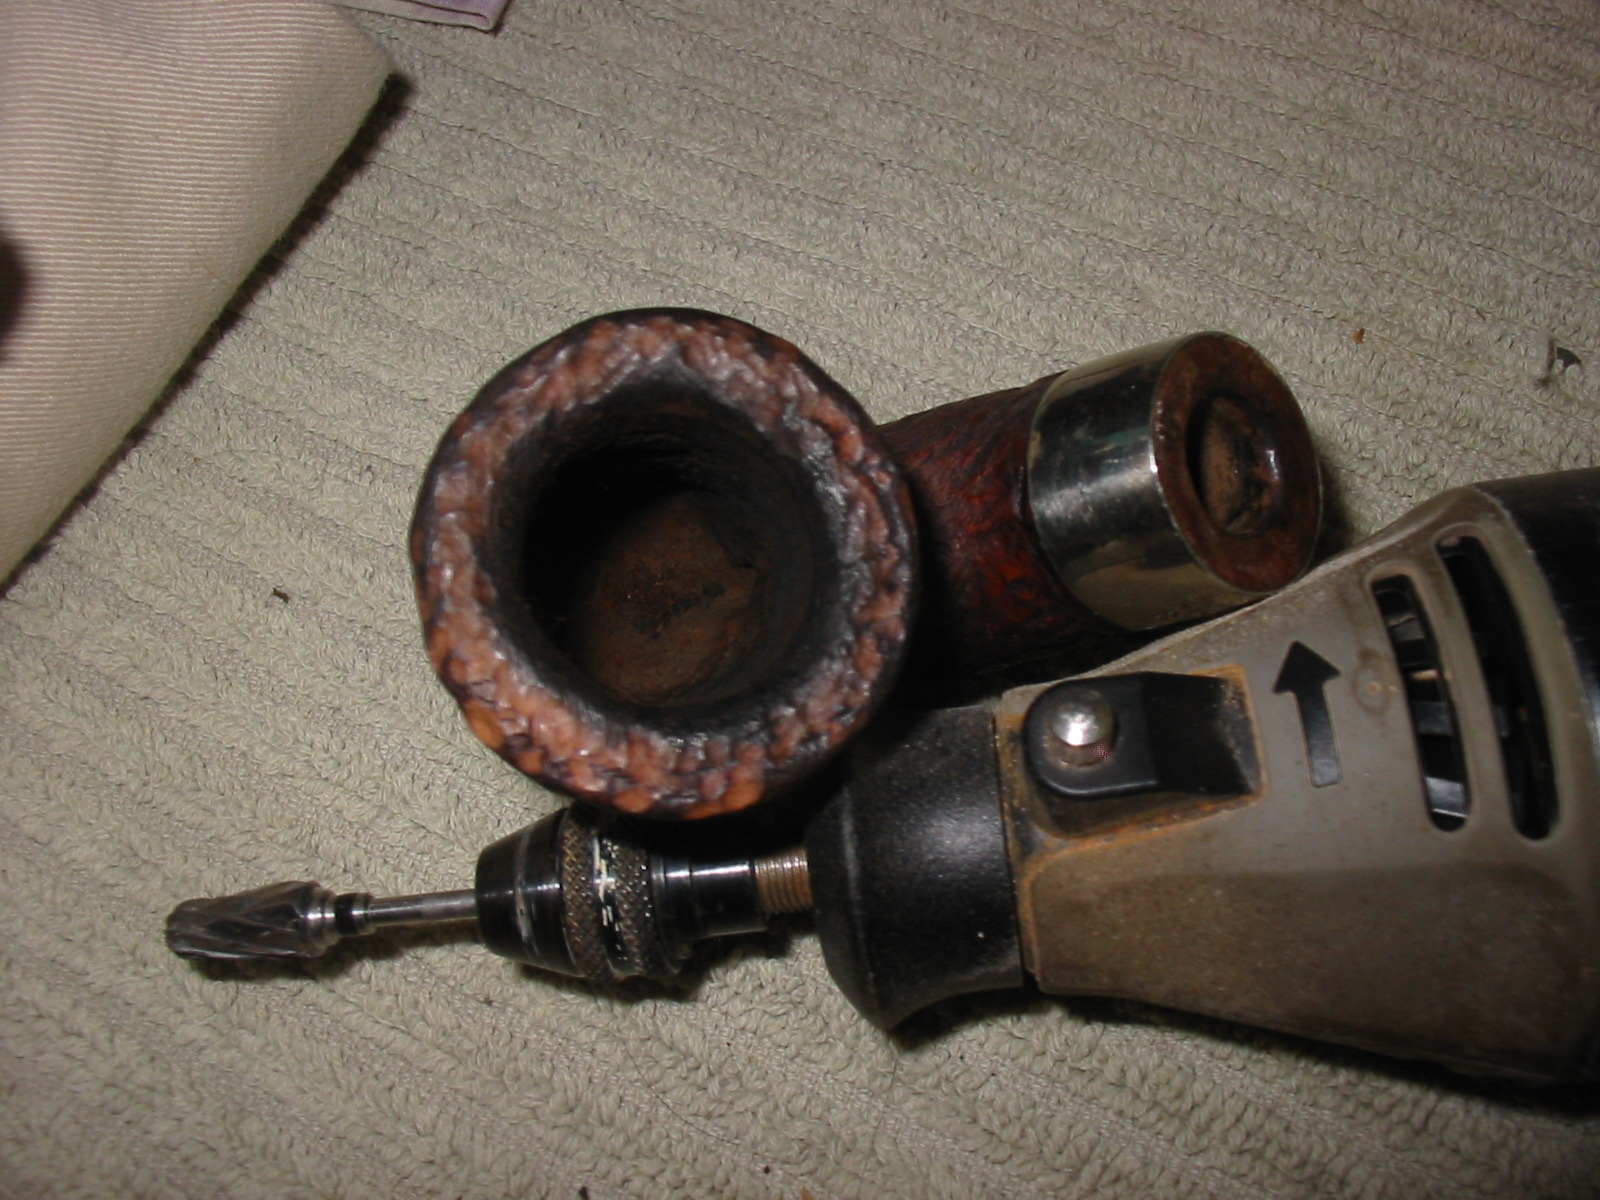
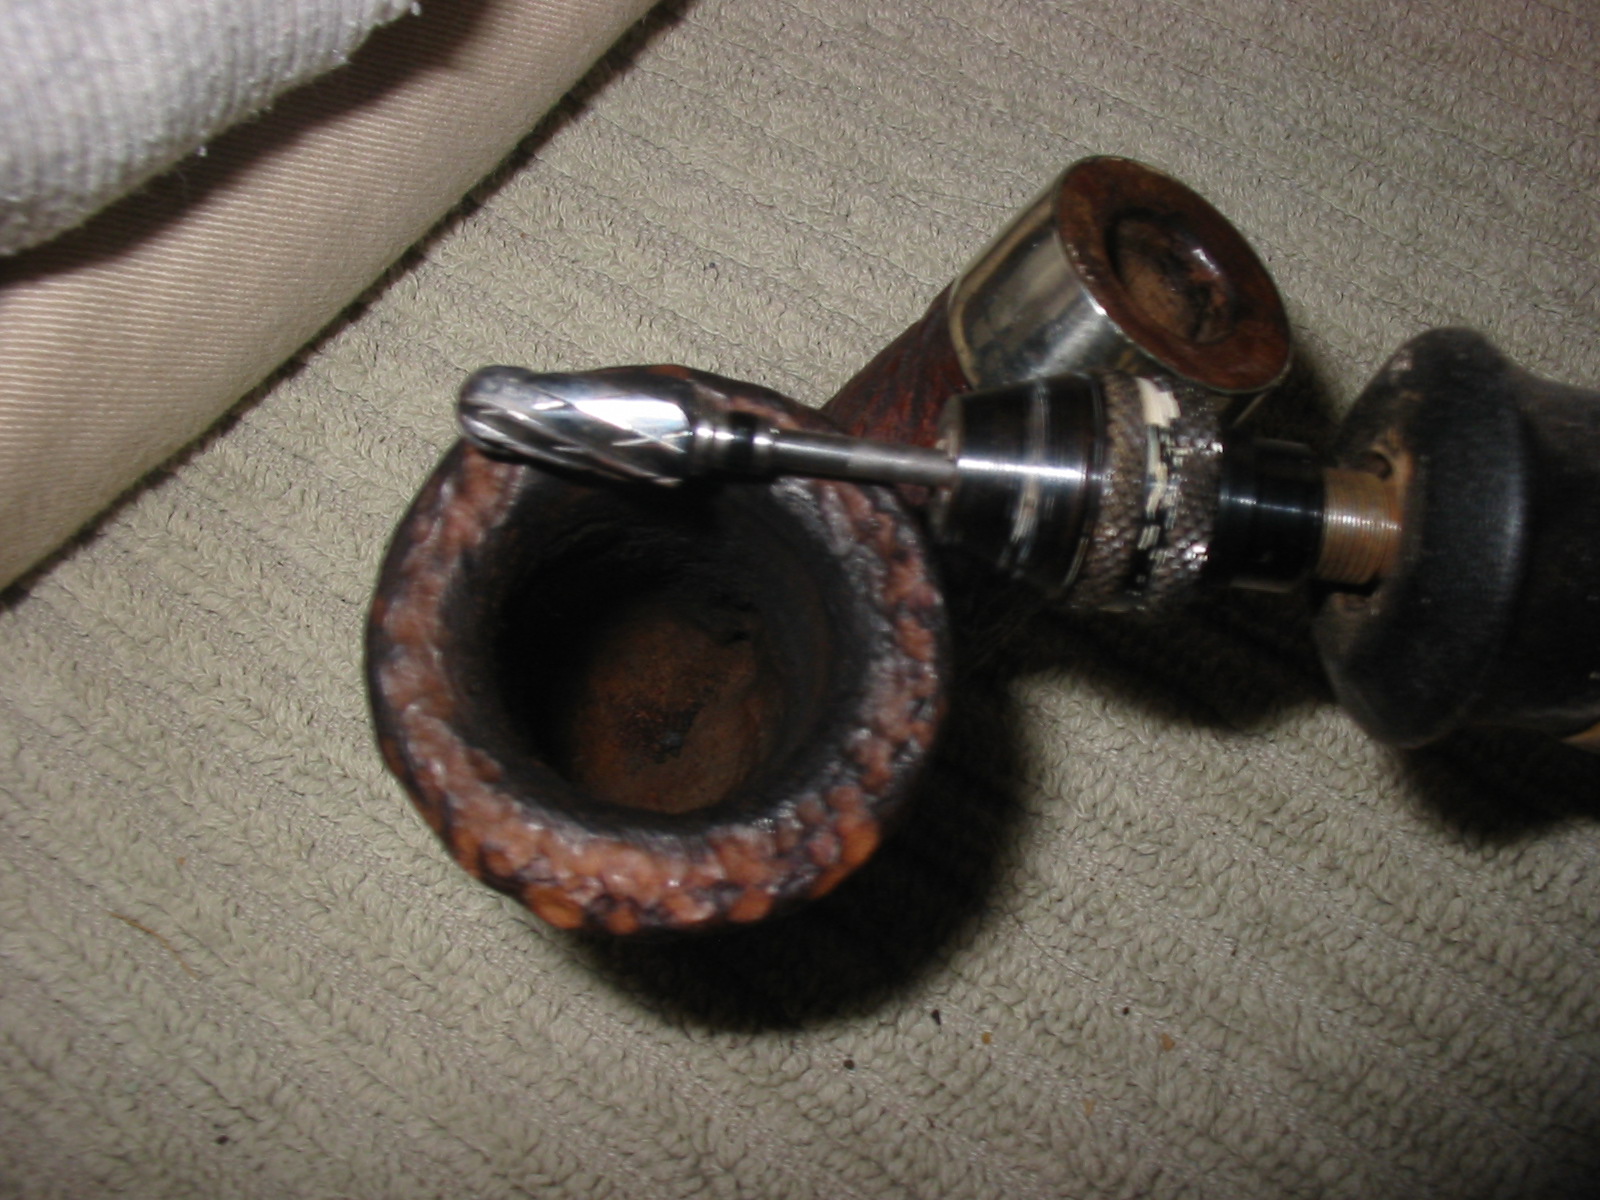
I used the Dremel with one of the burs that Joyal gave me to re-rusticate the rim. I followed the patter on the portions of the rim that were still visible and tried to duplicate them on the rest of the rim.
IMG_7174

IMG_7175
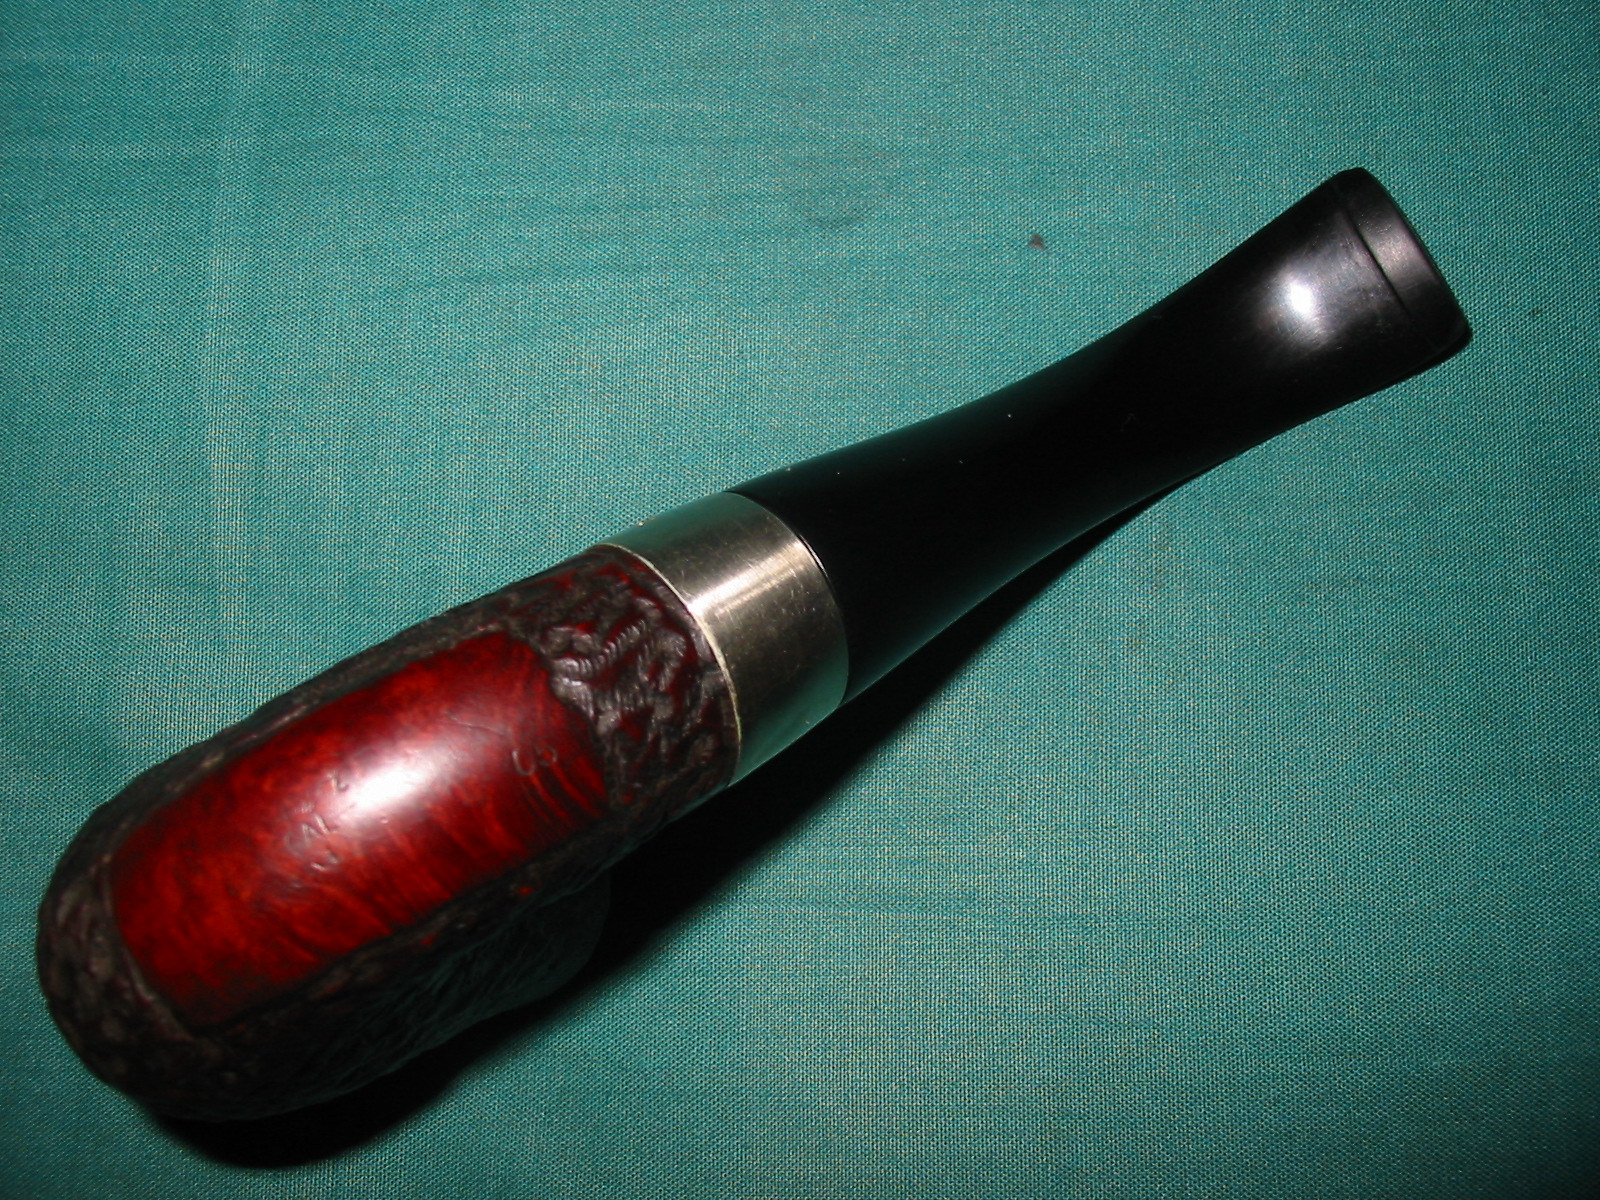
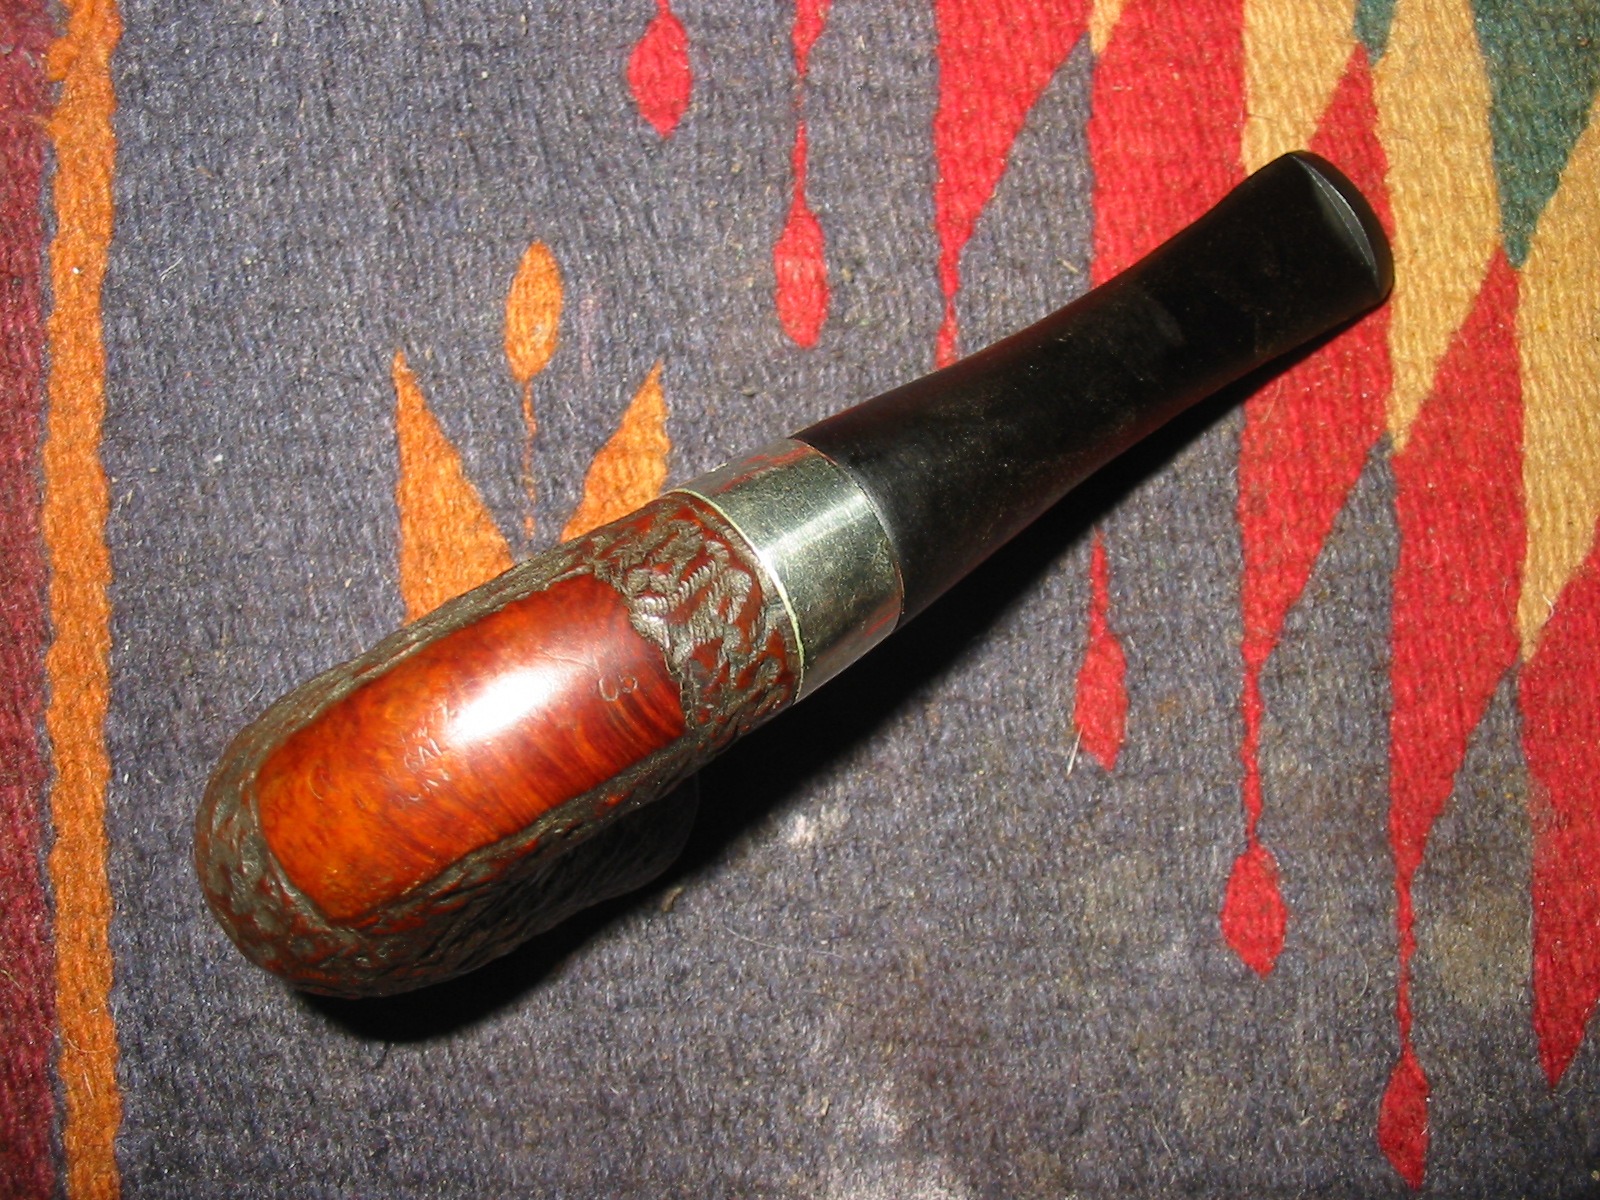
After rusticating the rim I restained it with a dark brown aniline stain. I applied the stain, flamed it and repeated the process until the coverage was even across the rim. I stained the bowl with the dark brown stain as well and flamed it.
IMG_7177

IMG_7178
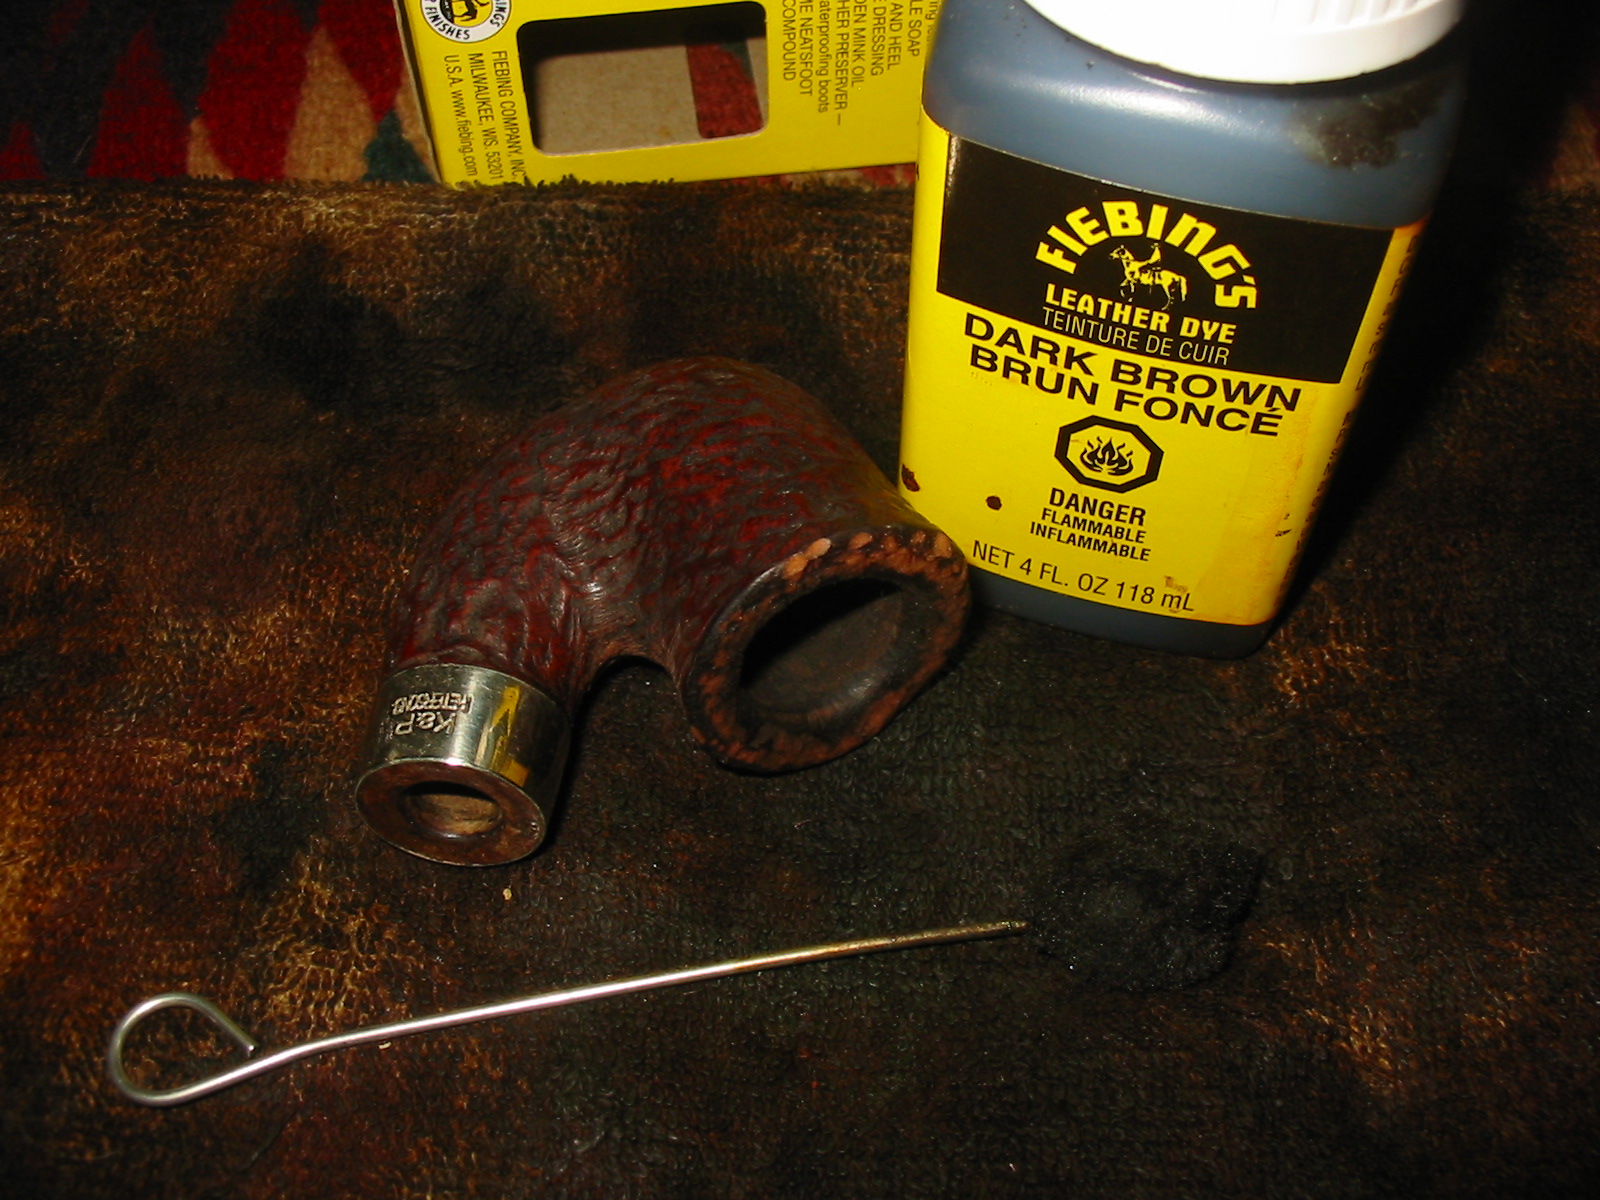
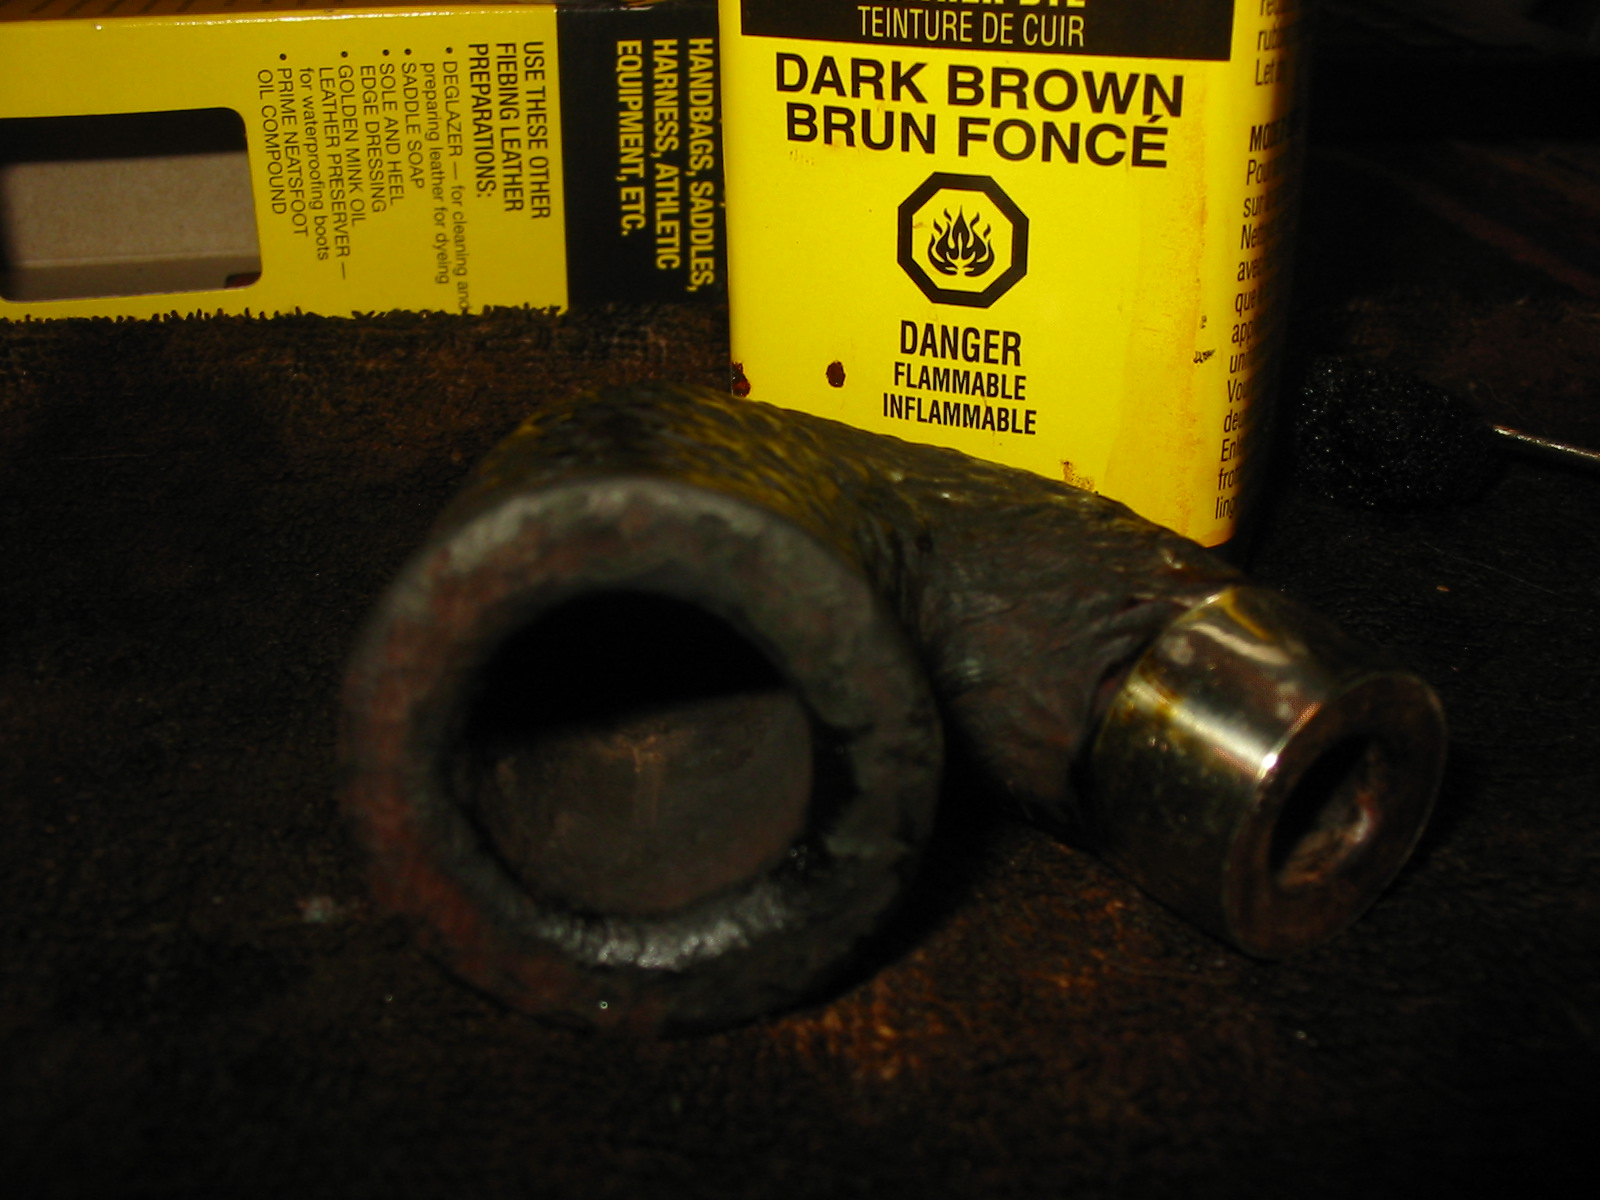
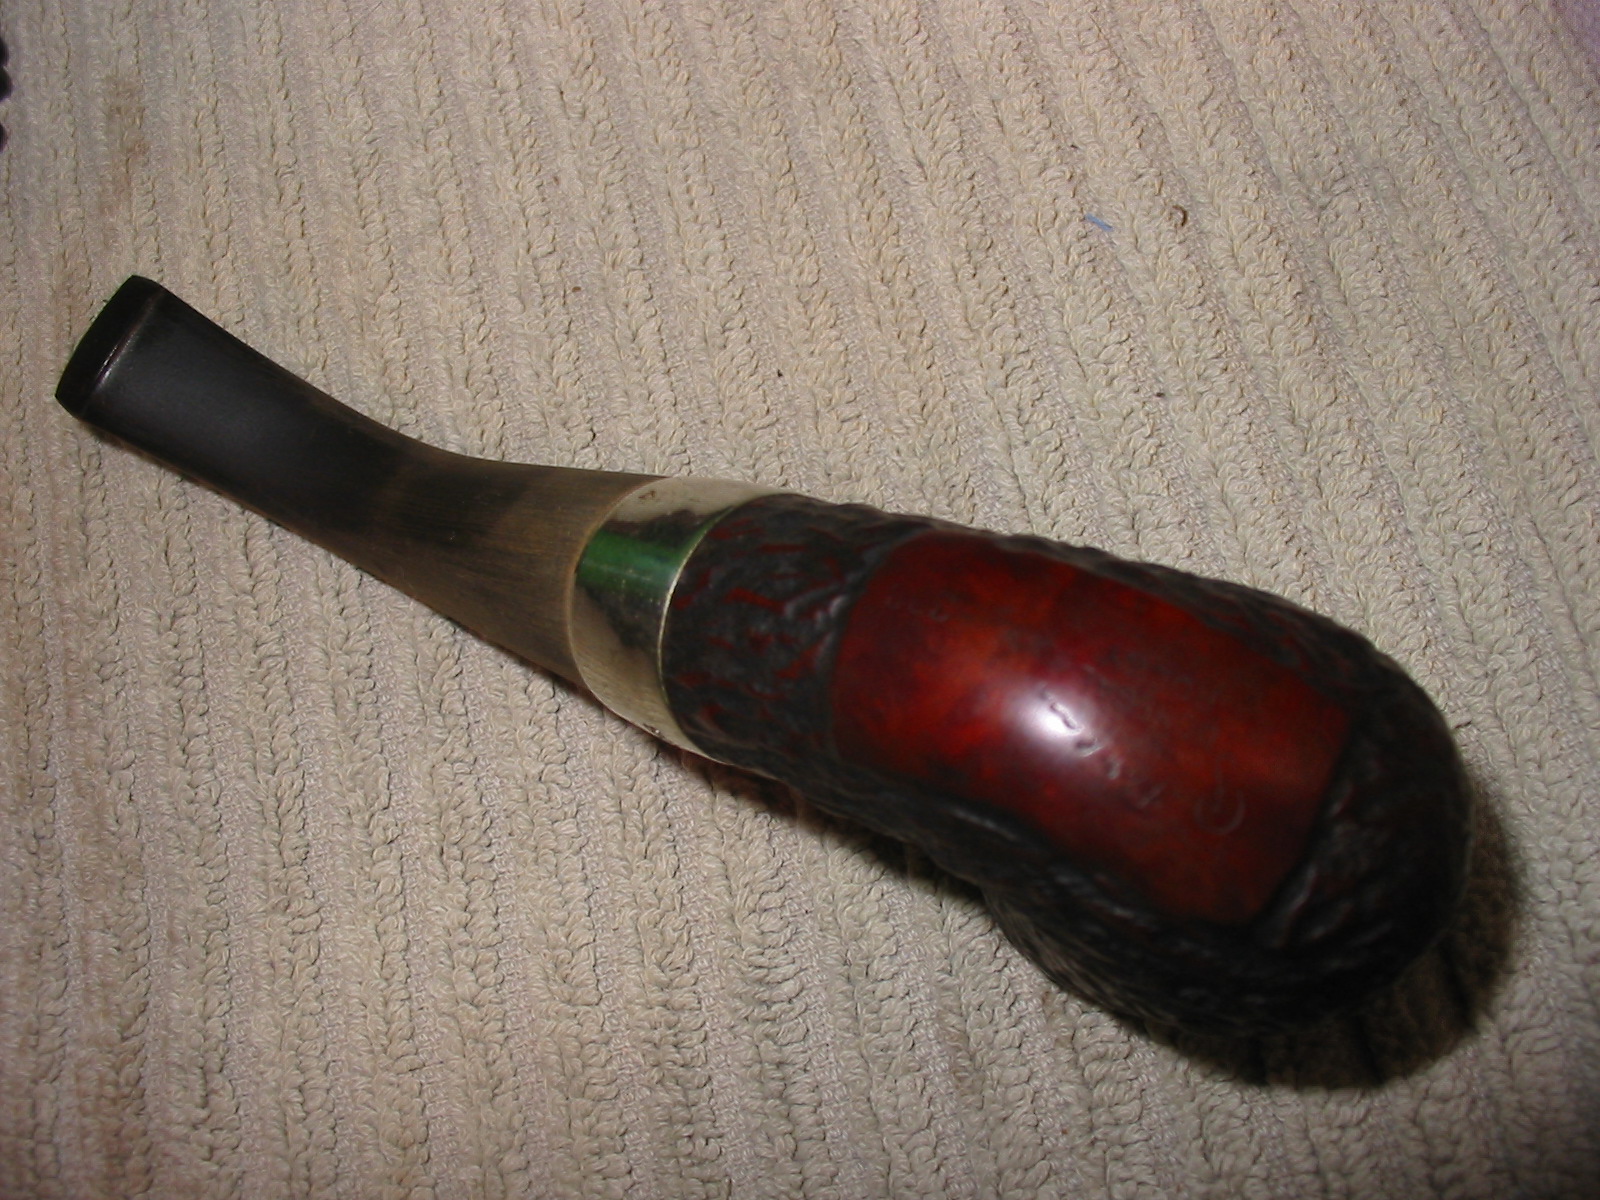
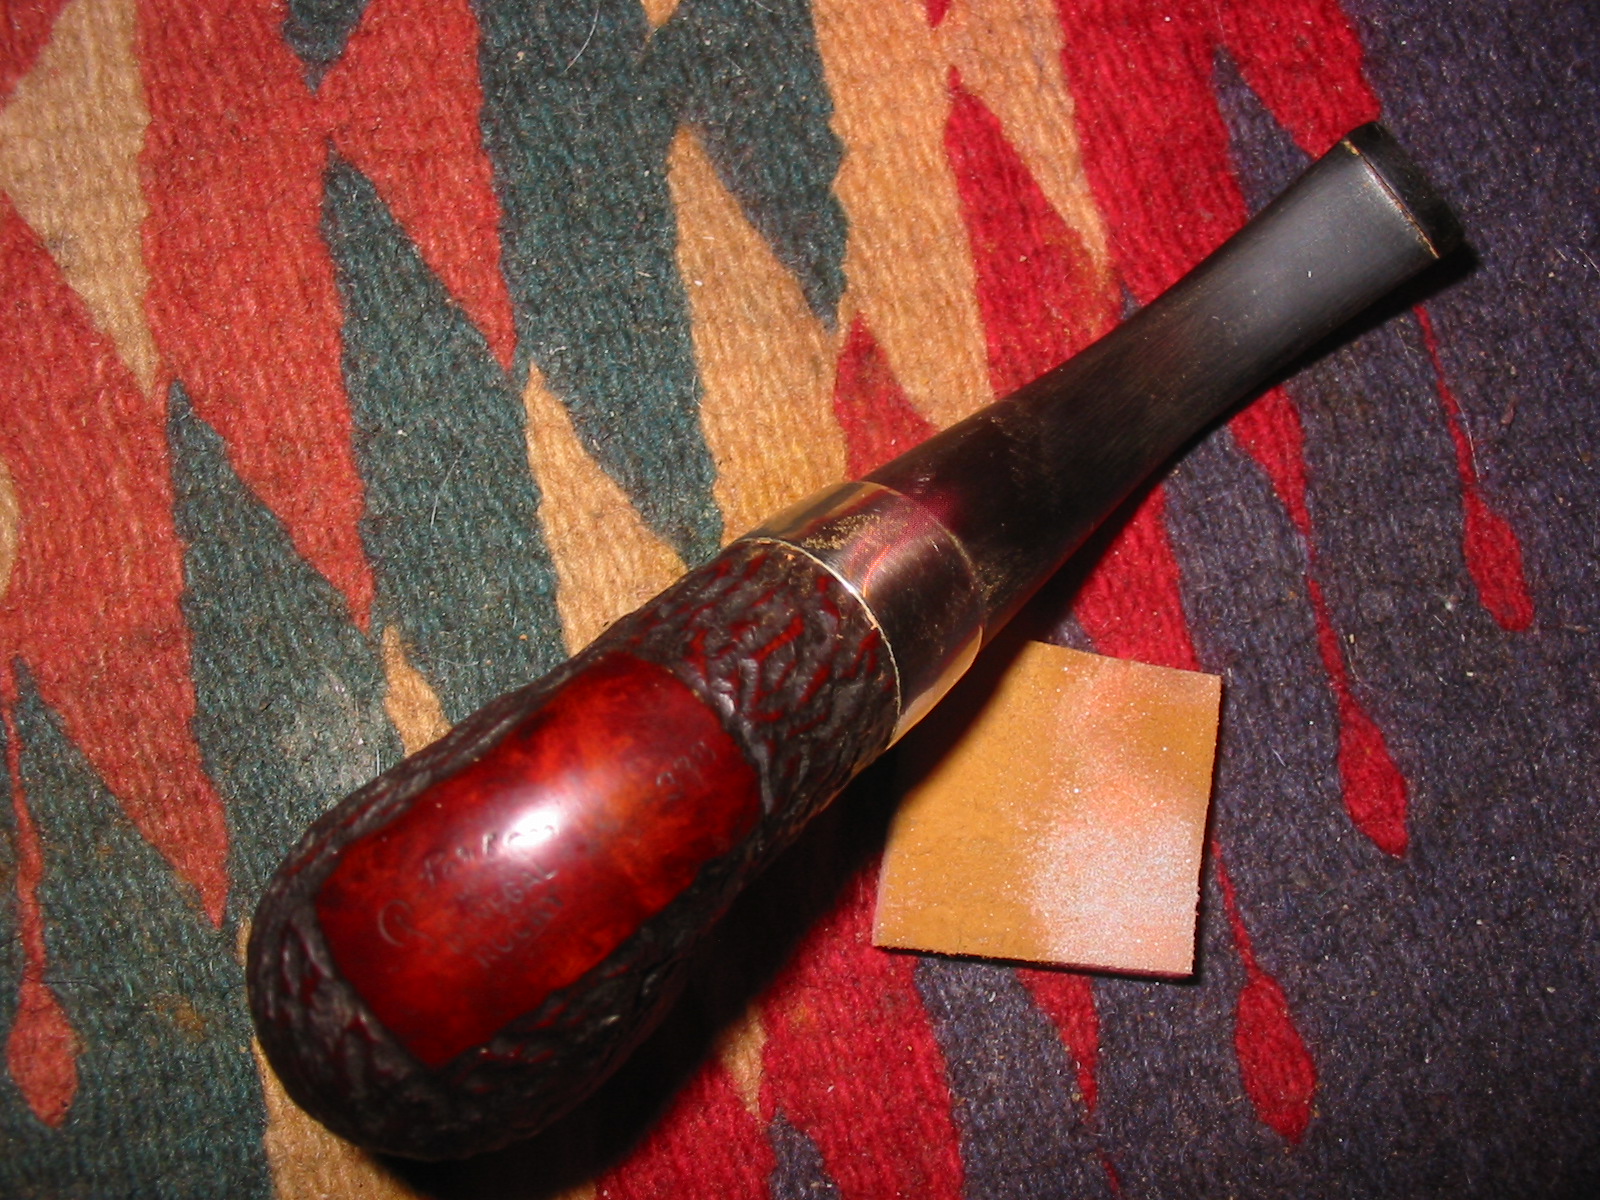
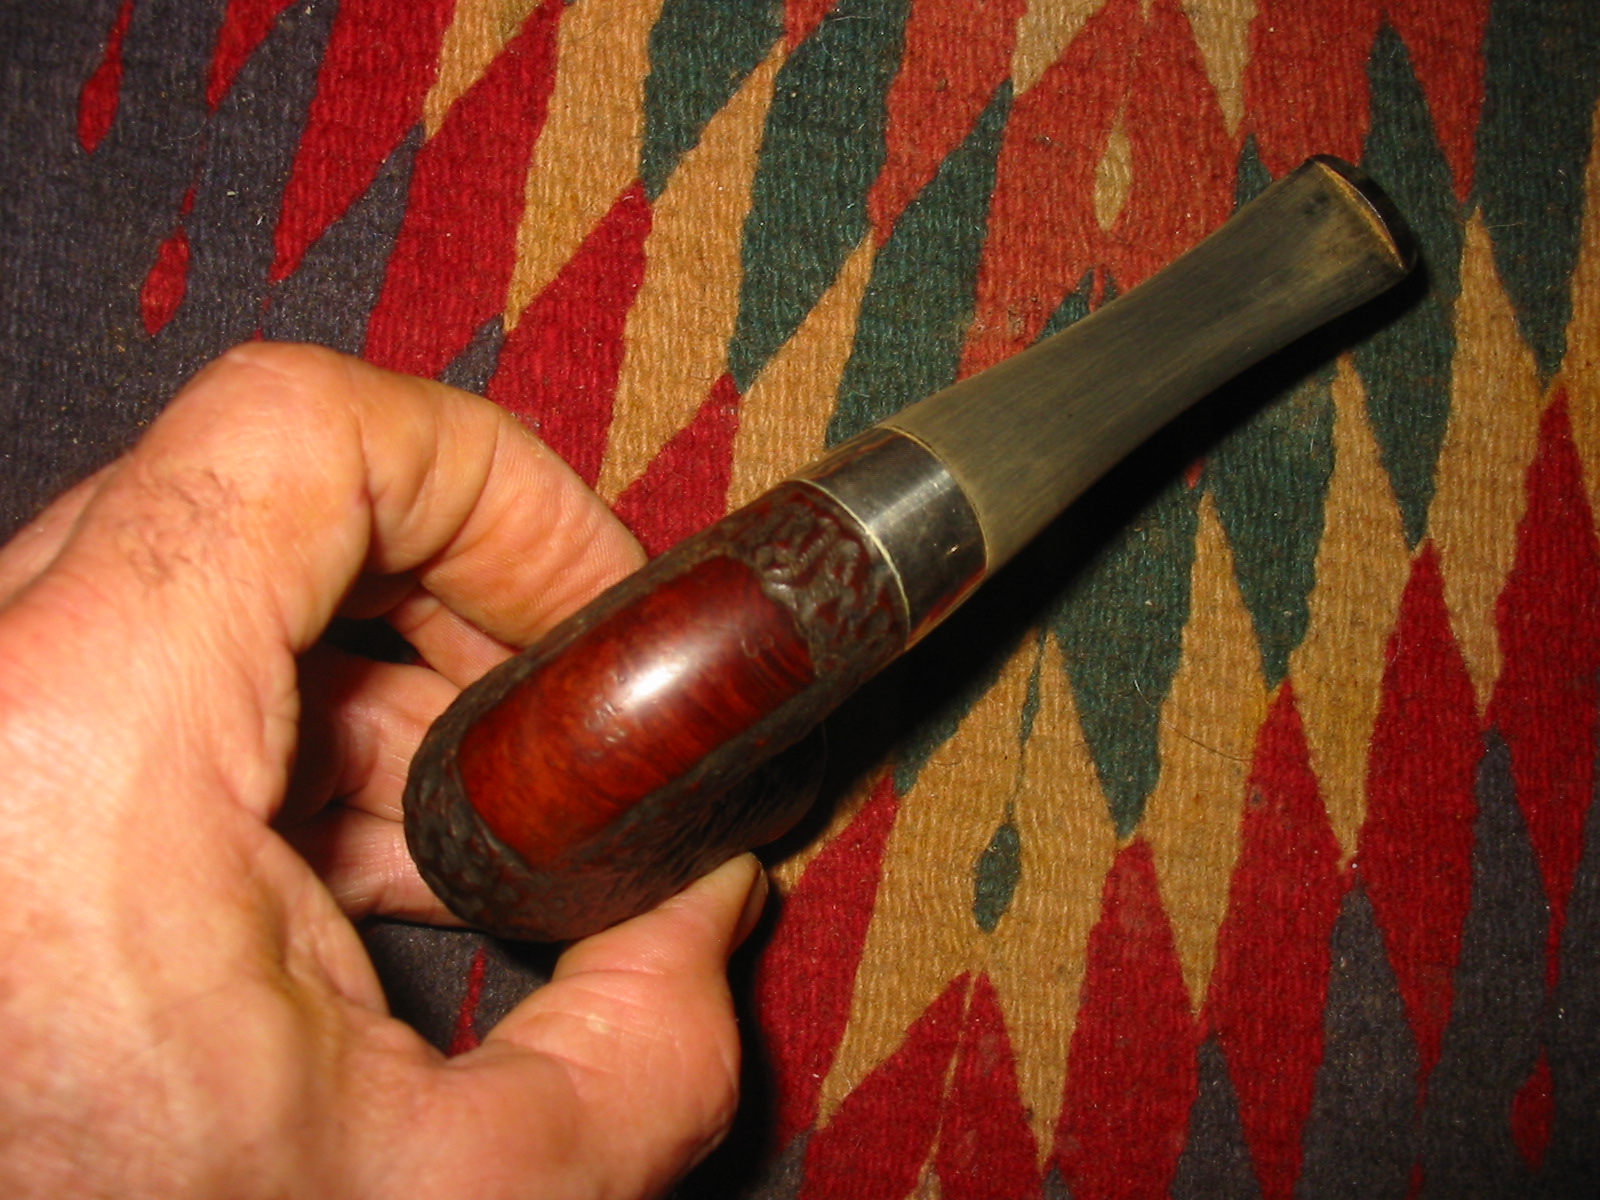
The brown stain was too opaque and the contrast between the dark in the crevices and grooves of the briar and the lighter brown on the high spots was gone. I wiped the bowl down with acetone on a cotton pad until I had the contrast that I was aiming for.
IMG_7179

IMG_7180

IMG_7183
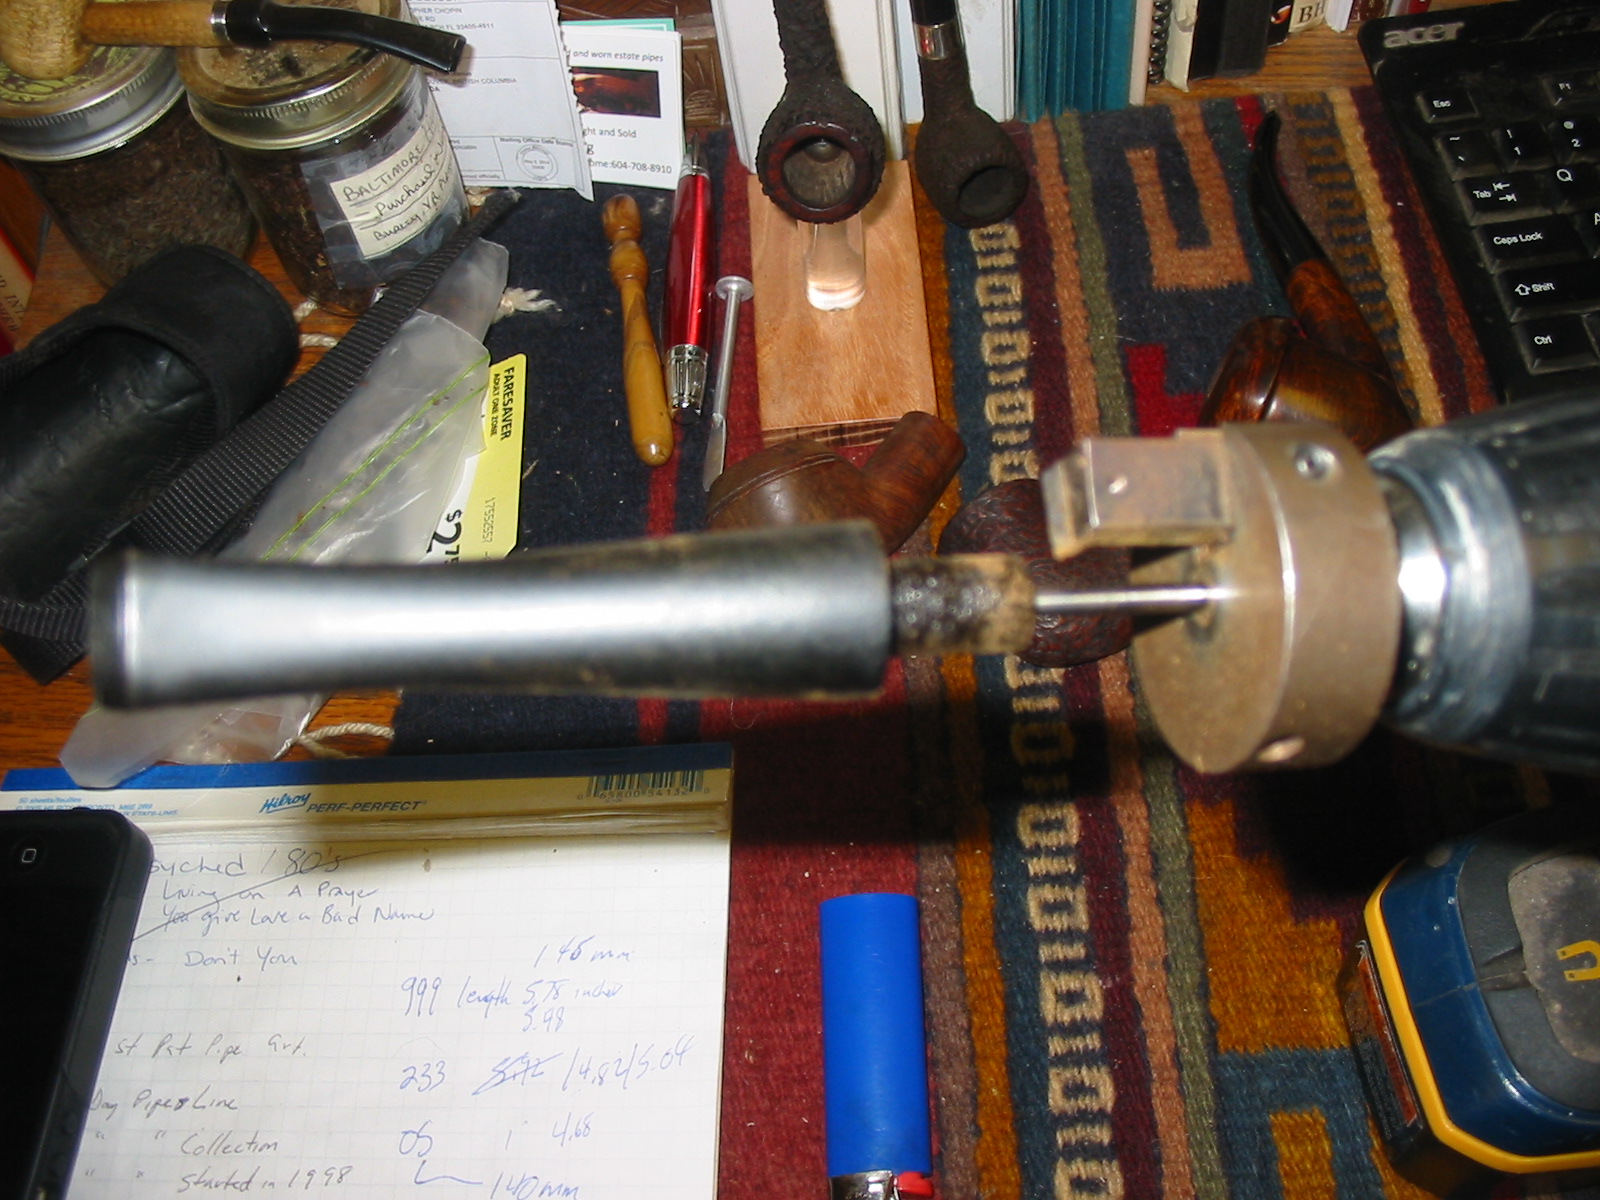
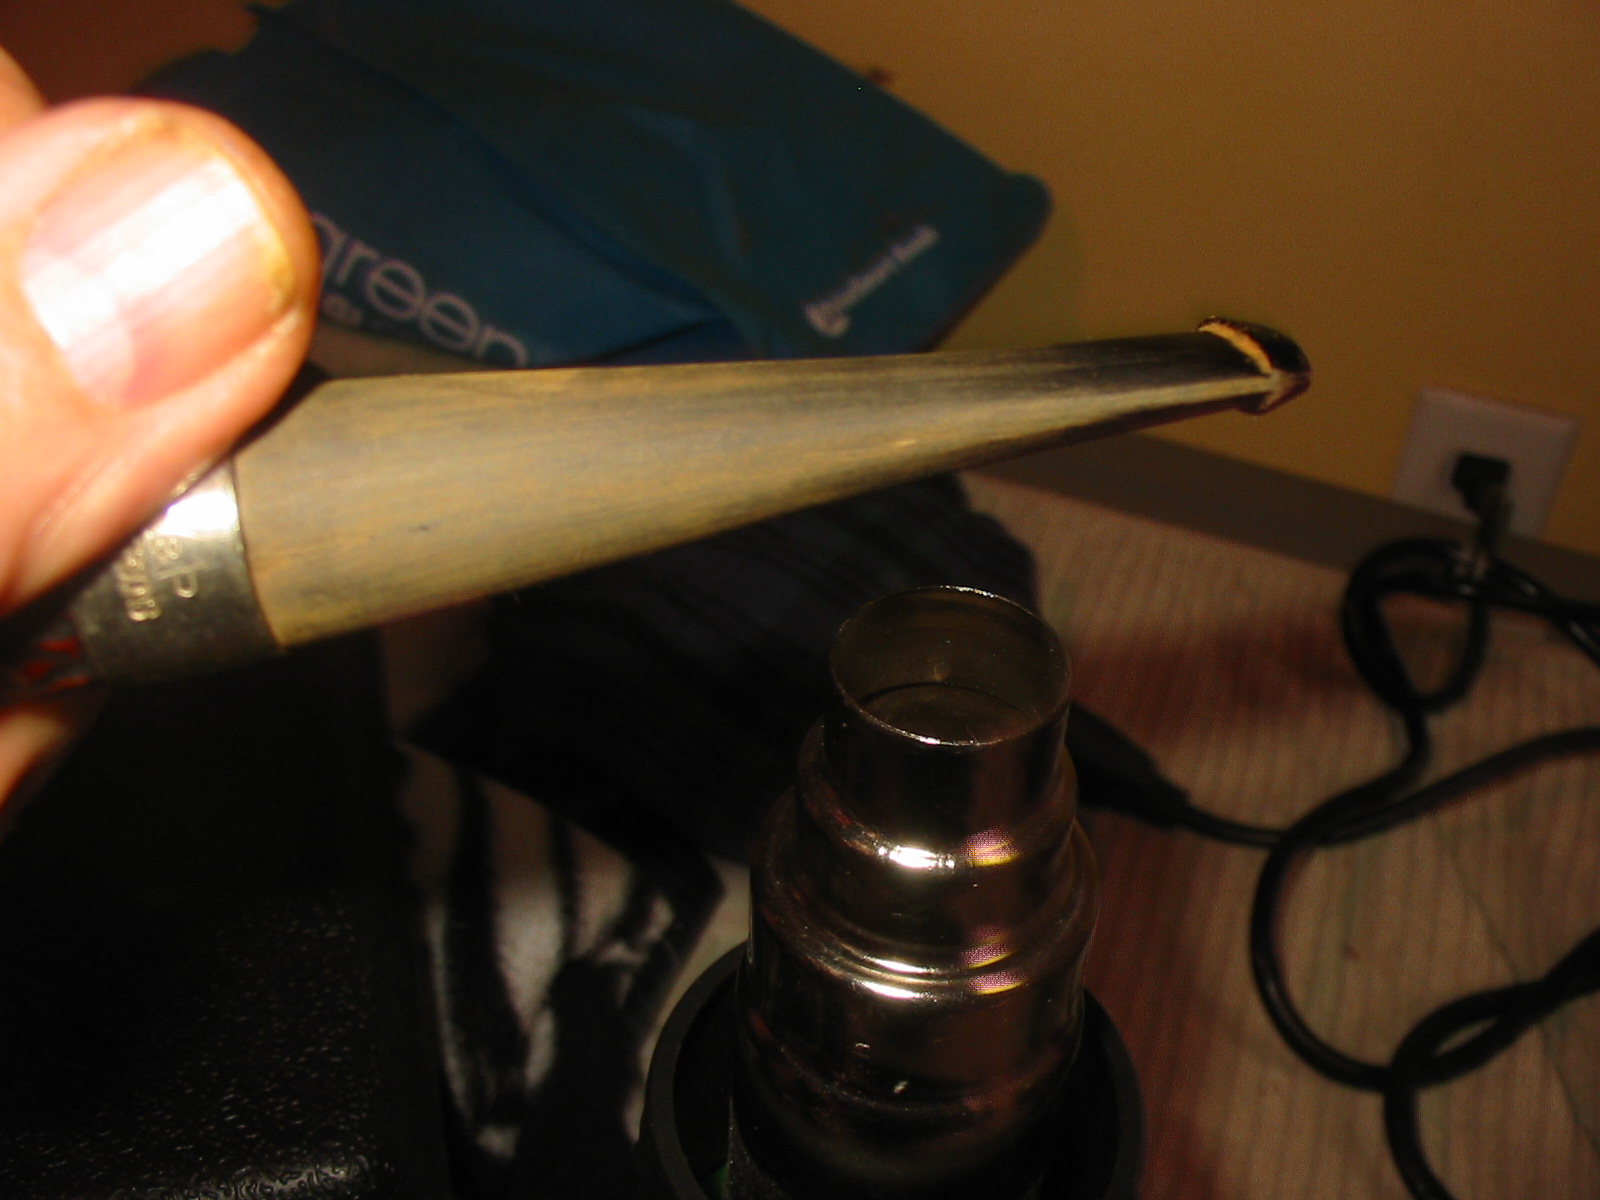
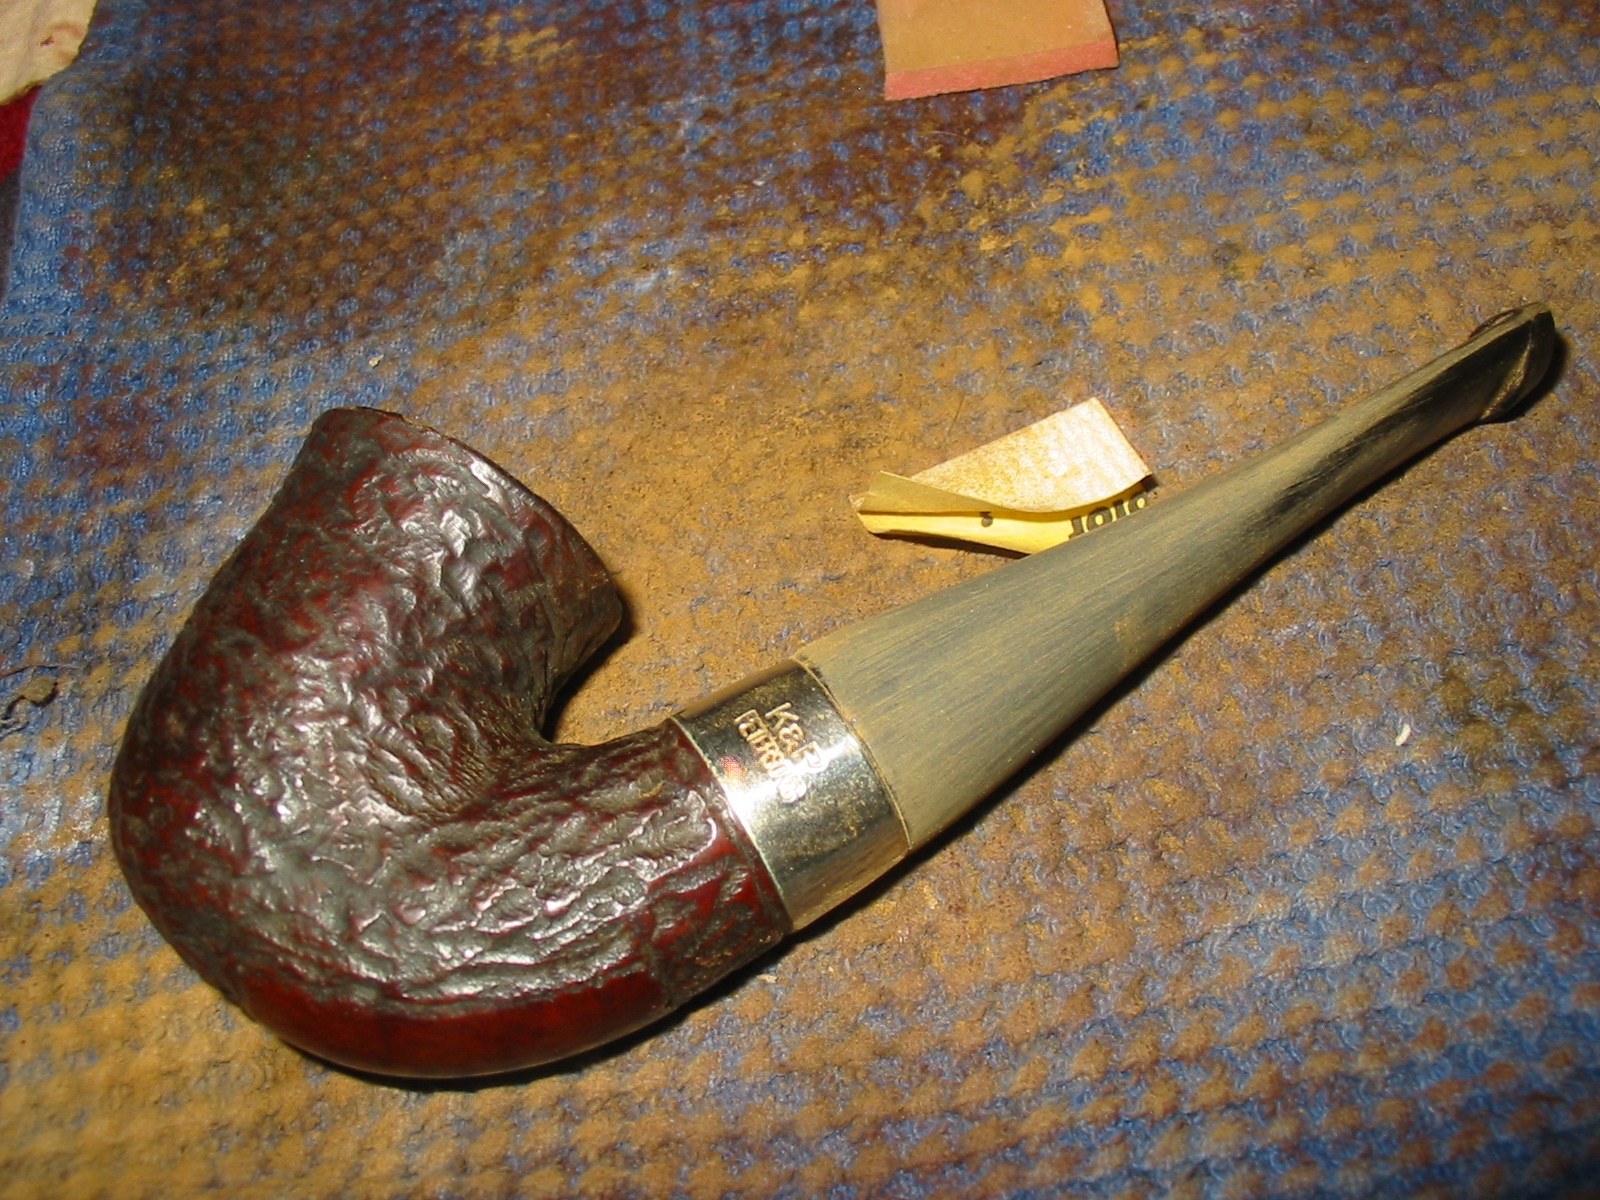
I ordered some stems that were the correct diameter and length for the 05 from Tim West at J.H. Lowe and Company. They arrived on Friday so I was able to fit one to the shank. I turned the tenon with a PIMO Tenon Turning Tool. The fitting of a tenon to the tapered shank of Peterson pipes takes a little getting used to. I worked to match the taper of the tenon to the taper of the mortise and was able to get a good fit on against the band.
IMG_7236

IMG_7238
I used the sanding drum on the Dremel to remove the casting seams on the sides and the button of the stem.
IMG_7239

IMG_7240

IMG_7241

IMG_7242
I sanded the stem with 150 and 220 grit sandpaper to match the diameter of the shank to the diameter of the band.
IMG_7251

IMG_7252
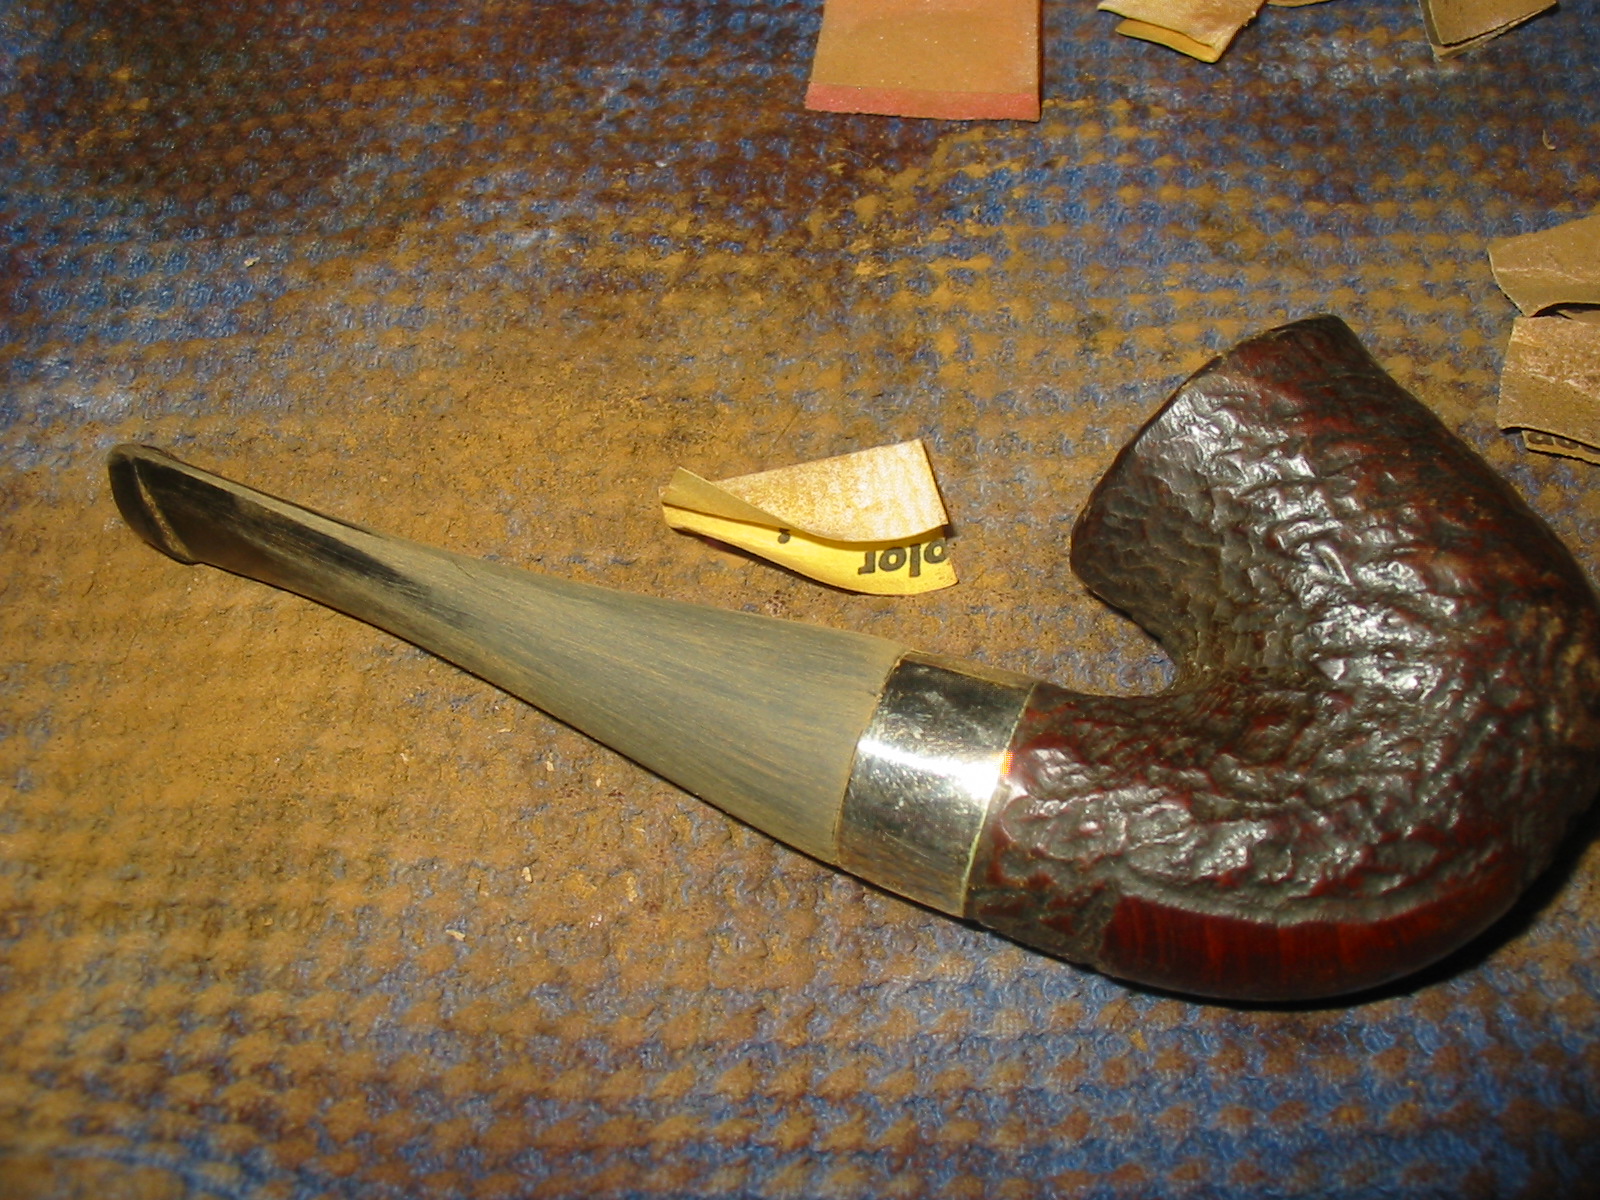
I sanded the stem with medium and fine grit sanding sponges to remove the scratching left behind by the sandpapers.
IMG_7257

IMG_7258

IMG_7259

IMG_7260
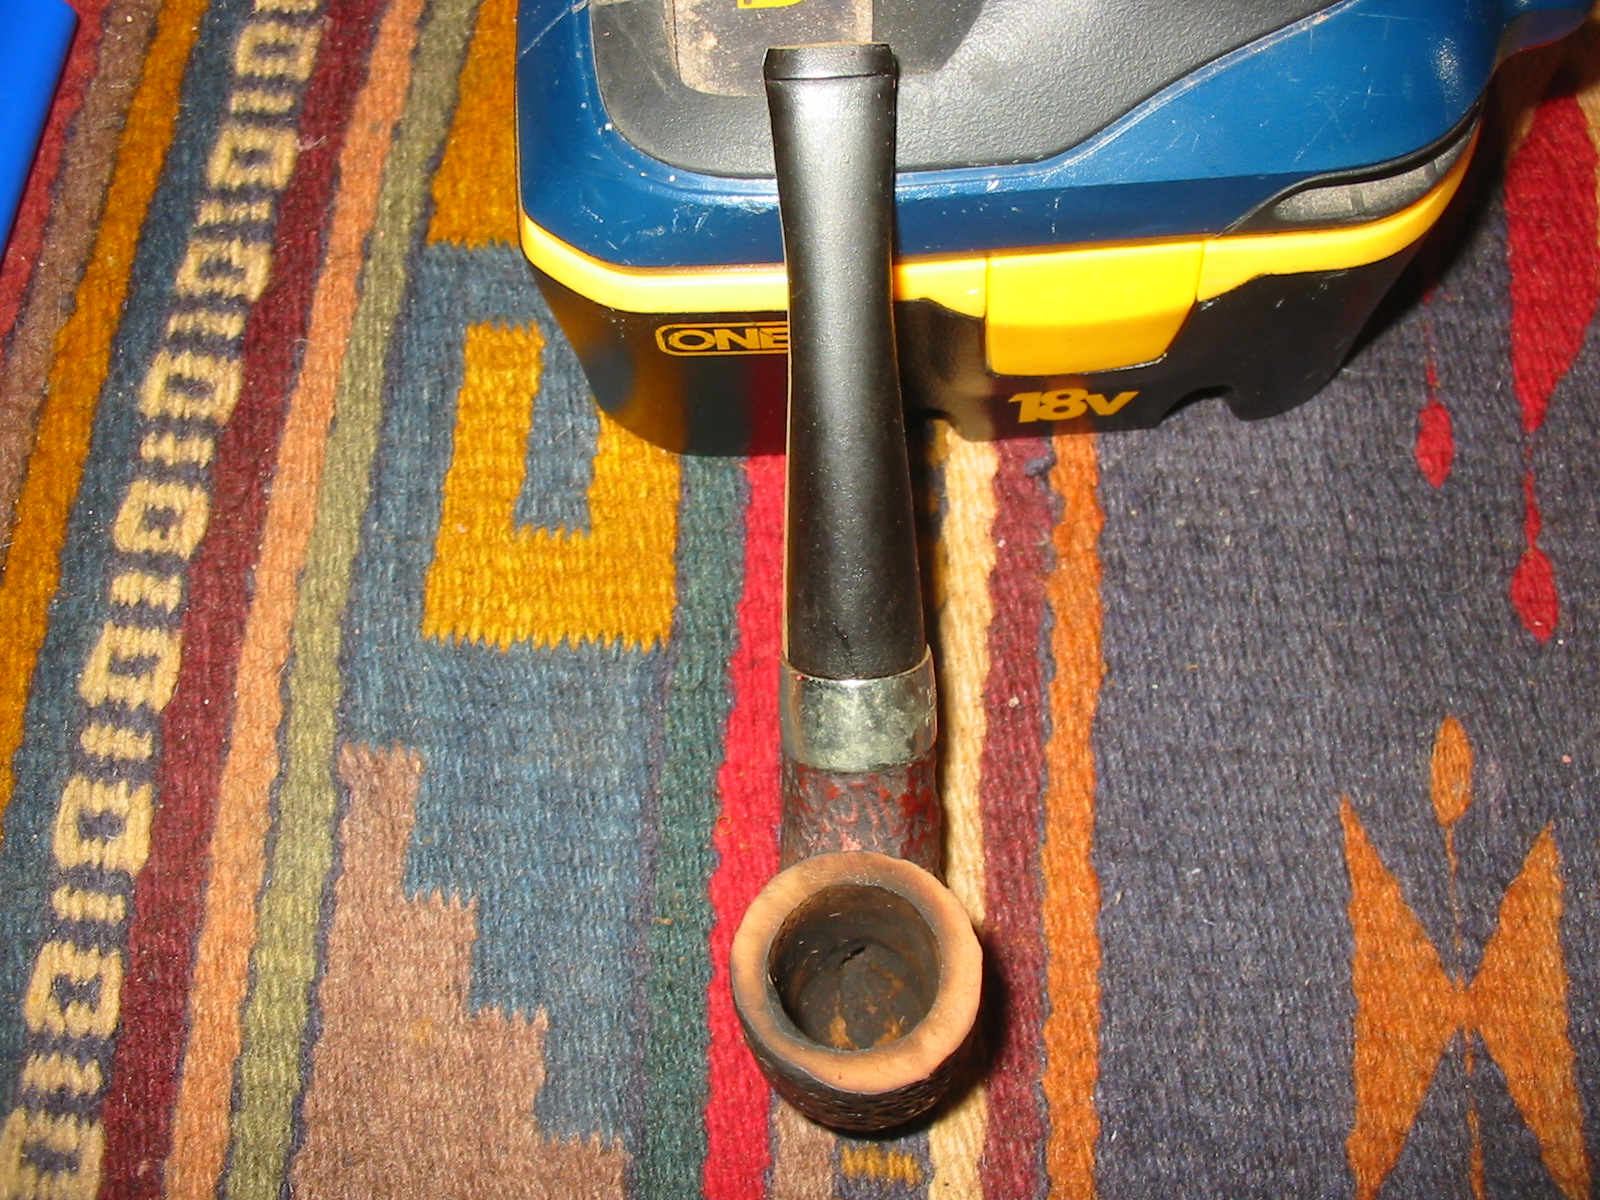
I wanted to bend the stem to match the original stem that would have been on the pipe. I looked up photos on the web of the 05 and copied one of them. I decided to use a fishtail stem instead of the p-lip stem but I was able to use the photo as a template of the bend.
don05
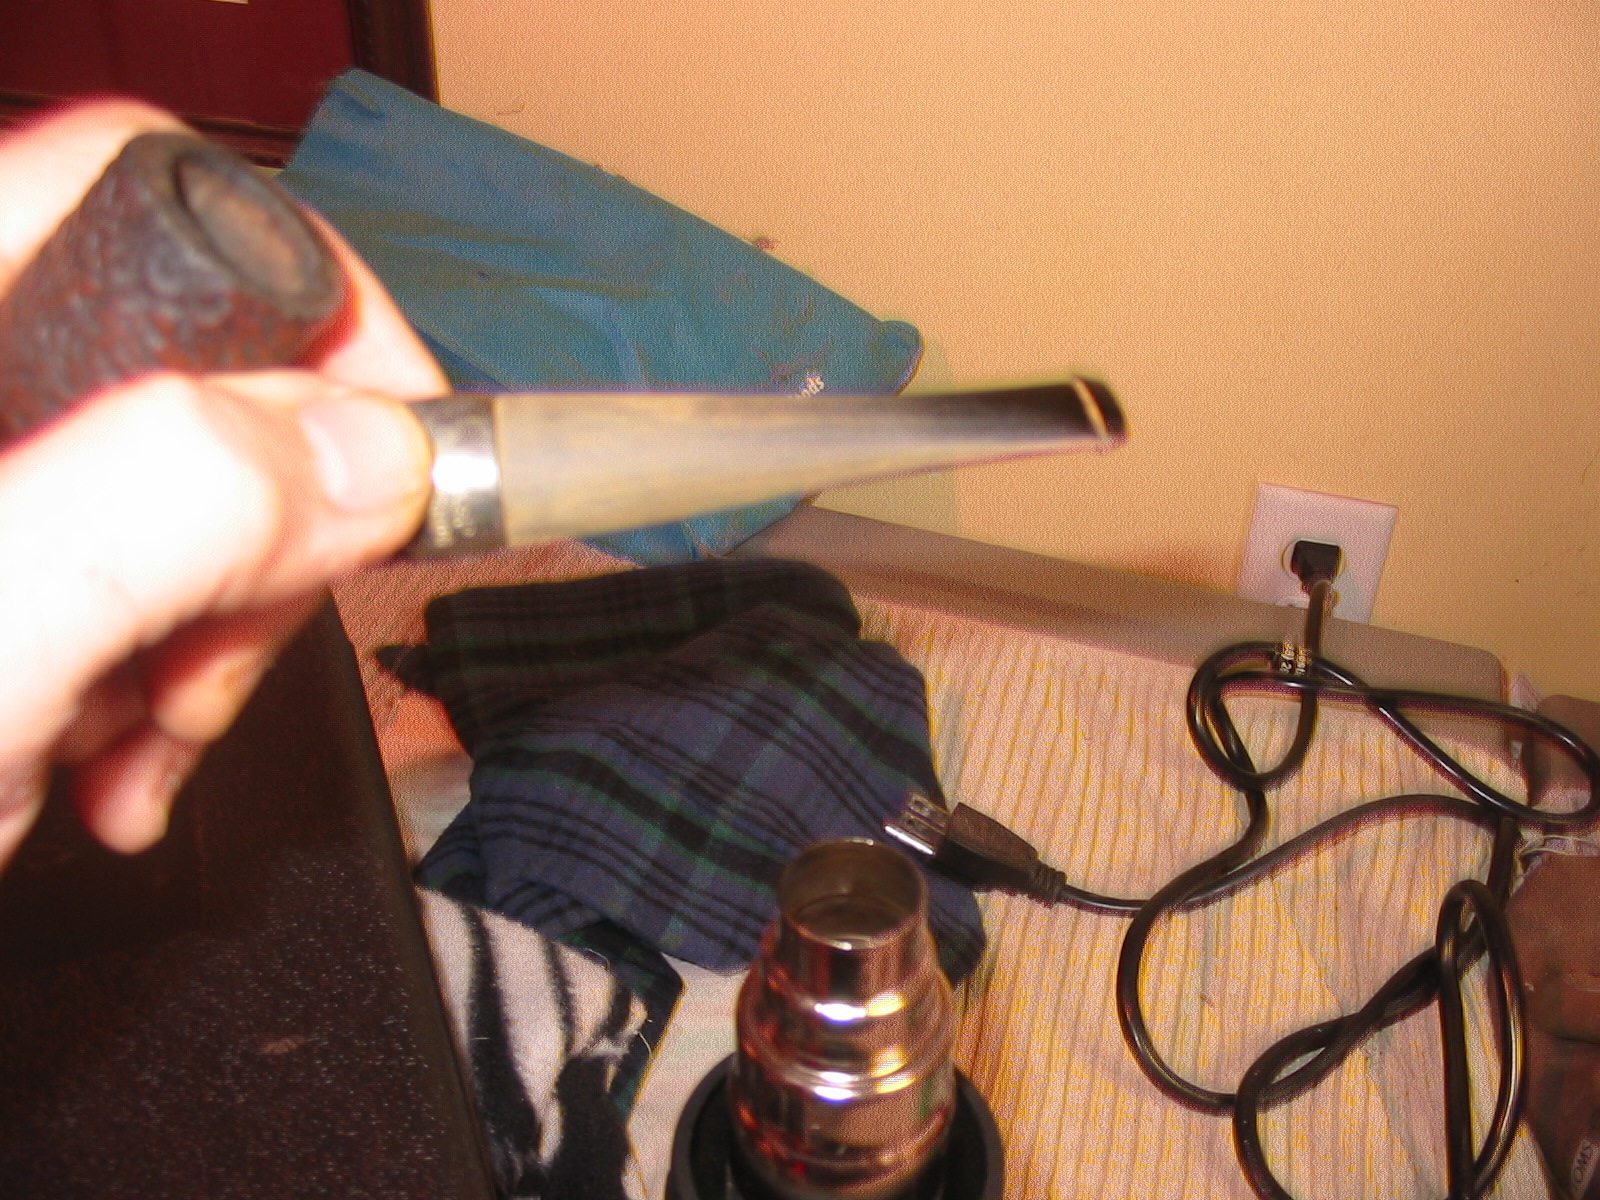
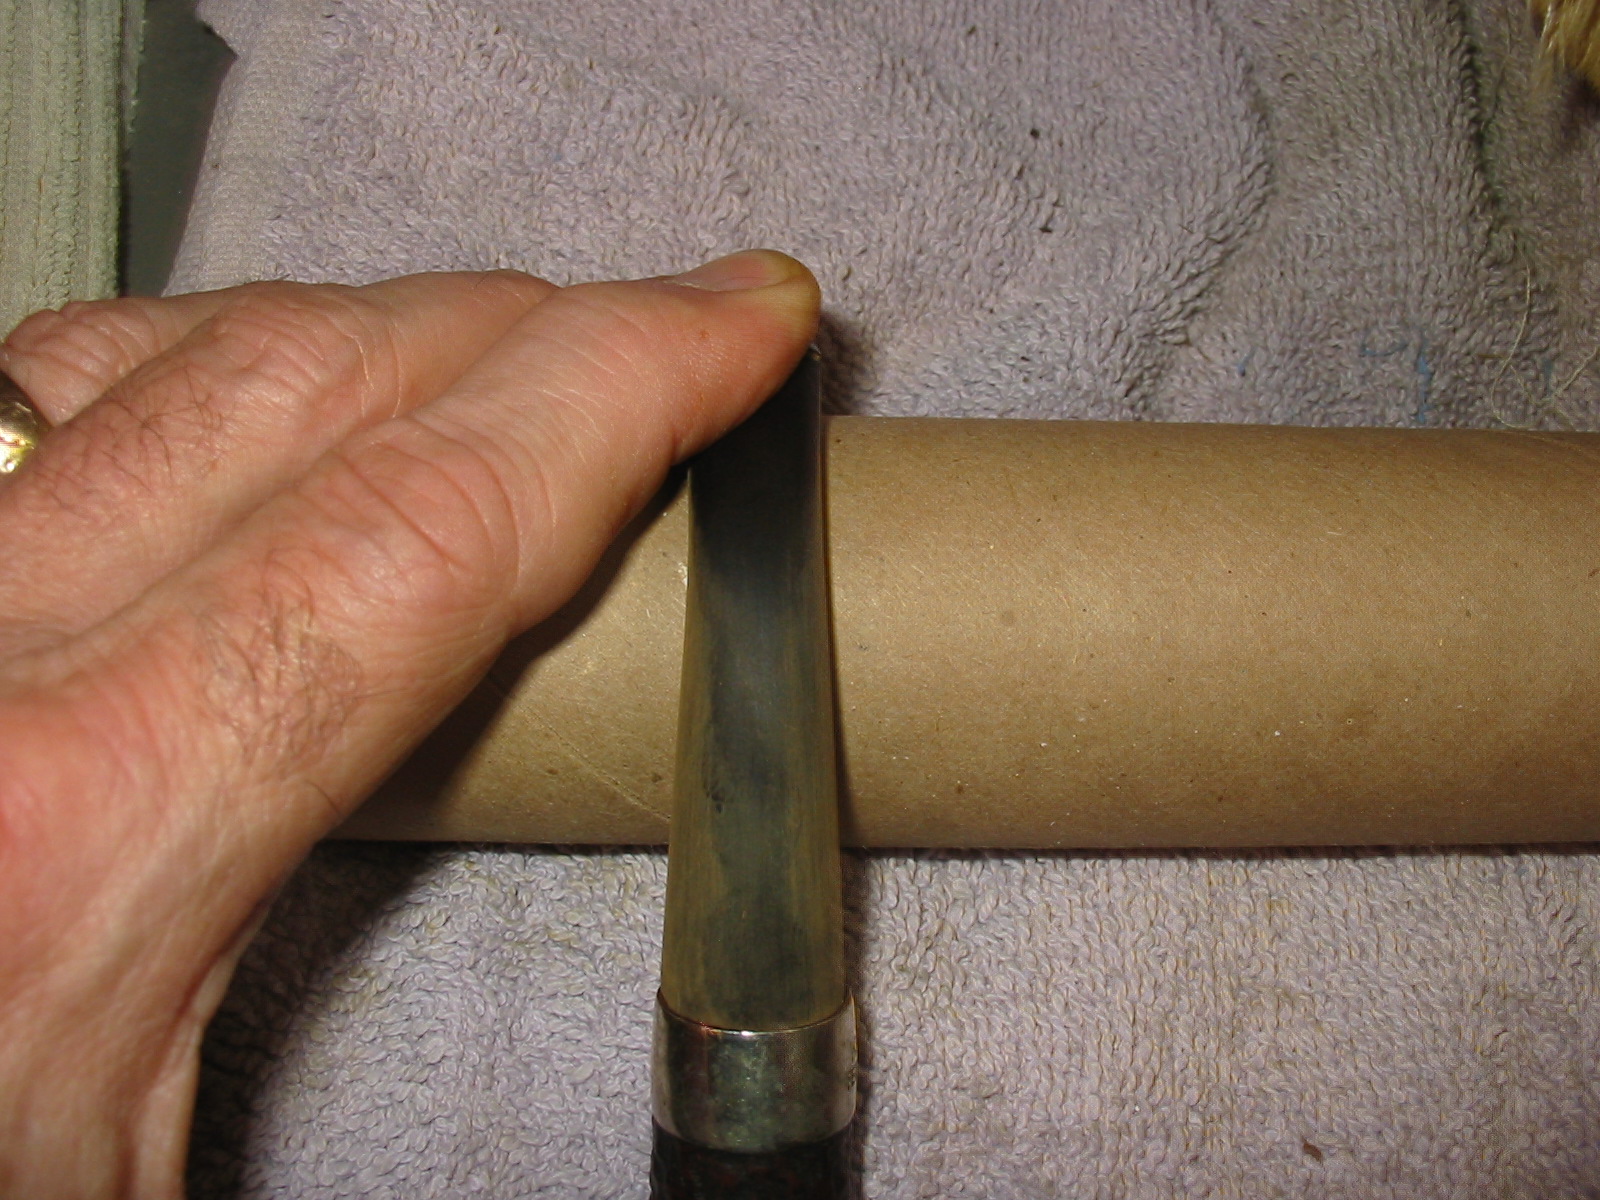
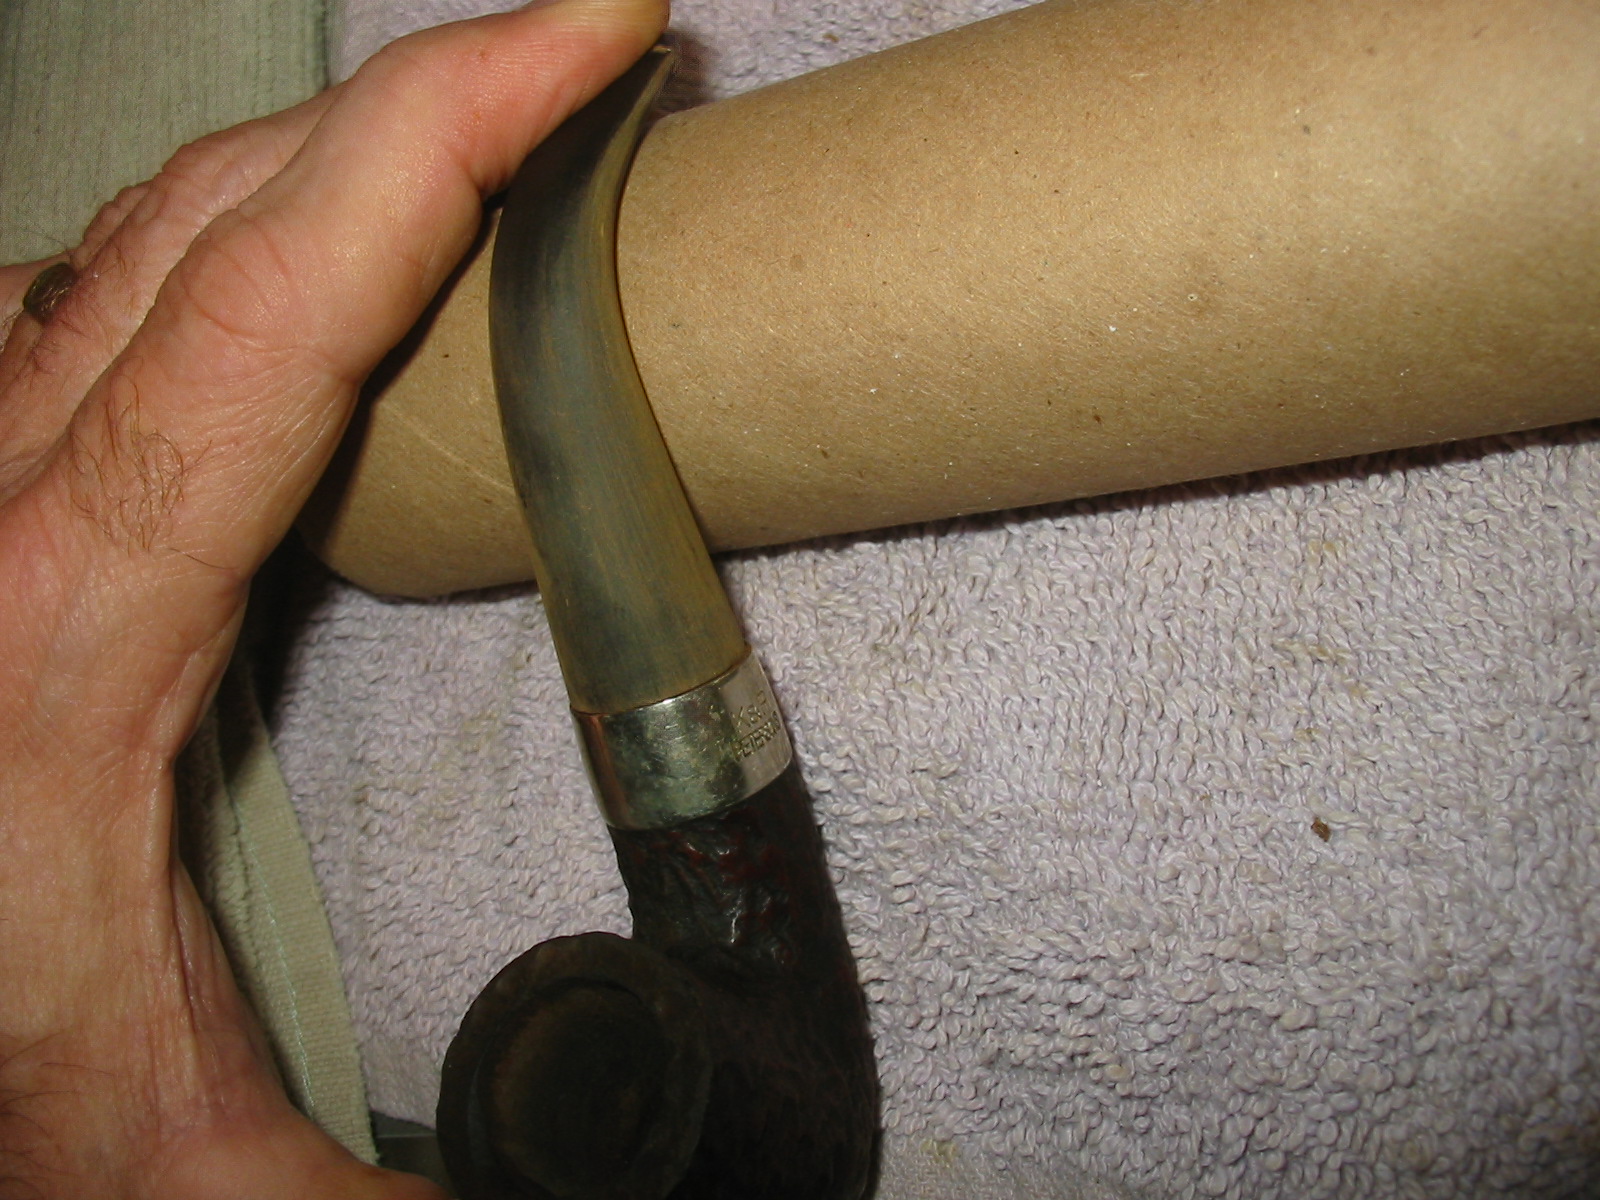
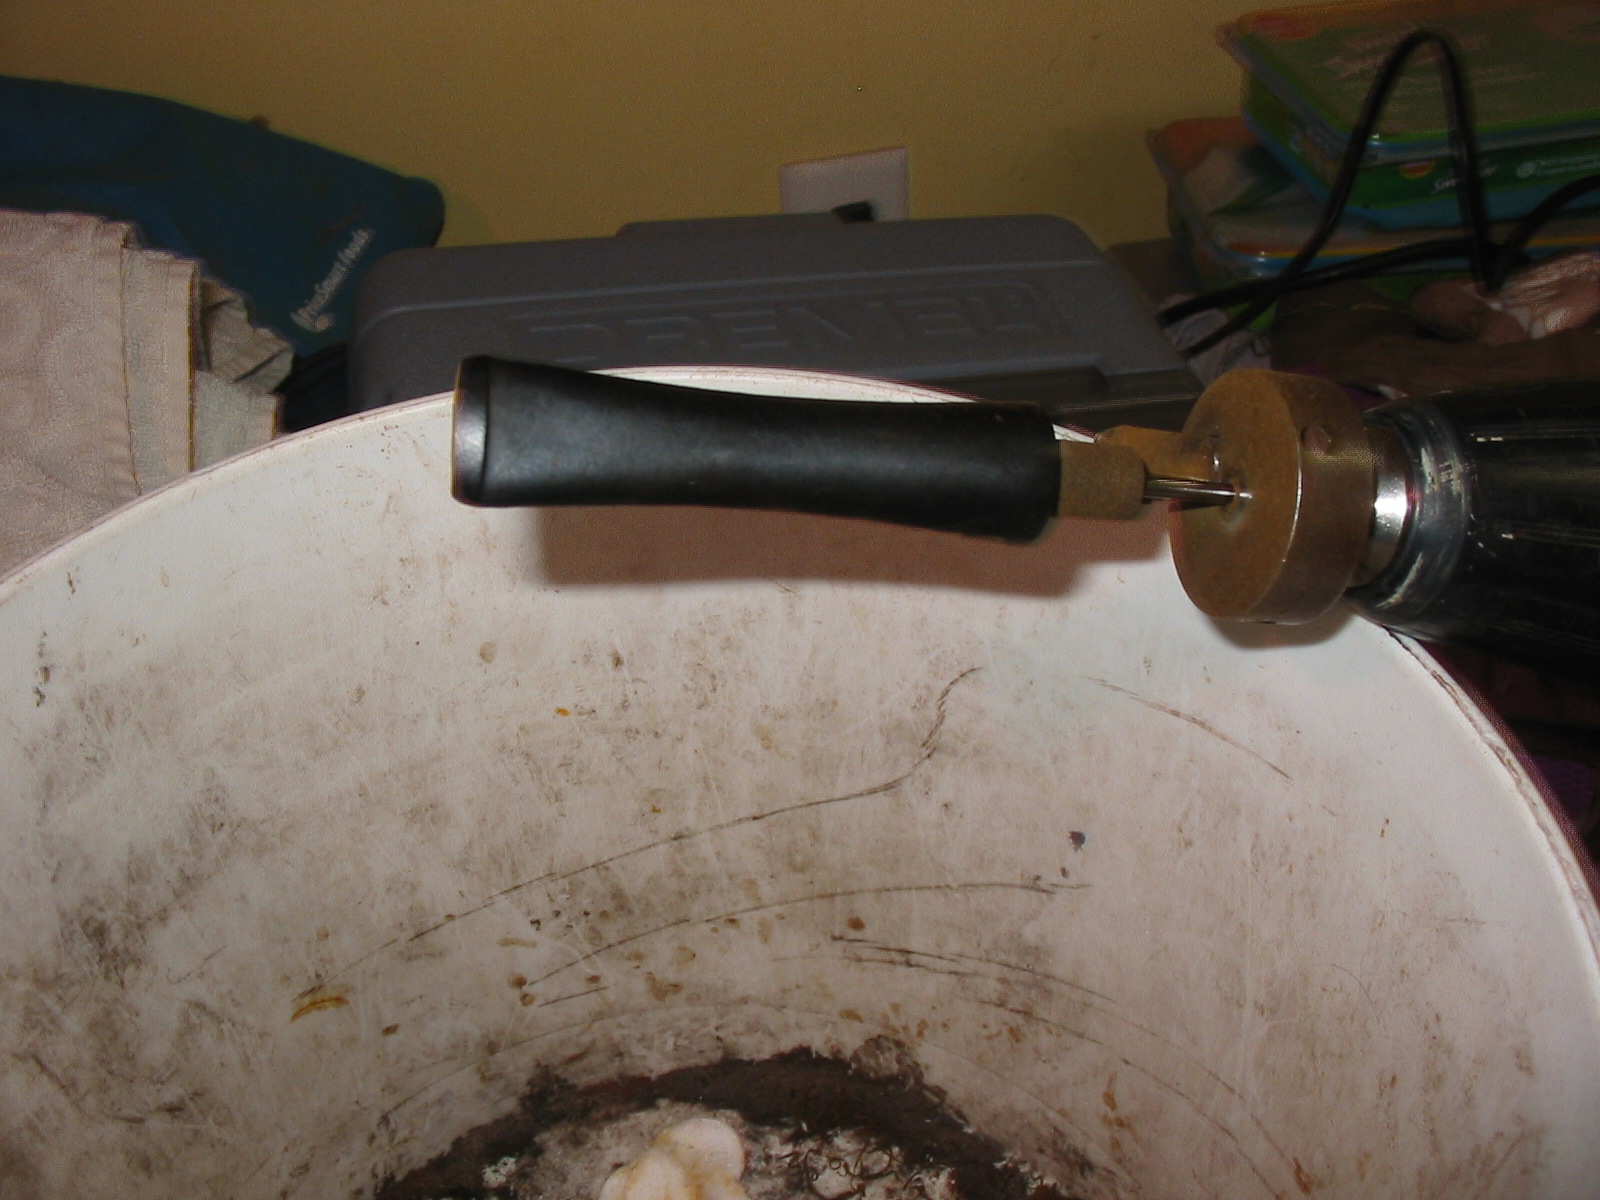
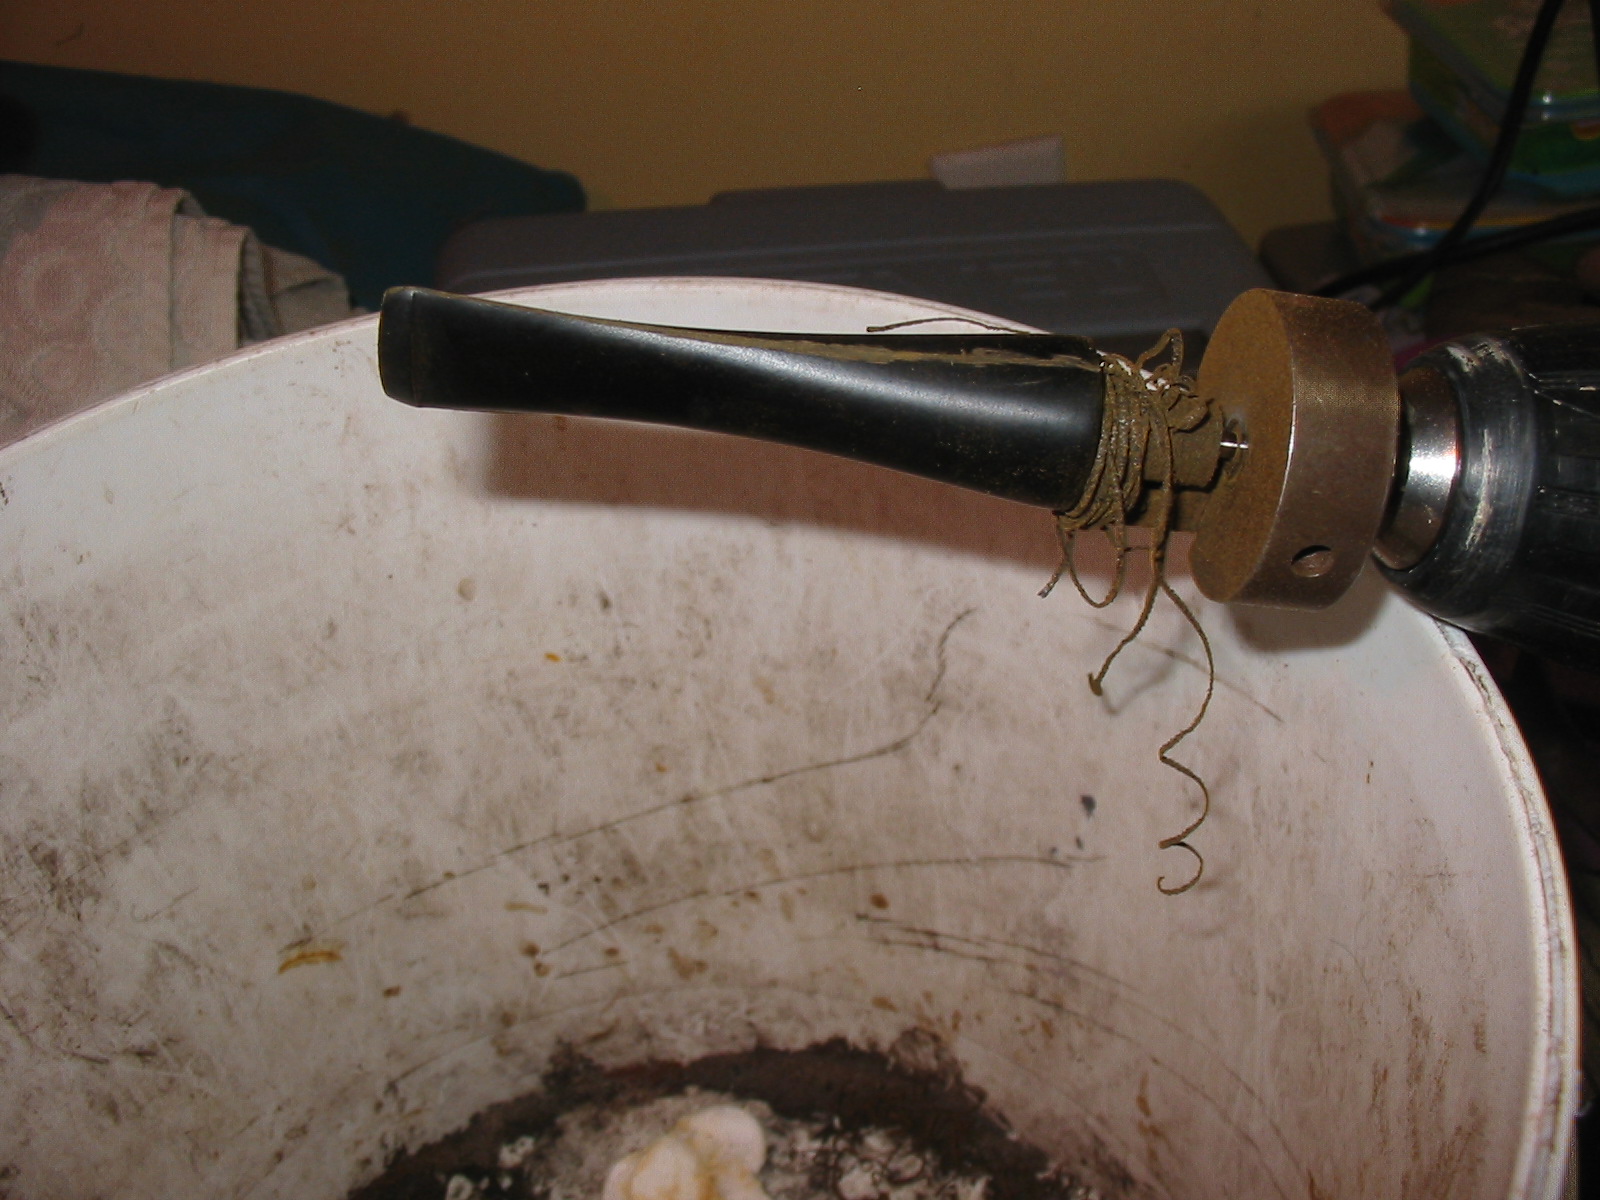
I heated the stem with a heat gun until it was flexible and then bent it over a rolling pin with a cardboard sleeve over it. I have found that the cardboard prevents the hot vulcanite from marring when I bend it. The second photo below shows the first attempt at the bend and the third photo shows it after I reheated it and rebent it to match the template.
IMG_7271

IMG_7275

IMG_7277
I sanded the stem with the medium and fine grit sanding sponges again. At this point in the process the stem was ready for the fine sanding work with the micromesh sanding pads.
IMG_7294

IMG_7295
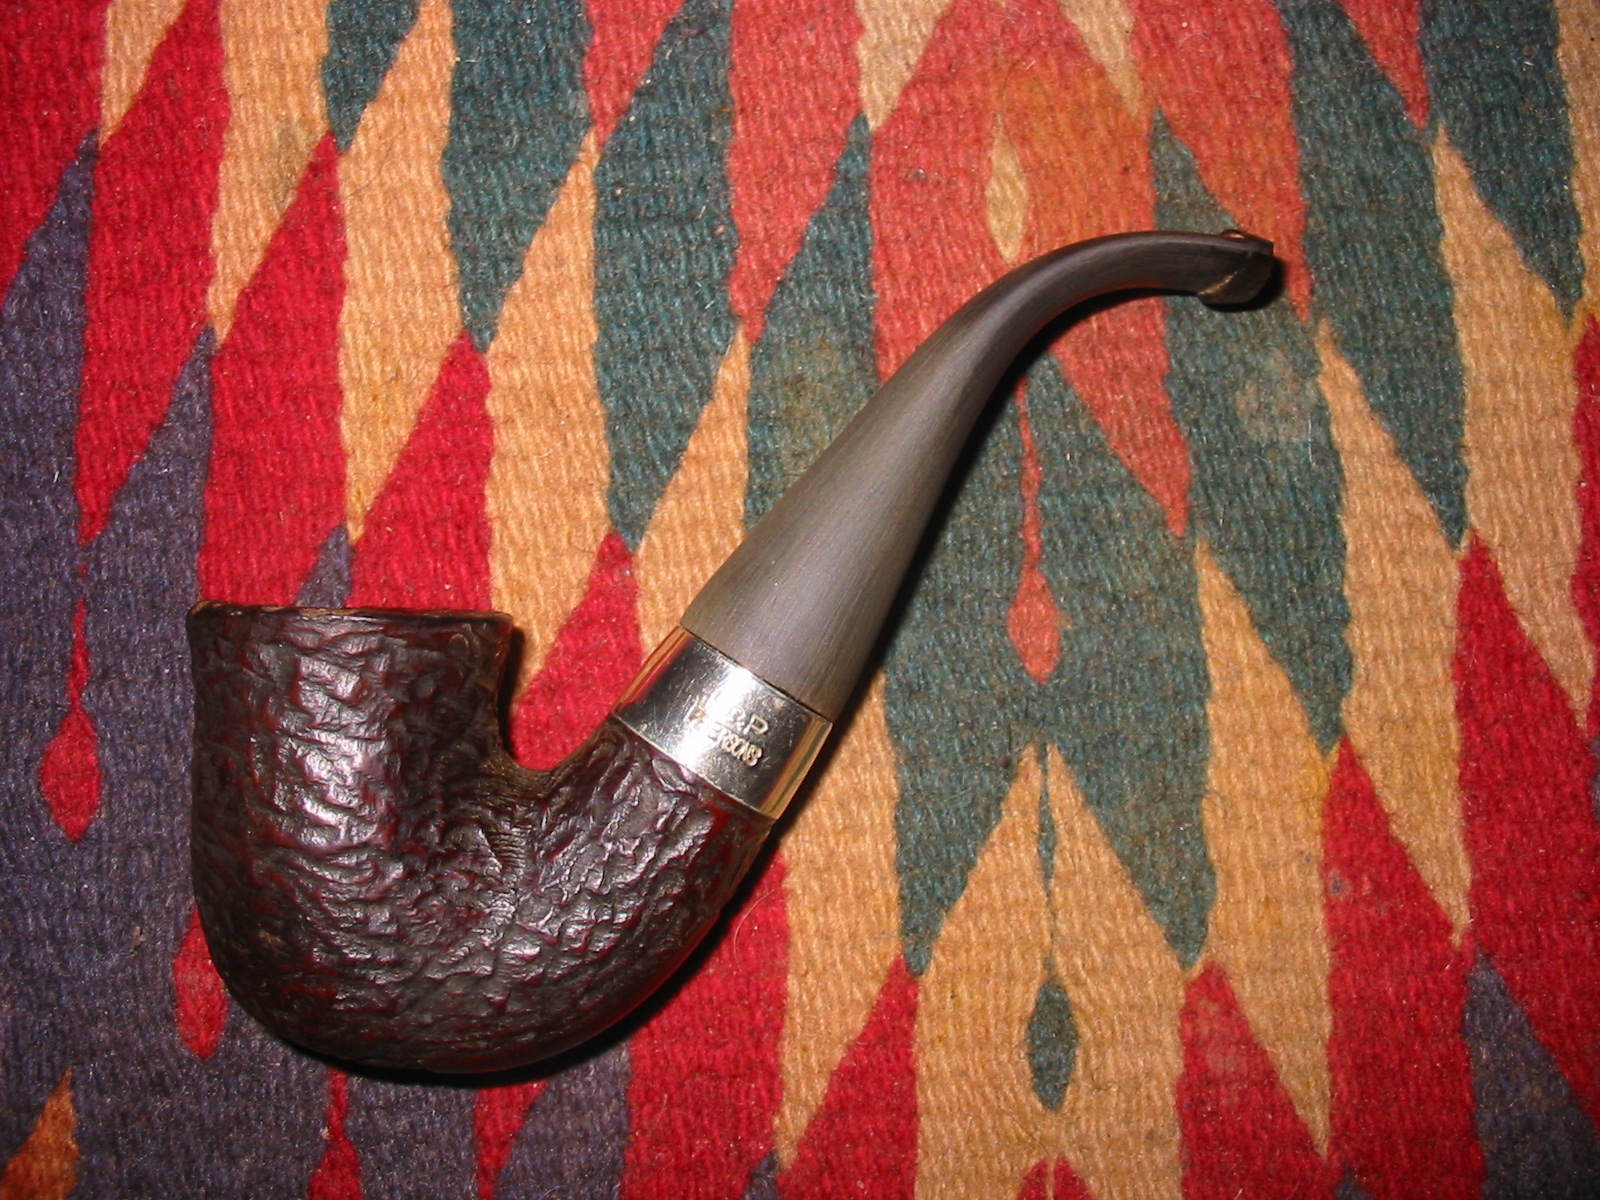
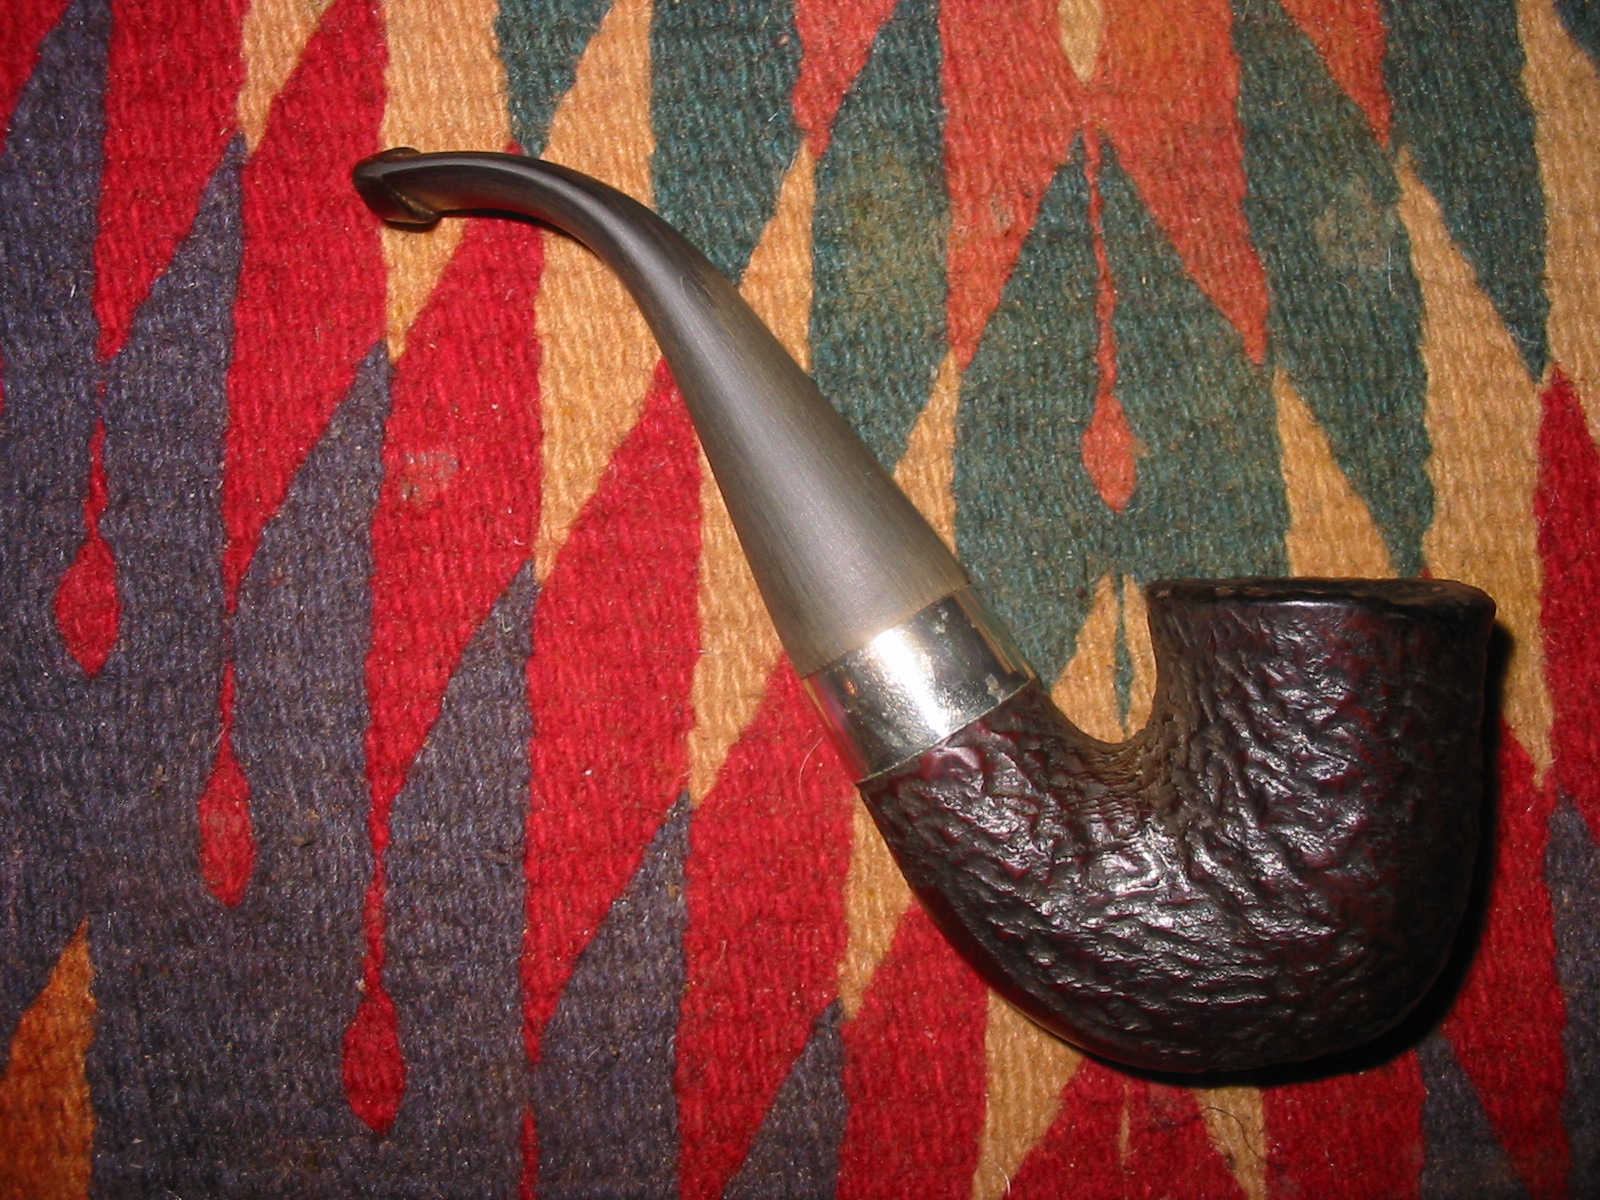
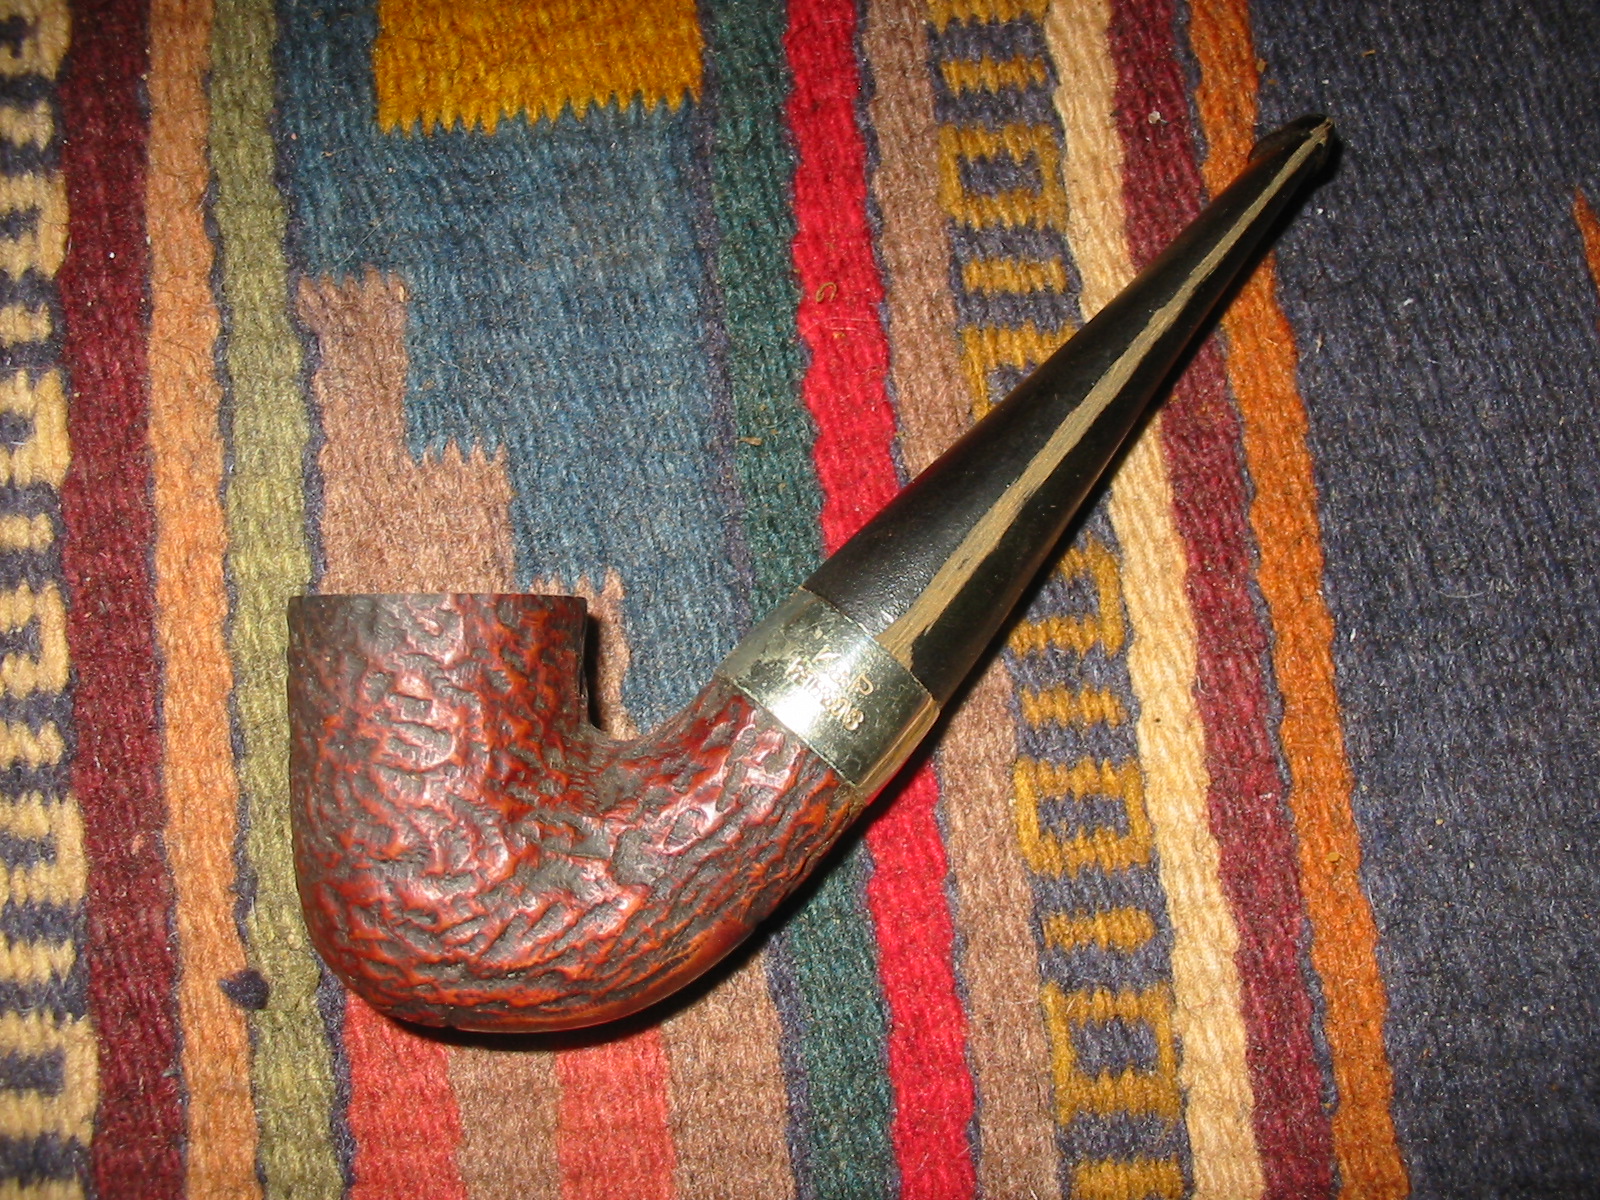
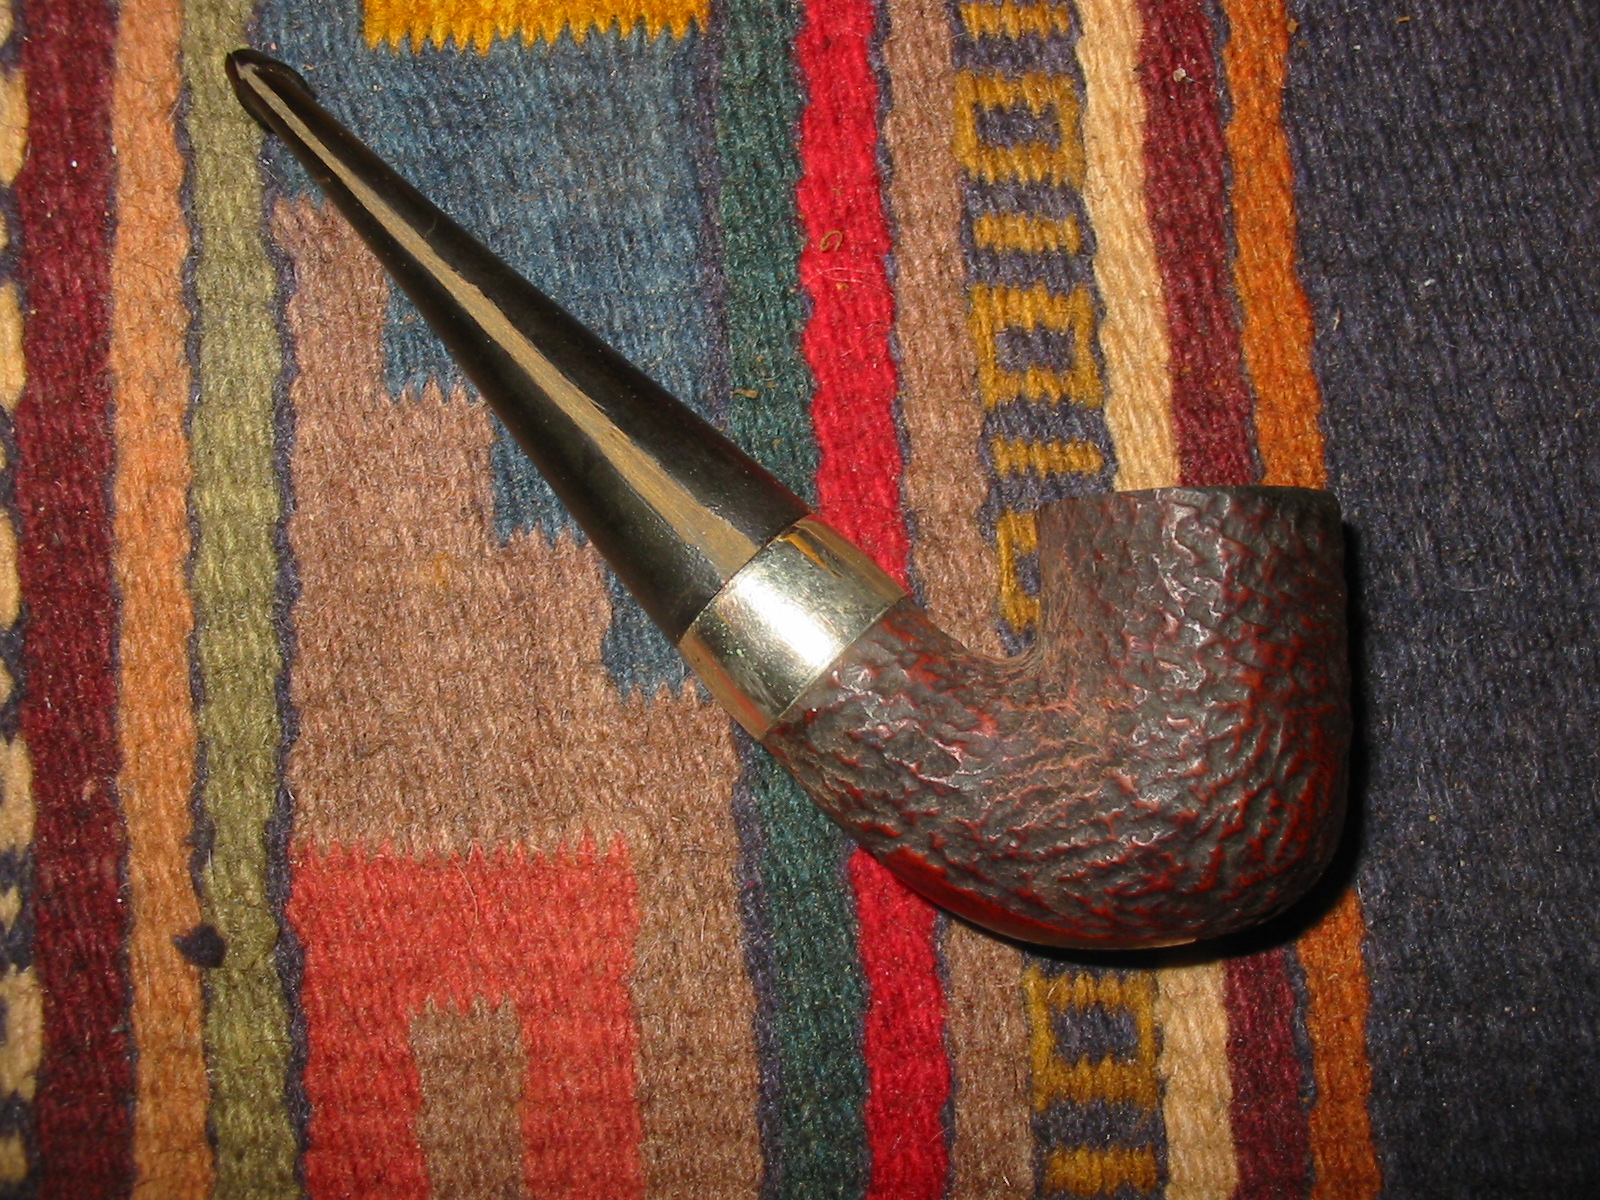
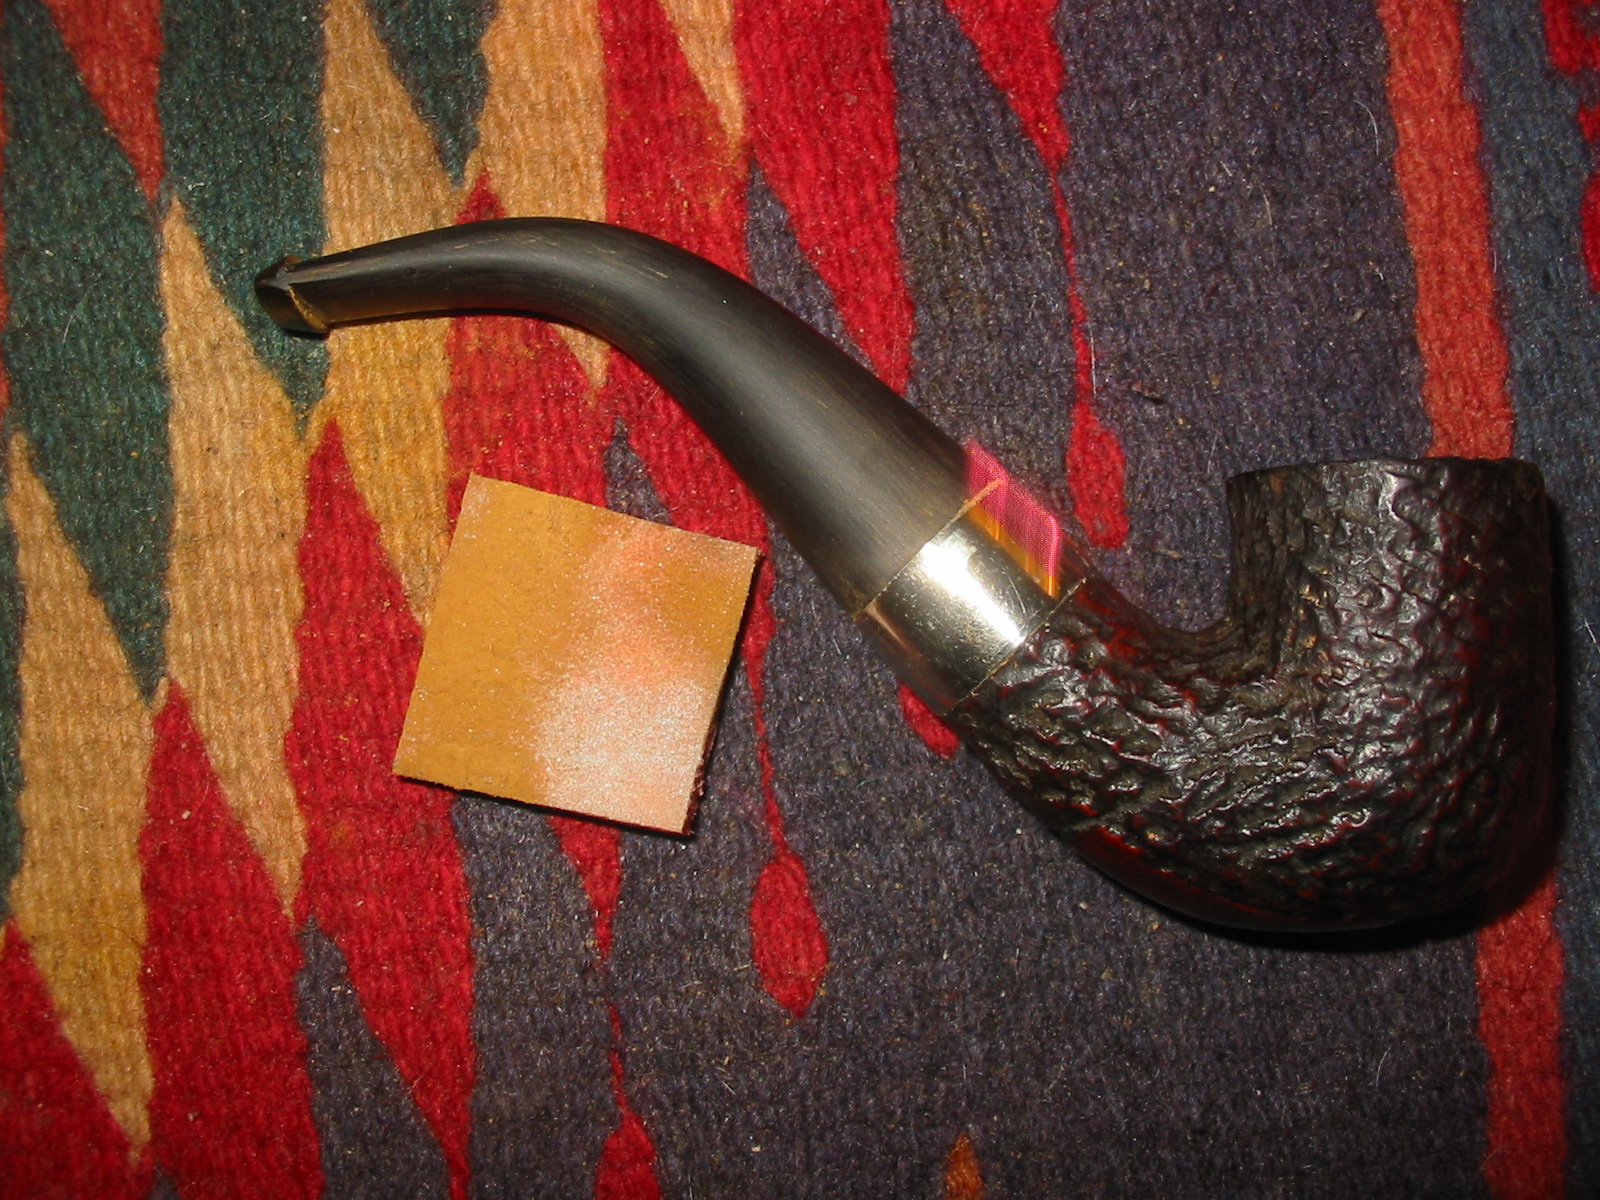
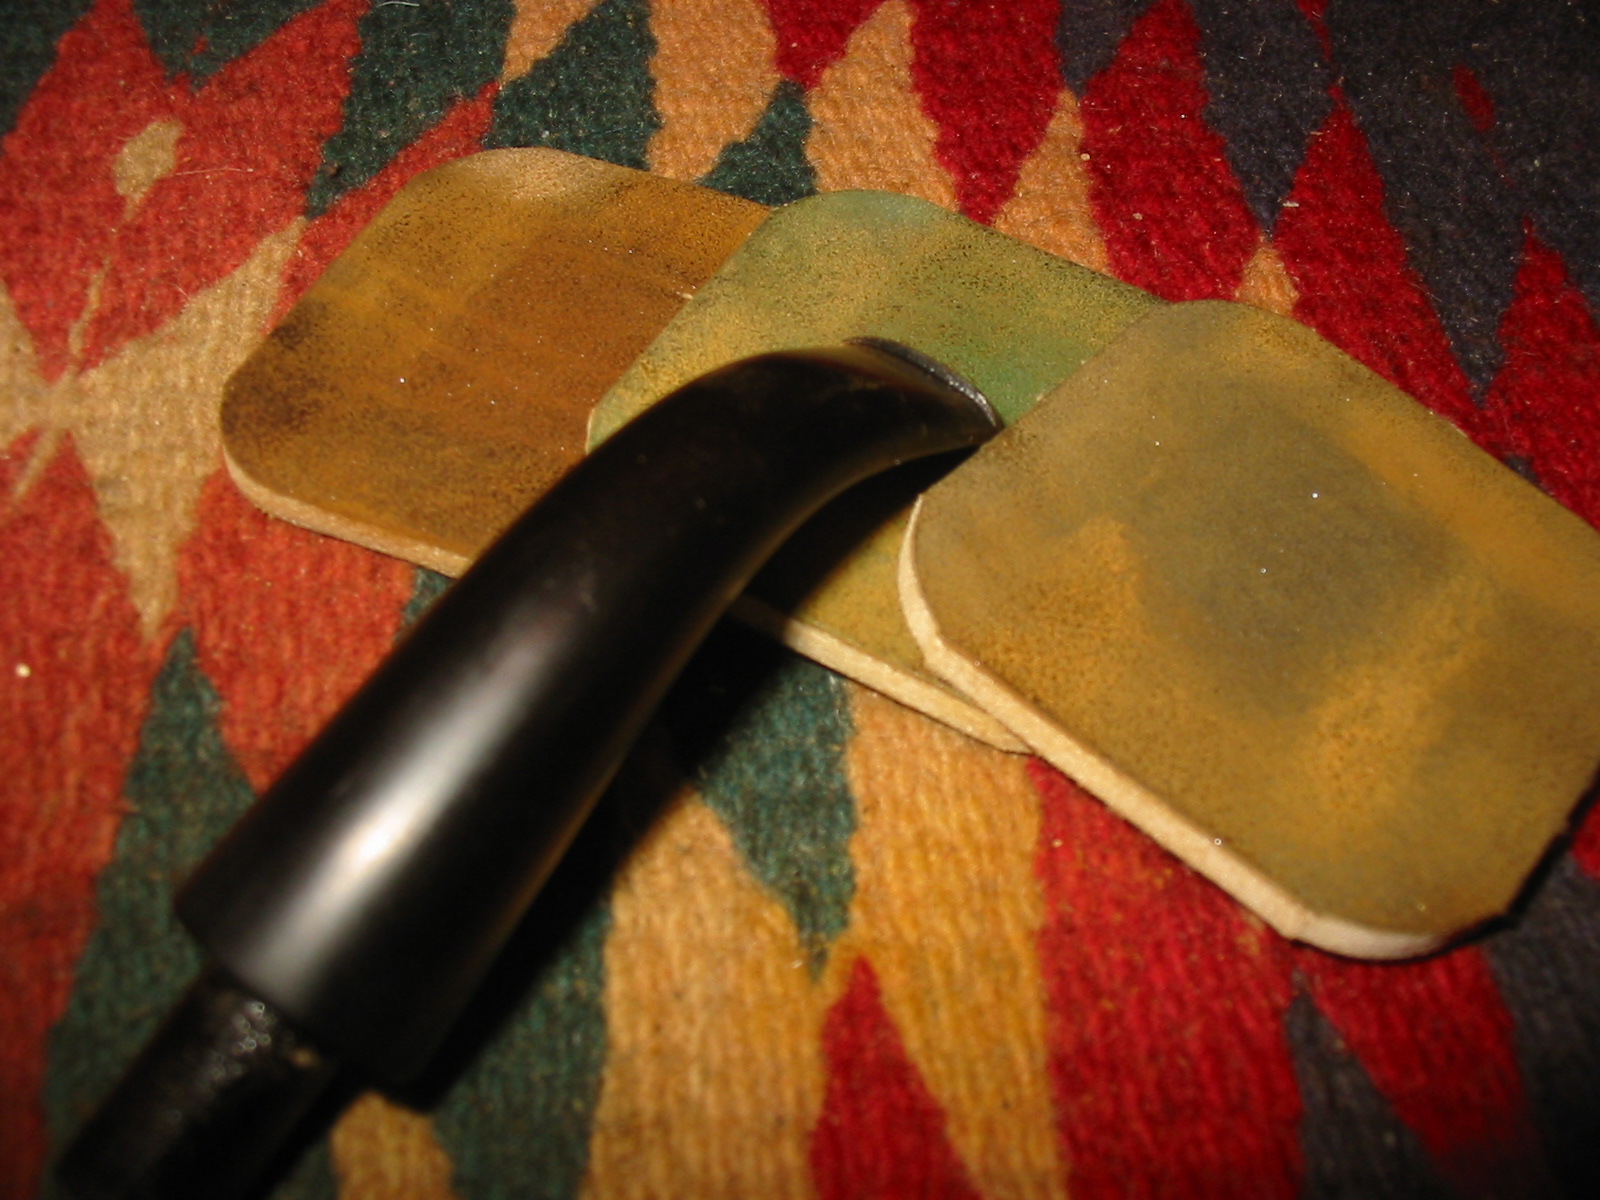
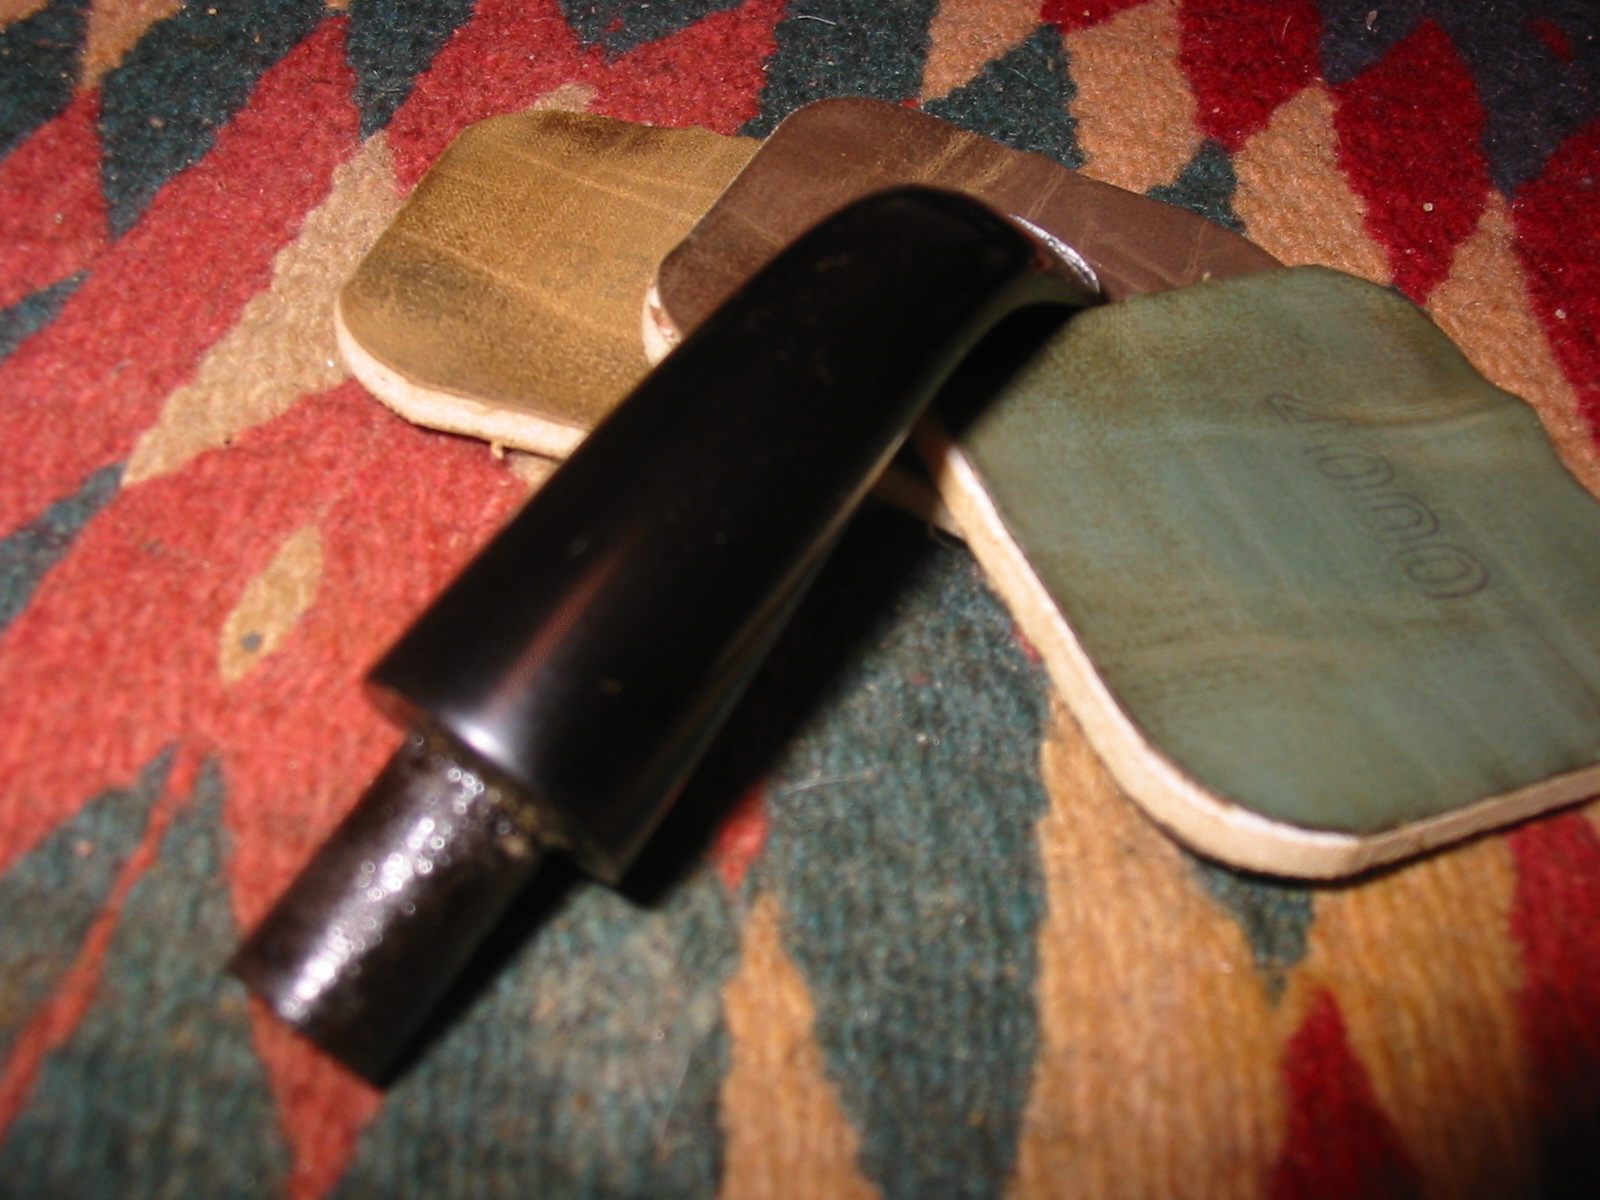
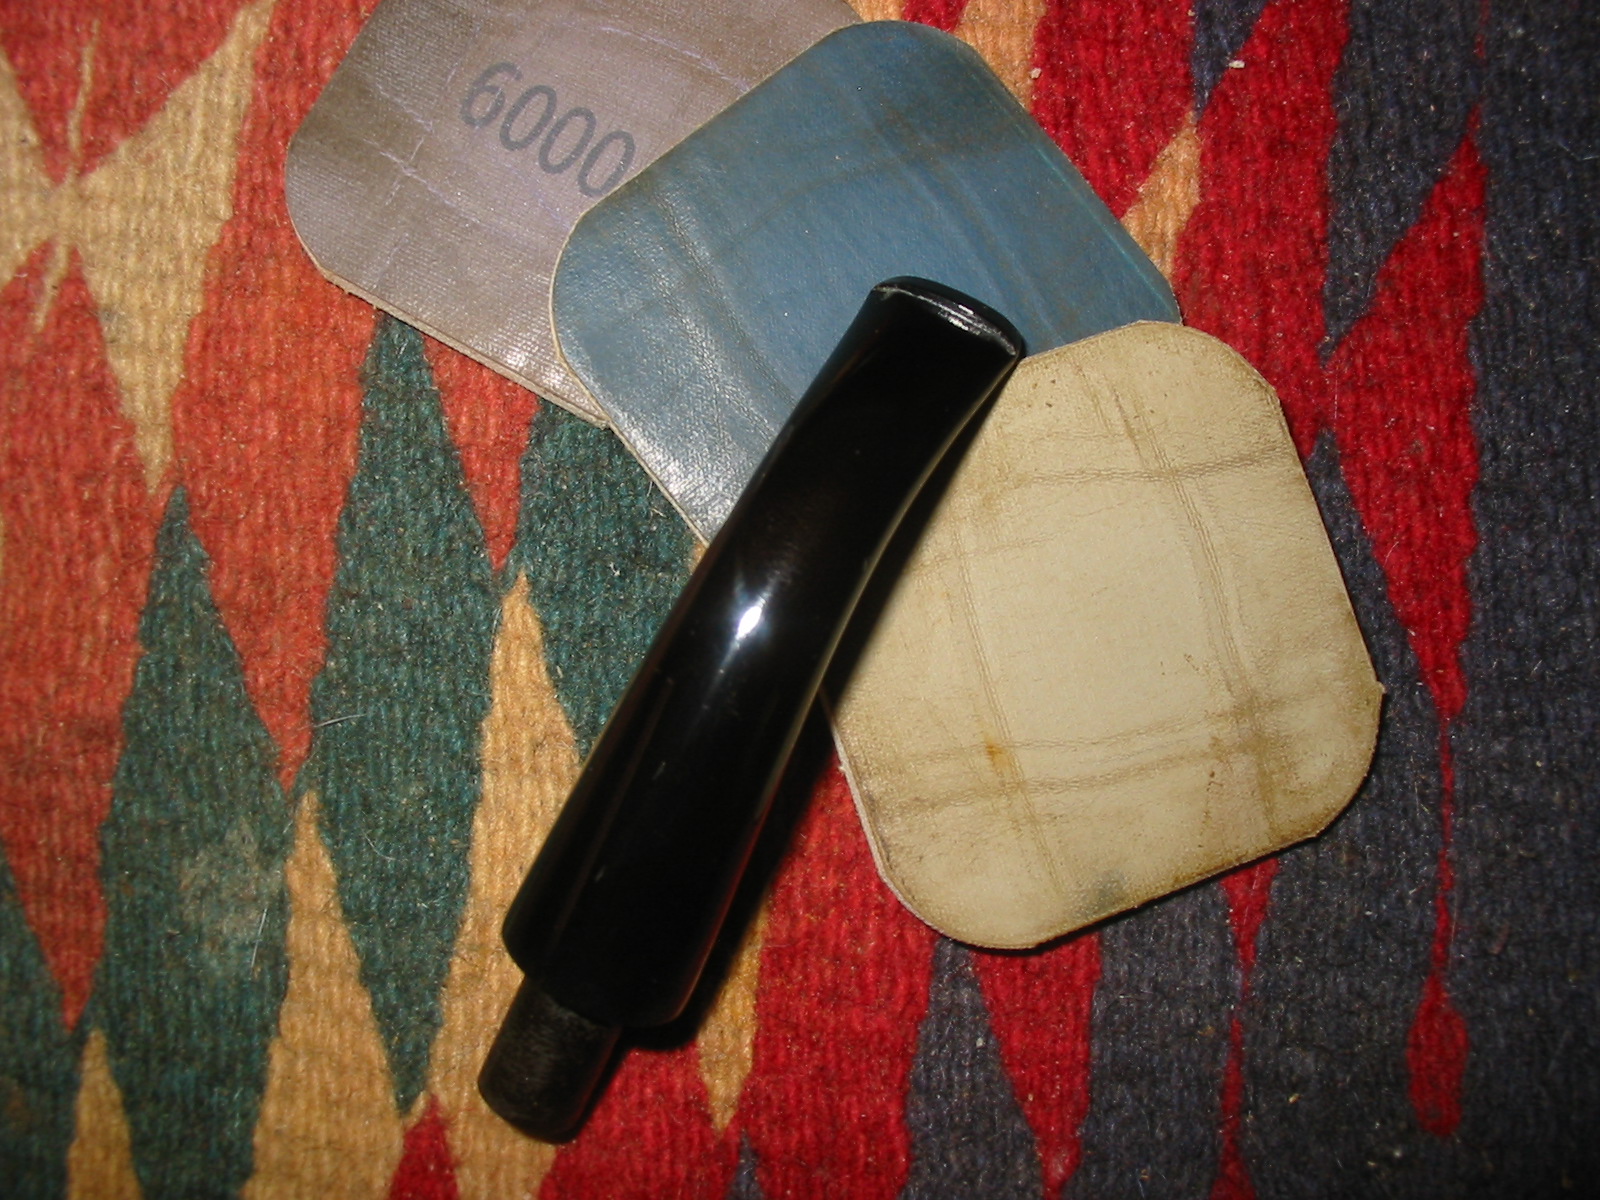
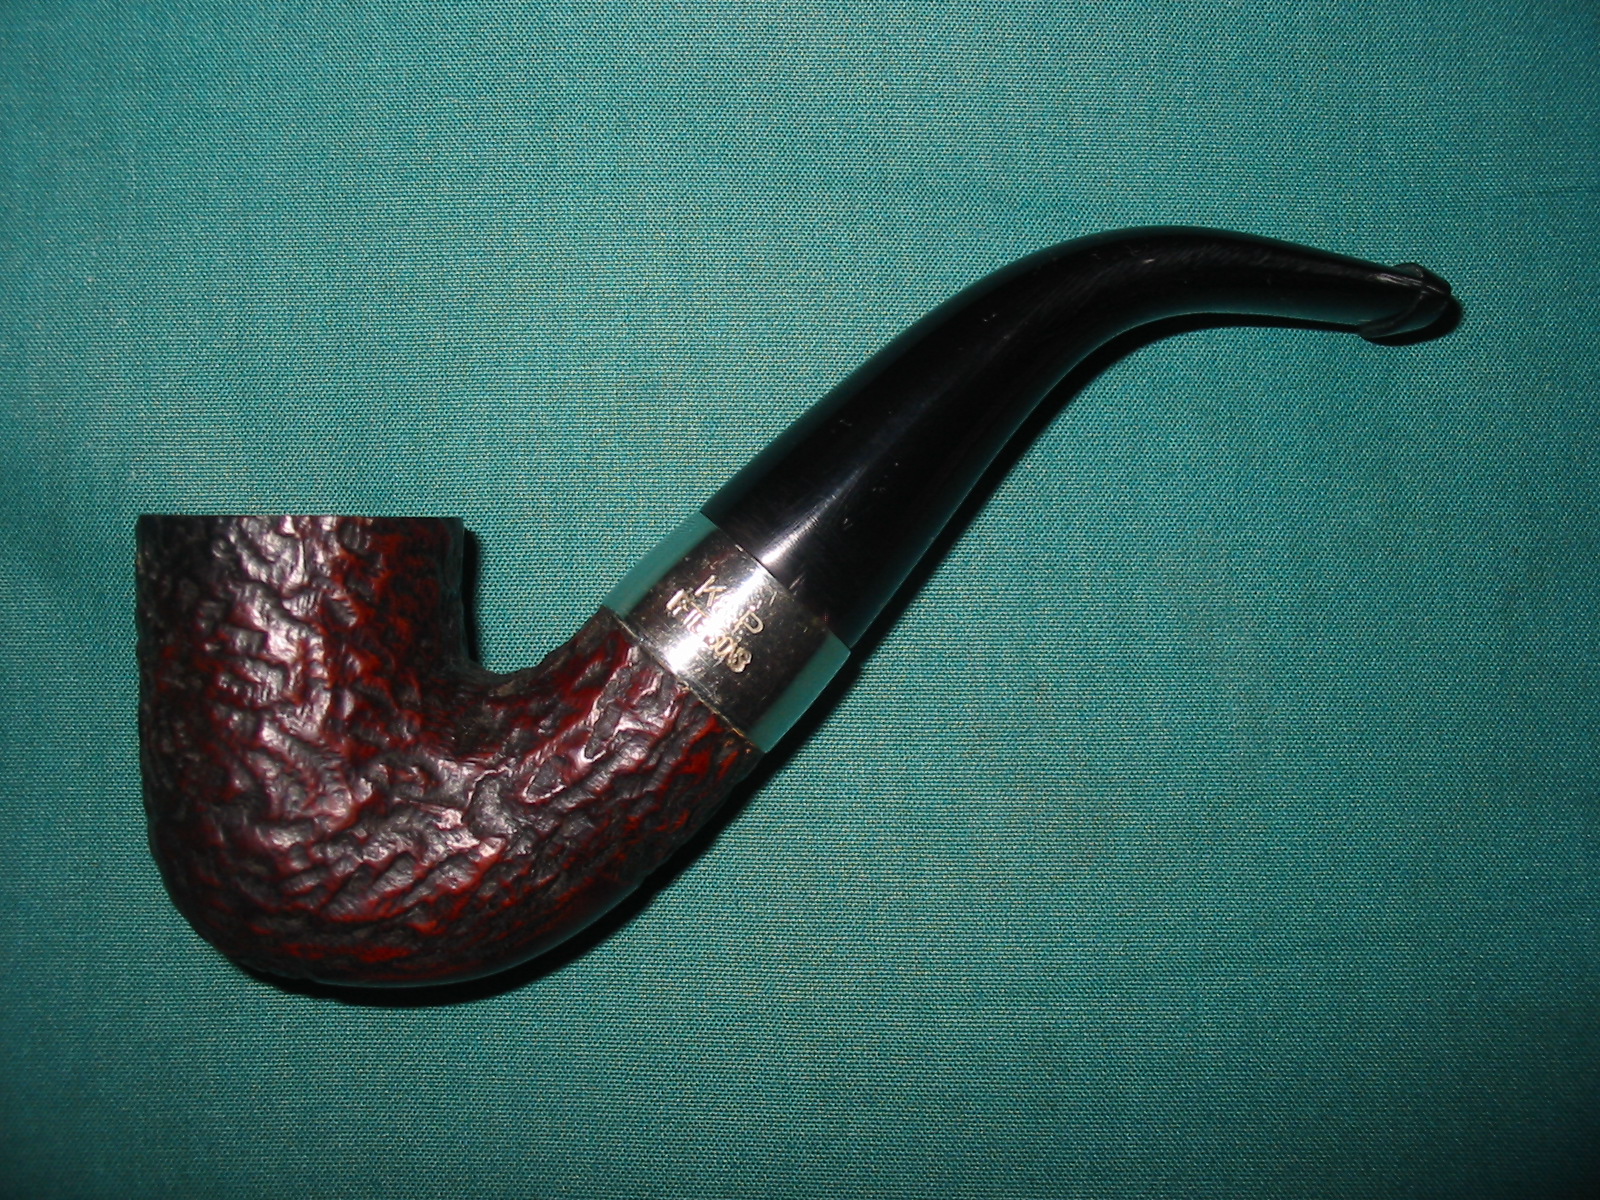
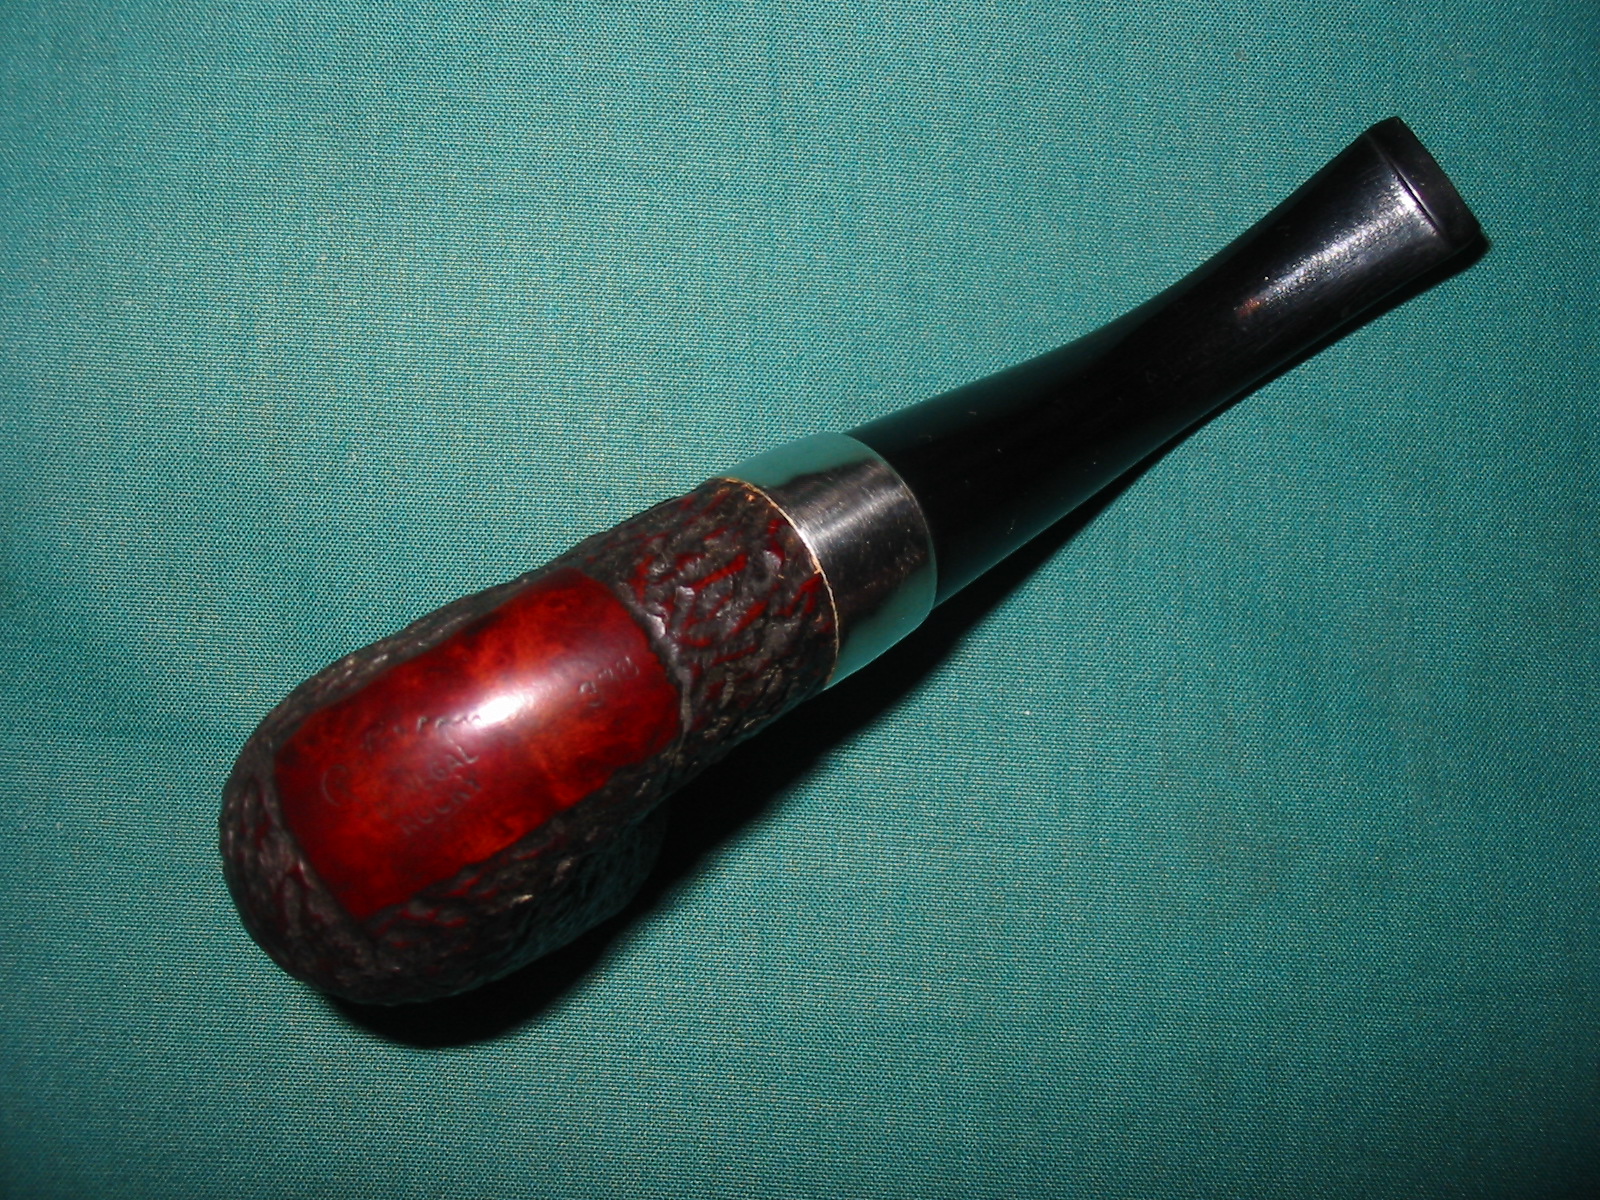
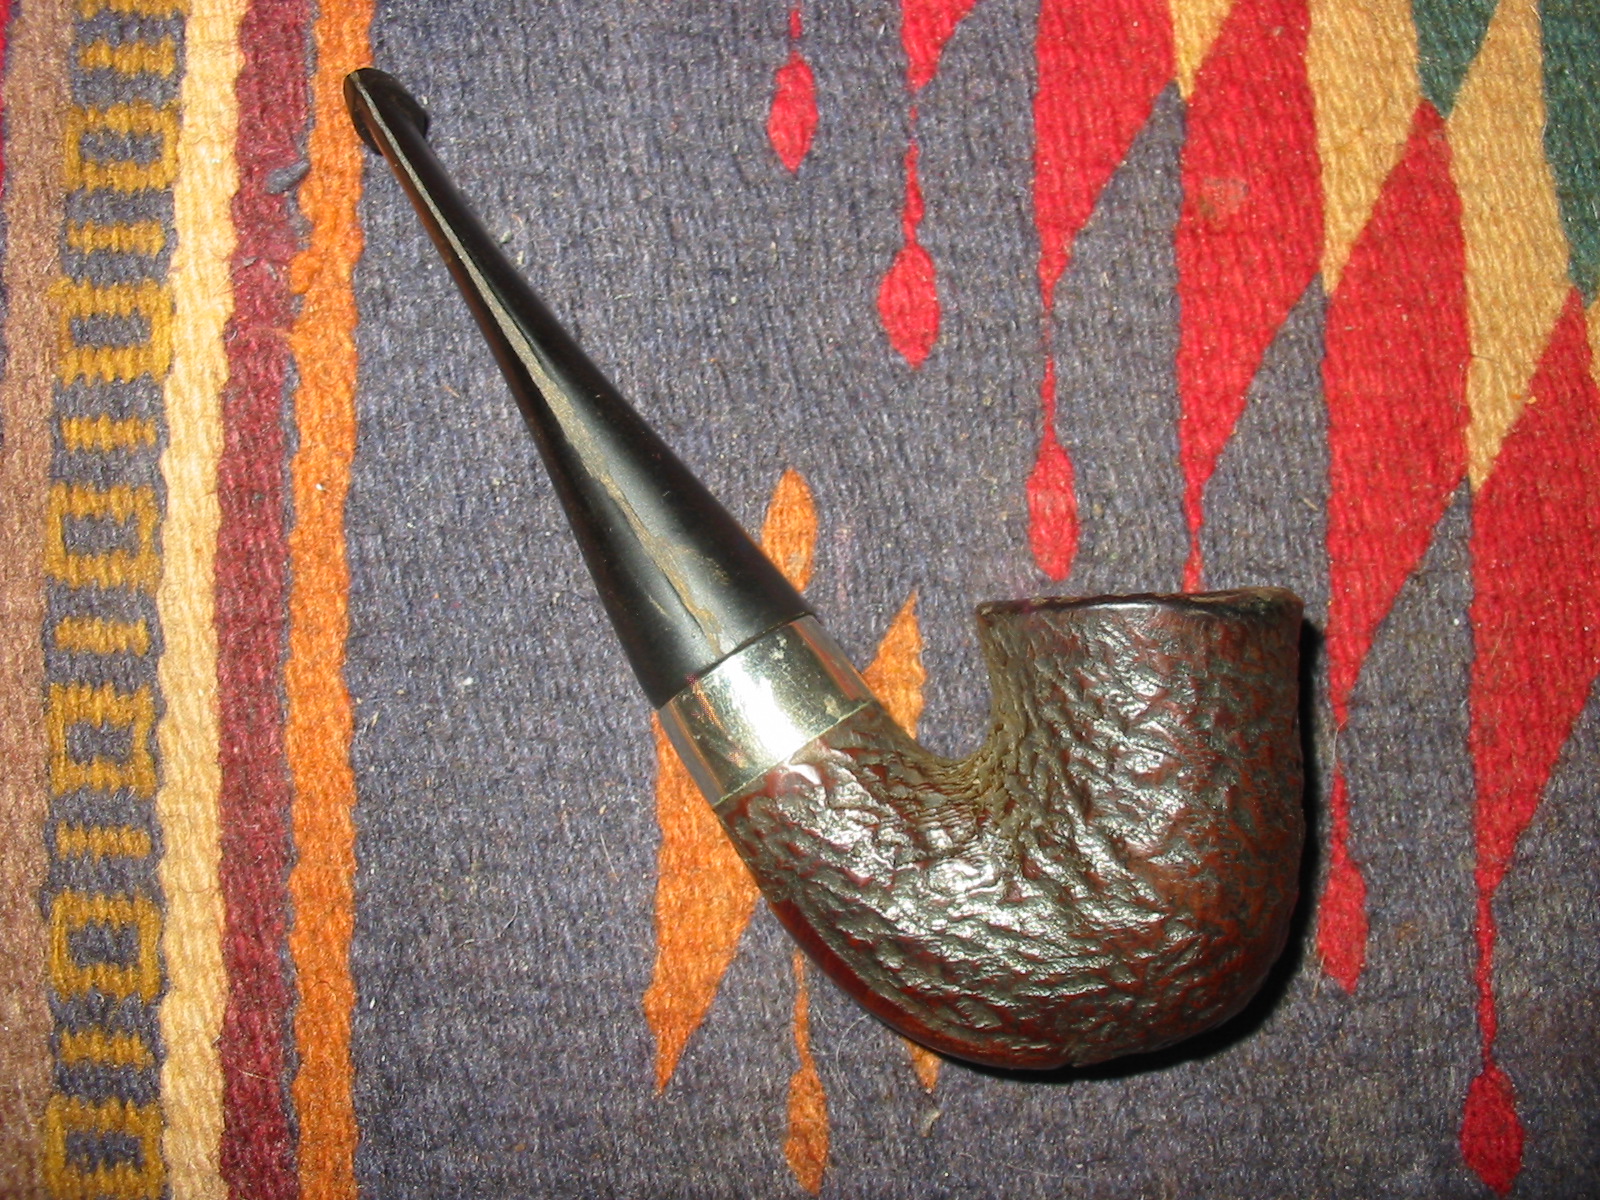
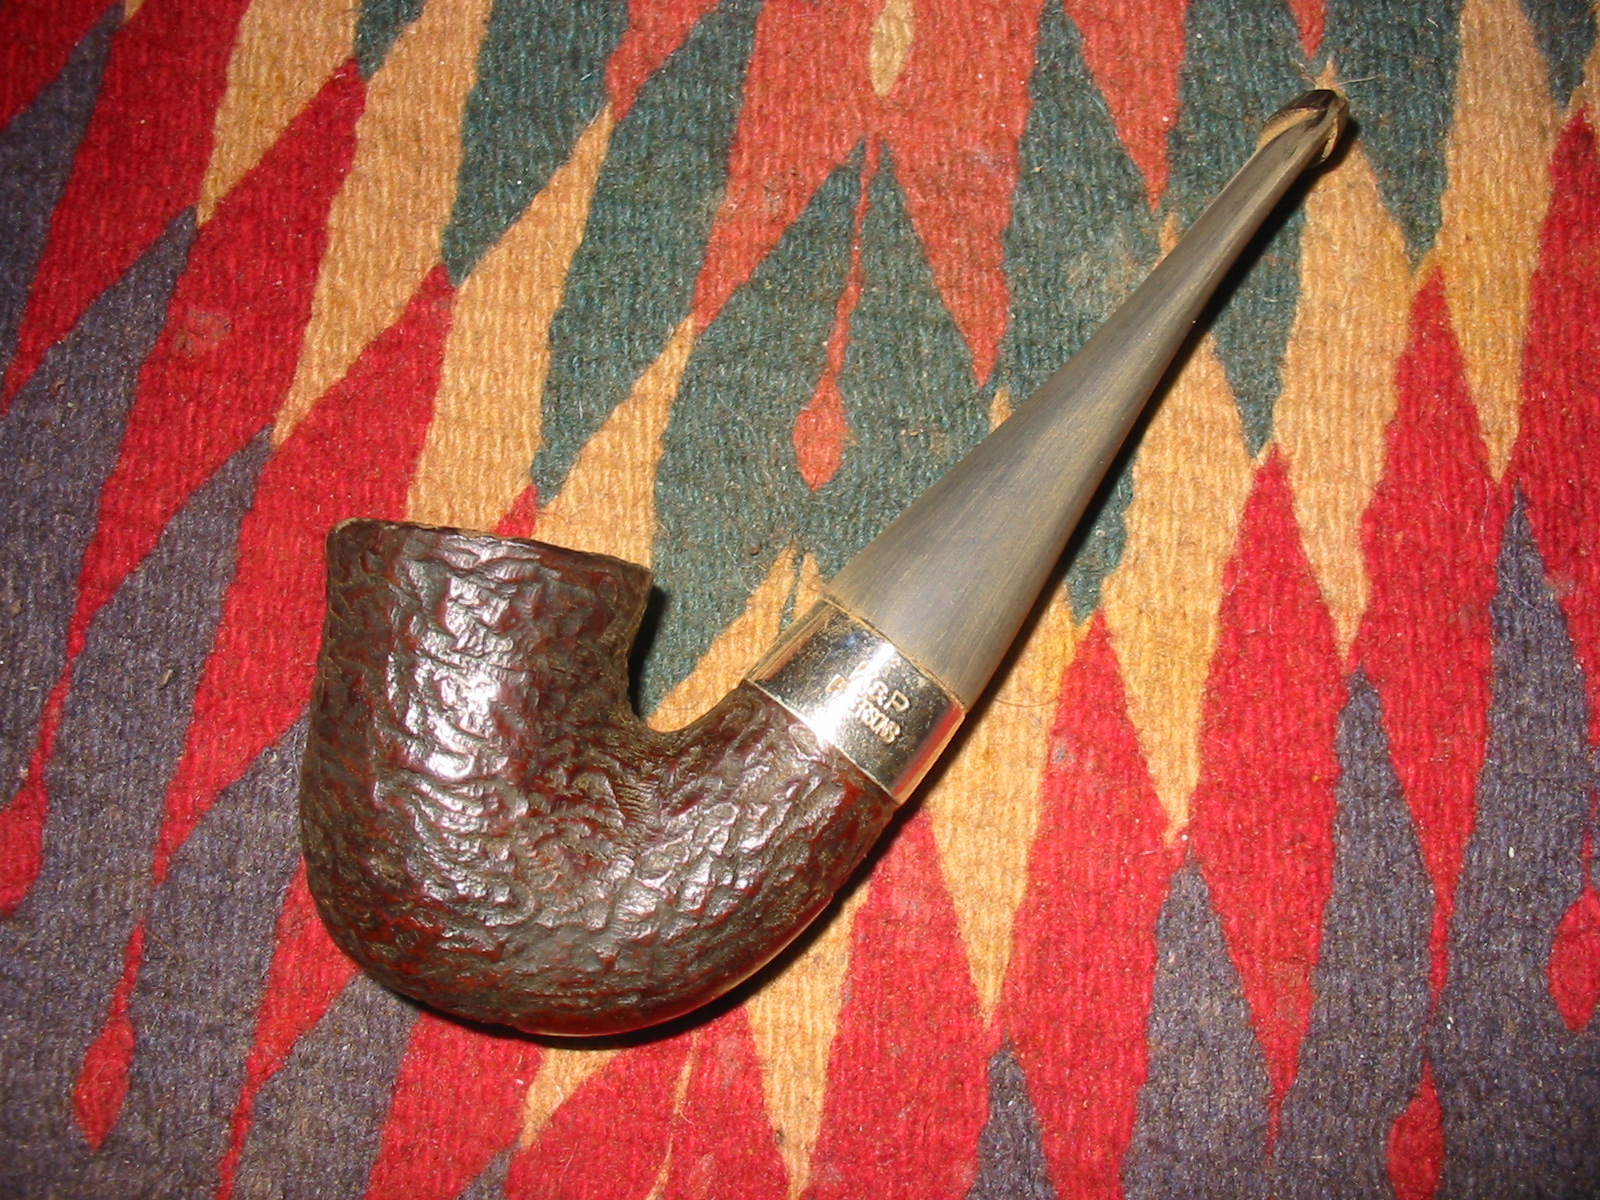
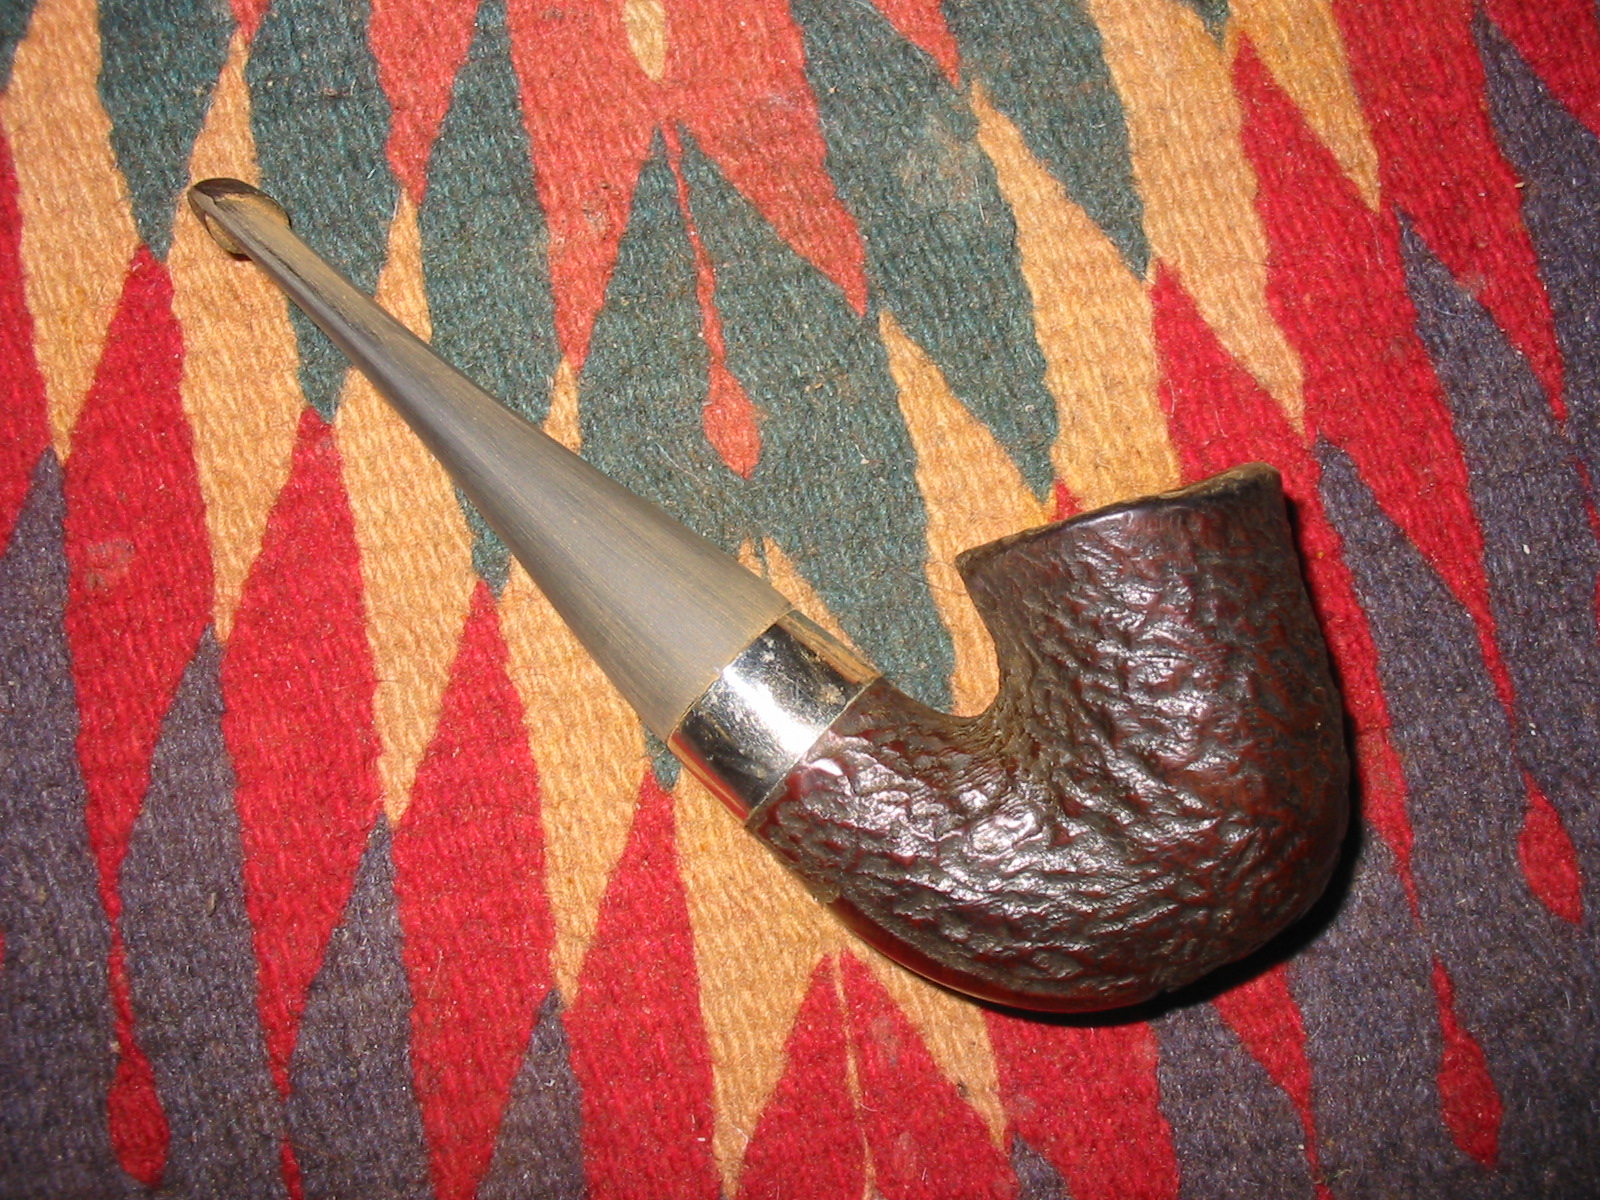
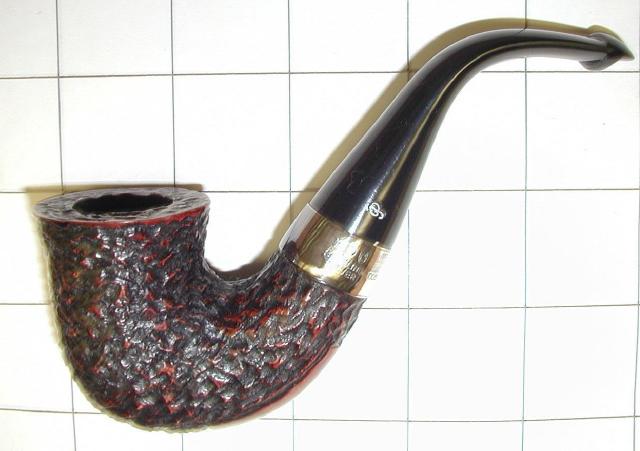
I sanded the stem with the usual array of micromesh sanding pads – wet sanding with 1500-2400 grit pads and dry sanding with 3200-12000 grit pads. In between each set of three pads (1500-2400, 3200-4000 and 6000-12000) I rubbed the stem down with Obsidian Oil. I let it dry before moving on to the next grit of pads. Once it was finished I rubbed it down with a final coat of Obsidian Oil and when it had dried I buffed the stem with White Diamond. I gave the bowl a coating of Halcyon II wax and hand buffed it with a shoe brush and gave the stem multiple coats of carnauba wax, buffing with a clean flannel buffing pad between applications. The finished pipe is shown below. It too is ready for its inaugural smoke – maybe a bowl of Louisiana Red will start this one off also… anyway, it is ready for the a long life ahead.
IMG_7301

IMG_7302

IMG_7303

IMG_7304

Resuscitating a Peterson Donegal Rocky 338 Bent Billiard


A few weeks ago one of the EBay sellers that I have bought several pipes from over the years had three Peterson bowls, sans stems listed for sale. They were in rough shape but I decided I wanted to give refurbishing them all a try. Besides one of them was a 999S and I love the 999 shape. That alone would have pushed me to make a bid on this lot. I ended up buying the threesome for more than I usually pay for pipe bowls but I figured it was worth the effort. This is the photo of the threesome from the sale listing.

The first of the three Peterson bowls is on the worktable at the moment. The finish was very rough on the pipe. It had built up grime in all of the grooves of the rustication. The inside of the bowl was caked almost to the top of the rim. The shank was one of the foulest things I think I have seen before. It was caked with oily tars from just inside the edge of the mortise to the bottom of the mortise. The rim was badly damaged with the front edge burned down lower than the rest. The rim was ragged looking and uneven all the way around. It looked to be solid though underneath the damage. The stamping on the underside of the shank said Petersons Donegal Rocky with the shape number 338. All the stamping is quite faint but still readable with a lens.
IMG_7098

IMG_7099
I cleaned and reamed the bowl. It is funny how short and easy that sounds but in this case that was not true. The cake in the bowl was like concrete and had totally closed off the bottom half of the bowl. The remaining top half had a slight slice to the airway but that effort was useless as the shank was completely clogged and no air could go through. I reamed as much of the bowl as I could with a PipNet reamer, not even getting as low as the airway. This stuff was very hard. I cleaned the shank with alcohol and cotton swabs. I tried to push a pipe cleaner through the clogged airway in the shank and was unable to get it to through. I decided to throw the bowl in an alcohol bath to soak for several hours to loosen things up.
IMG_7100

IMG_7111
When I took it out of the bath the alcohol soak had done its work. I was able to ream the rest of the way to the bottom of the bowl and completely remove the cake. I was able to push a wire through the airway and then cleaned out the airway and shank with cotton swabs and some assorted dental tools (thanks Joyal).
IMG_7112

IMG_7108
I scrubbed the rusticated finish of the bowl with Murphy’s Oil Soap and a tooth brush. I used a soft brass bristle brush to work on the rim and clean up the loose build up. Once I had scrubbed it I rinsed it with warm water. I dried it off and still had to do some more scrubbing. I cleaned the inside of the bowl and shank with the dental tools and cotton swabs and alcohol.
IMG_7125

IMG_7127
The rim was so badly damaged and uneven with the burned area that I topped it using the topping board and 220 grit sandpaper until it was flat.
IMG_7121

IMG_7123

IMG_7124
I went through my stem can and found a three inch long stem that was approximately the same shape and length as the original stem. I turned the tenon with the PIMO Tenon Turning tool and removed the castings on the sides and the end of the stem. I further shaped it with the Dremel and sanding drum.
IMG_7128

IMG_7129

IMG_7131

IMG_7132

IMG_7133
I wanted the top of the bowl to have the same rustication that it originally had before all the rim damage. It had a pattern that was similar to the rustication on the bowl itself. I looked on line to find photos of the rim of a Donegal Rocky that would be a pattern for me to copy. I put a dental bur that Joyal has given me on a Dremel tool and set the speed to a slow speed and used it to rusticate the rim to match the pattern in the photo of the bowl.
IMG_7134
I wiped the bowl down with a cotton pad and alcohol to clean off the dust from the rustication and then stained the whole bowl with a dark brown aniline stain. In the photos below the rim is obviously much lighter in colour than the rest of the bowl so it took five coats of stain before it matched the bowl. I applied the stain and flamed it with a lighter to set the stain repeatedly until the coverage was correct.
IMG_7135

IMG_7136
The brown was very dark and the original contrast look on the Donegal Rocky was not evident. I wiped the bowl down with acetone on cotton pads to lighten it and bring back some contrast to the rusticated finish. In the photos below the properly darkened rim is visible.
IMG_7137

IMG_7138

IMG_7139
I lightly buffed the bowl and rim with White Diamond and then applied some Halcyon II wax on both and then buffed with a soft flannel buff. I knew that I would have to wax it again once I had finished but I always put a coat of wax on the bowl to protect the finish when I give it a more thorough clean. I sanded the stem with 220 grit sandpaper to smooth out the casting marks and the Dremel marks. Once I had the initial sanding finished I decided to bend the stem. I heated it over a heat gun until it was pliable and bent it over and old rolling pin. I used a photo of 338 I found on the net as a template for the bend in the stem. I made the photo life sized and laid the pipe against the computer screen to match the bend. Once I had the bend correct the rest of the stem work could begin.
IMG_7140

IMG_7141

IMG_7142

IMG_7143

0003284_sterling-silver-338_430

IMG_7144

IMG_7145

IMG_7146

IMG_7147
I removed the stem from the bowl, stuffed cotton bolls in the bowl of the pipe and used an ear syringe to fill the bowl with isopropyl alcohol. I set the bowl in an old ice cube tray that keeps the bowl upright. I set the tray aside to let the alcohol sweeten the pipe and draw out the oils in the bowl and shank.
IMG_7149
Four hours later the alcohol had begun to pull out the tars and oils into the cotton.
IMG_7152
Twelve hours from the starting time, the cotton was a dark brown and most of the alcohol had evaporated. I pulled the cotton out of the bowls and wiped them dry with a cotton swab soaked in clean alcohol and they came out clean other than a little bit of the detritus that had collected in the bottom of the bowl. I swabbed out the shank and airway as well with pipe cleaners and cotton swabs dipped in alcohol and the shank was clean. The pipe smelled sweet and ready to smoke.
IMG_7153
I turned my attention to the stem and sanded it with a medium and a fine grit sanding sponge. It removed the majority of scratches from the surface of the stem left behind by the 220 grit sandpaper (I believe these sponges are equivalent to 400 and 600 grit wet dry sandpaper).
IMG_7154

IMG_7155
The rustication that I did on the top of the bowl rim is very clear in the next photo.
IMG_7156

IMG_7157
I sanded the stem with micromesh sanding pads – wet sanding with 1500-2400 grit pads and dry sanding with 3200-12,000 grit pads. Between each set of three grits I wiped the stem down with Obsidian Oil and let it soak into the vulcanite.
IMG_7160

IMG_7161

IMG_7162
When I had finished sanding with the 12,000 grit pad I rubbed it down with a final coat of Obsidian Oil and when it had dried buffed the stem with White Diamond and a Blue Plastic buffing compound. I then gave the stem multiple coats of carnauba wax, buffing with a soft flannel buff between coats. I waxed the bowl with Halcyon II wax and hand buffed it with a soft bristle shoe brush and a cotton buffing cloth. I used the 6000, 8000 and 12,000 grit micromesh pads to polish the nickel band and then gave it a buff with a silver polishing cloth. This old Peterson 338, that must have been an incredible smoke to have been smoked as hard as it was, is now ready to enter the next era of its life and provide the same kind of service to me. I look forward to smoking it later in the week once I am sure the alcohol in the bowl and shank has all evaporated. I have to tell you, I am looking forward to having a bowl in this old timer.
IMG_7163

IMG_7164

IMG_7165

IMG_7167

IMG_7166