Blog by Steve Laug
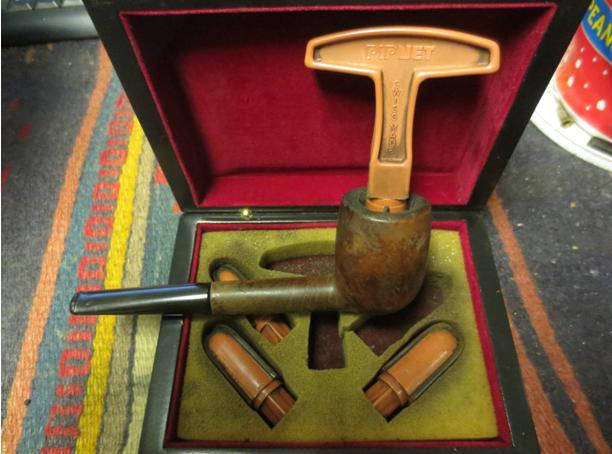
I was contacted by Robb, a reader of the blog about working on an old Yello-Bole Cutty that he had picked up. He said it was in decent shape but had a cracked shank that someone had already done a repair on. They had glued the shank with wood glue but when the stem was inserted it cracked again. He wanted the shank reglued and banded. We talked about different options for repairing the pipe and the costs of doing it. Finally, in an email he offered to trade me the pipe in exchange for one that I had for sale on the blog – a Kaywoodie Signature Bulldog. The deal was done and the pipe was now mine.
As with many of the pipes I repair and restore I want to learn as much about them as I can. I did some work on the internet trying to find the shape number of the pipe and information on the stamping. After a pretty fruitless search I wrote to Troy Wilburn of the Baccypipes Blog to get some information on dating the pipe. Troy has become my go to guy when I want to learn information on this particular brand of American pipes. He wrote back quickly with a reply which I summarize below. In it he walked me through the meaning of the stamping and how that helped with the dating of the pipe. His quick first answer stated that the pipe was made between 1933-1936. Here is the main portion of what he wrote to me:
“I’ll break down the stamping and numbers for you. Starting with the left side of the shank the pipe is stamped with KBB in a clover leaf and next to that it says Yello-Bole. Underneath it is stamped Honey Cured Briar. Yello-Bole pipes that come from 1933-1936 bore the stamp Honey Cured Briar. On the right side of the shank it is stamped 2070B. The meaning of the numbers breaks down as follows. The number 20 tells us that the stem is black vulcanite with a push tenon made between 1932-1940s. The next two numbers, 70 gives the shape – a long Belgian and that it was made between 1928/9 and 1935. They made a regular 70 (it’s just called Belgian), a large Belgian 70B, and a long Dublin Belgian 70B.”
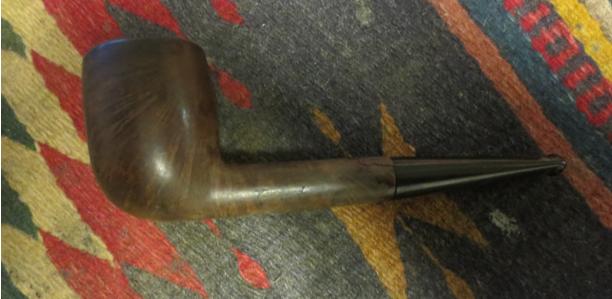
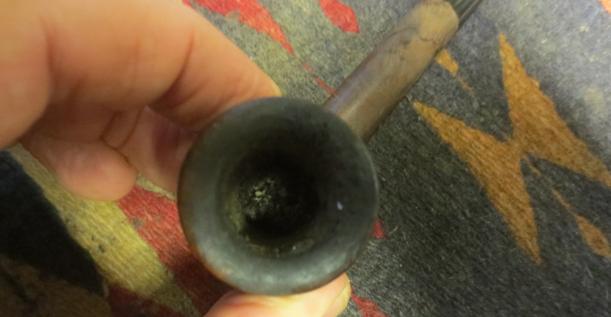
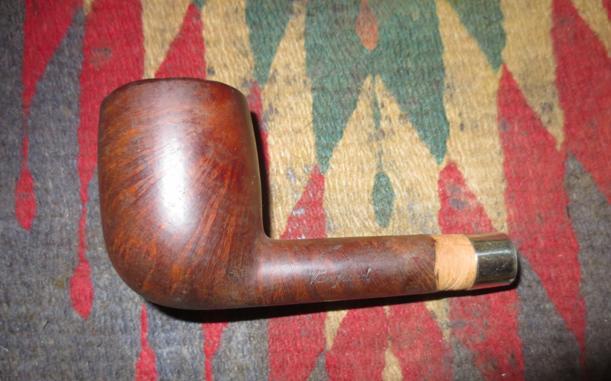
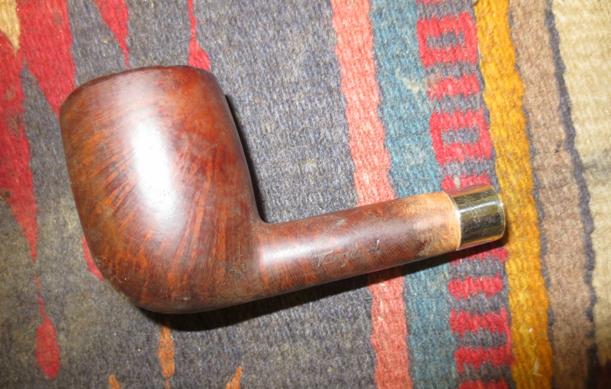
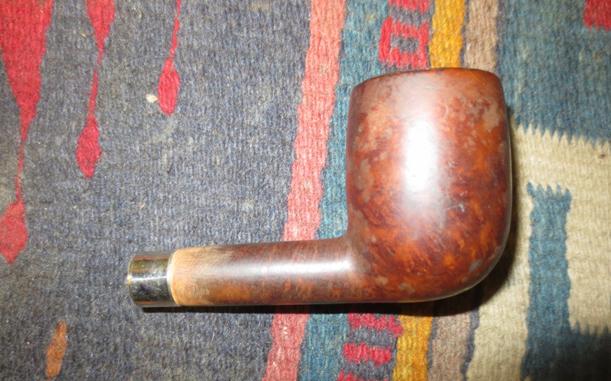
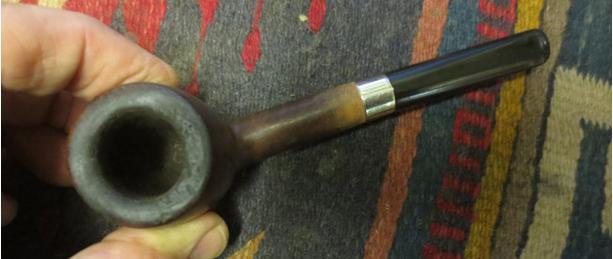
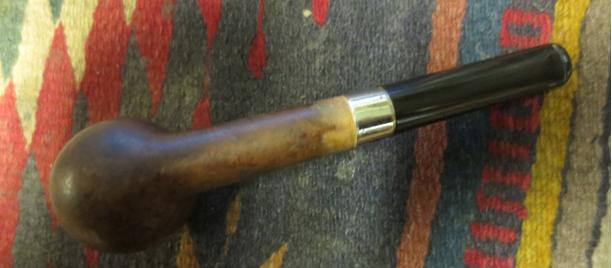
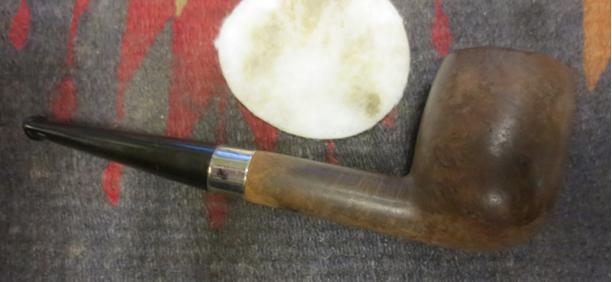
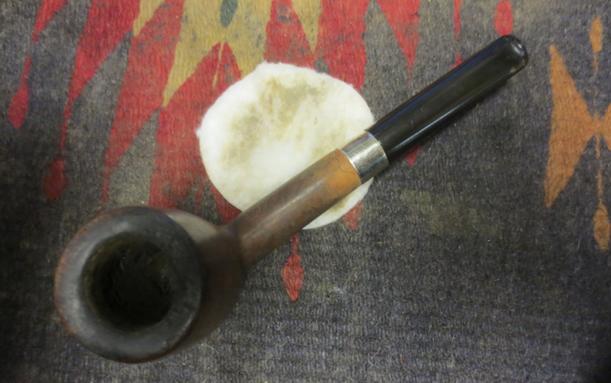
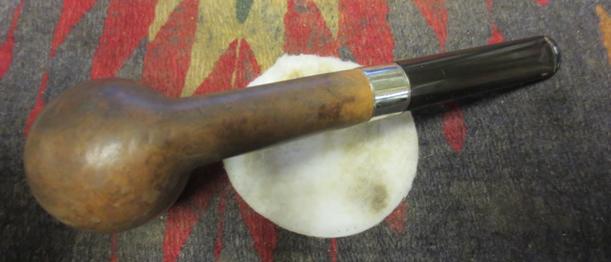
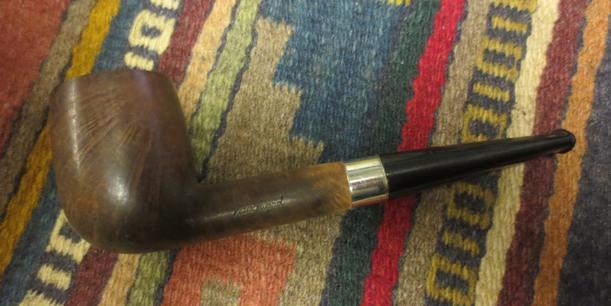
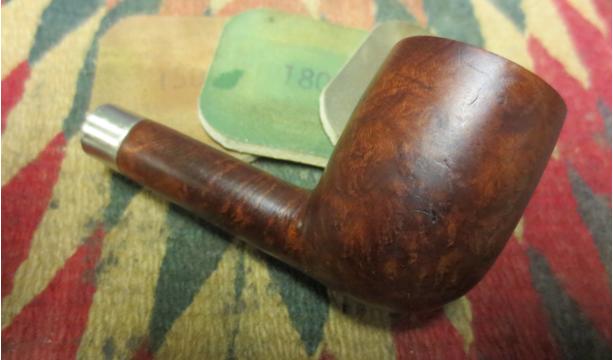
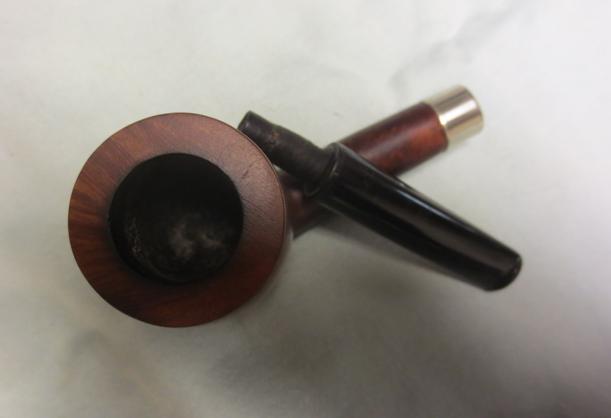
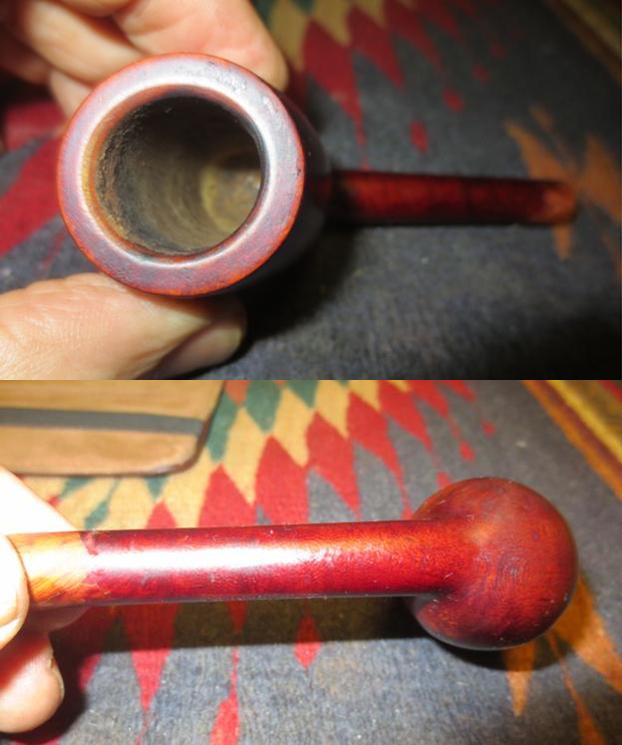
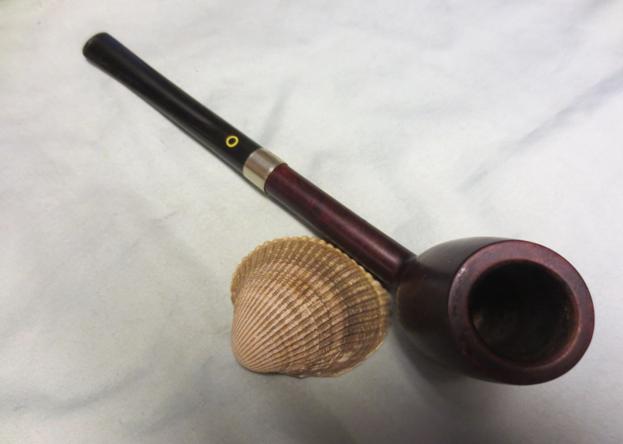
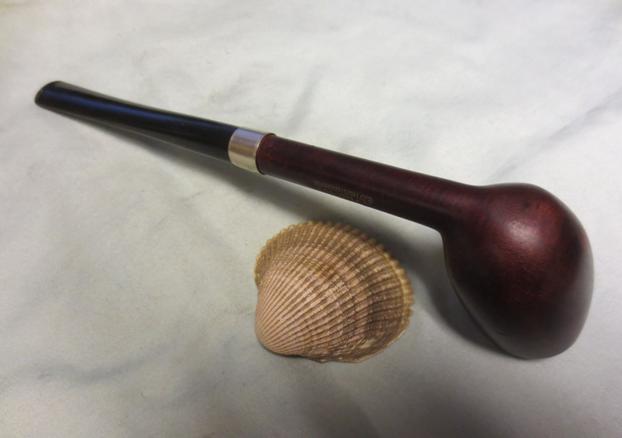
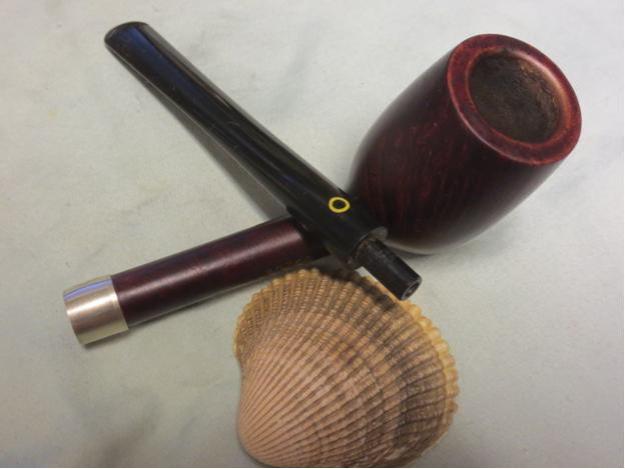
I took some photos of the pipe with the stem in the shank to highlight the issues that I saw with the pipe. Not only was the shank cracked but the tenon was also cracked and set at an angle to the stem making alignment in the shank impossible. The dimensions of the pipe to give some perspective to the photos are: Length – 8 inches, bowl height – 2inches, outer bowl diameter – 1 ¼ inches, inner bowl diameter – ¾ inches. You can see that it is a large pipe. The finish was crackled and dirty – almost opaque to the point that the grain was hidden. The rim had a lava buildup and the bowl had a thin, uneven cake that covered it top to bottom. The stem was oxidized and yellow. The stinger was glued in place in the tenon with the broken tenon anchored firmly to the metal insert on the stinger. It was also glued in sideways instead of upright.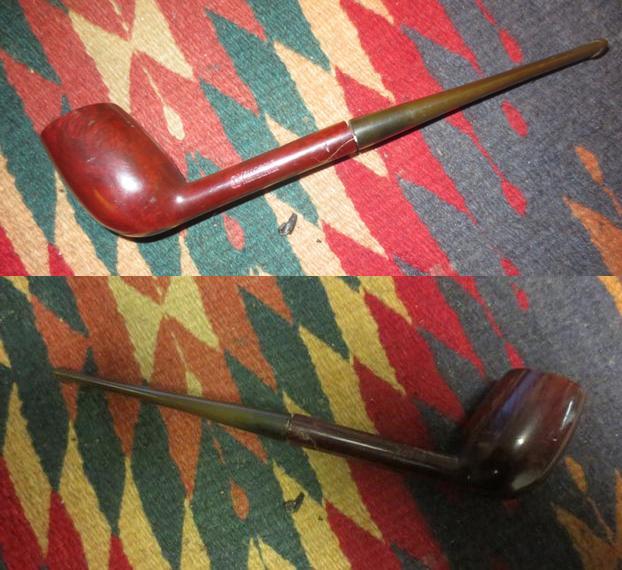
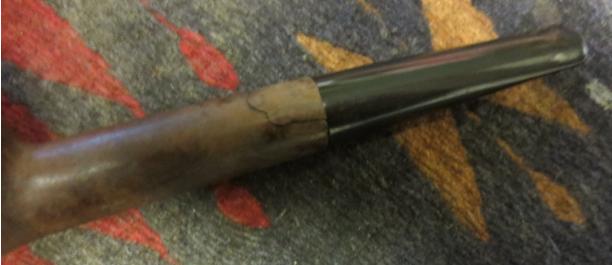
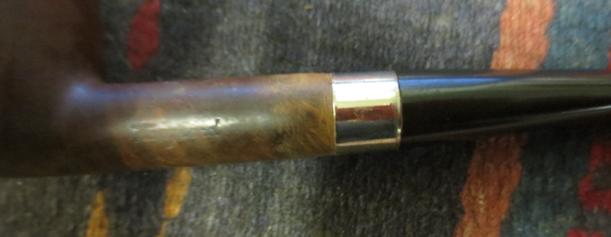
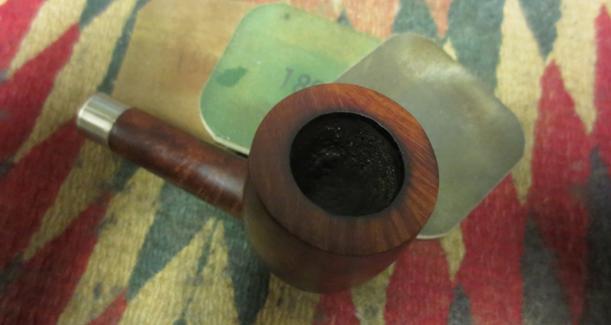
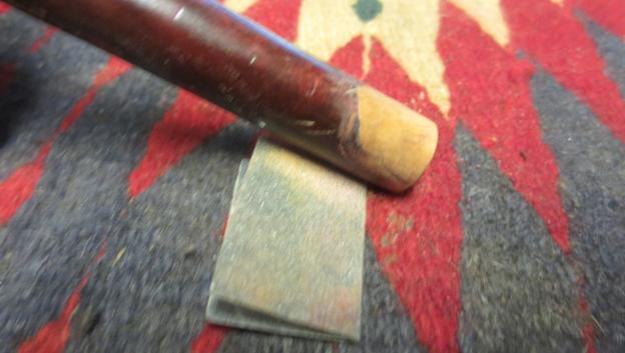
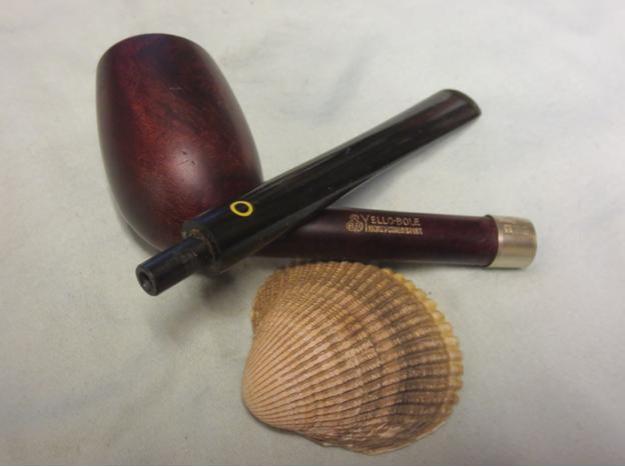
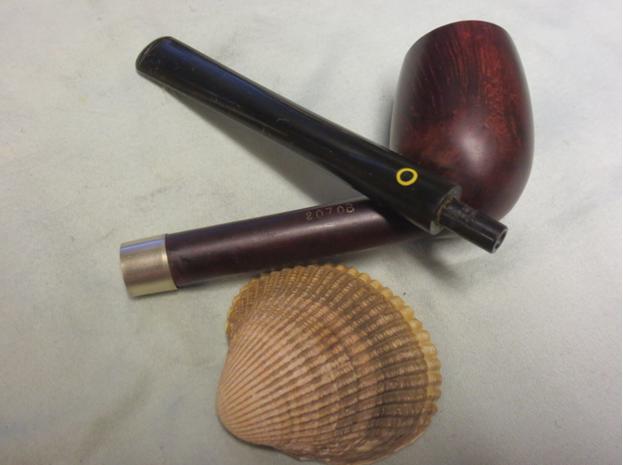
 I took a close up photo of the tenon and stinger repair that had been done to show the cracked and glue pieces of the tenon on the stinger. You can see in the photo where pieces of the tenon had broken free when I removed the stem from the pipe.
 The crack in the shank arced from one side of the pipe to the other forming a closed crack. The chunk of briar had been glued in place by what appeared to be wood glue. The repair was not strong enough to protect the shank when the angled tenon was inserted in the mortise. Each time the stem was inserted the crack opened wide. Because it had a start and an end point there was no threat in the crack spreading upward along the shank. I had two options for repairing this. I could either insert a tube inside the shank thus internally banding the pieces in place or I could use a band on the exterior to the same effect. As I worked on the i decided to band the shank rather than do an internal repair. The thinness of the tenon with the stinger in place would make it impractical to reduce the size of the tenon further to fit in the inner tube repair.
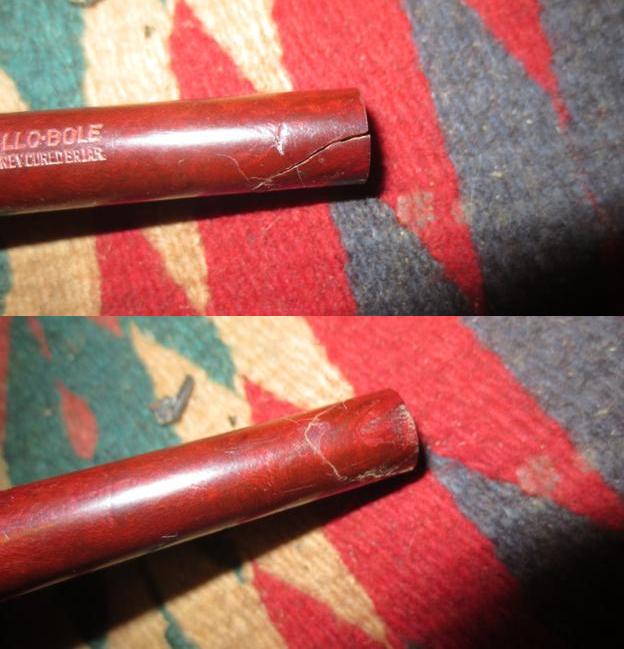 I removed the stinger from the stem and broke away the pieces of the rubber tenon from the metal insert. The stinger was exceptionally long and once I replaced the tenon I would make a decision what to do with it.
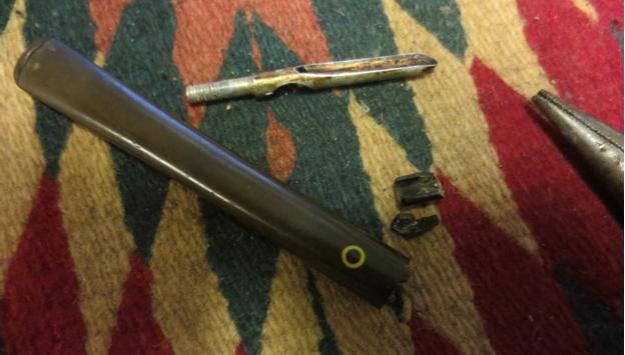 I have an assortment of threaded replacement tenons that I use to repair broken tenons. I went through my container and found one that was a good fit in the shank.
 I used the Dremel and sanding drum to flatten out the broken pieces of the old tenon on the end of the stem. I used the topping board to square up the end. I set up a cordless drill and a drill bit approximately the size of the threaded portion of the new tenon. I turned the stem onto the drill bit and slowly opened the airway to fit the new tenon. Once I had the airway open and deep enough to accommodate the threaded end I used a tap to cut threads into the inside of the stem.
  I turned the new tenon into the threaded airway in the stem to check the fit. When it was correct I gave the threads a coat of slow drying black super glue and turned the tenon into the stem until it was tight against the face of the stem.
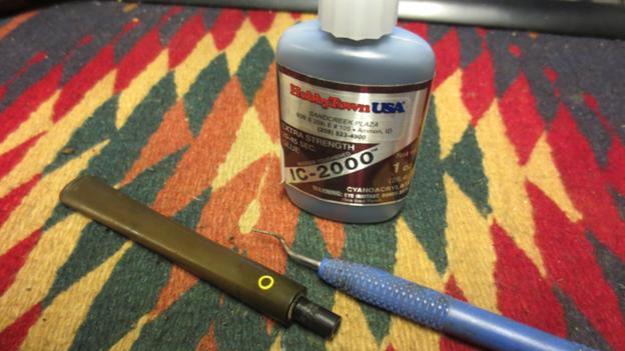
 I set the stem aside to let the glue cure and began to work on the crack in the shank. It did not matter which way I chose to repair the shank I needed to clean up the previous repair and remove the dried wood glue. I needed a clean surface to reglue with super glue. Once I had the surface clean I pried open the crack and used a dental pick to push clear super glue into the crack. Once the glue was in place I clamped the shank until the glue set.
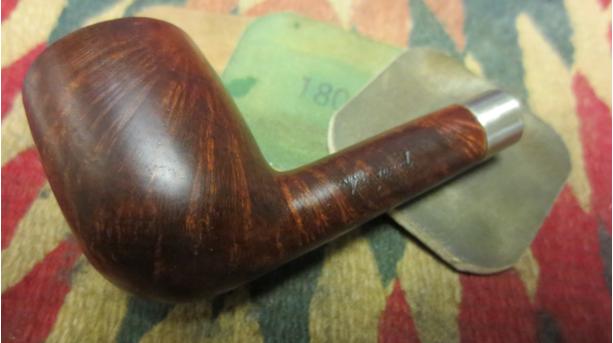
 I sanded the glued shank with 180 grit sandpaper to remove the finish and the over flow of glue from the repair. I wanted to make the surface smooth so that I could either band it externally or do it internally and then refinish the shank.
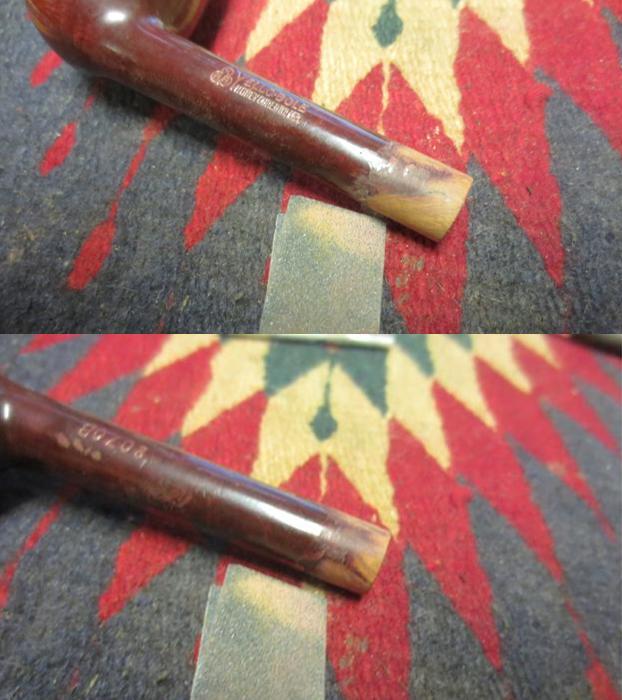
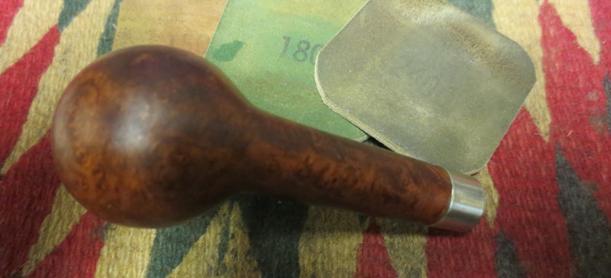
 The next two photos show the gold/yellow colour of the paint in the stamping of the shank on both sides. Once I stripped the bowl of the varnish coat this would disappear and I would need to recreate it.
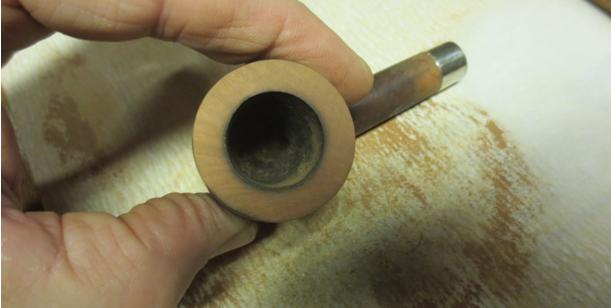
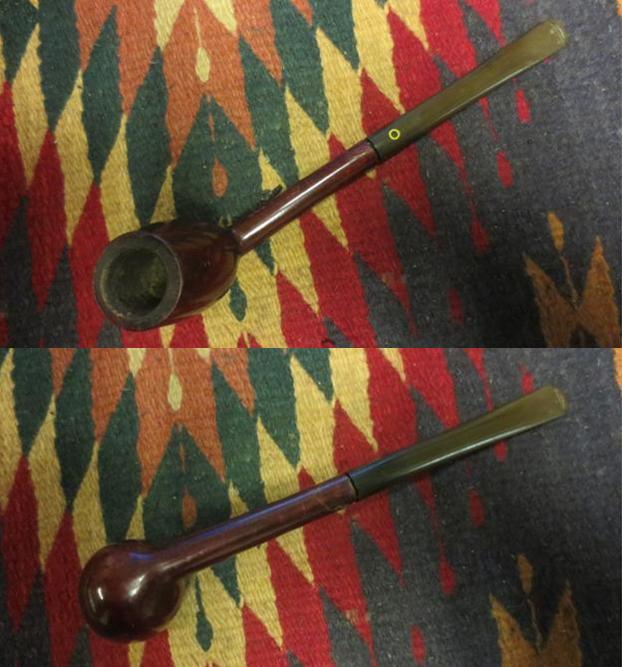
 I cleaned out the inside of the shank and the mortise with alcohol, pipe cleaners and cotton swabs. It was dirty but cleaned up easily. I repeated the same process on the airway in the stem. It too was easy to clean. I reamed out the bowl with the Savinelli Pipe Knife to take the cake back. Underneath the light cake I found that they original Yello-Bole coating was still in place.
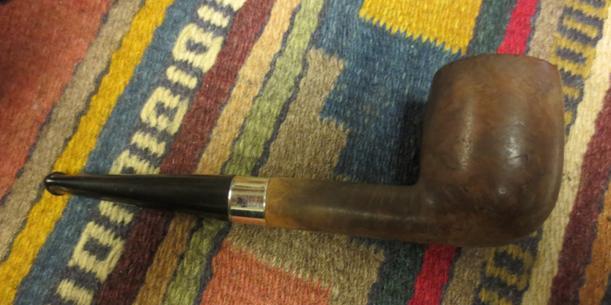
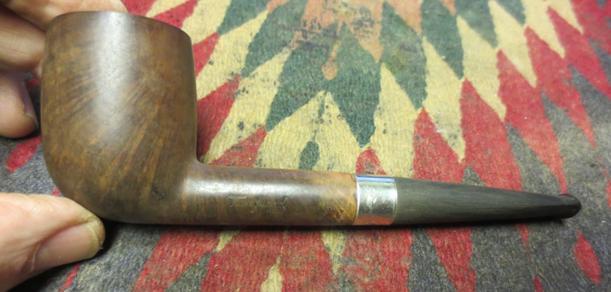
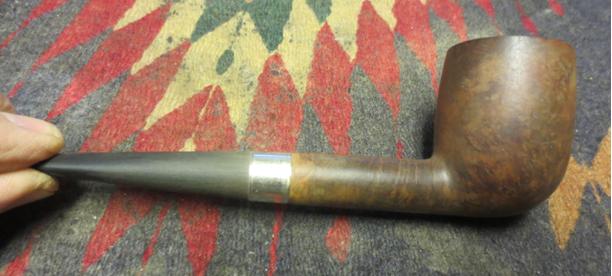
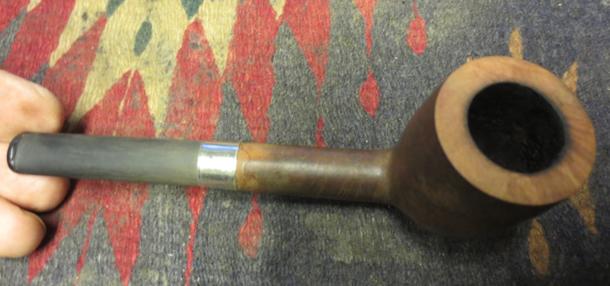
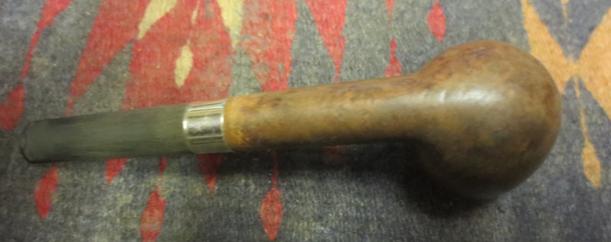
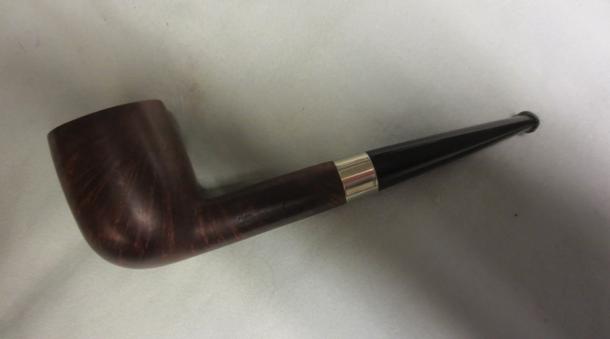
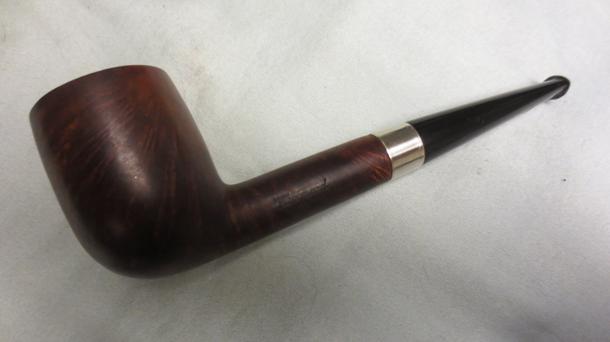
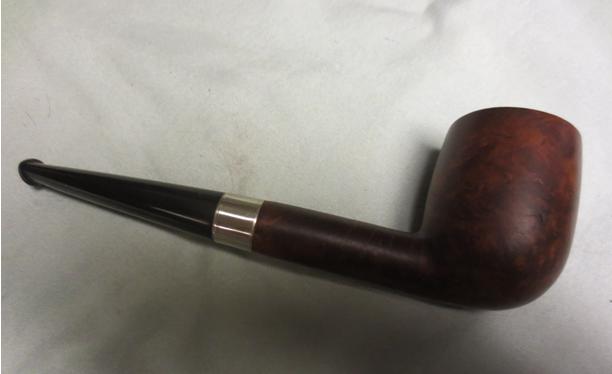
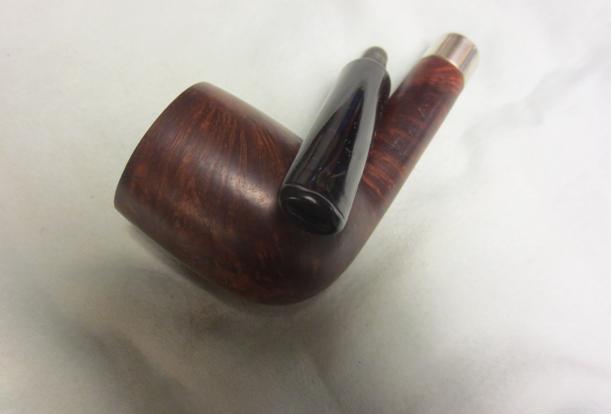
 Once the glue on the shank had cured overnight I carefully put the stem in the shank to check the alignment of the stem and shank. I took the following photos of the pipe at this point in the process.
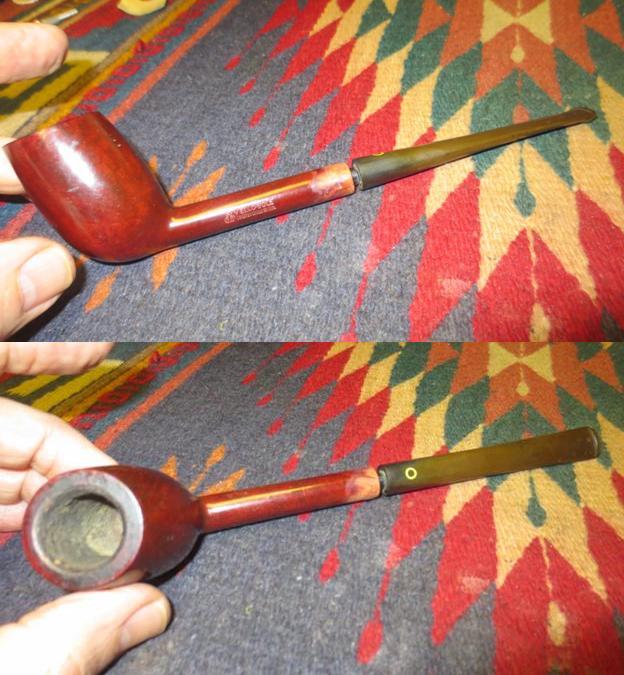
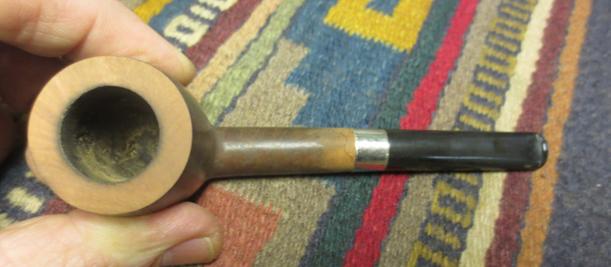
 I wiped the bowl down with acetone on cotton pads to remove the varnish coat that was crackling. It took some scrubbing but the finish came off quite easily and left the colour in the briar.
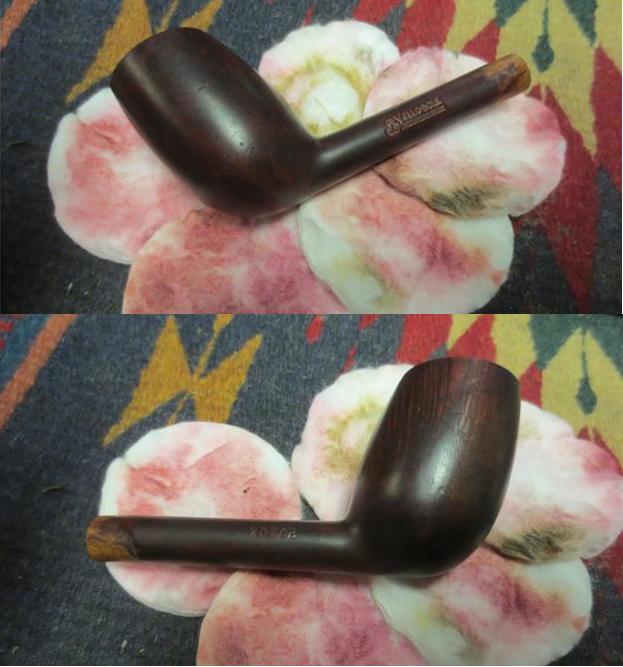 I was careful to not wipe around the repaired shank as the acetone will dissolve super glue and I would be back to square one. I sanded the bowl with 1500-2400 grit micromesh sanding pads to further remove the finish.
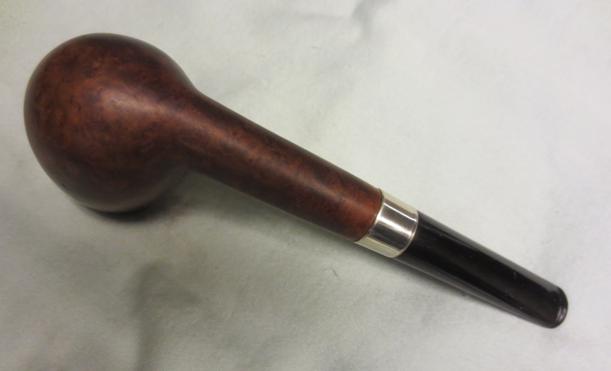
 I wiped the bowl down with a light coat of olive oil to see what the grain looked like.
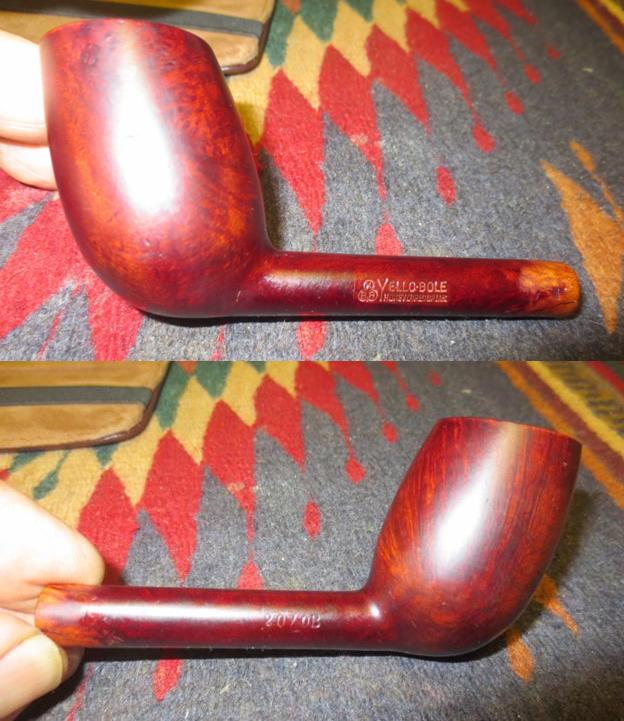
 I cleaned the shank and used European Gold Rub N’ Buff to restore the gold in the stamping. I really like how Yello-Bole and some of the older American pipes utilized the gold leaf in the stamping to make it highly readable.
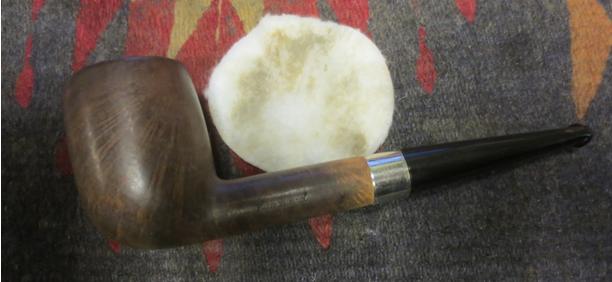
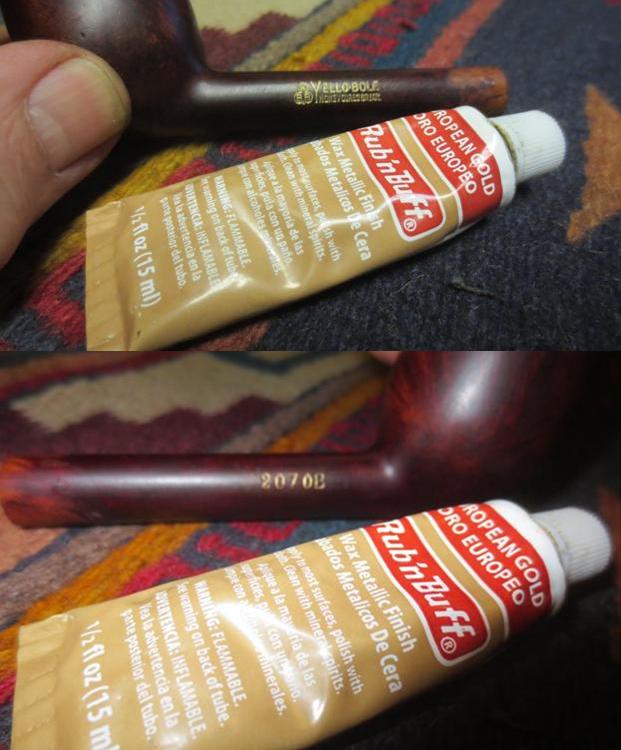 I scrubbed the stem with Meguiar’s Scratch X2.0 to remove the majority of the oxidation and polish the stem. The residue of the oxidation is shown on the cotton pad under the stem.
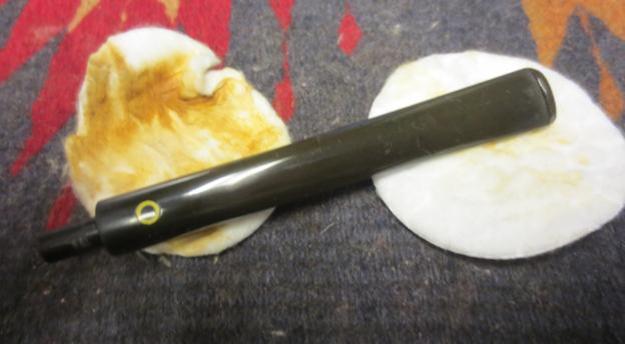 I sanded the remaining oxidation with 220 grit sandpaper to remove it from the surface of the stem. There were some small tooth marks on the top and bottom sides of the stem as well that I sanded out with the sandpaper.
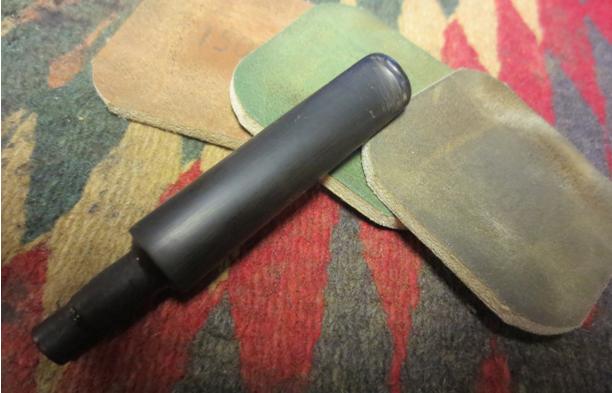
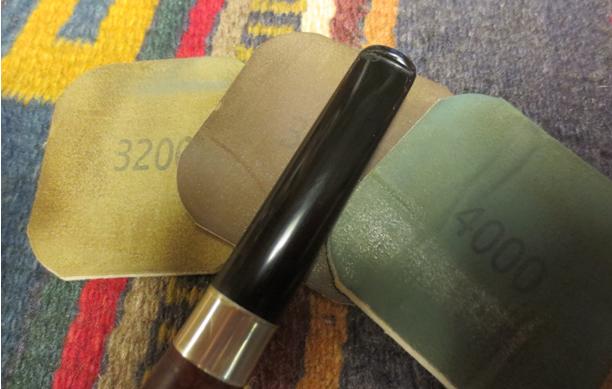
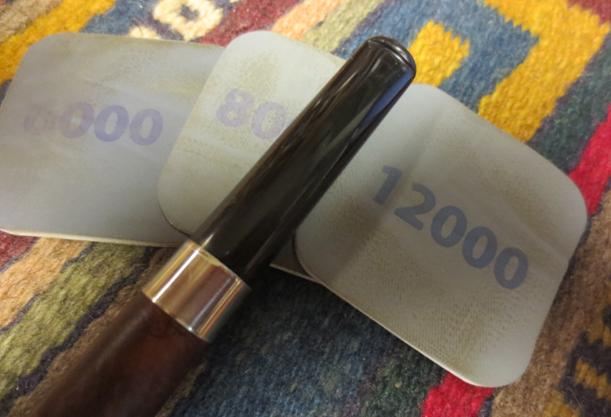
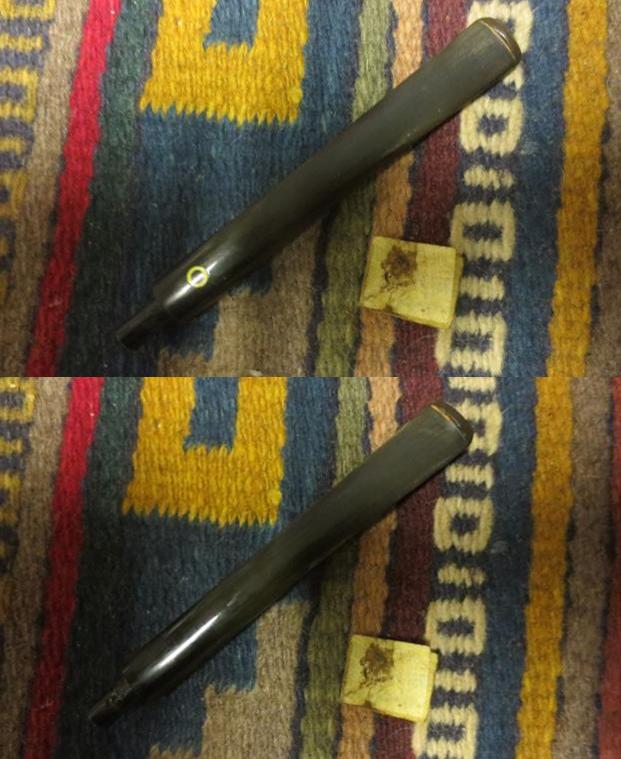 I wetsanded the stem with 1500-2400 grit micromesh sanding pads and gave the stem a coat of Obsidian Oil. I dry sanded with 3200-4000 grit pads and gave it another coat of oil. I finished sanding with 6000-12000 grit pads and gave it a final rubdown with Obsidian Oil.
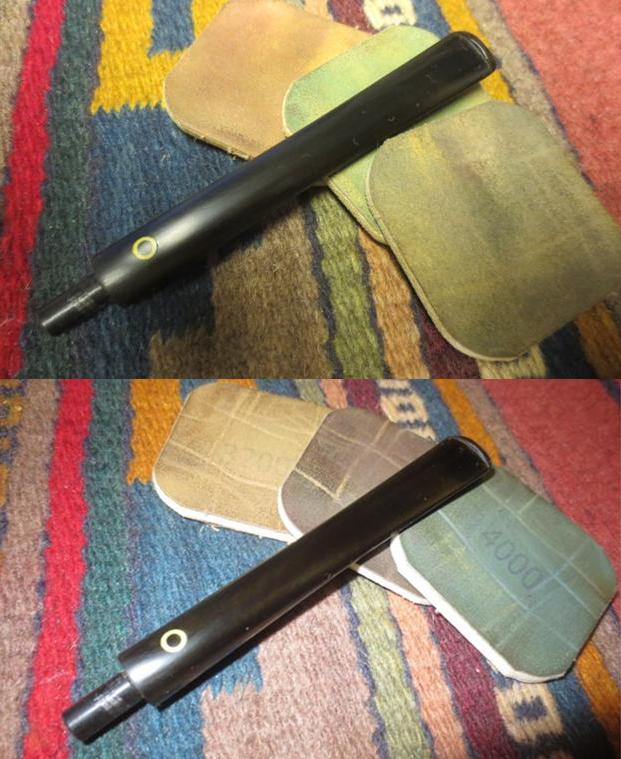
 I drilled out the tenon to the diameter of the stinger apparatus that had originally come with the old tenon. I made it large enough that the stinger was removable in order that the pipe could be smoked with or without the stinger.
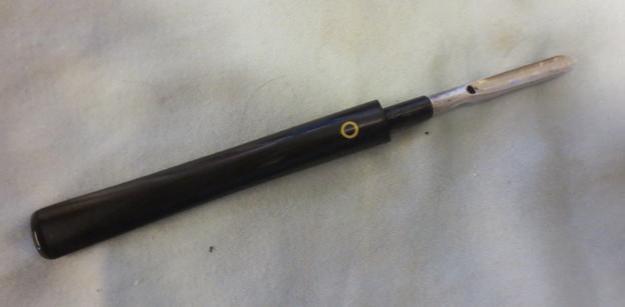 The band that Charles shipped me came on Friday and it was a good fit on the shank. I coated the shank with some white glue and pressed the band onto the shank. I wiped away the excess glue with a damp cotton pad.
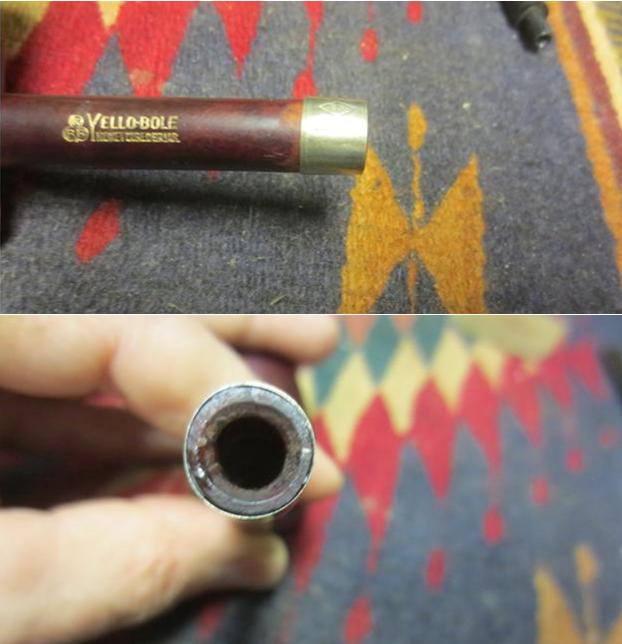
 I used a dark brown stain pen to touch up the area around the shank repair that extended beyond the band. The colour worked well with the brown/red colour of the stain on the rest of the shank.
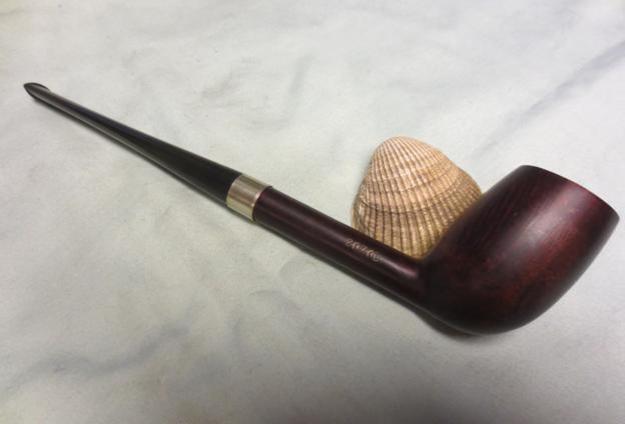
 I buffed the area around the band with White Diamond on the wheel to blend in the stain colour with the rest of the pipe. I buffed the entire pipe with Blue Diamond, being careful to avoid the nickel band. I have found that when I buff the band at the same time as the rest of the pipe the black from the nickel on the buffing pad is transferred to the shank and stem. I rubbed the stem down with Obsidian Oil and gave the stem and bowl multiple coats of carnauba wax. I buffed the pipe with a clean buffing pad and then with a microfibre cloth to deepen and raise the shine. The finished pipe is shown in the photos below. I really like the way it turned out and I am sure glad that I was able to work a trade with Robb for the pipe.

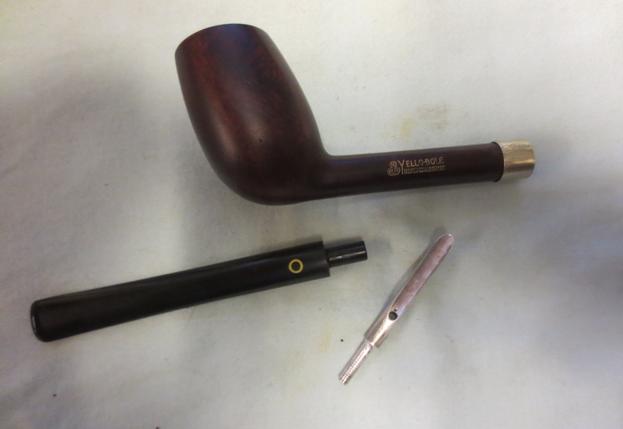
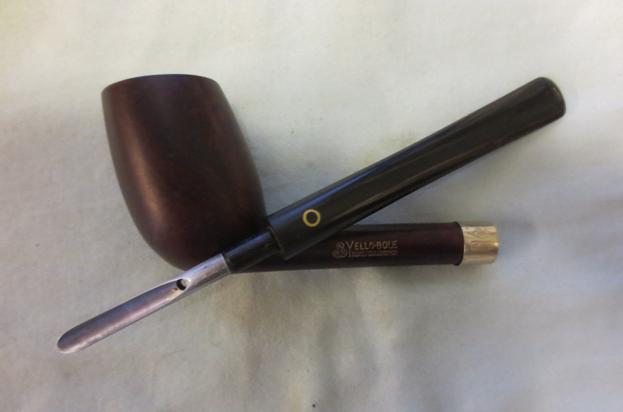
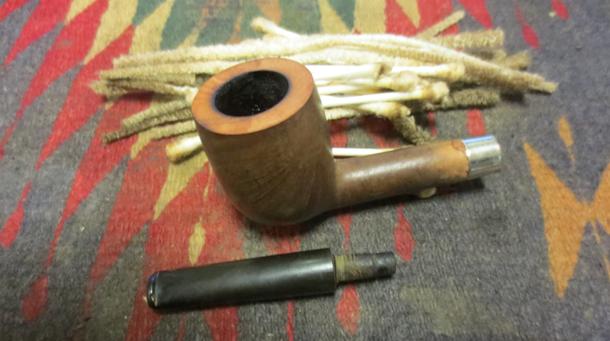
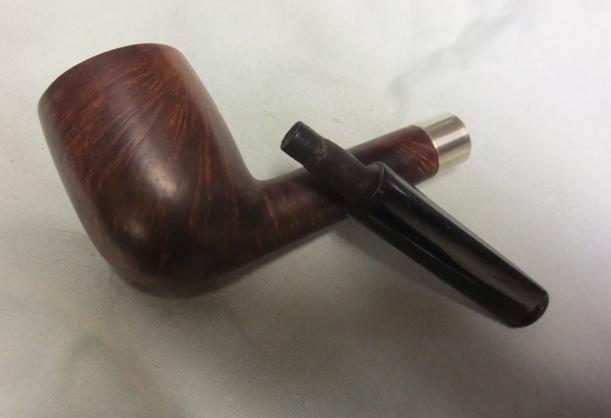
 I took some final photos of the pipe. The first photo shows the stinger next to the bowl and stem go give an idea of the size of the stinger and the second photo shows the stinger in place in the stem. Thanks for looking.