Blog by Steve Laug
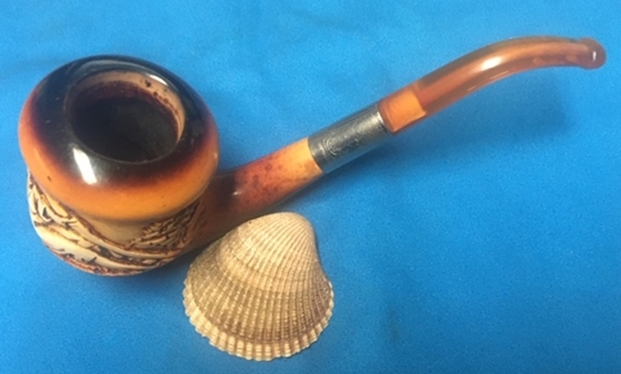
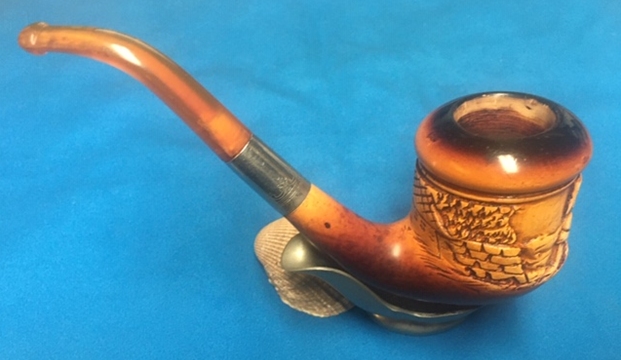
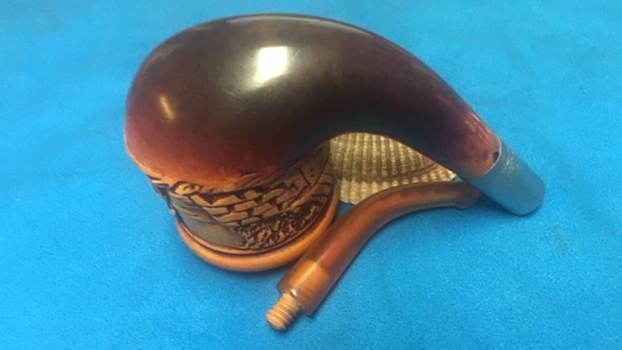
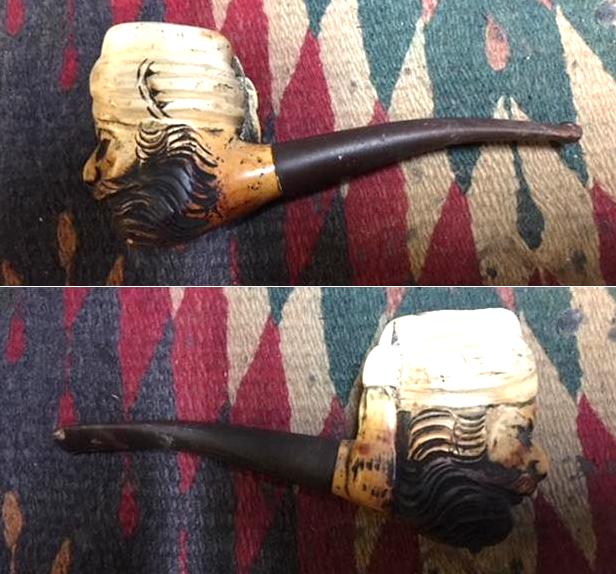
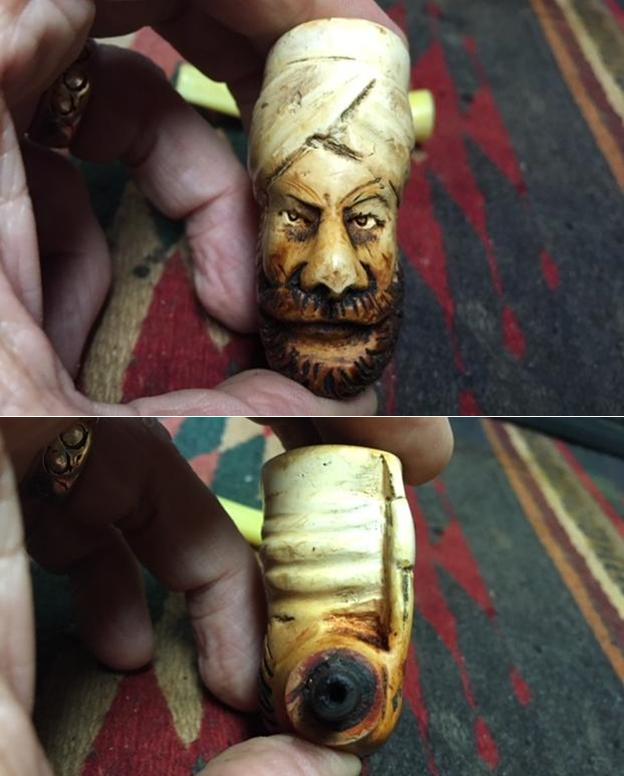
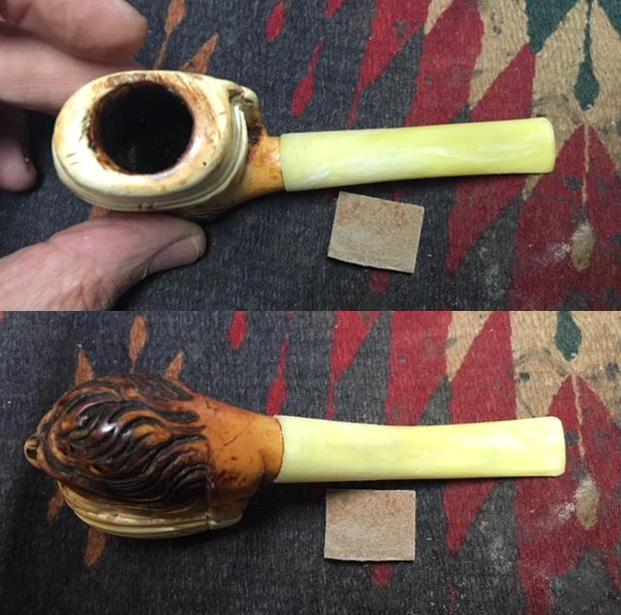
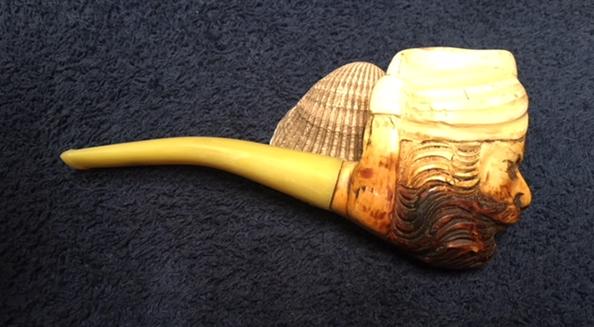
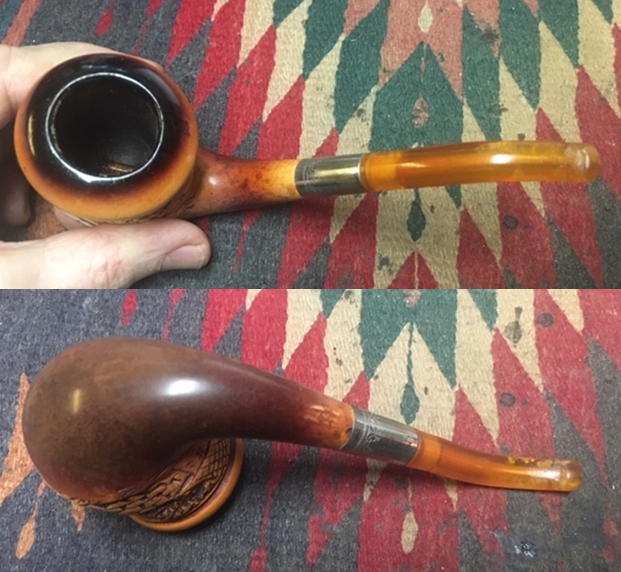
This old meerschaum pipe with a Bakelite stem and silver shank band has been sitting in my box to be restored for almost three years now. I picked up and looked at it, took it apart looked at the pieces and put it back together and put it back in the box. Today I was going through all of the boxes of pipes I had to work on and sorting them. I came upon this pipe and decided today was the day to work on it. This pipe is carved with a pastoral scene of what looks like a mountain cabin and stone fence. Reclining on the ground in the forefront is figure that looks like a Swiss hiker or shepherd with his walking staff leaning against the fence. The bowl had a cake on the walls with a lot of dust in the carving on the front and sides of the bowl. It was dusty and tired looking. The shank end was chipped and there was damage to the shank itself. A lot would be revealed once Jeff had worked his magic on it. The thin shank had a silver etched band that fit well. The shank end was threaded and acted as the mortise. The amber coloured Bakelite stem had a bone tenon that screwed into the shank end of the band. There was light tooth chatter and marks on both sides ahead of the button and on the button surface itself. Jeff took photos of the pipe before he started his cleanup work.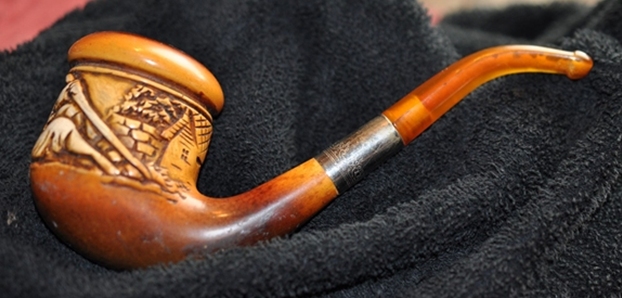
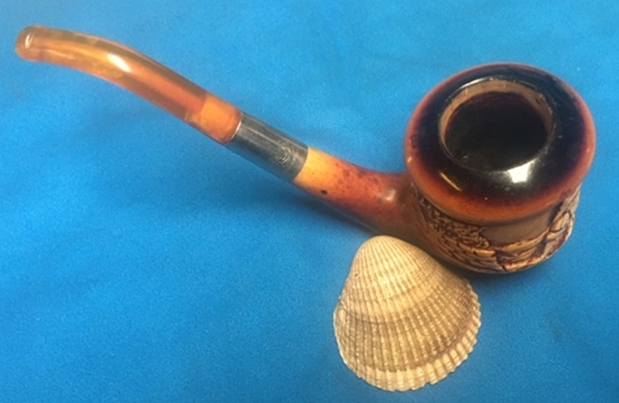
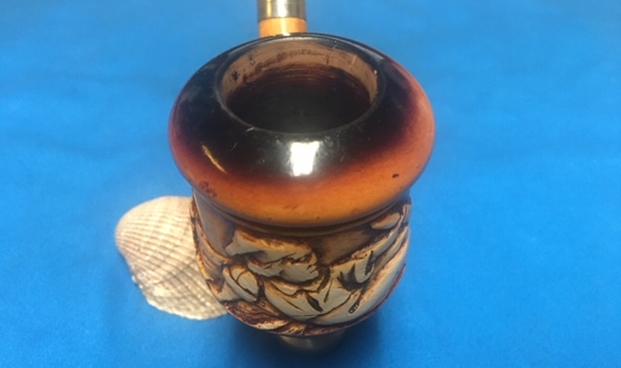
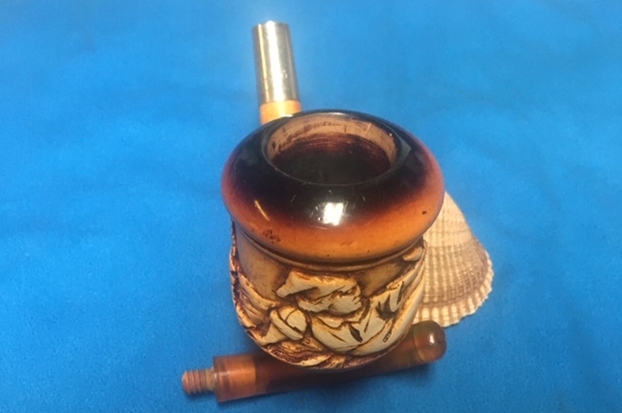
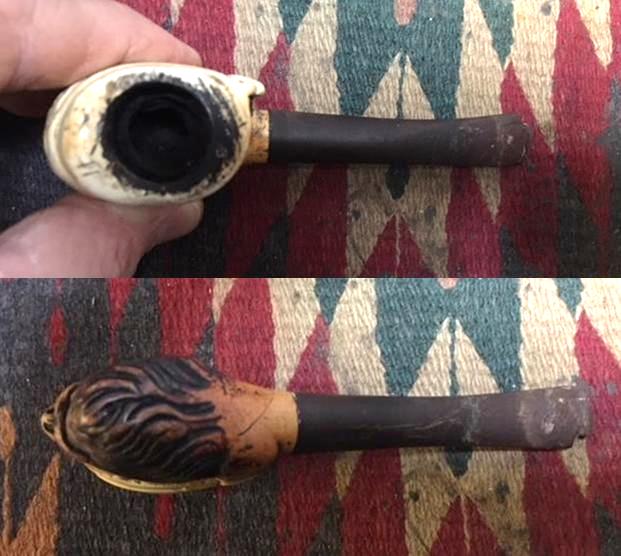
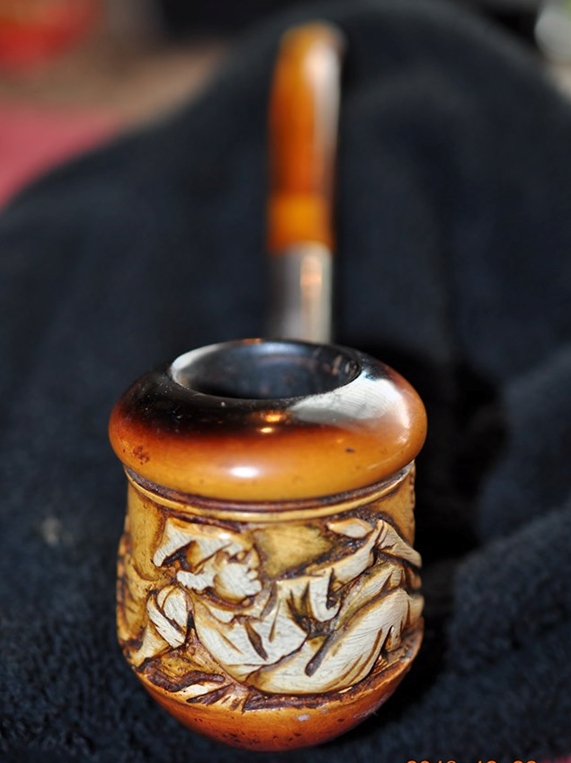 Jeff has gotten very good at capturing the condition of the bowl and rim top with his photos. You can see the work that is ahead of us in terms of the cake in the bowl and the lava on the inner edge. The bowl is in good condition.
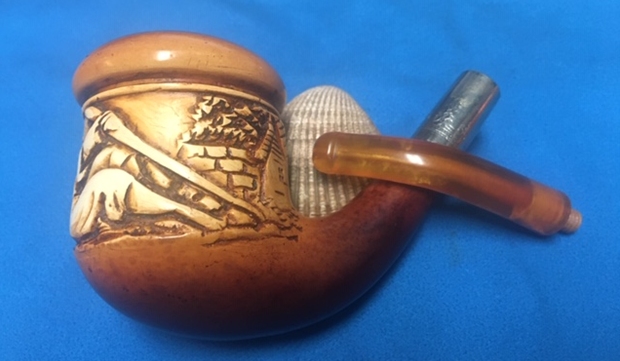
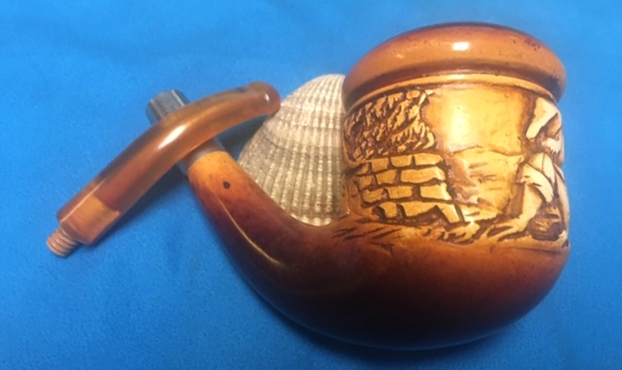
 The next set of photos show the carving around the sides of the bowl. The carving is well done. I look forward to seeing what this one looks like once it is clean and restored.
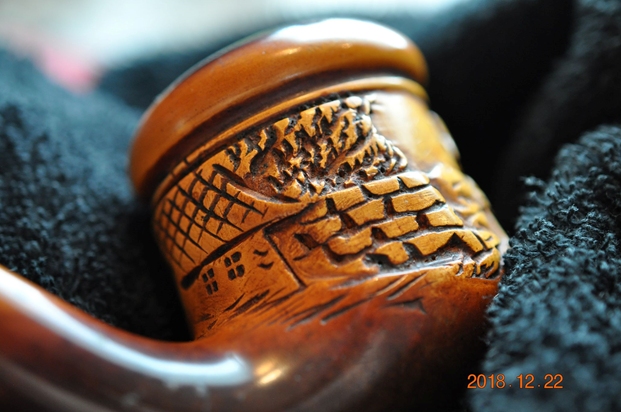
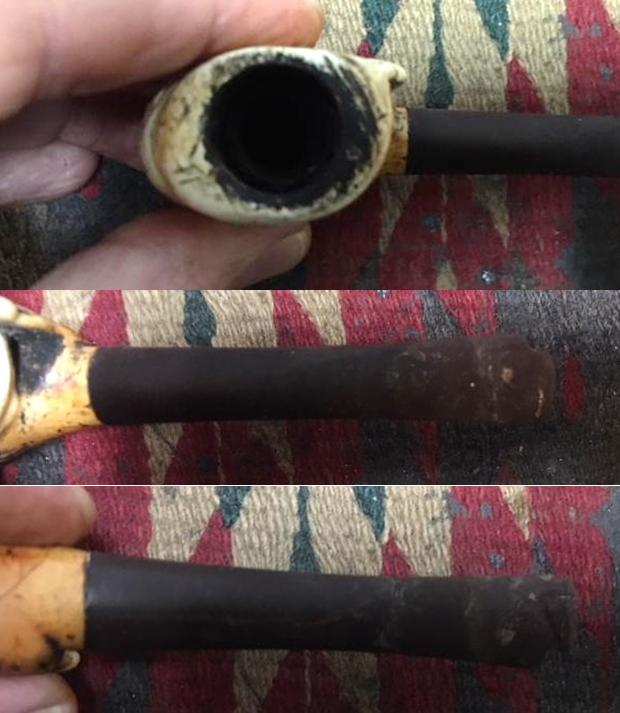
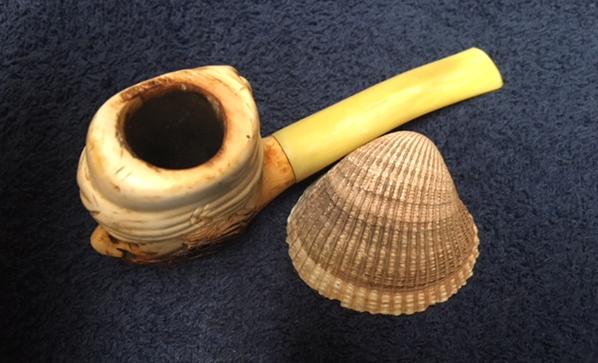
 He took photos of the shank to show the filigree on the band and the chipped area on the shank itself. The first two photos show the banded shank and the second two show the damage on the unbanded shank.
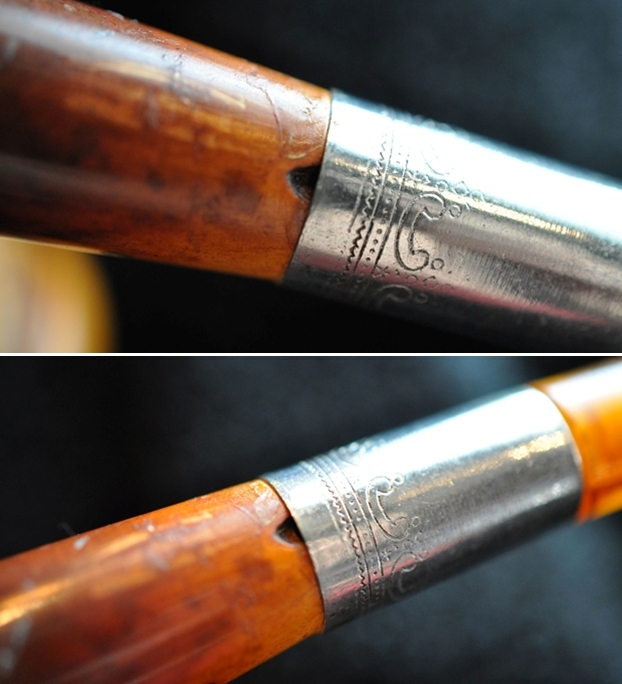
 The next photos show the stem surface. It was very dirty and worn looking. It had pitting, light tooth marks and chatter on both sides ahead of the button.
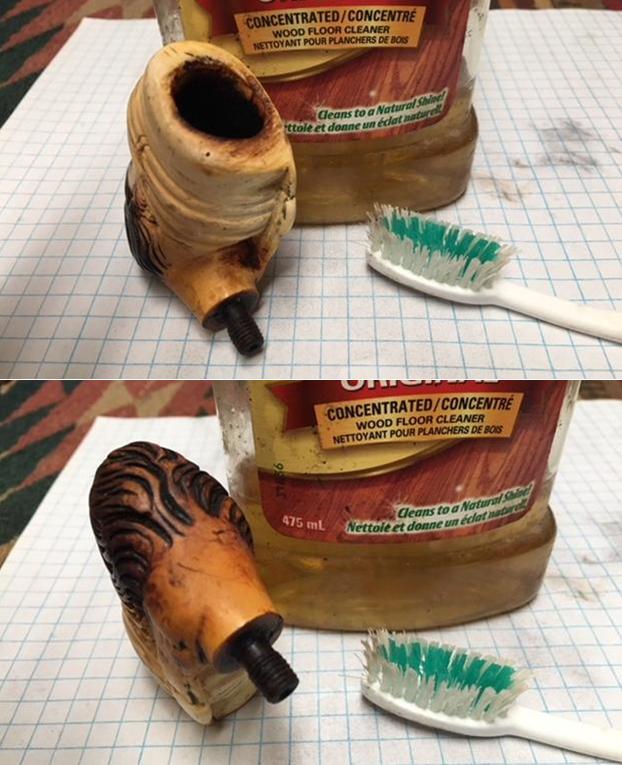
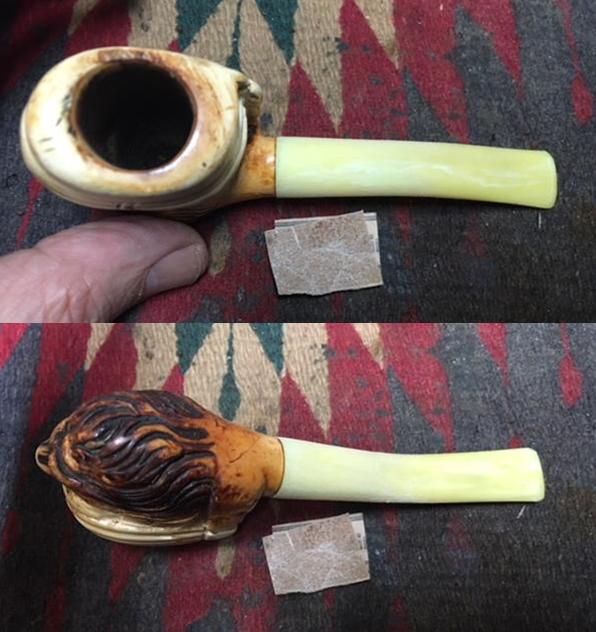
 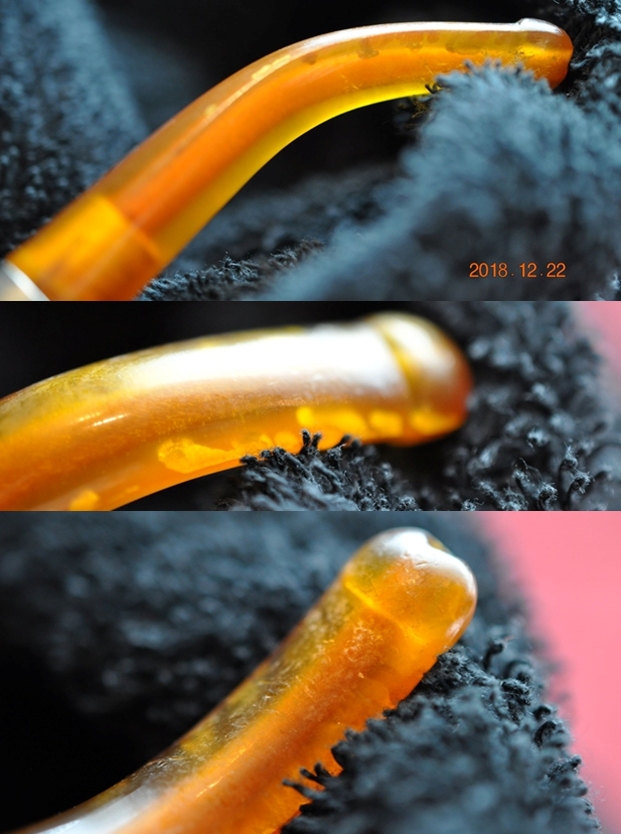 There no identifying marks on the pipe or shank or band to help identify the maker. So it was time to work on the pipe itself. Jeff had done his usual great cleanup of this pipe. He cleaned up the bowl walls with a Savinelli Fitsall Pipe Knife. He scrubbed out the internals with alcohol, pipe cleaners and cotton swabs until the pipe was clean. He scrubbed the exterior of the bowl with Murphy’s Oil Soap and a tooth brush to remove the grime and grit on the briar and the lava on the inner edge of the rim. The meerschaum carving looks clean and well done. Jeff scrubbed the stem with Soft Scrub to clean up the Bakelite. When the pipe arrived here in Vancouver for the second stop of its restoration tour it looked very good. I took photos before I started my part of the work.
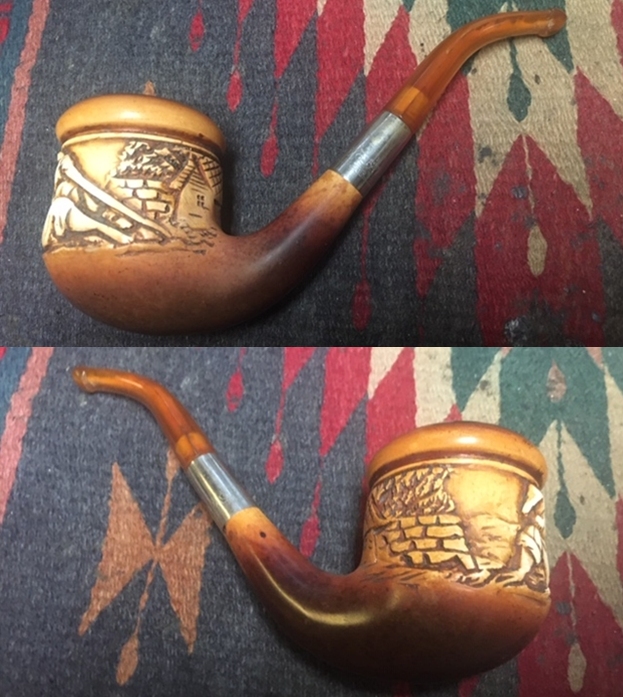
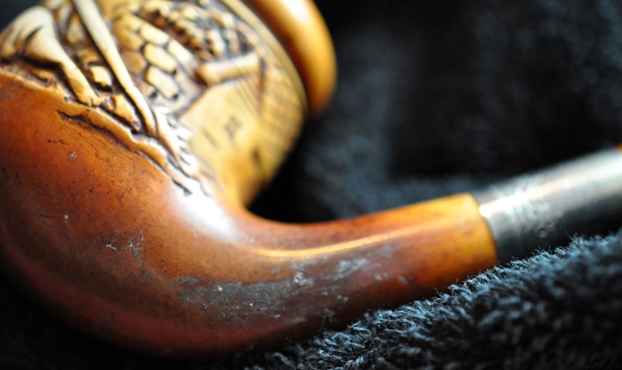
 I took some photos of the inwardly beveled rim top and stem. Once Jeff removed the lava on the top and inside of the rim top was rough. The inner edge had a bit of wear and would need to be sanded smooth. The close up photos of the stem shows that is it very clean and there is some tooth chatter and marks on the button surface and just ahead of the button. There are also casting marks on the sides of the stem that need to be removed.
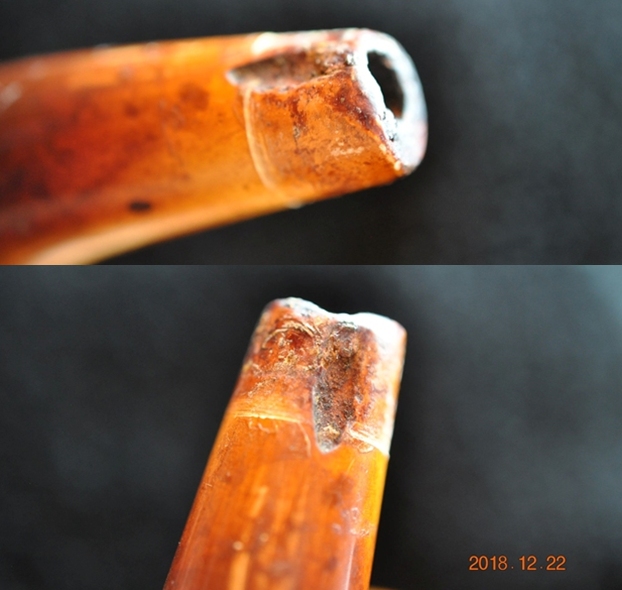
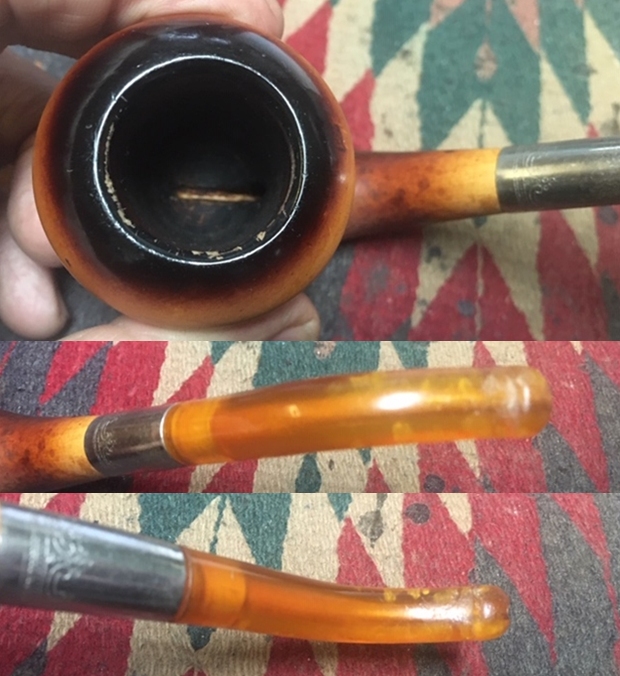 I took the stem off the shank and took photos. The band was loose on the shank and the stem screwed into the threaded mortise in the top of the band. At first I thought the band was a later addition but the more I looked at it the more I realized that the band was original with the inset mortise.
  I spread some all-purpose white glue on the end of the shank. I unscrewed the stem from the shank and pressed the band onto the shank end. I set it aside to dry while the glue cured.
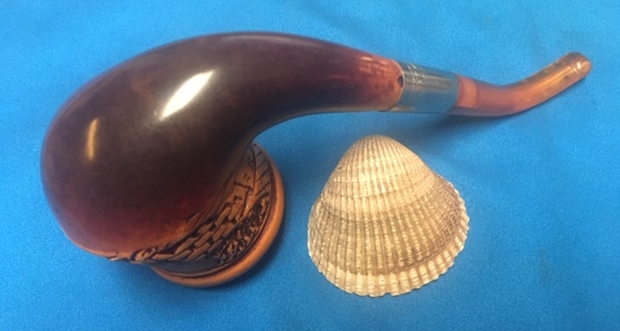
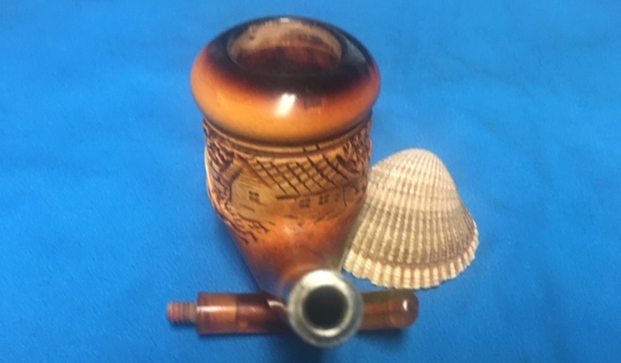
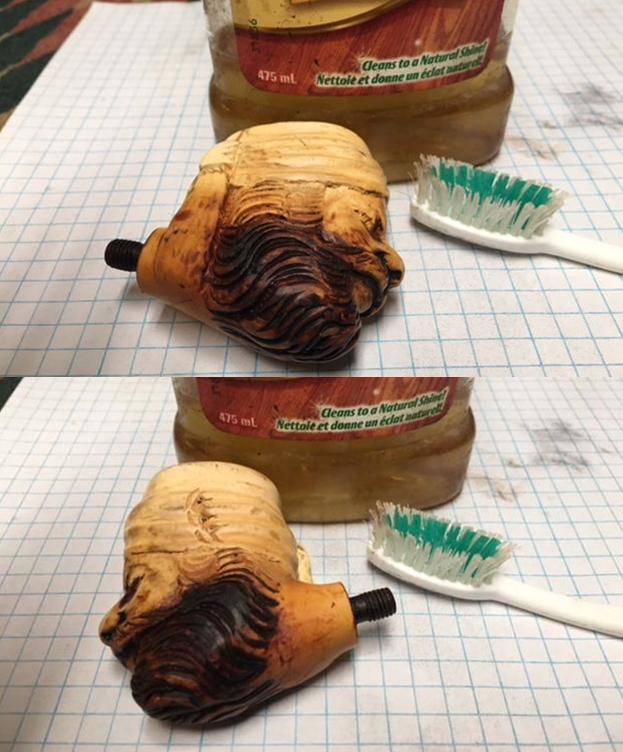
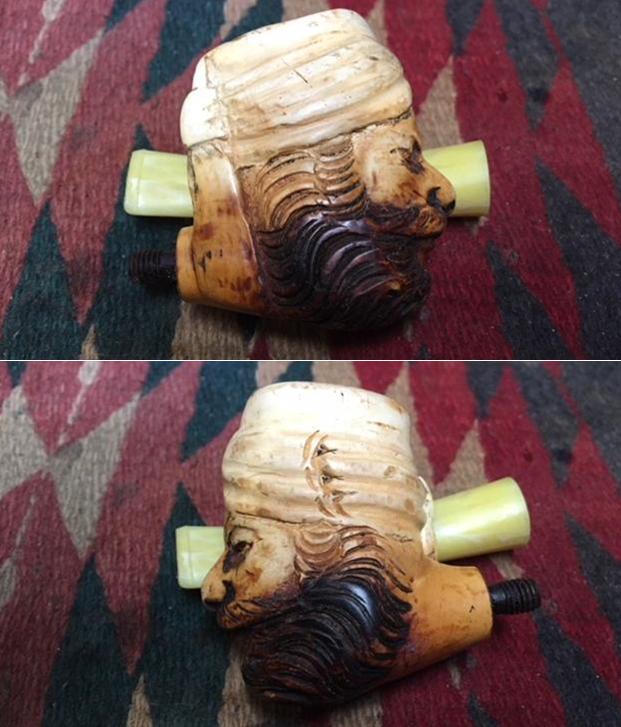
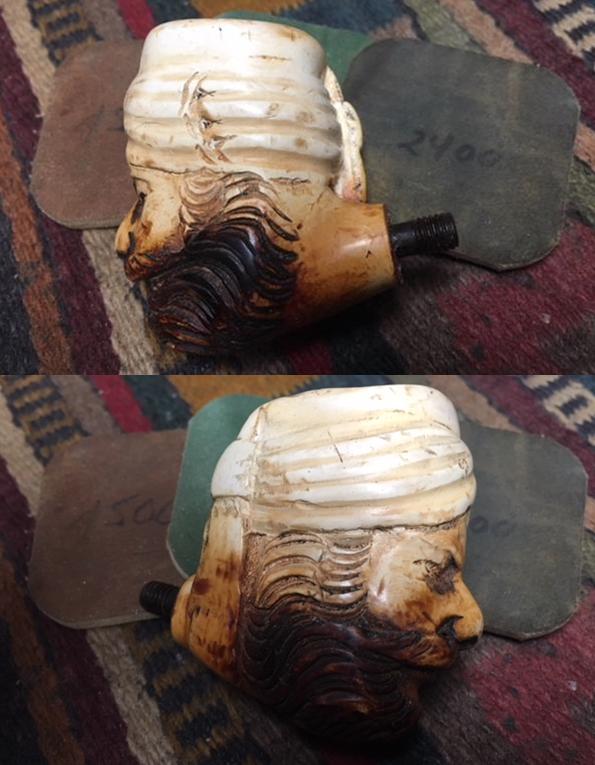
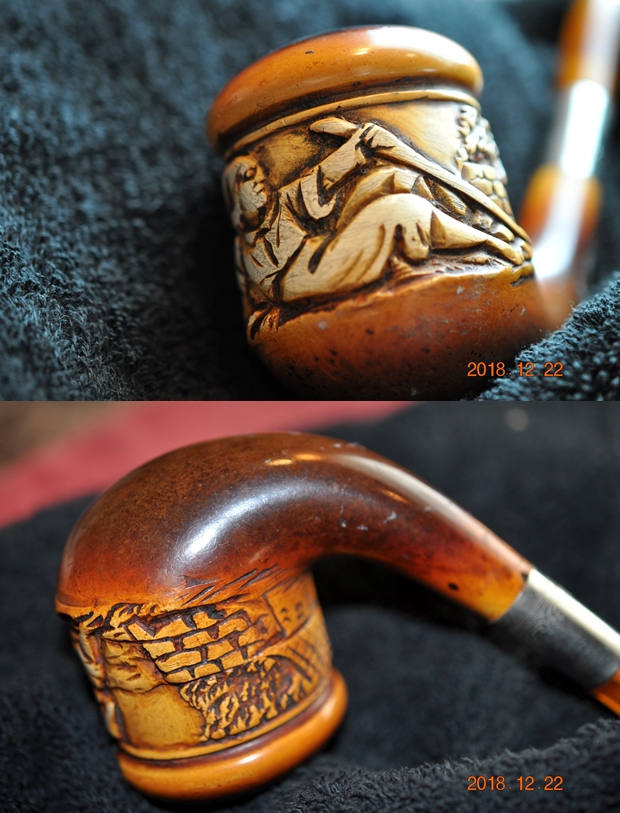
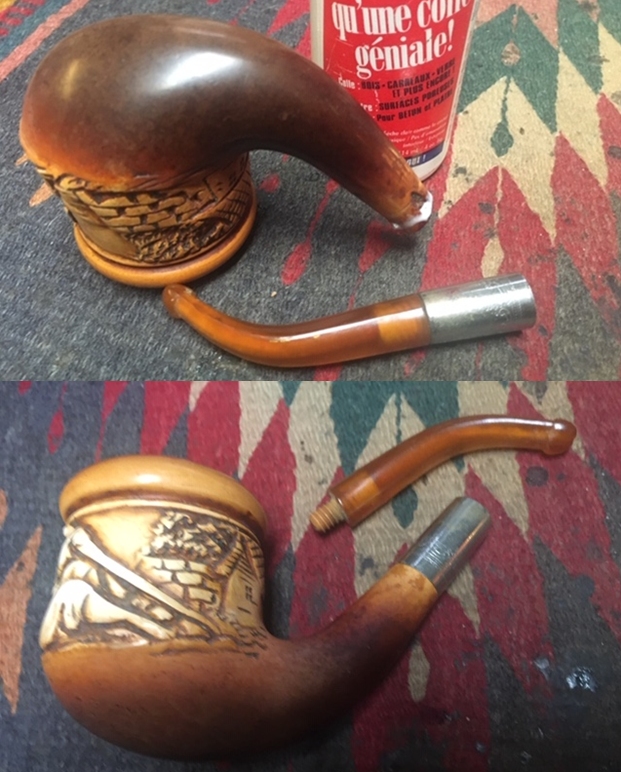 I took a photo of the reclining goat herd or hiker and included it now. It is well carved.
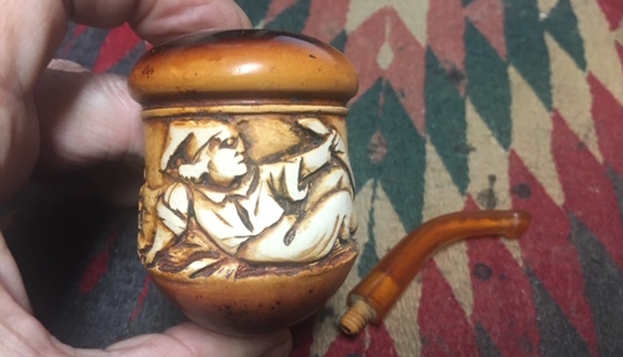 I decided to address the damage on the inner edge of the rim. I used a folded piece of 220 grit sandpaper to clean up the darkening on the inner edge of the bowl. With the edge cleaned up the bowl looked better.
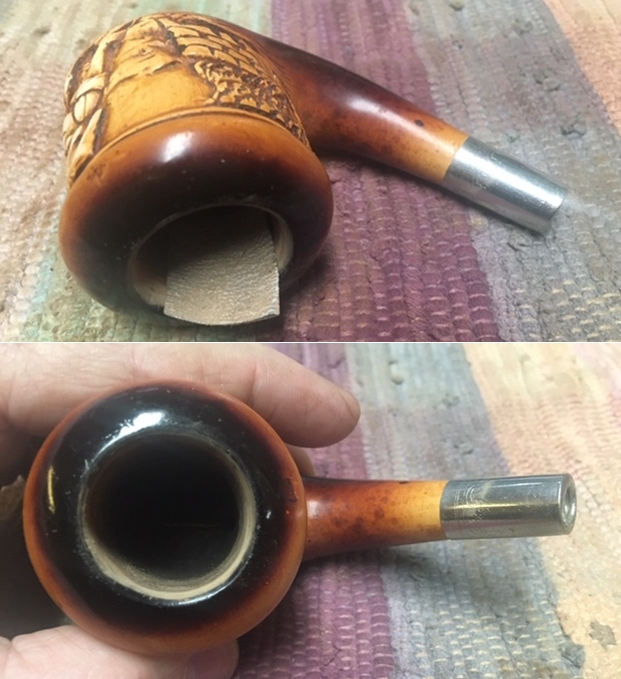 I polished the silver band with a jeweler’s cloth and removed the tarnish on the band.
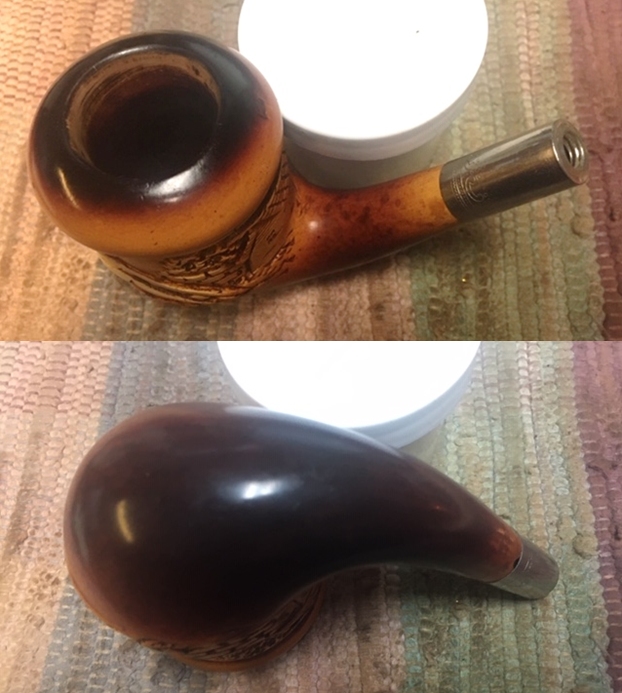
 I worked some Before & After Restoration Balm into the surface of the meerschaum with my fingertips. Mark Hoover developed the product to clean, enliven and protect briar but I have been using it on meerschaum as well and found it effective. I let the balm sit for about ten minutes and then buffed with a cotton cloth to raise the shine. The photos show the bowl at this point in the restoration process.
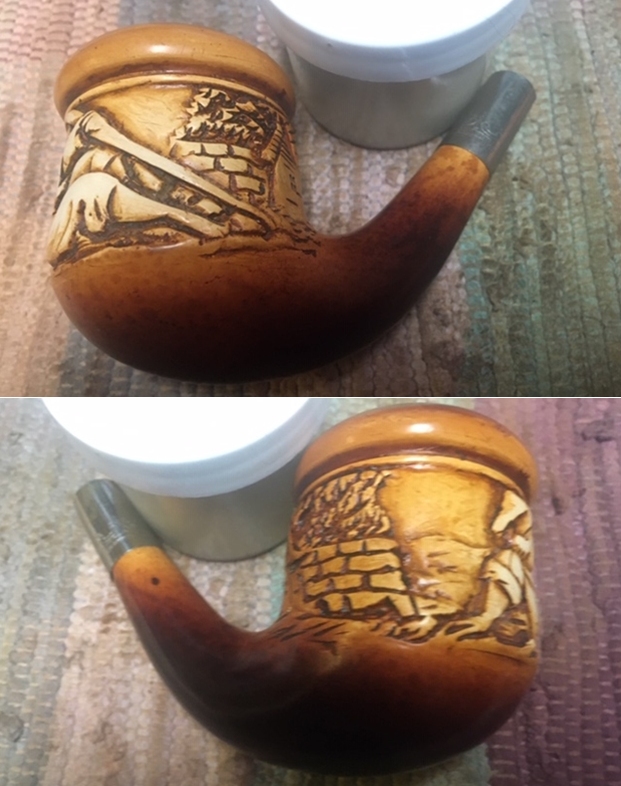
 I set the bowl aside at this point and turned my attention to the stem. I sanded out the tooth marks on the stem in front of the button on both sides.
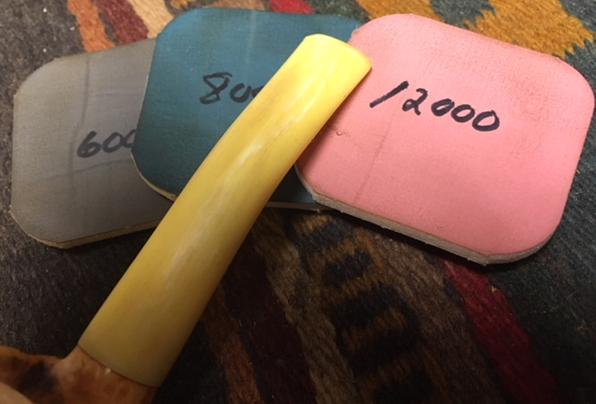
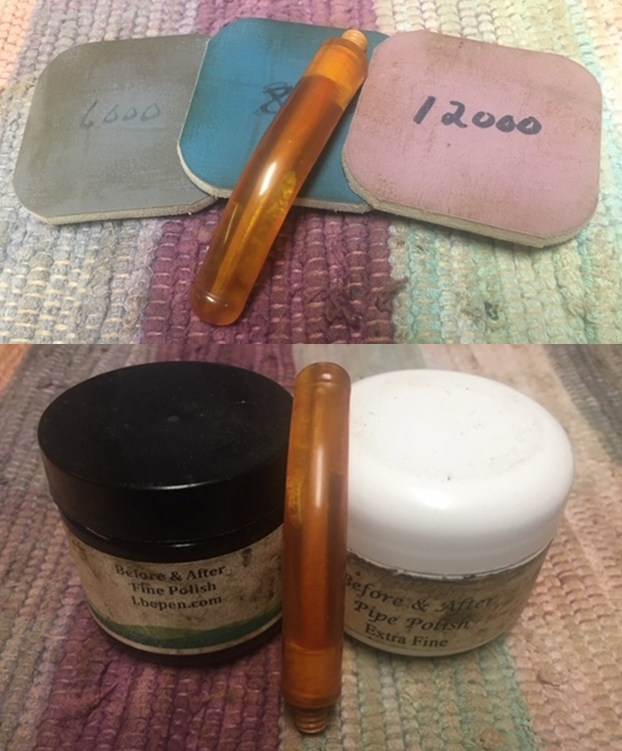
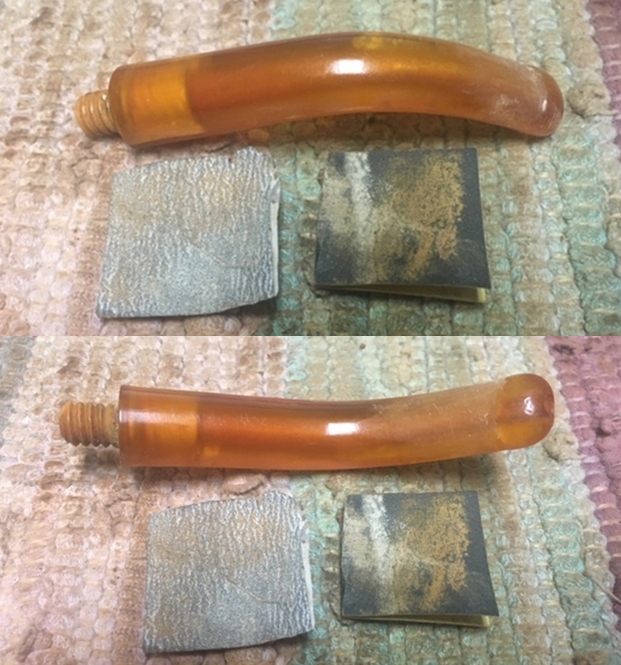 I polished the stem with micromesh sanding pads – dry sanding with 1500-12000 grit sanding pads. I wiped it down after each sanding pad with a cloth containing some Obsidian Oil. I finished polishing it with Before & After Pipe Stem Polish – both Fine and Extra Fine and buffed it off with a cotton cloth.
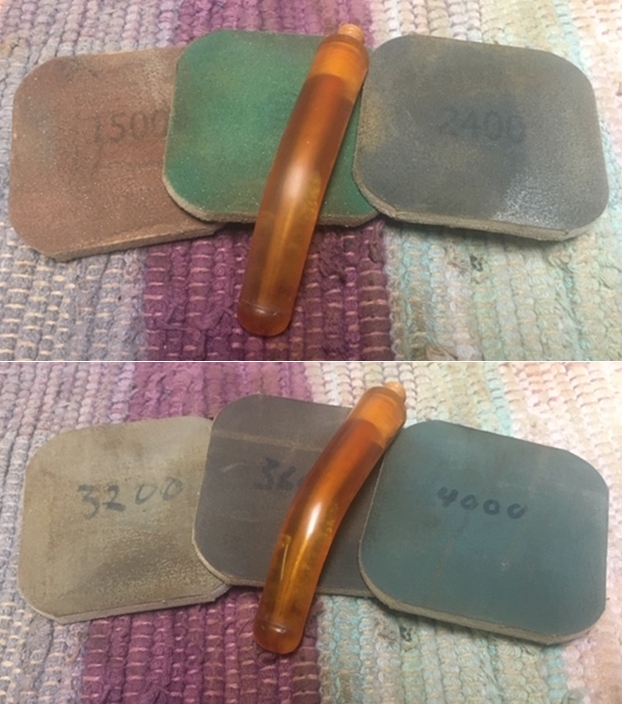
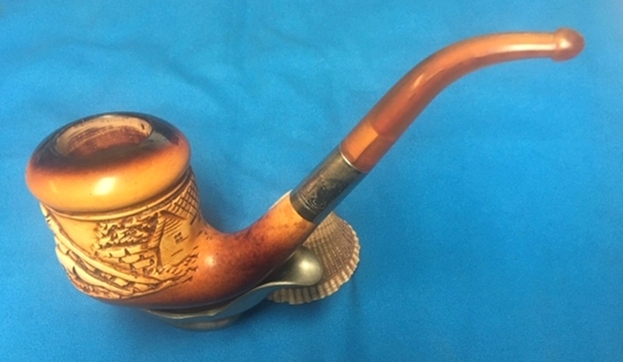
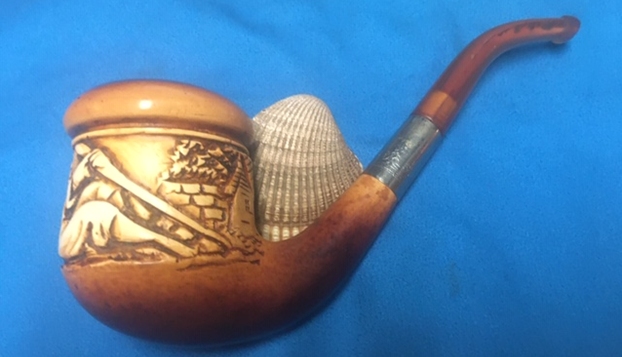
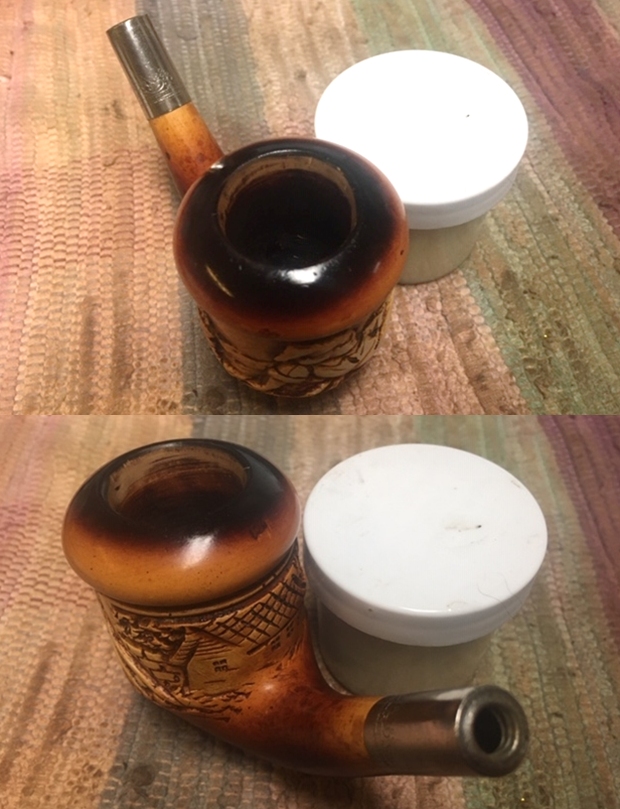
 This large meerschaum pot with a carved pastoral scene is an unusual piece. It has a beauty of its own with the patina around heel and bowl. It is a pipe that has grown on me as I have worked on it. I have never worked on one like it. I know next to nothing about the pipe in terms of manufacture or carver. It has a German/Swiss look to the carving but that is a guess. The silver band and the thin Bakelite stem add to the mix. With the grime and debris gone from the finish and the bowl it was a unique beauty. The rim top looks really good now. I put the stem back on the bowl and carefully buffed the pipe with Blue Diamond on the buffing wheel. I gave the bowl multiple coats of Clapham’s Beeswax by hand and the stem multiple coats of carnauba wax on the buffing wheel. I buffed the pipe with a clean buffing pad on the buffer. I hand buffed the pipe with a microfiber cloth to deepen the shine. Give the finished pipe a look in the photos below. I can only tell you that like the other pipes I am working that it is much prettier in person than the photos capture. The dimensions of the pipe are Length: 7 inches, Height: 2 ¾ inches, Outside diameter of the bowl: 2 inches, Chamber diameter: 1 inch. Thanks for walking through the restoration with me as I worked over another interesting pipe. This pipe will be added to the Meerschaum Pipes section of the rebornpipes store soon. If you want to add it to your collection send me an email or a message! Thanks for your time.