by Steve Laug
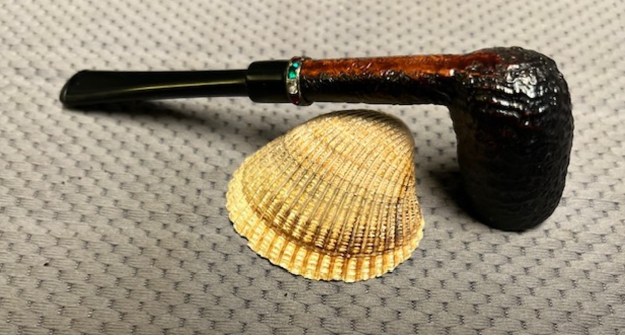
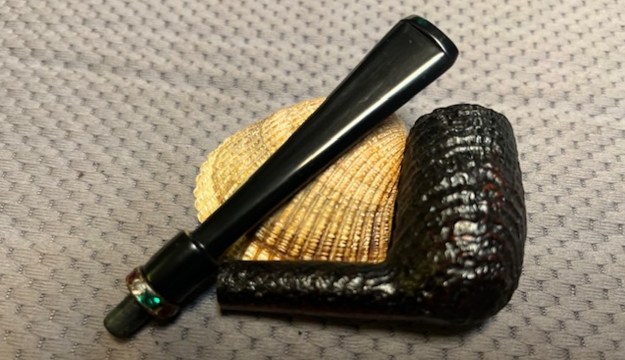
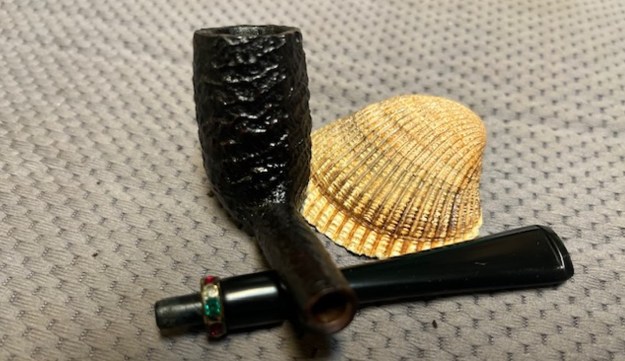
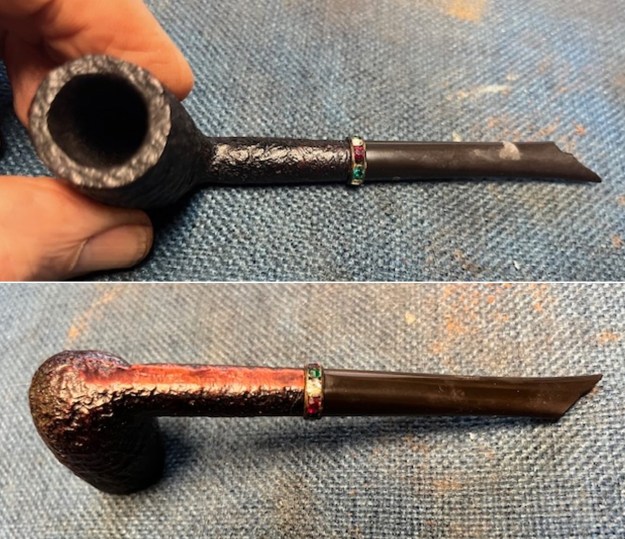
I had this tiny Stanwell sandblast pipe in my box of bowls to be restemmed as the stem on it was snapped off at the end at an angle. It appeared to be unsmoked and if not, it was very clean. I wonder if it was one of the early Ladies Pipes that many companies made to cater to what they assumed the female market wanted. The pipe was a beautiful sandblast with a smooth panel on the underside of the stem that was stamped and read Stanwell by the shape number 7541 [over] Made in Denmark. The stamping was clear and readable. The stem had an S stamp (without the crown) on the side and it looked like the button and stem had been snapped when someone grabbed the end of it and tried to turn it to remove the stem. It also had a small brass band that was held on the tenon of the pipe. It was inlaid with cut glass beads. The stem would need to be replaced and the band with beads installed on the new one. I took photos of the pipe before I started working on it.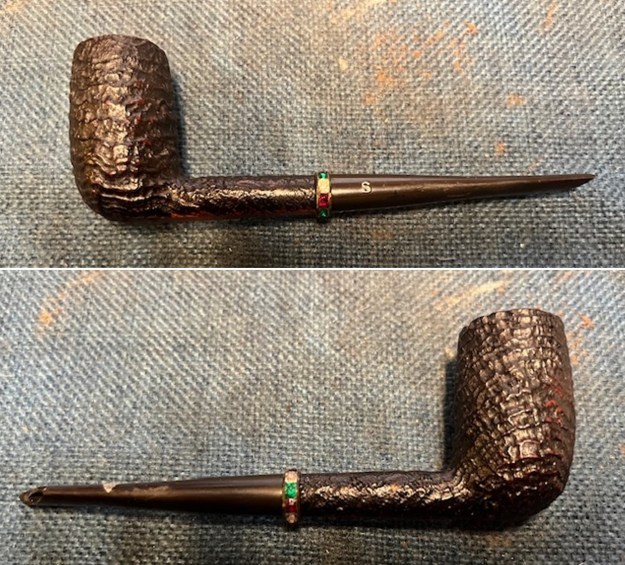
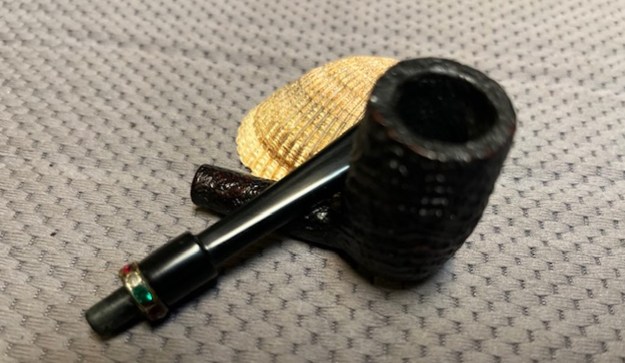
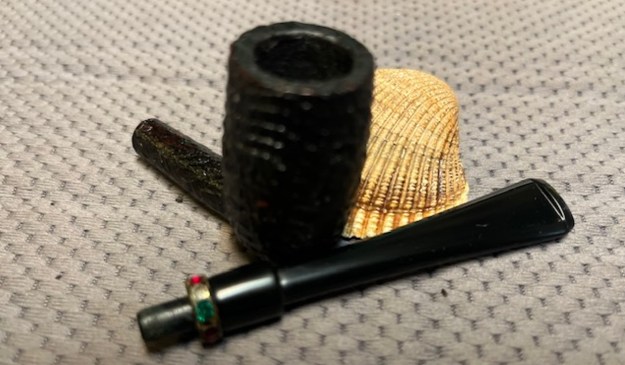
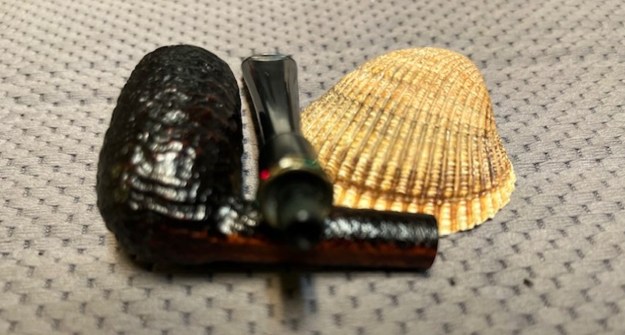
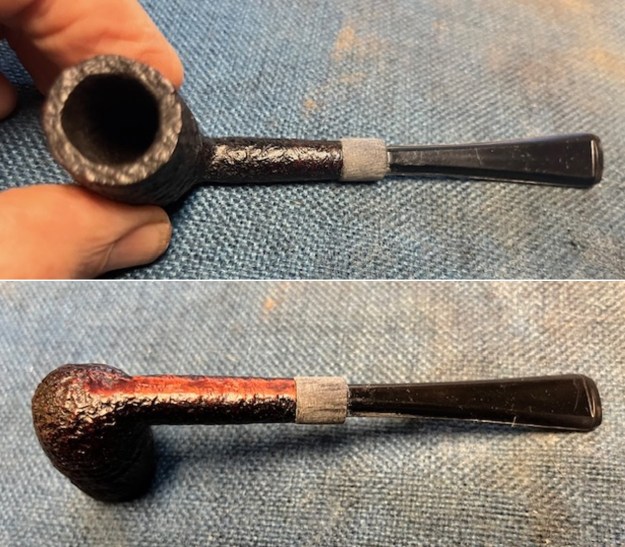
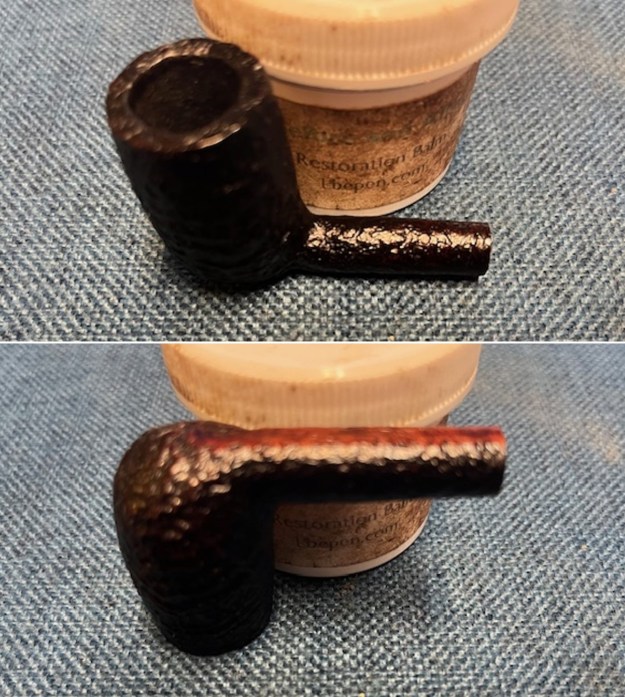
 I took a photo of the rim top and bowl to show the condition of the bowl when I started working on it. It was clean and appeared to be unused/unsmoked. I did not bother taking photo of the stem as its condition was obvious in the above photos and I would need to replace it. I also took a photo of the bowl without the stem to give a sense of what the pipe looked like. It is also clear that the band with glass “jewels” was on the tenon not the shank.
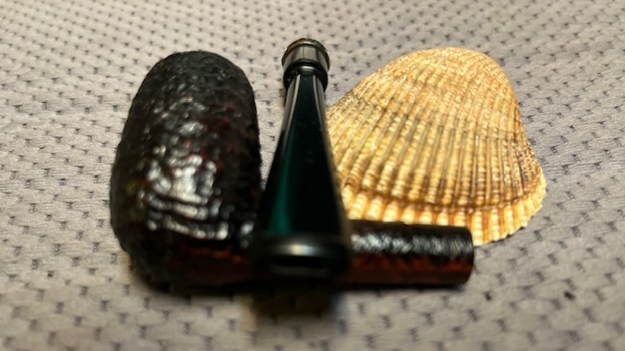
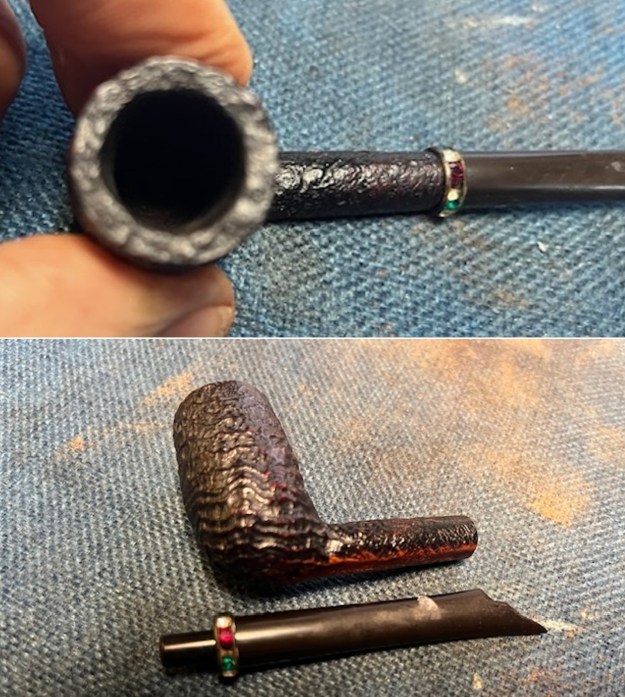 I went through the can of stems here and found a thin stem that was a saddle stem with a flared blade in a fishtail style. The tenon actually was very close to the original and would take very little adjusting to get a solid fit.
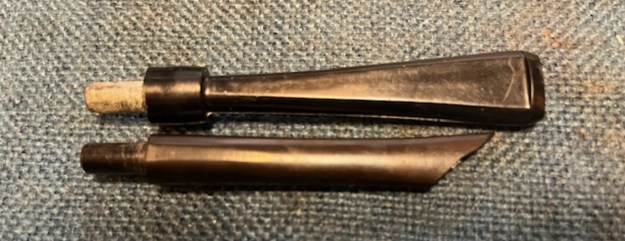 I used a Dremel and sanding drum to reduce the diameter of the saddle to fit the diameter of the shank. I also used a flat file to further shape and reduce the fit to the shank size. I fit it to the shank to do the work on the fit. It did not take too much work to get the fit correct.
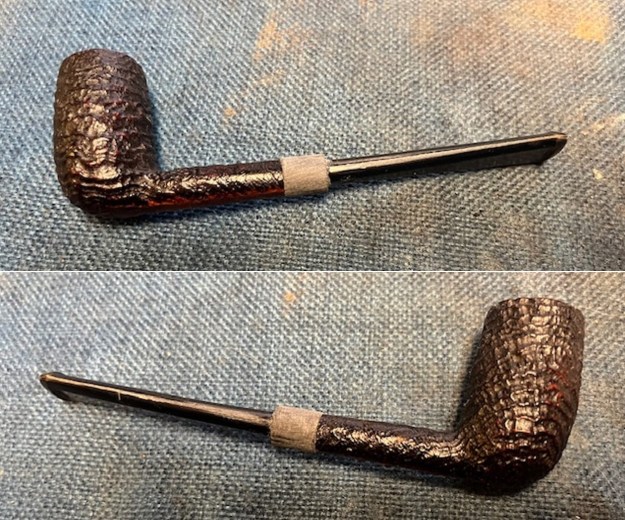
 The slot in the stem was small and thin. I sued a flair and an oval needle file to open the slot. I also used a slot saw to give it angle /Y shaped slot opening. When I was finished a pipe cleaner easily slid in and out.
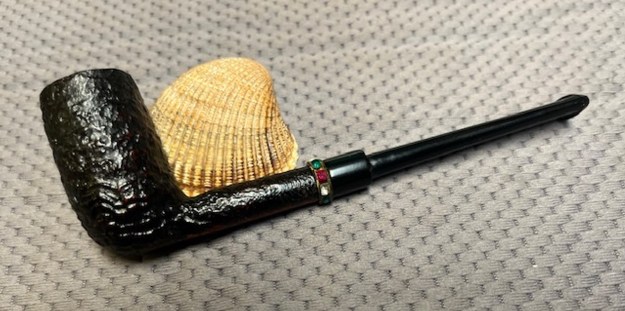
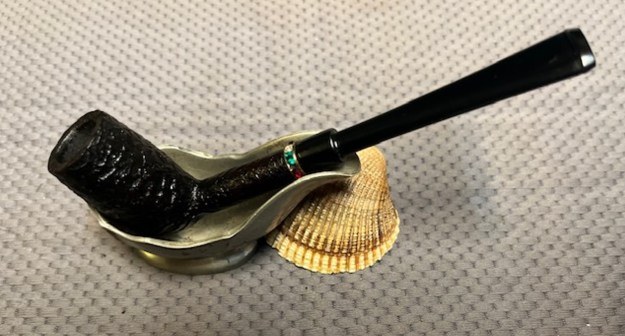
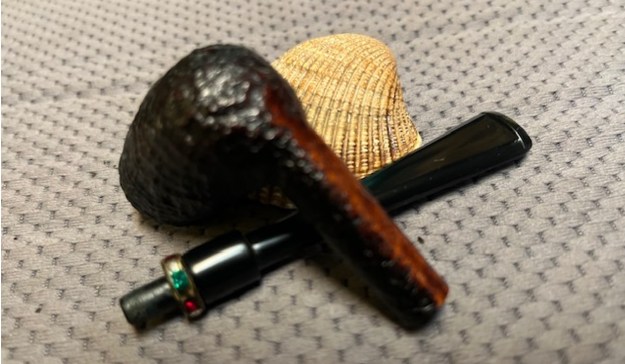
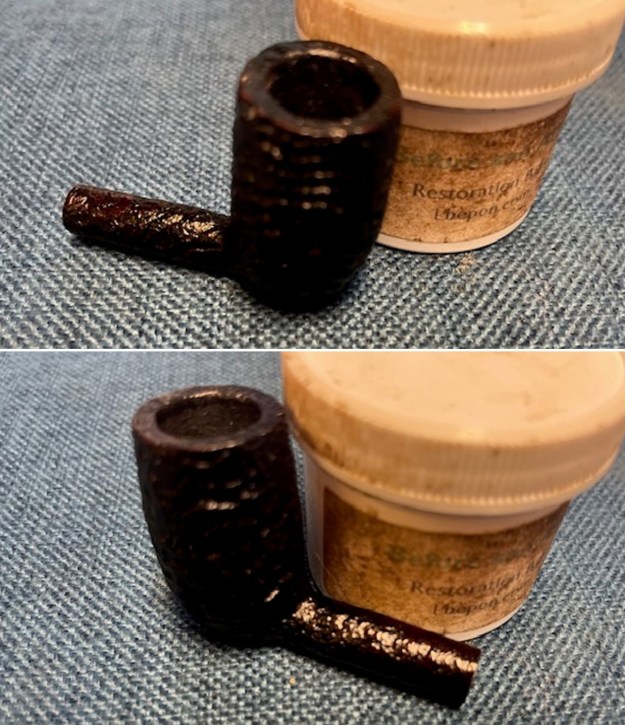
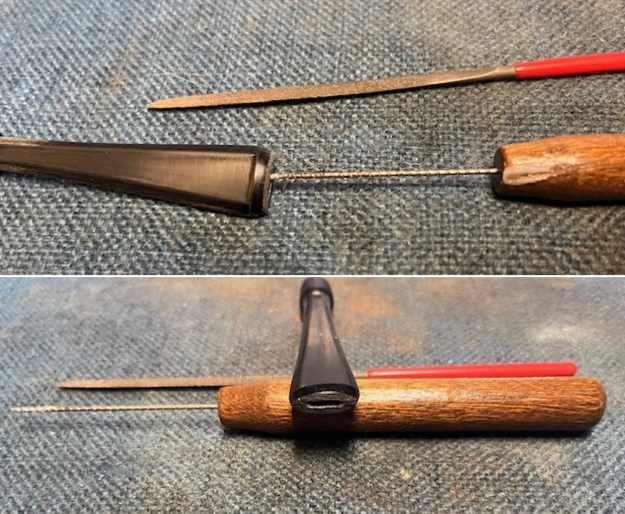 I sanded the saddle portion of the stem with 220 grit sandpaper to smooth out the file and Dremel marks on the saddle and also to remove the casting marks on the sides of the stem blade. I slid the brass/jewelled band on the tenon so that it fit against the saddle. I put the stem on the shank and took a photo of the look of the newly restemmed pipe.
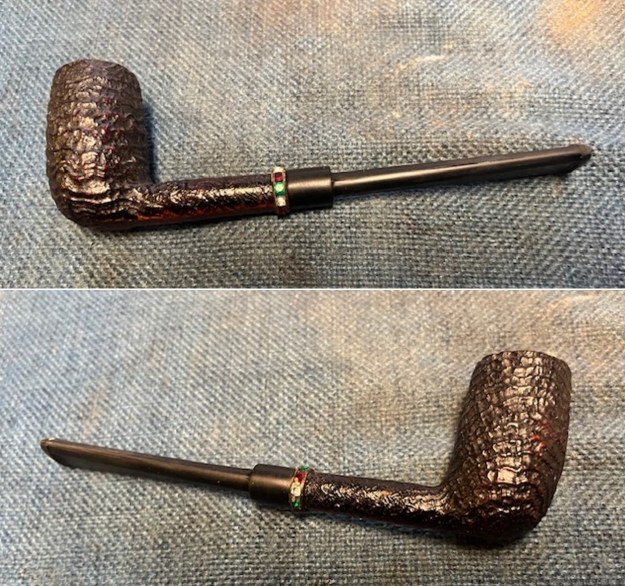
 I took the stem off the shank and turned my attention to the bowl. I rubbed the stem down with Before & After Restoration Balm. I worked it into the sandblast surface of the bowl with my fingertips and a shoebrush. The product works to clean, enliven and preserve the briar. I let it sit for 15 minutes then I buffed it with a cotton cloth to deepen the shine. The briar really comes alive with the balm.
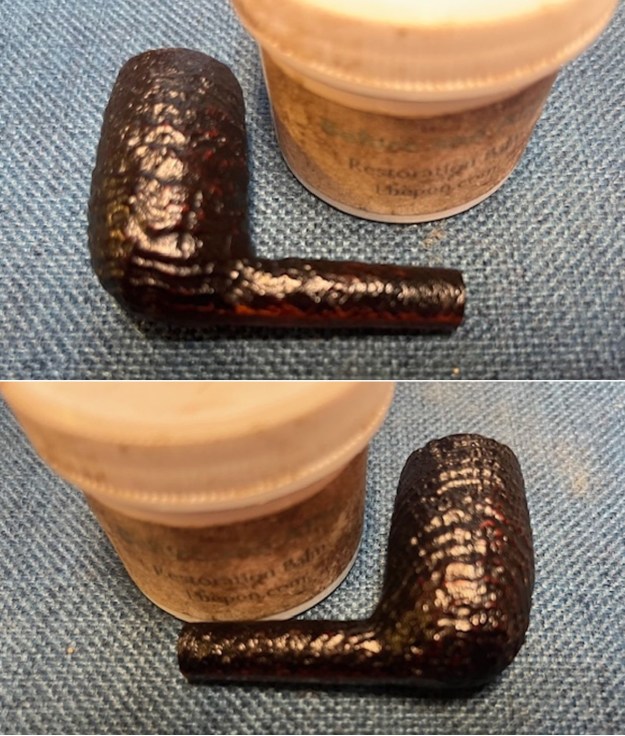
 The bowl was finished and now I needed to go back to polishing the stem. I sanded it with 320-3500 grit sanding pads. I dry sanded it and wiped it down with Obsidian Oil to protect and clean it. I sanded out the casting marks and the scratches in the surface. It looked much better with each sanding pad.
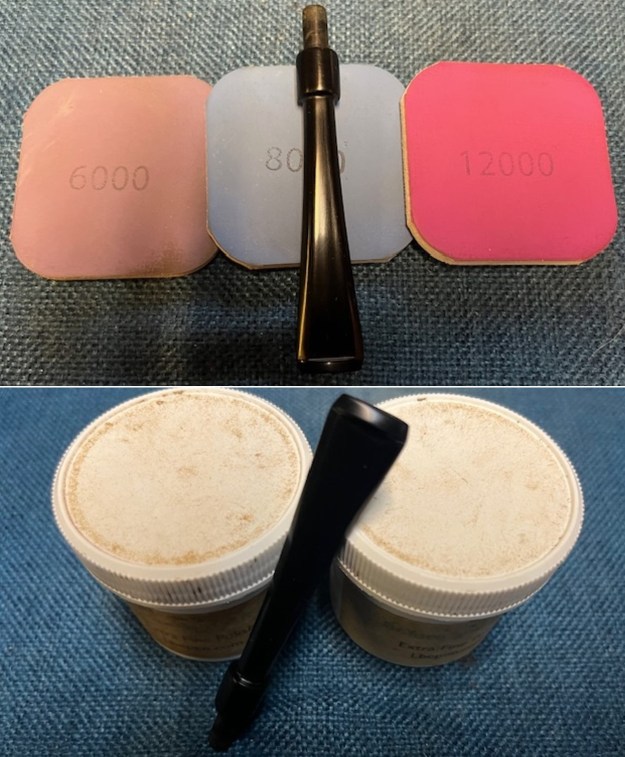
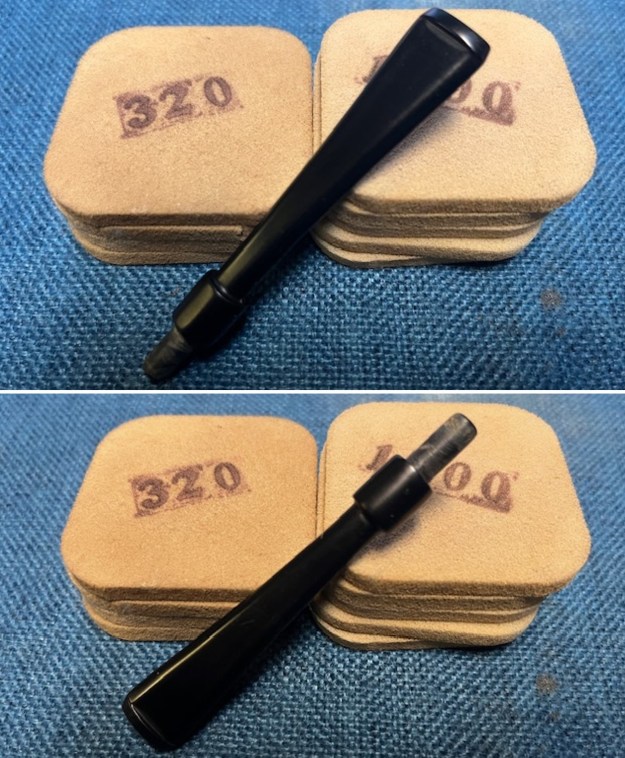 I polished the stem with micromesh sanding pads – wet sanding it 1500-12000 pads. I wiped it down with a damp cloth after each pad to remove the dust and polishing debris. I polished it with Before & After Pipe Polish – both Fine and Extra Fine.
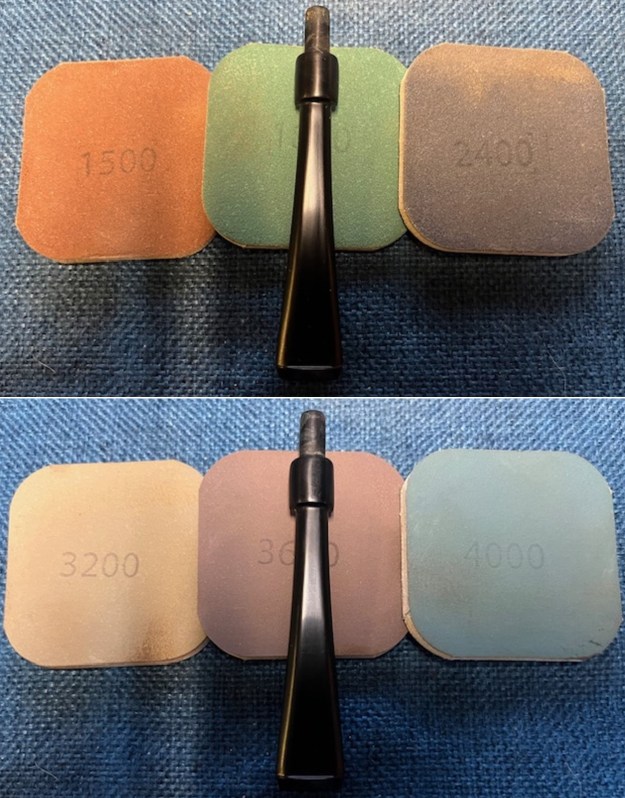
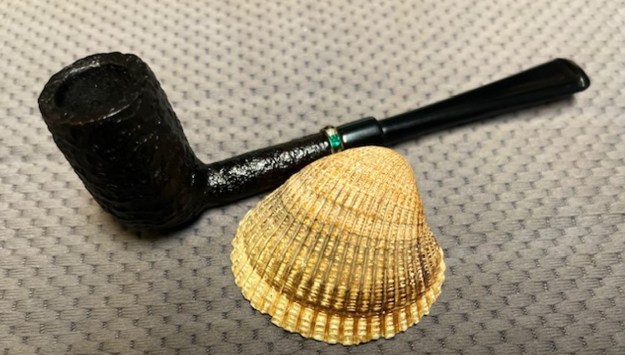
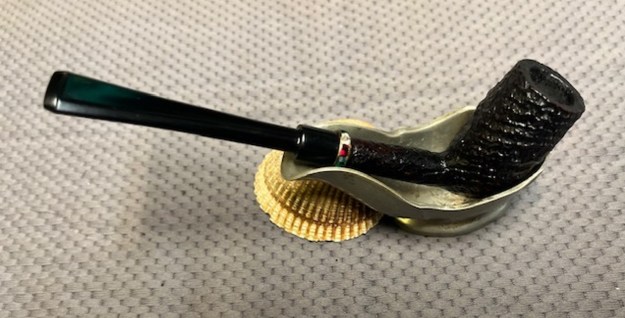
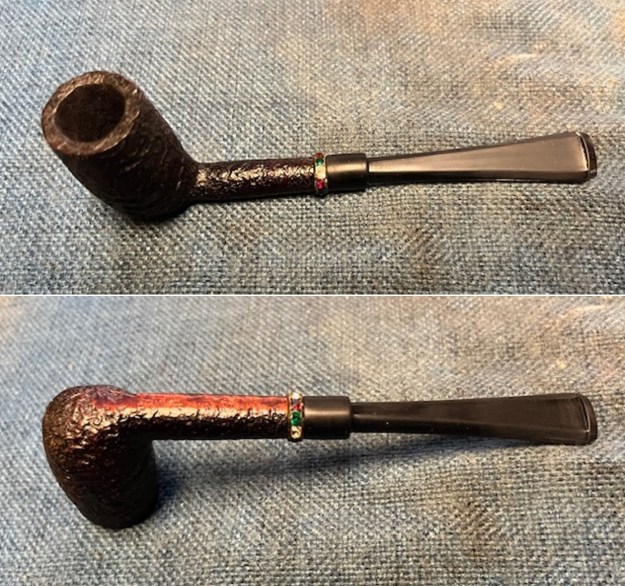
 I placed the brass ring with the inlaid glass gems on the tenon. It was made to slide on the tenon easily and stopped against the saddle of the stem. I took photos before and after.
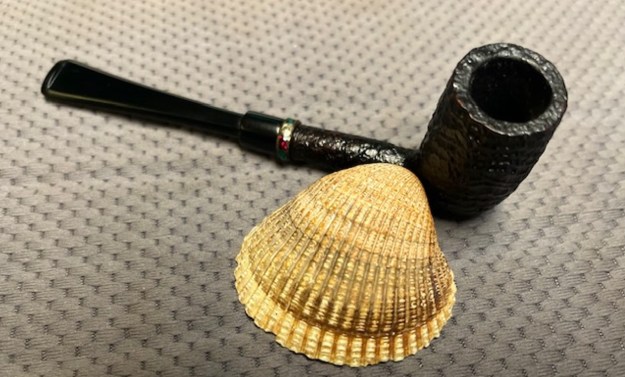
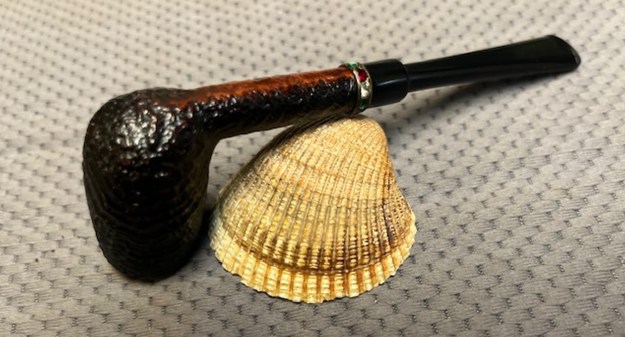
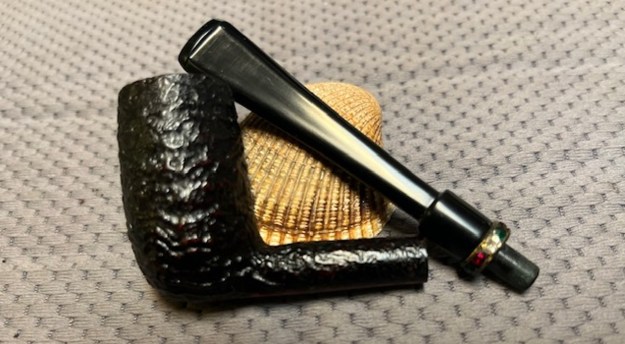
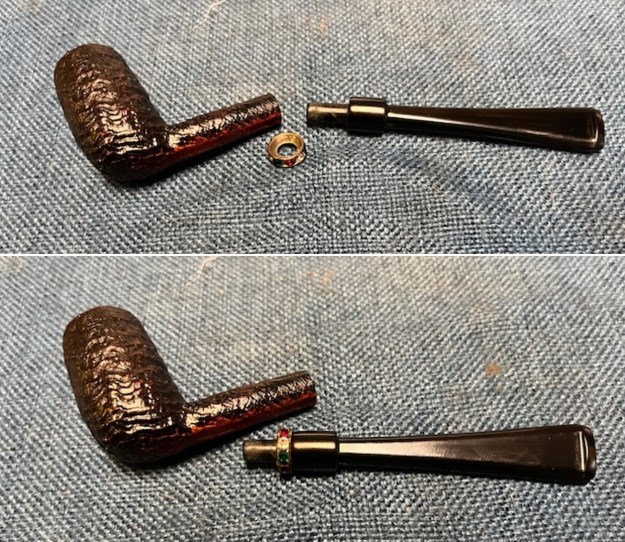 I am really happy with the way that this Small Sandblast Stanwell 7451 Tiny Stack turned out. It really is a beautiful looking pipe with a great shape sandblast finished bowl and rim. The new vulcanite saddle stem is really nice. The brass band on the tenon is inlaid with cut glass jewels. The briar really came alive with the buffing. The rich dark brown stains of the finish gave the pipe a sense of depth with the polishing and waxing. I put the stem back on the bowl and carefully buffed the pipe with Blue Diamond on the buffing wheel using a light touch on the briar. I gave the bowl and the stem multiple coats of carnauba wax on the buffing wheel. I buffed the pipe with a clean buffing pad to raise the shine. I hand buffed the pipe with a microfiber cloth to deepen the shine. The finished Stanwell 7451 Lady’s Pipe really is a beauty and feels great in the hand and looks very good. Give the finished pipe a look in the photos below. The dimensions of the pipe are Length: 5 ¼ inches, Height: 1 ½ inches, Outside diameter of the bowl: ¾ of an inch, Chamber diameter: ½ of an inch. The weight of the pipe is 17 grams/.56 of an ounce. The pipe will be going on the rebornpipes store soon. It will be in the section on Danish Pipe Makers if you would like to add it to your collection. Thanks for reading this blog and my reflections on the pipe while I worked on it. It was a fun one to work on!