Tag Archives: modifying a shank

Royal Danish Acorn Shape 971 Reborn


Blog by Steve Laug

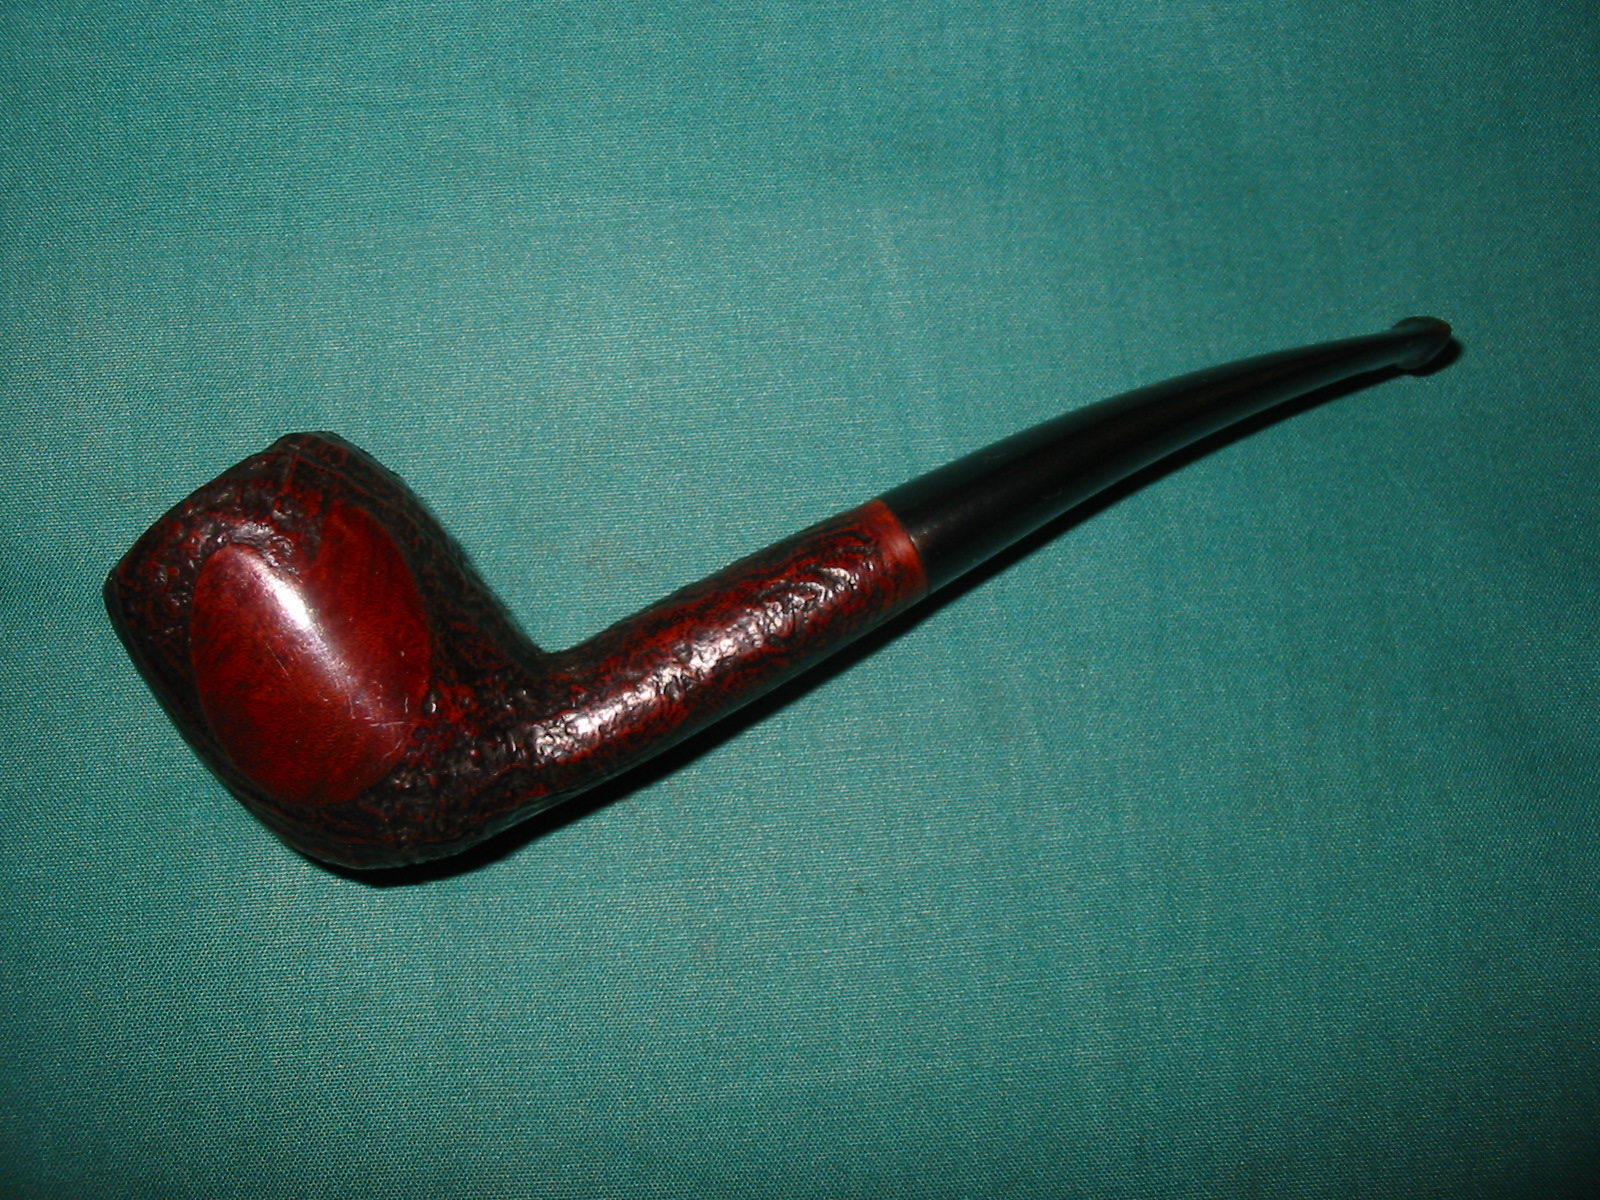
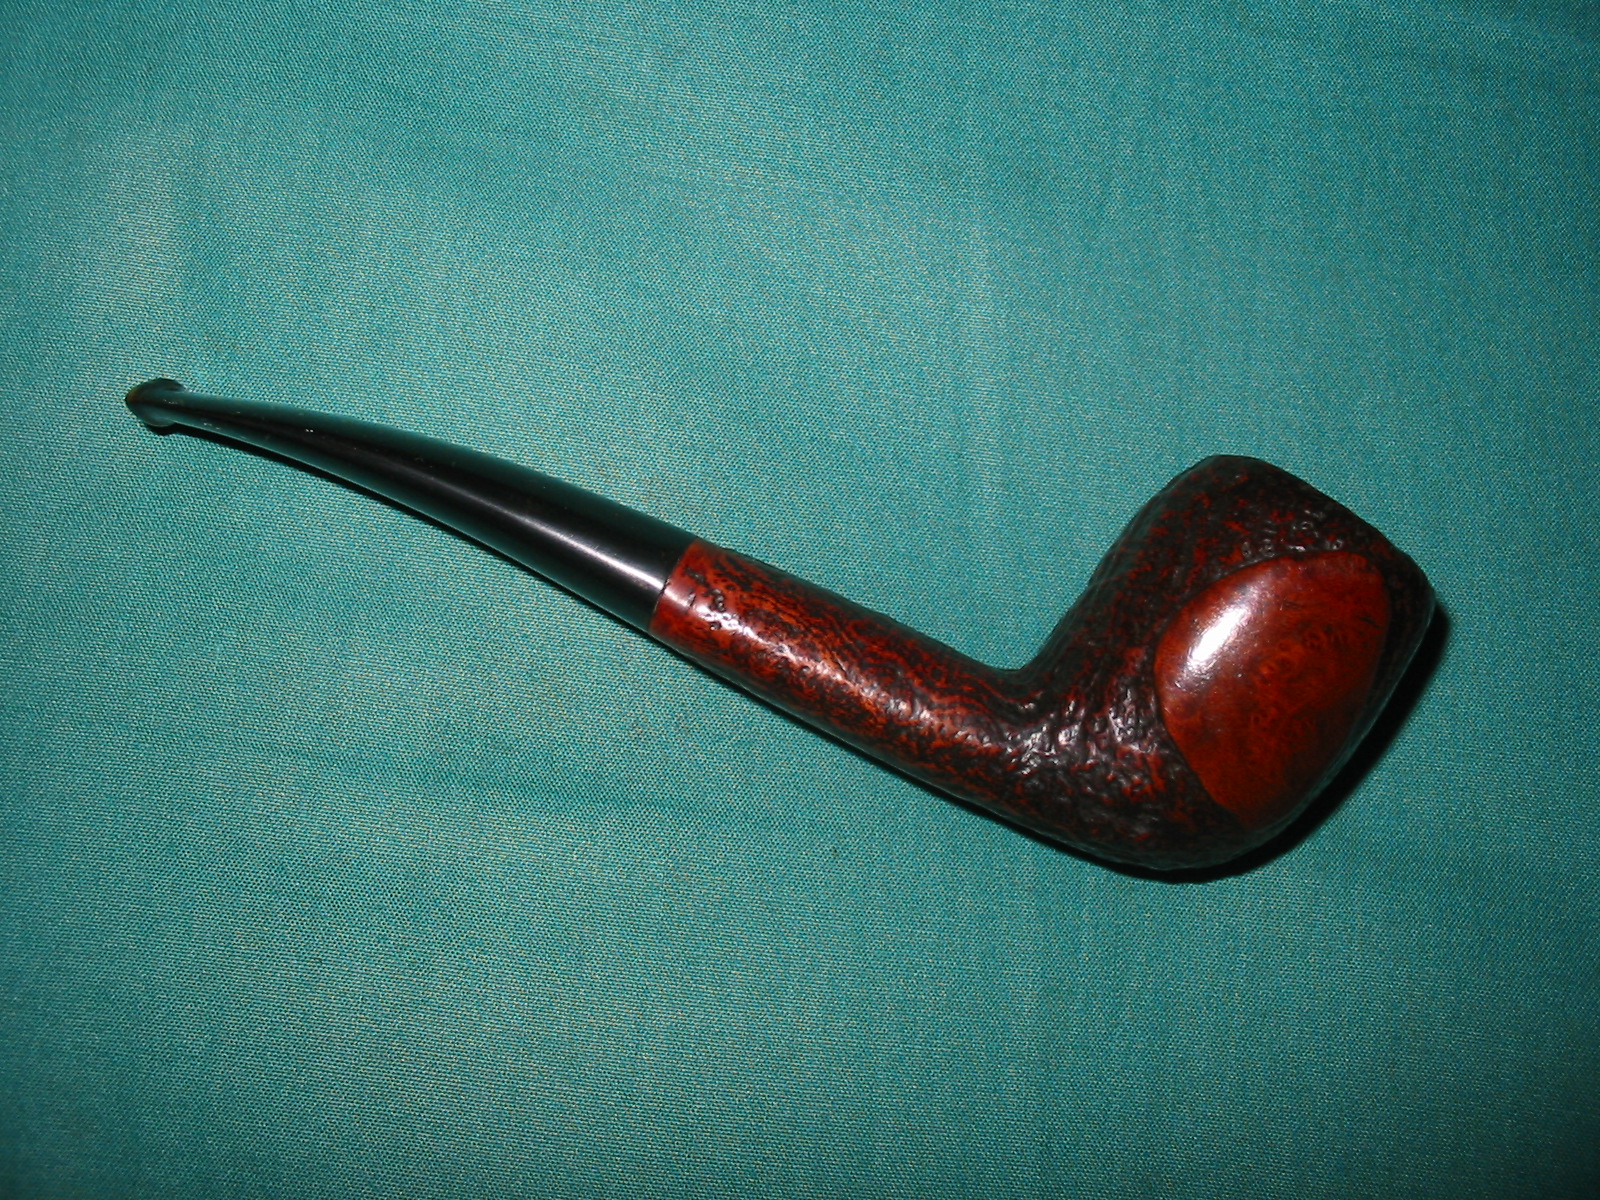
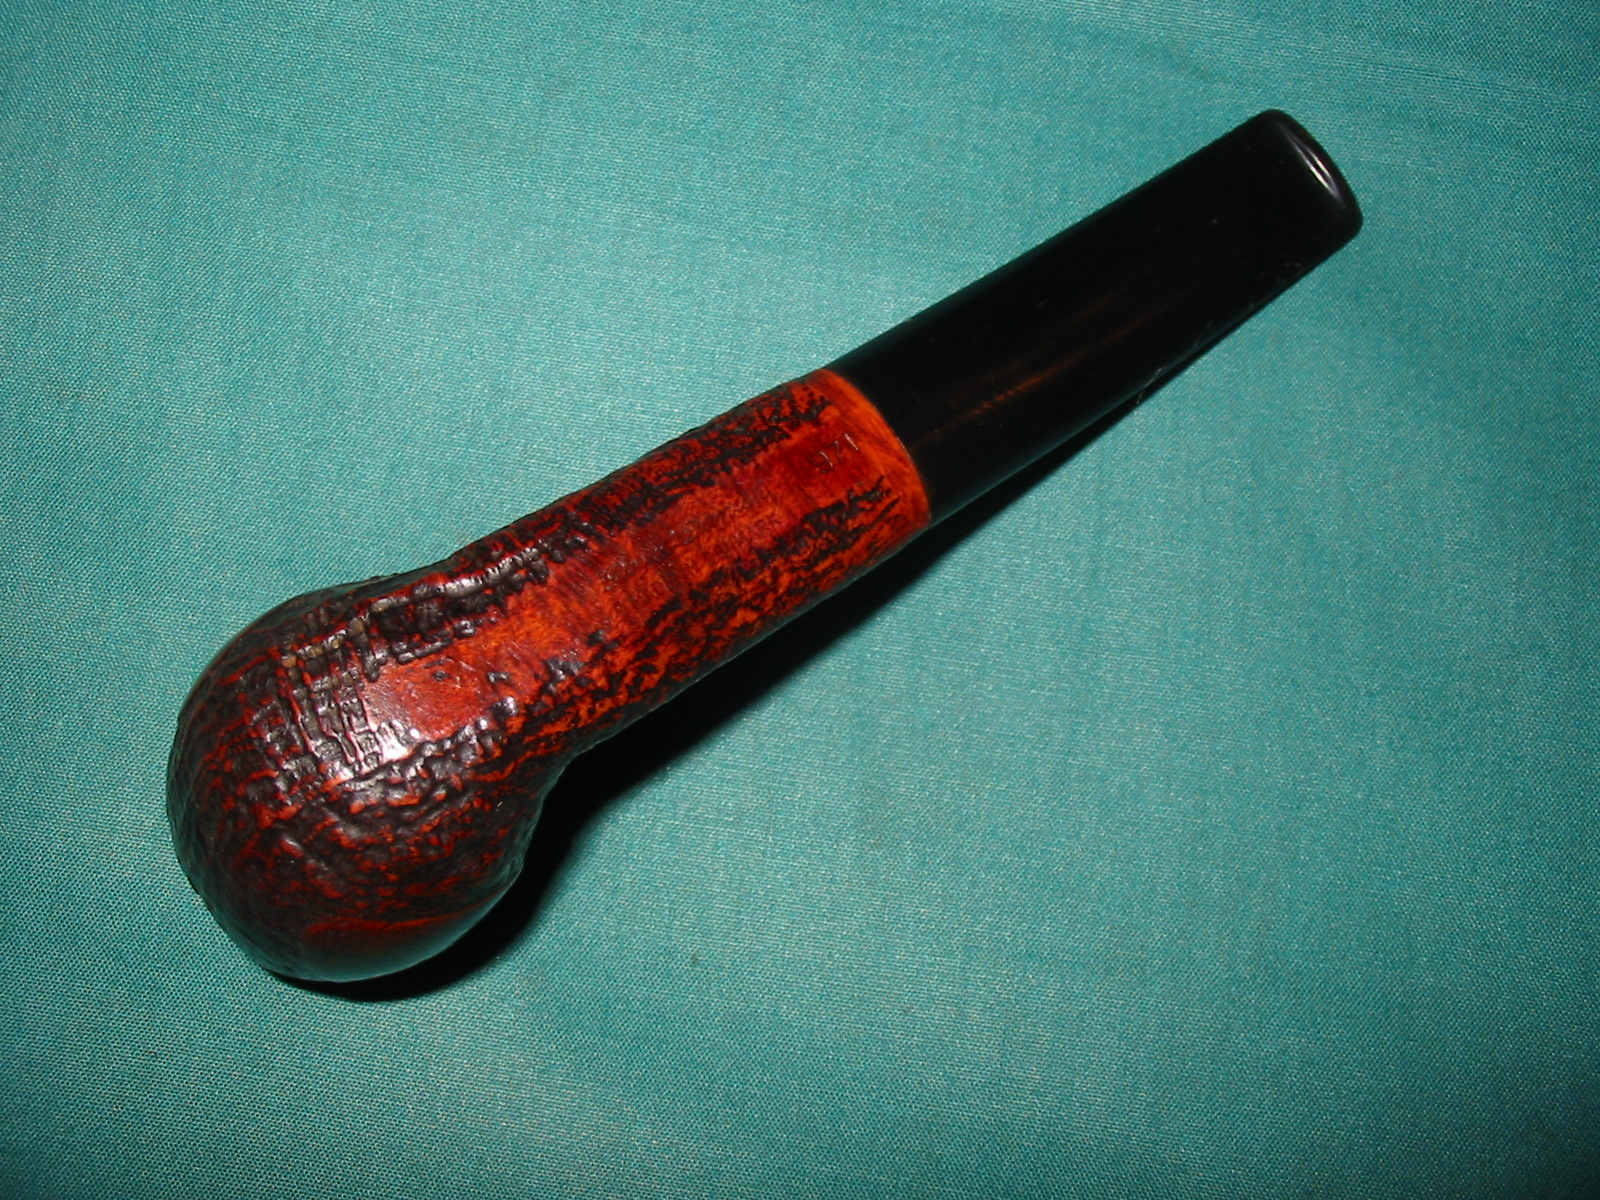
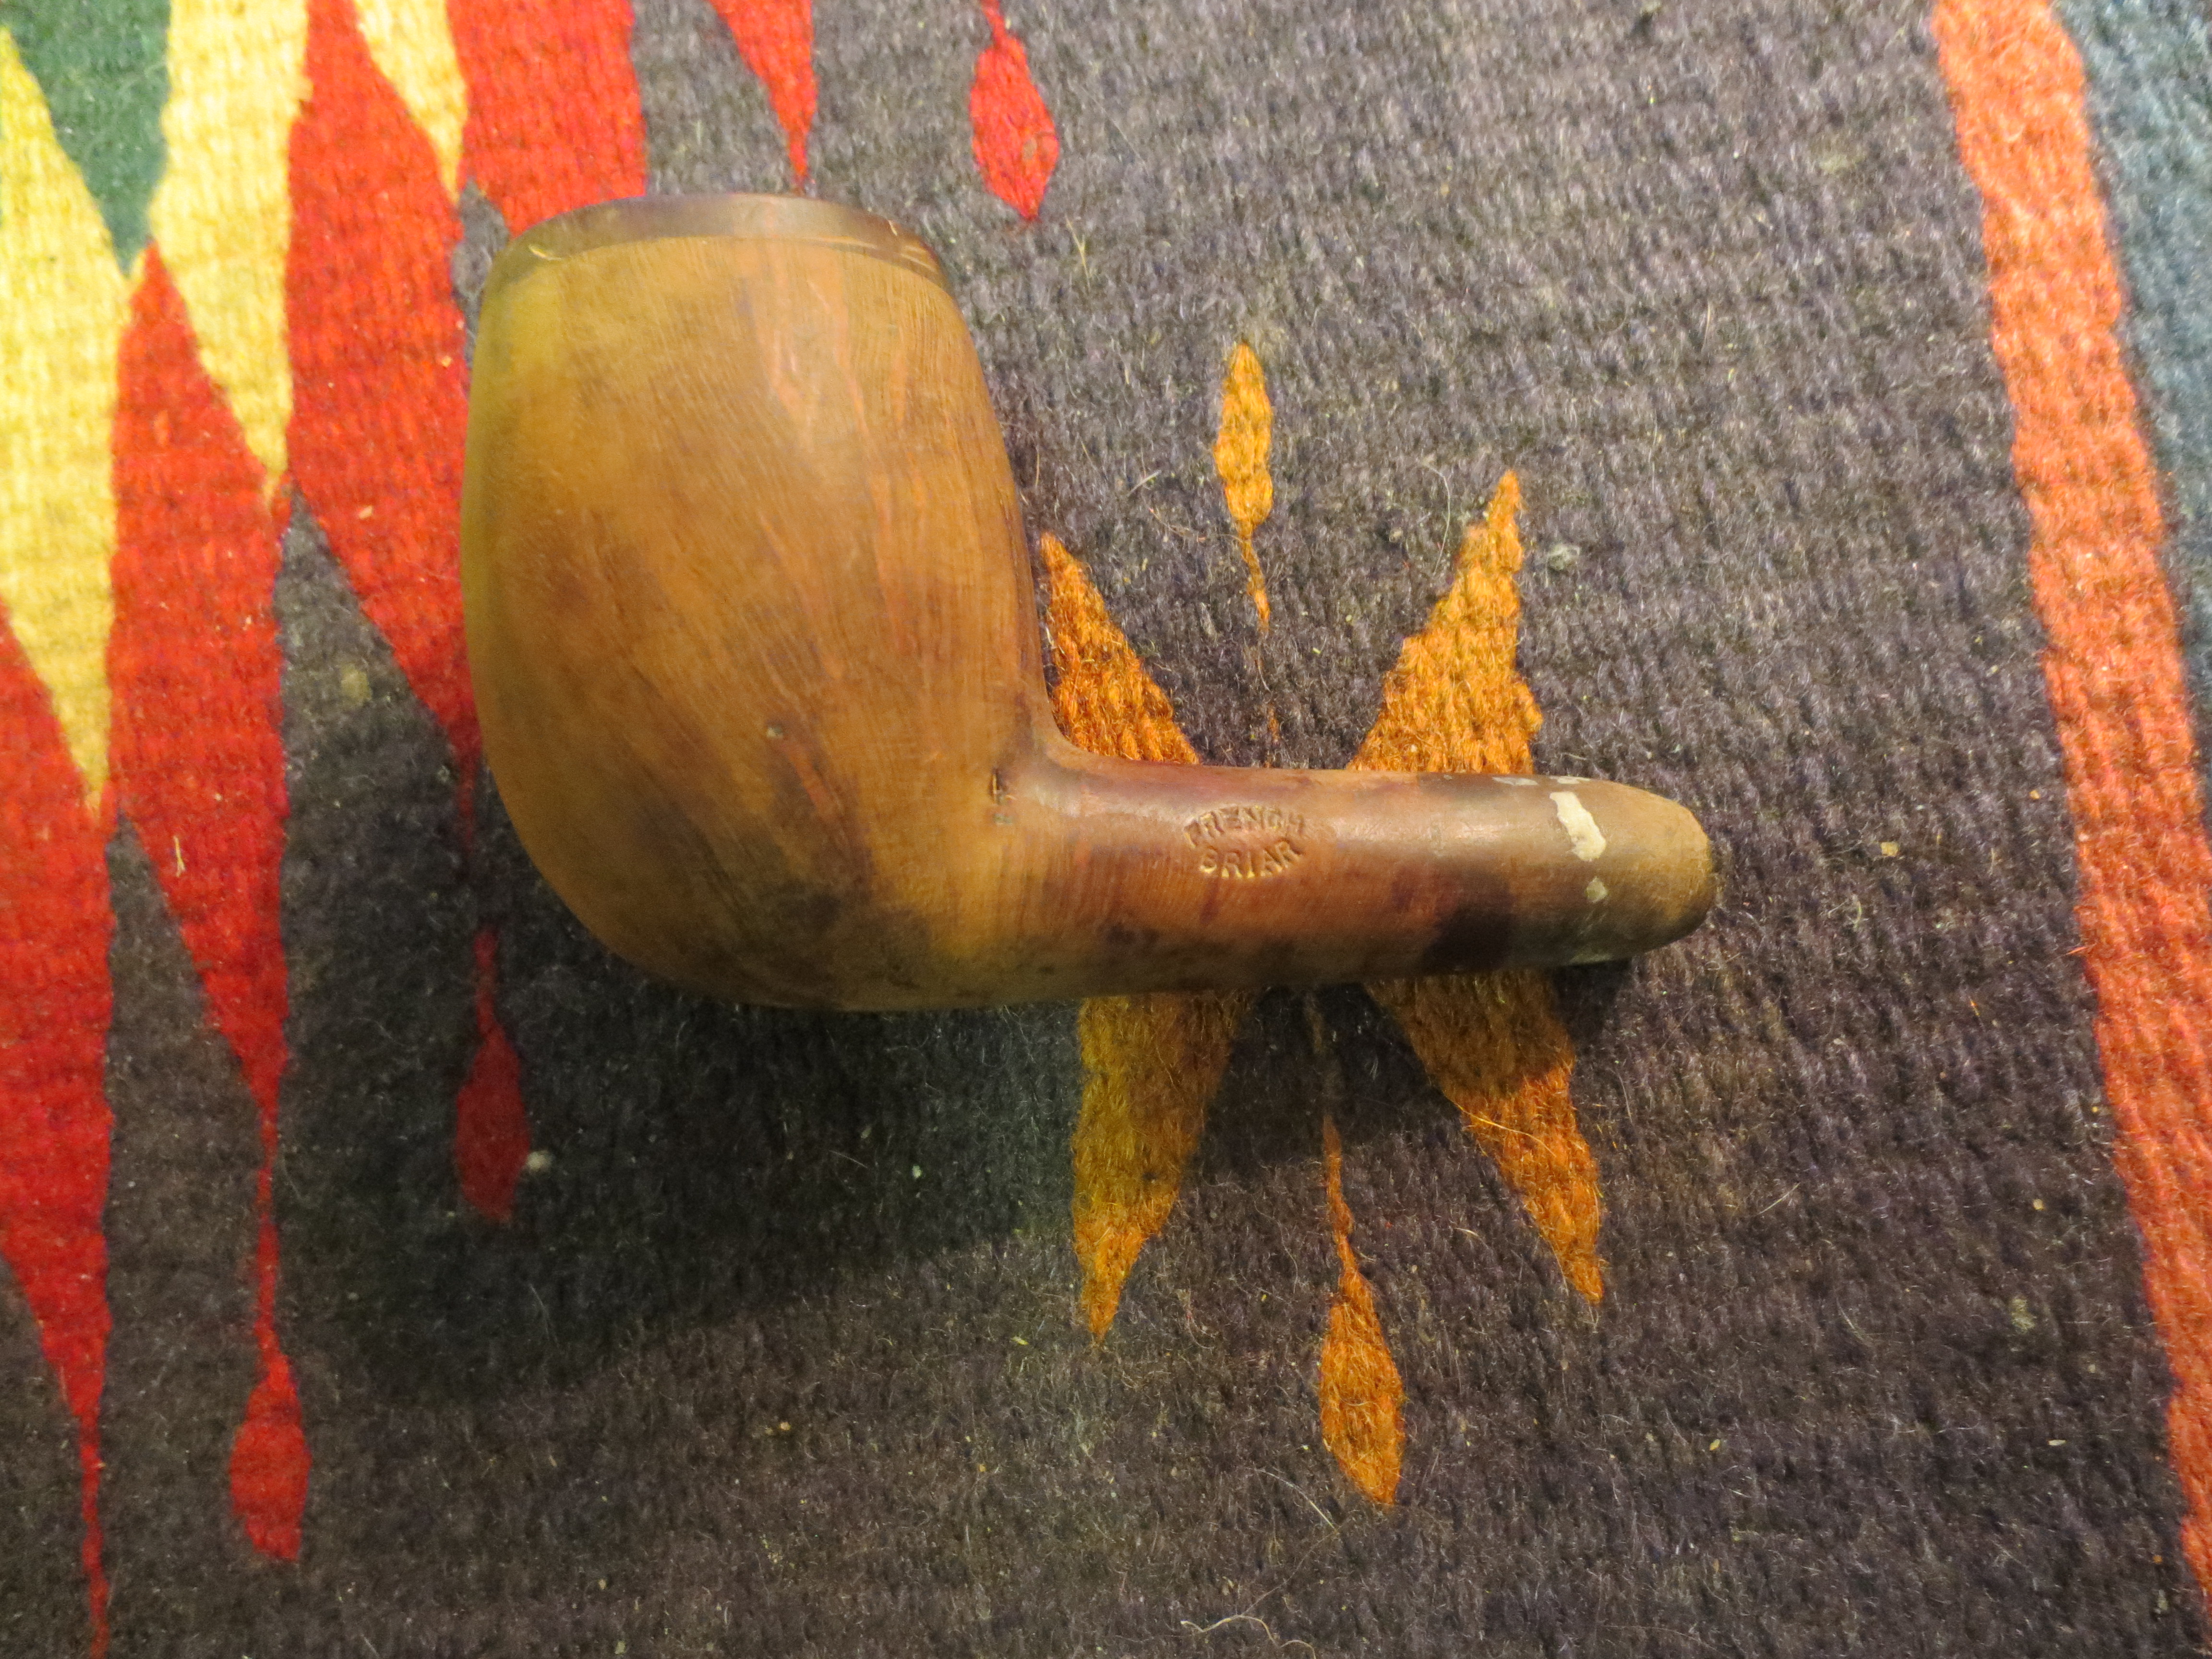
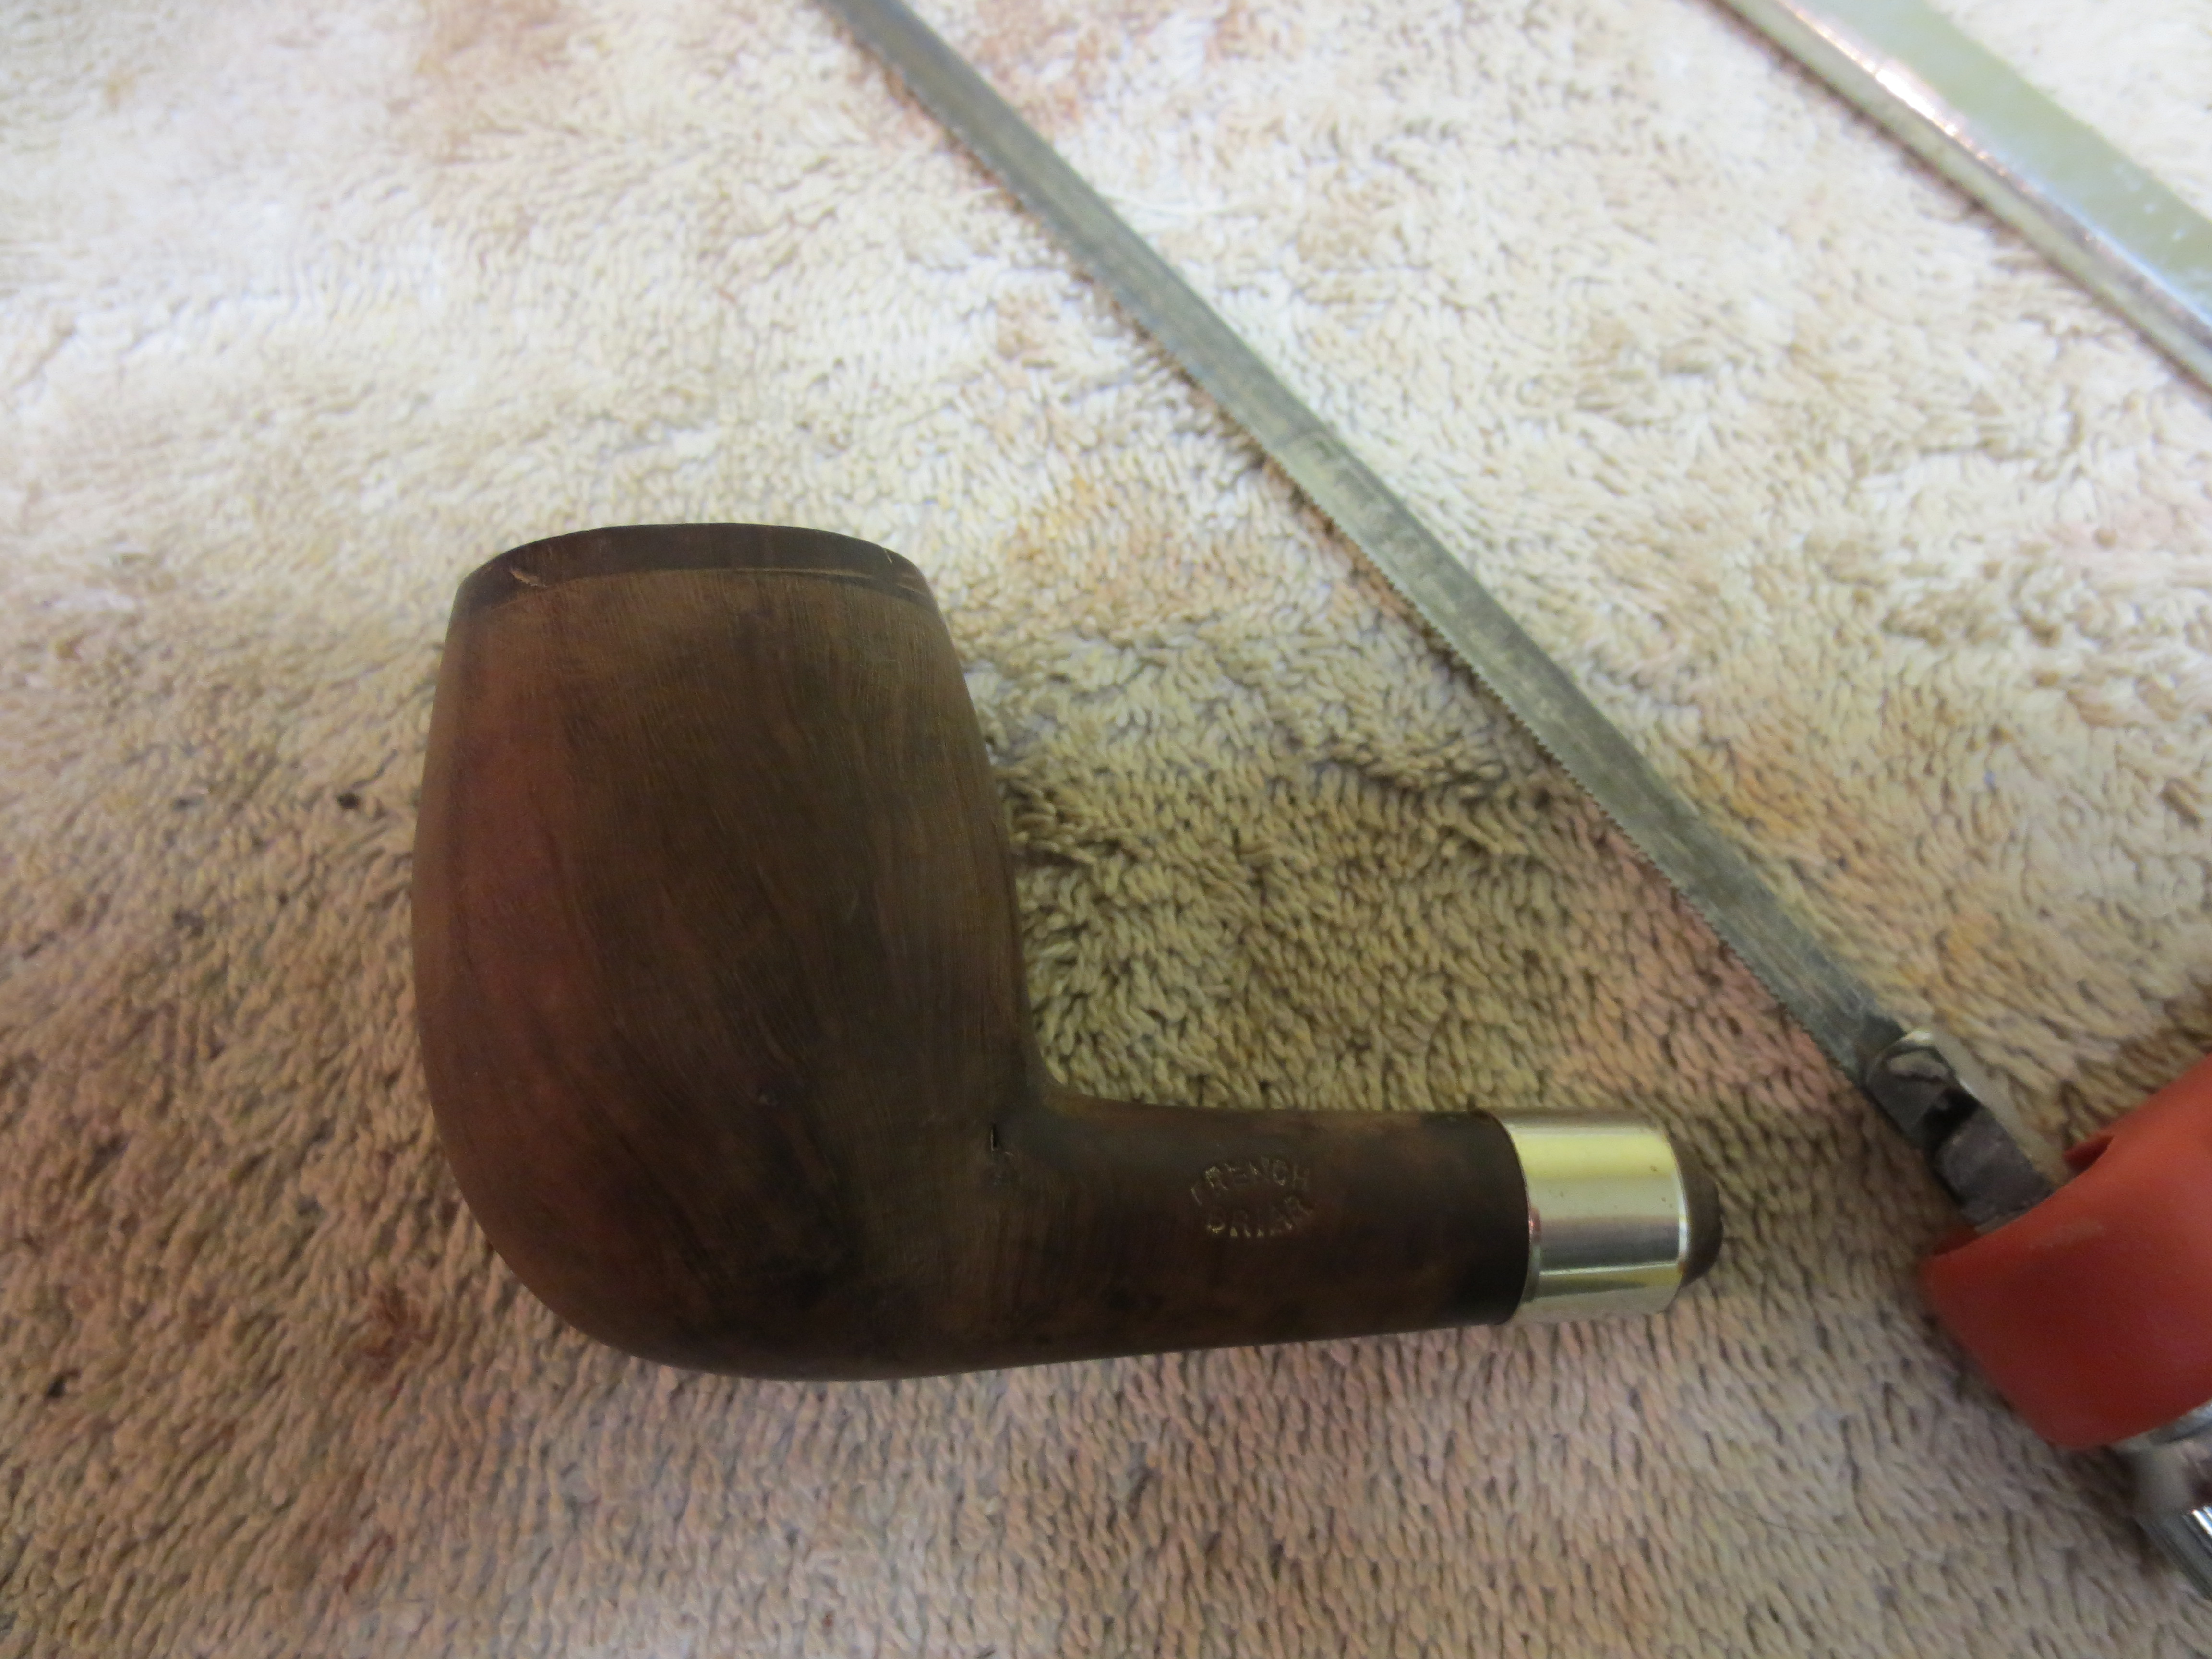
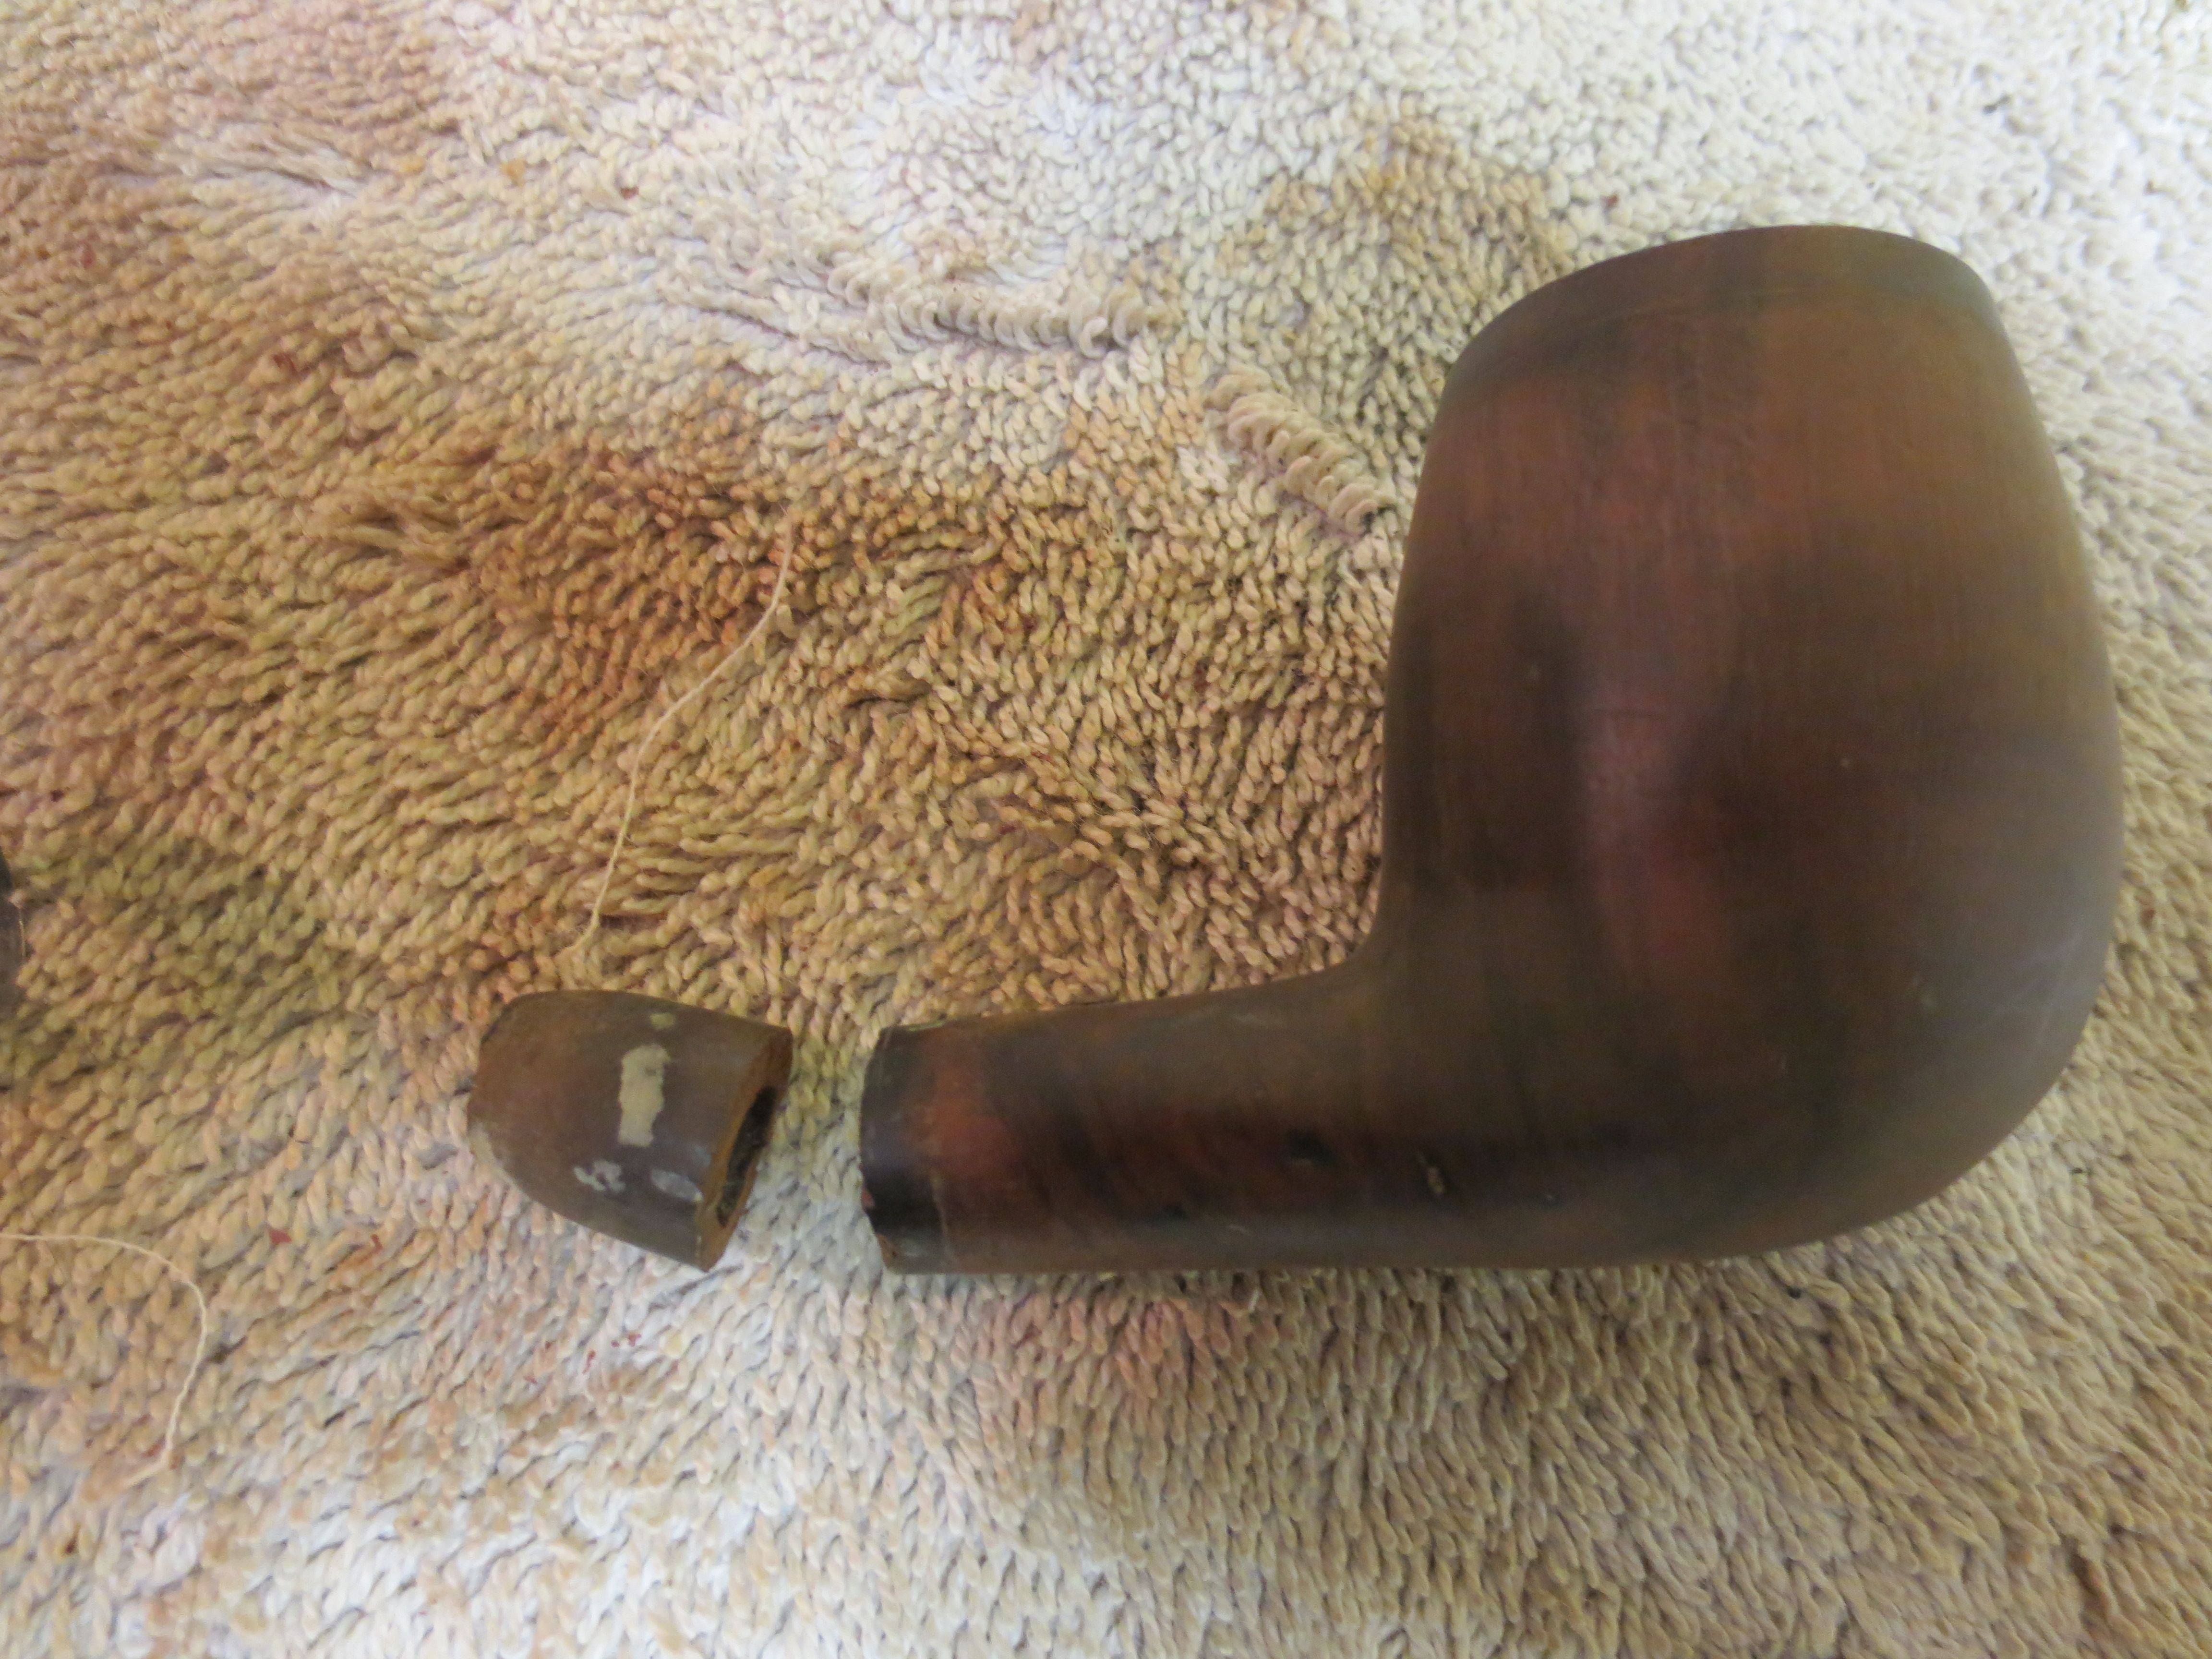
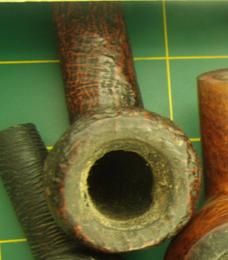
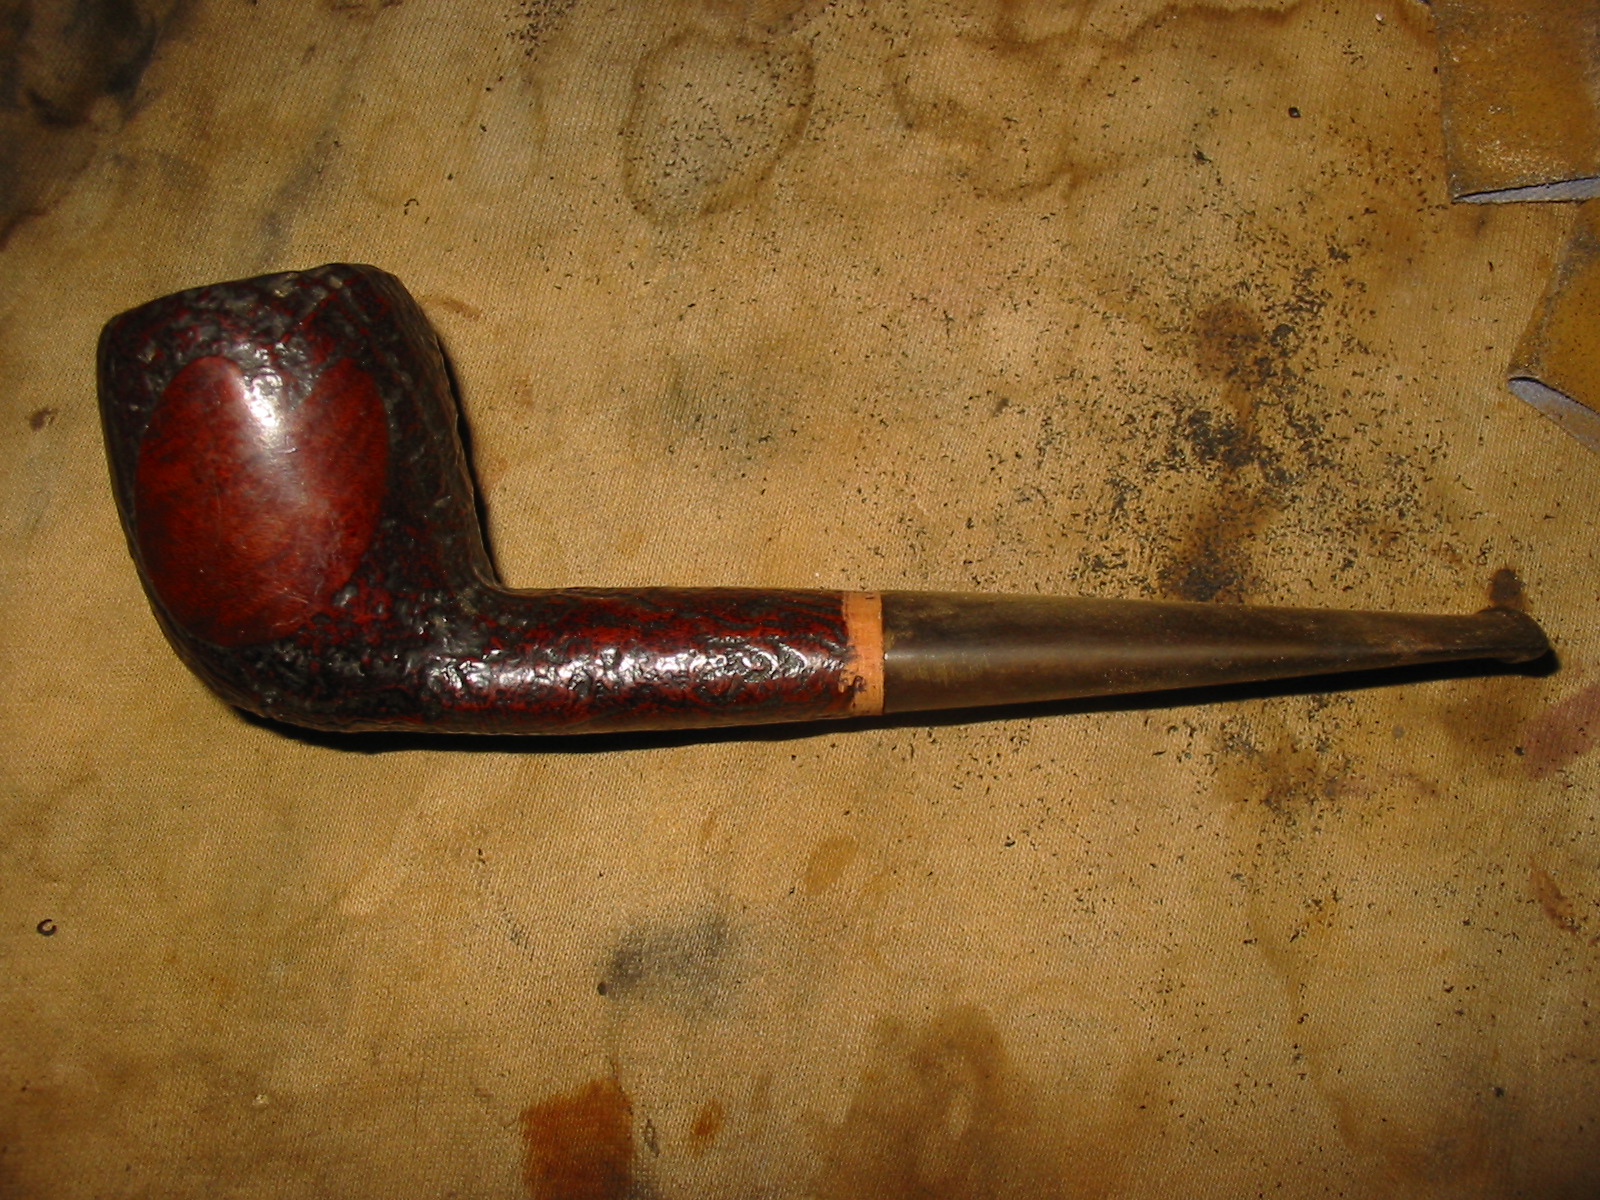
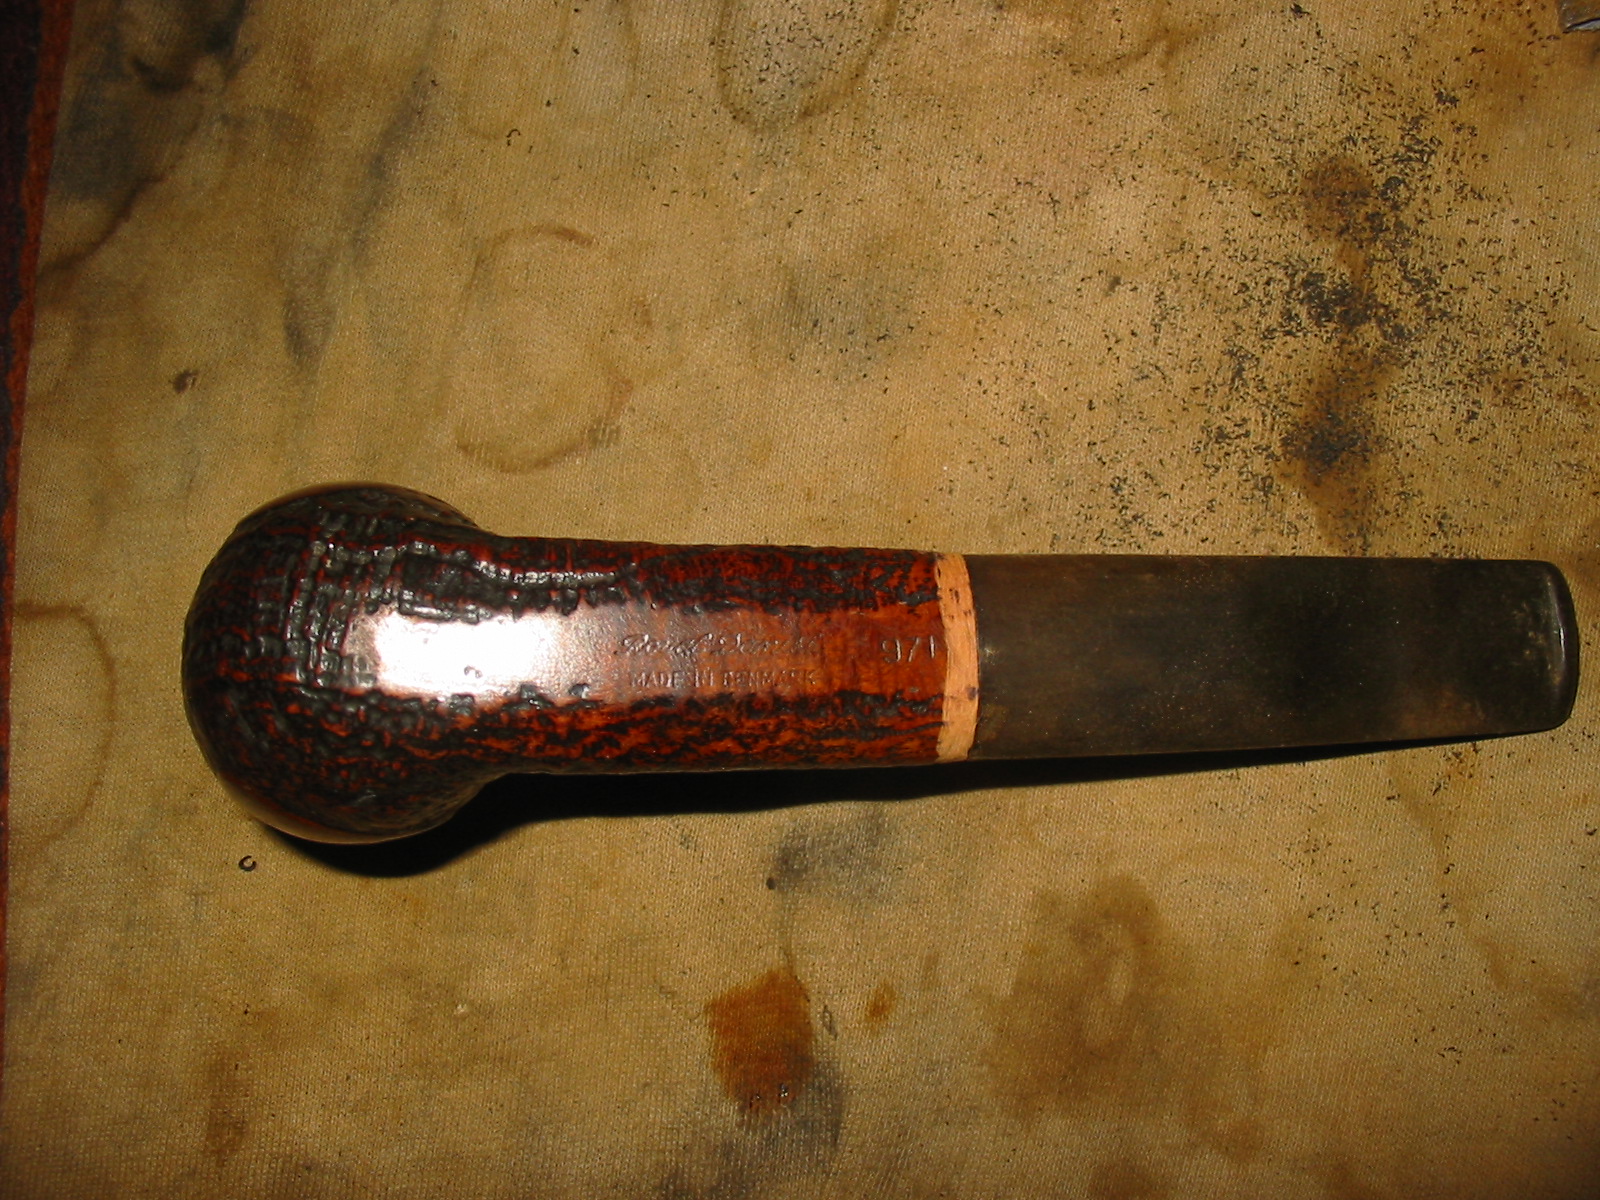
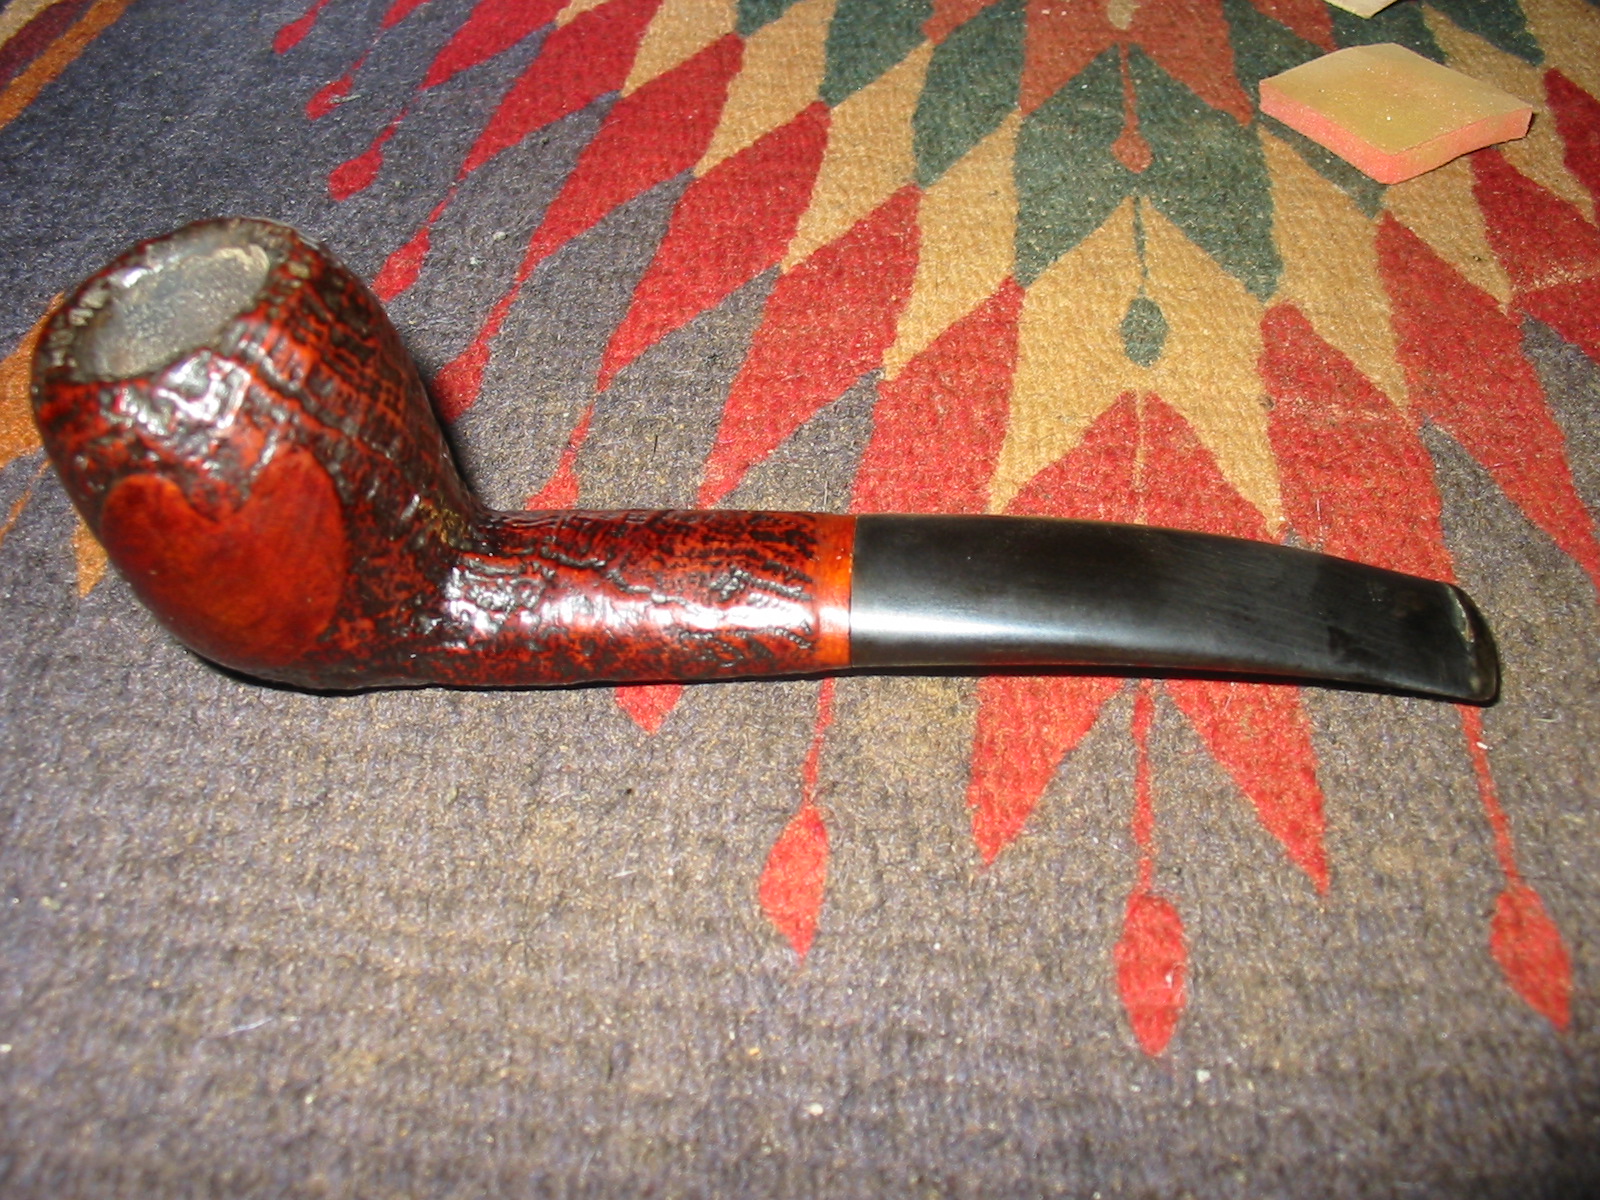
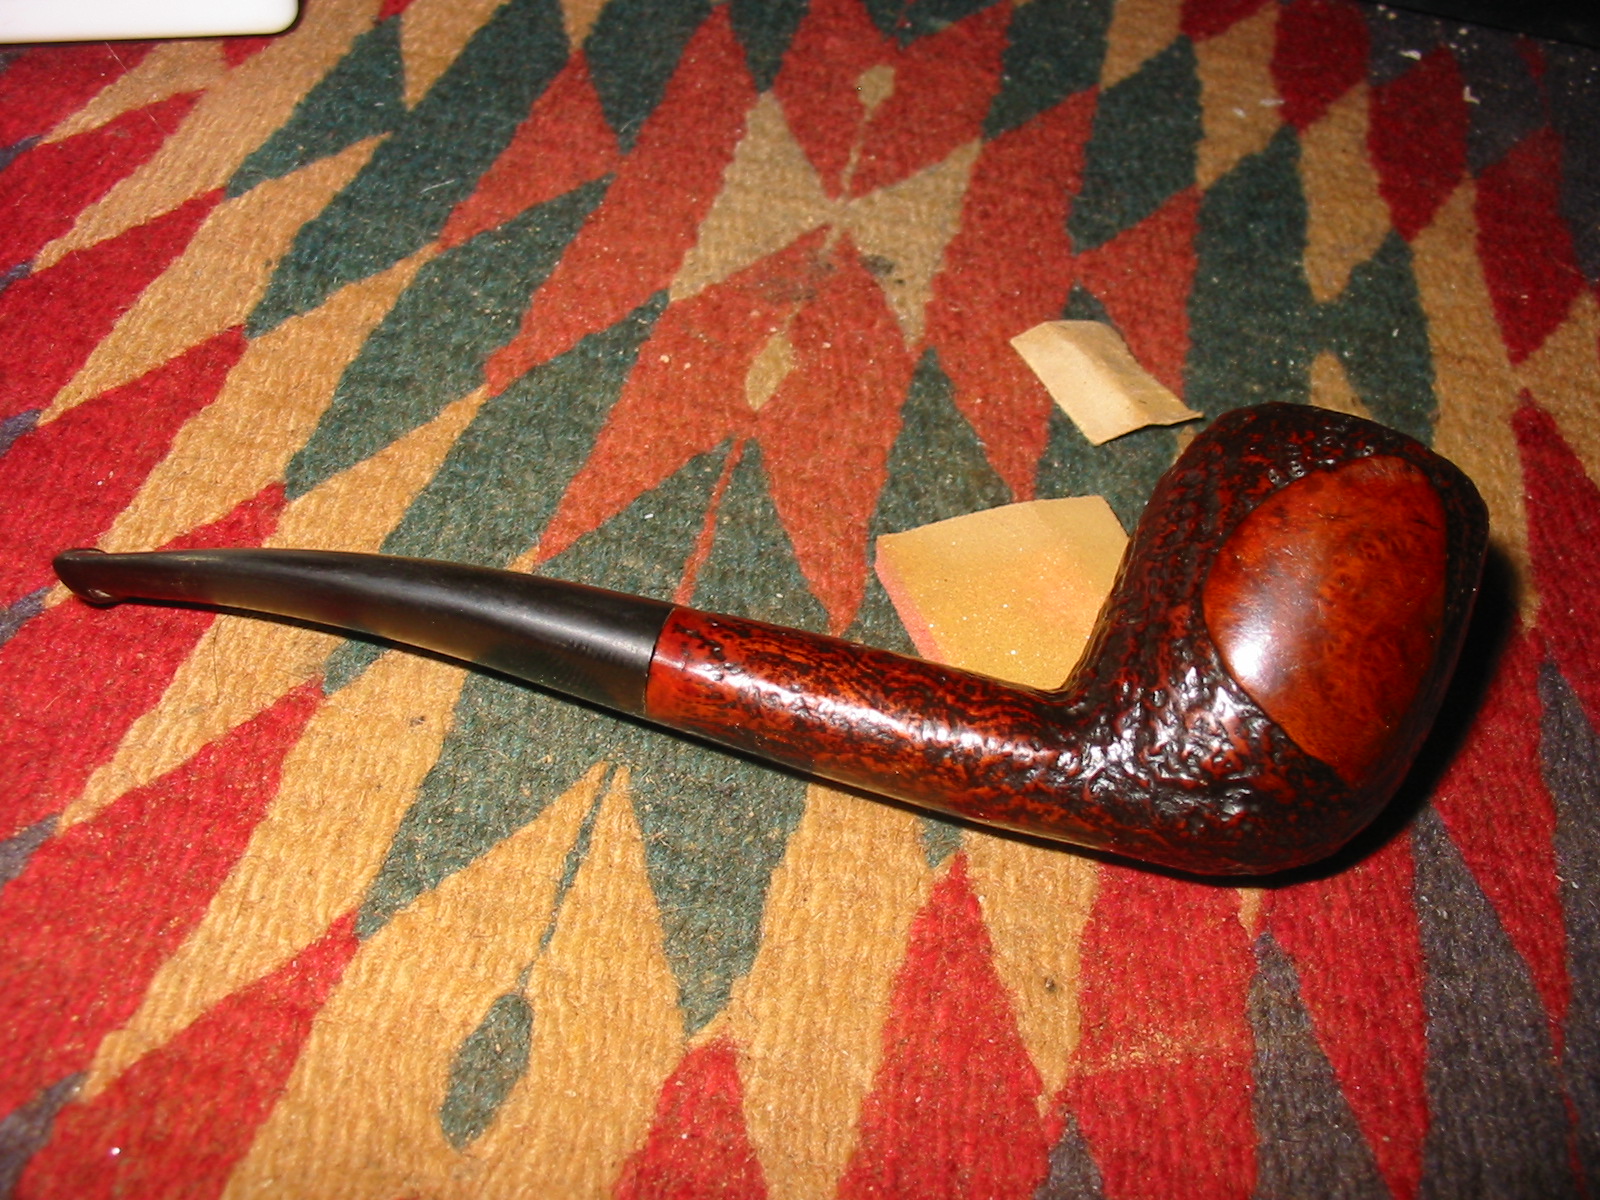
This is another pipe from the lot I picked up on Ebay not long ago. The lot is pictured in the photo below and this one is the third pipe down on the first column, left side. It is stamped Royal Danish in script over MADE IN DENMARK on the underside of the shank. It is also stamped 971. To me the shape is an oval shanked acorn. It has a sandblast finish with a smooth area on each side of the bowl and on the area that bears the stamping on the shank. The bowl was heavily caked as can be seen in the second photo. The finish was not in bad shape just dirty and the smooth areas had small scratches on the surface. The rim was caked with spill over from the bowl and would need to be scrubbed to remove the build up and make the sand blasted rim visible again. The bowl came without a stem.

bowls1

Danish

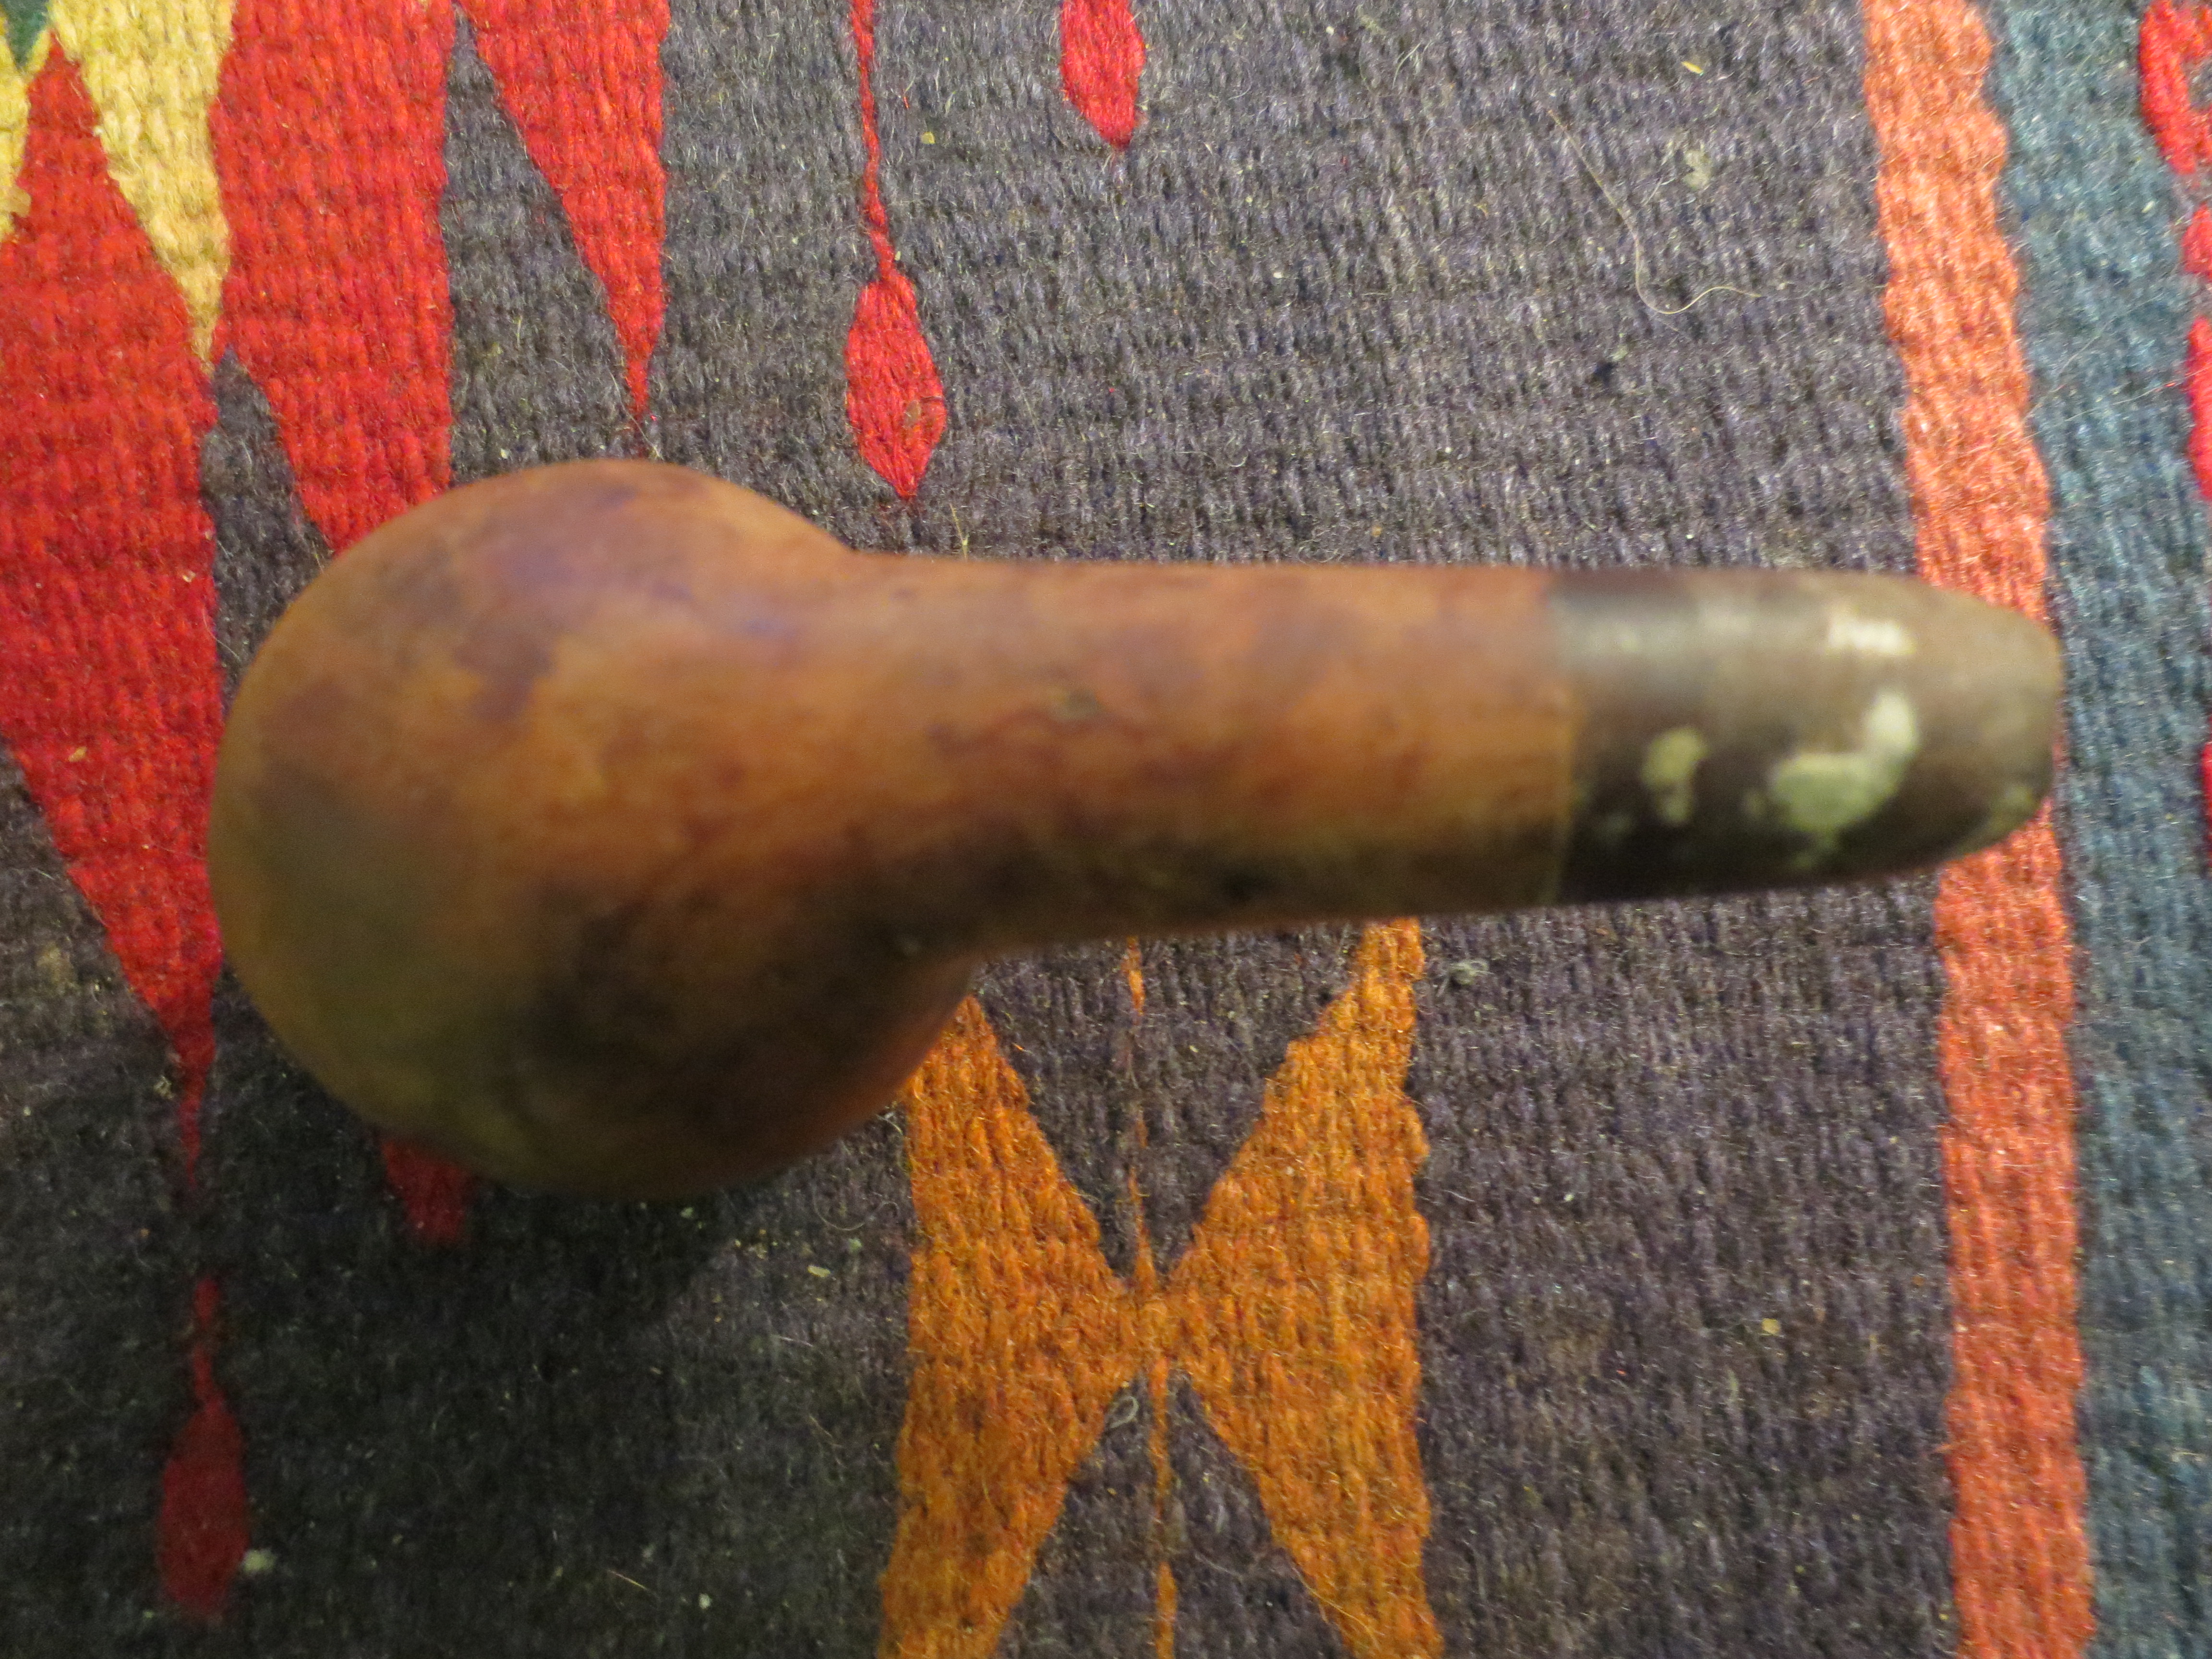
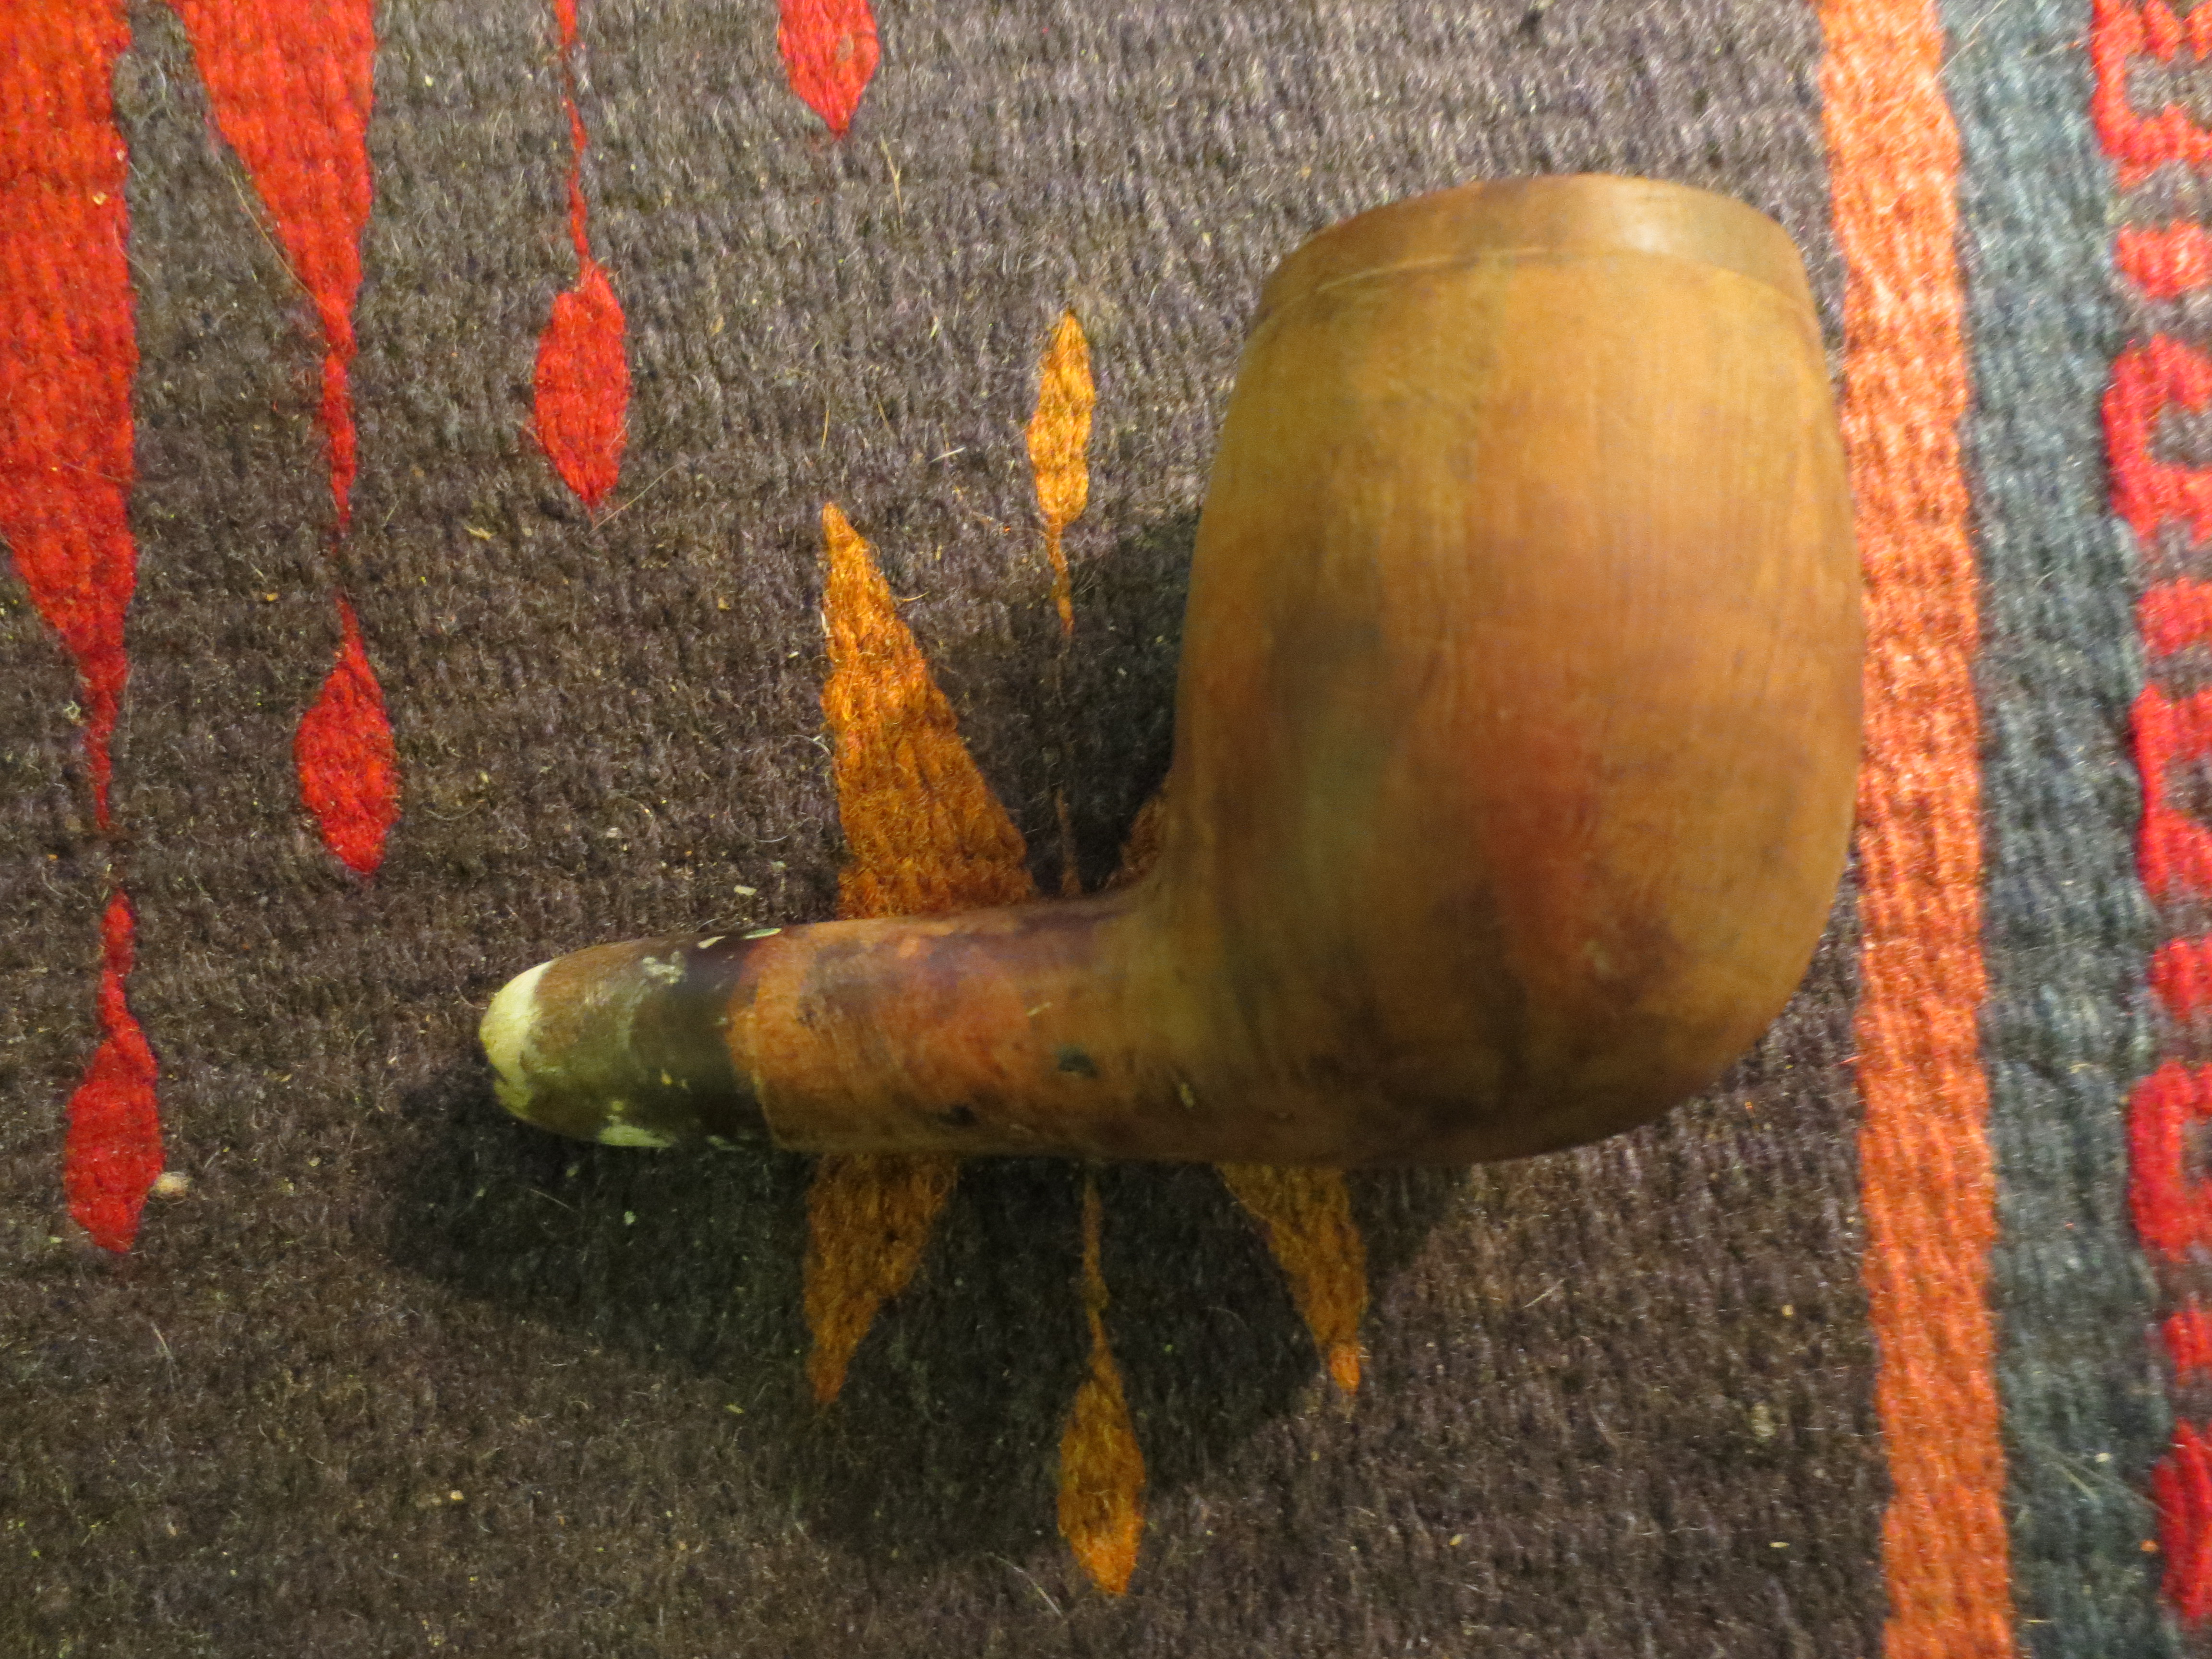
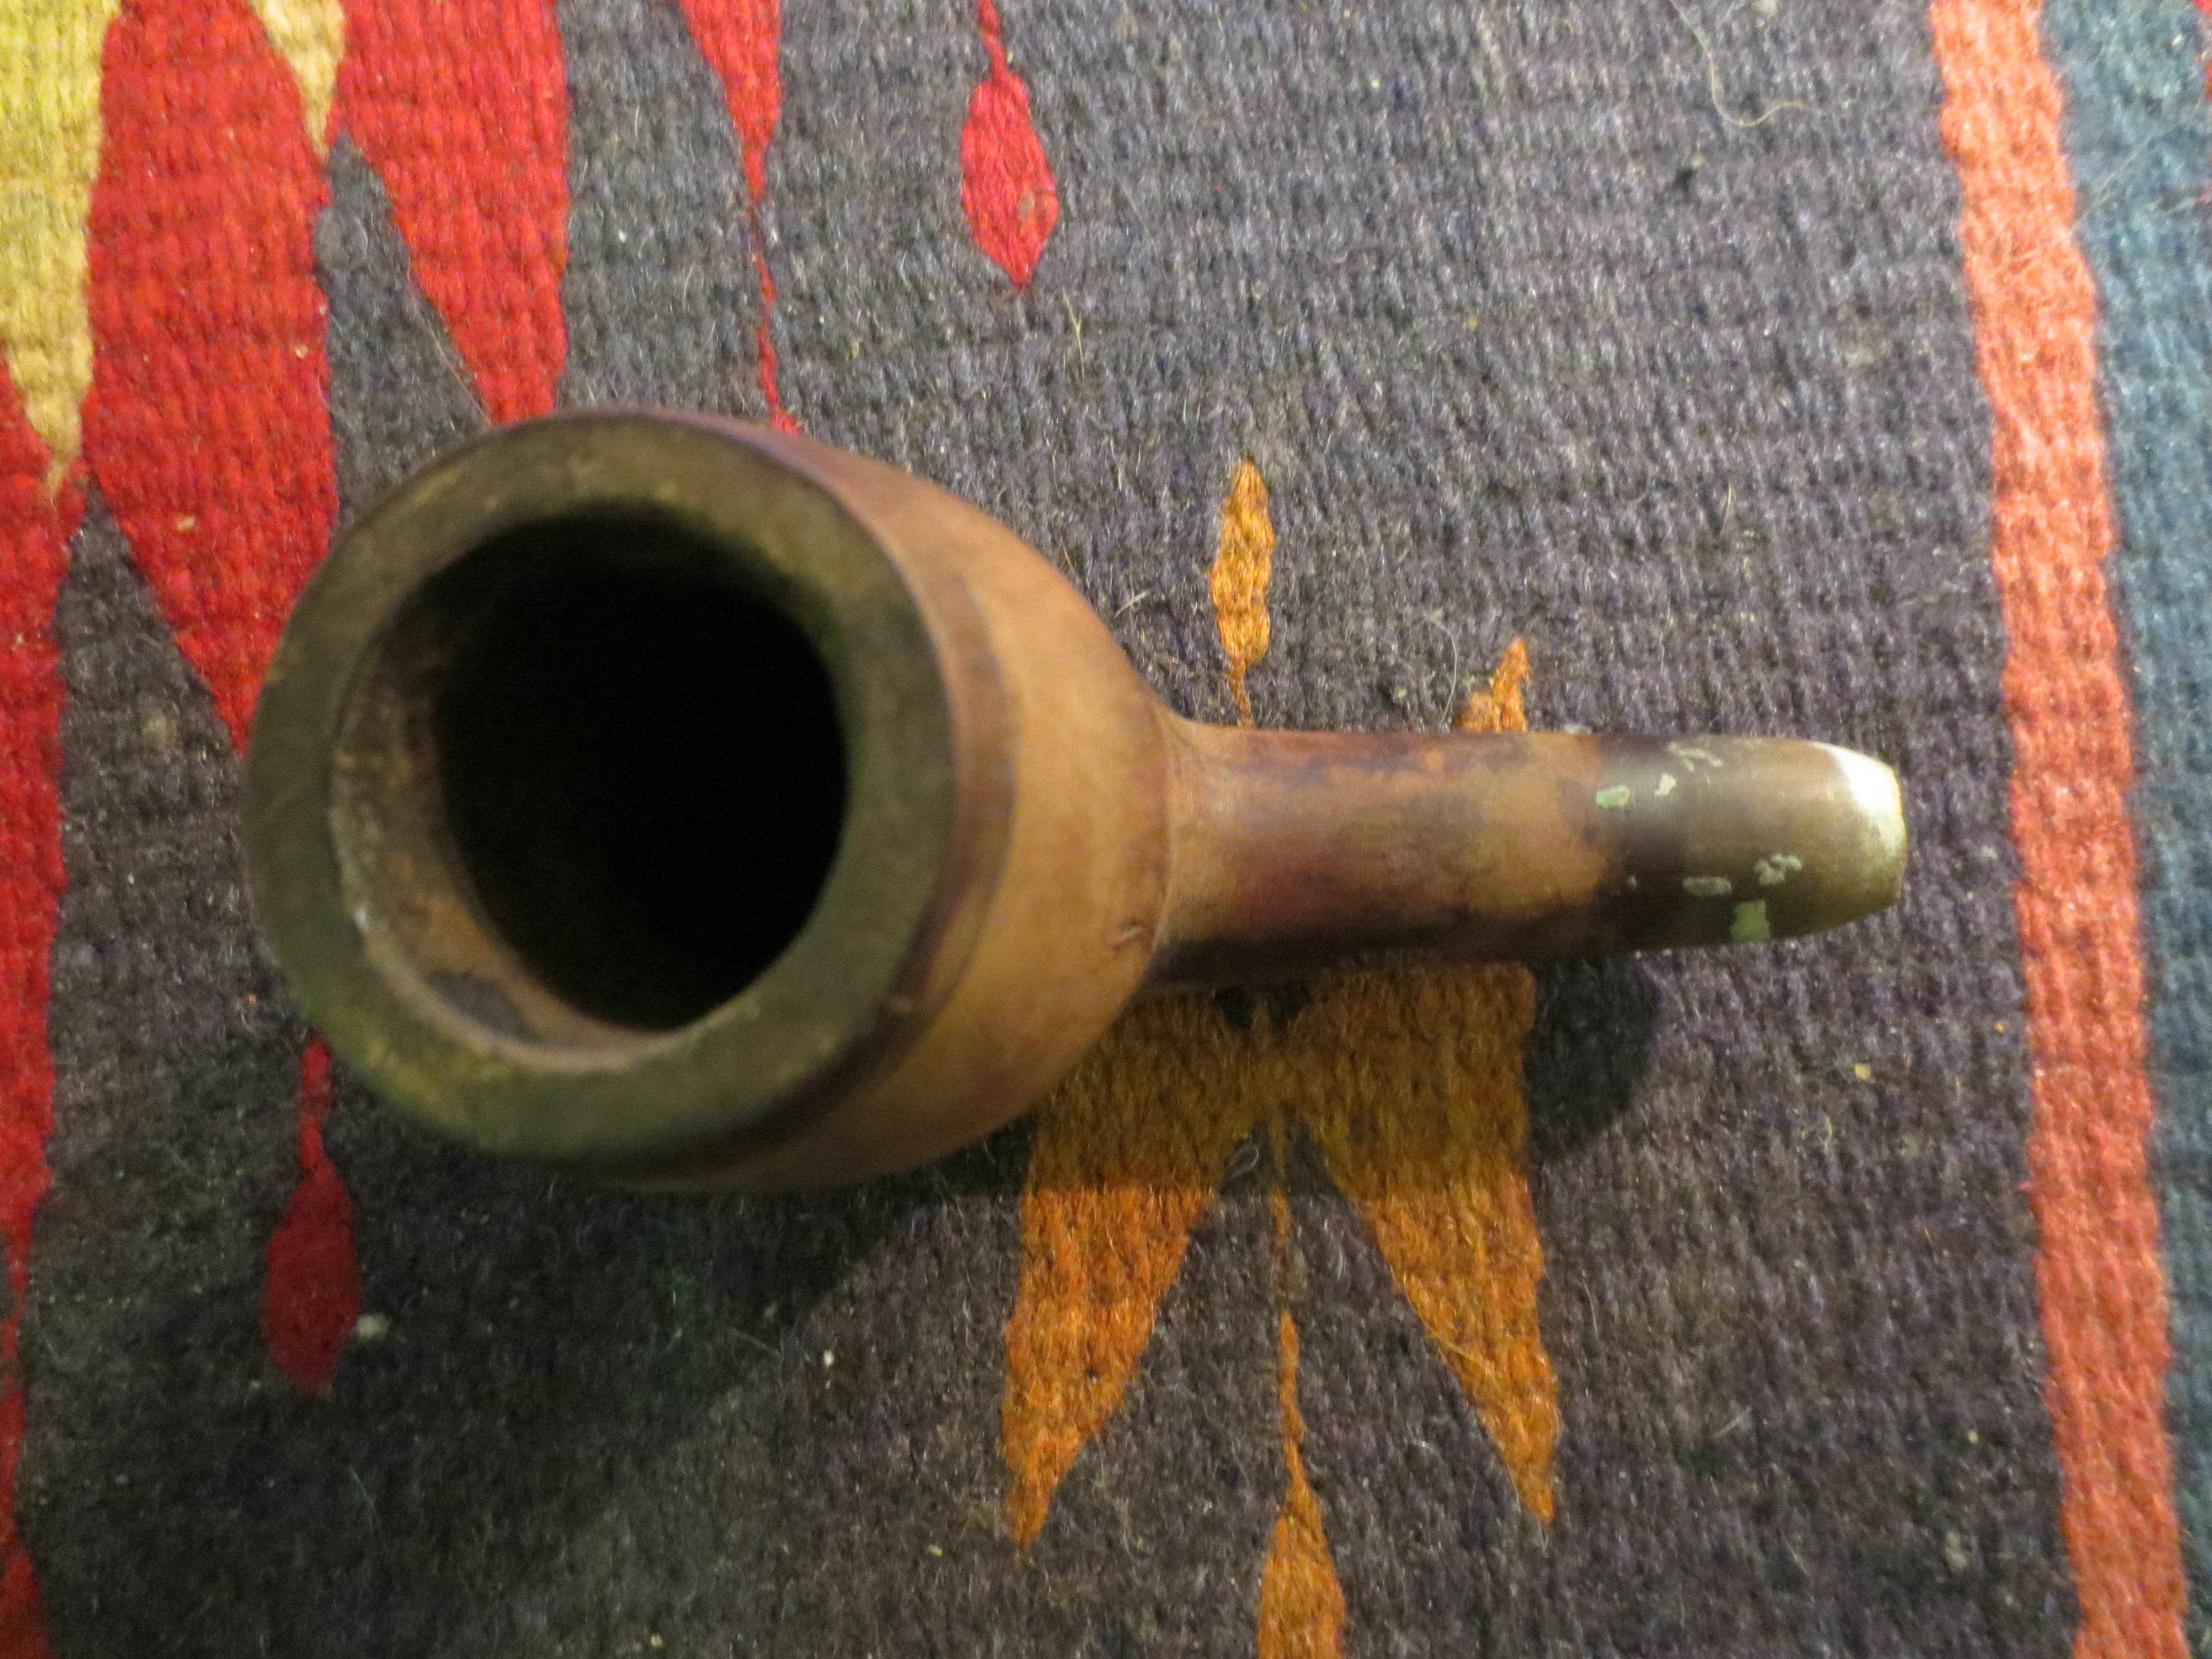
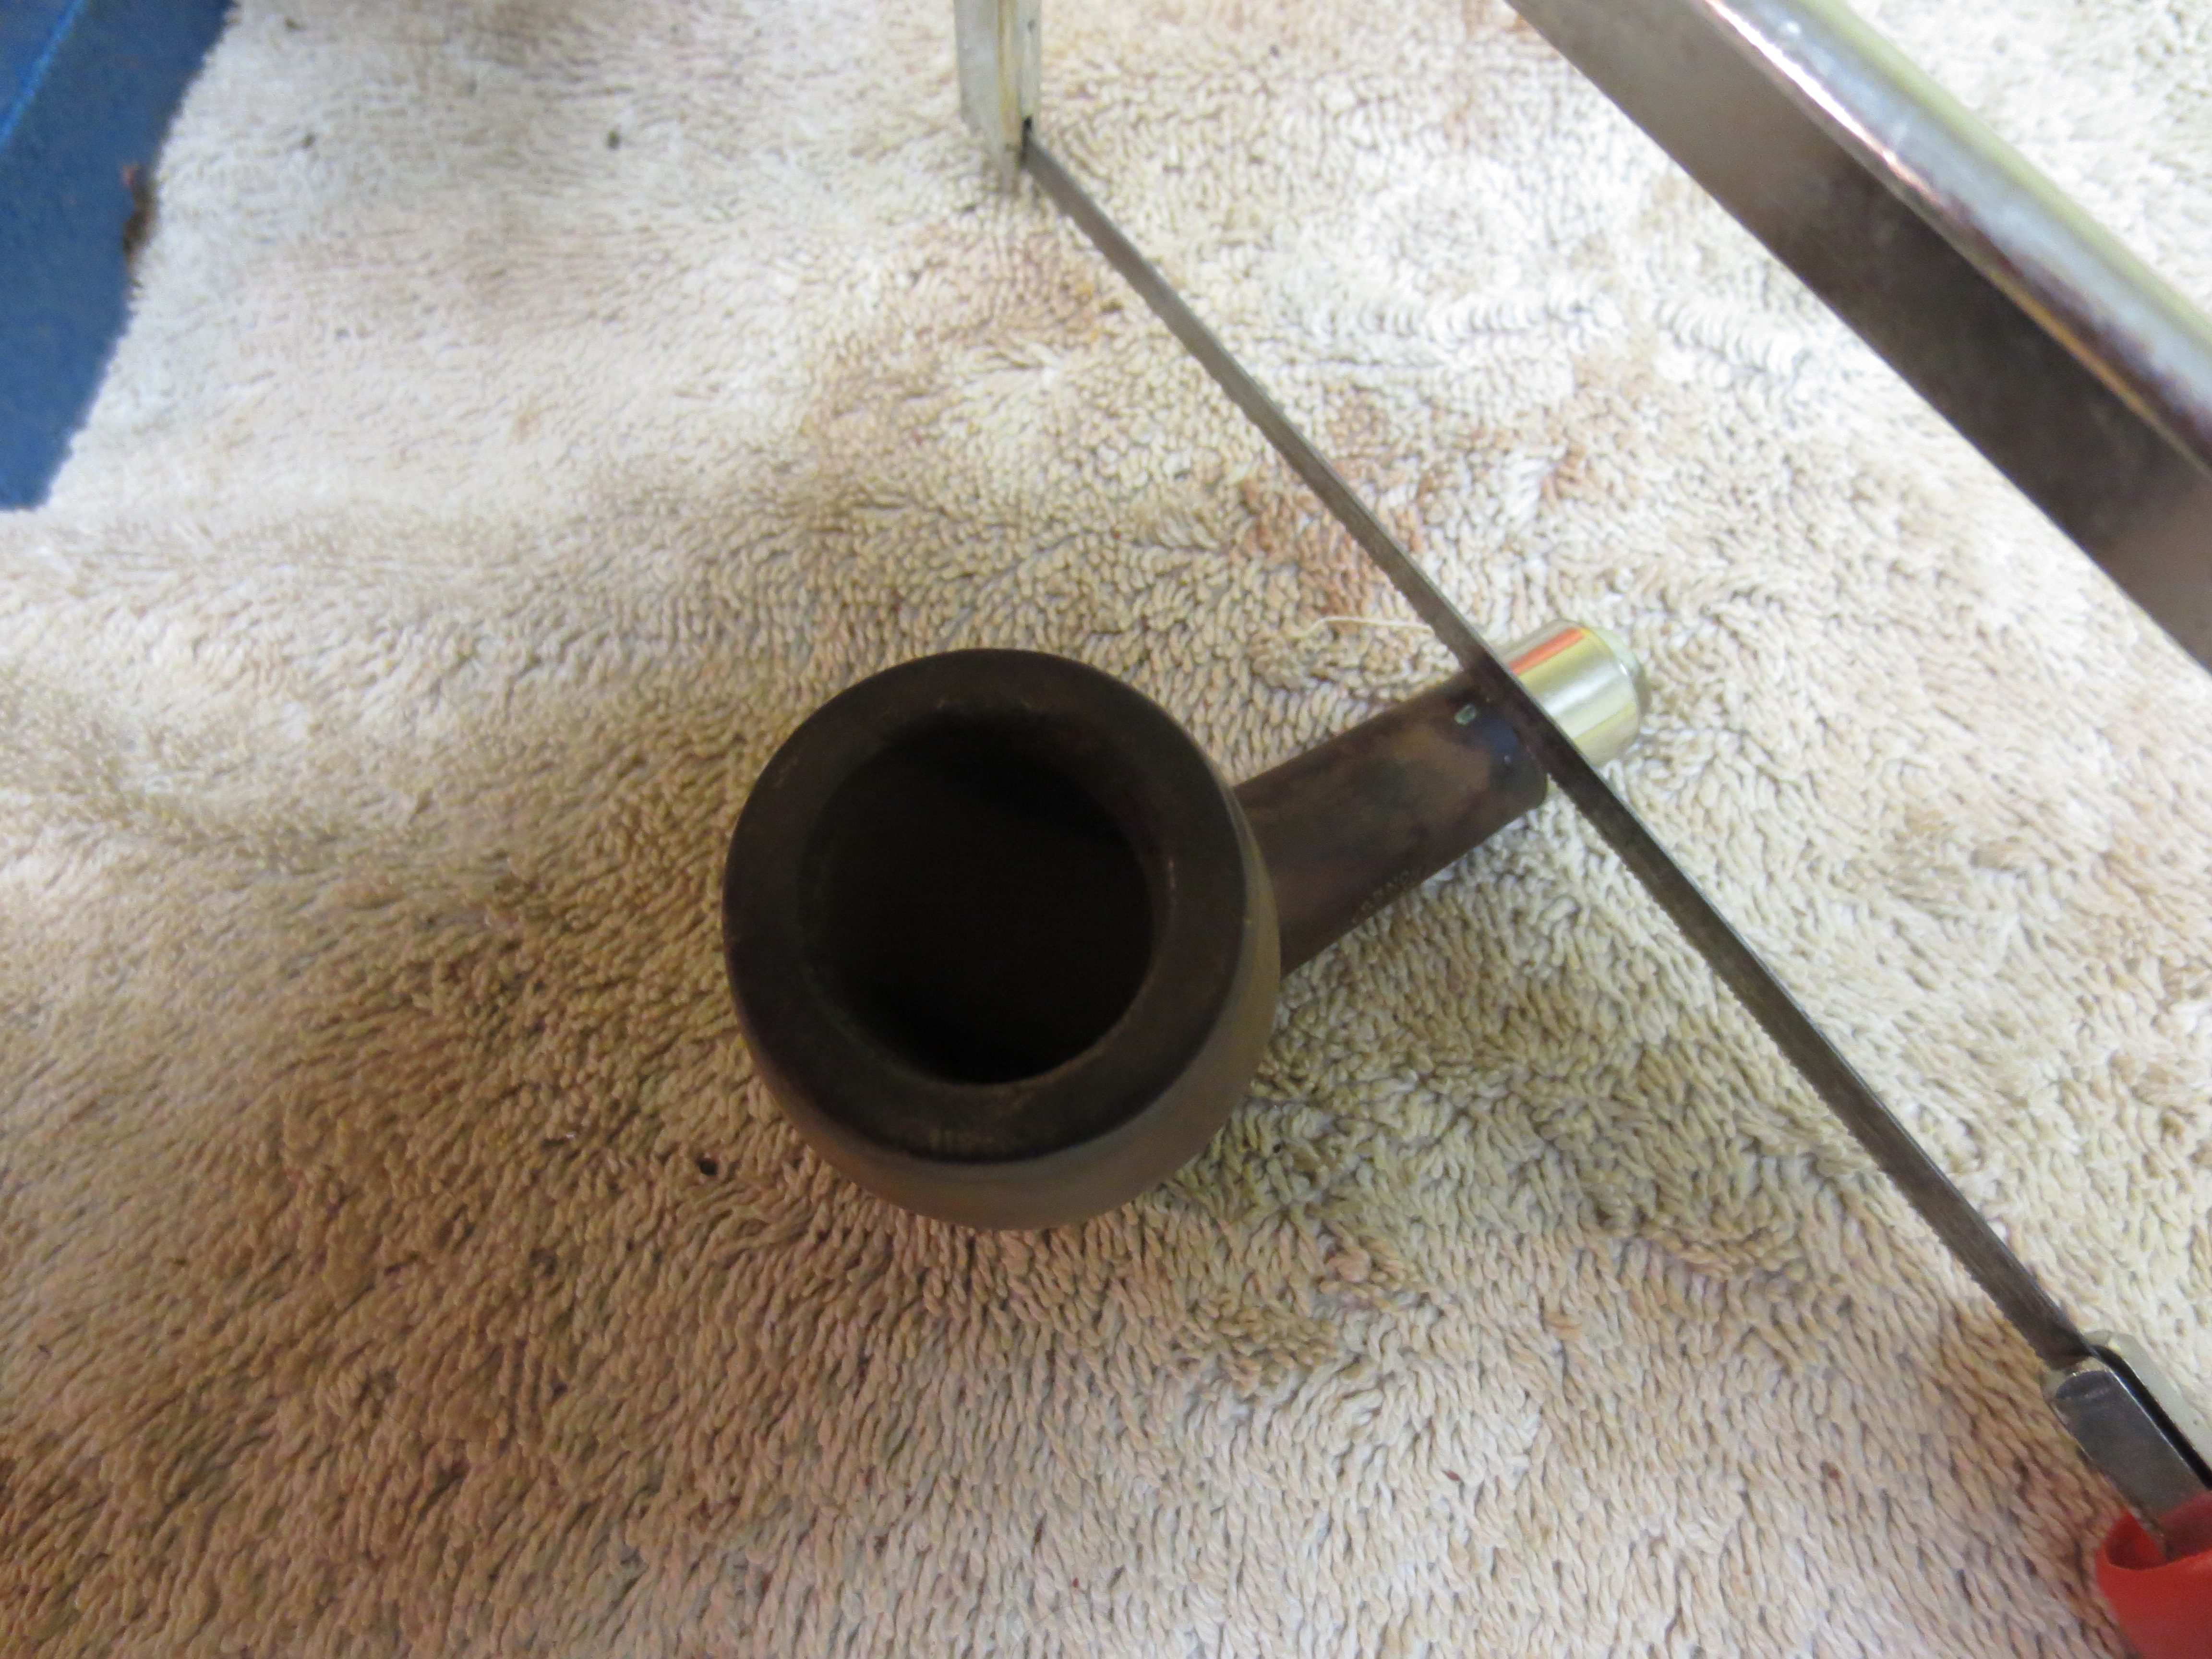
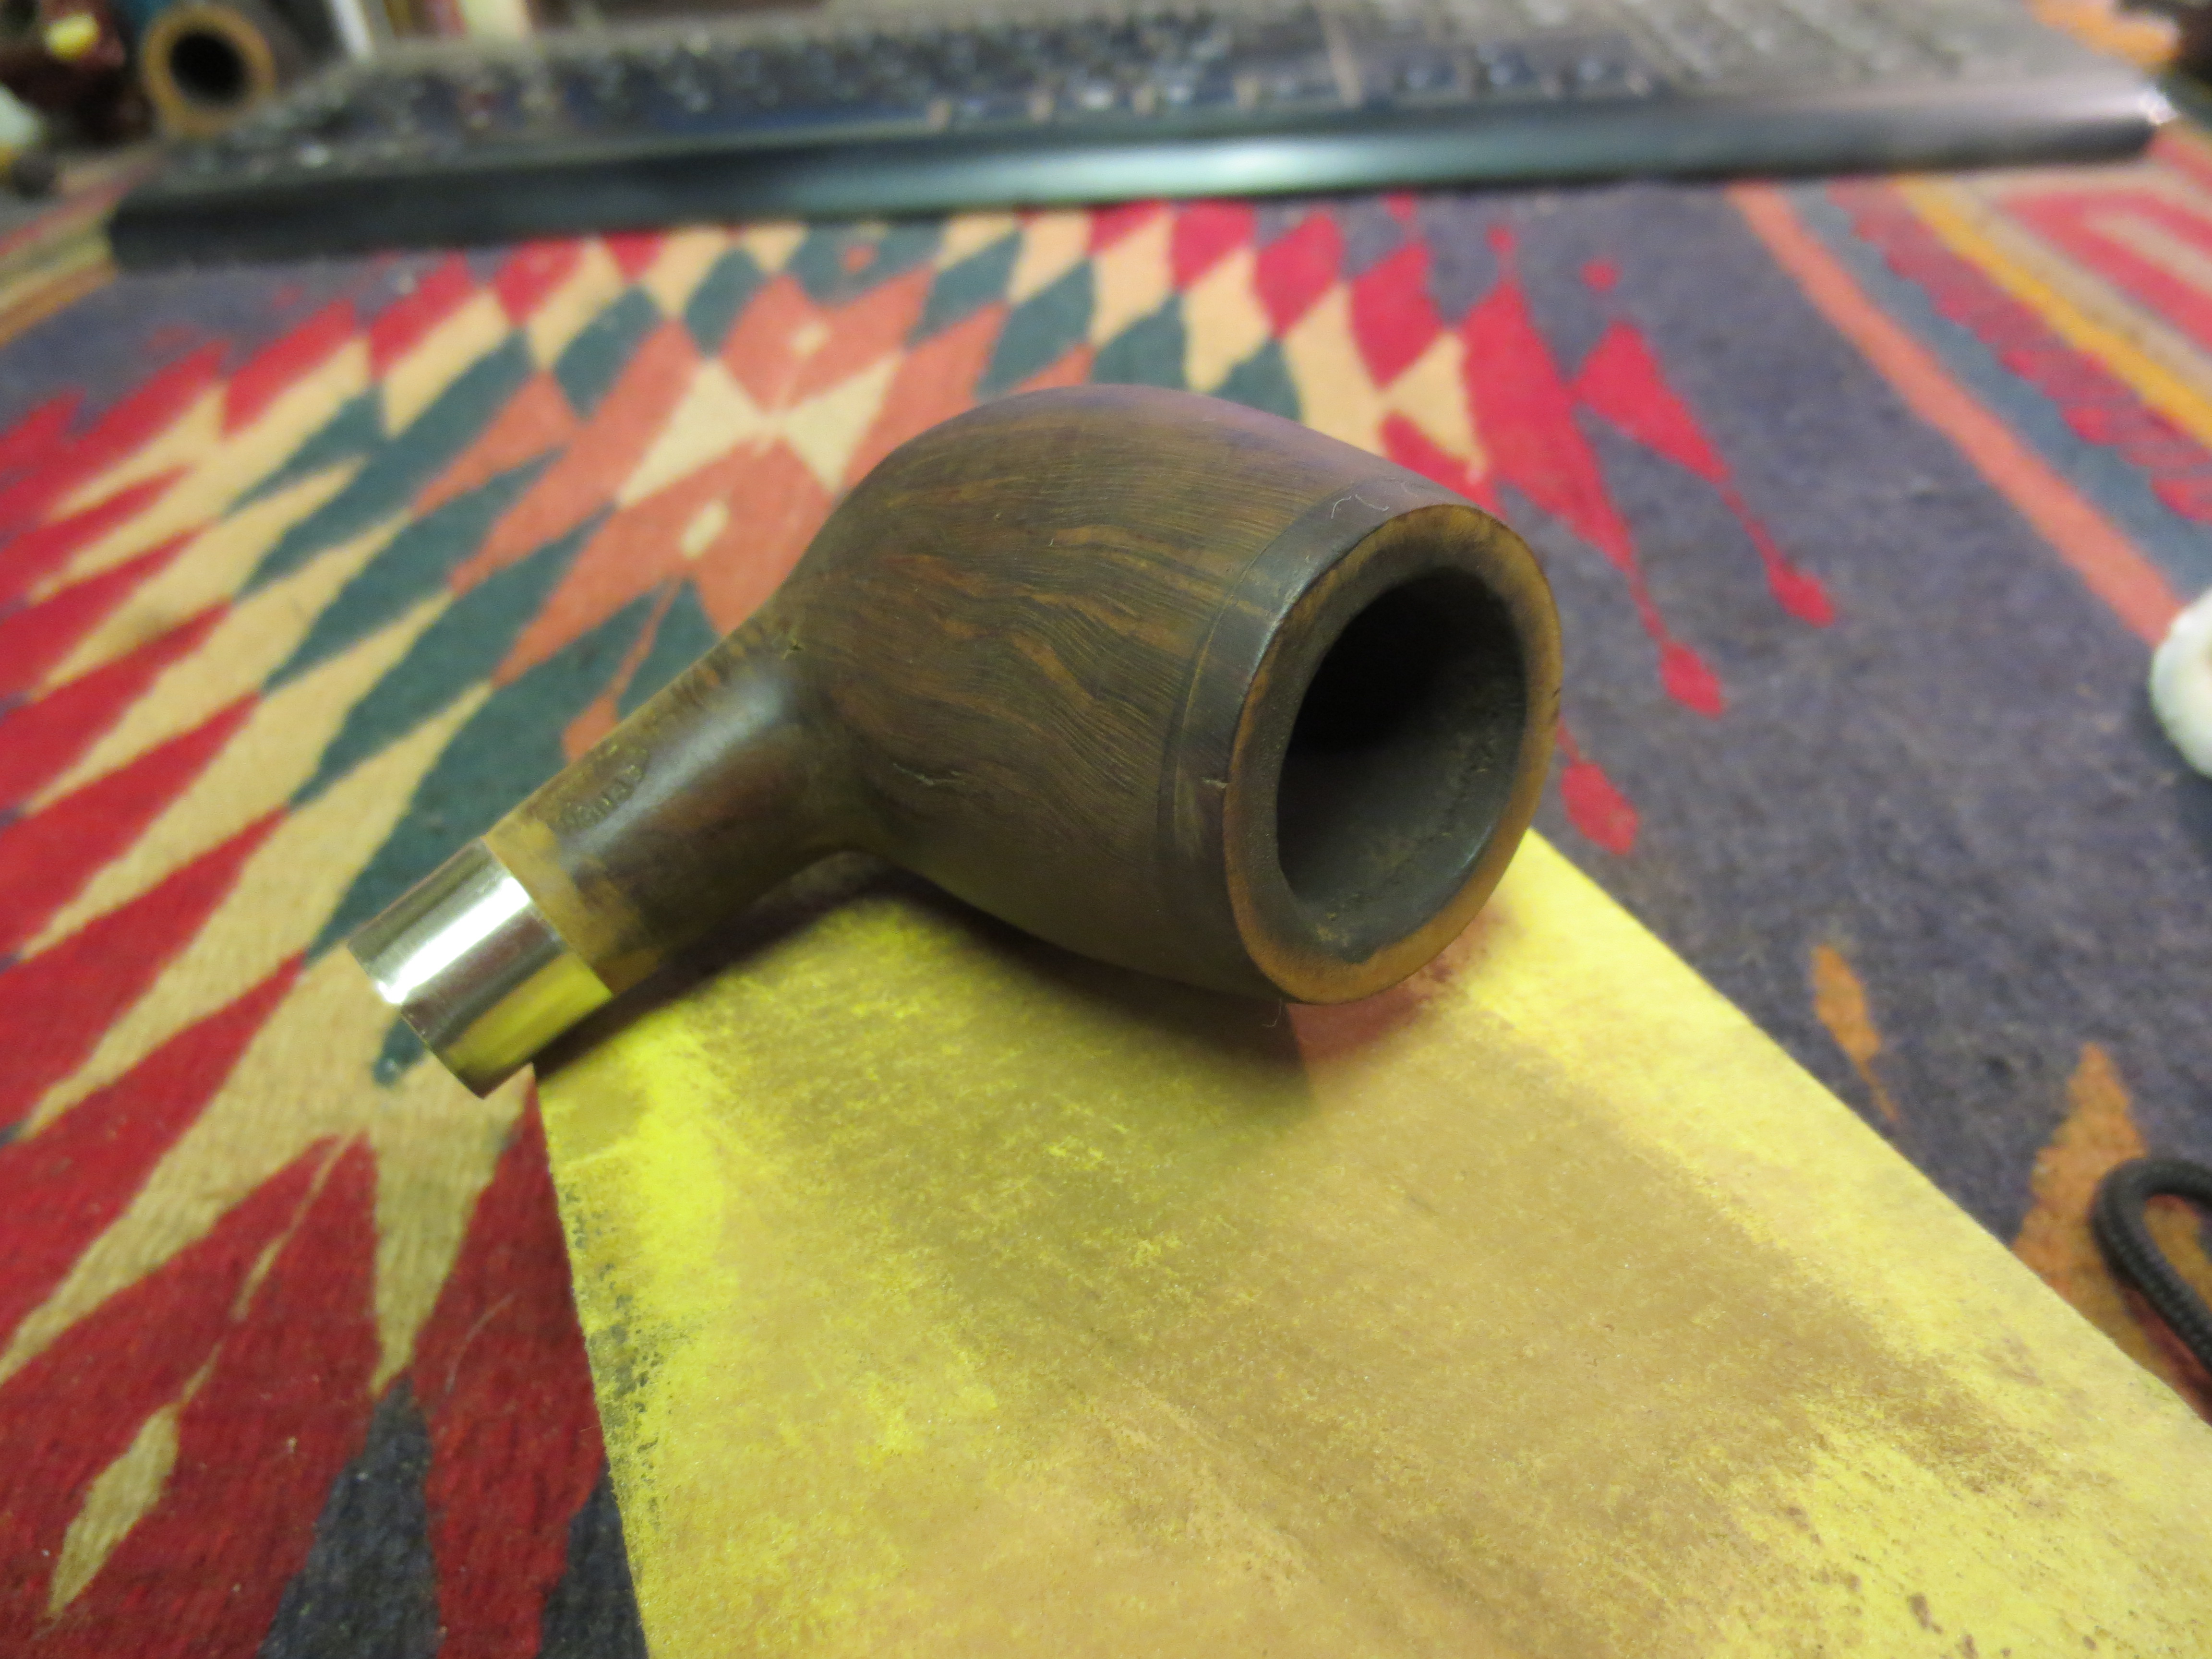
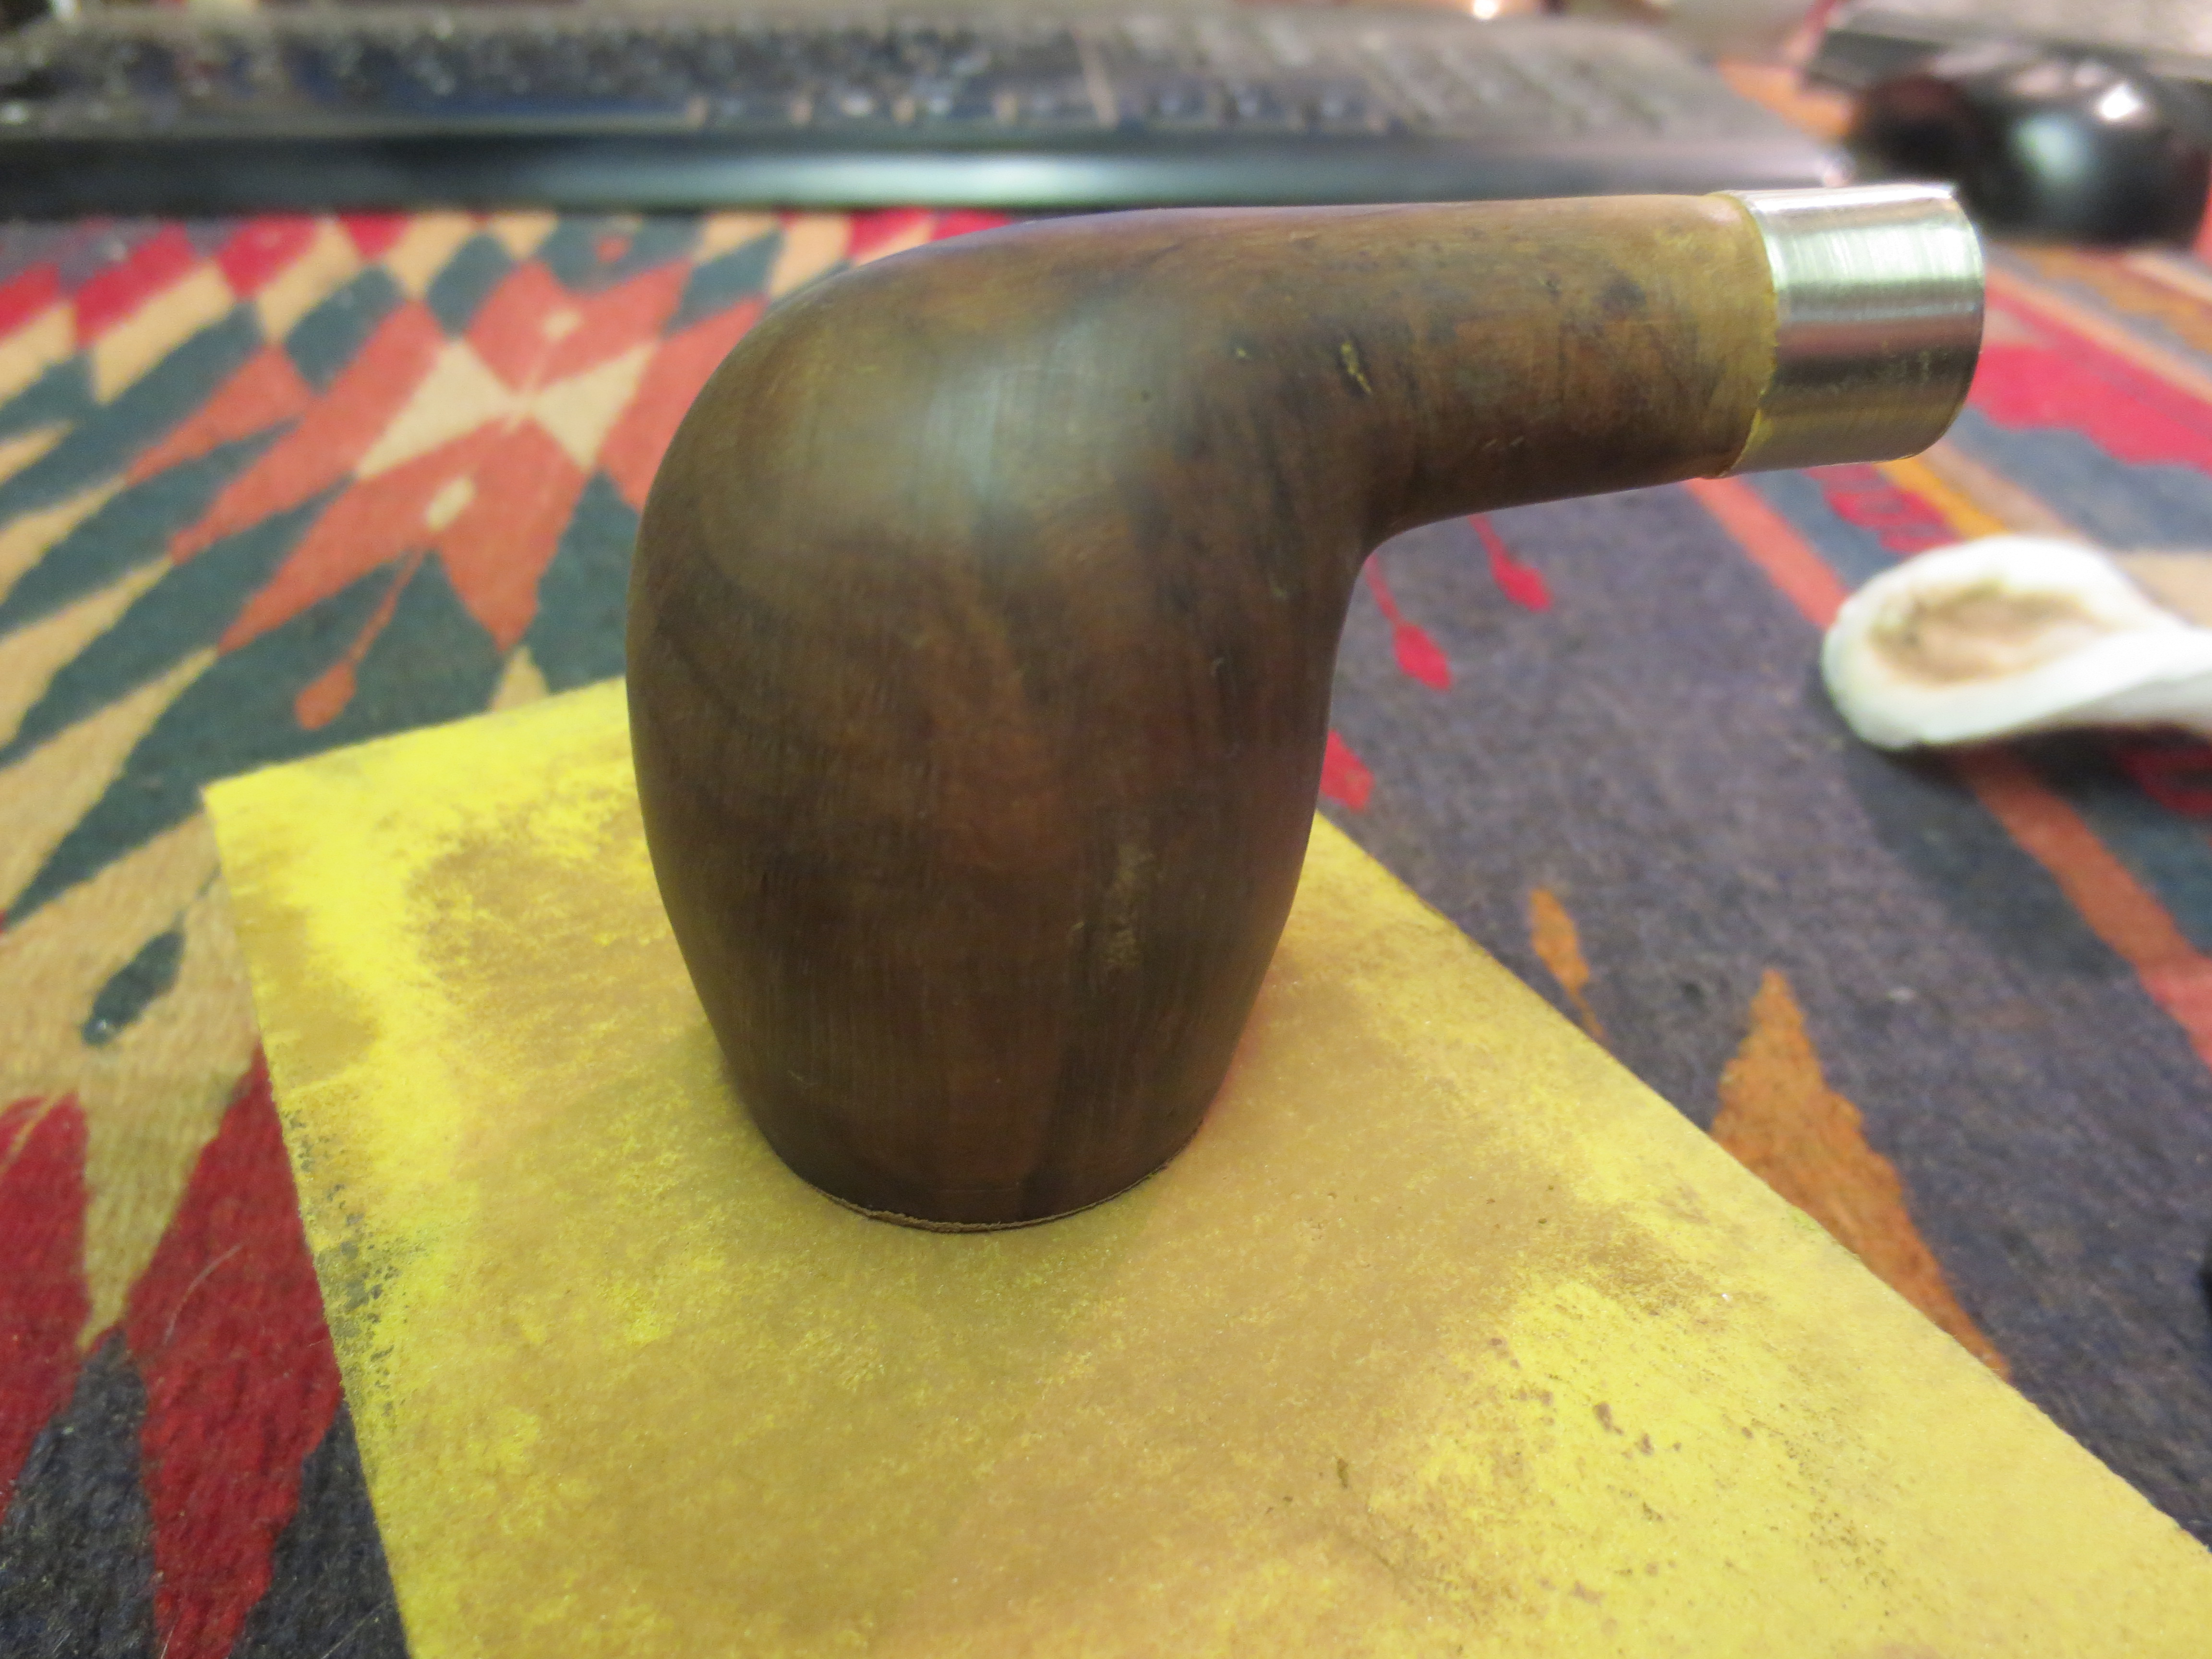
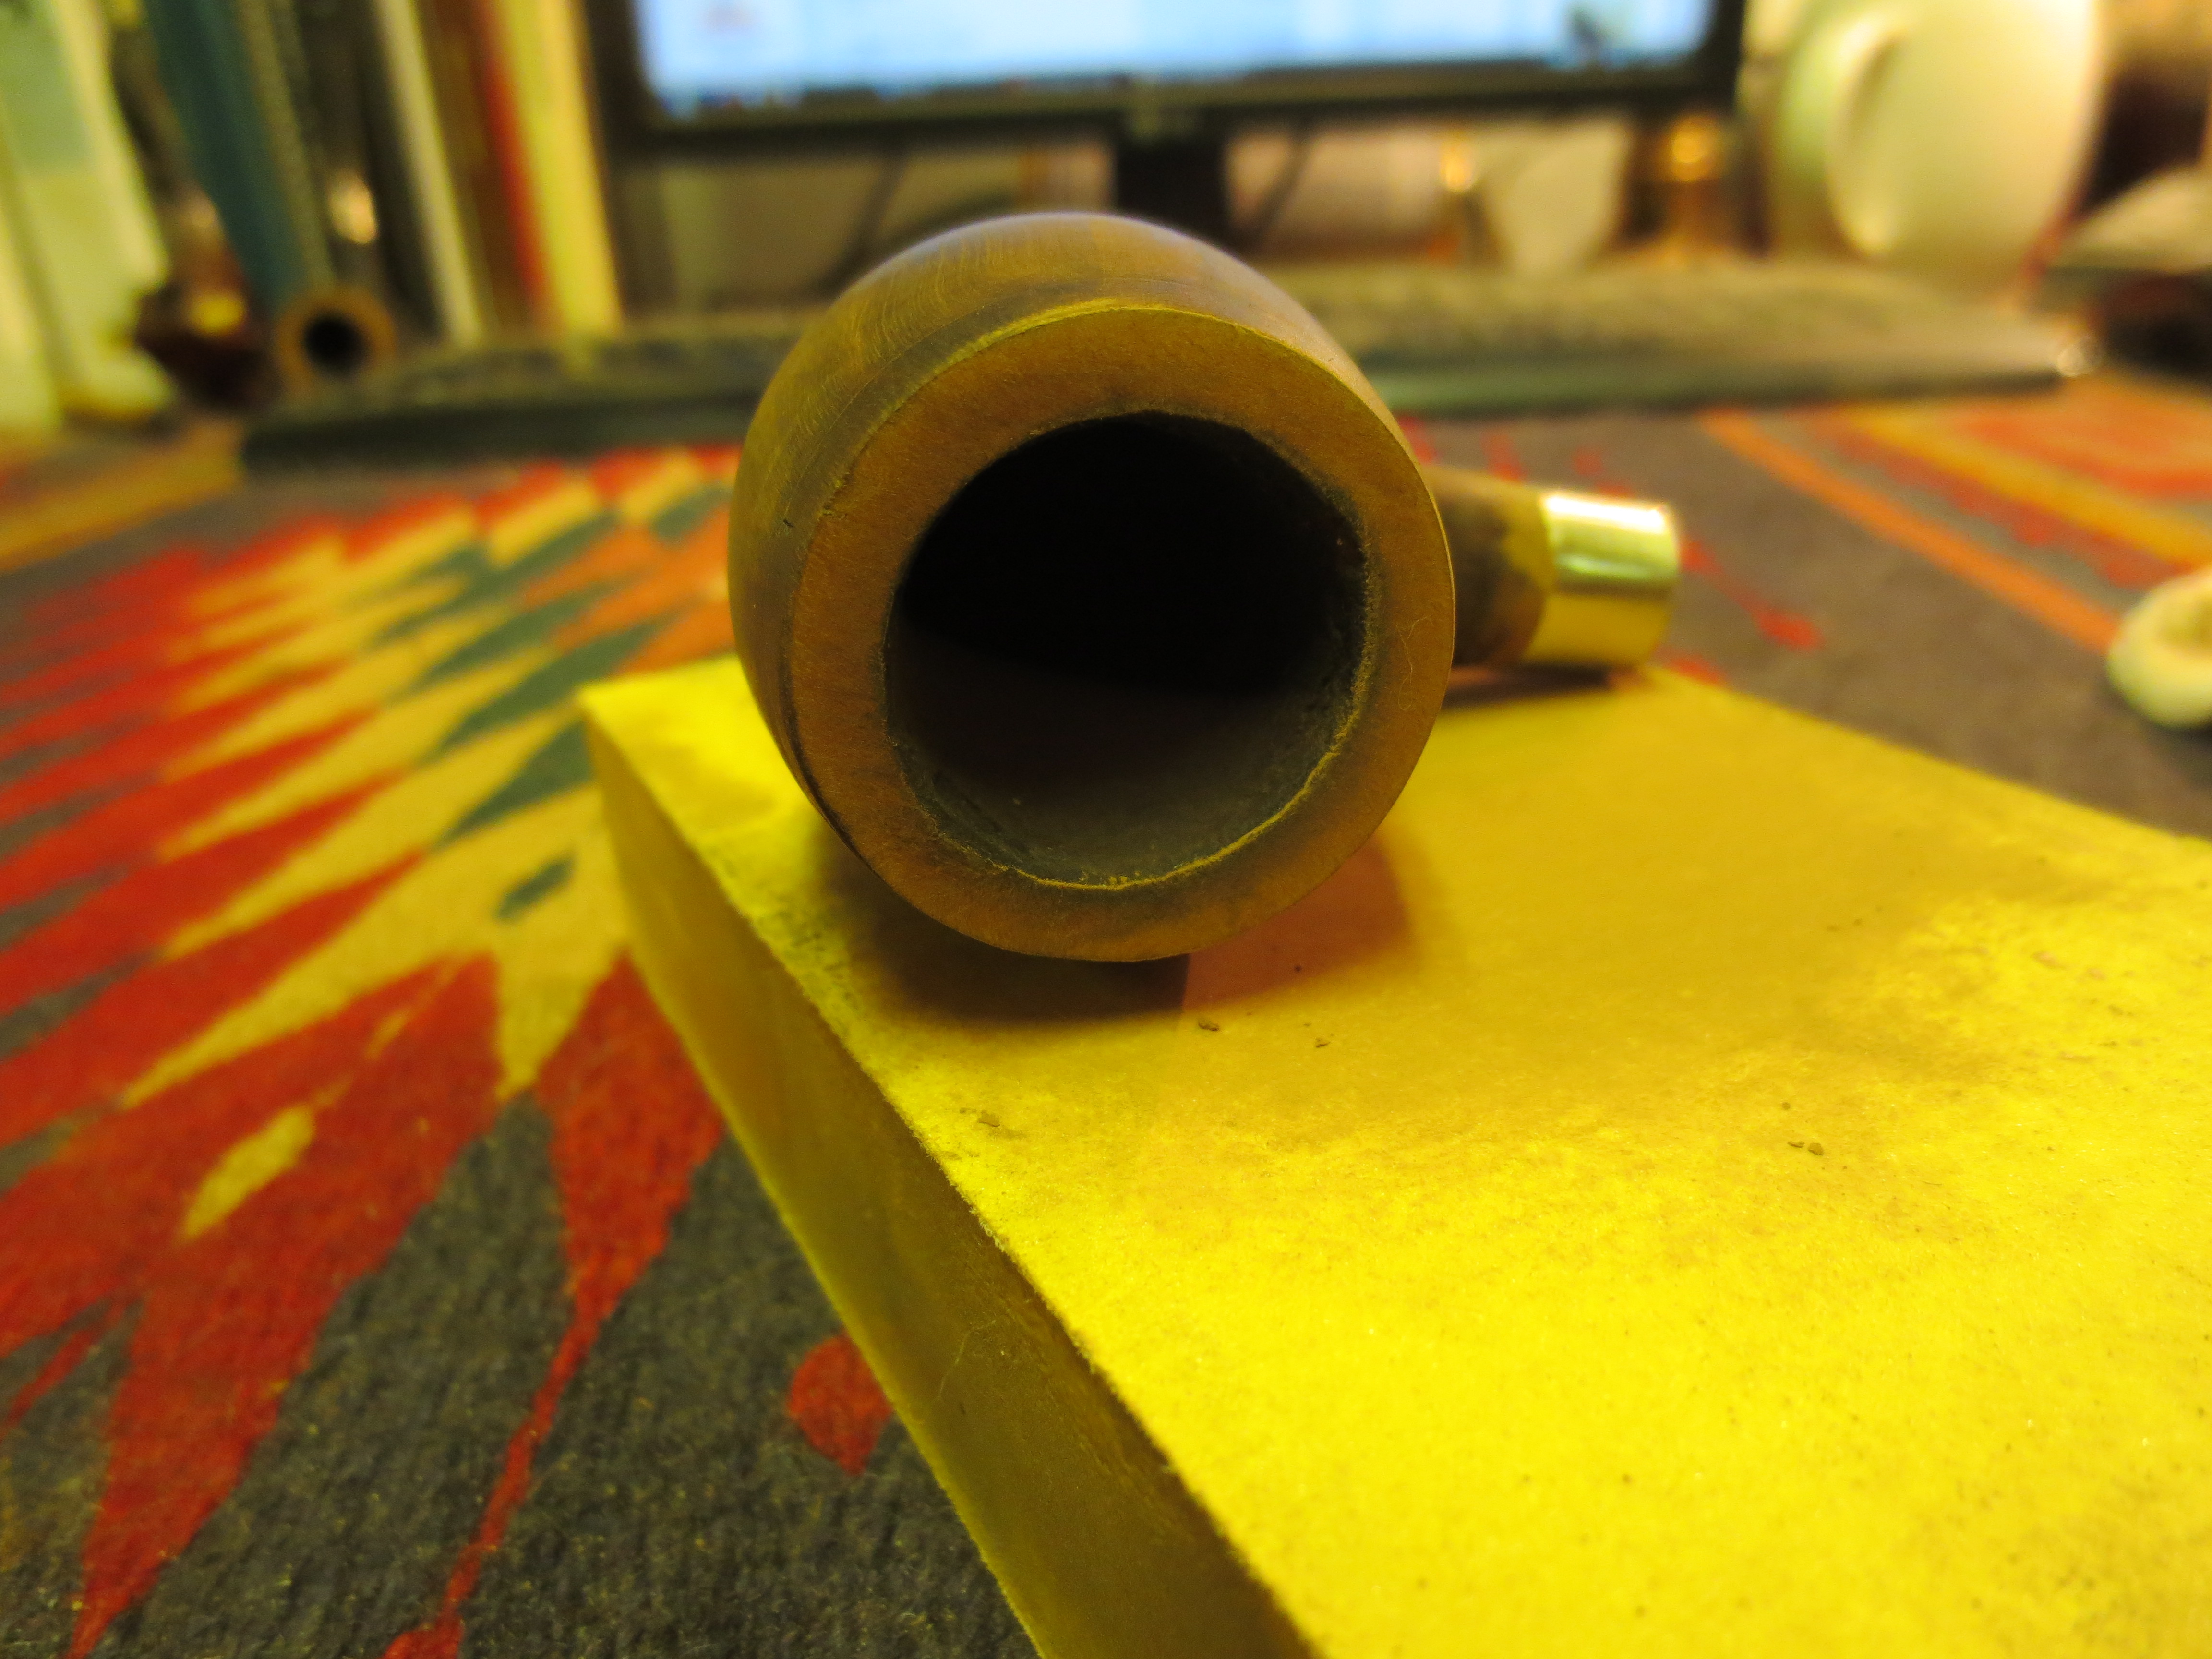
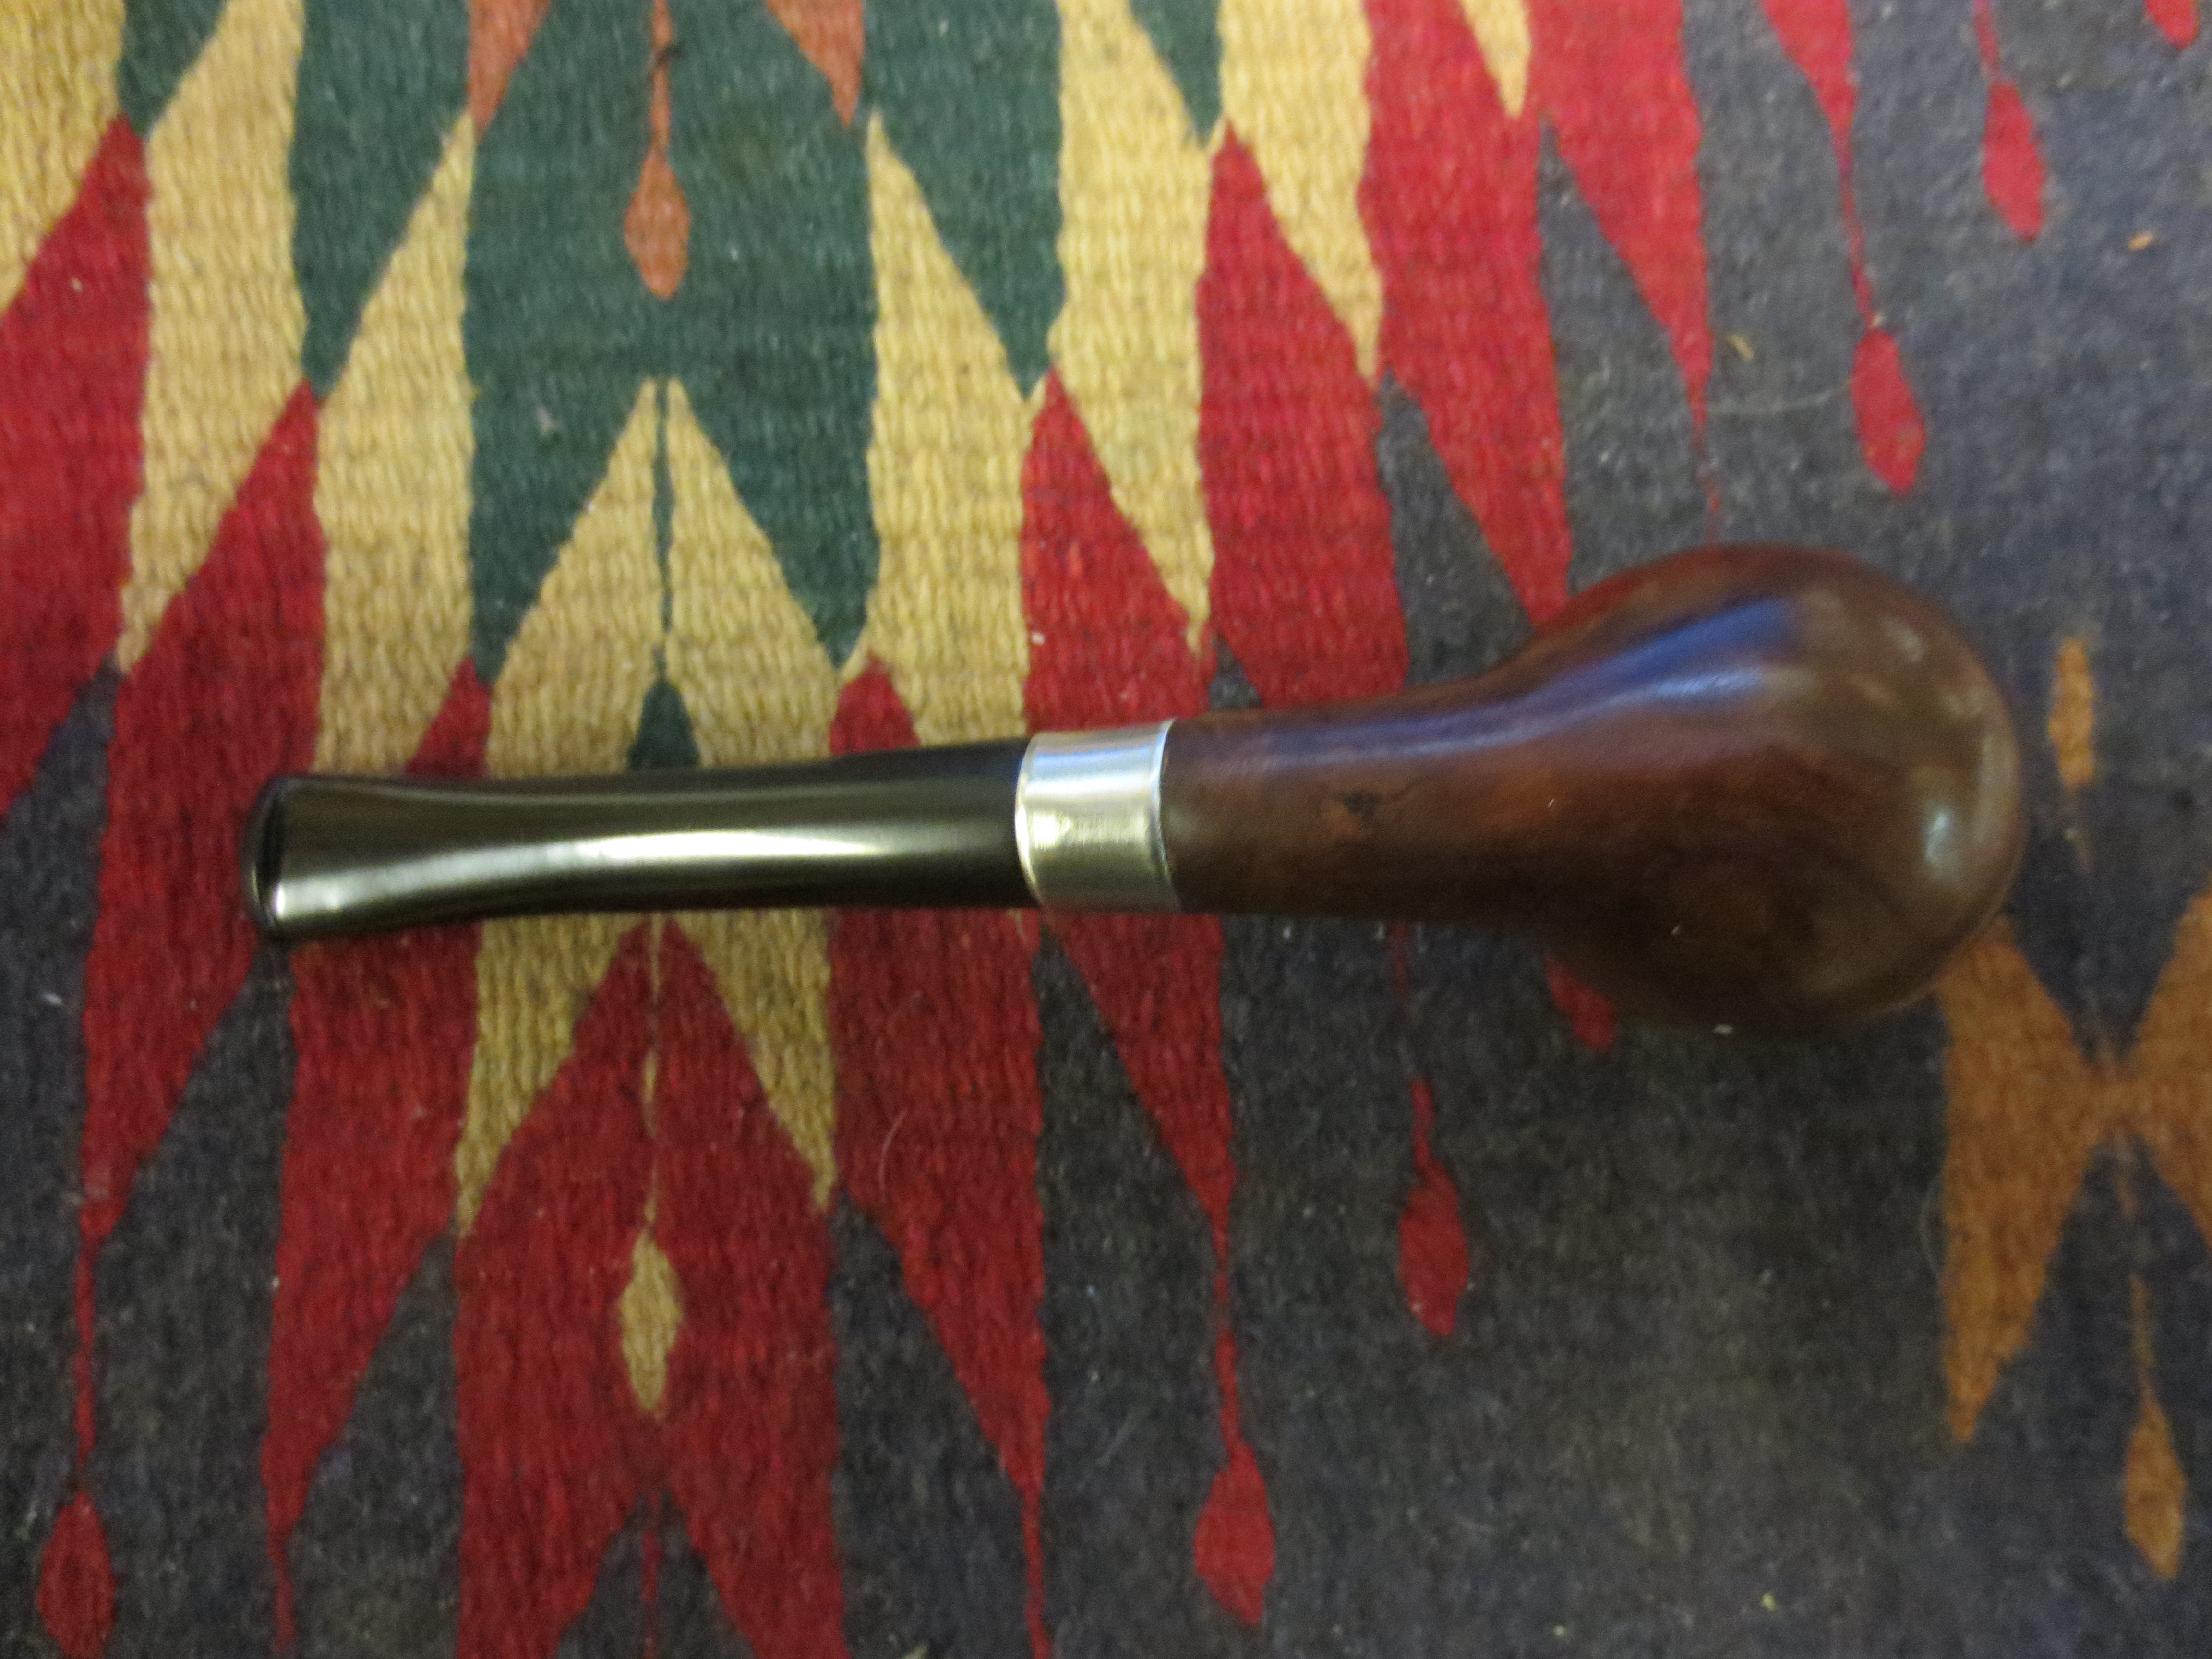
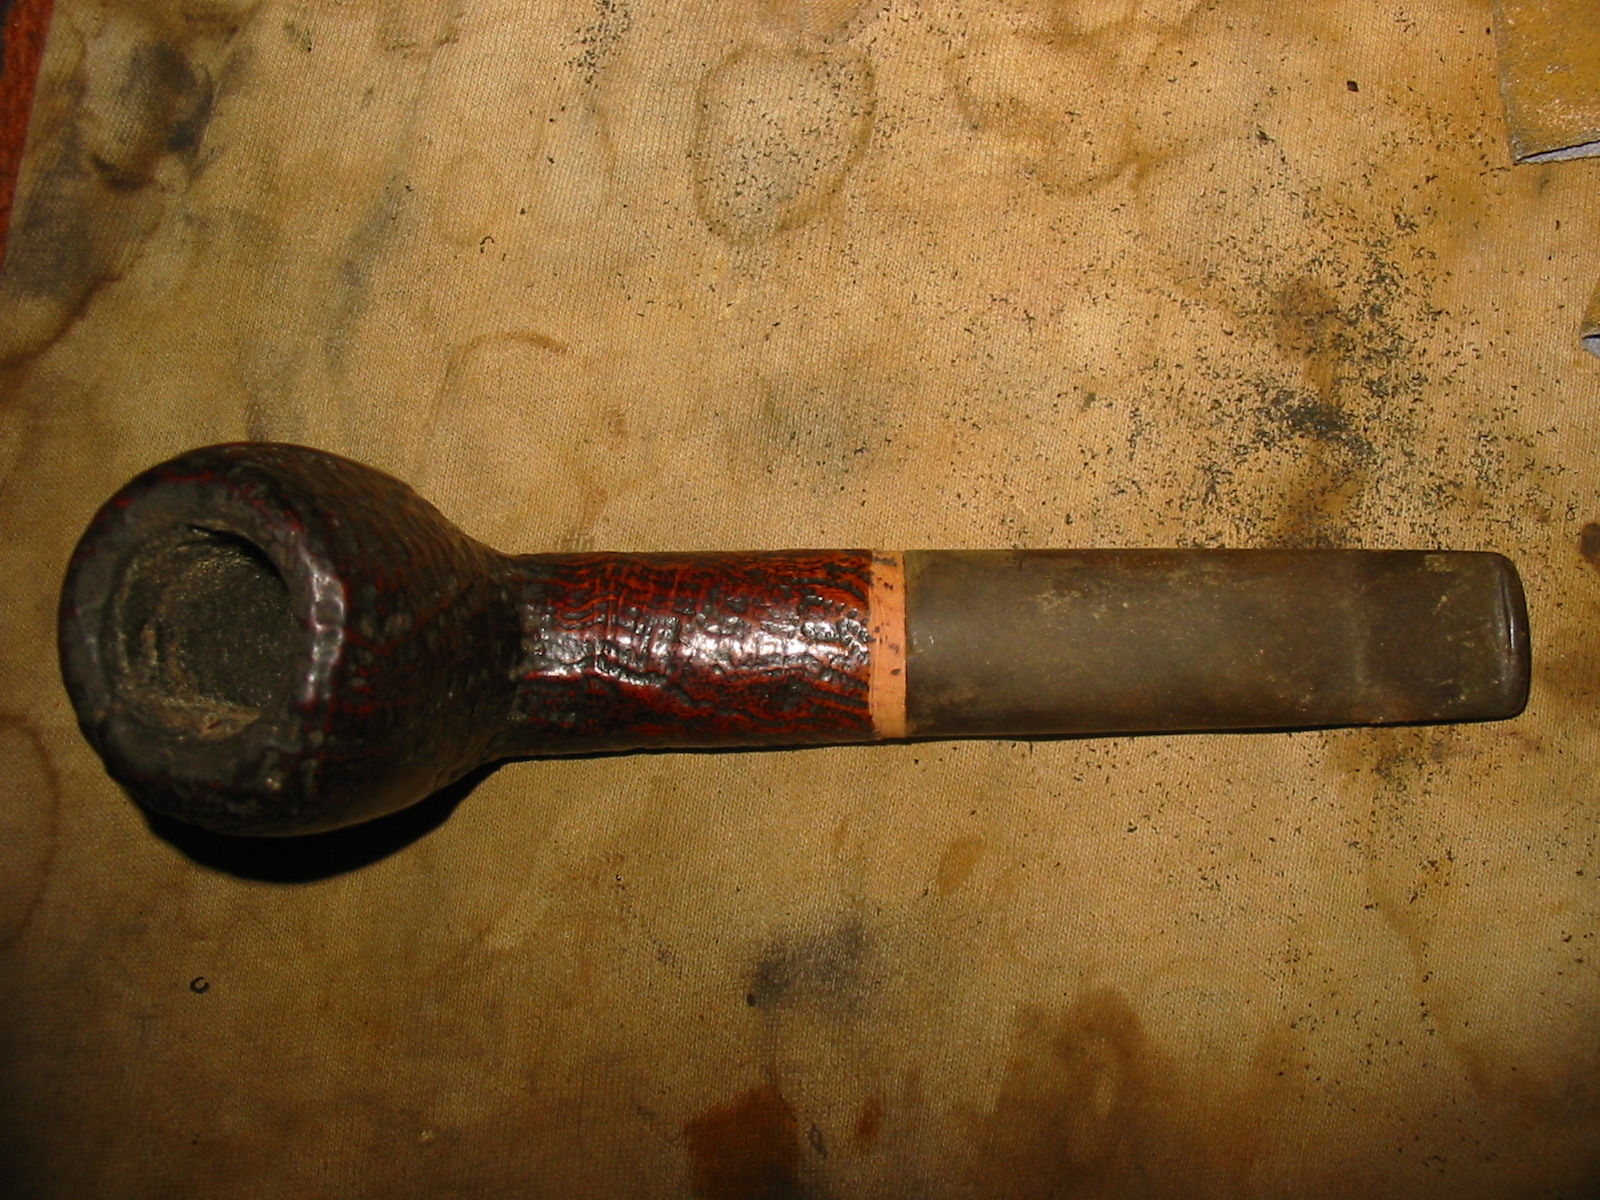
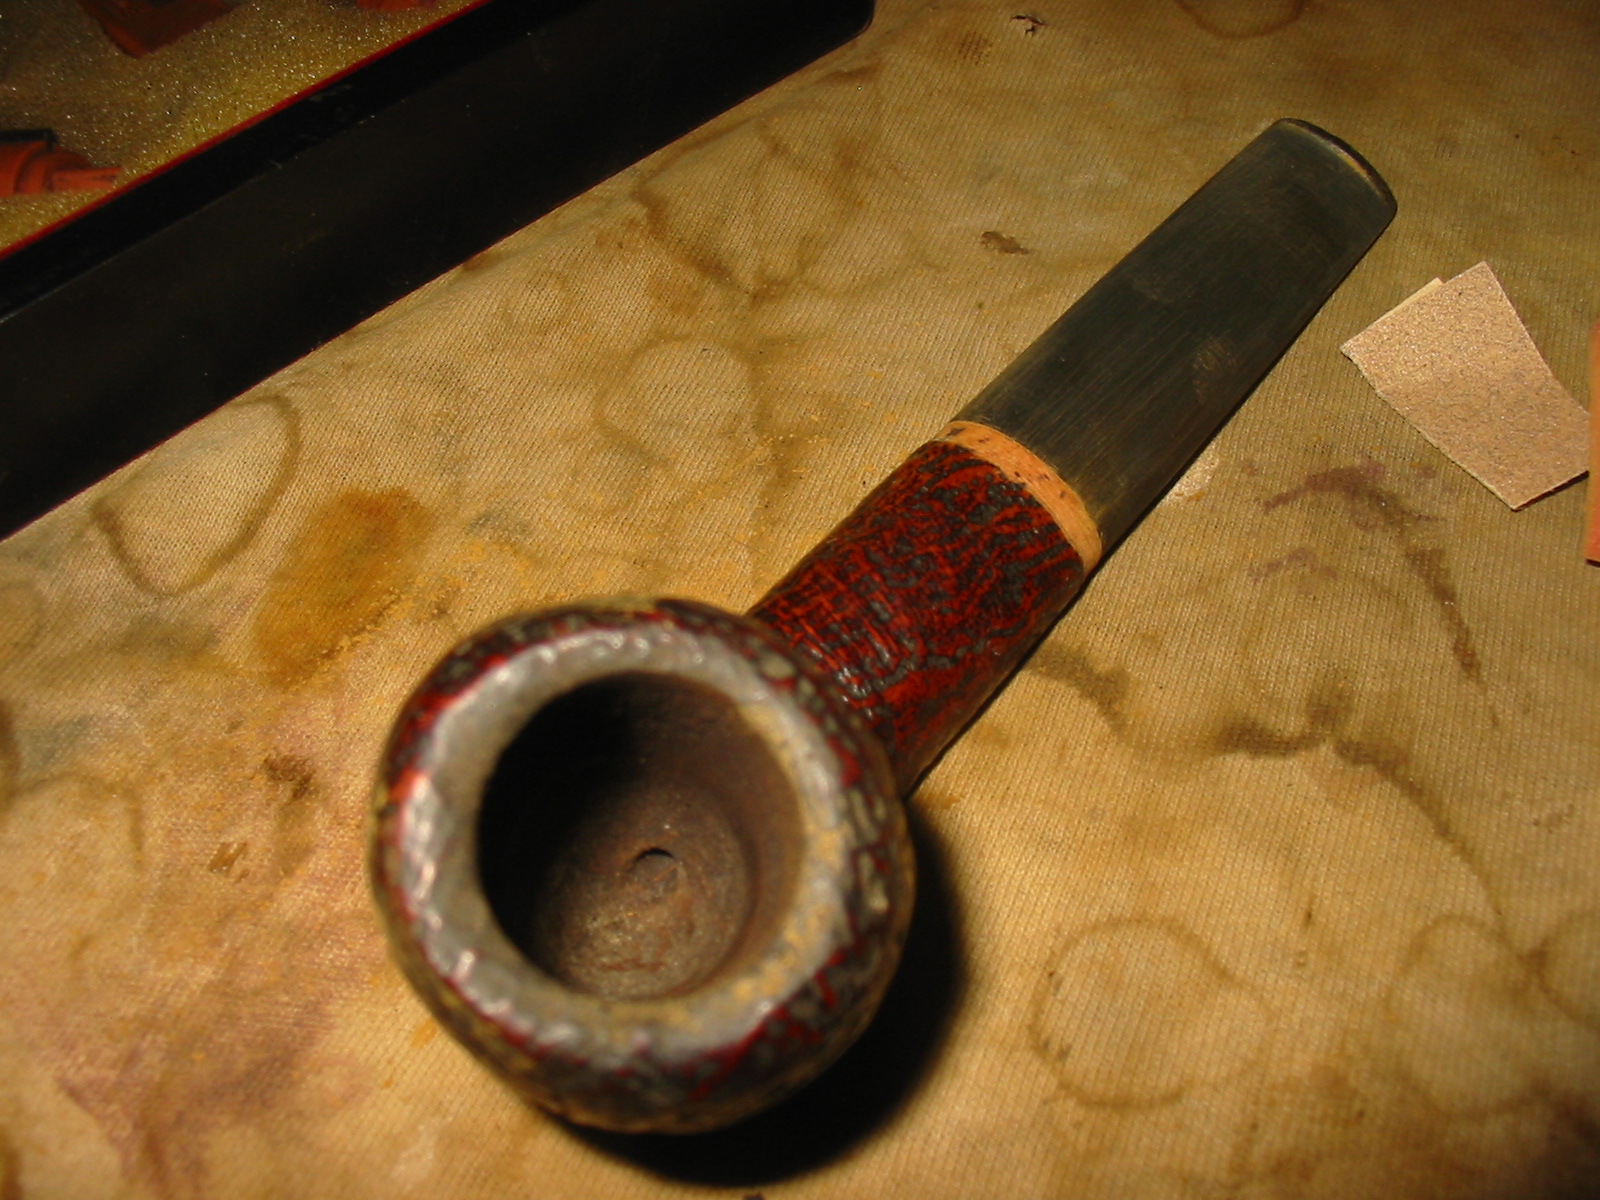
I sorted through my box of stems to see if I had one that was suitable for this pipe and found an estate stem that would work with a little cleanup. It was heavily oxidized and had some tooth chatter on the surface of the stem that became very visible as I cleaned it. The stem was clogged with tar and oils and I would have to unclog it to make it work. I used a paper clip that I straightened out to clean out the build up in the stem then sanded the tenon until the stem fit the pipe. I lined it up with the curves on the shank. Because of the sandblast on the shank the stem would not line up perfectly so I decided to sand a smooth band around the shank for the stem to line up with. I used a Dremel with a sanding drum to smooth out the edge of the shank. The next four photos show the finished band around the shank. Once it was stained I thought it would be a good contrast with the stem and the finish of the sandblast.

IMG_1282

IMG_1283

IMG_1284

IMG_1285

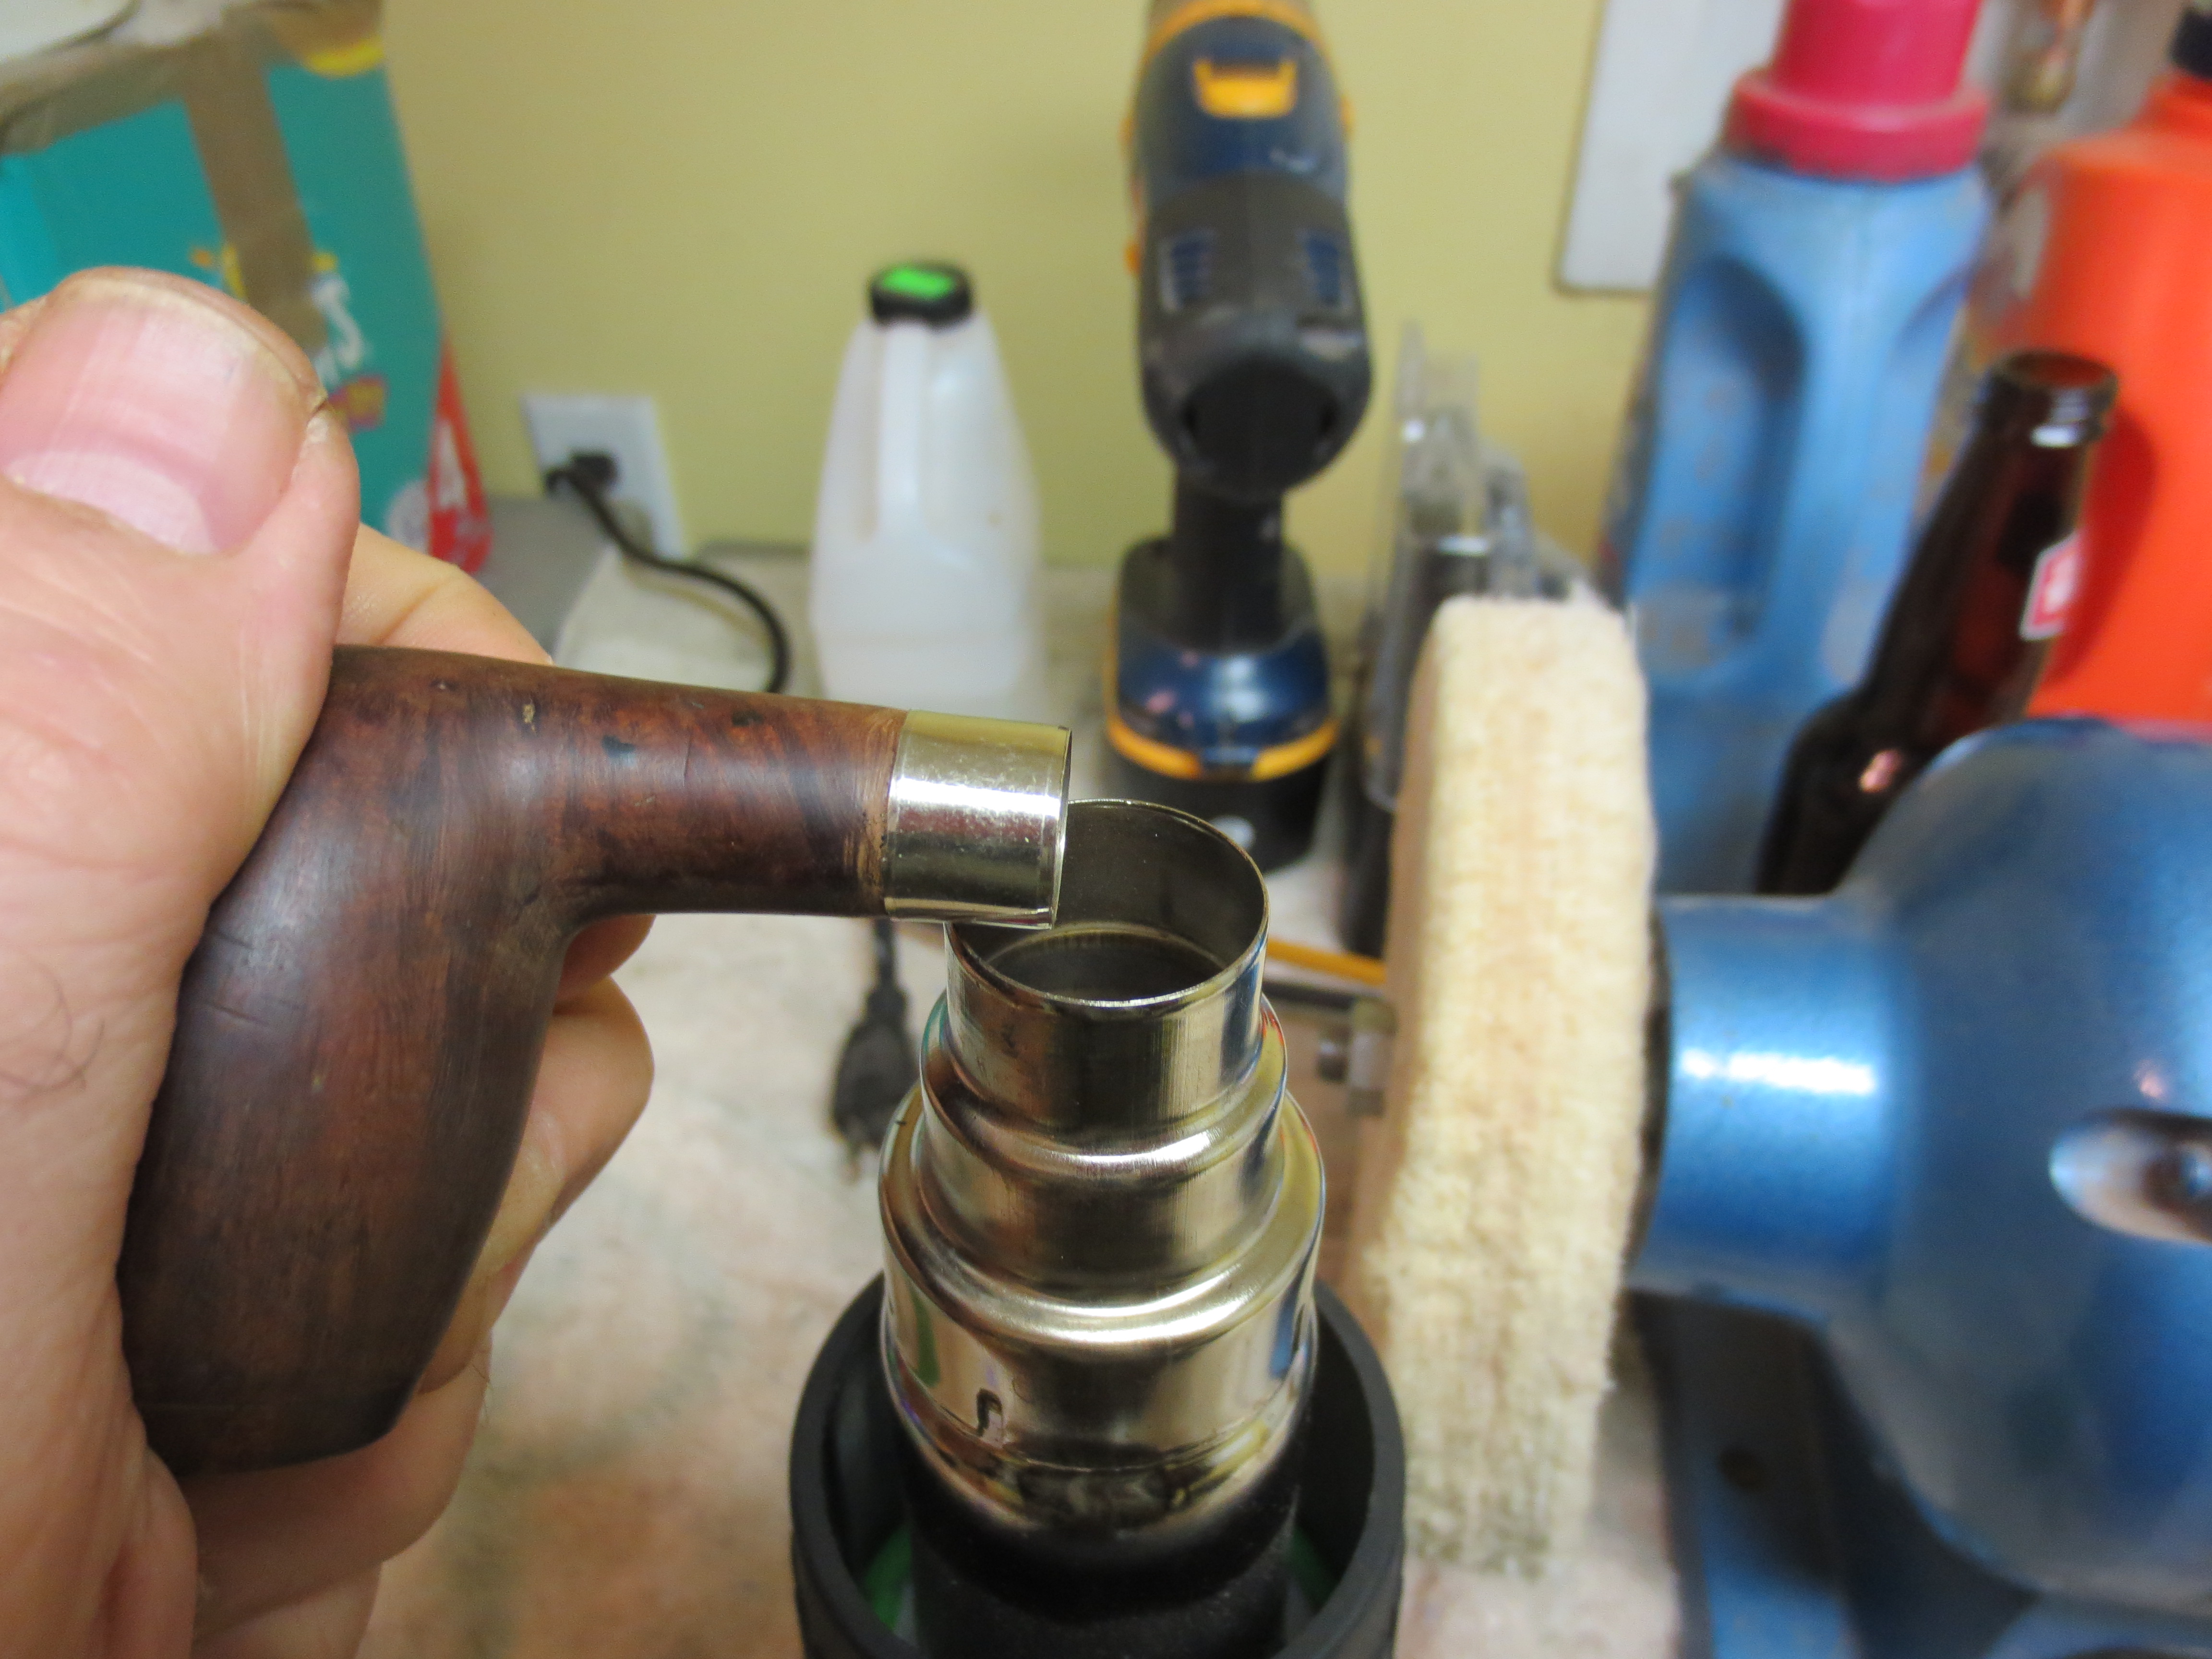
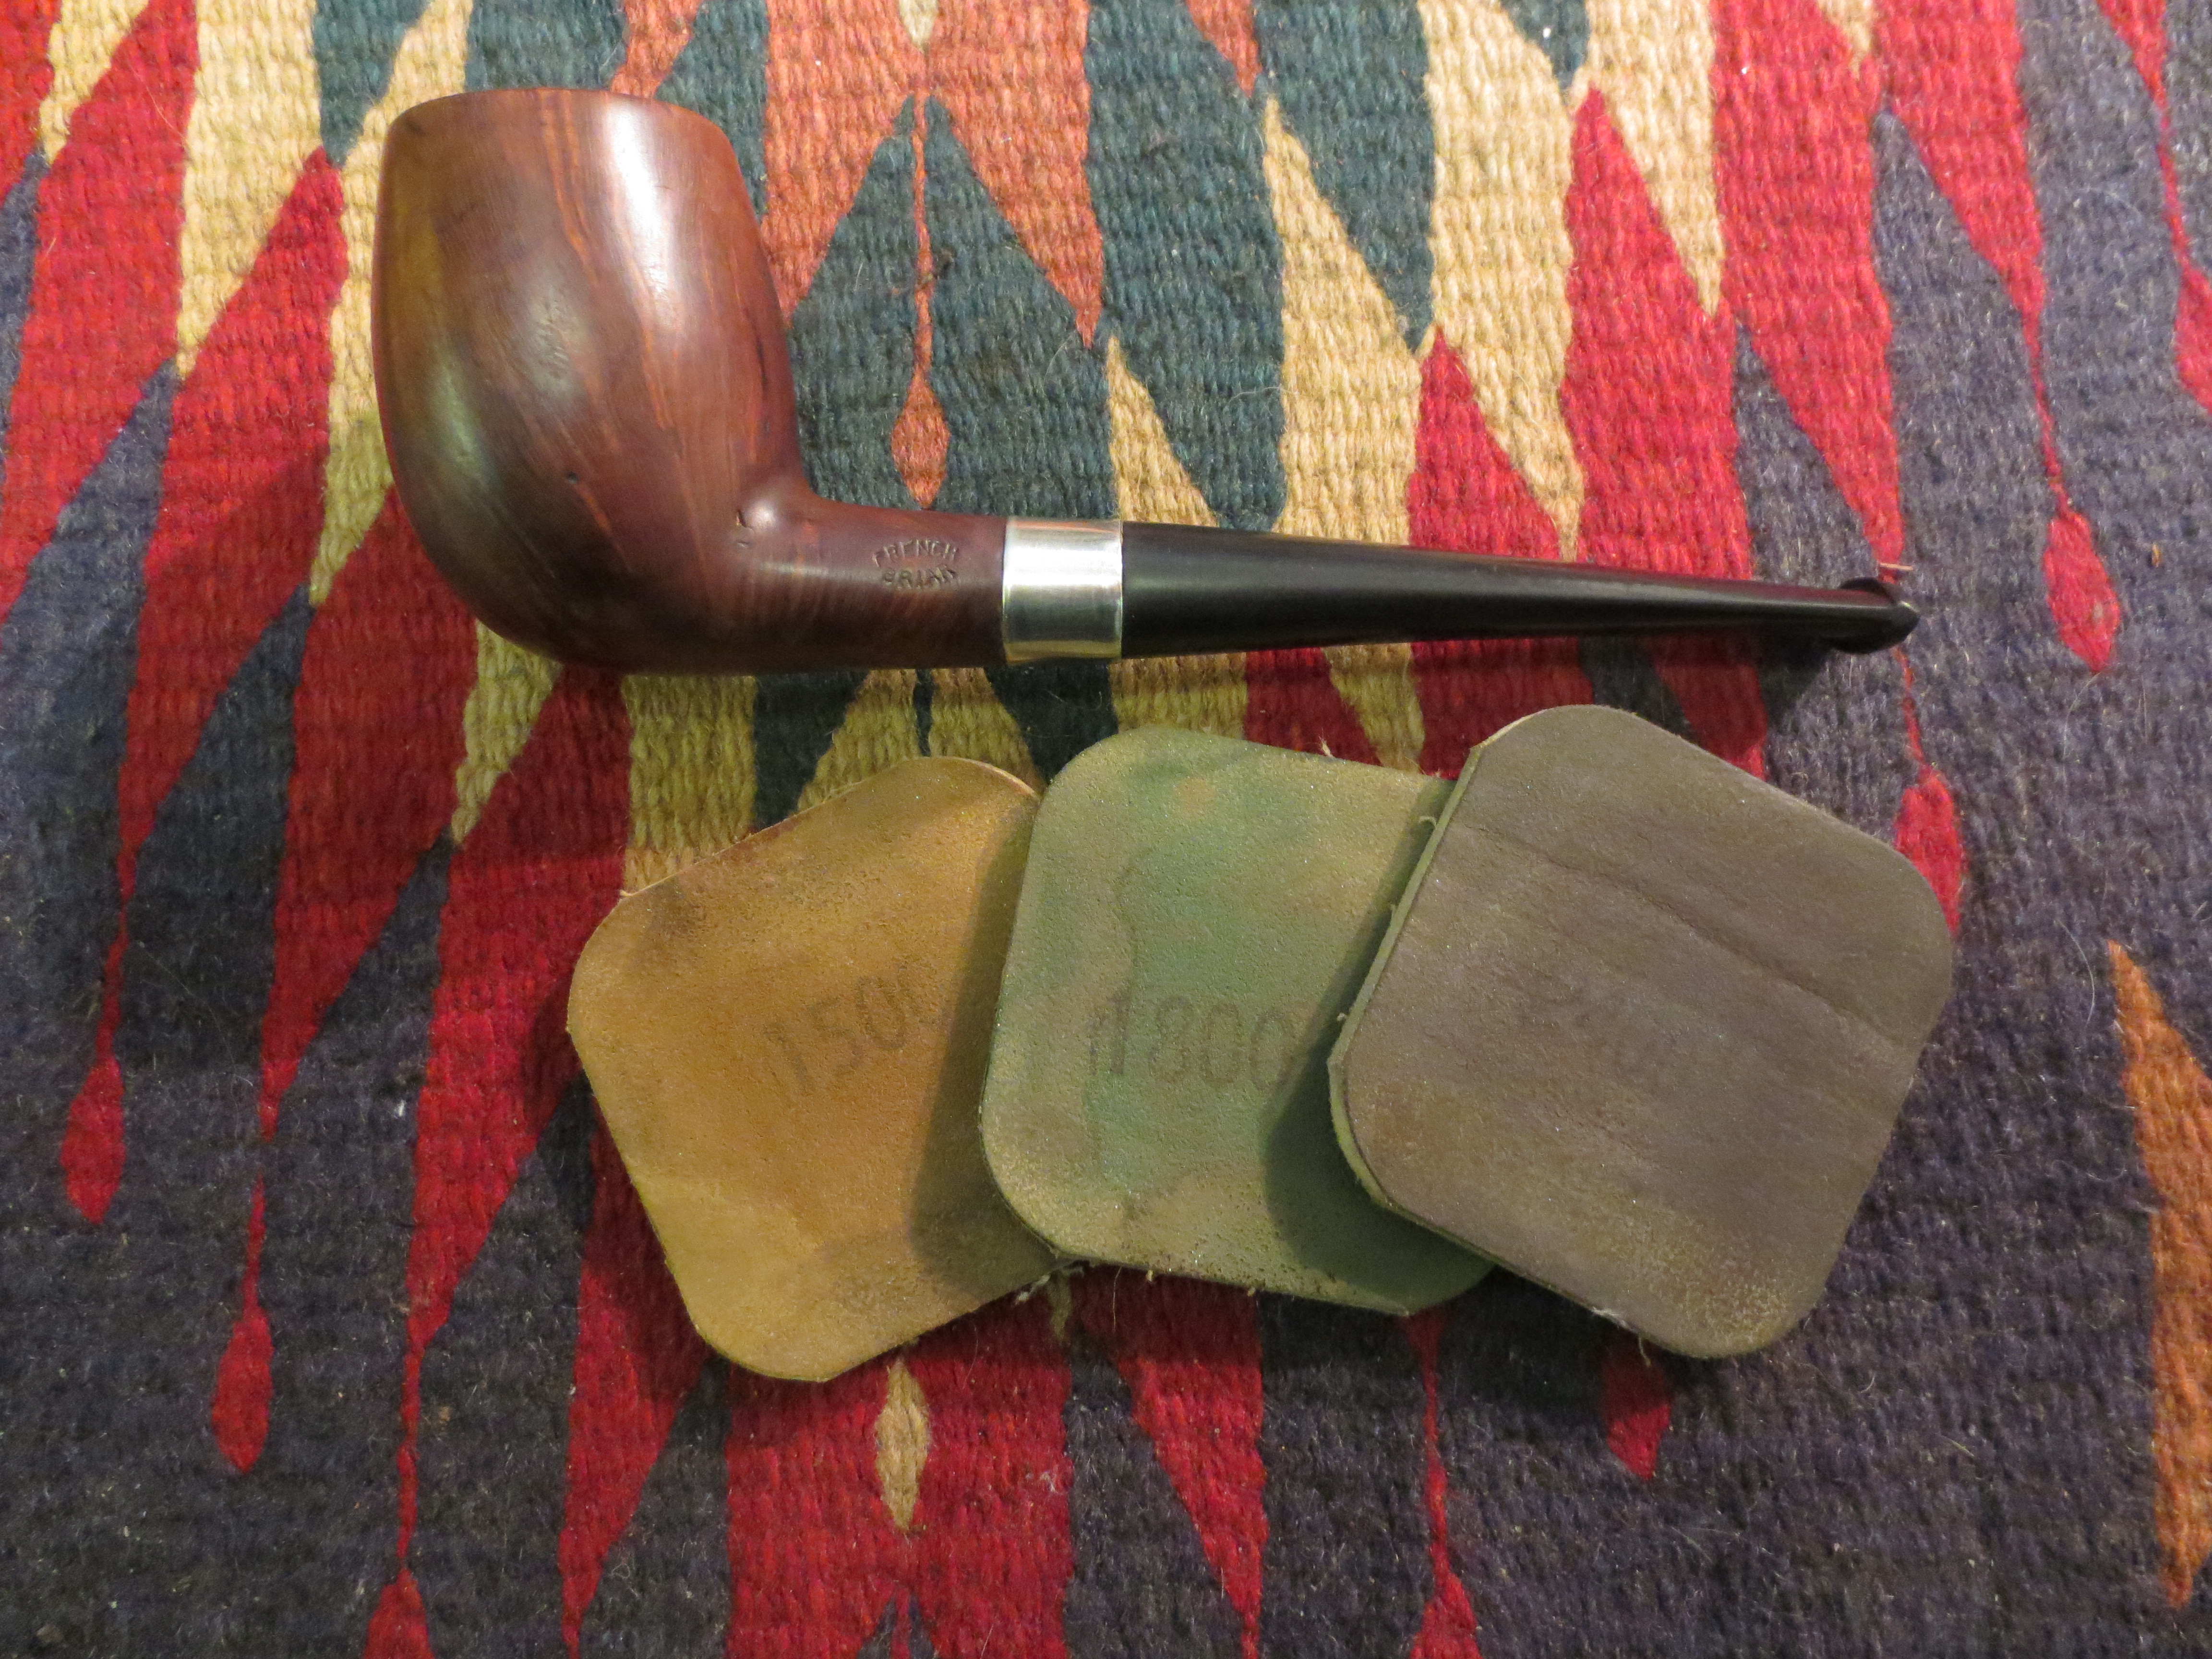
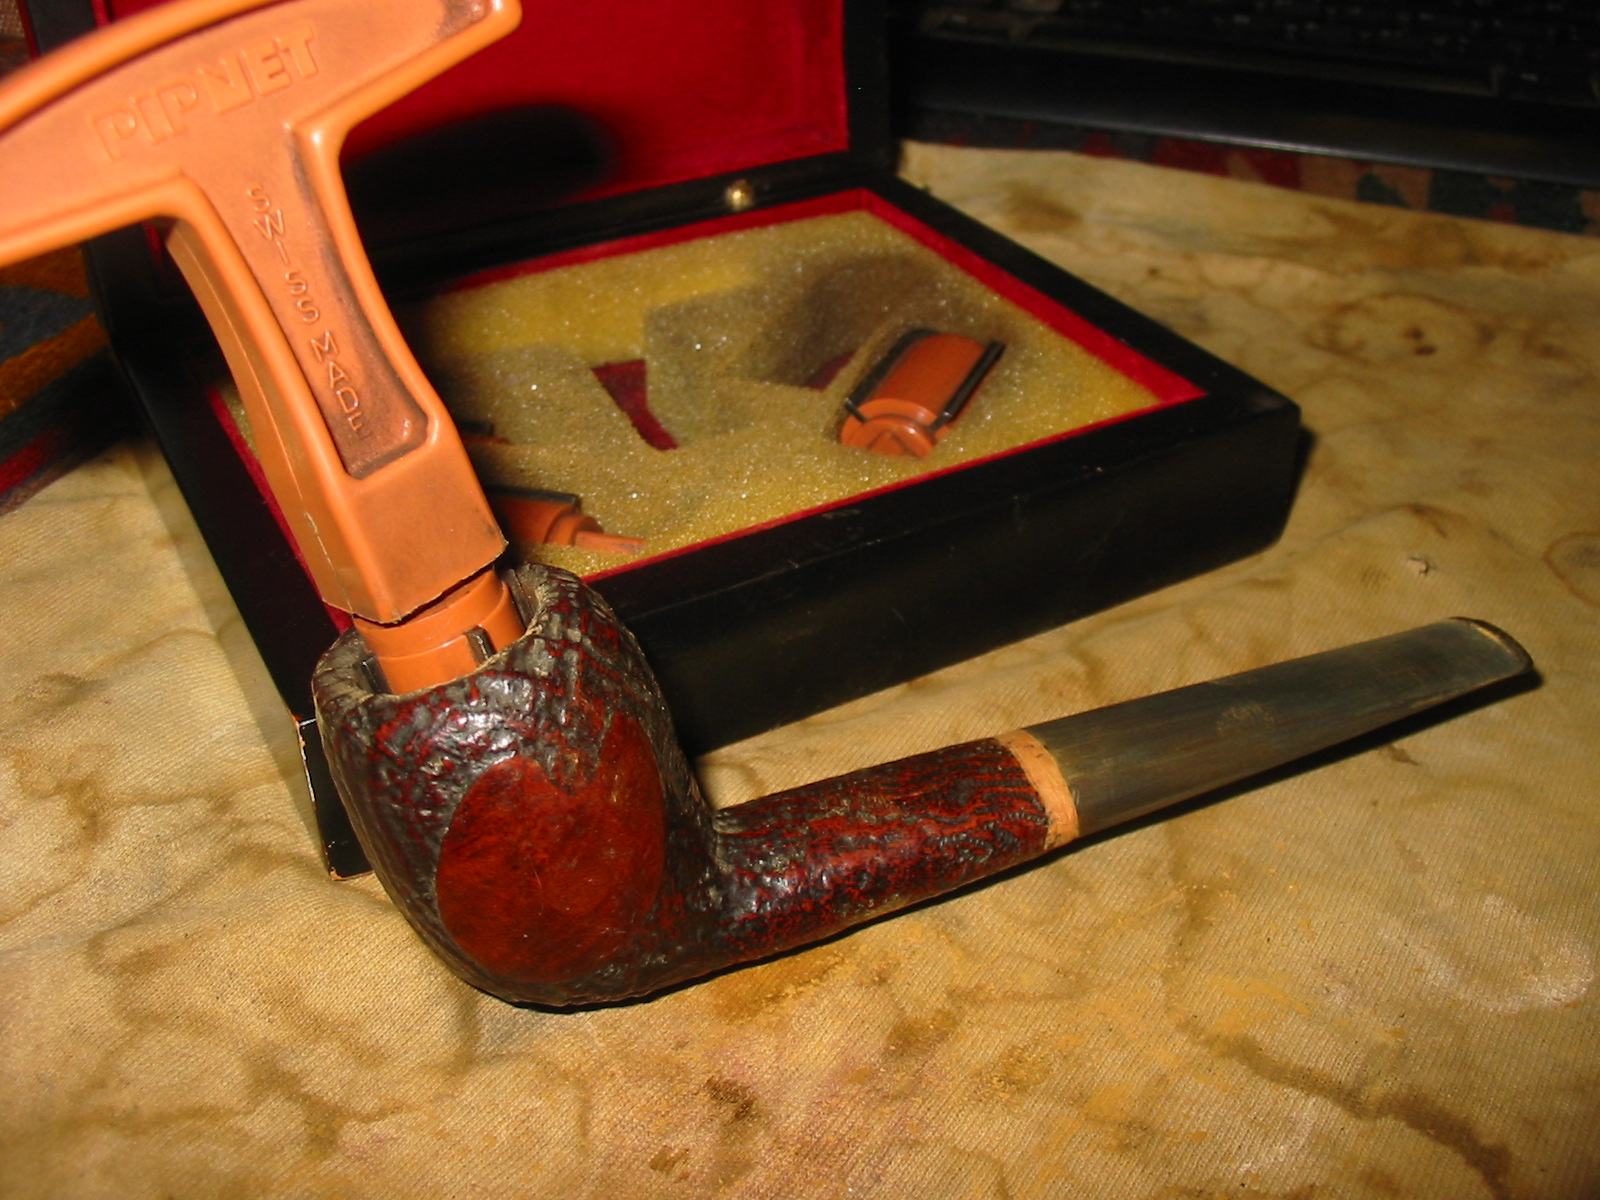
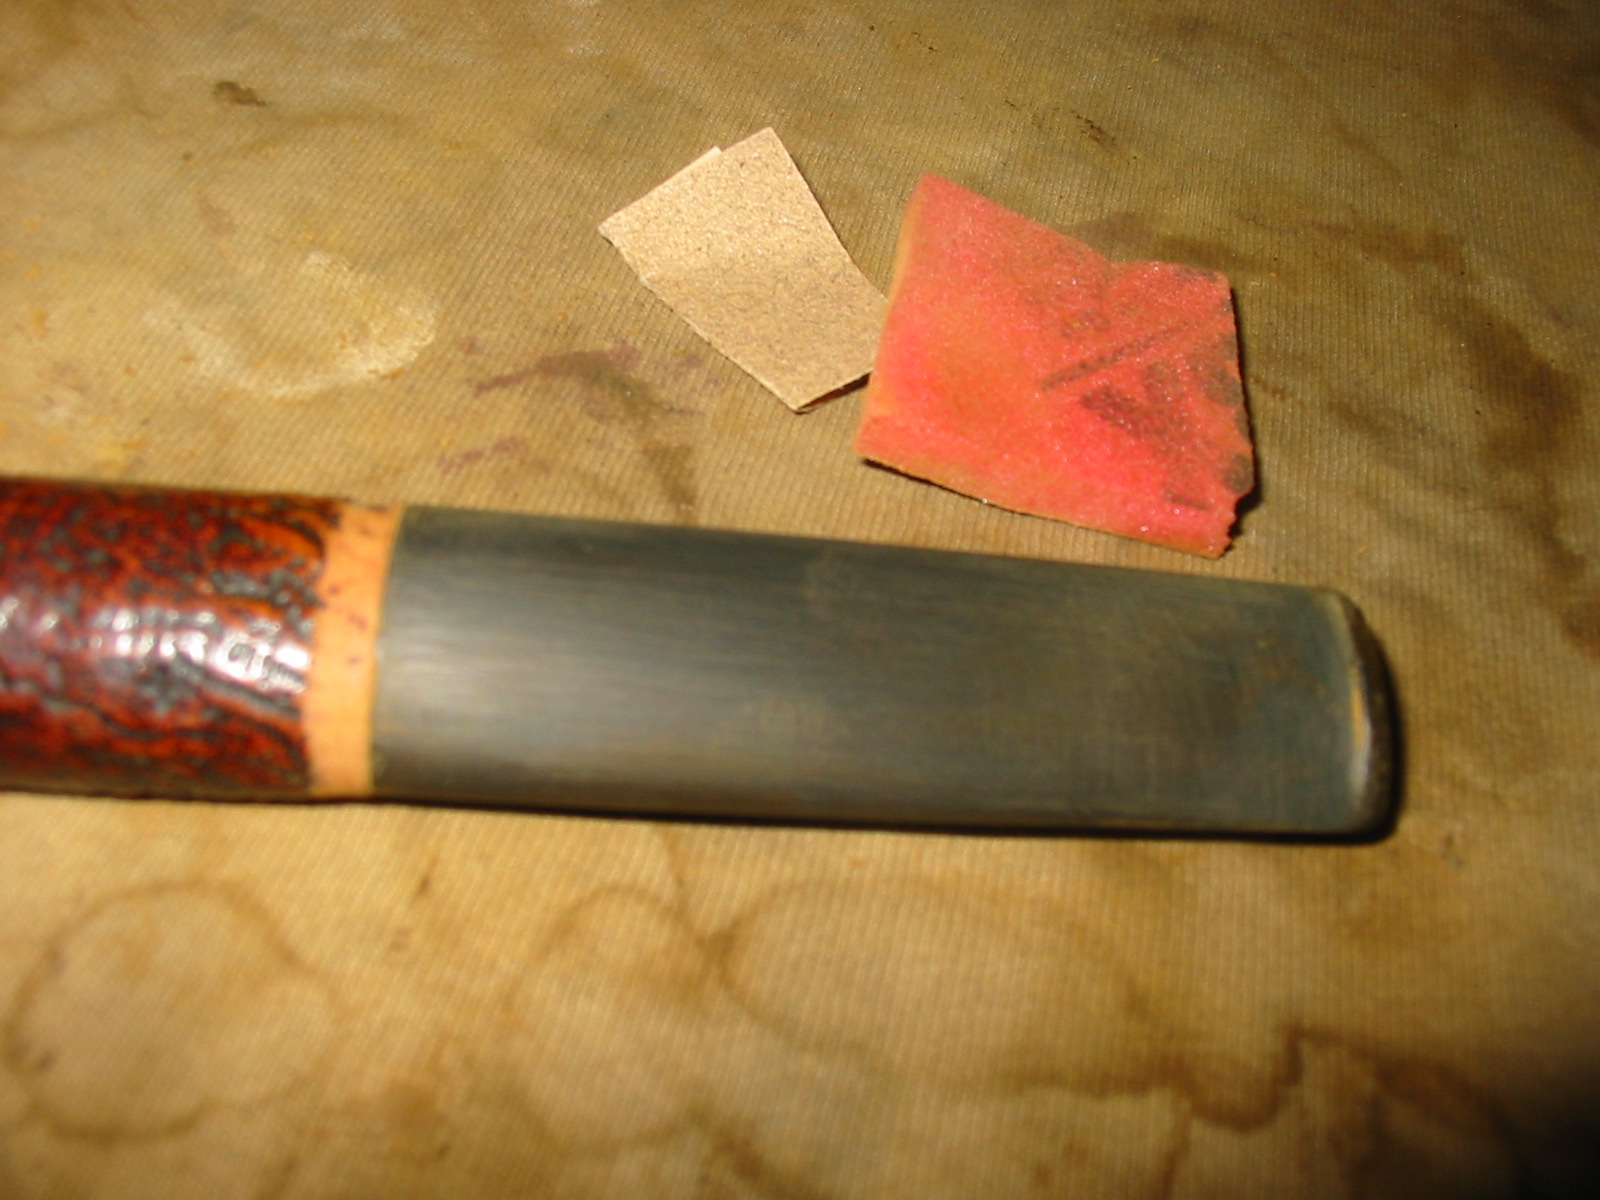
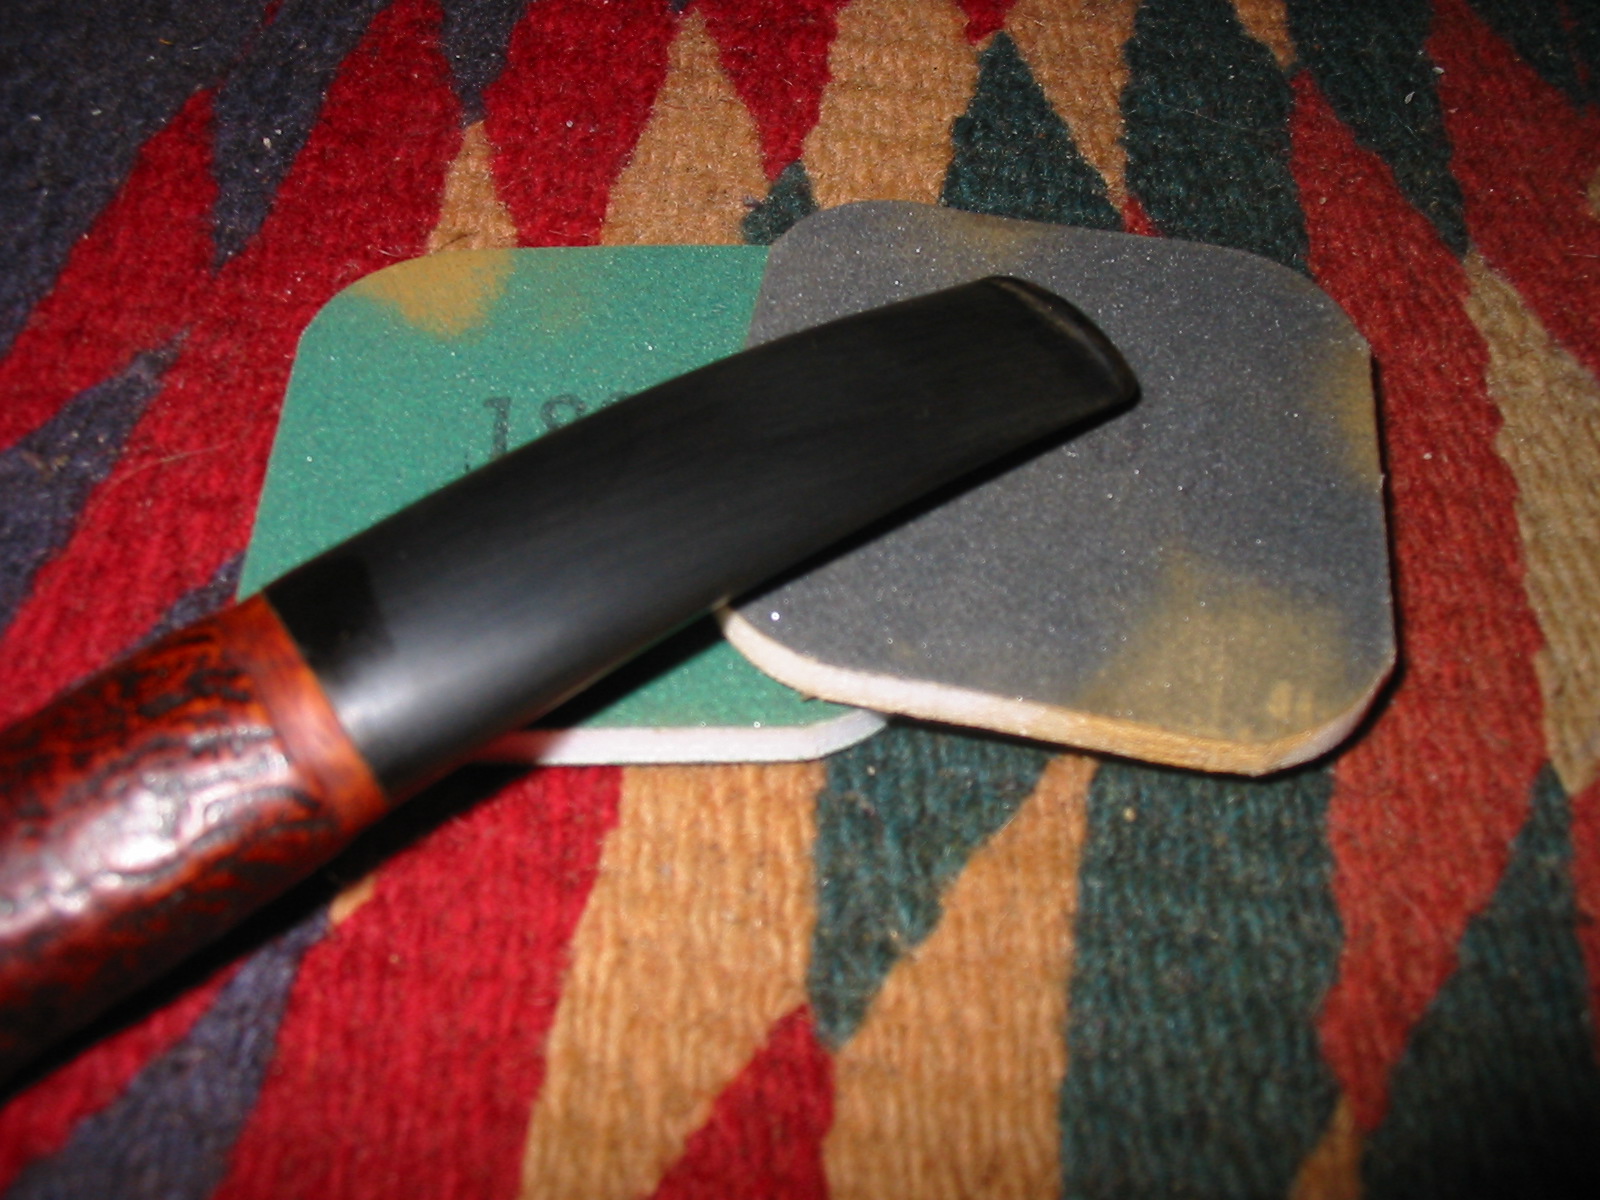
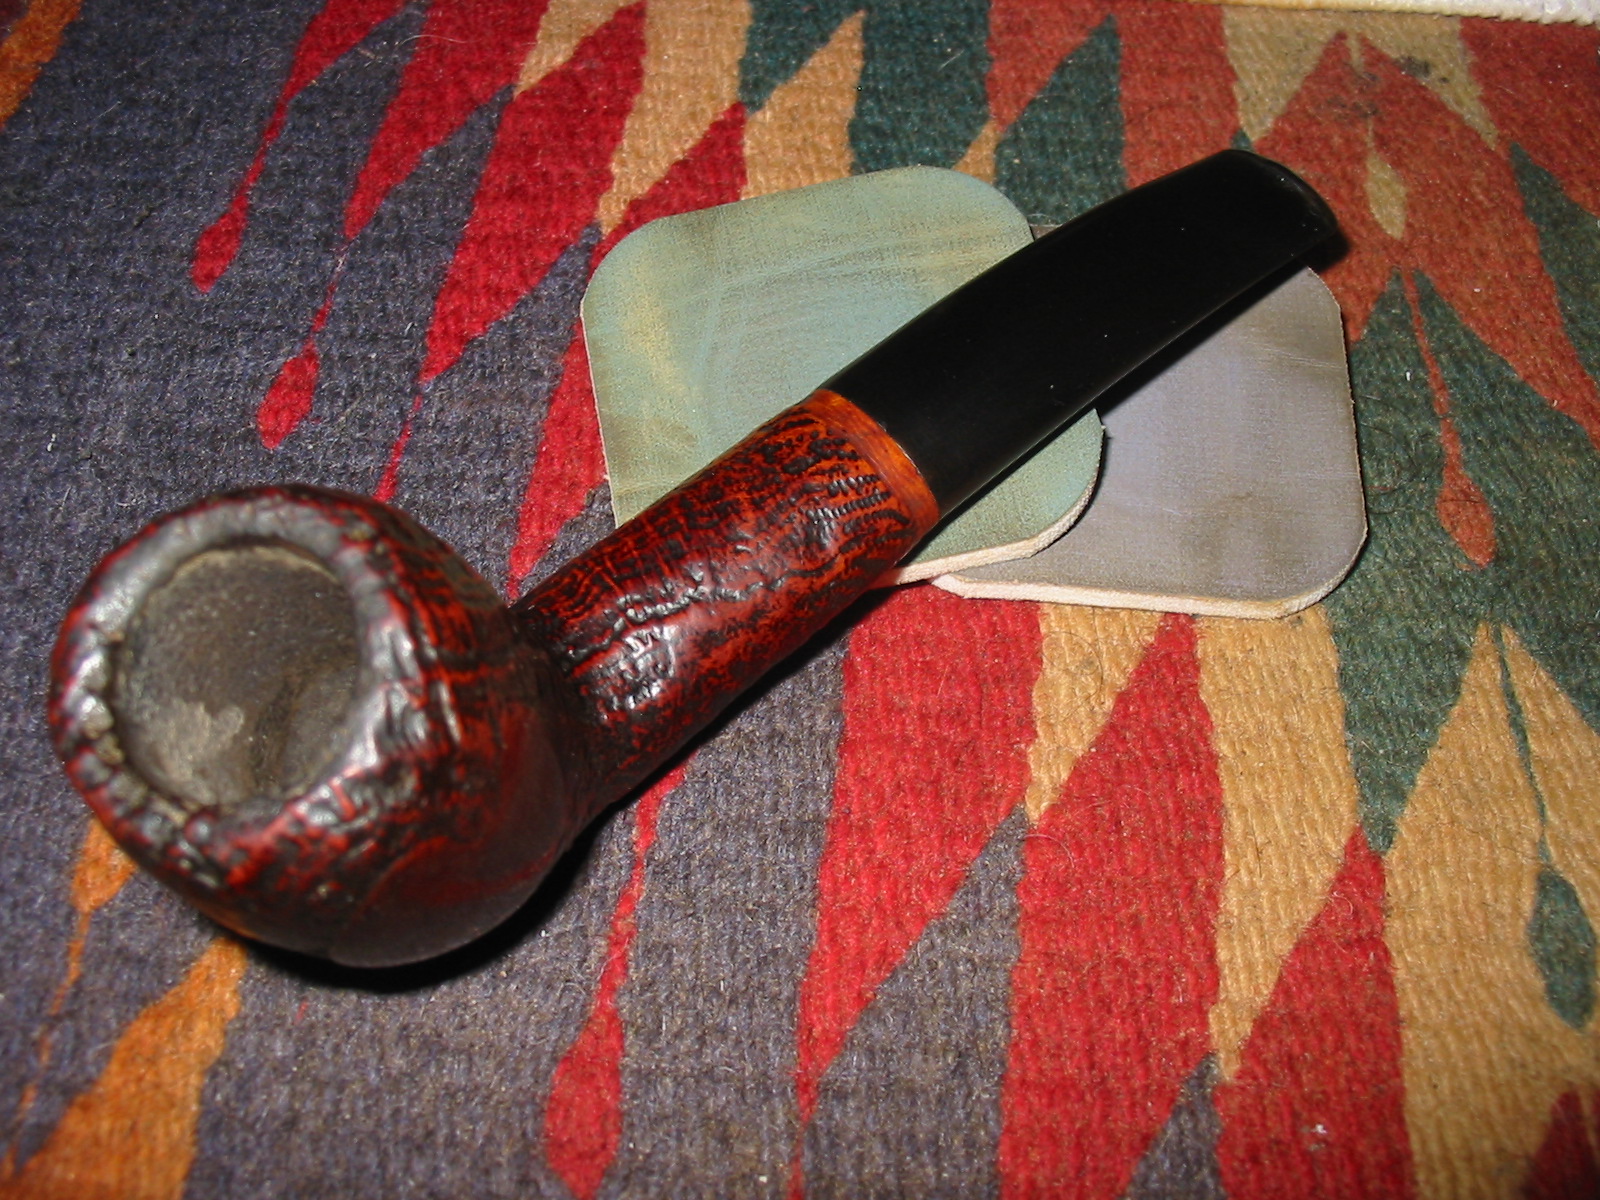
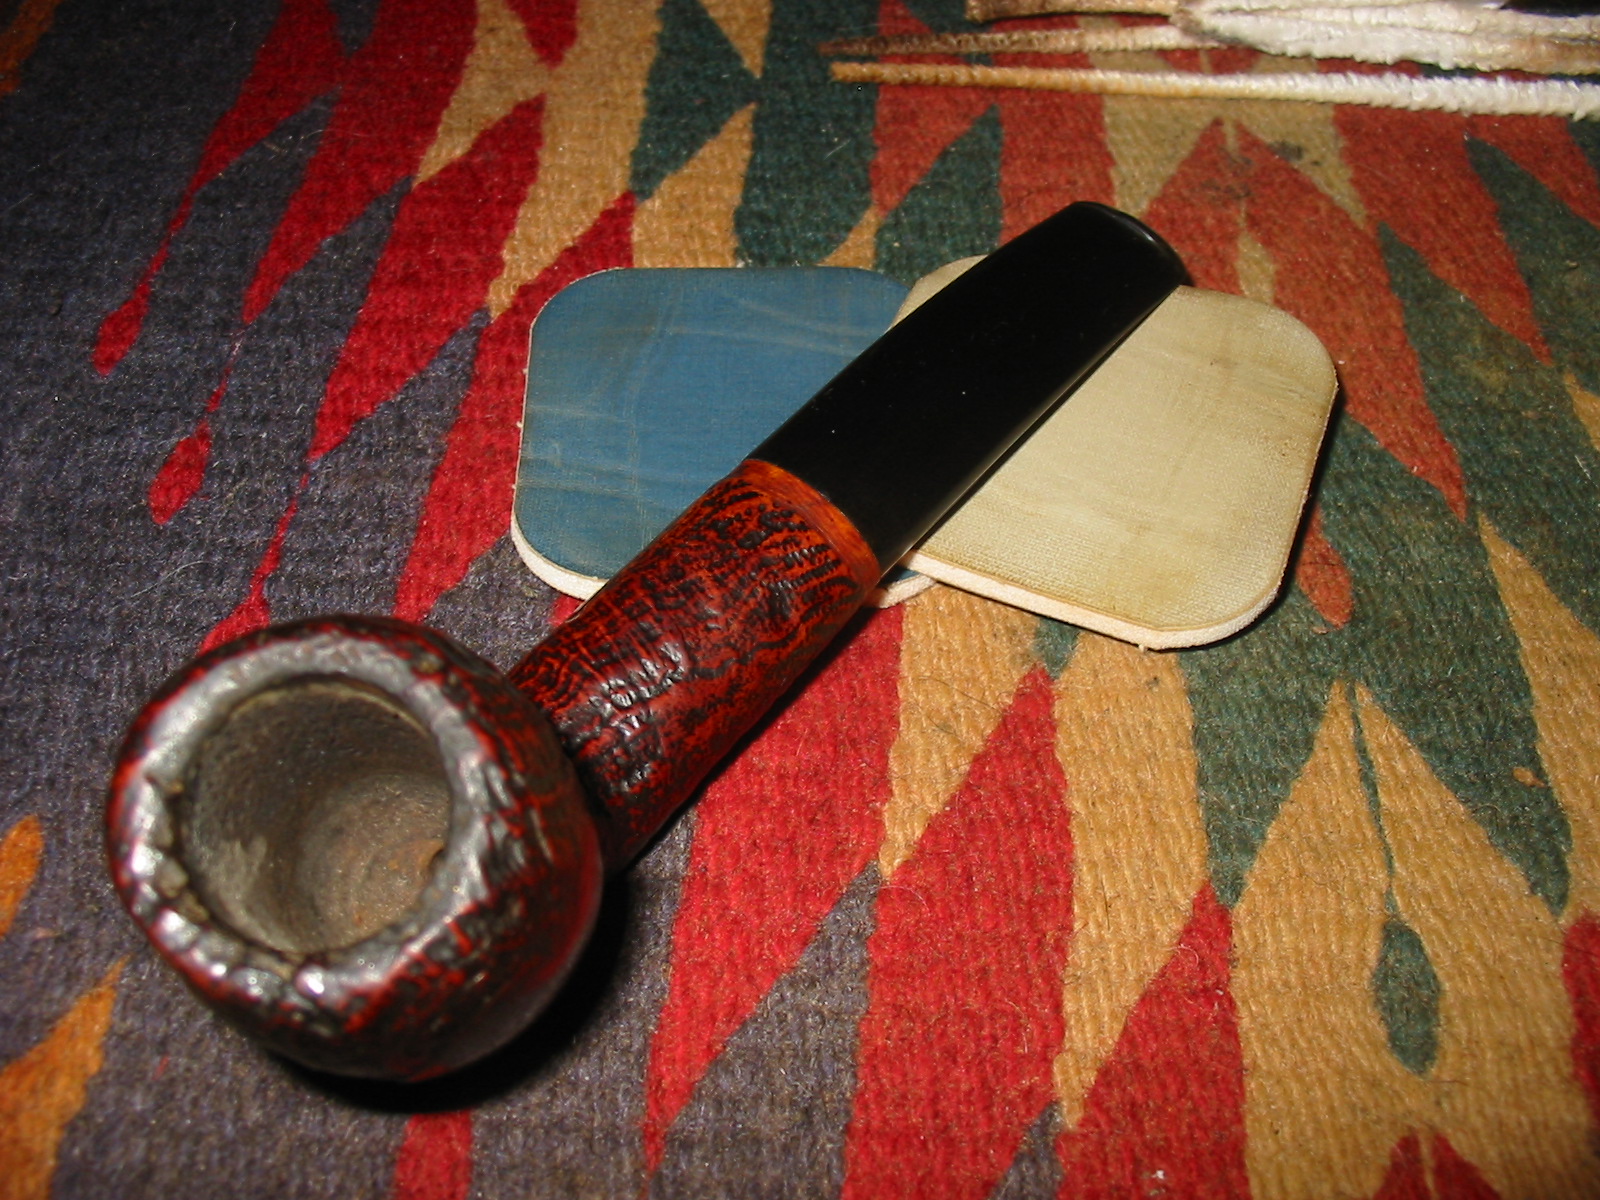
I reamed the bowl with a PipNet reamer. I began with the smallest cutting head and worked my way up to the second cutting head (first photo below). Once I had the bowl cleaned out I worked on the stem to clean up the oxidation and work on the tooth marks. I sanded it with 220 grit sandpaper and then with a fine grit sanding sponge (photos 2 and 3 below). I also sanded the banded area that I cut with the sanding drum.

IMG_1286

IMG_1287

IMG_1288

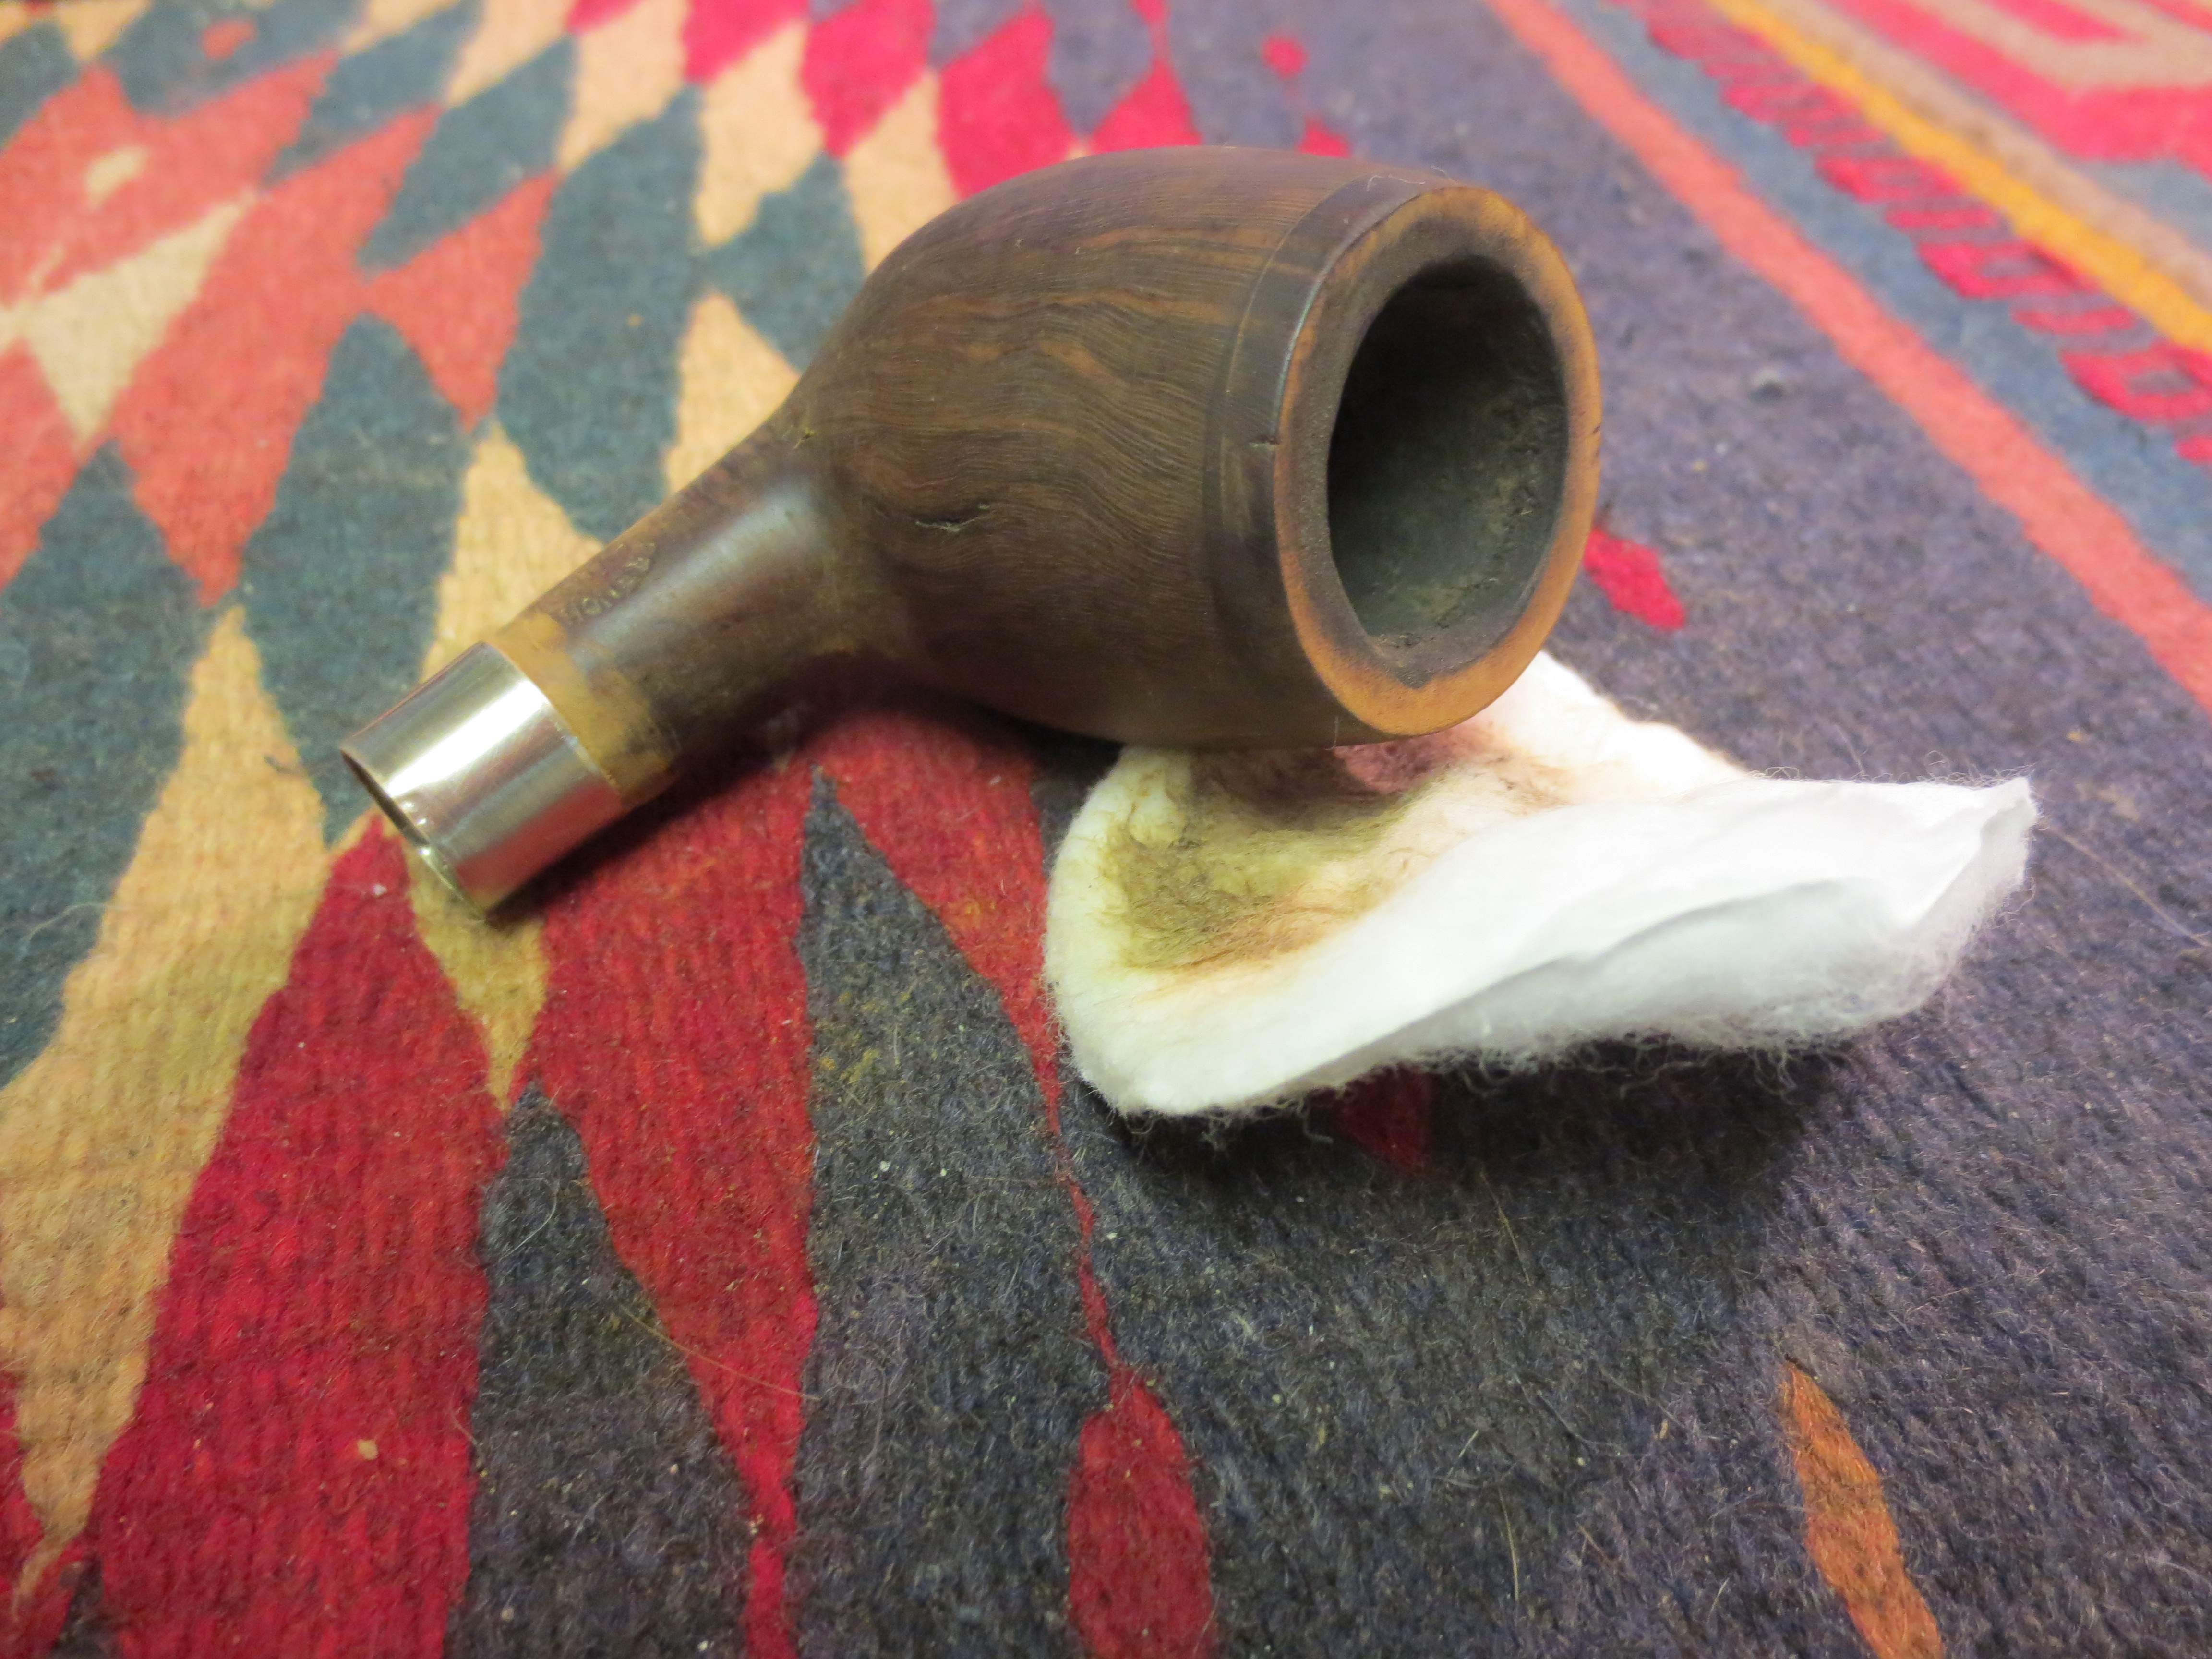
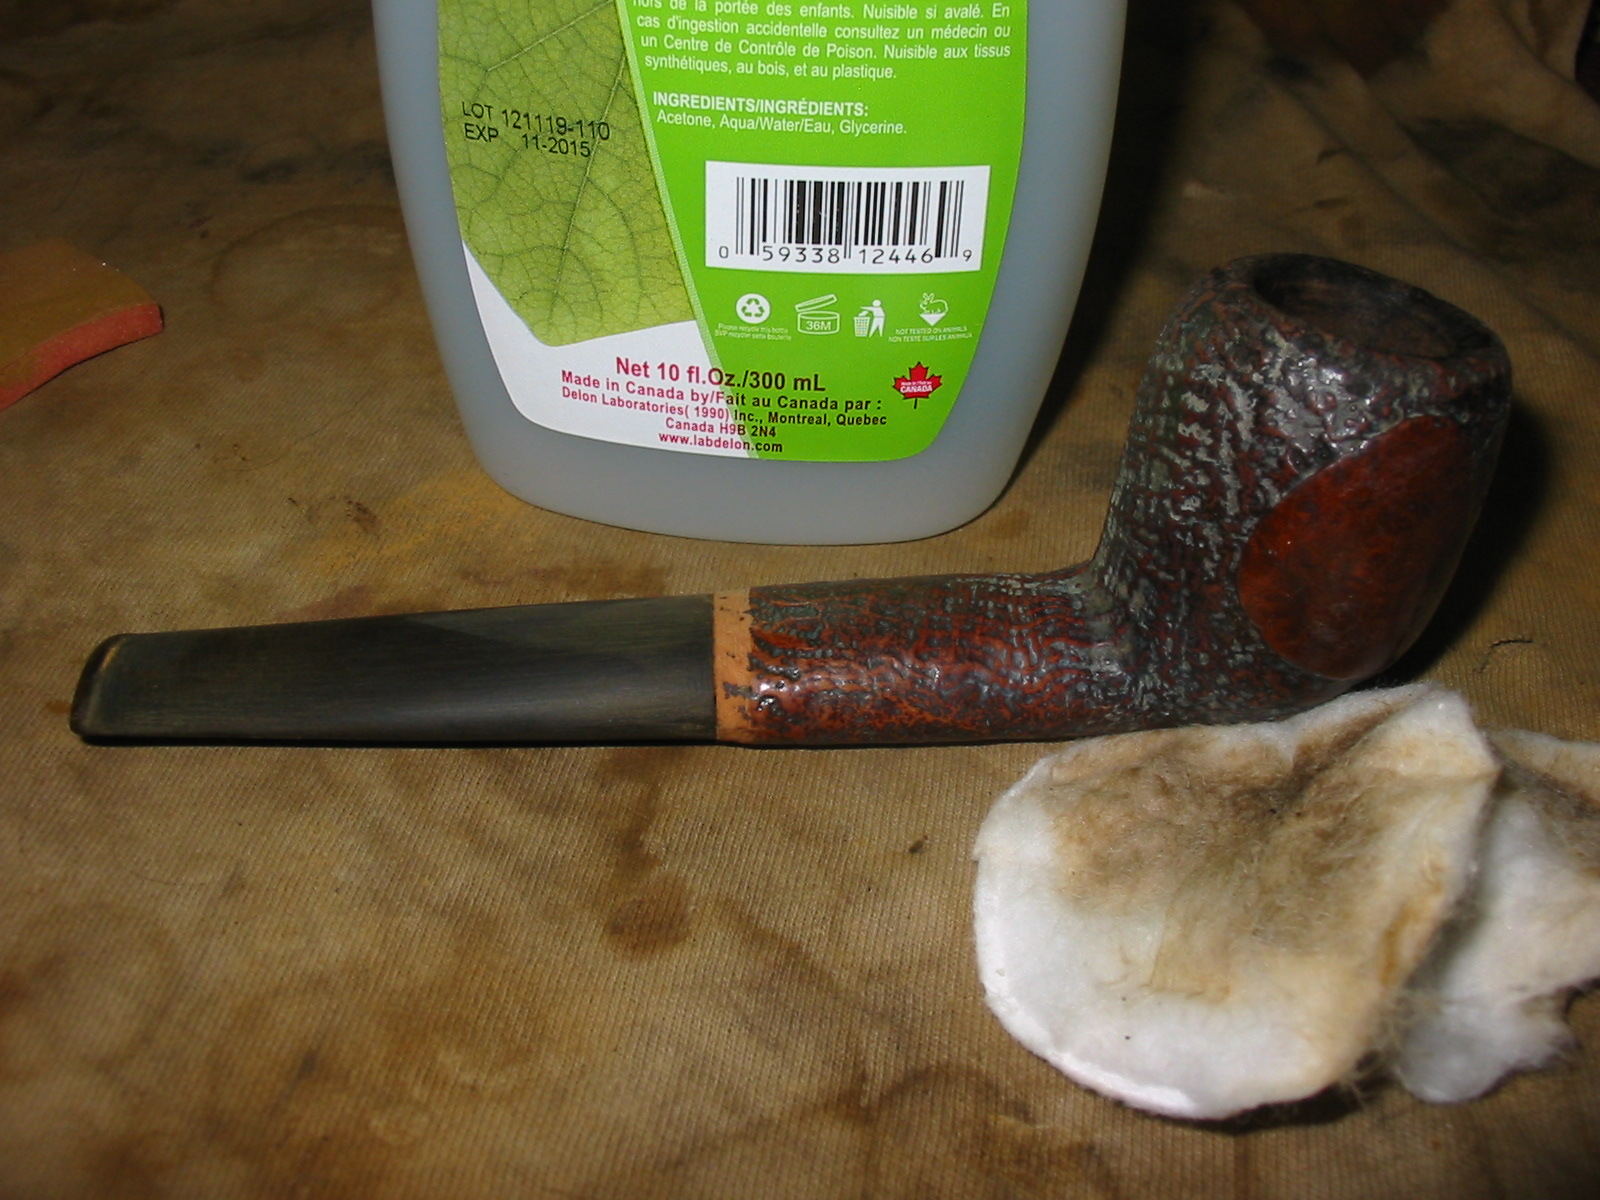
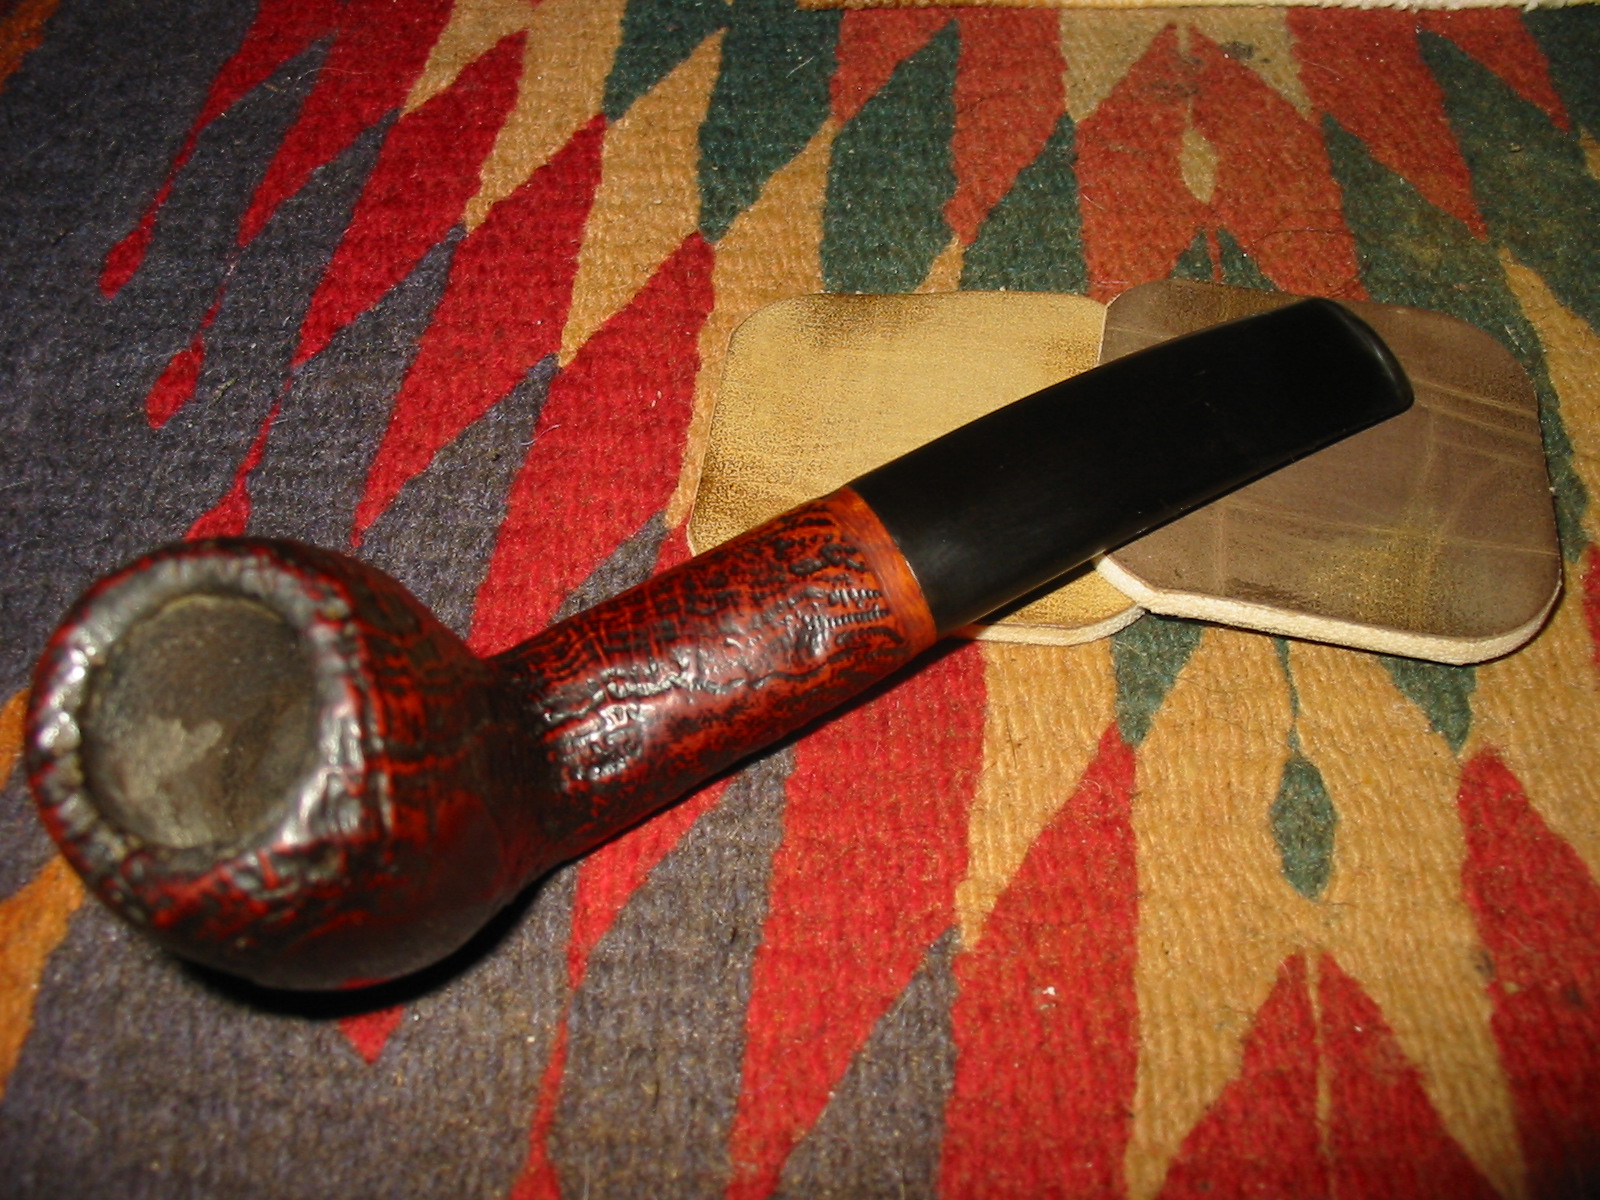
I wiped the bowl and shank down with acetone and a cotton pad. I wanted to remove the grime in the crevices of the blast on the shank and bowl. I used a soft bristle tooth brush and acetone to clean up the rim of the pipe. I scrubbed it until the finish was clean. Photos 1 and 2 below show the finish after the cleaning. The grey is the finish after it broke down with the acetone. I continued to scrub it until the finish was clean.

IMG_1291

IMG_1292

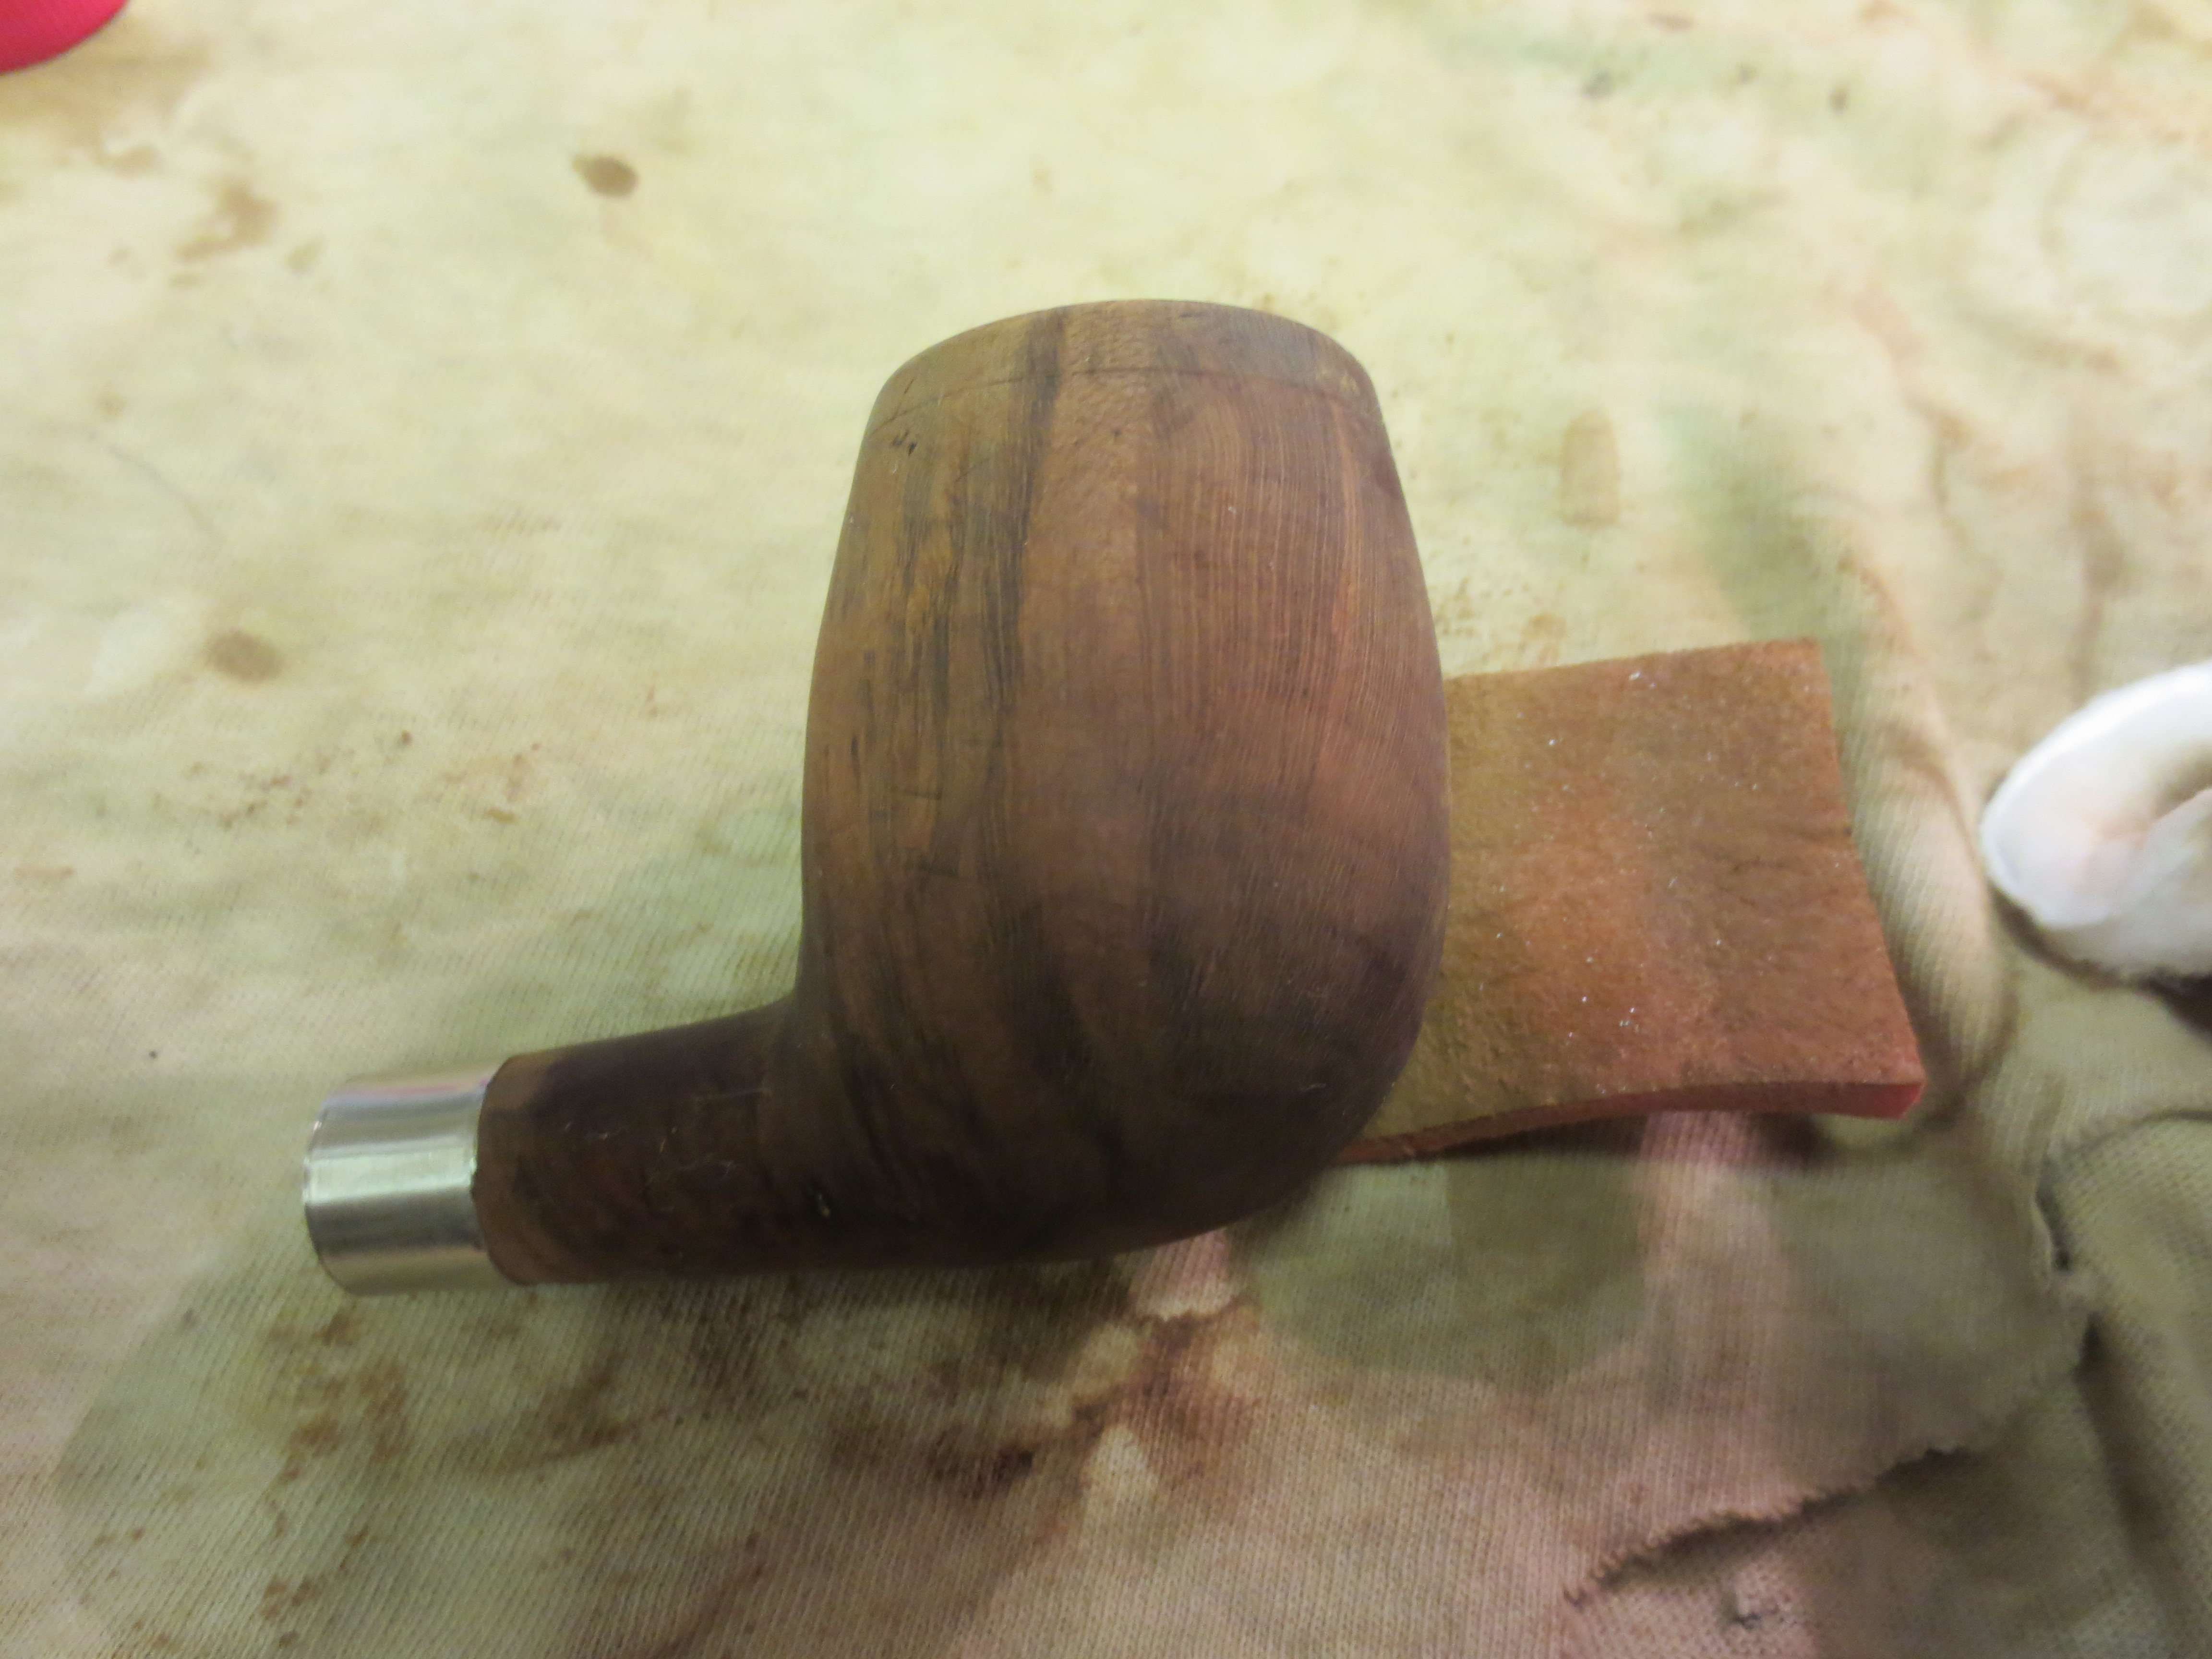
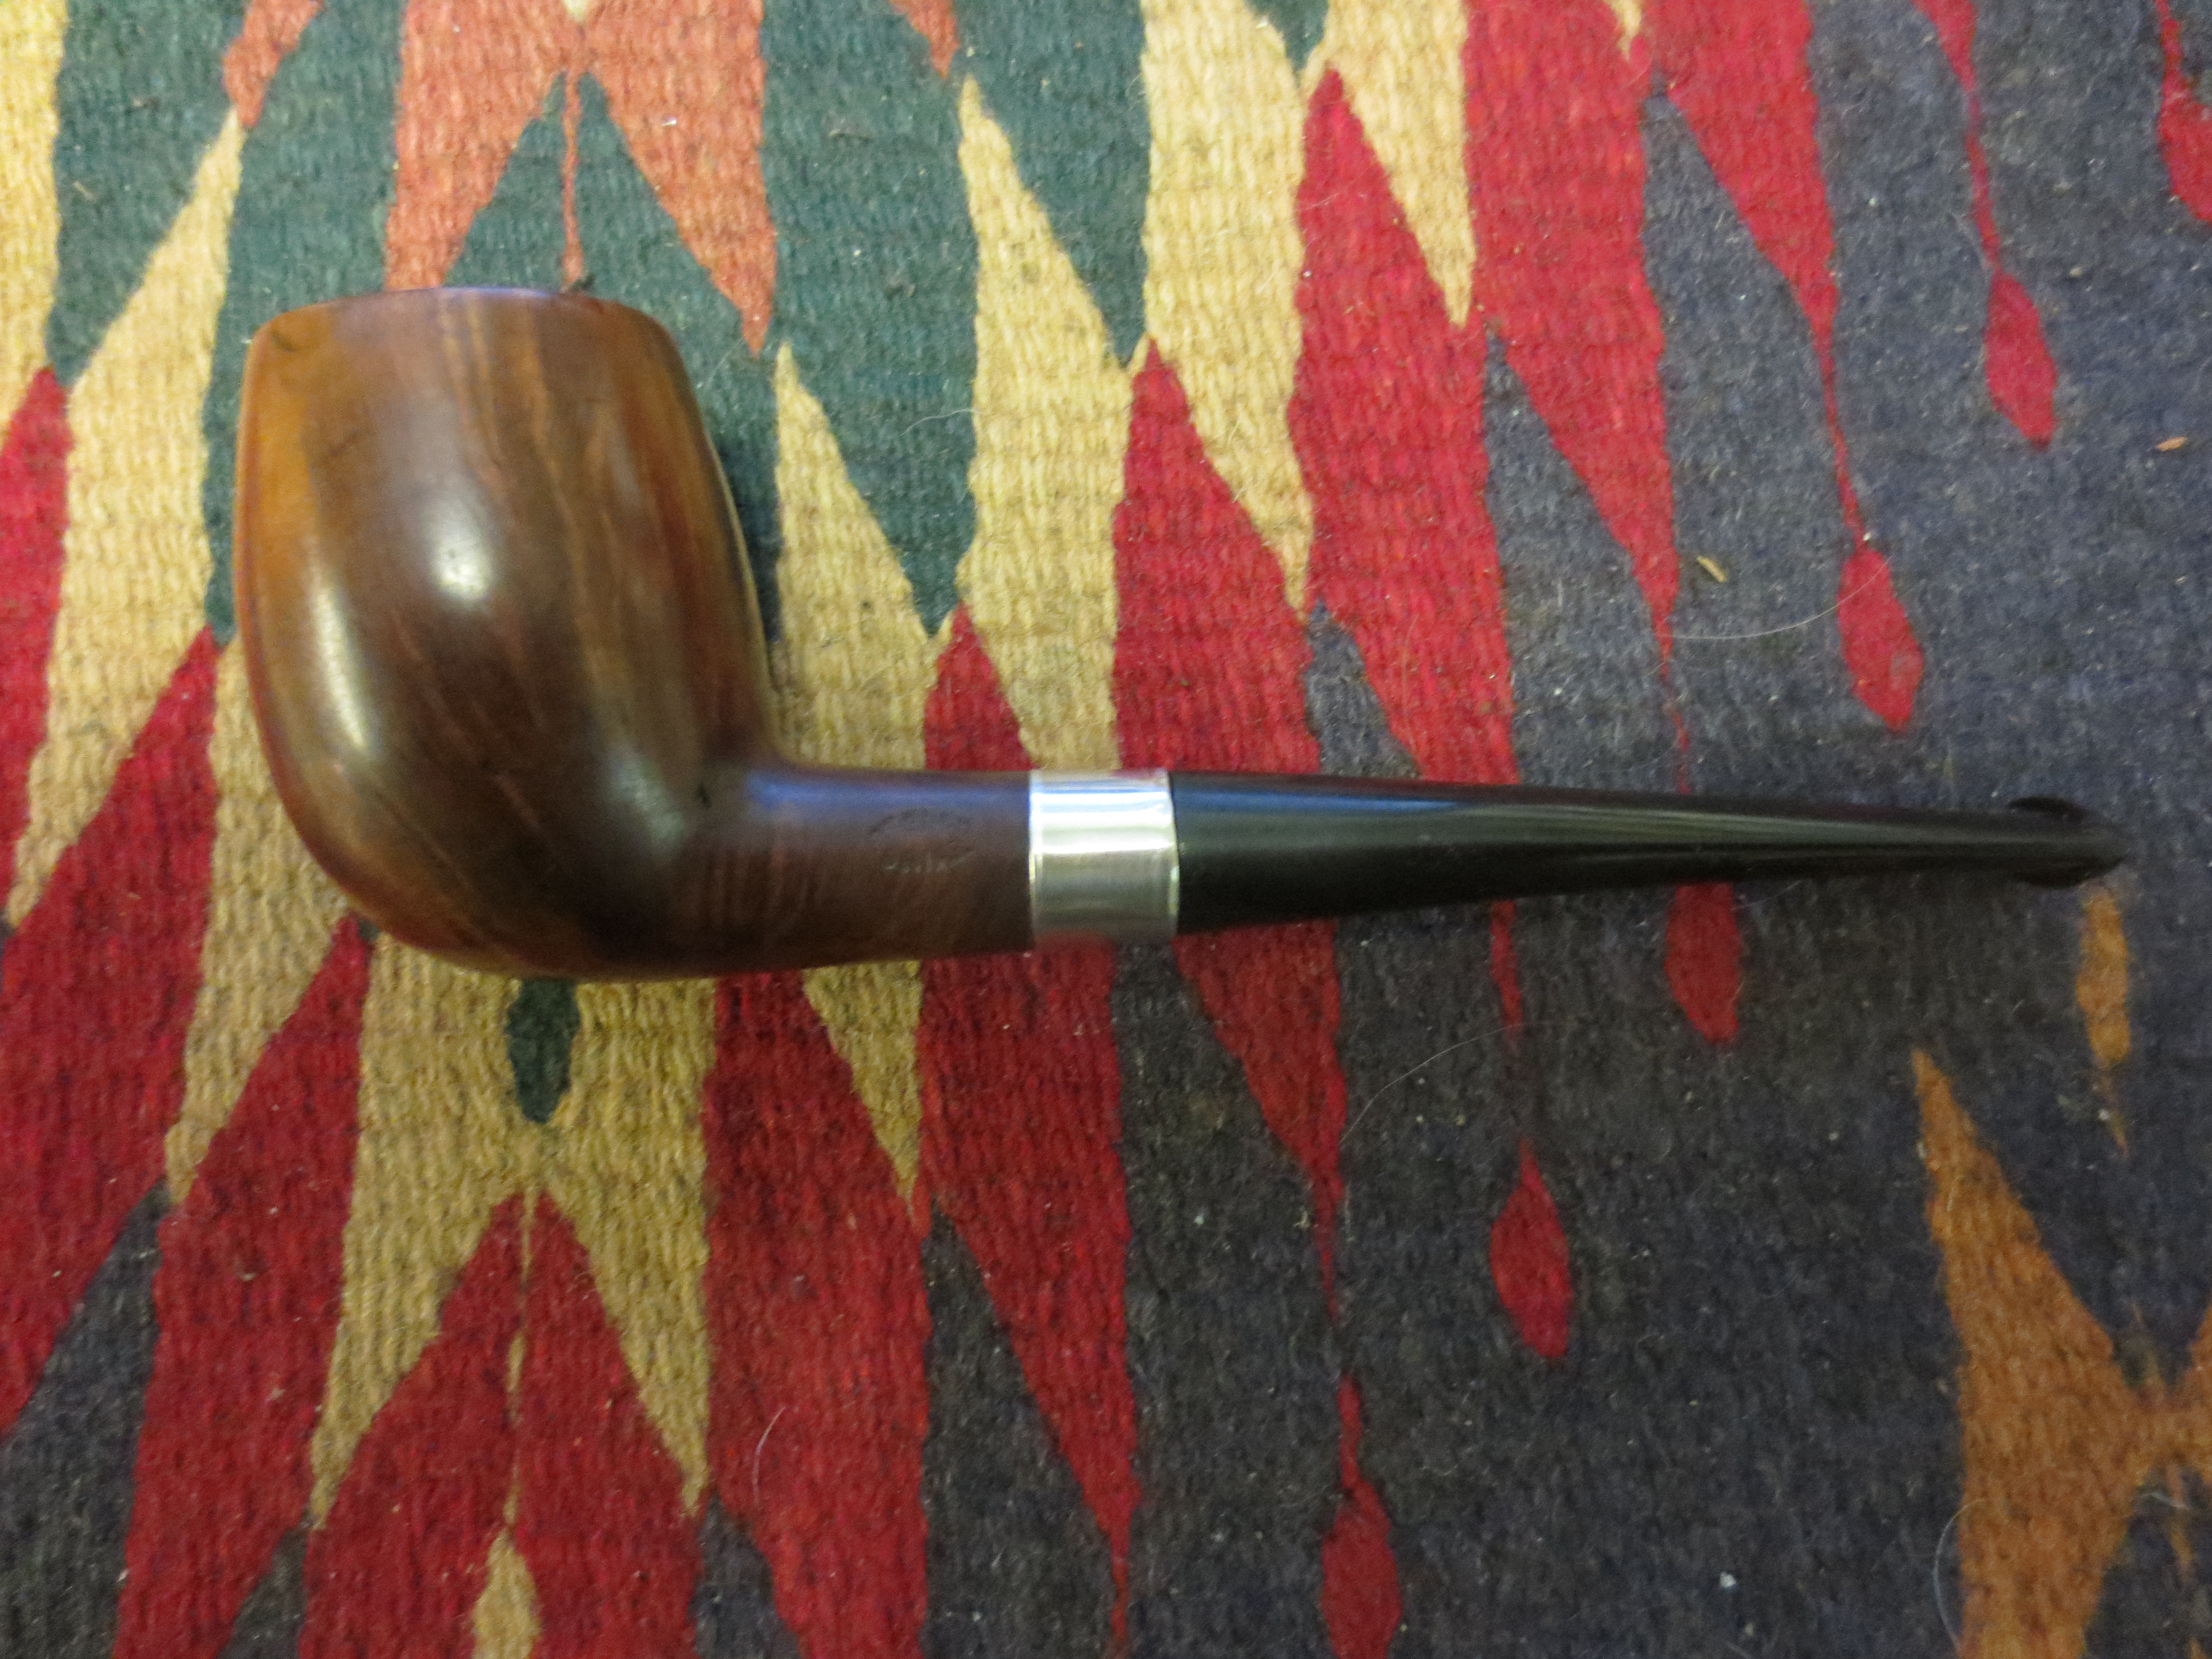
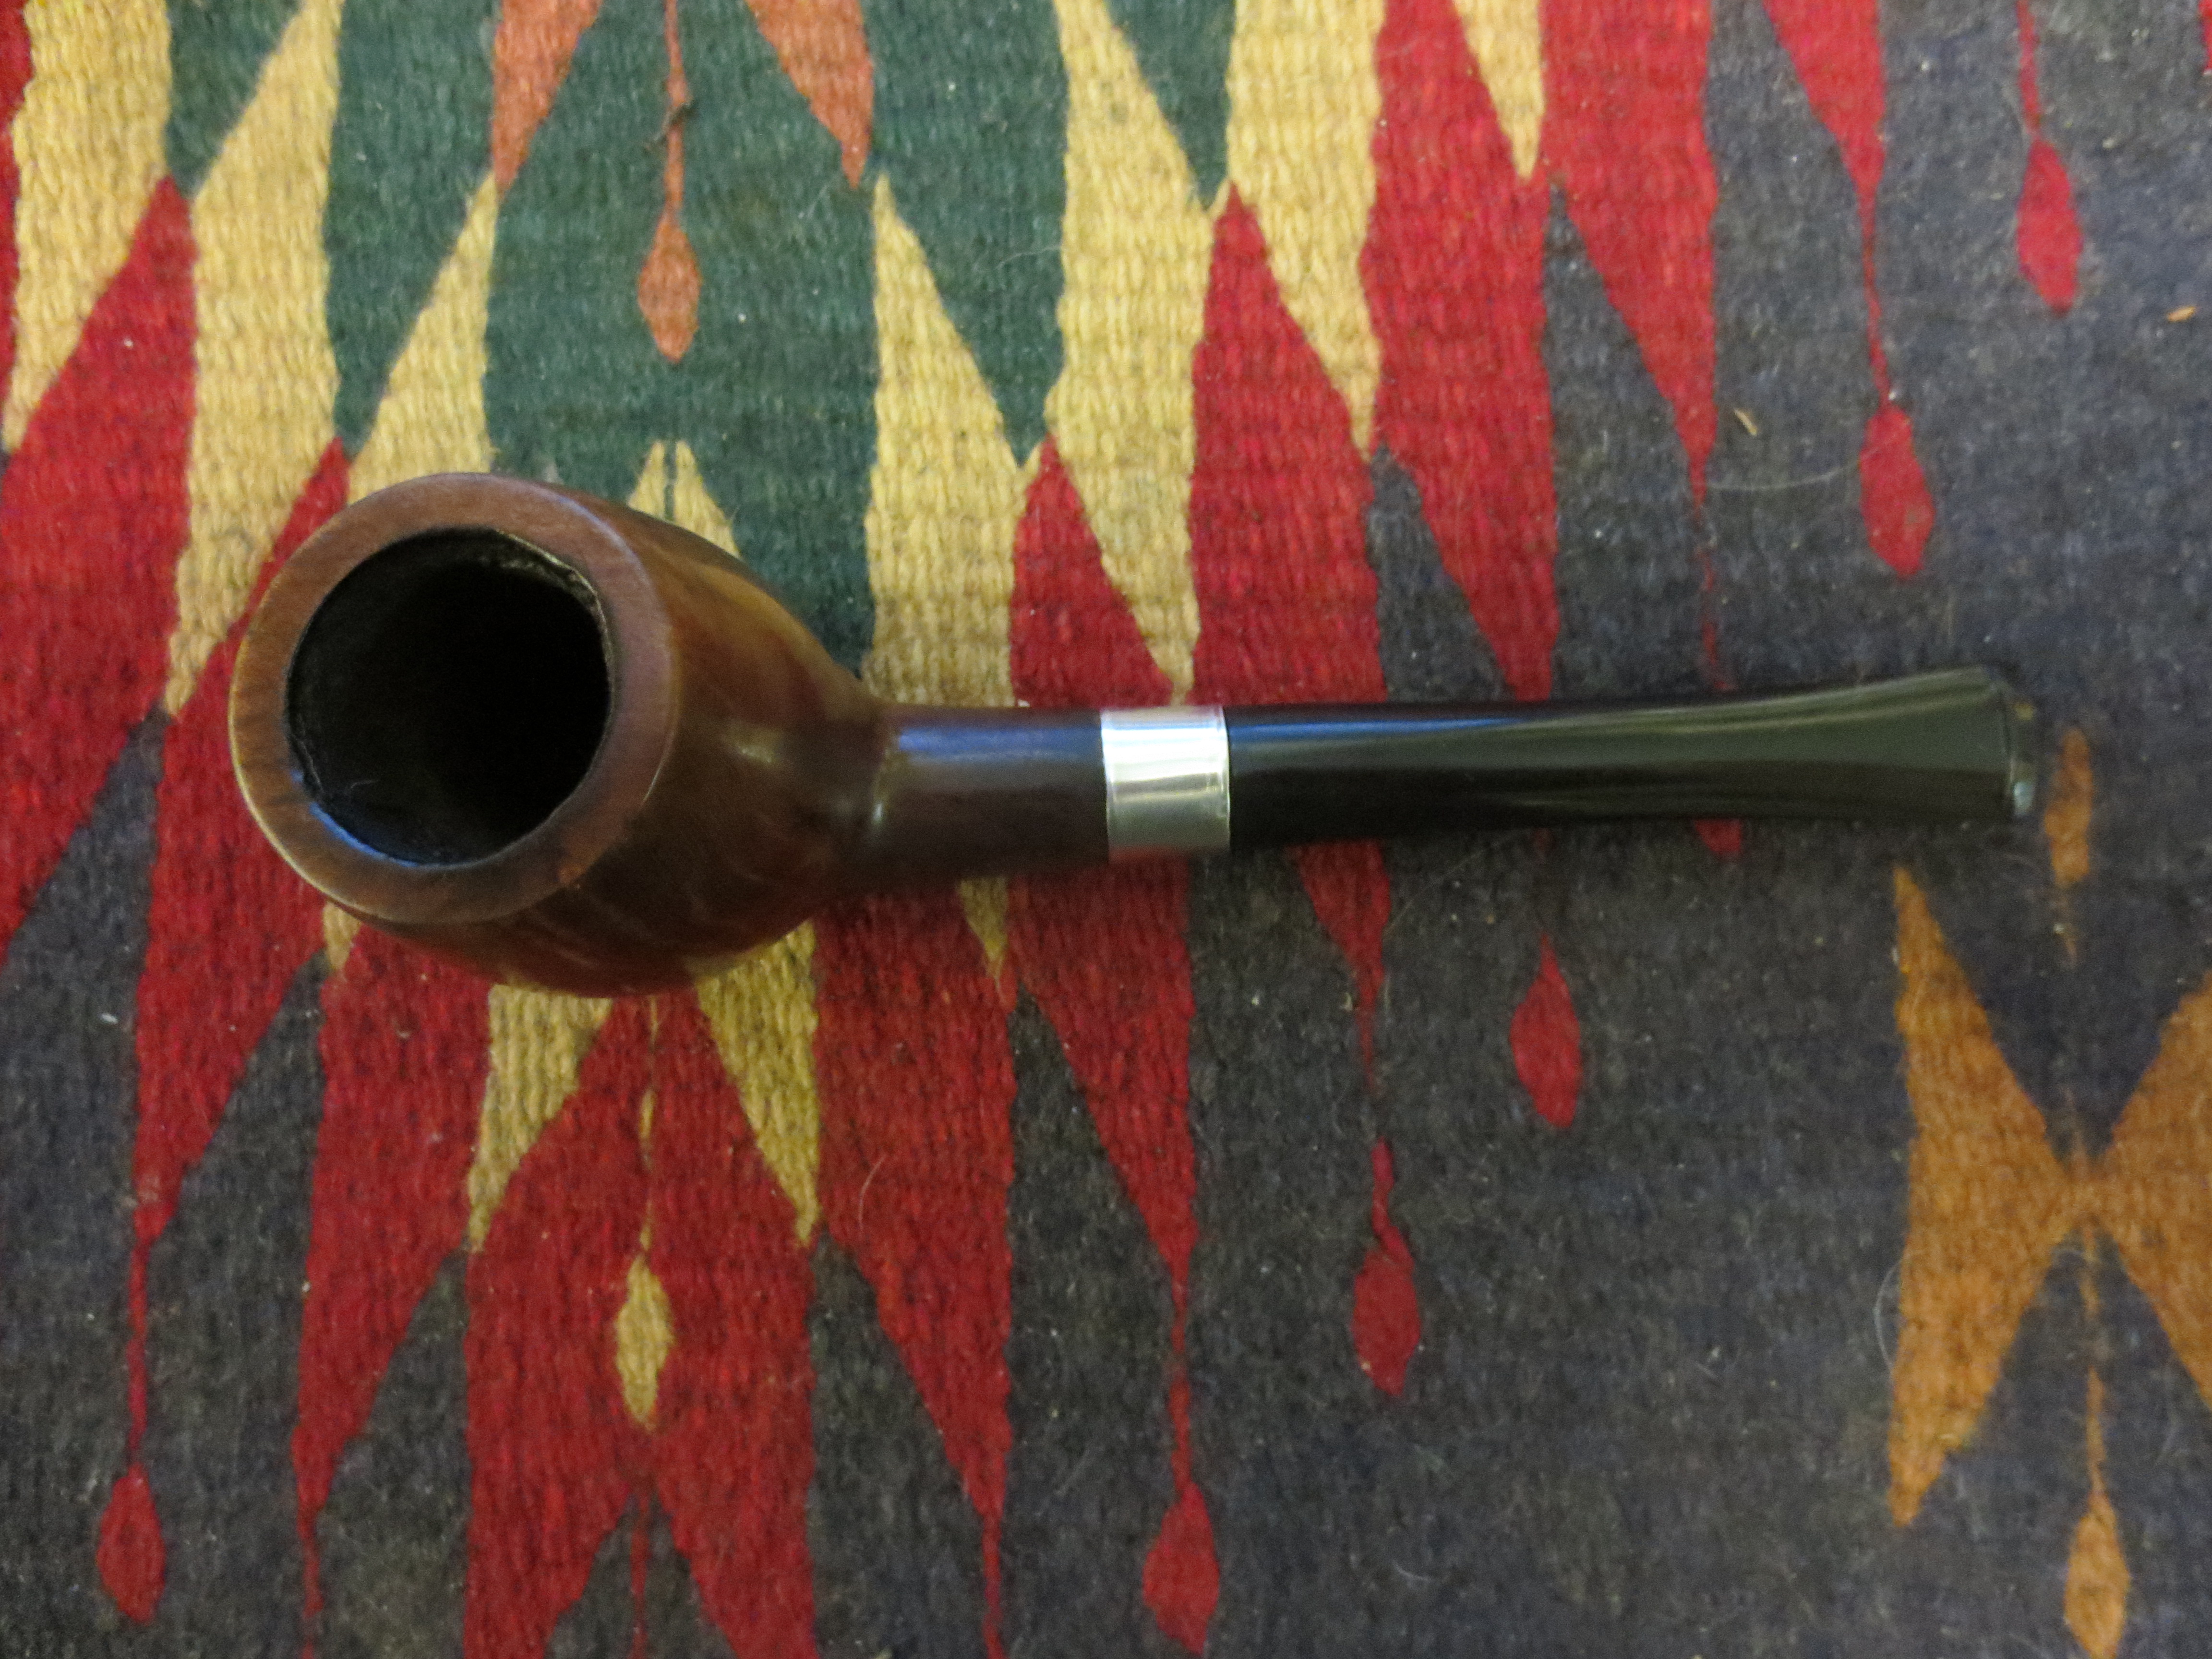
I set up the heat gun and heated the stem and bent it over the rolling pin that I use to get a good straight bend in the stem. I also buffed the stem and bowl with White Diamond. I used a light touch on the stem as I intended to keep sanding it with the micromesh sanding pads. I took it back to the work table and restained it with a dark brown aniline stain thinned with isopropyl alcohol. The mix was my attempt to match it to the original stain. I wanted the dark stain in the grooves of the blast to stand out against the brown over stain. The next three photos show the bend in the stem and the restained bowl. The band that I sanded in the shank is a nice contrast to the sandblast and the black of the vulcanite stem.

IMG_1296

IMG_1297

IMG_1298

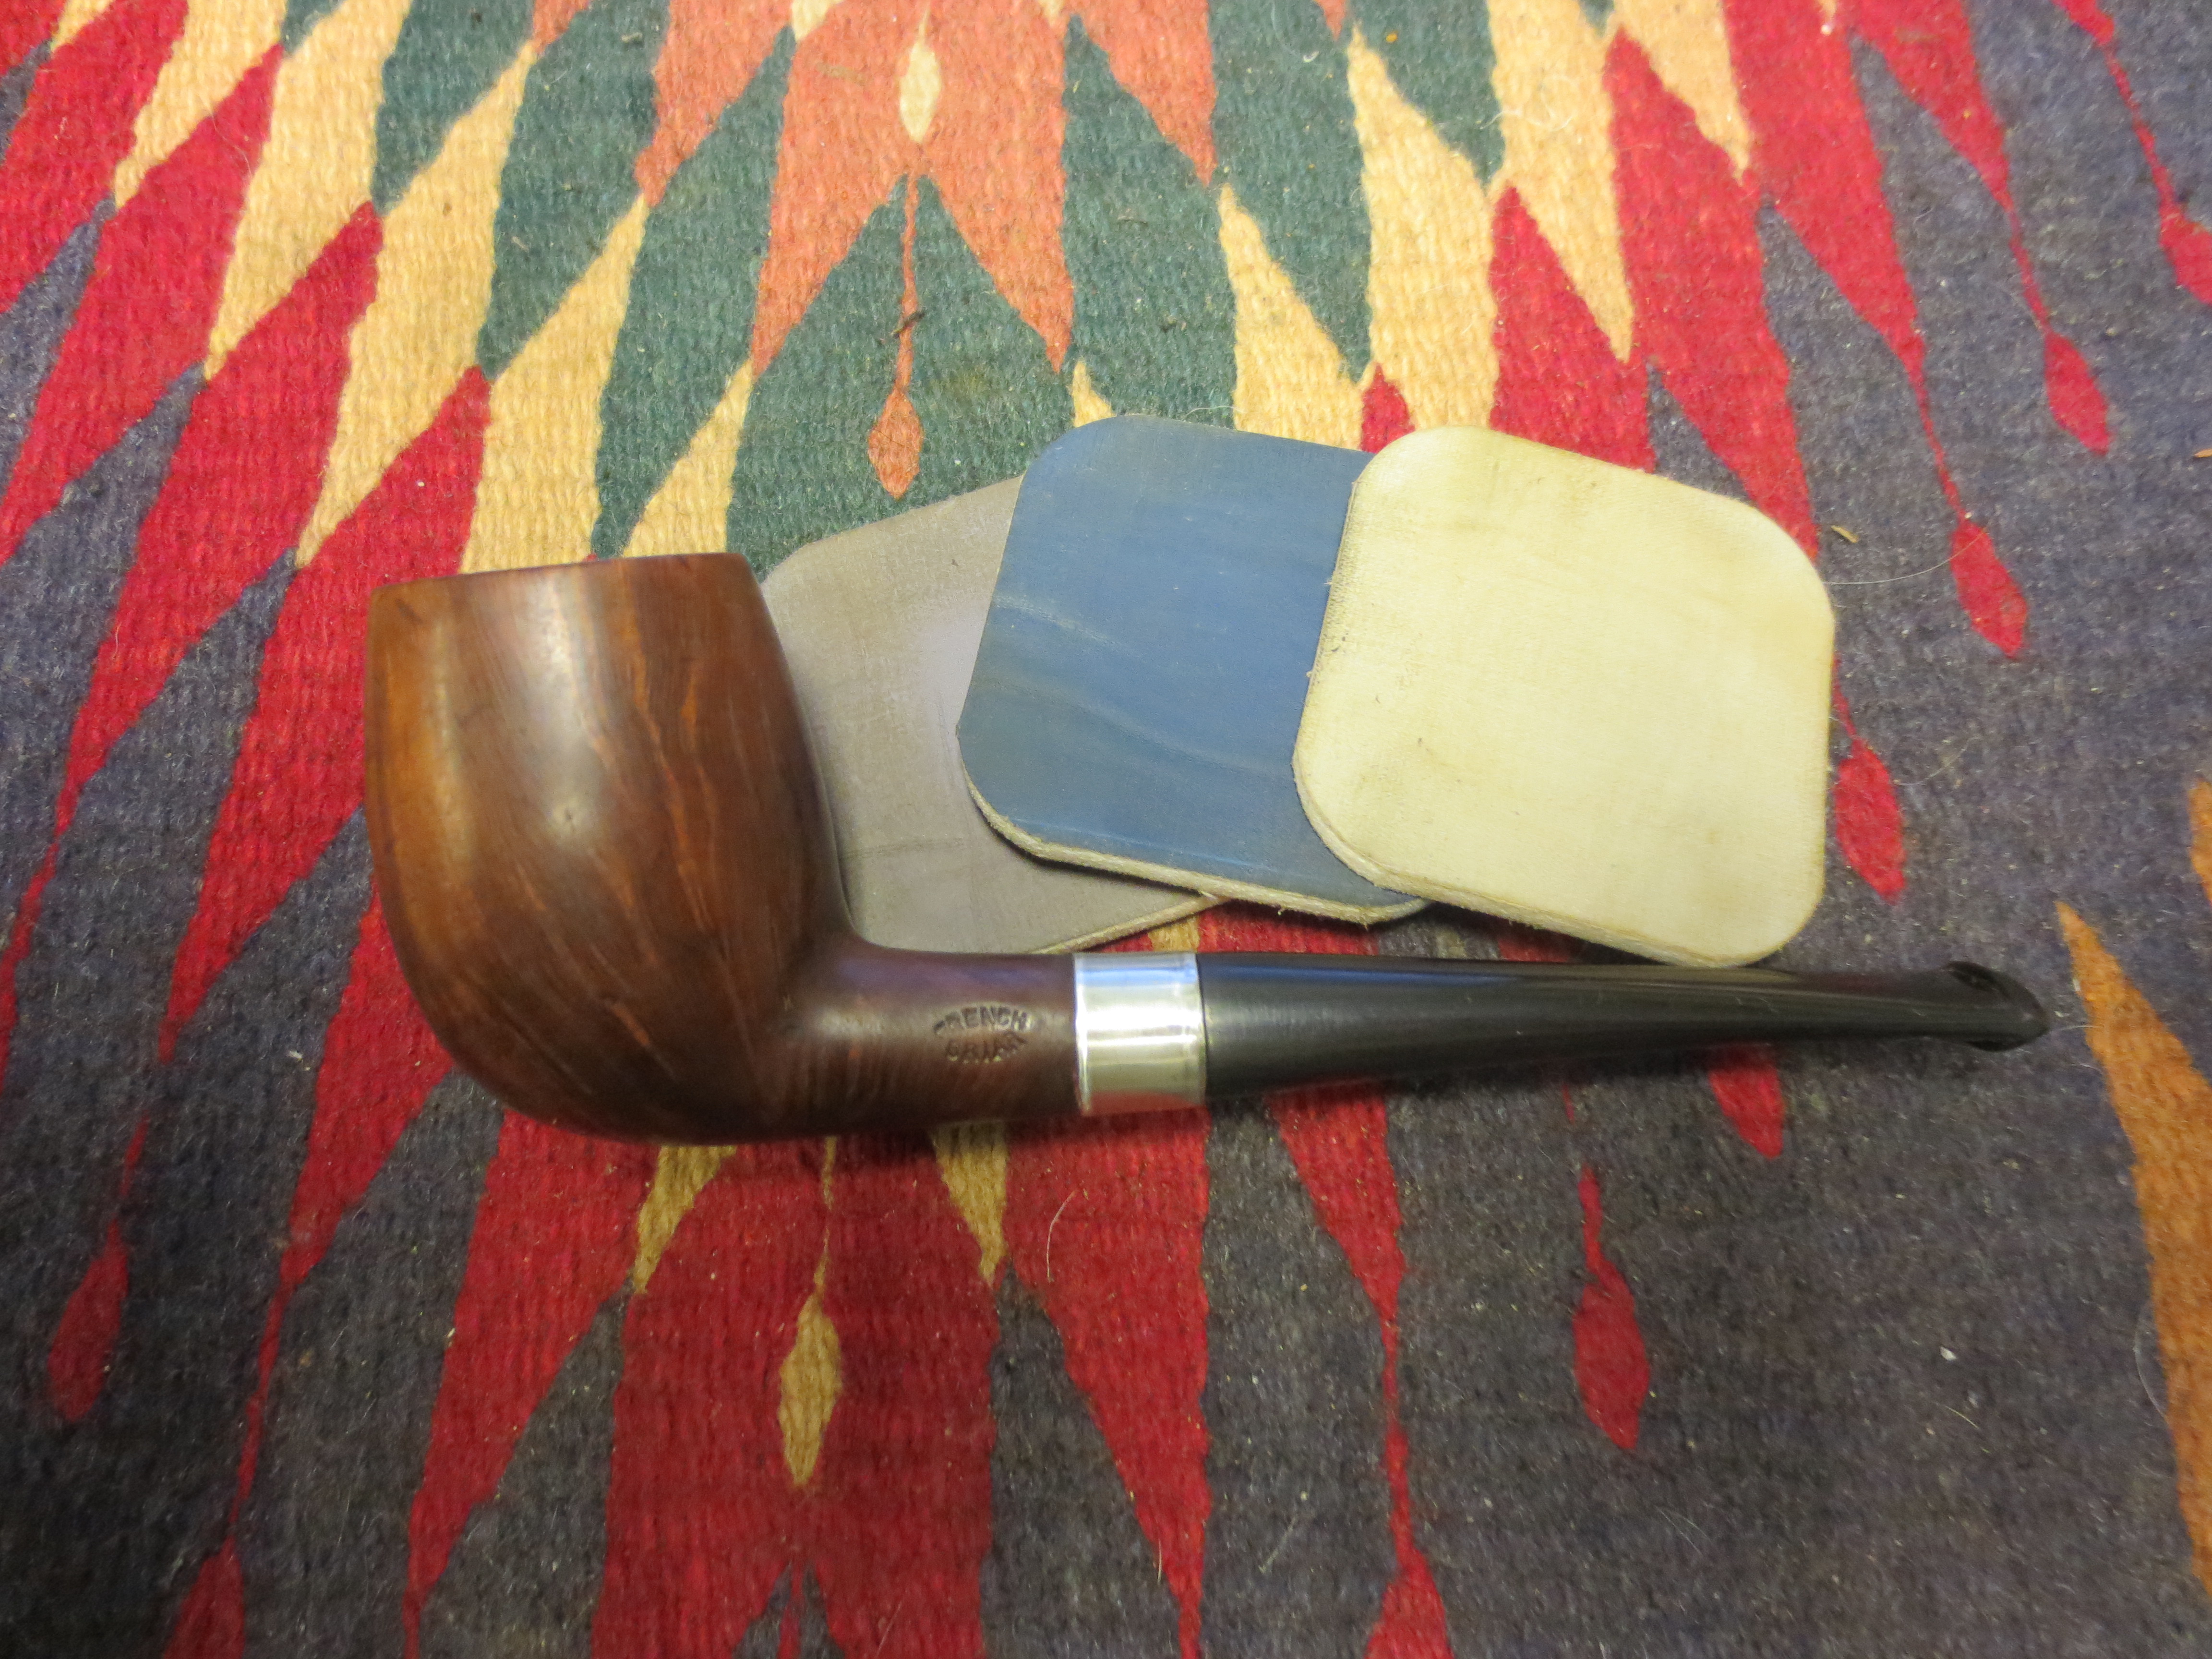
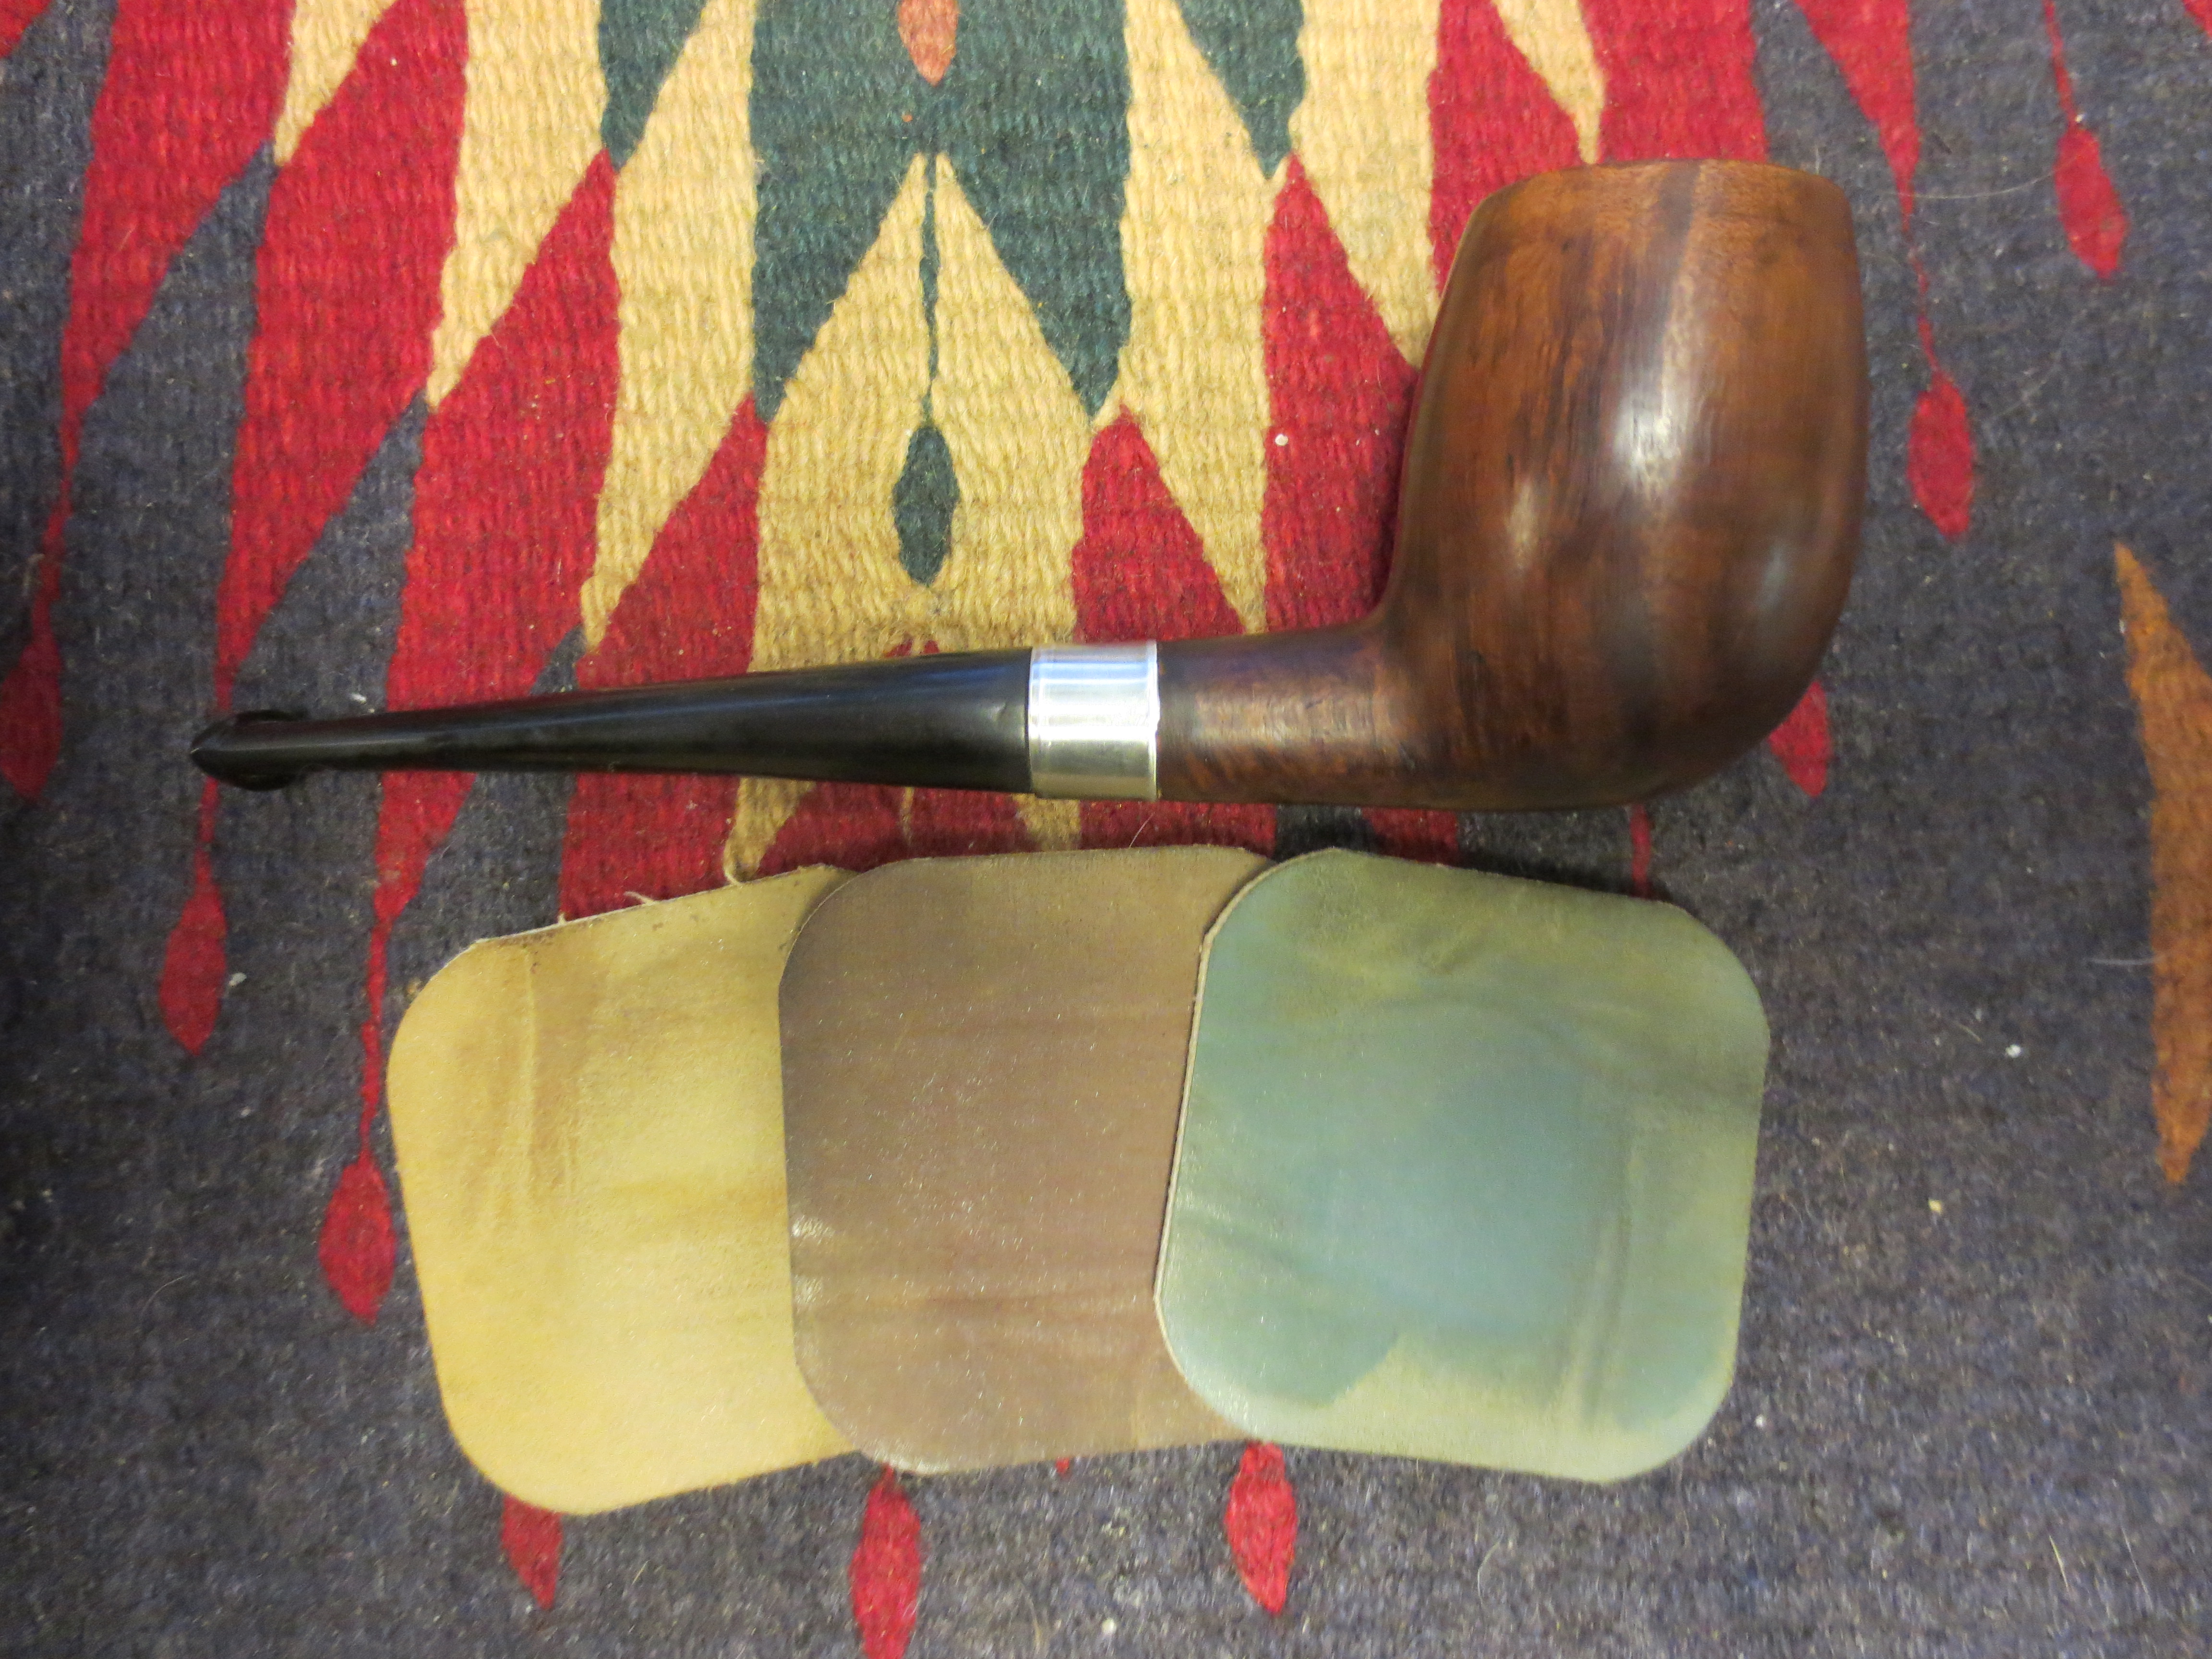
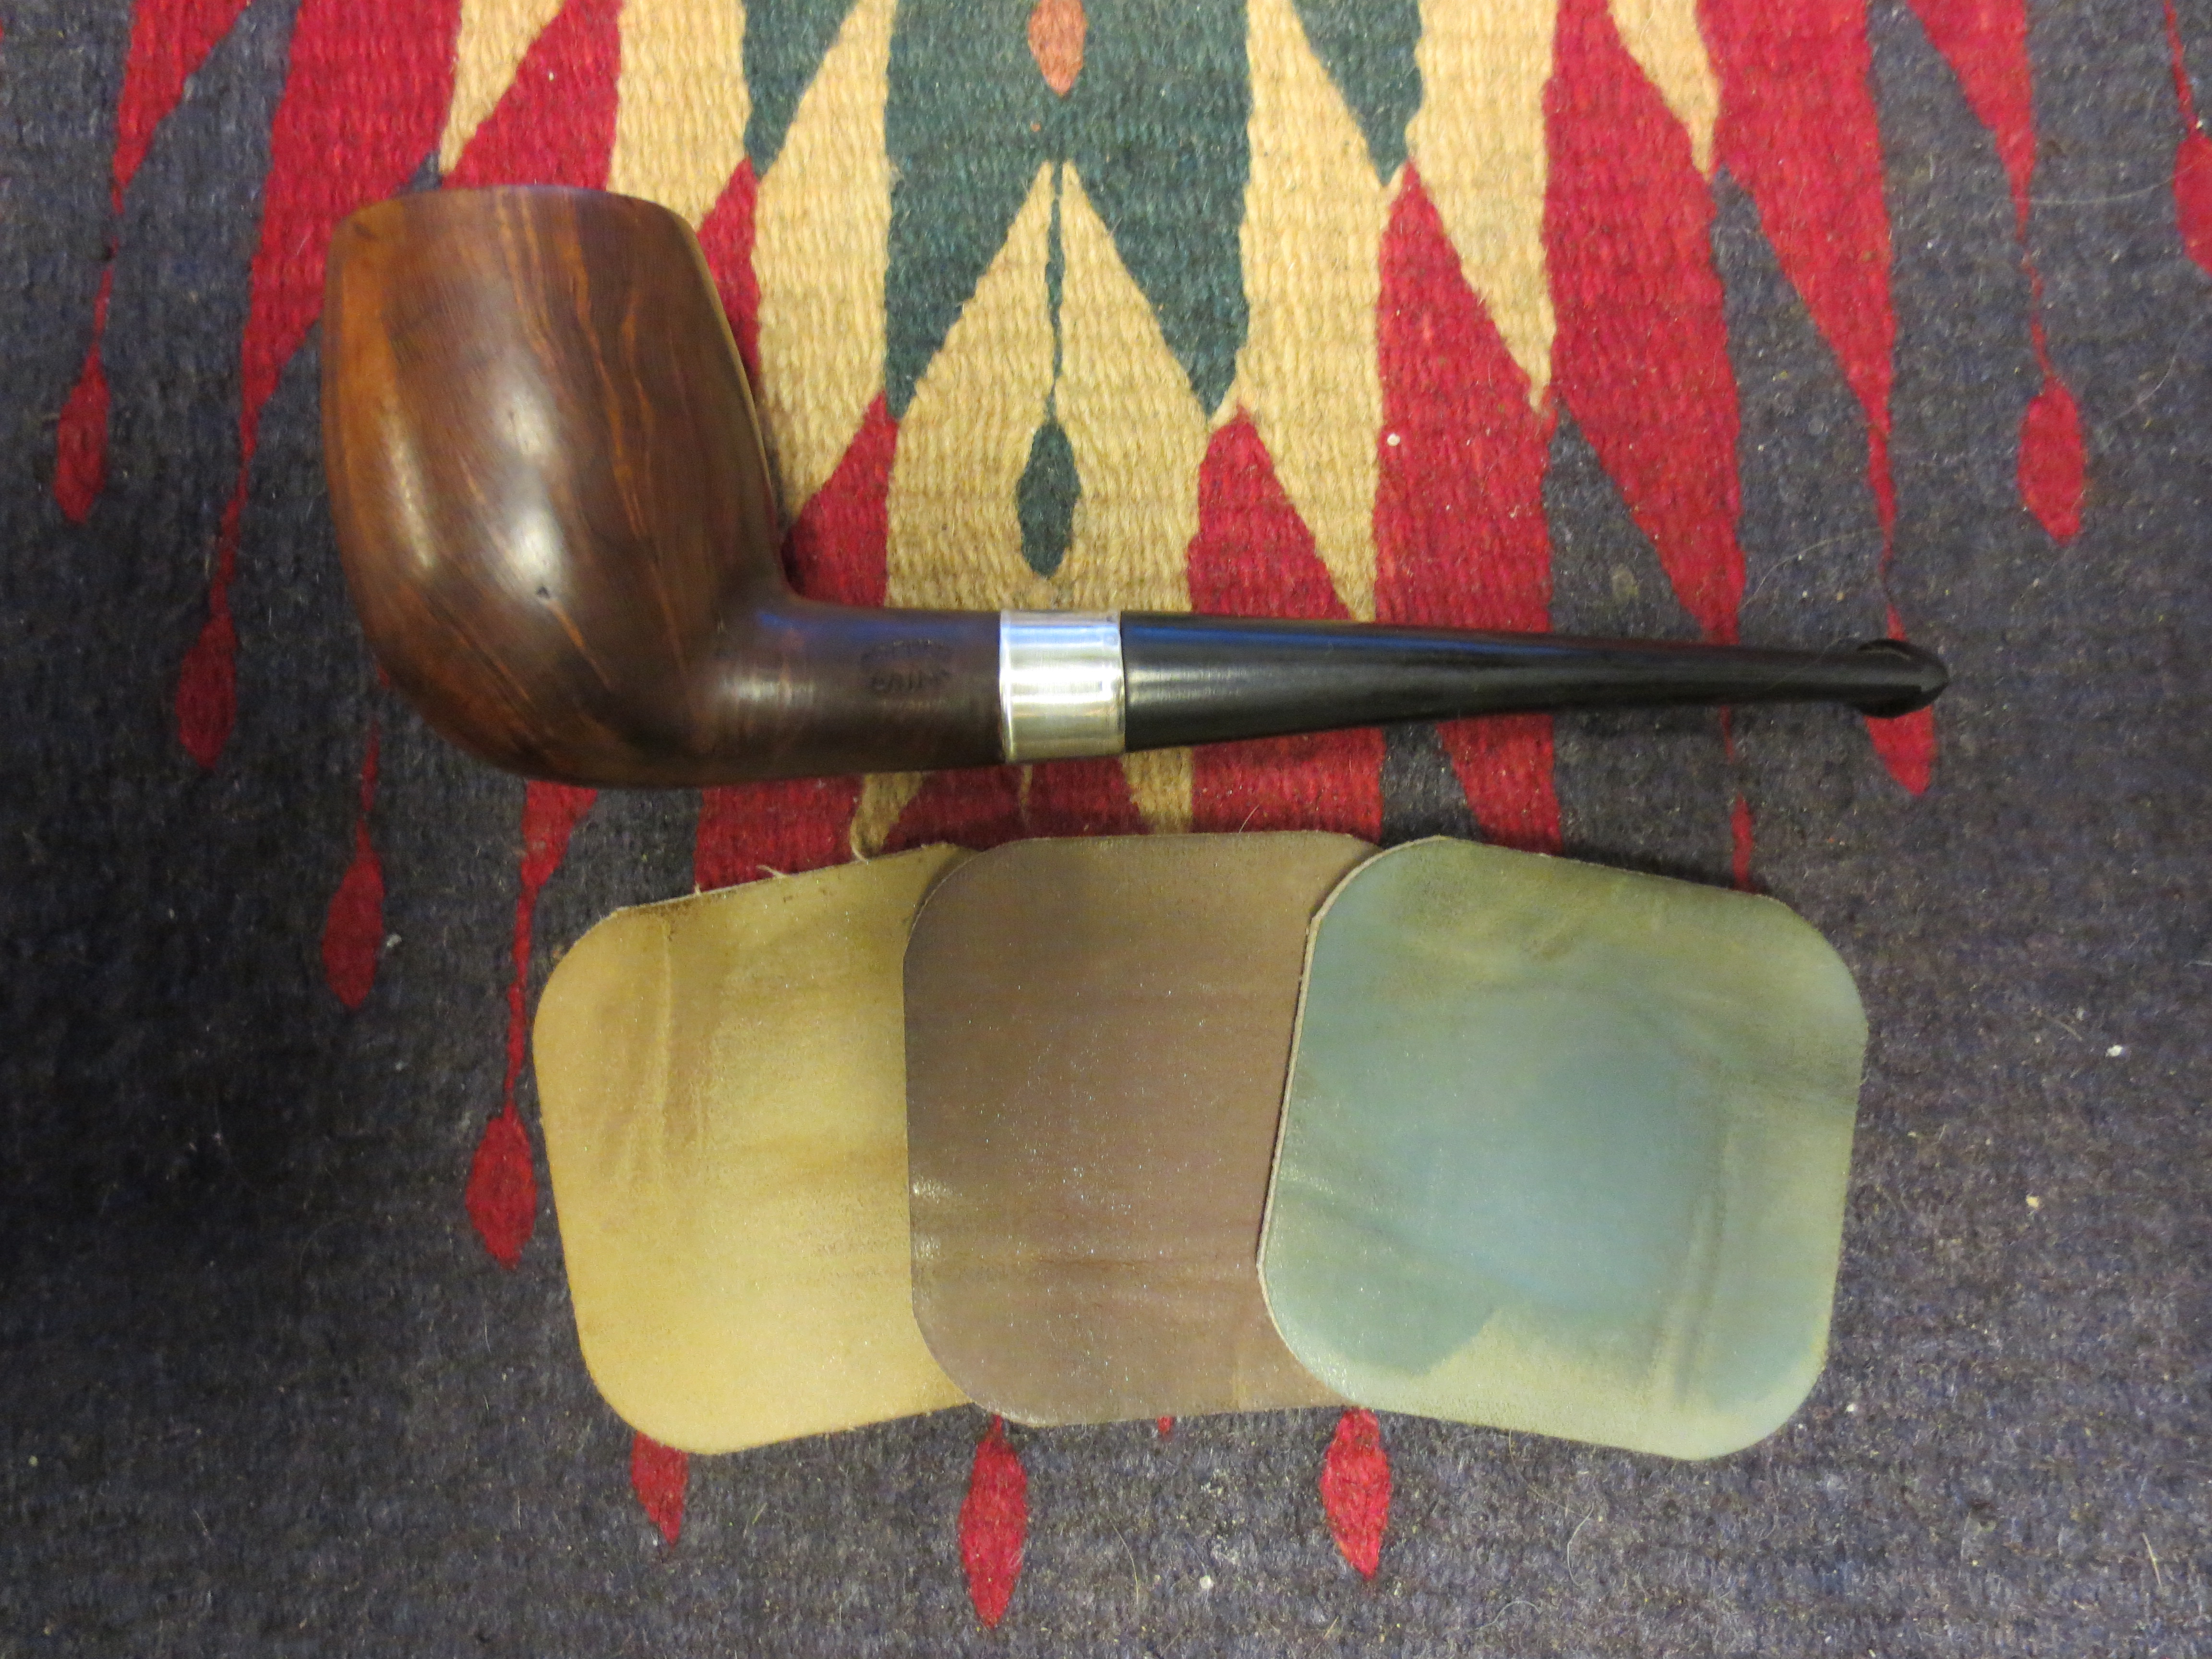
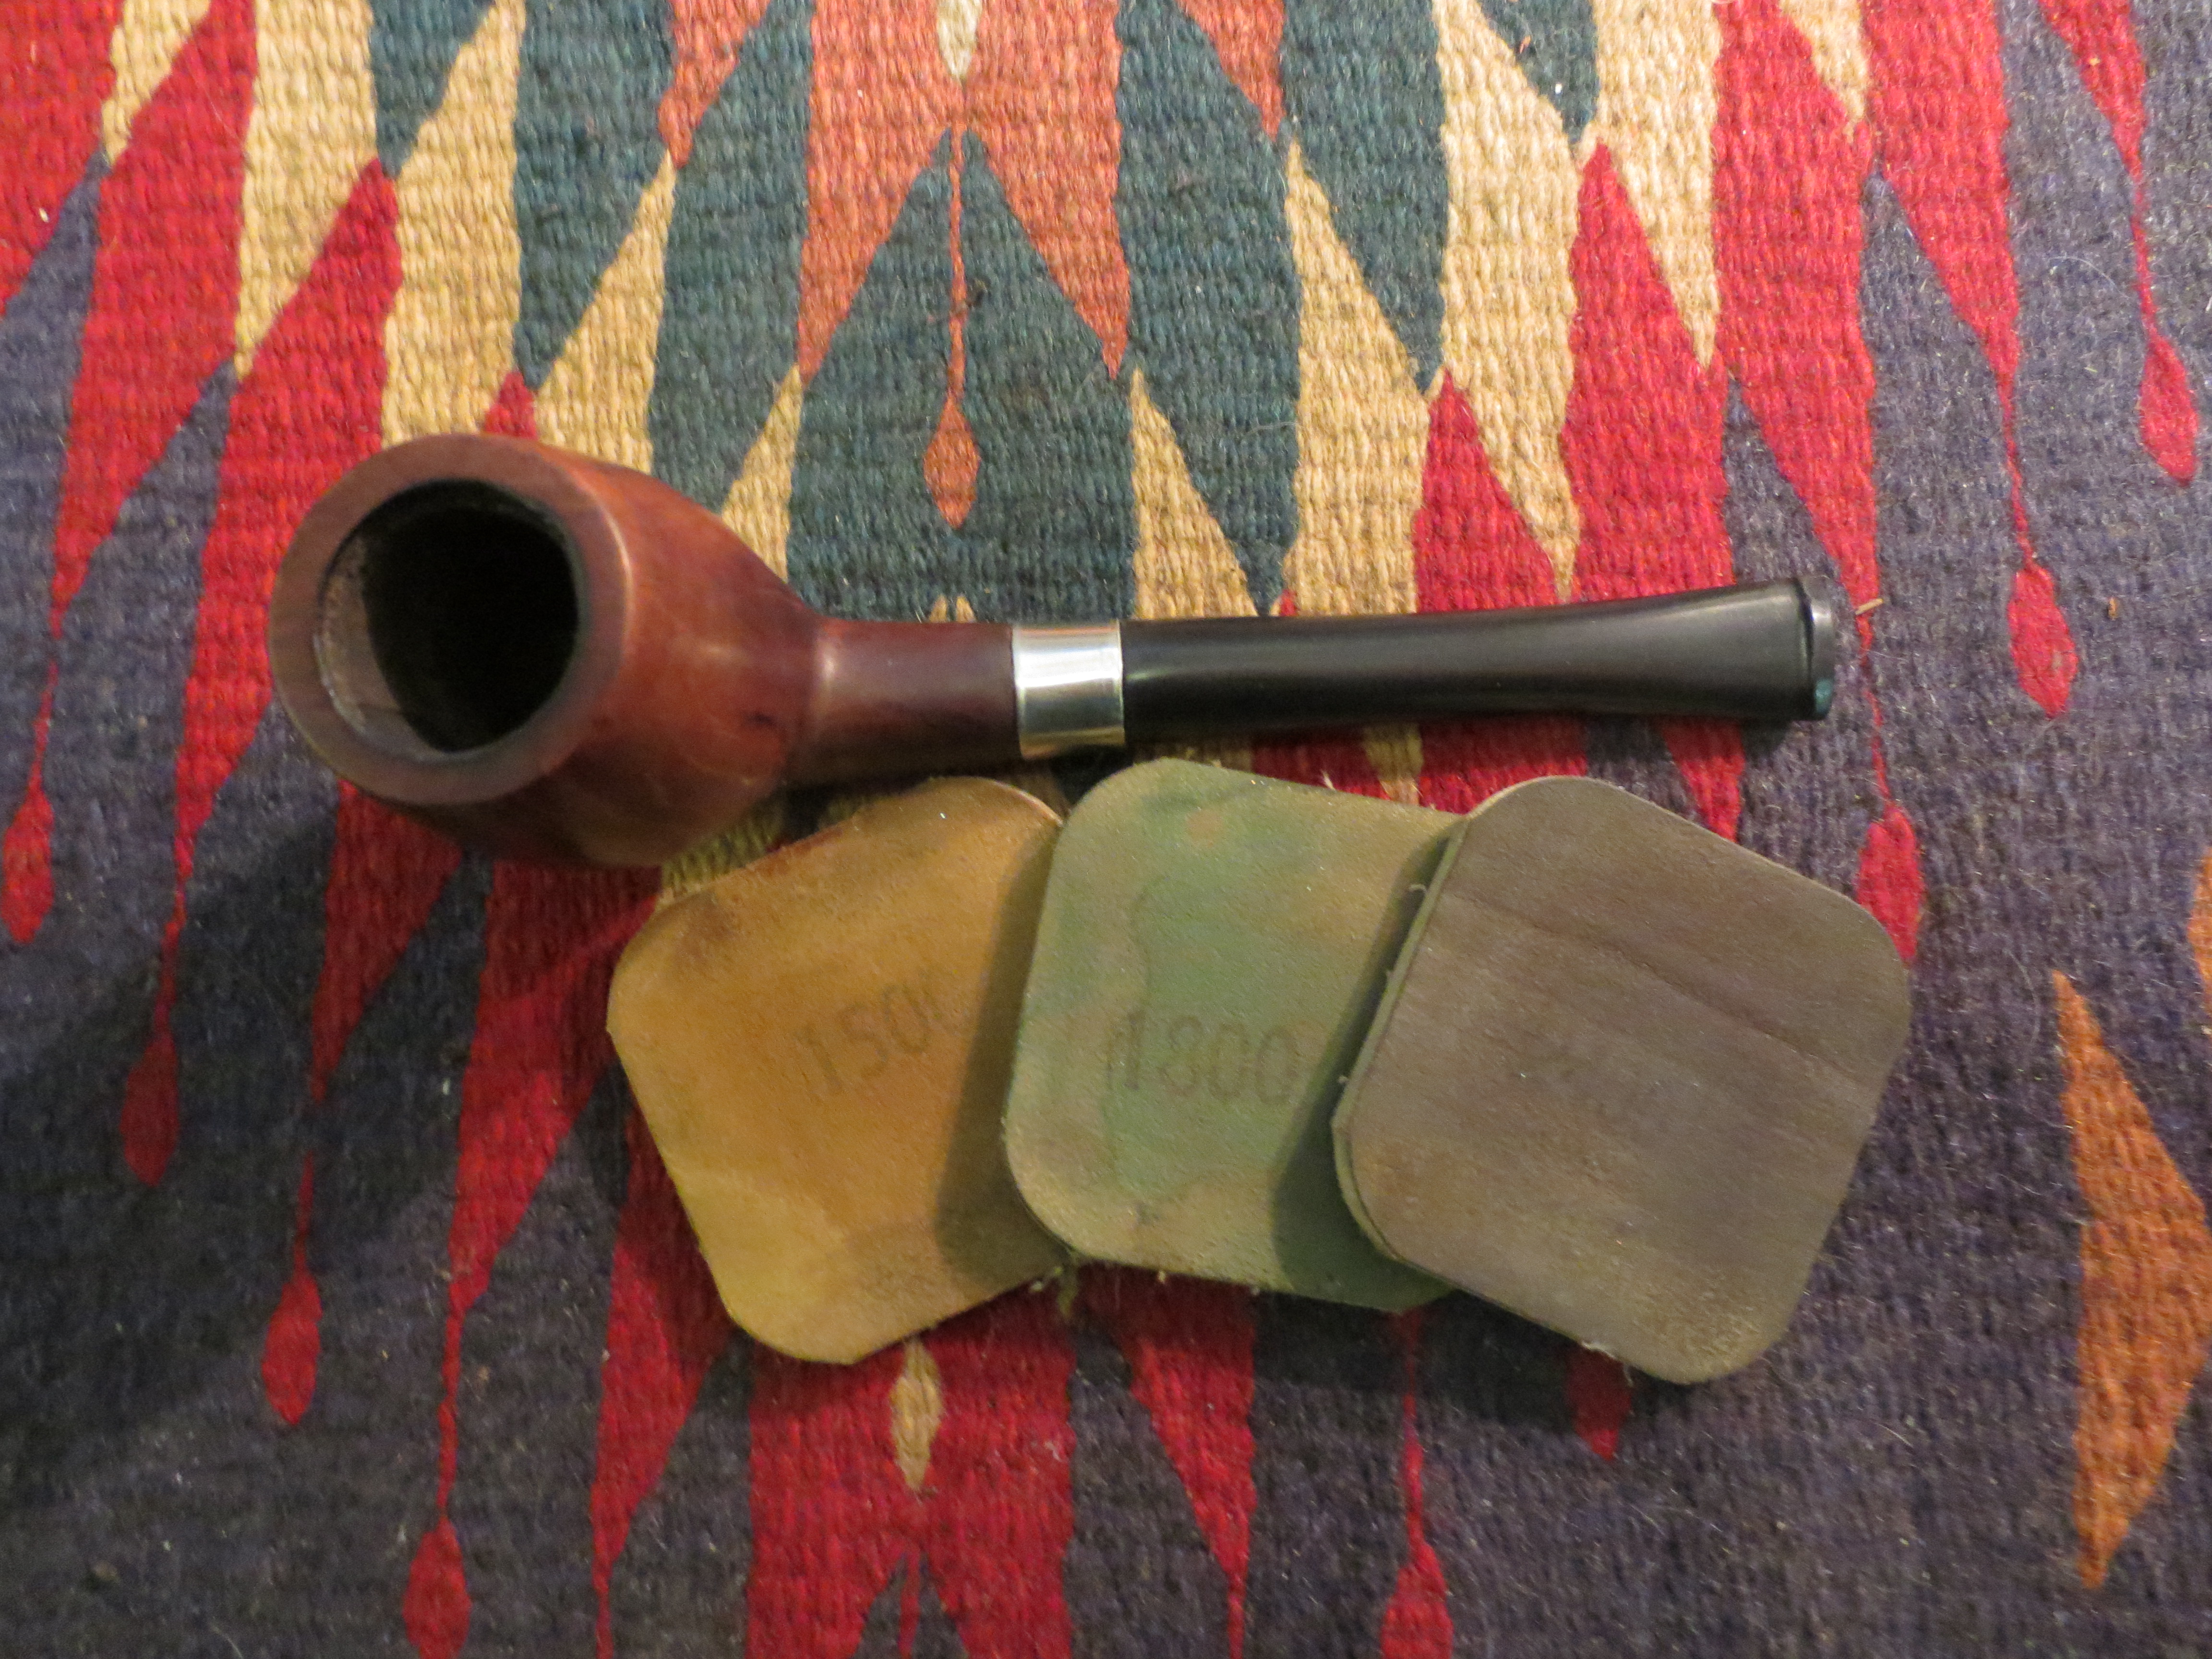
I sanded the stem with micromesh sanding pads from 1500-12,000 grit. I wet sanded with the 1500-2400 grit pads and then dry sanded with the 3200-12,000 grit pads. The next series of four photos show how each progressive grit of sanding pads bring a deeper shine to the stem.

IMG_1304

IMG_1305

IMG_1306

IMG_1307

I wiped the stem down with Obsidian Oil to protect the new shine against oxidation and then once it was dry took it to the buffer and buffed the stem with White Diamond. I finished by buffing the bowl and stem lightly with White Diamond a second time. It took the pipe back to my work table and gave it several coats of Halcyon II Wax. I have found that it does a great job on sandblast and rusticated finishes. When it was dry I hand buffed it with a shoe brush until it had a rich shine. The next series of photos show the finished pipe. I like the new look to the shank and bowl and the new stem looks like it came with the pipe!

IMG_1309

IMG_1310

IMG_1311

IMG_1312

Reworking and Reshaping an Old French Briar (CPF?) Billiard


Blog by Steve Laug

This old timer was one of the pipe bowls that I picked up in that EBay lot that had others with the French Briar stamping. The others had the same stamping but also had been stamped CPF on the shank or on the end cap. This one was missing the end cap so it remains a bit of a mystery as to its maker. It was also stemless. From the photos below you can see that at one point in its life it also had a rim cap that was also missing. What was left was the line around the top of the bowl and a darkened rim where the silver cap had covered it. The end of the shank was in pretty good shape but the likelihood of finding another end cap that fit or in making one was pretty low for me. The four photos below show the general state of the pipe when it came to my desk top. The finish was gone. There were several visible fills that stood out. It was one that I had to give a little thought about how I was going to tackle it. I knew that I would have to modify the shank and rework the bowl. I would also have to redrill the mortise way and fit a stem for the newly formed pipe. Ah well… let’s begin the work.
IMG_0789

IMG_0792

IMG_0791

IMG_0790
After many failed attempts over the years to get a good straight cut on the shank and end up with a smooth and even mortise I finally figured out a way with my limited tools to accomplish that. I slip a nickel band on the shank to the place that I want to cut it off. I use the band as a guide for my hacksaw to follow. So far this method has worked for me and left me with some nice evenly cut shanks. The next three photos show the process from start to finish.
IMG_0793

IMG_0795

IMG_0794
After cutting off the shank I sanded the area where the new band would be fitted. I used my Dremel with a sanding drum to begin the process of cutting back the shank to receive the band and finished by hand sanding it with medium grit emery cloth. I set up my heat gun on it end stand, slipped the band in place and set the heat on low to warm the band so that I could press it into place. The next two photos show that process.
IMG_0796

IMG_0797
With the band in place I wiped down the bowl with acetone on a cotton pad to clean off the grit and the remnants of the finish on the pipe. After I had cleaned the bowl I topped the rim with a medium and fine grit sanding pad to remove the damage to the rim edges. The next four photos show that process. During that time I also used superglue and briar dust to fill the obvious sand pits on the bowl (at the back of the bowl near the shank and on the underside). I sanded them once they were dry and was able to blend them into the bowl quite well. In the first photo below you can see the first large sand pit clearly. It was quite long and fortunately flowed with the grain so that it was easy to blend in with the briar dust and superglue. The one on the bowl bottom was a bit more difficult to blend in. In either case both are now smooth surfaces that the finish sanding would blend in as much as possible.
IMG_0798

IMG_0799

IMG_0800

IMG_0801
I sanded the bowl with a medium grit sanding sponge to remove the damage caused by the rim cap and to remove the darkened line around the top of the bowl. The next series of three photos show how the bowl is shaping up after initial sanding. The wood is stamped French Briar but as I work it I am wondering. It is very hard, dense wood with interesting grain. It is very light weight and the feel of the sanding dust and the wood itself calls this into question for me. Maybe it is only a question of age on the pipe as it is probably from the late 1800’s or early 1900’s.
IMG_0802

IMG_0803

IMG_0804
I inserted the stem and took it to the buffer to see what it looked like at this point after buffing. I buffed it with Tripoli. The next four photos show the pipe after buffing. There was a natural reddish colour to the wood that came out more and more as I sanded it.
IMG_0805

IMG_0808

IMG_0807

IMG_0806
After buffing the pipe I reamed it with my PipNet reamer to clean out the crumbling and broken cake that was on the surface of the bowl (Photo 1). I sanded it some more and then wiped it down with an alcohol dampened cotton pad and prepared tit for restaining (Photos 2 & 3).
IMG_0809

IMG_0811

IMG_0810
I receive regular tweets from Grant Batson, pipemaker. In one of the latest he wrote of experimenting with Danish Oil in finish the bowl of a pipe. I have several cans of that around from my refinishing furniture days so I decided to use some medium walnut coloured Danish Oil on this bowl. The next four photos show the stained pipe. I had yet to buff it or polish it at this point in the process. I just rubbed on the Danish Oil and then rubbed it off.
IMG_0812

IMG_0815

IMG_0814

IMG_0813
I set the pipe aside for the evening so that the finish had a chance to dry well. This morning I worked on the stem and the bowl with the micromesh sanding pads. I used all grits that I have available from 1500 – 12,000 grit to sand both the bowl and the stem. The next series of six photos shows the progressively developing shine on both the stem and the bowl.
IMG_0816

IMG_0821

IMG_0820

IMG_0819

IMG_0818

IMG_0817
After finishing with the micromesh sanding pads I took it to my buffer and buffed it with White Diamond. I find that this buffing with a light touch really sets the shine to a glossy finish. The next four photos show the pipe after buffing. I still had to put on the wax but the shine is very evident.
IMG_0822

IMG_0825

IMG_0824

IMG_0823
The final series of four photos show the finished pipe. I gave it multiple coats of carnauba wax and buffed it with a soft flannel buffing pad. I am pleased with the way it turned out. The pipe is ready for smoking and should provide service for many years to come.
IMG_0826

IMG_0827

IMG_0828

IMG_0829