Tag Archives: Meguiar’s Scratch x2.0

Cleaning up the last of the Sofia, Bulgaria Finds – a Heibe Dublin 430


Blog by Steve Laug

This is the last of the pipes I picked up on my trip to Europe and the pipe hunt with Dal in the market in Sofia. It is a nice sandblast Dublin stamped with an arced Heibe next to the shape number 430. There is no other stamping on the pipe so dating it is a bit difficult. I looked up what information I could find on the brand and found on Pipedia a short description of the brand. I quote it here in full with the reference at the end. “Heibe pipes are made by the company of the same name, owned in turn by Erich Heikaus, KG, in Bergneustadt, Germany. The trademark for the Heibe name was first filed on March 9, 1966 and registered on January 14, 1967. The sole trademarked line name of Heibe is the Heibe Goldpoint, which was applied for in 1970 and granted on May 31, 1972. Pipes have been seen stamped both “Germany” and “West Germany”, showing that the Heibe Company continued to make pipes after 1990, but these pipes appear to no longer be in production.  https://pipedia.org/wiki/Heibe

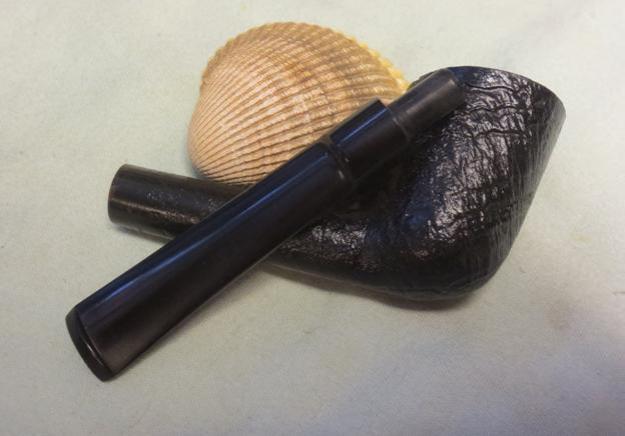
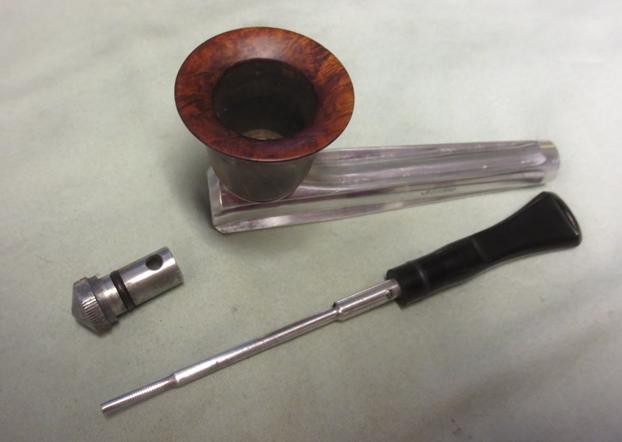
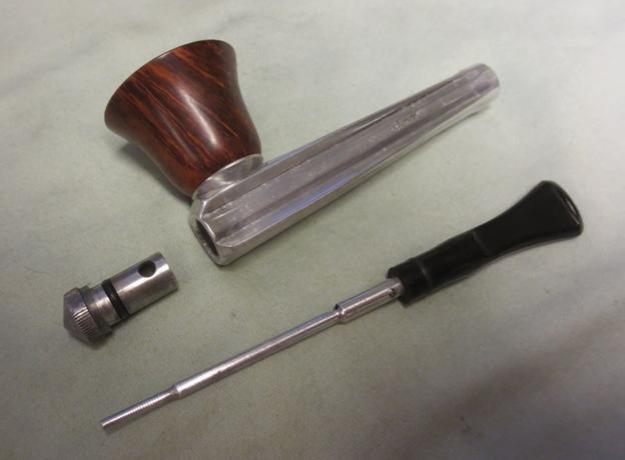
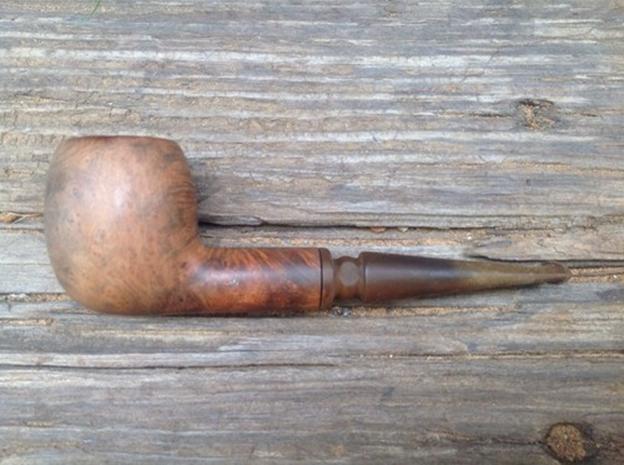
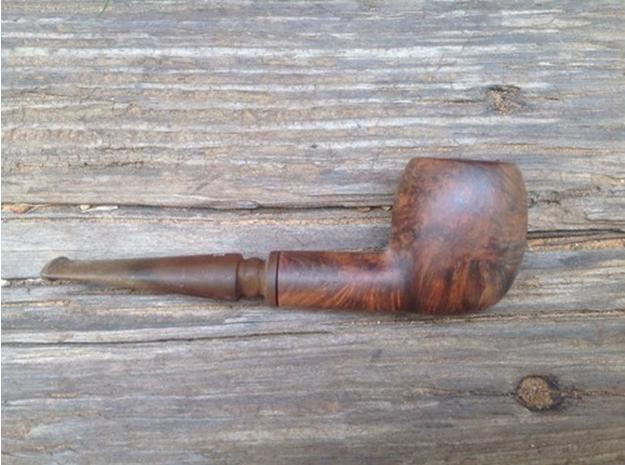
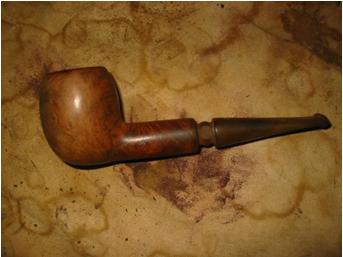
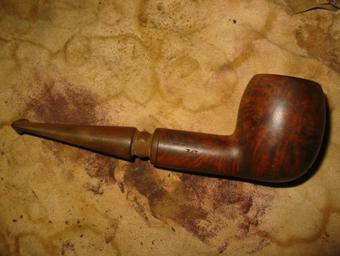
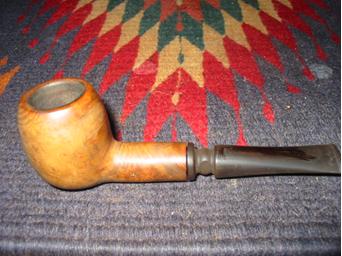
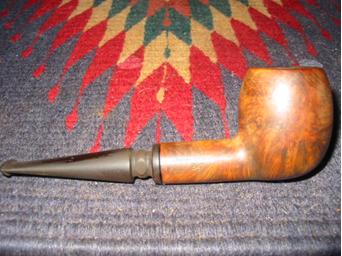
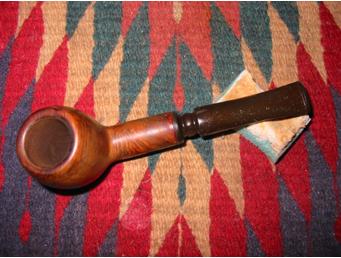
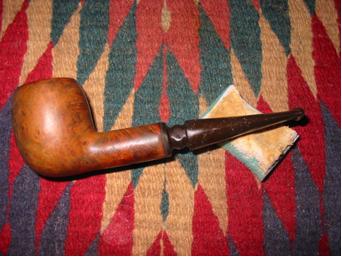
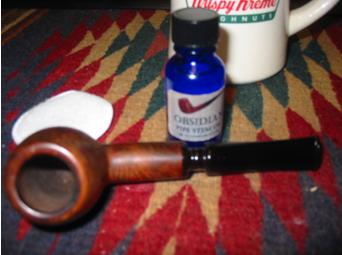
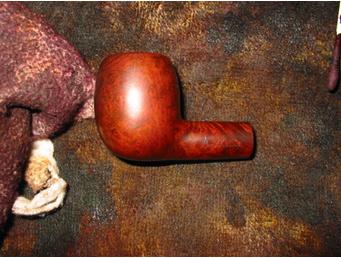
The pipe was in decent shape though the bowl and shank were dull and dirty. The stem was made of quality vulcanite that was not badly oxidized. It had no tooth chatter and other than dirt on the stem it was clean. The rim had some tars and oils over flowing from the bowl but it was not heavy. The cake was thin and uneven. There was a lot of dust in the grooves of the blast that gave the finish a dull appearance. There were some worn spots on the shank near the stem and also on the outer edges and top of the rim that would need to be touched up with stain. But other than that the pipe was in decent shape.Heibe1 Heibe2
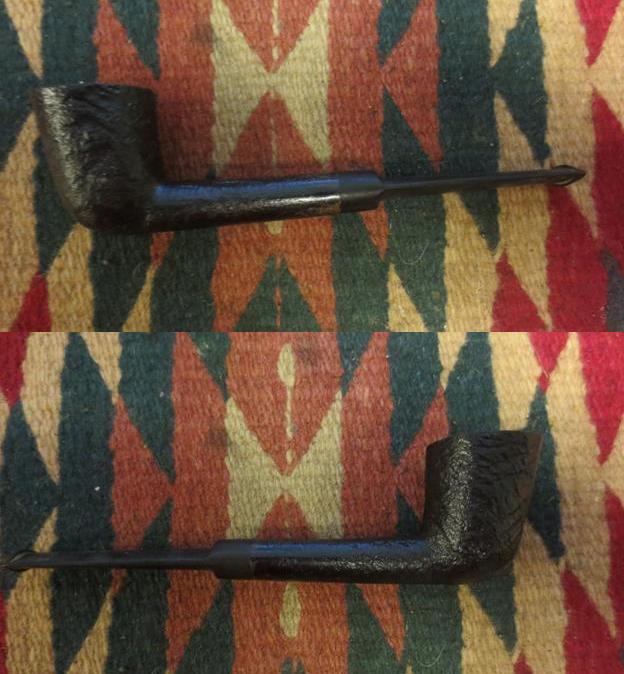
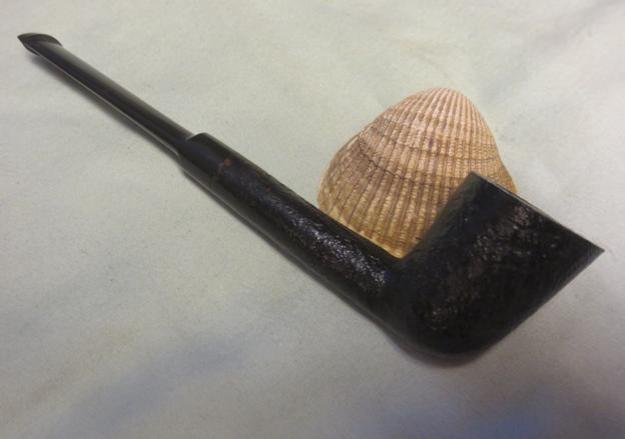
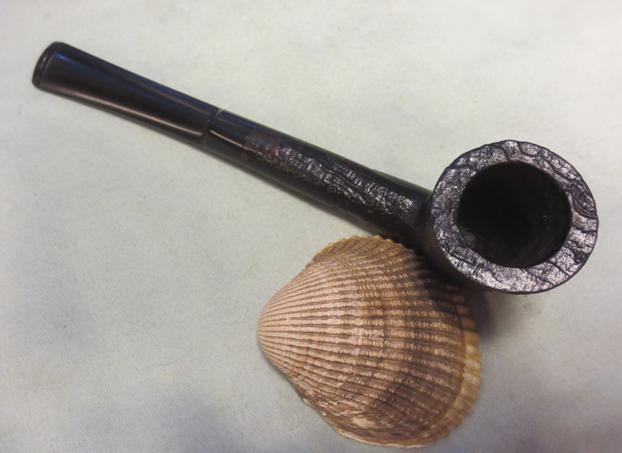
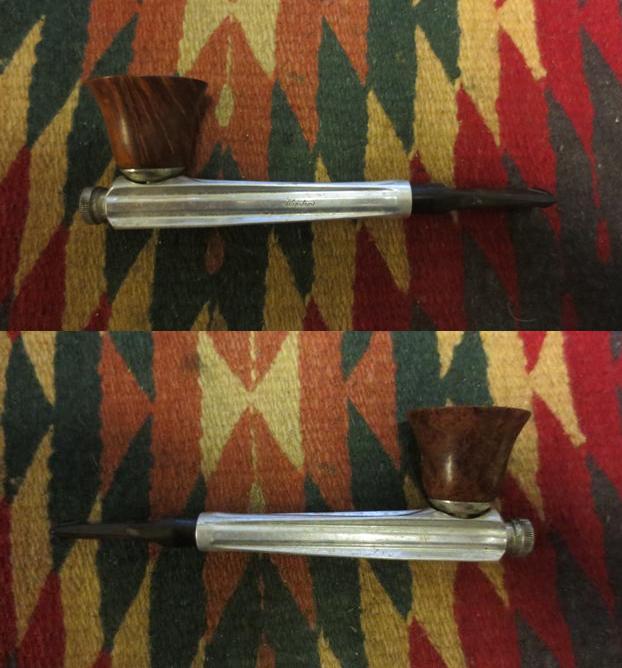
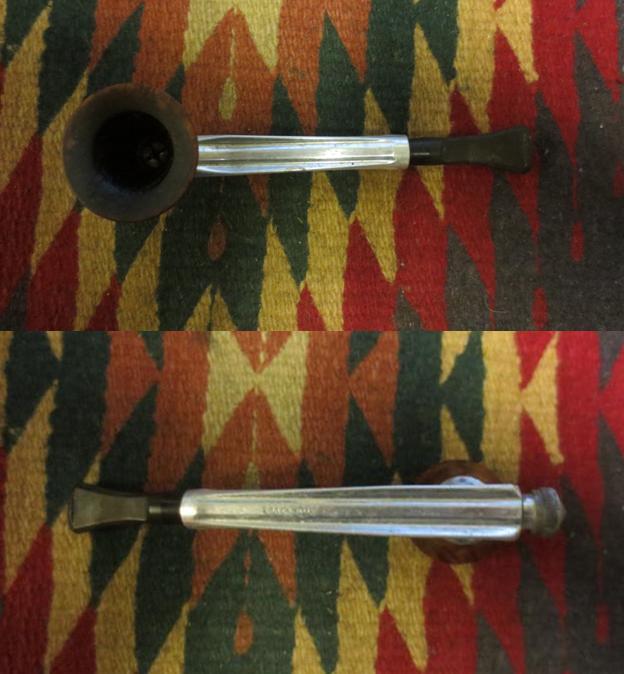
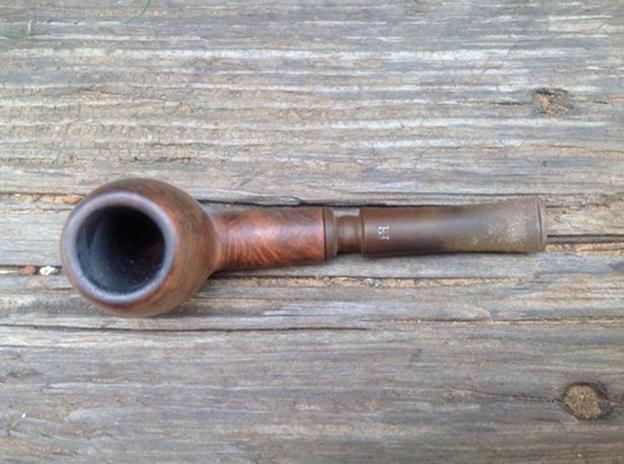
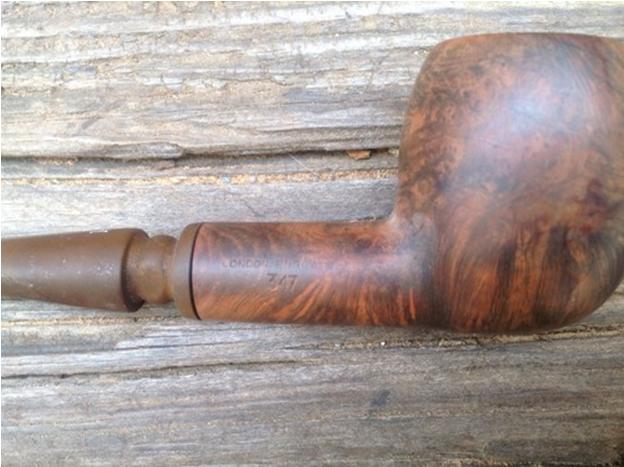
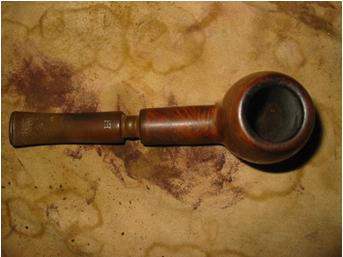
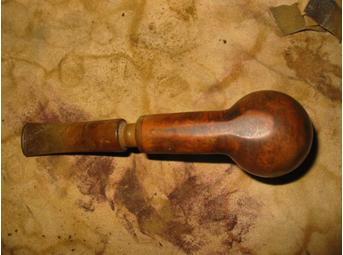
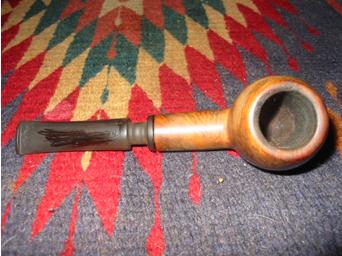
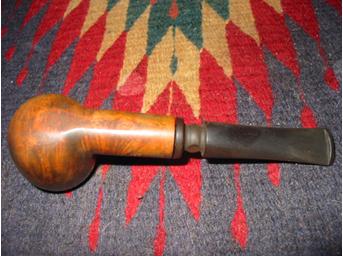
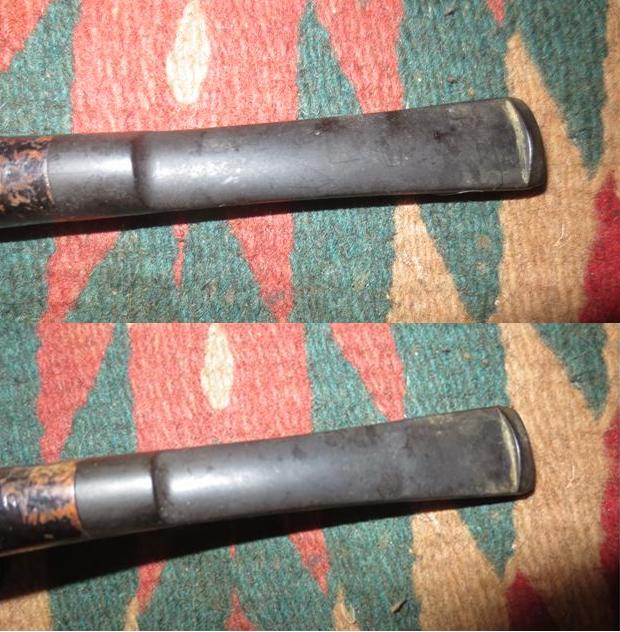
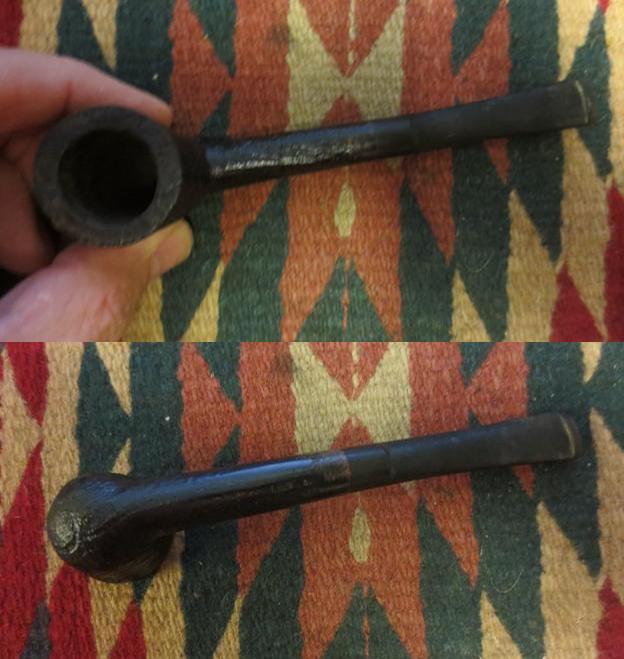
I took some close-up photos of the stamping, the bowl and rim and the stem to show the state of the pipe when I started cleaning it. You can see the shape number and brand in the first photo as well as the wear on the finish at the stem. In the second photo you can see the tars and grime on the rim and the thin cake in the bowl. The last two photos show the stem top and bottom sides. You can see the quality vulcanite had not oxidized too much.Heibe3 Heibe4
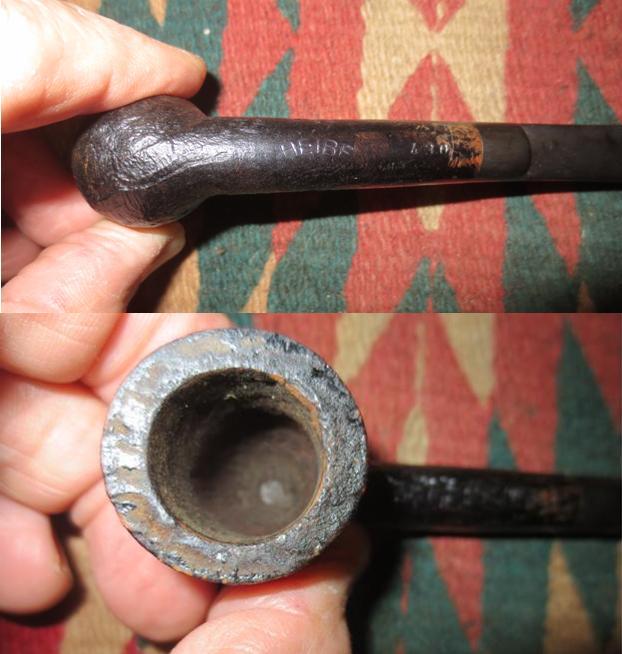
I scrubbed the rim with a brass bristle wire brush to clean out the grooves and remove the build-up. It did not take too much scrubbing to get it clean. I scrubbed the rim with Murphy’s Oil Soap to remove the dust and grime in the sandblasted finish. I rinsed it under running water to remove the soap.Heibe5
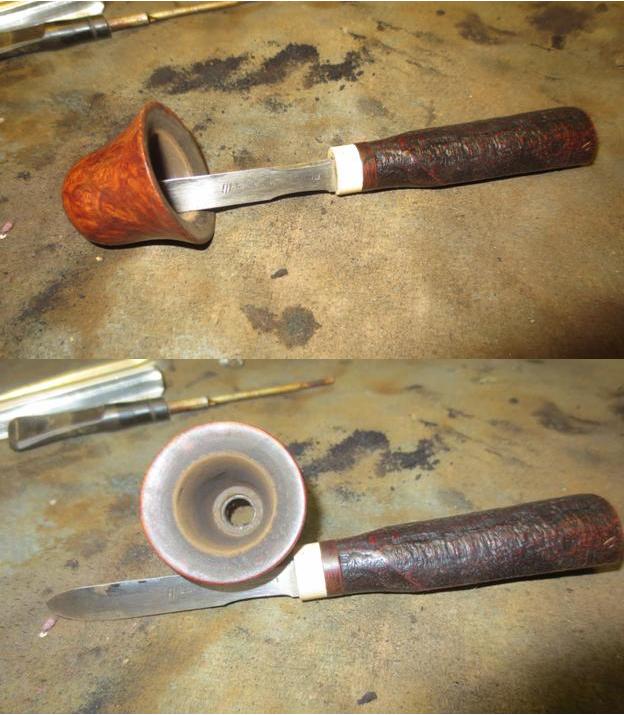
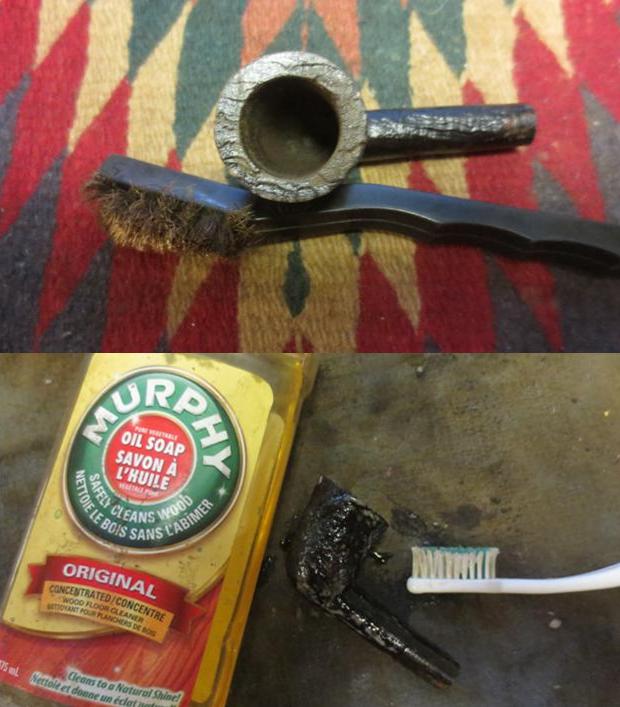
I scraped out the cake in the bowl with the Savinelli Pipe Knife. I took it back to bare briar.Heibe6
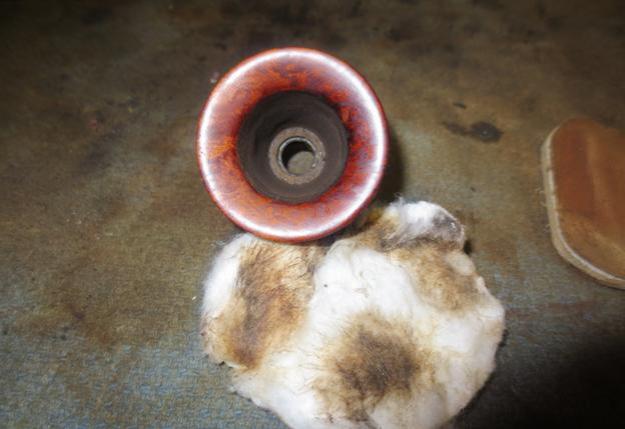
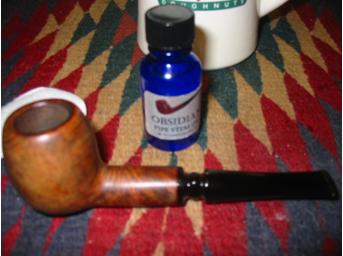
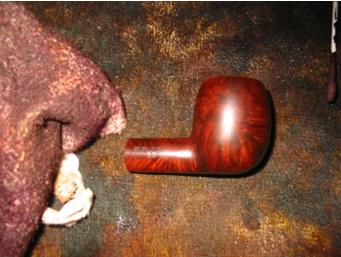
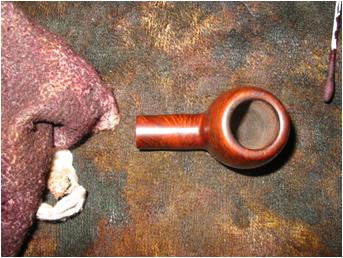
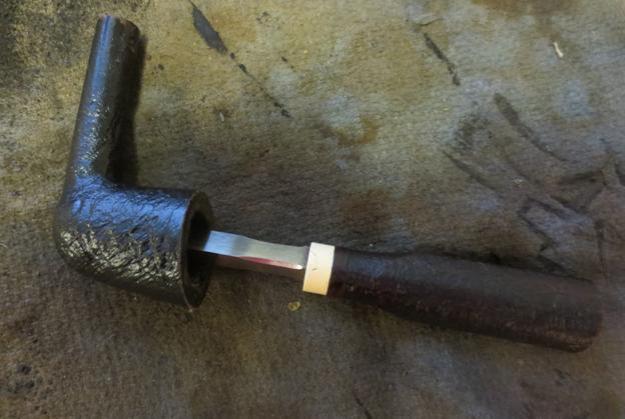
I touched up the worn areas of the finish on the shank and the rim with a dark brown stain pen and then hand buffed the bowl with a shoe brush. The photos below show what the bowl looked like at this point in the process.Heibe7 Heibe8
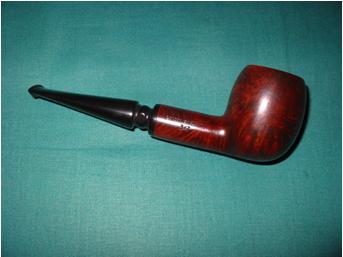
I hand buffed the bowl and shank with a shoe brush to get a feel for the look of the restained portion of the pipe. The new stain blended in very well with the older stain.Heibe9
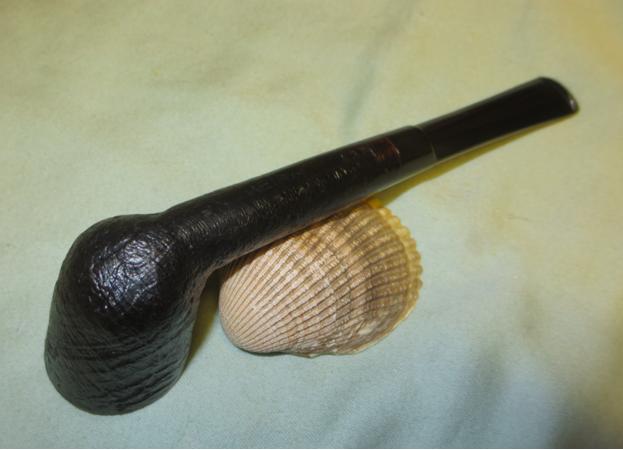
I gave the bowl several coats of Conservator’s Wax and then buffed it once again with the shoe brush. The polished bowl is shown in the photos below.Heibe10 Heibe11
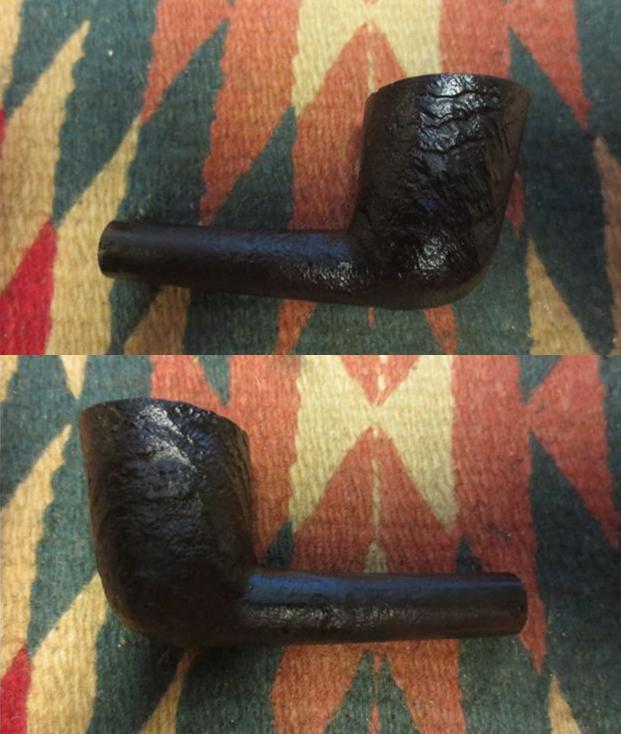
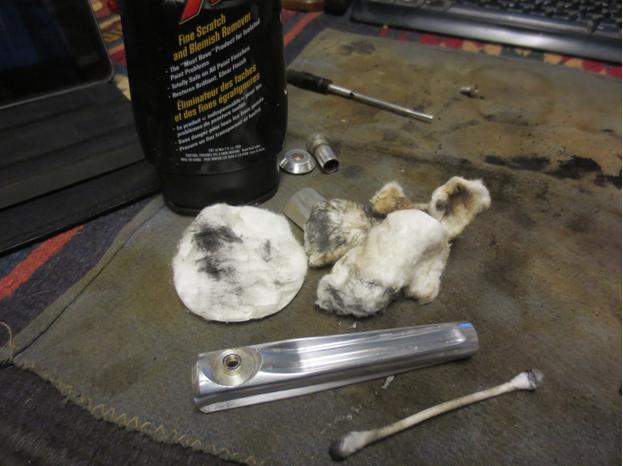
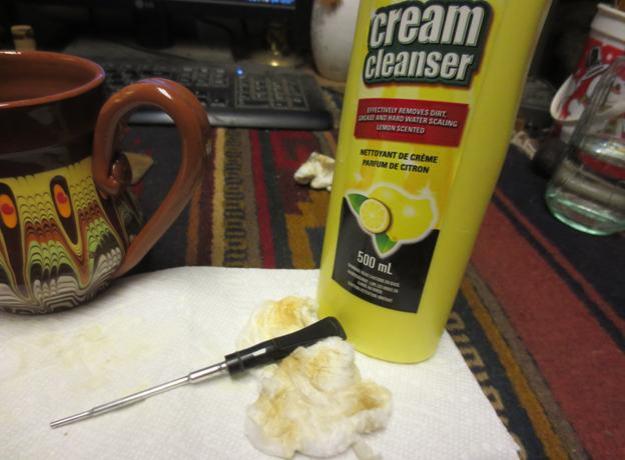
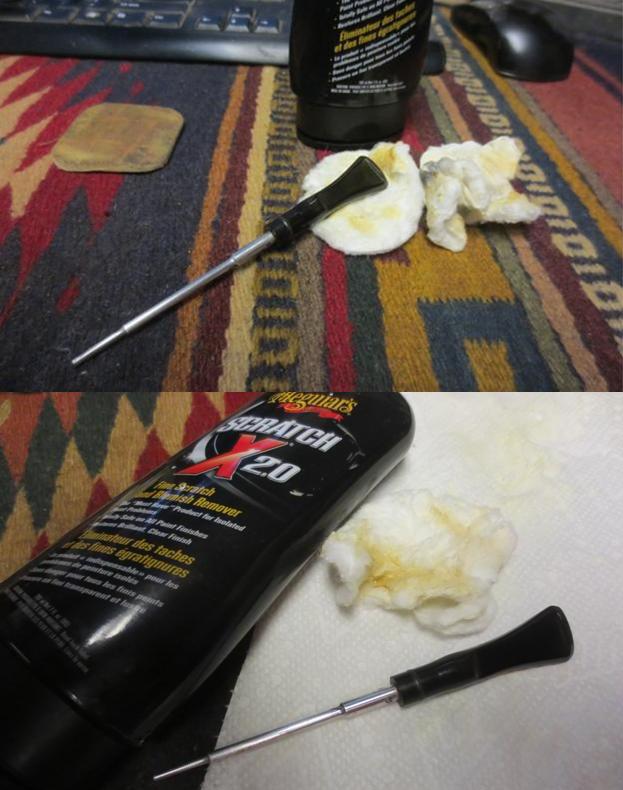
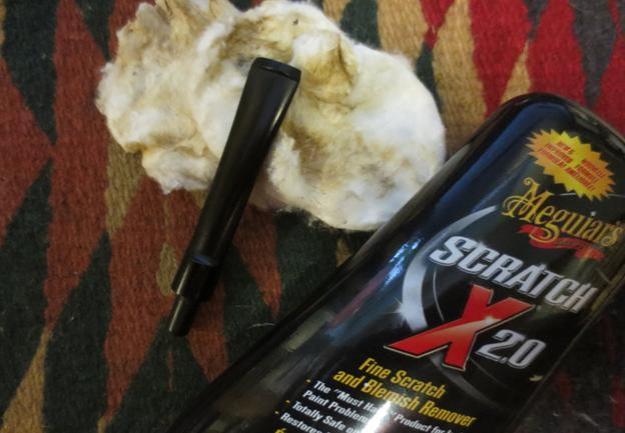
I decided to work on the stem with the cream cleanser and the Meguiar’s Scratch X2.0 once again. Since there were no tooth marks in the stem it would be just a matter of polishing the vulcanite. I scrubbed it with cream cleanser and cotton pads until I had removed the majority of the grime. I scrubbed it with the Meguiar’s to finish polishing it.Heibe12 Heibe13
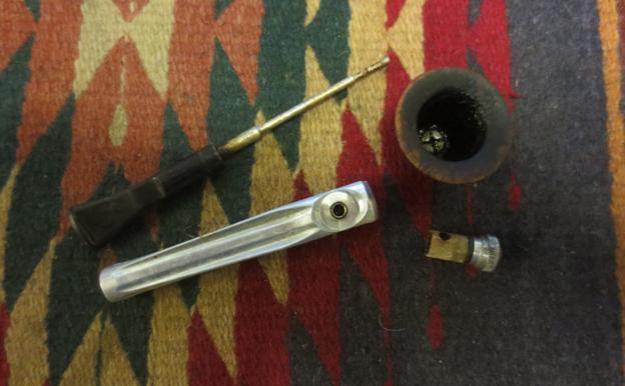
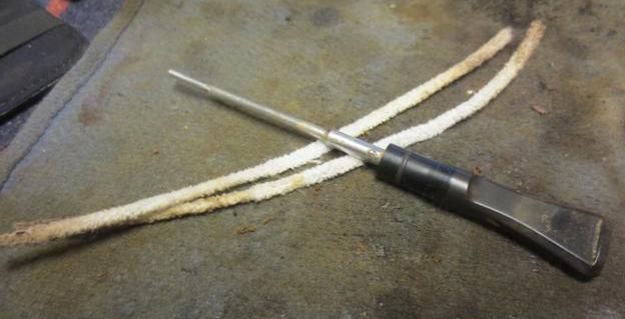
The two polishing compounds removed the grime. I cleaned out the airway with pipe cleaners and alcohol and the stem was finished. I scrubbed the mortise and the airway into the bowl with pipe cleaners, cotton swabs and alcohol and cleaned it out as well.Heibe14
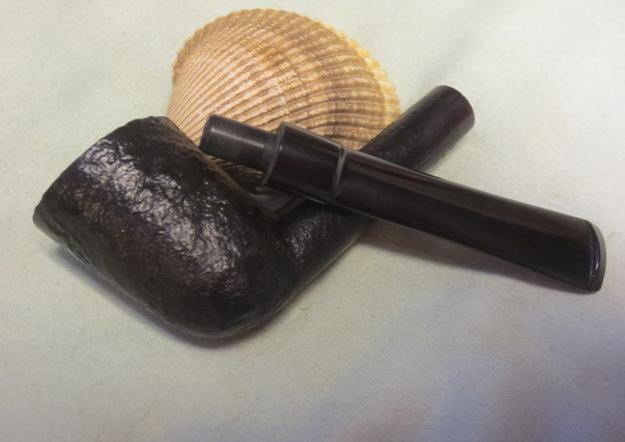
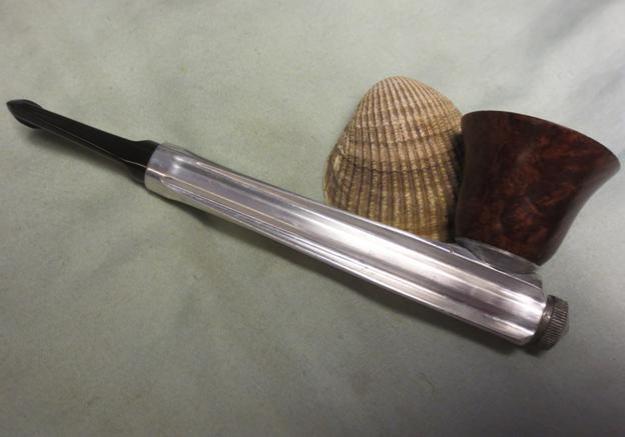
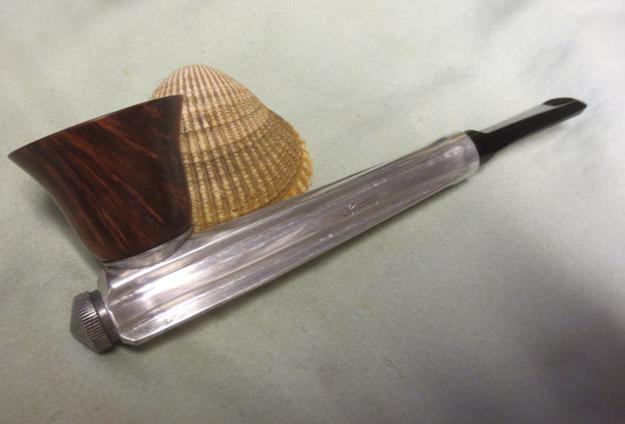
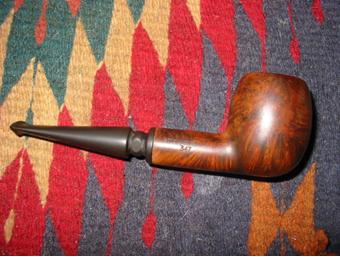
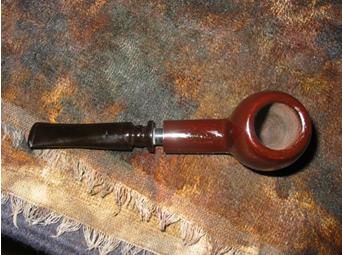
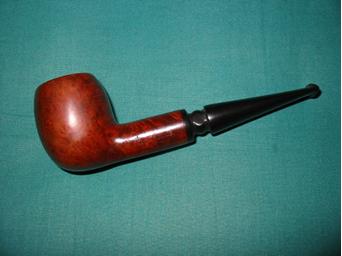
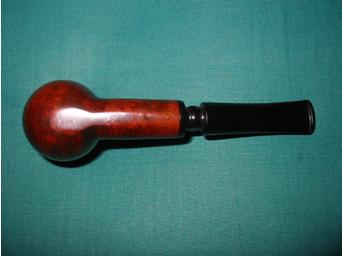
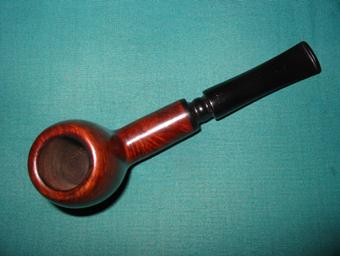
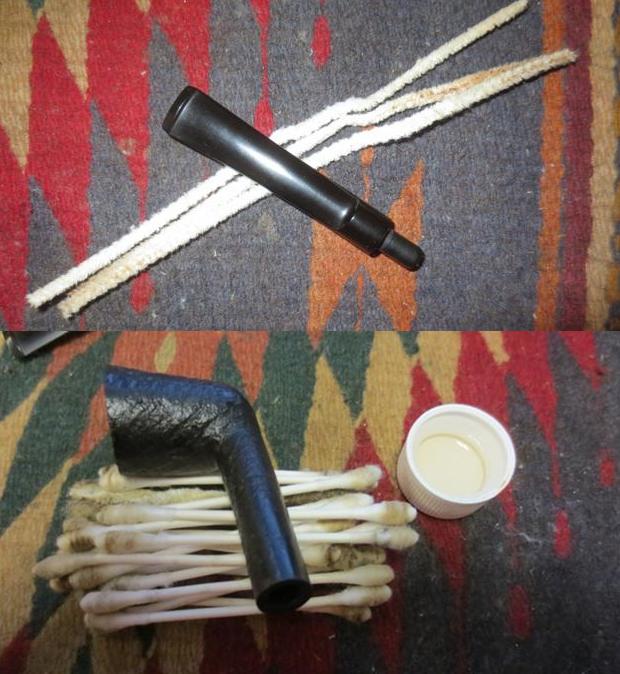
I buffed the cleaned pipe with Blue Diamond on the buffing wheel to polish the stem and lightly polish the bowl. I gave the stem several coats of carnauba and the bowl a very light coat of carnauba and then buffed the pipe with a clean buffing pad to raise the shine. I finished buffing it by hand with a microfibre cloth to give it a deeper shine. The look of the finished pipe is shown in the photos below. It has a nice blast and clean sharp lines to it. If anyone is interested in this one let me know it will go on the store very soon. Thanks for looking.Heibe15 Heibe16 Heibe17 Heibe18 Heibe19 Heibe20 Heibe21

Breathing new life into a Kirsten S with a Unique Bell Bowl


Blog by Steve Laug

My brother picked up this Kirsten because he really liked the look of the bowl. I have never seen a Kirsten bowl this shape so I don’t know if it is an aftermarket bowl or one of Kirsten’s own. In the long run it does not matter because not only is the shape attractive but the briar is stunning. The rim has a slight bevel inward and the curve into the metal base cap looks great and feels great in the hand. The bowl had a heavy cake and the screw mount in the bottom of the bowl was caked over to the point that it was stuck in the bowl. The metal barrel was oxidized and pitted. It had no shine left but looked like a well-worn pipe. The stem was oxidized but there were no tooth marks or chatter on the stem. The rod that ran through the barrel was dirty and coated with tars and oils that had harden. The adjustable valve on the end of the barrel was stuck and could not be turn or adjusted. It was actually stuck closed so there was no airflow through the barrel.Kirsten1 Kirsten2I put the pipe in an alcohol bath to let it soak for a day while I was at work. When I came home in the evening I was able to take it apart. The alcohol had softened the tars and the stem came out easily and I was able to use a screw driver and a light tap on the handle to knock out the stuck valve. The bowl came off the barrel but the screw was still stuck in the bottom of the bowl. When I had it apart I realized I was dealing with a Generation 2 Kirsten. It was made between 1958-1985. I quote from a previous blog on the site with the information that leads me to the conclusion that I was dealing with a Generation 2. “Markings on underside of metal shank “Made in USA XL” (or app. size) and “Pat. & Pats. Pending”. The presence of O rings on both the valve and the mouthpiece and the metal cup spacer under bowl are the biggest thing that separates the Generation 1 from the Generation 2 pipes. These O rings help provide a tighter seal when the stem and apparatus are inserted into the radiator stem. Instead of “O” rings, the machining of the Generation 1 pipes was so precise the fit was exact.”  https://rebornpipes.com/2012/11/03/kirsten-generation-1-1-5-2-3/ The blog also identifies the S stamp on the bottom of the shank as the Sportsman Model from that era.

So I knew that the pipe I had, came from the time period of 1958-1985 and that the O rings on both the valve and the mouthpiece confirmed that. The S stamp also fits the pipe squarely within that date range. Armed with that information I began to work on refurbishing the Kirsten.Kirsten3I reamed the bowl with the Savinelli Pipe Knife and was able to clean out the cake enough that I could use a flat blade screwdriver to loosen the screw from the bottom of the bowl. Once the screw was removed I cleaned out the bowl with sandpaper to take the cake back to bare briar.Kirsten4I scrubbed the rim with a cotton pad and saliva and was able to remove the majority of the tars and oils. I used micromesh sanding pads to further clean up the rim top. The briar was beautiful once the grime was removed. I wiped down the outside of the bowl and rim with alcohol and the finish was in very decent shape.Kirsten5I scrubbed the oxidized finish with Meguiar’s Scratch X2.0 and cotton pads and cotton swabs and was able to remove the worn and oxidized build up on the surface. Underneath the oxidation was a shiny metal finish. It would not take too much scrubbing to remove all of the damage.Kirsten6I soaked some cotton pads in alcohol and pushed them through the barrel and also scrubbed the inside of the barrel with cotton swabs and alcohol to remove the tars and oils there. I cleaned out the inside of the valve and the outside of the insert end. Kirsten7I cleaned out the airway in the stem with alcohol and pipe cleaners. I sanded the metal rod with micromesh sanding pads to remove the build up and tars on the metal surface. I scrubbed it with alcohol to clean it and polished it with the Meguiar’s.Kirsten8With the internals cleaned, the bowl reamed and cleaned, the barrel polished and cleaned it was time to polish the stem. I scrubbed it with Soft Scrub cleanser to remove the oxidation. Once I broke through it I used the Meguiar’s Scratch X2.0 to further polish the stem. I decided to try to see if I could successfully use Charles’ method of cleaning oxidation with the Meguiar’s.Kirsten9 Kirsten10I was pretty amazed with the results. The finish glowed and the polish actually removed all of the oxidation. It just took repeated scrubbings and polishing until finally no more oxidation came off with the polish. I buffed the pipe with Blue Diamond on the wheel to polish the briar, barrel and the stem. I gave the pipe multiple coats of carnauba wax and buffed it with a clean buffing pad to polish it. I hand buffed it with a microfibre cloth to deepen the shine. The finished pipe looks like new and it just glows with warmth and a shine that must have originally graced the pipe. It is a beautiful Kirsten and should grace someone’s pipe rack for years to come. The finished pipe is shown in the photos below. If you are interested in this pipe let me know. Thanks for looking. Kirsten11 Kirsten12 Kirsten13 Kirsten14 Kirsten15 Kirsten16 Kirsten17

Refurbishing a GBD Penthouse with a Chairleg Stem


While scanning EBay for interesting old pipes to work on I came across a pipe for sale with the stamping Penthouse. There was little other information on the advert regarding the pipe but it looked interesting to me. The chairleg type stem made me think of the series of pipes that Al (upshalfan) has restored so I put a bid in for the pipe. I contacted Al and he sent me the following picture from a Tinderbox catalogue showing that indeed the pipe was a GBD line. (NOTE: The GBD catalog page came courtesy of Jerry Hannah. Jerry created the GBD Shapes/Model page that I frequently use for reference. I’m not sure if he reads this blog, but if so, thanks!) The headline on the page says that GBD breaks with tradition and forges bold new designs. Pipes marked J, K, and L in the picture below are all Penthouse pipes. I have no idea where they took the name but let imaginations rest, the pipes are stunning and the stems are uniquely beautiful.
Pent1

The Penthouse pipe that I bid on and subsequently won is an apple shape. The first six photos below are the seller’s pictures. It was these pictures that tempted me to place my initial bid on this pipe. As it turned out I was the sole bidder. The stem was badly oxidized and had some tooth chatter at the button. The stamping showed up but was not as deep as it appears in the photos. The rim appears to be darkened but not charred in the photos and the finish appeared to be dirty but not dented or scratched deeply. It was stamped on the left side- Penthouse in script over Made in England in block letters. On the right side it was stamped London England over 347. Now the wait began.
pent2

pent3

pent4

pent5

pent6

Pent7

When the pipe arrived it was much as the pictures had shown. I am never sure what to expect when I bid on these old pipes as I have been utterly surprised both ways – they have shown up in much worse shape than the photos showed or in much better shape. The next four photos show it as it appeared when I removed it from the box.
pent8

Pent9

Pent10

Pent11

The finish was actually quite dirty. Many of the dark areas of the finish were actually grime and grit and not the understain on the pipe. I wiped the pipe down with acetone to remove the grime. I also used a battery terminal brush to clean out the remaining cake remnants in the bowl. Then I dropped the bowl in the alcohol bath and the stem in a bath of Oxyclean. The bowl sat for about an hour in the alcohol bath and the stem sat in the bath overnight. When I removed them I cleaned out the shank and the inside of the stem until the pipe cleaners and cotton swabs came out clean. I wiped the entirety with a soft cotton pad and acetone to remove any remaining grime and the next series of four photos show the state of the pipe at this point in the process. The alcohol bath and acetone had successfully removed the remaining finish and the grime on the surface of the pipe. The Oxyclean had done a great job on the oxidation. You will notice the shiny areas on the top of the stem – I had run my fingernail across the surface to show how the oxidation had softened. It was ready for the next step in the process of cleaning the stem.
Pent12

Pent13

Pent14

Pent15

The next two photos show the stem after I had scrubbed it with a Magic Eraser. The stem was wet and shiny and you can see the oxidation on the Magic Eraser under the stem. I continued to scrub the stem with the Magic Eraser until it came out clean.
Pent16

Pent17

The oxidation was greatly decreased at this point but there was more work to be done on the stem. The hard points on the stem were obviously around the chairleg section. The grooves were difficult to get to with the Magic Eraser. I decided to use some Meguiar’s Scractch X 2.0 which is a scratch and blemish remover for auto paint finishes. I used soft cotton pads (makeup removal pads) with a spot of the Scratch X 2.0 on them to scrub the grooves and the area around the button as well. The next series of three photos show the stem after the scrubbing with X 2.0. The oxidation is further removed but still evident.
Pent18

Pent19

Pent20

At this point I continued to scrub with the X 2.0 until the stem was once again black. I buffed the stems with White Diamond on my buffer once that was finished. The next two photos (please forgive the blurry focus) show the stem after the application of Obsidian Oil to the clean stem. I left the Obsidian Oil on the stem until it was absorbed and then coated the stem with an initial coating of carnauba wax to protect it while I went to work on the bowl.
Pent21

Pent22

I coated the bowl with an oxblood aniline stain. The next two photos show the coated bowl before I flamed the stain to set it in the grain. The stem appears to be brown again but I had coated it with wax and left it to dry while I worked on the bowl.
Pent23

Pent24

I buffed off the stain with a soft flannel cloth that is pictured below. I wanted to highlight the variety of grain in the pipe so that is why I chose the stain I did. It also shows that the black understain that appeared in the original photos still remained and makes the grain very visible in the pictures below.
Pent25

Pent26

Pent27

Once the stain was dry I put the pipe back together and took it to my buffer. I buffed the stem and bowl with White Diamond until is shone. Then I moved on to a soft flannel buff with carnauba wax and a final polishing buff with a clean soft flannel buff. The finished pipe is pictured below. All that remains is to fire it up and enjoy a bowl in the “new” Penthouse pipe. The stamping on the stem is still present and not harmed by the work but it is light and will not hold any whitening product.
Pent28

Pent29

Pent30

Pent31