Blog by Steve Laug
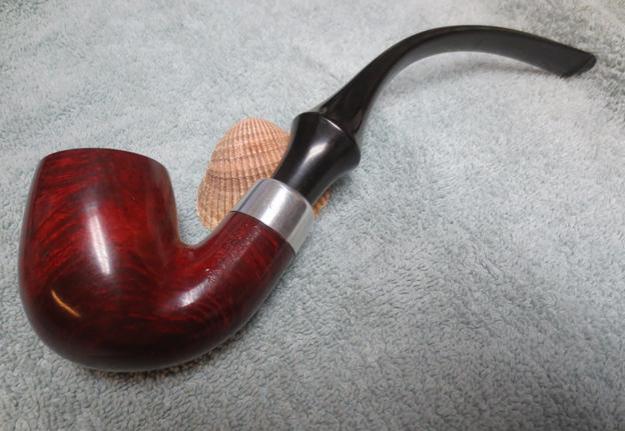
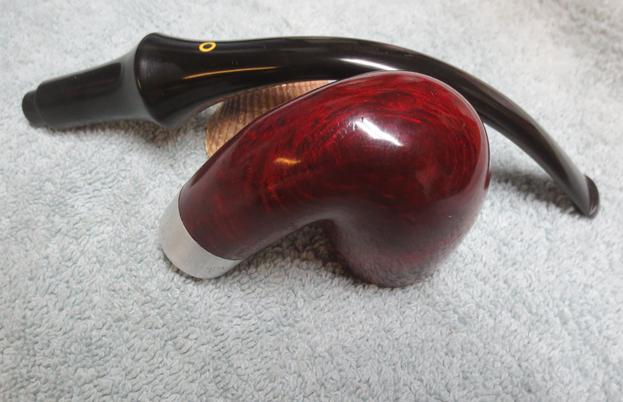
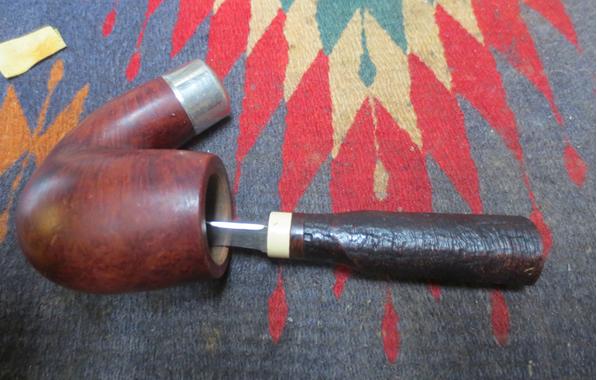
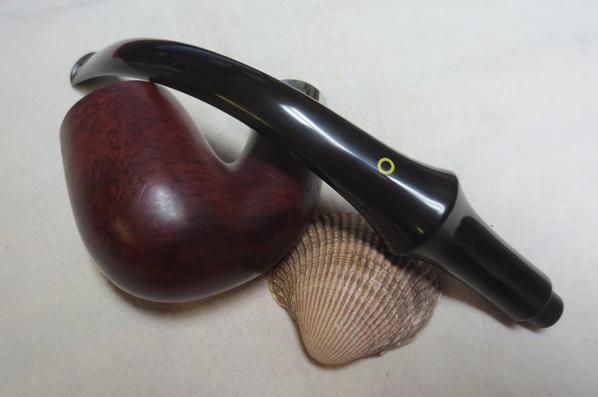
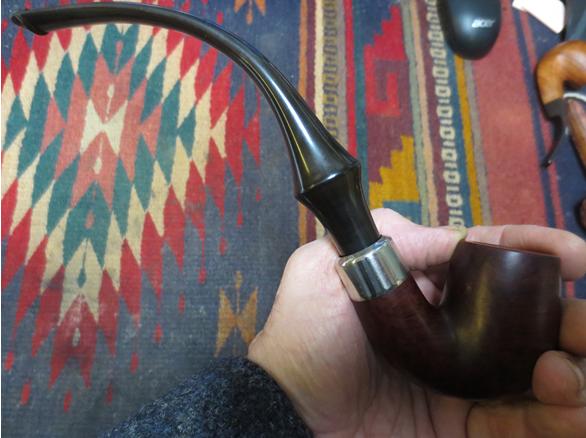
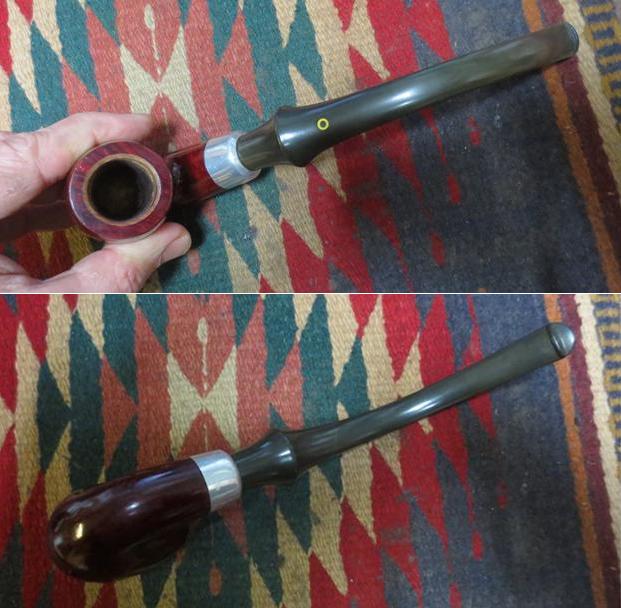
When I cleaned up a previous KBB Yello-Bole Imperial 3068C for a reader of the blog my brother immediately was struck by the beauty of the old pipe. He decided he would find one for me that matched the one I cleaned up for the reader. If you want to read about the cleanup of that one here is the link: https://rebornpipes.com/2016/11/10/breathing-life-into-a-huge-kbb-yello-bole-3068c-bent-billiard/. The 3068C is a large pipe. It is reminiscent of the WDC Wellington in many ways but to me there is a simple elegance to the lines of the 3068C that are more smooth and beautiful. This is another giant pipe. The dimensions are: length 10 inches, height 2 ¼ inches, outer diameter of the bowl 1 ½ inches, inner bowl diameter 7/8 inches. I took a photo of the pipe in hand to give an idea of the size of this old giant. As opposed to the other 3068C I cleaned up this one was in remarkably good shape. The shiny varnish coat actually was perfect with no peeling or nicks in it. The grain shone through and was a great mixture of birds-eye and cross grain. The Yello-Bole Honey Cured coating still showed on the bevel of the inner rim and in parts of the bowl. The rim surface had some very small dents or scratches in it but they did not seem to break the finish on the bowl. There was a light cake in the bowl. The nickel ferrule was oxidized and lightly scratches but otherwise undamaged. The stem had the classic older Yello-Bole circle on the top of the stem just behind the saddle and was lightly oxidized with minimal tooth chatter on the top and underside of the stem at the button.
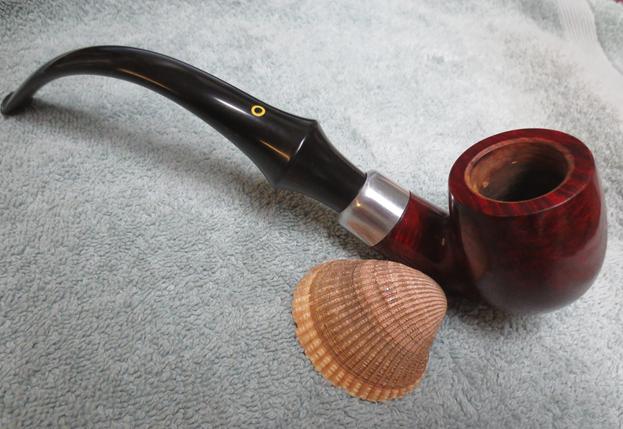
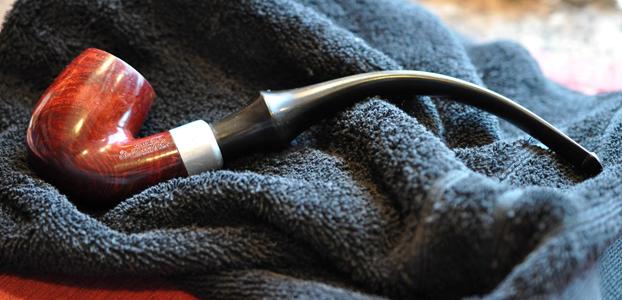
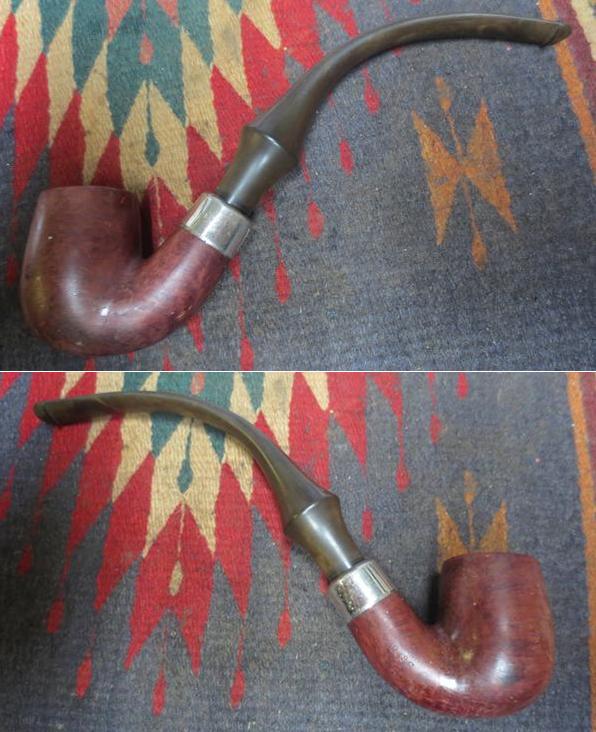
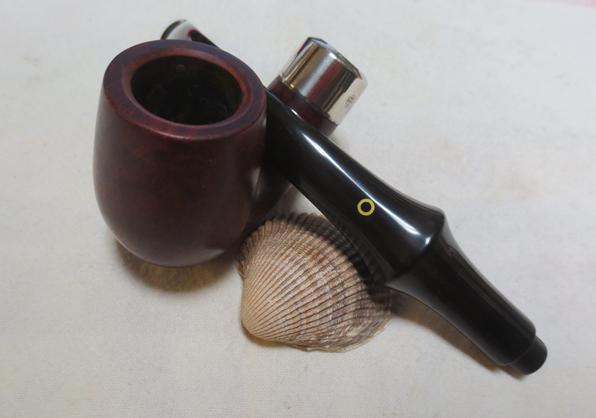
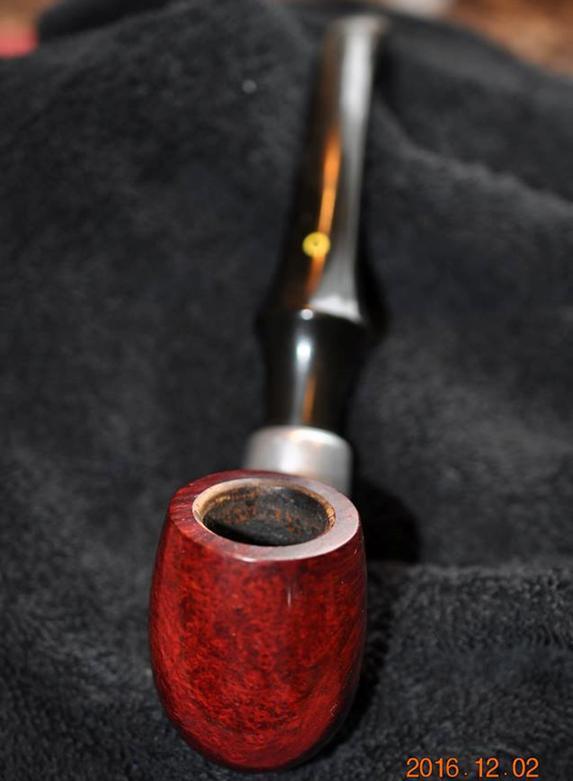 My brother took the above photos and the ones that follow to show the overall condition of the pipe. The next two close up photos show the rim top and inner rim bevel. The Yello-Bole Honey Cured coating can be seen on the edge of the bowl and going down into the bowl. You can also see the small dents in the rim and the light grime that had built up on the surface of the rim.
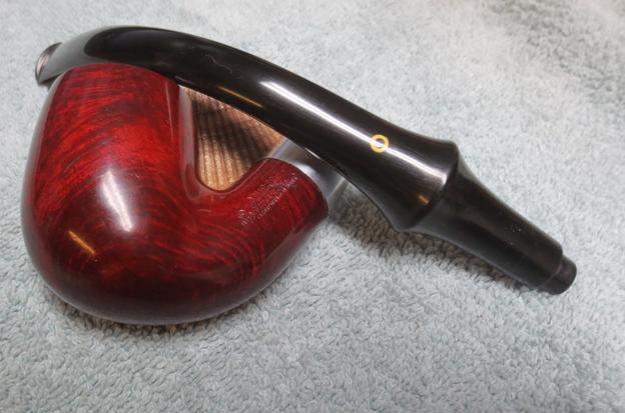
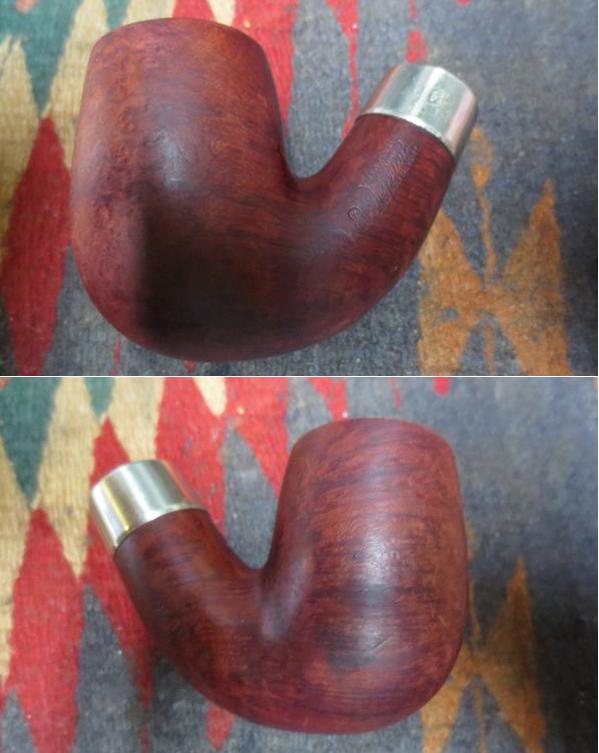
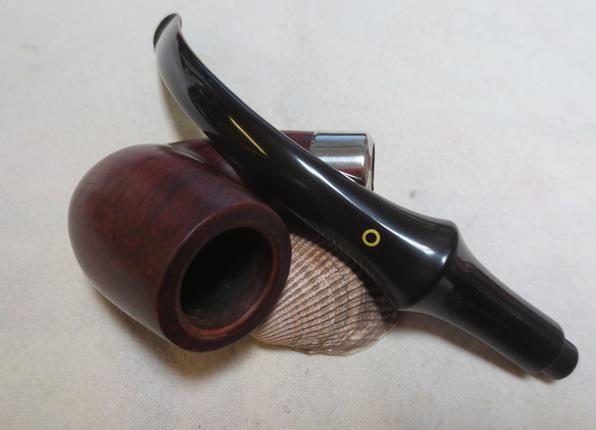
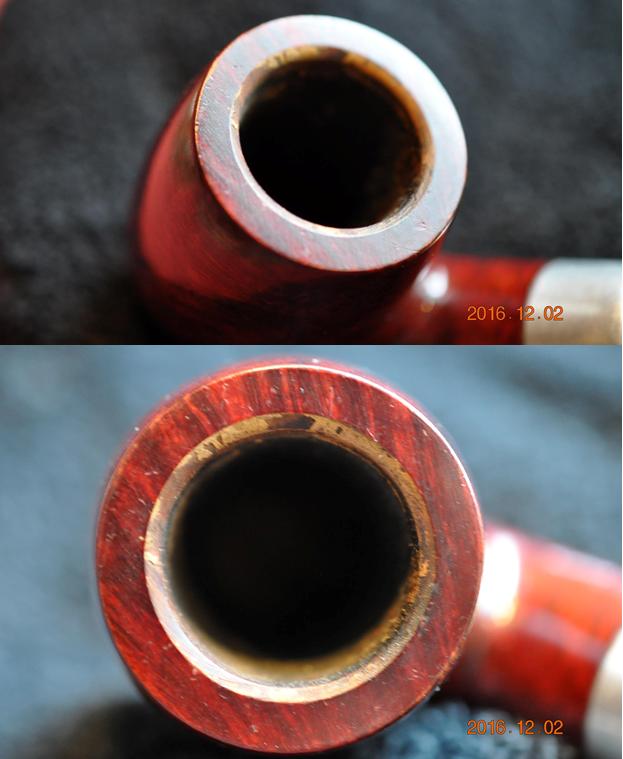 The next two photos give a good idea of the grain that shone through on this old pipe. The front and back of the bowl has some amazing birds-eye grain and the sides, rim and bottom show some really nice cross grain.
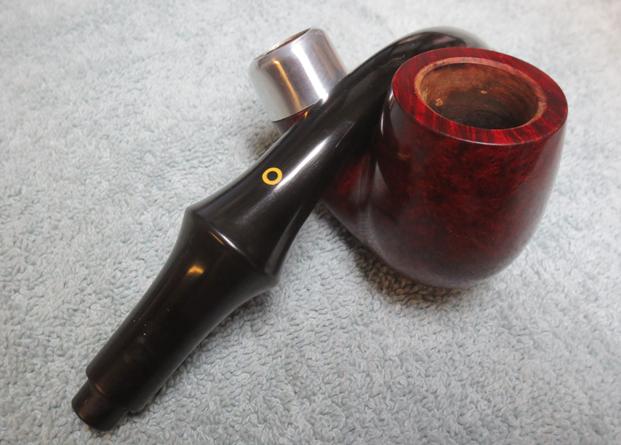
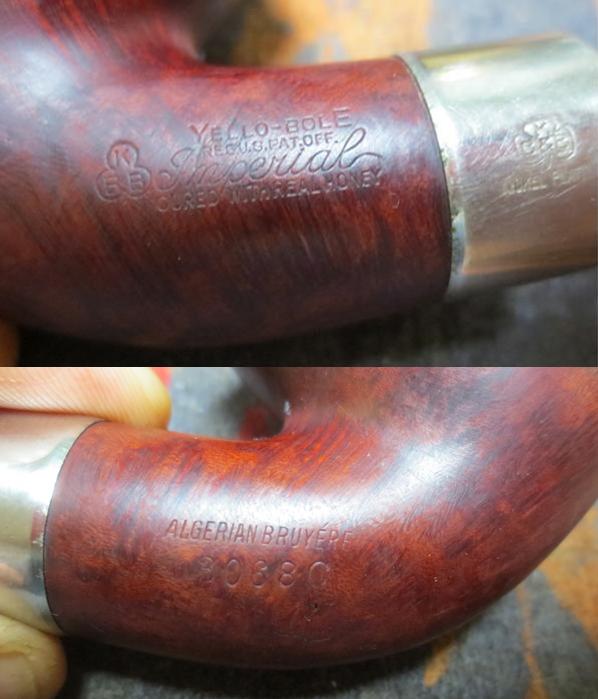
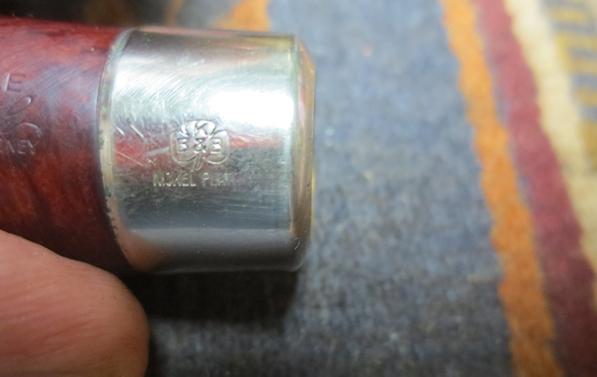
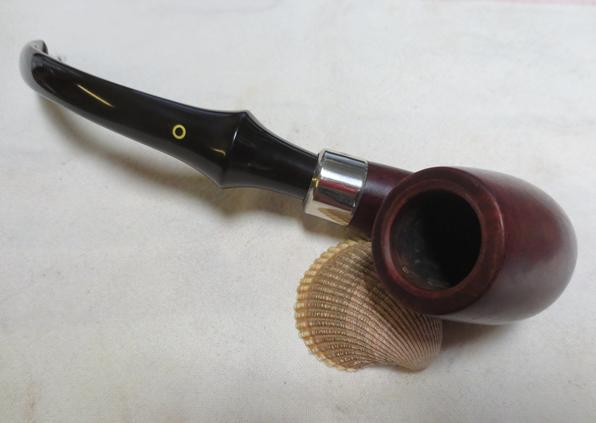
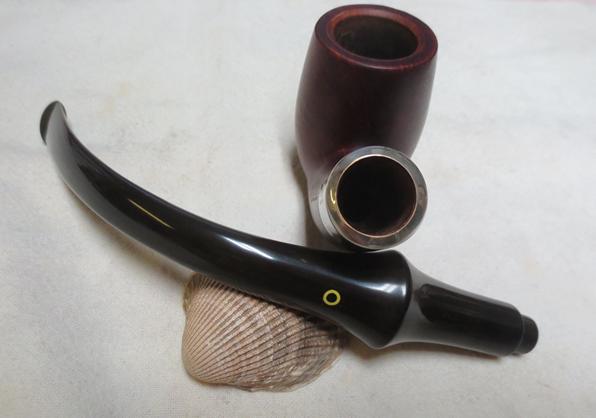
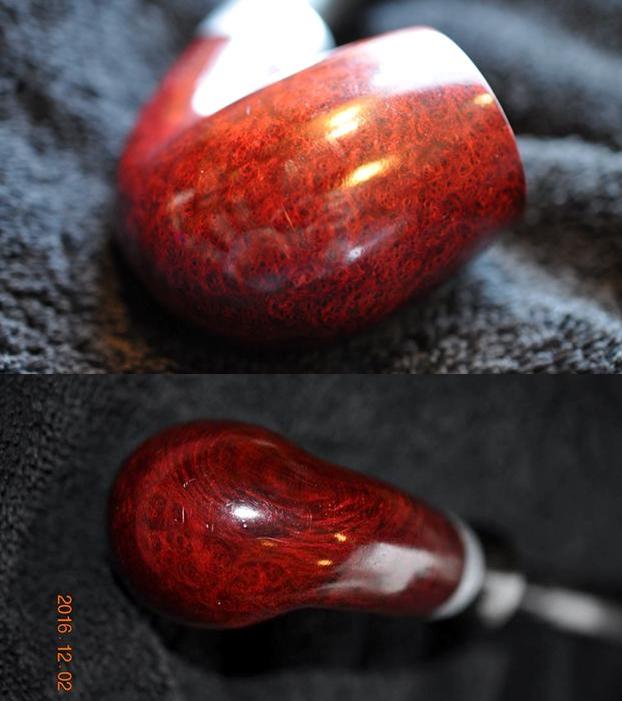 The stamping on the shank was sharp and readable. The left side bore the KBB cloverleaf logo with Yello-Bole over stamping that read Reg.U.S.Pat.Off. Beneath that was the line stamping in script Imperial. Finally underneath all of that was stamped Cured with Real Honey. On the aluminum ferrule cap there was a remnant of the KB&B cloverleaf. It is interesting to me that while all Yello-Bole pipes are stamped with KBB (minus the ampersand &) in a cloverleaf on the shank both this pipe and the previous one had the KB&B cloverleaf on the ferrule. I wonder if the company made one size fits all with the ferrules and used them on both Yello-Boles and KB&B pipes. The right side of the shank is stamped Real Bruyere over the shape number 3068C.
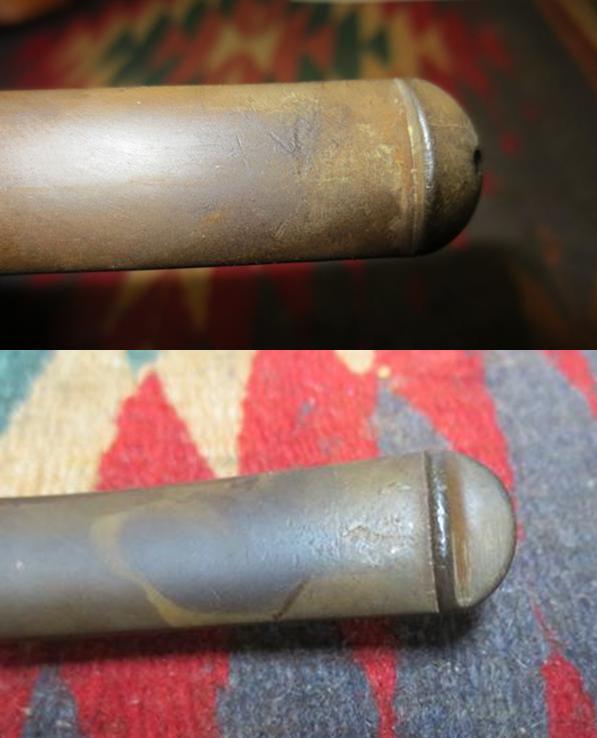
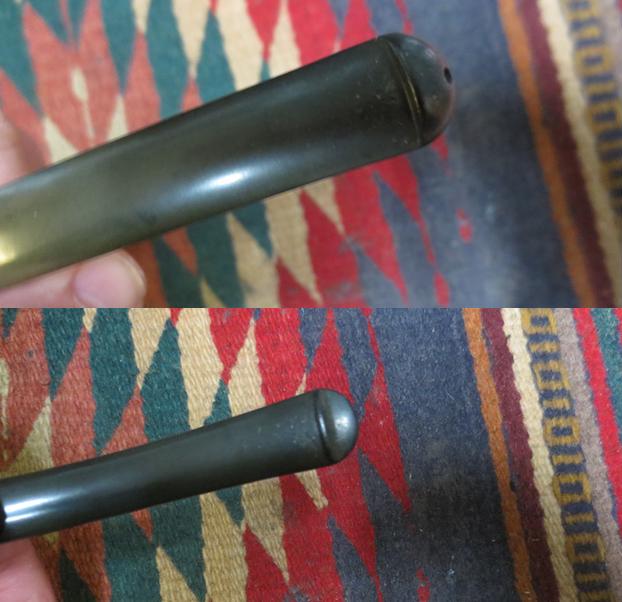
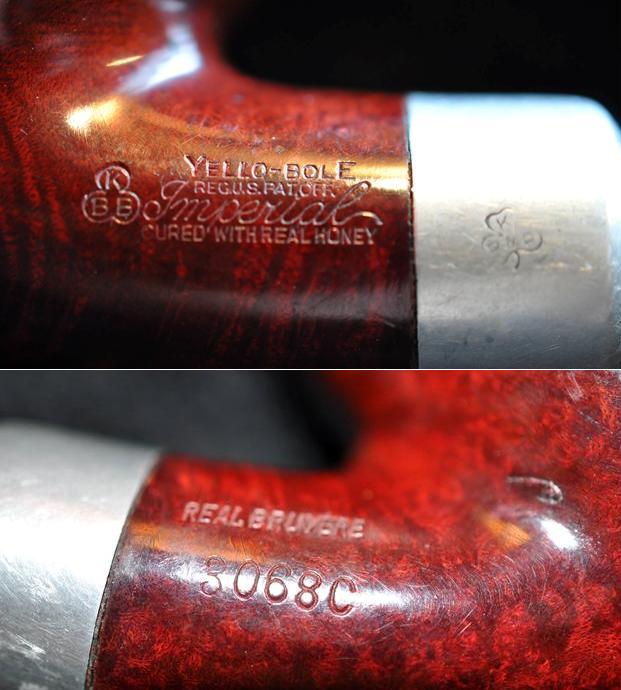 The final two photos that my brother included show the tooth marks and chatter on the top and underside of the vulcanite stem at the button. The mild oxidation is also visible in the photos.
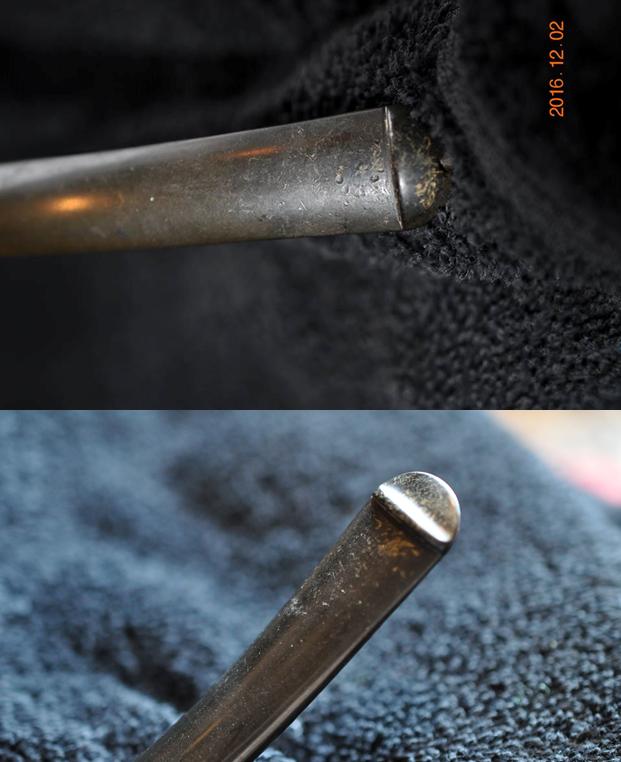 My brother did the necessary cleaning on the pipe – reaming and cleaning out the mortise and the airway in the stem and shank. I cleaned off the grime on the finish and wiped down the stem. When I received the pipe it looked be in excellent condition and would not take a lot of work to refresh it. I took the next four photos to show what it looked like when it arrived in Vancouver.
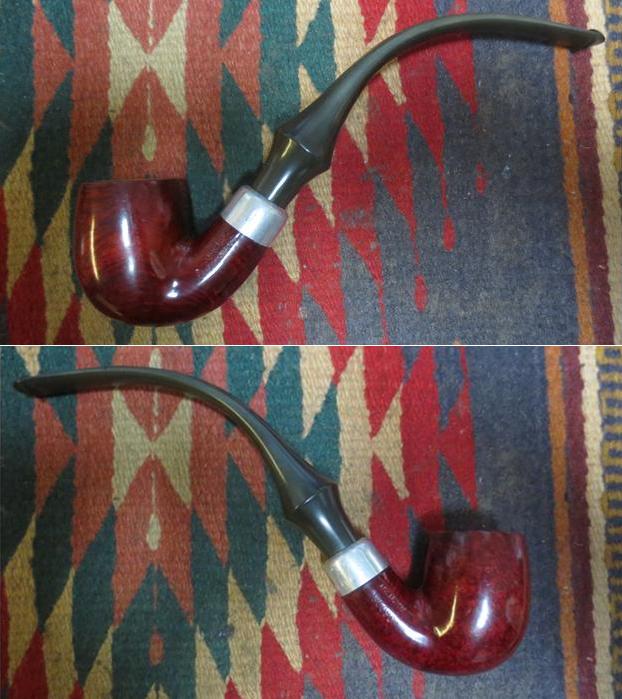
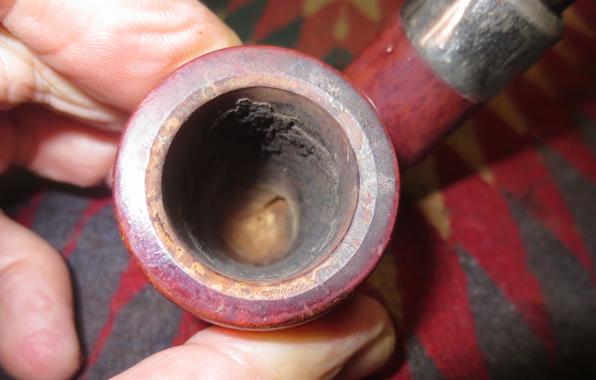
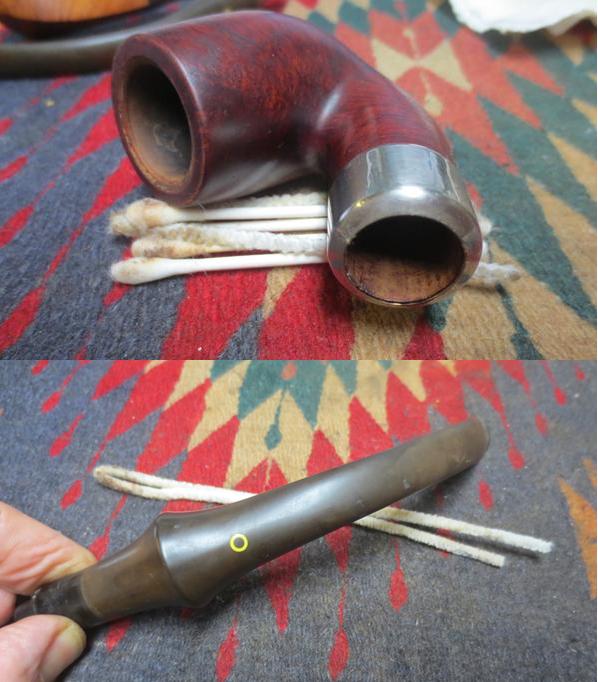
 I took some close up photos of the rim and the stem to show the condition. The rim was in excellent shape and Jeff was able to clean up the inner bevel on the rim to reveal the Yello-Bole Honey Coating. The stem photos show the oxidation and the small tooth marks and chatter on both sides of the stem near the button.
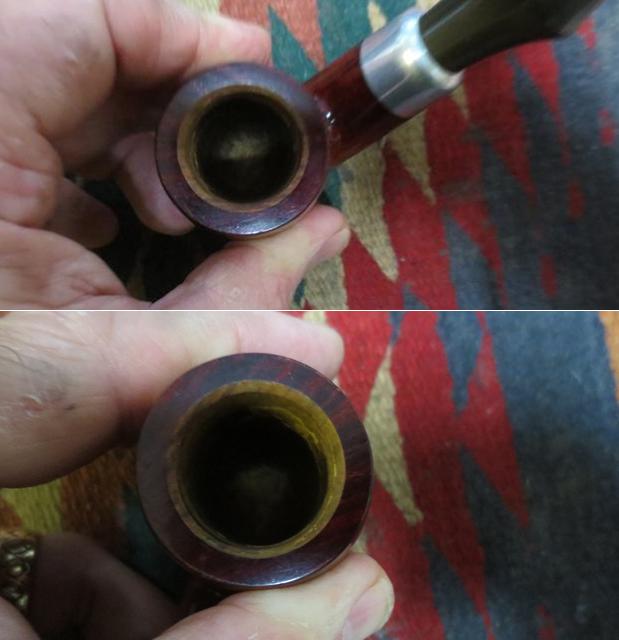
 I sanded the oxidation on the stem with 220 grit sandpaper to remove the brown topcoat that it had and also worked over the tooth chatter and tooth marks on both sides.
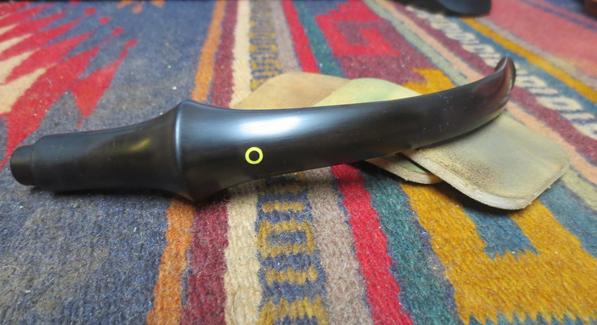
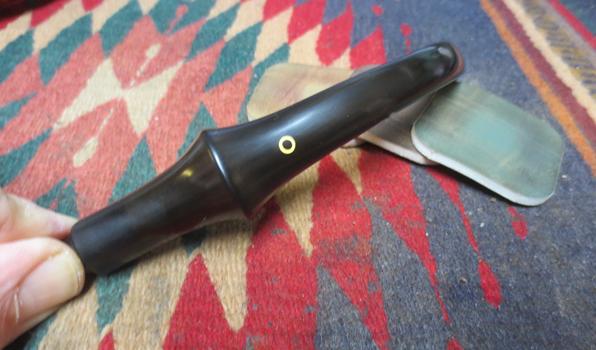
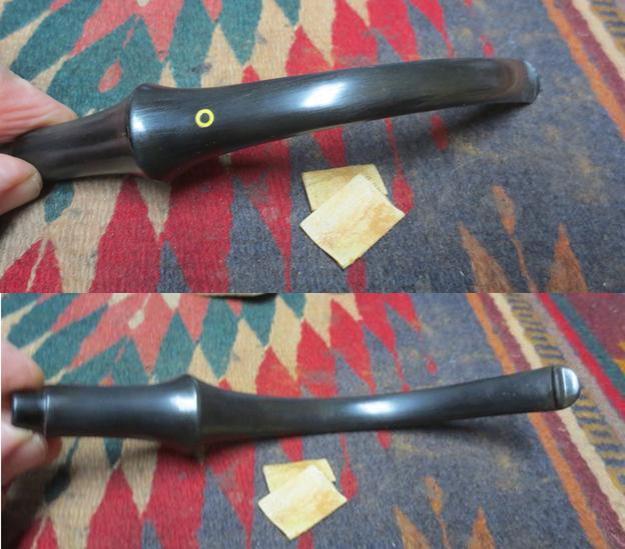 I used drops of medium viscosity black super glue to fill in the small tooth marks on both sides of the stem. They are shown in the photos below. The small black spots are the super glue repairs to the stem surface. You will note that there were more issues on the underside of the stem than the top side.
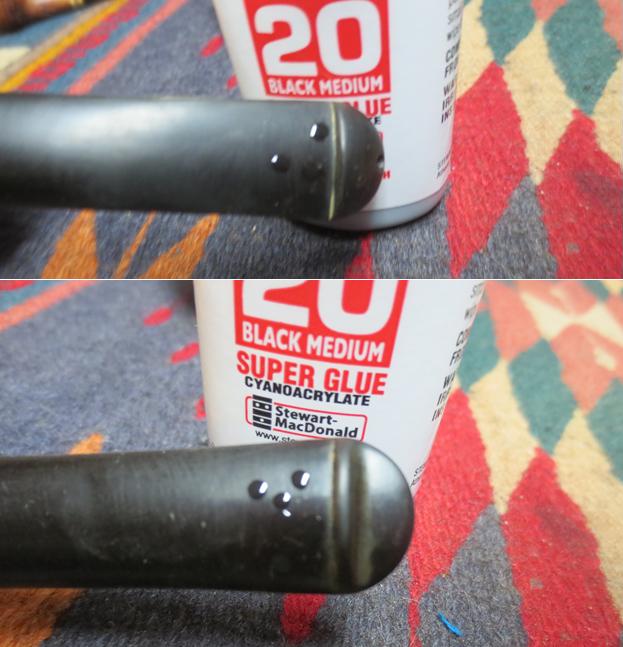 Once the repairs were dry I sanded them back to the surface of the stem with 220 grit sandpaper.
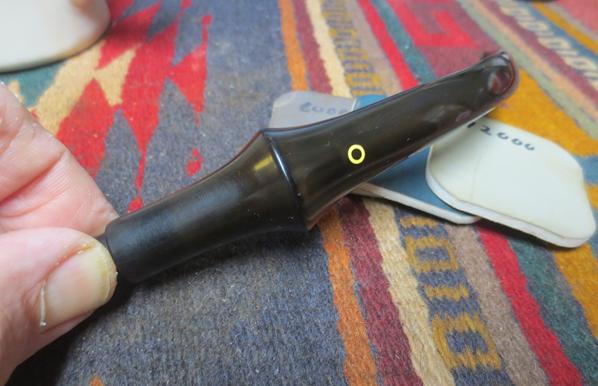
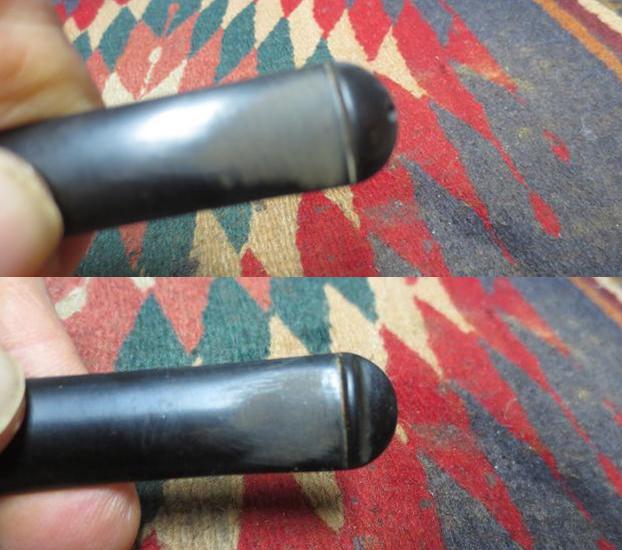 I polished the sanded spots by wet sanding with 1500-2400 grit micromesh sanding pads.
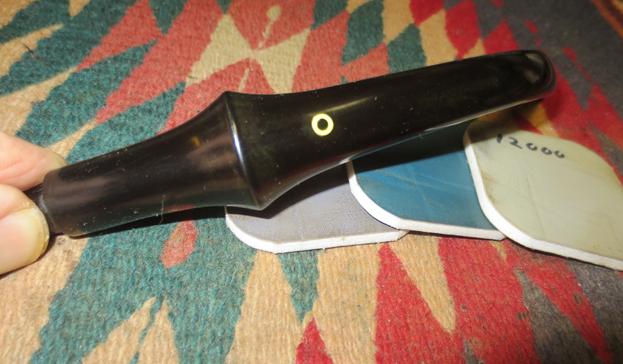
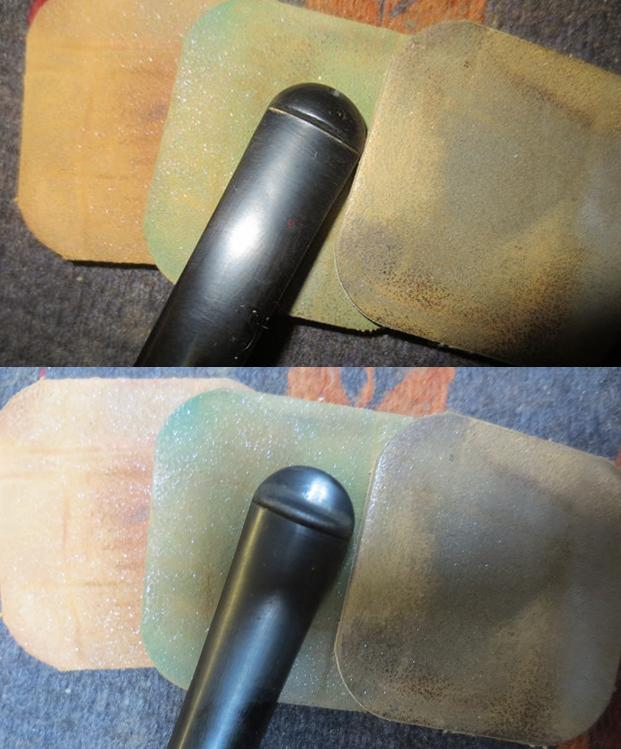 I wet sanded the entire stem and continued to sand the repaired areas with 1500-2400 grit micromesh sanding pads. I rubbed the stem down with Obsidian Oil and then dry sanded it with 3200-12000 grit pads. I rubbed it down with oil after each set of three pads and after the final set I gave it a last coat of Obsidian Oil and set it aside to dry.

 The nickel ferrule had a lot of tiny scratches in the surface of the metal. I sanded it with micromesh sanding pads to polish out the scratches and raise a shine in the nickel.
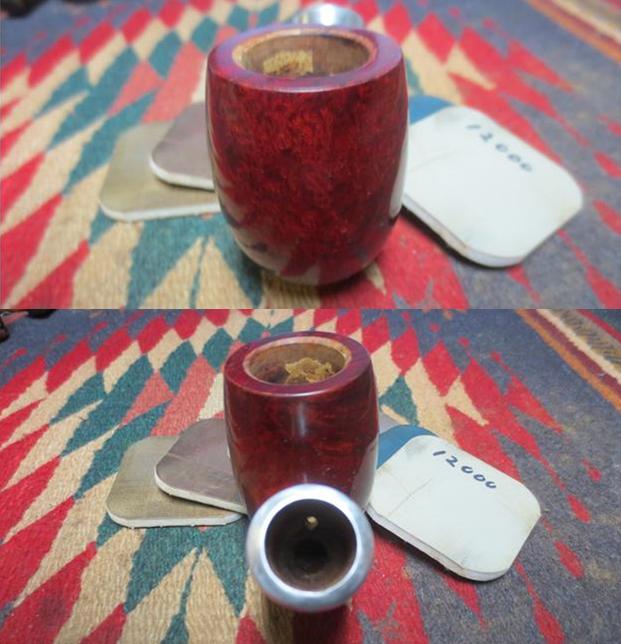
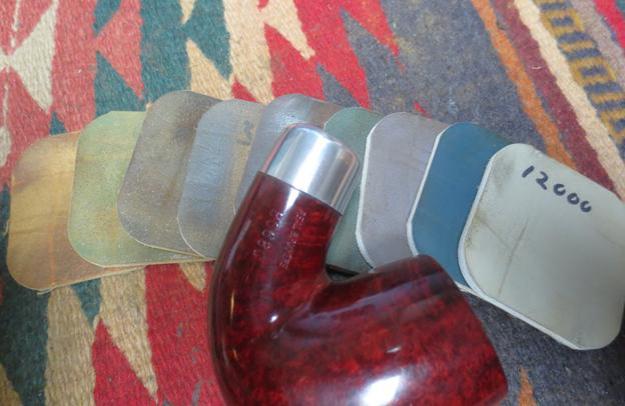 I polished the briar with 3200-12000 grit micromesh sanding pads to raise the shine and smooth out the small scratches on the sides and bottom of the bowl as well as the rim.
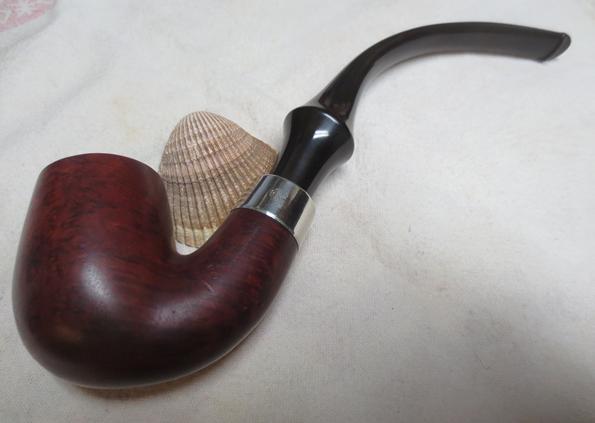
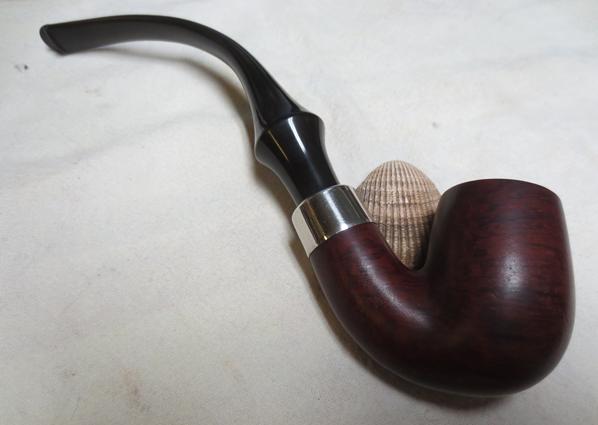
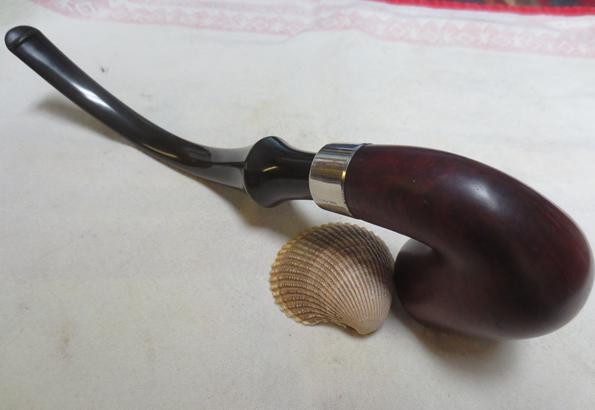
 I buffed the bowl and stem with Blue Diamond on the buffing wheel to further polish the briar and vulcanite. I gave the stem multiple coats of carnauba wax and buffed the bowl and stem with a clean buffing pad to polish and raise the shine. I hand buffed it with a microfibre cloth to deepen the shine. The finished pipe is shown in the photos below. It turned out to be a very beautiful pipe that needed just a few touches of TLC to bring it to its fullest. It is another large pipe that would make a great reading or house pipe. It is comfortable in hand and the grain is interesting enough to give hours of observation pleasure. Thanks for looking.