Blog by Aaron Henson
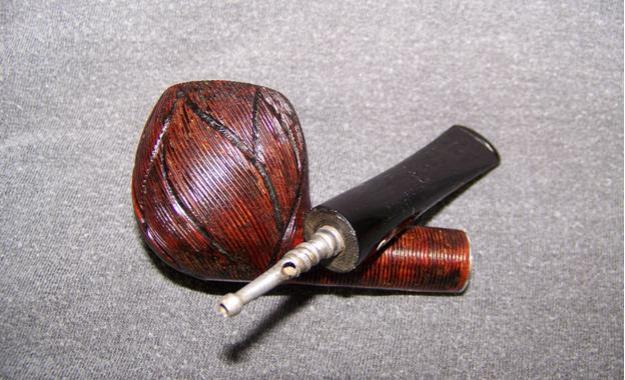
I was in the neighborhood of our second-hand stores a couple of months back so I thought I would stop into one that typically has estate pipes. While browsing the shelves I found three Kaywoodie pipes together in an old coffee cup. None of them were particularly eye-catching: a straight bulldog, a medium pot and this large apple – Fine Line carved. I didn’t have any Kaywoodie pipes in my collection and priced as they were ($11 for the three), I could not pass them up. Besides, I needed some more restoration practice.
The first of the three that I took on was the Fine Line. It reminded me of the Dr. Grabow Wire Carved pipes I had seen, just not as rustic – if you like that sort of thing.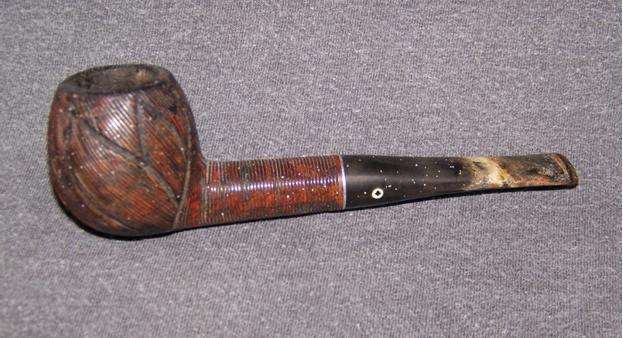 The flat bottom of the shank was stamped with: “Kaywoodie” over “Fine Line ®” and the left hand side of the stem had the black clover in a white dot.
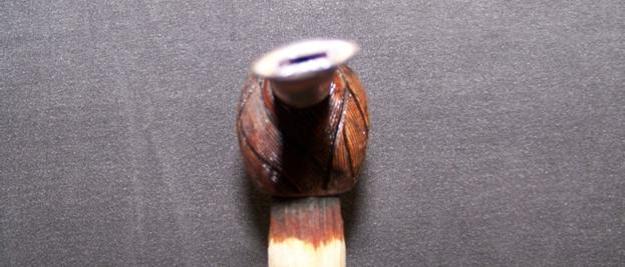
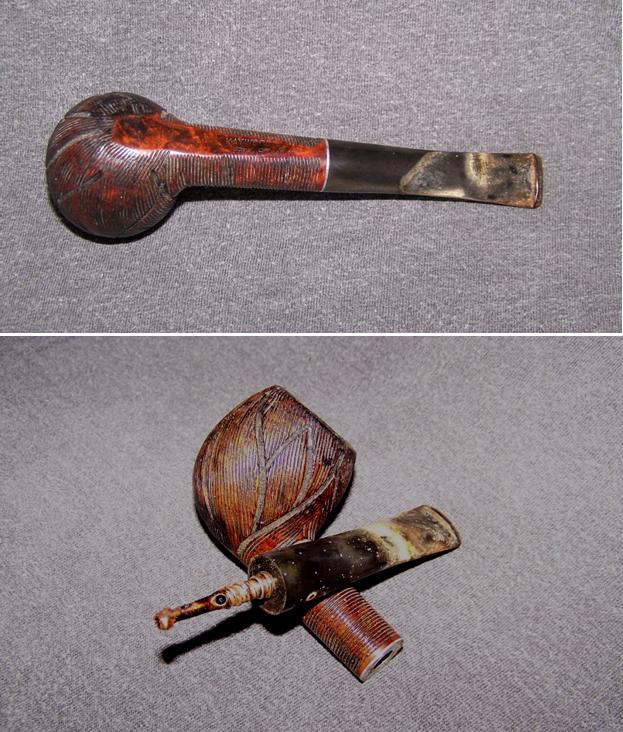 The stem was in great shape. There was some mild oxidation, a little build up of crud and just a minor amount of chatter around the button. The stinger was also in good shape with the expected build up of tars. The stem was over clocked by about 10 degrees and after a little research I came to understand that this is a common problem with Kaywoodie pipes. Fortunately, it is an easy problem to correct.
 It looked like someone had been rolling out paint on a wall or ceiling near the pipe because there were small droplets of white paint all over the stem and stummel (perhaps they were smoking while painting?). The stummel was dirty but there was no damage that I could see. A thick cake lined the bowl and the lines in the rim where full of char and other gunk, but otherwise it too was in good condition.
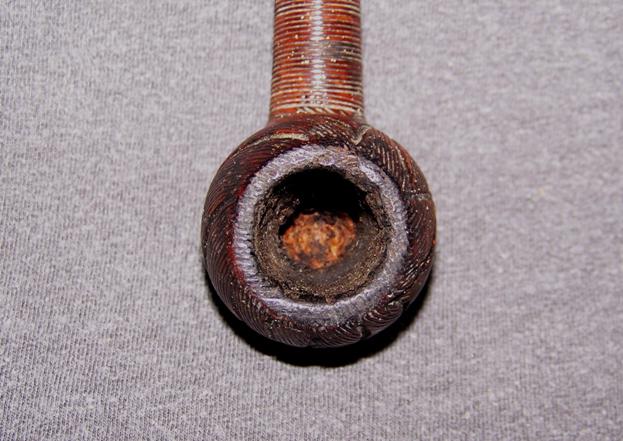 I began by soaking the stem in an alcohol bath to loosen the tars inside and to help lift the crud and paint from the surface. While the stem soaked, I went to work on the stummel with Murphy’s Wood Soap and a soft bristled tooth brush. The dirt and grime came off easily as did most of the paint droplets. I had to employ a soft wood tooth pick to remove more stubborn droplets that were caught in the grooves of the carving.
After rinsing the stummel with fresh water – being careful to keep the water out of the bowl and shank – I started reaming out the bowl. Not having a reamer, I use a ½” dowel with a rounded tip wrapped in 40 grit sand paper. This method has worked reasonable well for me on several pipes, even with thick caking.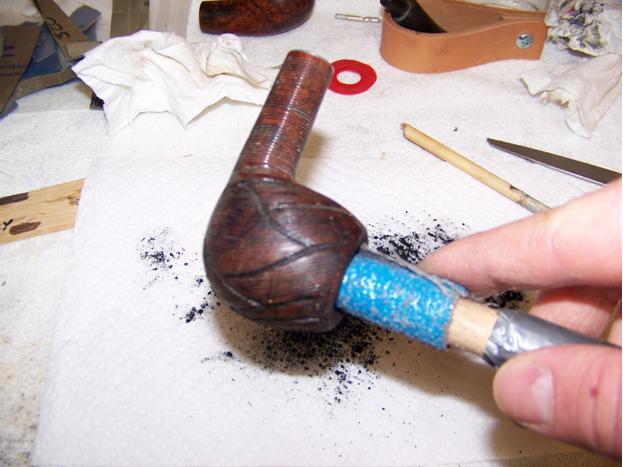
 Next, I cleaned the inside of the shank with cotton swaps and isopropyl alcohol. This was a laborious process. The metal sleeve that receives the stinger prevents good access to the inside of the shank. I wanted to preserve as much of the original stain as I could so I choose not to soak the whole stummel in an alcohol bath. So, in an effort to loosen the tar build up, I dripped alcohol into the shank between bouts of swabbing. Eventually the swabs started coming out clean.
The char around the rim of the bowl was not cleaning up well. I had hoped that I could keep the carved lines on the rim but I made the decision to top the bowl and finish the pipe with a smooth clean rim. I freshened up the stain with a coat of light brown Feibing’s leather stain and flamed the stain to set the color.
Returning to the stem, I found that the alcohol bath succeed in loosening the tars inside and few passes with pipe cleaners got it clean. I was able to pass a cleaner from the hole in the stinger and out through the button without and troubles. I lightly hit the outside of the stem with 220 grit sand paper to remove the remaining foreign material and then cleaned the stinger with 0000 steel wool. I addressed the minor tooth marks by lightly flaming them with a lighter to raise the vulcanite then finished them off with the 220 grit paper.
Everything was going quite smoothly up to this point. Little did I know that I was about to get a refresher course in chemistry. Wanting to clean up the oxidation I dropped the stem into a bath of 50/50 bleach and water. Fortunately, I had cause to check on the stem in about 30 minutes and I realized my error. Chlorine (Cl) and aluminum (Al) react to form aluminum chloride (AlCl3). I found a large growth of aluminum chloride crystals on the stinger.
I wish I had had the forethought to document the mistake with a picture or two. But in truth, I was so caught up in cleaning the bleach off the stem and removing the crystals that photos were very far from my mind. All in all there was no real harm done. The aluminum chloride cleaned up easily but left the stinger rough to the touch and it needed to be polished again. Heating up the stinger with a butane lighter melted any of the aluminum chloride that built up inside and it drained out of the stinger holes.
While I had the butane lighter out heating up the stinger, I thought I would take care of the over clocked stem. I wrapped the stem with some cloth tape and made a couple of reference marks to indicate which direction and how much to twist the stinger. I waited until the heat loosened the glue between the stinger and stem and then twisted the stinger with a pair of soft jawed pliers to align it with the stummel.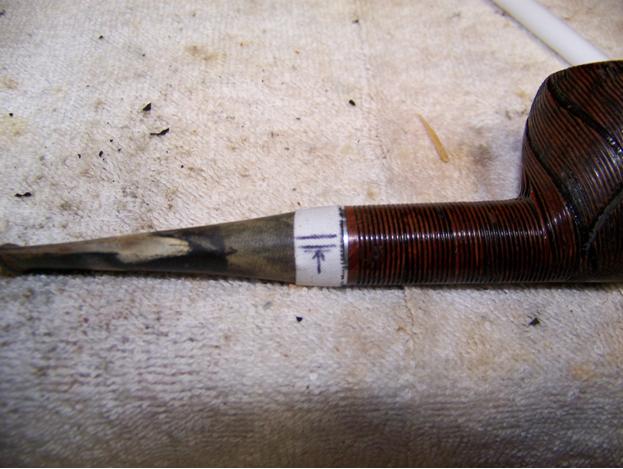 Before I finished the stem and polished everything I thought I would run the pipe through the alcohol retort. I was not confident that I had thoroughly cleaned the inside of the shank and after the aluminum chloride incident, I thought that some hot alcohol vapor though the stinger would hurt. I use 95% isopropyl alcohol for my initial cleaning and soaking but I prefer using Everclear for final rinsing and retort. In my limited experience it seems that the Everclear leaves fewer ghosts in the finished pipe.
The remainder of the restoration was uneventful. I followed the typically stem polishing practices, wet sanding the stem with 400-4000 grit paper, stopping every few sets of paper to lightly coated the stem with mineral oil. I dry polished with 6000 and 12000 grit paper then took the pipe to the buffing wheel, applying red diamond compound, working the buffer with the carved lines of the pipe. I finished with 3 coats of carnauba wax buffing between each coat. I had to take a tooth pick to some of the wax that built up in the lines but the final product was a vast improvement from where I had started.


