by Steve Laug
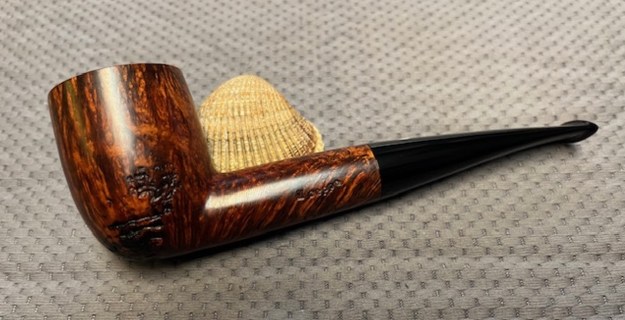
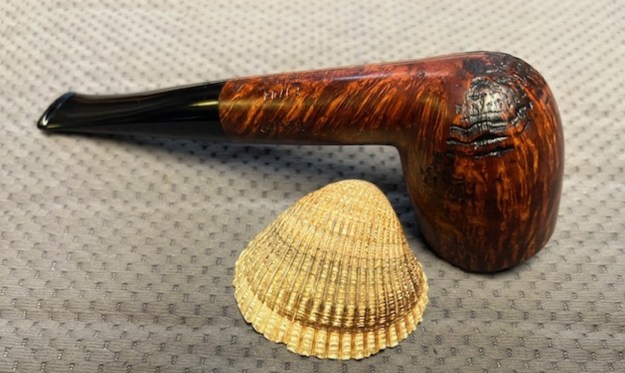
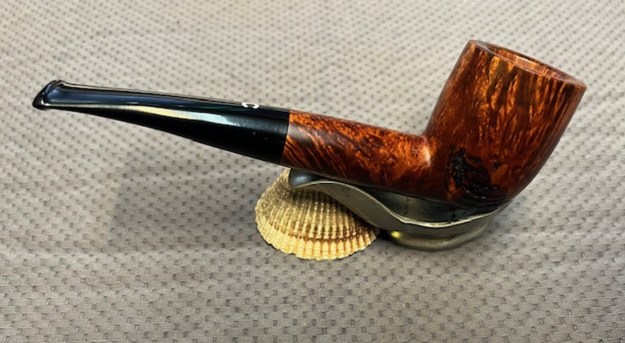
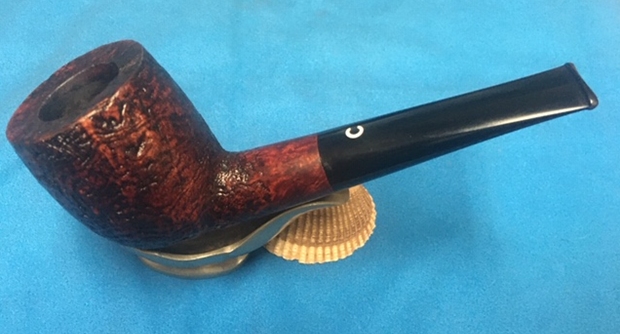
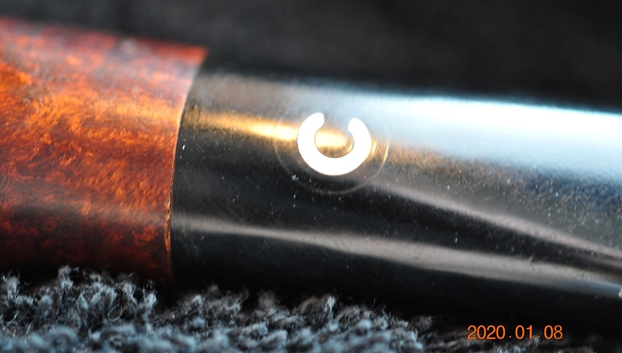
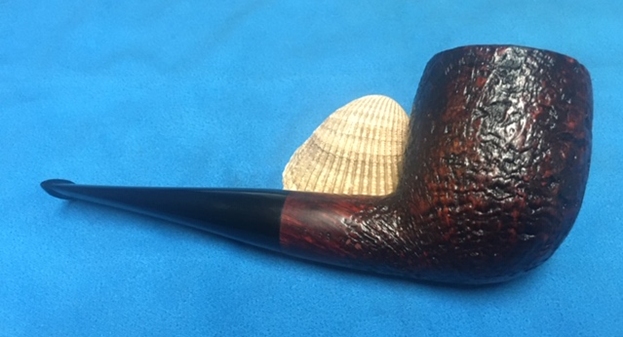
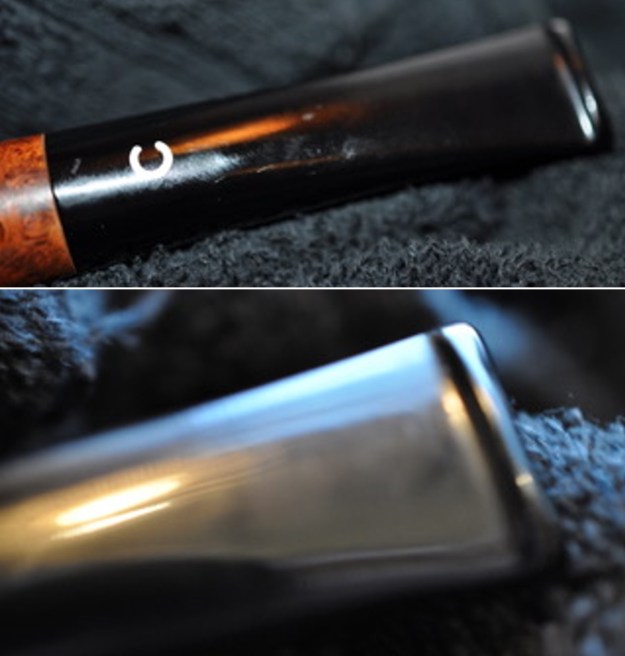
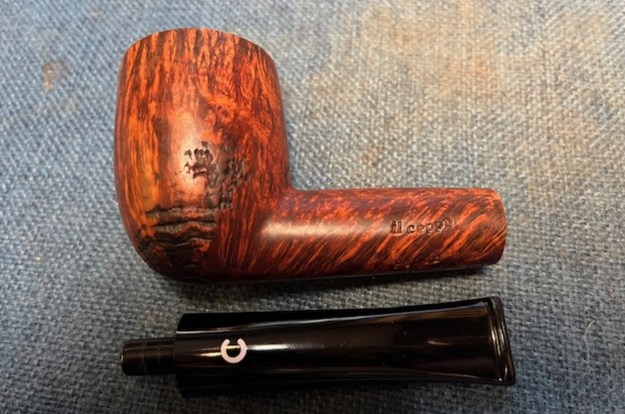
The next pipe I have chosen is a beautifully grained and smooth finished Billiard with a slightly bent acrylic taper stem. It came to us on August 22, 2024 from a friend in Barrington, Rhode Island, USA. The contrast of the brown stains makes the grain stand out. It was stamped left side of the shank and read il ceppo. On the underside it is stamped E3702 [over] Made in Italy [arched over] In Italy (underlined). Next to the shank/stem junction it reads 3 in a triangle. The pipe was quite clean with some slight darkening inside the bowl. It had obviously been reamed recently. The bowl was clean and the smooth rim top was dirty but free of lava. The black acrylic saddle stem was in good condition other than being a bit dirty. The stem surface was free of chatter on both sides of the stem ahead of the button. The il ceppo “C” logo on the top of the stem was in good shape. Jeff took photos of the pipe before his cleanup work. They tell the story and give a glimpse of the pipe.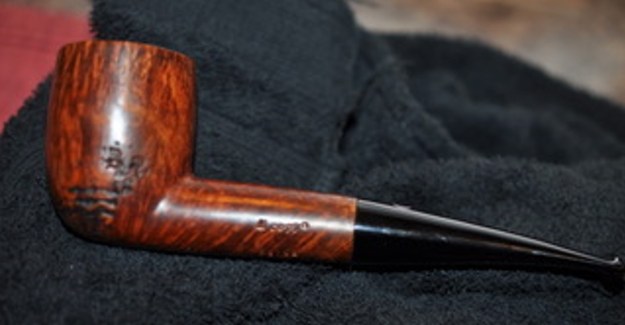
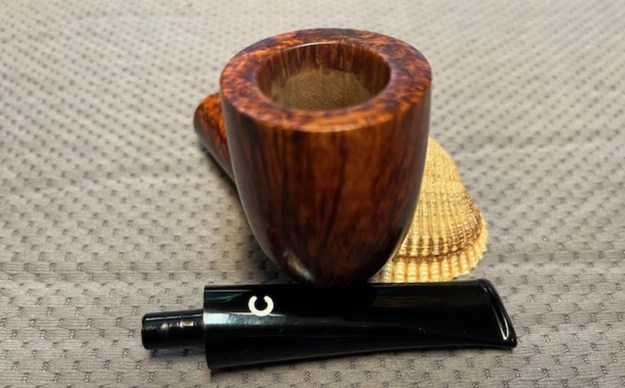
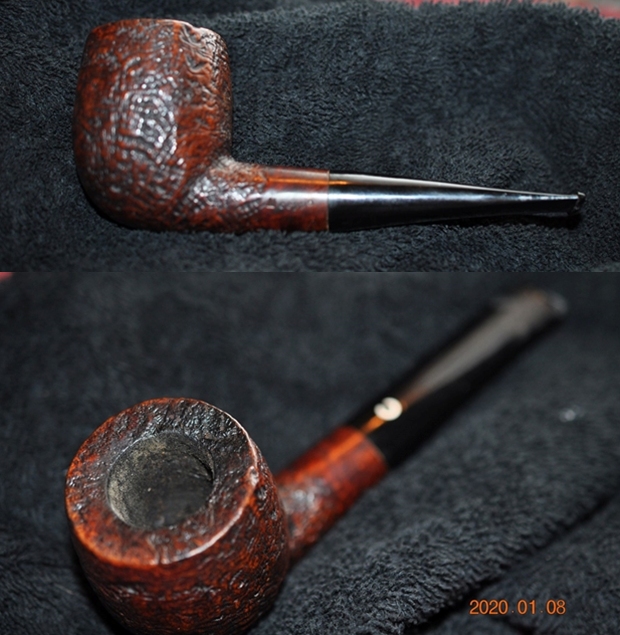
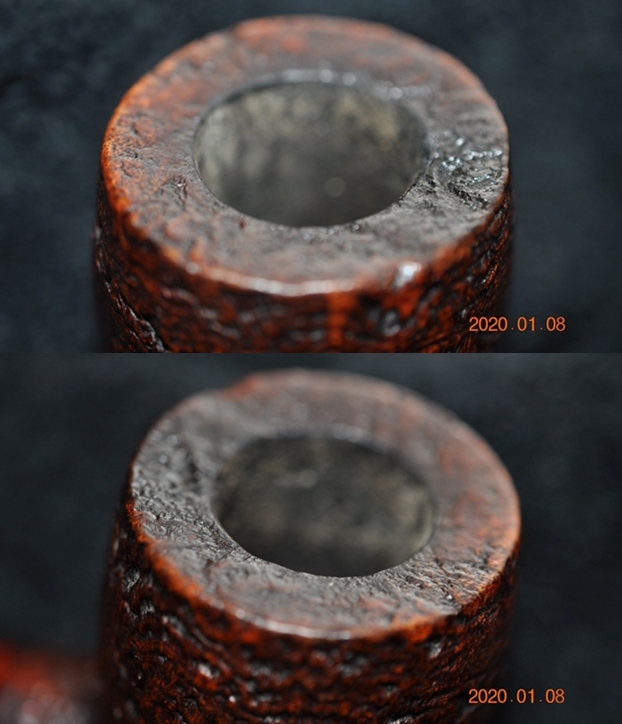
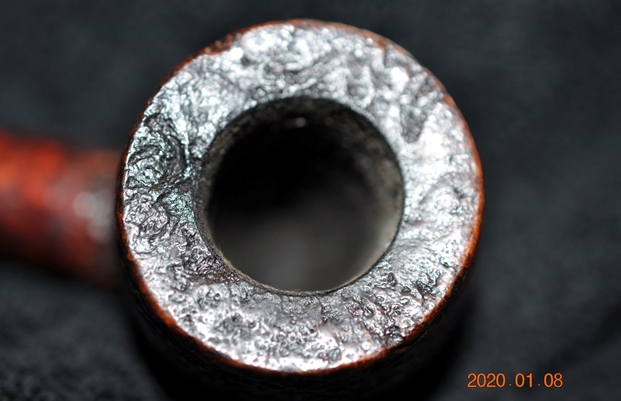
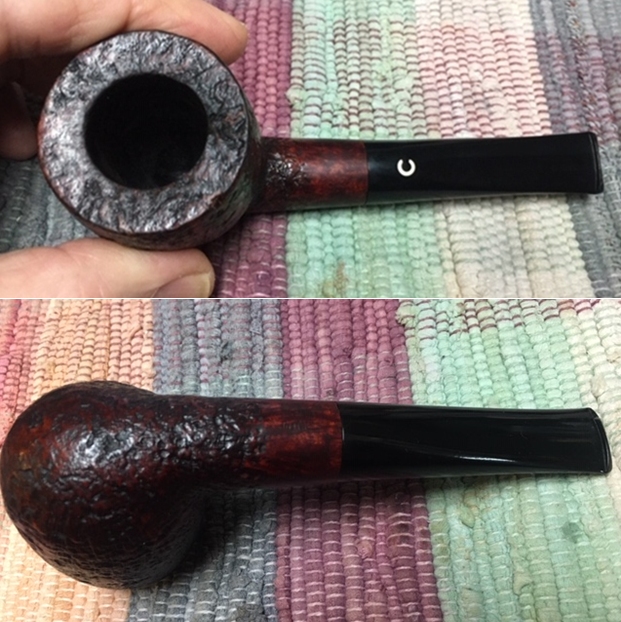
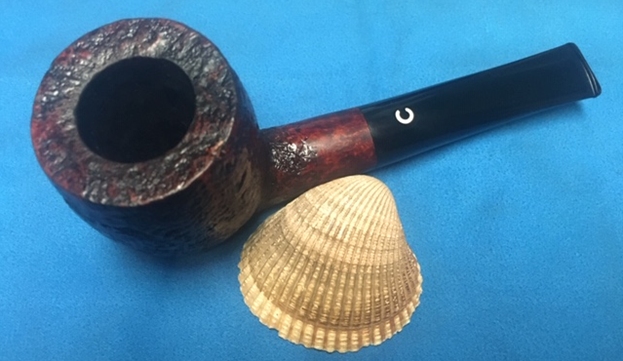
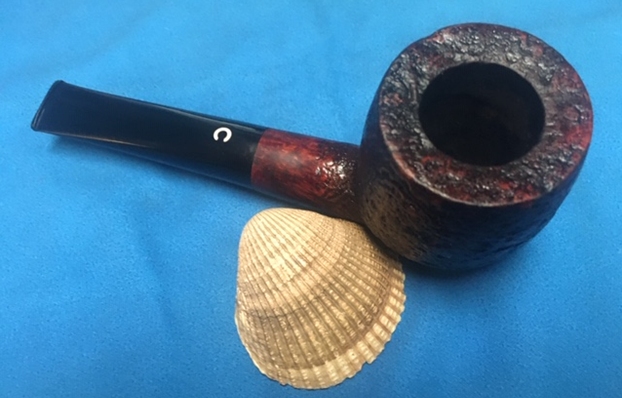
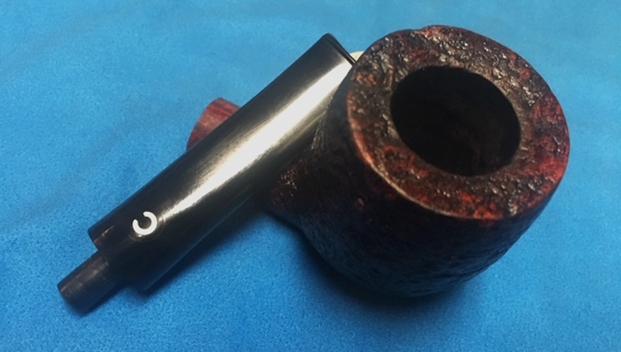
 Jeff took photos of the rim top and stem to show the general condition of the pipe. The bowl quite clean, perhaps freshly reamed and edges and rim top looked good. The stem was very clean and smooth.
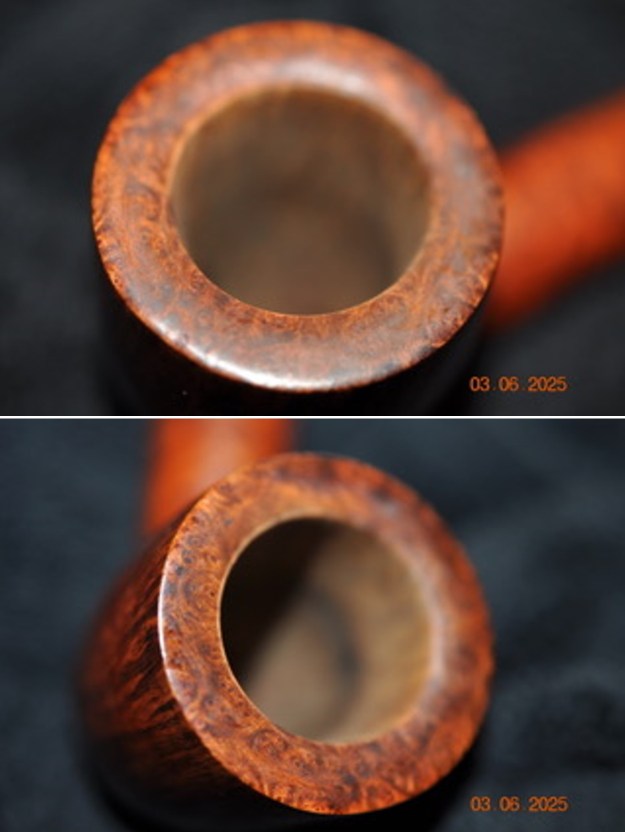
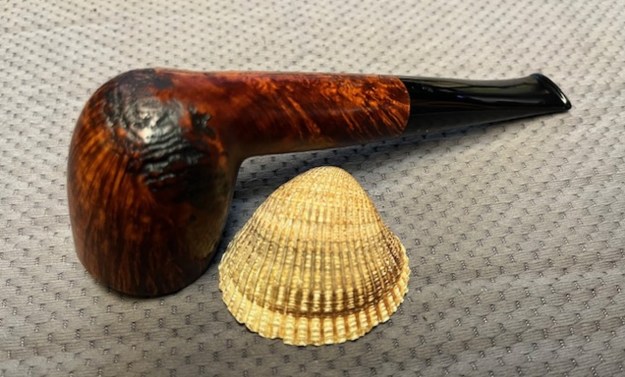
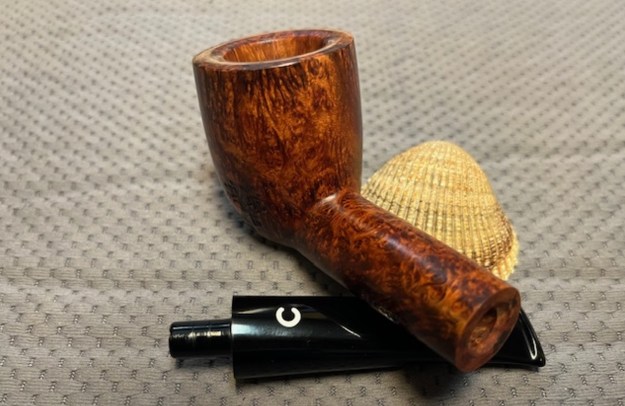
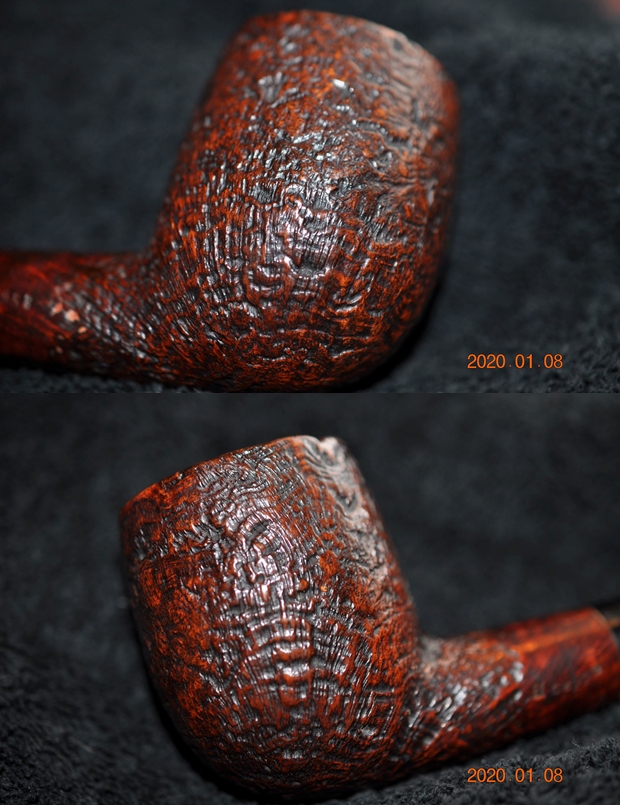
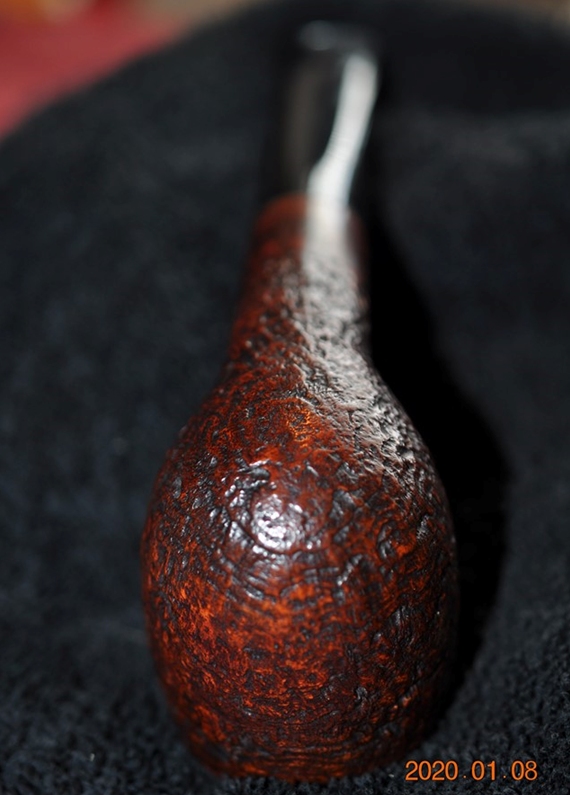
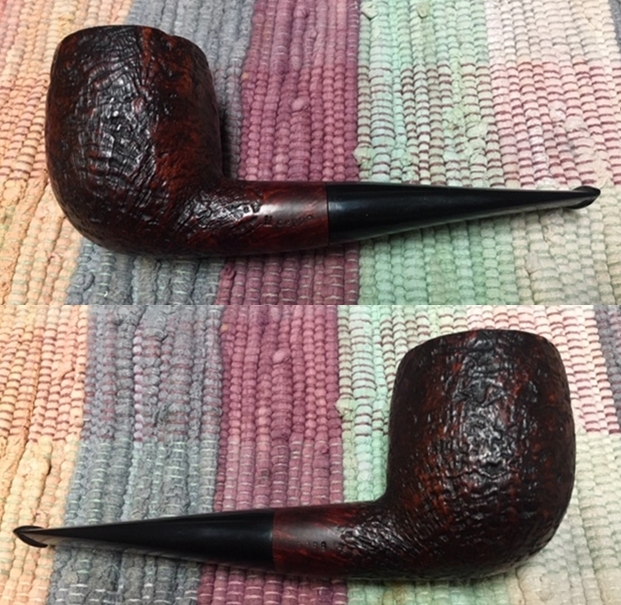
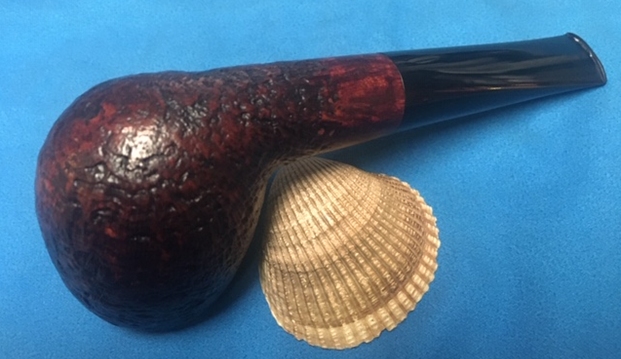
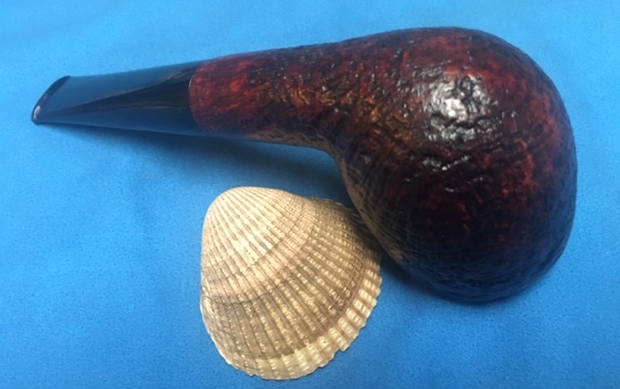
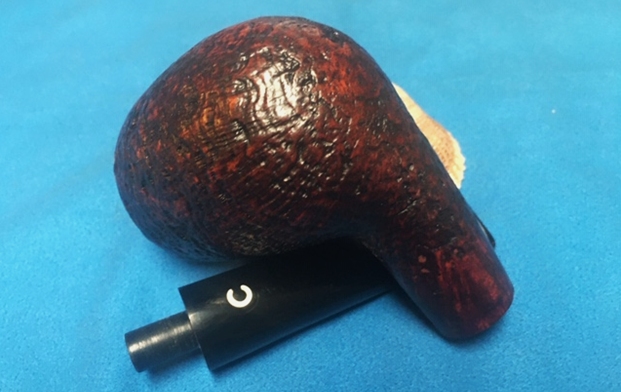
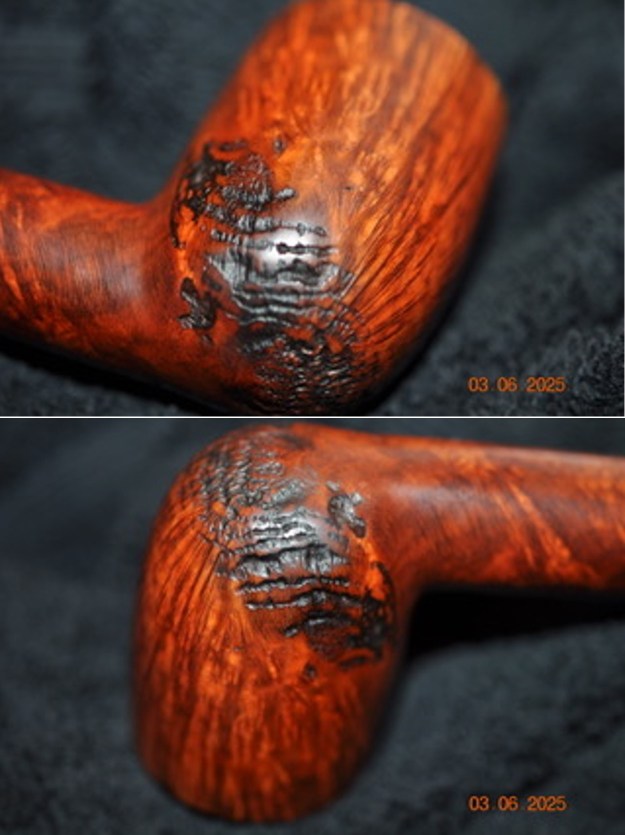
 Jeff took photos of the bowl sides and heel to show the grain and around this bowl. Underneath all the light grime it is a nice looking pipe. The rustication or sandblasted portions of the bowl at the bottom really highlight the uniqueness of the finish.
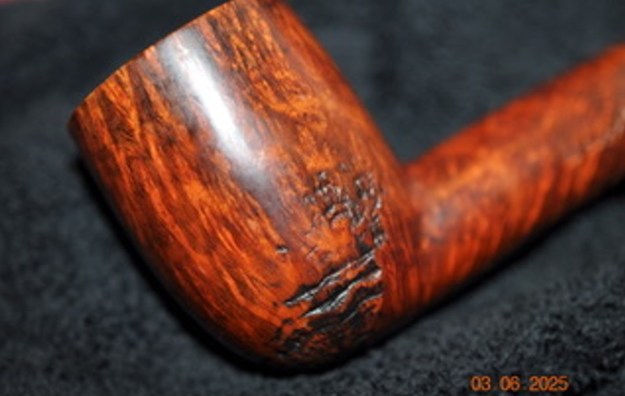
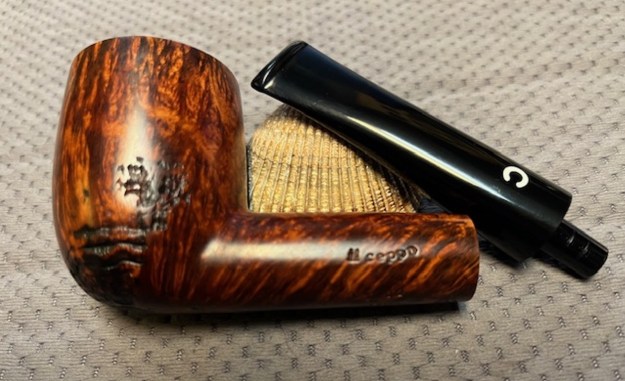
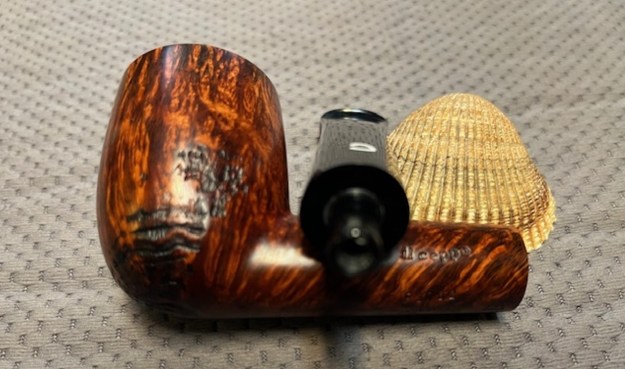
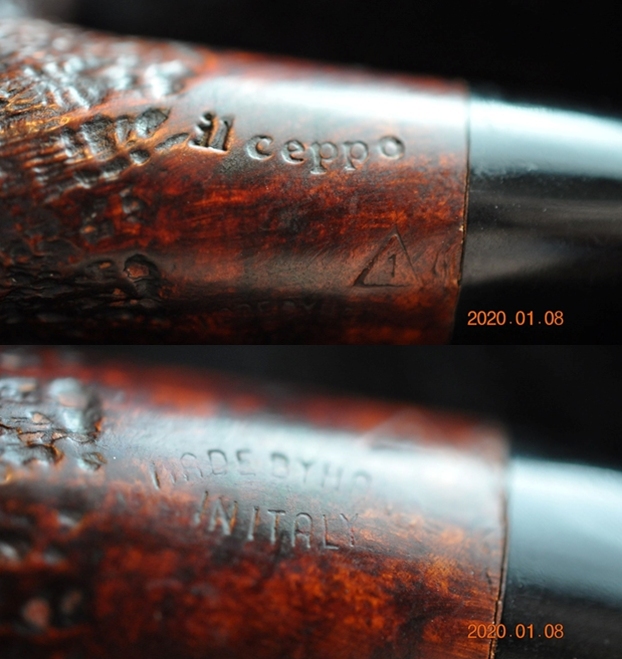
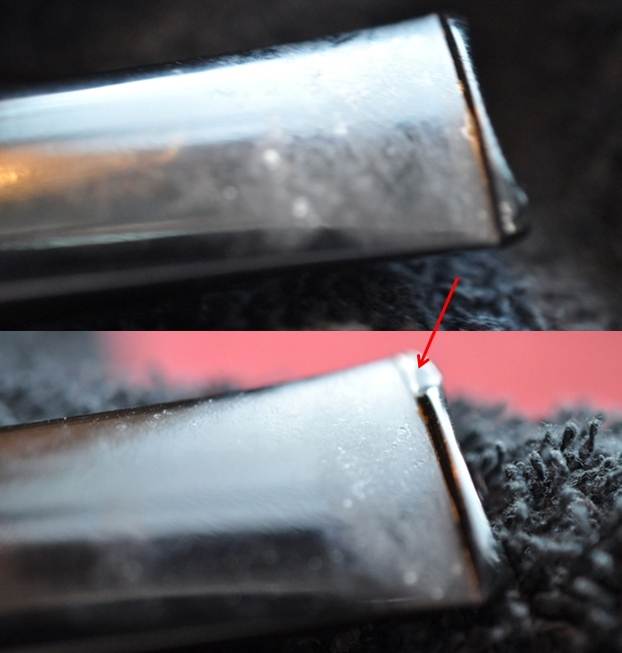
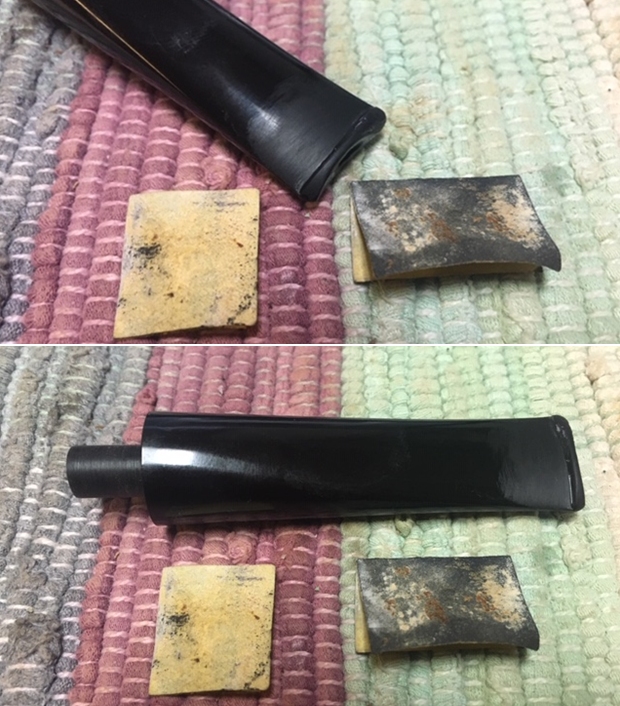
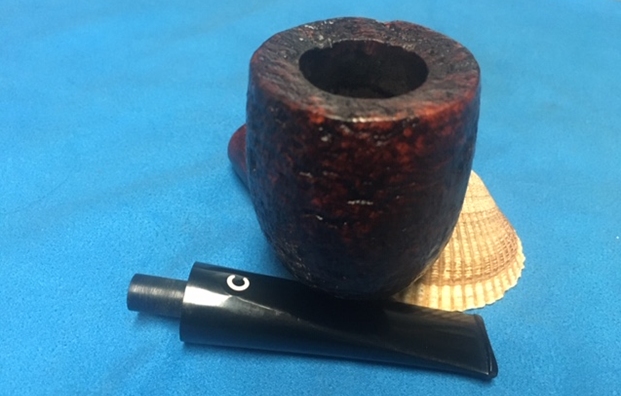
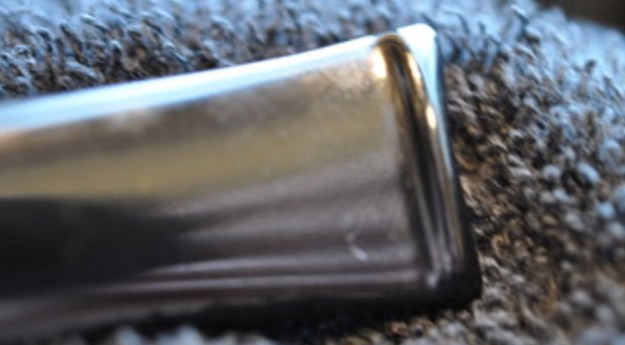
 He took photos of the sides of the shank to show the stamping. The stamping is readable in the photos below and is as noted above. You can see that there is some shrinkage on the spacer on the stem end and the acrylic one on the shank end. This is puzzling at the moment to me.
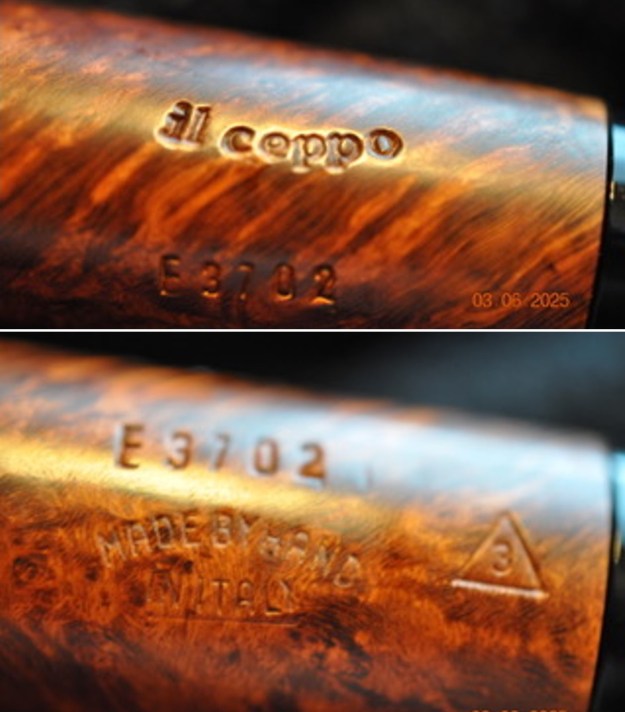 To remind myself about the brand I turned to Pipephil’ sites to read what he had written there in the side bar (http://pipephil.eu/logos/en/logo-i.html). I quote below and also include a screen capture of the pertinent section.
Brand founded by Giorgio Imperatori in 1977 (first period) and bought by Franco Corinaldesi Rossi (second period, about 1996) when Giorgio retired. Franco and his sister Nadia are the current (2011) Il Ceppo pipe makers.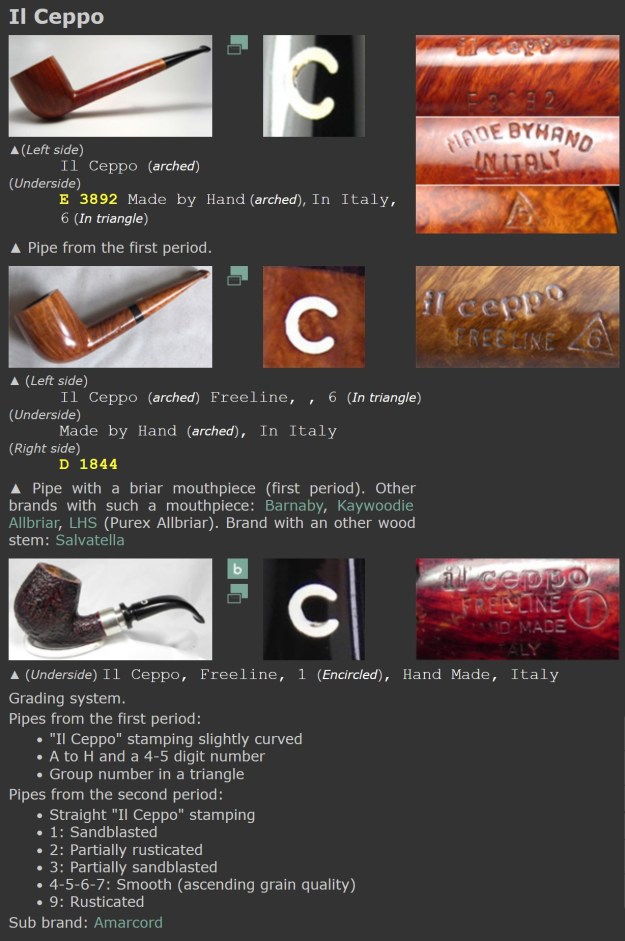 From the information above I knew that the pipe was from the first period of il ceppo pipe making (1977 until the second period began in 1996 when the pipe maker Giorgio Imperatori retired). It is confirmed first period by the notes on the grading system. It had the il ceppo stamping slightly curved, an E3702 (letter and 4-5 digit number), and a Group number in a triangle – in this case a 3.
I turned to Pipedia for more information (https://pipedia.org/wiki/Il_Ceppo). I quote below:
Il Ceppo by Giuseppe Cambioli – Courtesy of italianpipemakers.com
 My passion was born casually and it moved me to consider and love the world of artisanship. Casually and overall luckily, I ran across the emblematic person of Franco Rossi, pipemaker and owner of the “Il Ceppo” factory. He gave me the useful key to opening the doors of the fascinating world of pipes.
“Il Ceppo” boasts of thirty years of history with successive and great satisfaction which helped to keep high the name of the Marchigiane factories. The most famous as Pesareses factories have always had reciprocal respect and admiration and this have and will take cooperations and sharing of their own art, to confirm the distinctive seriousness and high quality.
“Il Ceppo” factory focuses its manufacture into products which vaunt accurate processings and an excellent yield with prices kept amazingly convenient.
Process is completely handmade except for some passages made with the aid of machines to obtain perfect results. The briar used to make the pipes has been left resting and seasoning for at least two years before the sapient hands of the pipemakers could start their work. Our working politic is centred on the care for details, to obtain the best product as possible.
Our prices keep a high balance with the quality of the offered product; they reflect totally our careful and eager work. We’ve never forgotten that what we make could only be obtained if moved by an unconditional love for this work of the good old days.
(Editor’s note: I have tried to correct most grammar & spelling, but in some instances I do not have the vaguest clue what the author is trying to say)
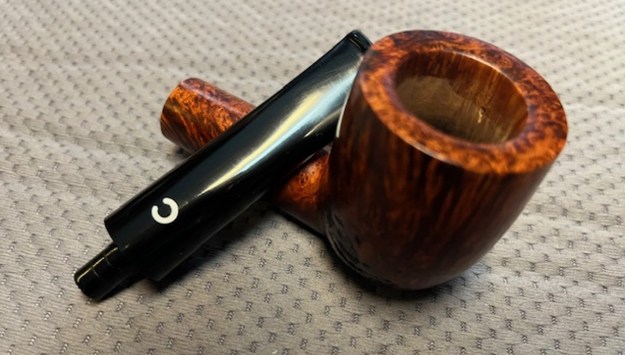
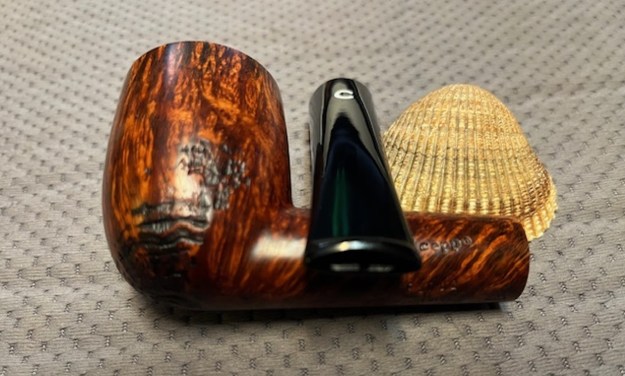
Jeff had done a great job cleaning up the pipe as usual. He reamed the pipe with a PipNet reamer and cut back the cake back to the bare briar. He cleaned up the walls with a Savinelli Fitsall Pipe Knife. He scrubbed the interior of the bowl and shank with pipe cleaners, cotton swabs and alcohol to remove the tars and oils. He scrubbed the exterior of the pipe with undiluted Murphy’s Oil Soap and a tooth brush to remove the grime from the finish. He rinsed it with warm running water and dried it off with a soft cloth. He scrubbed the inside of the stem with alcohol and pipe cleaners. He scrubbed the exterior with Soft. He rinsed it off with warm water to remove the Deoxidizer. It looked very good when I brought it to the worktable other than the briar ring around the metal dot had darkened in the process. I took photos of the pipe when I brought it to the work table. You can see that the spacer is gone but forget that! The briar is really very stunning! 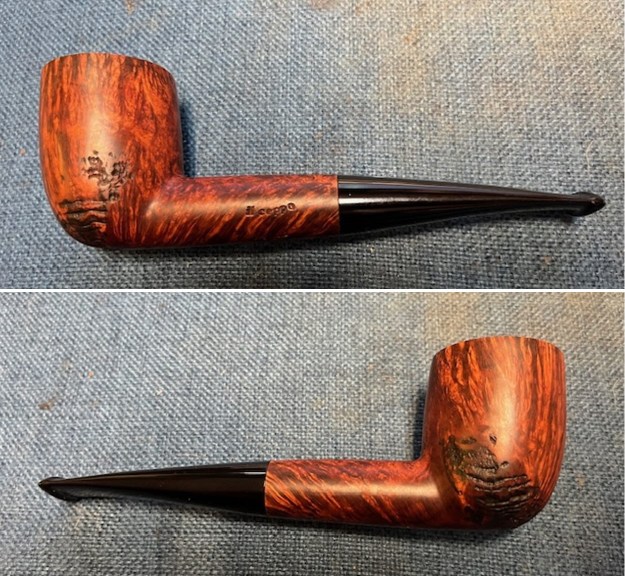
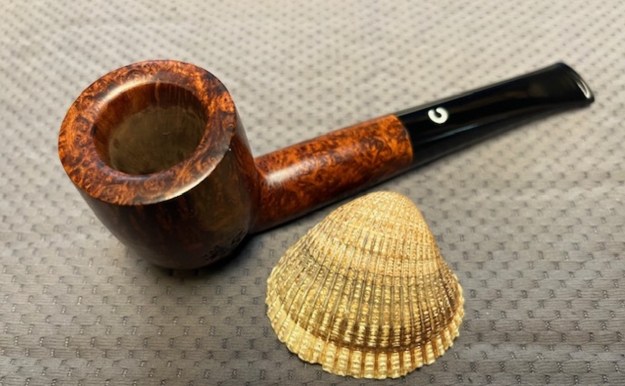
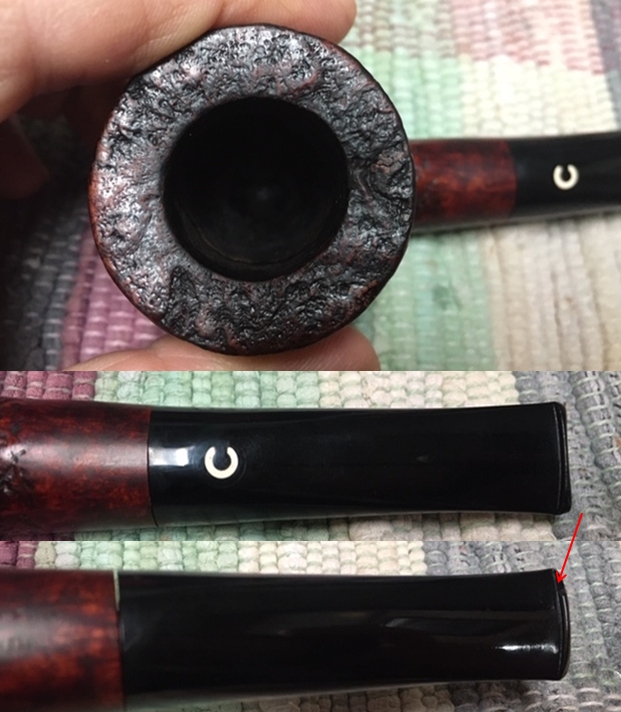
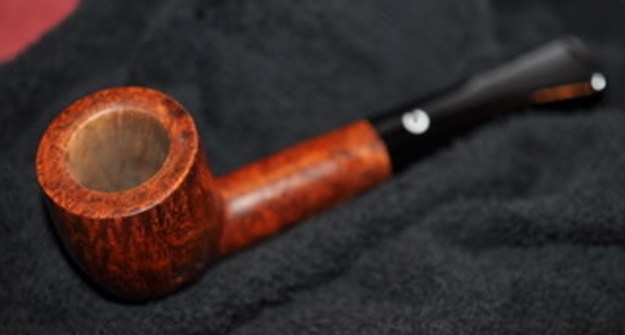
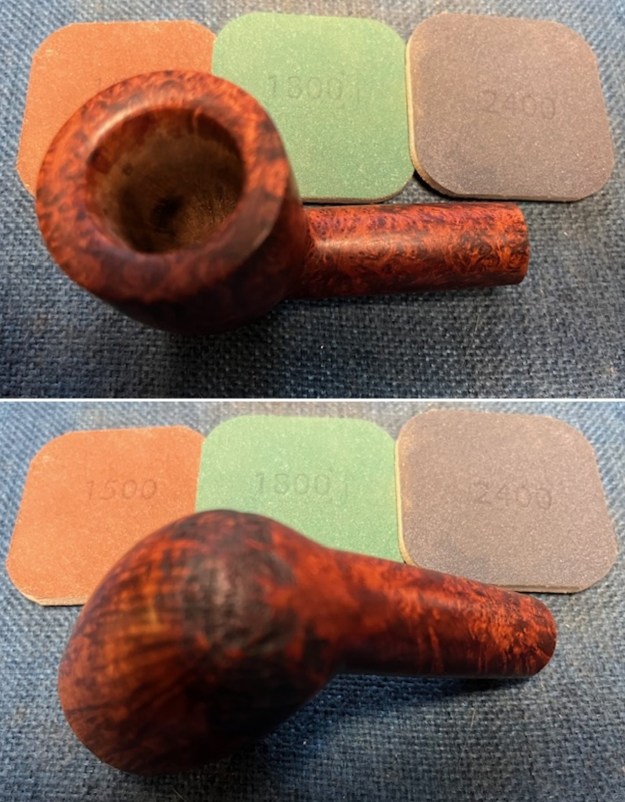
 I took close up photos of the rim top and the stem surface. I wanted to show how well it had cleaned up. The rim top and edges looked very good. The bowl itself was very smooth and clean. I took photos of the stem to show the condition it was in. It looked very good and the C logo was clean and in good condition.
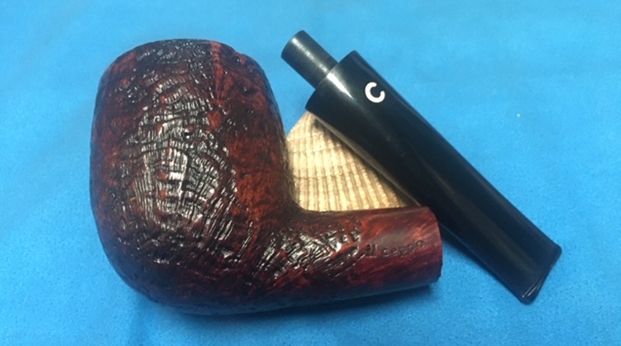
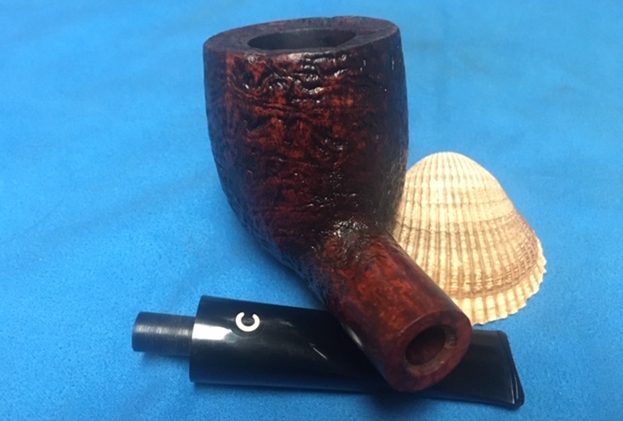
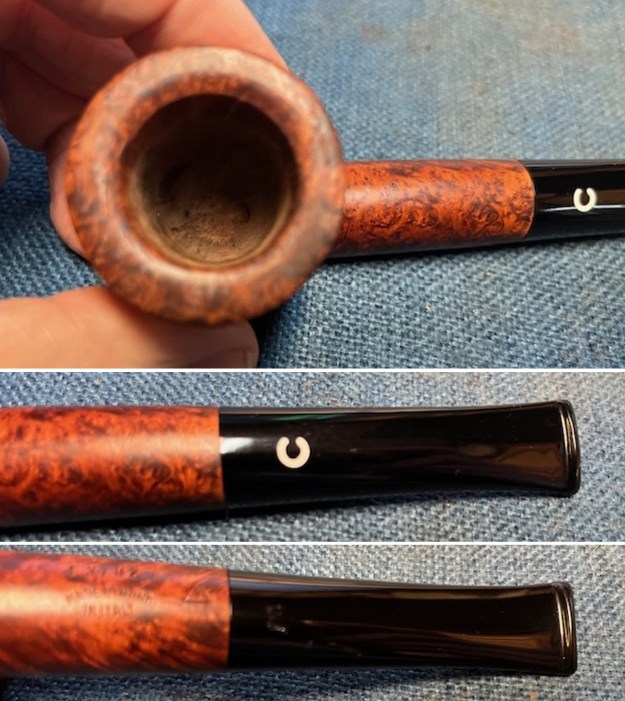 I took photos of the stamping on the sides of the shank. You can see that it is stamped as noted above. The stem is stamped on the underside Own Made. It is clear and readable. I took the pipe apart and took a photo of the pipe. It is a good looking pipe with incredible grain.
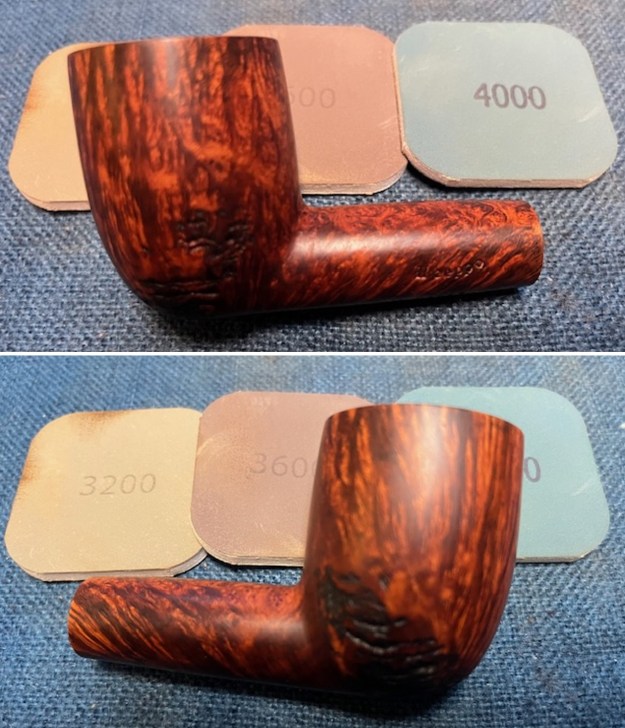
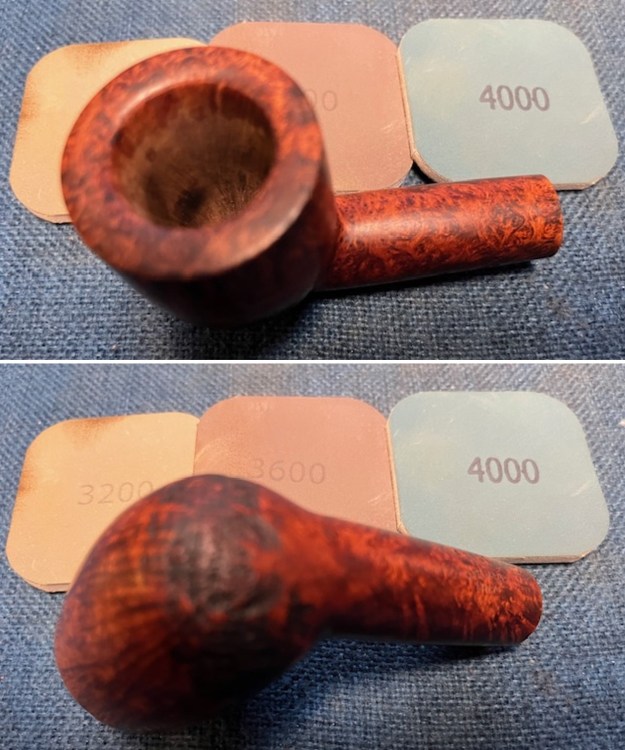
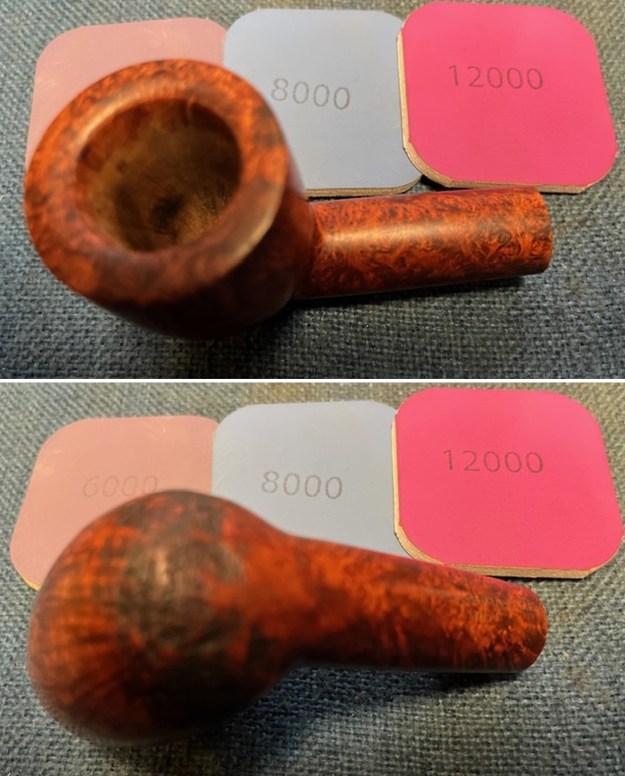
 I polished the briar with micromesh sanding pads – dry sanding with 1500-12000 grit pads. I wiped the bowl down after each pad with a damp cloth to remove the sanding dust. By the end of the process they looked very good.
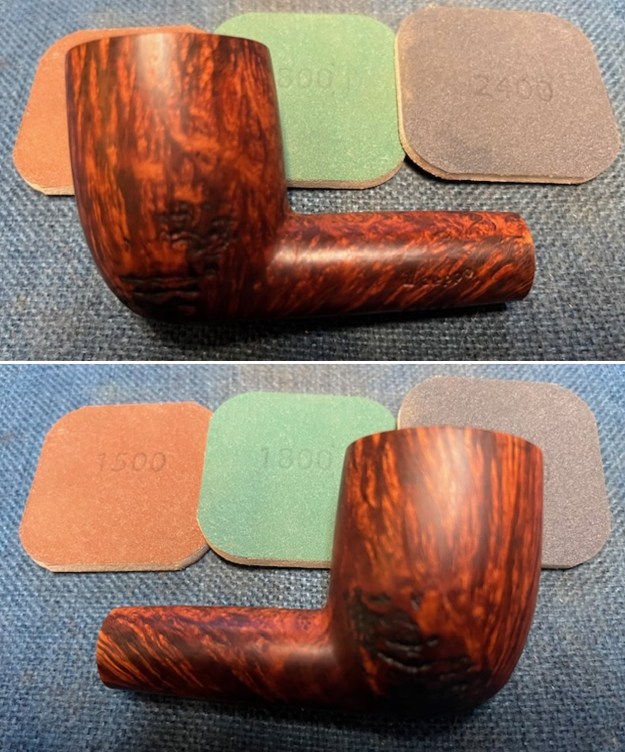

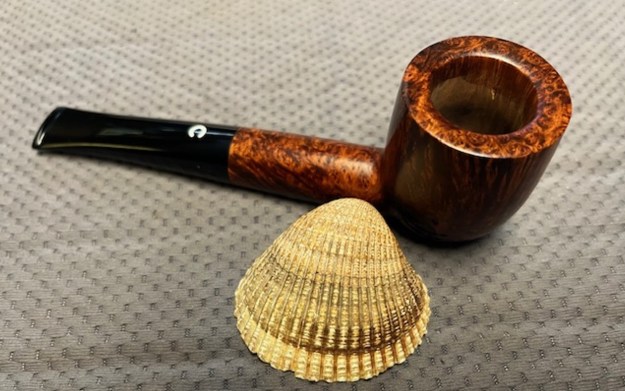
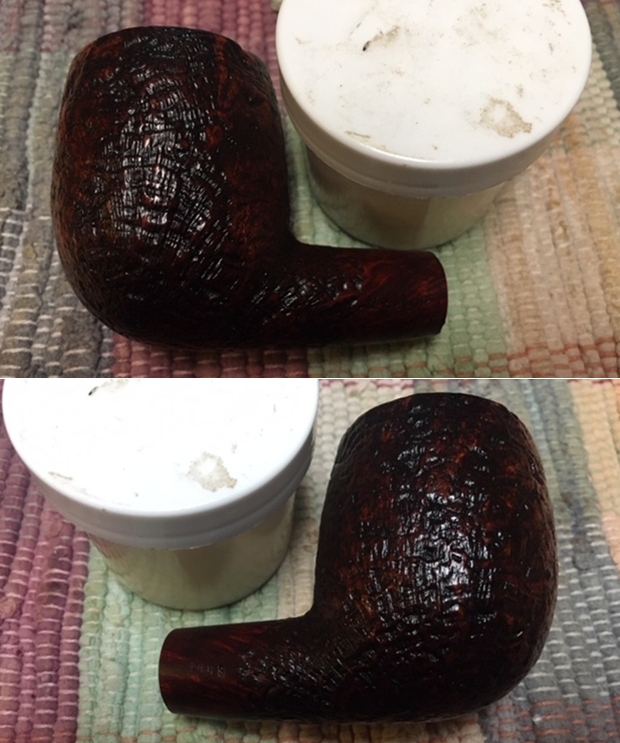
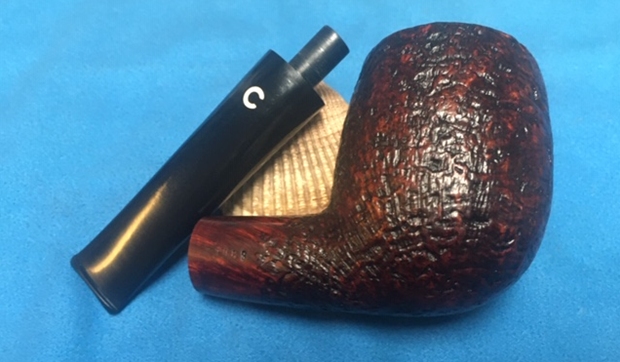
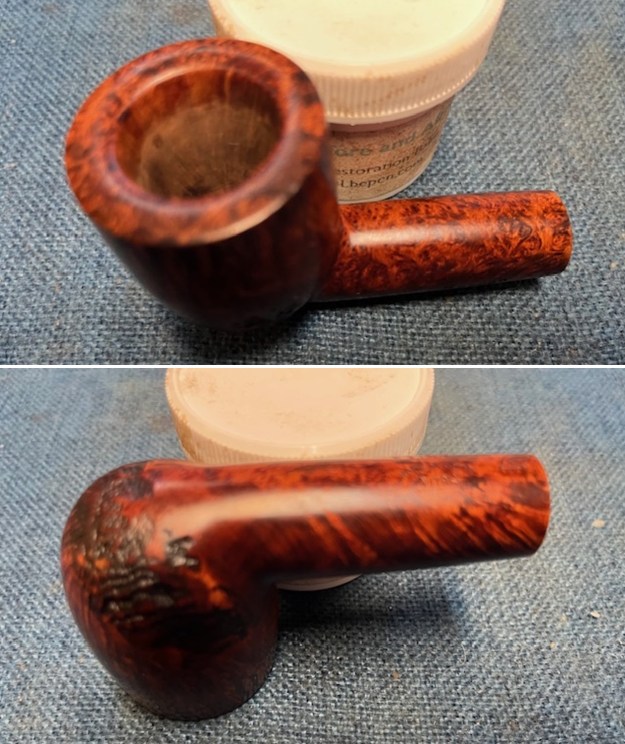
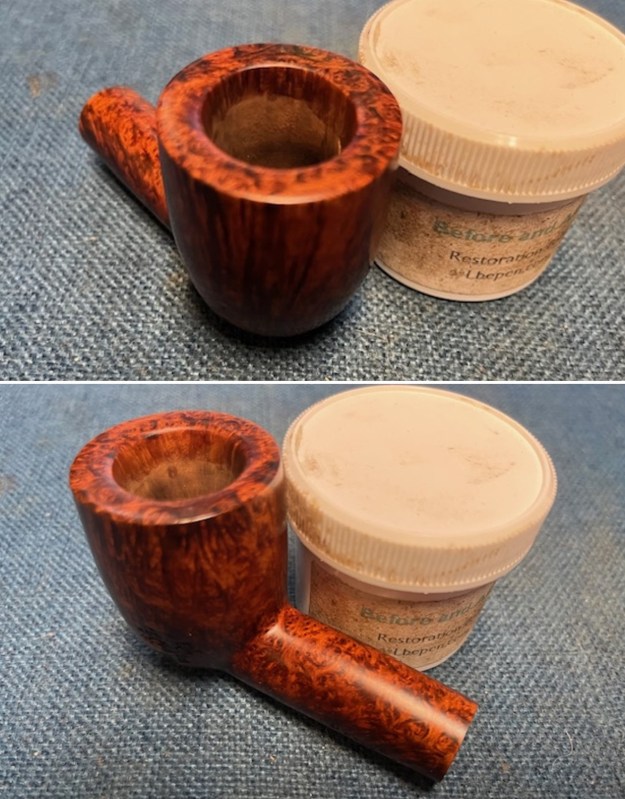
 I worked some Before & After Restoration Balm into the surface of the briar with my fingertips to clean, enliven and protect the briar. I let the balm sit for 15 minutes and then buffed with a cotton cloth to raise the shine. The photos show the bowl at this point in the restoration process.
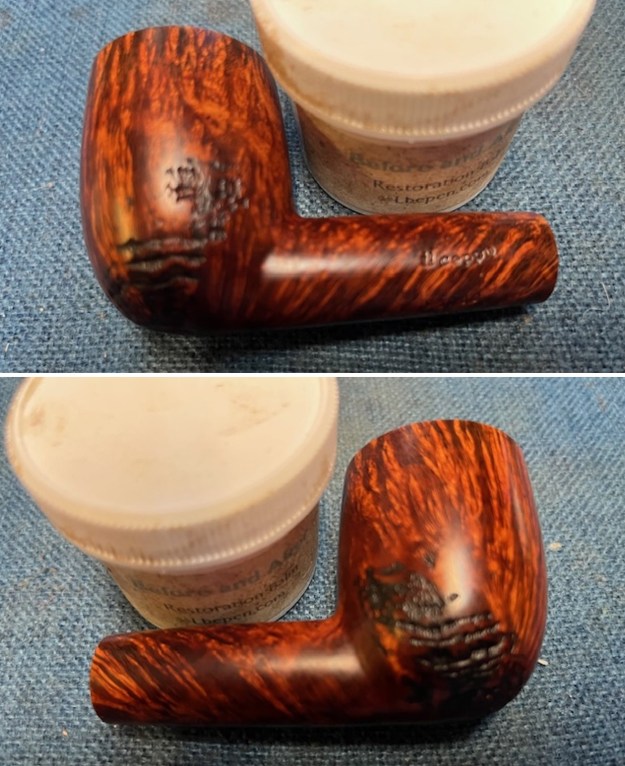
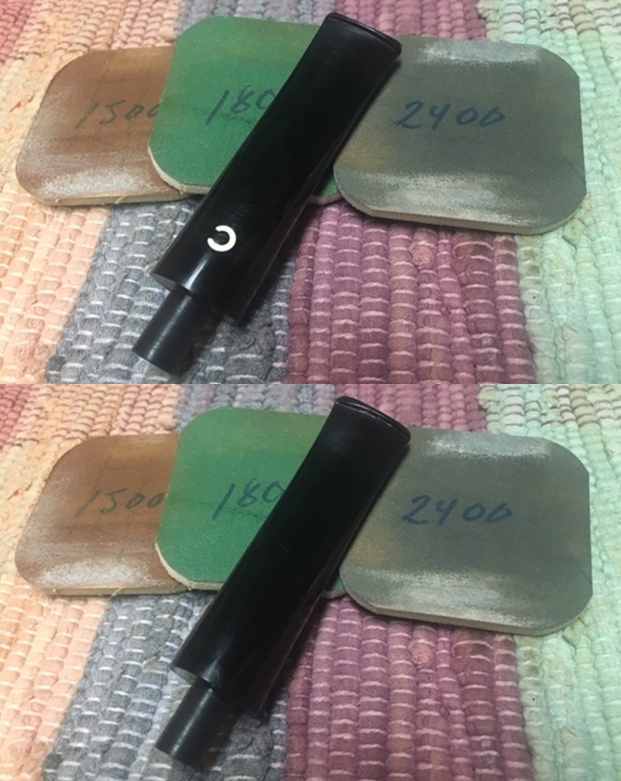
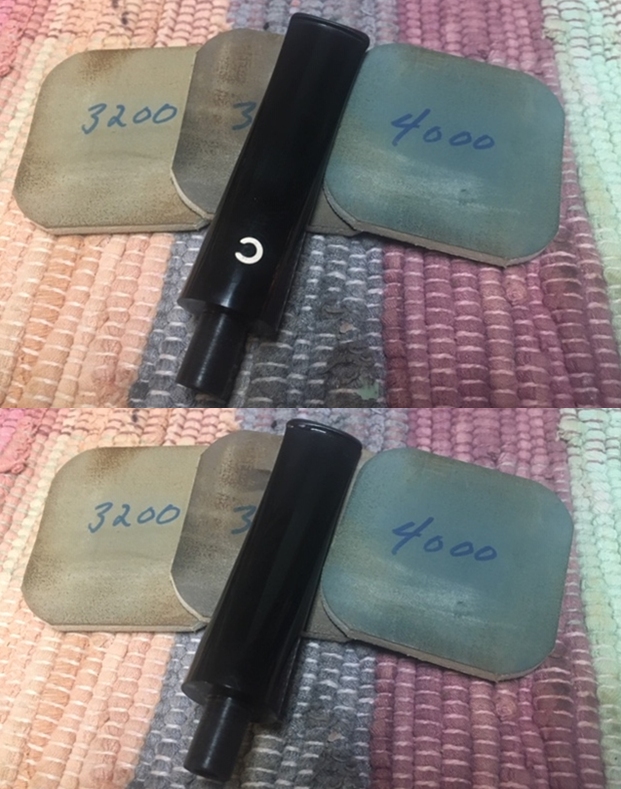
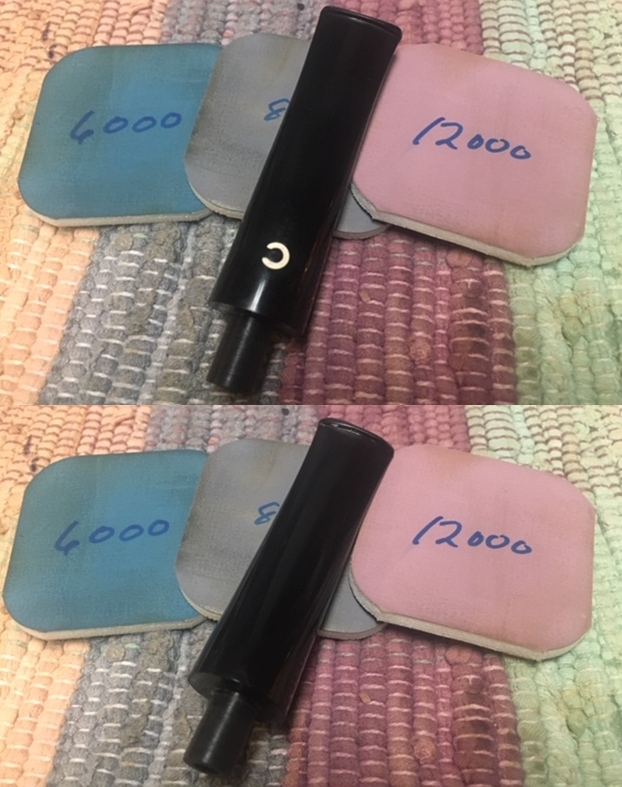
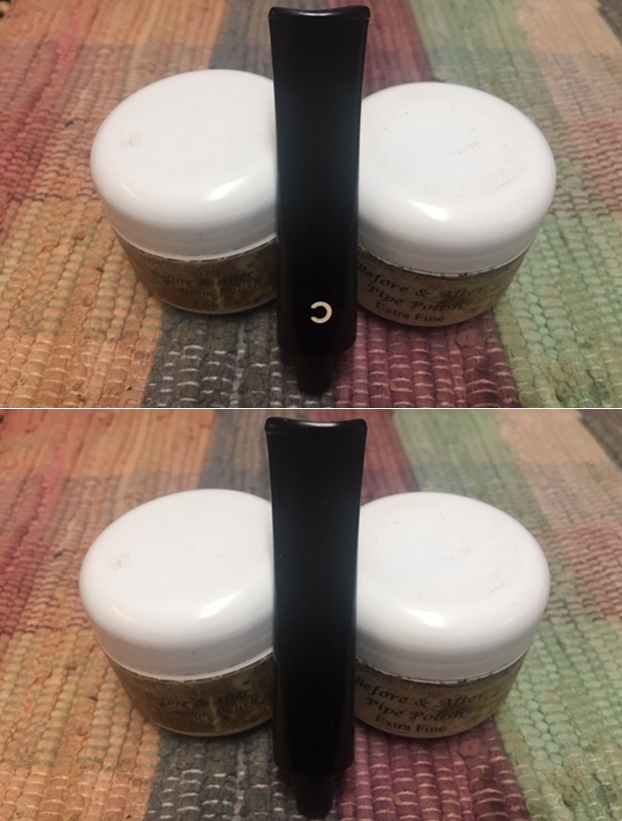
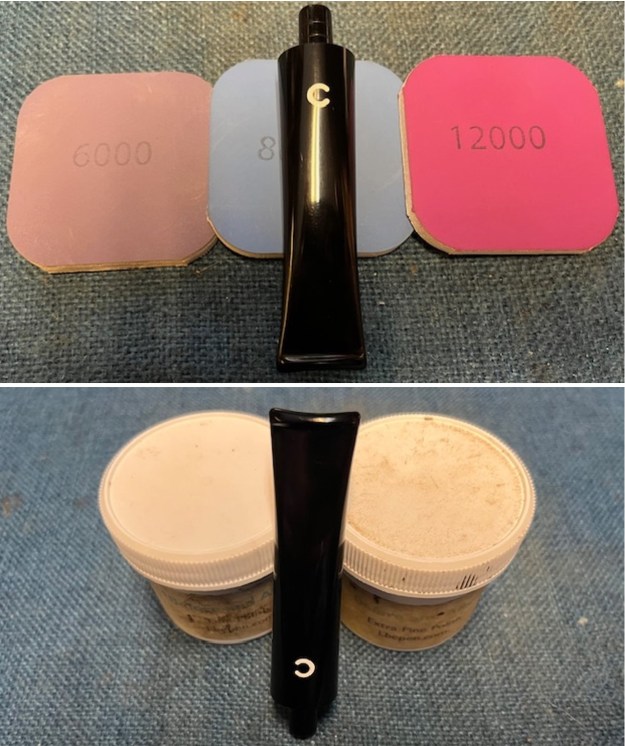
 I polished the stem with micromesh sanding pads – dry sanding with 1500-12000 grit sanding pads. I wiped it down after each sanding pad with Obsidian Oil. I polished it with Before & After Pipe Stem Polish – both Fine and Extra Fine.
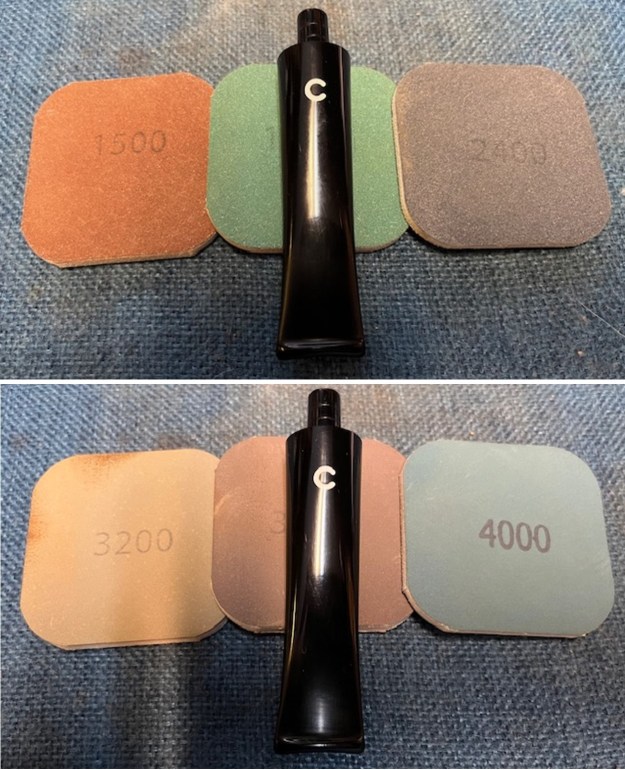
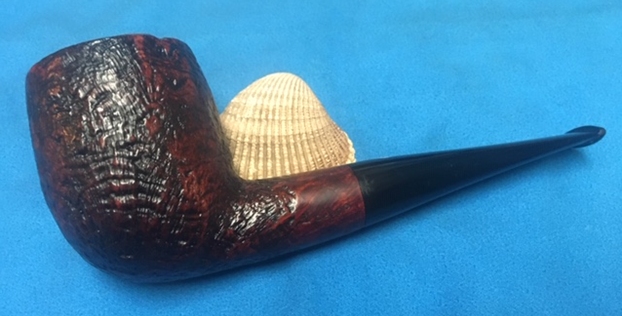
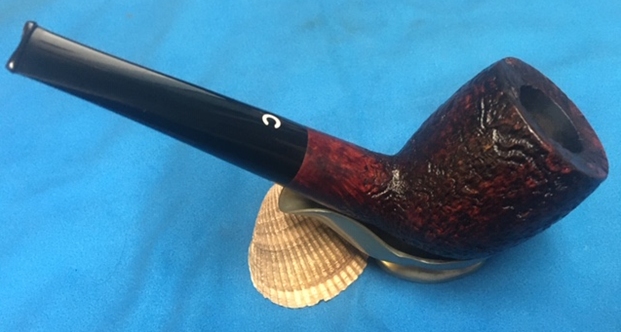
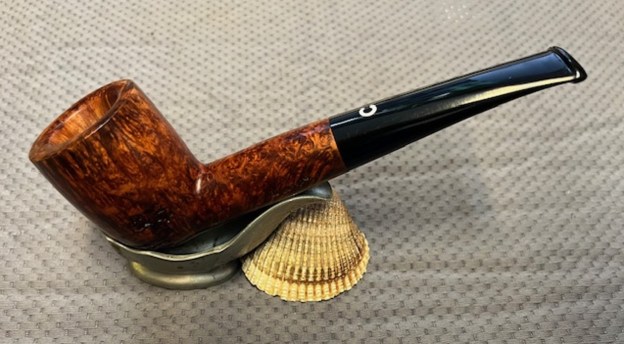
 This Hand Made il ceppo E3703 Grade 3 Billiard was another fun pipe to work on and I was glad to be finishing it. I put the acrylic stem back on the bowl and polished the bowl and stem with Blue Diamond polish on the buffing wheel. I gave the bowl multiple coats of Conservator’s Wax and the stem multiple coats of carnauba wax. I buffed the pipe with a clean buffing pad to raise the shine. I hand buffed it with a microfiber cloth to deepen the shine. The smooth grain and the sandblast patches give the pipe a great look. The pipe polished up really well. The polished acrylic stem seemed to truly come alive with the buffing. This pipe feels great in my hand and I am sure that the sandblast portions will feel even better radiating the heat of a good smoke. Have a look at it with the photos below. The dimensions are Length: 6 inches, Height: 2 inches, Outside diameter of the bowl: 1 ½ inches, Chamber diameter: 7/8 of an inch. The weight of the pipe is 2.05 ounces/58 grams. This is one beauty that is eye catching. I will be putting it on the rebornpipes store shortly. If you are interested in adding it to your collection email or message me.
Thanks to each of you who are reading this blog. Remember we are not pipe owners; we are pipemen and women who hold our pipes in trust until they pass on into the trust of the next pipeman or woman.