Blog by Steve Laug
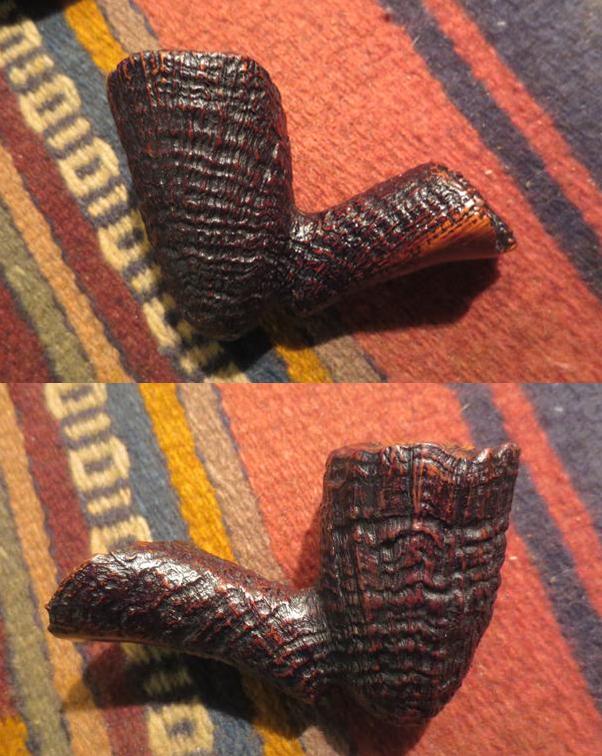
The brand is unknown to me but many things about it look like a Preben Holm or Ben Wade pipe to me. The flow and lines of the bowl and stem, the well done sandblast, the smooth internal rim top all point that way to me. But I have not heard of nor have I been able to find information on the LS. The pipe is stamped Hand Made in Denmark over LS on the underside of the shank.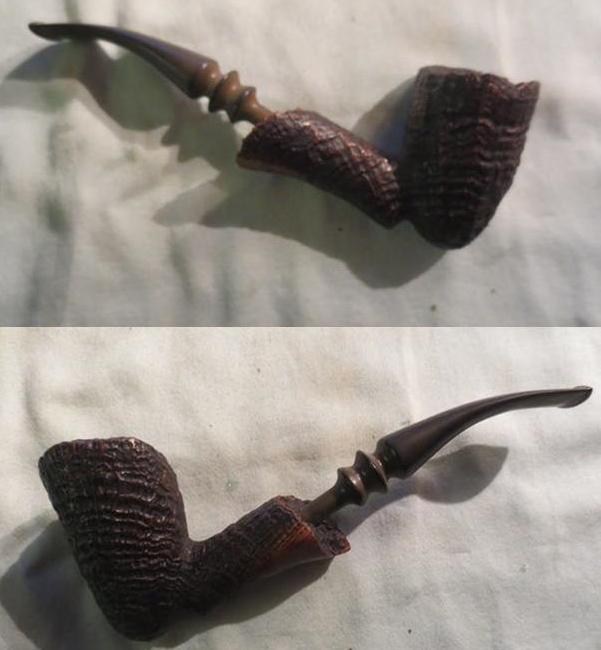
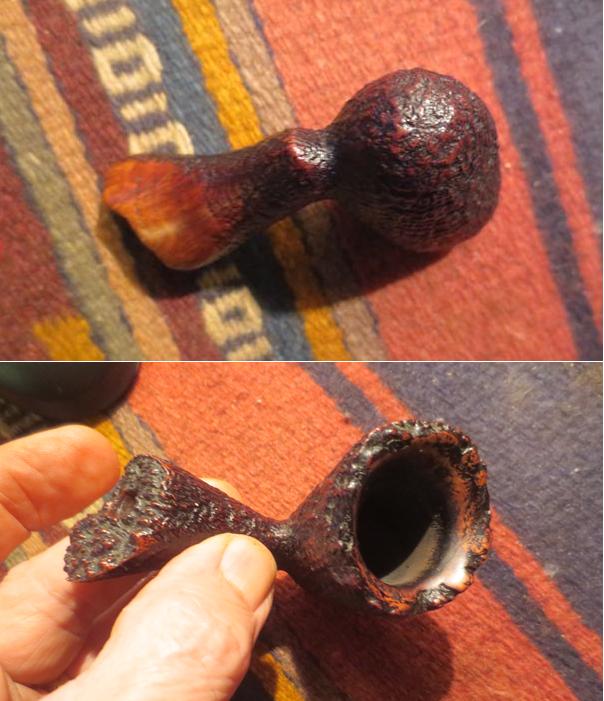
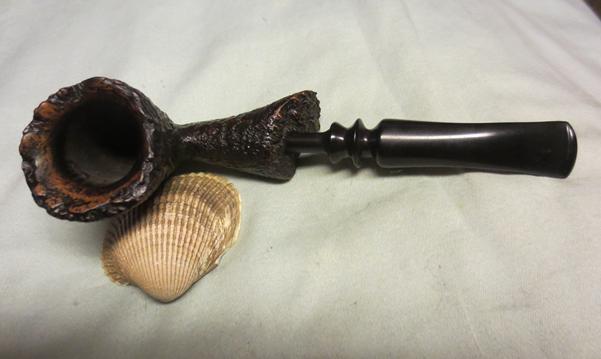
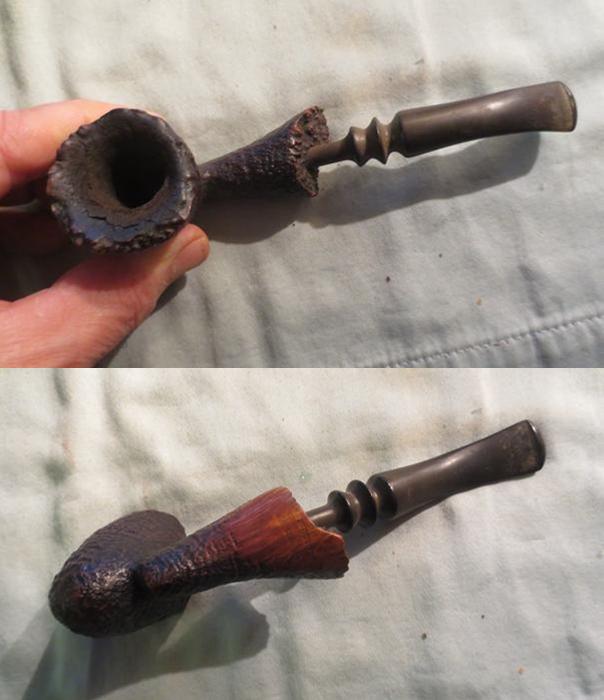 The pipe was in great condition in terms of the finish of the bowl. It had dust in the grooves of the deep lines of the sandblast. The stain was in good shape. The smooth underside of the shank was very clean and did not have scratches. The plateau in the shank end was dirty but in good condition. The interior surface of the smooth rim top was covered in a very thick and dirty cake that flowed up from the bowl and over top. The next photo shows the flaking cake on the top of the rim and in the plateau areas around the outer edge.
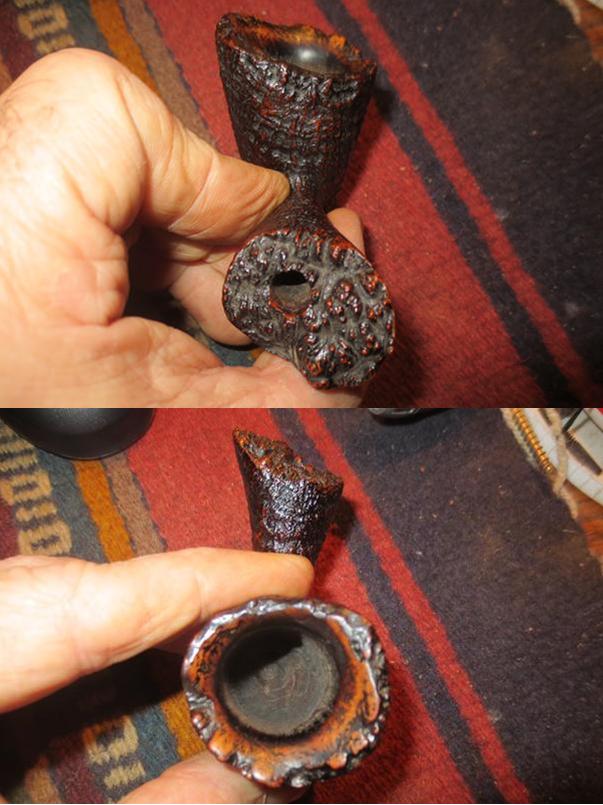
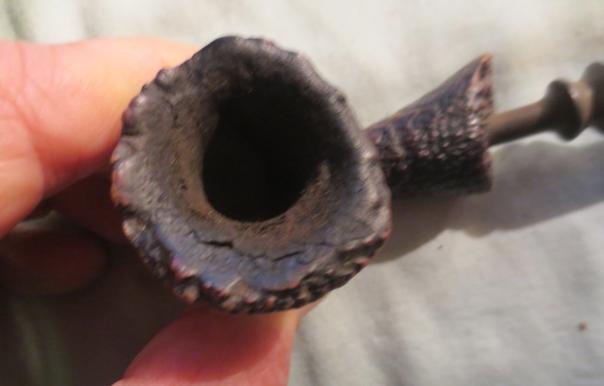 I reamed the bowl with a PipNet pipe reamer using the first three cutting heads to trim back the cake into the heel of the bowl. I followed that up with a Savinelli Pipe Knife to smooth out the transitions between the various cutting heads. I remove the cake back to bare briar. I also used the pipe knife to cut back the cake on the inner edges of the rim.
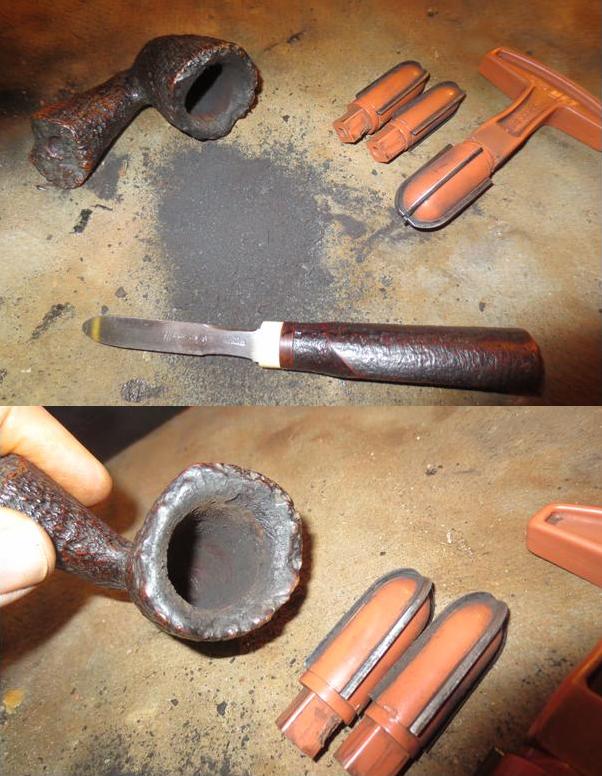 I sanded the inner smooth portion of the rim with 220 grit sandpaper to remove the tars and lava that I could not get off otherwise. I picked at the grooves, nooks and crannies in the plateau portion with a dental pick. I wiped it down with isopropyl alcohol and sanded some more until the surface was smooth.
 I scraped the last remaining edges of cake with the Savinelli Pipe Knife. I cleaned out the mortise and the shank with pipe cleaners, cotton swabs and alcohol.
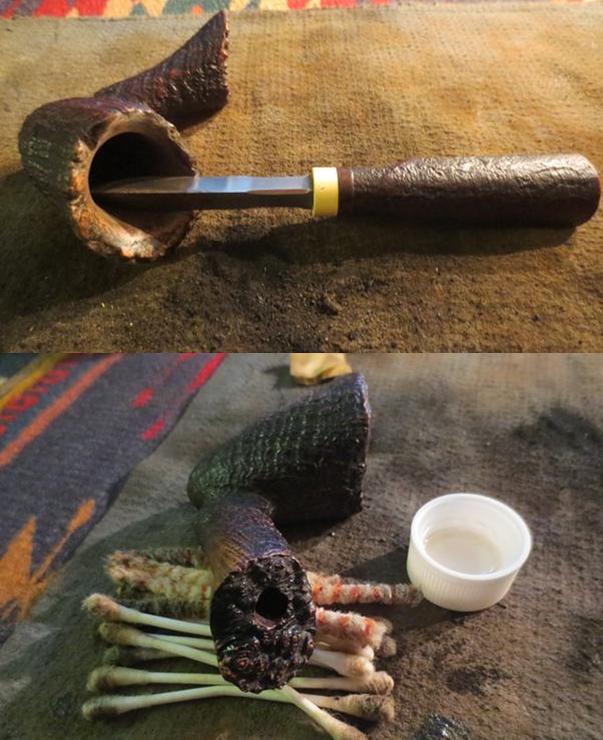 The stem had been sitting in an Oxyclean soak overnight. Once I had the bowl cleaned I took the stem out of the bath to begin working on it. I ran a pipe cleaner through the airway in the stem to clean out any remaining debris and the oxy solution.
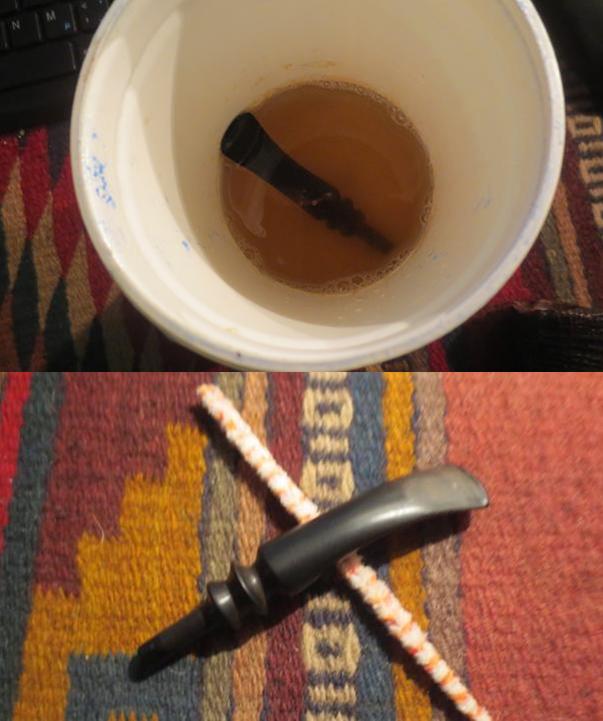 I scrubbed it once more with the oxy solution and then rubbed the stem dry with a coarse cotton cloth. It removed a lot of the oxidation from the grooves in the stem and the surface of the stem.
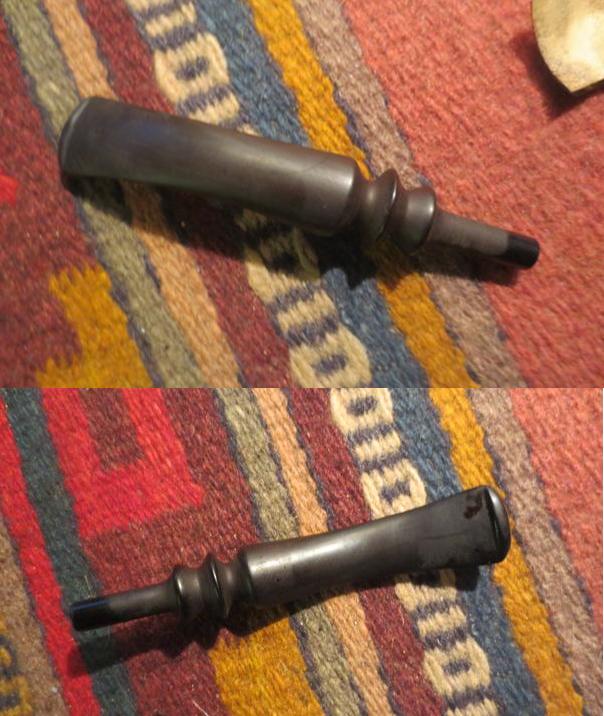 There was a deep, troublesome tooth mark on the top of the stem. It looks like it goes through to the airway but it does not. I probed it with a dental pick to clean out the debris in the mark and then cleaned it with some alcohol on cotton swabs to get rid of any oxy solution that might be in the hole.
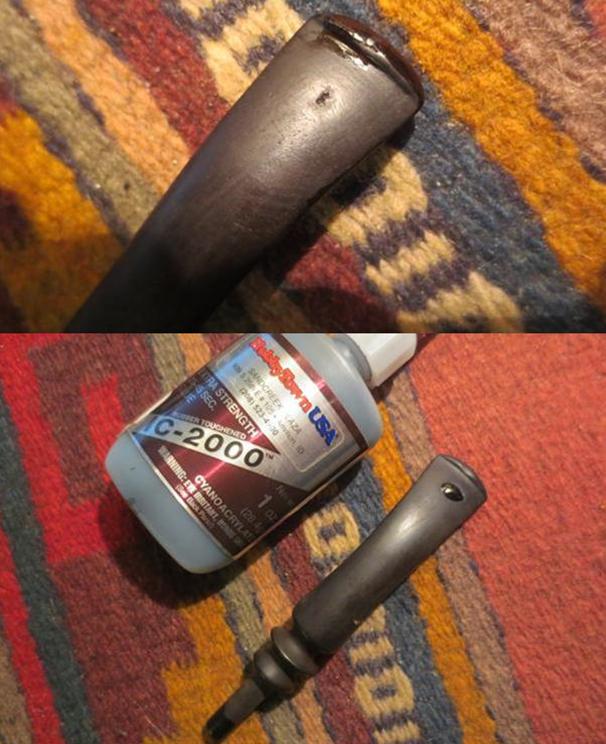 I waxed the sandblasted bowl and the plateau on the shank and the rim edges with Conservator’s Wax. I also waxed the smooth inner edge of the rim top with the wax. I buffed it with a shoe brush and then with a clean buffing pad to raise the shine.
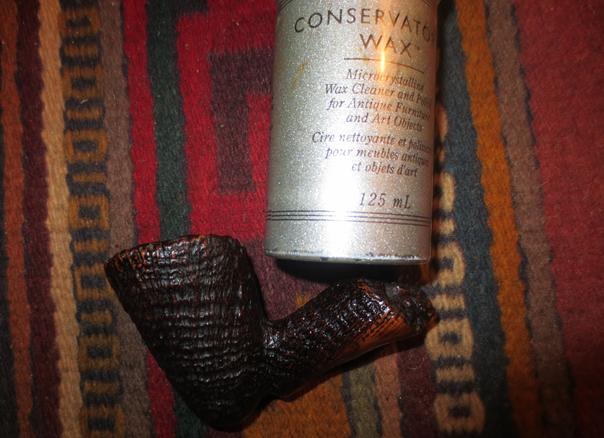
 Once the glue cured on the stem I filed it with a needle file to smooth out the patch to match the surface of the stem.
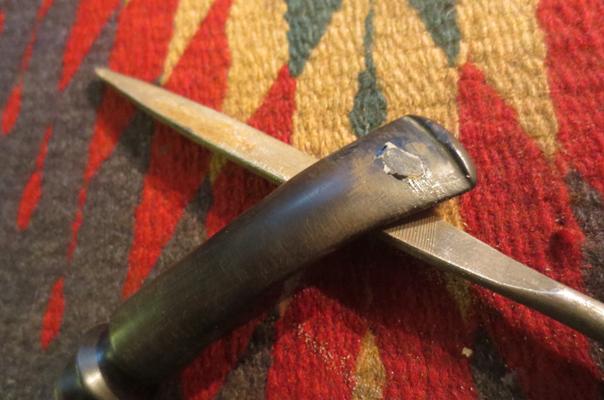 I sanded it with 220 grit sand paper to remove the scratches and smooth out the surface of the patch and the tooth chatter on the underside of the stem.
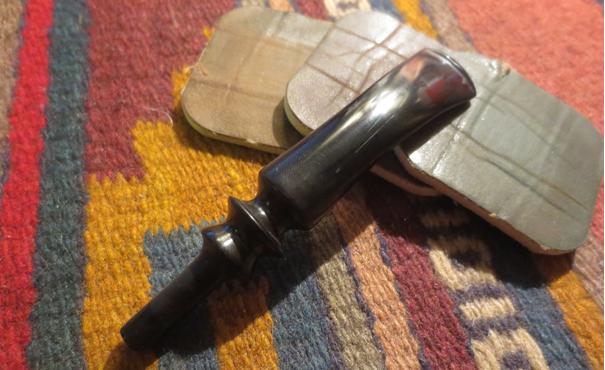
 I polished the stem with micromesh sanding pads – wetsanding it with 1500-2400 grit pads and dry sanding it with 3200-12000 grit pads. I rubbed it down with Obsidian Oil between each set of three pads. After the final set of three I rubbed it down one last time and set it aside to dry.
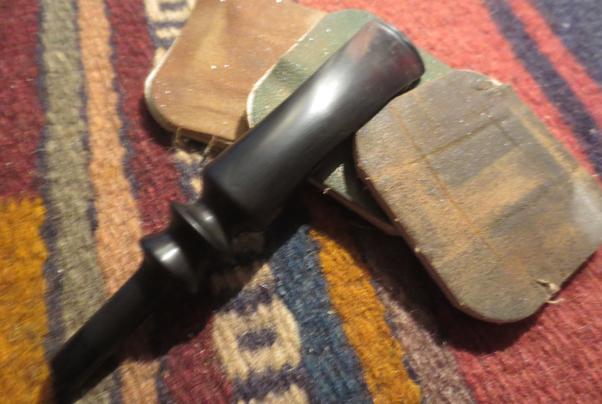
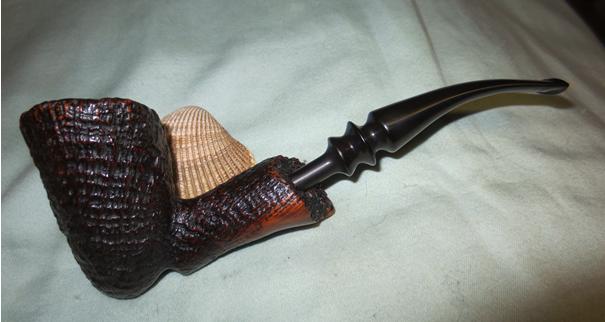
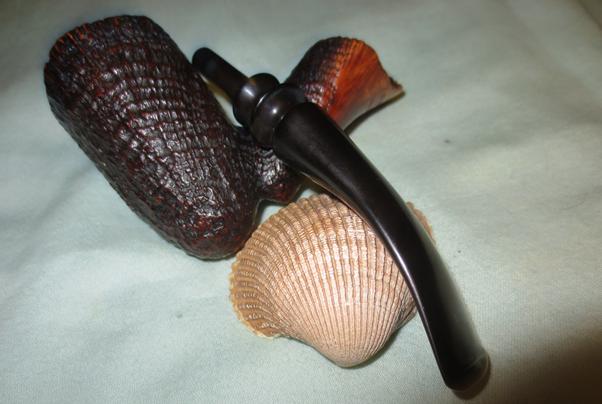
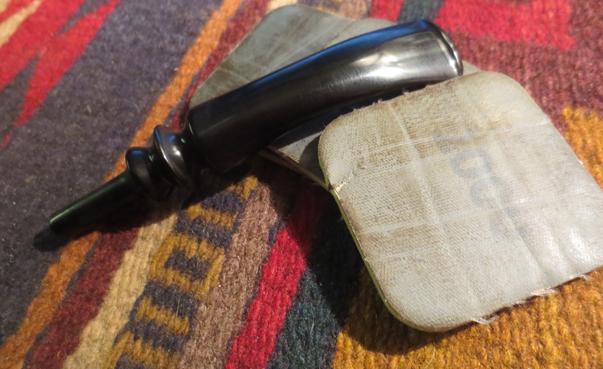 I buffed the stem with Blue Diamond polish on the buffing wheel and gave the stem multiple coats of carnauba wax. I buffed the stem and bowl with a clean buffing pad to bring a shine to the pipe. I hand buffed it with a microfibre cloth and deepened the shine. The finished pipe is shown in the photos below. The look of the internal smooth rim with the plateau edges and the deep sandblast finish make this a beautiful pipe. I think Steve in Dawson Creek will like the way this one turned out as well. It should serve him for many more years to come. Thanks for looking.
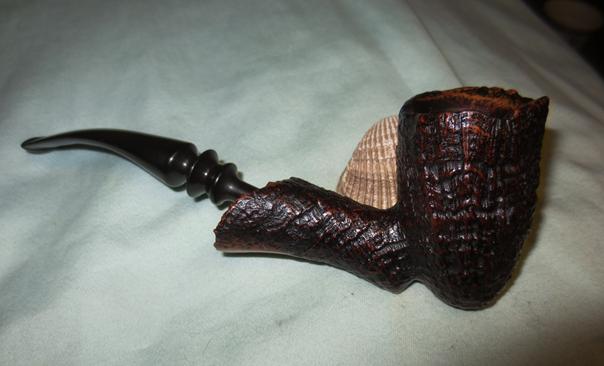


 ee
ee
