Blog by Steve Laug
This is the third pipe from the box of pipes that I was gifted by a good friend of mine with the instructed purpose of cleaning them up and selling them with all of the proceeds going to the aid of earthquake victims in Nepal. The funds raised will all go to the SA Foundation, and organization that has worked in Nepal for over 15 years helping provide recovery, housing and job training for women who are victims of sexual exploitation and trafficking. The ongoing earthquakes (over 300) that continue to shake Nepal have left much in ruins. The SA Foundation Project there was able to find new housing for the women and help with staff as well. Every dollar raised from the sale of these pipes will go to the work in Nepal.
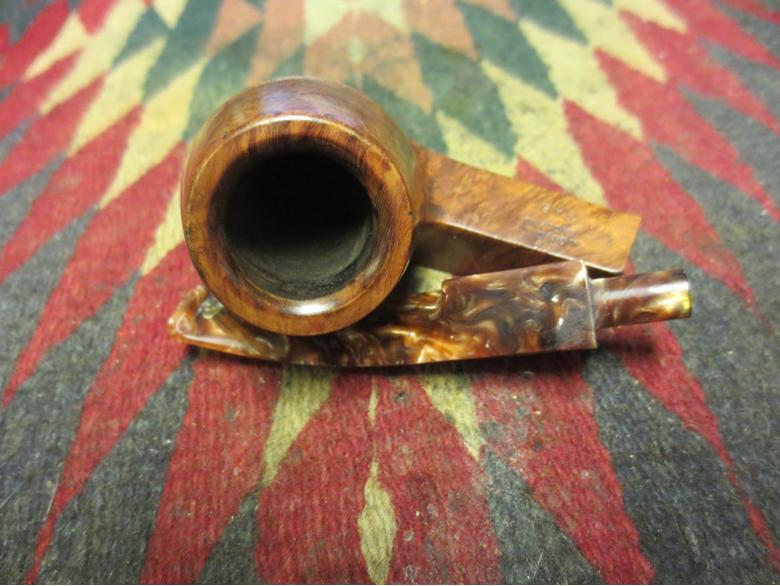
The third pipe I decided to clean up from the box of donated pipes is an interesting GBD Shape 548 – a shape I call an elongated bulldog. It is a unique shape that GBD made for quite a number of years. It is stamped GBD in an oval over Bronze Velvet on the left side of the shank. On the right side it is stamped with the shape number 548 and London over England. When it was introduced it had a natural finish and a swirled bronze acrylic bit. In a 1976 Catalogue it was billed by GBD as, “Our ultimate GBD! Only the choicest natural bowls are selected for this premium newcomer. The crowning touch is the handcut mottled Bronze Velvet mouthpiece blending in complementary contrast to the bowl.”
This one will also be sold and all the proceeds will go to the project in Kathmandu. It is a great looking piece of briar with no visible fills in the briar.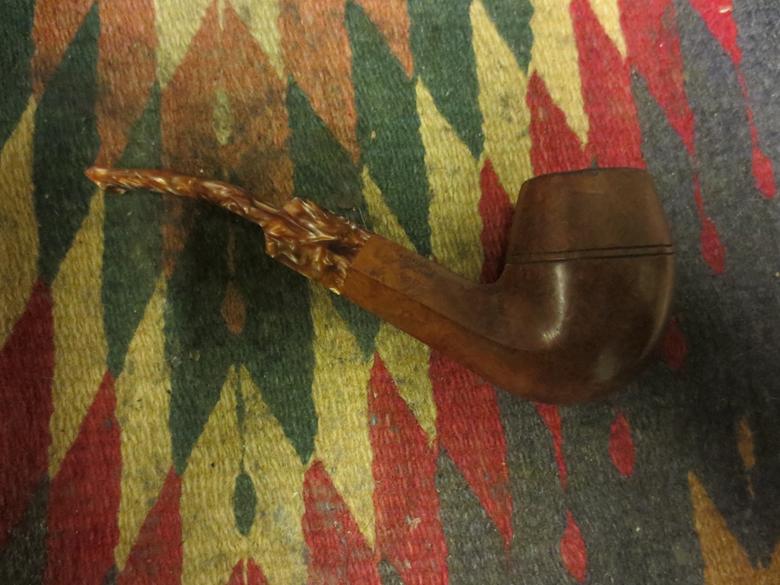
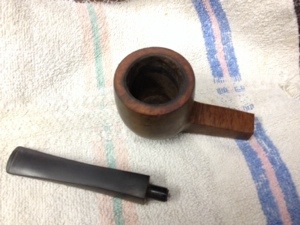
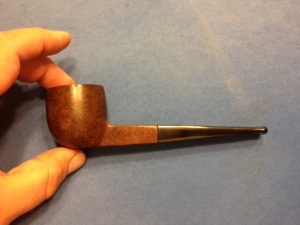
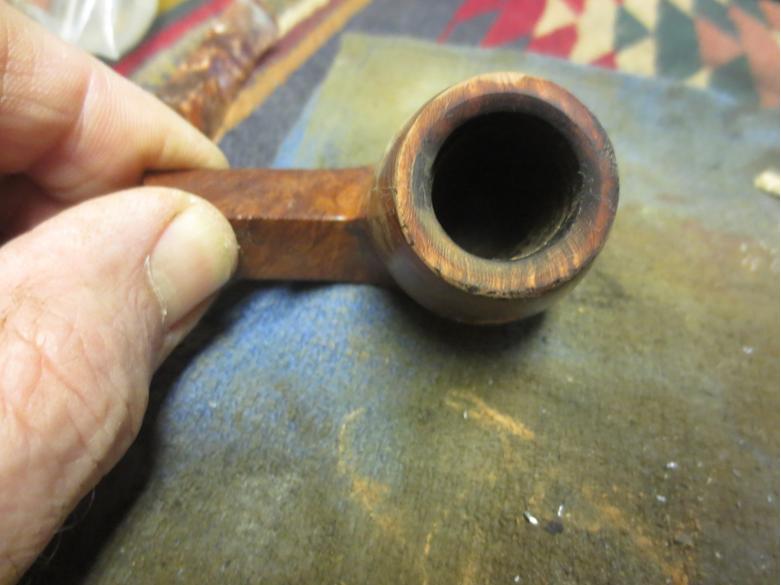
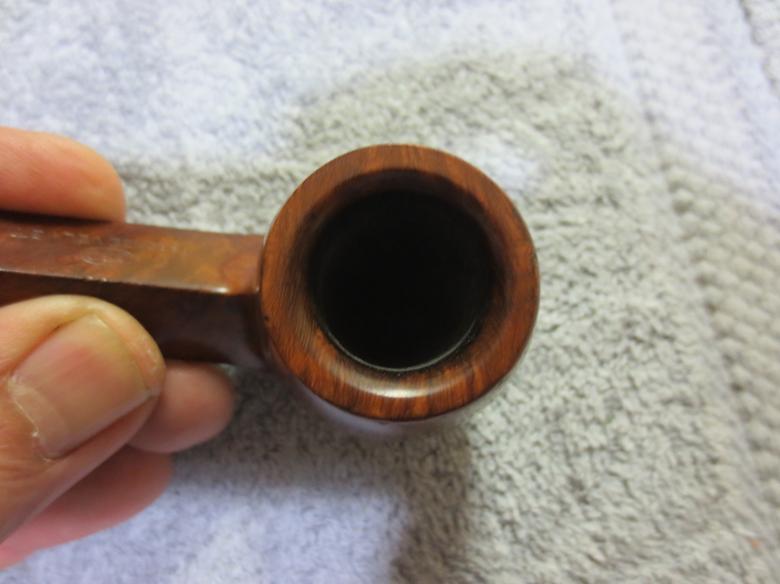
 I examined the pipe before I went to work on cleaning it up and restoring it. The briar was very dirty and had sticky spots on the bowl and diamond shank sides. The double ring around the bowl was in excellent shape but had debris in the grooves. The rim was in rough shape. Not only was it caked with a lot of tars and oils but it had been knocked out on the front edge of the rim and there was roughening and damage to the front and the top of the rim. There were also notches in the top outer edge of the rim all the way around the rim. The inner bevel on the rim was also caked and hardly visible but appeared to be in pretty decent shape under the grime.
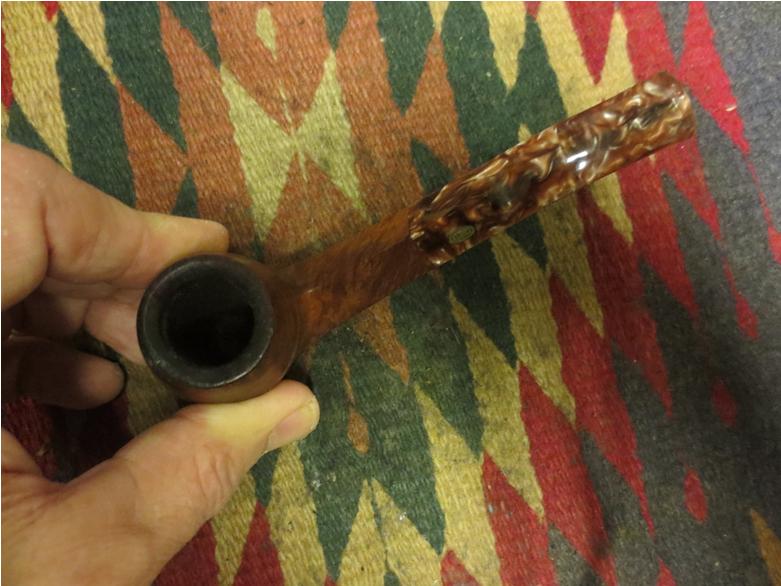
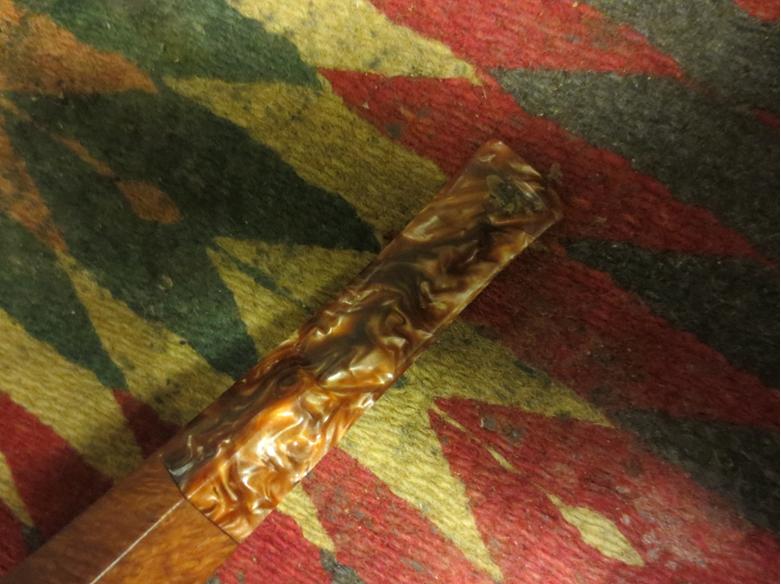
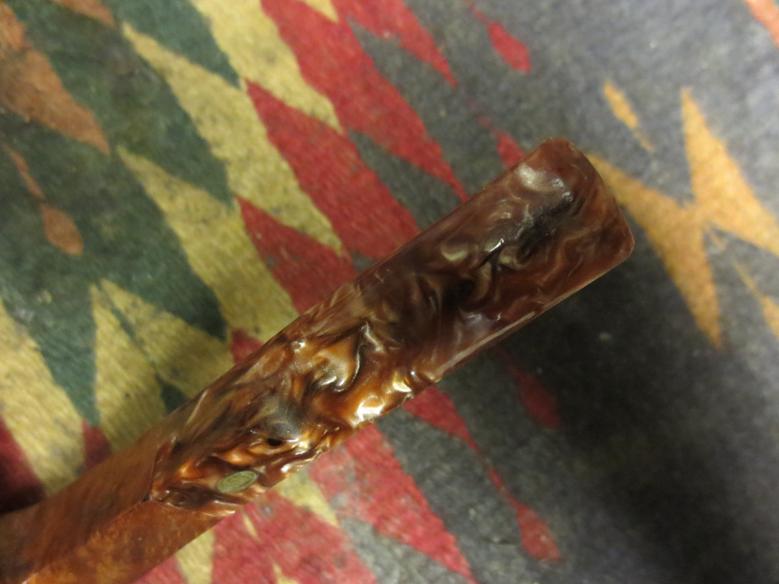
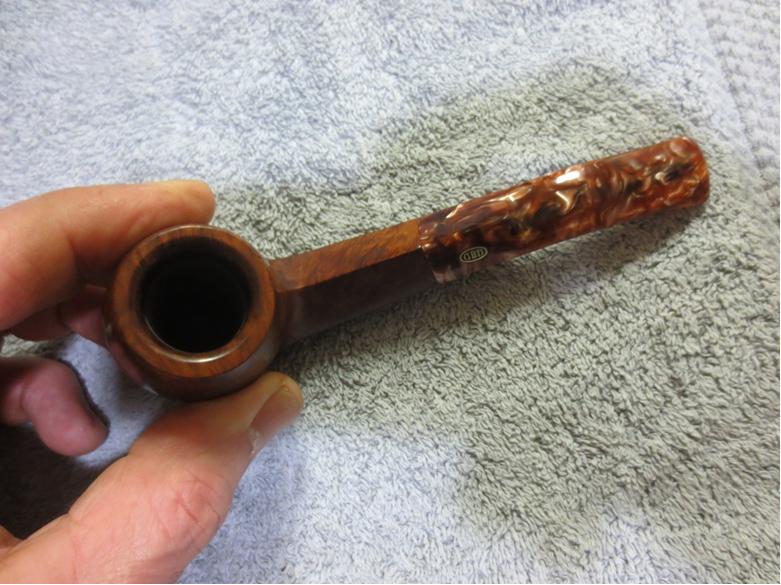
 The stem was a marbled bronze as suggested in the catalogue. The sharp edge of the button had been worn down so that the button merely sloped into the end of the stem. The top side was clean and the underside had a well done repair to a bite through. It appeared to be made out of epoxy and was rock hard. There were slight dents in the surface of the repair but it was still solid.
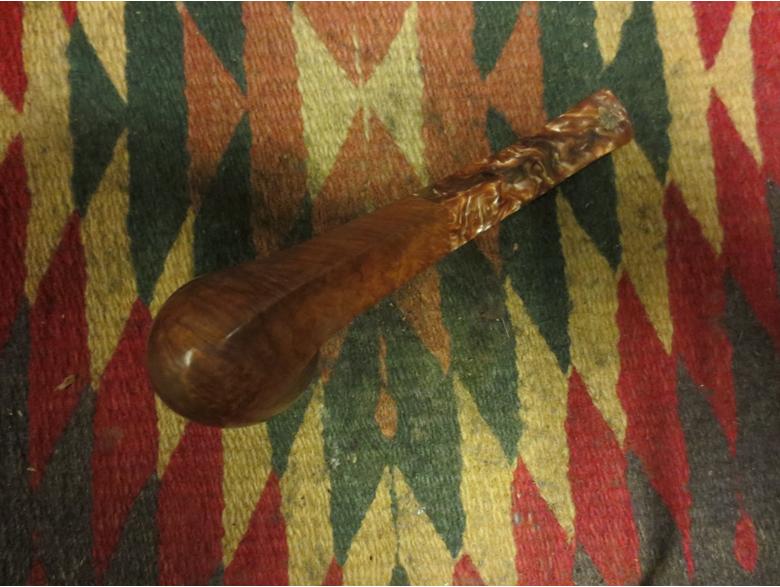
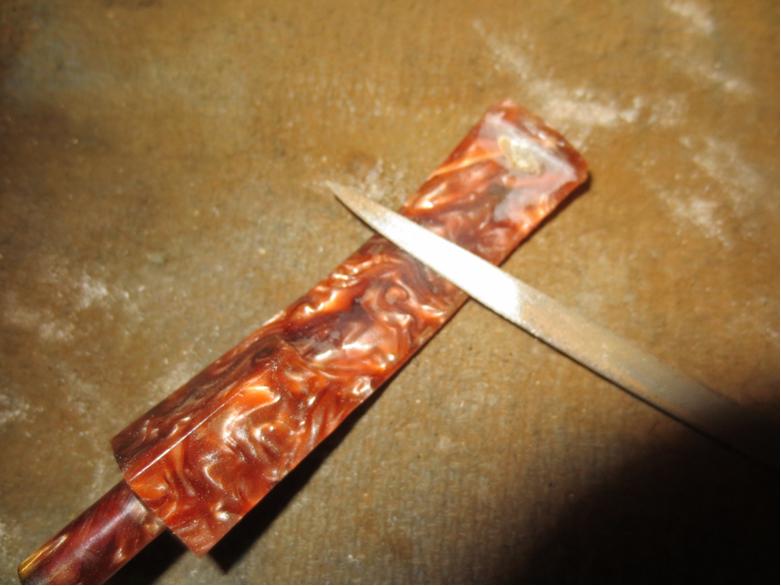
 I decided to work on the stem first. I used a flat edge needle file to sharpen the edge of the button and give it more definition from the rest of the stem surface. I worked on both sides of the stem to give it shape. I also used the file to scrape away some of the stem material in front of the edge to give depth to the button.
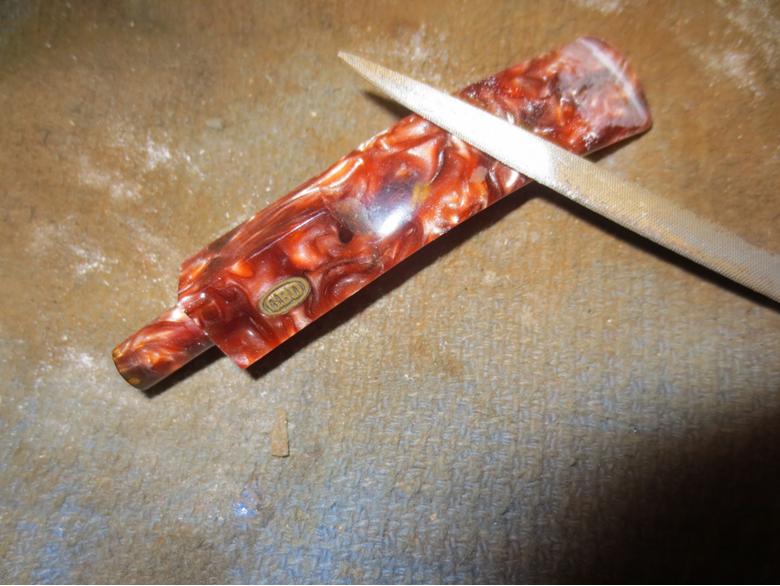
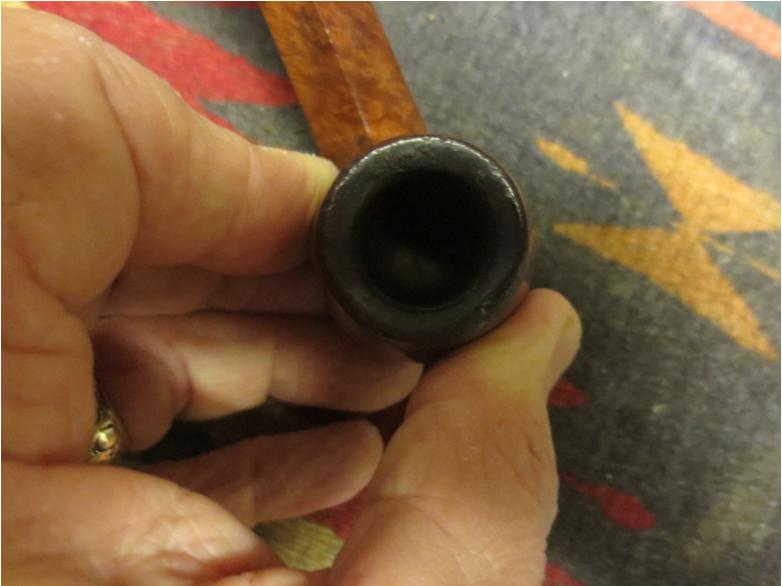
 Once the button was cleaned up and defined I worked on the inside of the stem. I scrubbed the interior of the stem with alcohol, pipe cleaners and cotton swabs. I was surprised to find that the tenon had a metal tube that ran from the end into the stem to give the Lucite tenon more strength in an area where I have seen many of them snap off.
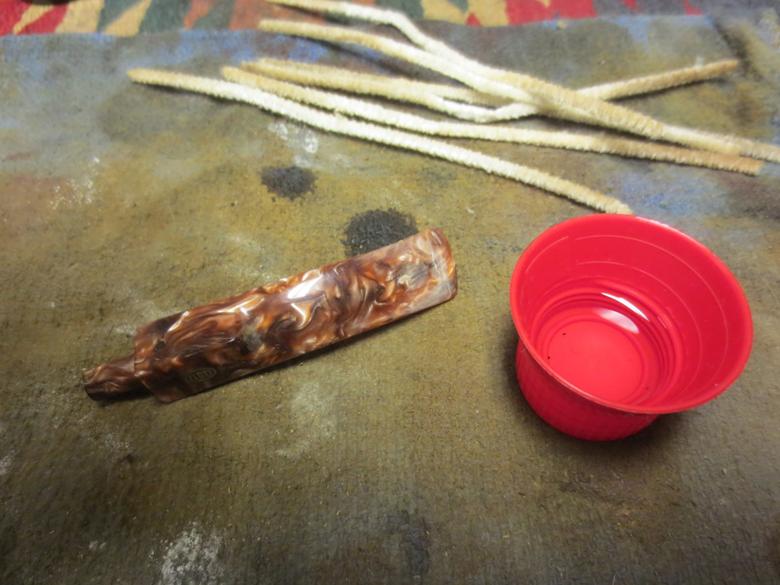
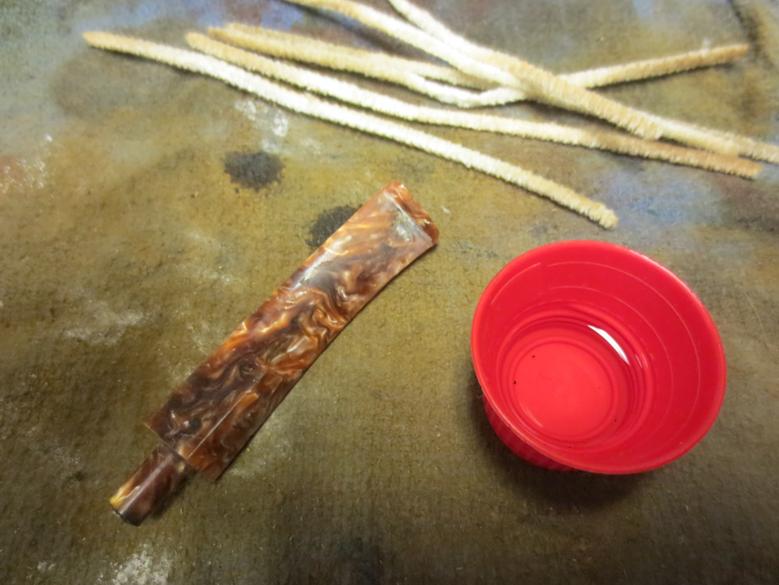 I also wiped down the surface of the stem and used a dental pick to clean up the epoxy repair on the underside. When I had the area cleaned up I used some clear super glue to fill the marks and dents in the epoxy repair and then sanded the stem in that area with 220 grit sandpaper and a medium and a fine grit sanding sponge to blend it into the surface of the stem and smooth it out. Once that was done I set the stem aside and worked on the bowl.
I used the PipNet reamer to clean up the bowl and remove the bits of carbon that were left behind. I also cleaned the airway and the mortise with pipe cleaners, cotton swabs and alcohol until they came out clean.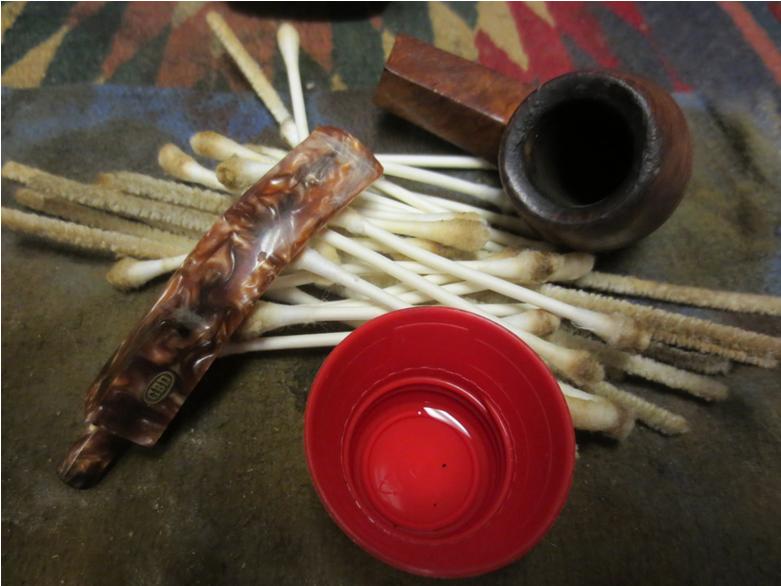
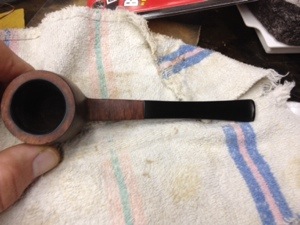
 The damage to the rim needed to be addressed so I topped the bowl with the topping board and 220 grit sandpaper until the damaged portion was gone. I did the topping in several steps. I took the top down until the major damage was gone and then did a little more to minimize the damage on the front of the bowl.
 I reworked the beveled inner edge with a folded piece of 220 grit sandpaper until it was the same angles it was before I topped it. When that was sanding was complete I worked on the damage to the outer rim with the same sandpaper and then sanded the entire rim with a medium and a fine grit sanding sponge.
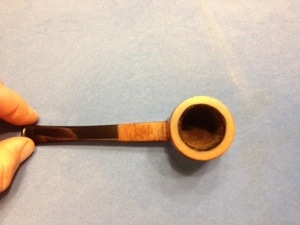
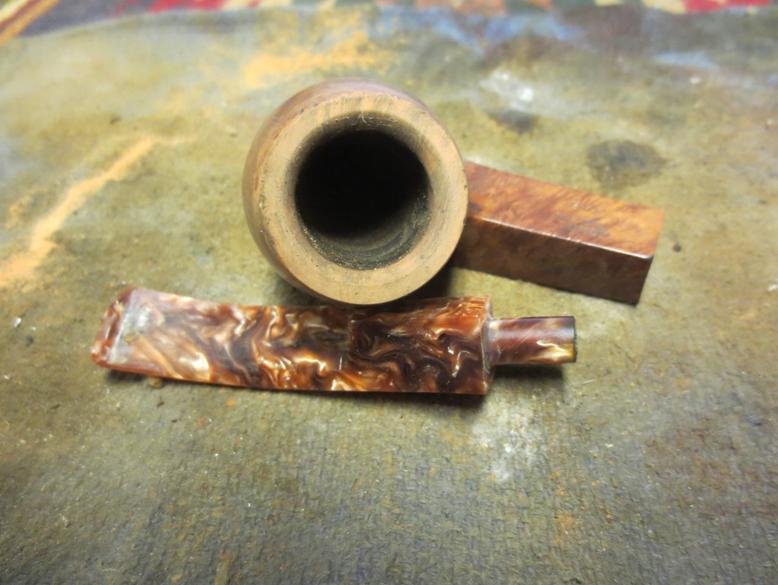 I wiped the bowl and the rim down with alcohol on a cotton pad. When I had finished the bowl looked as it is shown in the next photo.
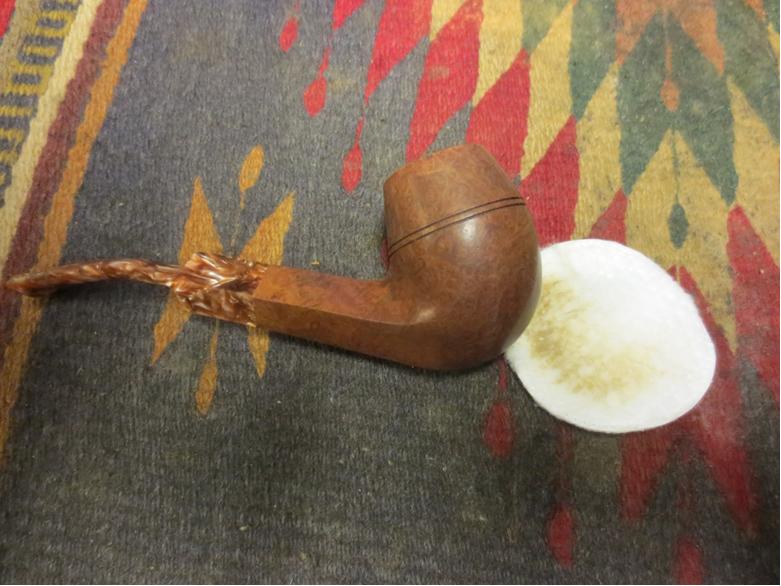
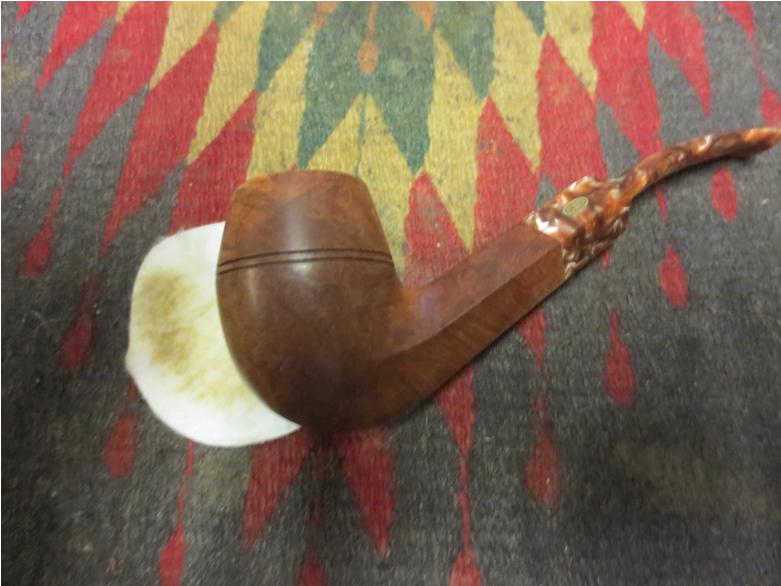
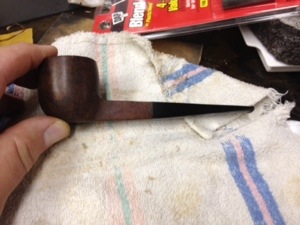
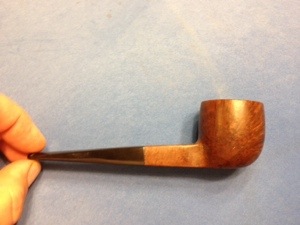
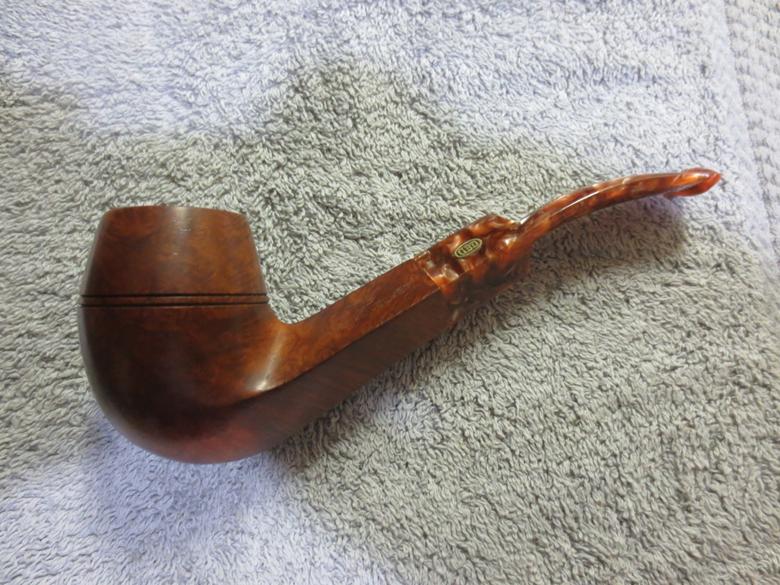
 The next two photos show the bowl after I had scrubbed the surface of the briar with alcohol on a cotton pad. The natural briar looks clean and bears a slight patina of age. But is looking pretty decent at this point in the process – and I had not even buffed it yet.
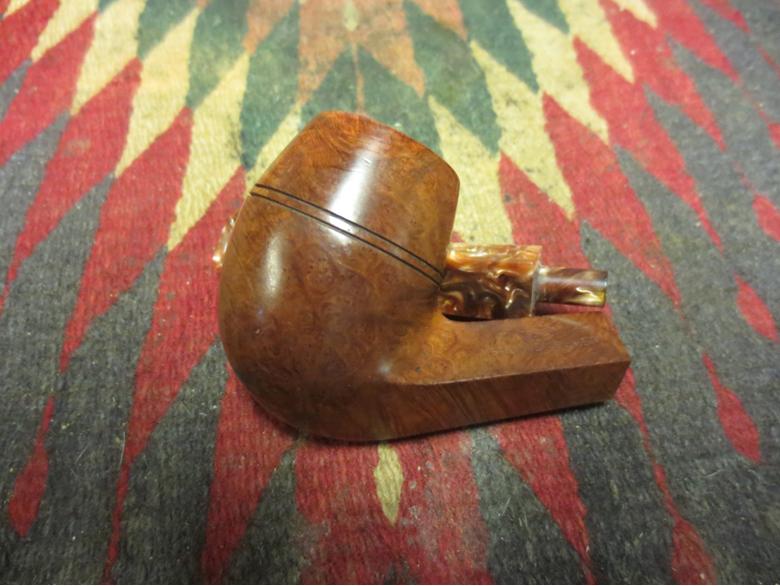
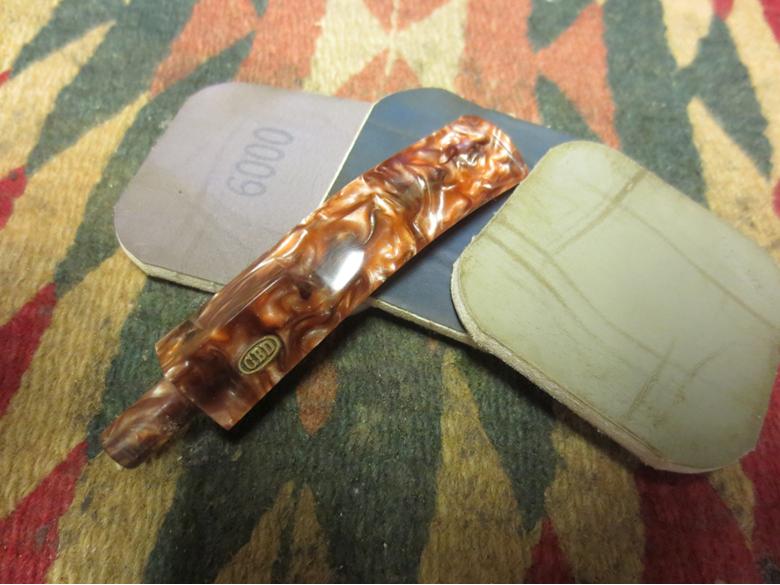
 I polished the stem with micromesh sanding pads – wet sanding with 1500-2400 grit pads and dry sanding with 3200-12,000 grit pads. I rubbed the stem down with Obsidian Oil between each set of three pads. When I finished I gave it a light buff with White Diamond.
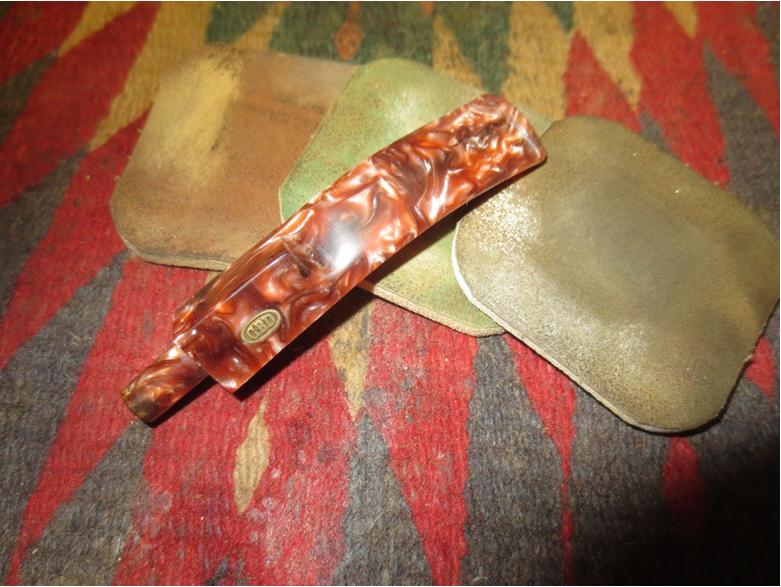


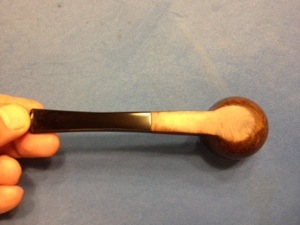
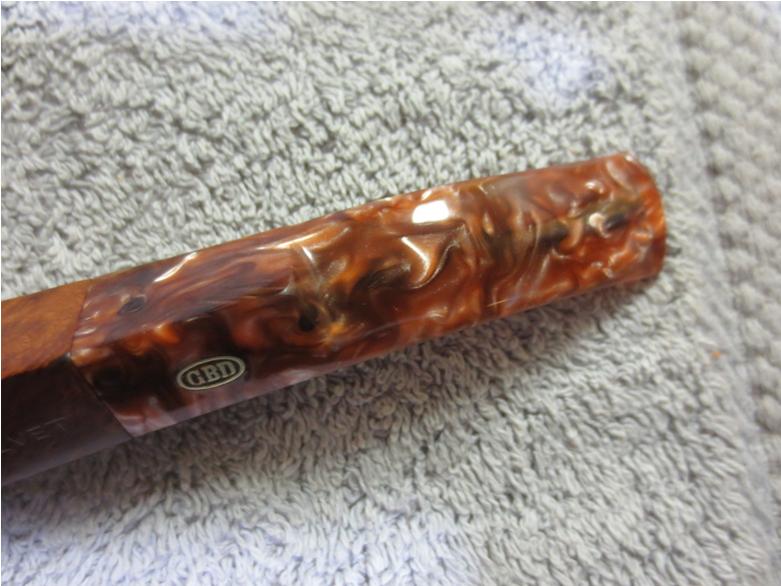 I buffed the entire pipe with Blue Diamond Plastic polish on the wheel and then gave it multiple coats of carnauba wax. I finished by buffing the pipe with a clean, soft flannel buff to raise the shine. The finished pipe is shown in the photos below. It is ready for its next pipeman to bring it home and bring it back into rotation.
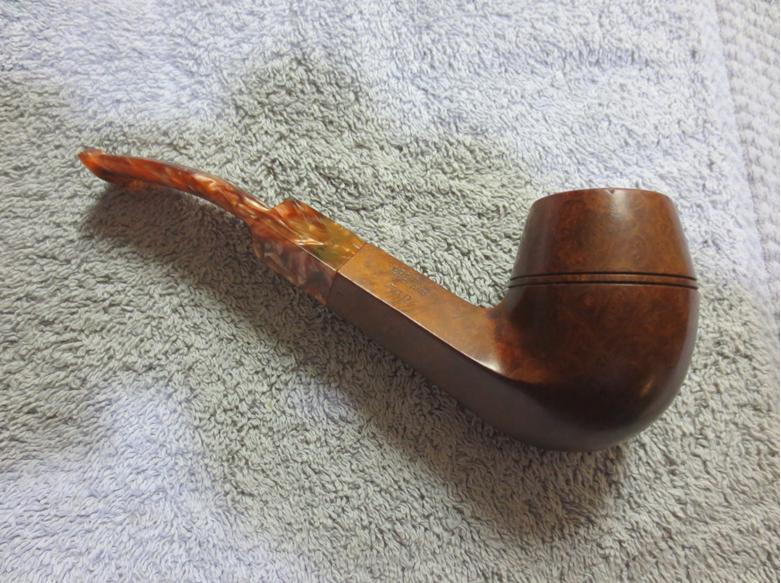
 This GBD Bronze Velvet should make someone a great addition. If you are interested in this pipe email me at slaug@uniserve.com and we can discuss it. The entirety of the sale price will go to the Nepal project. I will pay the postage so that does not get taken off the proceeds. If you are interested in reading about the SA Foundation you can look at their website at http://www.safoundation.com.
Thanks for looking.