Blog by Andrew Selking
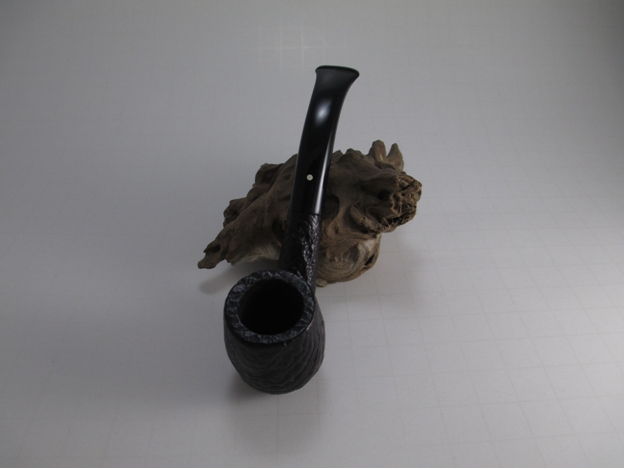
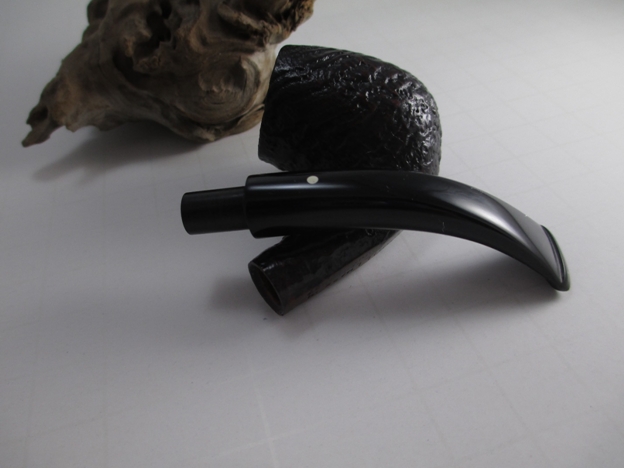
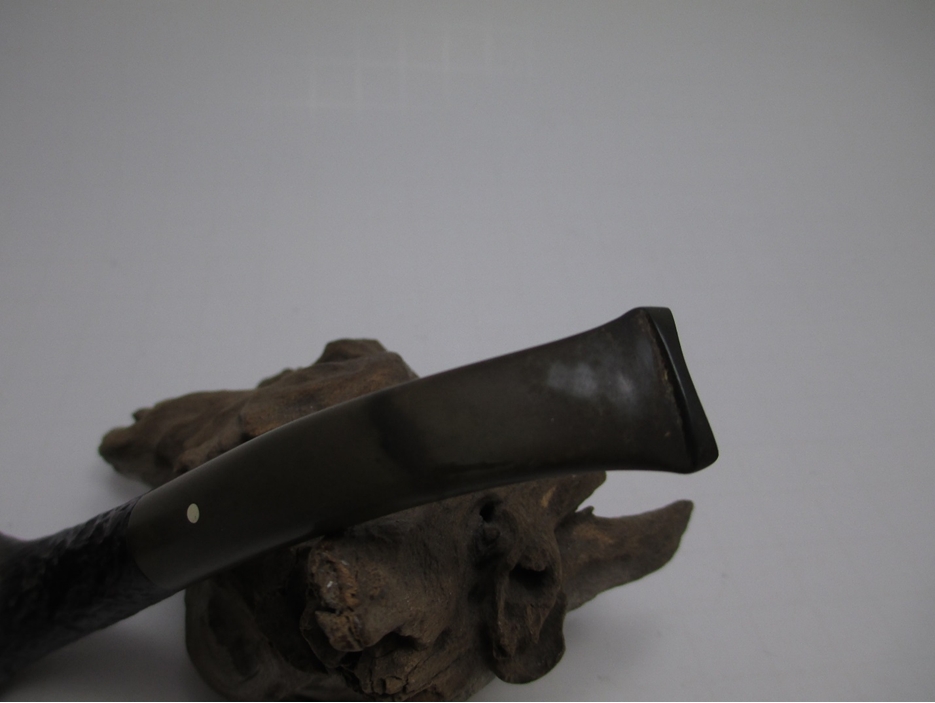
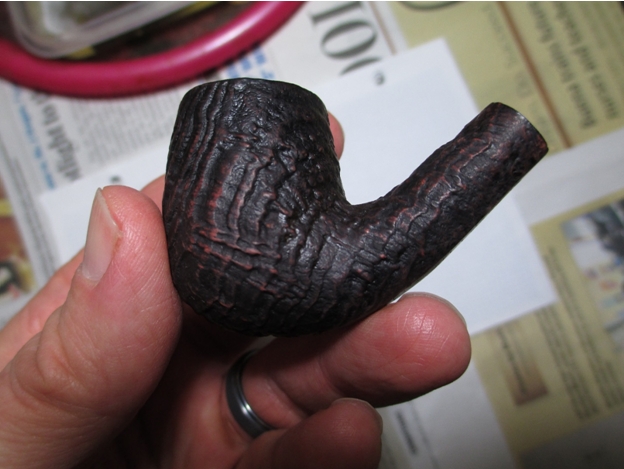
I’ve had some good luck bidding on Dunhill pipes recently. This little Group 2 came in a lot of five pipes that included four Kaywoodies. With the exception of minor wear on the front of the rim and some oxidation, it looked very nice. Here’s what it looked like prior to restoration.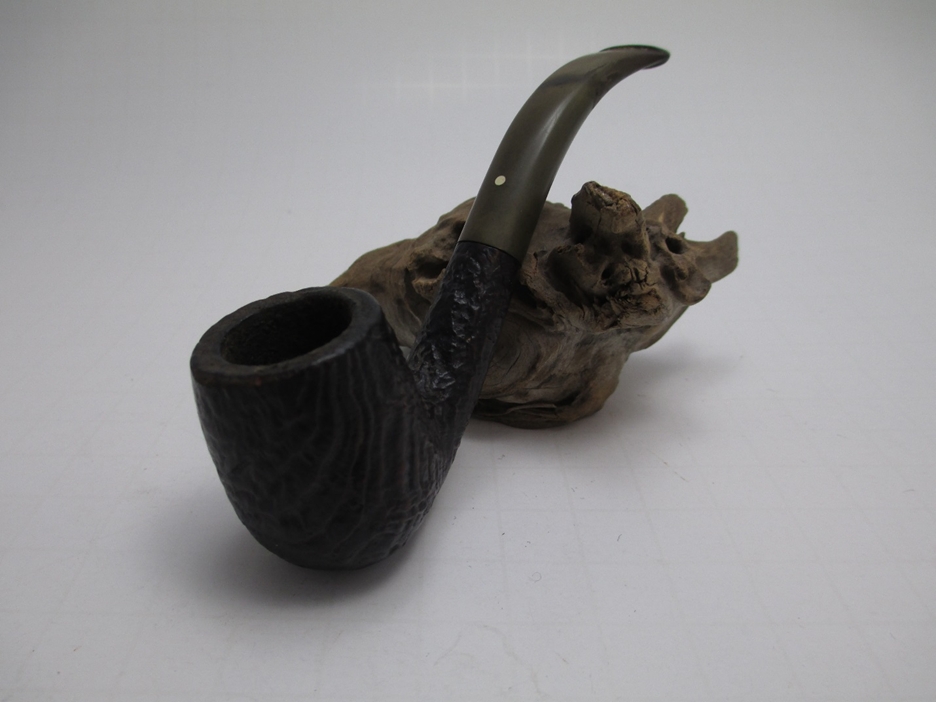
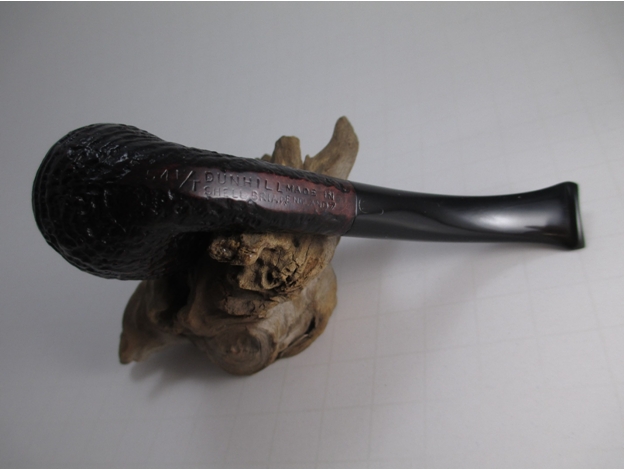
 The pipe is so small they stamped the group size on the stem.
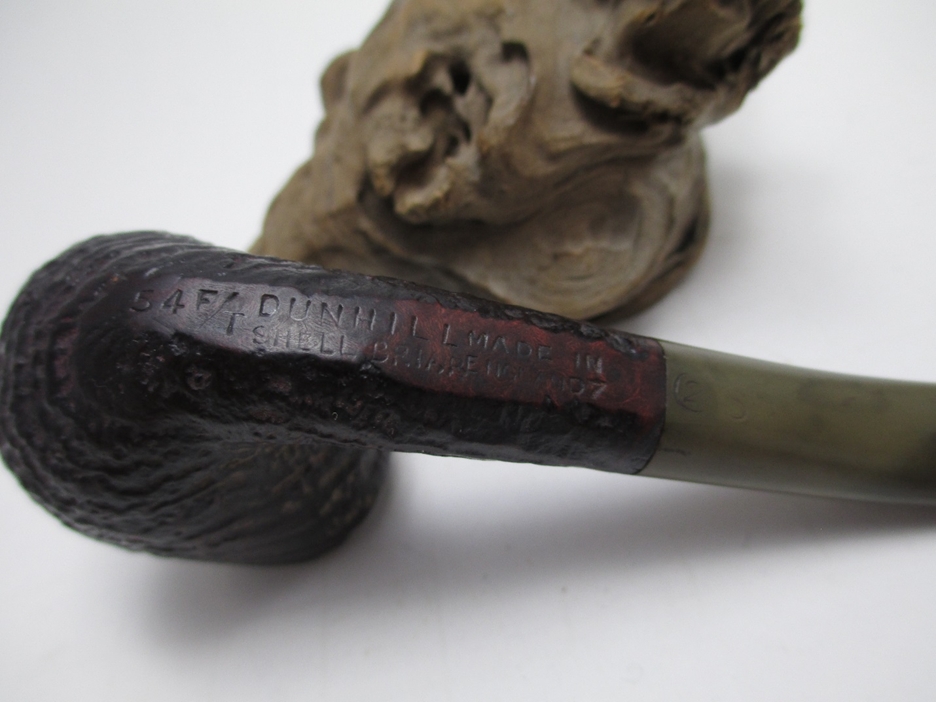 I began the restoration process by soaking the stem in Oxyclean.
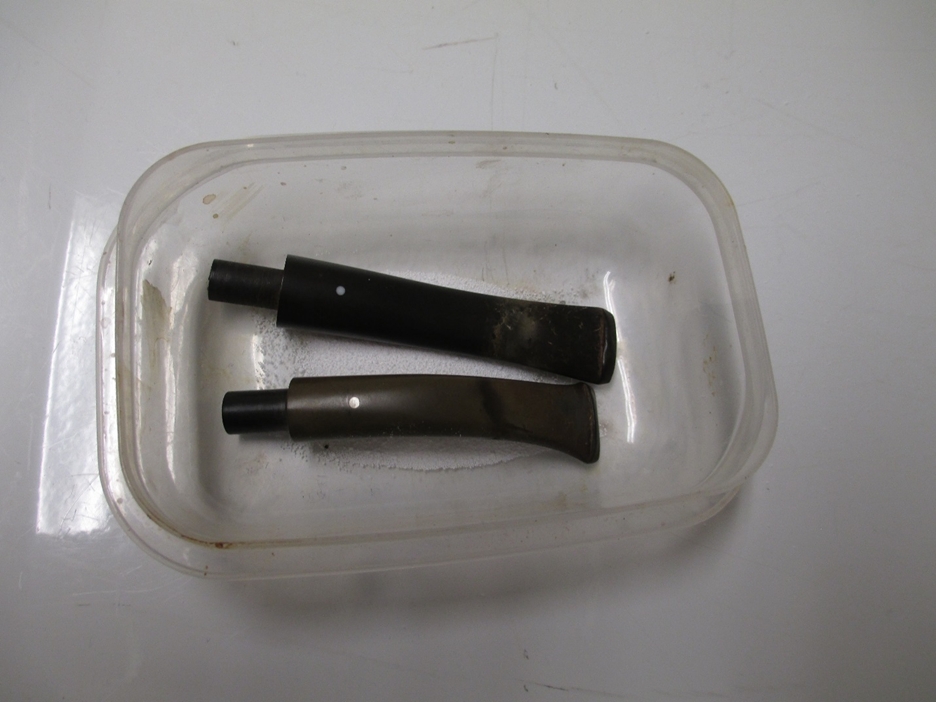 While the stem soaked I reamed the bowl with the smallest head of my Castleford reamer. It had a loose cake that came out easily.
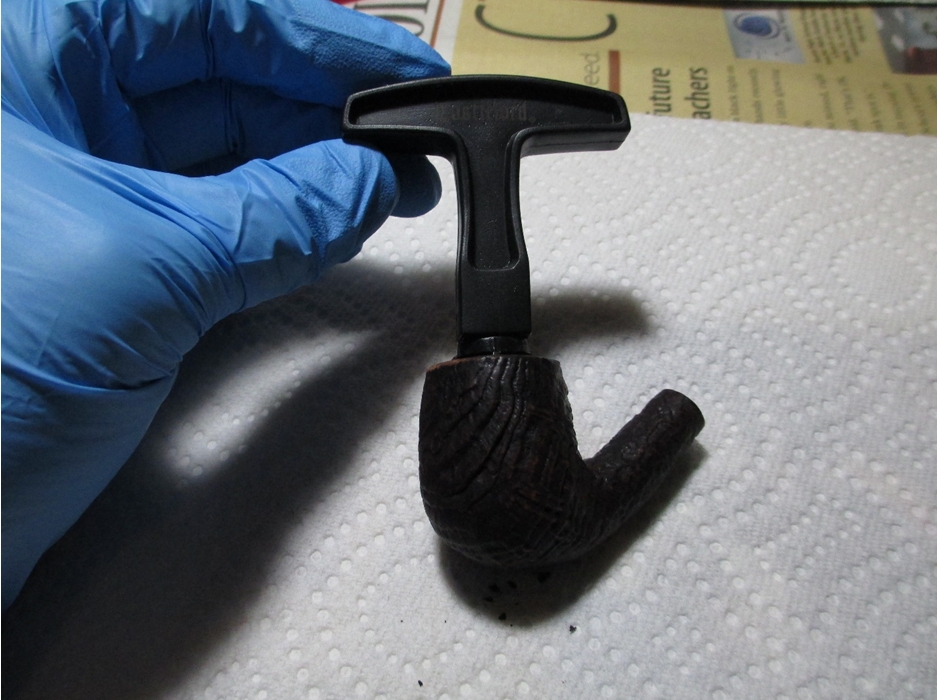 Next I used undiluted Murphy’s Oil Soap (an all-natural vegetable oil based soap specifically formulated for cleaning wood) with a tooth brush to get the grime out of the blast.
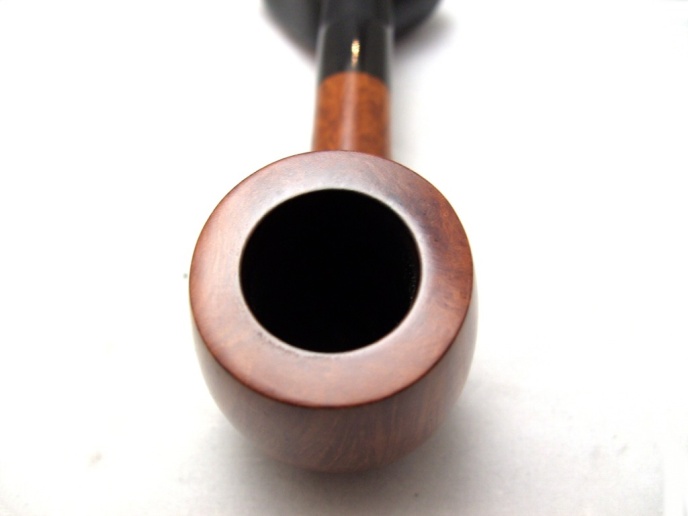
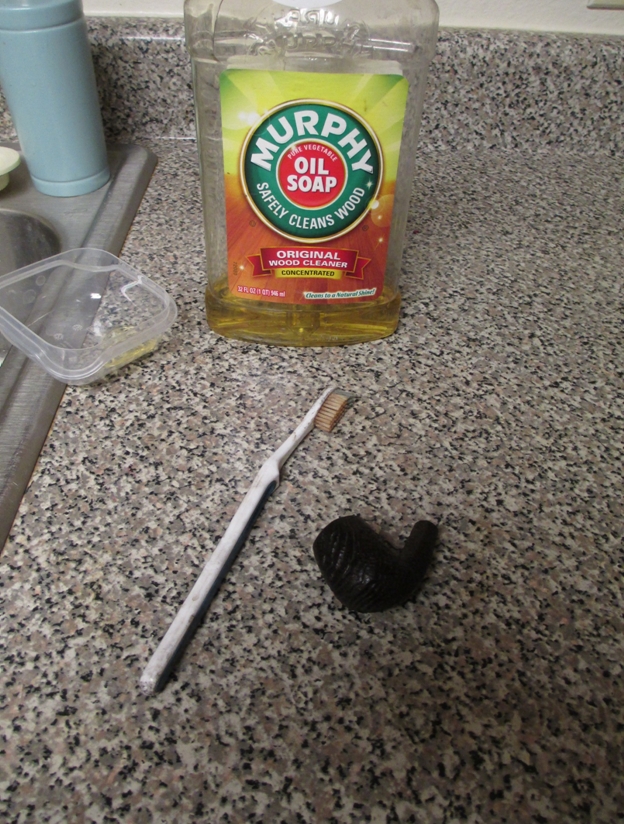 This is what the bowl looked like after cleaning.
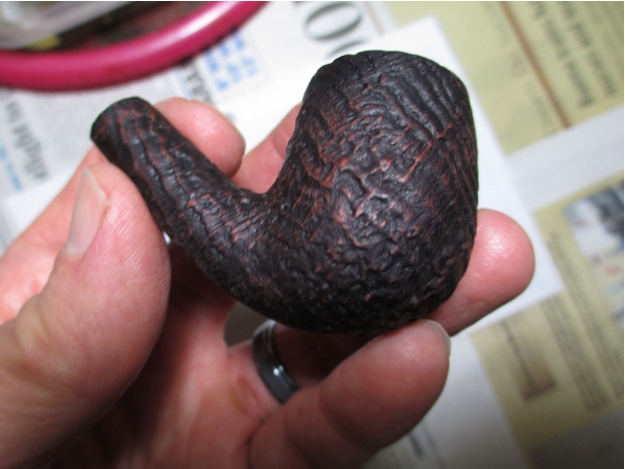
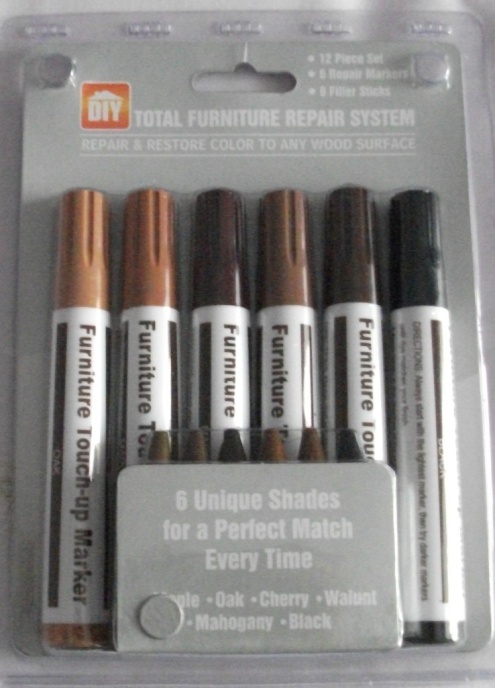
 My biggest concern with this pipe was the damage to the front of the rim. I decided to use a furniture touch-up marker (thanks for the tip Steve) to see if I could make it look better.
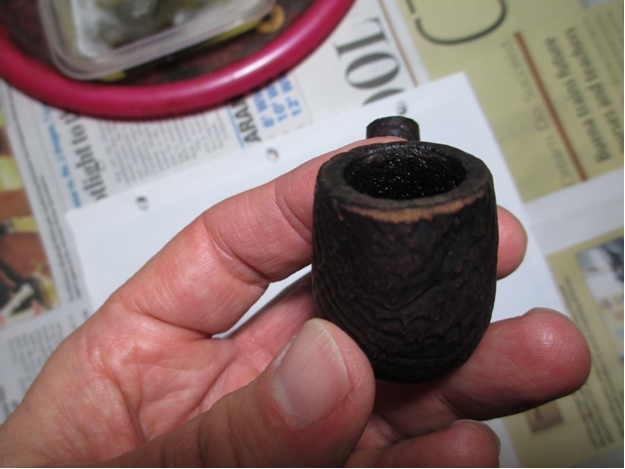 It worked like a champ, the marker was a color match to the rest of the pipe.
Now that the bowl was taken care of, I turned my attention to the stem. As usual, I used a fuzzy stick (that’s the politically correct term for pipe cleaners sold in the craft section of Walmart) to remove as much of the gunk while I still had the Oxyclean solution. If you’ve ever cleaned a black powder rifle it’s the same concept; stick one end in the liquid and draw the fuzzy stick back and forth. When it gets loaded with tar, I swish it in the liquid and wring it out. Here’s what the fuzzy stick looked like after the first pass. The inner tube did a good job of preventing excess tobacco build up. Next I tackled the shank. I use a retort filled with de-natured alcohol to loosen the gunk in the shank and the stem. I usually do the stem and shank separately for two reason, first it works very well and second when you have a wide button (like the one on this pipe) it’s difficult to fit the rubber tube over the end of it. I do the retort until the alcohol that goes back into the eye dropper looks relatively clean. In the case of this pipe, I did it three times.
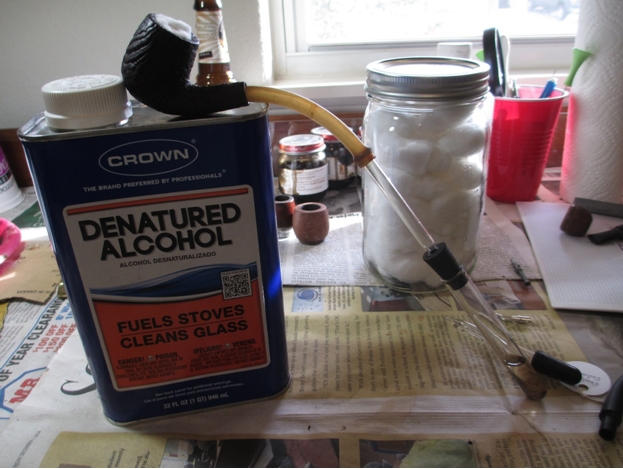 After the retort, I used a brush to scrub out the shank. This is why I like to retort the shank separately.
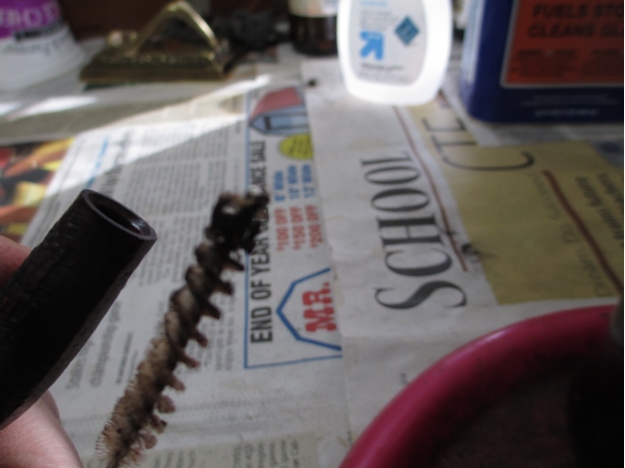 I then used q-tips and fuzzy sticks dipped in isopropyl alcohol to remove the remaining gunk.
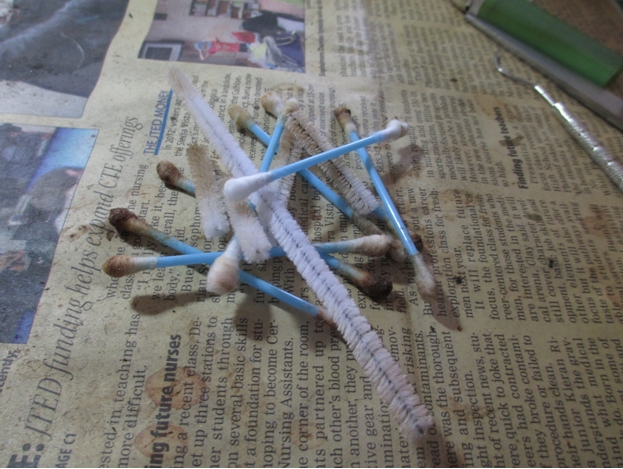 Next I used the retort on the stem. If you do this make sure to plug the end of the stem, otherwise you will get boiling brown alcohol everywhere.
 After a couple of fuzzy sticks, the inside of the stem was clean.
 With the bowl and shank cleaned, my next step was to remove the oxidation from the stem. Any time I do a pipe that has inlays or stamping on the stem, I use 1000 grit wet/dry and water to remove the oxidation. Especially this pipe, with the group size stamped on the bottom of the stem. It takes a while, but the results are worth the effort. When removing oxidation with wet/dry sand paper and water, periodically dry the stem to make sure you’re getting everything. When it’s wet the stem tends to look really good, but when it dries out that’s when you notice everything you missed. After the 1000 grit, I used 2400 grit micro mesh with water.
 I used a progression of micro mesh pads, from 3200-12000 to prepare the stem for final polishing.
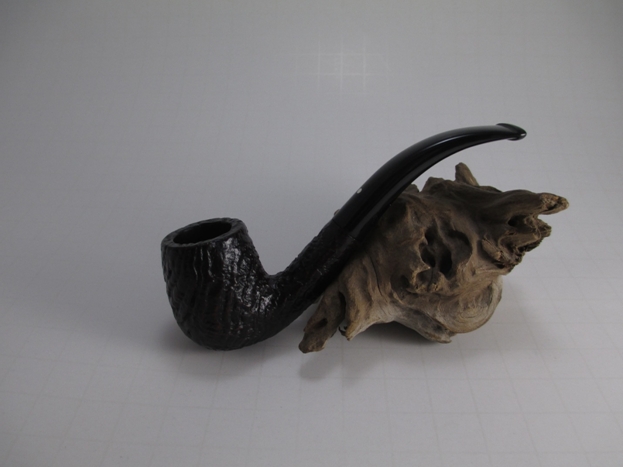
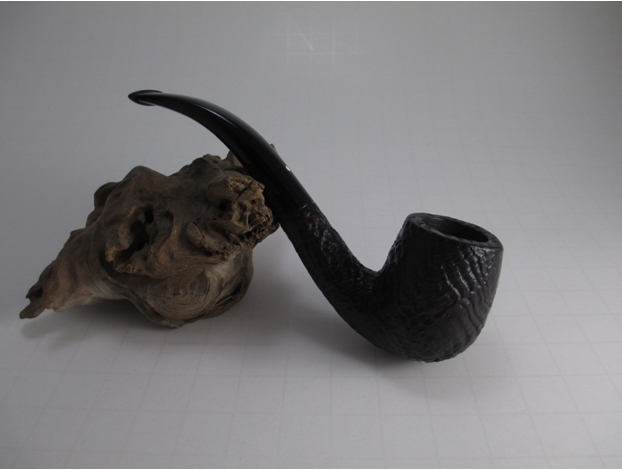
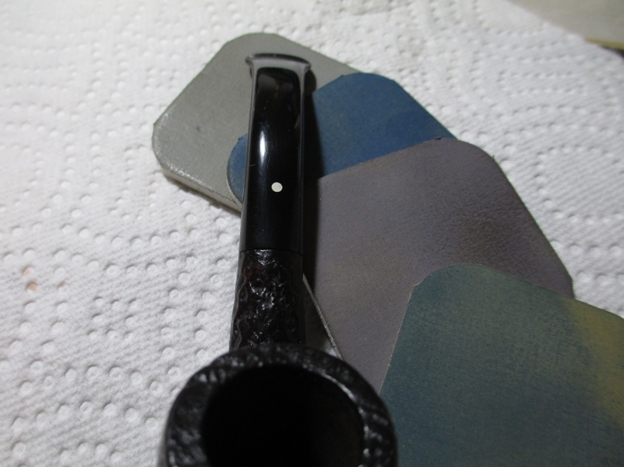 I also polished the flat spot with the nomenclature with a progression of 5000-12000 grit micro mesh. I used Halcyon II wax on the bowl, which I buffed out with a shoe brush, and carnauba wax on the buffing wheel for the stem. Here is the final result.