Tag Archives: Dr. Grabow Regal Pipes

A Very Simple Cleanup on a Dr. Grabow Regal Dublin


Blog by Steve Laug

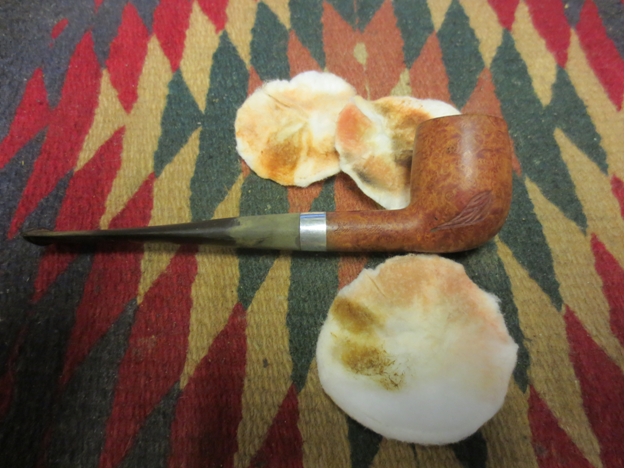
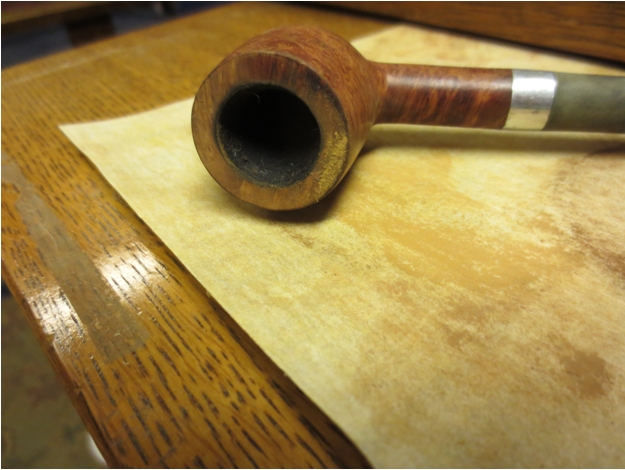
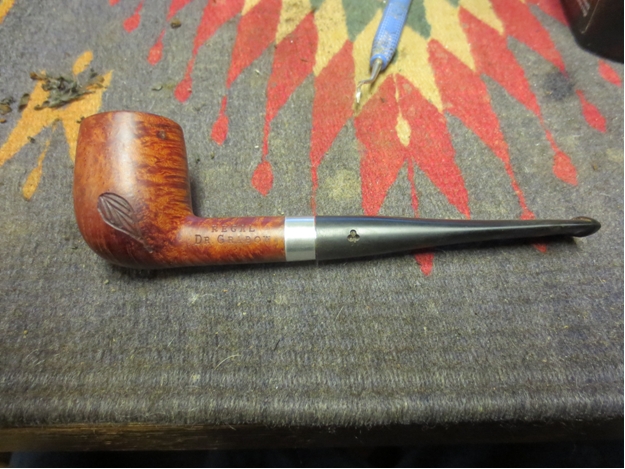
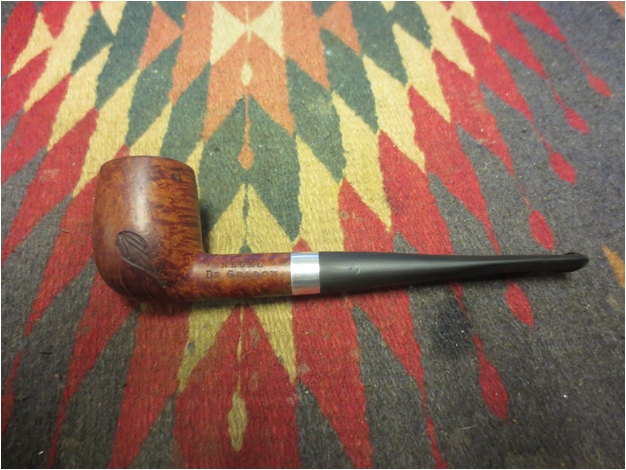
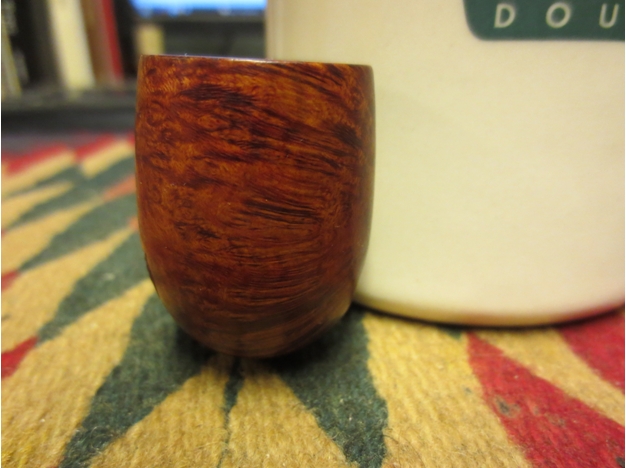
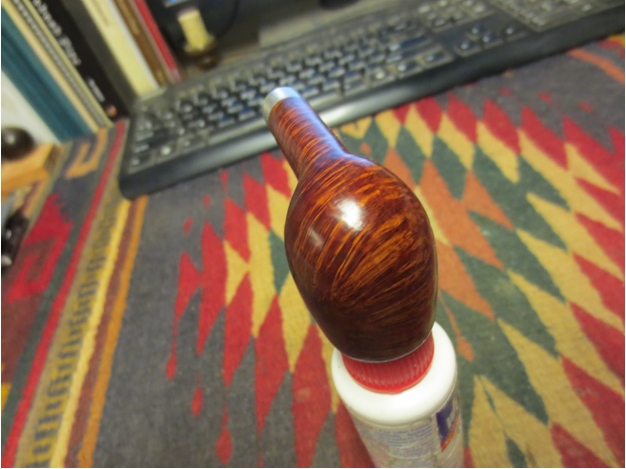
This pipe came to me in a box of pipes that a friend brought by for me. He was getting rid of a bunch of the pipes that he no longer smoked and thought I might enjoy cleaning them up. This one is stamped on the left side Regal over Dr. Grabow and on the right side, Imported Briar over Adjustomatic over Pat. 2461206. When I took it out of the box it had a half stem. The rest of it had been broken off and it was about 1 ½ inches long. I took it off and put the bowl back in the box. I have no idea what I did with the old stem; I have looked for it for a while now as I wanted to pirate the Adjustomatic tenon from the stem. It will show up when I least expect it and I will deal with it then. Yesterday I took the bowl out of the box and was looking it over. It was in very decent shape. The finish was clean. There were some lighter marks on the back right outside edge of the rim but other than it was clean. There was no cake in the bowl. It was worth a little time to see what I could do with it.

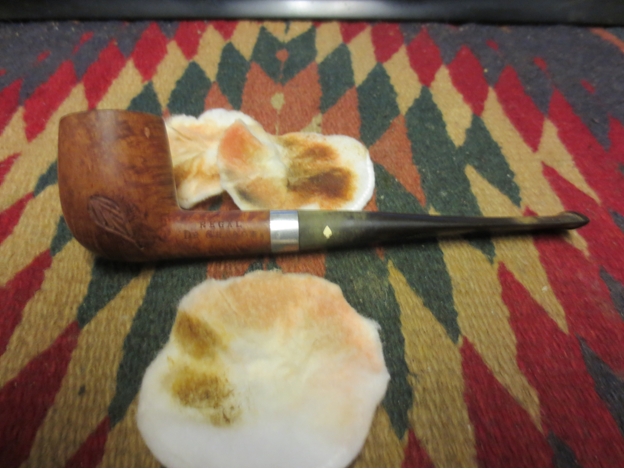
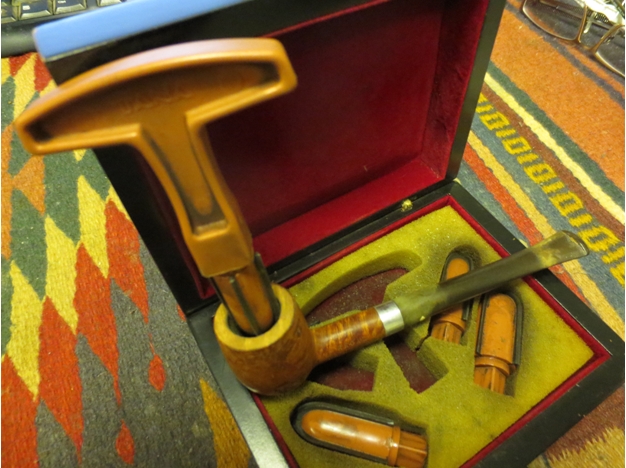
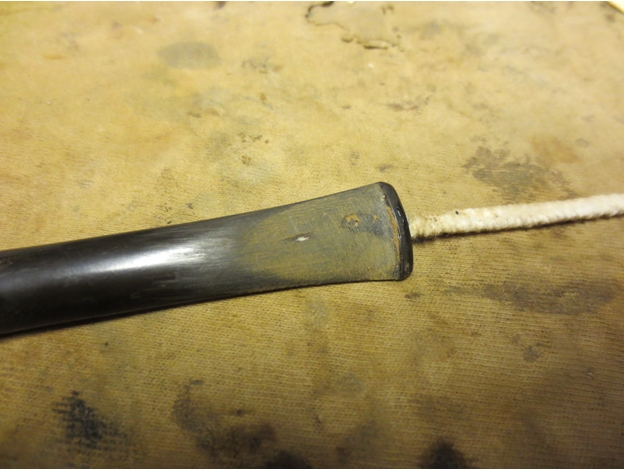
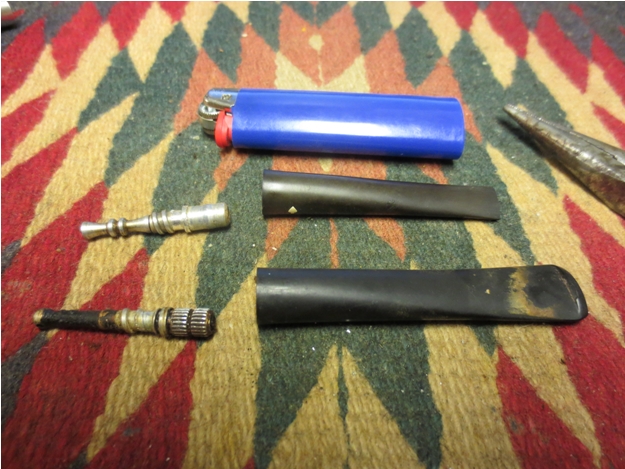
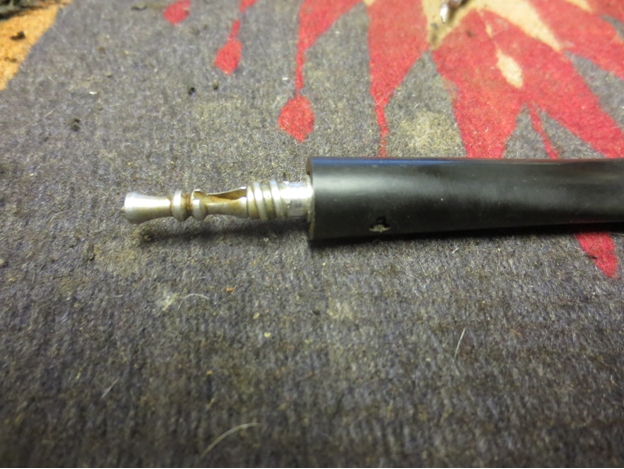
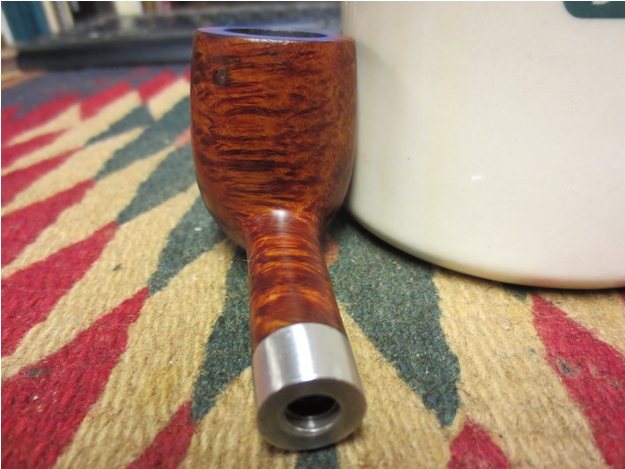
I went through my can of stems and found a Dr. Grabow stem that was the proper diameter. It was in decent shape. There were tooth marks on the top and underside of the stem next to the button. The button itself had some tooth dents. There was some calcification on the surfaces as well. The tenon and stinger were black with tars and oils but would clean up easily enough. The only thing with this stem and tenon is that it was not an Adjustomatic stem but it would do.Dr1

Dr2

Dr3

Dr4

Dr5 
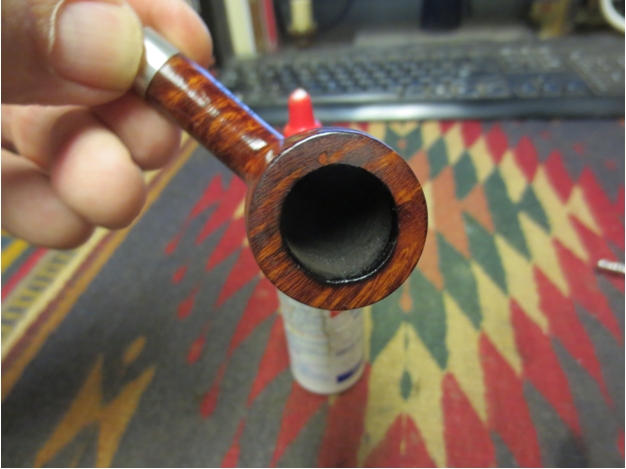
I cleaned out the shank and mortise with cotton swabs, pipe cleaners and alcohol. The shank was pretty clean and it did not take much to remove the little that was there. I removed the stinger and cleaned out the stem with alcohol. It too was not in to bad of shape on the inside. I cleaned the stinger and tenon with alcohol and 0000 steel wool.Dr6

Dr7 
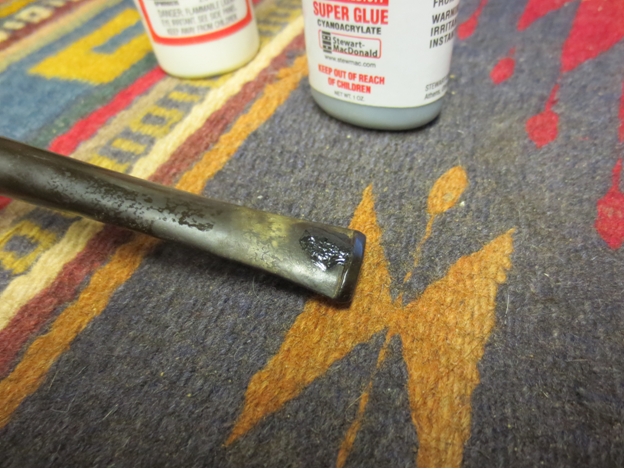
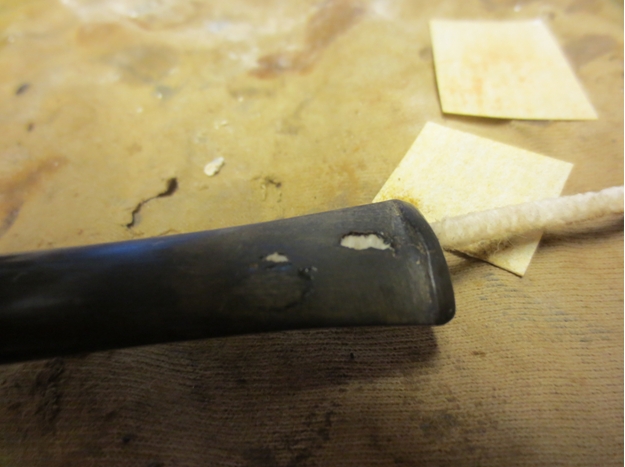
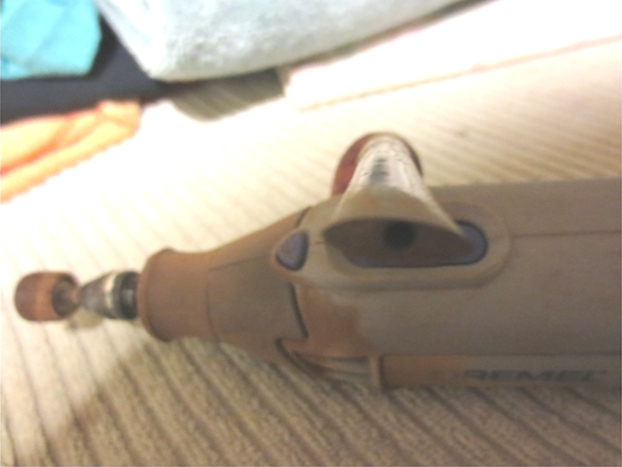
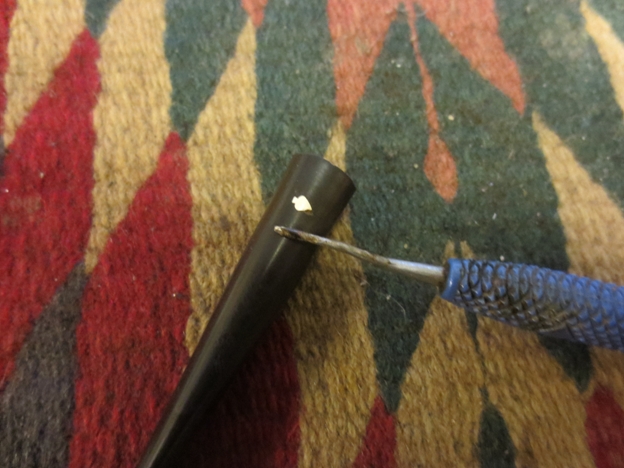
I heated the stem and raised the tooth dents as much as possible and then sanded them smooth with 220 grit sandpaper. One of the divots was a little too deep to raise so I filled it with a small batch of black super glue and sanded it smooth.Dr8

Dr9 
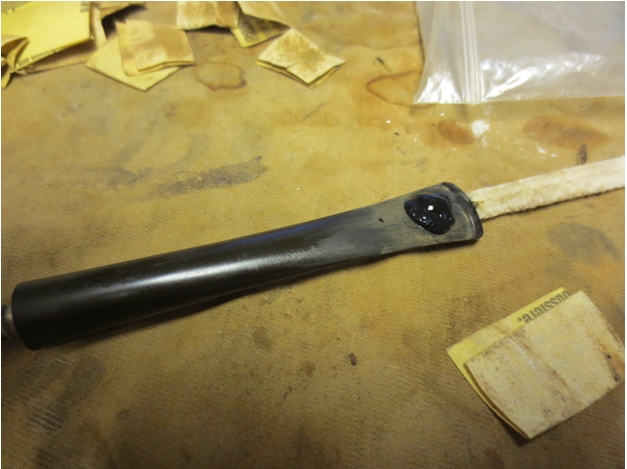
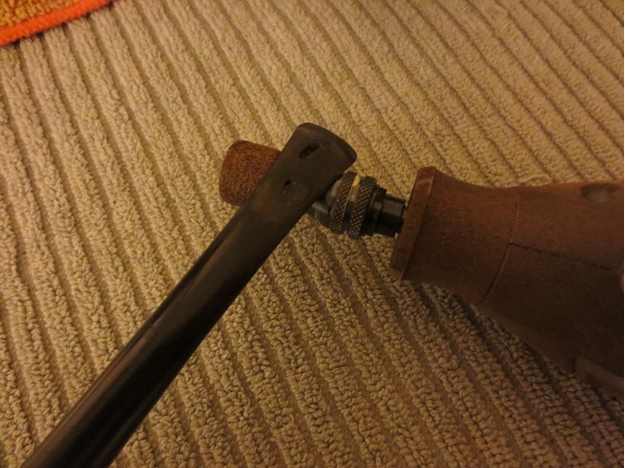
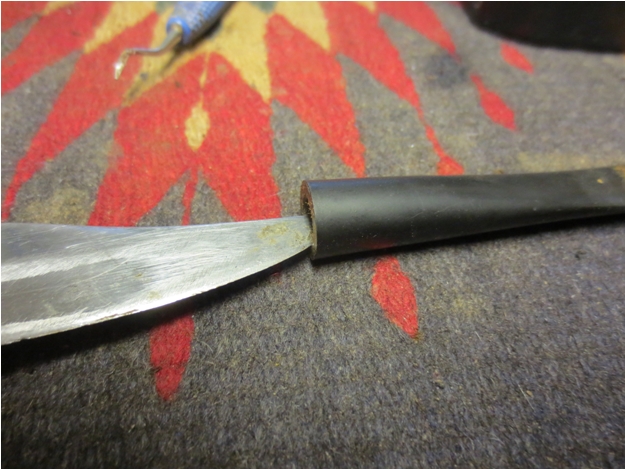
I used a needle file to redefine the sharp edge of the button and make a clean line on both sides of the stem.Dr10 I sanded it with a medium and a fine grit sanding sponge to remove the scratches from the vulcanite and then wiped the stem down with Obsidian Oil.Dr11 
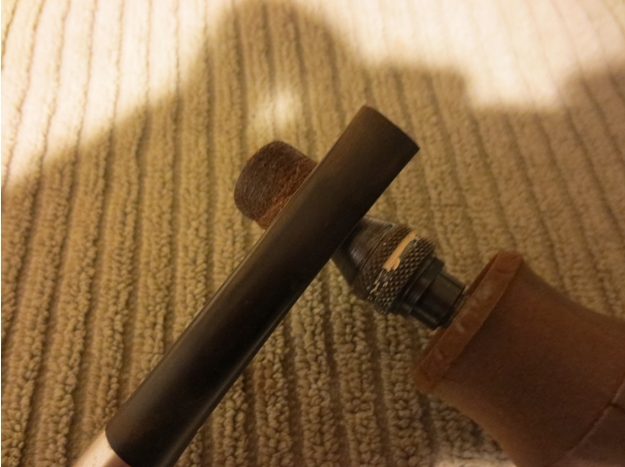
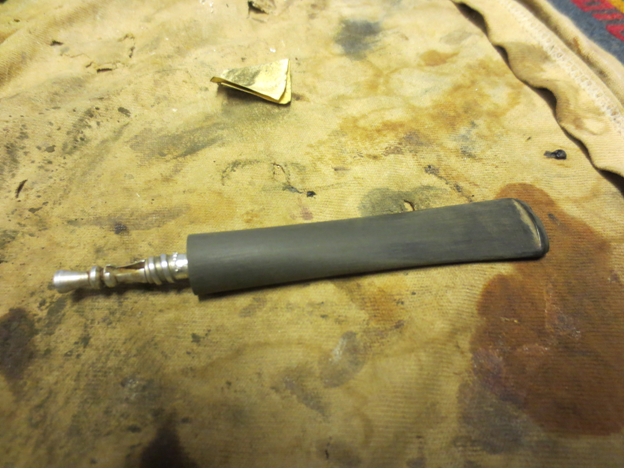
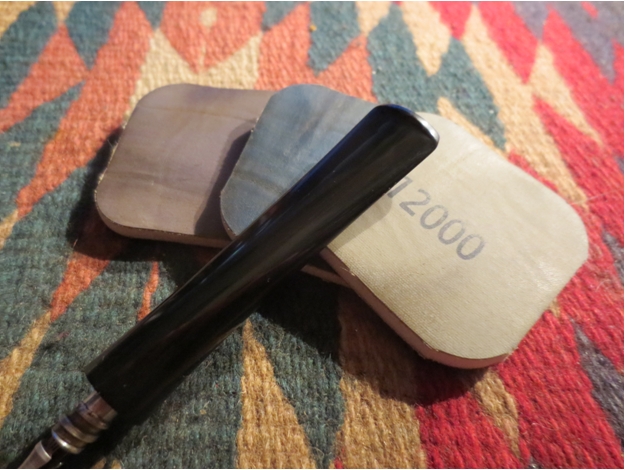
I sanded the stem with micromesh sanding pads – wet sanding with 1500-2400 grit pads and then wiping down the stem with Obsidian Oil. I dry sanded with 3200-4000 grit pads, gave it another coat of oil and then continued with 6000-12000 grit pads. Each successive grit of pad made the patch disappear and blend into the surface of the stem. I gave the stem a final rub down with Obsidian Oil and let it dry.Dr12

Dr13

Dr14 
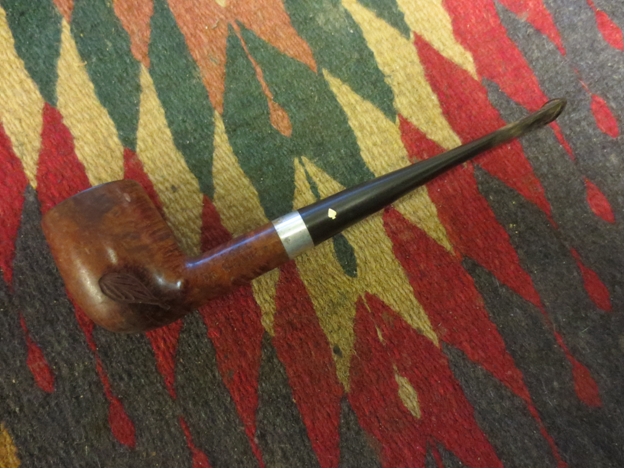
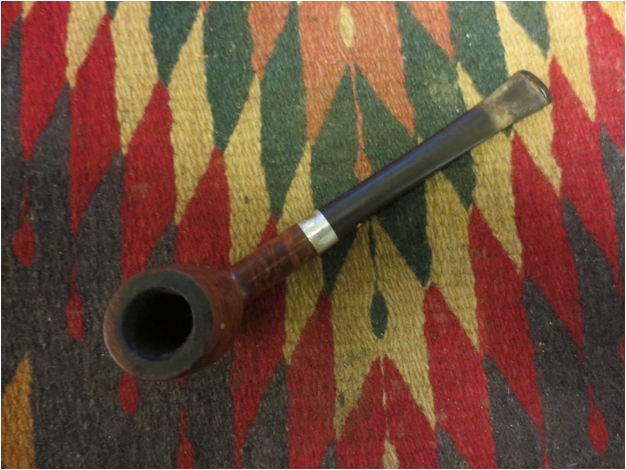
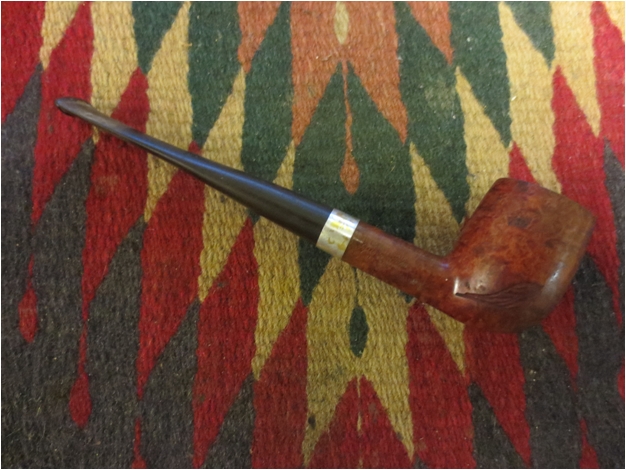
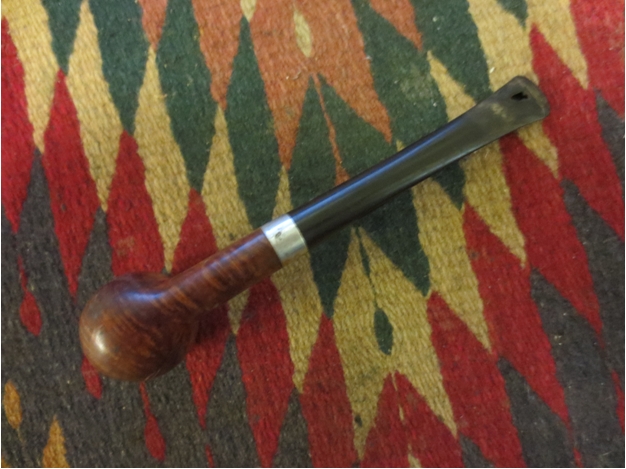
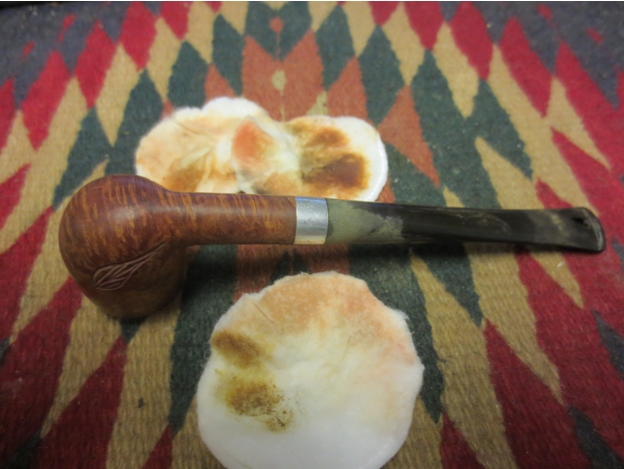
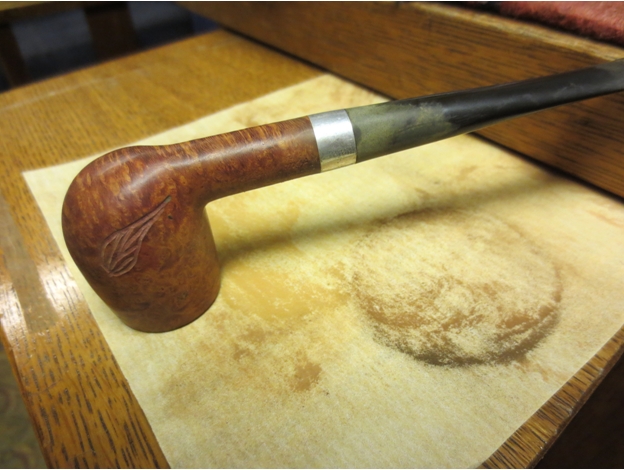
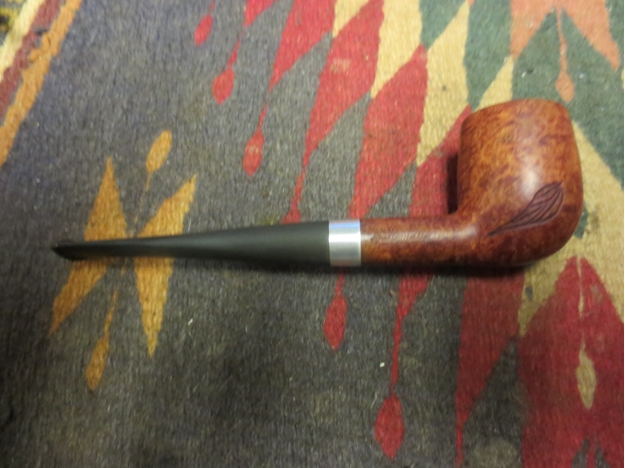
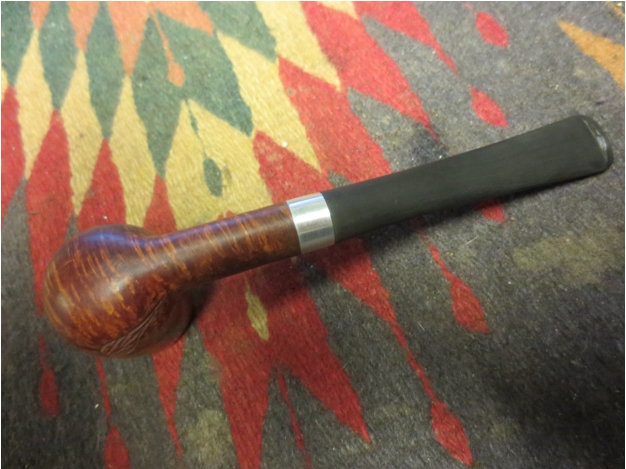
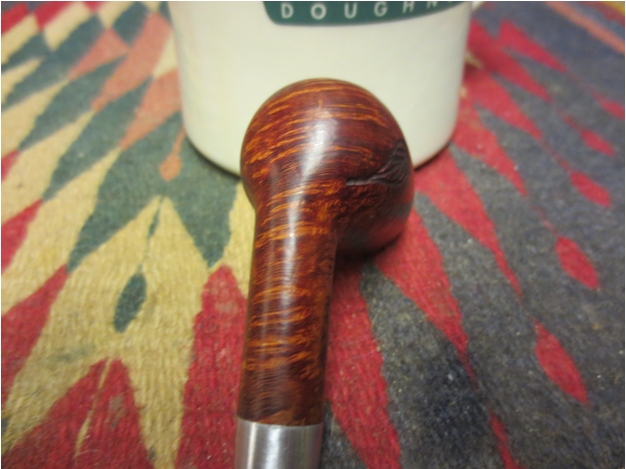
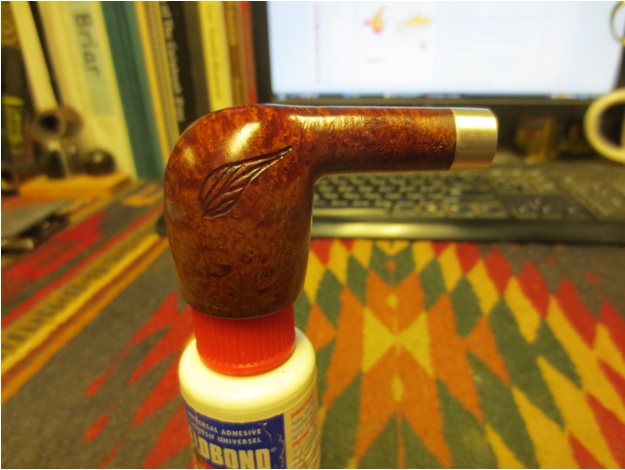
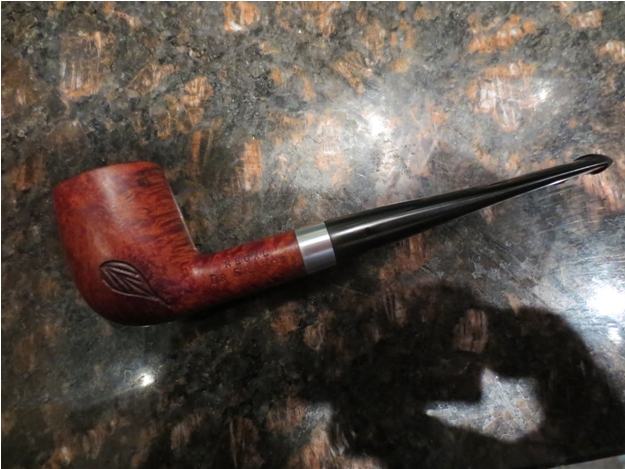
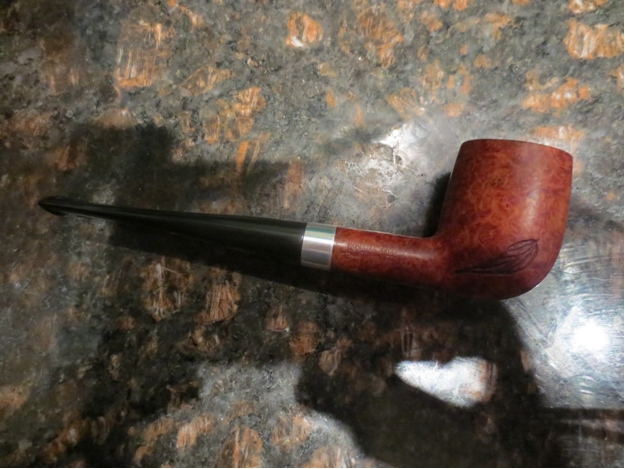
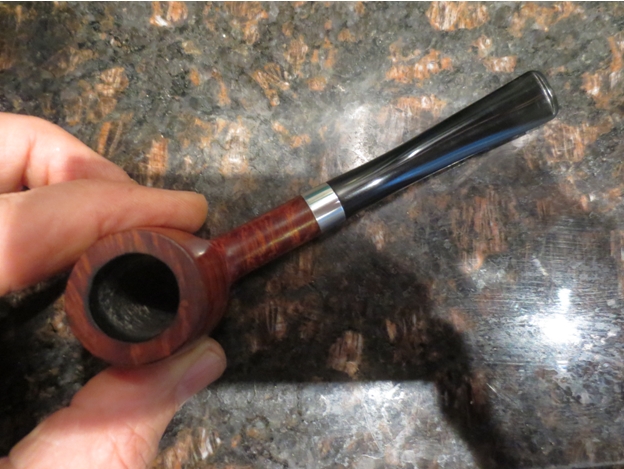
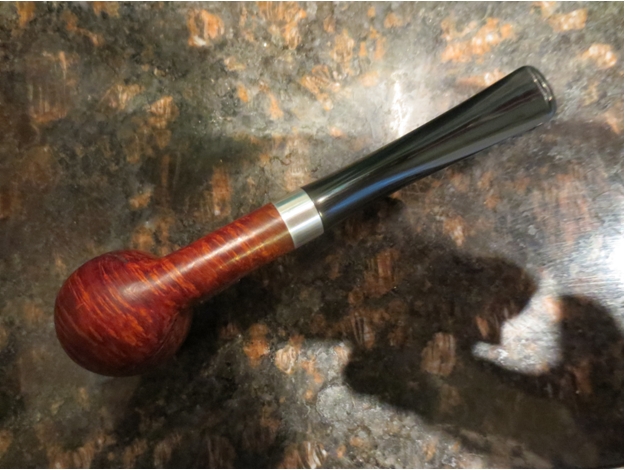
I buffed the pipe with Blue Diamond polish on the wheel and then gave it multiple coats of carnauba wax. I buffed it with a clean flannel buff on the wheel and then hand buffed it with a microfibre cloth for a final deep shine. The following photos show the finish pipe. It should work well for many years to come. This one is for sale should anyone wish to add it to their rack. Email me and let me know.Dr15

Dr16

Dr17

Dr18

Dr19

Rebuilding a Dr. Grabow Regal Adjustomatic Patent Billiard


One of the few pipes with a stem included in my gift box of bowls was a nice little Dr. Grabow Billiard. It had a long stem that clearly fit the shank of the pipe and gave it an elegant look and feel. At first glance I figured this one would clean up quite easily. The varnish finish on the bowl was worn and spotty with pieces of the varnish coat peeling off the surface of the briar. The rim was coated with a thick layer of tars and oils but looked sound. The bowl had a thick cake particularly from mid bowl to the bottom of the bowl. It was very hard and was not crumbling at all. It had however, closed the bowl to a large degree. The mortise was part of the aluminum band on the shank. It was a threaded cast piece that was fitted against the briar and was oxidized. The internals were quite clean. The bowl was stamped on the left side: REGAL over Dr. Grabow. On the right side it was stamped Imported Briar over Adjustomatic over PAT. 2461905. I have written about the patent on the Adjustomatic tenon/stem in an earlier post on rebornpipes: https://rebornpipes.com/tag/dr-grabow-adjustomatic/ I included patent information and diagrams on that page so I will not repeat that material in this post. The stem had thick calcification on the top and bottom sides of the stem and looked like it had one time sported a softie bit. When I turned the stem over there was a large hole in the underside from the button forward. IMG_1924 IMG_1925 IMG_1926 IMG_1927 I wiped down the bowl with acetone on a cotton pad to remove the damaged varnish and prepare the bowl for possible restaining once the rim had been cleaned off. It took some scrubbing but I was able to get rid of the varnish from the surface and out of the grooves in the carved leaves on both sides of the bowl. It turned out that underneath the peeling varnish there was some very nice grain on the pipe. The top and bottom of the shank and the front and back of the bowl were really nice cross grain. There was a small nick in the back of the bowl near the top of the rim that had a small fill otherwise the briar was flawless. The sides were very nice birdseye grain. This was going to be a stunning pipe once it was finished. IMG_1928 IMG_1929 IMG_1930 I wiped down the buildup on the rim and was unable to even dent the hard tar. I lightly topped the bowl on a topping board to take of the buildup and not affect the rim itself. I carefully removed the tars, checking every move across the sandpaper to make sure that I was not damaging the surface of the rim. IMG_1931 IMG_1932 Once I had cut through the buildup the briar was in very good shape. I used a PipNet reamer with the smallest cutting head to remove the carbon cake in the bowl. Even the smallest head was hard to turn against the rock hard cake of this bowl. I carefully worked it back and forth, being careful not to tip the cutting head to either side and lose the roundness of the bowl. Once I had gotten the head in as far as possible I used a pen knife to work on the bottom portion of the bowl and then reworked the reamer in that area. IMG_1933 I decided to try to patch the hole in the stem. I cleaned hole and put Vaseline on a pipe cleaner. I inserted it in the airway then sprayed accelerator on the stem, put black superglue on the hole and let it sit. The hole was quite large and I was not sure that the repair would hold. I applied the glue in several layers building up the patch until it was quite thick. I sprayed it with the accelerator each time to speed the drying time. IMG_1934 IMG_1935 IMG_1936 I sanded the patched area with 150 and 220 grit sandpaper to smooth out the patch and then reapplied more black super glue and accelerator. IMG_1937 I set the stem aside and let it cure. In the morning I sanded the stem patch until it was smooth in the process my fingernail went through the stem above the patch. I explored the thickness of the stem up the stem and found that I could push through the airway quite a distance up the stem (Photo 1 below). After that fiasco I noticed that the patch was also quite unstable. I was able to push out the patch with my fingernail. The stem after patching and pushing through the repair is shown in Photo 2. IMG_1943 IMG_1944 At this point it was clear that a stem patch would not work on this stem. With the thinness of the vulcanite extending up the stem about an inch it was not clear how far that would go. I was going to need to do something different. I cut off the stem with a Dremel and sanding drum. IMG_1945 IMG_1946 After cutting it off I could see the problem – airway was drilled very high in the stem. There was no room for cutting a new button on the stem and opening up the slot. The top of the stem was thin for another inch toward the tenon. I had to come up with something very different to address this issue. IMG_1947 I had an old Kaywoodie stem in my can of stems that was about the same diameter as the damaged one. It was missing the club logo in the side of the stem but had a club shaped hole. I heated the stinger on the KW stem with a lighter and then was able to remove it with a pair of needle nose pliers. IMG_1948 I also heated the Grabow stem with the lighter and worked on it with the pliers. It came out slowly. I finally screwed it into the bowl and turned it until the stem came off. I then unscrewed the tenon from the bowl. I tried it in the KW stem and it was just a little bit bigger than the hole in the stem. I would need to drill it one size larger to get a fit. IMG_1949 I used my cordless drill to drill it out. It had to be slightly larger and slightly deeper than the KW stinger apparatus. To make room for the lip on the aluminum piece I used a sharp knife to bevel the inner edge of the hole to accommodate the lip. IMG_1950 IMG_1951 The Grabow tenon/adjustomatic apparatus fit in the shank and I pressed it into place to see if the fit was correct. I then removed it and used a white all purpose glue to hold it in place. There was a removable stinger end for the tenon so I reinserted that in place and the new insert was ready. IMG_1952 IMG_1953 The fit of the stem against the shank was perfect. The diameter of the stem was slightly larger than the diameter of the shank so I would need to sand it to make them match. I tried to remove the Grabow insert from the old stem so that I could use it on the new stem. I tried to pick it out with a dental pick but was not able to remove it. IMG_1954 IMG_1955 I filled the club hole with black superglue and then sanded it smooth. I used 220 grit sandpaper to work on the diameter of the stem. I also sanded the end of the stem around the button to remove the tooth marks and chatter. IMG_1956 The next series of four photos show the stem after all of the sanding and shaping. The new stem looked quite good with the bowl. The fit was perfect and the lines and flow of the angles was exactly what I was looking for when I started. IMG_1957 IMG_1958 IMG_1959 IMG_1960 I sanded the stem with a medium and fine grit sanding sponge and then refilled the small holes around the patched club logo with more superglue. I sanded the patch down with 220 grit sandpaper and resanded it with the sanding sponges until it was smooth. The photo below shows the two stem side by side. IMG_1965 I sanded the stems with micromesh sanding pads – wet sanding with 1500-2400 grit pads and dry sanding with 3200-12,000 grit pads. I rubbed it down with Obsidian Oil between each set of three grits of micromesh. I buffed the stem with White Diamond and then gave it a final coat of Obsidian Oil and set it aside to work on the bowl. IMG_1966 IMG_1967 IMG_1968 I buffed the bowl with White Diamond and carefully buffed around the stamping on the sides. I polished the aluminum shank band with the higher grades of micromesh pads and then a polishing cloth to remove the scratches and bring up the shine. The next series of four photos show the polished bowl before I worked on it with some 8000-12,000 grit micromesh pads. IMG_1938 IMG_1939 IMG_1940 IMG_1941 IMG_1942 I gave the bowl a wiped down coat of Danish Oil and walnut stain. I wanted to give the briar a shine coat but not add much colour to the finish. It really made the grain pop on this one. IMG_1961 IMG_1962 IMG_1963 IMG_1964 Once the oil had dried I buffed the bowl with White Diamond and then gave it several coats of carnauba wax. I buffed it with a soft flannel buff. I put the stem back in place and gave the bowl and stem several more coats of wax and buffed to a shine. The finished pipe is shown below. The look and feel of the pipe is like new. It is cleaned, restemmed, refinished and ready to fire up with its inaugural bowl of tobacco. It should last a long time and serve its owner well – whether I keep it or pass it on to another pipeman. (I decided to take these final photos on a piece of marble counter top to see if I could get a good contrast on the photos.) IMG_1970 IMG_1971 IMG_1972 IMG_1973