Blog by Steve Laug
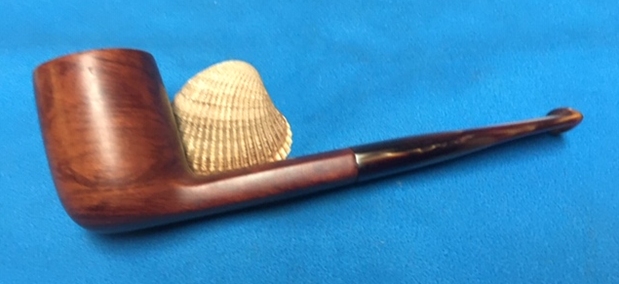
The next pipe on the table is a different looking Savinelli made Billiard. It had a flat shank and stem that are rectangular. It was functionally a sitter. It was a different looking piece of briar in that it is a mix of grains hidden beneath the dirt. There was one fill on the shank bowl junction on the right side of the bowl. The briar was very dirty. The bowl had a thick cake overflowing like lava onto the bevel of the rim top. It is hard to know what the inner edge of the rim looks like because it is buried under the cake and lava coat. The fit of the stem in the shank appeared to be a bit off but cleaning would make that clear. The variegated brown and gold acrylic stem was dirty, scratched and had some light tooth marks and chatter at the button. Jeff took photos of the pipe before his cleanup work.
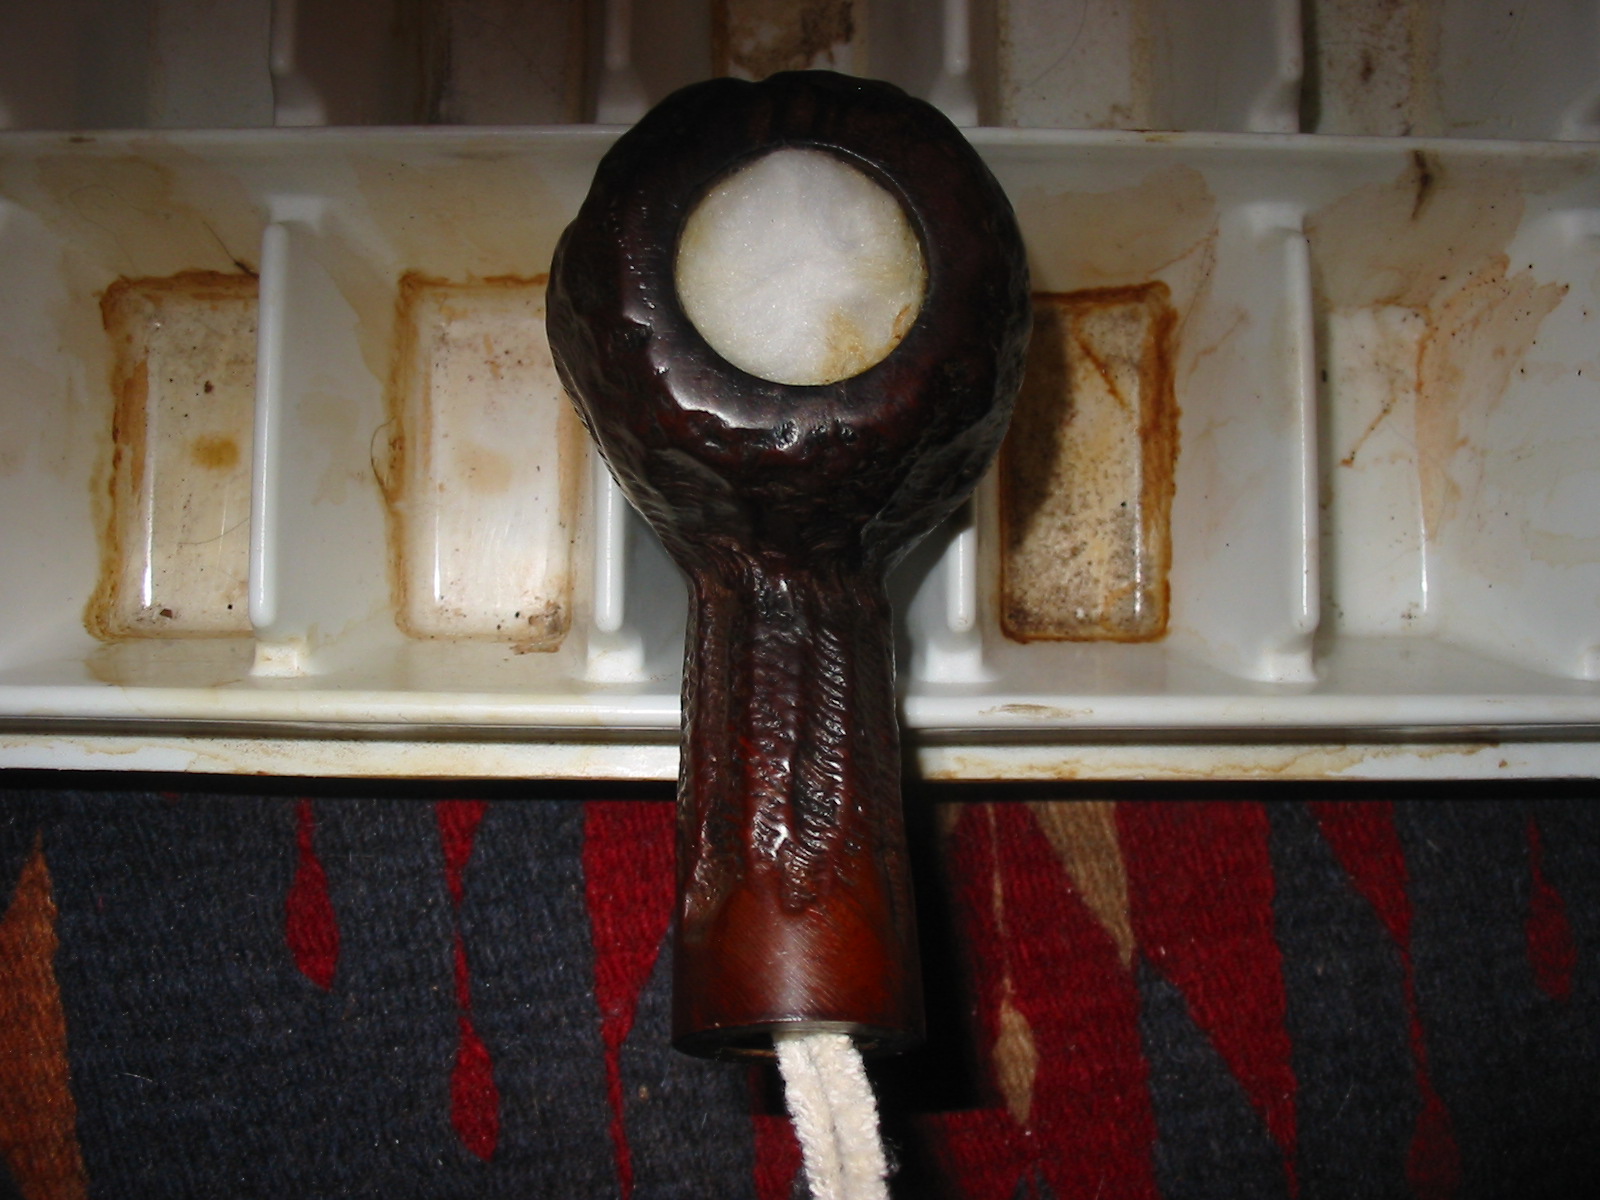
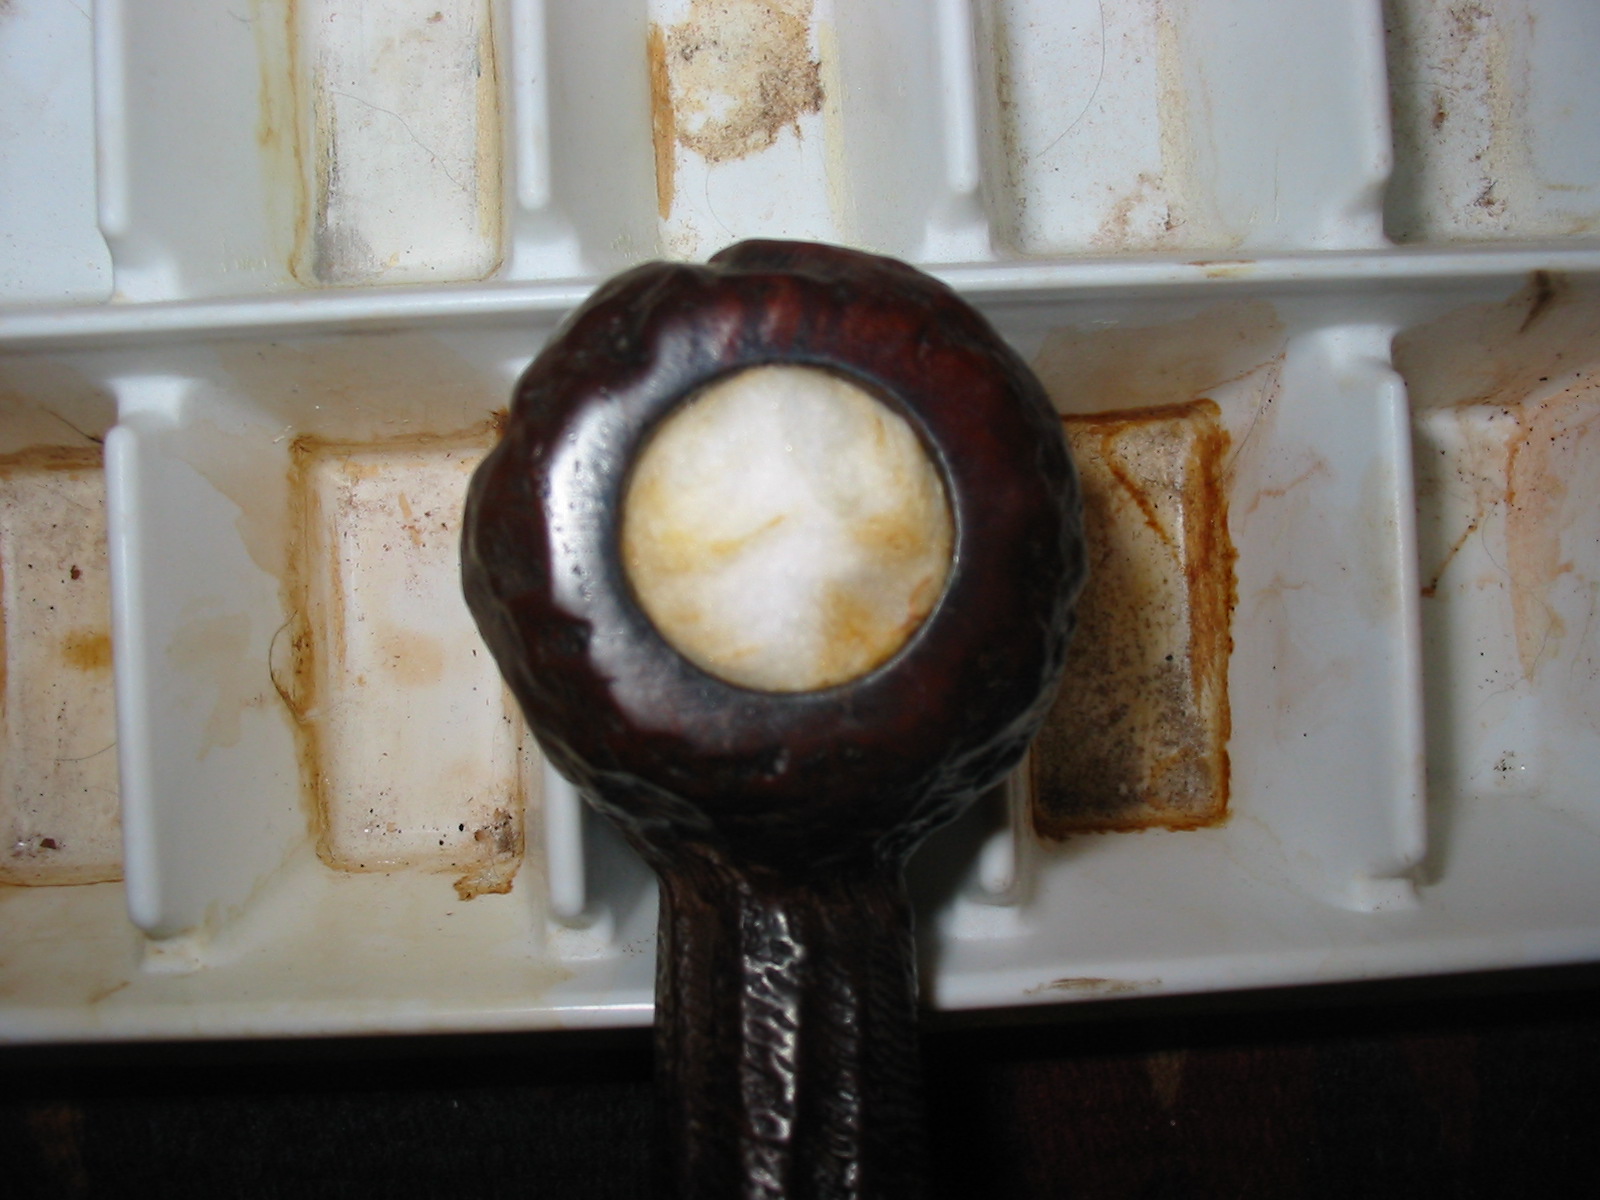
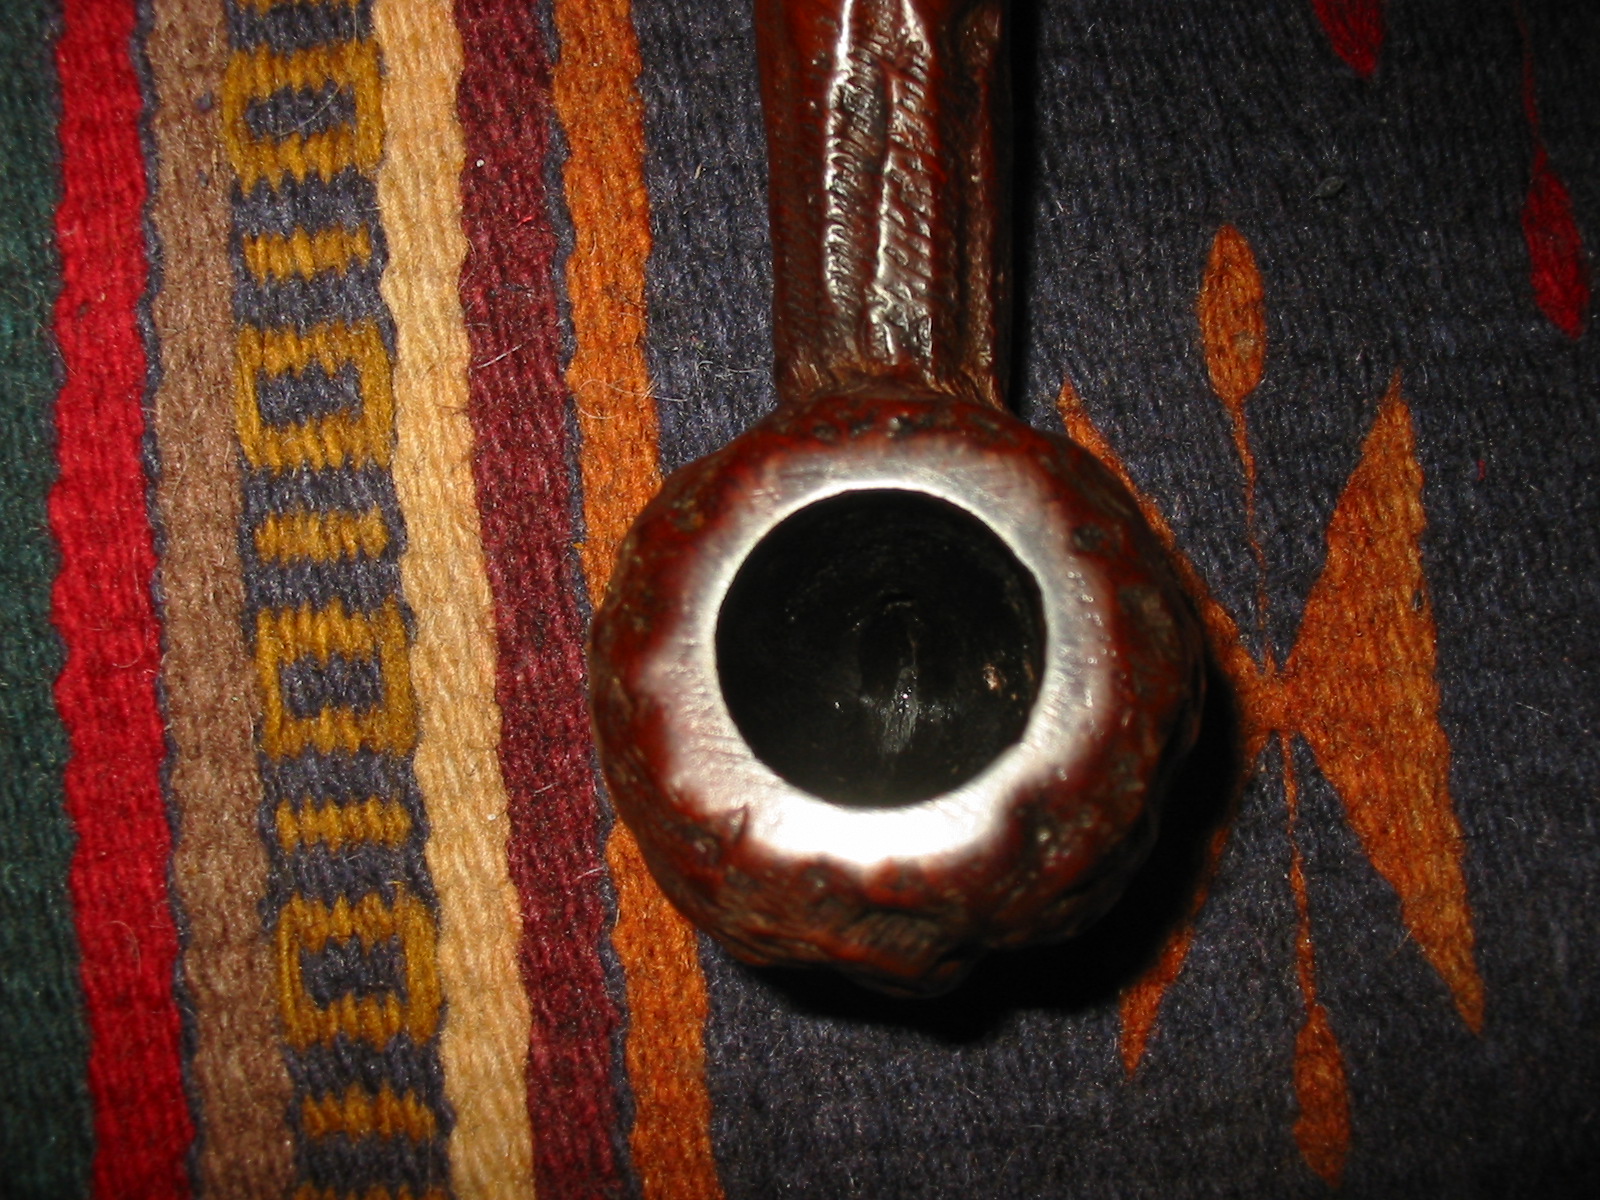
 The next photos capture the condition of the bowl and rim top. You can see the work that is ahead of us in terms of cake and lava buildup.
 The grain around the bowl is a mix of cross grain and birdseye. The pipe follows the grain well. Jeff took photos to show how the grain is laid out.
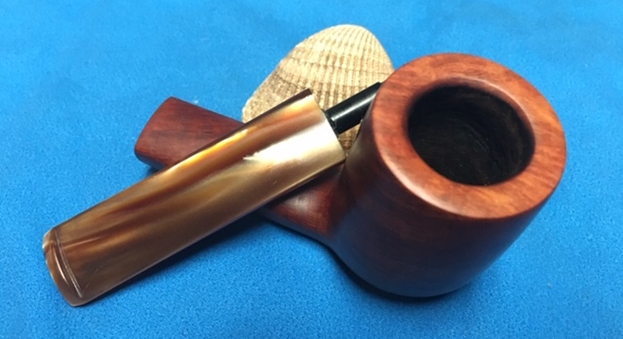
 The stamping on the underside of the shank read as noted above. You can also see that the stem is poorly fit to the shank in this photo.
 The photos of the stem show the stem surface. The first photo shows the fit of the stem against the shank. It was a poorly fit stem. The stem has light tooth marks and chatter on both sides ahead of the button.
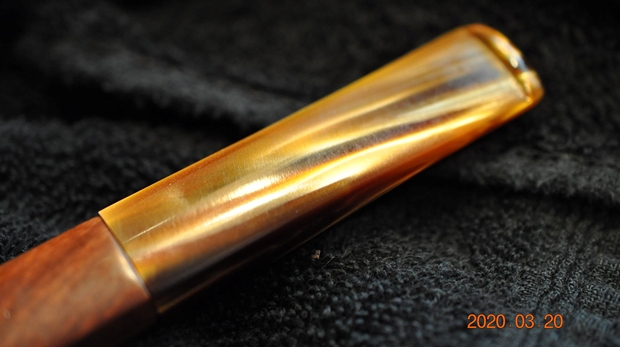
 Now it was time to work on my part of the restoration of the pipe. Jeff had cleaned the pipe with his usual penchant for thoroughness that I really appreciate. This one was in decent condition with a bit of buildup on the rim top but virtually no cake in the bowl. He reamed the bowl with a Pipnet Reamer and then cleaned up the bowl walls with a Savinelli Fitsall Pipe Knife. He scrubbed out the internals with alcohol, pipe cleaners and cotton swabs until the pipe was clean. He scrubbed the exterior of the bowl with Murphy’s Oil Soap and a tooth brush to remove the grime and grit on the briar and the lava on the beveled rim top. The finish looks very good with good looking grain around the bowl and shank. There is one fill on the right side at the shank bowl junction. Jeff scrubbed the stem with Soft Scrub to remove the grime. When the pipe arrived here in Vancouver for the second stop of its restoration tour it looked very good. I took photos before I started my part of the work.
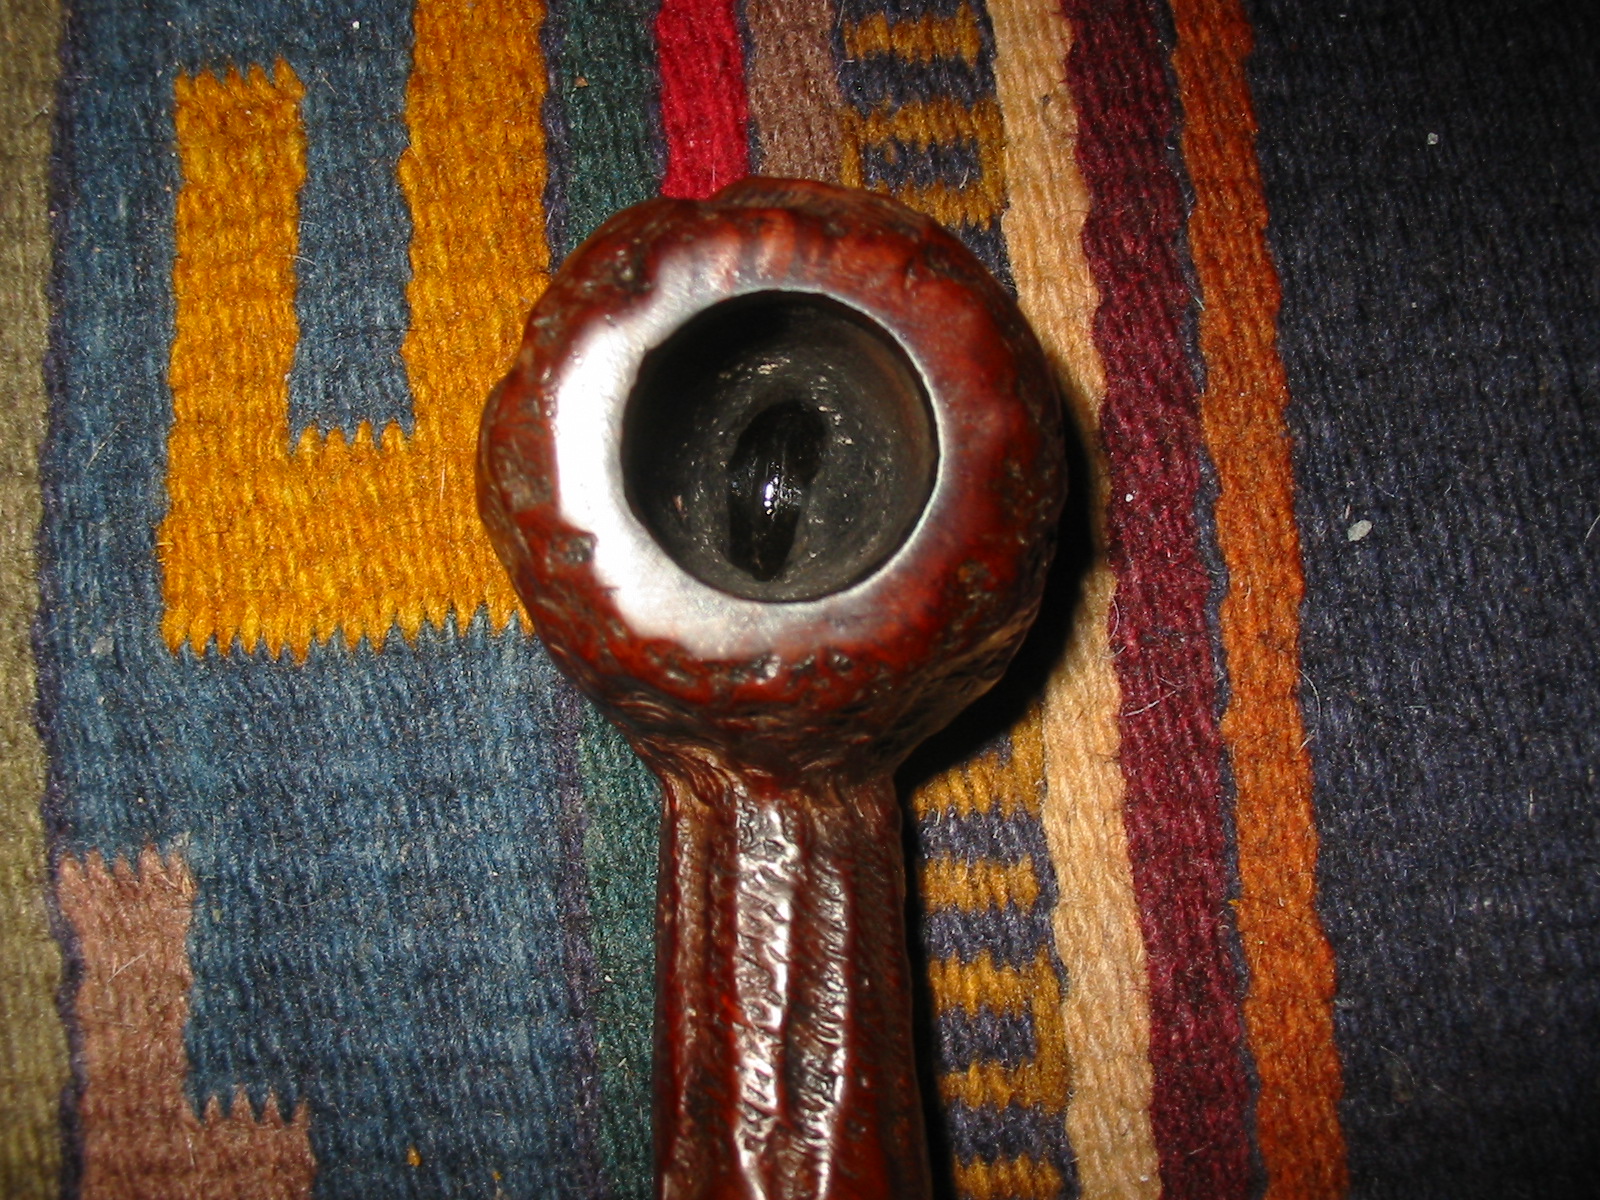
 I took some photos of the rim top and stem. Once Jeff removed the lava on the inside edge of the rim top it was in pretty rough condition. There were cuts, nicks and burned areas all around the inner edge and the bowl was out of round from the damage. The outer edge of the bowl looked very good. The close up photos of the stem shows that it was very clean and there was some tooth marks and chatter on the stem just ahead of the button. The acrylic was very scratched.
 The fit of the stem in the shank is off. It looked like the shank end had been rounded slightly and the stem was definitely larger than even the straight portion of the shank. It was poorly fit and that makes me think it is a replacement stem. The question I needed to answer was how far to go with the refitting of the stem. I knew that I wanted to bring it down as close as possible so that transition between the shank and stem was smooth. I decided to work on this as the first item of my part of the restoration. I took some photos to try and capture the variation between the stem and shank. Hopefully you can see what I mean even with my poor photos. I have used red arrows to identify trouble areas.
 I probably spend an hour or more hand sanding the stem to fit the shank. Often I do that with the stem off and flatten it, constantly checking for progress. I left the stem in place on this pipe for much of the sanding process as I was seeking to make a smooth transition on an already rounded shank end. The photos below tell the story.
 The next two photos show the stem after much sanding my way through movies on Netflix. It is far better than when I began. The transitions on the sides are perfect while the top and underside I tried to accommodate the rounded shank end as much as possible.
 With the shank/stem transition improved I was ready to move on to dealing with the issues of the inner edge and rim top. I removed the stem and set it aside and took the bowl in my hands. I used a folded piece of 220 grit sandpaper to smooth out the edge and clean up the slight bevel to mask the damaged areas. I lightly topped the bowl as well to remove the damage on the rim top and smooth out briar. Once the bowl is polished the bevel is hardly visible and the bowl looks better.
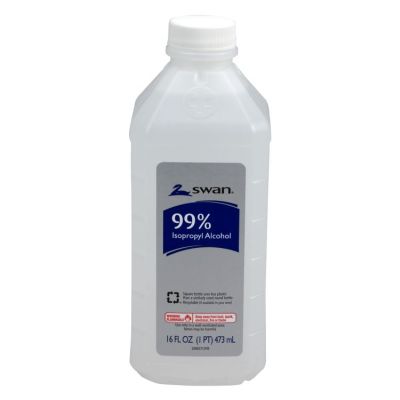
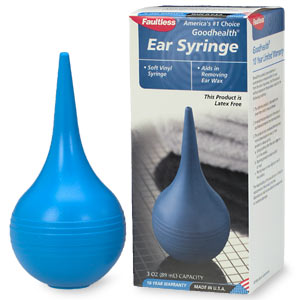
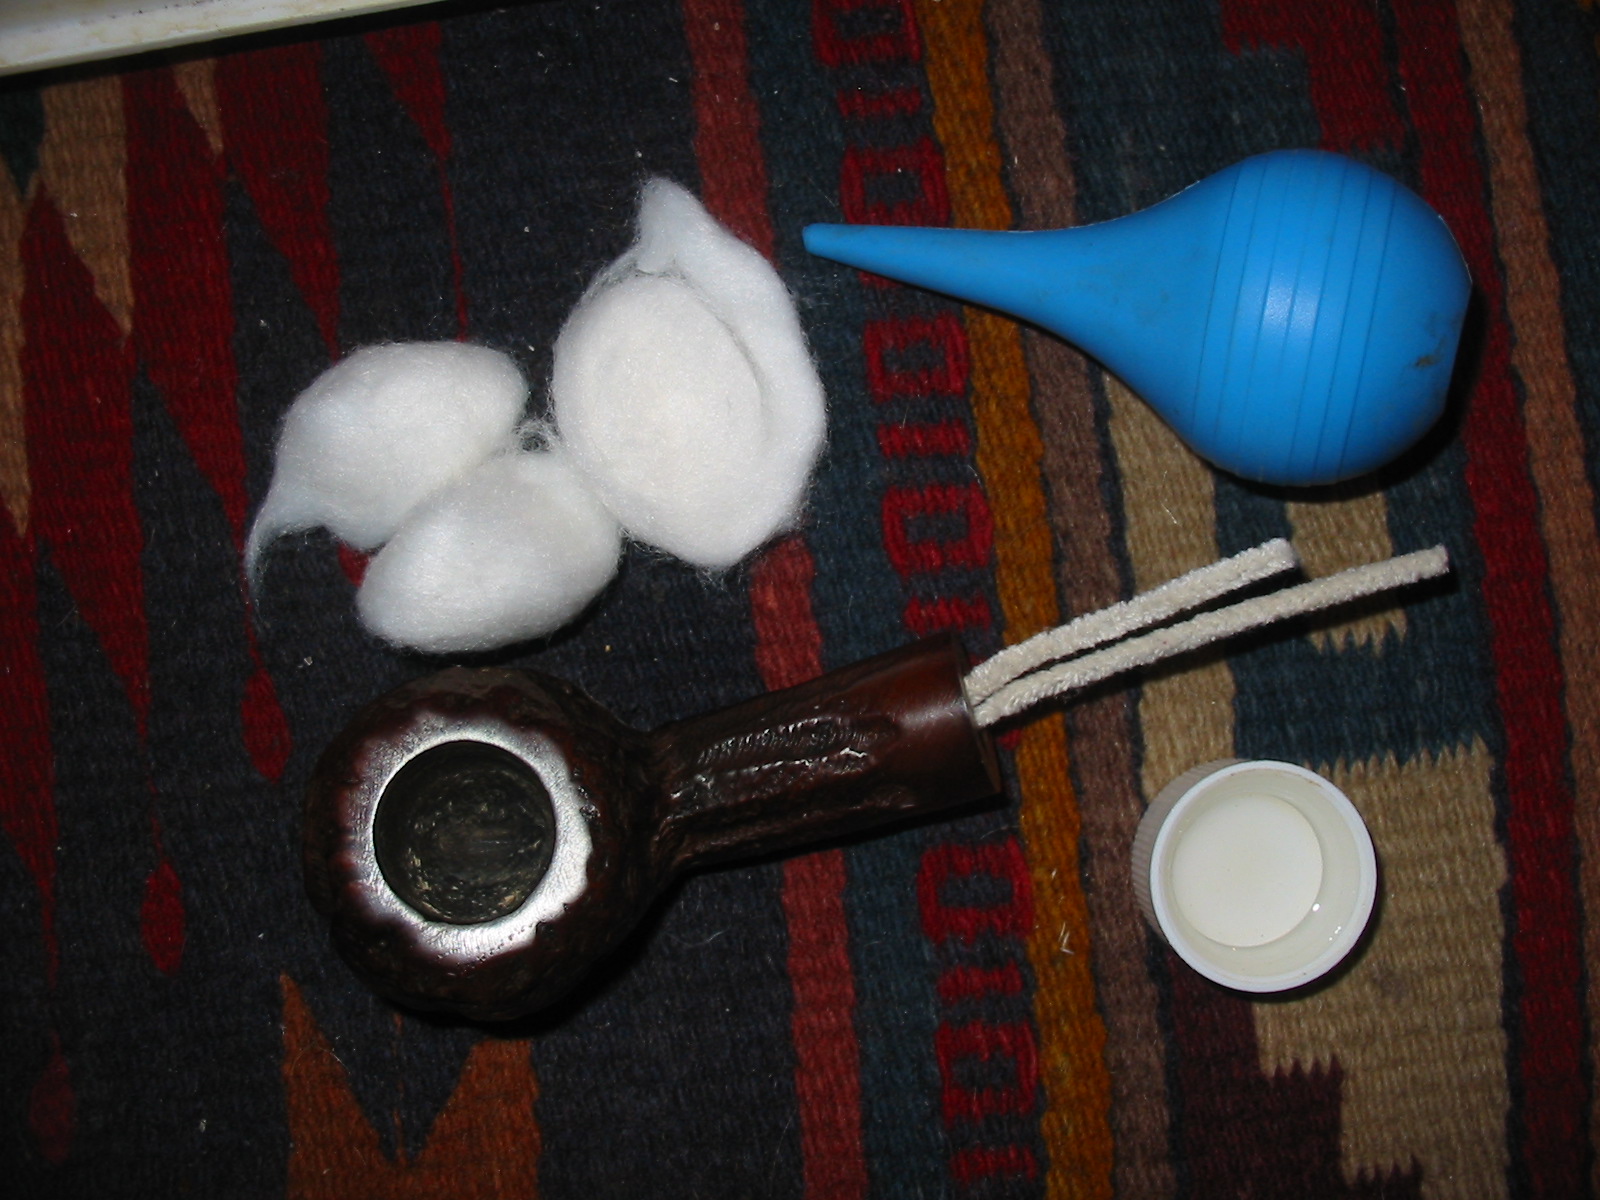
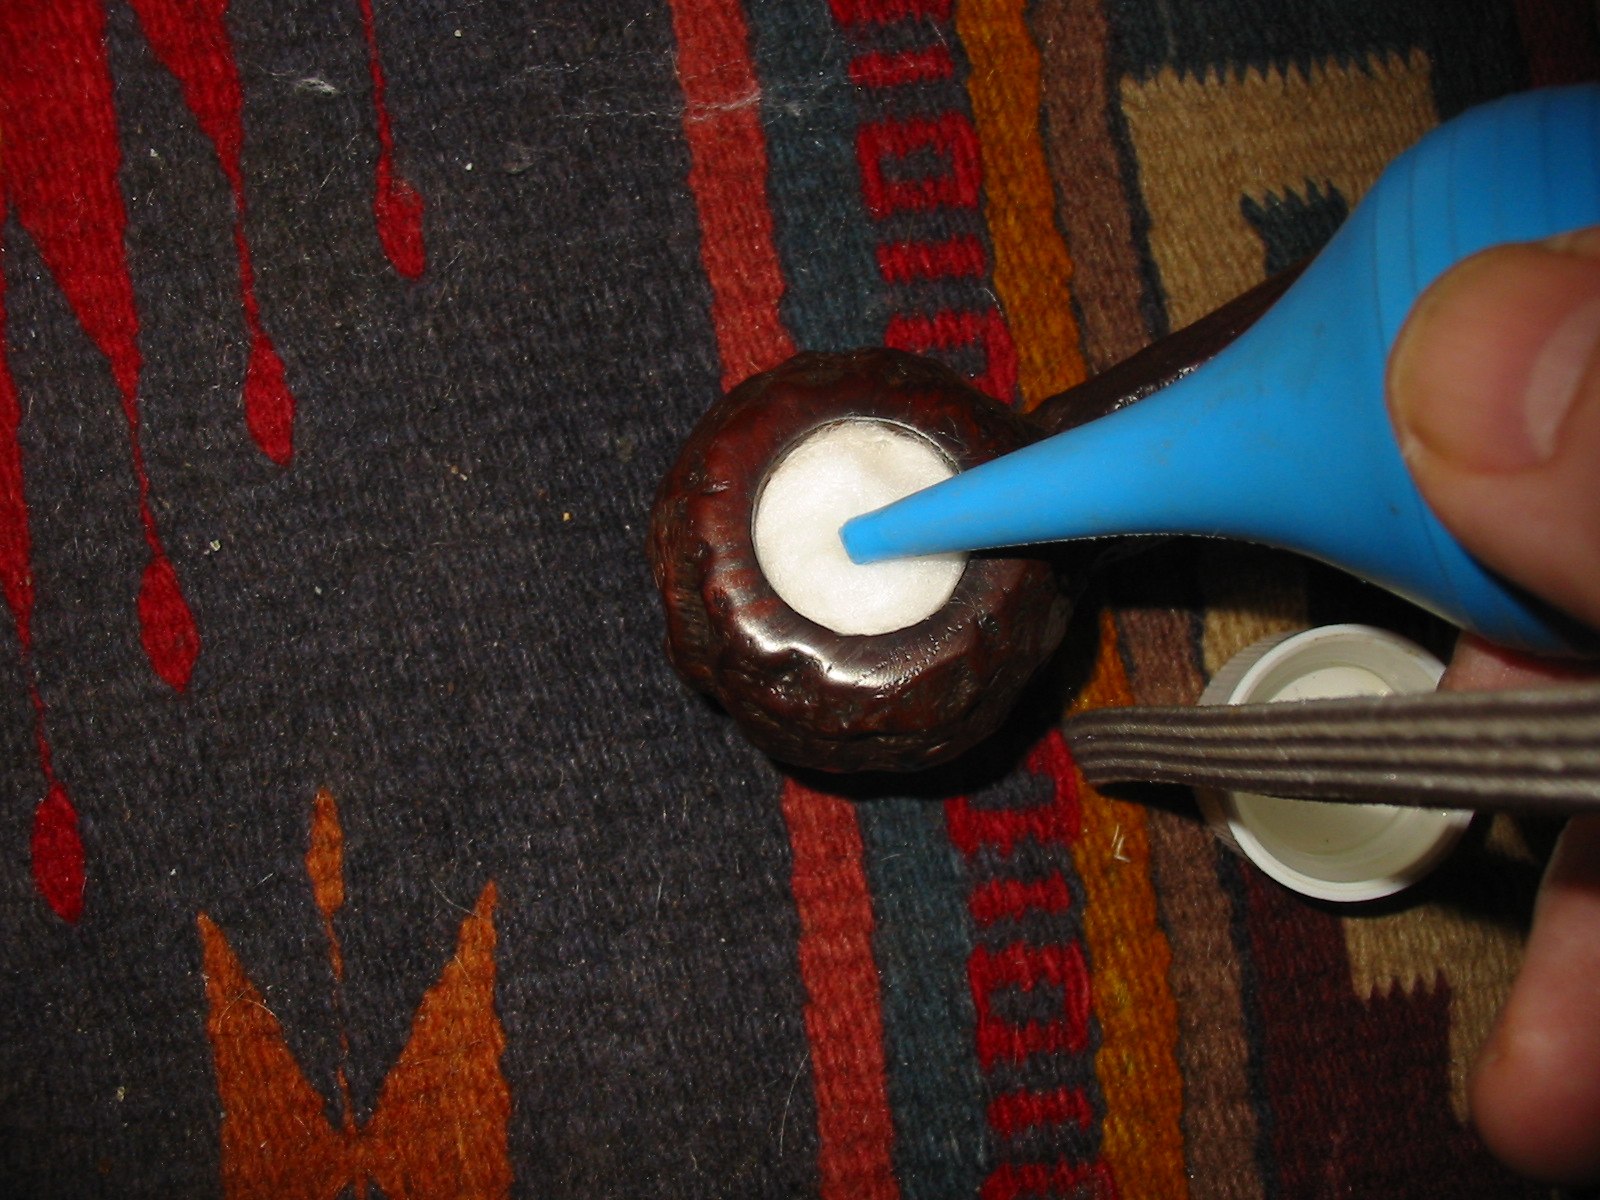
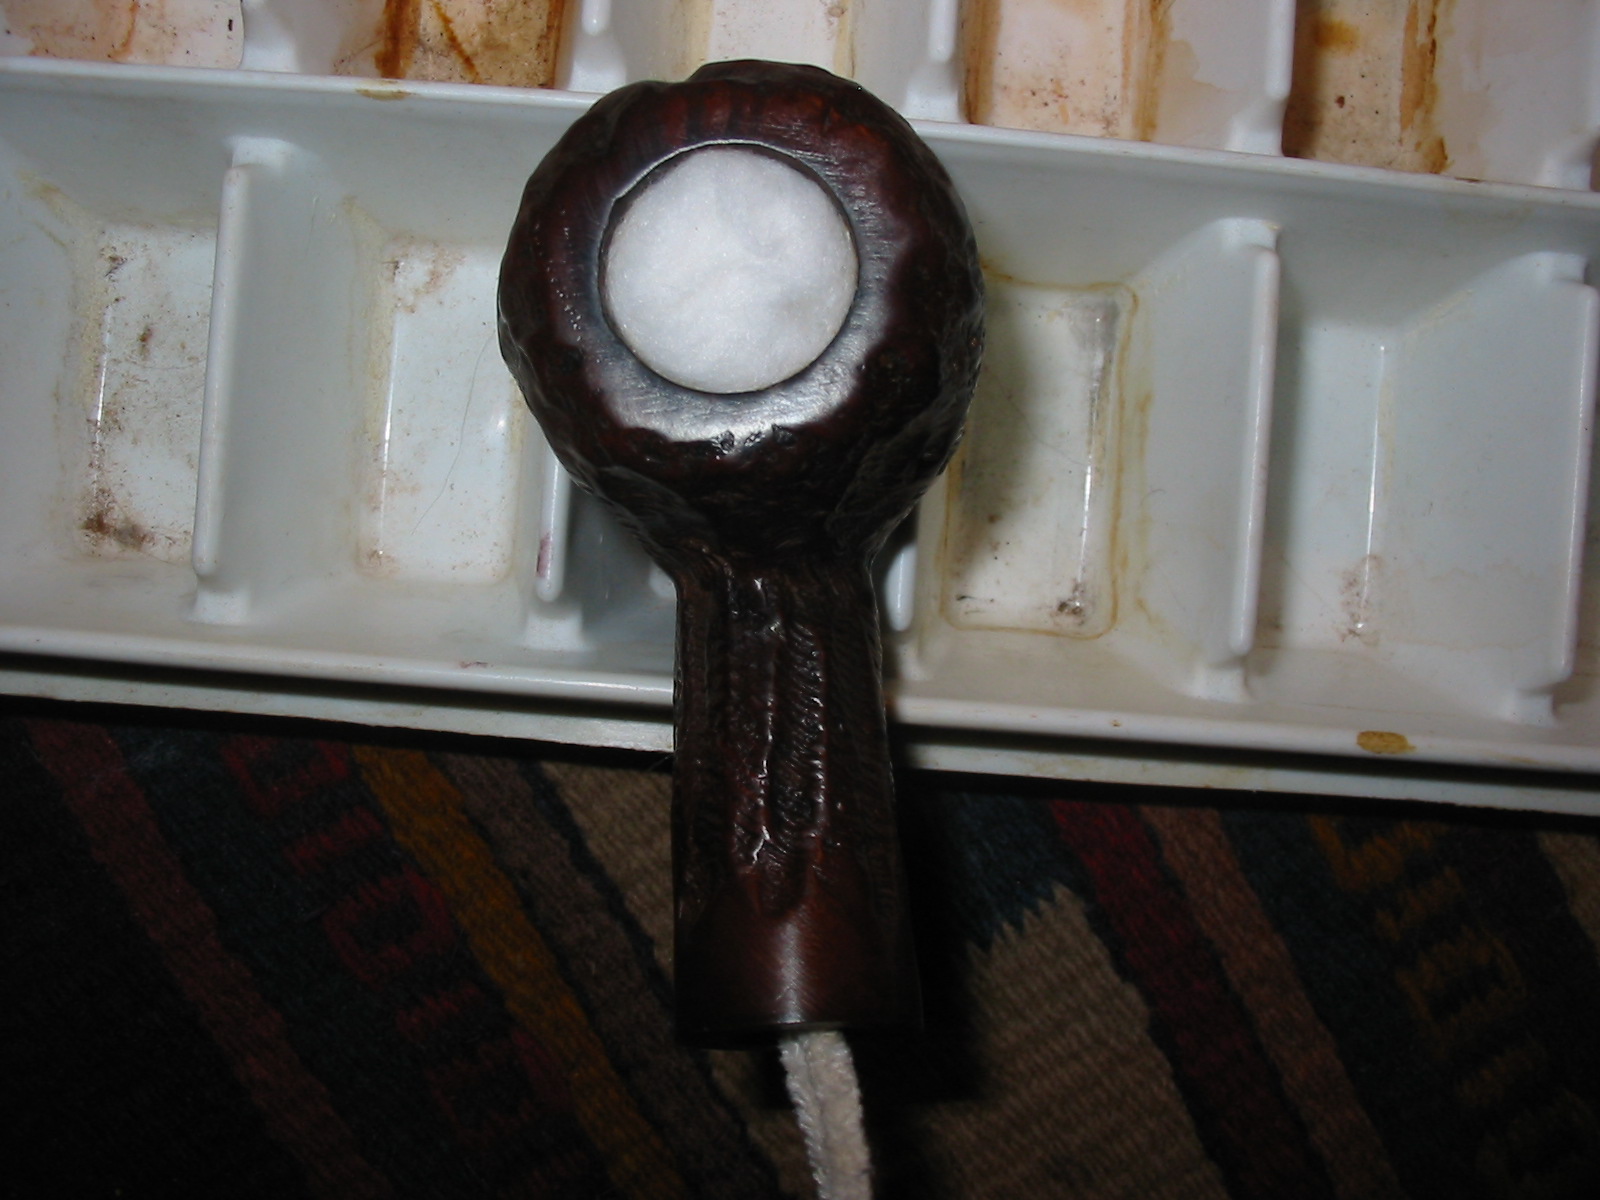
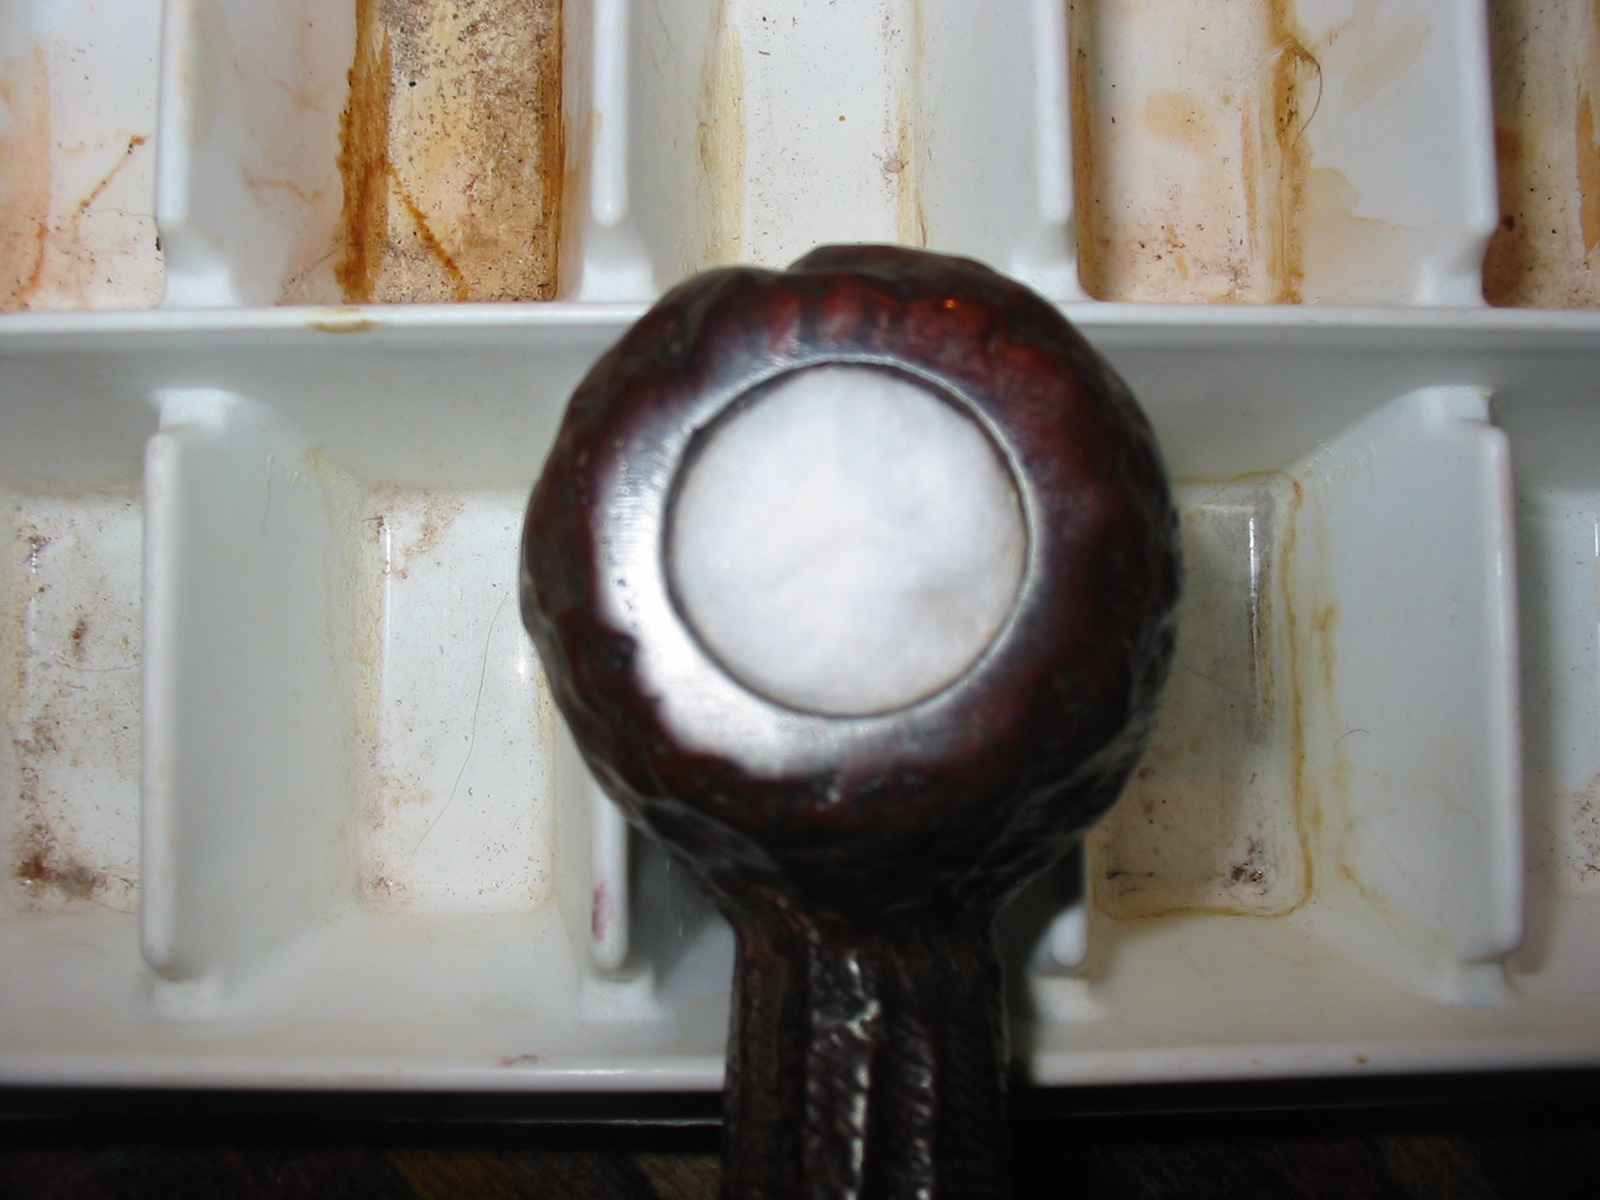
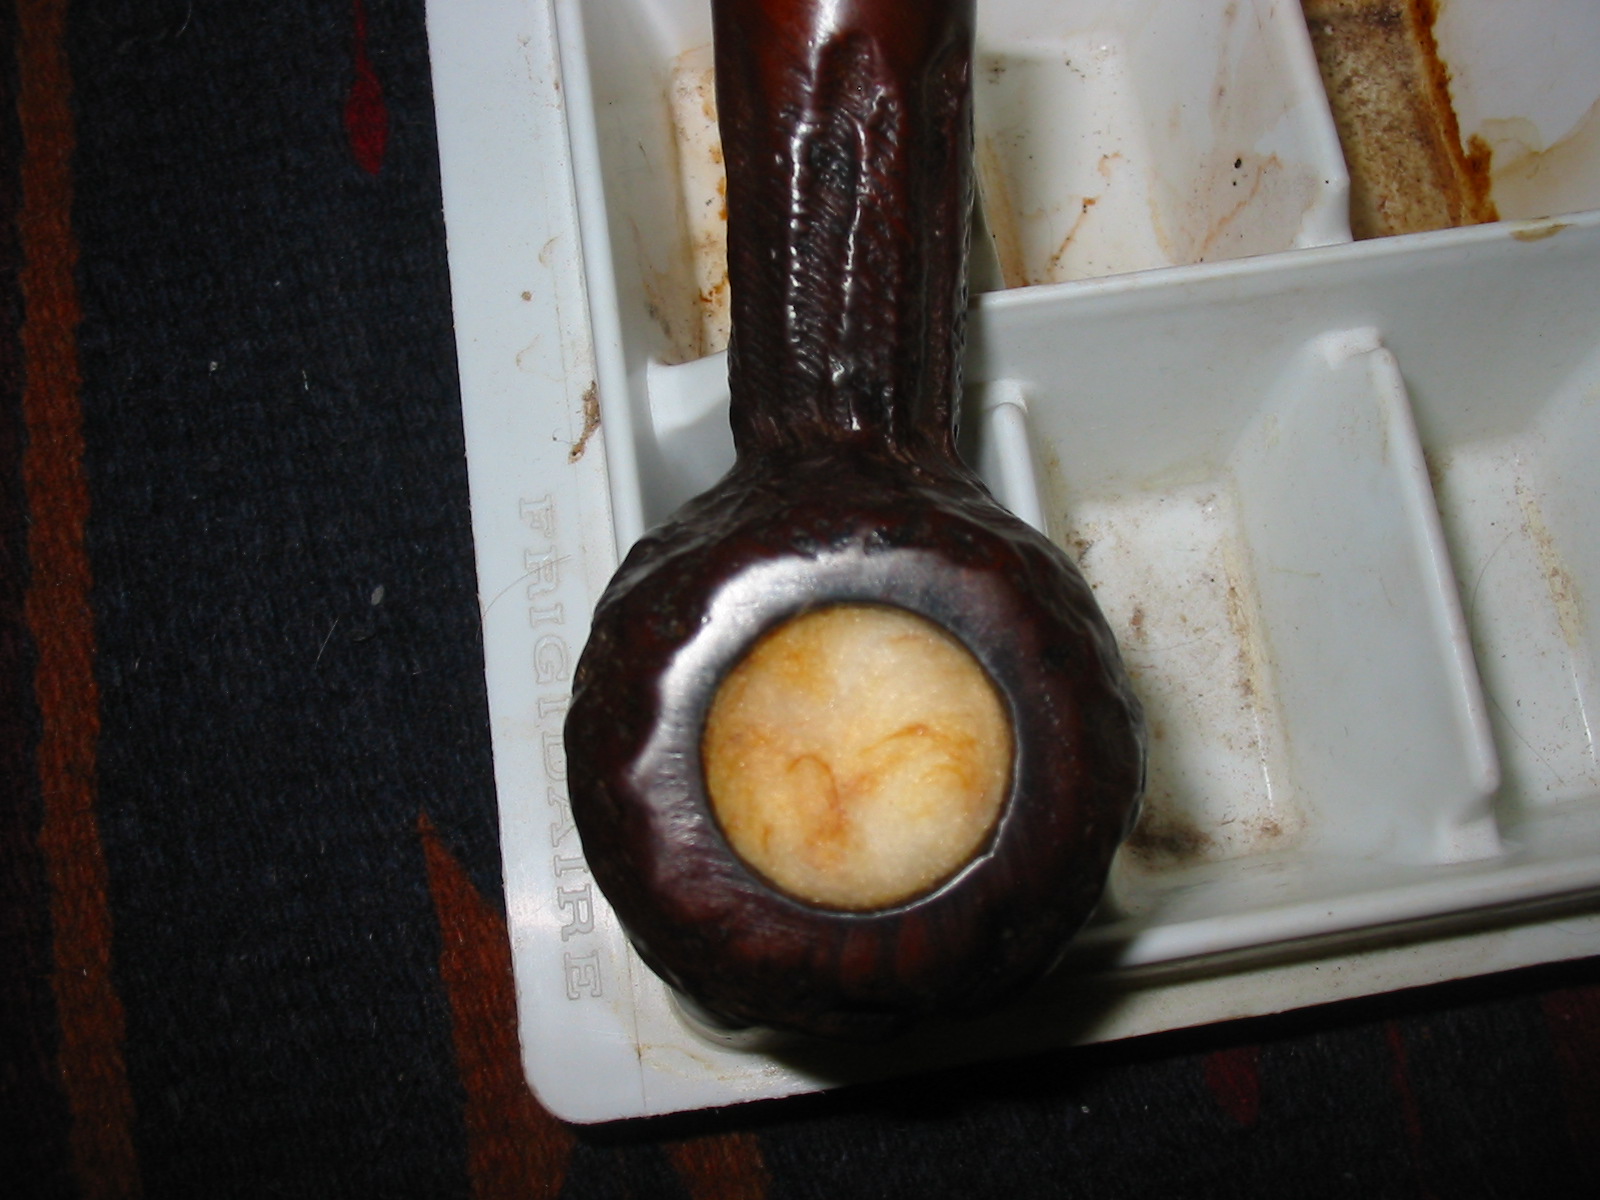
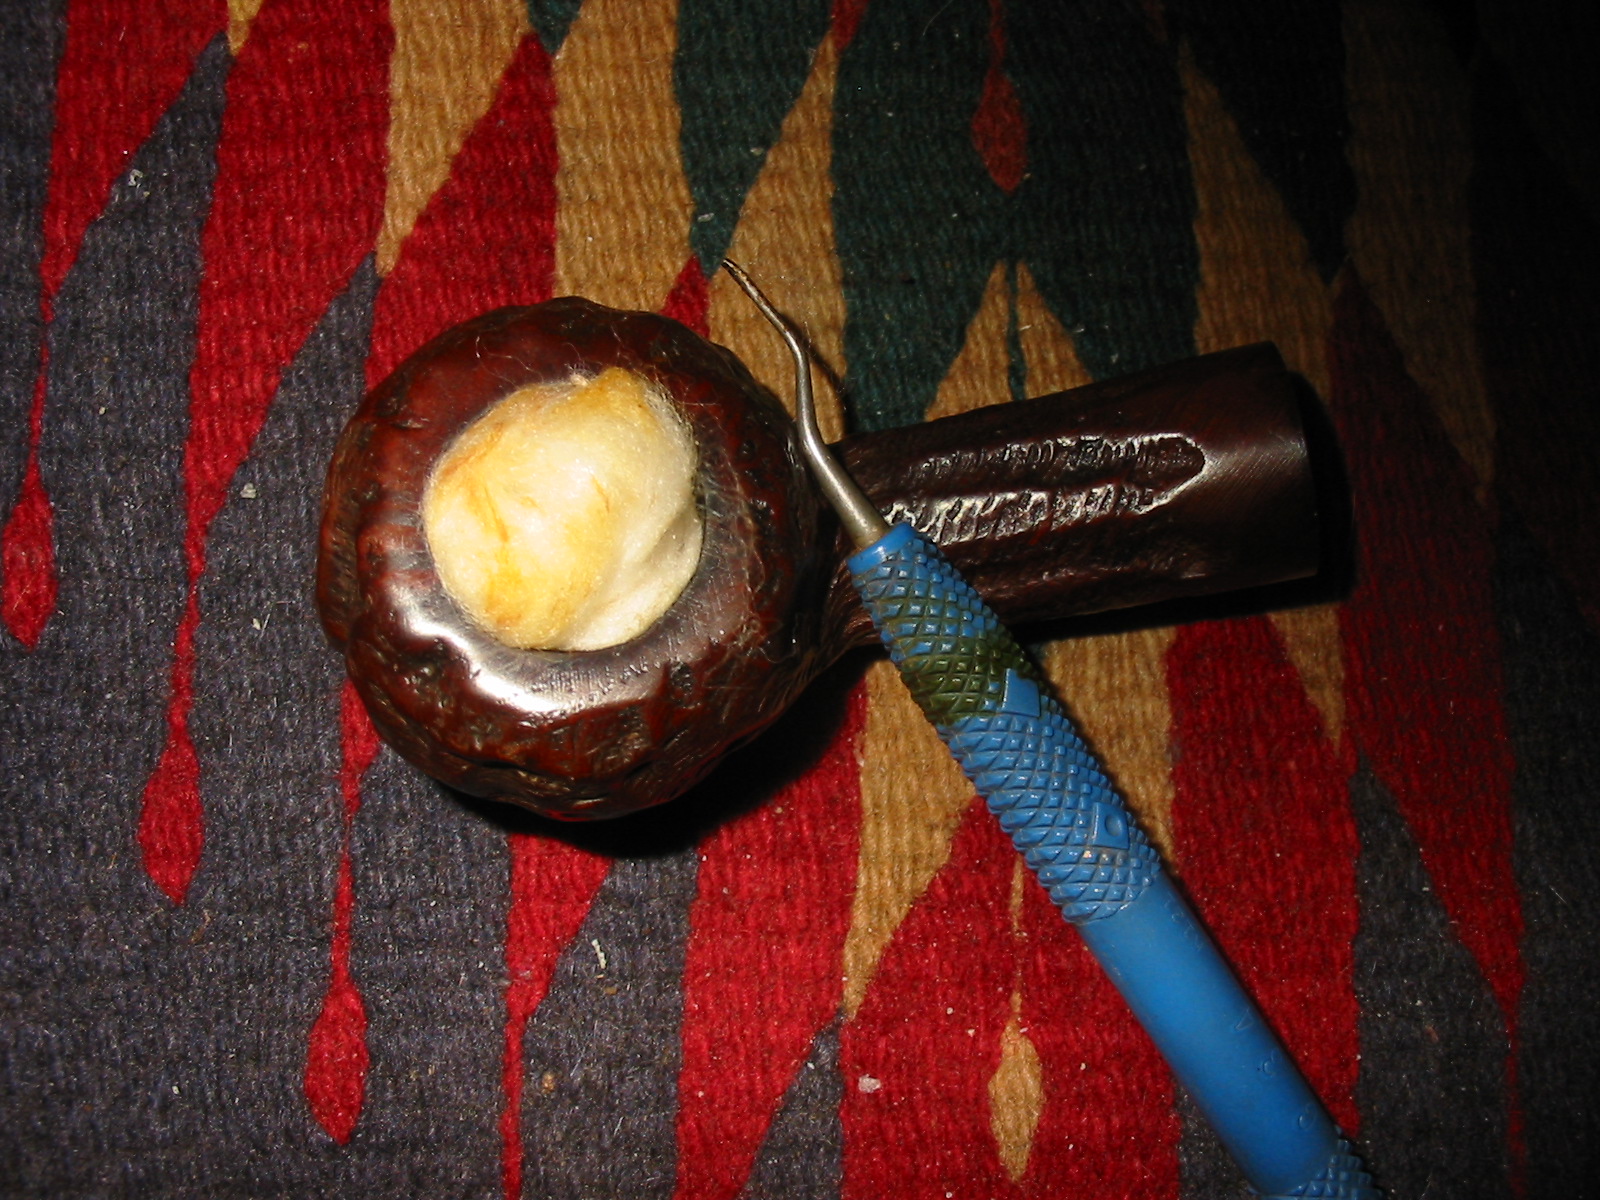
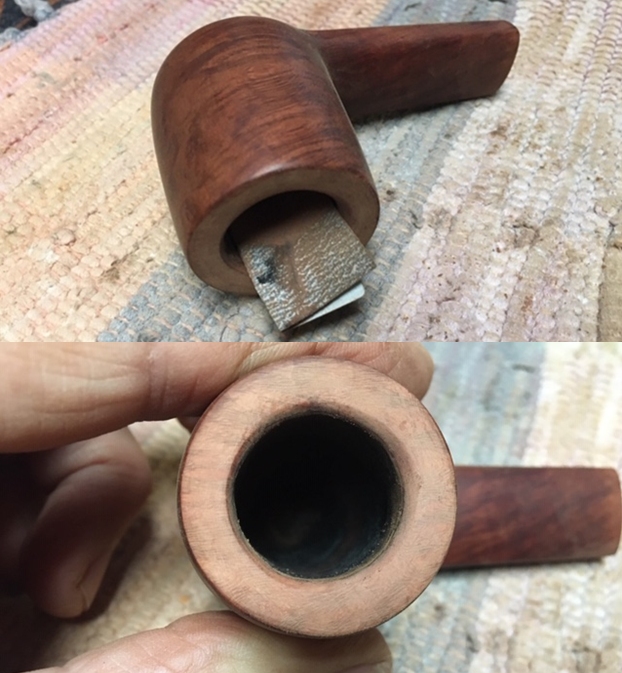 With that done I decided to call it a night. The pipe still smelled strongly of old tobacco even after all the cleaning so I stuffed the bowl with cotton bolls and used a syringe to fill it with isopropyl alcohol. I set the bowl in an old ice tray and left it while the cotton and alcohol did its work. The second photo shows what I found this morning when I came to the work table. I removed the cotton bolls and pipe cleaner and cleaned out the shank with pipe cleaners and alcohol. It was very clean and it smelled far better!
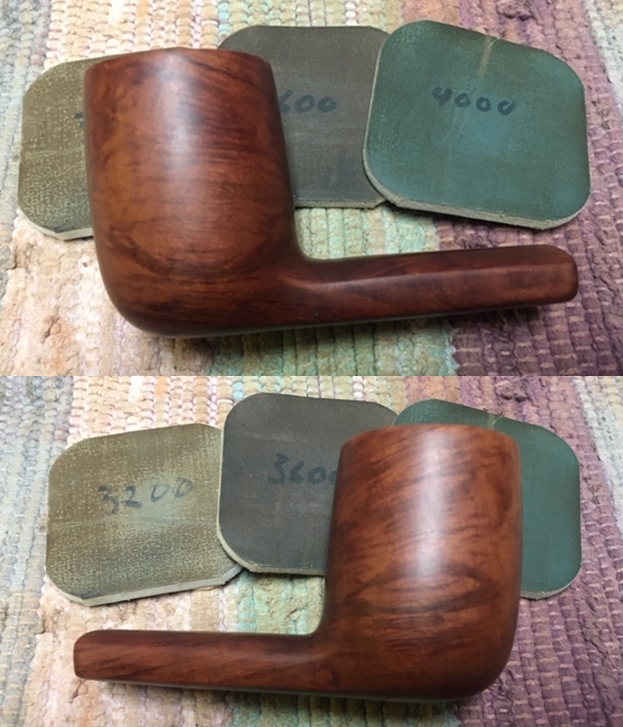
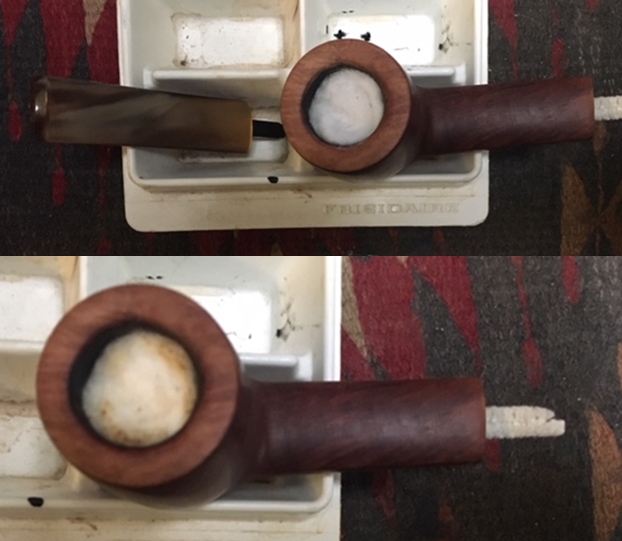 I was happy with the way the rim top and edges looked so I moved on to polish the briar with micromesh sanding pads – dry sanding with 1500-12000 grit pads. I wiped the bowl down after each pad with a damp cloth. The grain really began to stand out and the finish took on a shine by the last sanding pad. The photos tell the story!


 I worked some Before & After Restoration Balm into the surface of the briar with my fingertips. The product works to clean, enliven and protect the briar. I let the balm sit for about ten minutes and then buffed with a cotton cloth to raise the shine. The photos show the bowl at this point in the restoration process.
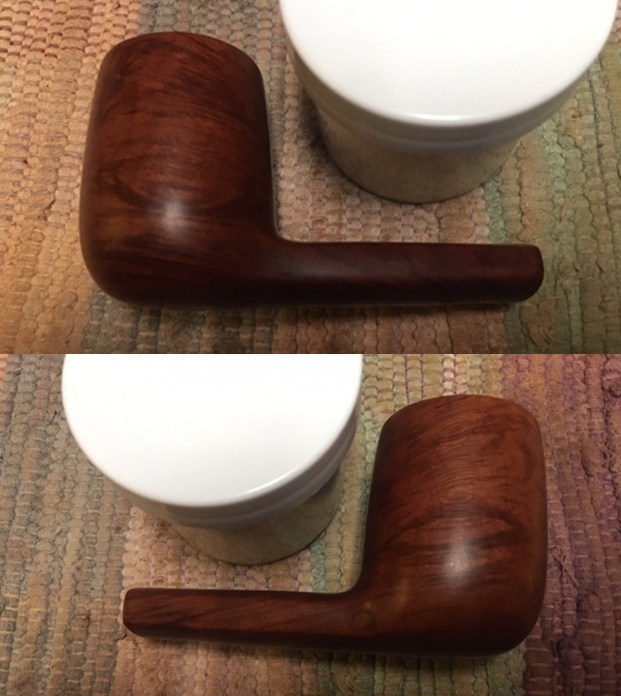

 I laid the bowl aside and turned to deal with the refit stem. I polished the stem with micromesh sanding pads – dry sanding with 1500-12000 grit sanding pads. I was able to remove the scratching and tooth marks with the micromesh. I wiped it down after each sanding pad with a cloth containing some Obsidian Oil. I finished polishing it with Before & After Pipe Stem Polish – both Fine and Extra Fine and buffed it off with a cotton cloth.
 This Savinelli Made Billiard Sitter was a bit of a pain to work on. The amount of sanding to fit the stem even the way I have it now was a lot. But I am happier with the pipe now that I have finished it. The pipe looks a lot better. The finish on the pipe is in excellent condition and the contrasting stains work well to highlight the different grain patterns on the pipe. The variegated brown and gold acrylic stem just adds to the mix. With the grime and debris gone from the finish and the bowl back in round it was a beauty and the grain just pops at this point.
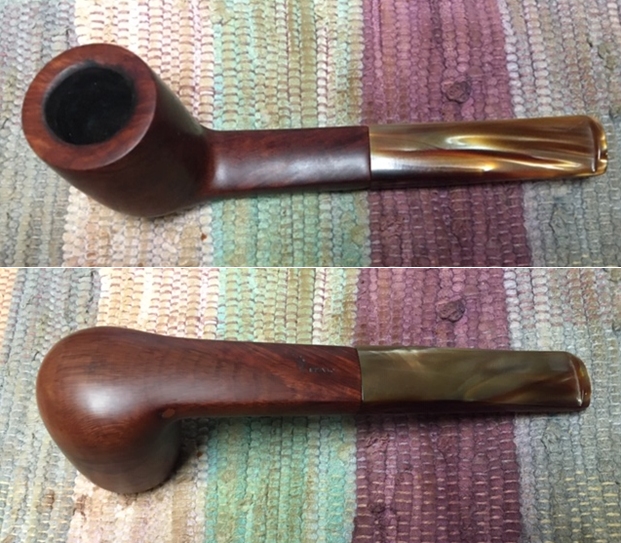
I put the stem back on the bowl and buffed the pipe with Blue Diamond on the buffing wheel. I carefully avoided the stamping on the shank and stem during the process. I gave the bowl and the stem multiple coats of carnauba wax on the buffing wheel and followed that by buffing it with a clean buffing pad on the buffer. I hand buffed the pipe with a microfiber cloth to deepen the shine. The finished Savinelli Billiard with a flat rectangular stem is a nice take on a classic billiard. The finish on the bowl combines various stains to give it depth. It is very well done. Give the finished pipe a look in the photos below. I can only tell you that it is much prettier in person than the photos capture. The dimensions of the pipe are Length: 6 inches, Height: 2 inches, Outside diameter of the bowl: 1 ½ inches, Chamber diameter: ¾ of an inch. It a great looking pipe in great condition. Thanks for walking through the restoration with me as I worked over another interesting pipe. This pipe will be added to the rebornpipes store soon. If you want to add it to your collection send me an email or a message! Thanks for your time.