Blog by Steve Laug
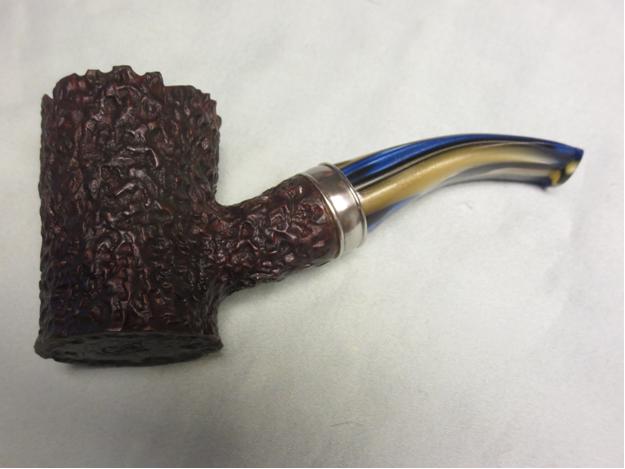
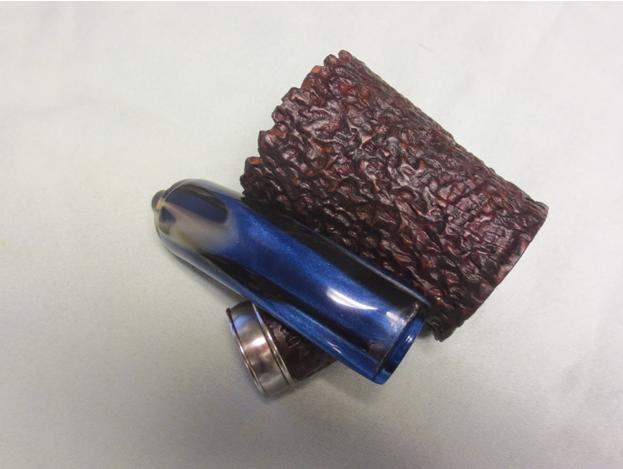
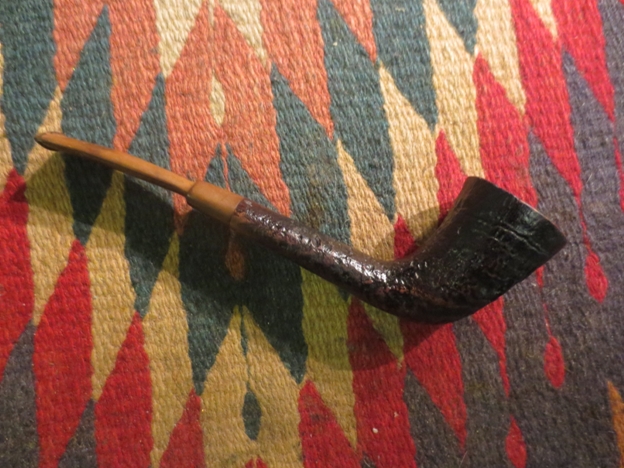
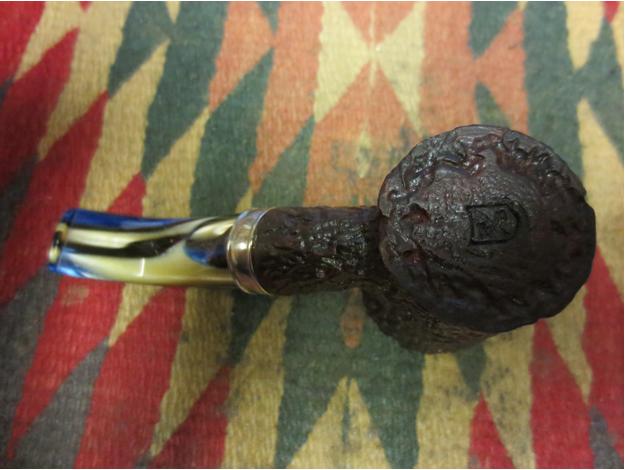
 A friend of mine here in Vancouver dropped off a bag of pipe goodies for me while I was in Europe. When I got home and opened the bag there were four jars of tobacco, a Peterson ceramic three pipe stand, a two pipe travel bag, some pipe cleaners and three pipes – a pipe that I had sold him, a Briar Bird Bent Poker or Cherrywood with a blue/gold acrylic stem, a Poker with a broken tenon stuck in the shank. I decided to clean up the easy pipe – The Briar Bird Poker. I emailed the giver to express my thanks at his generosity and ask him some questions about the two pokers. He answered that the broken stem pipe was a pipe made by Brian Doren. He also told me that the Briar Bird pipe by J. Cochey was one of his early works.
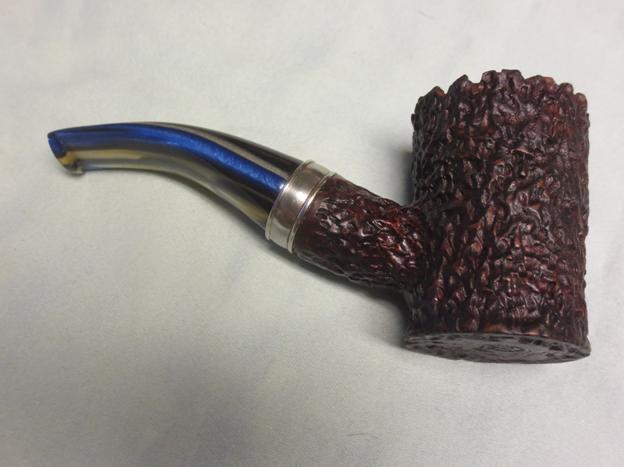
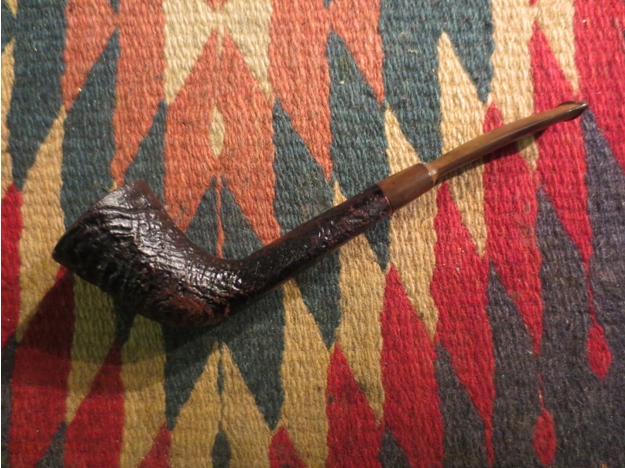
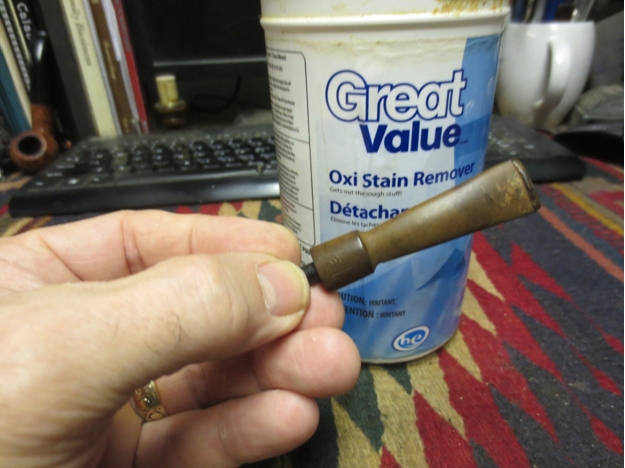
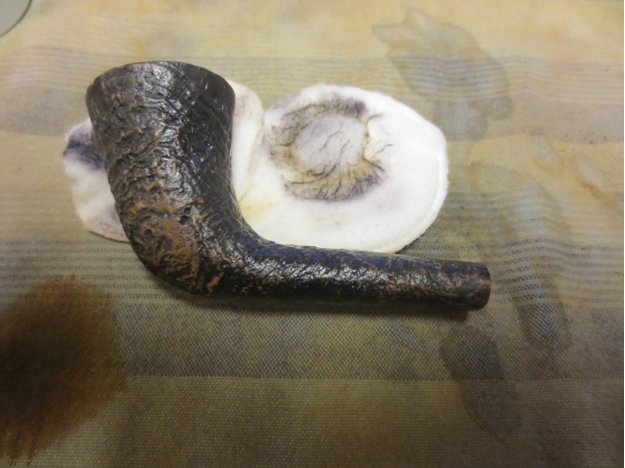
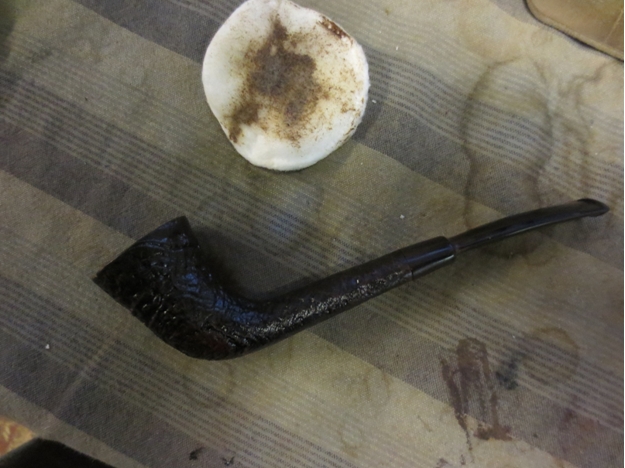
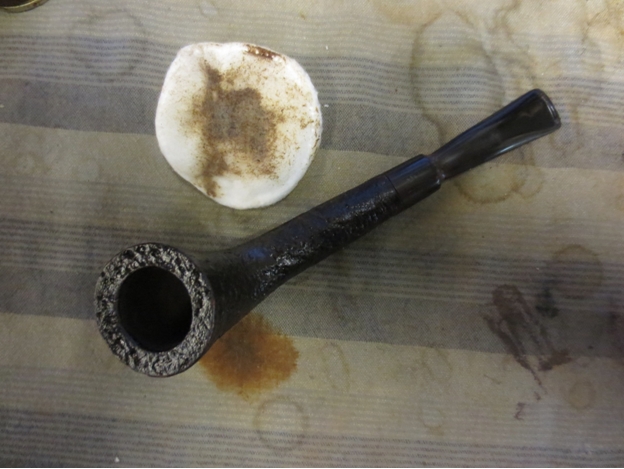
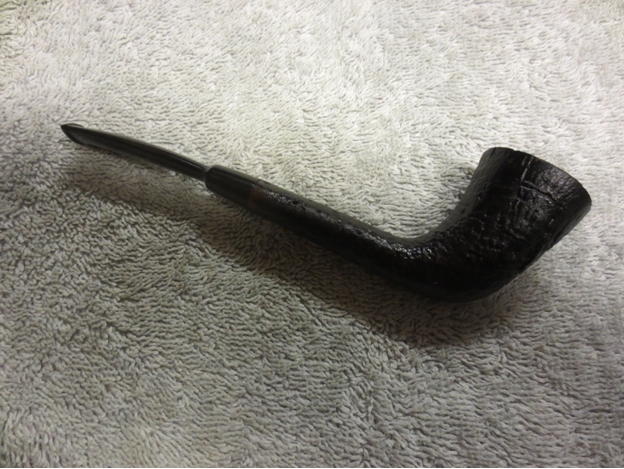
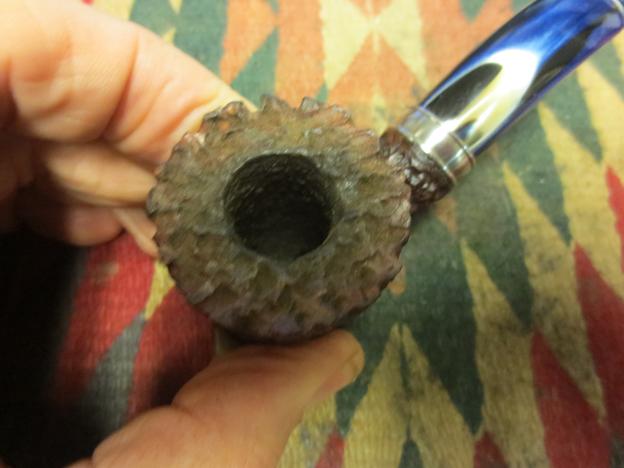
At first glance it looked like it would clean up easily and I could add it to the rotation quickly. It had a rusticated finish that was too my liking, a wedding ring style band and a blue and gold stem. The bend was good in the stem and the pipe felt good in the hand. The button seemed like a good size. The slot was open and the airway clear. The inner dimension of the bowl was smaller than I normally use but it would work. The finish was dirty and the rim had some light build up in the rustication. The bowl would need to be reamed back to keep it from becoming even smaller in diameter than it was.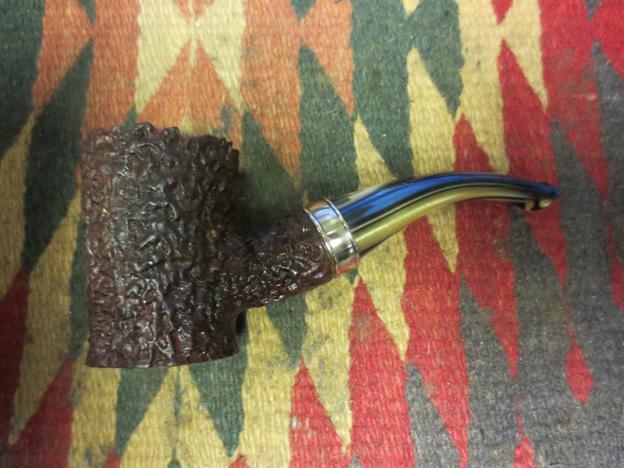


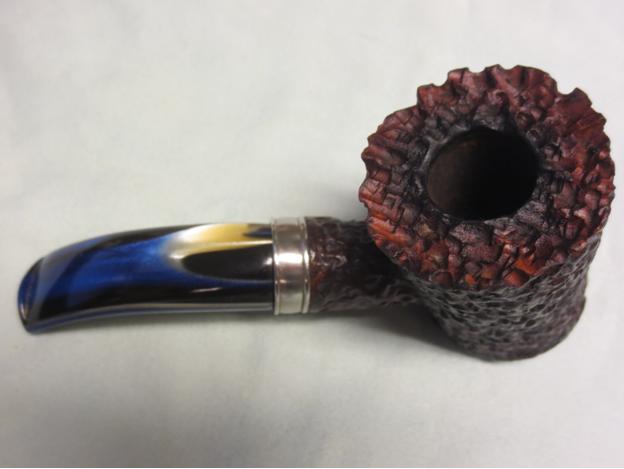
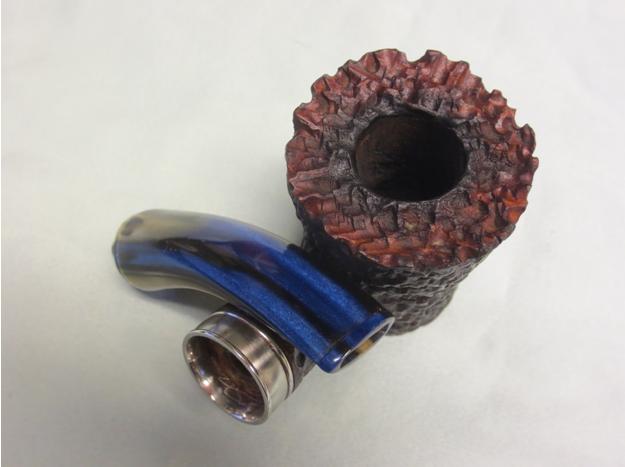
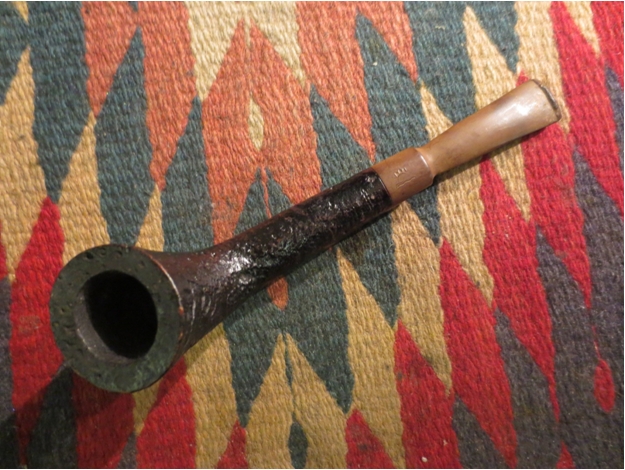
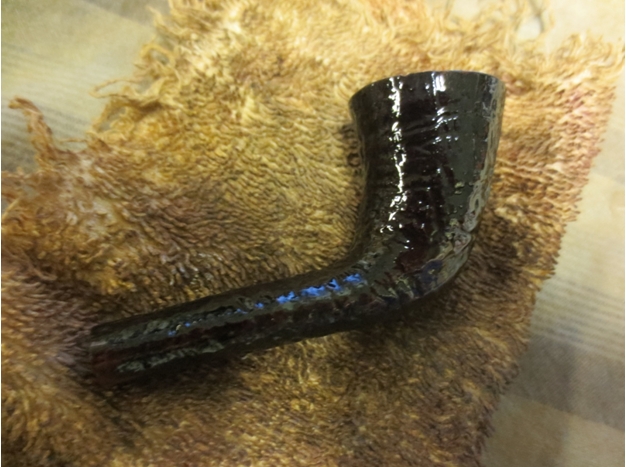
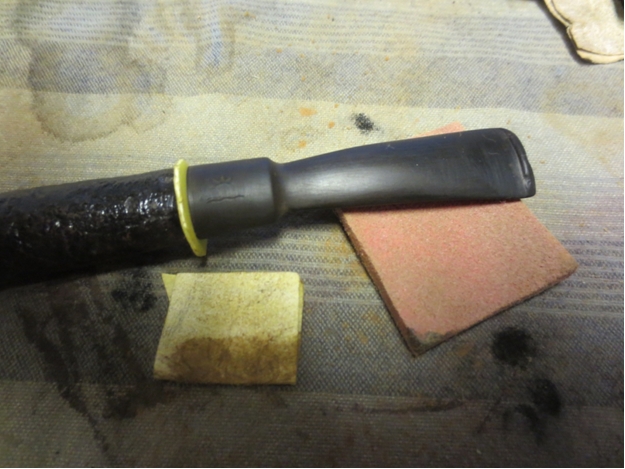
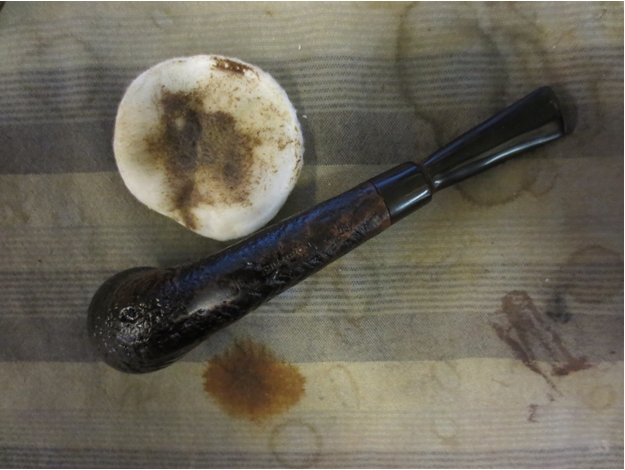
 When I removed the stem to have a look at the drilling and the fit against the shank the band fell off in my hands. It had been glued to a thin smooth band on the end of the shank and extended beyond the end of the shank. I acted as a tube that the stem sat in. Examining the stem I saw that the maker had also stepped down the end of the stem to accommodate the band as well. In essence the band sat suspended over the stem with a small fit on the shank. I cleaned up the shank end and reglued the band on the shank. Before I glued it I debated whether to properly seat it on the shank – removing some of the shank briar and seating the band further back. I decided against that. When I put the stem in place on the shank without the band, the tenon was too long to allow the stem to seat against the end of the shank. I could drill the mortise slightly deeper, shorten the tenon or just reglue and leave things alone. I obviously chose to just glue it and leave it alone.
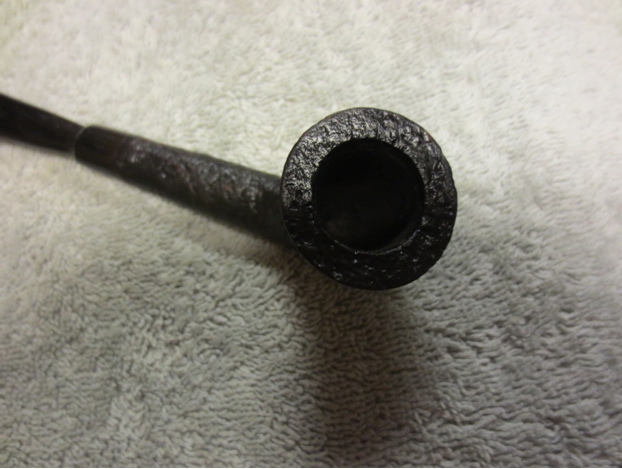
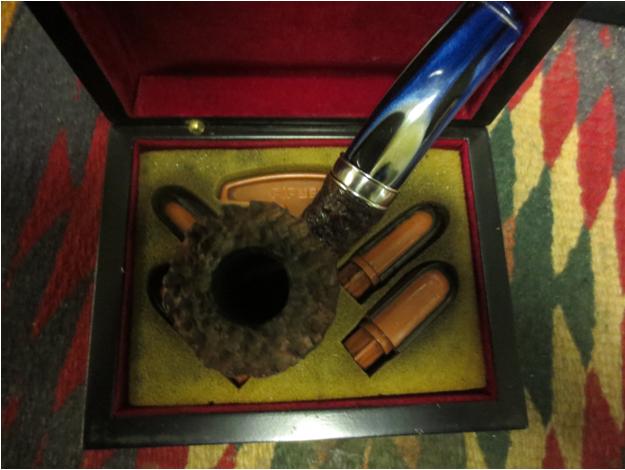
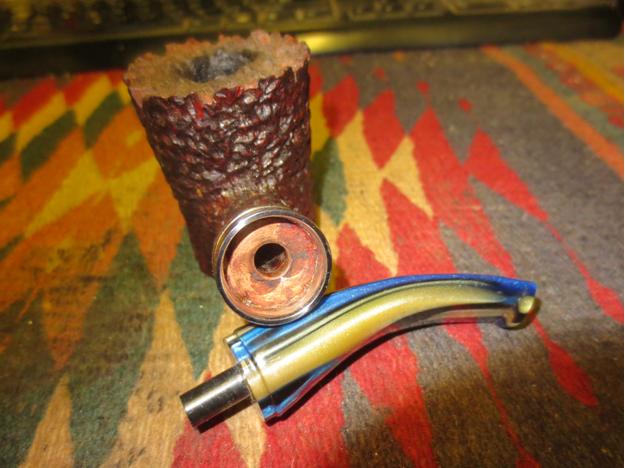 The slot in this stem was drilled beautifully and the oval opening flared back to the airway properly. The draw on the pipe was excellent.
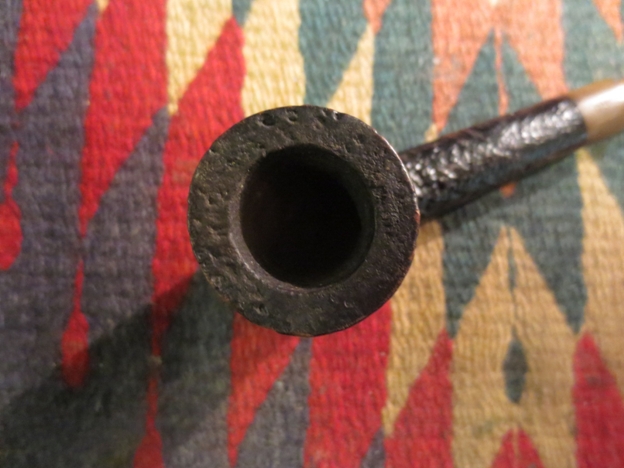
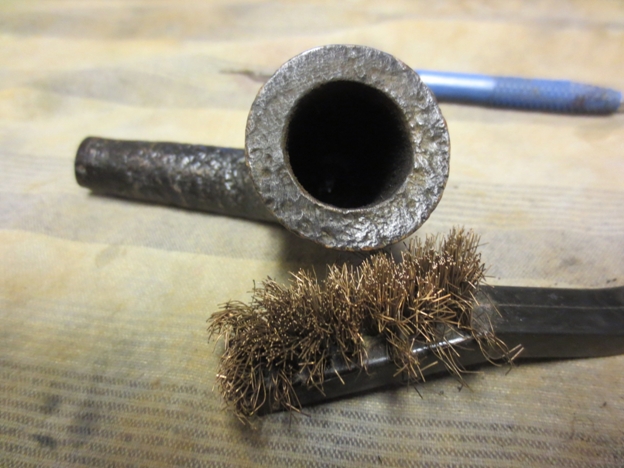
 I reamed the bowl with the PipNet reamer and took the cake back to bare walls. With the narrow bowl I would keep this pipe very clean and develop the thinnest of cakes so as not to constrict the bowl.
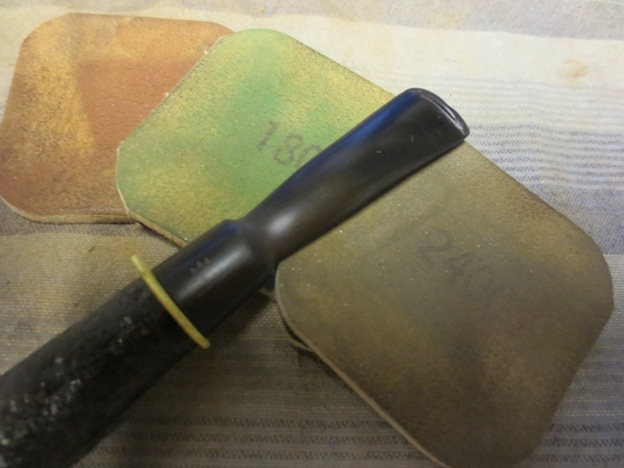
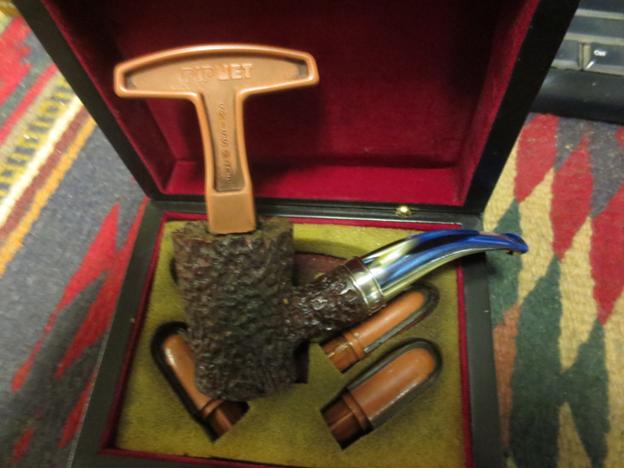
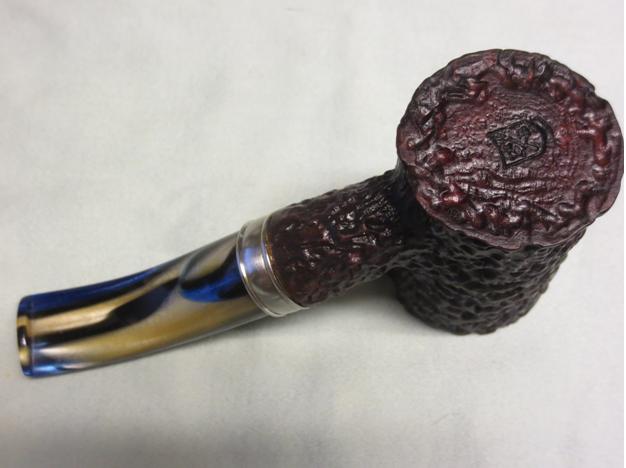
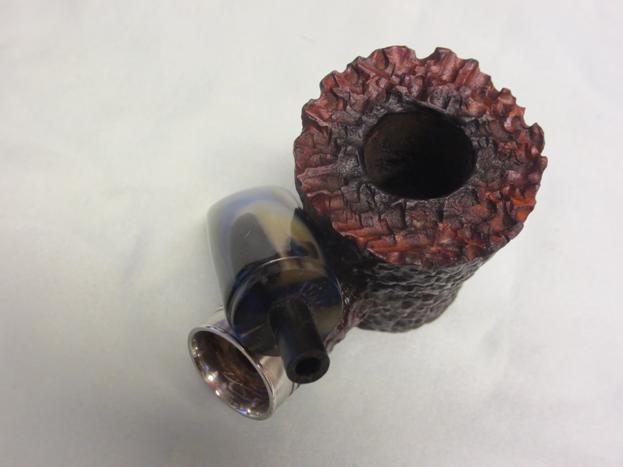
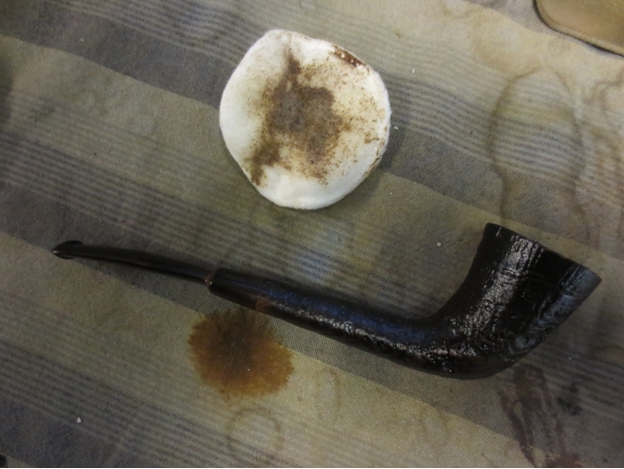
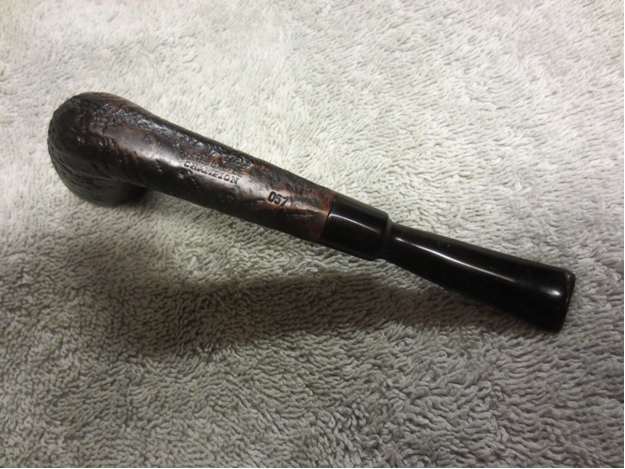
 With the bowl cleaned the rim needed some attention. There was some oil and tar built up in the rustication.
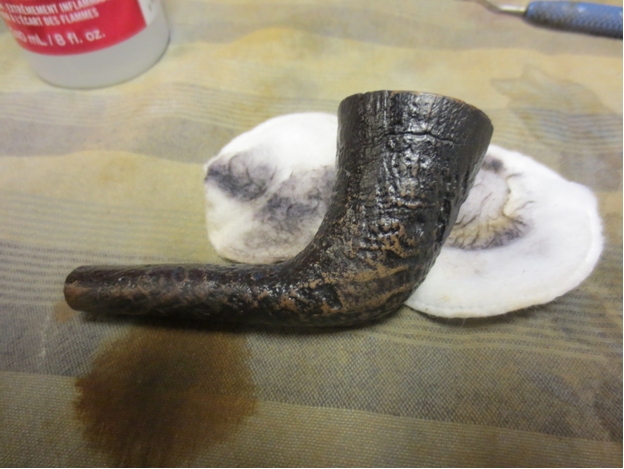
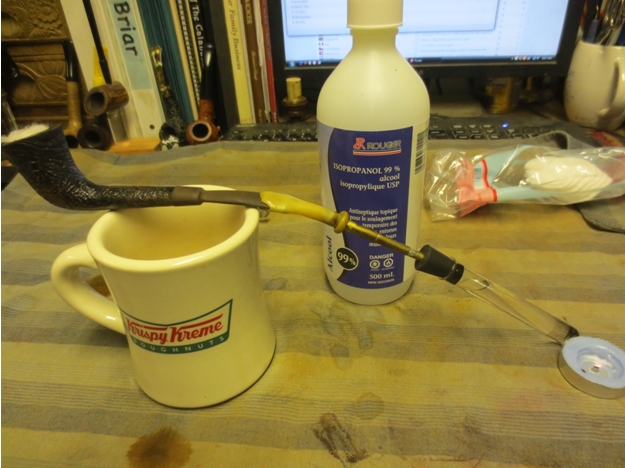
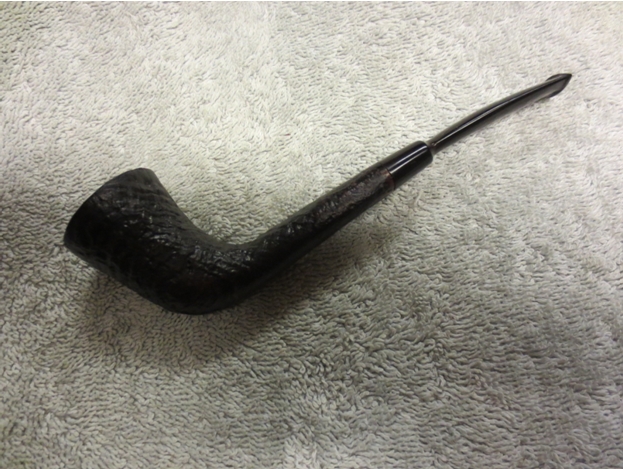
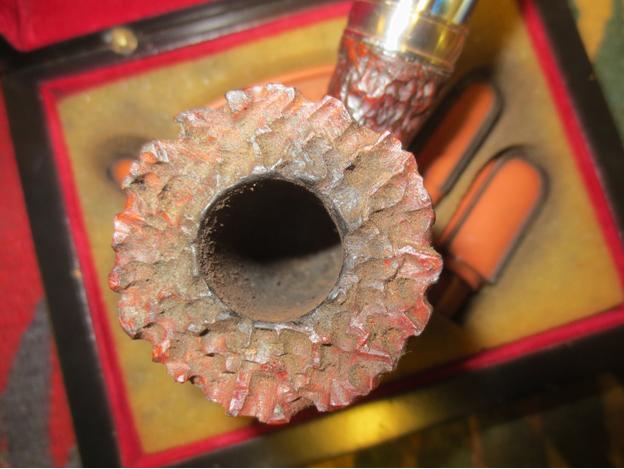 I used a brass bristle white wall tire brush to clean out the rustication. Once I had it cleaned out I rubbed the bowl down with some Halcyon II wax and then buffed it with a shoe brush to raise the shine. With a rough rusticated pipe like this I don’t buff it on the buffer as I want to keep the sharp edges of the rustication as they are without smoothing them out. I scrubbed out the shank and the stem with alcohol, cotton swabs and pipe cleaners until they came out clean. I polished the stem with Blue Diamond on the buffing wheel and polished the band with a jeweler’s cloth. The finished pipe is shown in the photos below. It is ready for its inaugural bowl since coming to my rack. If you are interested in seeing some of the newer work of Briar Bird Pipes I have included a link to the website. http://www.briarbirdpipes.com