Blog by Steve Laug
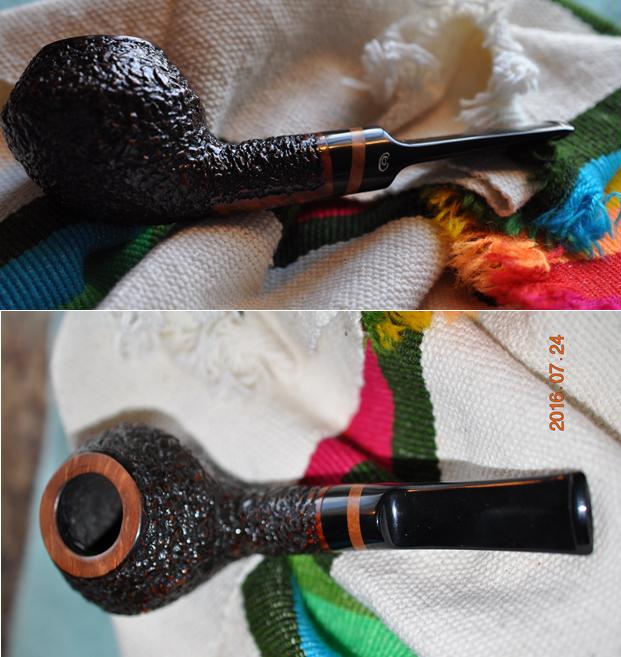
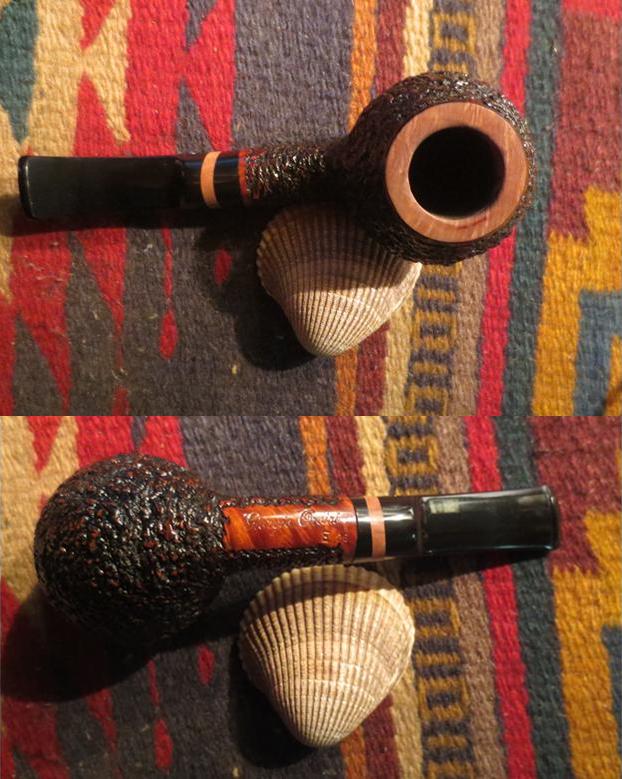
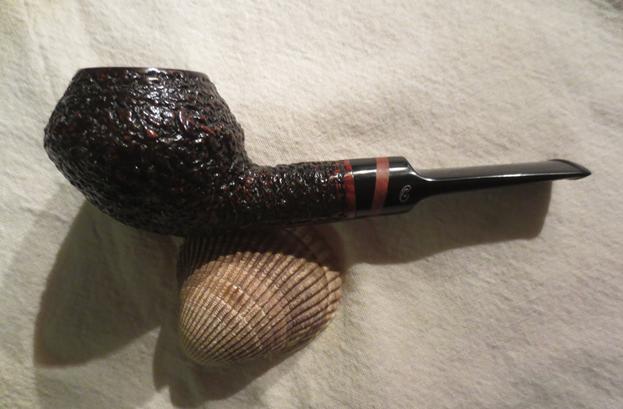
One of my recurrent nightmares in terms of refurbishing pipes is to find a black dress pipe with a perfect finish on the bowl and some kind of damage to the finish at some point on the pipe that ruined the perfectly good pipe. Well that nightmare came to life in the most recent restoration project I took on. My brother sent me a boxed Chacom Noir. It was stamped on the left side of the shank Chacom over Noir. On the underside of the shank it had the shape number 43 stamped next to the sterling silver band stamped with 925 in an oval. He had shown me pictures of it and we decided to leave it alone in terms of clean up until I had in it hand.
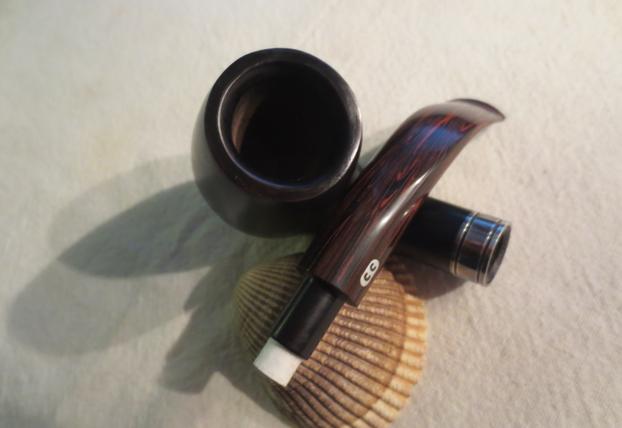
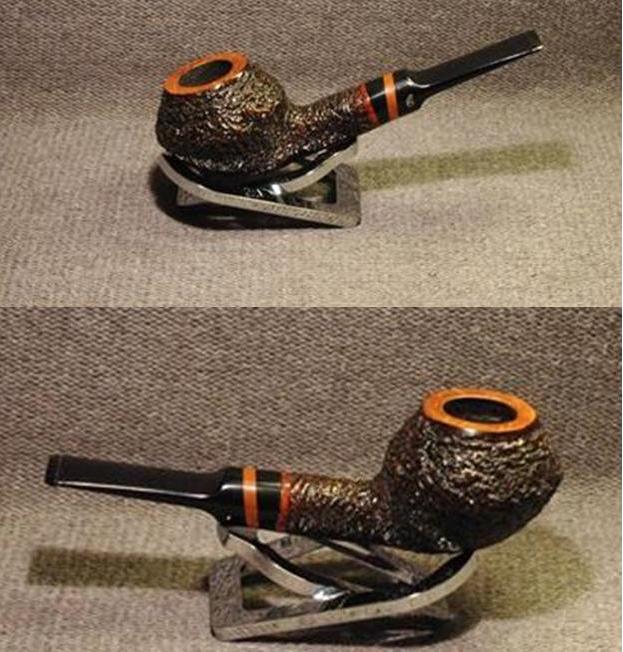
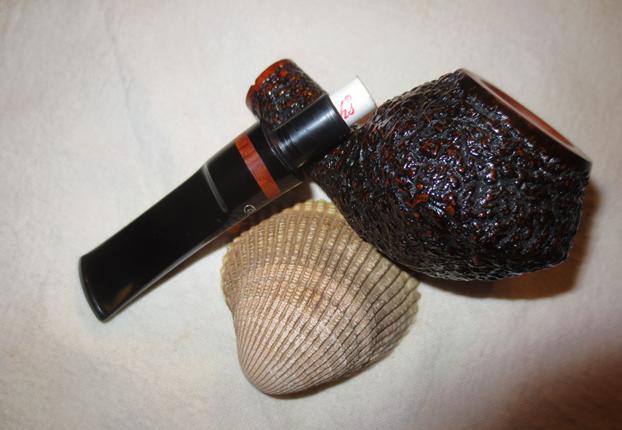
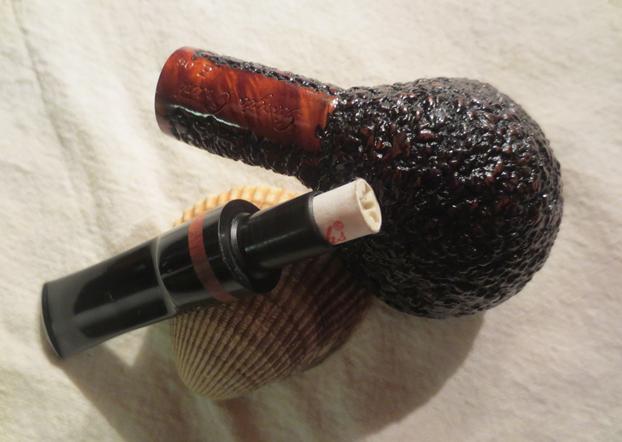
When I opened the Chacom box and saw the pipe sock in the box and the quite stunning Noir pipe nestled in the folds of the cloth I was hoping for the best. I turned it over in my hands and was visibly relieved when I saw the condition of the finish on the bowl. It looked great. There were no scratches or gouges in the finish the nice black bowl was set off perfectly by a sterling silver band that had a bit of oxidation and by the Cumberland stem that was stamped Hand Cut. The stem had no significant tooth marks just a lot of tooth chatter that would be easily cured. This pipe looked like it would be an easy restoration.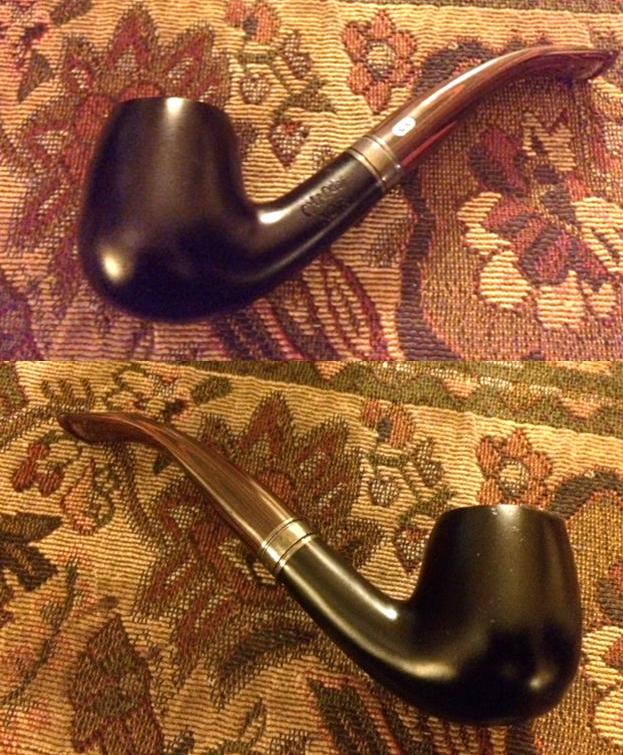
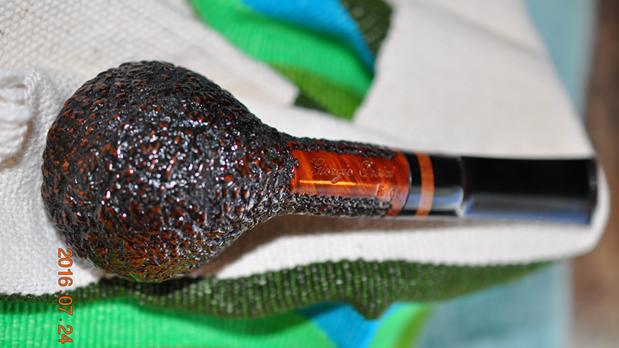
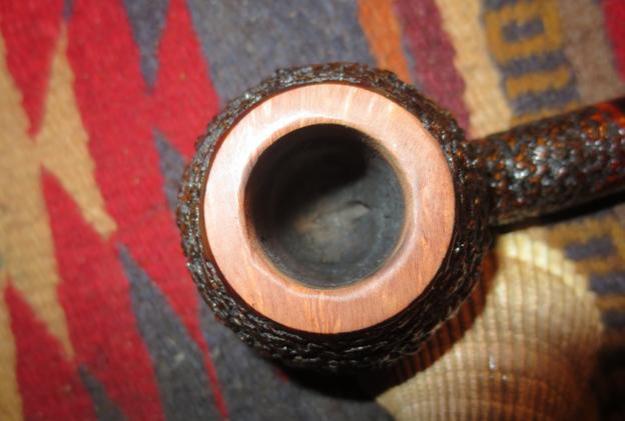
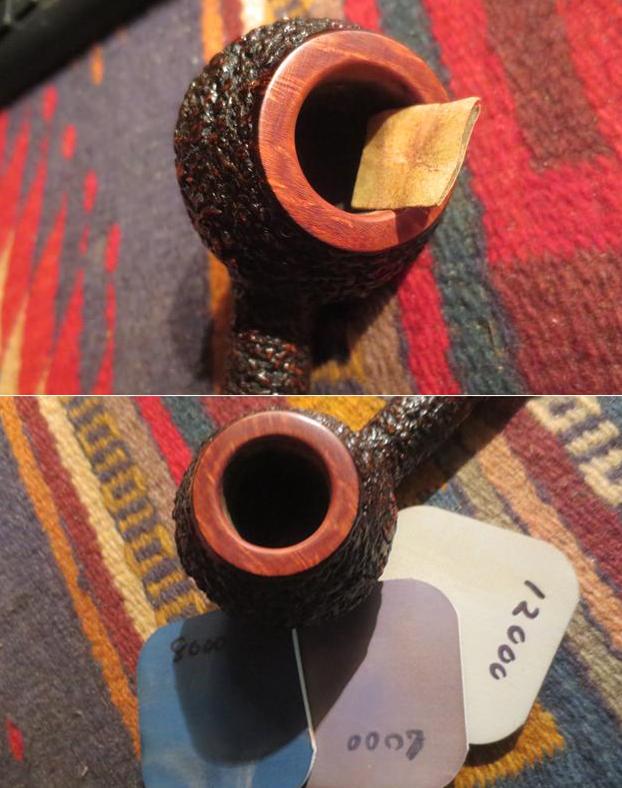
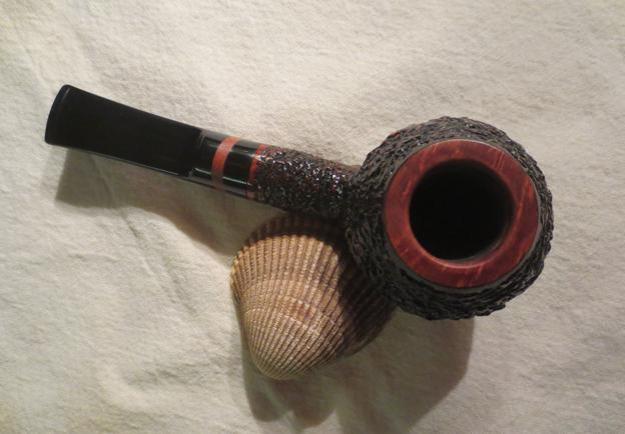
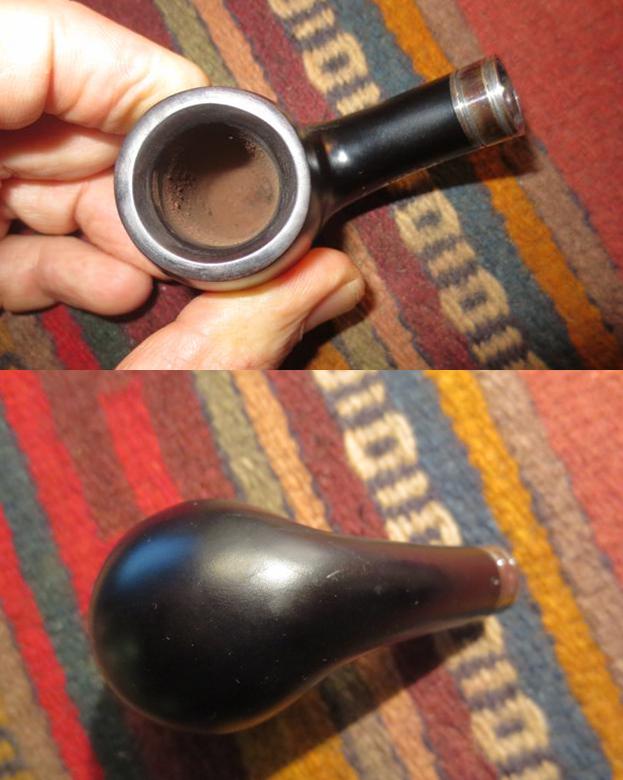
 Those thoughts would come back to haunt me. I examined the rim with a light and my finger tips and immediately saw a big issue. The inside edge of the rim was damaged all along the back side. Repeated lighting had burned the edge and created a burned area in that spot. The wood was charred and missing and there was a significant slope to the rim. That particular area on the rim was thinner than the rest of the bowl. There was also a burn spot on the rim top on the right side of the pipe that was not nearly as bad. Now I had a problem and the work would be a challenge. Could I remove the burned area and still retain the black finish on the bowl? That would be something that I would find out. It was either give it a try or get rid of the pipe. I tend to love the challenge so of course I took this pipe on. The worst case scenario was that it would end up with a smooth stained rim that would contrast with the black bowl. The best case would be that I could make it work. The photo below shows the damaged area on the two spots on the bowl. I have circled them in red to highlight them.
 The stem was oxidized but otherwise fair condition. There was a bit of tooth chatter on the top and underside of the stem at the button as can be seen in the next two photos.
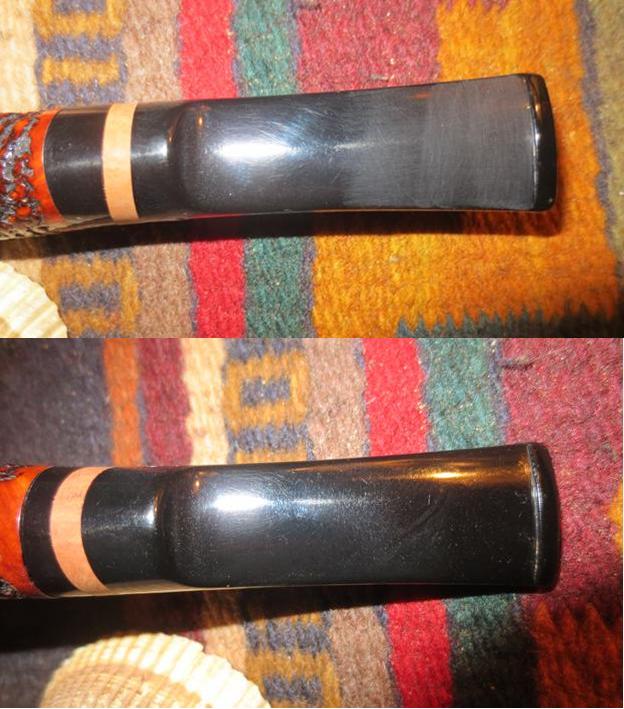
 The stem would be the easiest part of this restoration (besides the polishing of the silver band) so I decided to start there. I removed the stem and dumped out the 9mm filter. I was still thinking about the rim issues and the black finish so I had given no thought to the fact that my brother had cleaned out the internals of the pipe. He had reamed it and cleaned the mortise and shank and he had cleaned out the airway in the stem. I just naturally grabbed some pipe cleaners, cotton swabs and alcohol and recleaned them only to find that other than removing black stain from the mortise the pipe was impeccably clean. Thanks Jeff!
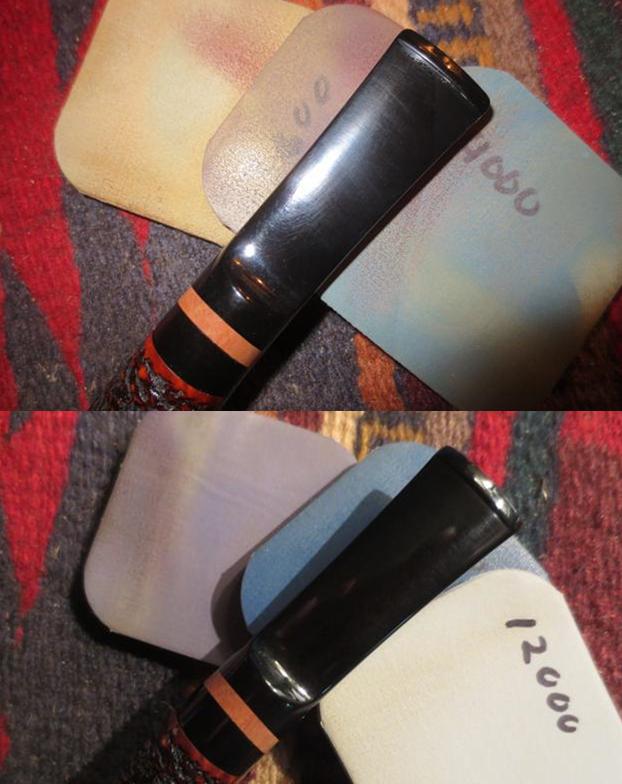
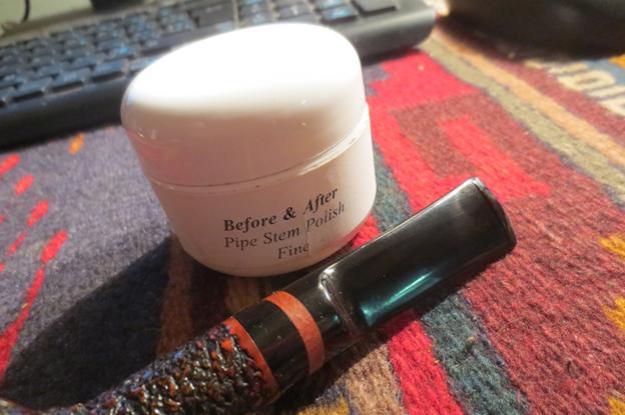
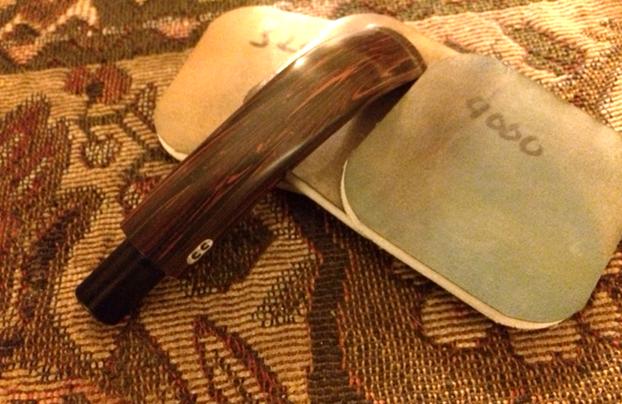
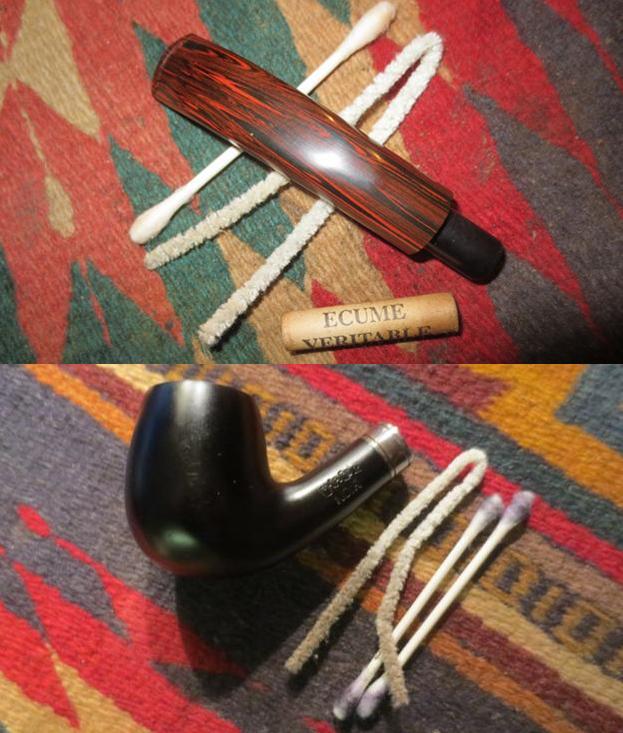 I sanded out the tooth chatter with 220 grit sandpaper until it was smooth and then worked on the stem with micromesh sanding pads. I wet sanded the stem with 1500-2400 grit pads and dry sanded it with 3200-12000 grit pads. After each set of three pads I rubbed the stem down with Obsidian Oil. After the last rubdown with Obsidian Oil I set the stem aside to dry.
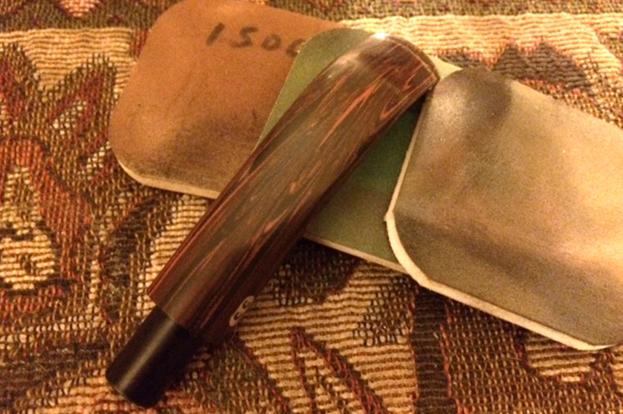
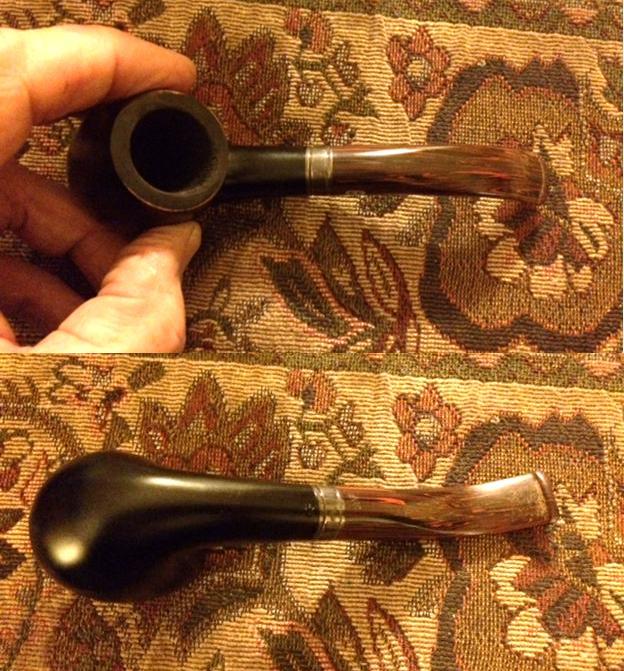
 With the easy work done I spent some time looking at the rim top to decide the best course of action to take. I knew that I could top the bowl but the extent damage to the inner edge of the bowl would mean that I would need to top it pretty radically. I also knew that if I topped the bowl I would expose a raw edge to the black finish at the bowl top. I was not sure if I was dealing with paint or stain but I dreaded sanding back the rim only to have the outer edges of the bowl begin to peel. So I decided to do something a bit different. I worked to bevel the inner edge of the rim to remove the burnt portion and to match the rest of the bowl to that area. It took quite a bit of sanding with 220 grit sandpaper to get the rim edge smoothed out. I sanded it with 1500-1200 grit micromesh sanding pads to polish the newly sanded bevel. Once I was finished the rim looked better. It was still a little thinner at the back of the bowl but overall it was more round looking. I was hoping that a black stain would blend with the rest of the bowl and minimize the look of the rim edge.
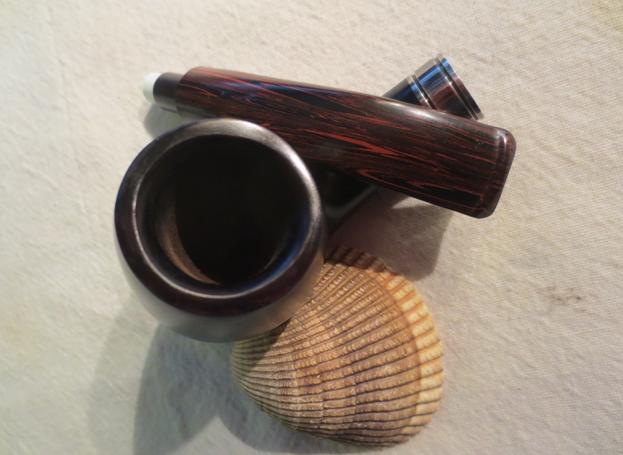
  I still was not certain that a black stain would match the finish on the pipe. It could easily not work and the rim repair would have to be addressed in a different manner. Several possible issues could arise – the stain would be too transparent or it would be a different shade of black. I would not know unless I tried so with a bit of trepidation I stained the rim and bevel with a black aniline stain, let it dry and restained it. I did not flame the stain as I did not want to risk damaging the rest of the finish on the bowl. The photo below shows the rim after several coats of black stain have dried. After this I gave it several more coats of black stain to get a match.
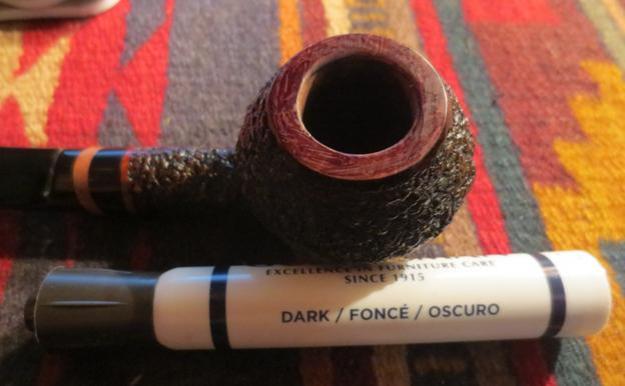
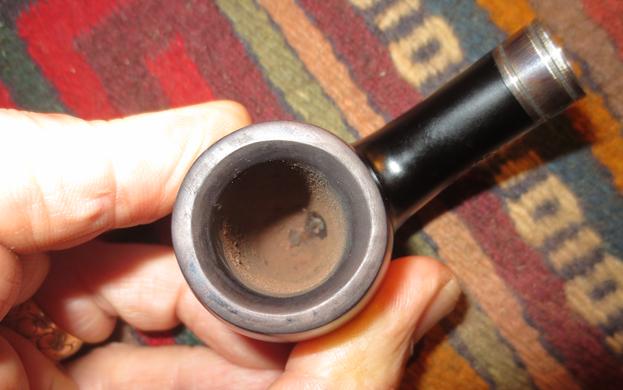 I cleaned the sterling silver band with a jeweler’s cloth until the silver shone. This cloth easily removes most light oxidation without much effort. They are available at jewelry shops for a minimum cost. I have had mine for about 10 years and it works well.
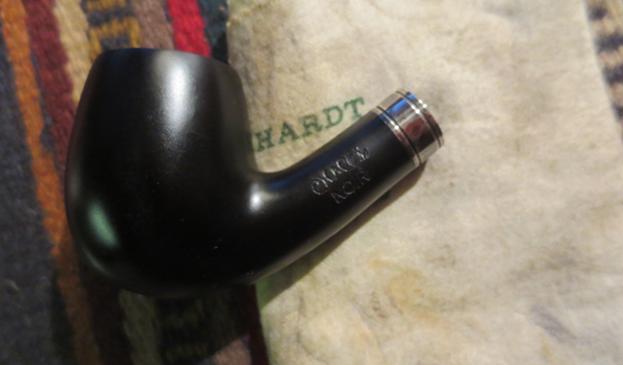 I gave the bowl and rim several coats of Conservator’s Wax and hand buffed it with a microfibre cloth. I did not want to risk removing some of the finish from the bowl by buffing it on the wheel. I was relieved to see that the rim colour blended in very well after waxing and buffing. I would still need to clean out the debris in the bowl but the pipe was beginning to look better than when I started.
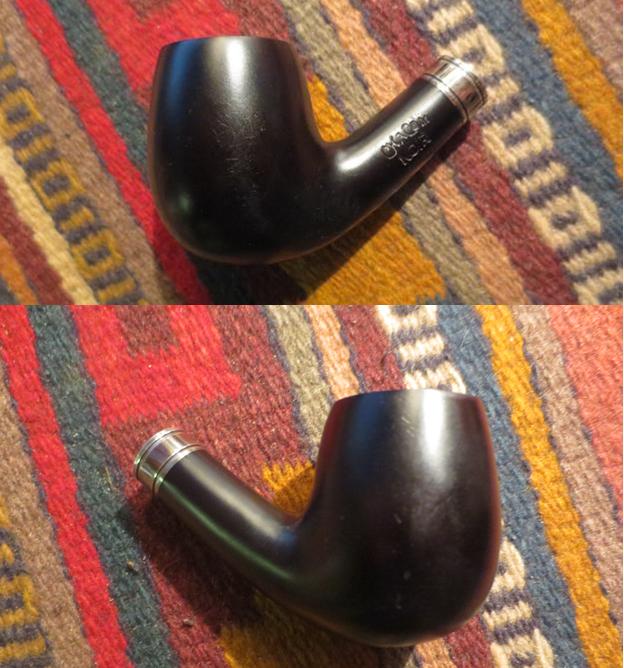
 I decided to use a black Sharpie pen to add some depth to the colour on the rim of the pipe. I wiped down the rim to remove the wax then used the Sharpie to give it a top coat. The black pen and the stain together made a better blend to the rim. I gave it another coat of Conservator’s Wax and hand buffed the rim.
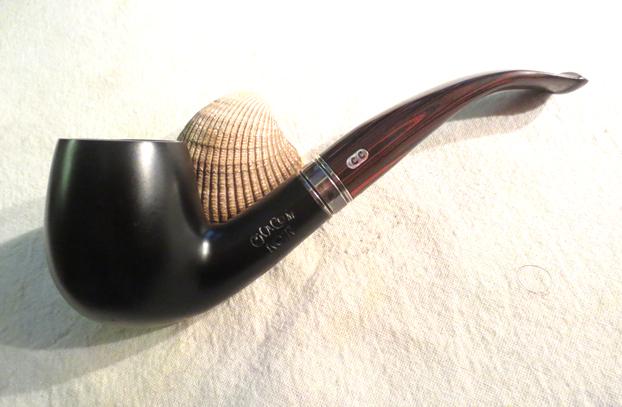
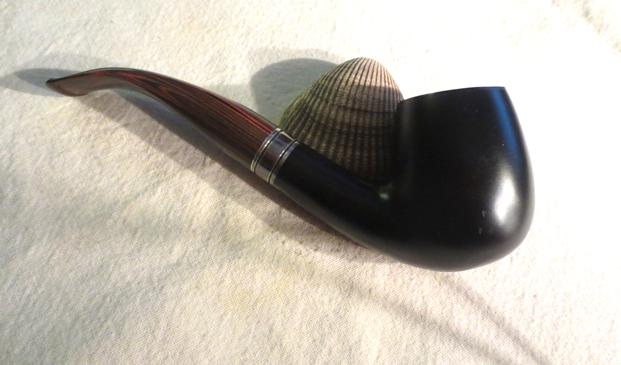
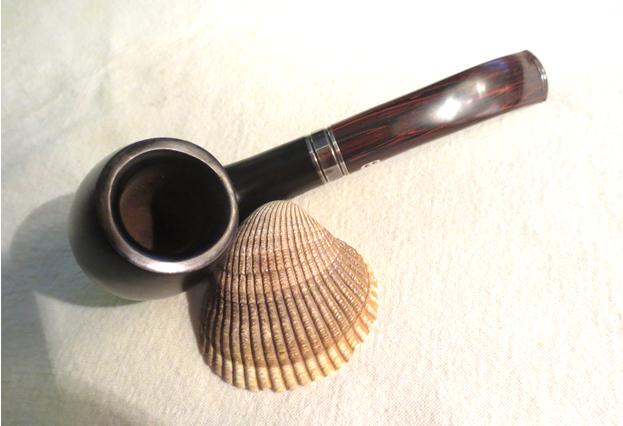
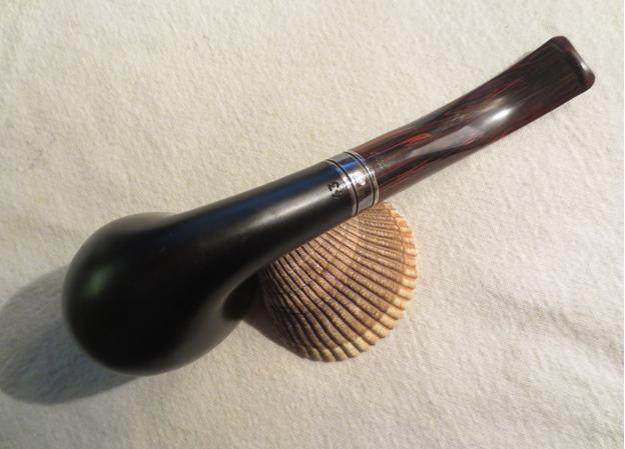
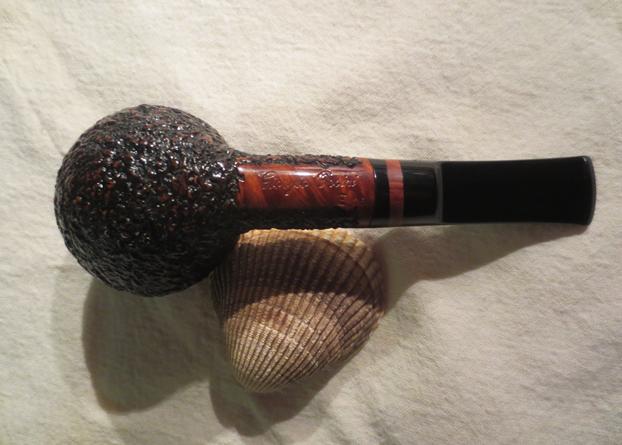
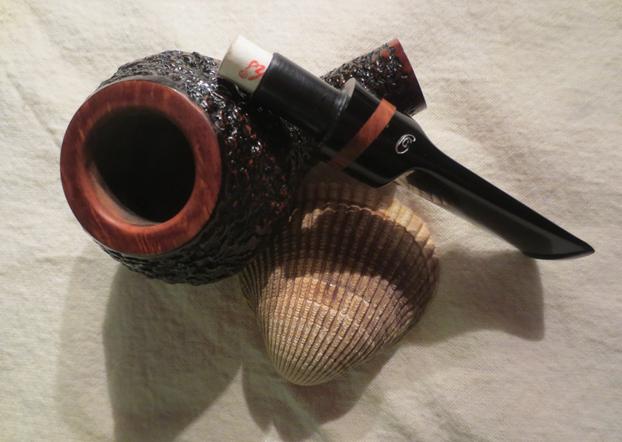
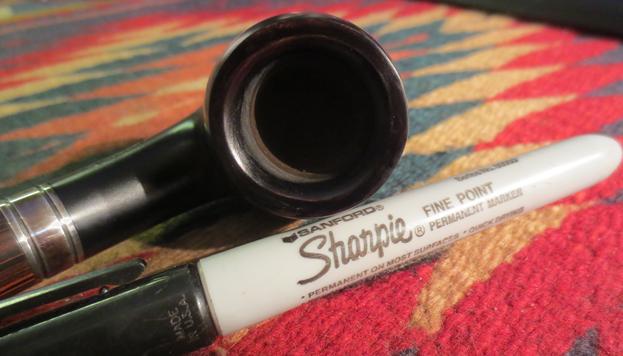 I gave the bowl and stem multiple coats of Conservator’s Wax and hand buffed the pipe with a microfibre cloth. While the rim is not perfect the colour matches perfectly and the shine on it matches the finish on the bowl. The finished pipe is shown in the photos below. I am pleased with the finished pipe and the results of the experiment. This pipe will also find its way to the rebornpipes store soon. It comes with a Chacom box and pipe sock. There is a lot of life left in this beautiful pipe. The contrast of the Cumberland stem, the silver band and the matte black finish on the pipe works really well together. Email me if you are interested in the pipe before it goes on the store. My email is slaug@uniserve.com.
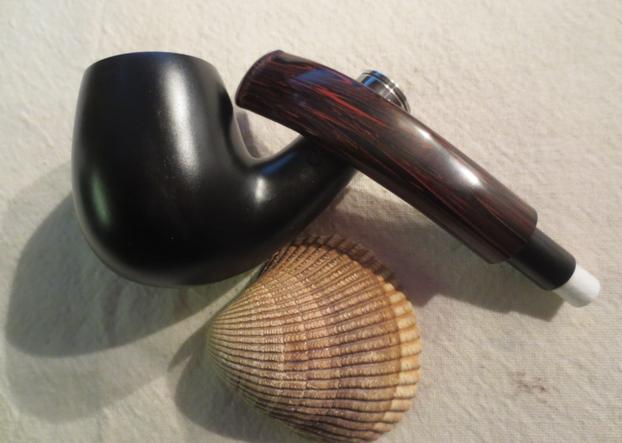
Thanks for looking.