Blog by Steve Laug
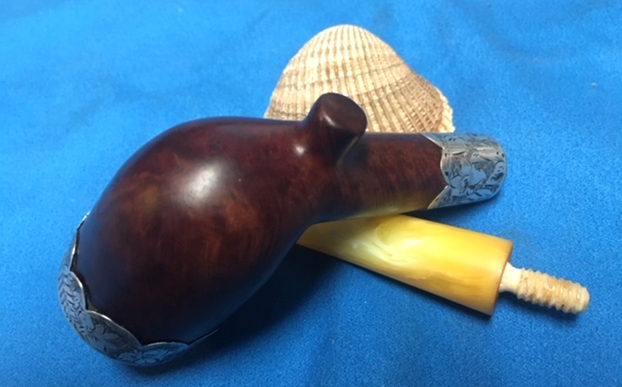
Over the past months in preparation for our trip to visit Paresh and his family in Pune, India we talked about what pipes we would work on while visiting. We had the notion that it would be the first ‘International’ gathering of Pipe Restorers. After all Dal Stanton was coming from Bulgaria, Jeff from US, Paresh and Abha and family from India and I was coming from Canada. It was going to be a grand time of restoring and sharing our tips and processes. I brought along a potential stem for either a meerschaum that Paresh had inherited from his Grandfather or from an early Ben Wade Fancy cutty. In the course of our time there Paresh and I looked over the stem I brought with me and tried it on the meerschaum and the Ben Wade. We chose not to use the stem on the meerschaum and it was too large in diameter for the Ben Wade. We decided that I would bring it home and see what I had in my can of stems.
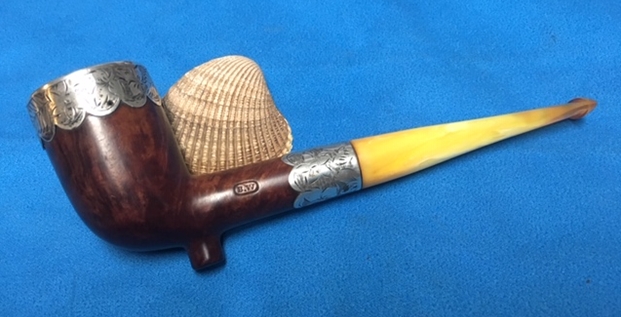
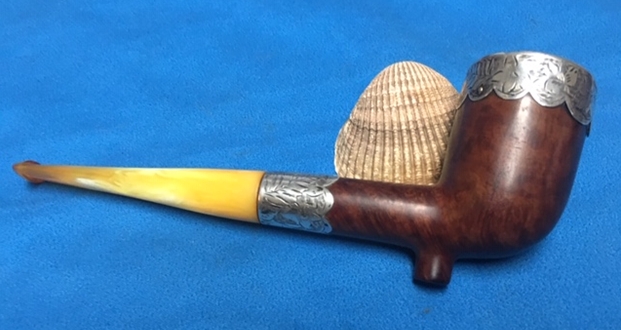
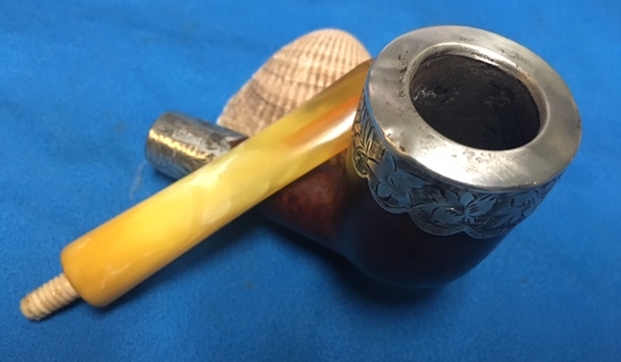
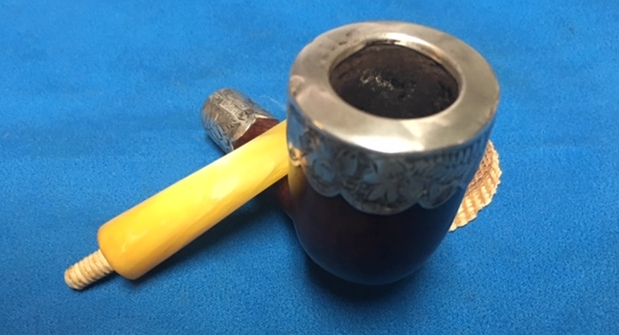
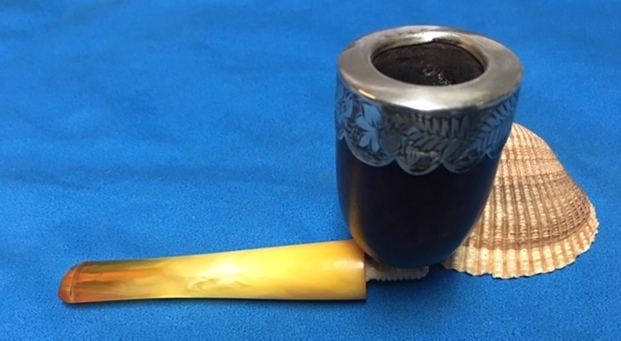
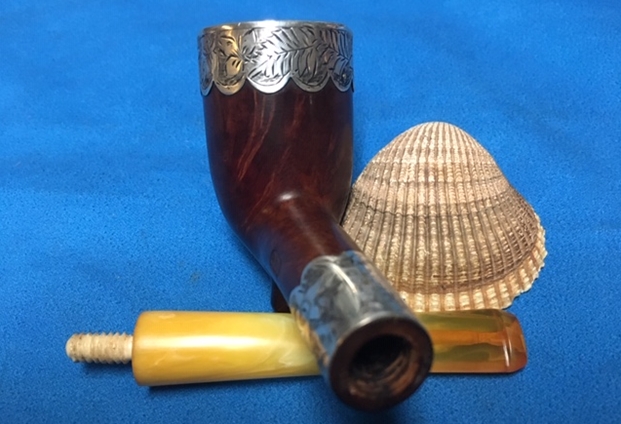
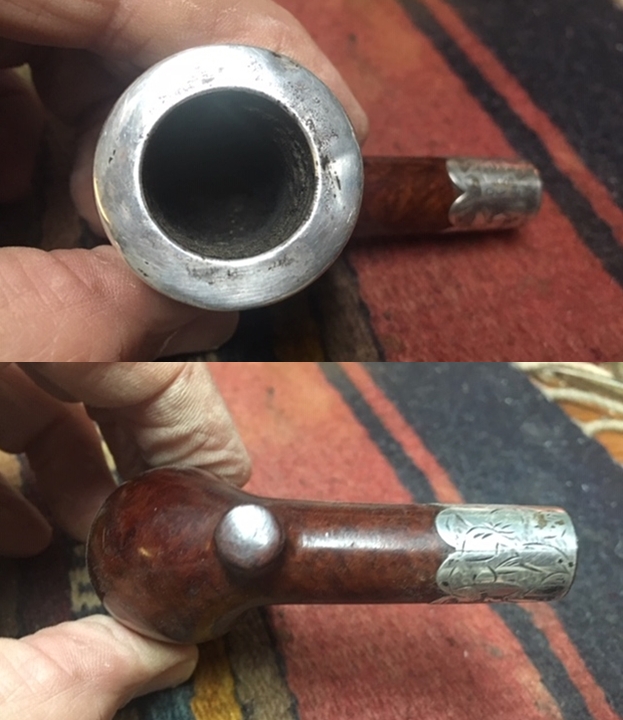
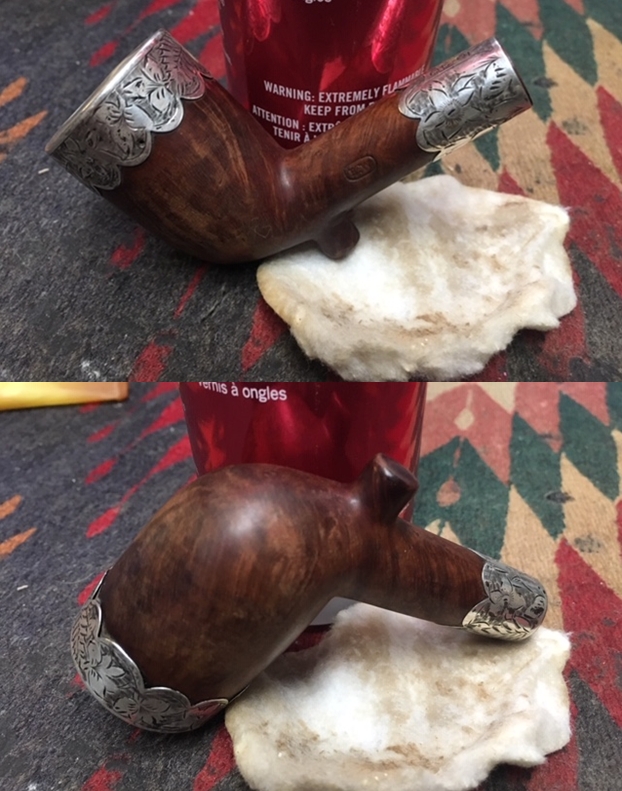
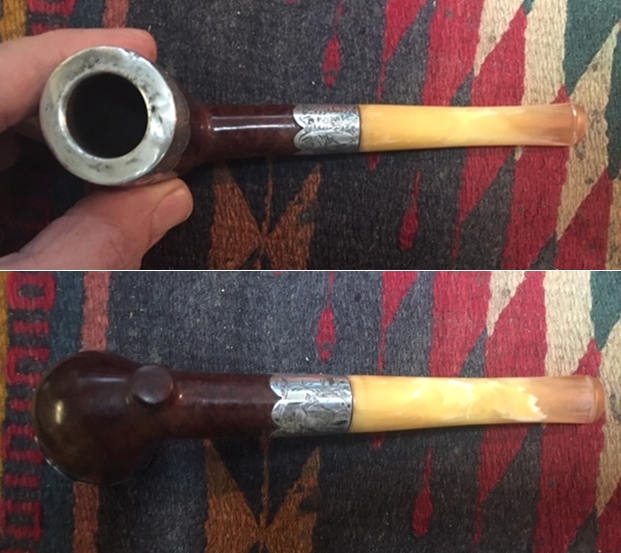
I took photos of the bowl prior to my cleanup and restemming. The pipe came to me with a bone tenon in the mortise. In the process of cleaning the pipe and working to remove the tenon it cracked off in the shank leaving a broken tenon stuck in the shank. Since it was a threaded tenon removing it would be a matter of drilling out the broken portion of the tenon. Other than that the briar was dirty and the varnish finish was spotty. The silver leaves around the rim top and shank end were also tarnished and dirty. There were some dents in the rim top. The shank would have to wait for checking until I removed the broken tenon.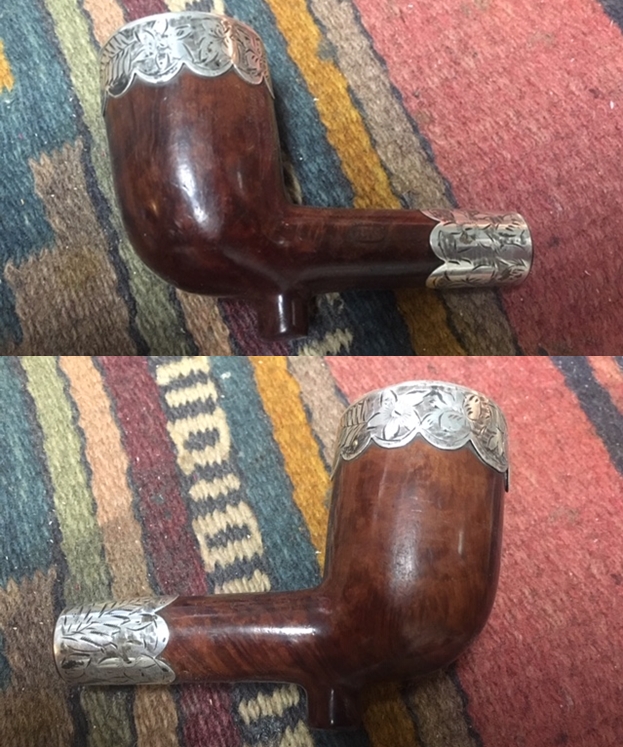
 The silver shank cap had a series of hallmarks on the top left of the cap. There were three running from the left of the photo to the end of the shank on the right. The first hallmark is a passant lion in a cartouche which signifies that the band is silver and that it was crafted by a British silversmith. The second hallmark was a shield shaped cartouche with three towers in it – two on the wider part of the shield and one below toward the point. This hallmark identifies the city in England where the silver was crafted – in this case Newcastle. The third hallmark was a square cartouche with the capital letter “M” in the box. The “M” is a date letter that will give me the year of the making of the pipe.
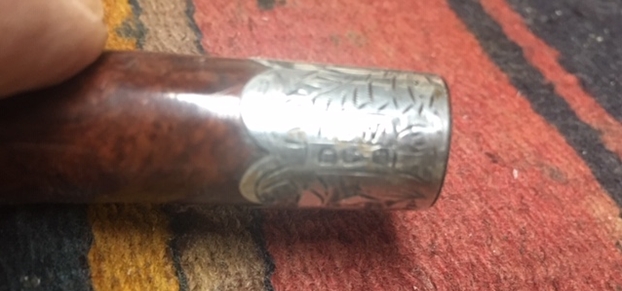 I turned to a website that I use for dating English silver hallmarks. It is a British Hallmark site that gives the information necessary to interpret the hallmarks on silver items made in Britain (https://www.925-1000.com/dlNewcastle.html). On a chart from silver made in Newcastle from 1702-1884 I found what I was looking for. I have included the chart below with the date letter circled in red.
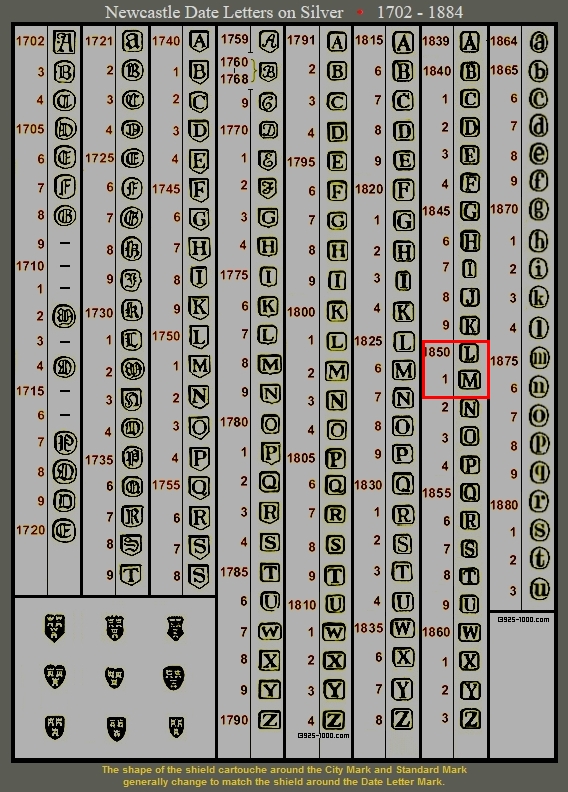 Armed with that information, it was time to start working on the pipe itself. I started by reaming the bowl with a PipNet pipe reamer using the first two cutting heads to take the cake back bare briar. I followed that by cleaning up the reaming with a Savinelli Fitsall Pipe Knife. I sanded the walls of the bowl with a piece of dowel wrapped with 220 grit sandpaper. I sanded the inner edge of the rim with a folded piece of worn 220 grit sandpaper to clean off the silver edge of the cap folded into the bowl. I wanted the walls bare of cake so that I could check the walls for heat fissures or cracking.
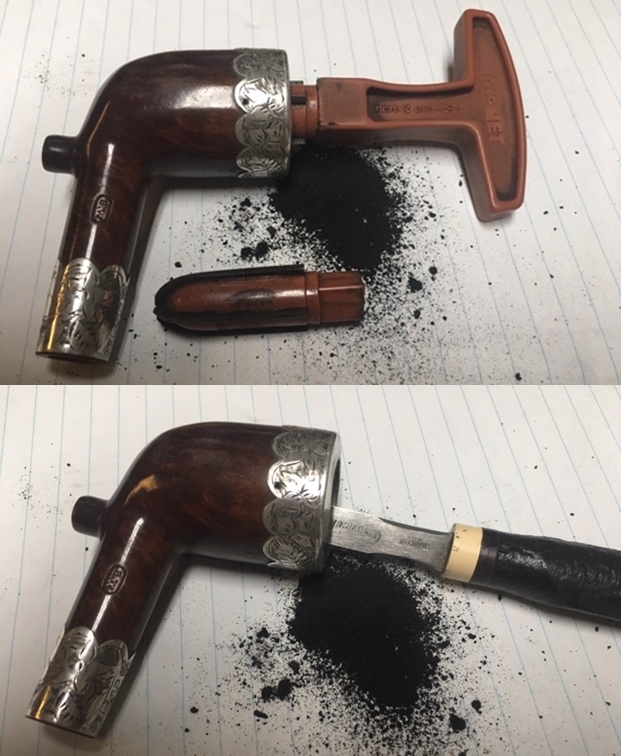
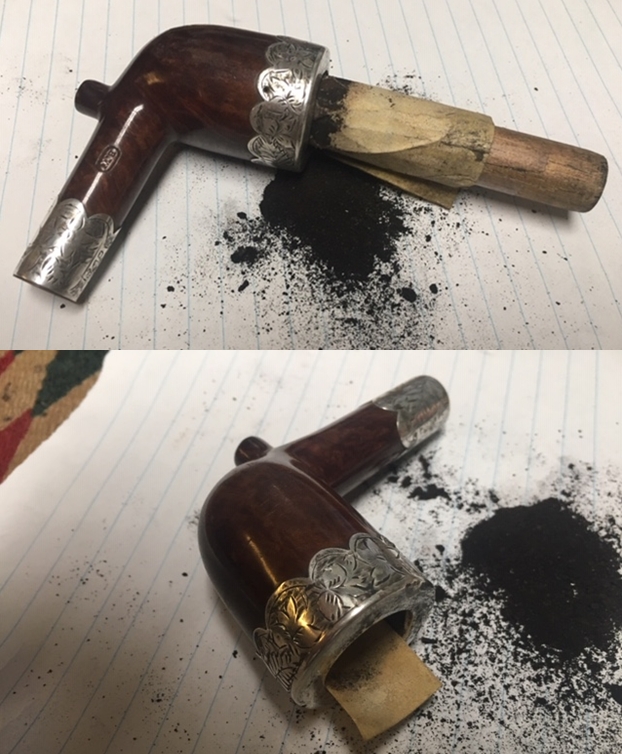 I cleaned out the inside of the shank and mortise with pipe cleaners, cotton swabs and alcohol until the swabs came out clean. I was quite surprised that the pipe was as clean as it was given its age and the condition of the cake in the bowl.
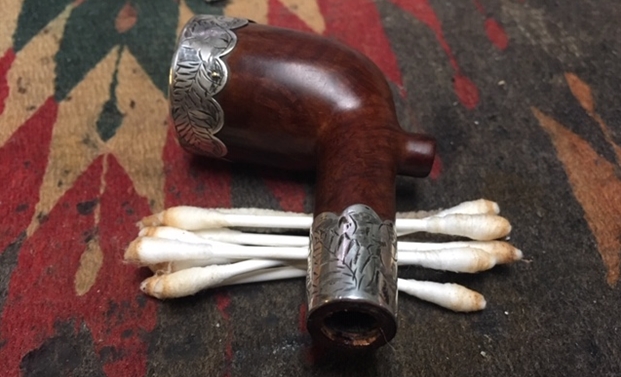 I wiped down the bowl with acetone on cotton pads to clean off the varnish on the outside of the bowl. I scrubbed it until the finish was natural briar and the grain began to come to the surface of the bowl.
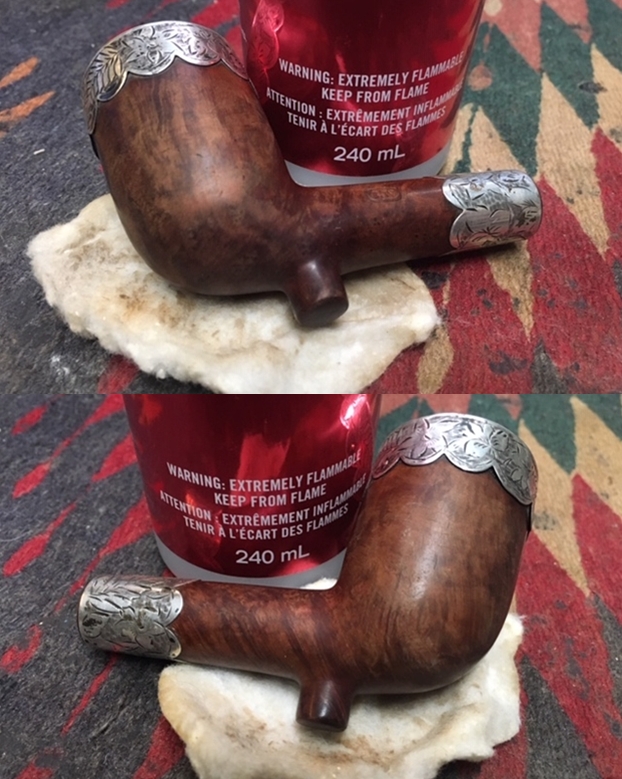
 I cleaned the tarnish on the silver rim top cap and the shank end cap with a tarnish remover and silver polish. I removed darkening in the carved leaves and flowers on the silver. I scrubbed the silver with a cotton pad to remove the tarnish.
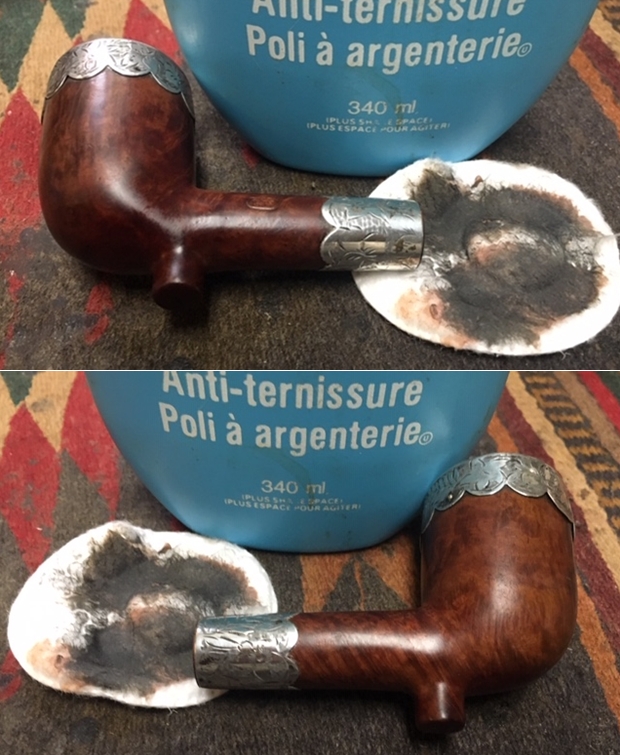
 I worked some Before & After Restoration Balm into finish of the briar with my fingertips to clean, enliven and protect it. I let the balm sit for a little while and then buffed with a cotton cloth to raise the shine. The Restoration Balm really makes the grain stands out beautifully.
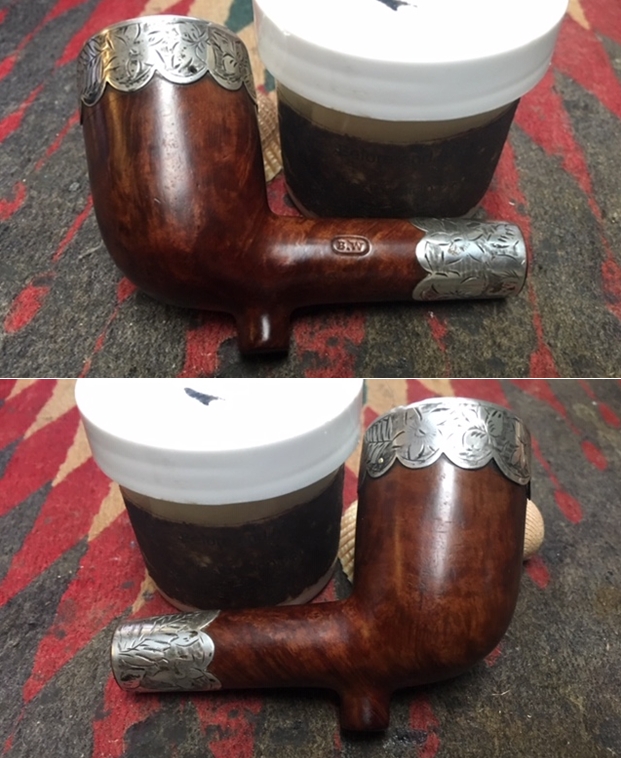
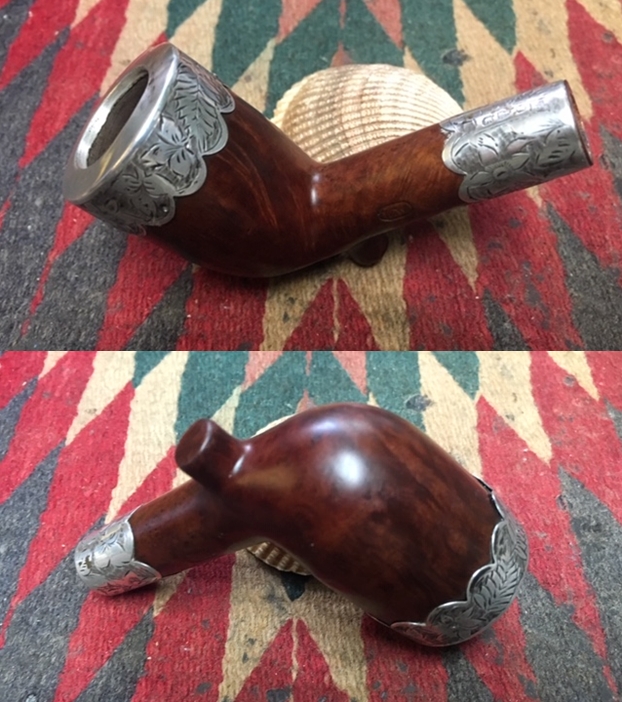
 I buffed the bowl with a microfiber cloth to raise a shine on the bowl and the silver. I took photos of the pipe bowl as it stood at this point in the restoration process. It is a beautiful pipe with an elegance that speaks of the years in which it was manufactured.
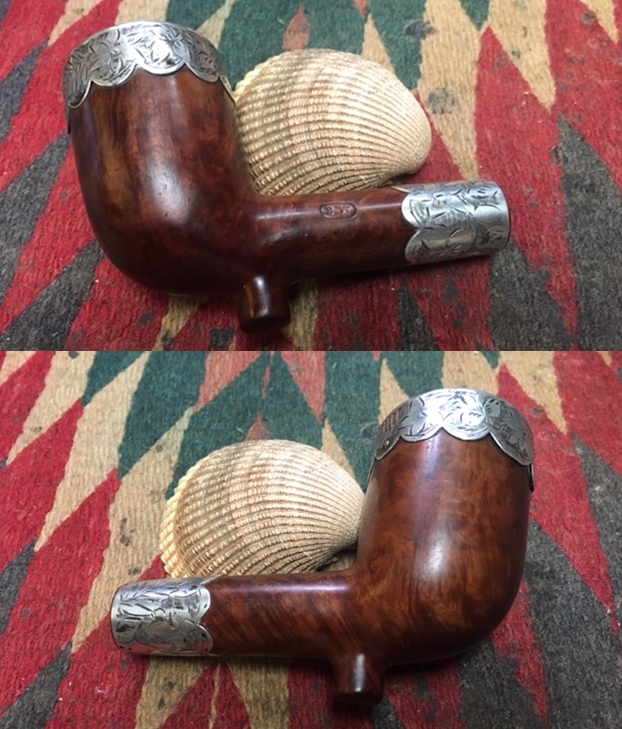
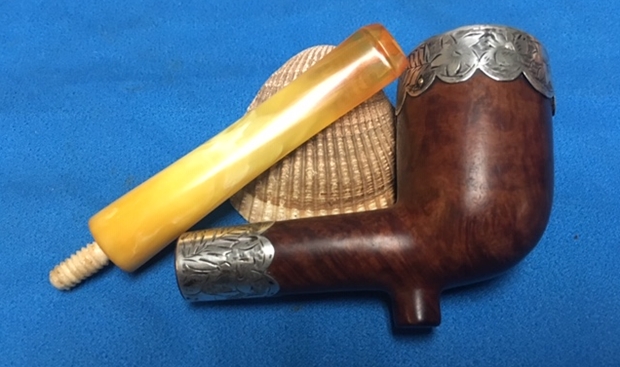
 I set the stem aside and worked on the stem that I had chosen for a replacement. The amber colour and the flow of the colour in the stem make it a great candidate for an amber look alike replacement stem. Once the airway was drilled the diameter of the replacement tenon I used a tap to cut new threads in the airway of the stem to receive new tenon. I threaded the new tenon into the tapped airway in the stem and took photos at this point in the process.
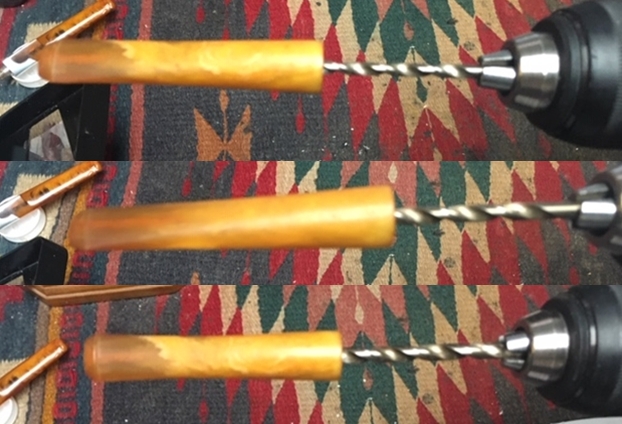
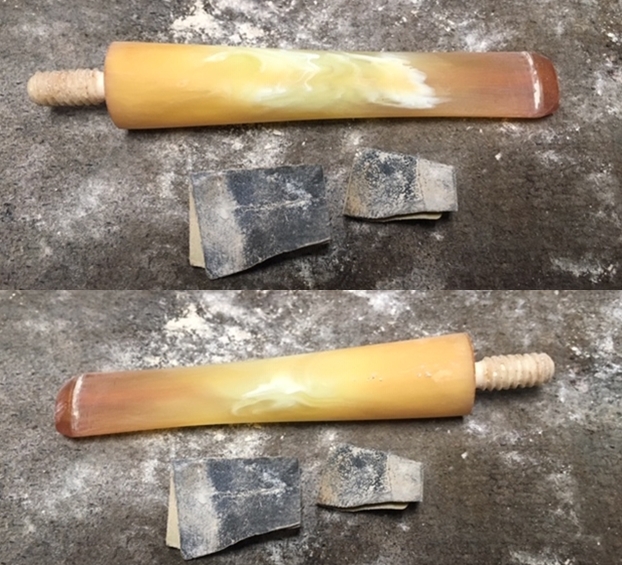
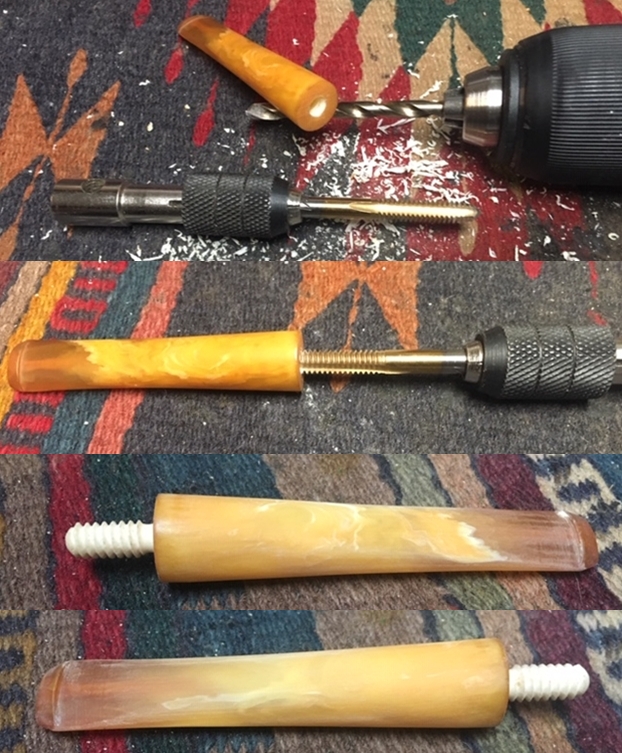 I glued the tenon in the stem with clear super glue and let the glue set. Once it had cured I sanded the stem surface with 220 grit sandpaper to smooth out the new stem. I followed that by sanding the stem with 400 grit sandpaper to smooth out the scratches in the surface of the stem.
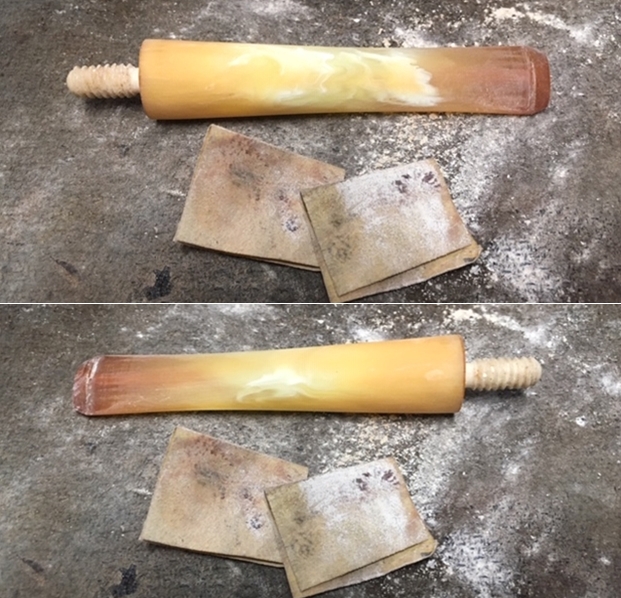
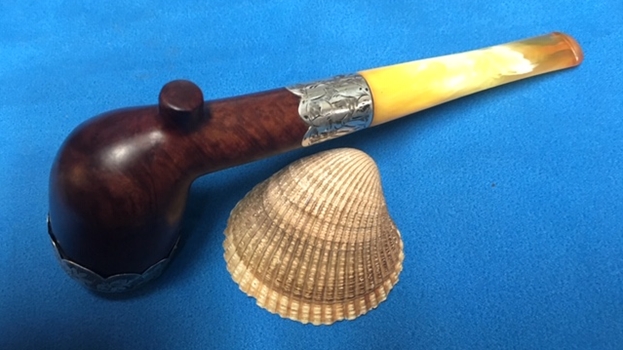
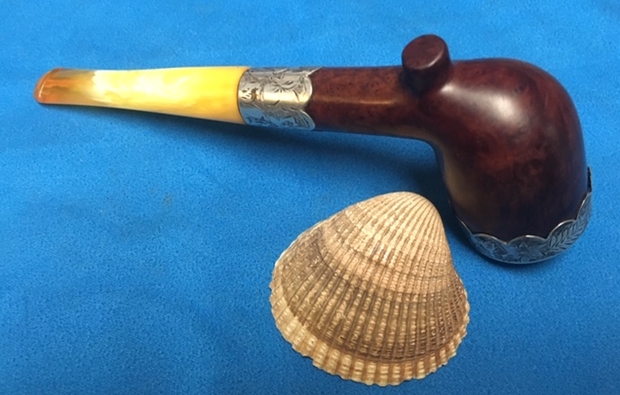
 I turned the stem onto the shank to get a feel for what the pipe would look like when it was completed. The following photos show the look of the finished pipe. I still need to polish the stem with micromesh sanding pads and buff it to raise the shine. But I like the way the pipe is beginning to look.
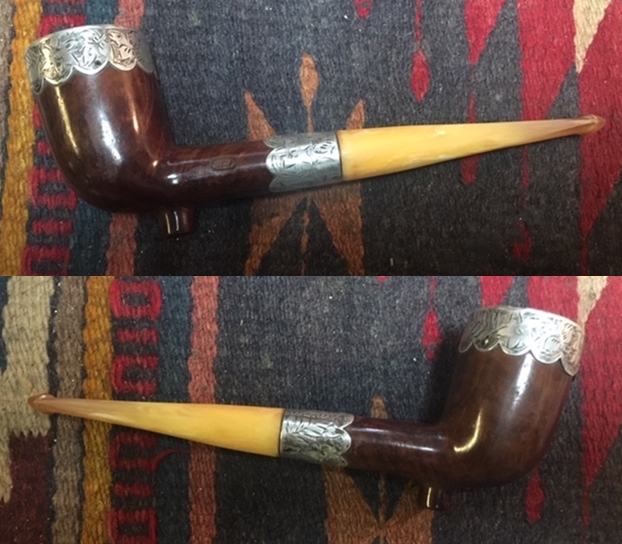
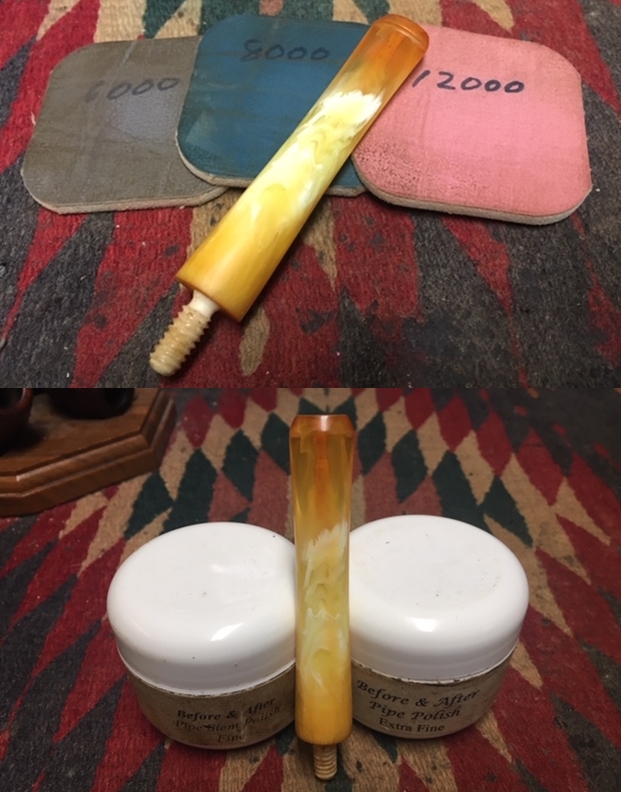
 I polished the stem with micromesh sanding pads – wetsanding it with 1500-2400 grit pads and dry sanding it with 3200-12000 grit pads. I wiped the stem down with Obsidian Oil after each pad. I polished it with Before & After Pipe Polish – both Fine and Extra Fine and gave it a final coat and set it aside to dry.
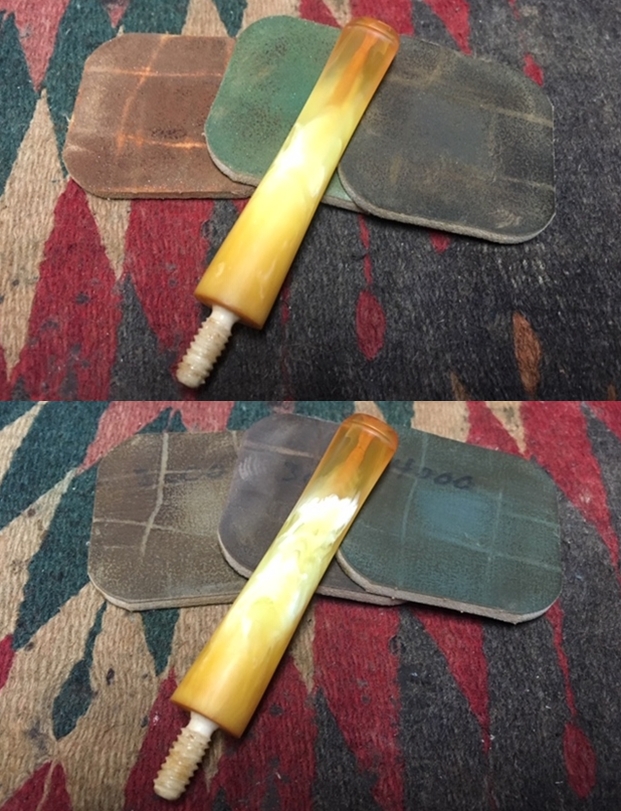
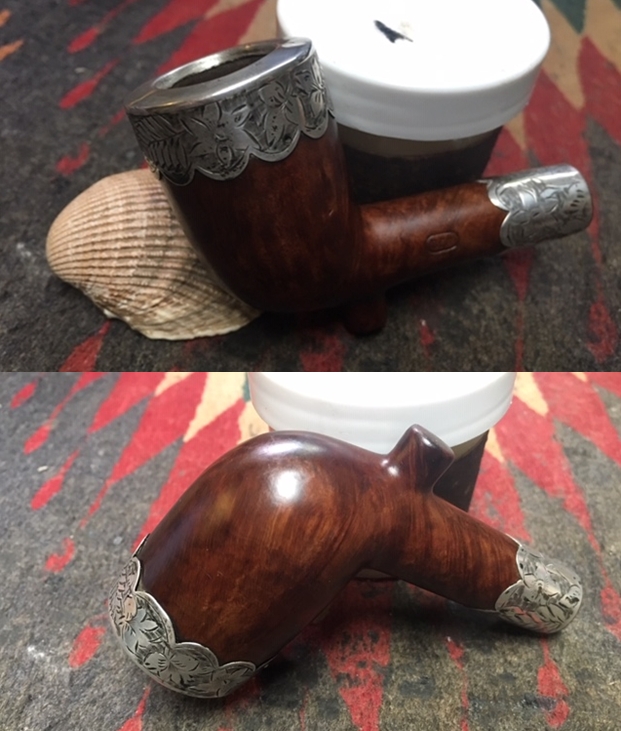
 I carefully buffed the pipe bowl with Blue Diamond polish on the buffing wheel. I lightly buffed the stem with Blue Diamond to raise a shine. I gave the bowl and stem multiple coats of carnauba wax and buffed it with a clean buffing wheel to raise the shine. I polished the silver rim top cap and the band with a jeweler’s cloth once more, then hand buffed the entire pipe with a microfiber cloth to deepen the shine. This 168+ year old restemmed and restored Ben Wade Cutty is really a beautiful pipe. The grain really stands out with a combination of birdseye, cross grain and swirls surrounding the bowl give it a rich look. The rich contrasting brown stains makes the grain stand out against the silver adornments. It is a proportionally well carved pipe. The polished black acrylic stem had a rich glow. The finished pipe is a beautiful straight Cutty that feels good in the hand and the mouth. Have a look at it with the photos below. The dimensions are Length: 6 inches, Height: 2 inches, Outside diameter of the bowl: 1 1/4 inches, Chamber diameter: ¾ of an inch. This pipe will be going back to Paresh in Pune, India very soon. I am excited to hear what he thinks of this beauty. Thanks for walking through the restoration and restemming with me as it was a pleasure to work on.