Blog by Steve Laug

Courtesy Doug Valitchka on Pipedia
My brother found this beautifully grained Bjarne Hand Made Churchwarden pipe on EBay listed by a seller in Kentucky. The seller said that the pipe looked as if it was unsmoked. Those of you who buy pipes on EBay have heard that before only to find that you bought a dog of a pipe that was smoked to death. But this one actually looked good and even if it was smoked it was worth a risk.
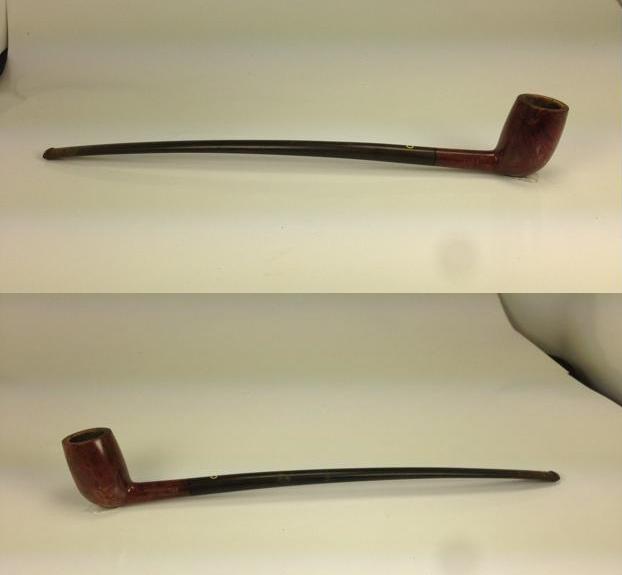
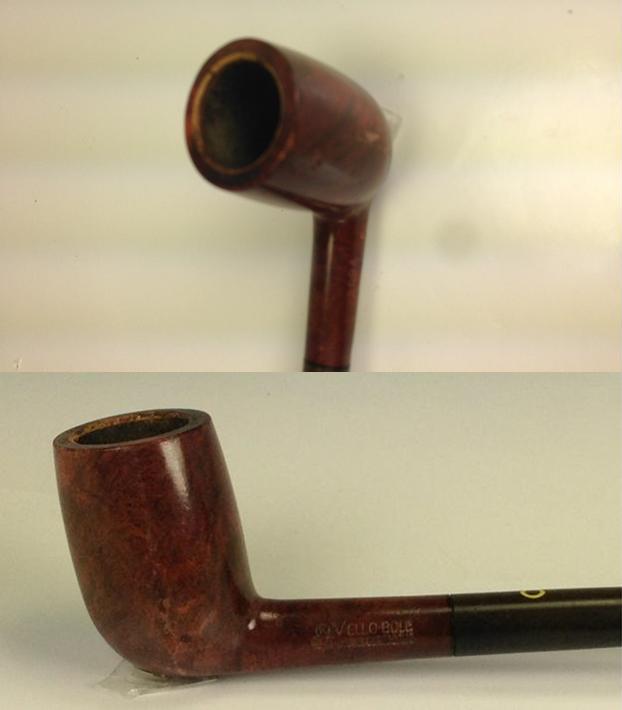
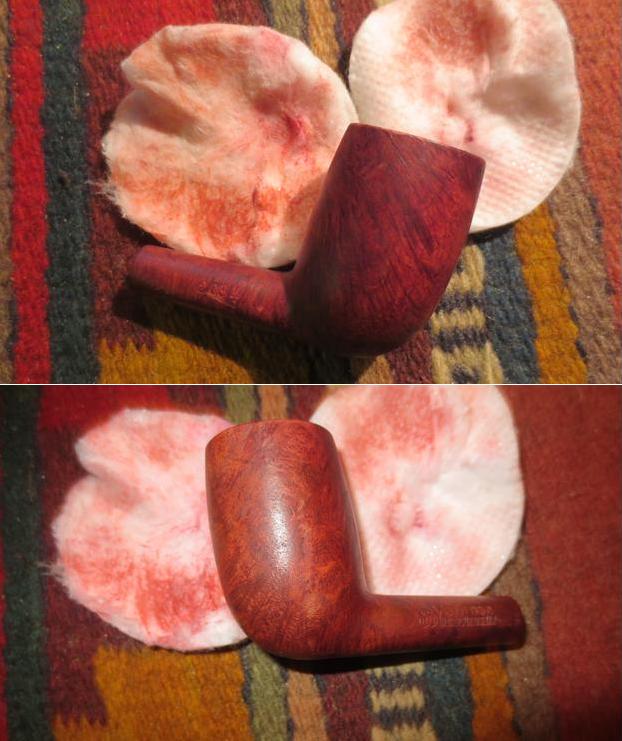
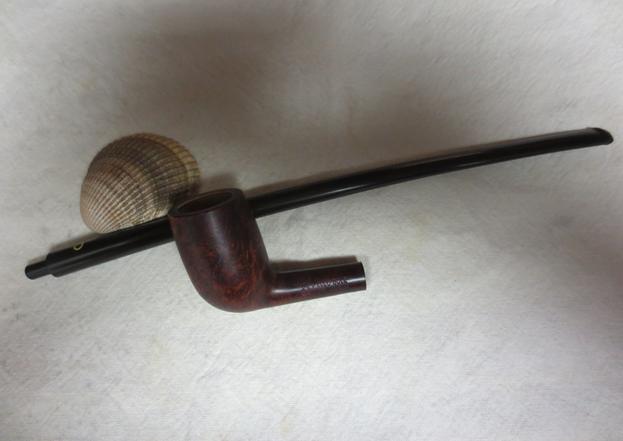
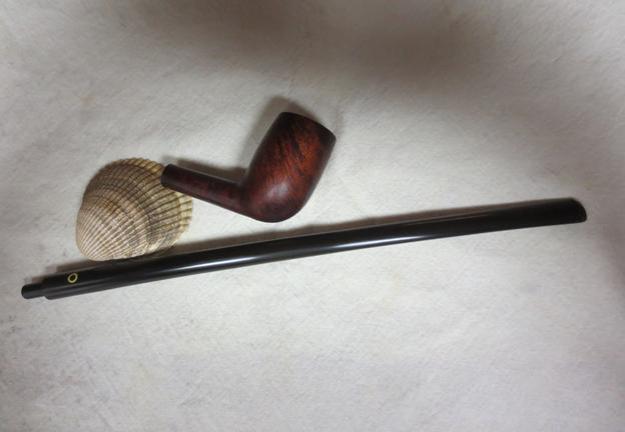
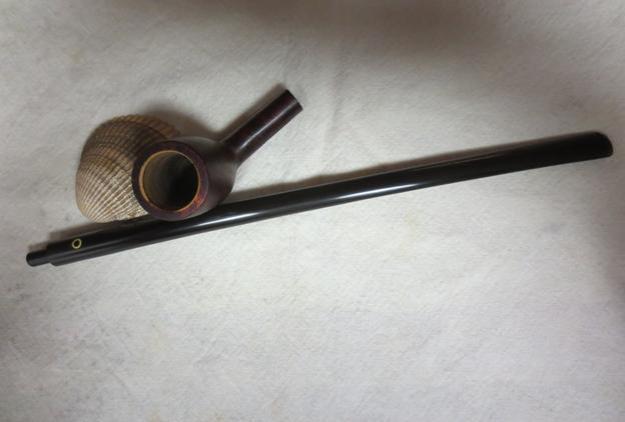
The pipe is a six sided sitter with the long churchwarden stem. The top is rusticated while the panels are all smooth. The flat bottom of the bowl is also smooth. The shank is almost pencil like, thin and round with a slight taper back to the stem. The grain on the smooth sides was beautiful and a mix of straight and birdseye. The grain on the shank was birdseye and was amazing. The stain colour was perfect for the highlighting the grain. The rim was rusticated with divots but had been smoothed out slightly to give it a soft rusticated look. It was stained black and really contrasted with the smooth grain on the rest of the bowl. It is stamped on the underside of the shank next to the stem/shank junction. It reads Bjarne over Handmade Denmark over 15. The 15 is a shape number.
The finish is in perfect condition – no dents or nicks. The bowl was polished to a shine when my brother received it. The black rim top was in excellent condition. The bowl had a bowl coating that was put in to protect the pipe through the break-in period. It was indeed unsmoked! The seller had been correct contrary to many of my previous experiences on EBay. The stem was oxidized all the way around. It seemed like the right side and underside were less oxidized than the left which led me to conclude that the pipe had been kept on a display board and the light of the display and perhaps a window had led to the oxidation. I could not wait to receive it and clean up the oxidized stem.
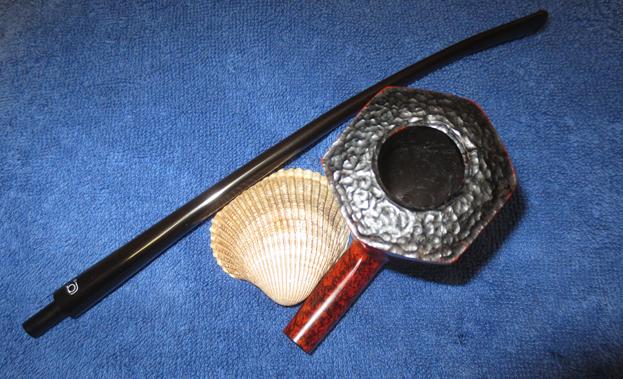
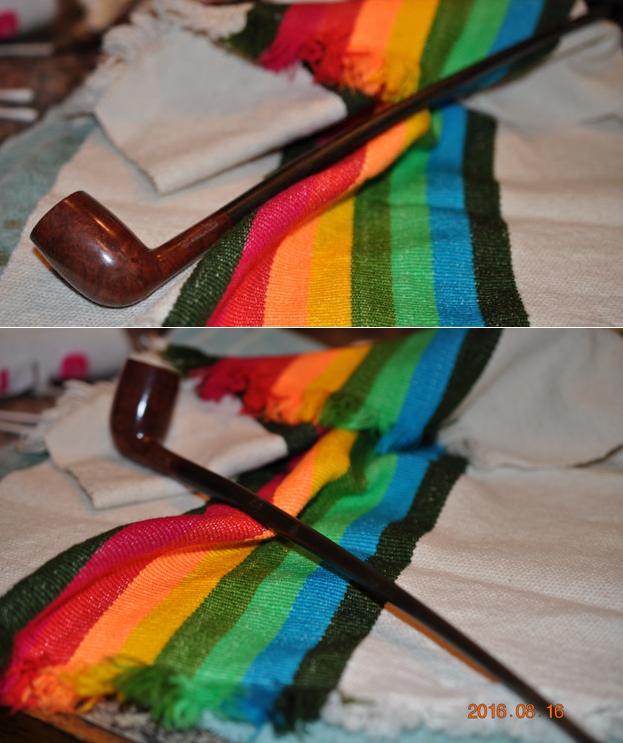
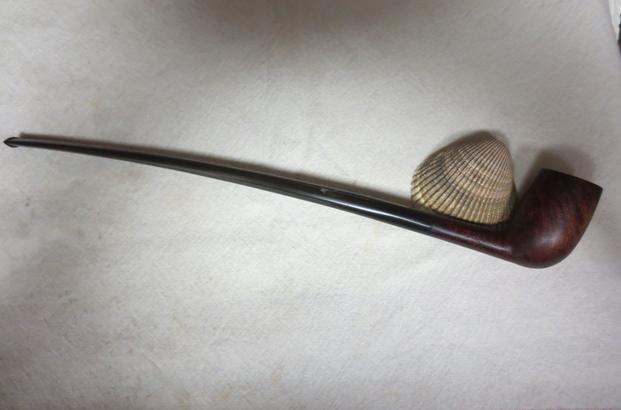
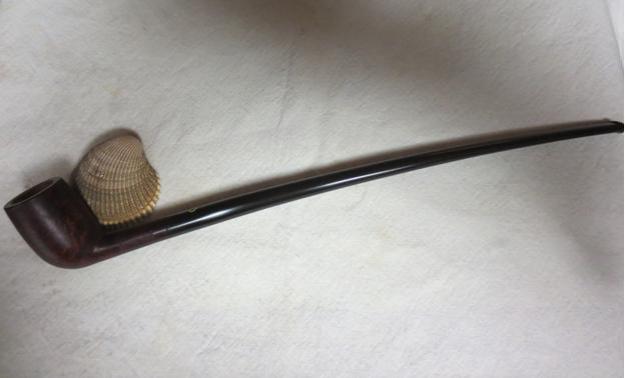
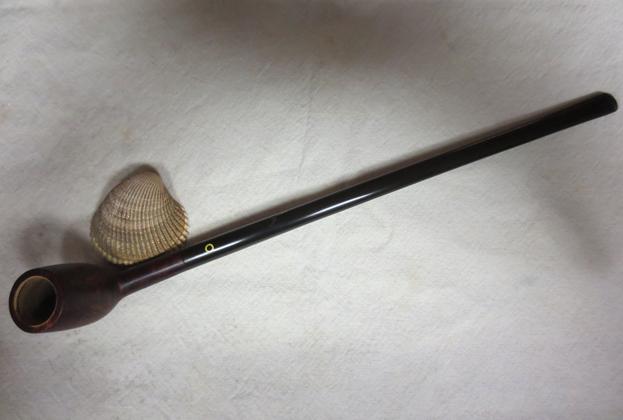
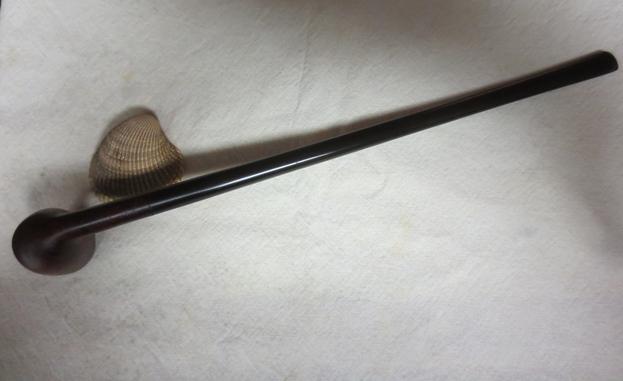
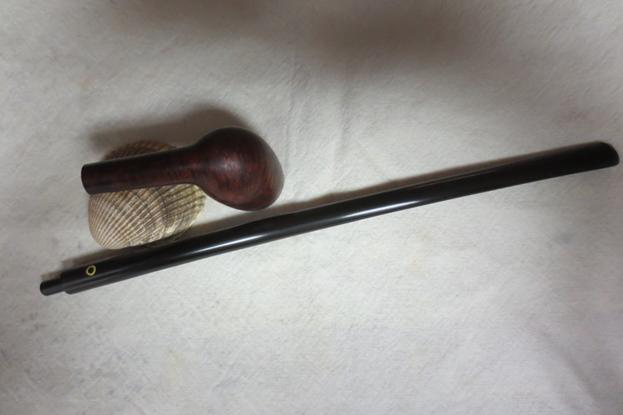
I took a trip to Idaho to meet with my brothers and our aging parents to talk through some decisions that we had to make. In the process I loaded a suitcase with the pipes that my brother had purchased for us. This Bjarne was one of those pipes. It came with its own black leather pipe bag with a draw string top. I took the following photos of the pipe displayed on its leather bag to show the condition of the stem when I brought it to my worktable.
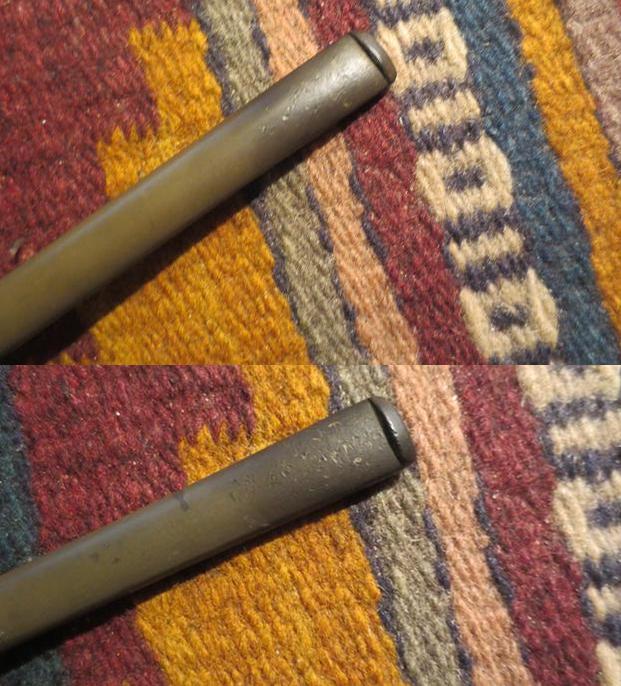
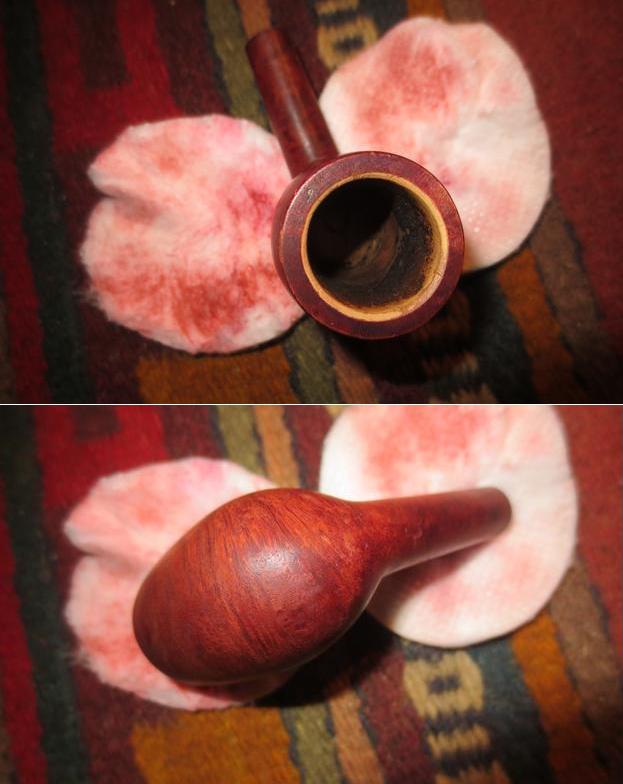
 I took this close up photo of the rustication on the rim top. I really like the look of the way Bjarne did the rustication and gave it an interesting texture.
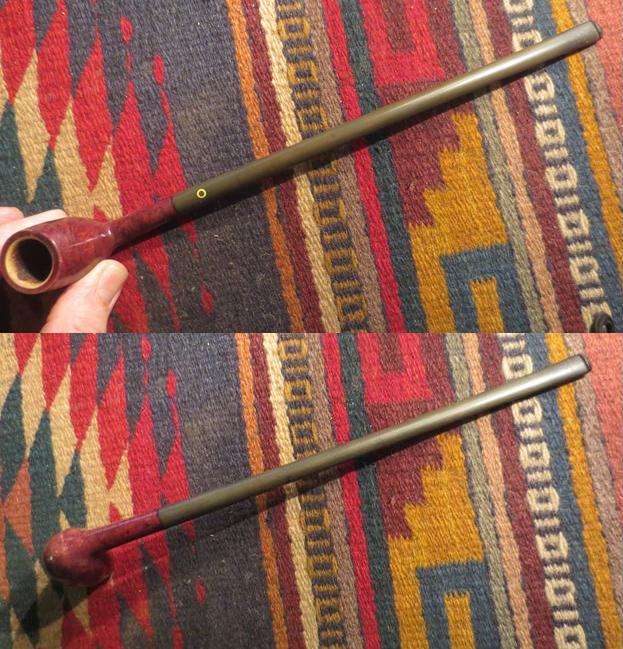
 The next photos show the difference in the oxidation on the top and underside of the stem.
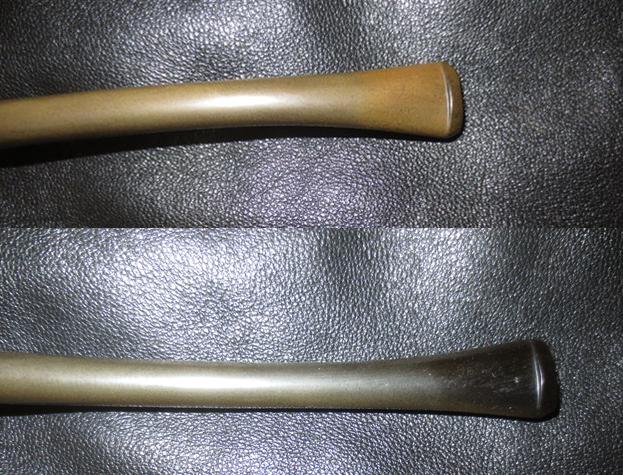 The Bjarne logo was stamped in white on the left side of the stem and was in perfect condition. There was no wear or tear and it was crisp and legible.
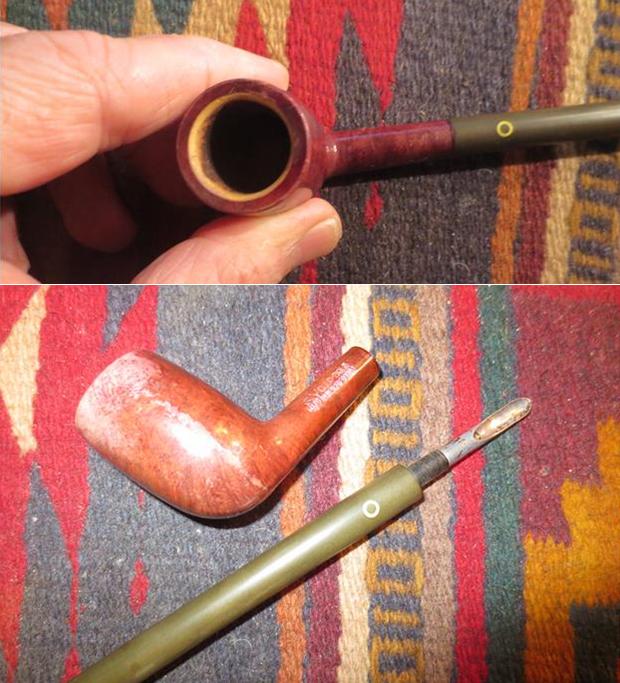
 I wiped down the bowl with a bit of olive oil on a cotton pad to remove the slight grime on the bowl sides and bottom. I also wiped down the rim top with the oil as well. I let it absorb into the briar and buffed it with a microfiber cloth.
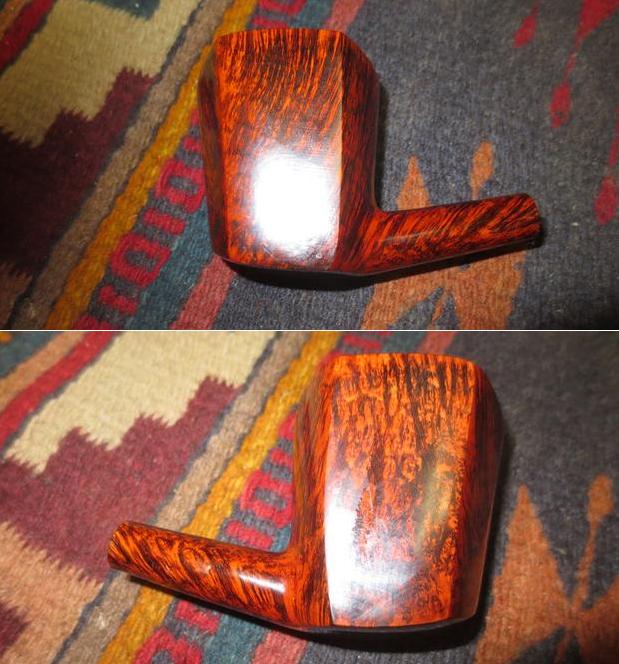
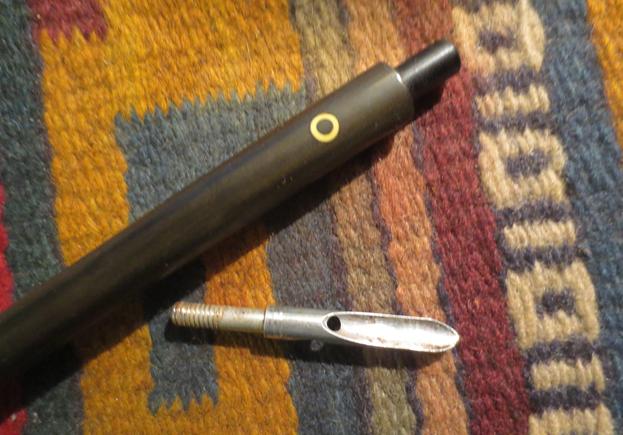
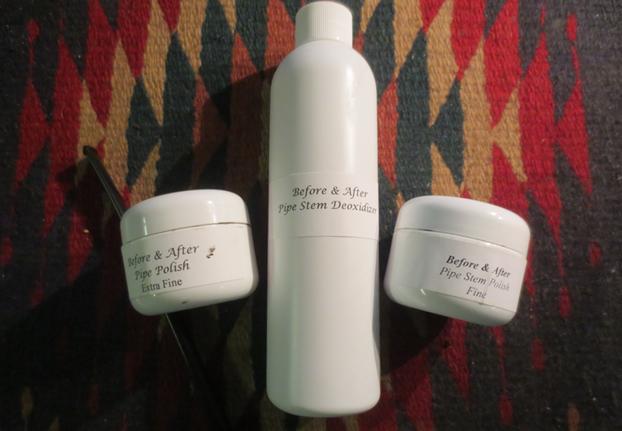
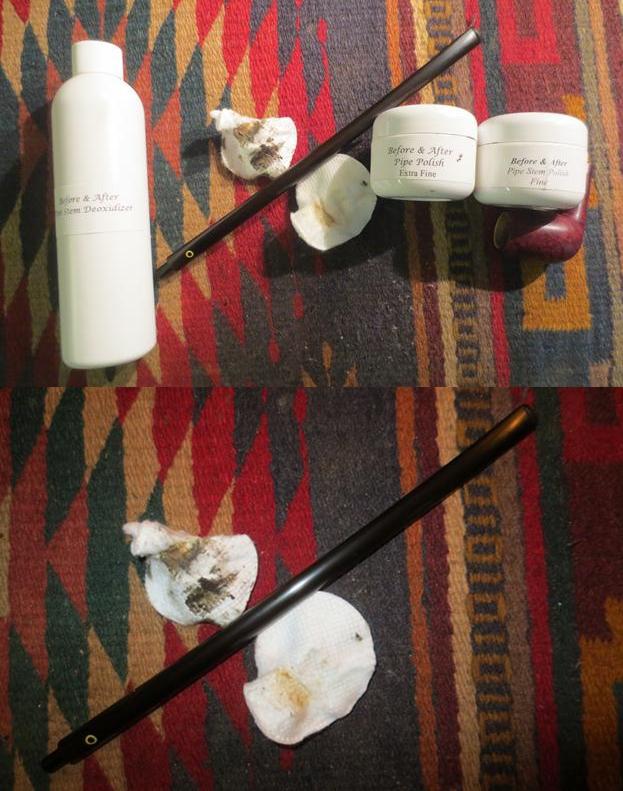
 While I worked on the bowl I put the stem in the Before & After Pipe Stem Deoxidizer that I have referred to in previous blogs – the one on the Borlum and the Hilson. I purchased the Deoxidizer from a guy on Facebook named Mark Hoover. He is on the Gentlemen’s Pipe Smoking Society Group there. Mark has a pen making site where his Before & After products are available. You can email and order the deoxidizer and the polishes directly from Mark on that site (http://www.lbepen.com/). After the initial two uses of the Deoxidizer I have become less skeptical. I let the stem soak overnight and the product does its work and leaves the stem oxidation free. I forgot to take a photo of the stem in the mixture. The photo below shows the oxidation floating in the container I let the stem soak in.
 The next morning I dried off the stem with a soft cloth and rubbed the stem clean of the remnants of oxidation that remained on the surface. The cotton pads that I used were dark brown with oxidation and the stem was quite clean. The next photos show the condition of the stem after wiping it down after removing it from the soak.
 I decided to use Mark’s entire system this time in the cleanup. I used his Before & After Pipe Polishes – both fine and extra fine to polish the vulcanite. I skipped the process of micromesh sanding pads on this stem. The soak did not damage the logo stamp on the side of the stem. It came out of the bath looking clean and fresh.
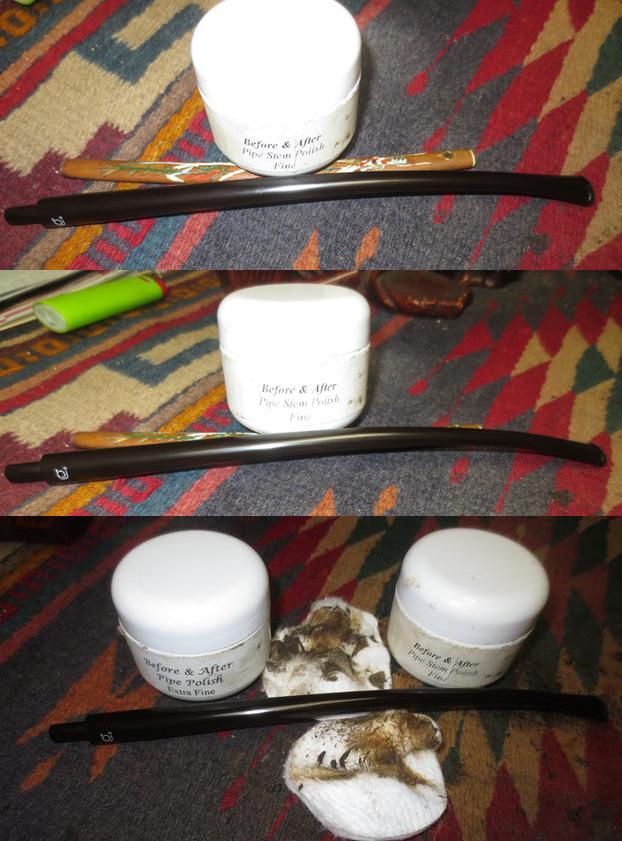 I buffed the pipe with Blue Diamond on the buffing wheel to polish and begin to give it a richer shine. I gave it multiple coats of carnauba wax and buffed it with a clean buffing pad to raise the shine from the wax. I hand buffed it with a microfiber cloth to complete the polishing. The dimensions of the pipe are length: 11 inches, height: 2 ¼ inches, outer diameter: 2 inches, chamber diameter: ¾ inches. This beautiful pipe will be on the rebornpipes store shortly. If it is something you would like to add to your collection send me an email at slaug@uniserve.com or a message on Facebook. Thanks for looking.