Blog by Steve Laug
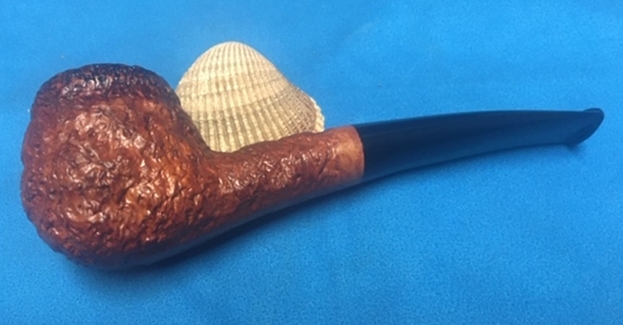
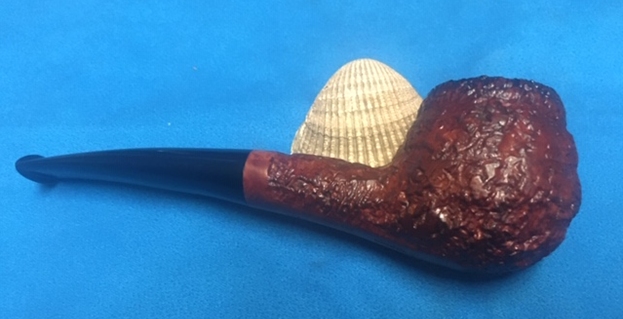
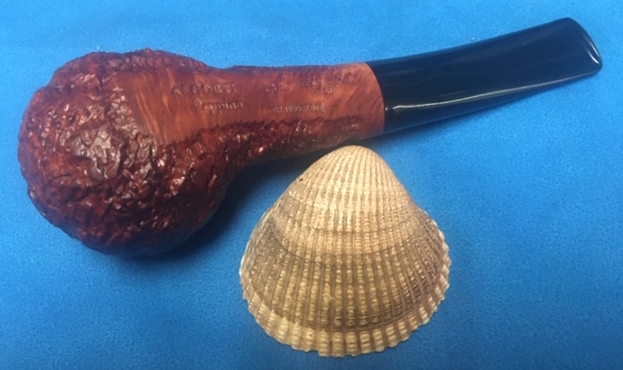
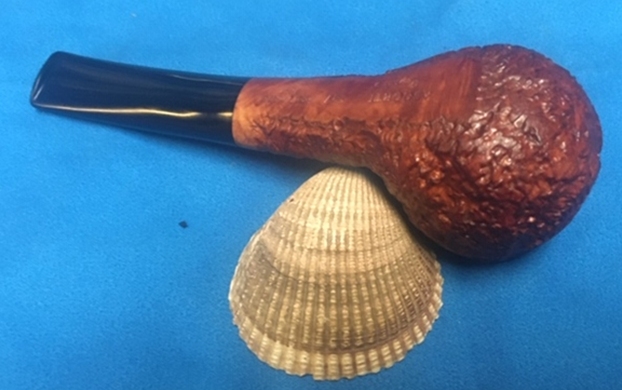
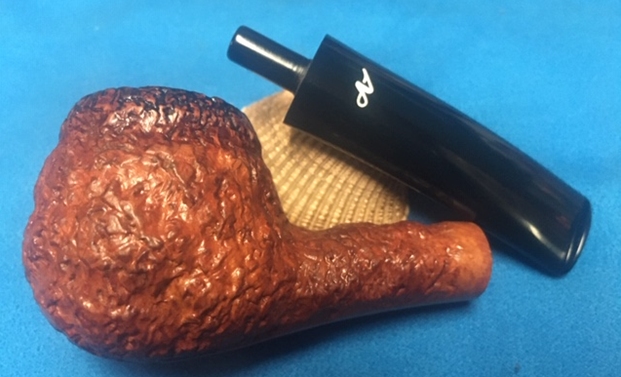
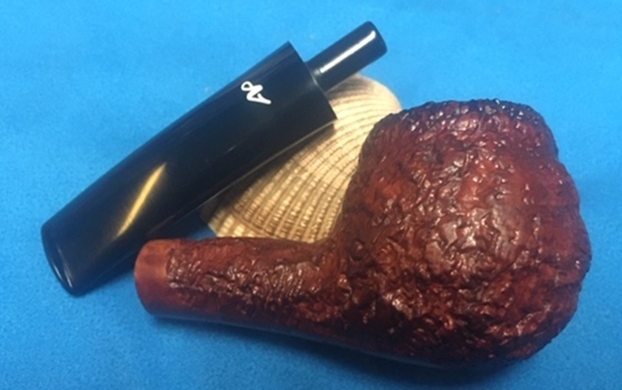
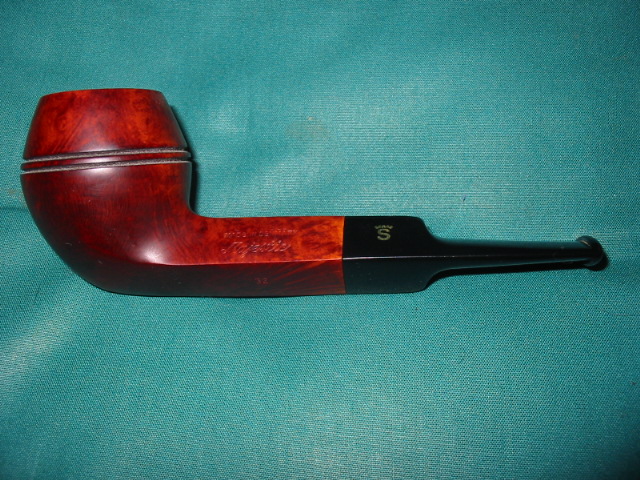
The next pipe on the table is an interesting Ascorti that I picked up somewhere along the way in a trade. Jeff and I picked this one up on a pipe hunt in Utah. It is a rusticated bowl and rim with a smooth panel on the underside and a band around the shank end. The pipe is stamped on the smooth panel and reads Ascorti over Peppino on the heel of the bowl followed by the shape number 137 then Hand Made over Italy. Along the bottom of the panel it also is stamped For Tinder Box. The finish was mottled and dirty with some flume around the rim and rim top that darkened it. There was a thick cake in the bowl and some lava overflow in the grooves of the rustication on the rim top. The acrylic oval stem is in good condition with some small tooth marks and chatter on both sides near the button edges. I took photos of the pipe before I started my work on it.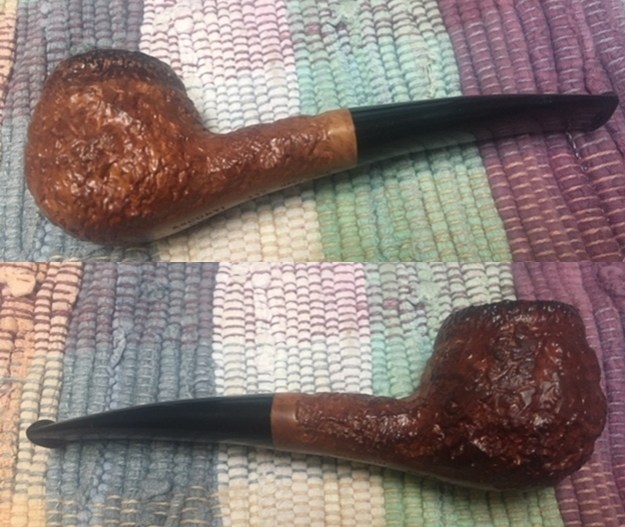
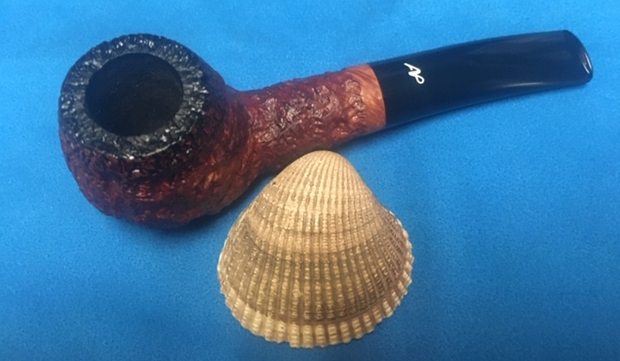
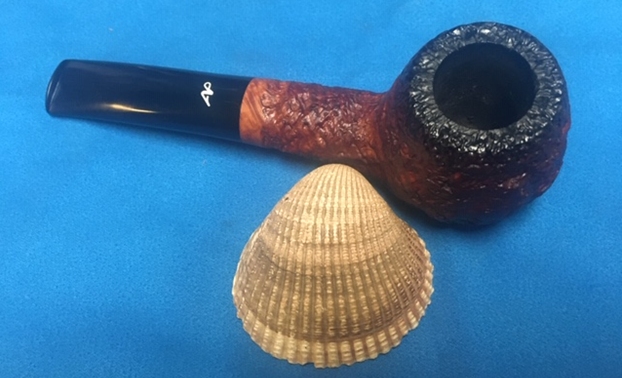
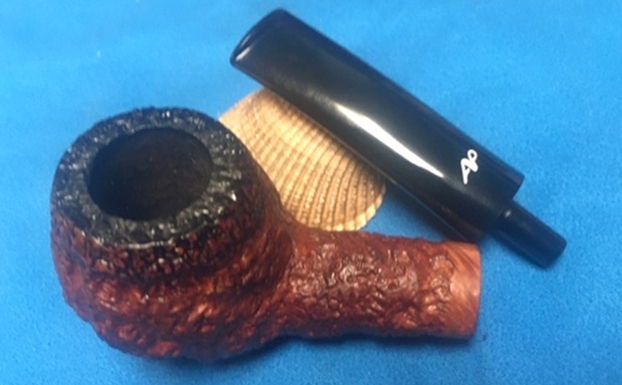
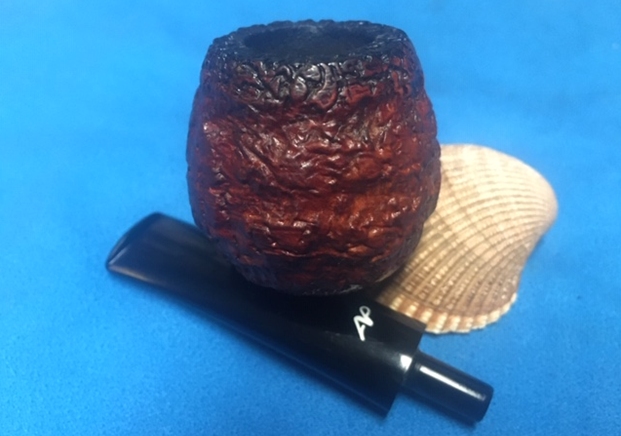
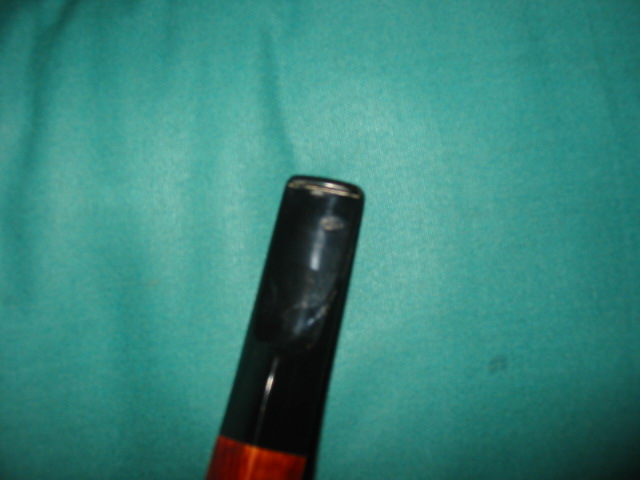
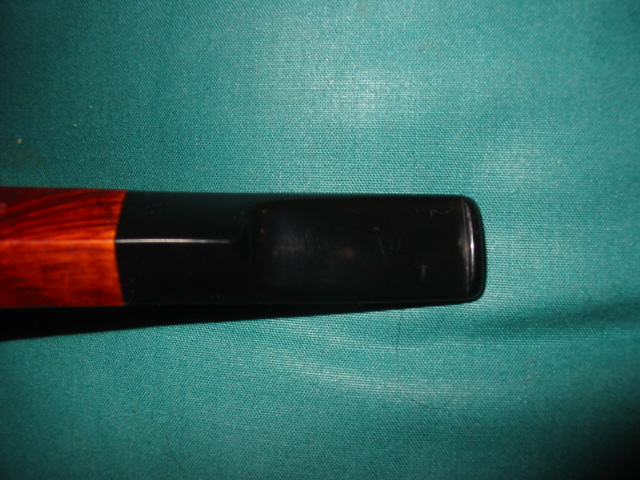
 I took a close up photo of the rim top. It is hard to see the cake in the bowl. The cake was much thicker than it appears in the photo. The top of the bowl looks dirty with lava overflow. The inner edges of the bowl look very good. The stem has some light tooth marks on both sides that do not show up well in the photos. Overall the tooth marks are light and should be able to be sanded smooth. The stem bears an AP logo that I will need to look into in the cleanup and research.
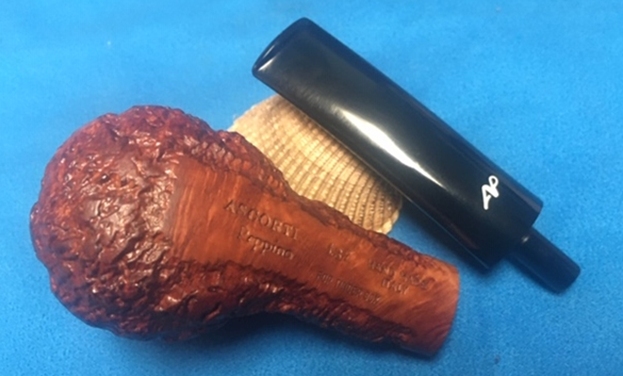
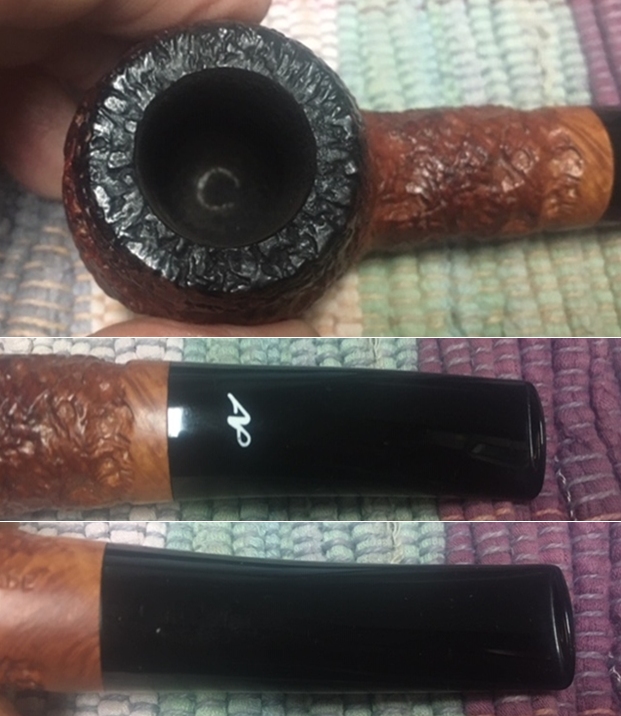 I took a photo of the stamping on the underside of the shank. The stamping is clear and reads Ascorti over Peppino followed by the shape number 137 and Hand Made Italy. Underneath all of it is stamped For Tinder Box.
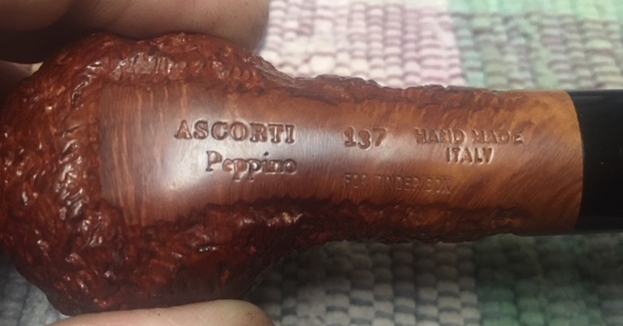 I was intrigued by the FOR TINDER BOX stamp on the pipe so I did some searching on the internet and came to the Tinder Box site where there was a page on the Peppino line. Here is the link (http://www.tinderboxinternational.com/ascorti_peppino.htm). I am including that article in full below as well as a picture that was included on the site.
Ascorti Peppino Series Pipes
He was very young boy, when Giuseppe Ascorti, “Peppino” to all his friends began his career working as a joiner in a small furniture factory for his father. When he was about 30 years old, his passion for design and his great desire to create, he began to make pipes. In a very short time he became a great master with his revolutionary ideas to create new pipe shapes while still maintaining the classic lines of Italian pipe design. In the 1970’s, a chain of upstart pipe shops named Tinder Box while traveling in Italy, immediately realized his talent, and together collaborated in bringing the Ascorti Pipe to pipe smokers around the world. Peppino taught all his pipe making secrets to his son Roberto, who also had a natural talent as well. Today, after 25 years since Peppino’s disappearance, Roberto Ascorti and Tinder Box has a pleasure to produce a great once in a life time series of smoking pipes to be treasured forever.
Inspired from the original pipe designs, handcrafted in the 1970’s and 1980’s by his father Peppino, Roberto has remade the original designs, with the same hand making process used in those years, the same seasoned and selected briar, and the same care in working that his father was able to do. The pipes are also fitted with the same acrylic mouthpieces that are being specially remade from 30 years ago. Each design will include a certificate that shows the original copy of the old Peppino design drawings. These pipes have a special logo with “A.P.” and stamp with the Peppino name in honor of him and thanking him for the teachings of his passion to his son Roberto.
Roberto now has retired all shapes that were introduced as part of the original set in 2006. These shapes are never to be made again as part of the Peppino Serie. There is still availability but quantities are limited. Contact your local Tinder Box to see what finishes and shapes are available. In 2008…Roberto carved two new shapes from the old shape chart to be part of this marvelous series of pipes. 2009 was a very special year in the history of Ascorti Pipes. Roberto reintroduced and carved one shape for the Peppino Series. This shape is in remembrance of the passing of his father, Peppino in 1984… From the reading I knew that the pipe I was working on was made and released as one of the 2007 shapes. The shape has since been retired. All were carved by Roberto from shapes done by his father Peppino. They were done to honour his memory. All of them were released with the unique AP logo on the top of the stem. Now I had the background information in hand it was time to work on the pipe.
This morning I started by reaming the pipe. It had a thick cake but it was quite soft. I reamed it with a PipNet reamer and worked my way through two of the four cutting heads. I cleaned up the rest of the cake with a Savinelli Fitsall Pipe Knife. I sanded the walls of the bowl with a piece of dowel wrapped in 220 grit sandpaper. I removed the cake from the walls and they are smooth and clean.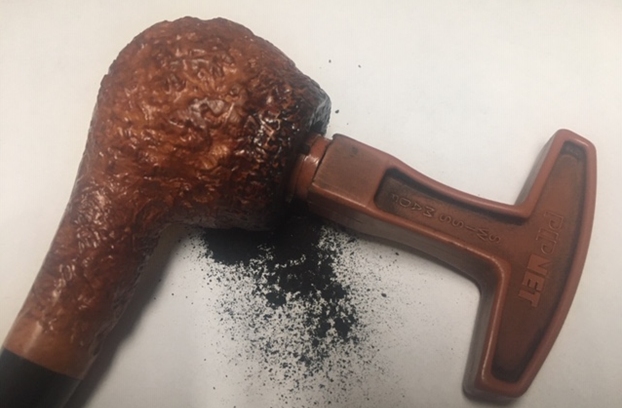
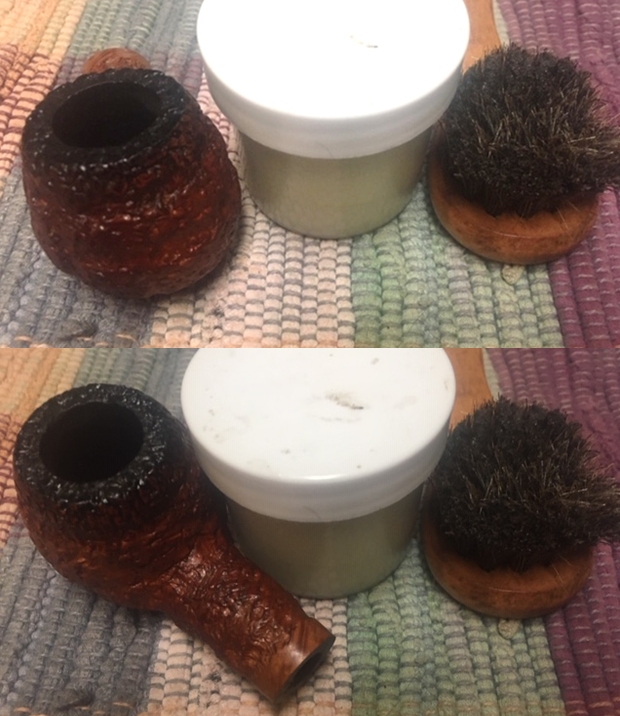
 I scrubbed the bowl and rim with Murphy’s Oil Soap and a tooth brush. I was able to remove much of the grime from the rim top and the grooves and valleys of the sandblast finish. I rinsed it under warm running water to flush away the grime and dust in the soap. The following photos show the cleaned rim and bowl sides.
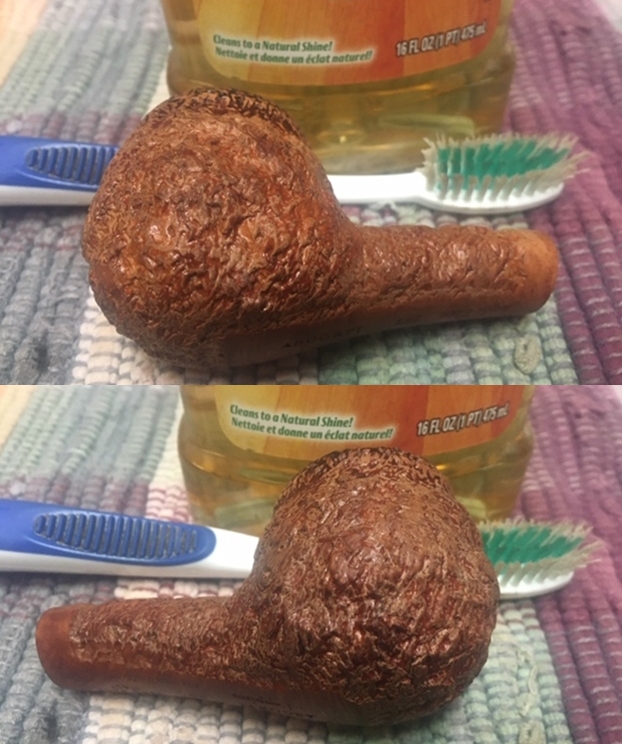
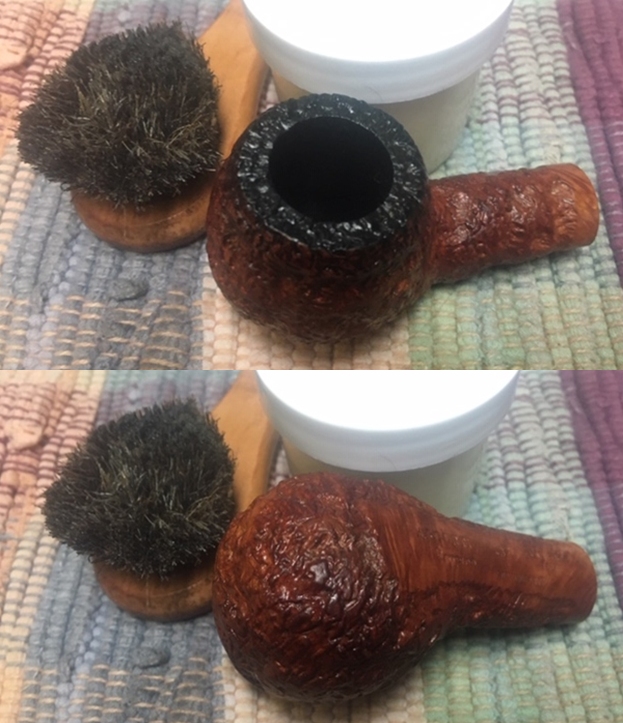
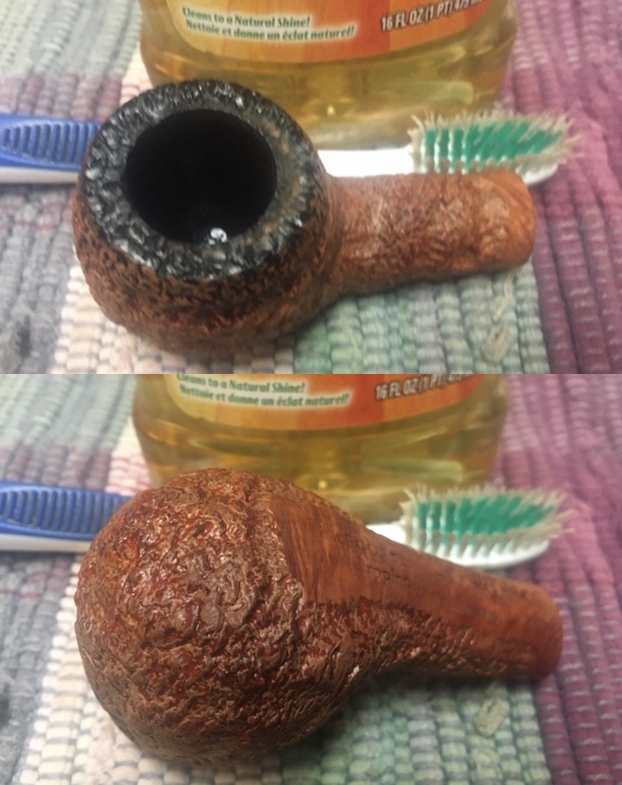 I worked on the remaining debris and darkening on the rim top with a brass bristle wire brush. I was able to remove all of it and leave behind a clean rim top.
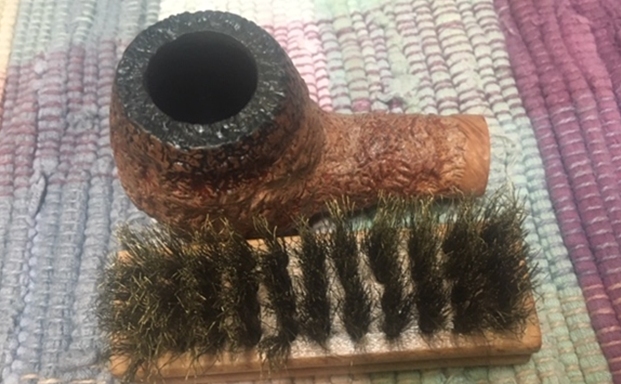 I scrubbed out the airway in the shank and stem with alcohol, cotton swabs and pipe cleaners. I cleaned out the mortise area so that all of the oils have been removed.
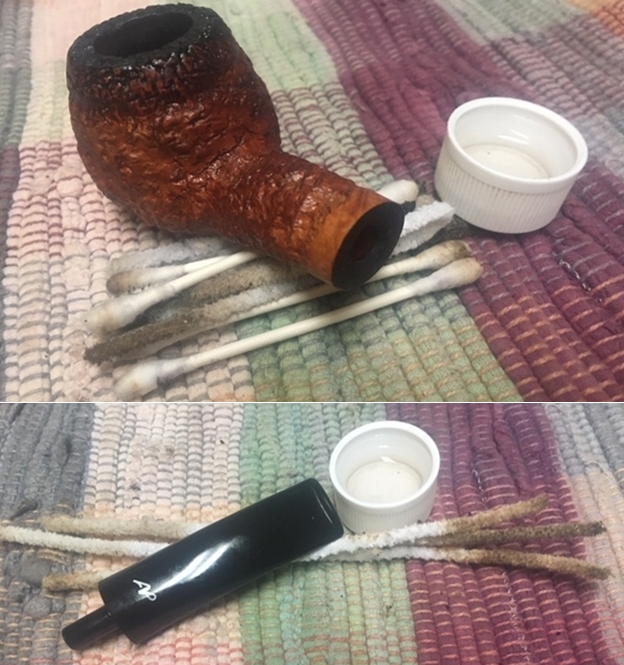 I rubbed the bowl and rim down with Before & After Restoration Balm. I worked it into the surface of the rim top and rusticated briar with my fingertips and with a horsehair shoebrush to clean, enliven and protect it. I let the balm sit for a little while and then buffed the pipe with a cotton cloth to raise the shine. I really like watching the Balm do its magic and bring the briar alive.
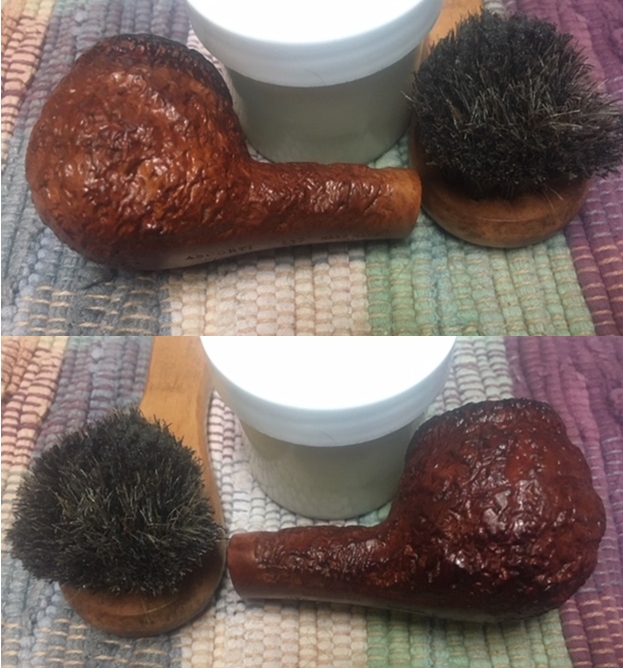
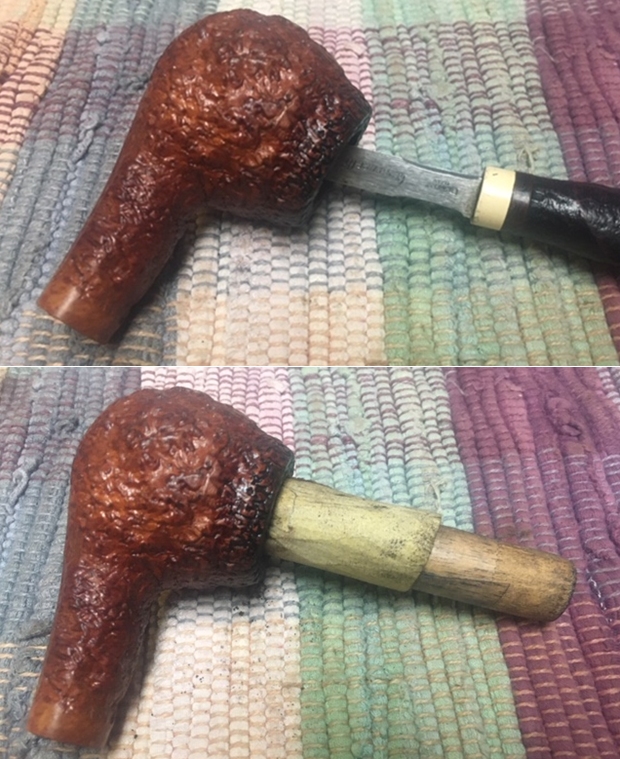
 With the bowl done it was time to address the stem. I sanded the stem surface with a folded piece of 220 grit sandpaper and was able to remove the dents in the surface. I followed that up with 400 grit wet dry sandpaper to start polishing out the sanding marks.
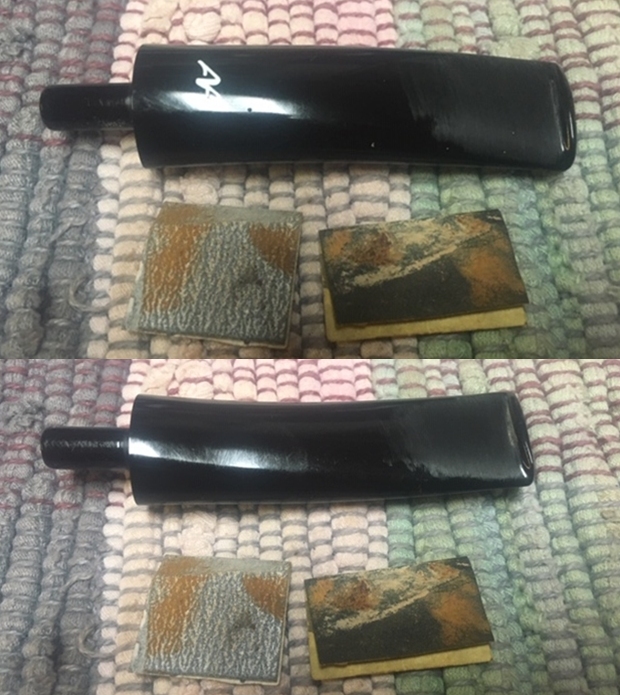 I rubbed the stem down with Denicare Mouthpiece Polish. I have found it is a great pre-polish for my use as it shows me areas that I need to work on with the micromesh sanding pads.
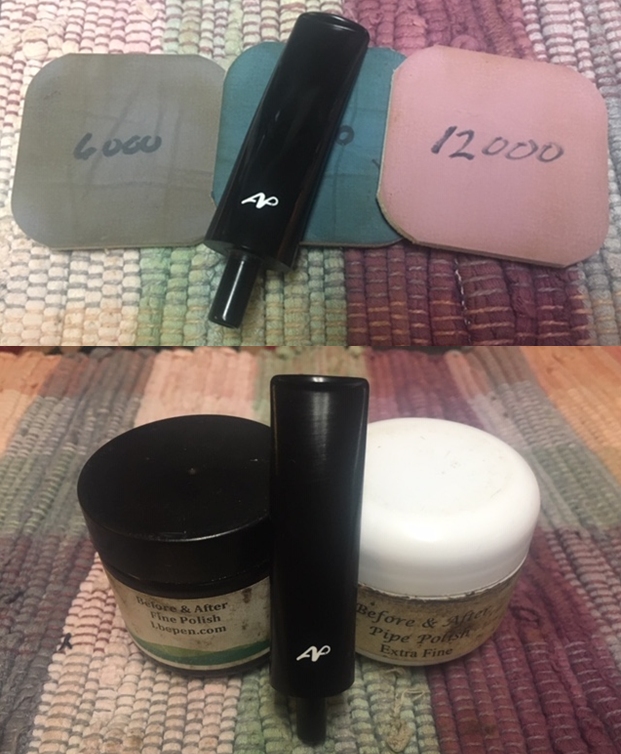
 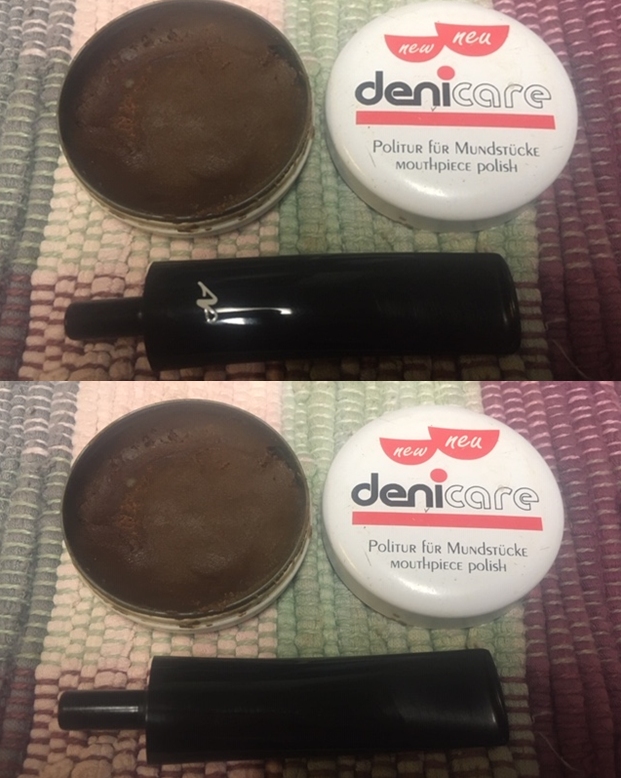 I polished the stem with micromesh sanding pads – wet sanding with 1500-12000 grit sanding pads. I wiped it down after each pad with a damp cloth to remove the sanding dust. I polished it further with Before & After Pipe Polish – both Fine and Extra Fine. I buffed it with a soft cloth to raise a shine.
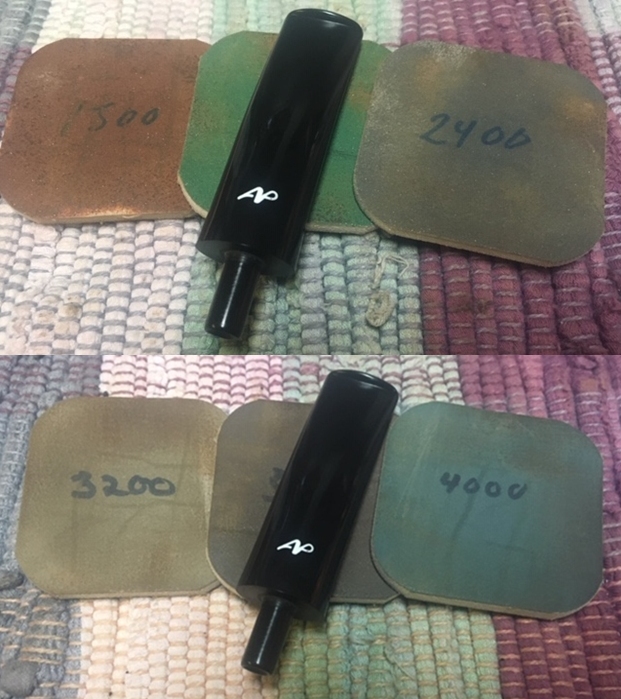
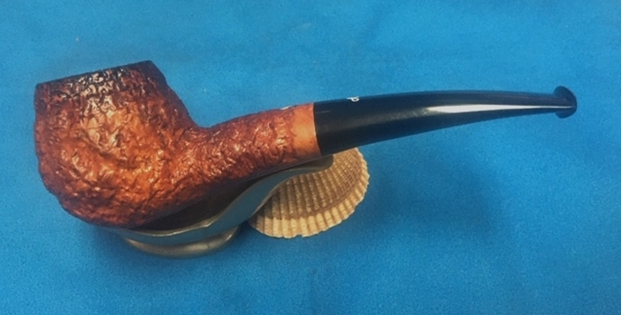
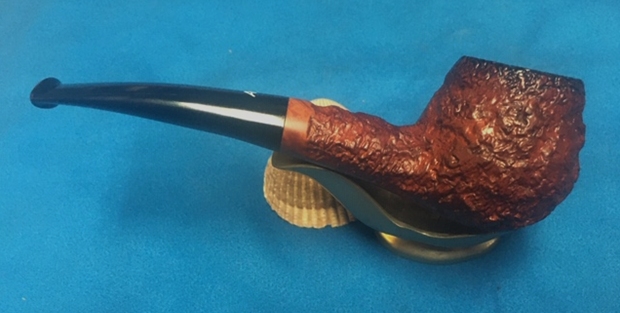
 I put the bowl and stem back together again and buffed it lightly with Blue Diamond on the buffing wheel to raise the shine on the briar and the acrylic stem. The buffing also removes minute scratches in the two materials and adds depth to the shine. I gave the stem several coats of carnauba wax and the bowl multiple coats of Conservator’s Wax. I buffed the pipe with a clean buffing wheel and then by hand with a microfibre cloth to deepen the shine. The pipe was alive now and look great to me. It has a great feel in the hand that is very tactile and should really pop when smoked. The bowl will also develop a deeper colour with smoking. The finished pipe is shown in the photos below. The dimensions of the pipe are Length: 5 ¾ inches, Height: 1 ¾ inches, Outside diameter of the bowl: 1 ¼ inches, Chamber diameter: ¾ of an inch. This rusticated Ascorti Peppino 137 Italian Hand Made Brandy is a beauty should make someone a great pipe. It is one that will be on the rebornpipes store very soon. If you are interested let me know. Thanks for reading this blog and my reflections on the pipe while I worked on it.