by Steve Laug
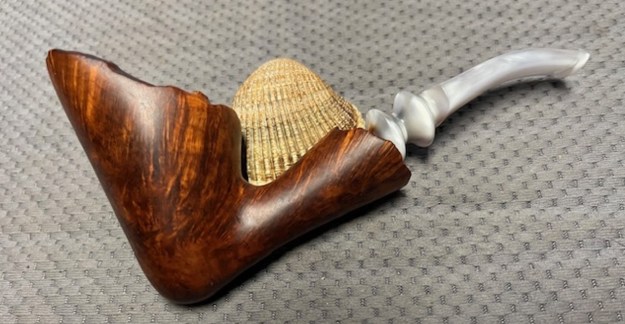
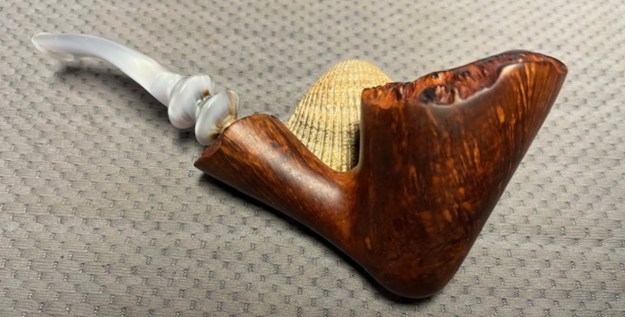
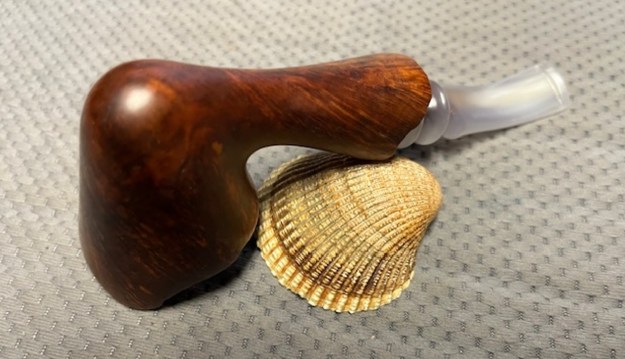
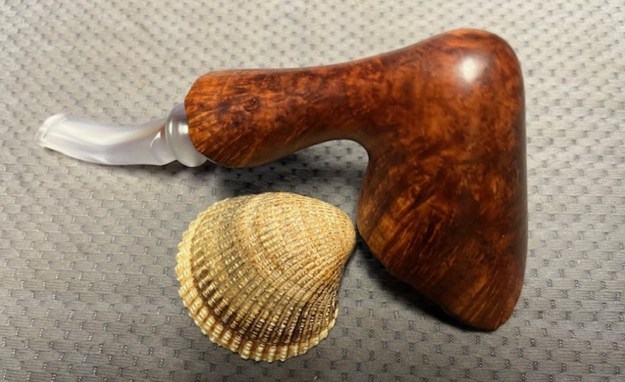
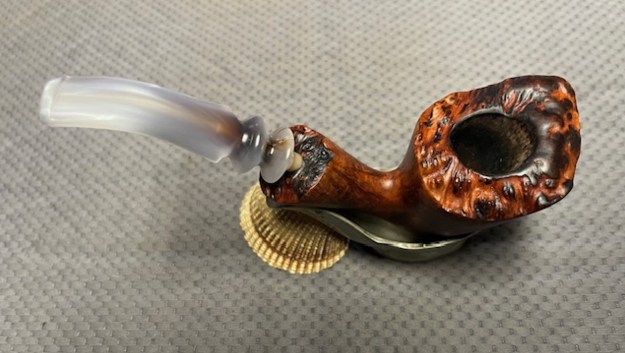
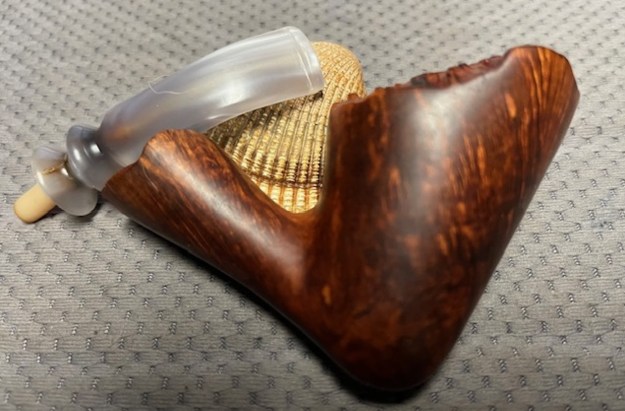
This particular Freehand pipe was purchased from seller Fort Meyers, Florida, USA on 06/13/2022. It really is a great looking Freehand pipe that combines a plateau rim top and shank end with a smooth bowl and shank. It is stamped on a smooth panel on underside of the shank and reads Soren [over] Hand-Carved [over] Made in Denmark. The finish is dirty and darkened with hand oils but that does not hide the beautiful grain around the bowl and shank. The pipe had a thick cake in the bowl and lava overflow on the rim top and inner edge of the bowl filling in some of the plateau. There was grime ground into the smooth finish and dust and debris in the plateau valleys on the shank end. The fancy grey/silver variegated, fancy saddle stem had a crack in the saddle portion that had been repaired. The tenon in the stem is a new one and the crack had been caused by the drilling and repair. It had light tooth marks and chatter on both sides ahead of the button. The pipe must have been a great smoker judging from the condition it came it. Jeff took photos of the pipe before he started his work on it.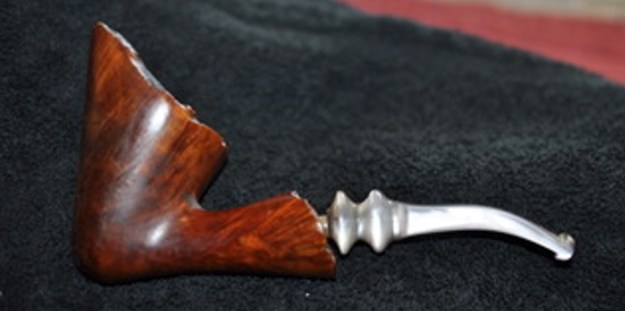
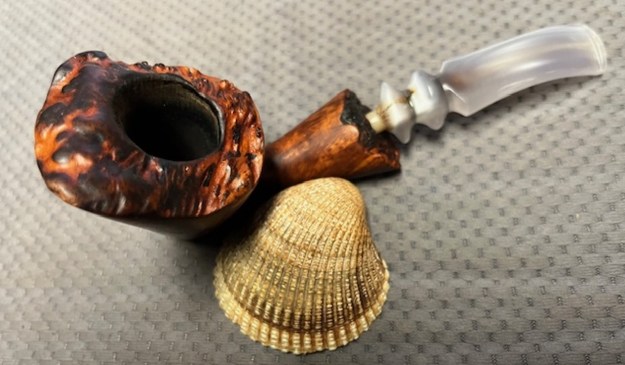
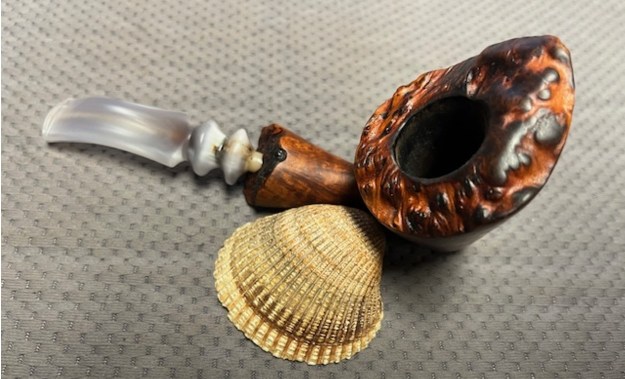
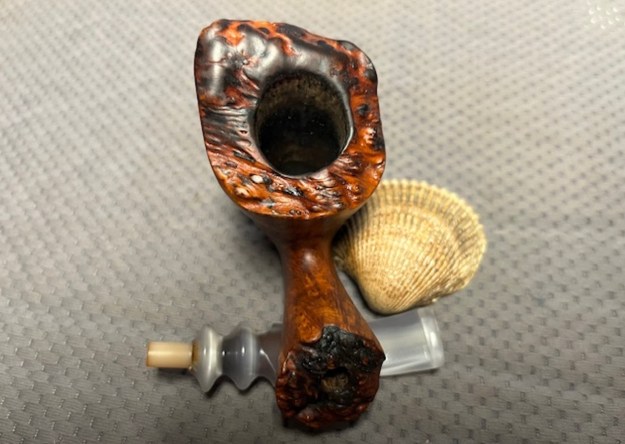
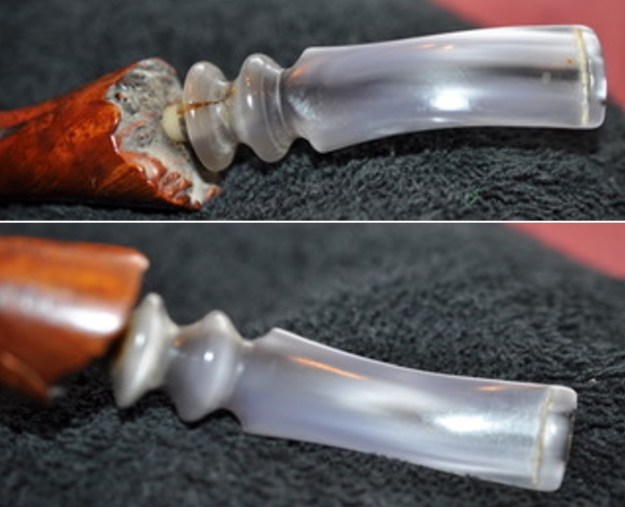
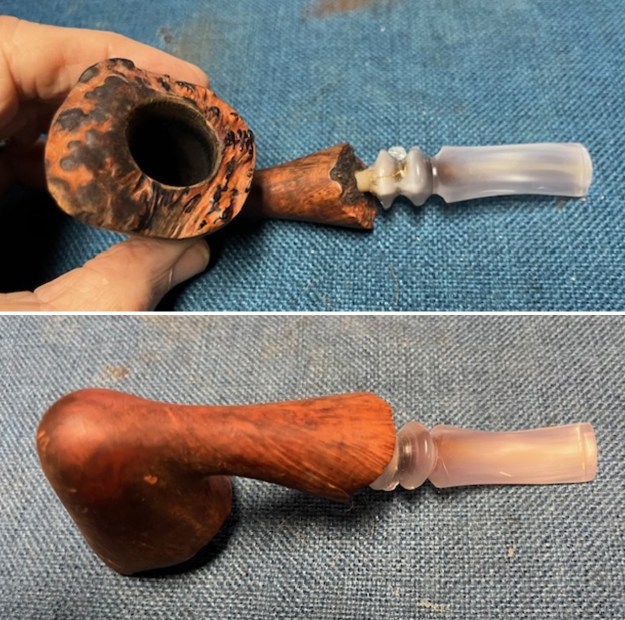
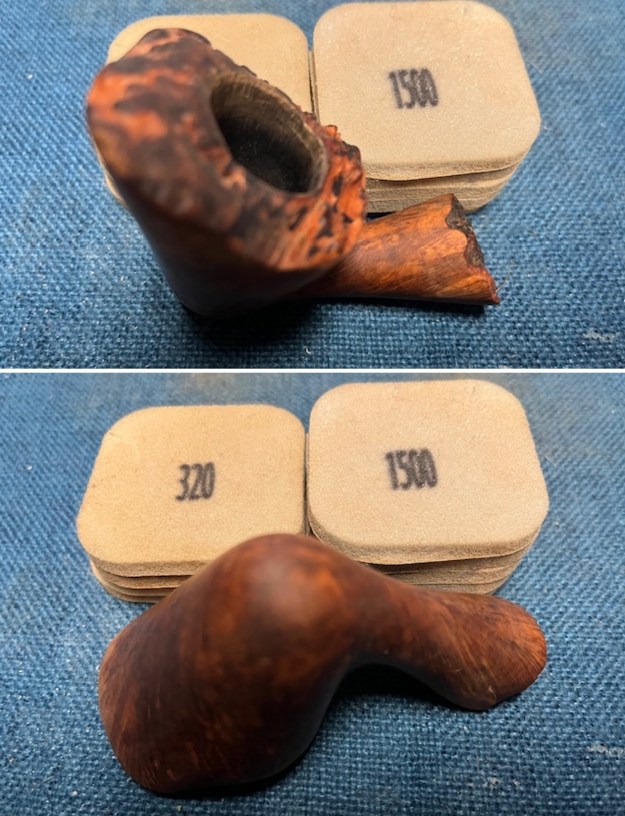
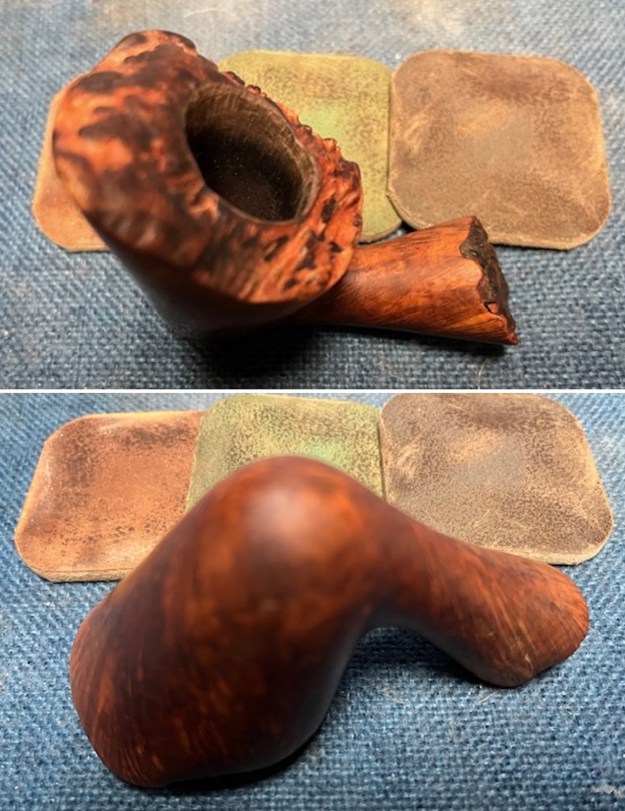
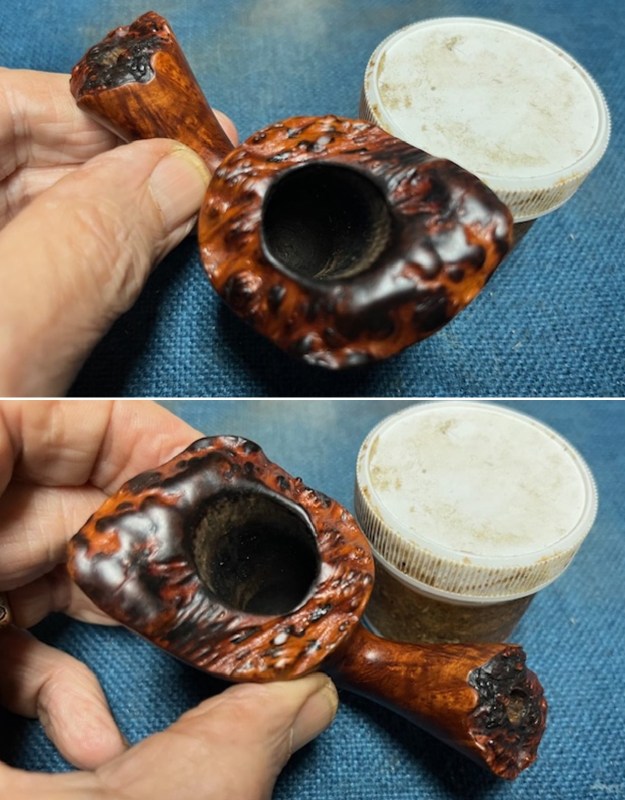
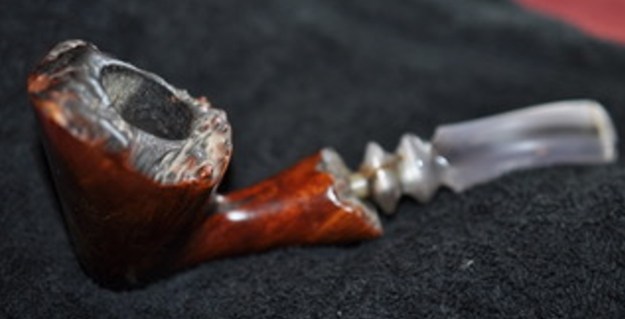 Jeff took photos of the rim top and the stem to show the condition of the pipe when we received it. You can see the cake in the bowl and the heavy lava and darkening on the plateau rim top and inner edge of the bowl. The turned acrylic stem was dirty and had light chatter and tooth marks on both sides near the button. It also has a repaired crack on the topside of the saddle.
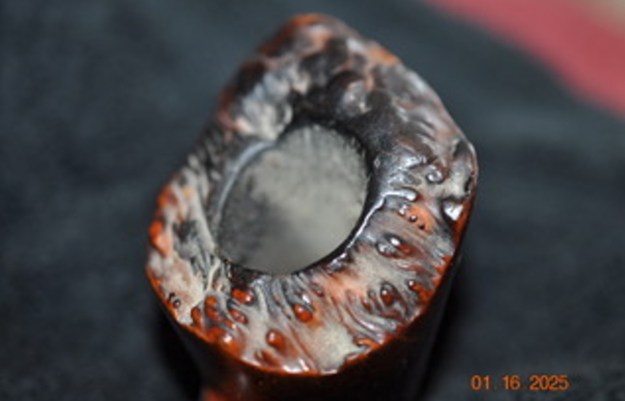
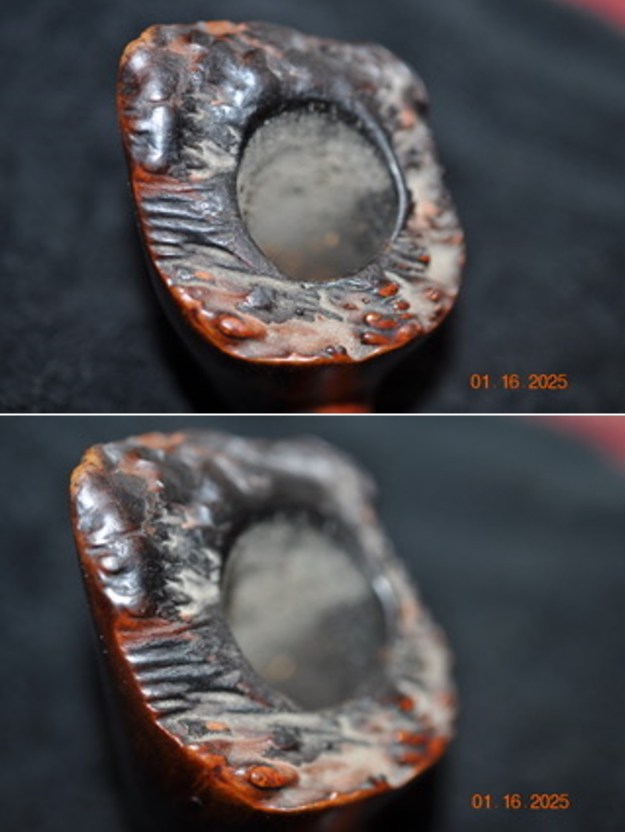
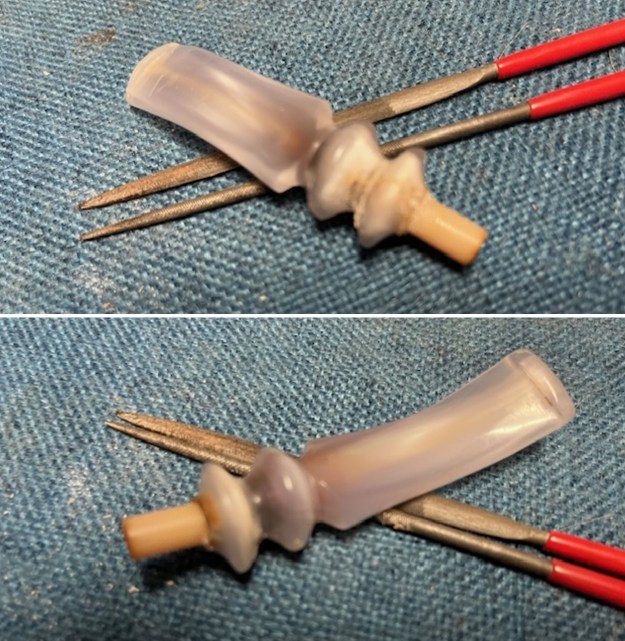
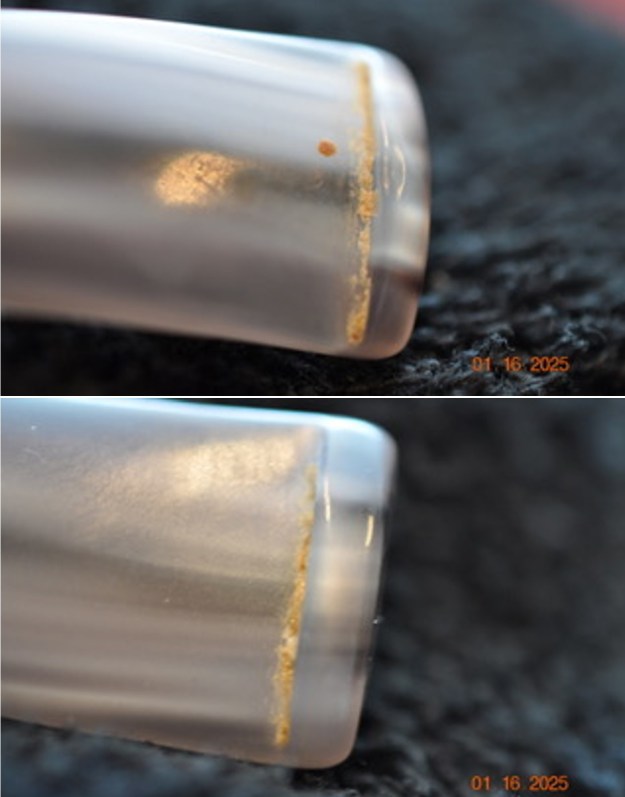 Jeff took a photo of the crack in the stem. You can also see the replacement tenon that was inserted in the stem. I believe that it had cracked in the drilling of the stem for the replacement tenon. The new tenon was glued in the stem and some glue had been put in the crack. It had not been filled with glue so the crack gathered debris and had darkened.
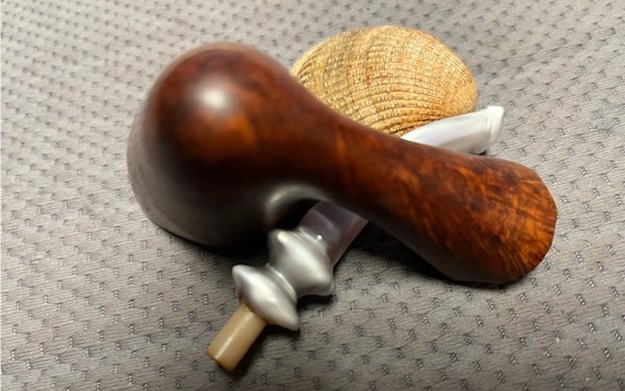
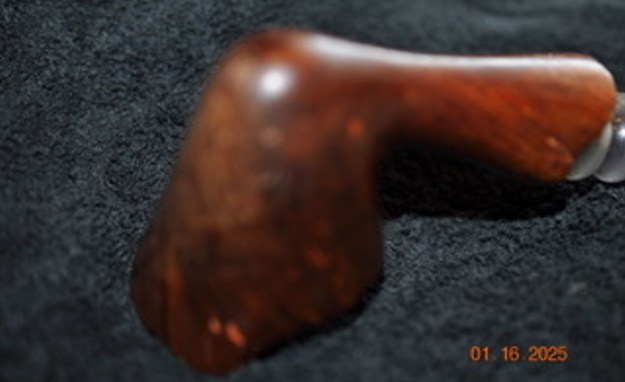
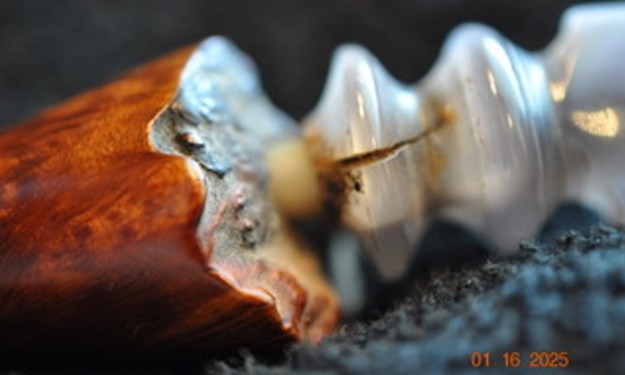 He took photos of the sides and the heel to give an idea of the shape and the condition of the briar around the bowl. It really is a beautifully shaped pipe highlighted by the plateau finish on the rim top and shank end. The photos show the scratches in the briar as well as some small light coloured fills around the bowl sides and heel.
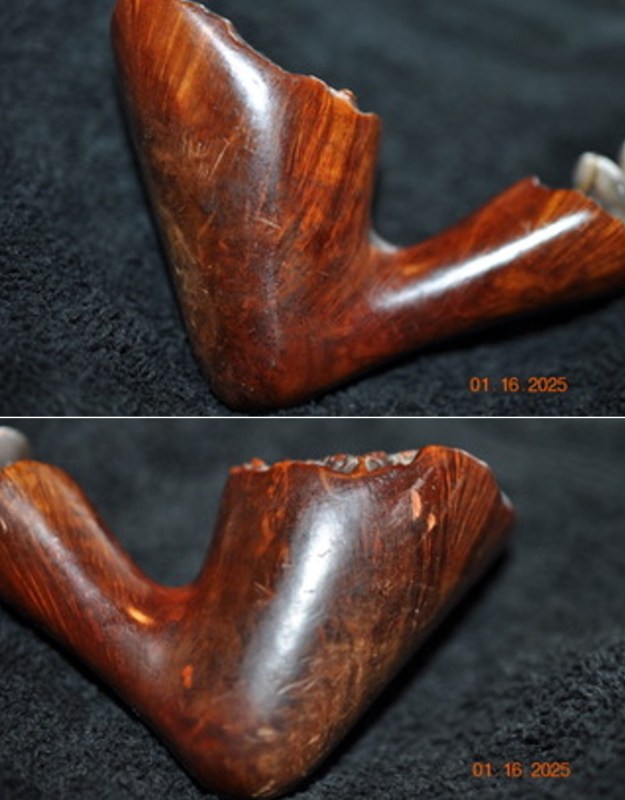
 The next photos Jeff took show the stamping on the underside of the shank. It is clear but faint in spots and read as noted above.
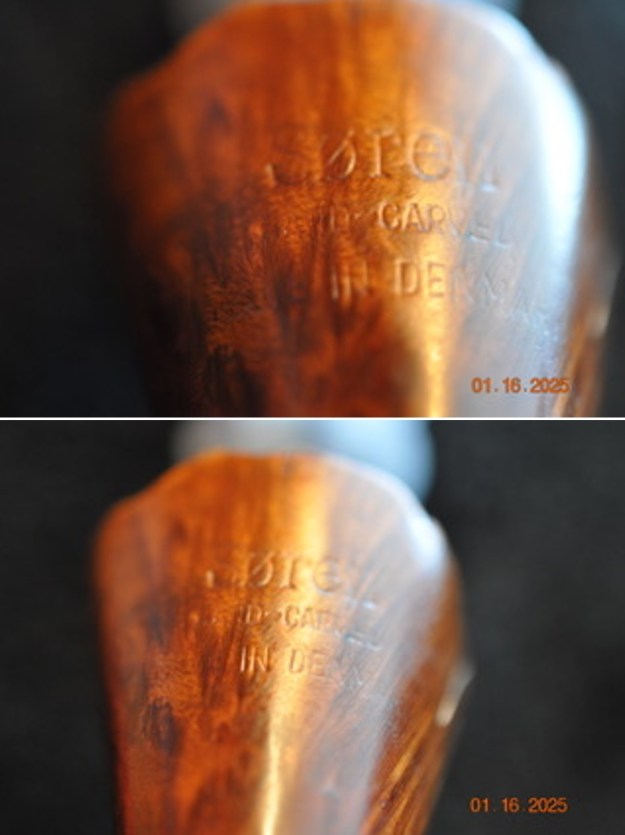 I went to a previous blog and reread what I had written in order to refresh my memory of the background and information on the Soren pipes (https://rebornpipes.com/2016/09/12/repairing-and-rejuvenating-a-soren-danish-freehand/). I quote from that blog post:
I looked up the brand on Pipephil (http://www.pipephil.eu/logos/en/logo-s10.html) and found that the brand was carved by Søren Refbjerg Rasmussen. Pipes that he made for the European market were mostly stamped “Refbjerg” while those made for the US market were stamped “Soren”. Thus, I knew that one I was working on was imported into the US market. I did a screen capture of the photos of the pipes and stamping that were on the site. I have included it below.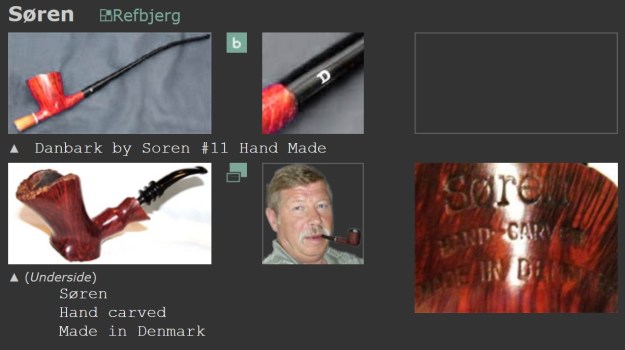 I was once again working on a pipe made by Soren Refbjerg Rasmussen for the US market as it was stamped Soren. I continued to do reading on another of my go to websites, Pipedia. Here is the link for the article there. https://pipedia.org/wiki/Refbjerg. I quote some of the more pertinent information.
Søren Refbjerg Rasmussen founded a company in 1969, which employed an average of 8 – 12 craftsmen in the 1970’s. The semi-freehands they produced were traded under his prename Søren. Rasmussen himself finished only the very best pipes. So his way of pipemaking closely resembled the ways of Preben Holm, Karl Erik Ottendahl or Erik Nørding. Altogether more than 1,000,000 pipes were sold.
From that I knew that the pipe in my hands came from the 1970s. It bears the Soren signature stamp which also says that it was made for sale in the American pipe market. Armed with that information I turned my attention to restoring the pipe.
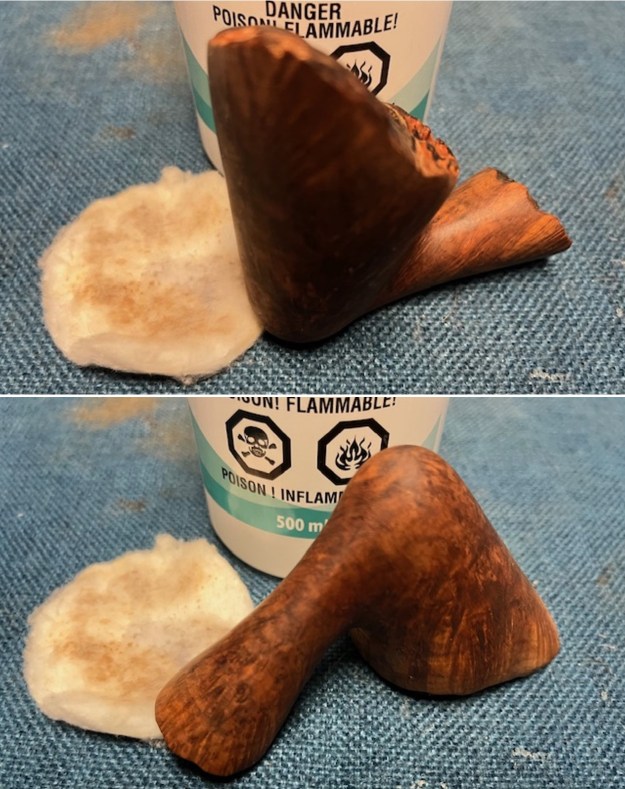
Jeff had cleaned up the pipe following his normal cleaning process. In short, he cleaned up the reaming with a Savinelli Fitsall Pipe Knife. He scrubbed the bowl with undiluted Murphy’s Oil Soap with a tooth brush. He worked over the lava and debris on the plateau rim top and shank end and was able to remove it. He rinsed it under running warm water to remove the soap and grime. He cleaned out the inside of the shank and the airway in the stem with alcohol, cotton swabs, shank brushes and pipe cleaners. He scrubbed the stem with Soft Scrub and cotton pads to remove the debris and oils on the stem. He soaked it in Briarville’s Pipe Stem Deoxidizer. He rinsed it with warm water and dried it off. I took photos of the pipe once I received it. It really looked good. The crack in the stem around the replacement tenon was clean and the tenon was solid in the drill airway. 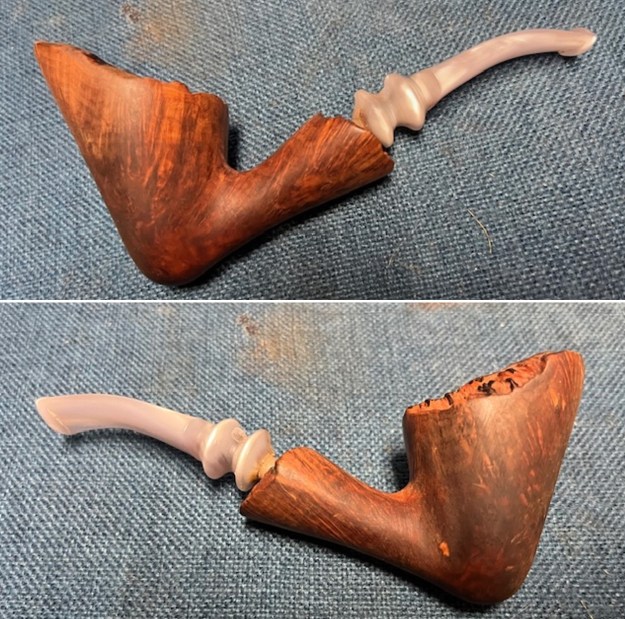
 I took close up photos of the stem and the rim top to show both how clean they were and what needed to be addressed with both. The rim top and bowl still had some minor darkening on the high spots of the plateau top and edges edge. It made me wonder if the darkening had been intentional and that all of them were originally dark. The stem looked better and the cracked area was clean and was ready for repairing and rebuilding. The light tooth marks and chatter were still present. I would need to remove those to bring the stem back.
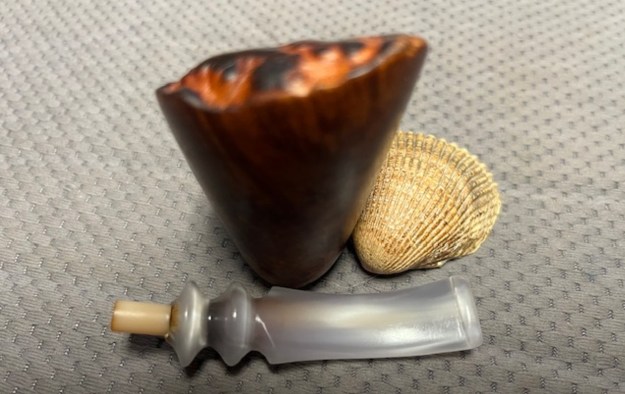
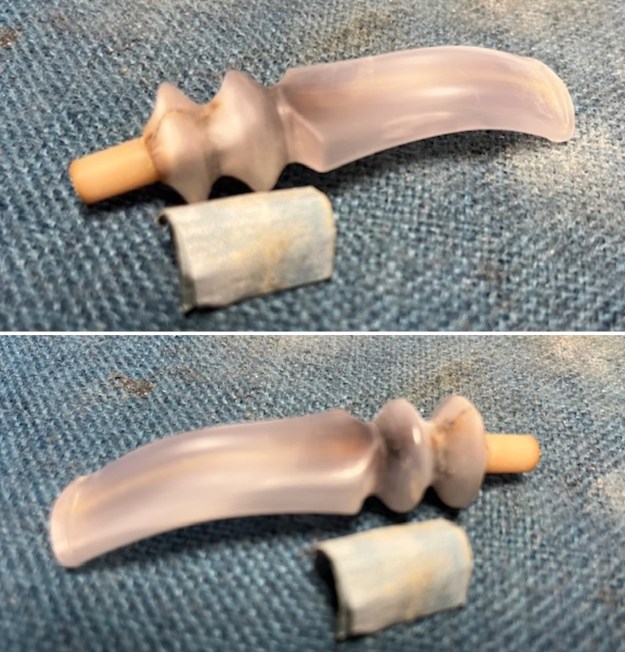
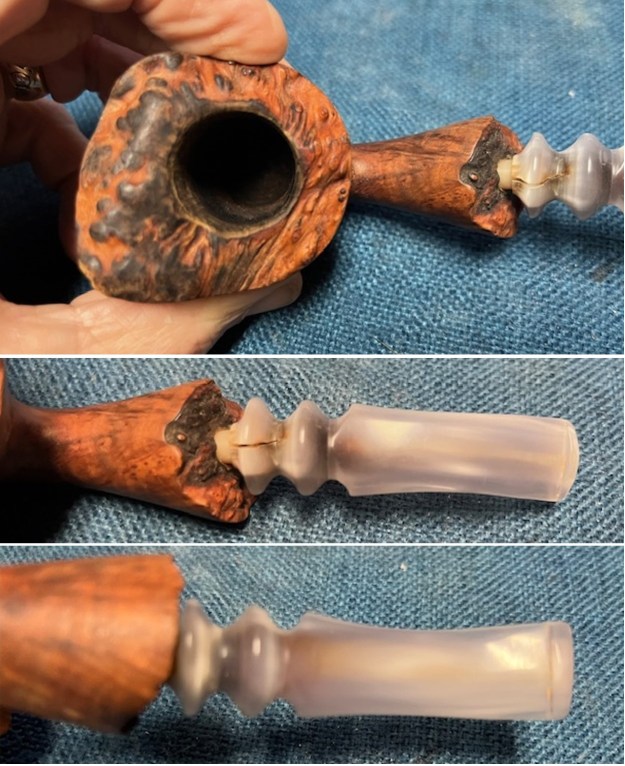 I took a photo of the stamping on the underside of the shank. You can see from the photo that it is faint but readable. It is clearer on the top half of the stamp than the lower but it is still readable. I removed the stem from the bowl and took a photo of the parts to give a sense of the beauty of the pipe.
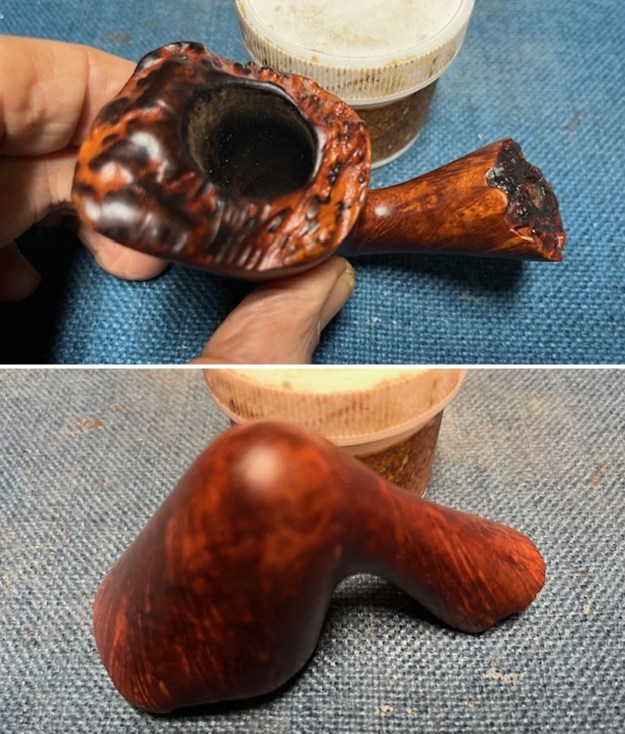
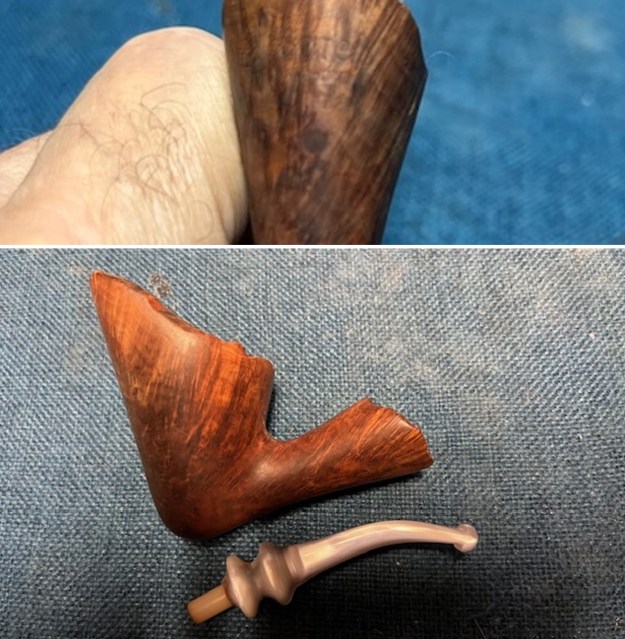 I started my work on the pipe by wiping the bowl down with alcohol on a cotton pad to remove the darkening and oils in the briar. It looked significantly better once it was clean.
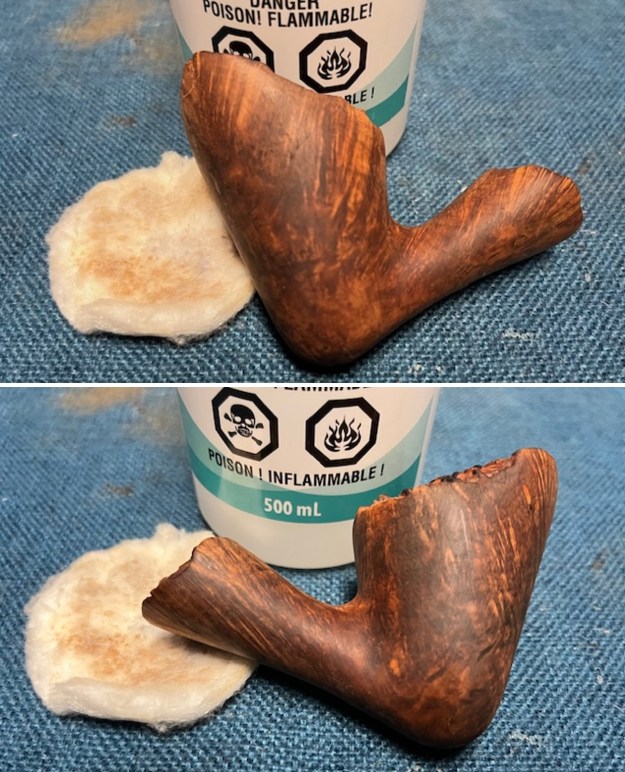
 I started my work on the pipe by wiping the bowl down with alcohol on a cotton pad to remove the darkening and oils in the briar. It looked significantly better once it was clean.
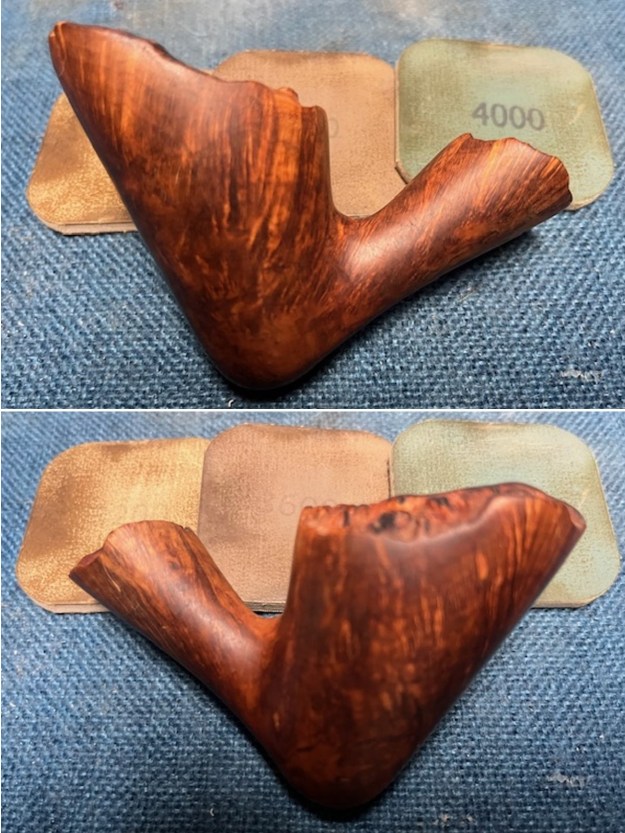
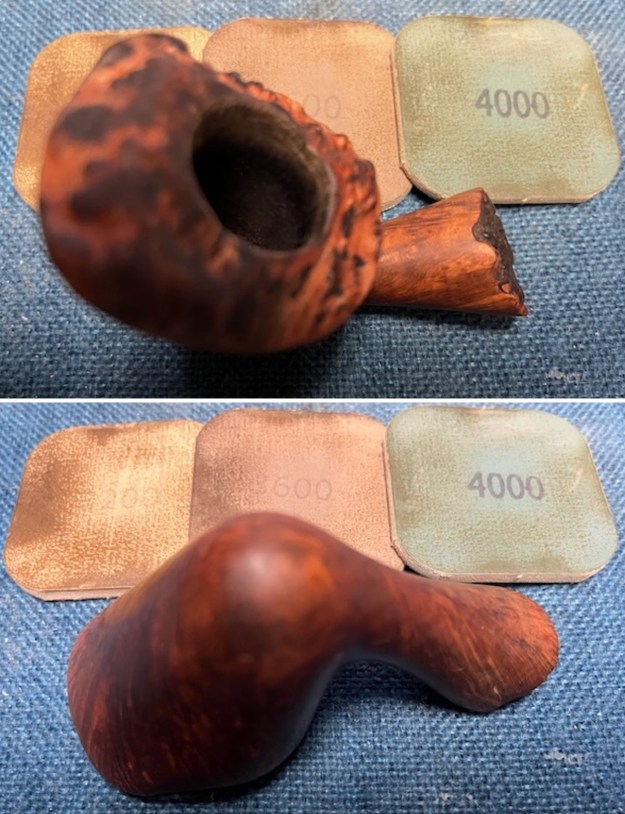
 I sanded the briar bowl with 320-3500 grit 2×2 inch sanding pads. I wiped the bowl down after each sanding pad with a damp cloth to remove the sanding debris and dust from the clean up.
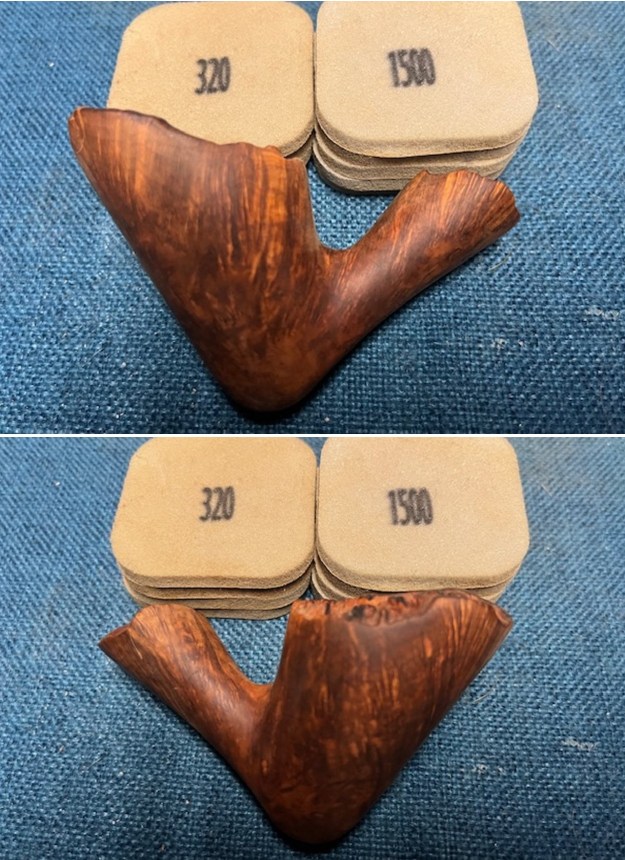
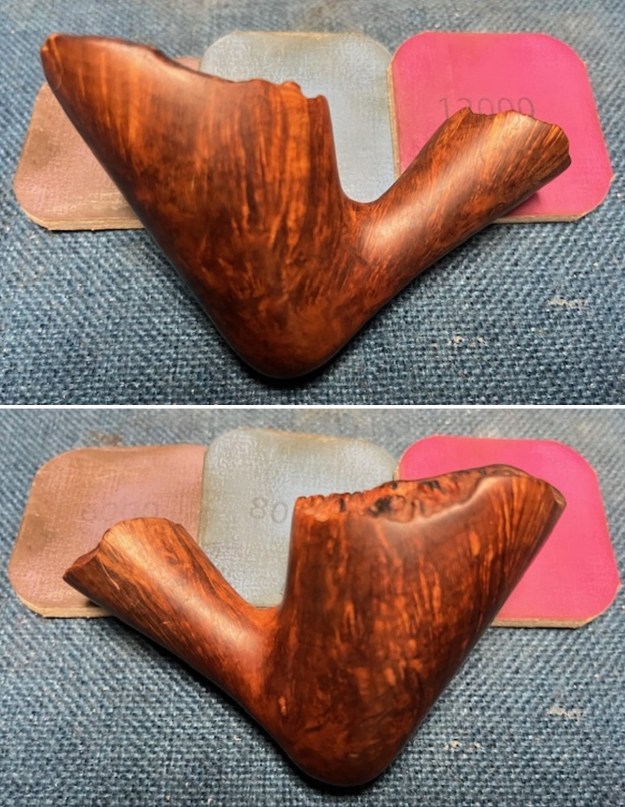
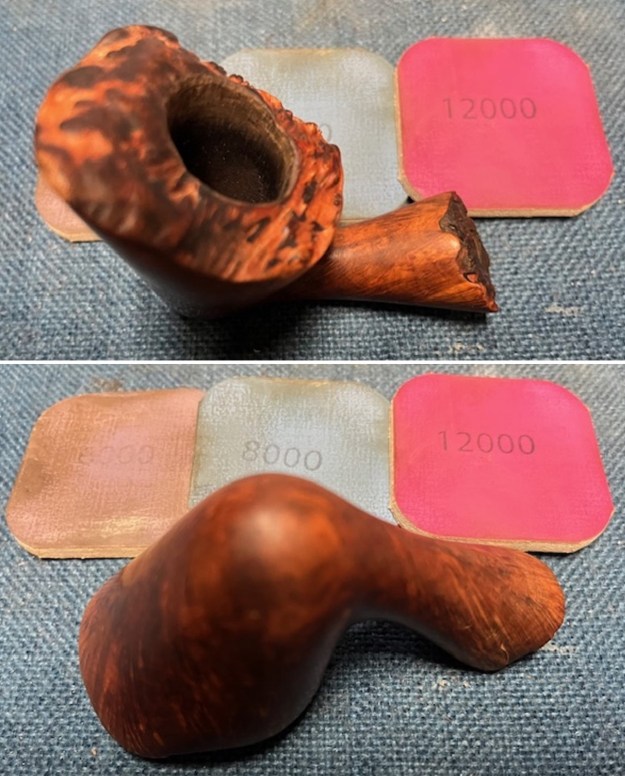
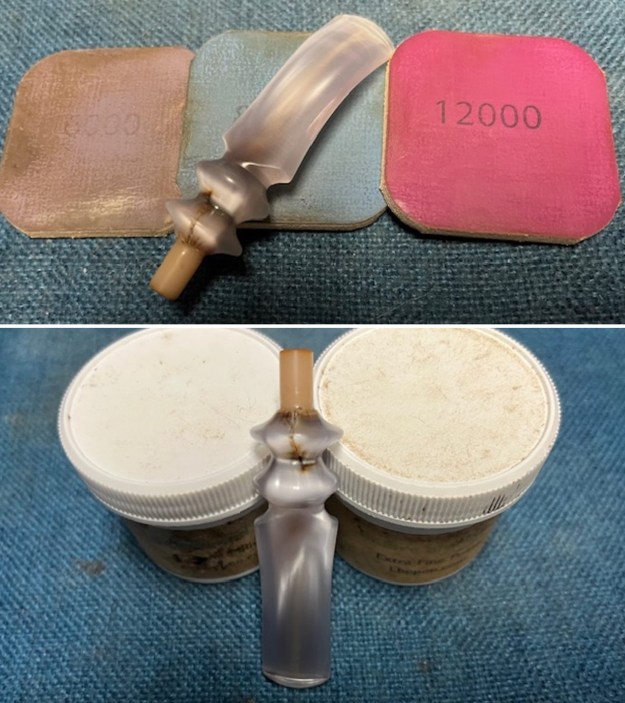
 I polished the briar with micromesh sanding pads – 1500-12000 grit pads. I wiped the bowl down with a damp cloth between pads to remove the sanding debris. By the final pad it shone.
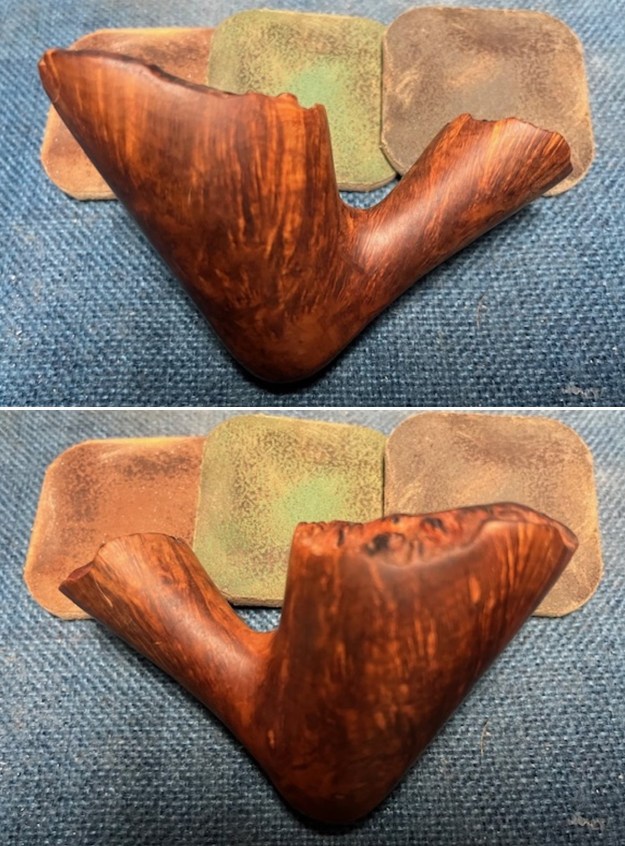
 The bowl looked great after the polishing so I worked some Before & After Restoration Balm into the surface of the briar with my finger tips and a horse hair shoe brush to get into the crevices of the plateau rim top and shank end. The product is incredible and the way it brings the grain to the fore is unique. It works to clean, protect and invigorate the wood.
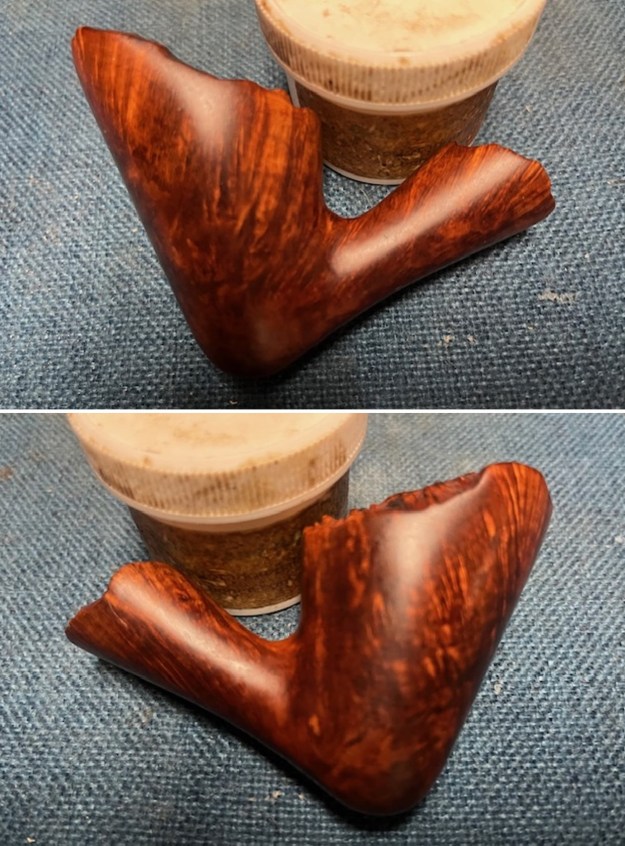
 I set the bowl aside and turned my attention to the stem. Jeff had cleaned out the crack in the top of the saddle during his clean up. I filled in the crack with clear CA glue and built up the repair with multiple layers of the glue. I used several small files to flatten out the repairs in the saddle portion of the stem. I followed that up with a rolled piece of 220 grit sandpaper to smooth it out further.
 I sanded the stem with 320-3500 grit sanding pads to further smooth out the repairs to the saddle portion as well as removing the tooth marks and chatter on the surface ahead of the button. I wiped it down after each pad with an Obsidian Oil cloth. It was looking much better.
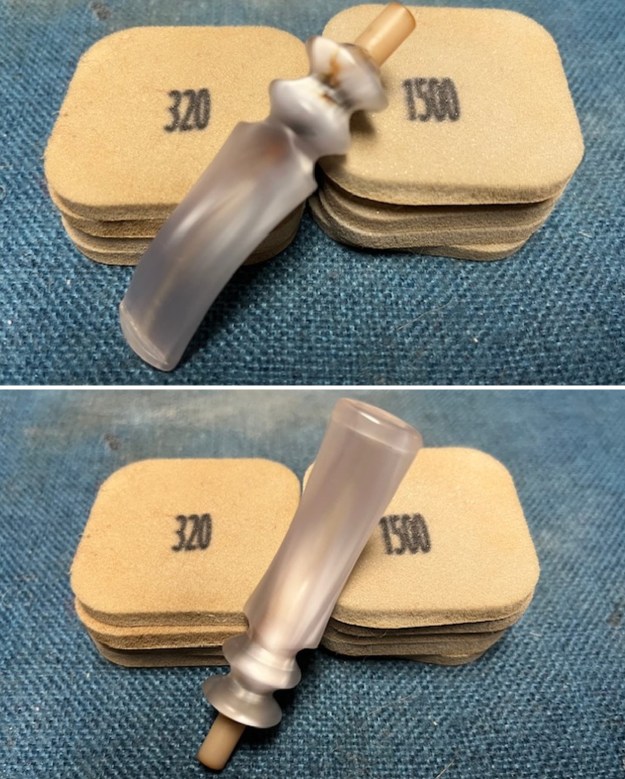 I polished the stem with micromesh sanding pads – wet sanding it 1500-12000 pads. I wiped it down with a damp cloth after each pad to remove the dust and polishing debris. I polished it with Before & After Pipe Polish – both Fine and Extra Fine. I wiped it down with Obsidian Oil and let it sit and absorb.
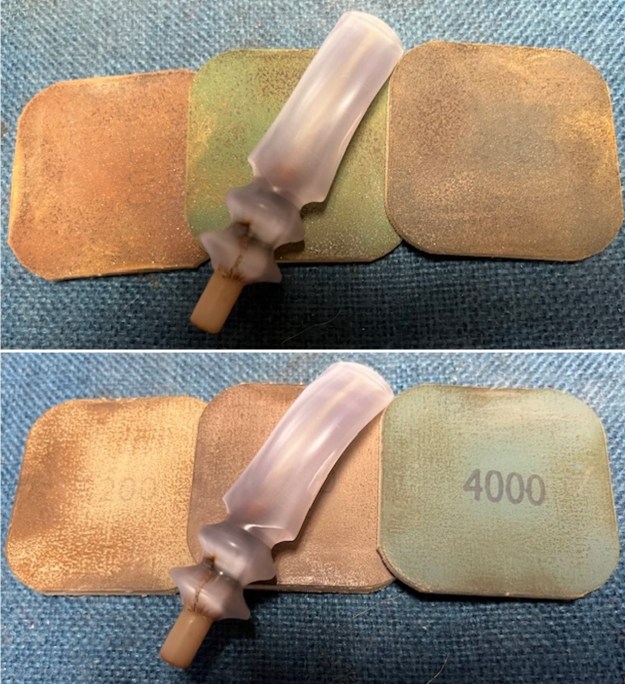
 I polished stem and bowl with Blue Diamond to polish out the remaining small scratches. I gave the bowl and the stem multiple coats of carnauba wax and buffed the pipe with a clean buffing pad to raise the shine. I hand buffed it with a microfiber cloth to deepen the shine. This Soren Hand-Carved Freehand pipe polished up pretty nicely. The plateau on the rim top and shank end and the smooth reddish brown finish works very well with the variegated silver and grey acrylic stem. The cleanup of the previous repair on the replacement tenon and the crack in the saddle worked well and it is solid and unmoveable. The finished pipe is shown in the photos below. I have worked on several Soren pipes by Soren Refbjerg Rasmussen and several Refbjerg pipes over the years and I have always been impressed by his craftsmanship and ability to work a pipe to follow the grain of the briar. He does great work and is quite innovative in terms of shapes, flow and finishes on his pipes. The dimensions of this particular Soren are Length: 6 inches, Height: 2 ½ inches, Outside diameter of the bowl: 1 ¾ inches wide and 2 inches long, Chamber diameter: 7/8 inches. The weight of the pipe is 61 grams/2.15 ounces. It feels great in the hand. This one will be going in the Danish Pipemakers Section on the rebornpipes store. If you wish to add it to your collection let me know. It is a beauty! Thanks for walking through the restoration with me as I worked over this Soren Freehand.