by Steve Laug
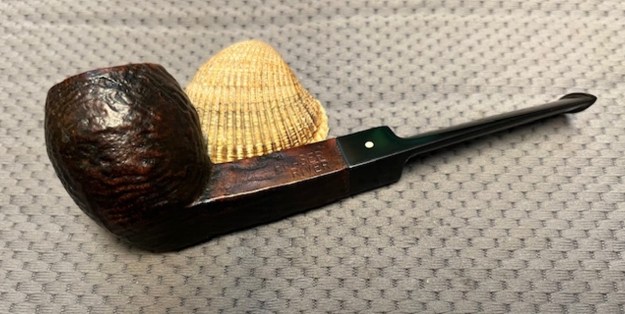
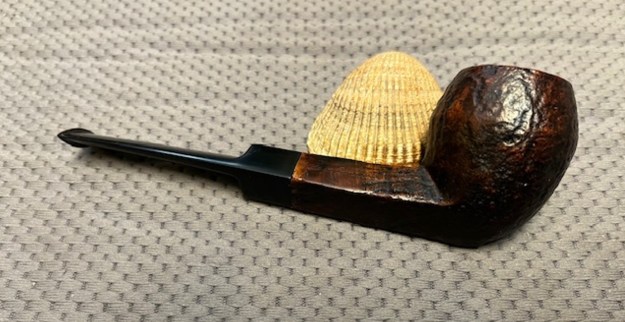
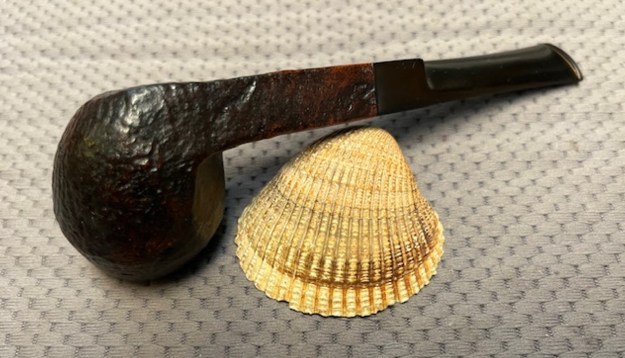
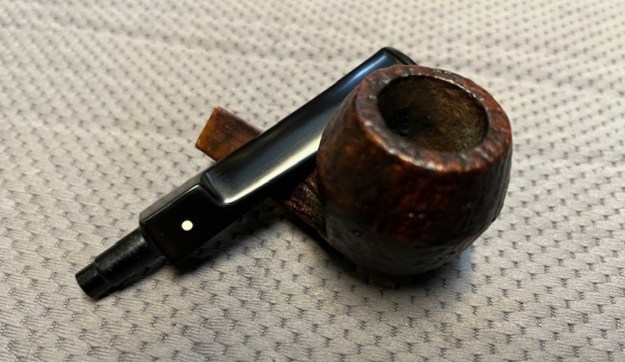
Last weekend Kenneth and I went to an antique show in New Westminster, BC. It is our third year going but still we have no idea what we are going to fine each time we go. It is always a part of the fun to wander through the various stalls and see what the vendors are offering on their tables. There are always surprising things – items that I grew up with that are now called antiques or at least collectibles. If only my foresight had been as good as my memory is now I could have sold many of the things I played with and ate from! But I digress. Back to the pipe hunting. We saw the usual offerings of things Grabow and Medico that were in very rough shape. I think we both have become much more selective over time and we passed on spending time with them. I did a few items that I picked up to restore. I took a picture of the group of fout pipes. In the left column from top to bottom there was a Peterson’s System Standard 1307 (Canadian number on a 307 shape), a Bulldog that was stamped Fraser Valley Made in Canada with a white dot stem and at the bottom was another Peterson – a K&P Dublin Made in Ireland Canadian with a Sterling Silver Band. The one on the right side is an older GBD Nosewarmer with an orific button on the short stem. Not a bad group of pipes to bring to the work table.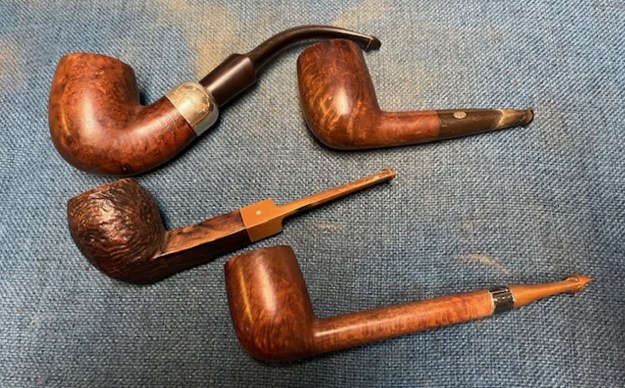 The third of them I chose to bring to the table was the Bulldog the second on down on the left column of the above photo. It is a pretty pipe and bears the stamping on the top left side of the diamond shank that reads FRASER [over] RIVER. On the right side of the shank it is stamped Made in Canada in script. There is a single white dot logo on the top left side of the diamond saddle stem. The bowl, rim top and edges of the bowl are clean. The stem is heavily oxidized, almost brown looking and had light tooth marks and chatter on both sides ahead of the button. I took photos of the pipe before I started my clean up work on it.
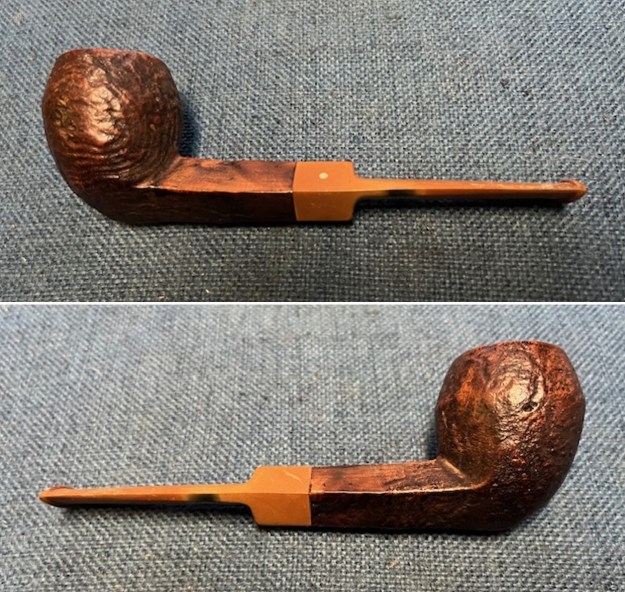
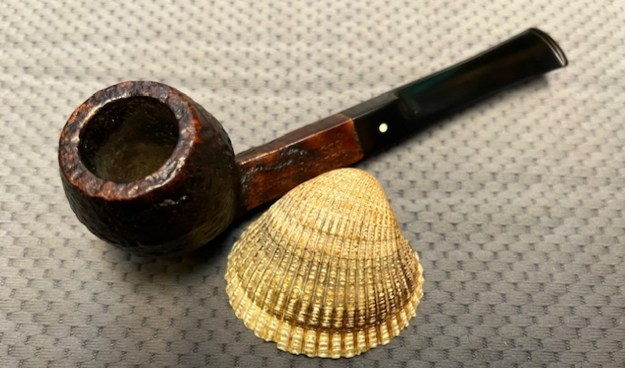
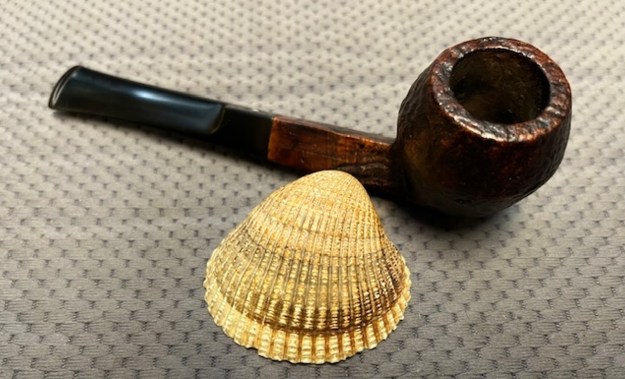
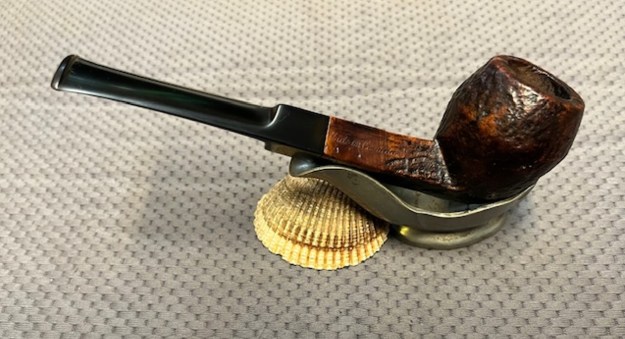
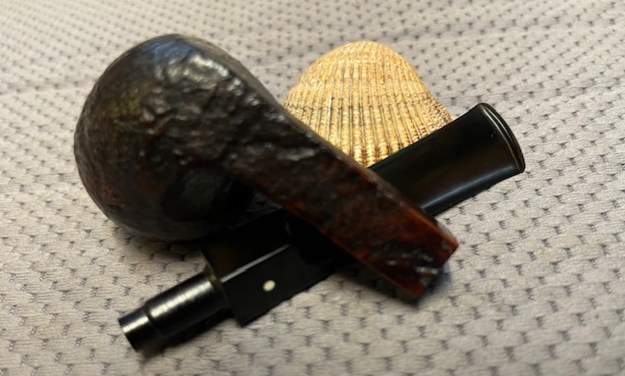
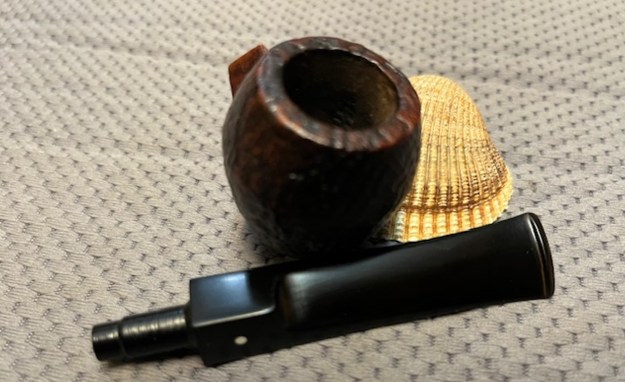
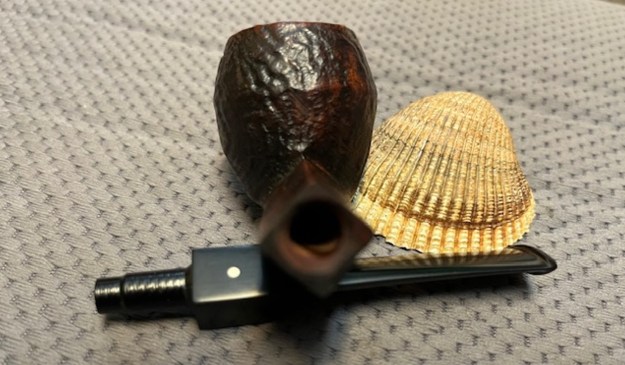
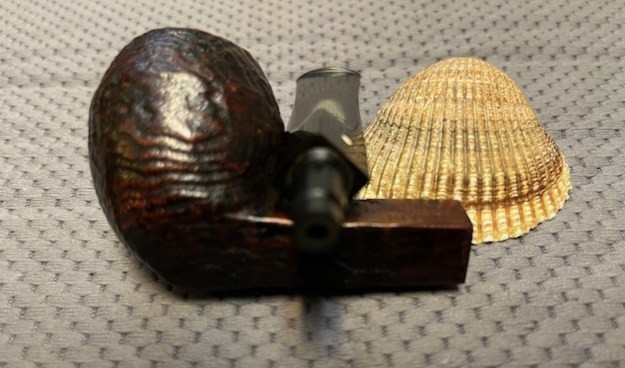
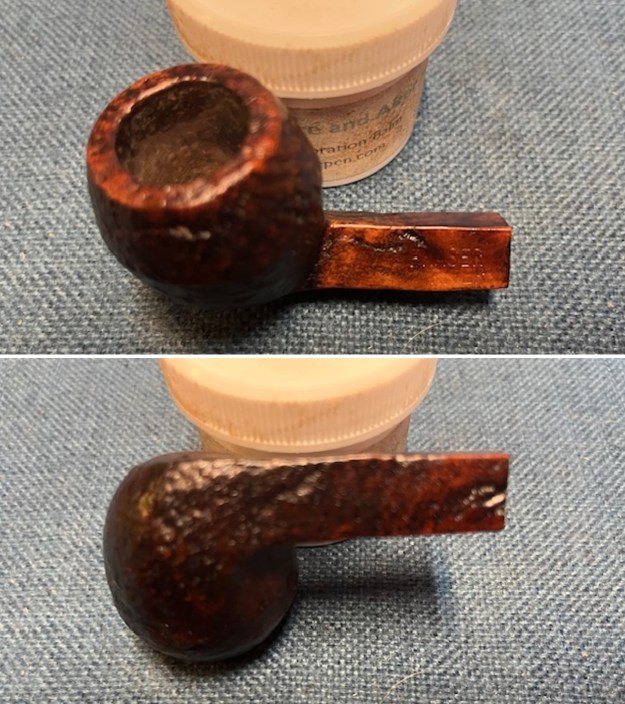
 I took a close-up photo of the rim top to show the condition of the bowl and inner edge of the bowl and the stem. You can clearly see the cake in the bowl and the darkening and lava on the rim top. The stem photos show the oxidation, calcification and tooth marks on the stem.
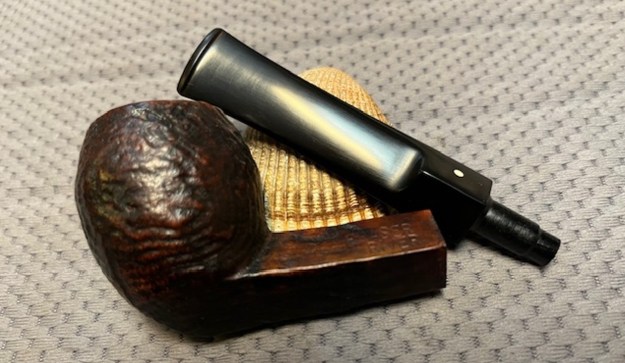
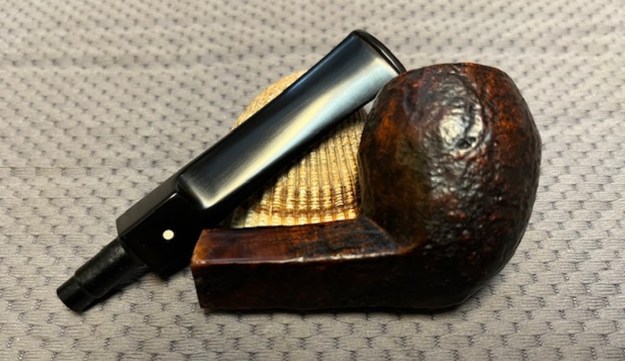
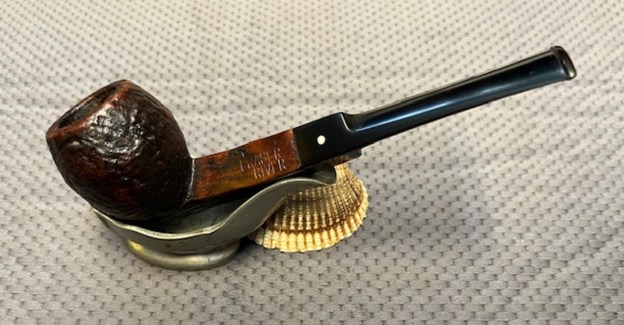
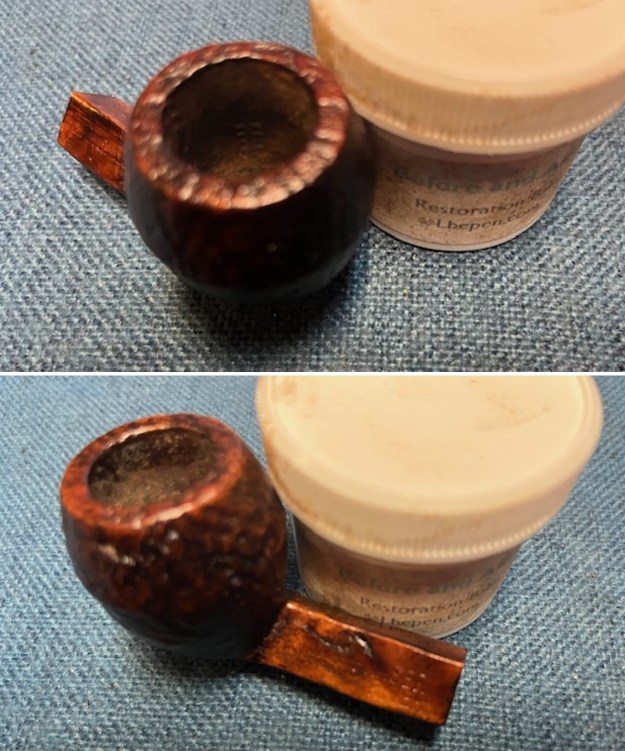
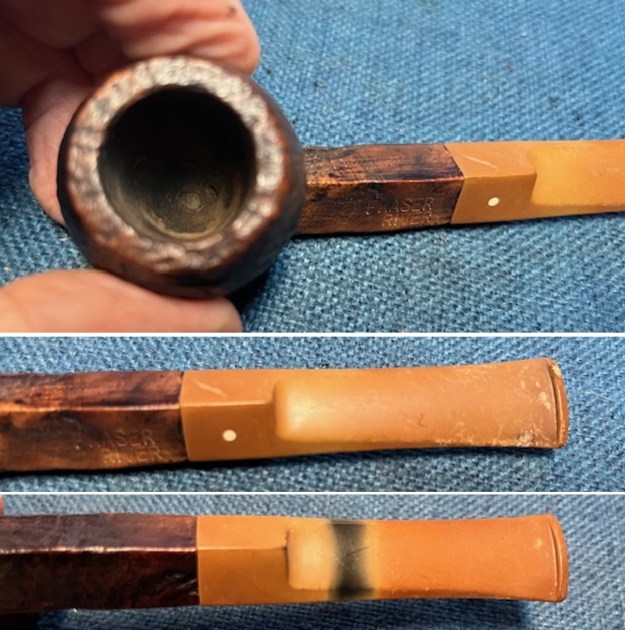 I took a photo of the stamping on the sides of the shank. It is clear and readable as noted above. I removed the stem and took a photo of the parts of the pipe. It is a pretty pipe.
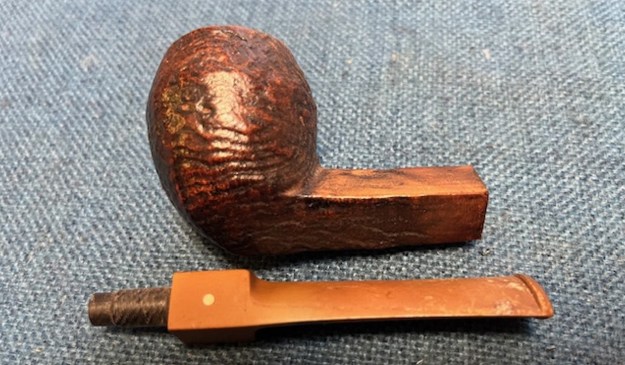
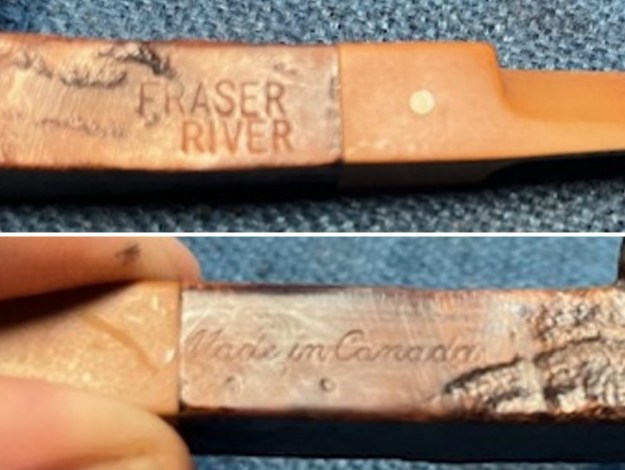
 There was something very familiar with the stamping that both Kenneth and I saw when we picked it up. The Fraser River stamp does not connect to anything for me that I can find. I have hunted and googled and not found a match. However, the Made in Canada stamping on the left side of the shank is what caught our eye. It is identical to the stamping used by Leonard Payne on the pipes that he carved. I have included a photo of the stamping on the Payne below. The Payne signature was not on the Fraser River pipe but the Made in Canada stamp is identical to the one shown in the photos.
 I went back to earlier articles on rebornpipes regarding the Payne pipes. The first one I have included below is of a Payne brochure that I have on the blog. It gives a sense of the design and concepts Payne had. It is an interesting piece of Pipe history. Here is the link to the brochure on the blog (https://rebornpipes.com/2024/03/12/leonard-payne-pipes-ltd-british-columbia-canada-brochure/). I included the front and back cover of the brochure below.
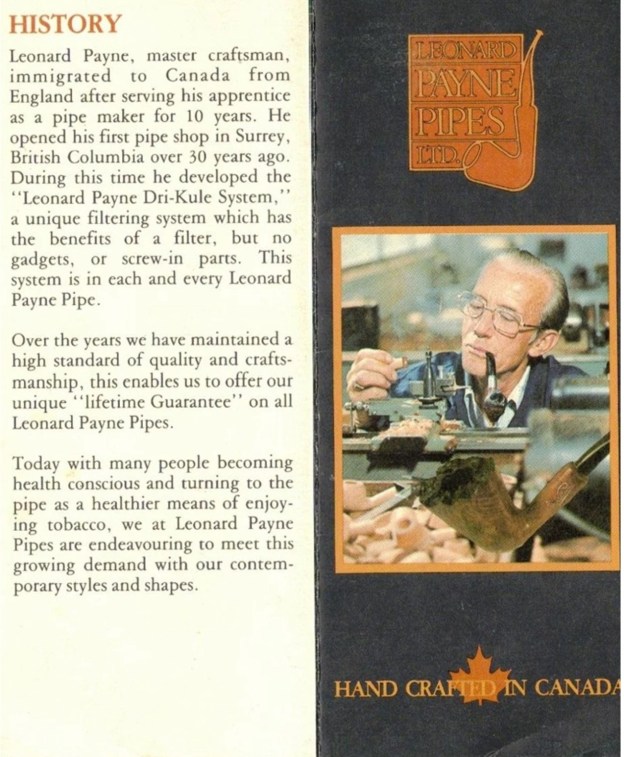 From there I reread an article by Kenneth on the blog about a restoration he did on a Payne pipe (https://rebornpipes.com/2022/10/10/restoring-a-payne-to-its-former-glory/). I quote below from what he found. I have also included Picture that he included from a source on Reddit.
In addition, there was a photograph that Steve found of Payne on Reddit that appears to date from the 1960s. The original poster on Reddit told me that the photo comes from the City of Surrey archives. I have no idea why it is in French (or why it’s in the Surrey archives). Kenneth his translation of the text next to the photo above the photo:
“Pipe makers are not on every street corner in Canada! Leonard Payne, originally from England, didn’t know the challenges he would face and that’s probably what influenced his decision to come and try his luck in Canada. After his arrival in 1957, he and his family settled in Vancouver, where he first found work as a tool maker – and made pipes in his free time. In 1959, he decided to become a full-time pipe maker, and since then he has had department stores in all parts of Canada among his clients. He imports briar blocks from Italy and pipe stems from England.” 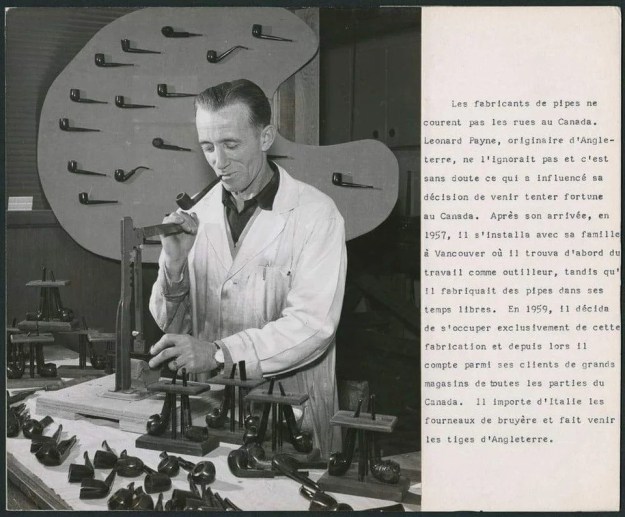 Of course, I have no solid proof that it is a Leonard Payne pipe. In my experience working on quite a few of them over the years I am convinced it is a Payne. To me the Made in Canada stamp lends proof to that.
The interior and the exterior of the bowl was very clean. The sandblast finish was clean and free of debris. The airway in the shank and stem, the inside of the mortise was spotless. I worked some Before & After Restoration Balm into the briar with my finger tips. I let it sit on the bowl for 10 minutes and then buffed it off with a paper towel and soft cloth. The product is a great addition to the restoration work. It enlivens, enriches and protects the briar while giving it a deep glow. It is a product I use on every pipe I restore.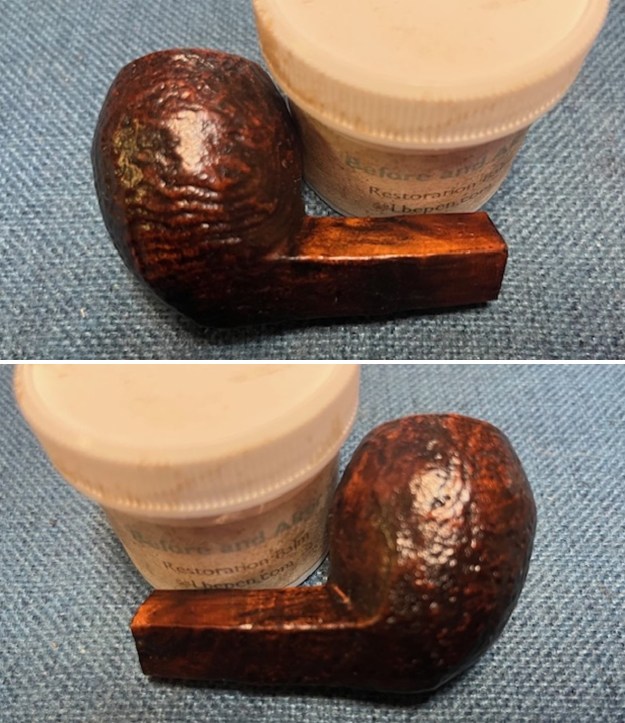
 I set the bowl aside and turned my attention to the stem. The heavy oxidation was going to be a big problem. Nothing seemed to work. I soaked it in some Briarville’s Pipe Stem Deoxidizer for several hours and nothing happened to the oxidation. It did not even make a dent in breaking the oxidation on the stem surface. It seemed impermeable at this point. I changed it up and scrubbed the heavy oxidation with Soft Scrub and cotton pads. After using about a dozen pads it seemed that I had made very little progress in stripping of the oxidation on the surface. I set it aside for the evening then repeated the process with more pads and more soft scrub in the morning. The photos below show the stem after much scrubbing.
 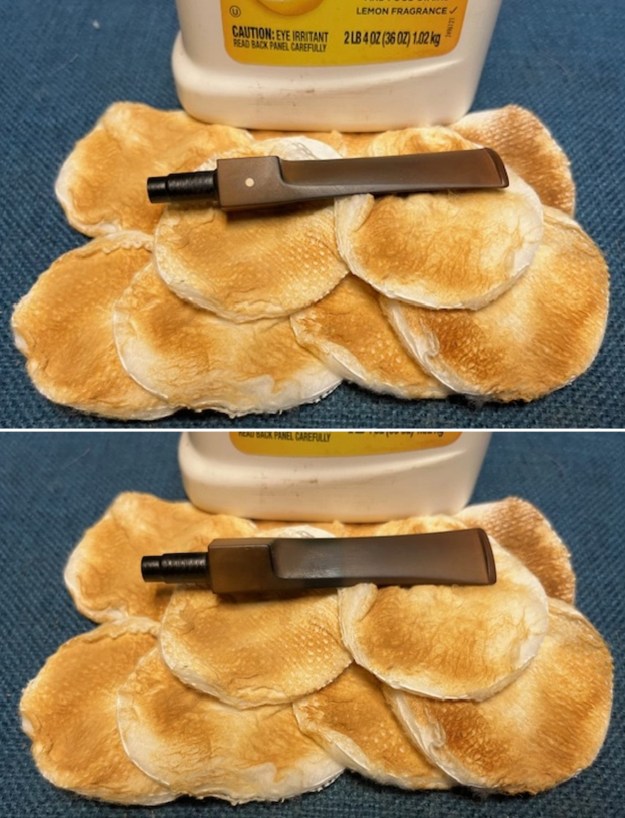 With little progress on the oxidation I decided to fire up the “big guns” so to speak. I took it to the buffer and buffed it with red Tripoli. I worked over the stem repeatedly until I was able to finally cut through the heavy oxidation. While I was making progress for sure a ghost of the rustication remained on the body of the stem. There is some deeper oxidation around the saddle portion where it meets the shank, at the sharp edge of the saddle and on the edge of the button.
  I attacked the remaining oxidation in the body of the stem and the remaining issues one the saddle end and the button end. I sanded the stem with 220 grit sandpaper to work over the saddle, the sharp edge of the saddle and the edge of the button. Once finished it was beginning to look much better. I was getting hopeful that the oxidation might be conquered.
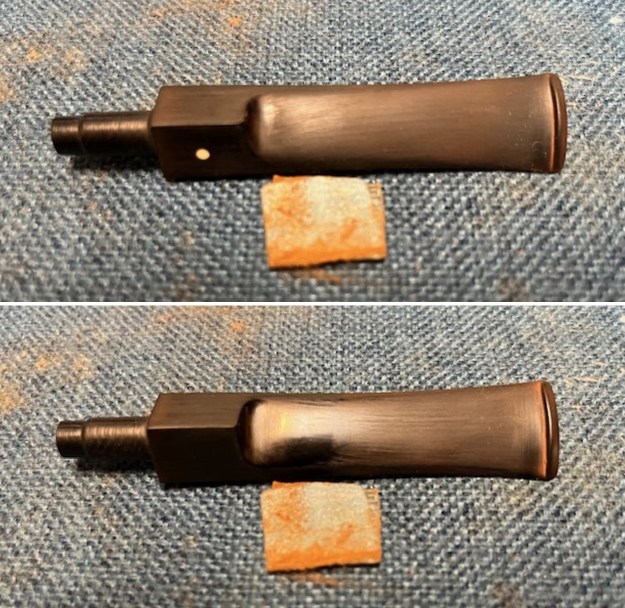 I sanded the stem with 320-3500 grit sanding pads and you can see how well the process had removed the oxidation on the stem surface. I wiped it down with Obsidian Oil after each sanding pad to remove the sanding dust.
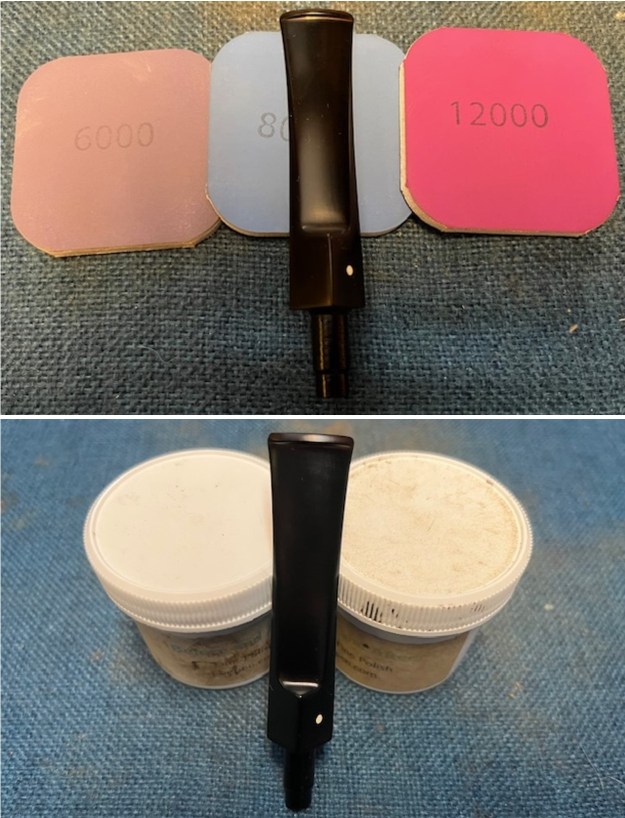
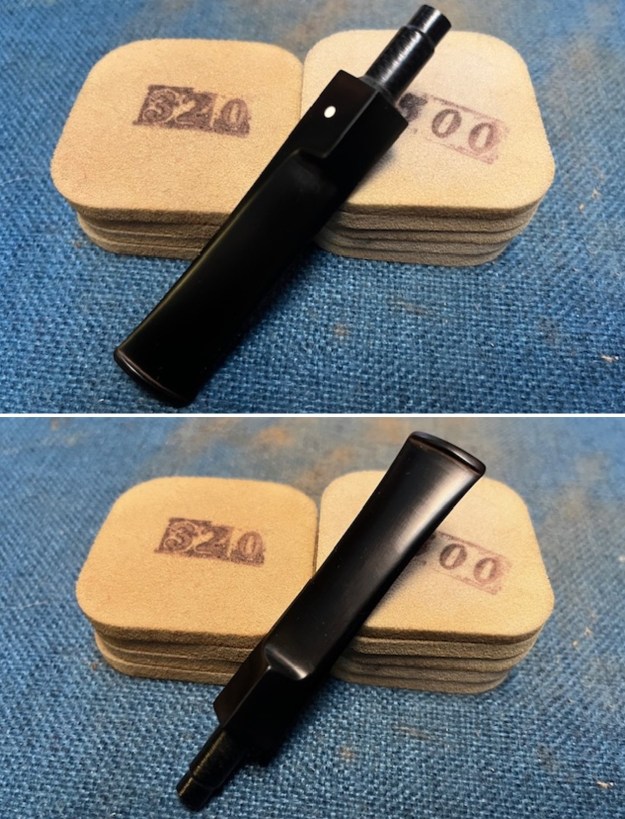 I polished the stem with micromesh sanding pads – dry sanding with 1500-12000 grit pads. I wiped the stem down after each sanding pad with Obsidian Oil to further protect the vulcanite surface. I finished the polishing with Before & After Pipe Stem Polish – Fine and Extra Fine. I wiped the stem down a final time with Obsidian Oil and a cloth. It really looks very good.
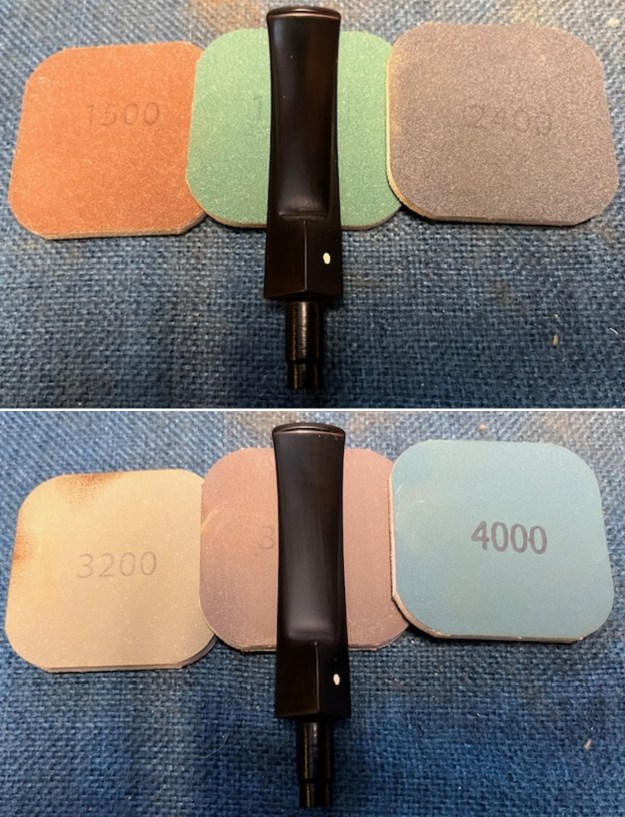
 I am always excited to finish working on a pipe. This Fraser River Bulldog (probably made by Leonard Payne) is no exception. I put the pipe back together and buffed it with Blue Diamond on the buffing wheel. I gave the bowl and the stem multiple coats of carnauba wax. I buffed the pipe with a clean buffing pad to raise the shine and hand buffed it with a microfibre cloth to deepen the shine. It is fun to see what the polished bowl looks like with the black vulcanite taper stem. This sandblasted Fraser River Made in Canada straight Bulldog with a thin saddle stem feels great in my hand. It is light and well balanced. Have a look at it with the photos below. The dimensions are Length: 5 ½ inches, Height: 1 ¾ inches, Outside diameter of the bowl: 1 ¼ inches, Chamber diameter: ¾ of an inch. The weight of the pipe is 33 grams/1.16 ounces. I will be hanging on to this old timer at least for the time being. It is a brand I have never seen before but it cleaned up very well. I will be putting the pipe on the Canadian Pipemakers Section of the rebornpipes store shortly. Thanks for walking through the restoration with me as I worked over this pipe. Thanks to each of you who are reading this blog.