by Steve Laug
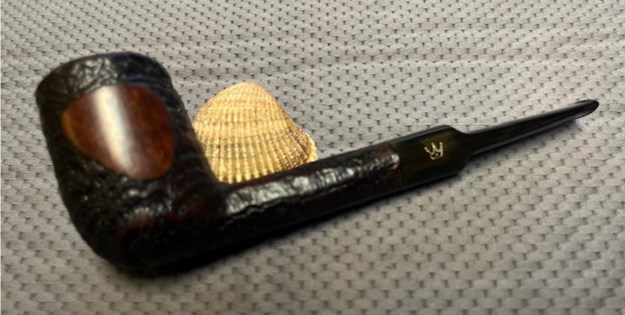
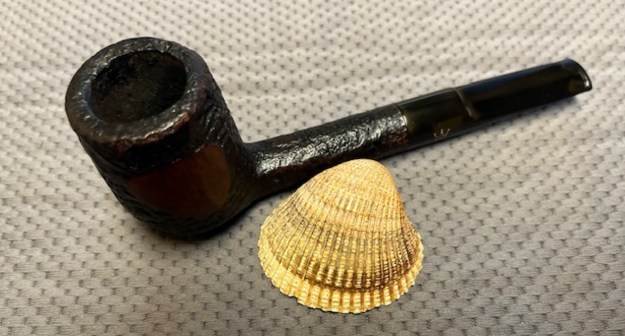
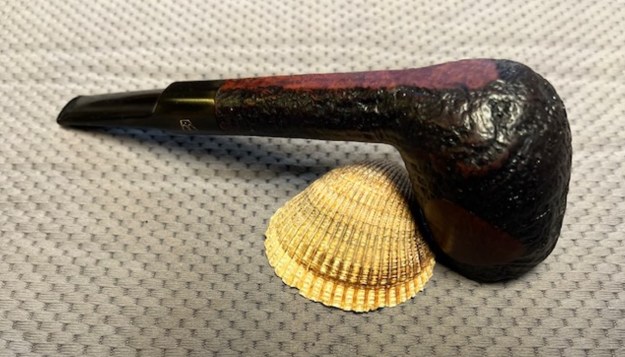
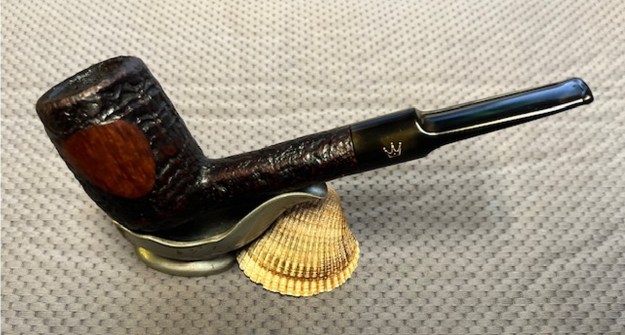
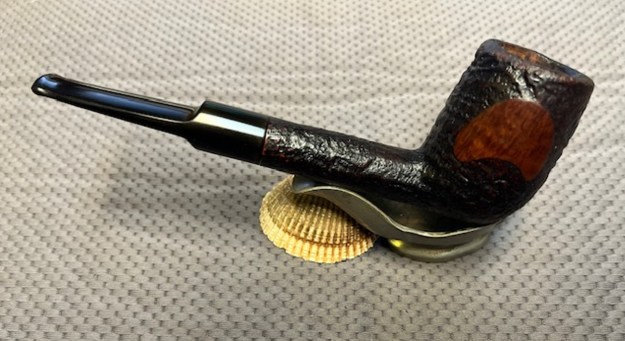
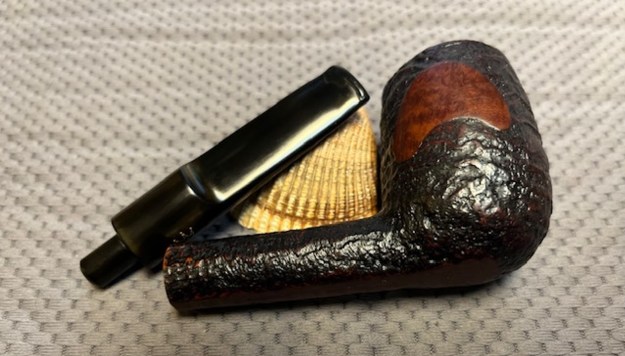
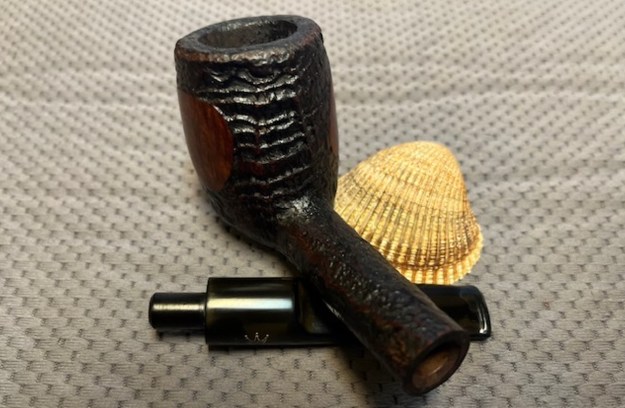
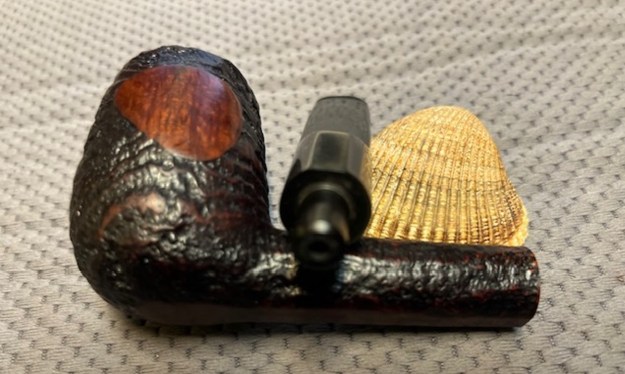
This is the last of the pipes I received from Robert with a group 12 pipes that needed to be restored in various ways from cleanup to restemming. So it is the only one to choose to work on this Royal Danish 981R Large Billiard with a vulcanite saddle stem. The bowl and shank were very dirty with oils and tars on the surface of the sandblast finish and the two smooth panels on each side. There were also some worn spots. The bowl had a thick cake and an overflow of lava in the sandblast of the rim top. The pipe was stamped on the underside of the shank and read Royal Danish [followed by] Made in Denmark [followed by] 981R. There was a Crown logo on the left side of the saddle stem. This one came with the original stem in place on the shank. The stem was a push stem. It was oxidized and had notches on each side ahead of the button. There were light tooth marks on the top and underside of the stem near the button. The button edges were also worn quite thin. I took some photos of the pipe to show its condition before I started my work on it.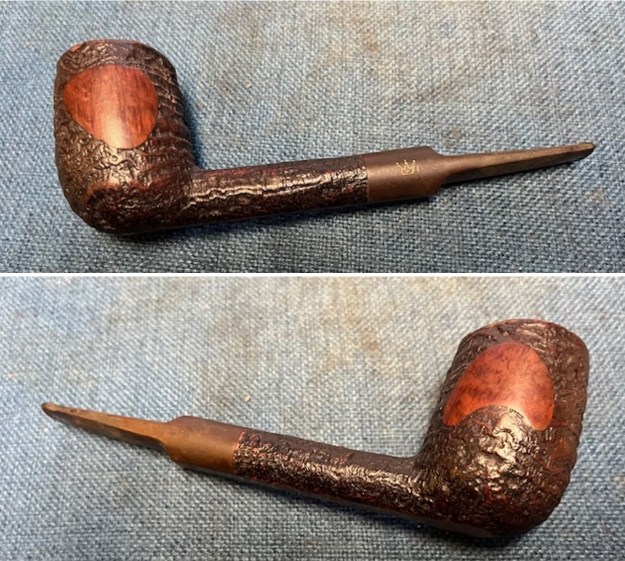
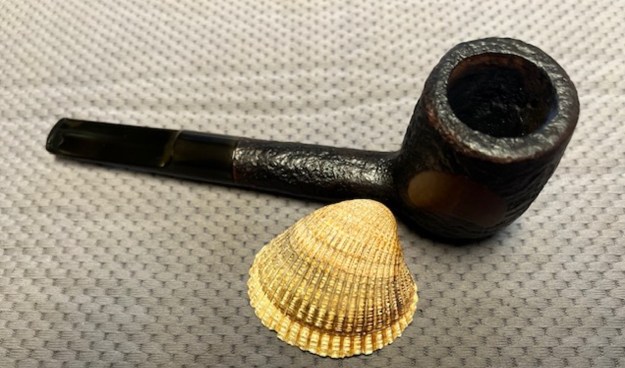
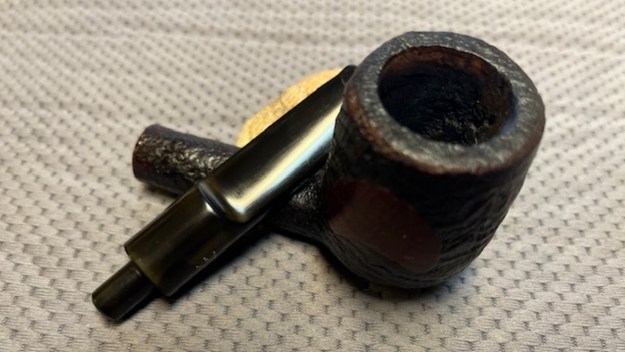
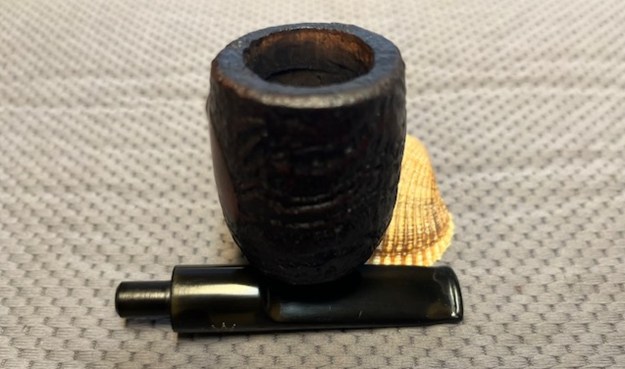
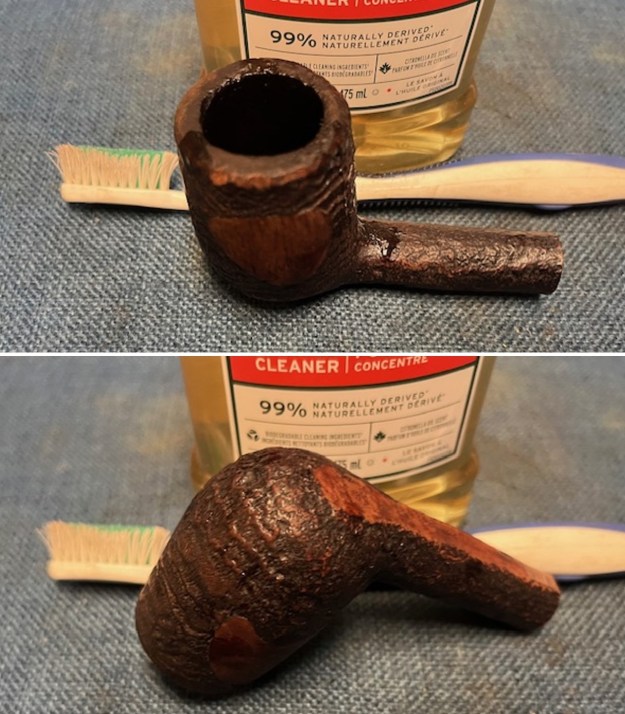
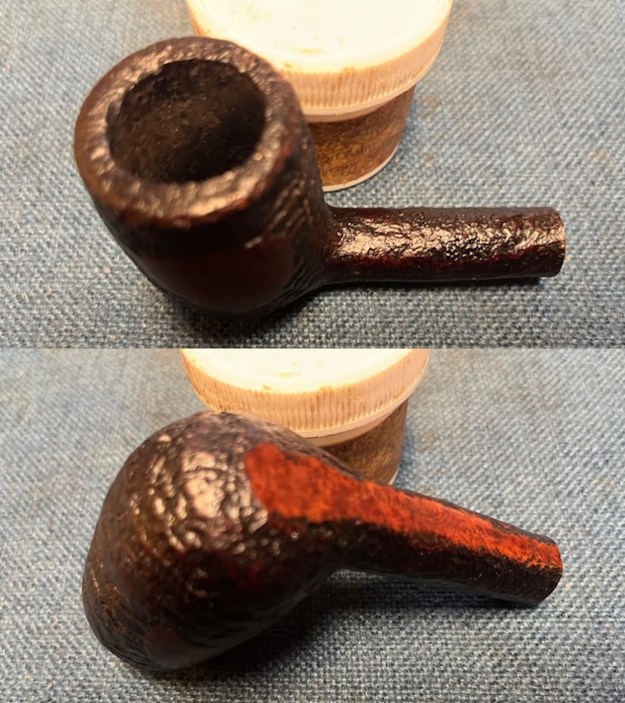
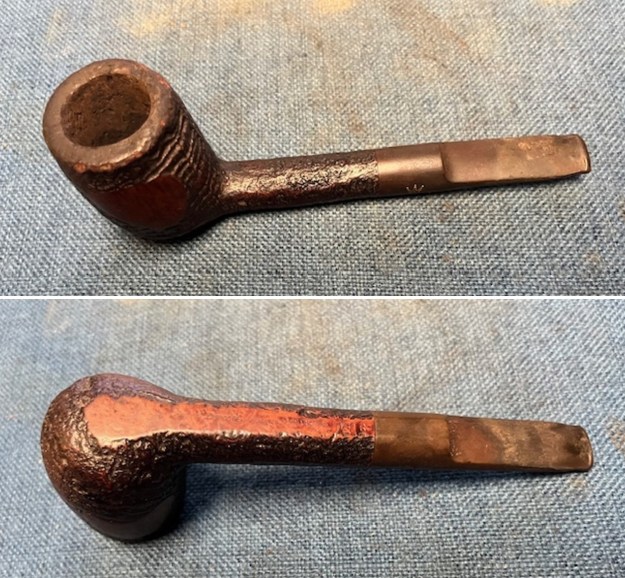 I took some closer photos of the bowl and rim top to show its condition before I started my work on the pipe. You can see the cake in the bowl and the thick lava coat filling in the sandblast on the rim top. The stem photos also show the general condition of the stem as noted above.
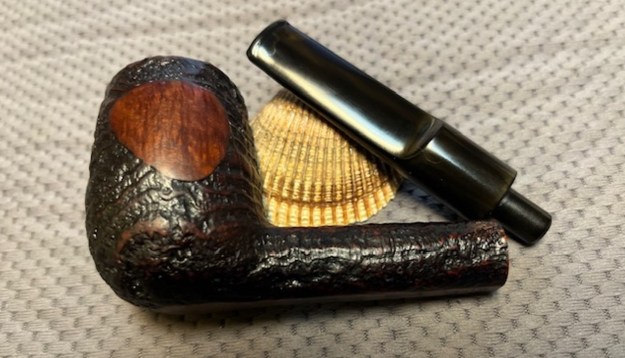
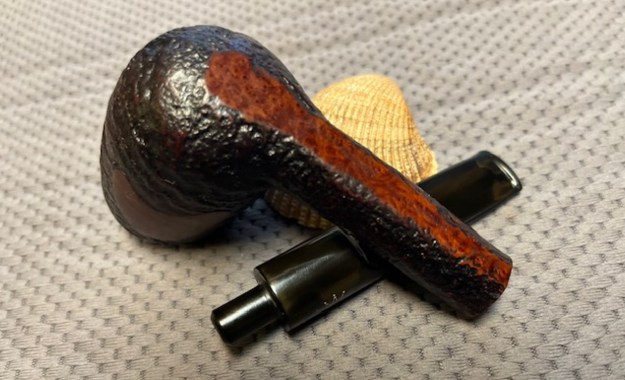
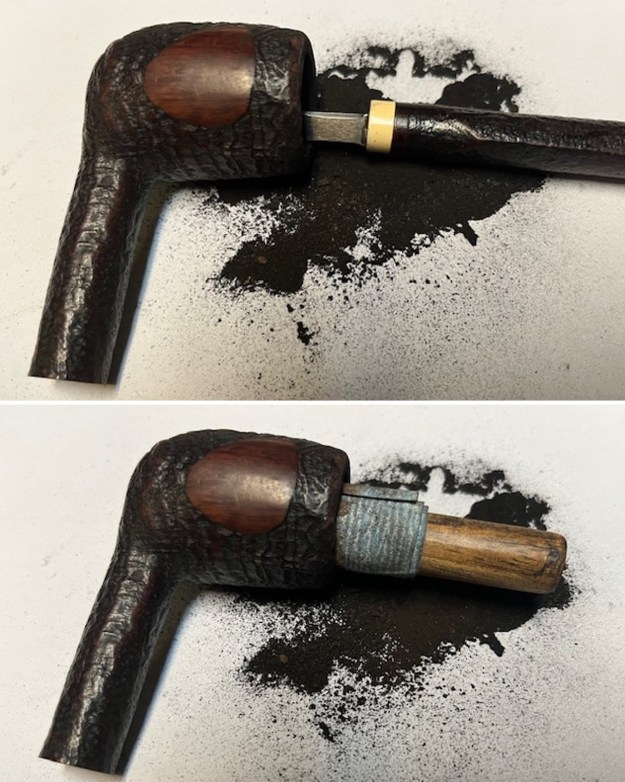
 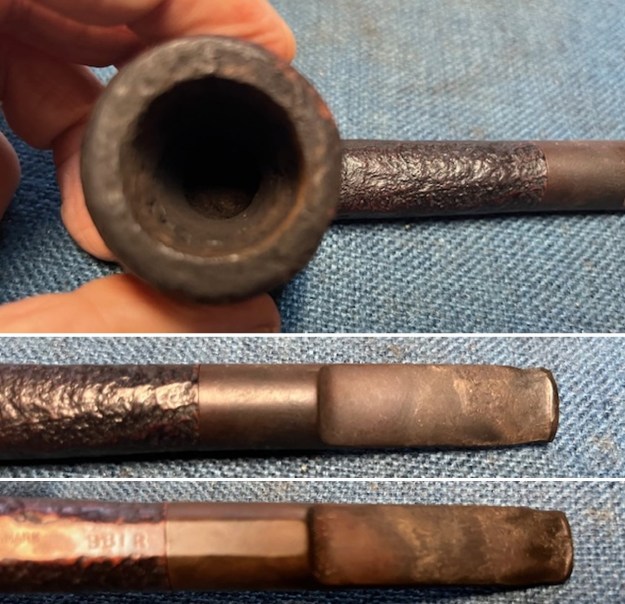 I tried to capture the stamping on the underside of the shank. It is clear, though faint, still readable and reads as noted above. I removed the stem to give a sense of what the pipe looked like with two parts shown side by side. It is a large Billiard shape with a saddle stem.
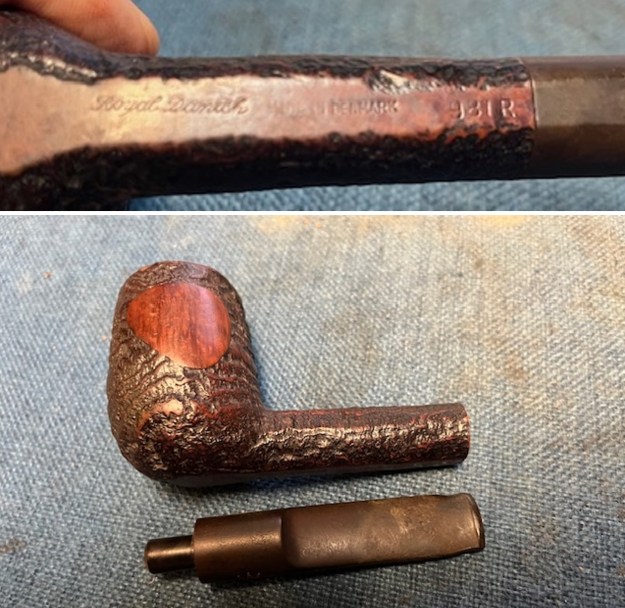 Before I started working on it I did a bit of research on the brand to get a feel for where it fit in the Stanwell line. I was sure that it was a second but wanted confirmation. I turned to Pipephil’s site to see if I could get a feel for it (http://www.pipephil.eu/logos/en/logo-r6.html). I did a screen capture of the information on the site. I found that the brand was indeed made by Stanwell and was one of many second lines that they made. I did a screen capture of the pertinent information and have included it below.
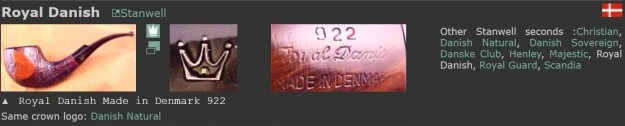 I then turned to Pipedia and found that it was also listed as a second or a sub-brand made by Stanwell (https://pipedia.org/wiki/Stanwell#Sub-brands_.2F_Seconds). I have included the list of seconds from the site below. I have highlighted the Royal Danish in blue in the text.
Sub-brands / Seconds – Bijou (discontinued), Danish Quaint, Danish Sovereign, Danske Club, Henley (discontinued), Kong Christian (discontinued), Majestic, Reddish (discontinued), Royal Danish, Royal Guard, Royal Sovereign, Sailor (discontinued), Scandia, Sorn (discontinued), Svendson.
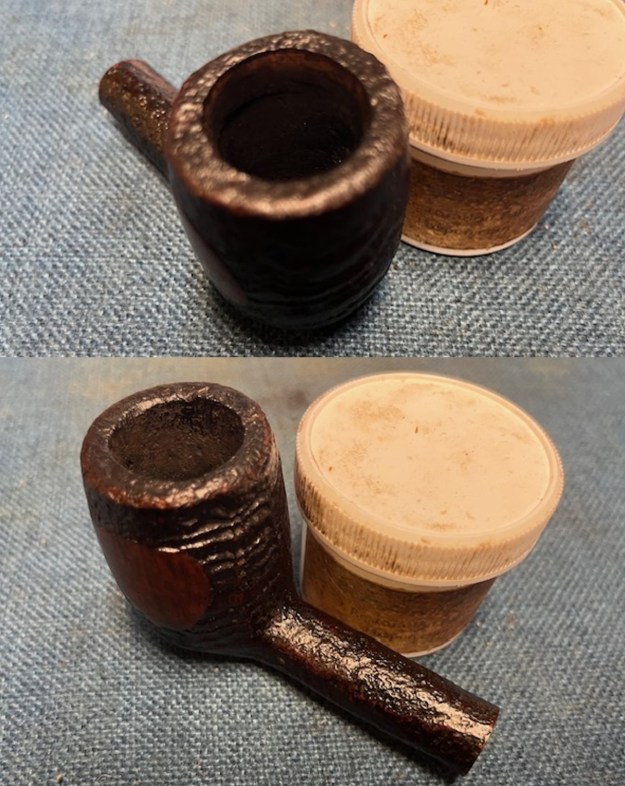
Now it was time to clean up this pipe and get it restored. I reamed the bowl with a PipNet Pipe Reamer using the 2nd and 3rd cutting heads to trim back the cake to bare walls. A lot of carbon powder came out of the bowl. I cleaned up the reaming with a Savinelli Fitsall Pipe Knife and sanded the walls of the bowl with a dowel wrapped with 220 grit sandpaper. Once finished the bowl look quite good.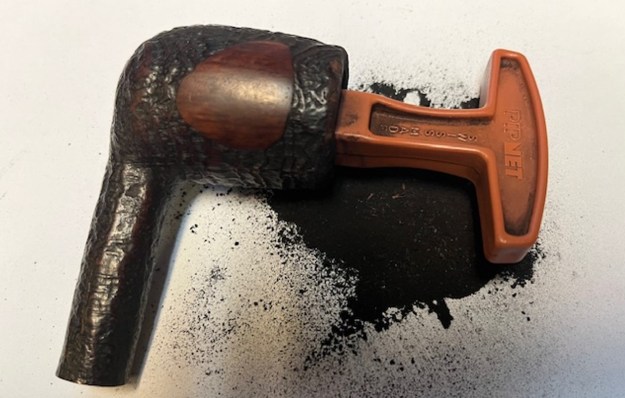
 I worked over the sandblast on the rim top with a brass bristle wire brush to remove the lava coat that was in the blast. The rim began to look much better and you can see the texture of the blast.
 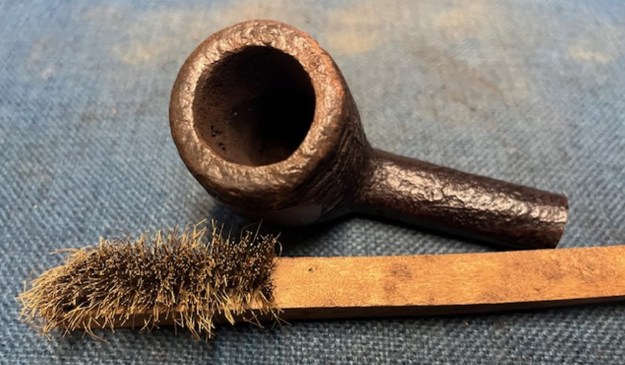 I scrubbed the internals and externals of the bowl with undiluted Murphy’s Oil Soap and a tooth brush. I rinsed off the soap and grime with warm water. I repeated the process several times until the water came off clear. It is a great looking pipe. There is definitely some wear on the outer edge of the rim top but it still should look fine.
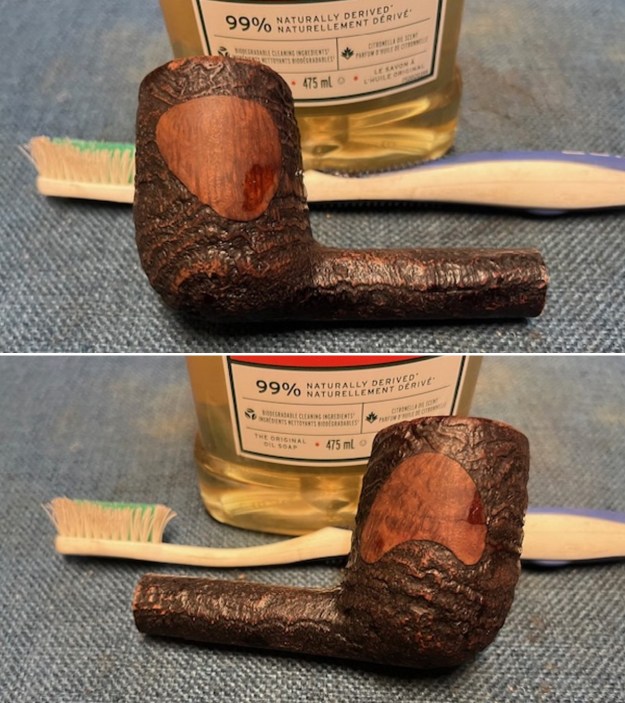
 I touched up the raw briar and faded areas on the rim edges using a Walnut stain pen. It took a short amount of time but the dividend it great. The rim top looks better with the new stain and it matches the rest of the bowl very well.
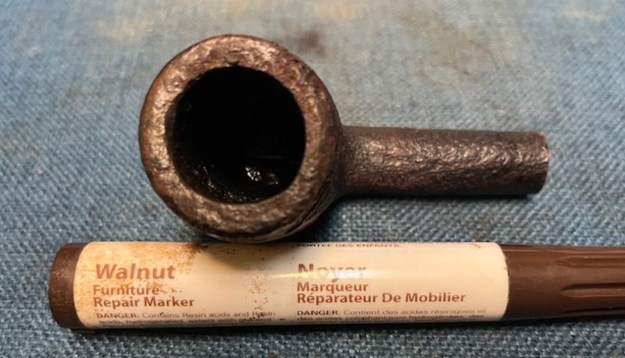 I cleaned out the internals of the shank, mortise and the airway in the stem with alcohol, cotton swabs and pipe cleaners – both regular and bristle. It was a dirty pipe but it cleaned up very well.
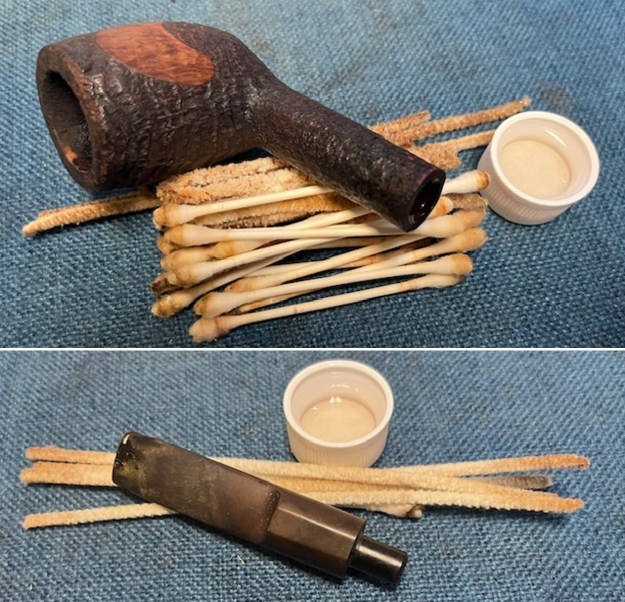 I polished the smooth patches on the left and right side of the bowl with micromesh sanding pads – dry sanding with 1500-12000 grit pads. I wiped the areas down with a damp cloth after each pad to remove the sanding debris. The panels took on a rich shine.
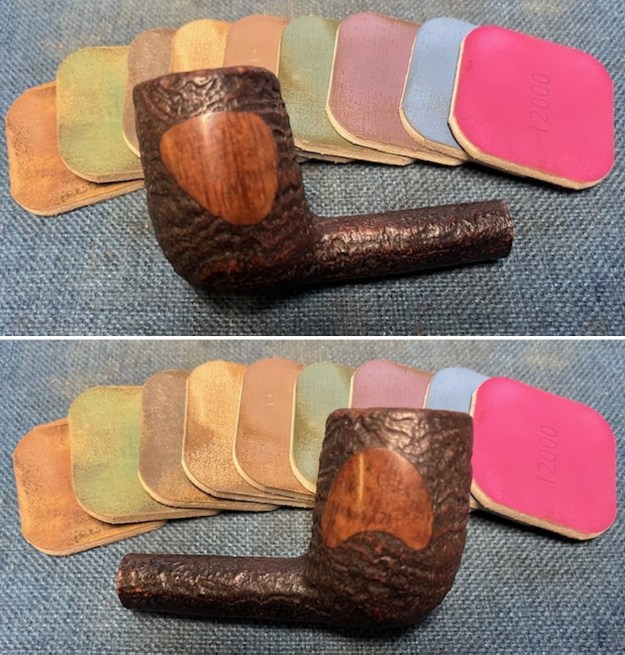 I rubbed the bowl down with Before & After Restoration Balm. It is a paste/balm that works to deep clean the finish, enliven and protect the briar. I worked it into the briar with my finger tips to make sure that it covered every square inch of the pipe. I set it aside for 10 minutes to let it do its work. I buffed it with a cotton cloth. The briar really began to have a deep shine. The photos I took of the bowl at this point mark the progress in the restoration.
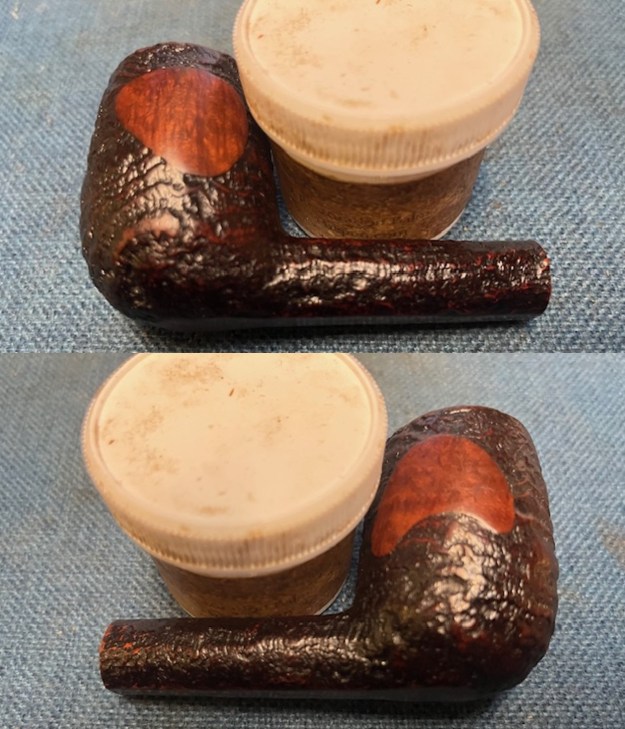
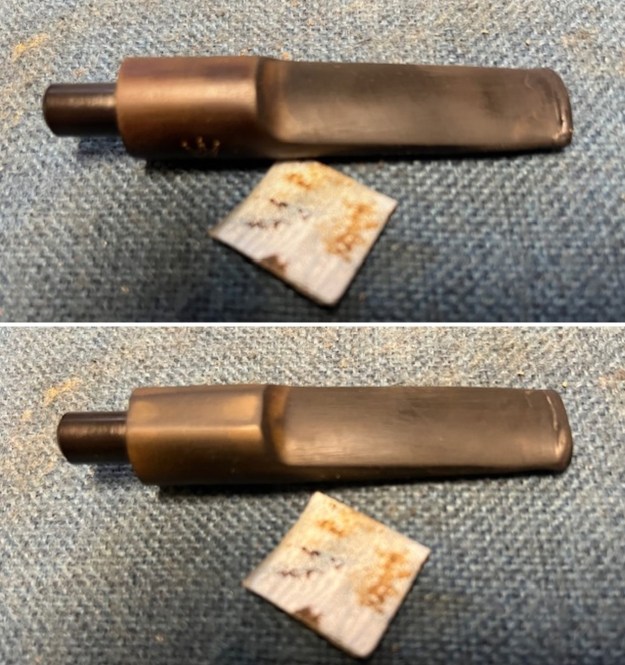
 I set aside the bowl and turned my attention to the stem. This stem was in rough shape. There were tooth marks on the button top on both sides and also on the stem surface. There were notches carved on each side of the stem ahead of the button. I am not sure of the purpose but they were oddly present. I wiped down the stem end and filled in the damaged areas with black rubberized CA glue. Once it cured I recut the button with a small file. I smoothed out the repairs on the stem surface with a folded piece of 220 grit sandpaper. I scrubbed the stem surface down with Soft Scrub to address the oxidation that remained. I finished and wiped it down with an Obsidian Oil cloth.
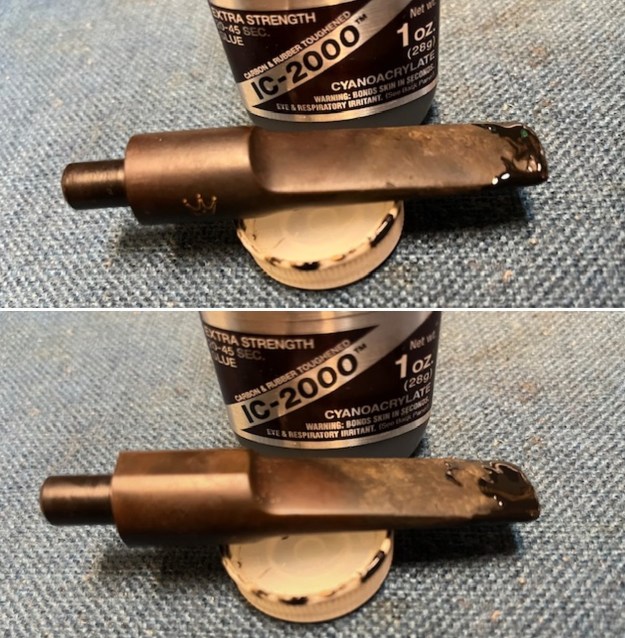
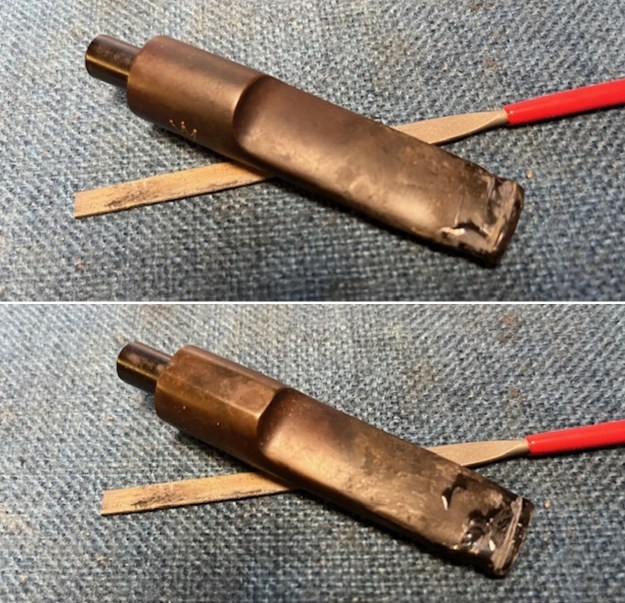
 I continued to sand the stem with 320-3500 grit sanding pads. I wiped the stem down after each pad with an Obsidian Oil impregnated cloth to remove the sanding debris. It began to take on a shine.
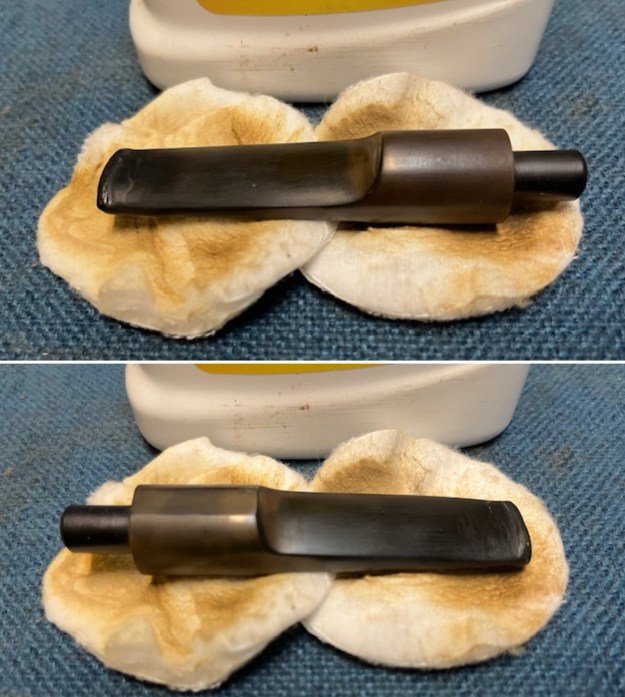
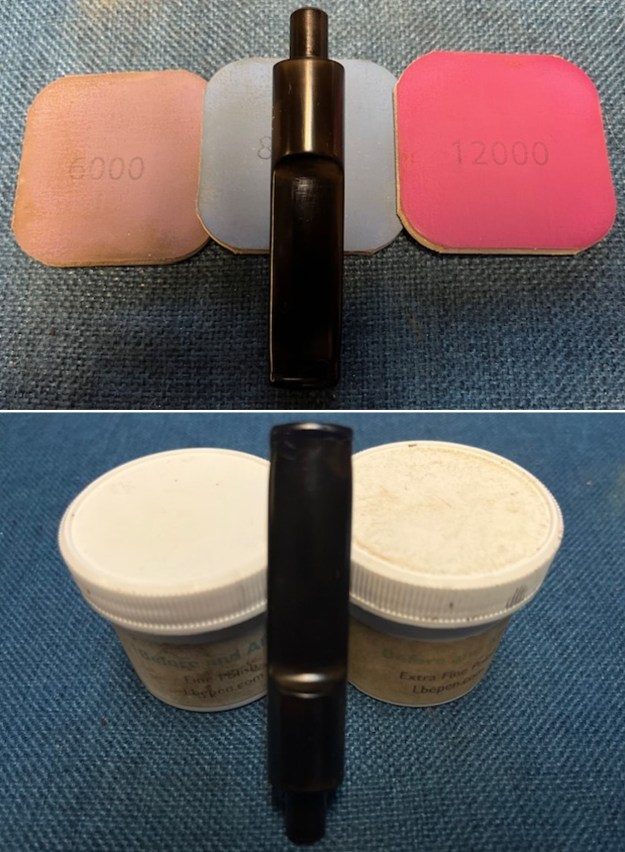
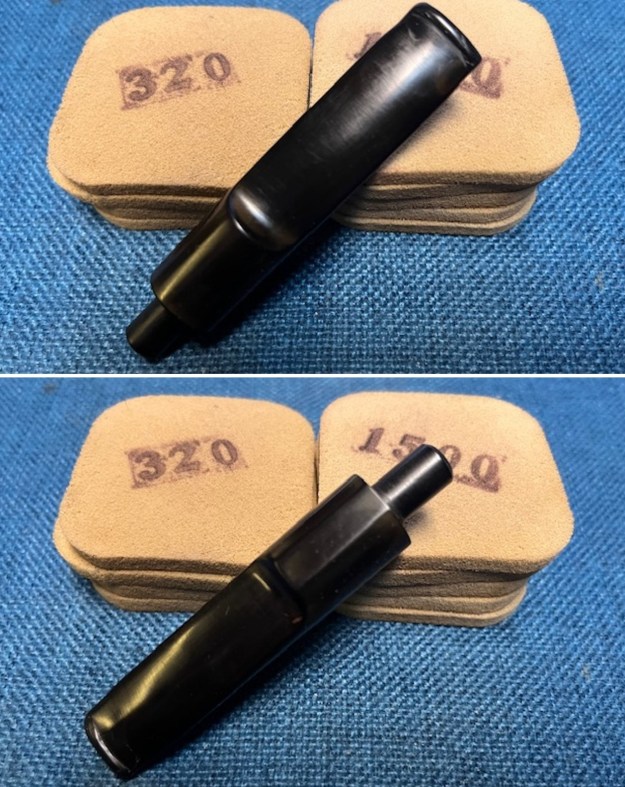 I polished the stem with micromesh sanding pads – dry sanding with 1500-12000 grit pads. I wiped it down with some Obsidian Oil after each sanding pad. I polished it further with Before & After Stem polish – both Fine and Extra Fine and then wiped it down another time with the oil.
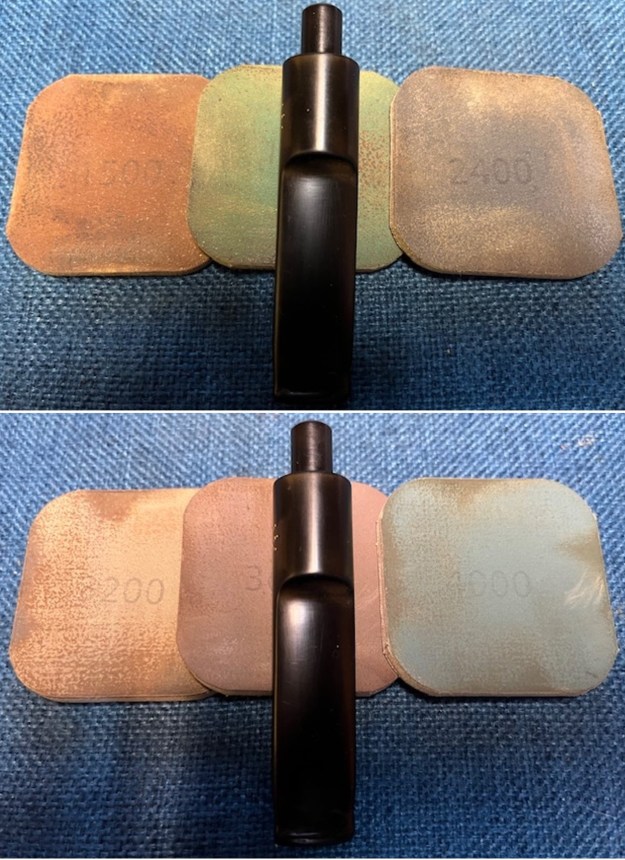
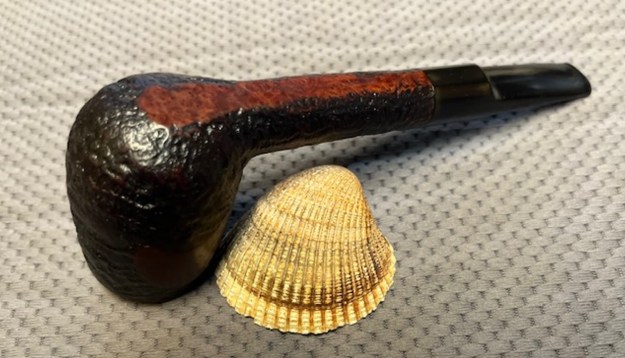
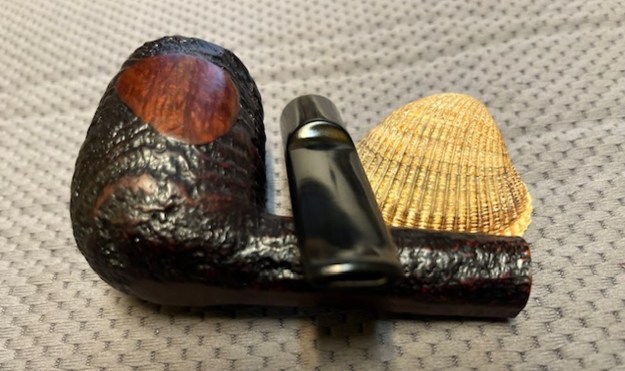
 I put the Royal Danish 981R Saddle Stem Billiard back together. I polished the bowl and stem with Blue Diamond to polish the briar and the vulcanite. I gave the bowl and the stem multiple coats of carnauba wax. I buffed the pipe with a clean buffing pad to raise the shine. I hand buffed it with a microfiber cloth to deepen the shine. The pipe polished up pretty nicely. There were some spots of oxidation around the logo on the stem that I left so as not to damage the stamping. The original brown stains gave depth to the beautiful grain around the smooth bowl patches, the sandblast finish and worked amazingly well with the polished vulcanite saddle stem. The grain around the bowl and shank and looks quite remarkable. There are still some nicks for the pipe’s journey that I left as it is part of the story of the pipe. This is truly a beautiful Royal Danish 981R Large Billiard. The finished pipe is shown in the photos below. The dimensions of the pipe are Length: 6 ½ inches, Height: 2 inches, Outside diameter of the bowl: 1 ½ inches, Chamber diameter: 7/8 of an inch. The weight of the pipe is 1.69 ounces/48 grams. This final pipe will be put in the box and will be mailed back to him early next week. Thanks for walking through the restoration with me. Cheers.
As always, I encourage your questions and comments as you read the blog. Thanks to each of you who are reading this blog. Remember we are not pipe owners; we are pipe men and women who hold our pipes in trust until they pass on into the trust of those who follow us.