by Kenneth Lieblich
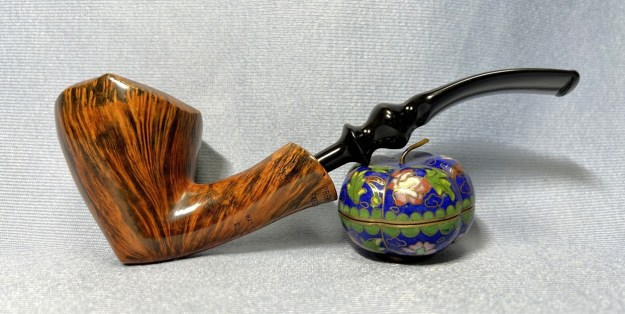
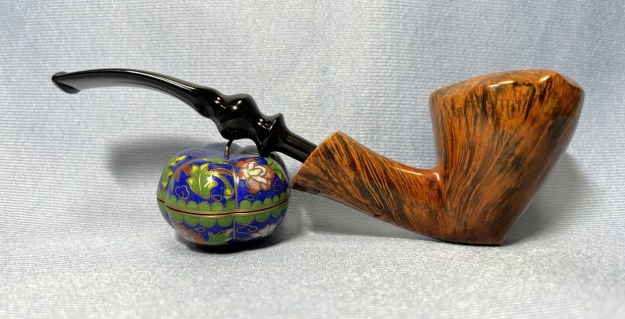
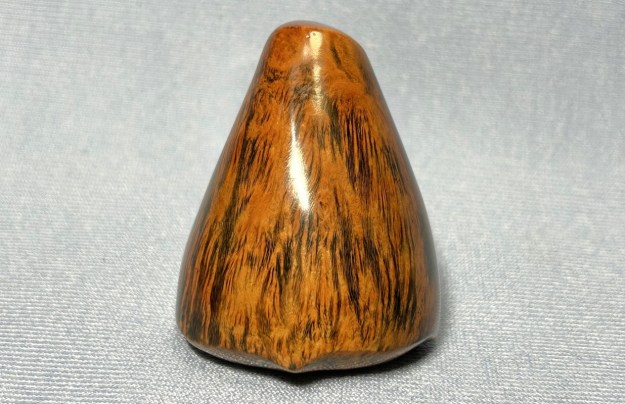
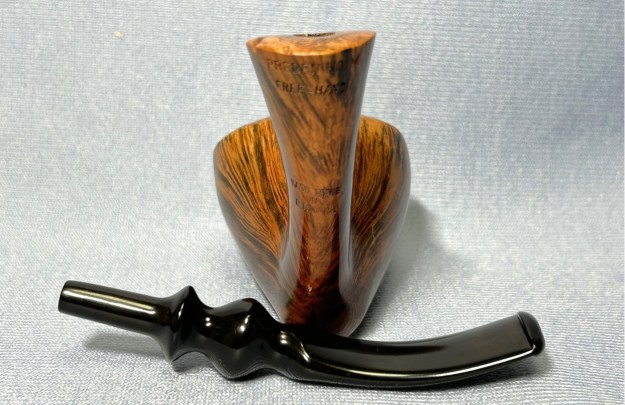
It was my birthday a couple of weeks ago and, much to my surprise, my parents gave me pipes for my birthday! I say “surprise” because my lovely folks were somewhat bemused when I got into the pipe-restoration hobby. However, this would seem to indicate that they have endorsed this great hobby of mine. This pipe is, by far, the nicest of the three I received. It is a Preben Holm 400 Free Hand. The grain is truly wonderful.
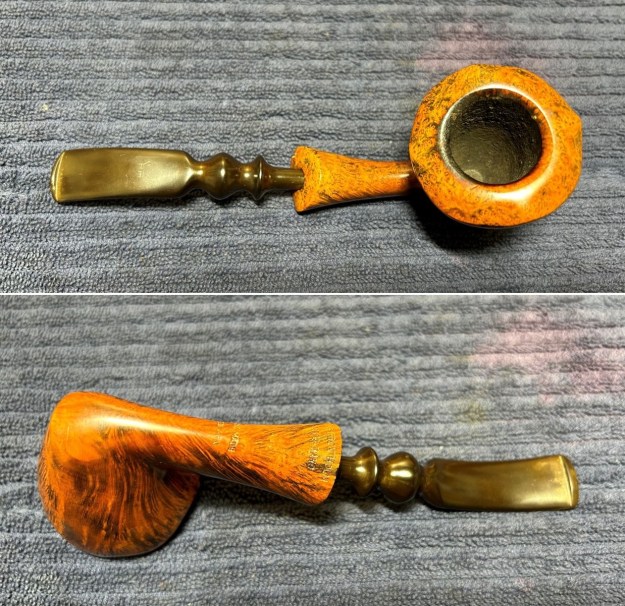
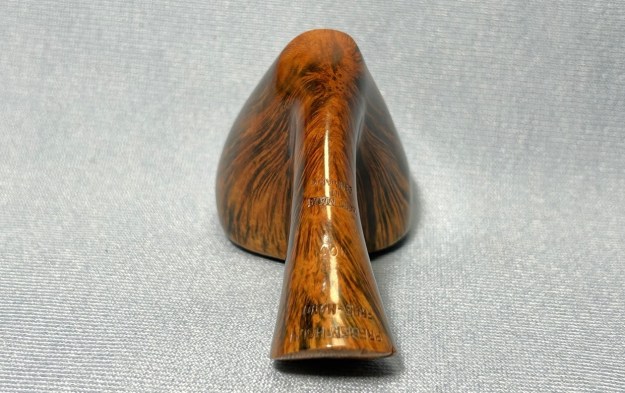
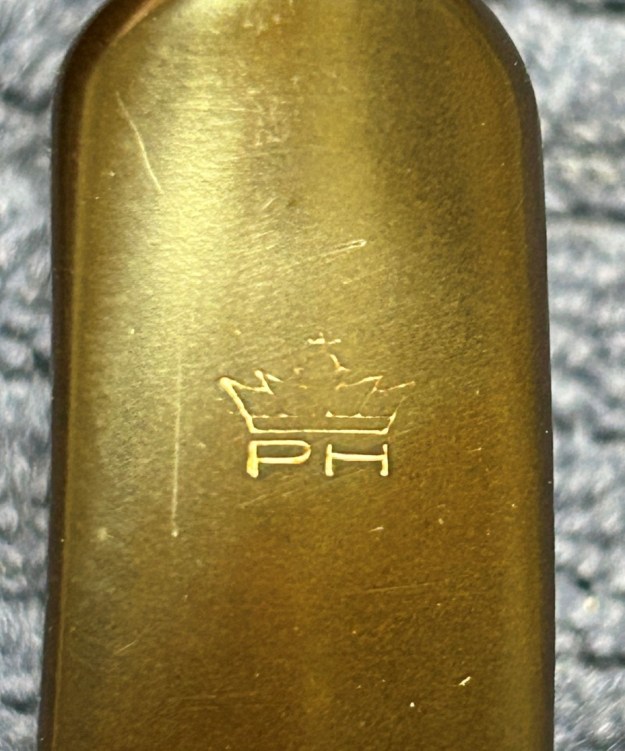
 Fortunately for me, the pipe was in decent condition when I got it. Not too much work required. Let’s have a look at the markings. On the underside of the shank, there are the words Preben Holm [over] Free-Hand [over] 400 [over] Hand Made [over] in [over] Denmark. My mother is of Danish extraction, so perhaps that played a role in this pipe’s selection. Over on the top of the stem, we see a crown above the letters PH (obviously standing for the man himself).
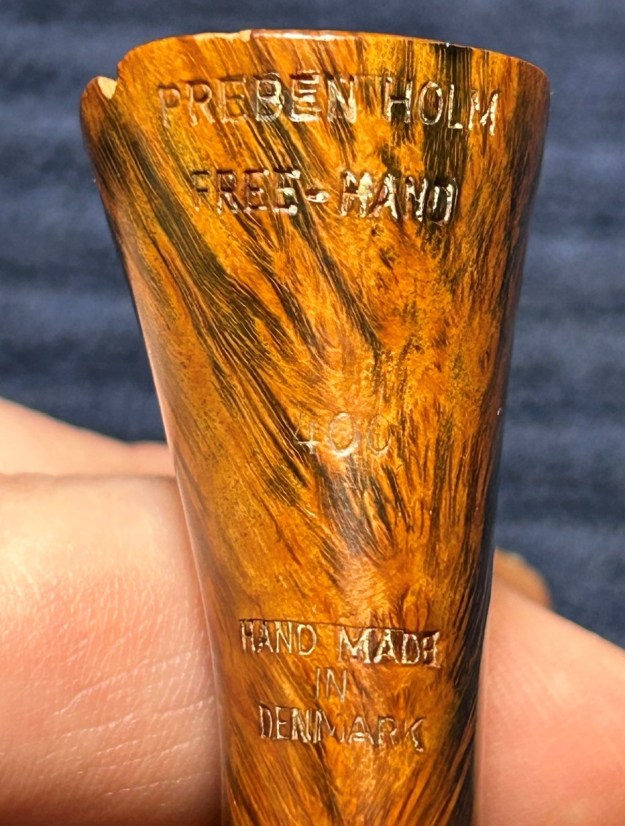
 In the past, I have often wondered about many Danish freehand shapes – especially Preben Holm’s. Sometimes (not always) they seem to be intricate merely for intricacy’s sake – or made to look like a piece of abstract art. However, Preben Holm is a true master of the craft and I don’t feel that sense of unnecessary complexity with this specific pipe. It is genuinely well made and beautiful. Let’s learn a bit more about Preben Holm and his pipes. Pipedia’s article about him says:
Preben Holm (1947-1989) has set some marks in pipe history. Just before his 16th birthday in 1963 he sold pipes to the legendary Pipe-Dan shop and at the age of only 22 he headed 45 employees. He was among the first Danish artisans who made “Danish pipe design” famous in the USA in the 1960’s. More than that he was one of the very first carvers who exceeded this moderate Danish Design which based on the classical shapes. “Chasing the grain” they turned out wild and dramatic fancy pipes. Combining smooth with blasted surfaces, showing big areas of the original bark at the top of the bowl and at the end of the stem, these pipes were quite shocking to many elder and more conservative pipe smokers. When he started to sell his pipes to Lane Ltd. under the Ben Wade label, he caused a hype fairly beyond comparison. Especially in the U.S., as most of his pipes were sold there.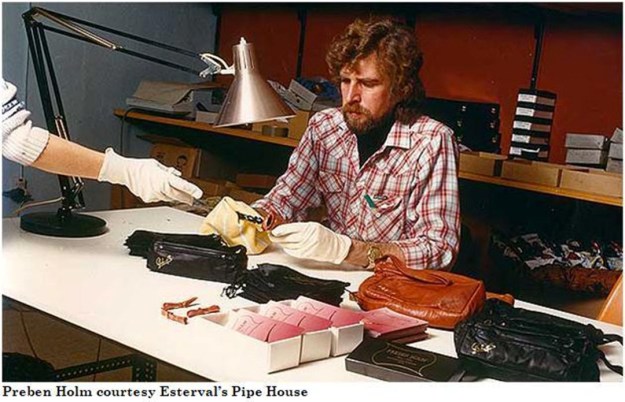 The Pipedia article also goes on to provide the very interesting tale of his business written by the man himself. I recommend reading it, although it deftly sidesteps discussing his own inner demons. In the same article, Poul Winslow says about Preben Holm:
Preben was a genius. Maybe a bit wild, always flying from idea to idea and impatient for results. But could he turn a pipe! Some of the most extreme free-hands came out of our workshop in the ’70s, and whatever his critics say, they sold like crazy, mostly in America. And when it came to finishing, he was the best in the business. There are a number of forums and websites that talk about his grading system. Unsurprisingly, much of this information is muddled, contradictory, or applicable to the Ben Wade pipes he made. From what I can understand – and I am happily corrected by those who know more – the era of pipes from which my pipe came used a grading system (ascending) of 100 to 500. Regardless of the accuracy of that information, my pipe is a 400.
Holm had a line of pipes called “Crown”, which, fittingly, had a crown on the stem – just like mine. However, all the examples of Crown pipes I’ve seen state that word on the pipe and that word isn’t on my pipe. The other point of mild frustration is that I seemingly have no way of dating this pipe, other than the unhelpfully and nebulously statement that it was made “in the ‘70s”. In 2020, Steve wrote an article about a PH Crown that he restored. It is not the same as mine and doesn’t have the same markings, but there is some indication that this pipe might have been distributed in the US by Lane Ltd under Preben Holm’s own name. Moving on…
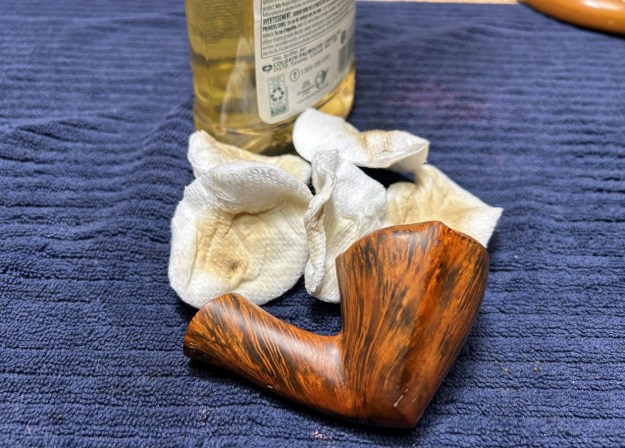
I began work on the stem. Nothing especially remarkable here, but I needed to pay attention to the crown logo and PH because they were not as distinct as one would wish. I wiped down the outside of the stem with oil soap on some cotton pads. I also took a BIC lighter and ‘painted’ the stem with its flame in order to lift the little bit of tooth chatter. This helped a bit. Then, I cleaned out the insides of the stem with pipe cleaners and isopropyl alcohol. 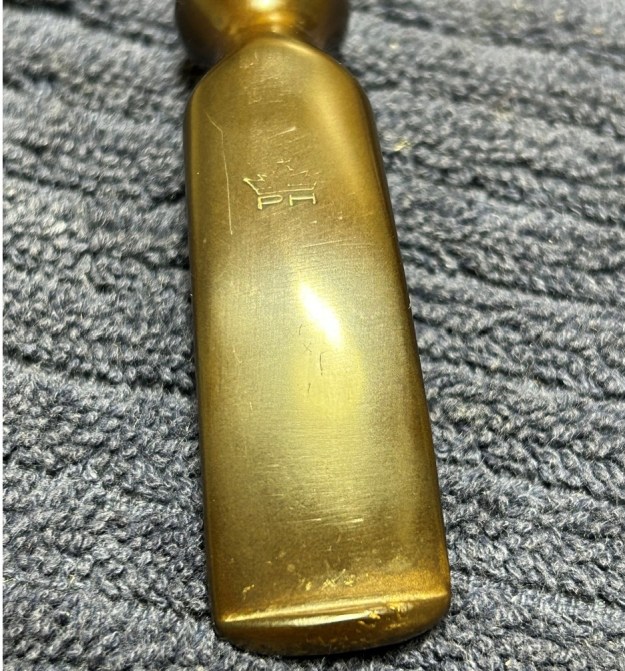

 Once this process was done, I used some cleanser and cotton pads to wipe down the stem. I covered the logo with a dab of petroleum jelly before throwing it in the Pipe Stem Oxidation Remover overnight. The following day, I cleaned all of the de-oxidizing mess and used a toothbrush to remove the leftover oxidation. This worked well.
 I then used all nine Micromesh pads (1,500 through 12,000 grit) to bring out the lovely black lustre on the stem. I also used Obsidian Pipe Stem Oil in between each pad scrubbing.
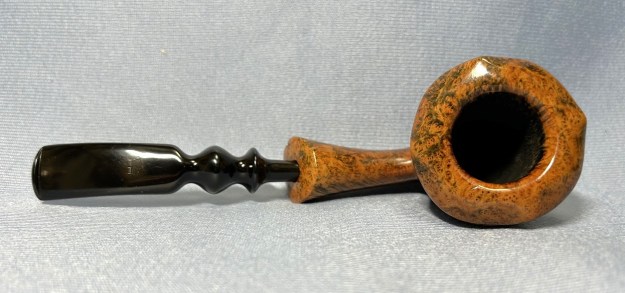
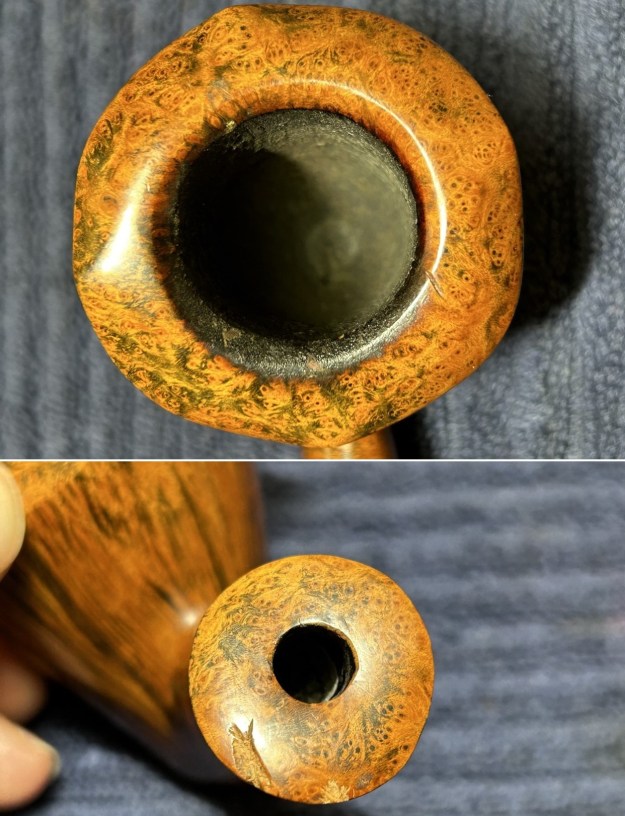
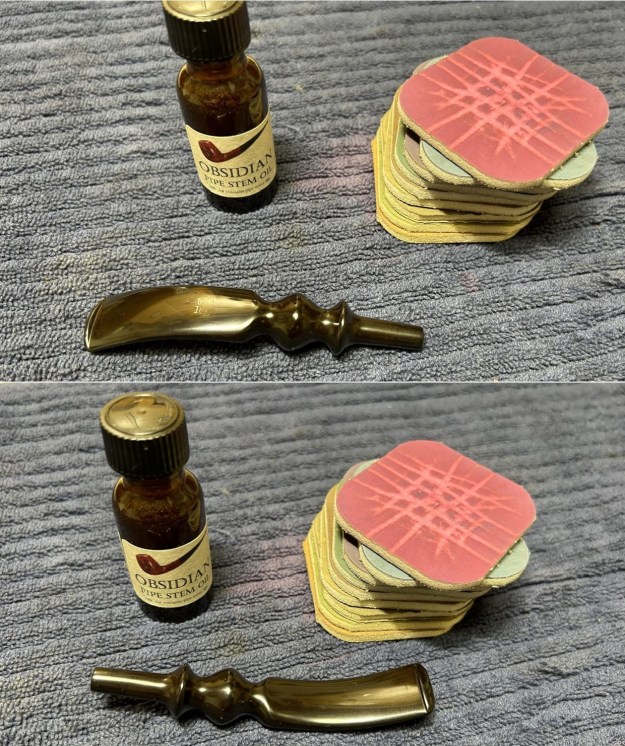 On to the stummel, and whoever previously had this pipe had done a decent job of cleaning the inside of the bowl. It didn’t need reaming, but I did use my pipe knife and some sandpaper to remove any cake. I took the bowl down to bare briar, as I wanted to ensure there were no hidden flaws in the walls of the bowl. Fortunately, there were none.
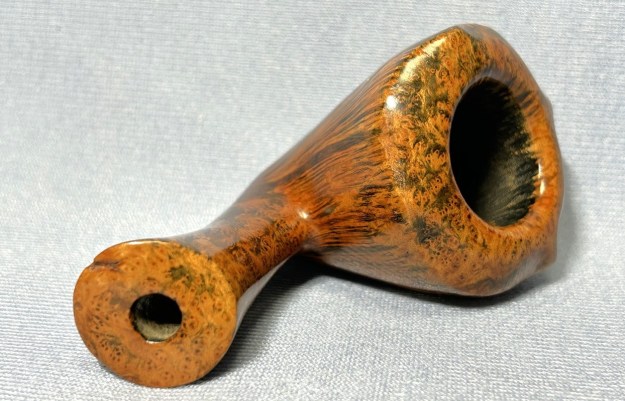
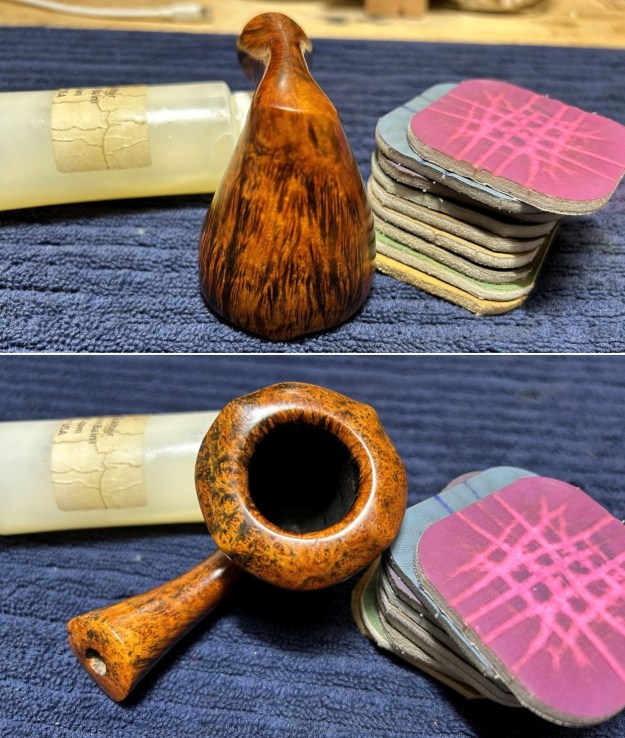
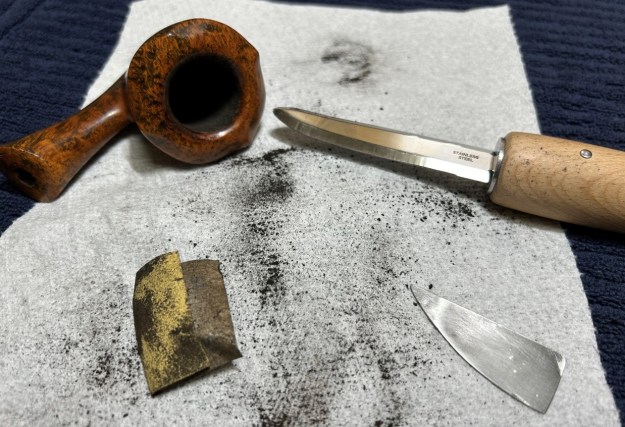 Another important step in this process was removing the dirty remnants on the rim (as you’ve seen in the photos). I took a piece of machine steel and gently scraped away at this debris until it was gone. I love this technique because it is incredibly effective (more so than soaking) and does no damage whatsoever to the briar. The results speak for themselves.
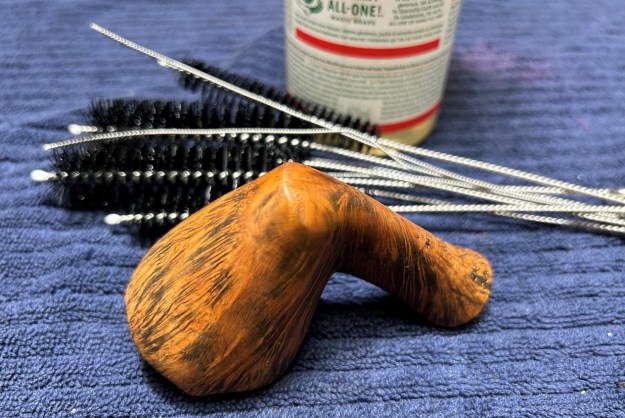
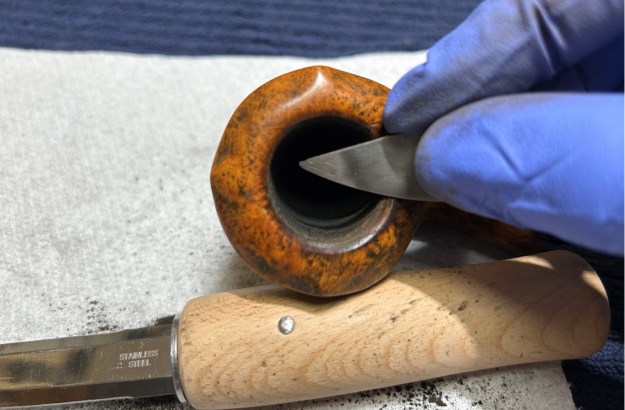 I then proceeded to clean out the insides of the shank with cotton swabs, pipe cleaners, and isopropyl alcohol. There was some filth inside this stummel, but it wasn’t too bad. I then moved on to cleaning the outside of the stummel with oil soap and some cotton pads. That removed any latent dirt. I followed that up by cleaning the insides with some soap and tube brushes.
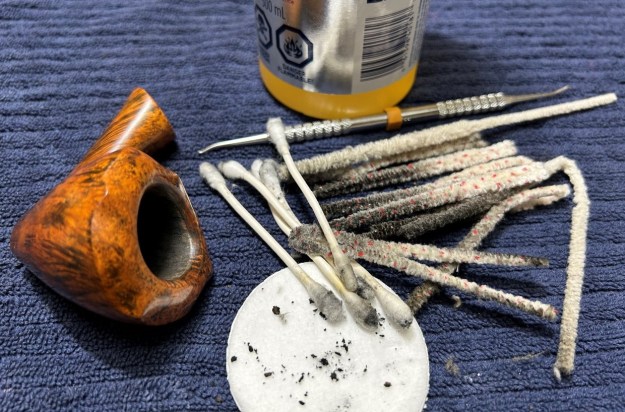
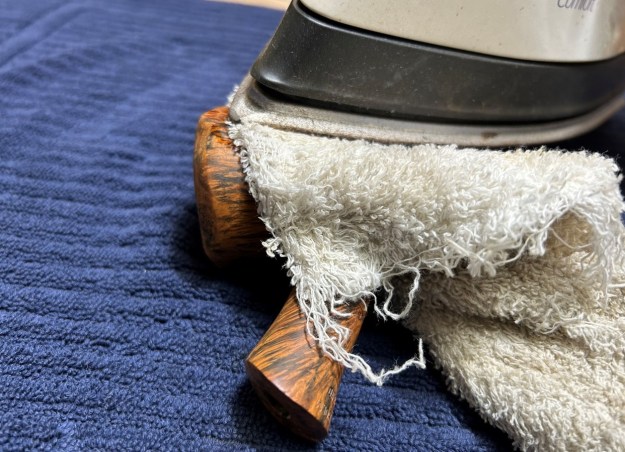
 I noticed some very minor dents in the wood (see the photos) and I felt confident that those could be raised. I took an iron and a damp cotton cloth and steamed them. The hot, moist steam can often cause those sorts of injuries to swell back into shape. In this case, it worked a treat!
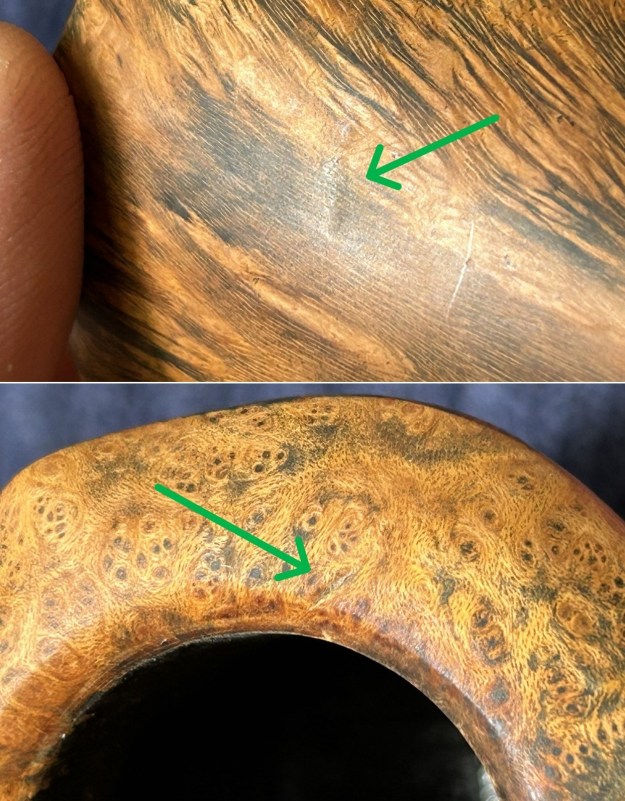
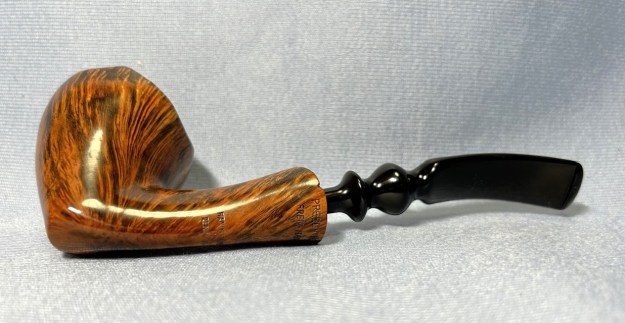
 I sanded down the stummel with my some of my micromesh pads to make it smooth and lovely. You will have noticed that there were two small nicks on the end of the shank. I deliberately decided to not fill these in. Instead, I simply sanded them thoroughly as I just described. This was a good decision as the nicks were minimized and are part of the pipe’s history. Of course, I added some restoration balm to the wood and let it sit for 20 minutes or so. I then buffed it with a microfibre cloth and – boy – did it look good! This balm does beautiful things to the wood and really generates a beautiful shine. I then took the pipe to my bench polisher and buffed it with White Diamond and a few coats of carnauba wax.
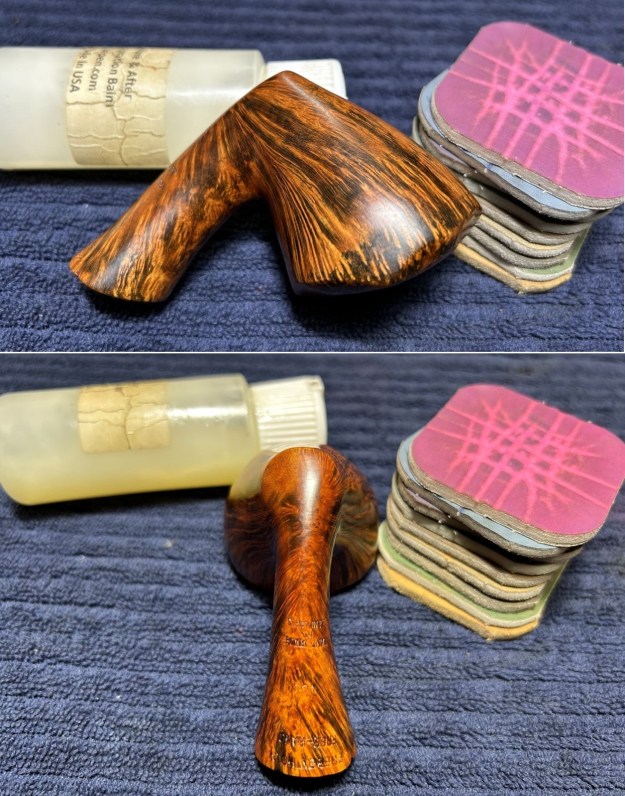
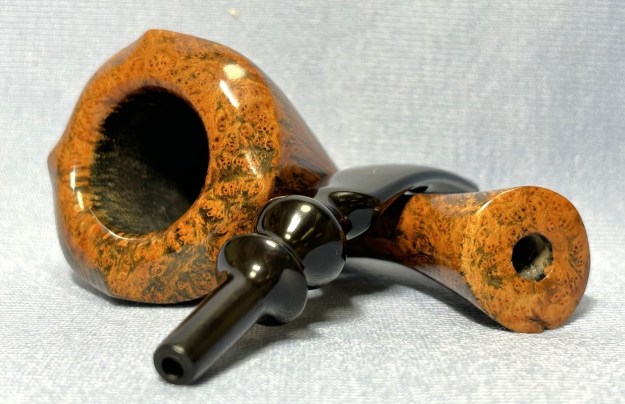
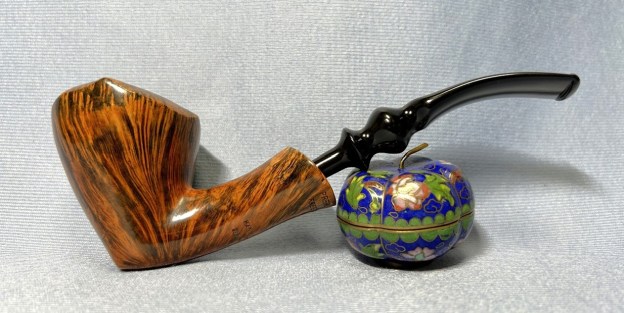
 All finished! This is a wonderfully crafted pipe and it really looks lovely. As it is a gift from my parents, this is one pipe that I am keeping for myself and adding to my collection. I am sure that I will be enjoying this one for many years to come. The approximate dimensions of the pipe are as follows: length 6½ in. (165 mm); height 2¼ in. (57 mm); bowl diameter 1¾ in. (46 mm); chamber diameter ⅞ in. (22 mm). The weight of the pipe is 1⅞ oz. (55 g). I hope you enjoyed reading the story of this pipe as much I as I did restoring it. If you are interested in more of my work, please follow me here on Steve’s website or email me directly at kenneth@knightsofthepipe.com. Thank you very much for reading and, as always, I welcome and encourage your comments.