by Steve Laug
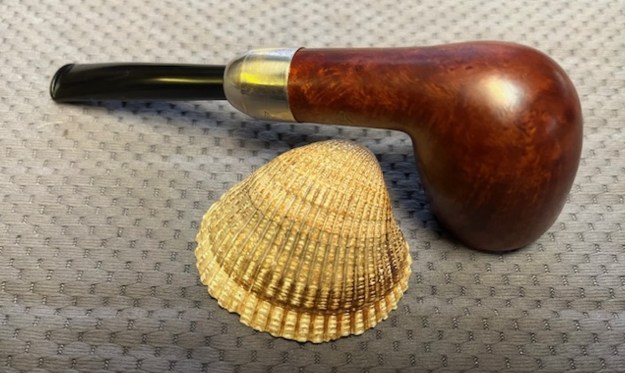
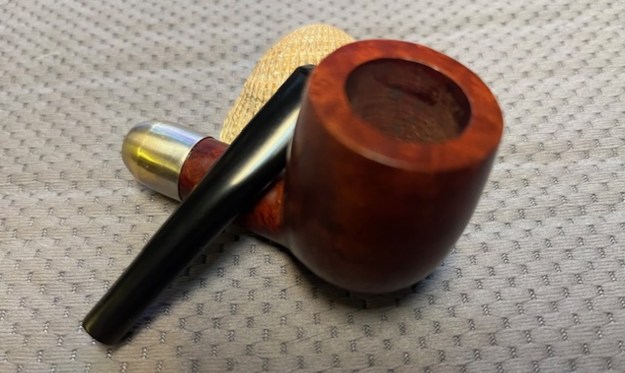
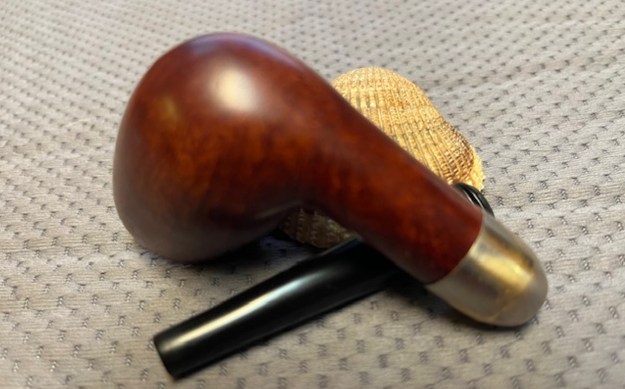
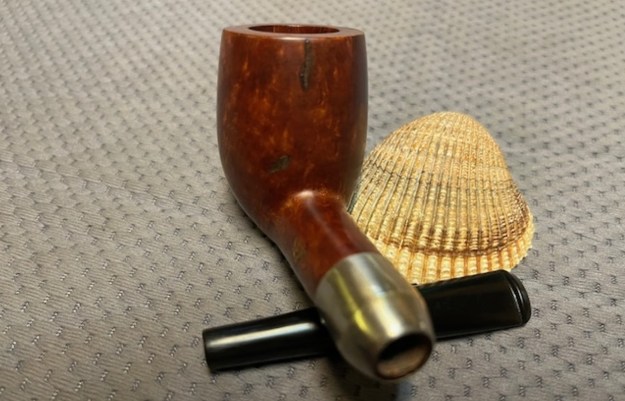
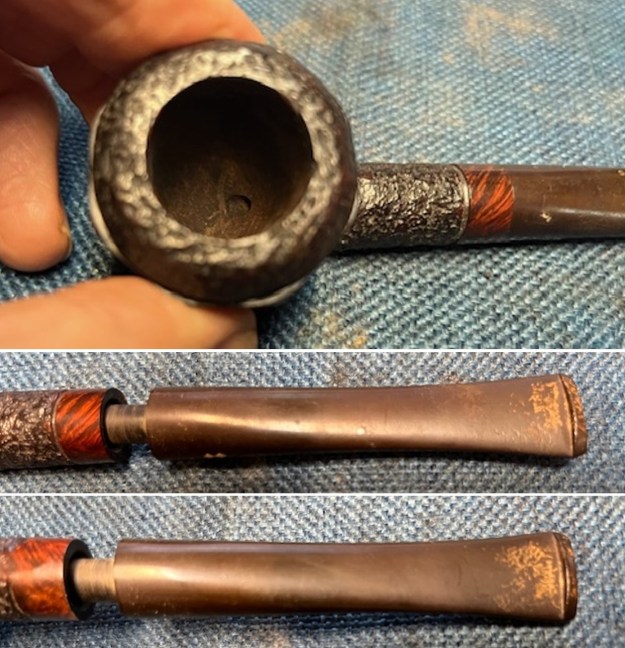
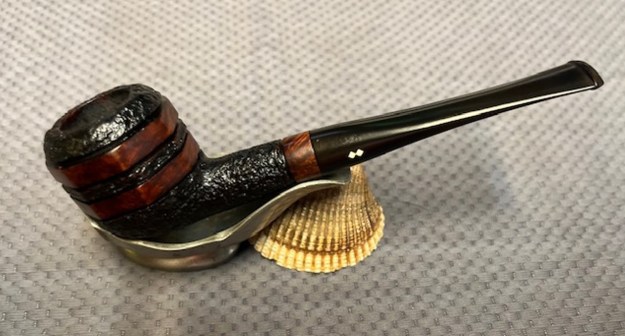
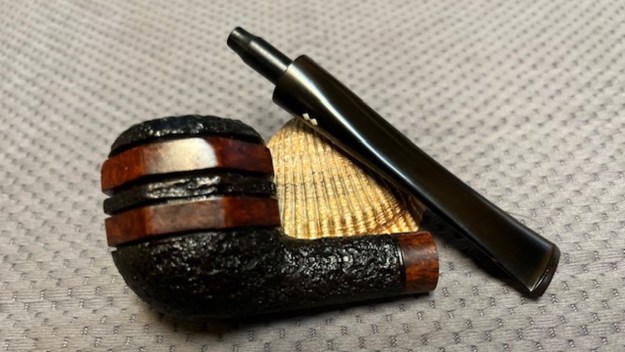
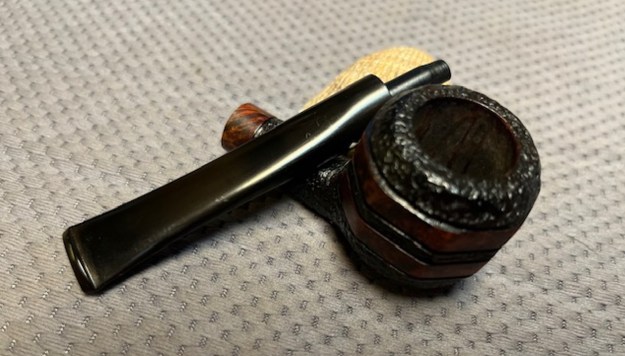
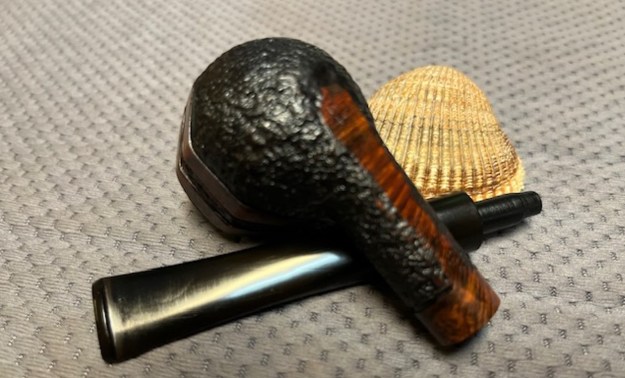
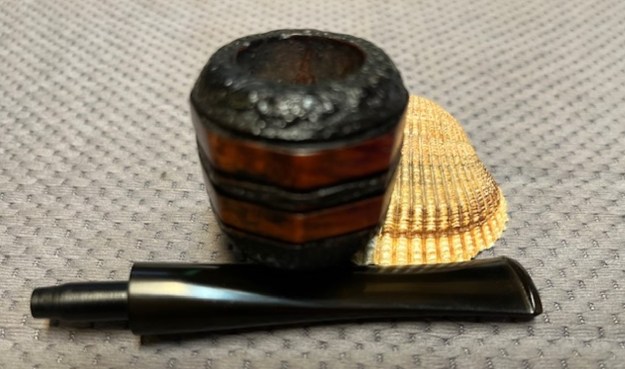
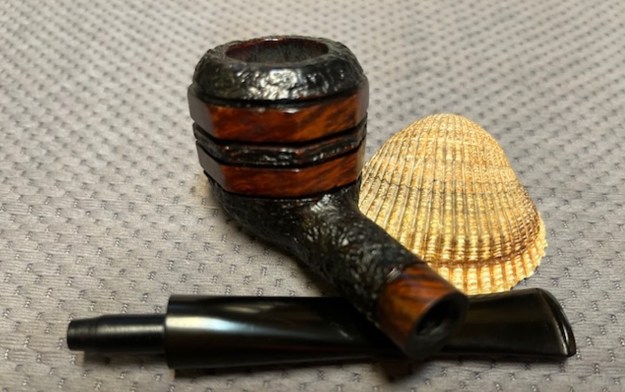
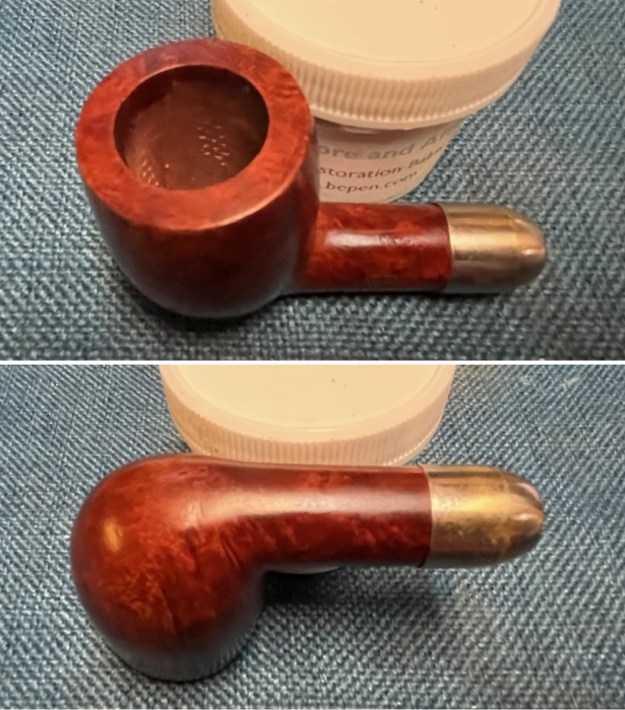
About a year ago I visited an older pipe repair man (when I say older I mean older than me). He gave me a lot of pipe parts – stems, bases, bowl, tenons and bands On Monday, August 25 after a visit with my brother Kenneth and I went to visit my contact again. This time he had more stuff that he wanted to get rid of from his parts. Once again, we received more stems and tenons. But he also put in a box of pipes that were in various states of repair or disrepair. There were quite a few that needed to be restemmed. One of those pipes was an interesting Billiard with a nickel ferrule stamped WDC in the triangle on the left side of the shank and the same on the left side of the nickel ferrule. It was in great shape for having been knocked around for a long time in a box of bowls and pipes. The finish was dirty but the bowl was unsmoked and very clean. There was a very shiny coat of varnish on the outside of the bowl and at least one fill on the back side of the bowl. The nickel was also clean and unoxidized. I would need to come up with a stem for it.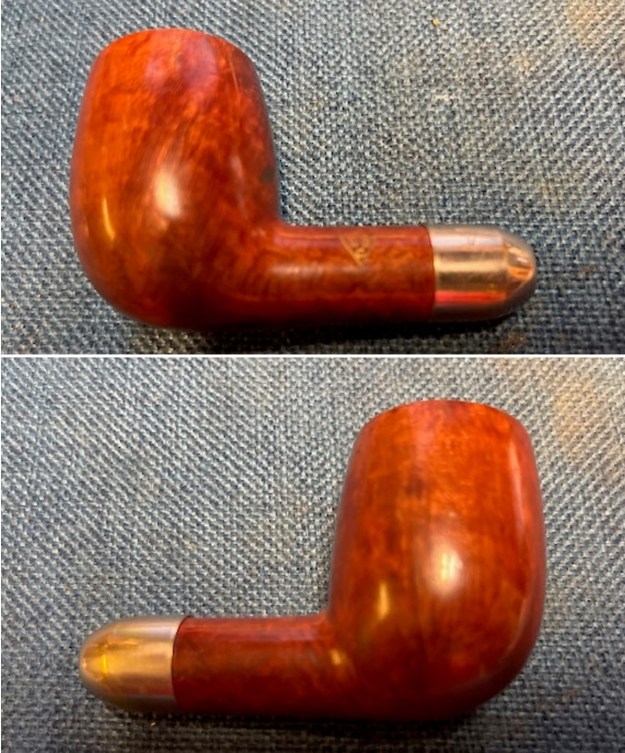
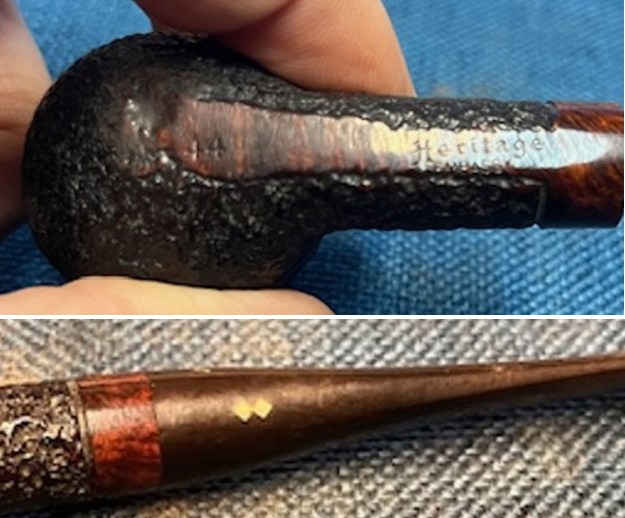
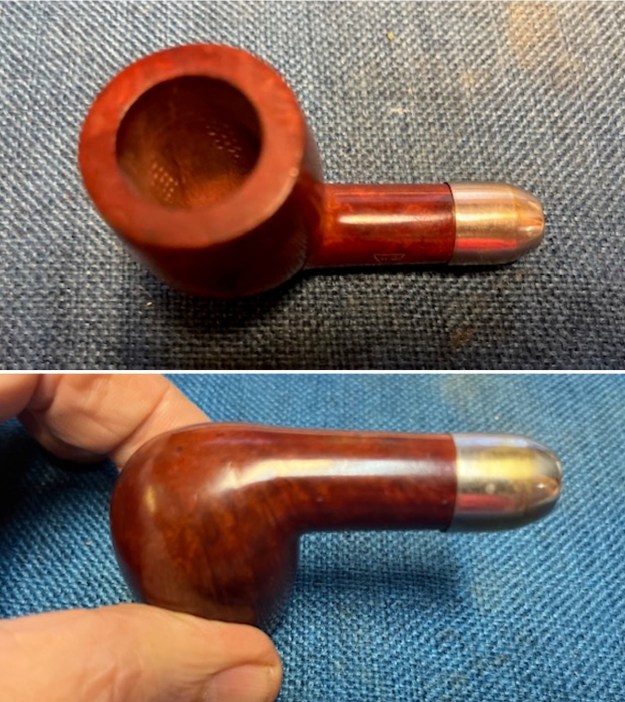 I took a photo of the stamping on the left side of the shank. It is clear and reads as noted above. The stamp is also gold and very readable. I also tried to capture the stamping on the nickel ferrule. The shine tends to blur that stamp.
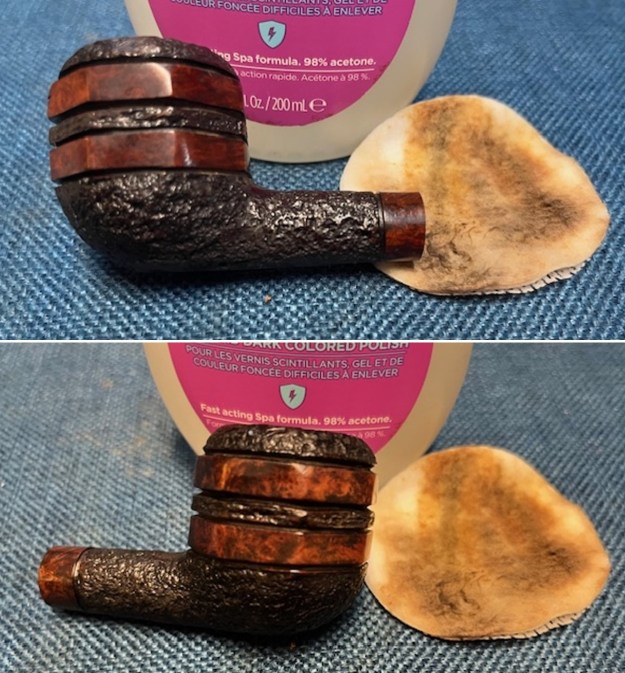
 I started my work on the pipe by wiping it down with acetone to remove the shiny varnish coat. It worked very well.
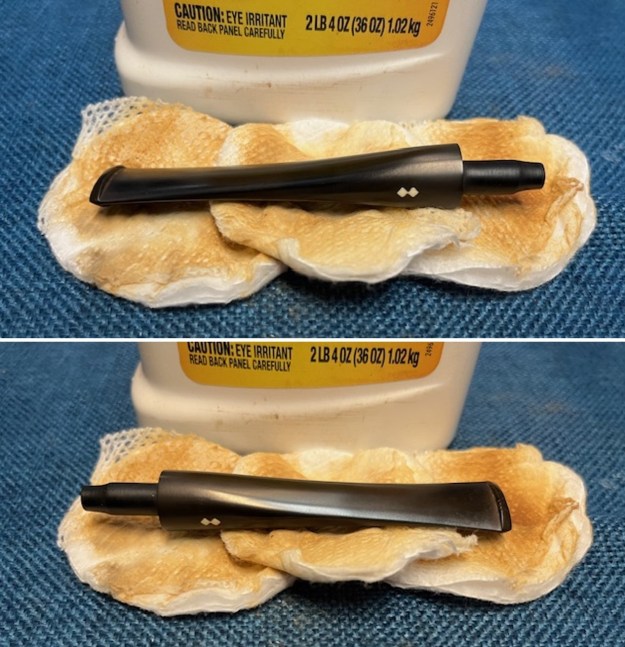
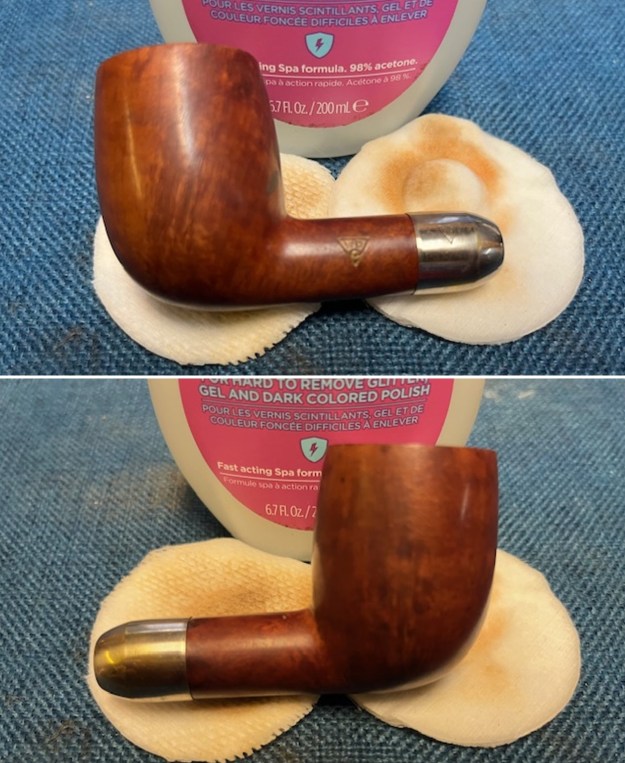
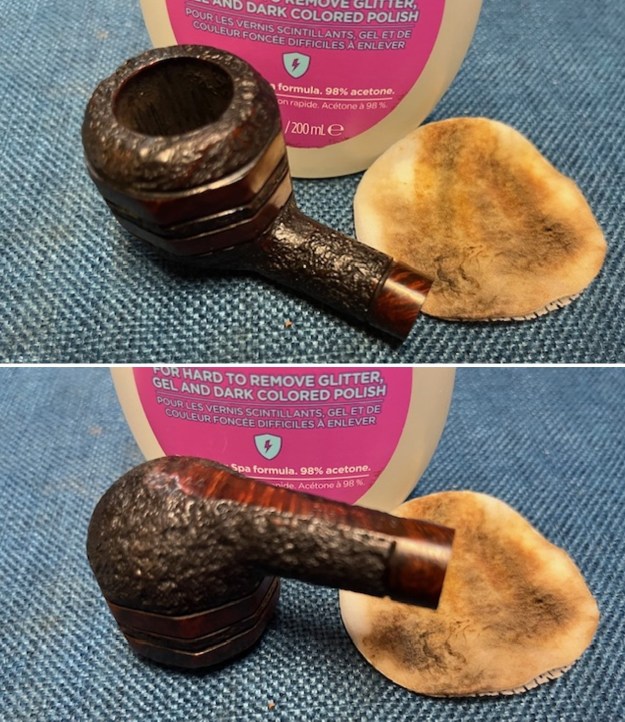
 The acetone loosened the glue on the ferrule and it came off when I was wiping it down. I cleaned up the glue on the shank end with the acetone cloth so that the briar was free of it.
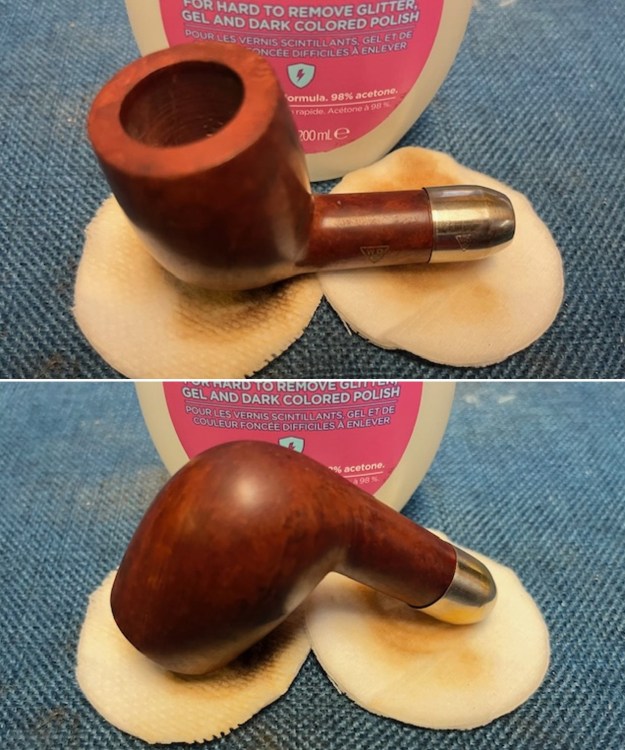
 I used a dental spatula to spread some all purpose glue on the shank end. I pressed the nickel ferrule in place on the shank end and wiped off the excess glue with a damp cloth. I set it aside to allow the glue to cure.
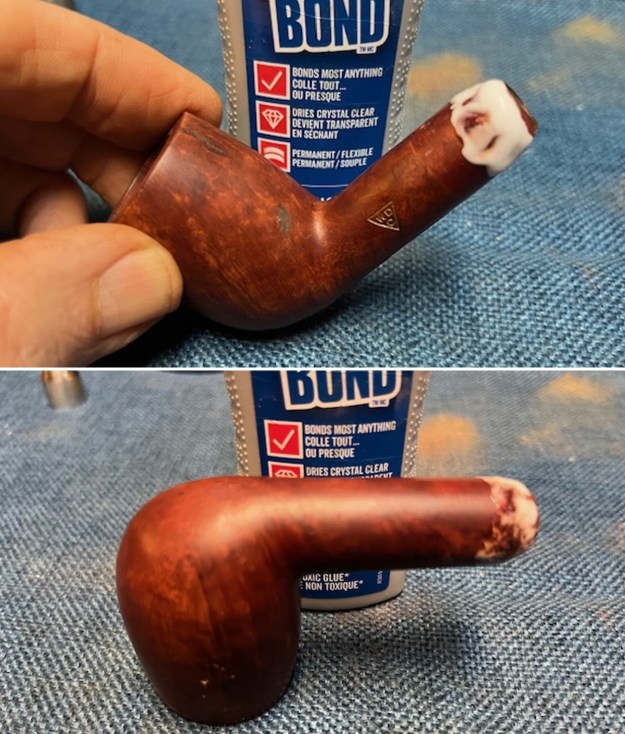
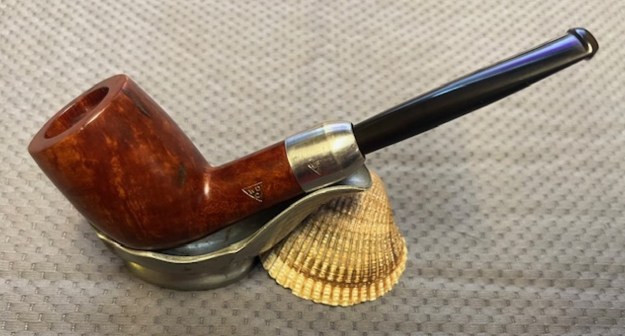
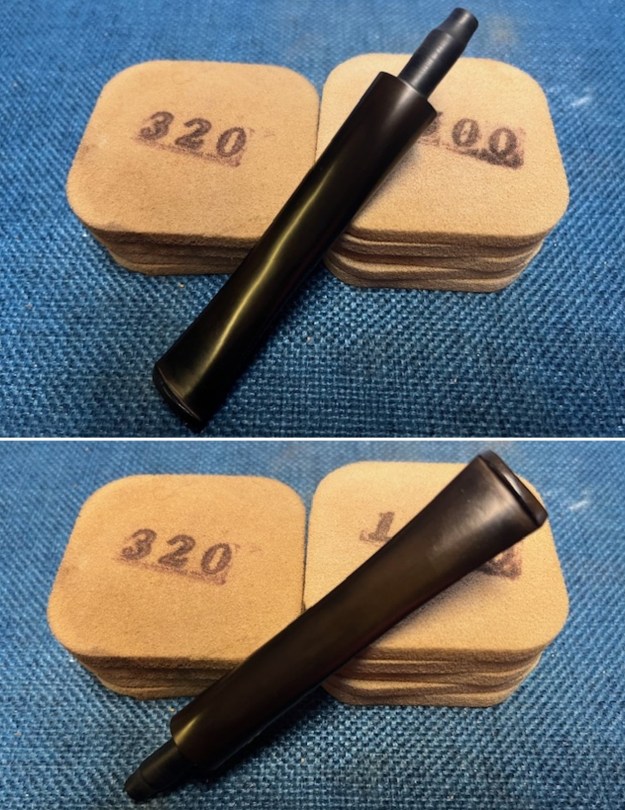
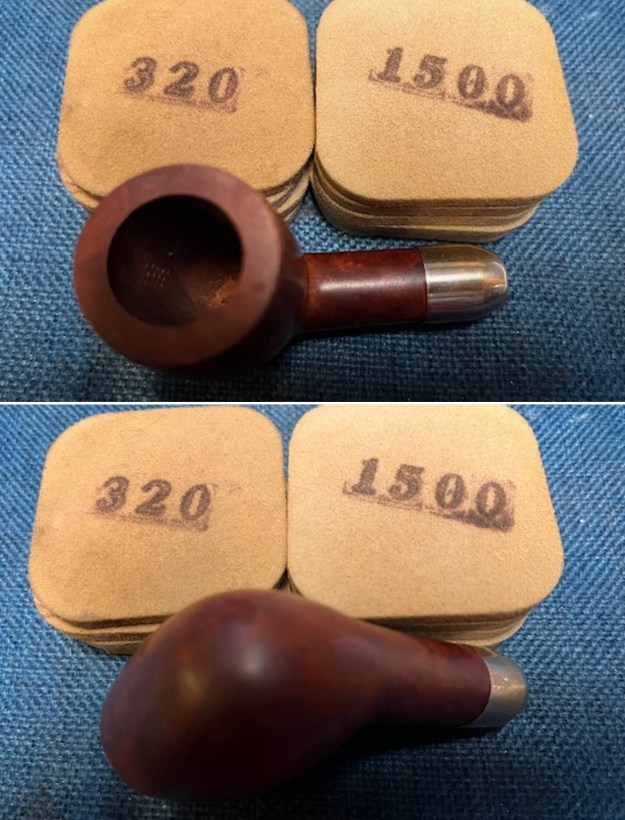
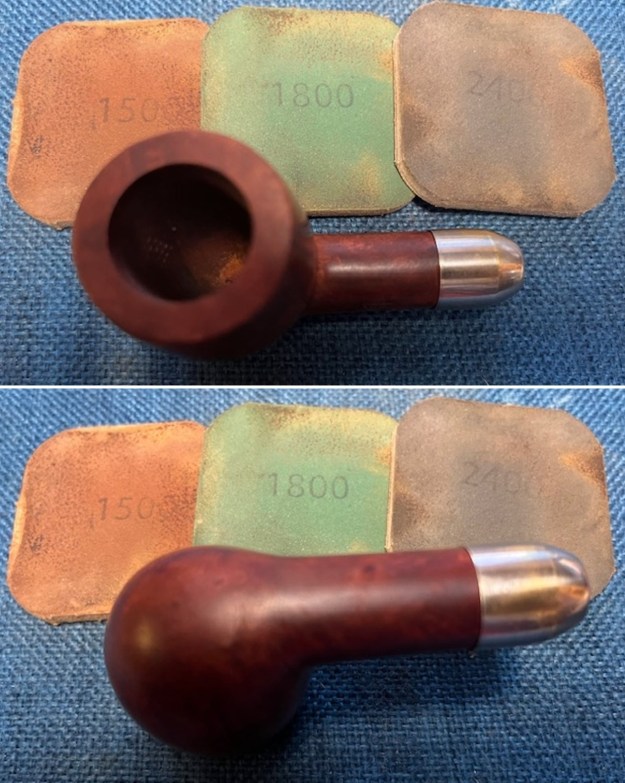
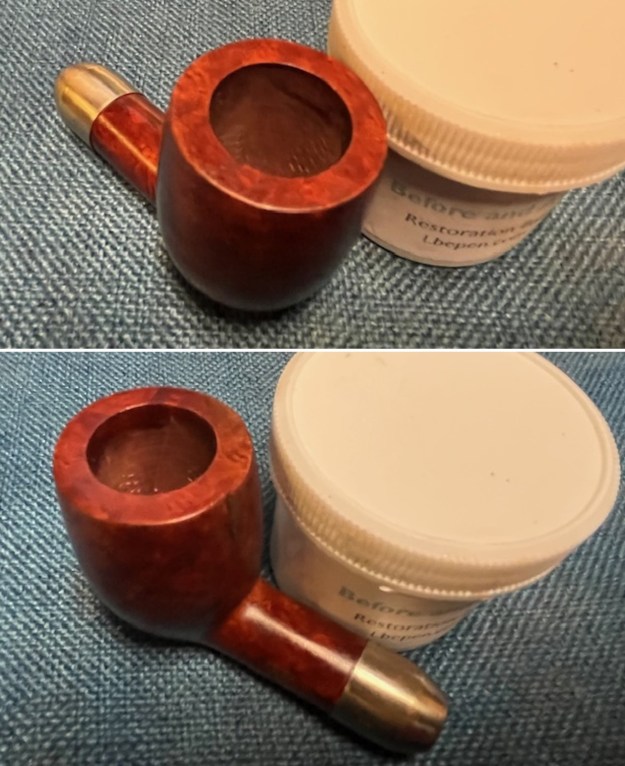
 I sanded the briar with 320-3500 grit sanding pads. I dry sanded it and then wiped it down with a damp cloth after each sanding pad. The varnish finish was gone and the fills in the bowl sides were very visible.
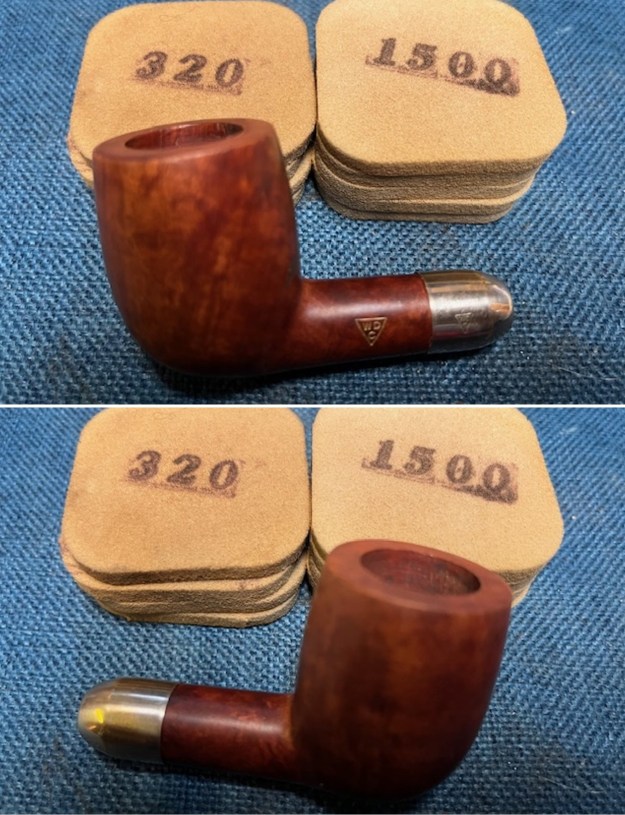
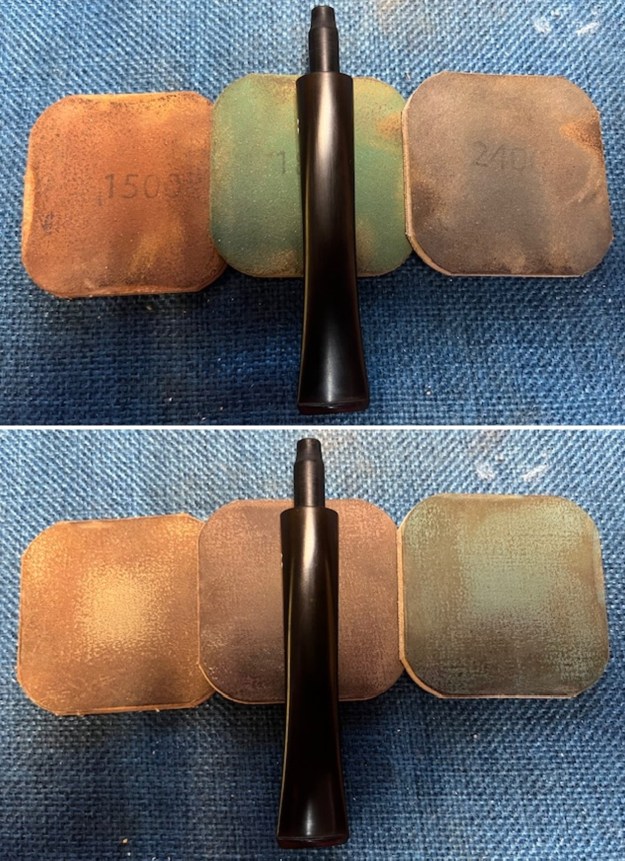
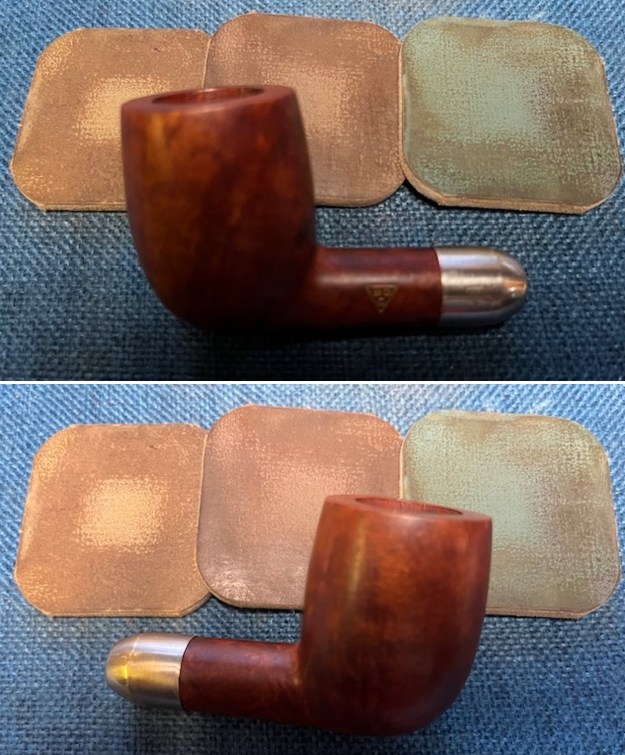
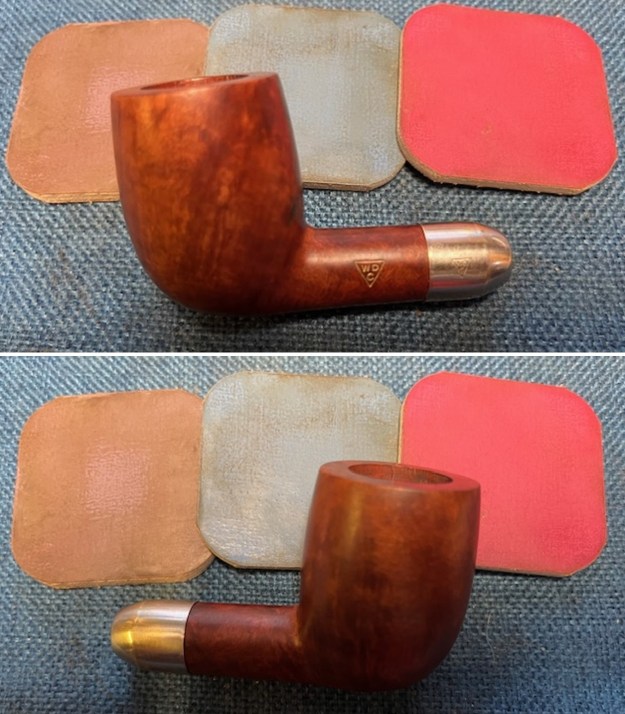
 I polished the bowl with micromesh sanding pads – dry sanding with 1500-12000 grit pads and wiping down the bowl after each pad with a damp cloth. The briar took on a more natural shine than what was present when the bowl was varnished.
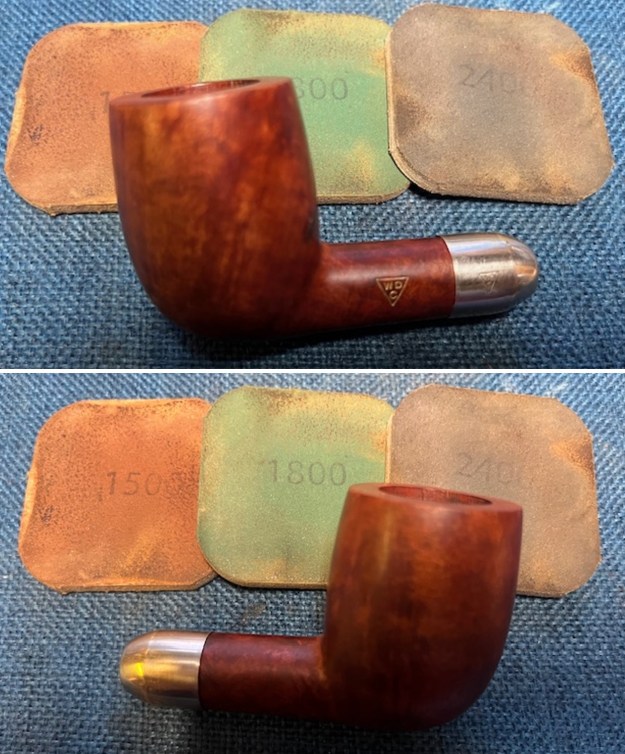

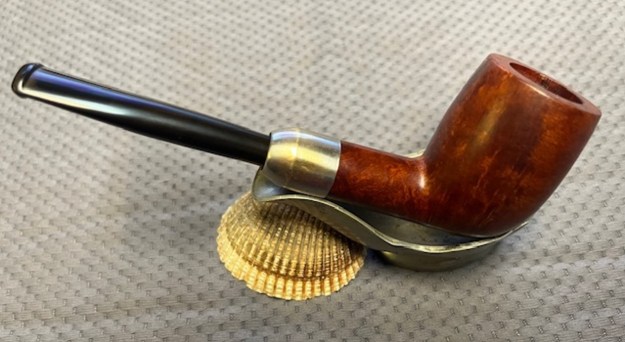
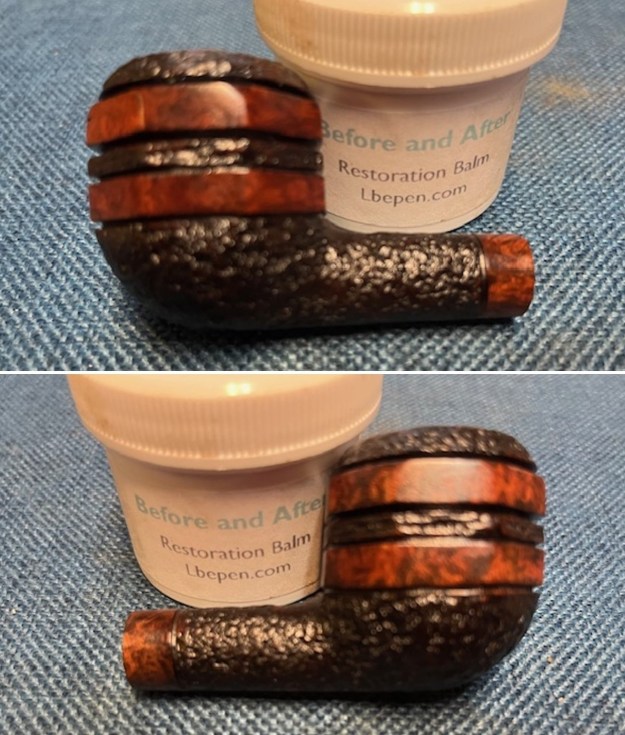
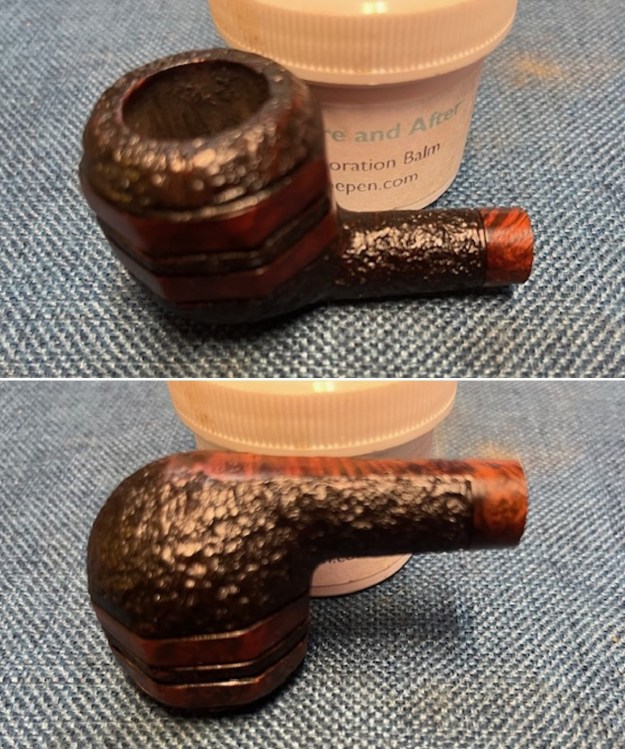
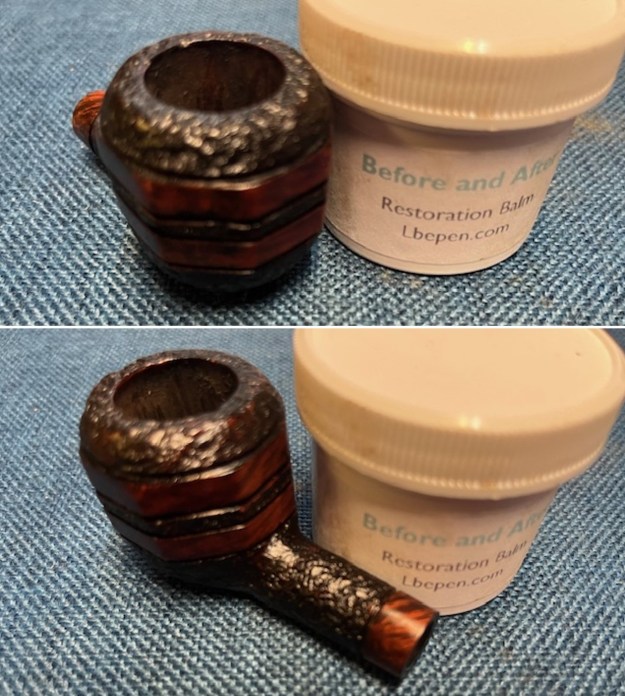
 I worked some Before & After Restoration Balm into the surface of the briar with my fingertips to clean, enliven and protect it. I let the balm sit for a little while and then buffed with a cotton cloth to raise the shine. The following photos show the bowl at this point in the restoration process. I am very happy with the results.
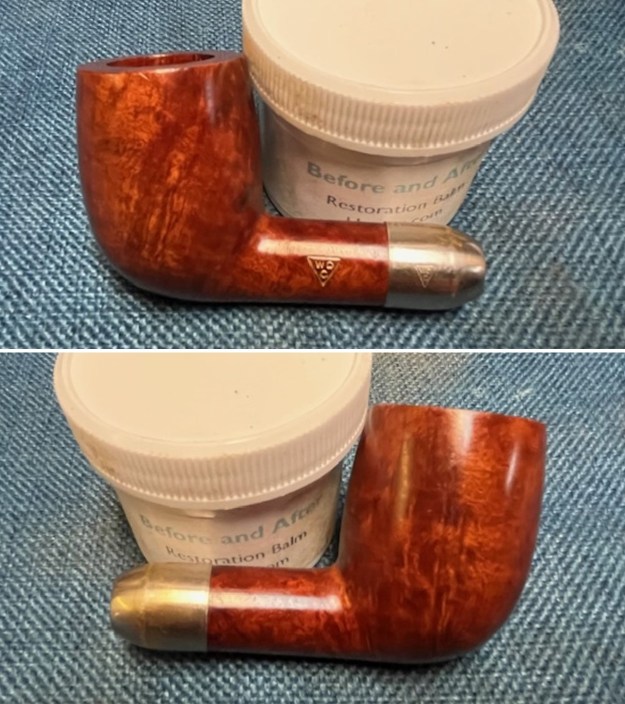
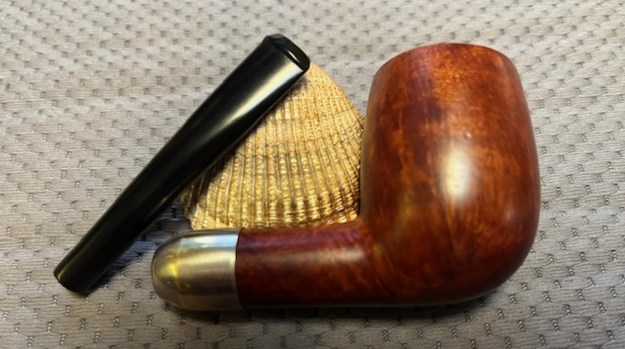
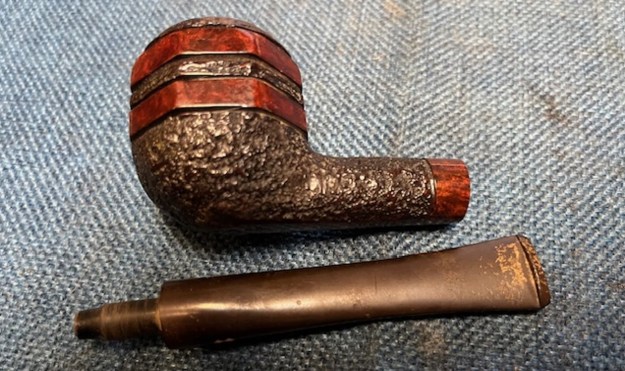
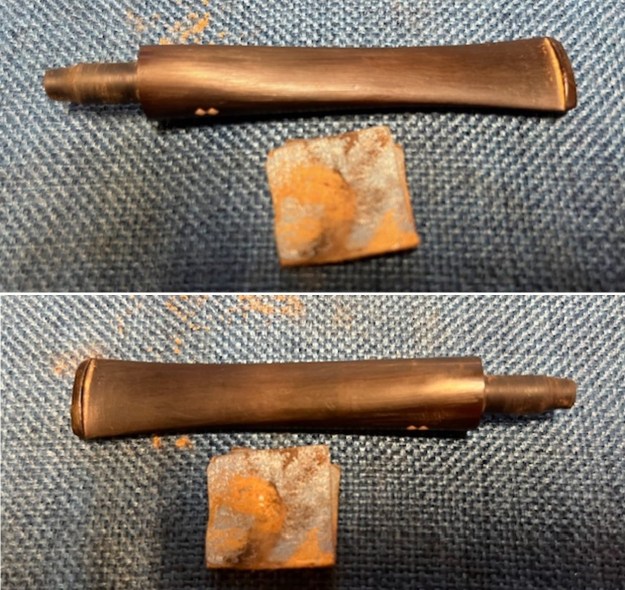
 I set the bowl aside and went through my stems. I found an unused vulcanite stem that had an orific button and a gentle that fits the style of the age of the pipe. It is also unsmoked and still bears a price tag on the underside. There is some oxidation around the tag and on both sides.
 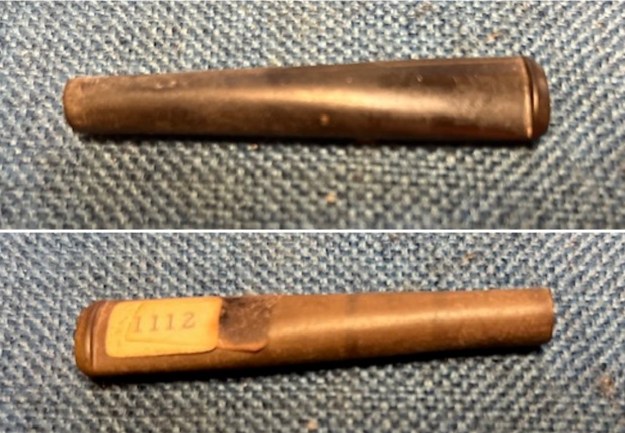 I removed the sticky label with acetone on a cotton pad. I sanded the stem surface with 220 grit sandpaper to remove the nicks in the surface and the oxidation. It began to look much better as the work went on.
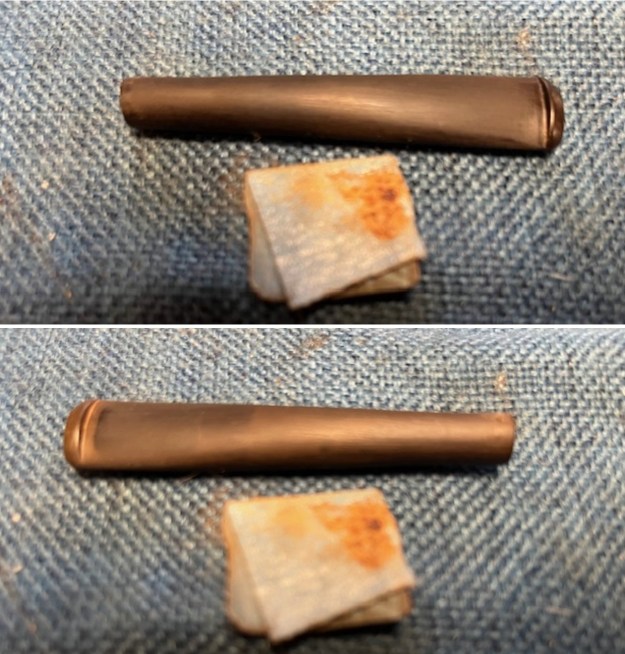 I sanded the stem with 320-3500 grit sanding pads and wiped the stem down after each pad to remove the sanding debris. It began to take on a deep shine.
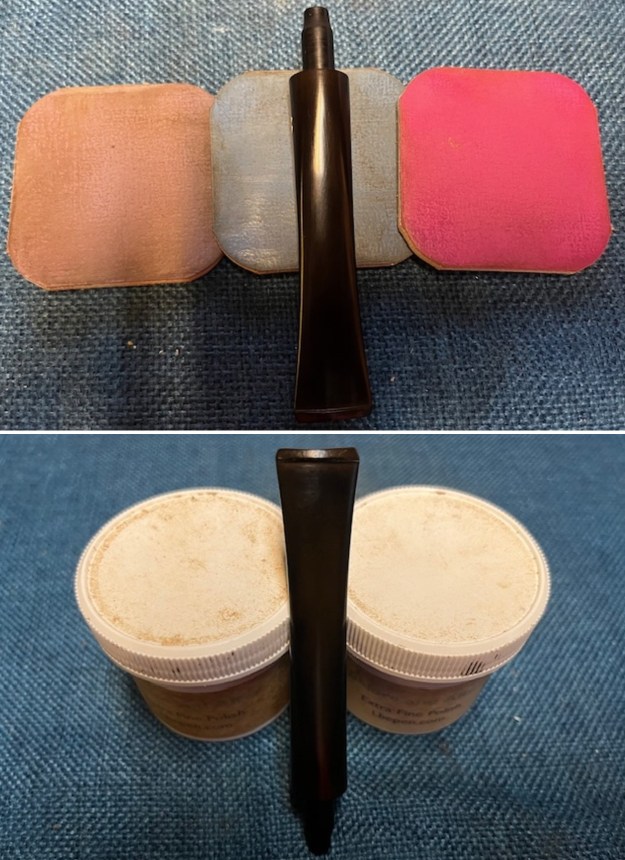
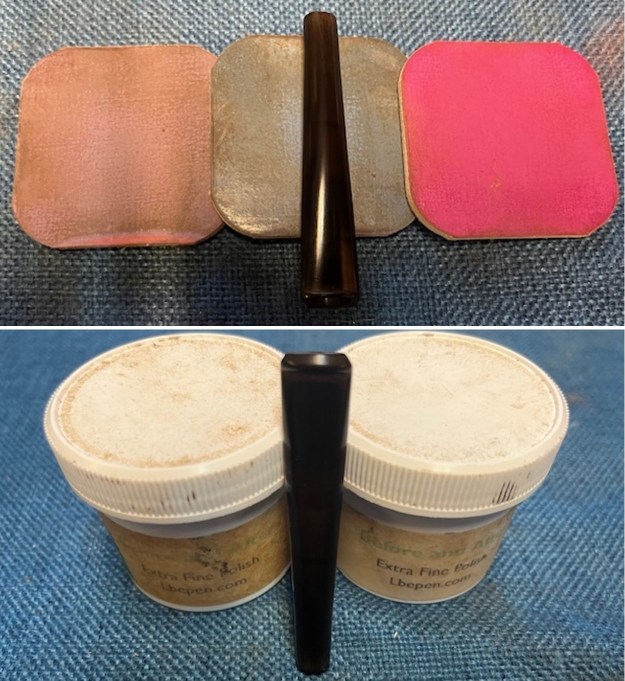
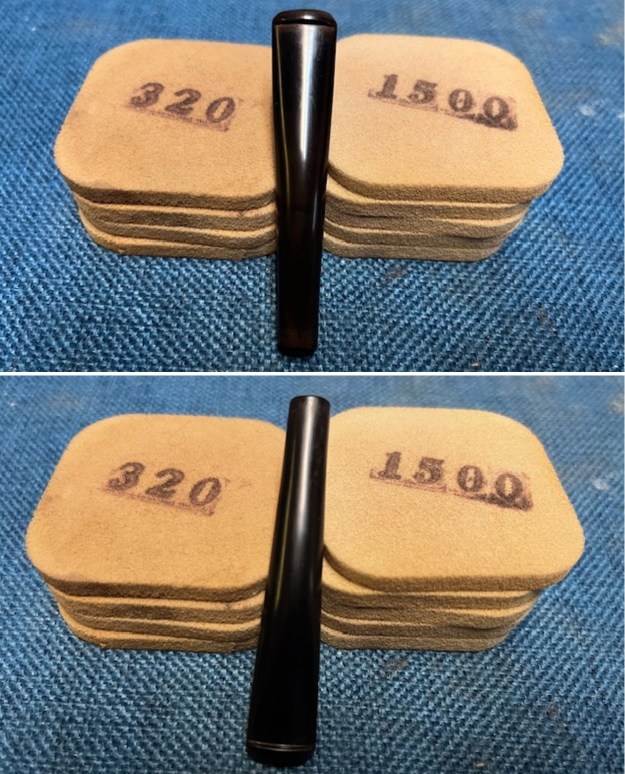 I polished the vulcanite stem with micromesh sanding pads – 1500-12000 grit pads. I wiped it down with a damp cloth after each sanding pad. I used Before & After Pipe Polish – both Fine and Extra Fine to further polish the stem. I wiped it down with a final coat of Obsidian Oil and set it aside.
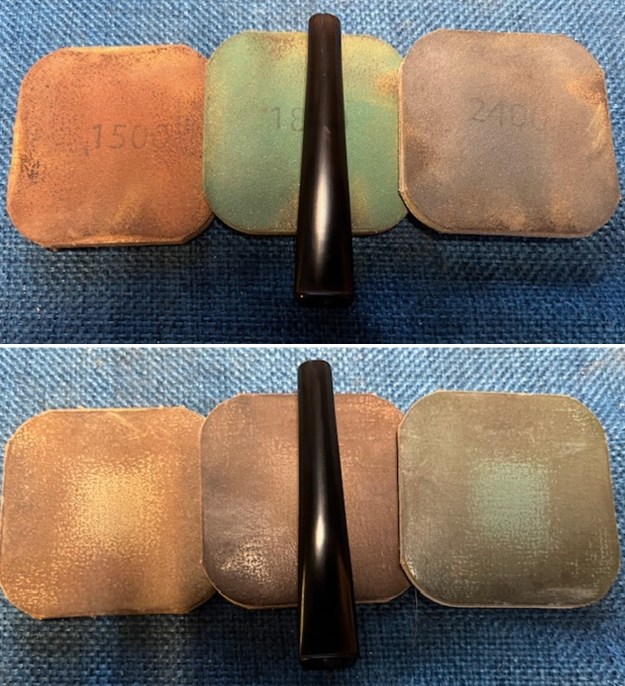
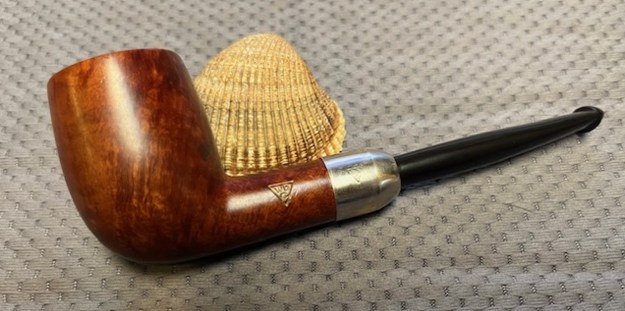
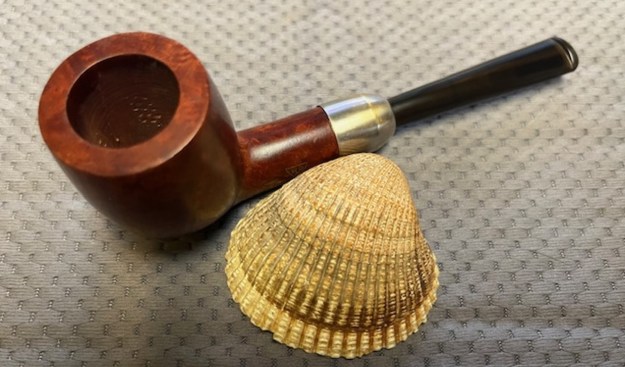
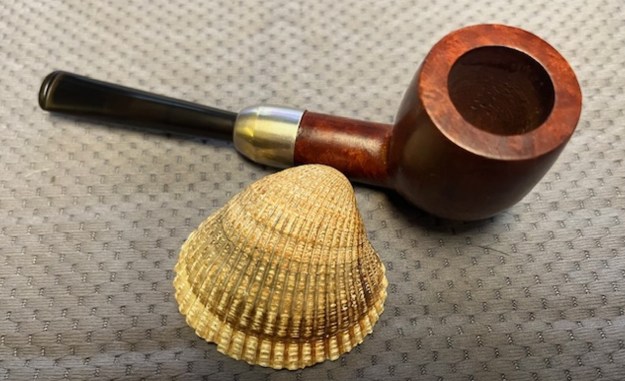
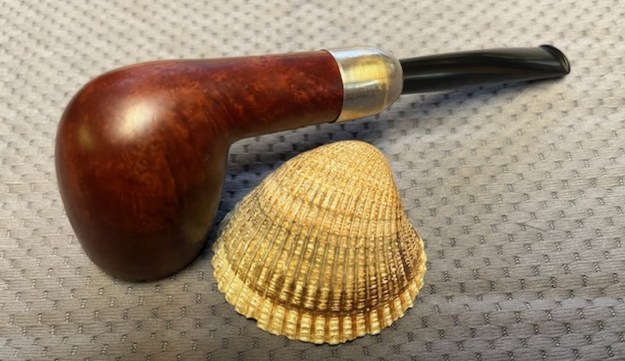
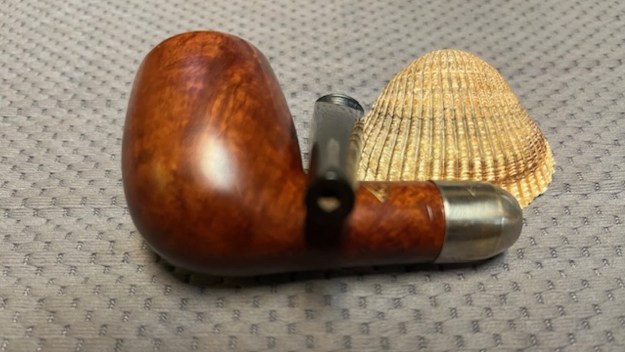
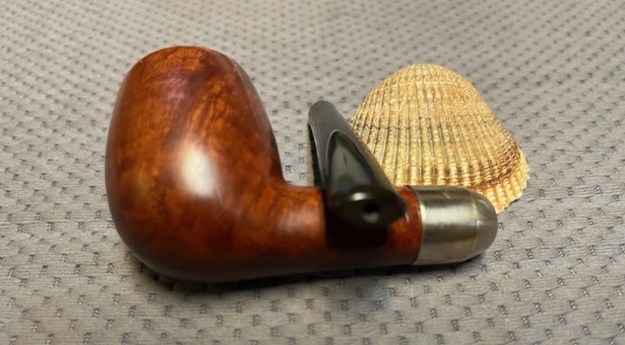
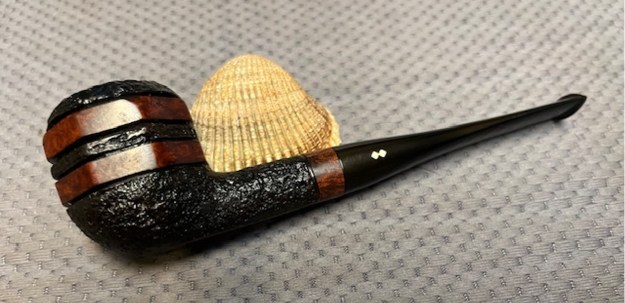
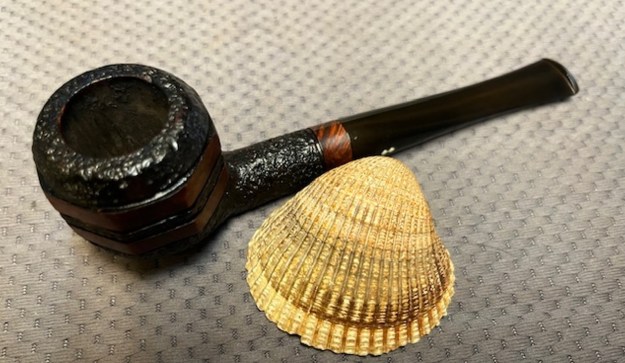
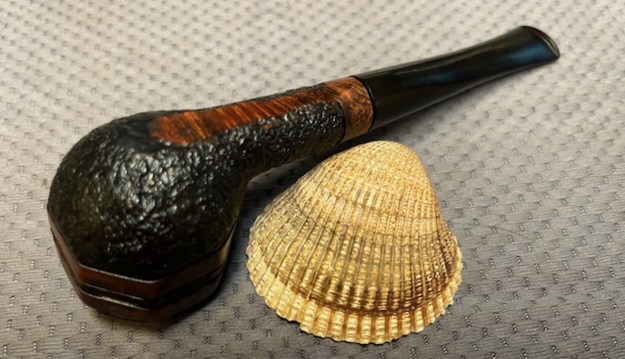
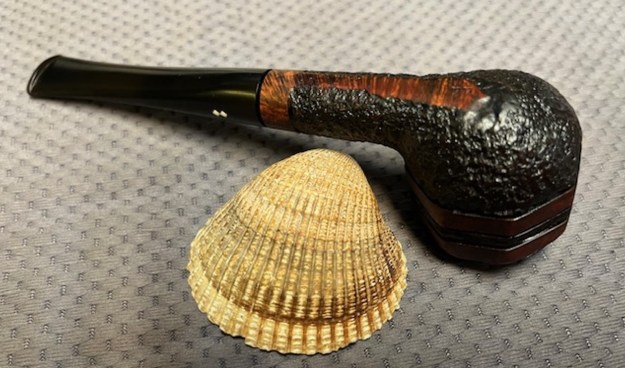
 The smooth WDC Billiard with a nickel ferrule and military vulcanite bit is a real beauty and the finish and shape are well done and have a classic English Billiard look even though this is an American Made pipe. The vulcanite military bit polished up on the buffing wheel with Blue Diamond and had a rich glue. I polished the nickel ferrule with a jeweller’s cloth. I gave the bowl and the stem multiple coats of carnauba wax on the buffing wheel and followed that by buffing the entire pipe with a clean buffing pad. I hand buffed the pipe with a microfiber cloth to deepen the shine. The finished WDC Billiard fits nicely in the hand and feels great. Give the finished pipe a look in the photos below. The dimensions of the pipe are Length: 5 ½ inches, Height: 1 ½ inches, Outside diameter of the bowl: 1 ¼ inches, Chamber diameter: ¾ of an inch. The weight of the pipe is 1.20 ounces/33 grams. I will soon be adding it to the rebornpipes store in the American Pipe Maker section. If you are interested in adding this pipe to your collection send me a message or an email. Thanks for reading this blog and my reflections on the pipe while I worked on it. There are many more to come!