by Steve Laug
A few weeks ago, I received an email from a friend, Sonny in Salmon Arm, BC. We have worked together on pipes over the past few years either ones that I have sold to him or those he has picked up on auctions or sales that I have restored. He wrote that he had some pipes that needed restoration.
I also have some of those old estates I still need to send to you for restoration. Hopefully I will be able to pack them up and get them off to you this week. Thank you again, Steve! – Sonny
He followed that up with another email regarding what he wanted done on the various pipes. I have included it below.
I would like the Vauen bent ball shape to have no band on it. It looks like it may have had a band there at one time and I’m not sure why. And if any of them needs to be stained again, I would like them to be black, especially the Peterson 309 and that ball Vauen. Let me know what you think.
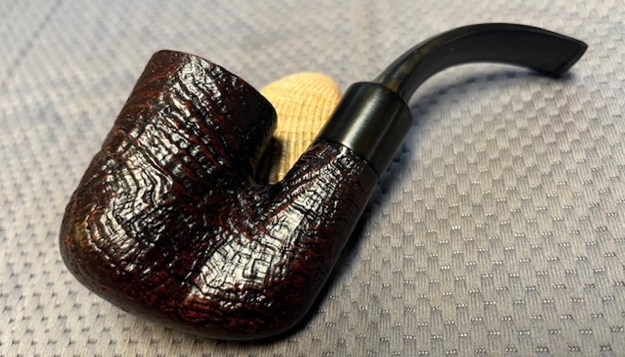
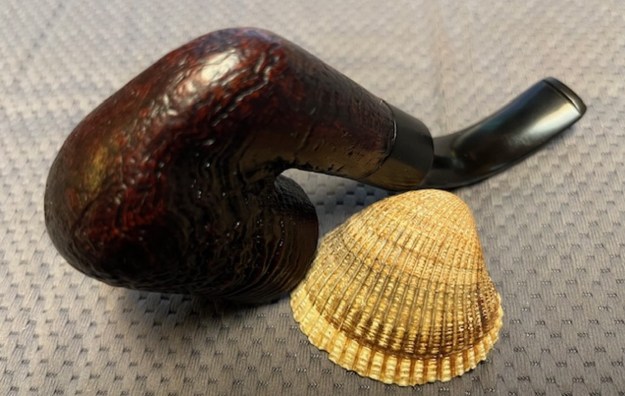
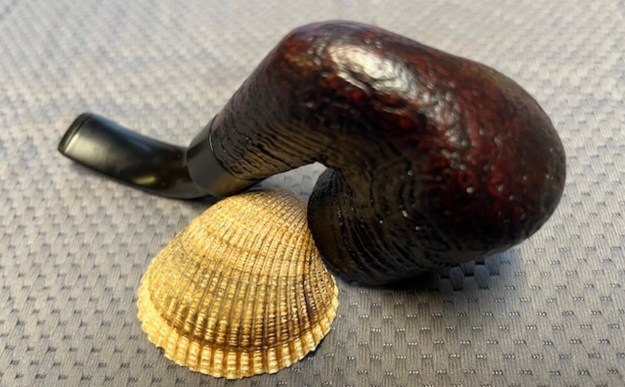
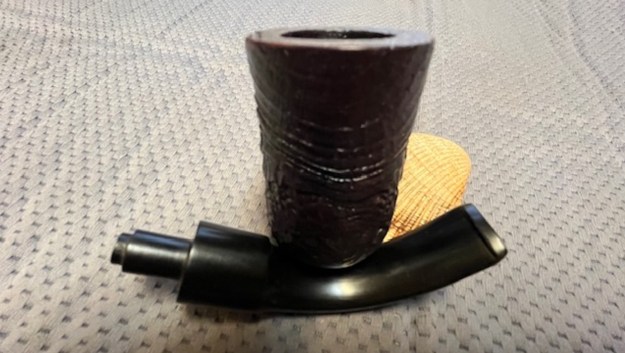
I took a photo of the box of six pipes once I unwrapped them. There were 6 interesting pipes – a Vauen Luxus Bent Ball, a Vauen Dr. Perl Billiard, a Sand Blast Vauen Dr. Perl Pot, a Parade News Briar Shop Oom Paul, a Bari Pearl Bamboo shank Ball and Peterson’s System Premier 309 Bent Billiard. All were in need of various degrees of restoration.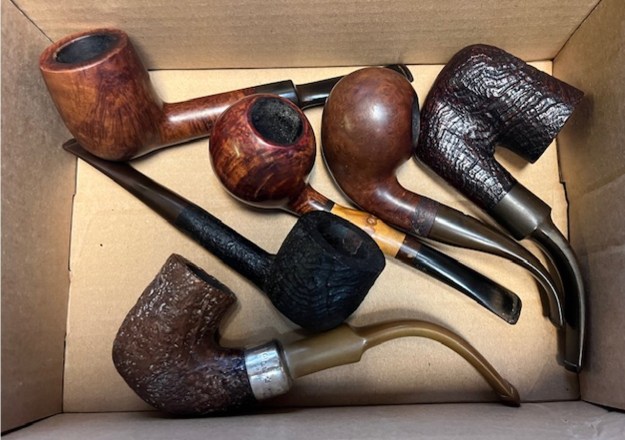 The last pipe left to work on was a sandblast Oom Paul with a saddle stem. It is stamped on a smooth panel on the right side and reads Parade News [over] Briar Shop [over] Imported Briar. The sandblast finish was in excellent condition and was quite clean. The was no cake in the bowl and no lava rim top and some darkening. The pipe had been reamed and cleaned somewhere along its journey. The stem had straightened slightly and there was lightly oxidized and there was tooth marks and chatter ahead of the button. I took these photos before I started my work on the pipe.
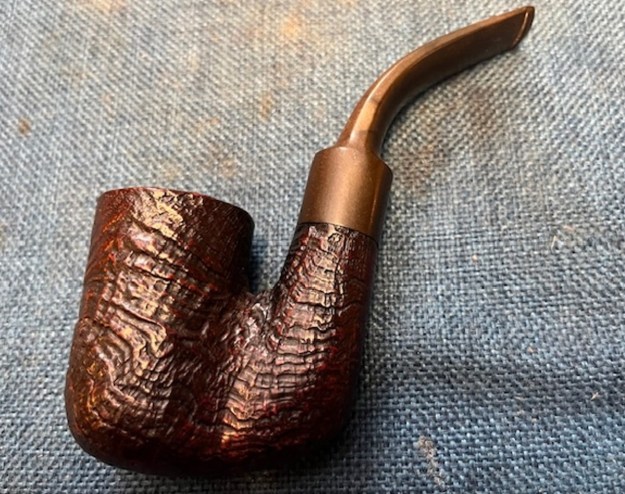

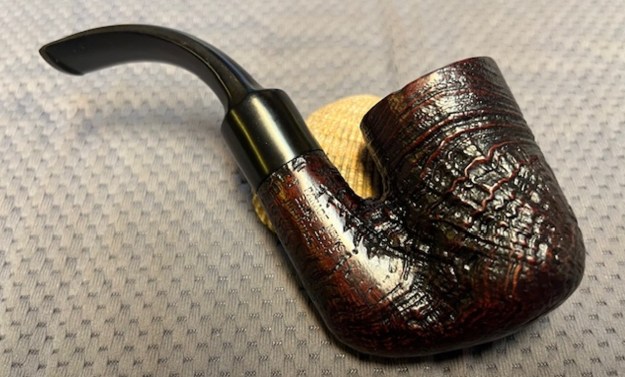
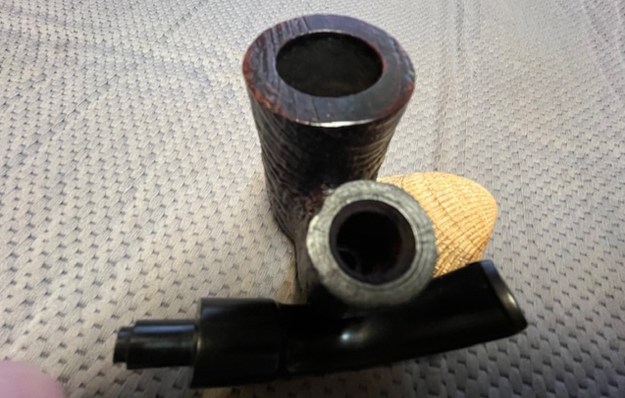
 I took a photo of the rim top and bowl to show the condition of both of them. There is a light cake in the bowl and the rim top is in excellent condition. I would say that the pipe has been lightly smoked. The photos of the stem show the oxidation and tooth marks/chatter on both sides ahead of the button. It also will need to be re-bent correctly.
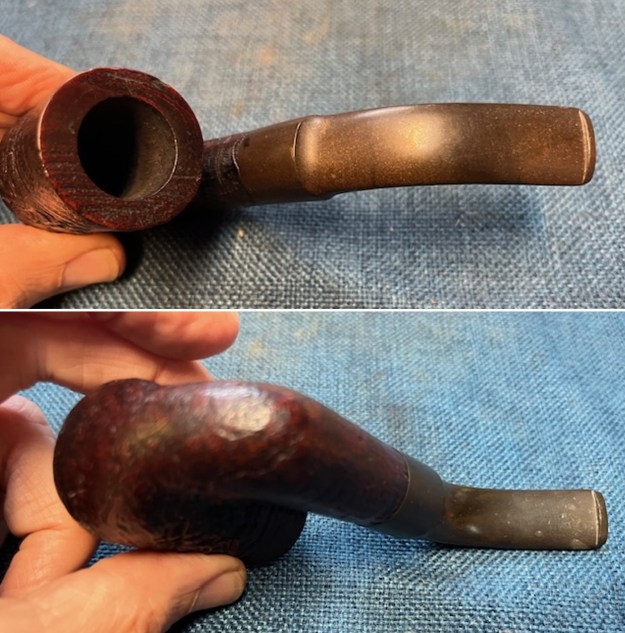
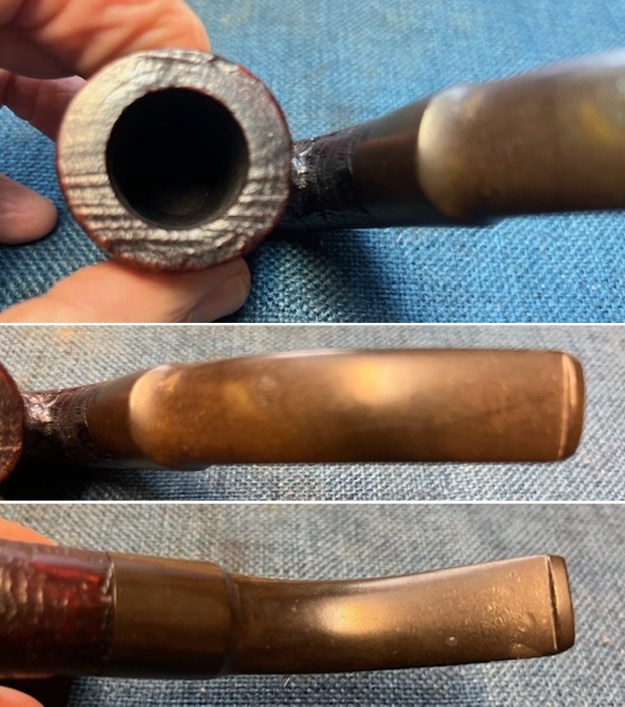 I took a photo of the stamping on the side of the shank. The stamping was clear and readable as noted above. I removed the stem from the shank and took a photo to show the proportions of the pipe.
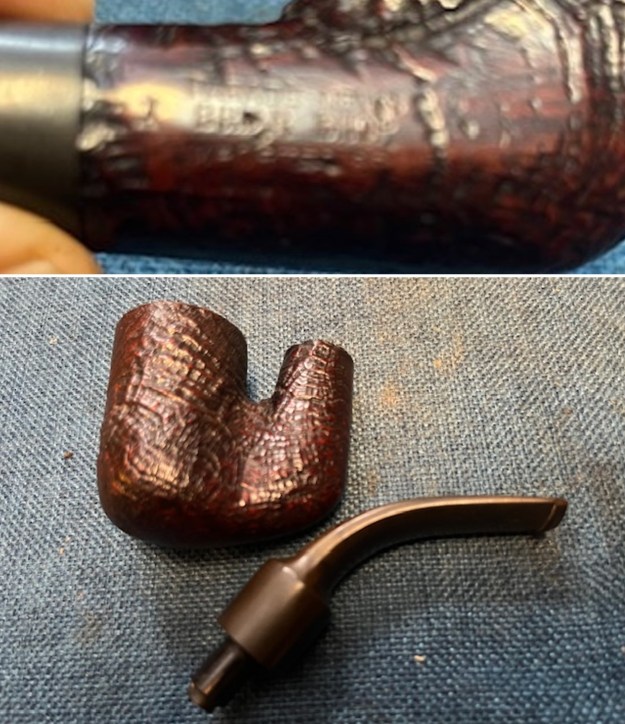 There was no information to be found on the brand so I turned my attention to cleaning up the pipe. I reamed the bowl with a PipNet reamer using the second and third cutting head to remove the cake. I cleaned up what remained of the cake with a Savinelli Fitsall Pipe Knife. I sanded the walls of the bowl to remove any remnants with 220 grit sandpaper wrapped around a piece of dowel. Once finished the inside of the bowl was smooth and the briar was bare.
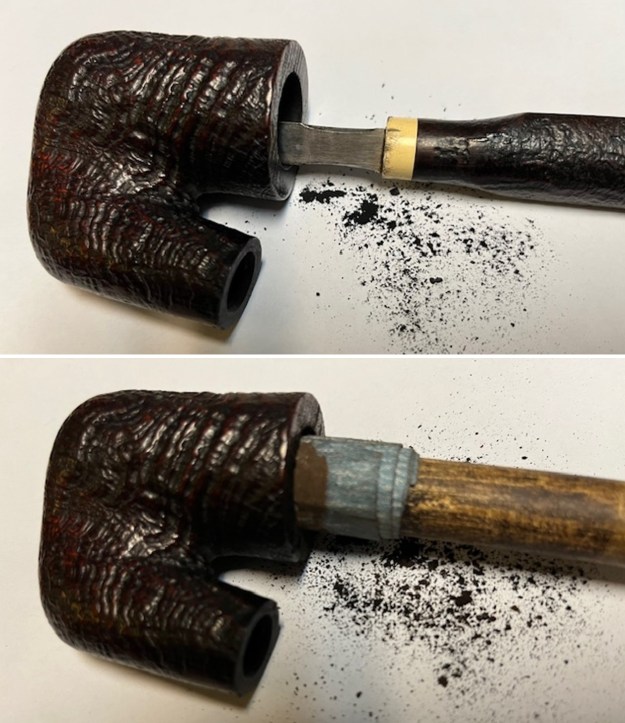 Once the pipe was reamed I worked on the internals – the mortise, sump and airway in the shank and airway in the stem. I scraped the shank walls with a pen knife to remove the tars and thick carbon. It appeared that the pipe has been lightly smoked in terms of the cake but the shank and sump seem to have never been cleaned. The stem was more of the same. I cleaned them all with pipe cleaners, cotton swabs and alcohol. It used a lot of them but the results are very good.
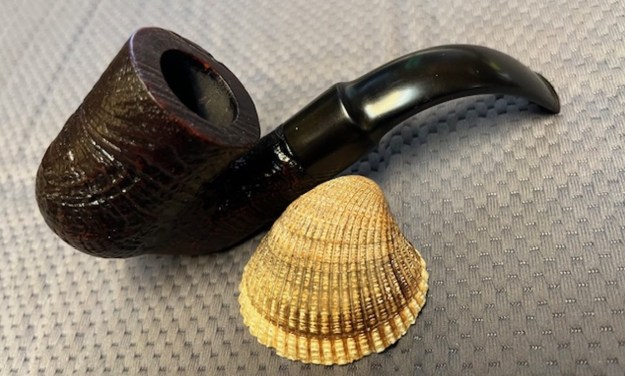
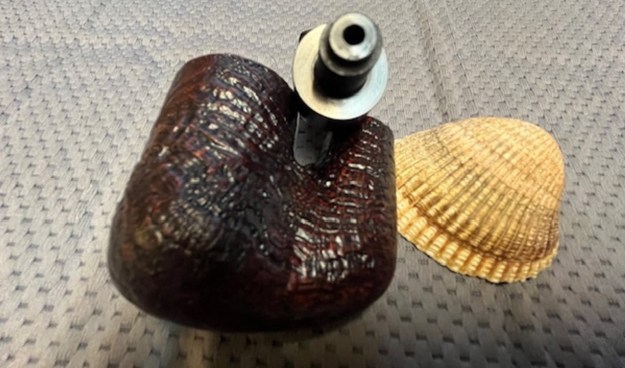
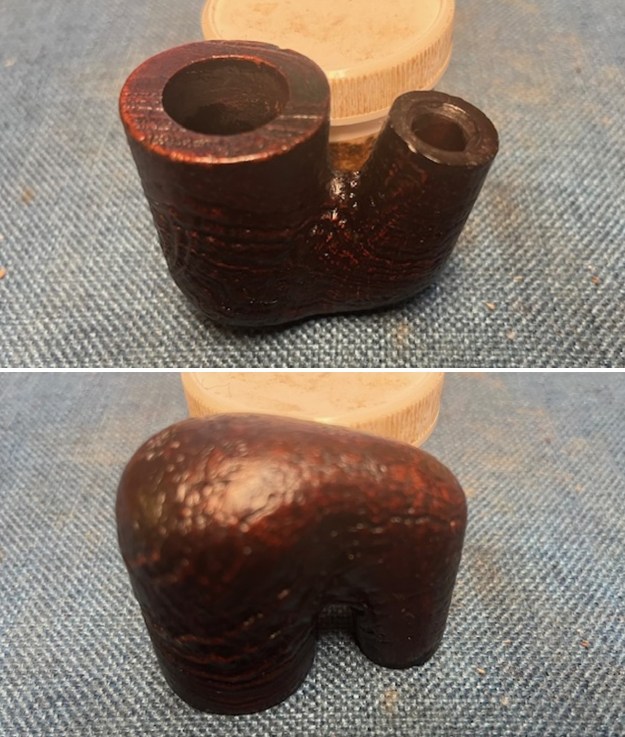
 Because the bowl was in such good condition I did not have to scrub the externals. I went immediately to Before & After Restoration Balm. It is a paste/balm that works to deep clean the finish, enliven and protect the briar. I work it into the briar with my finger tips and a shoe brush to make sure that it covers every square inch of the pipe. I set it aside for 10 minutes to let it do its work. Once the time has passed I wiped it off with a soft cloth then buffed it with a cotton cloth. The briar really began to have a deep shine. The photos I took of the bowl at this point mark the progress in the restoration. You see the shine that the briar has taken on and the way sandblast has depth.
 I set the bowl aside and turned my attention to the stem. The stem needed to be bent to match the curve of the bowl. I heated it with the flame of a Bic lighter to soften the vulcanite and then bent it to the right curve. I held it in place until the bent was set in place.
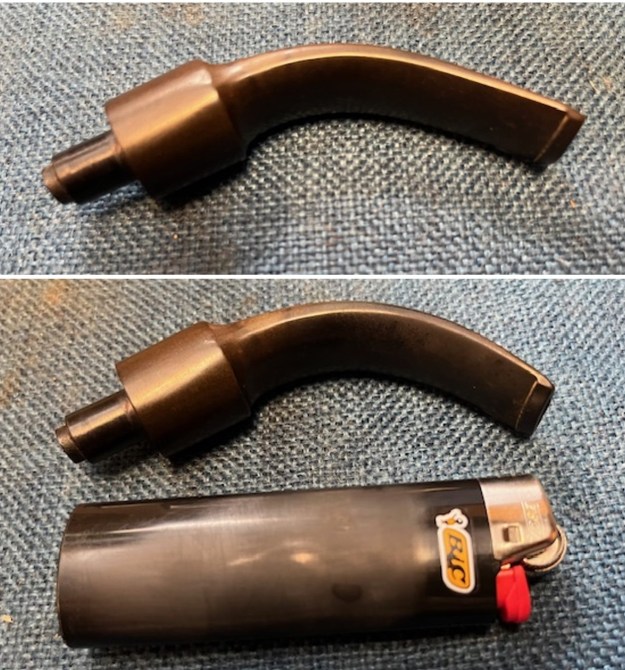 I sanded the stem surface with 220 grit sandpaper to smooth out the tooth chatter and the oxidation on the top and underside. I was able to remove all of the marks in the stem surface. It looked much better.
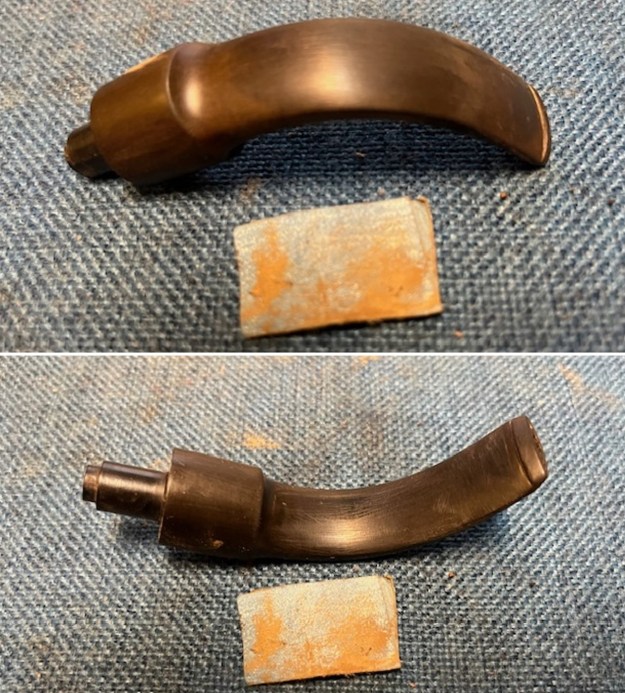 I sanded the stem with 320-3500 grit sanding pads to break up the remaining oxidation. I wiped it down after each sanding pad with an Obsidian Oil impregnated cloth. It began to look good.
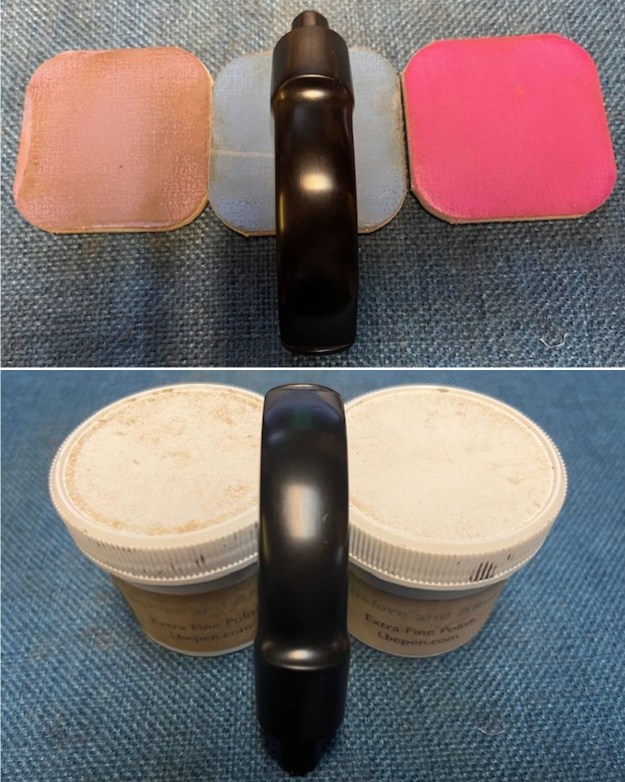
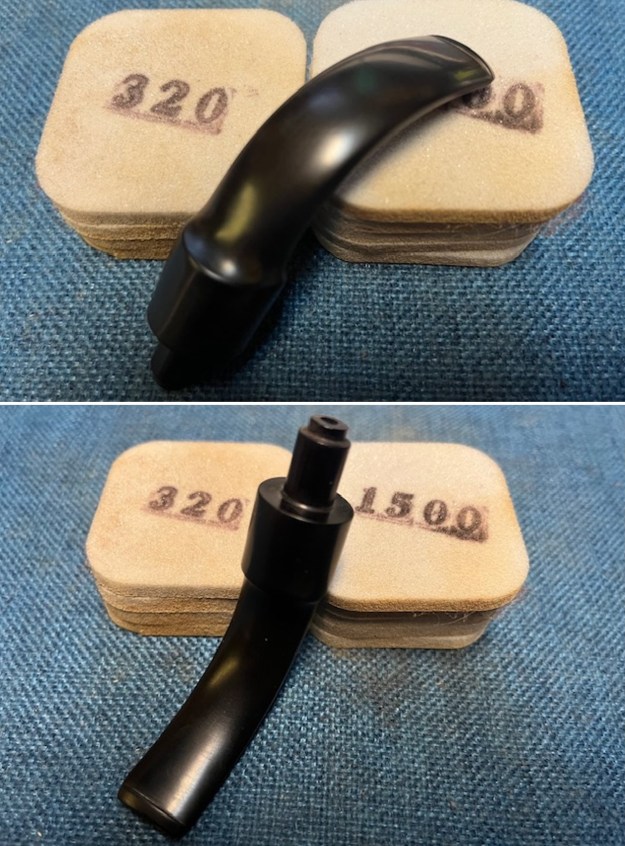 I polished the stem with micromesh sanding pads – dry sanding with 1500-12000 grit pads. I wiped the stem down after each sanding pad with Obsidian Oil. I polished it with Before & After Pipe Stem Polish – both Fine and Extra Fine. Once I had finished the polishing I gave it final coat of Obsidian Oil and set it aside to dry.
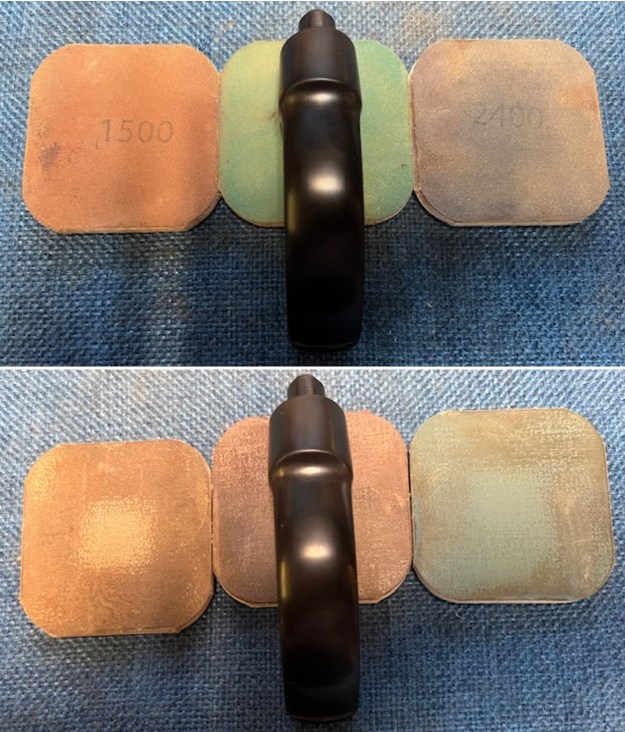
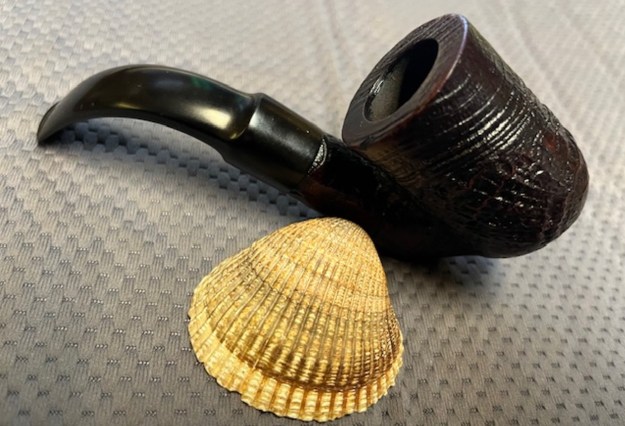
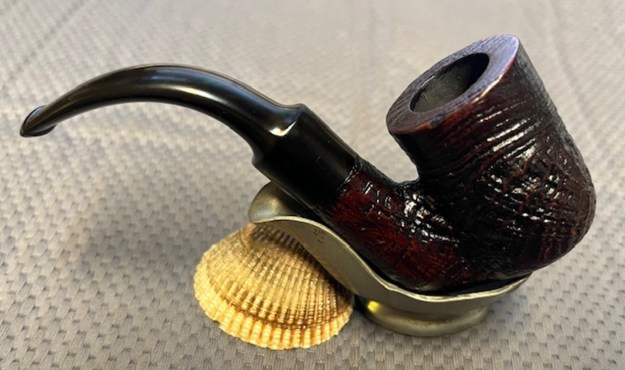
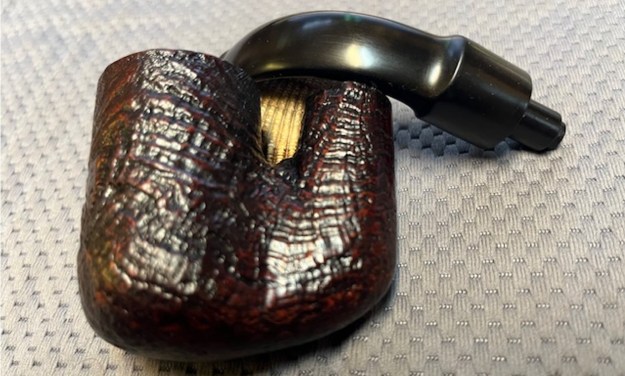
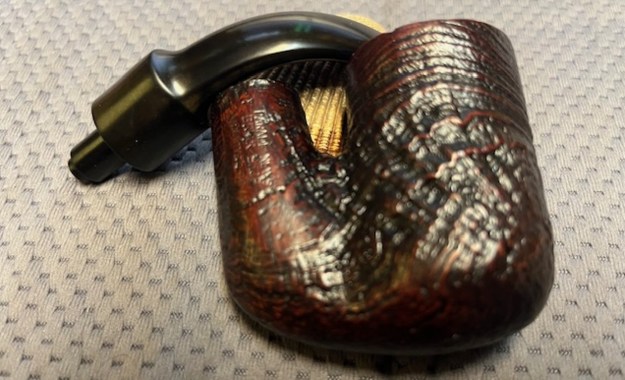
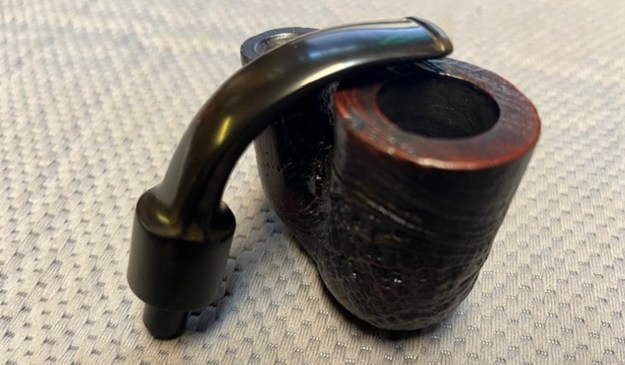
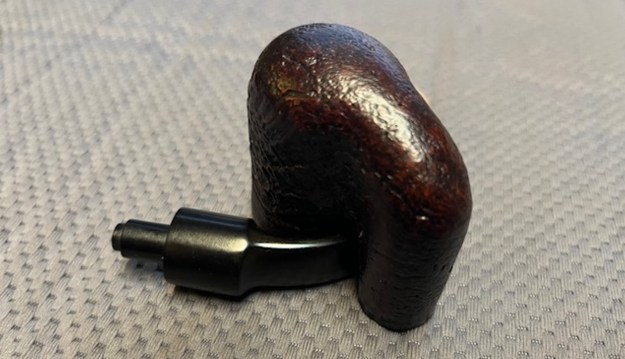
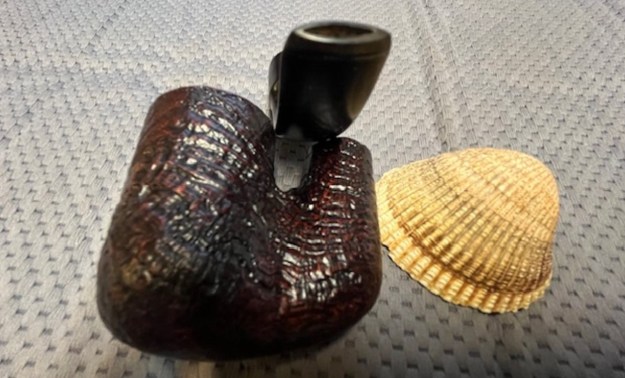
 As usual at this point in the restoration process I am excited to be on the homestretch. I look forward to the final look when I put a pipe back together, polished and waxed. I polished the bowl and stem with Blue Diamond to polish out the scratches in the briar and the vulcanite. I gave the bowl multiple coats of Conservator’s Wax and the stem multiple coats of carnauba wax. I buffed the pipe with a clean buffing pad to raise the shine. I hand buffed it with a microfiber cloth to deepen the shine. The pipe polished up pretty nicely. The sandblast pops with the wax and polish. The shiny black vulcanite stem is a beautiful contrast to the dark browns of the bowl and shank. This Parade News Briar Shop Oom Paul was another fun pipe to work on. The pipe is comfortable pipe to hold in the hand. The finished pipe is shown in the photos below. The dimensions of the pipe are Length: 5 ½ inches, Height: 2 inches, Outside diameter of the bowl: 1 ¼ inches, Chamber diameter: ¾ of an inch. The weight of the pipe is 1.87 ounces/52 grams. It is the last of Sonny’s pipes and soon I will send them all back to him. Thanks for reading this blog and my reflections on the pipe while I working on it. As always, I encourage your questions and comments as you read the blog. Thanks to each of you who are reading this blog. Remember we are not pipe owners; we are pipemen and women who hold our pipes in trust until they pass on into the trust of those who follow us.