Blog by Steve Laug
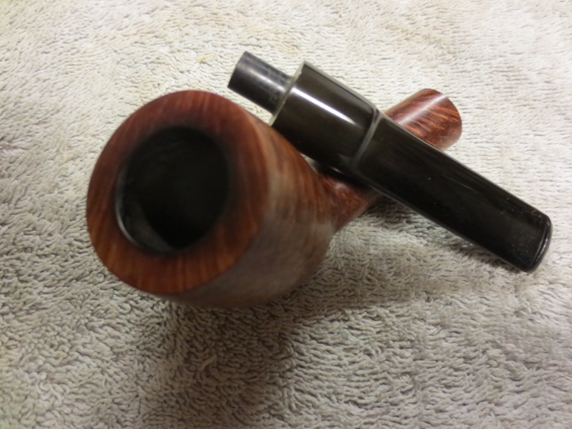
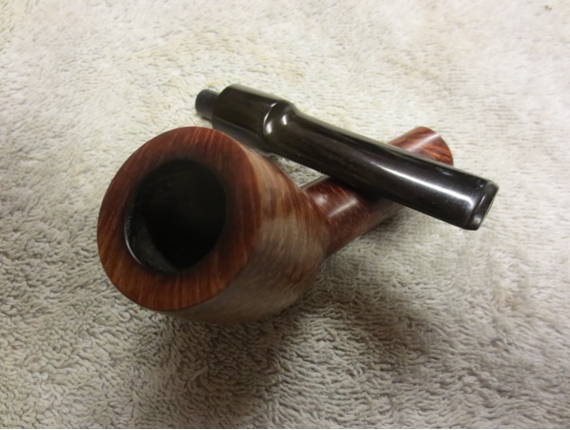
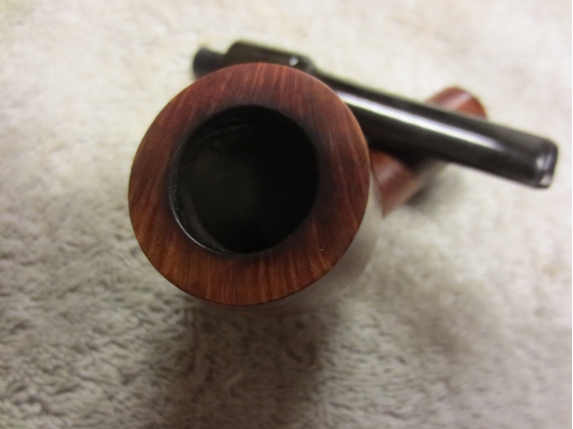
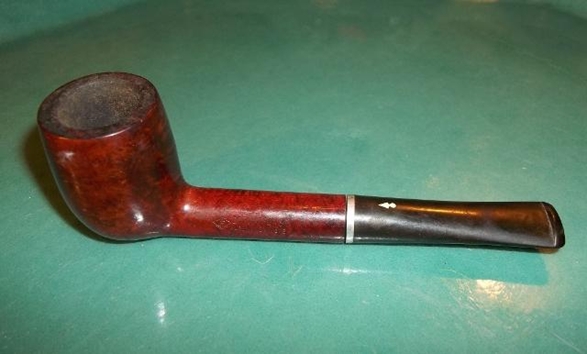
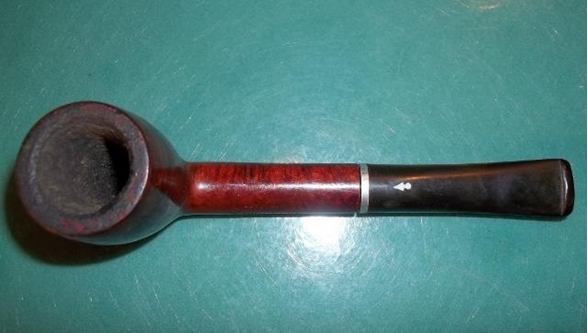
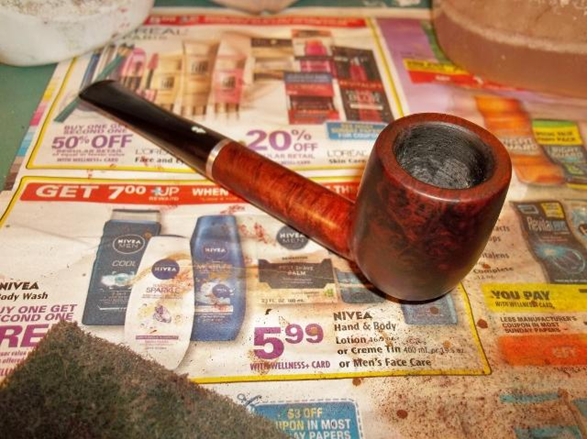
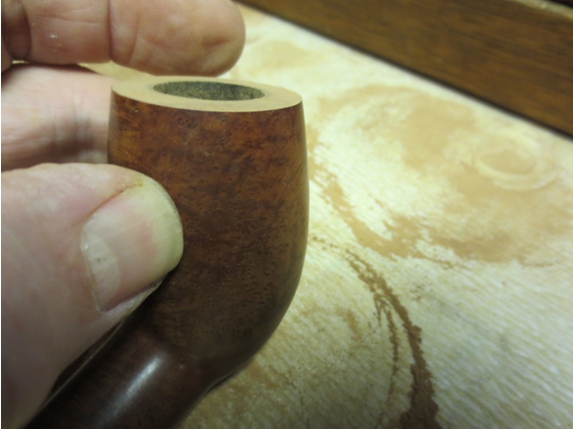
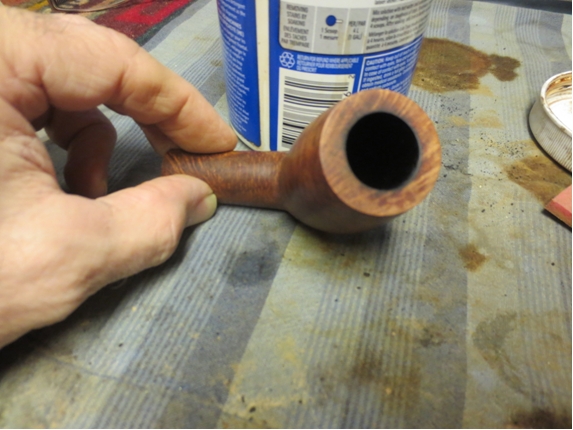
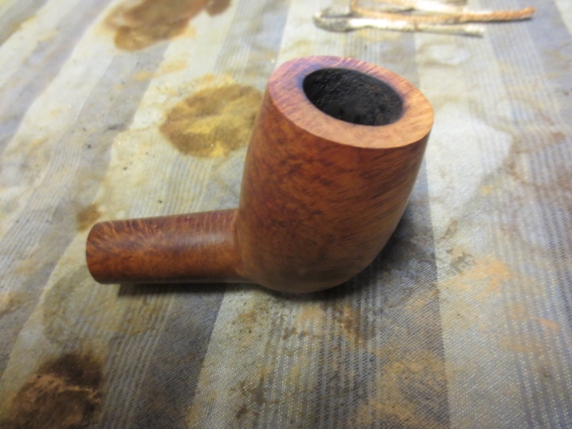
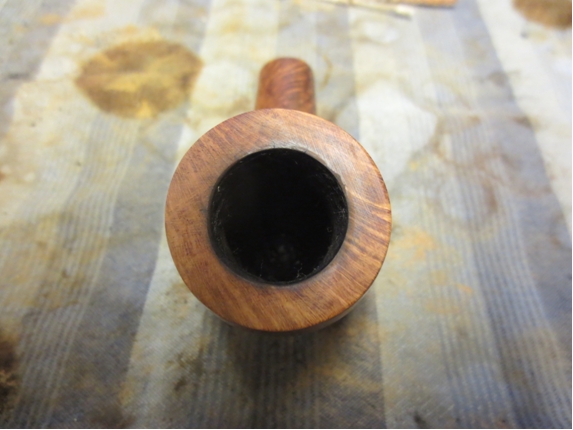
In the box of pipes that I was gifted was a large cutty shaped pipe that looked to be in pretty decent shape. It appeared that it did not need a lot of work to bring it back. The finish looked pretty good with birdseye on the sides and cross grain off to one side of the front and back of the stem. The grain followed a similar pattern on the shank. The bottom of the bowl had some mixed grain patterns. The stem was not oxidized. The bowl had a minimal cake in it. The only issue appeared to be the outer edge of the rim. On the back side it was very beat up and the briar was broken and nicked. All of this is what I assumed when I took it out of the box and took a closer look at the pipe.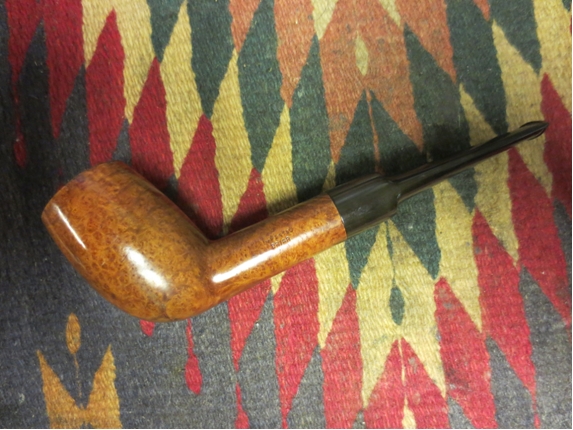
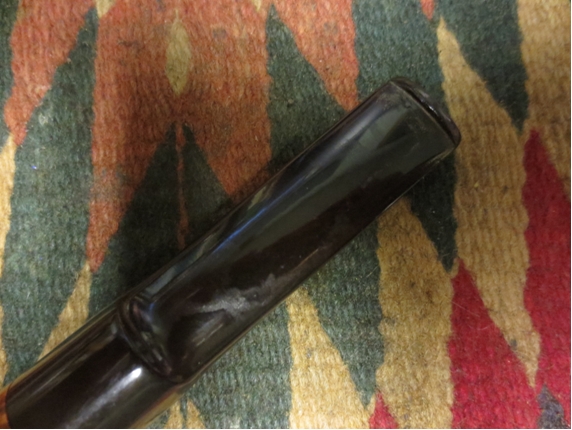
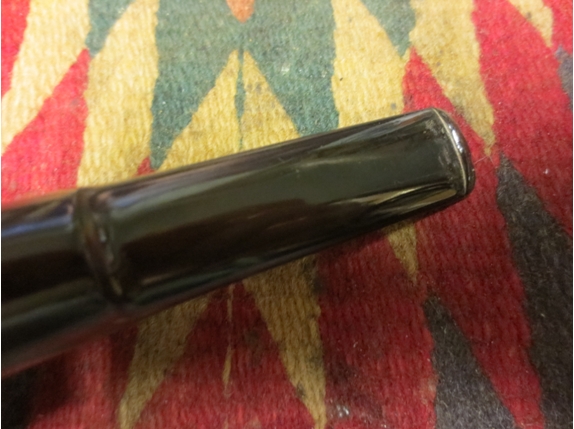
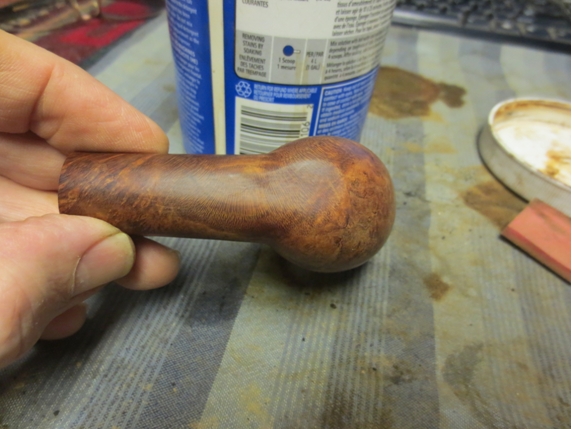
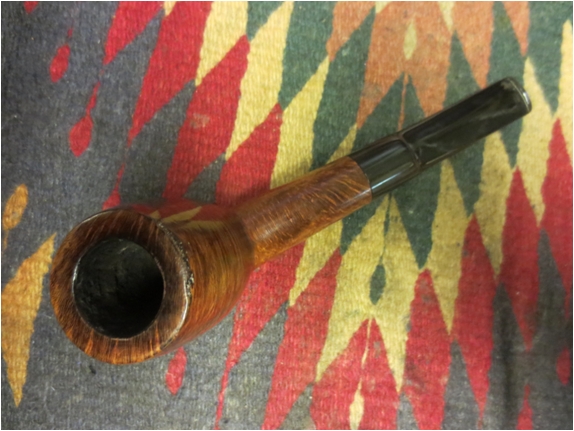 The pipe is large, at least for me. It is seven inches long from button to the front of the bowl. The bowl is 2 ¼ inches tall. The chamber is ¾ inch in diameter. Proportionally it is a well made pipe. There are no fills in the briar. There are no sandpits. But there were issues! The bottom of the bowl had been flattened but the flattened portion was not centered on the bowl and shank bottom. It was off to one side. This gave the bowl and pipe a distinct cant to the right. The damage to the rim was deep on the back outer edge. The stem had tooth marks on the top and bottom sides next to the button. All of these would need to be addressed in a restoration of this pipe.
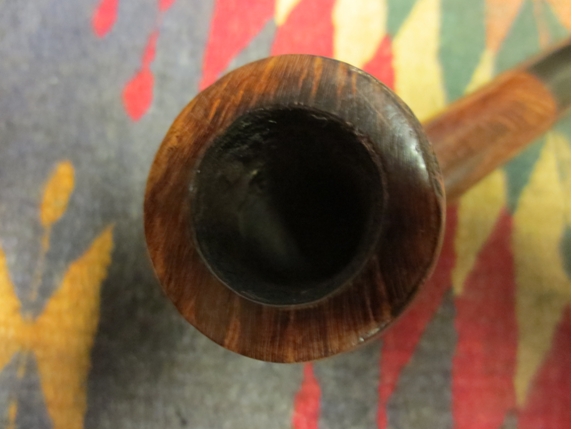
 I reamed the bowl with the PipNet reamer. I seem to default to this T handled reamer as first choice in most of the refurbishing that I do. It is an easy tool to use. The T handle is small enough in diameter at the junction of the cutting head that it can be pushed deep into the bowl which was necessary with this pipe.
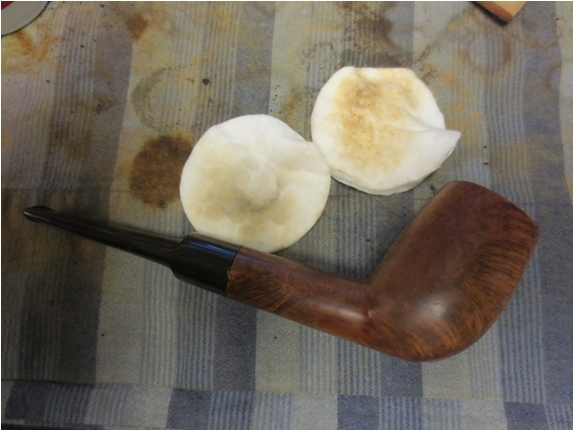
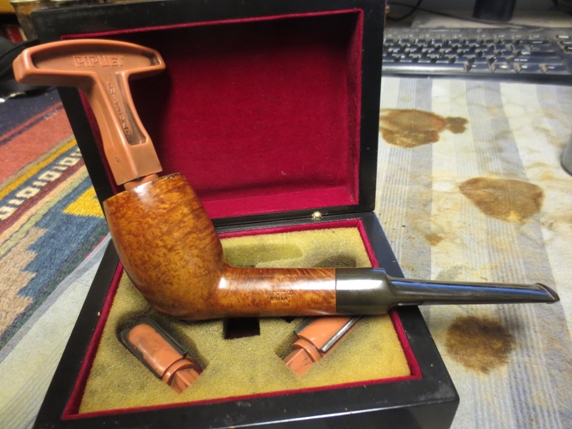 Since I was planning on topping the bowl to repair the rim damage I decided to remove the finish from the pipe so that matching stain would not be necessary. I wiped it down with acetone on cotton pads. The finish dulled but it did not completely come off the bowl. It has the feel of a Urethane coat. Once I topped the bowl I would deal with that issue.
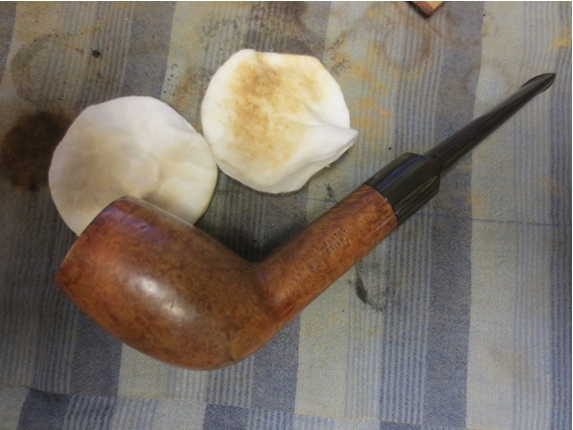
 I set up my usual topping board with 220 grit sandpaper. I would need to remove quite a bit of briar from the surface of the rim to take care of the damage. I also found that the cant on the bowl and shank left me with a canted bowl top as well. I sanded the bottom of the shank until the pipe sat upright and then had to work on the rim to make it horizontal without a slant. As usual I collected the briar dust for later use on fills and repairs.
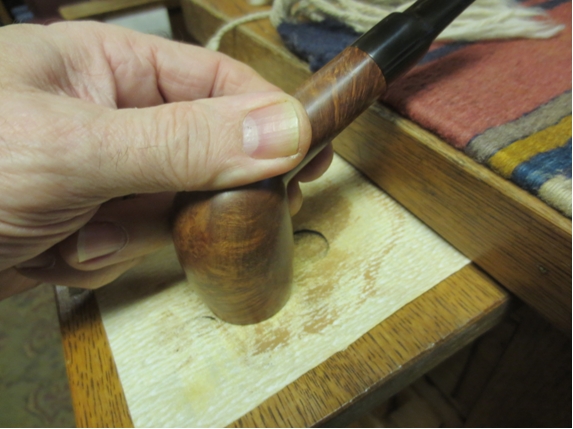


 I used a folded piece of sandpaper to smooth out the inner edge of the rim and lightly bevel/chamfer it and remove the charring.
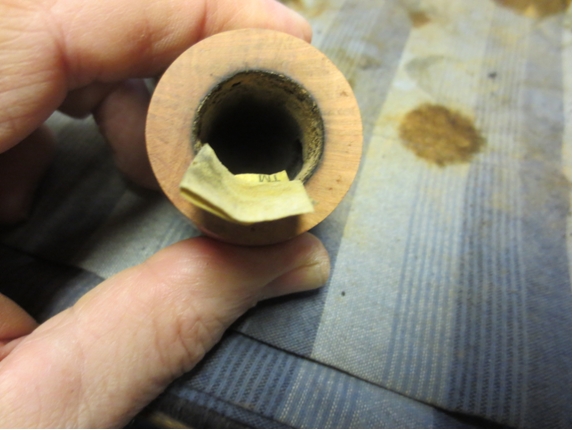
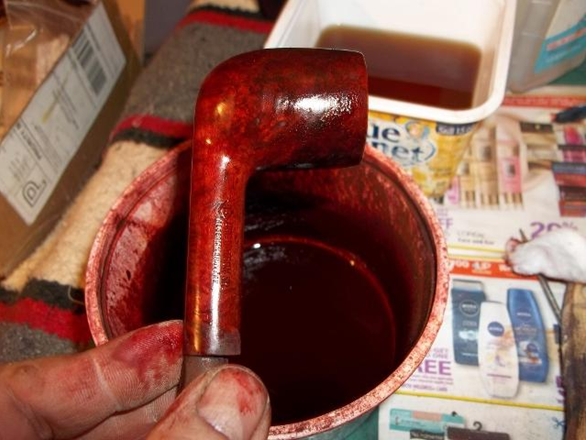
 I sanded the bowl and shank with a medium grit sanding sponge to break through the urethane finish. I wiped it down further with acetone until it was gone. I decided to drop the bowl in my alcohol bath to soak while I worked on the stem. I have found that the stain darkened alcohol bath works really well to give some patina to briar once the finish has been opened up. For such a large piece of briar the bowl was surprisingly light weight and it floated on the surface of the bath.
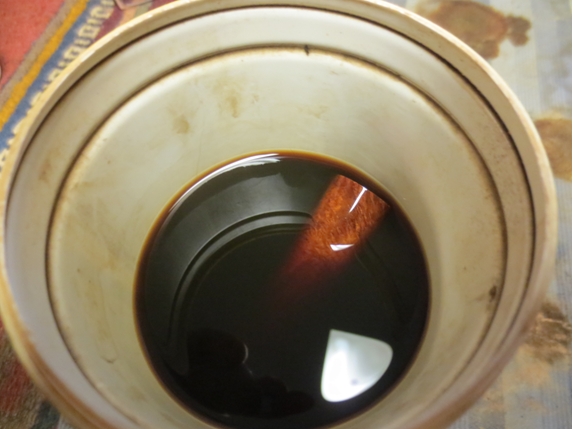 I sanded the bite marks on the stem with 220 grit sandpaper until they were removed. I followed that by sanding the stem surface with a medium and a fine grit sanding sponge to minimize the scratches in the stem.
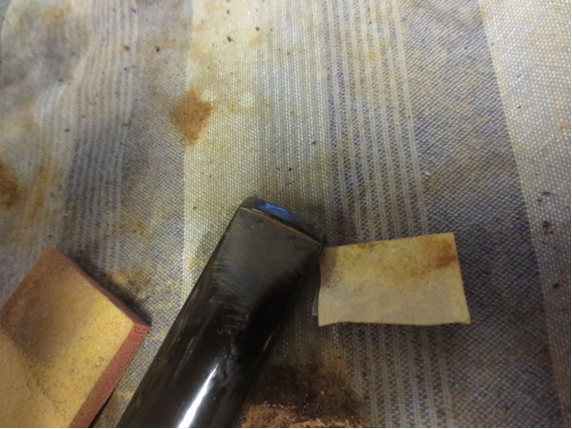
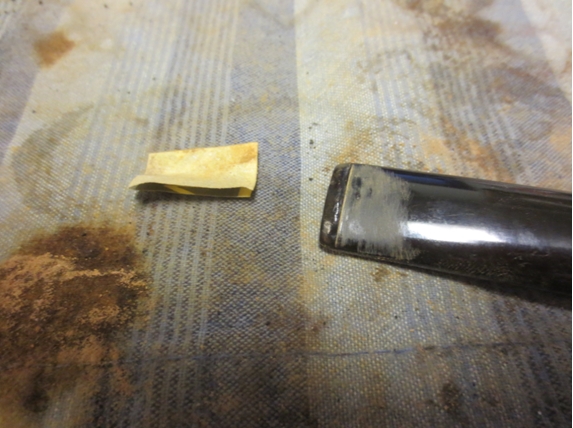

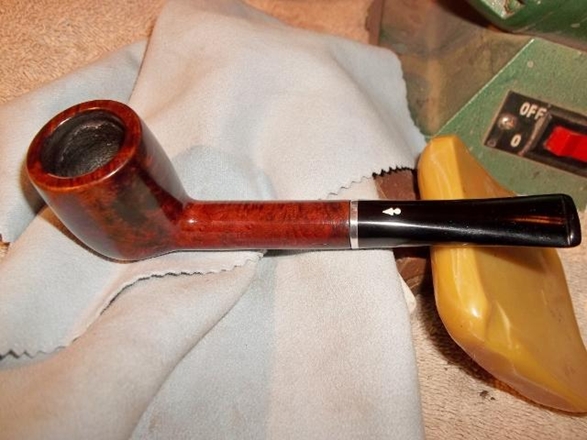
 I rubbed the stem down with Obsidian Oil and set it aside. I took the bowl out of the bath. The finish had completely disappeared with the soak and the entire bowl, including the rim had picked up a nice patina. The grain just popped in the clean surface of the bowl. It would be easy to stain and polish.
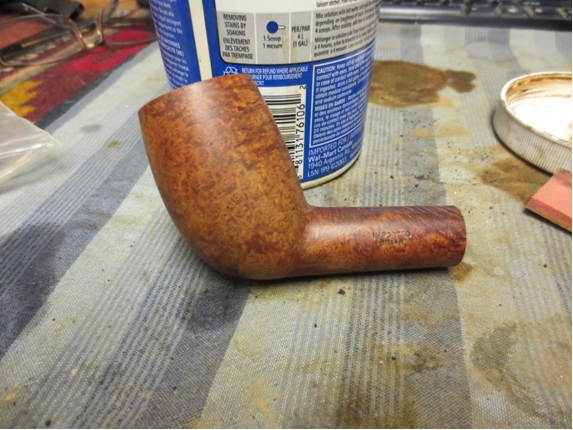

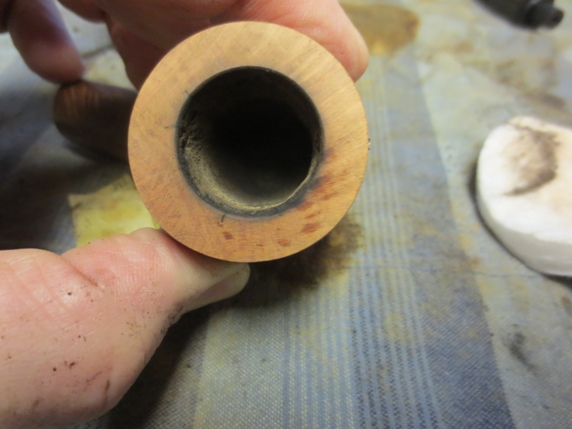
 The colour of the topped rim matched the bowl colour perfectly – in fact it matched so well that I was unsure that I would even stain it. The next photos show the bowl as it stood after the soaking and drying. I love the way that the grain stood out.
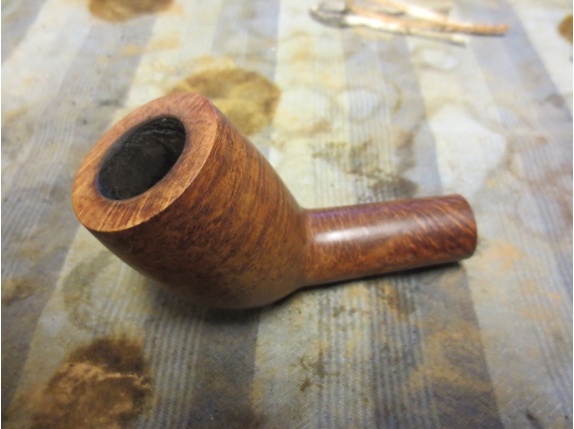
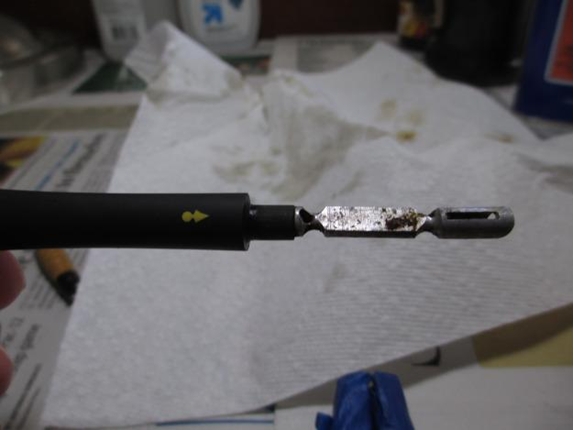
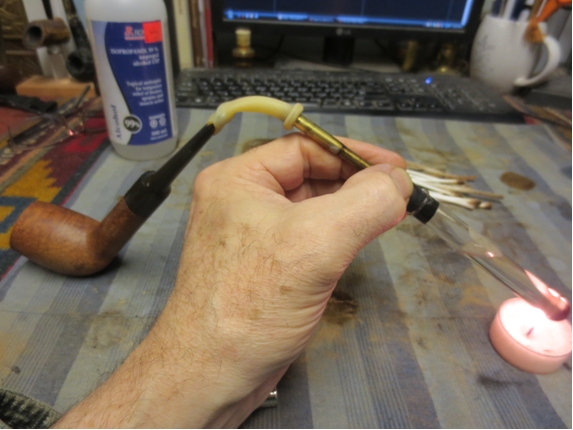
 I ran a few pipe cleaners and cotton swabs soaked in isopropyl alcohol through the shank to clean it out. I was surprised with how dirty the shank was. The buildup of tars and oils was heavier than I expected. I set up a retort and boiled alcohol through the pipe until the alcohol came out clean.
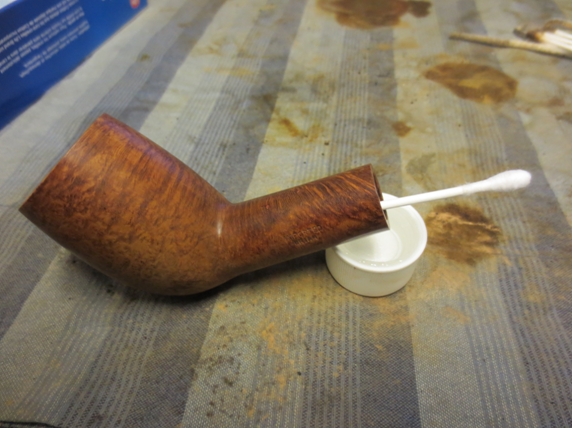
 After the retort I used a few pipe cleaners and cotton swabs to remove the alcohol and remaining tars from the shank.
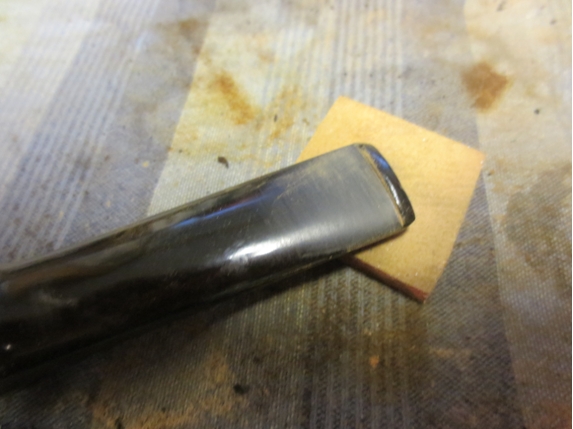
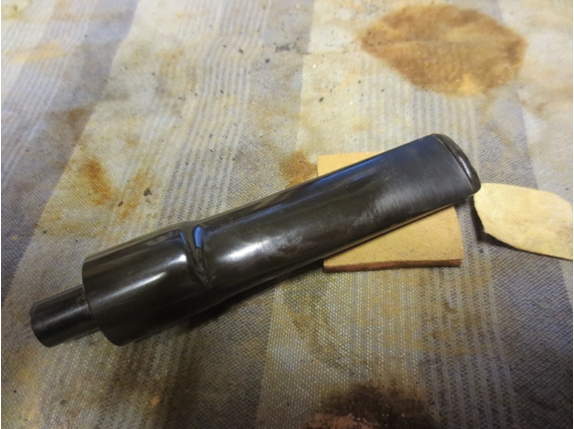
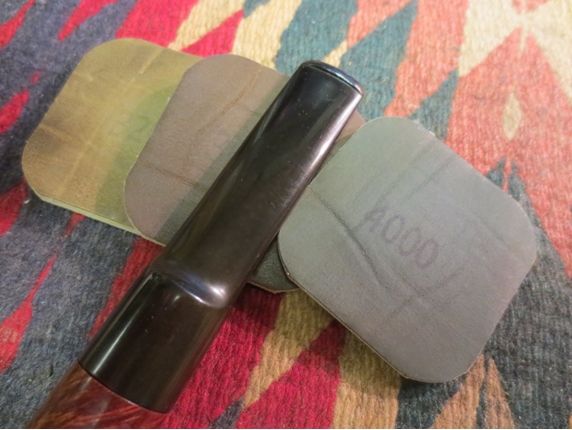
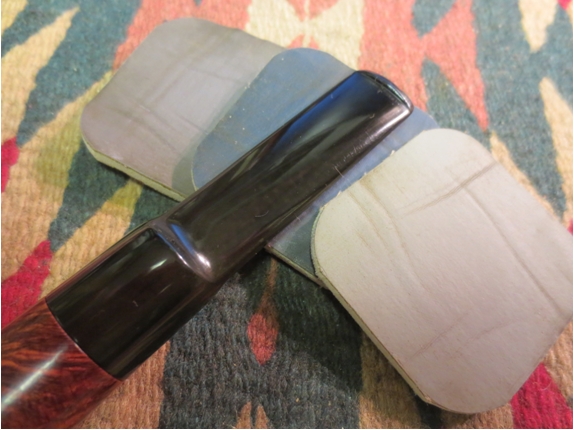
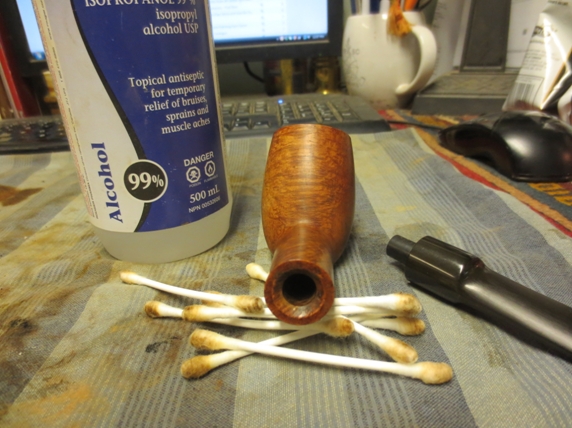 With the bowl and shank clean and ready to go it was time to finish the stem. I sanded it with micromesh sanding pads – wet sanding with 1500-2400 grit pads and dry sanding with 3200-12,000 grit pads. I rubbed the stem down with Obsidian Oil between each set of three pads. When I finished sanding with the 12,000 grit pad I gave it a final coat of oil and let it dry.
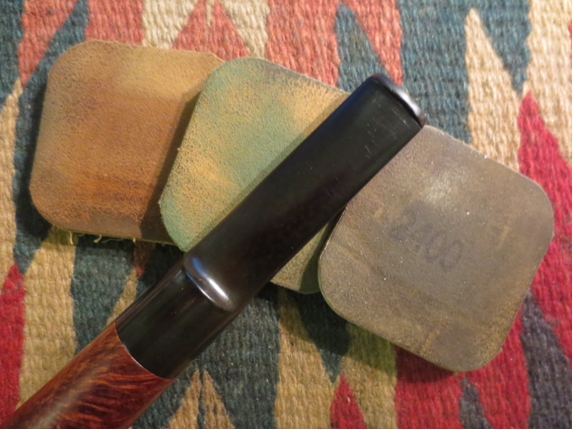
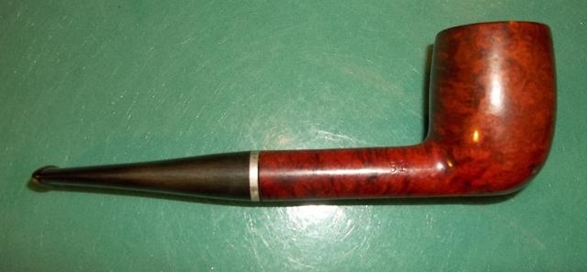
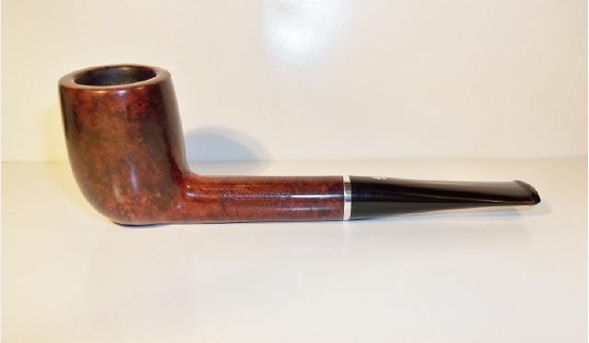
 I gave the bowl a light coat of olive oil to highlight the grain. I did not stain the bowl as I really liked the natural look of the briar. I gave it a buff with White Diamond and did the same with the stem. I then gave the pipe several coats of carnauba wax and a buff with a soft flannel pad. I took the photo below to give some idea of the size of this pipe. It is sitting next to the Kaywoodie Prime Grain Lovat that I finished restoring recently.
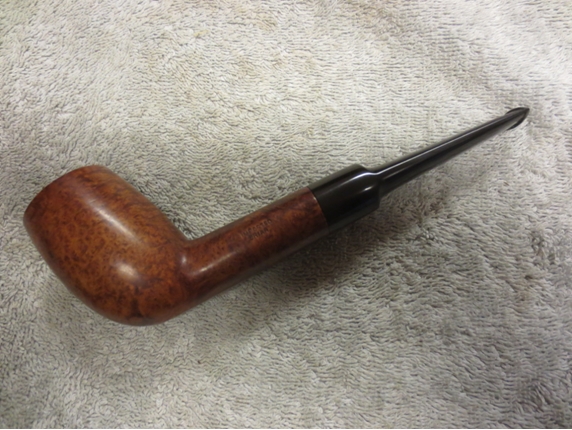
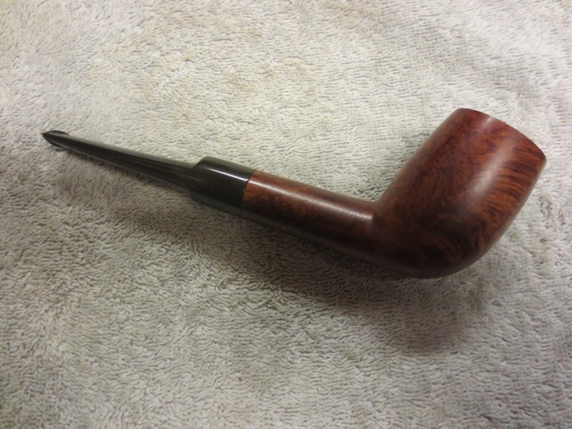
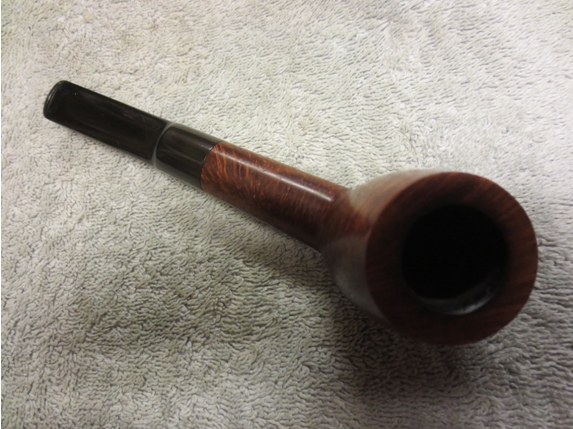
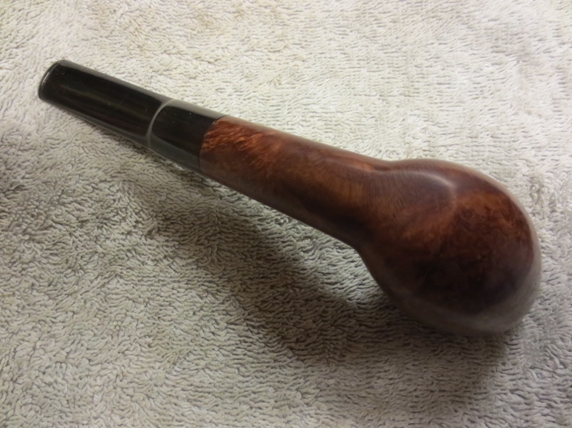
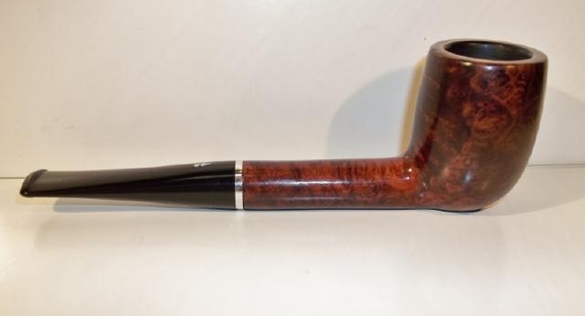
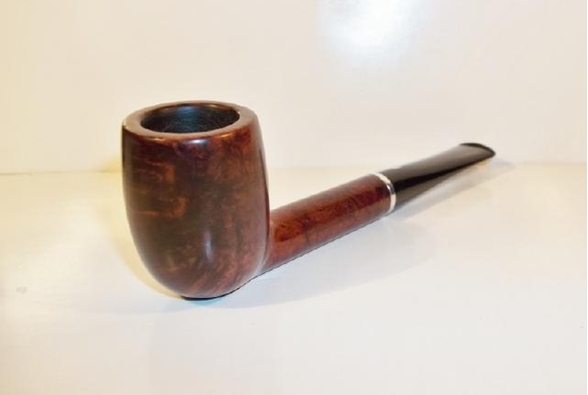
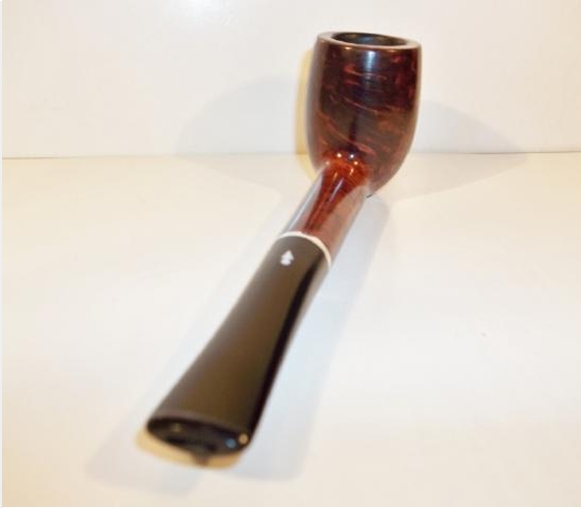
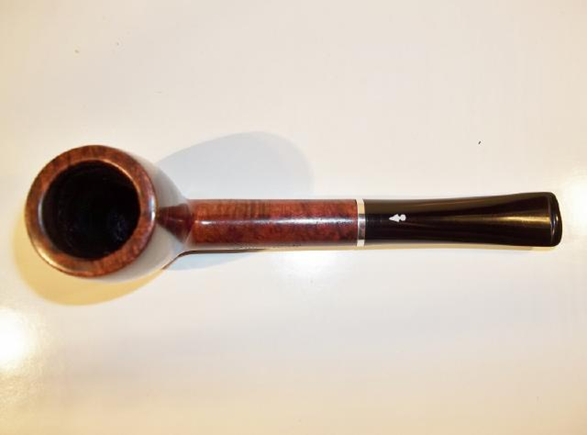
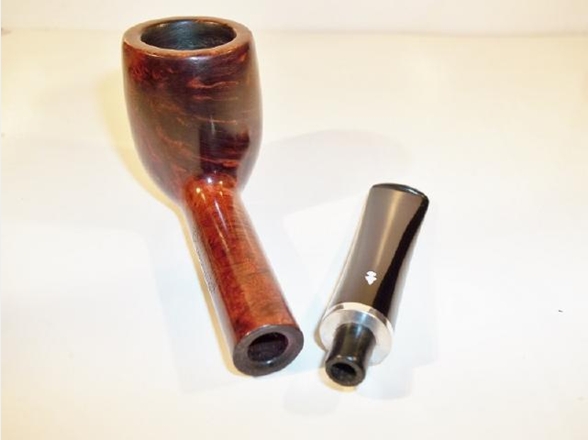
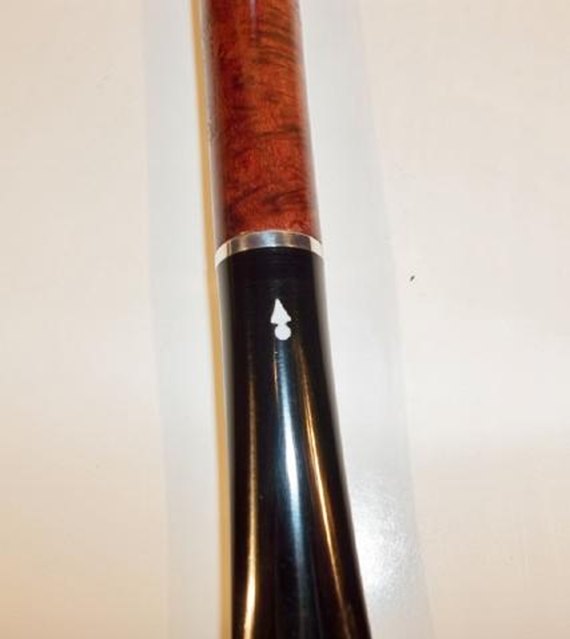
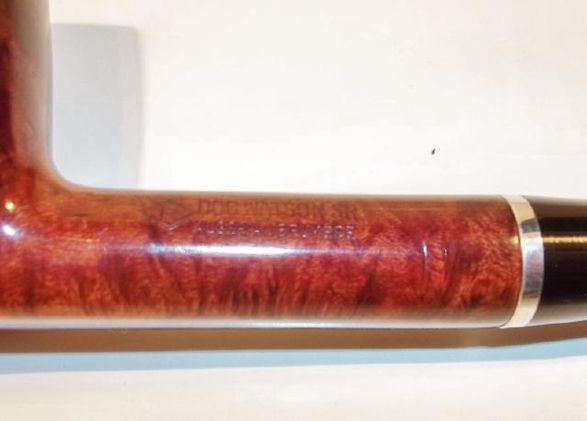
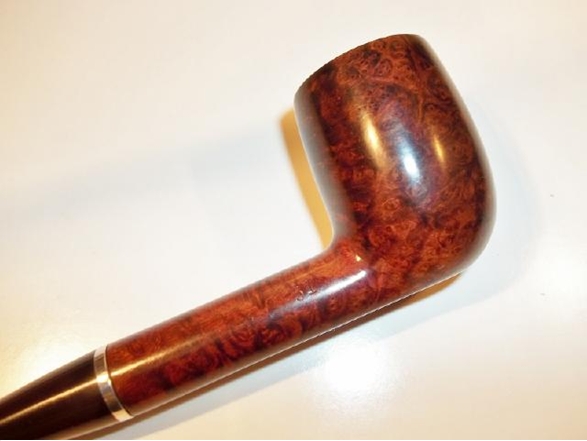
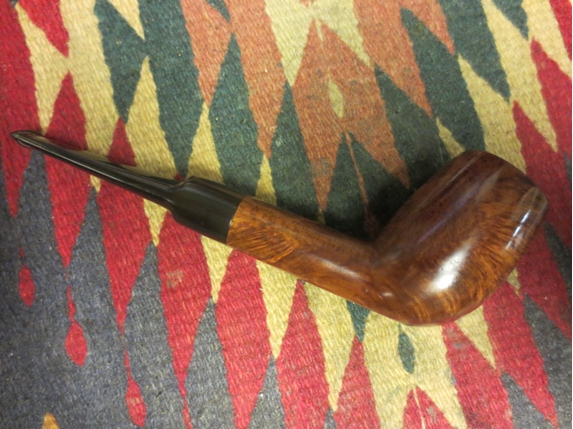
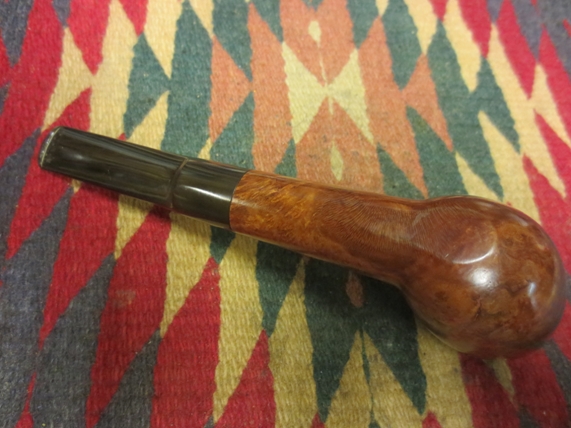
 The finished pipe is shown below. The first four photos show the overall look of the pipe. The last three photos give a close up view of the bowl and stem. The pipe is like new. The new finish is far better than the one that came with the pipe. The look of the grain and the way the bath and olive oil highlights it is quite stunning. This pipe will make someone a great addition to their rack and should be a great smoking pipe. It is too large of a pipe for me at this phase of my pipe smoking. I am much more drawn to smaller bowls and lighter pipes, but that being said, the grain on this one makes it very tempting.