Daily Archives: January 24, 2015

A Trio of Peterson Stems


Blog by Al Jones

These three Peterson’s belong to a fellow member of the Frederick Pipe Club (Maryland).  He asked me if I could remove the oxidation on the stems.   I tackled all three this afternoon and they are ready to deliver on the next club meeting.

First up was this Shape 999 Killarney

Before

GS_Pete_999 (1)

After

GS_Pete_999 (2) GS_Pete_999

I used  my typical routine of 800 grit wet paper, followed by 1500 and 2000 grades.  Next up was 8000 and 12000 grade micromesh.  I followed this by polishing on my buffer White Diamond and then Meguiars Polish.  The brair was in good shape so I only gave it a buff with Carnuba wax.

I followed the same stem regimen for the other two pipes.

Next up this Peterson Limerick.  I forgot to take a “Before” picture until I was almost done with the 800 grade paper.  This one has the most heavy coat of oxidation.  The nickle band was polished with some Blue Magic metal polish.   I gave the briar a light buff with White Diamond and then several coats of Carnuba wax.   This one has some very nice cross grain and birds-eye.

GS_Pete_Limerick (1) GS_Pete_Limerick (2) GS_Pete_Limerick

Last up was this Meerschaum pipe with a Sterling Silver military style stem fitment.  The oxidation on this one was stubborn, particularly around the P-lip button creases.  To remove the oxidation in this area, I wrap each grade of paper around a very thin knife.

GS_Pete_Meer (1) GS_Pete_Meer (2) GS_Pete_Meer

Grooming a Ben Wade Golden Walnut Danish Freehand


Guest Blog by Robert M. Boughton
Member, North American Society of Pipe Collectors
http://www.naspc.org
http://www.roadrunnerpipes.com
http://about.meboughtonrobert
Photos © the Author

“There is nothing like being left alone again, to walk peacefully with oneself in the woods. To boil one’s coffee and fill one’s pipe and to think idly and slowly as one does it.”
― Knut Hamsun (1859-1952), Pulitzer Prize winning Norwegian author

INTRODUCTION
When, a few years back, I became serious about collecting pipes, it was for the most part all about anything made by Peterson’s and Savinelli in particular and meerschaums in general, with an emphasis on the latter. While these pipes formed the basis for what has become a rather large, P.A.D.-fueled assemblage, I have, since those earliest days, branched out, so to speak, into many other fine brands.

Some of the brands of which I have various models greater than one include Barling, Butz-Choquin, Comoy’s, Dunhill, GBD, Karl Erik, Kaywoodie, V. Rimkus, Ropp, Stanwell and Don Warren, which do not include the large selection of individuals such as a Cavicchi 4C Silver Band Freehand, Burgundy Falcon, Charatan Make Deluxe Prince and Stefano FX Bean Pot. In short, I have become, as time passes, more attuned to the endless variety of great pipes out there, not to mention a few of more dubious origin such as a “The Pipe” (which nevertheless, in my opinion, no true collection should lack at least one sample) and a recent, still to be restored but excellent example of the odd but unique Doodler.

To use a term I recently coined in a previous blog, I am an omnitobacarius-phile, or lover of all things tobacco-related, at least as far as smoking pipes are concerned.

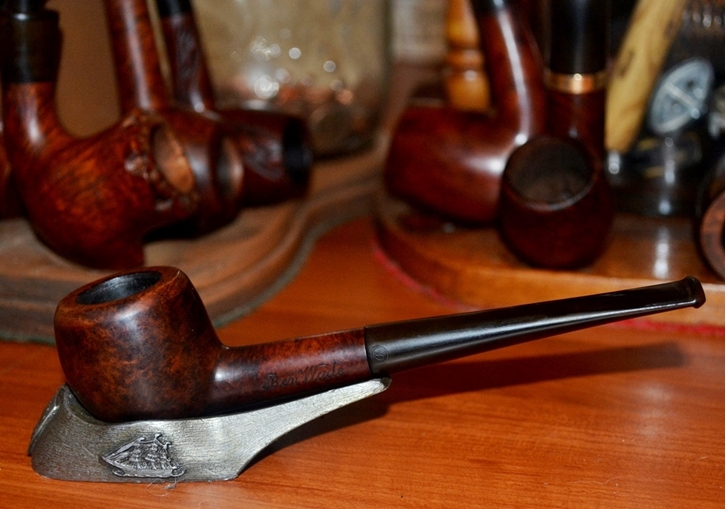
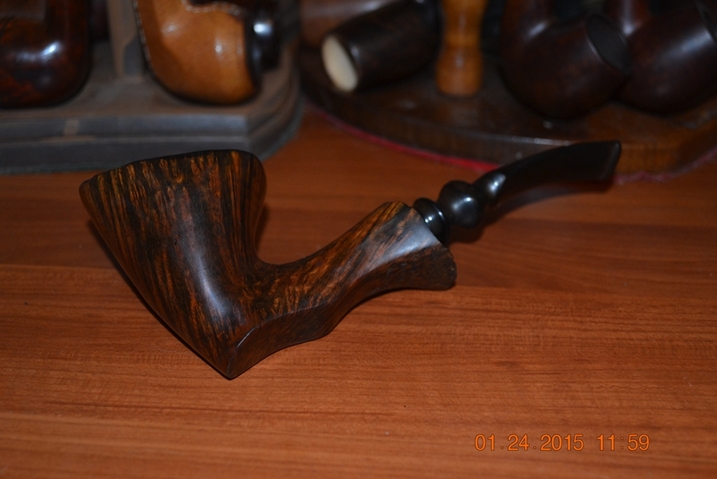
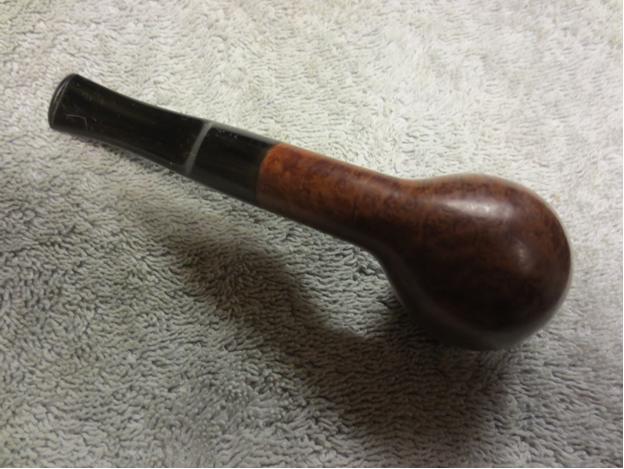
And, of course, there is my growing assortment of Ben Wade pipes, the latest addition to which this blog concerns.

Here are my other BW pipes, in order: a Town and Country Bent Dublin London Made with a 14K gold “Barling” band (don’t ask me how), Cheltenham Straight Billiard, Selected Grain Short Apple, London Made Dublin, Blue Diamond and Tall Canted Poker. There is also a BW that was once a Tall Straight Billiard but, due to extreme abuse by some unknown villain, suffered a large and fatal crack from the top of the bowl about halfway down, requiring a radical change in shape to a squat pot, as I call it. The result of that surgery is now a very special shop pipe.Ben1

Ben2

Ben3

Ben4

Ben5

Ben6

Ben7 
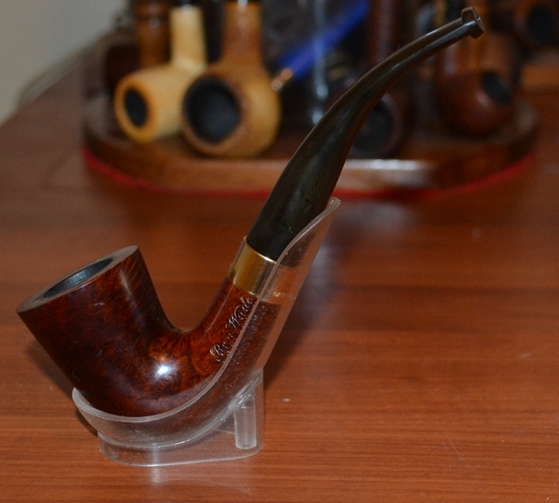
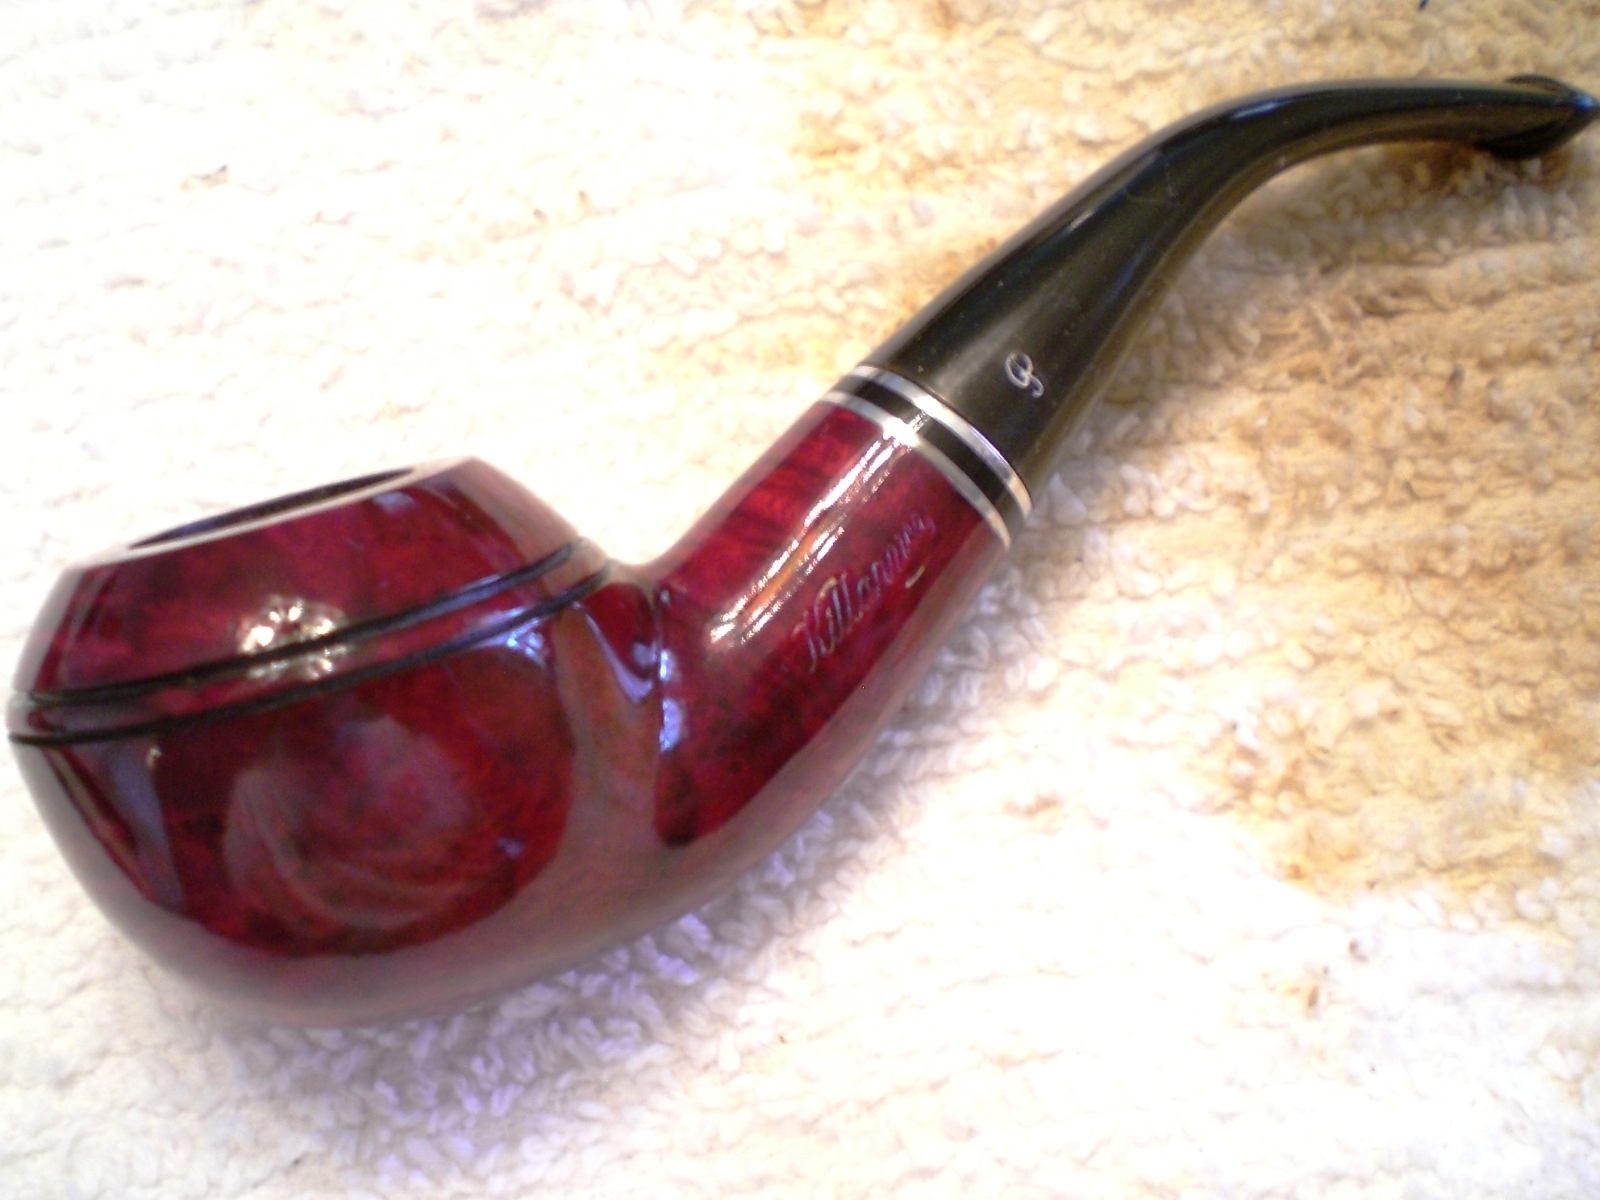
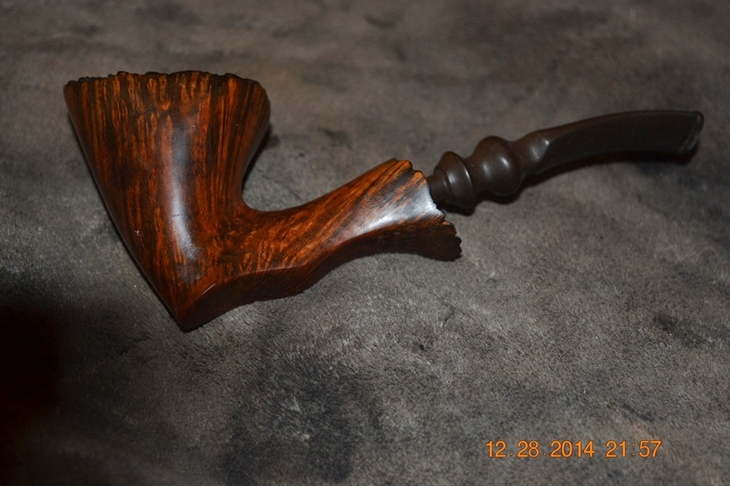
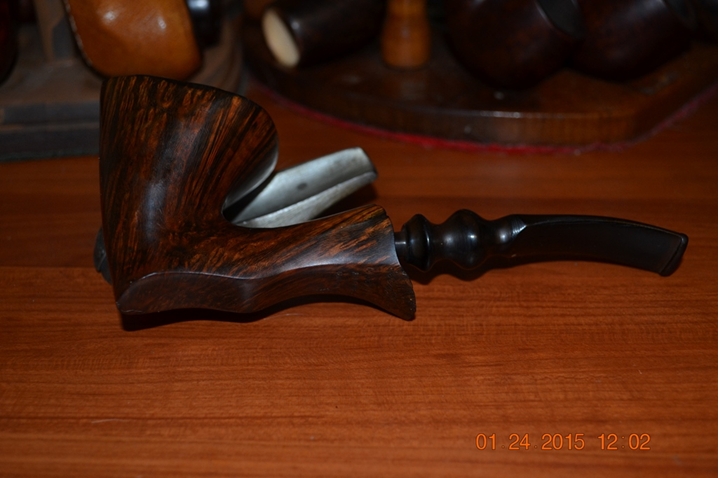
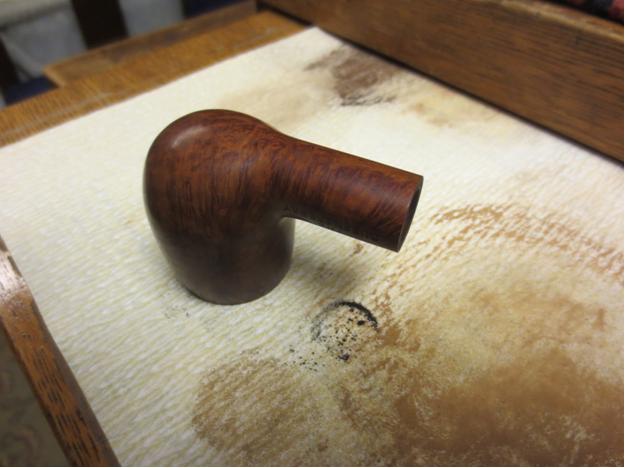
What, you might well ask, do all of these pipes have in contrast to the one of which I will describe the light refurbish in this blog? They were all made in England, where BW is best known for its production, although it has also made pipes in France and Denmark. The uncommon country of origin, the unusual wood and the beauty of the freehand itself wangled my mind around the idea that I truly needed this fine specimen. Of course, I was also very strongly attracted to the Danish golden walnut freehand.

Of an incidental reason for my appreciation of this pipe, I came to suspect, during the research phase, that the beauty was crafted by the late great pipe maker, Preben Holm, who sometimes made his services available to BW. One reason is the inclusion of “Hand Made” in the nomenclature of another golden walnut freehand that Hr Holm just happened to make for BW, while a briar plateau freehand the master carver created for BW bore only the stamp “Made in Denmark.” For the rest of my reasoning, see http://www.pipephil.eu/ logos/en/logo-benwade.html to start, and click on the link to Preben Holm for more examples of his distinctive work and style.

THE GROOMING

Honestly, this was one of the few almost ready to enjoy pipes I have ever bought online. The only completely restored, cleaned and sanitized pipe I purchased by this medium was a Ropp Deluxe Cherrywood #901. I sold it for less than my cost to a prospective basic cleaning customer in Scottsdale, Arizona whose #815 of the same brand and general look was delivered to another Post Office Box holder who seems to have the deficient morals needed to abscond with it. What can I say? It seemed to be the right business thing to do, and the buyer of the 901 wrote that its condition upon arrival was “fantastic” and promised to send me future estate pipes he finds for cleaning. He will not, however, be sending them via USPS. And yo! To the deadbeat out there who stole the 815, if you’re reading this, feel free to let me do the cleaning it likely still needs, and I’ll give you the deal you deserve.

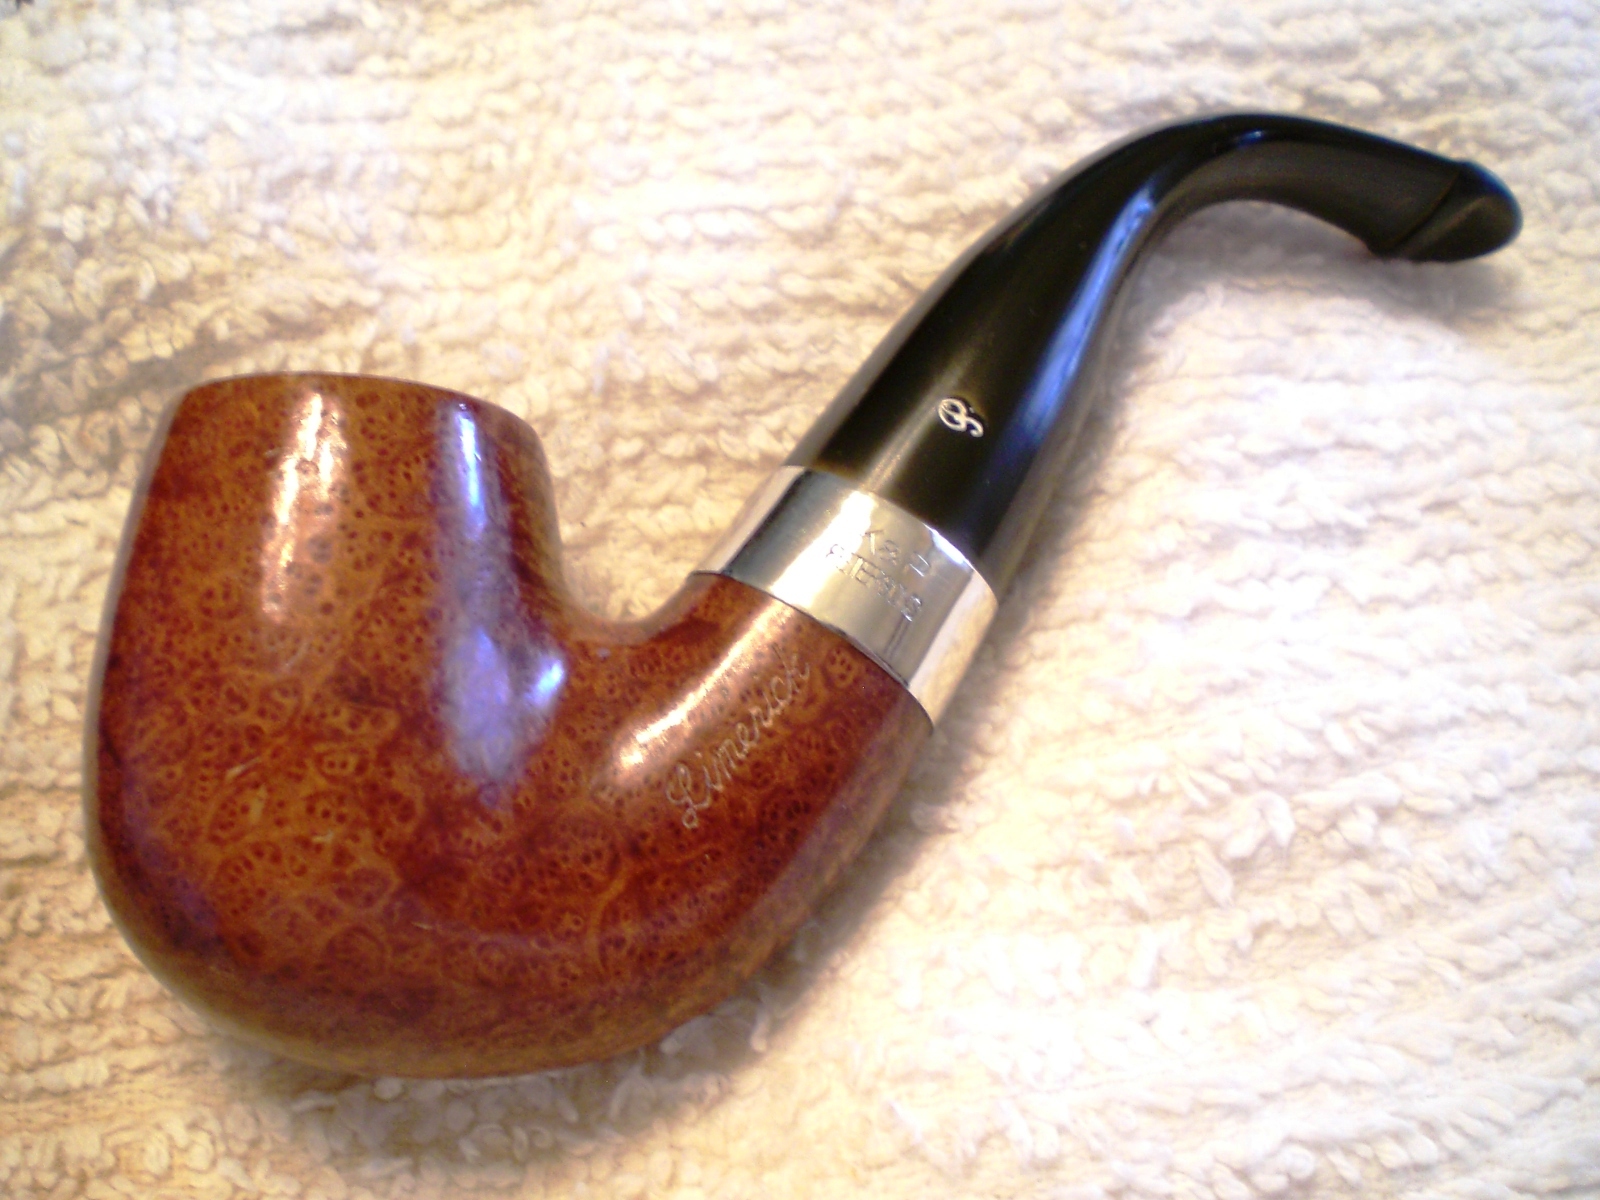
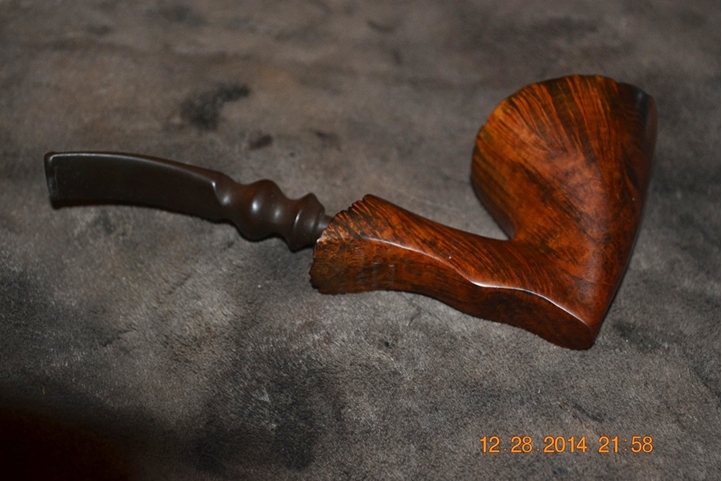
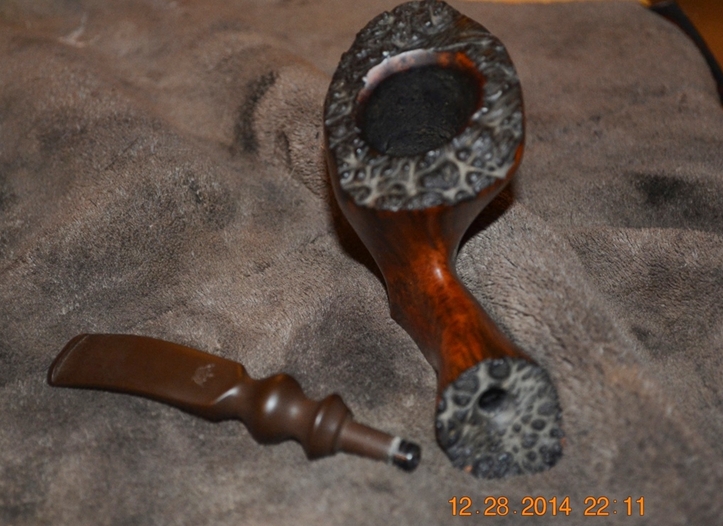
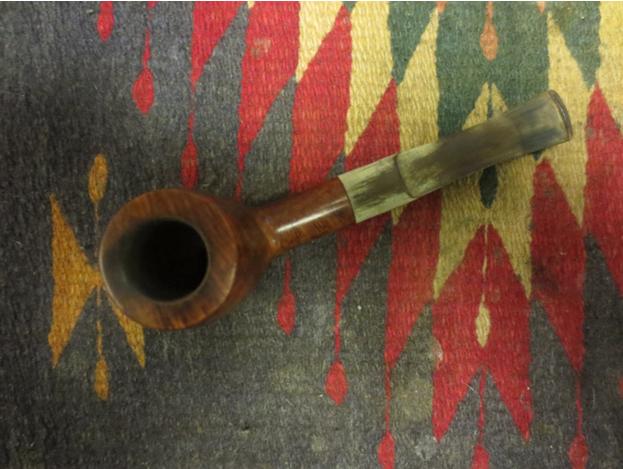
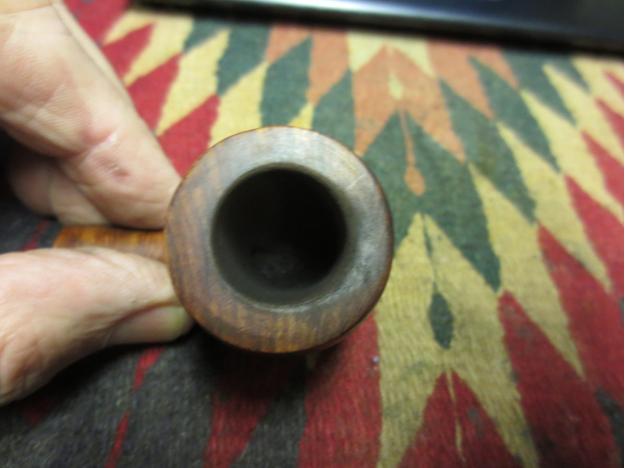
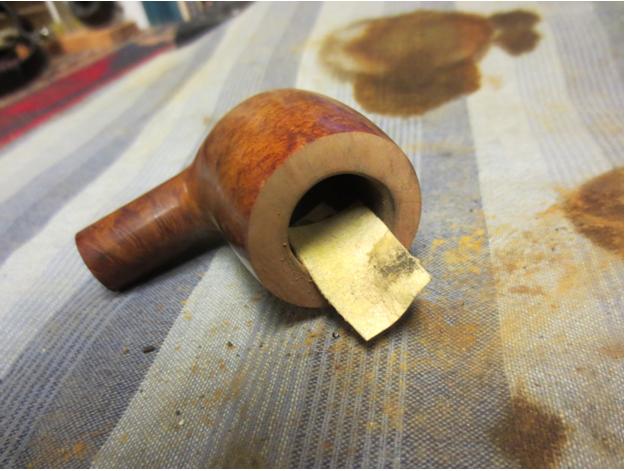
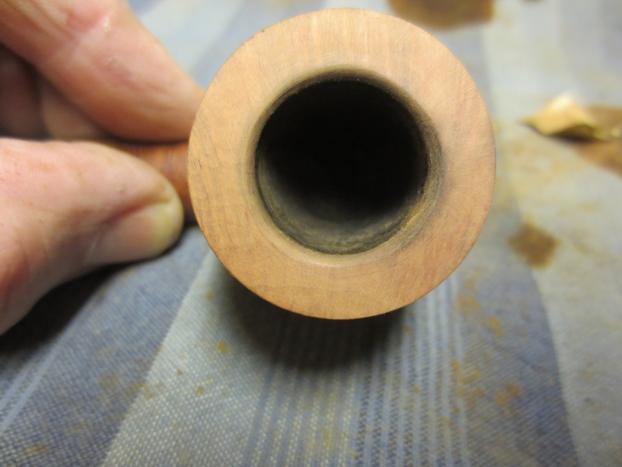
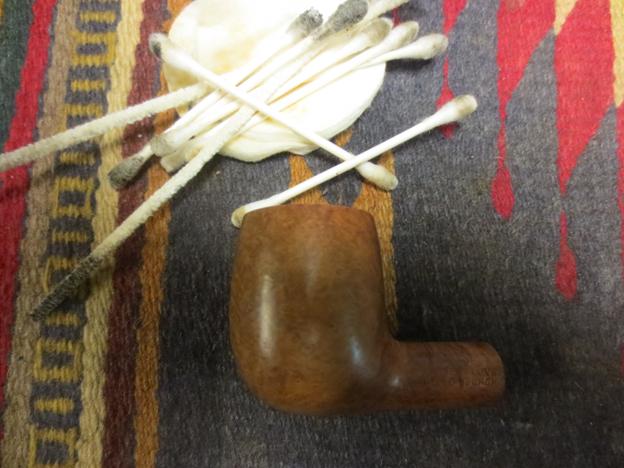
But returning to my subject, had our excellent host, Steve, not wanted to see what became of the pipe he explained was made from a piece of plateau walnut, so simple was the “refurbishing” process that I never would have bothered with a blog on it. Still, given that the Danish freehand did need slight chamber work, re-staining of the plateau rim and shank opening, minor scratch removal, retorting and stem shining, I could not help giving the pipe attention I have to rank even below refurbishing: what I call here a grooming, much as an unruly lad sometimes needs his face wiped, hair combed and shirt tucked in.Ben8

Ben9

Ben10

Ben11

Ben12

Ben13

Ben14

Ben15

Ben16 
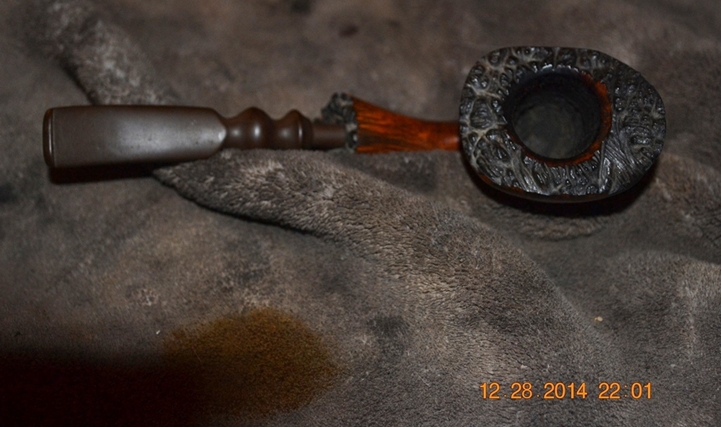
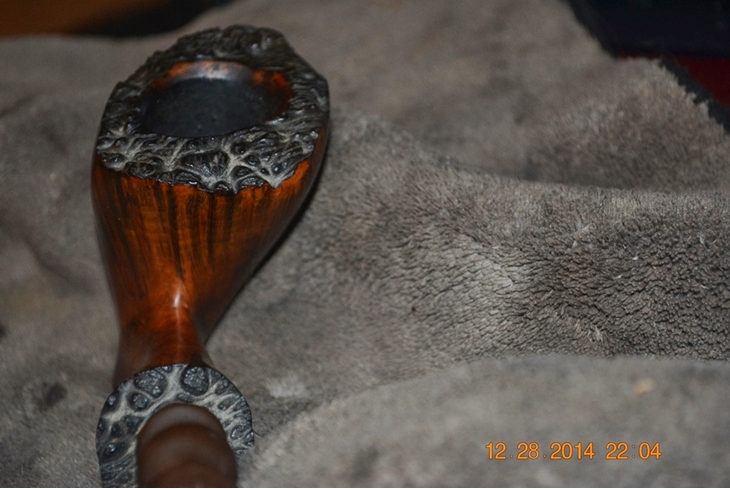
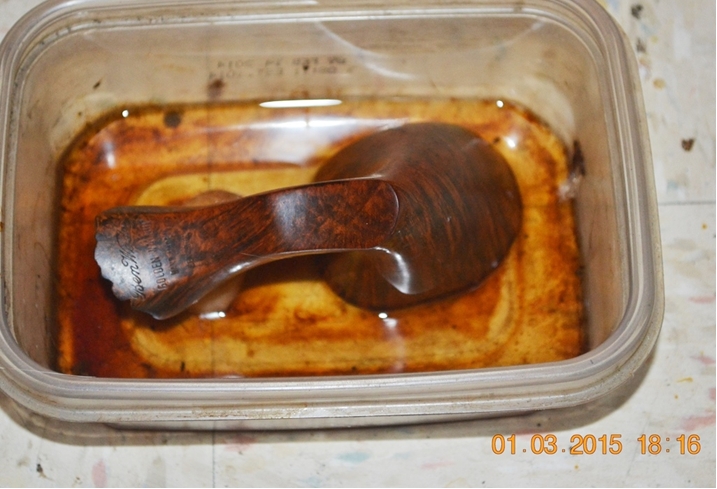
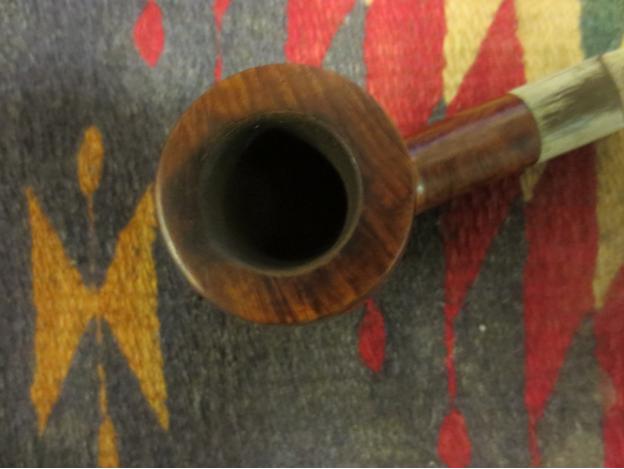
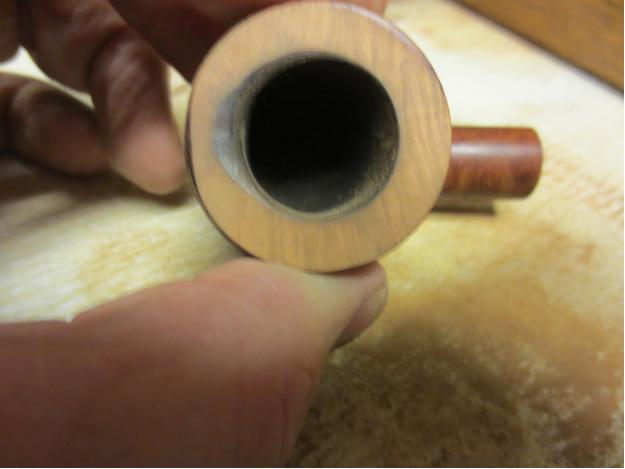
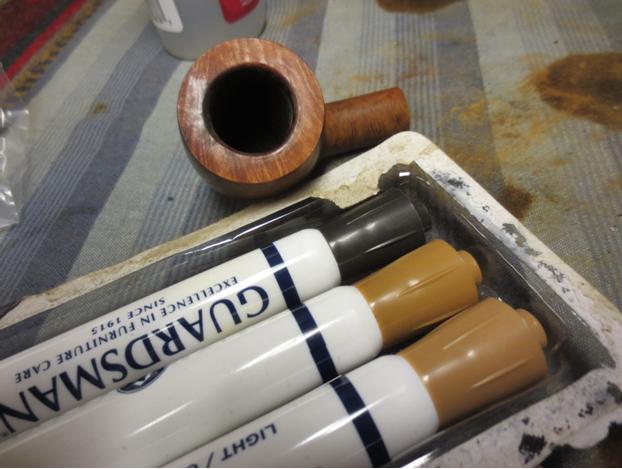
Making the dulled black stain of the plateau rim and shank opening the first order of business, I decided to remove the stain with a localized soak in Everclear.Ben17 
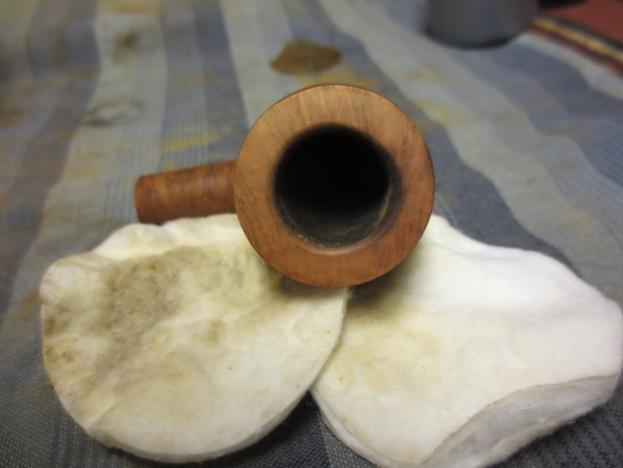
I had hoped that removing the old plateau stain would reveal a rim suitable for buffing in its natural state and color, but such was not the case. And so I re-stained it.Ben18

Ben19 
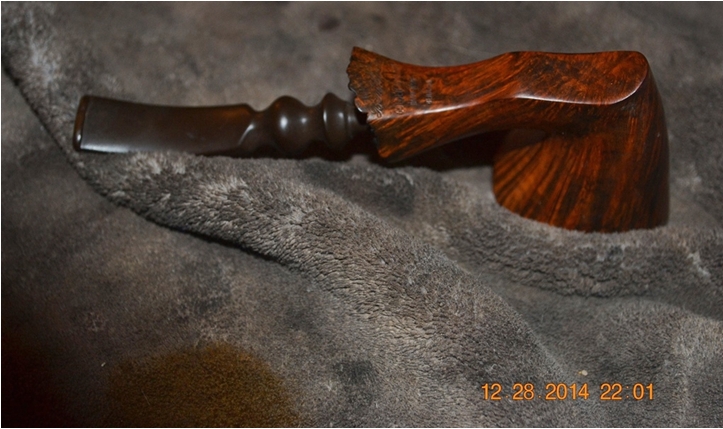
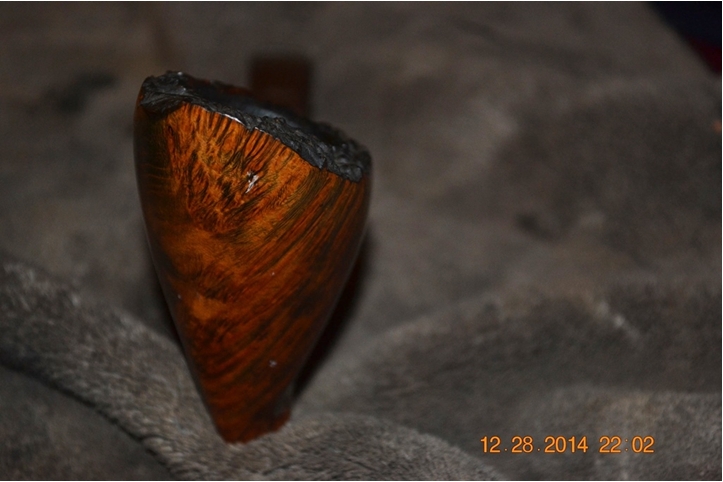
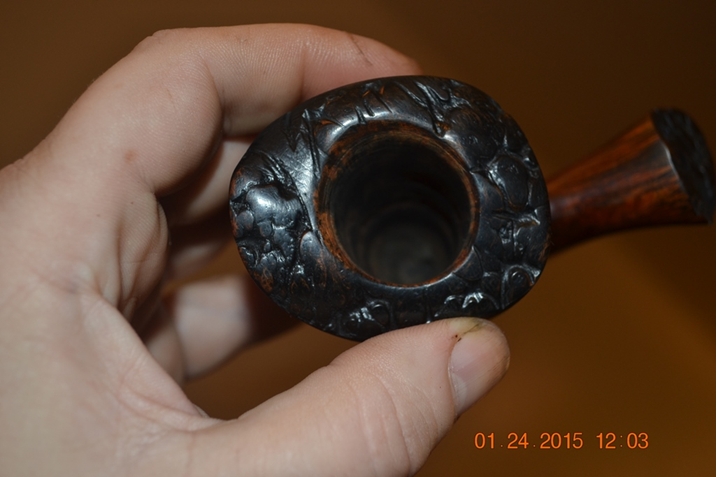
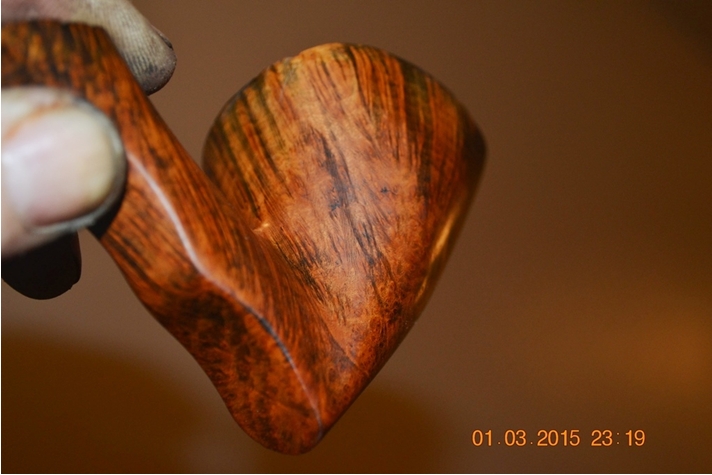
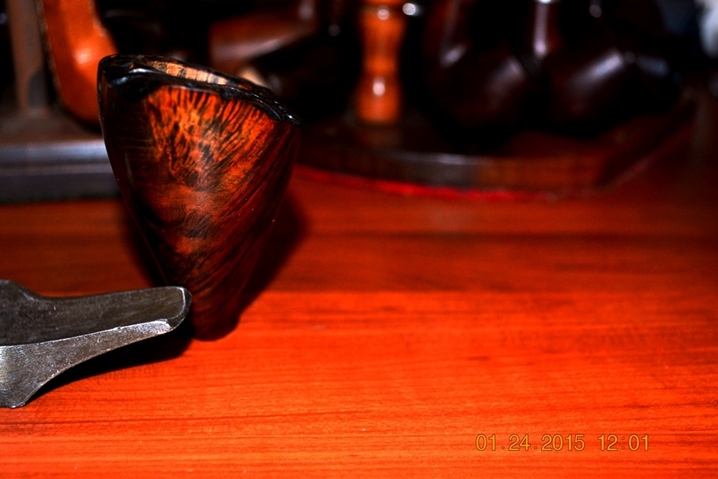
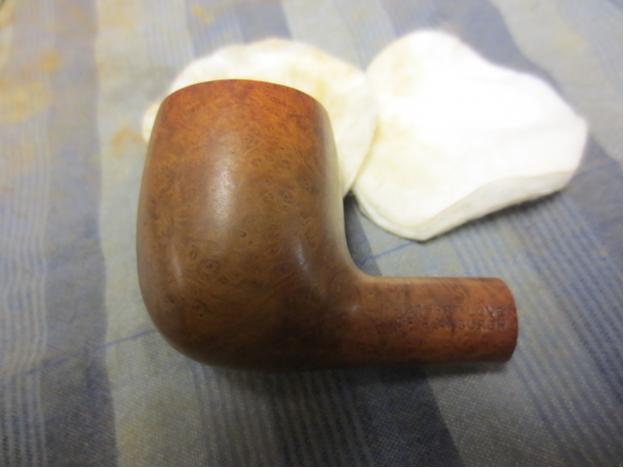
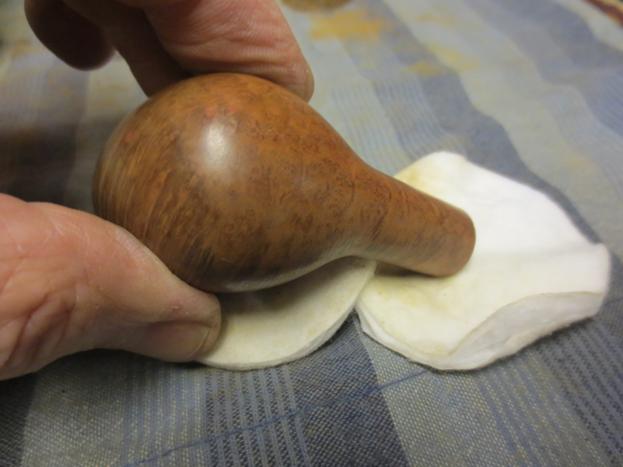
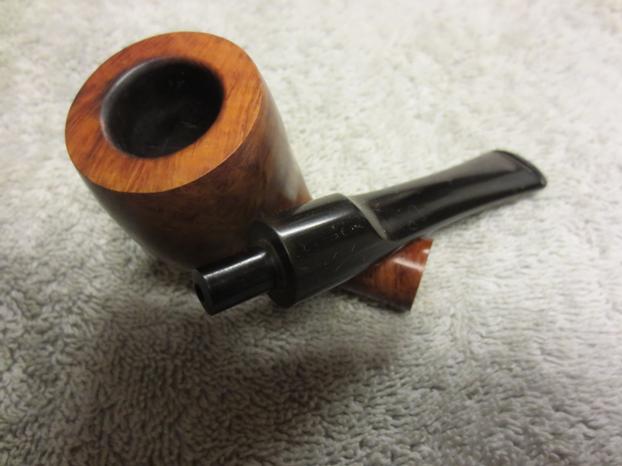
A small but clear rectangular pattern of black pits near the upper right area of the right side of the bowl annoyed me.Ben20 Trying 1500 micromesh, I was able to lessen the downgrade the presence of the pits to dots, but 800 was needed to get rid of them altogether. A quick buff with superfine steel wool returned the natural golden glow of the walnut.

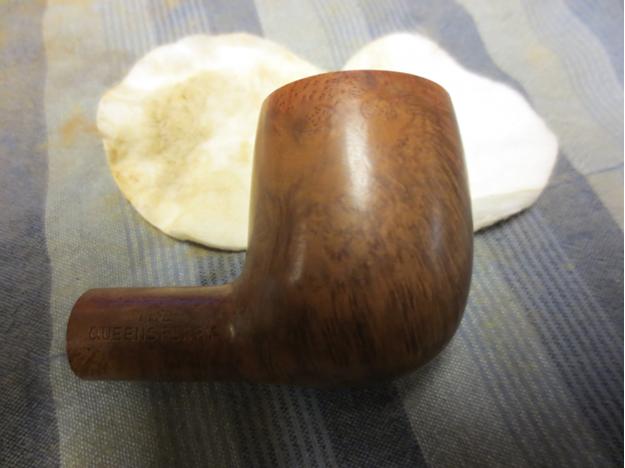
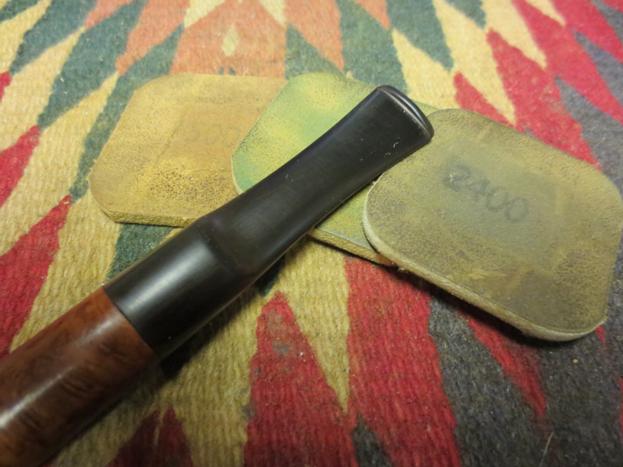
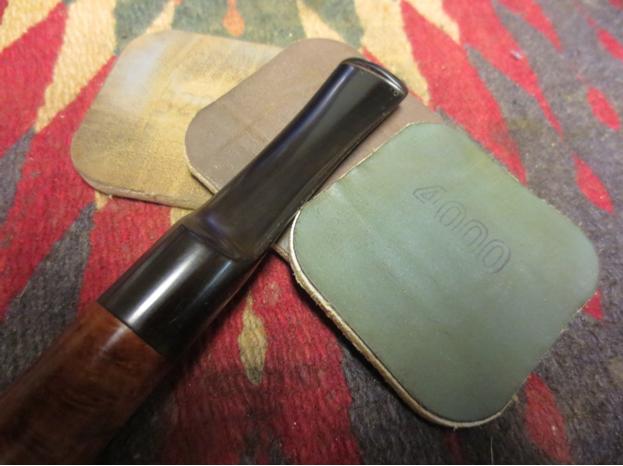
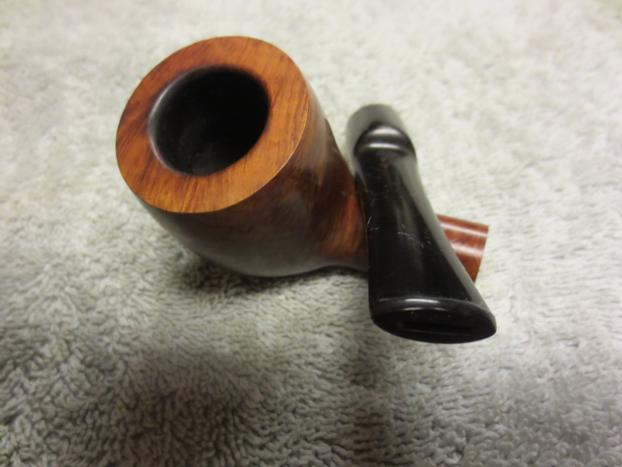
There were other small defects on the bowl too small even to show up in photos, but my eye saw them, and that was what mattered. I gave the entire bowl a going over with micromesh from 2400 through 4000 and found the walnut as smooth and fresh as could be.

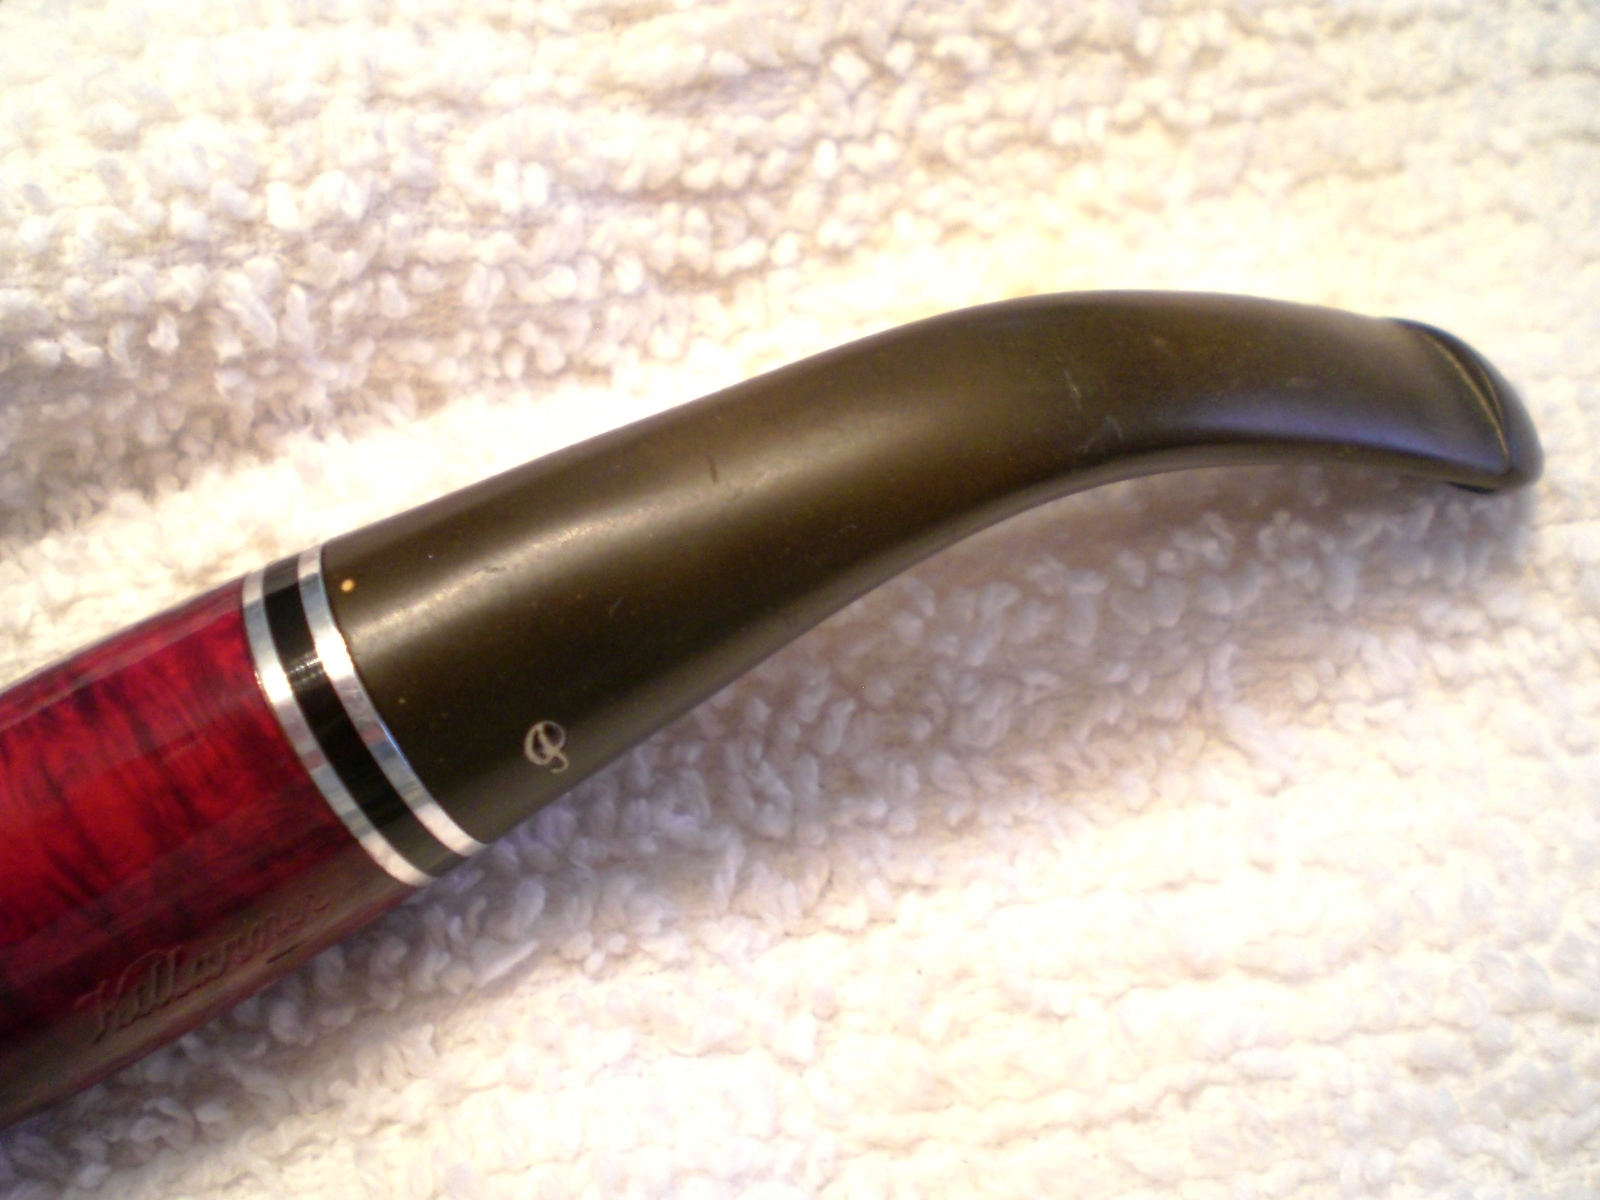
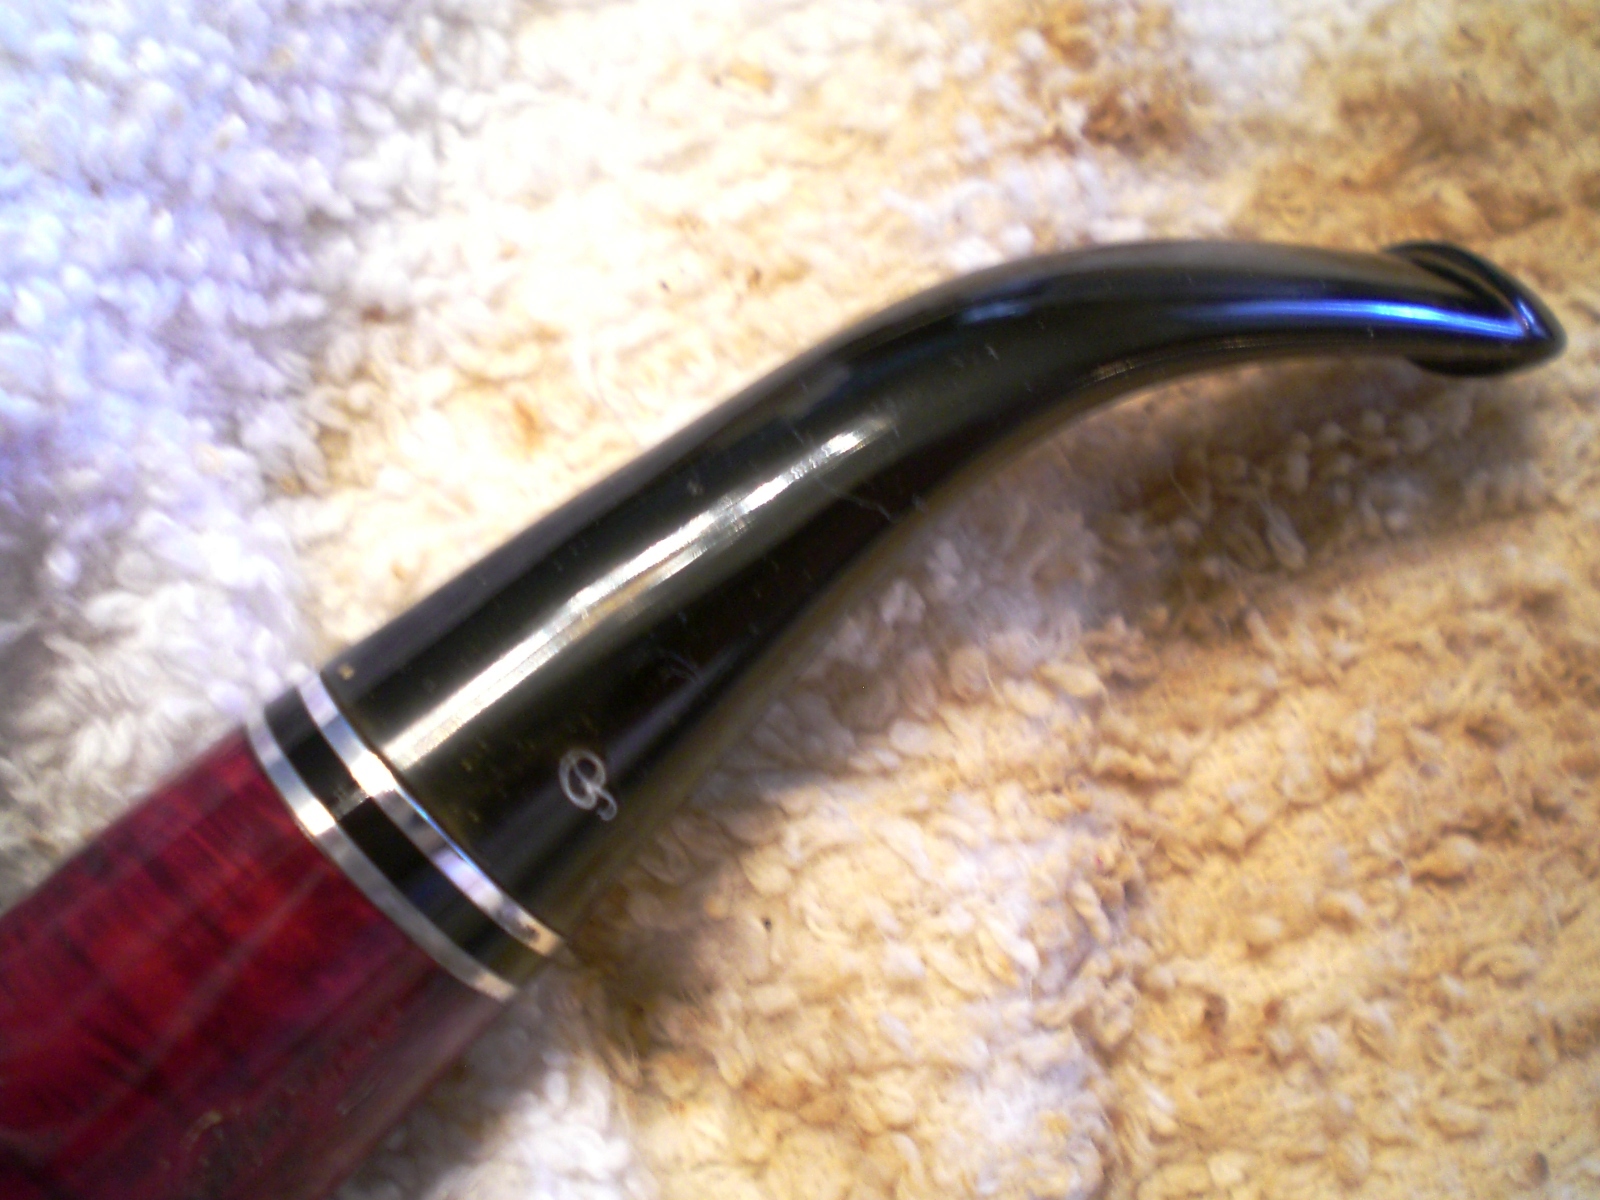
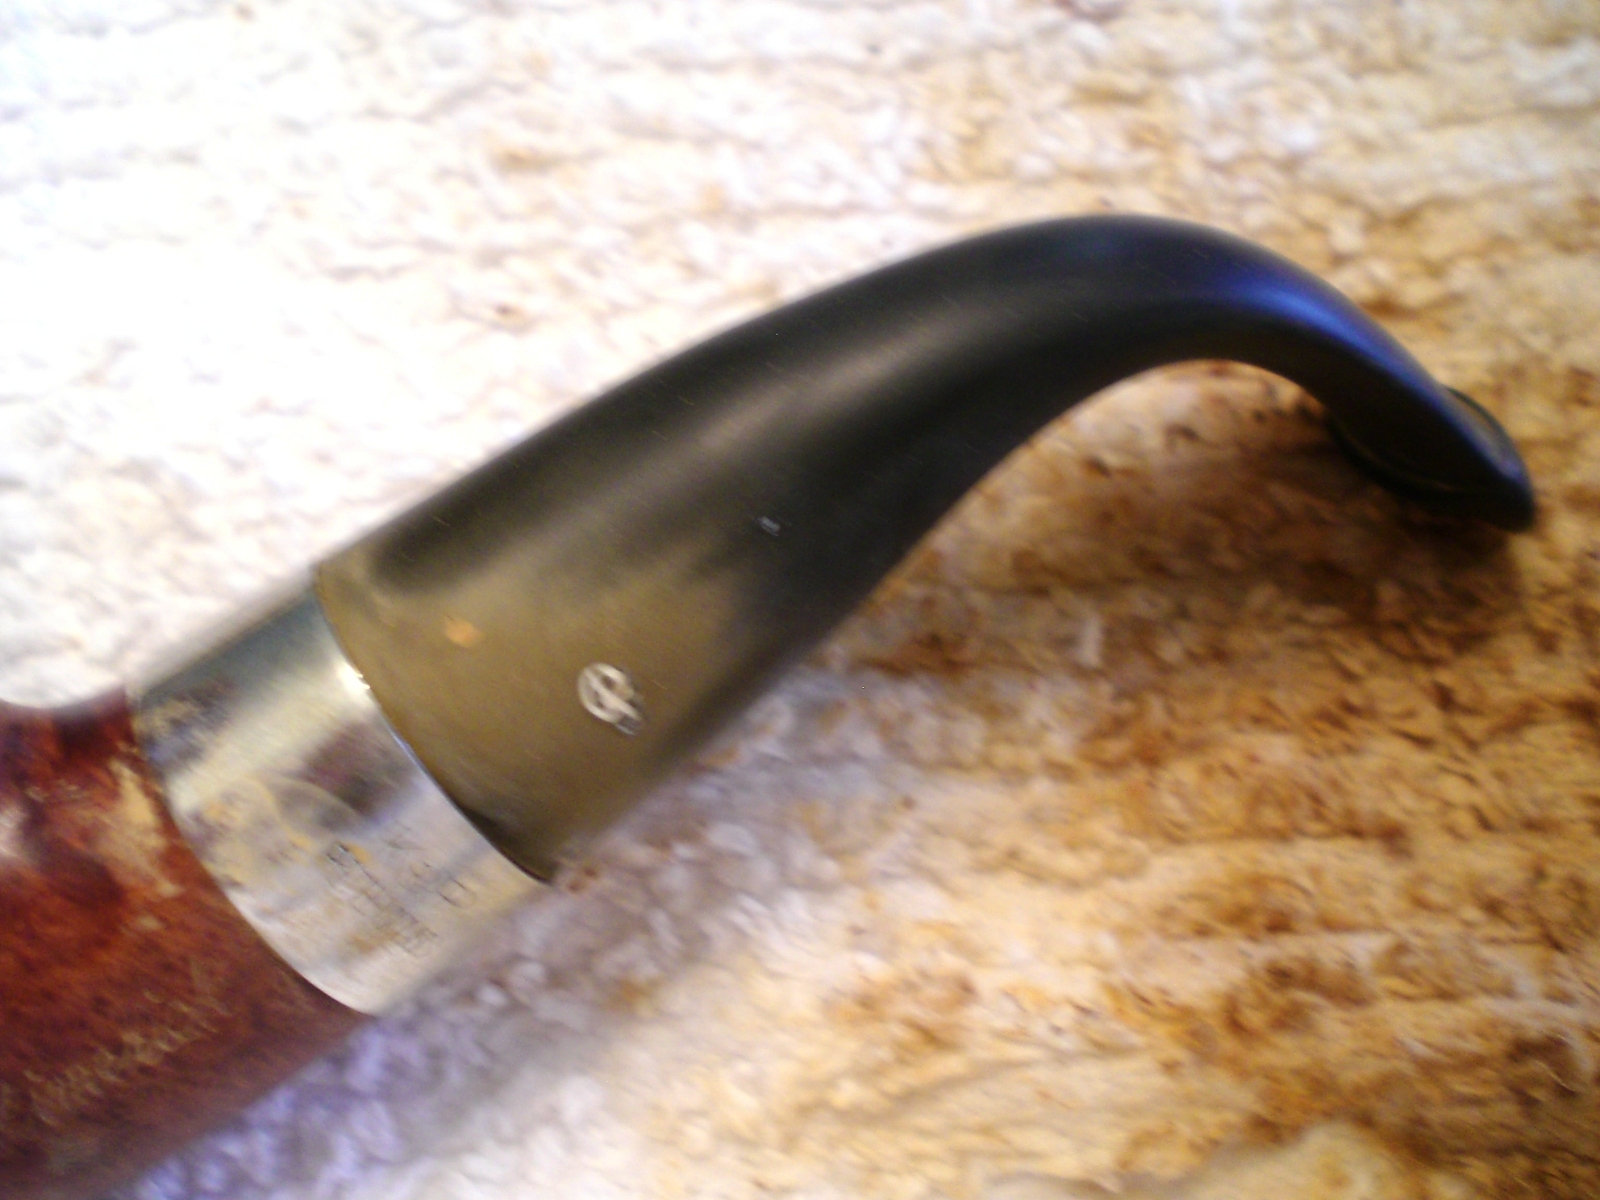
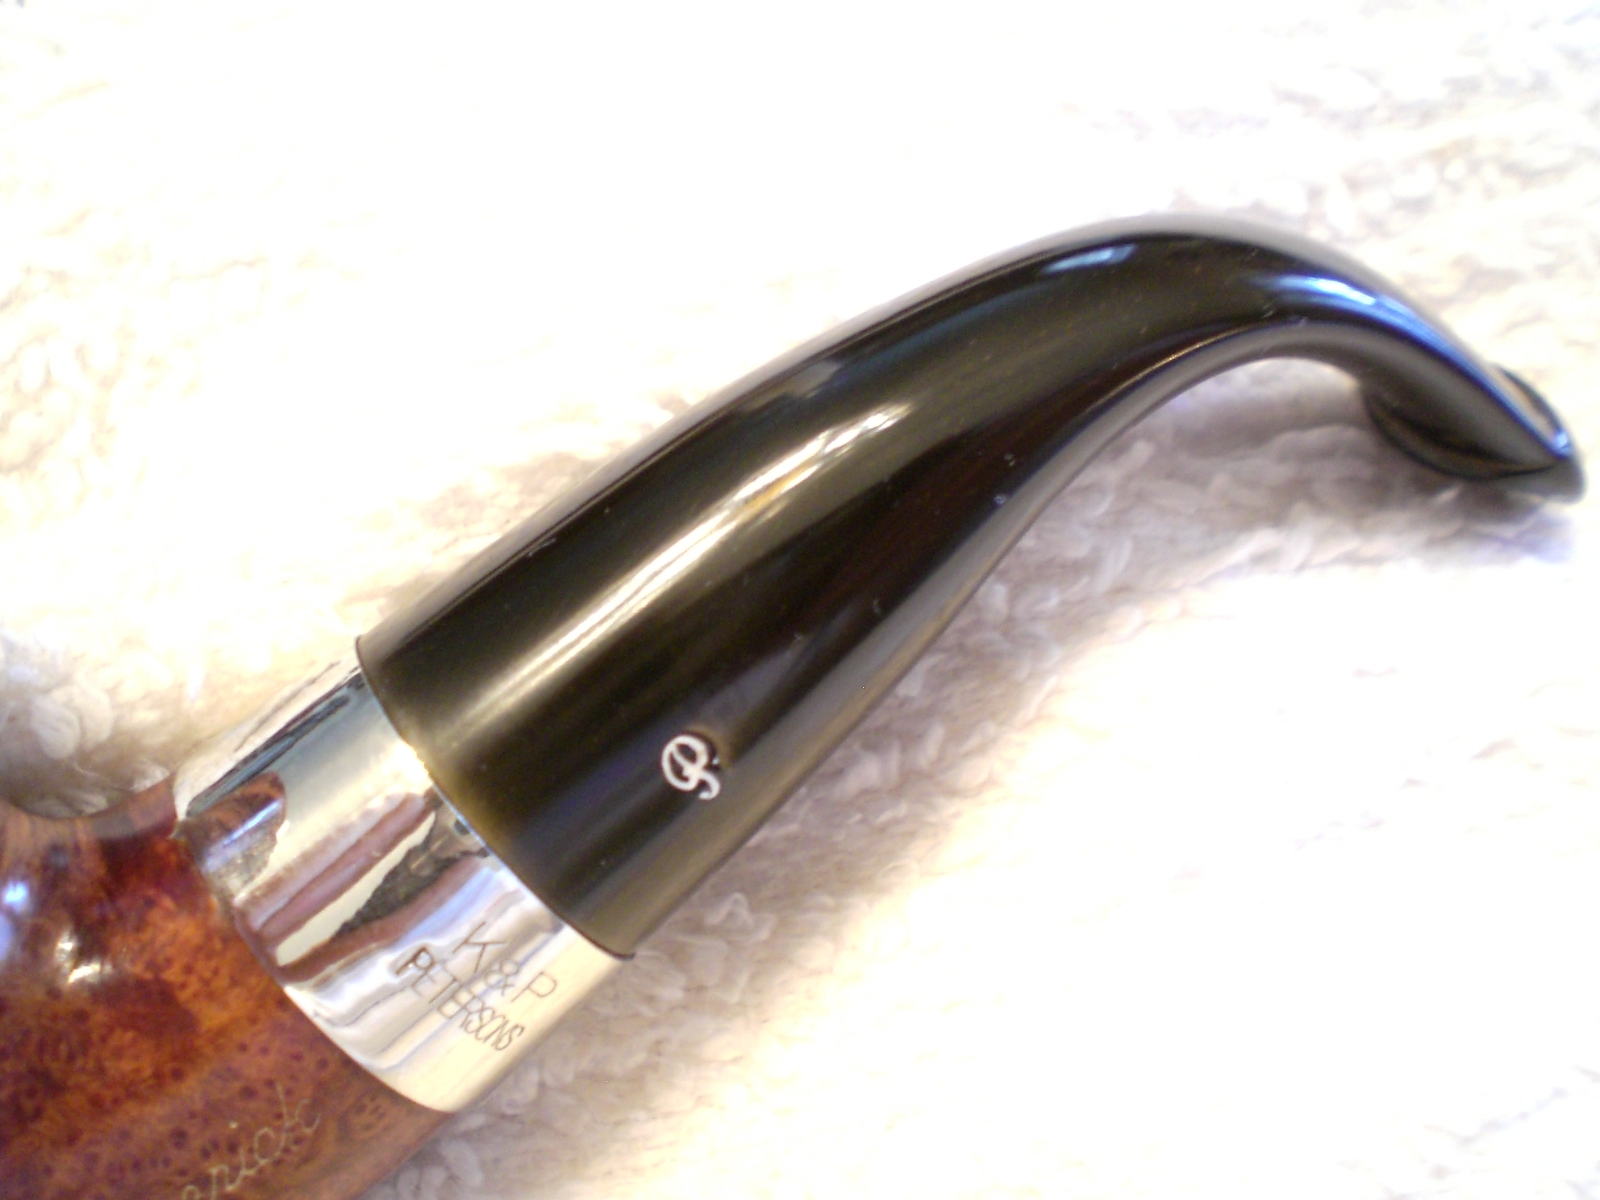
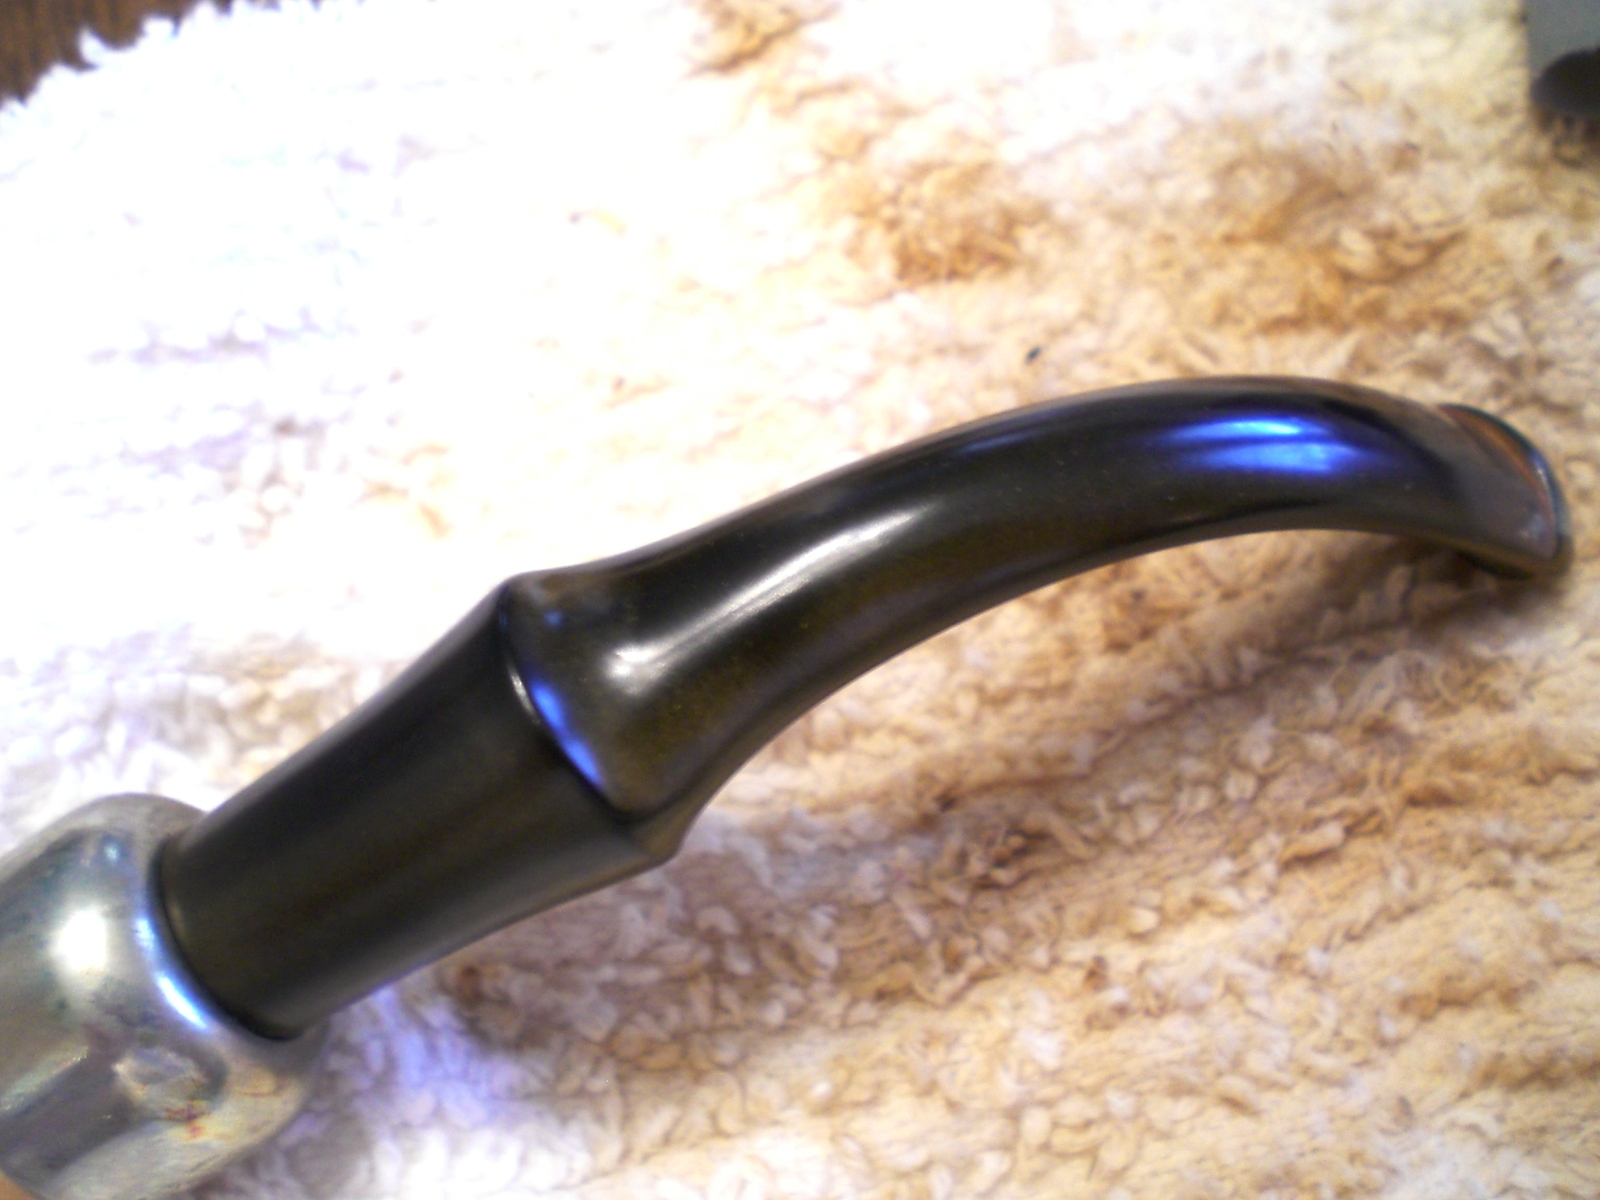
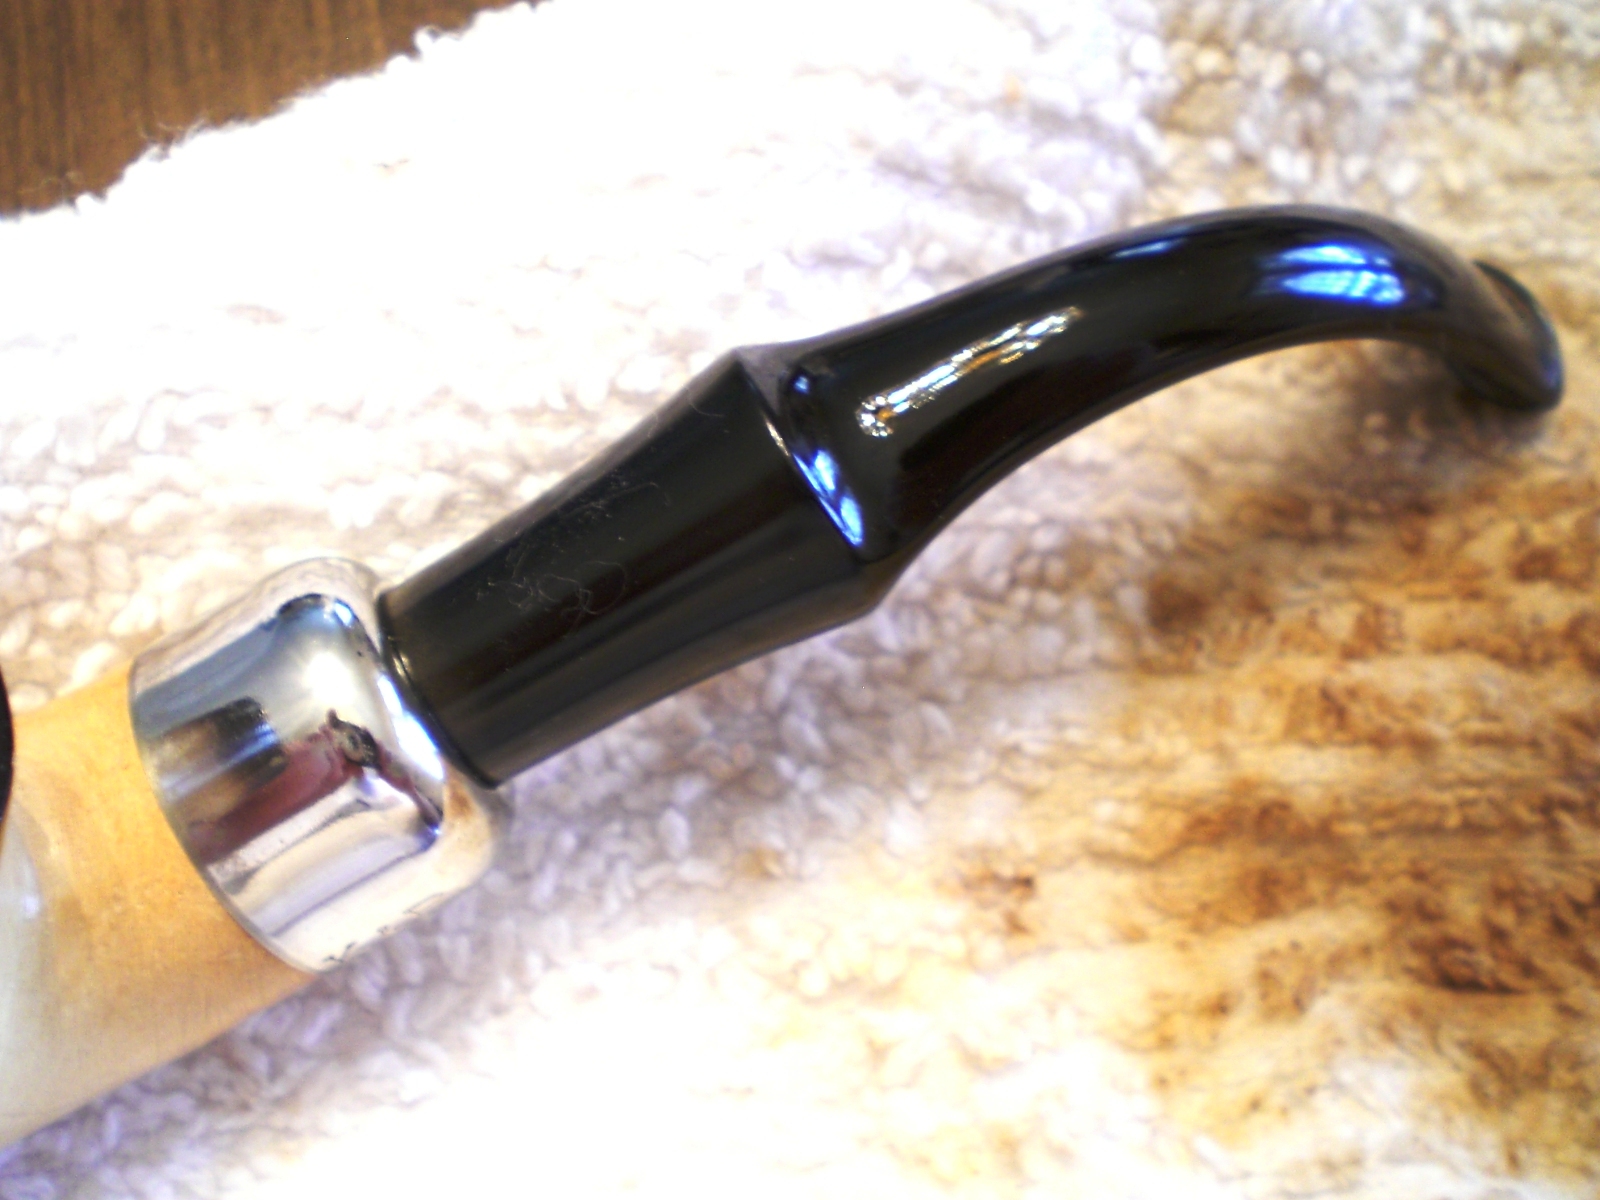
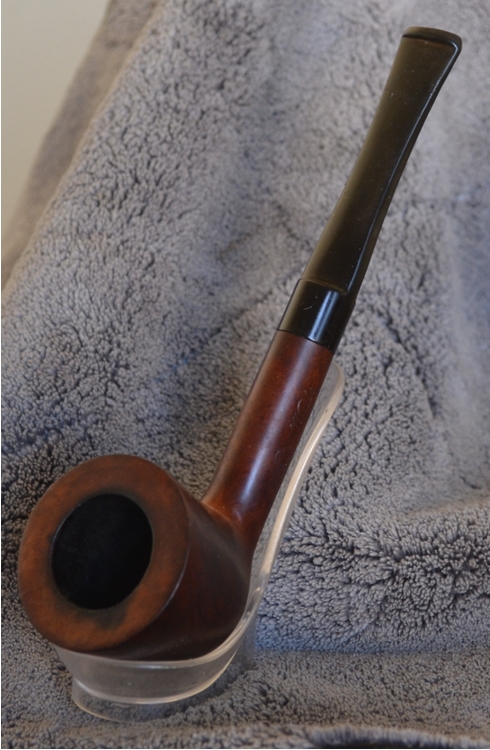
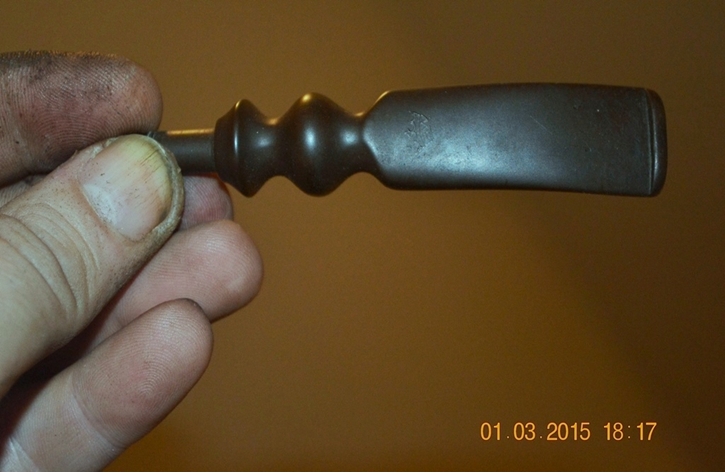
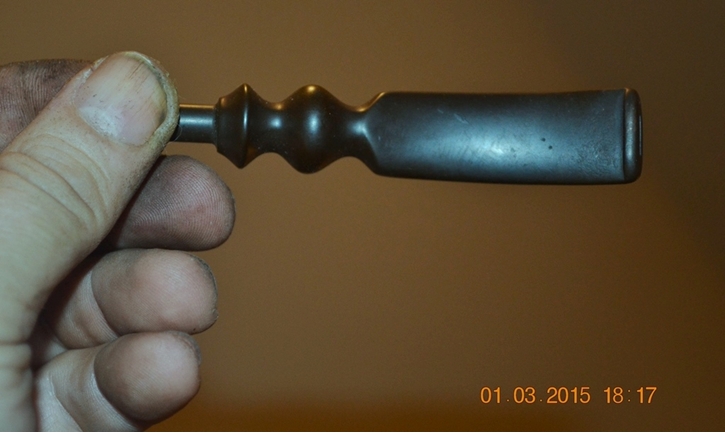
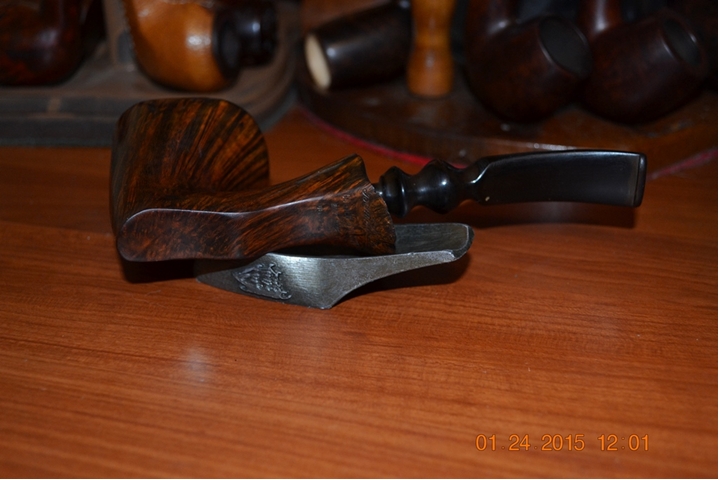
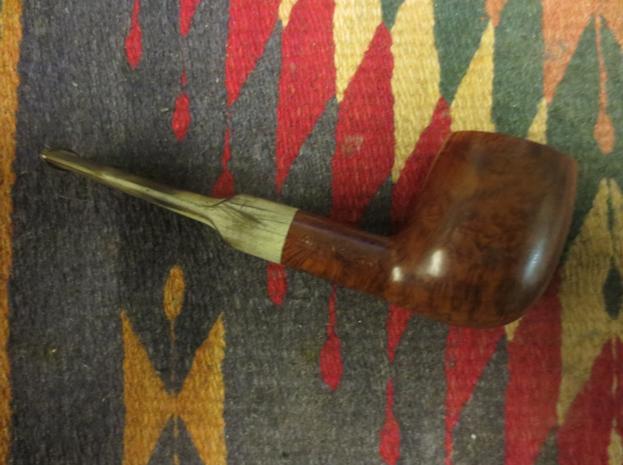
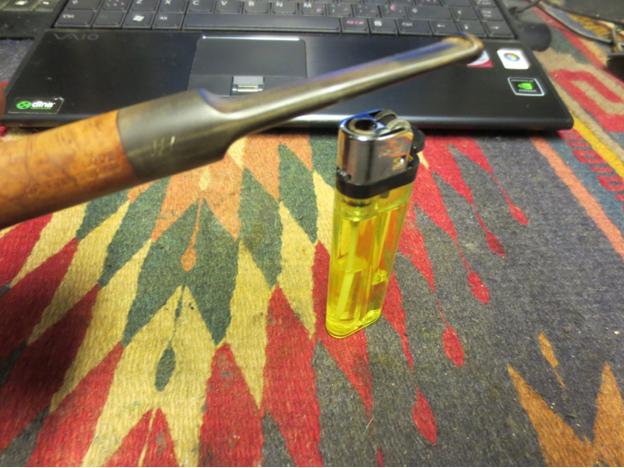
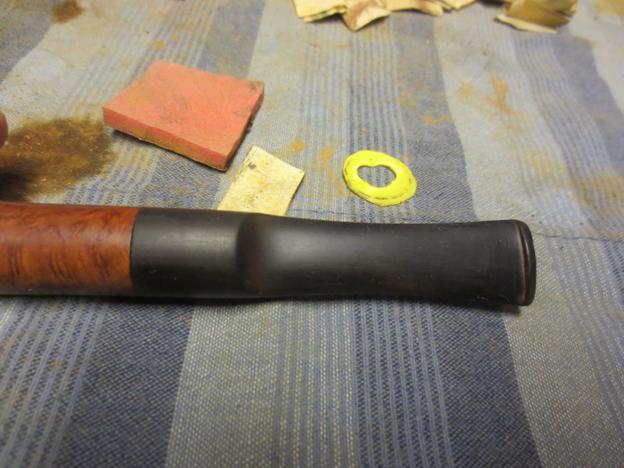
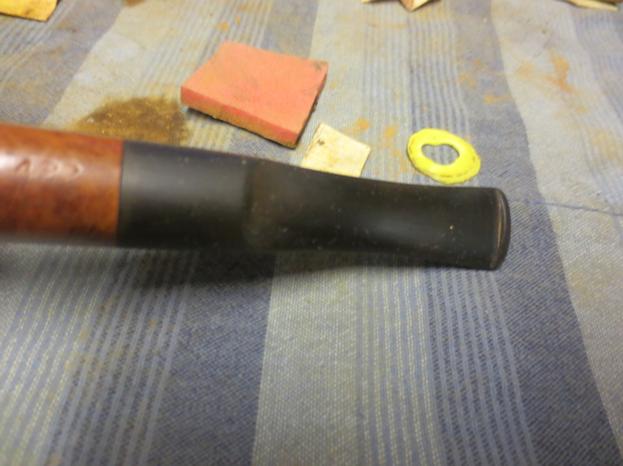
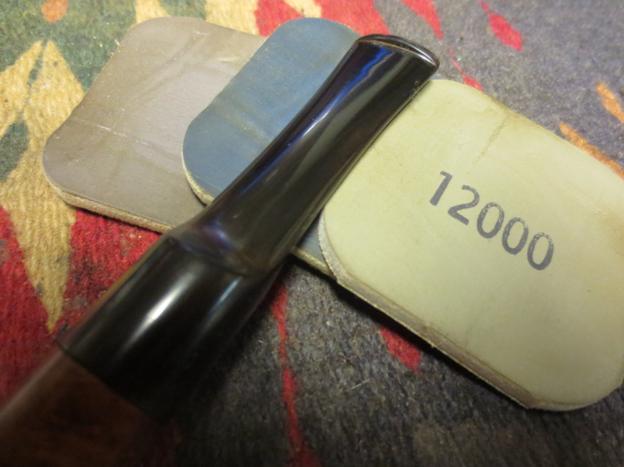
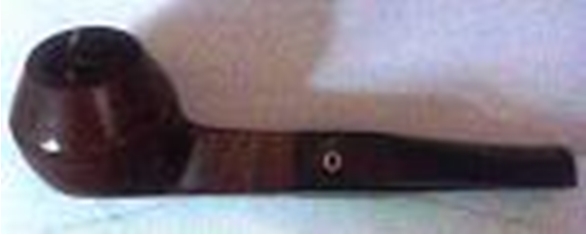
Last of all, I attacked the stem. Although I like the look of the freehand style stem, in particular this one with two rounded bulges, for lack of a better term at the moment, near the shank opening, they are always more of a bother to sand away discoloration. I always have to do the process in stages, sanding the entire stem with 200-grit paper, wiping it down with a soft cloth, then focusing on the harder areas, sometimes three or even four times until the color is uniform. Then I apply the micromesh, starting with 1500 and progressing upward to 4000.

Ready for the final buffing, I used red and white Tripoli followed by White Diamond on the stem and those waxes plus a final coat of carnauba on the bowl and shank, including the black plateau spaces. I worried – as I perhaps too often do – that the resulting shininess of the plateaus was a bit much, but that’s my nature.Ben21

Ben22

Ben23

Ben24

Ben25

Ben26 CONCLUSION
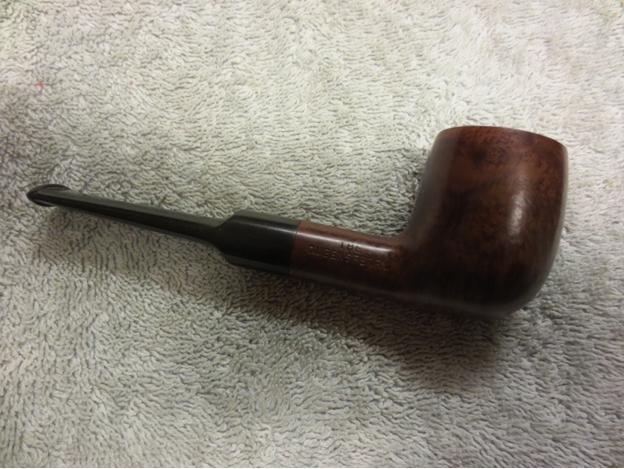
So there it is. After writing this up, I realize there was more work than I remembered, but then this pipe presented itself to me in such glory that I never considered the task as anything more than that.

I kept this one, as you might have surmised. I have come to have a genuine respect and weakness for the wonderful variety of pipes made by Ben Wade and their consistent quality of engineering, grace and high-grade pleasure of smoking.

ADDITIONAL PHOTOS AND INFORMATION

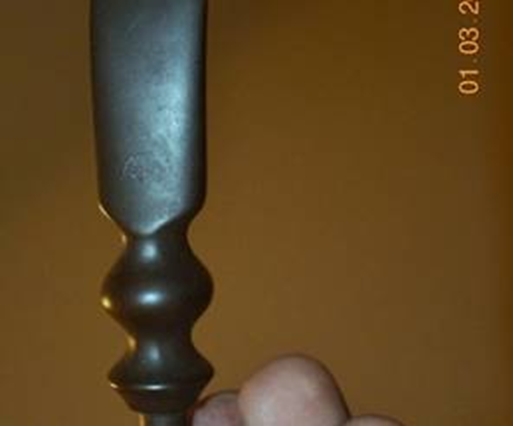
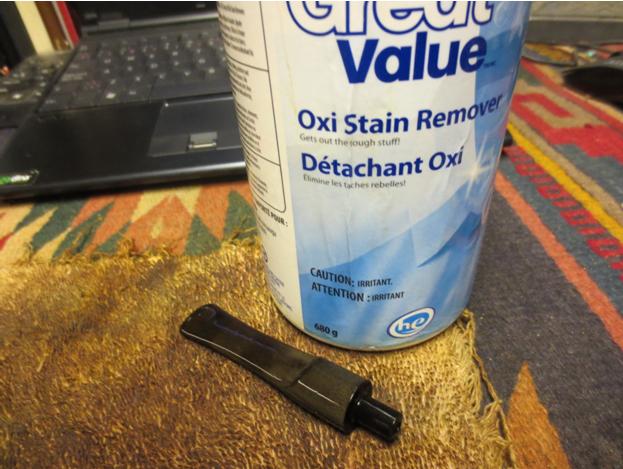
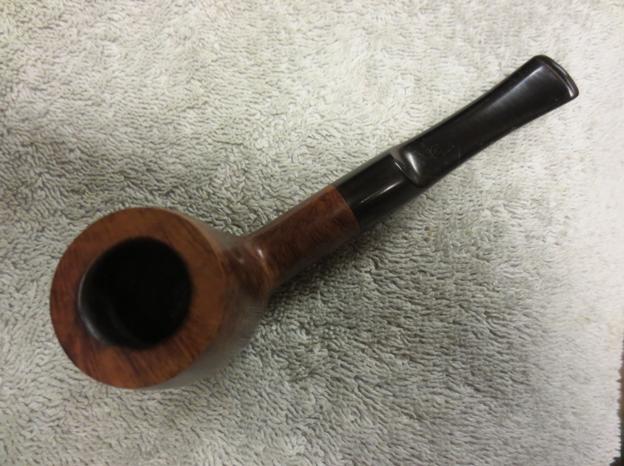
I made a comment on the blog thanking Steve for the great history he emailed me and the confirmation of the Preben Holm connection. I was troubled by not seeing the stem etching the pipephil.eu photos showed and then noticed on the pictures of the stem in my blog that the etch was still there! After filling in with a marker, I was able to make out the mark better. Here are the new before and after photos (the after shot, obviously, being before cleaning up the stem again):Robert1 Robert2

Bringing a Herbert Love of Edinburgh The Queensferry Billiard 422 back to life


Blog by Steve Laug

I received a gift box of pipes from a friend on Smokers Forums this week and it contained 23 pipes that presented a variety of challenges for repairs. Looking them over, I found that there were quite a few pipes with stampings that I was unfamiliar with. There were brands and sub-brands that were new to me. I chose to work on one of those I knew nothing about first. I had never heard of the Herbert Love Shop of Edinburgh. The stamping intrigued me. On the left side of the shank it was stamped Herbert Love of Edinburgh and on the right side it was stamped The Queensferry. On the underside of the shank it was stamped horizontally along the shank with the shape number 422. On the left side of the saddle portion of the stem it had a faint HL stamping.

I did my normal search on Pipedia and Pipephil’s site to see if I could find the stampings or the cursive HL on the saddle of the stem. There was nothing to be found. I posted a request for information on Pipe Smoker’s Unlimited Forums specifically asking several of the members there that are from Edinburgh to see if they had any information. I received a response from a collector of English pipes that included the photo and article on another Herbert Love Tobacco Shop in Glasgow. I also received a response from one of the Edinburgh folks, Chris with this information: … it closed down many years ago. It was on Queensferry St. (the road to the old ferry across the Forth before the rail and road bridges were constructed) at the West End, handily situated next to the iconic ‘Old Man’s Pub’, “Mather’s Bar”. At that time there were three pipe shops in Edinburgh (HL’s, one on George 1V Bridge and another in Leith); now only the latter exists… All I remember about the shop itself, apart from it being very old-fashioned, was that they used some interesting old scales for weighing out the loose tobaccos.

Here is the link to the article that I received about the closure of the Glasgow shop. http://www.heraldscotland.com/last-smokers-paradise-closes-1.828258 Sadly I could find no photos or information online regarding the now close Edinburgh shop to include in this post. If anyone reading has information be sure to let us know in the comments section below. Thank you.

When I brought the pipe to the worktable it is in pretty rough shape. The finish was damaged and spotty. The rim had a burn spot on the inner edge and the top at the front of the bowl. This damage also made a dip in the surface of the top of the rim. The bowl was filled with a crumbling cake that was uneven. The stem was oxidized and looked greenish yellow in colour. There were bite marks and tooth chatter on the top and bottom sides of the stem next to the button. The internals of the stem and shank were not too dirty and would clean up quite easily. There was no sweet smell of aromatics or the smoky smell of Latakia in the bowl so ghosting would not be an issue. Love1

Love2 I took close-up photos of the shank on both sides to show the stamping. The left side bore the Herbert Love of Edinburgh and the right side the Queensferry. From my queries I had learned that the Queensferry was actually the street the shop was located on. Herbert Love Tobacconists seemed to be quite widespread in Scotland – I found them in Aberdeen, Glasgow, Aylesbury, and Edinburgh. There were also hints of it being found in other locations as well.Love3

Love4 I scraped some of the oxidation away on the left side of the saddle stem and found that underneath was some faint stamping that read HL in script. I checked the right side and top and bottom for further marks and found none.Love5

Love6

Love7

Love8 I took a close up photo of the rim and bowl to show the damage from the burn on the surface. You can see that it is deeper than the surface of the rim and extends from the inner edge to the outer edge of the rim.Love10 I reamed the bowl with a PipNet reamer using the cutting head that fit the bowl properly. I took the cake back to bare wood on all sides of the bowl so that I could address the rim damage on an even and hard surface.Love11 The next photo shows the cleaned up bowl and further shows the damage to the inner edge and top of the rim.Love12 The first step in addressing this kind of rim damage is to top the bowl to even out the dip from the burn. I wanted the top surface to be smooth so that I could then chamfer the inner edge of the rim with a slight bevel to deal with the burned front edge. I used a flat board and a piece of 220 grit sandpaper to top the bowl. I sanded until the top of the rim sat flat against the board. As usual I collected the briar dust in my box for repurposing on fills and repairs.Love13 The next photo shows the top of the bowl after sanding and smoothing out the rim. It really shows the extent of the damage on the rim.Love14 I decided to keep topping the bowl until I had evened out the rim and removed as much of the top damage as possible without dramatically changing the profile of the bowl. The next photo shows the bowl rim after I had finished topping it with the 220 grit sandpaper. It still would be sanded with 400 grit wet dry and fine grit sanding sponges before the surface was finished. While I worked on the bowl the stem was soaking in a bath of OxyClean to soften the oxidation.Love15 With the top of the rim smoothed out I worked on the inner edge with a folded piece of 220 grit sandpaper. I chamfered or beveled the inner edge to minimize the damage and to give the entire inner edge a similar look.Love16 The next photo shows the beveled inner rim and how that process served to minimize the effect of the burn mark.Love17 With the repair to the rim finished I wiped down the bowl with acetone on cotton pads to remove the finish and facilitate matching the restain on the rim with the colour of the rest of the bowl. It also removed the damage and spotty finish that covered the bowl. It appeared to have a thin varnish coat over the stain that came off quite easily with the acetone.Love18

Love19

Love20

Love21 I used the Guardsman stain touch up pens to stain the rim. I chose the lightest coloured stain to get a proper match for the first coat of stain. When it dried I would then stain the entire pipe with a medium walnut aniline stain. The stain pen was the first step in matching the colours of the bowl.Love22 I cleaned out the shank with pipe cleaners, cotton swabs and isopropyl alcohol to remove the tars and oils in the shank. It was an easy clean up so I decided not to use a retort on this one. It took very few swabs and pipe cleaners before the mortise and airway was clean.Love23 With the bowl at this point in the process I set it aside and took the stem out of the OxyClean bath. It had been soaking for several hours while I had worked on the bowl. The bath had done its magic and when I rubbed it down to dry it much of the surface oxidation came off and the deeper oxidation would easily be removed with a light sanding.Love24 I put the dried stem back on the bowl so that I could finish staining the bowl. I used a medium walnut aniline stain, applied it and flamed it. I lightly buffed the bowl with White Diamond to even out the stain coat. I took some photos to show the progress. Note in the first photo the HL cursive stamp that is on the surface of the stem.Love25

Love26

Love27

Love28 I decided to use the Bic lighter trick that I have written about in other articles on the blog and painted the stem with the flame of the lighter to burn off more of the oxidation. It also helped to raise the tooth dents on the top and bottom of the stem next to the button.Love29 I put the plastic washer on the tenon between the stem and shank so that I could sand the stem and not damage the shoulders of either shank or stem. I lightly sanded the stem with 220 grit sandpaper and then with a medium and a fine grit sanding sponge to remove the remaining oxidation and tooth chatter.Love30

Love31

Love32 I sanded the stem with my usual micromesh sanding pads – wet sanding with 1500-2400 grit pads and dry sanding with 3200-12,000 grit pads. I rubbed the stem down with Obsidian Oil between each set of three pads. When I finished sanding with the 12,000 grit pad I rubbed it down one last time with the oil.Love33

Love34

Love35 I buffed the pipe with White Diamond and then gave it multiple coats of carnauba wax and buffed it with a soft flannel buffing pad to raise the shine. The stamping on the stem was very faint to begin with and when I removed the oxidation it is still present but is not deep enough to repaint.Love36

Love37

Love38

Love39 The last three photos give a closer picture of the top of the pipe – showing the rim edges and surface more closely. In comparison with where I started with this pipe the new look is dramatically better. The burn mark is much less visible and the grain on the rim looks sharp. The outer and inner edge are clean and crisp.Love40

Love41