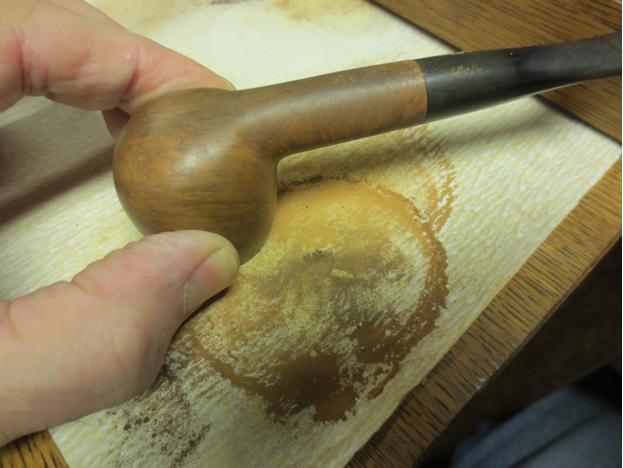
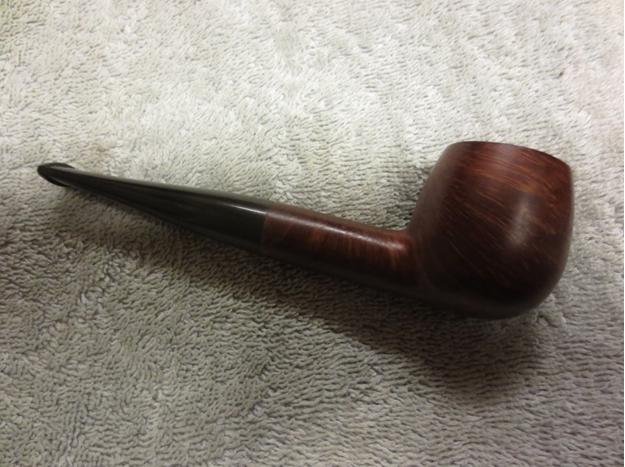
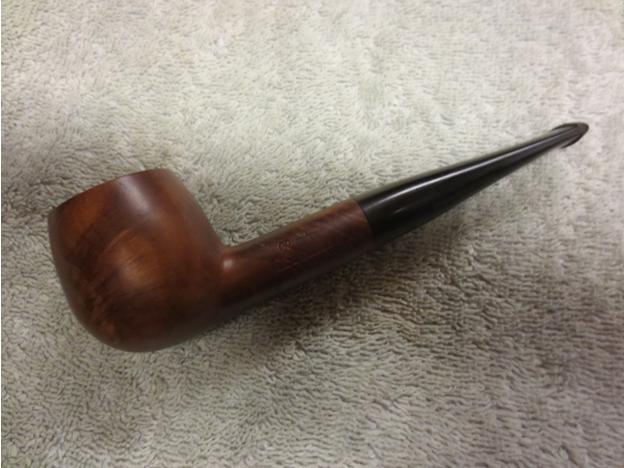
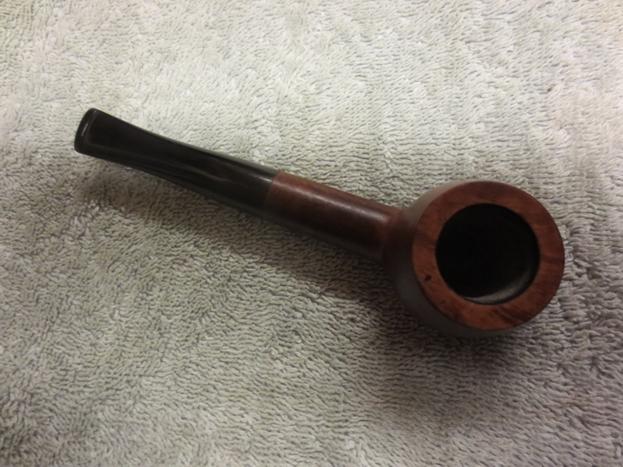
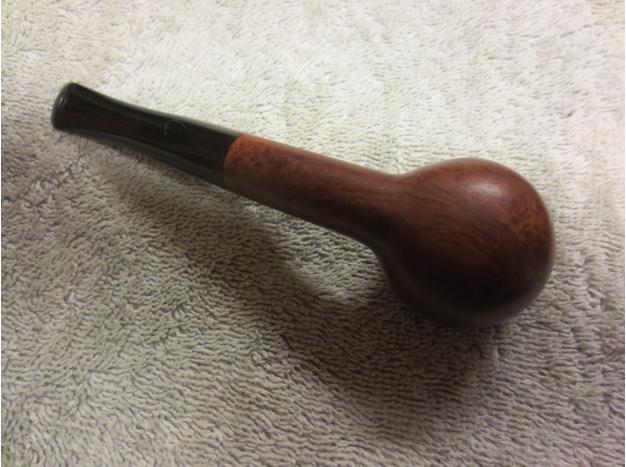
Blog by Steve Laug
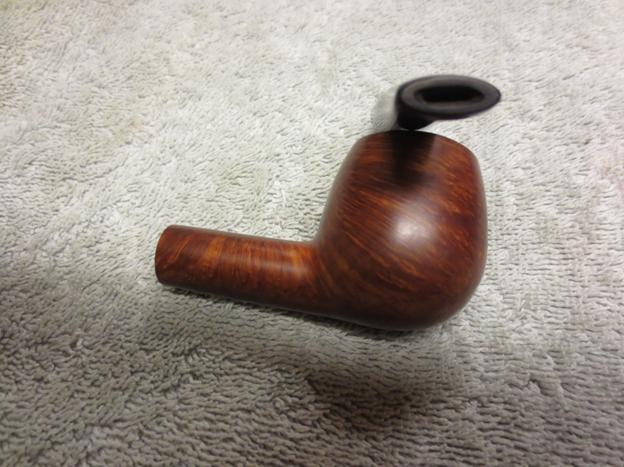
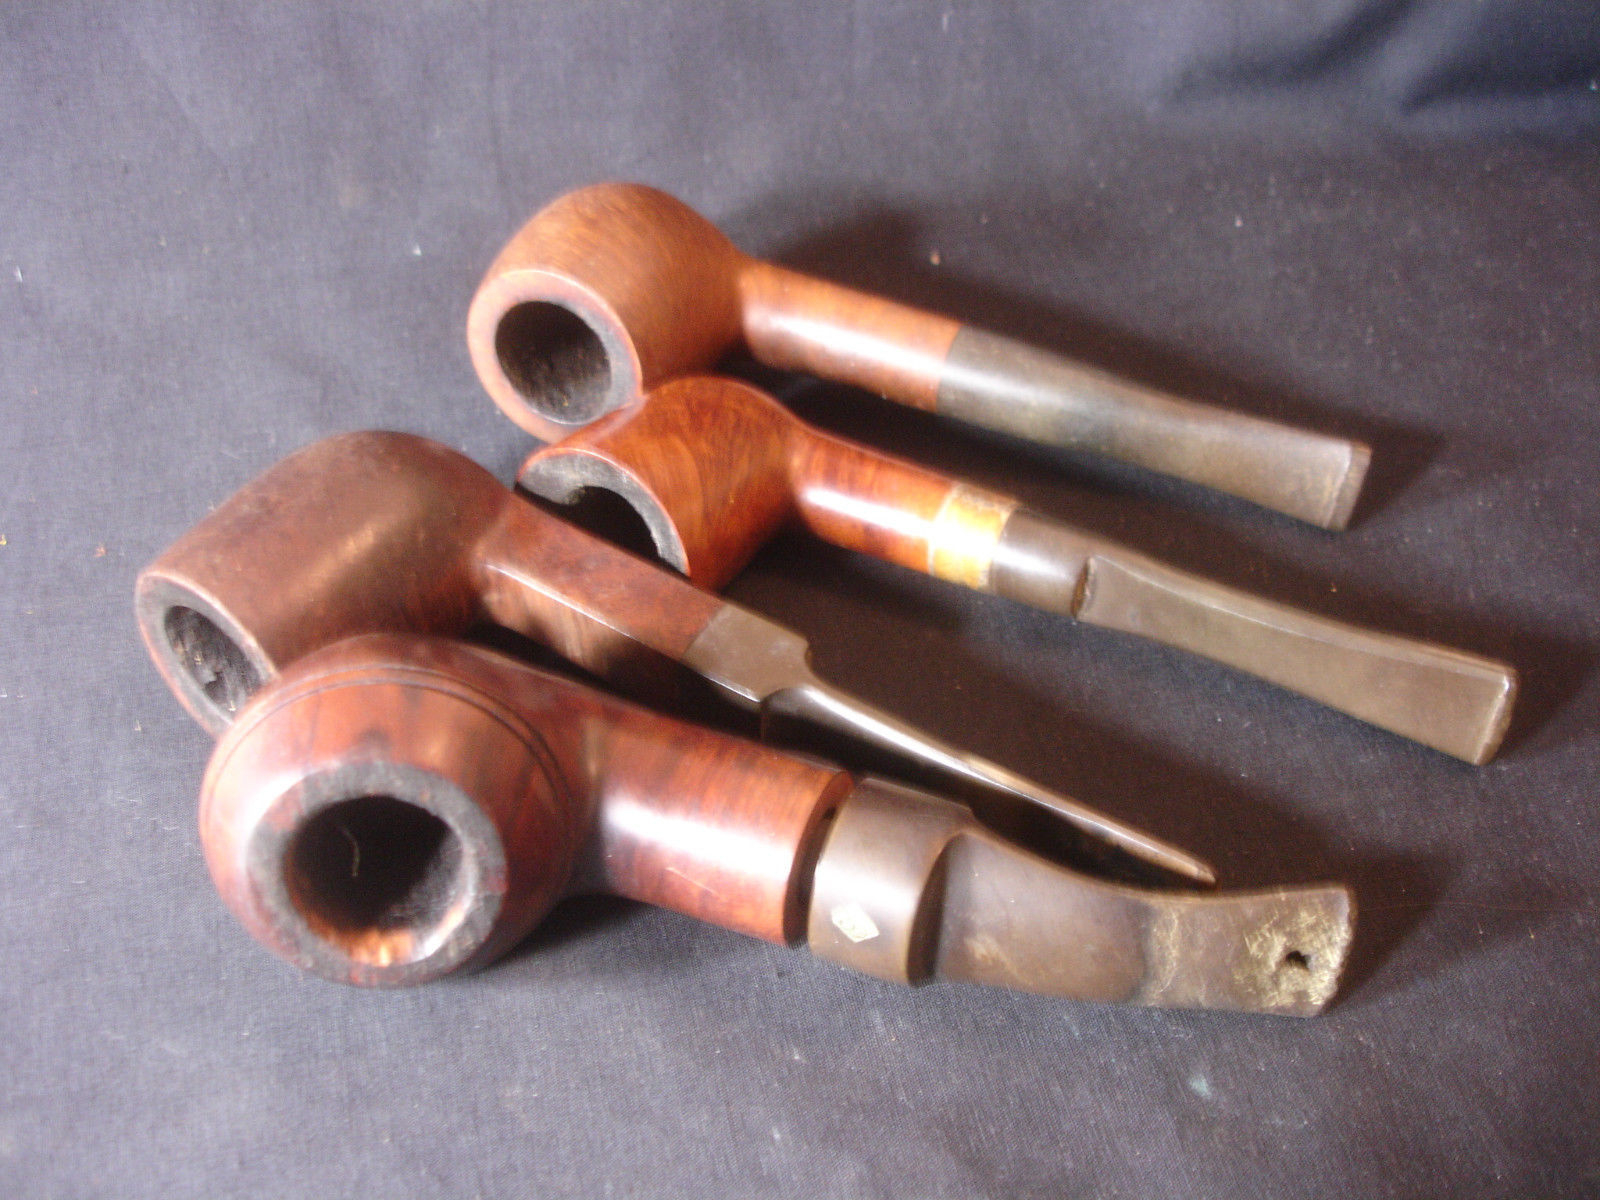
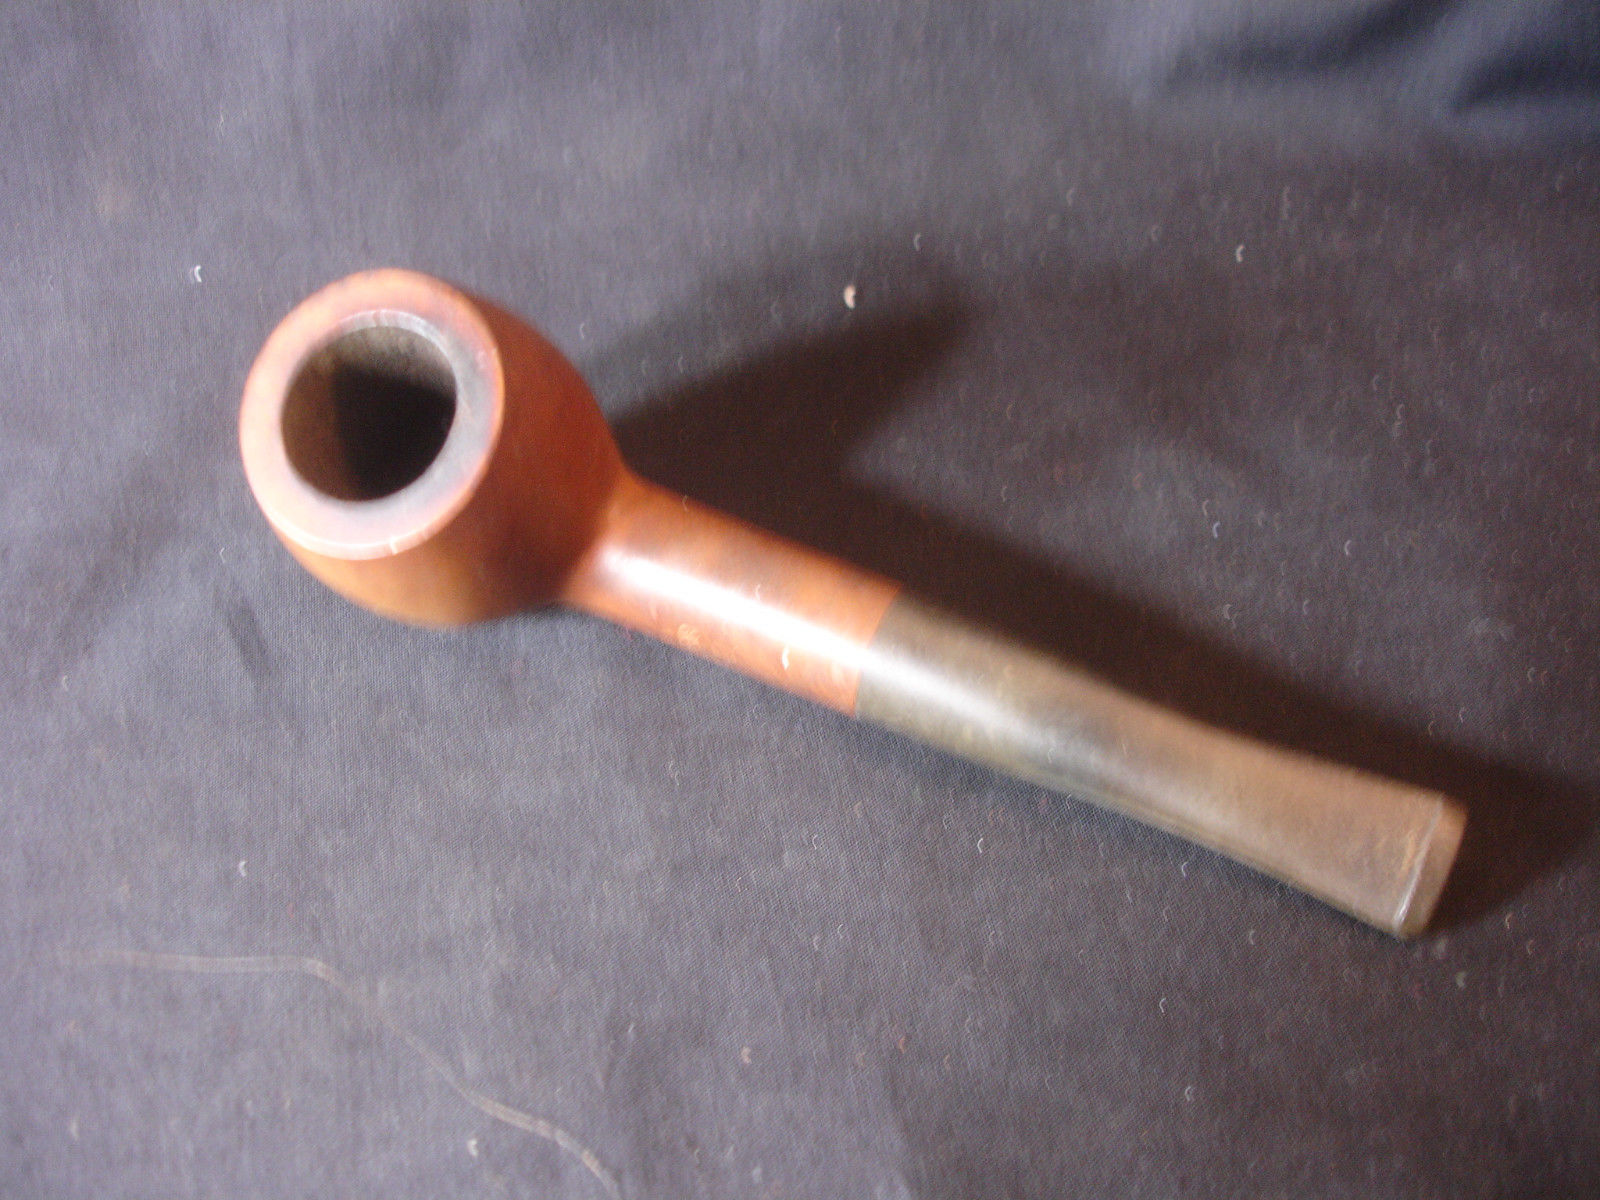
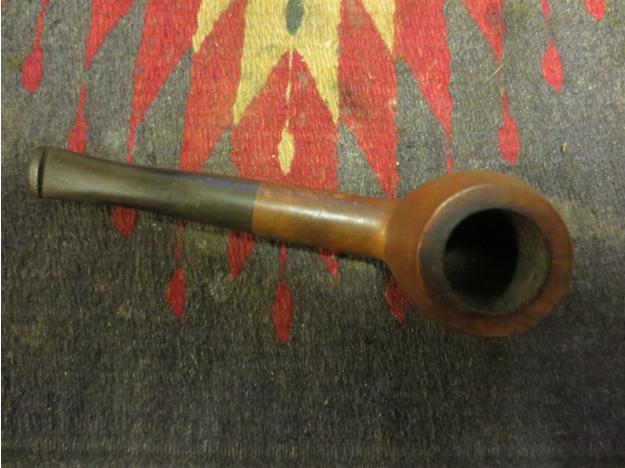
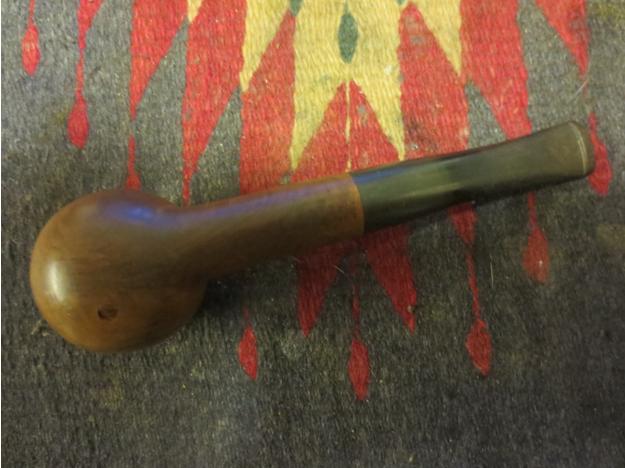
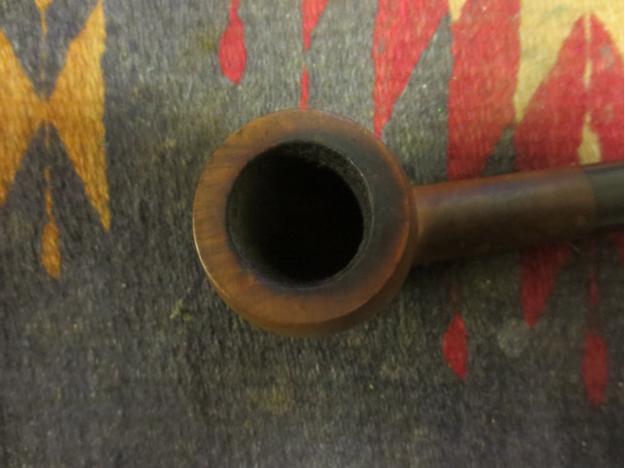
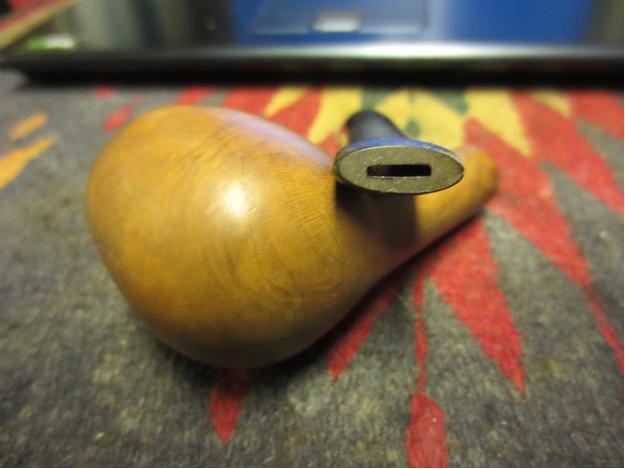
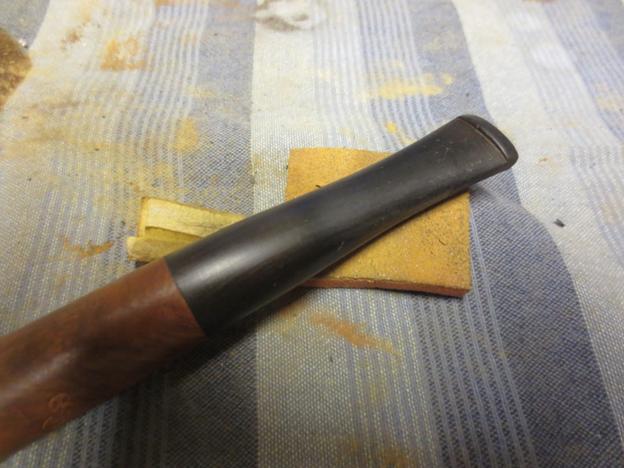
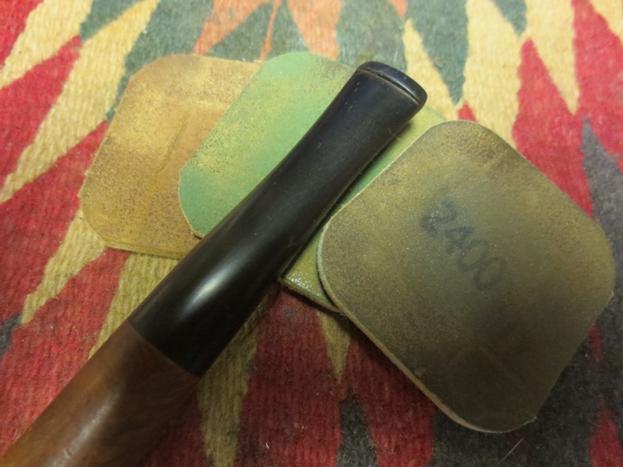
I use this process repeatedly when I am reworking or restemming a pipe. It is a simple procedure for opening up the airway/slot in the end of the button. In the precast stems the slots are often narrow and it is a fight to get a pipe cleaner through them. They also constrict the airflow and make it less than optimal. In some of the older stems the airway in the slot are also constricted. In both cases the simple procedure below will create a smooth smoking pipe. I start with small flat oval needle file (the centre file in the photo below) and work it along the top and bottom edges of the slot to begin to open the airway. The next photo shows the airway when I have finished with this flattened oval needle file. I still need to work the ends of the slot and open it further but this is the first step.
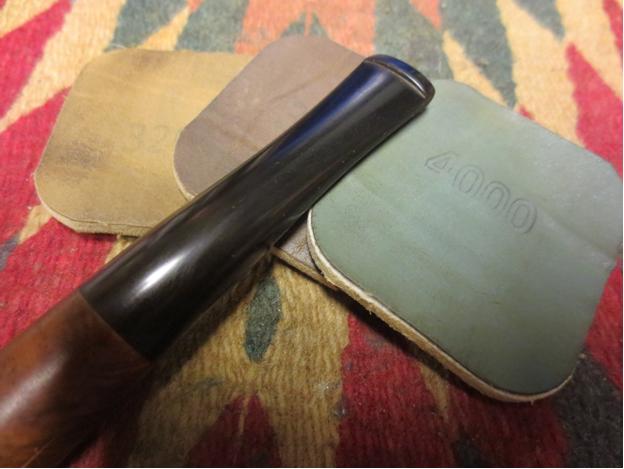
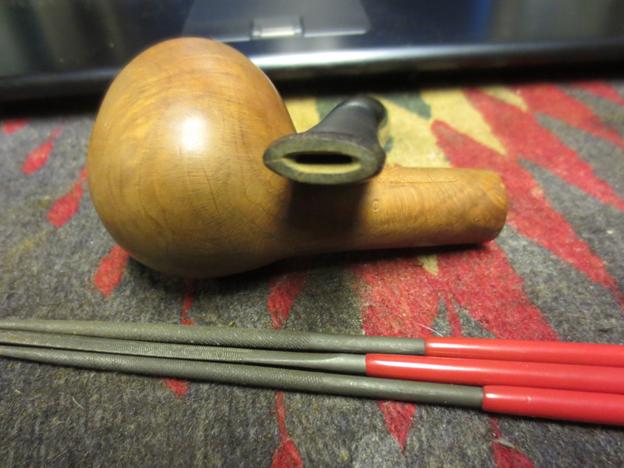 I move to the second file in the set (the top file in the photo above). It is a fatter oval file that I work on the top and bottom edges and also on the ends of the slot. The idea is to begin to slope the edge inward and open the ends of the slot. I want to make the slot more of a Y – wide on the edges sloping inward and also sloping the top and bottom of the slot inward. The photo below shows the stem after I have worked it over with the second file.
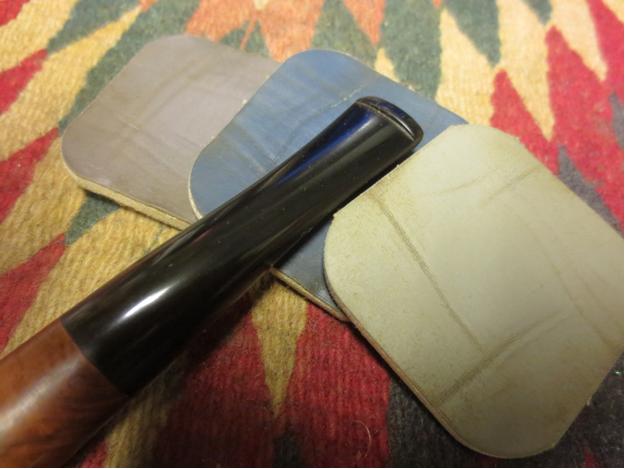
 I finished with the third file (the bottom one in the first photo) which is a round needle file. I use this file to clean and open the slot more and work on the tapers on the sides of the slot and the top and bottom. The airway is wide open at this point and only needs to be cleaned up with sandpaper to remove the marks on the face of the button and the inside of the airway.
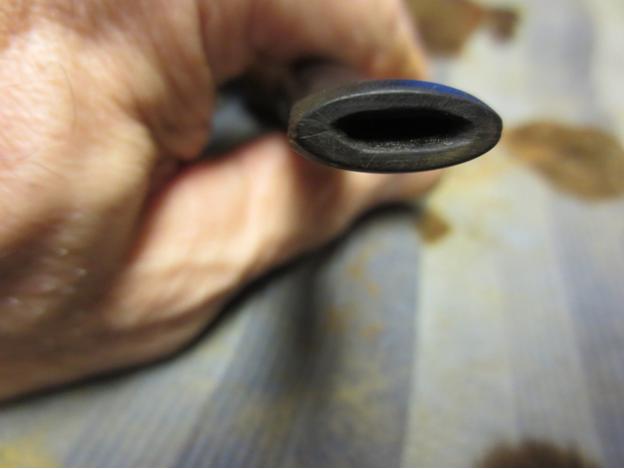 I folded a piece of 220 grit sandpaper into a strip that I worked inside of the slot smoothing out the file marks in the airway and on the surface of the button. I worked it until the slot was smooth inside and the oval airway was open. At this point a pipe cleaner easily slides in and out of the slot making clean up a breeze. If you want a more open slot you can continue to file the opening and make it larger. Always work the top, bottom and sides of the slot to make it as uniform in shape as you can. I like a nice oval slot that gives a smooth delivery of smoke and also a wide open airway to receive the pipe cleaner.