Blog by Steve Laug
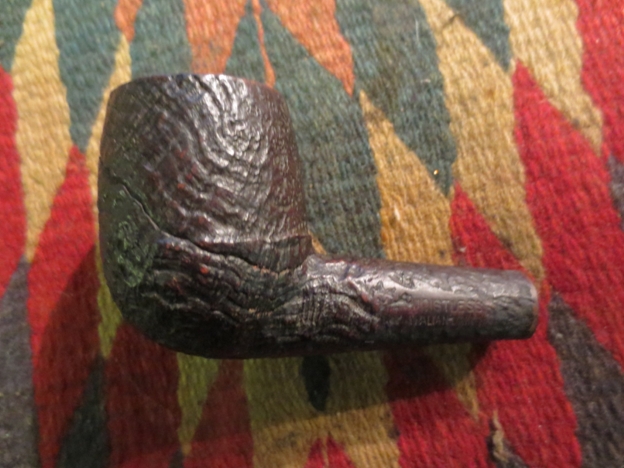
When I saw this pipe come up on eBay I was struck by the combination of the colours and textures. The yellow Lucite stem and the dark reddish black sandblast went well together. The slight bend in the stem looked perfect. I had not heard of the brand before but decided to bid on it anyway. The first seven photos are from the seller and give different views of the pipe and the stem. In several of the profile photos there appeared to be a lip or ledge near the shank bowl junction. It was a curious thing that I would check when it arrived.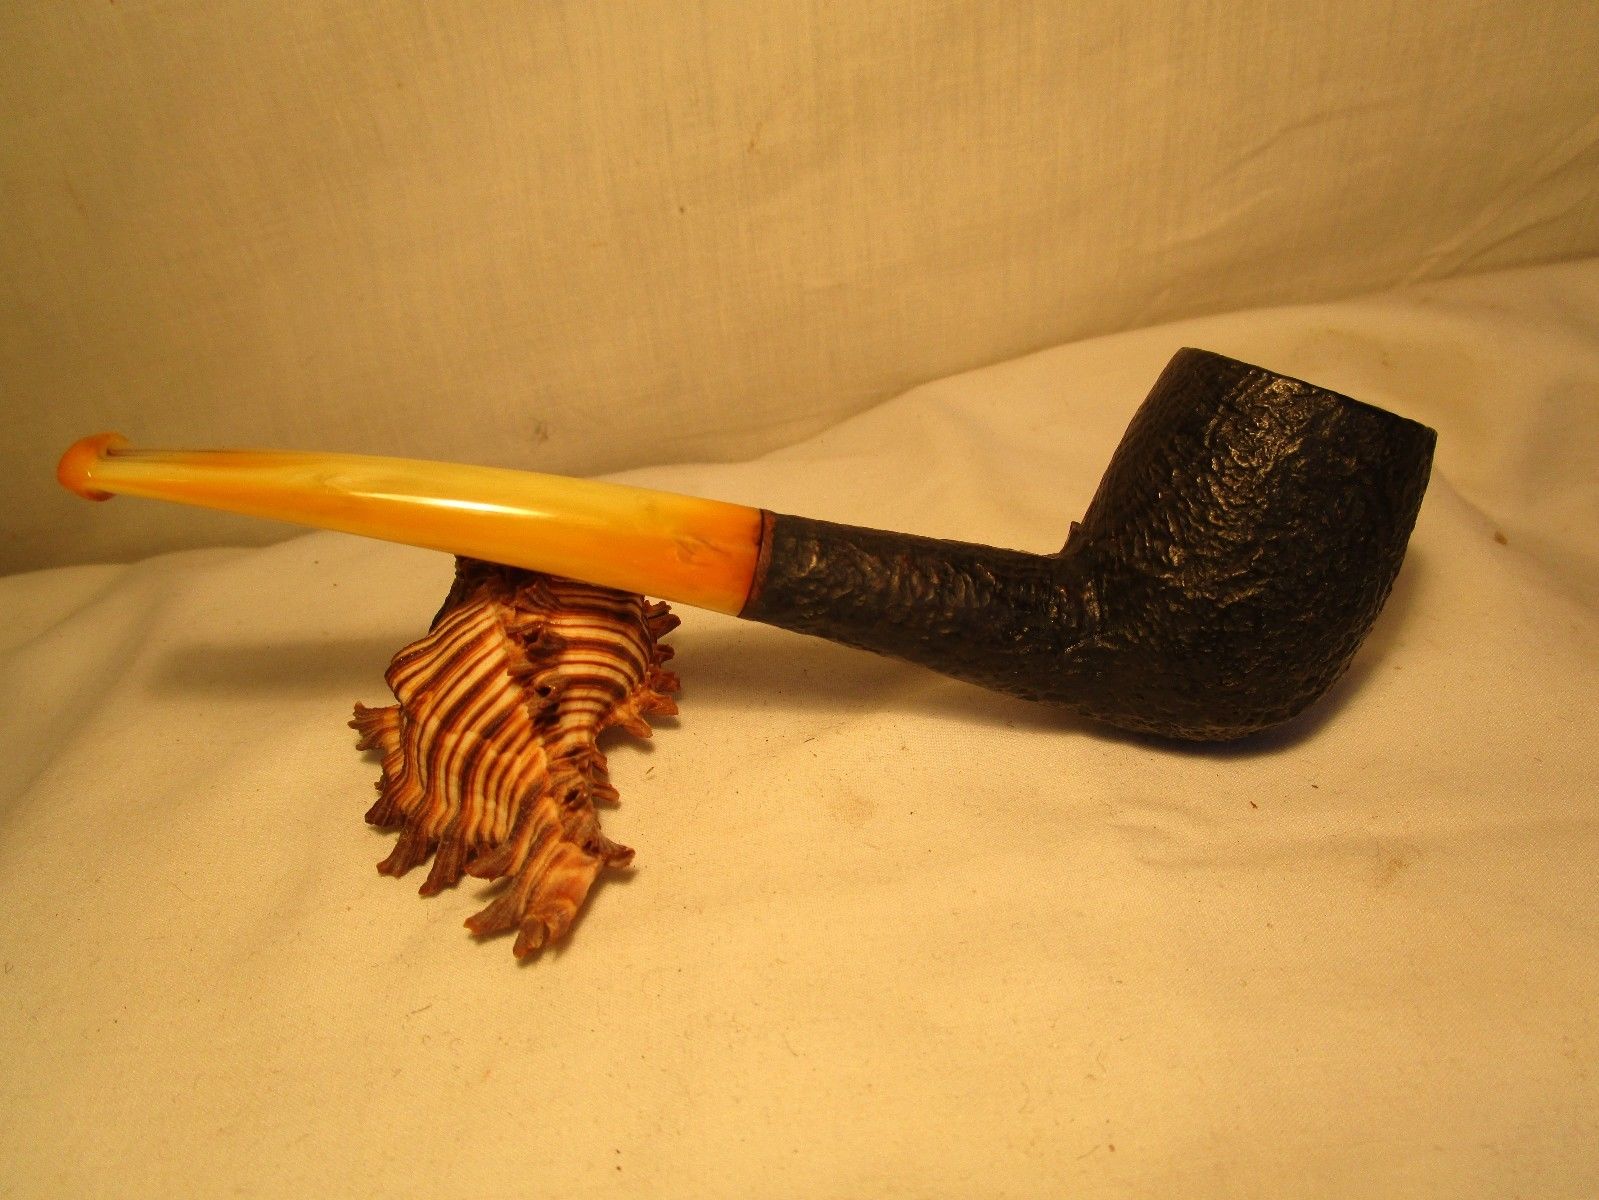
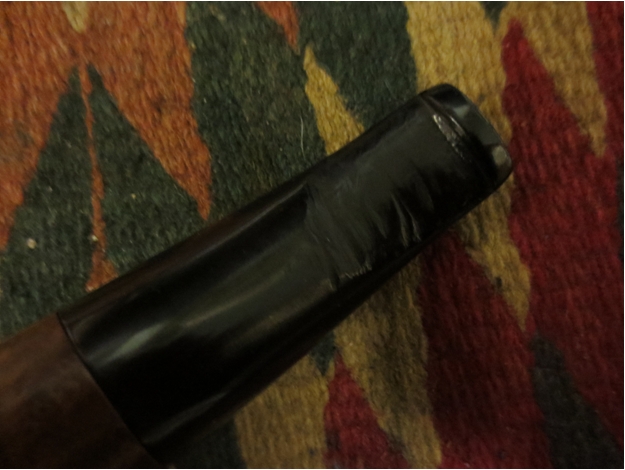
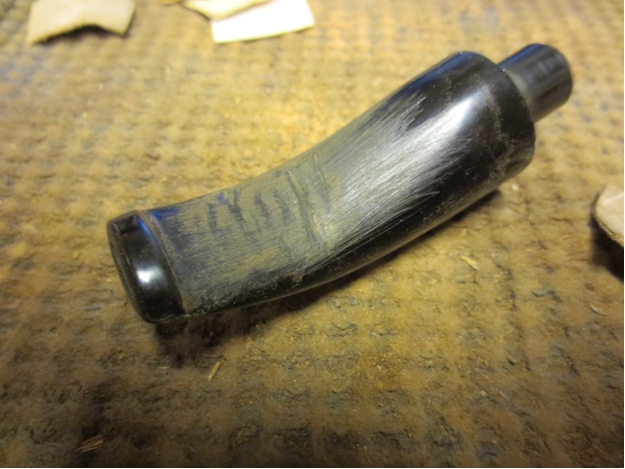
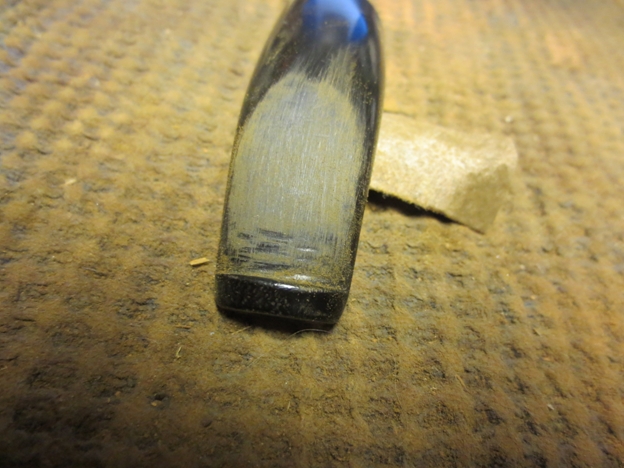
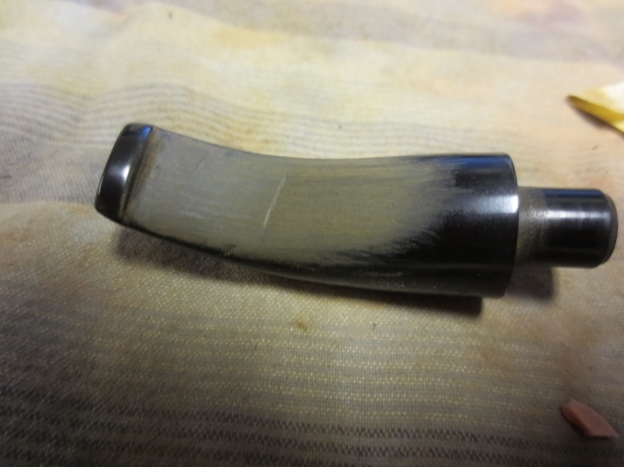
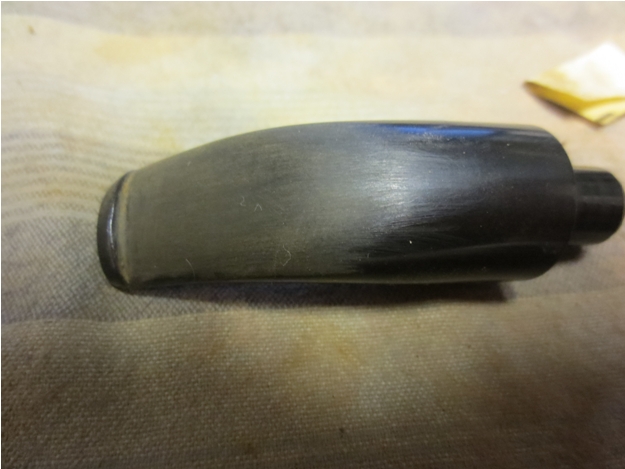
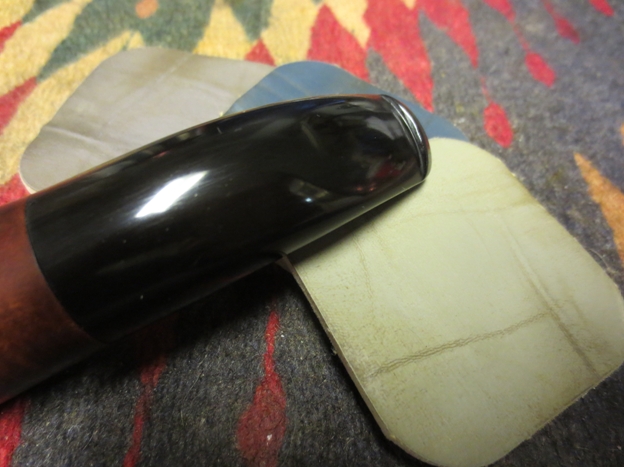
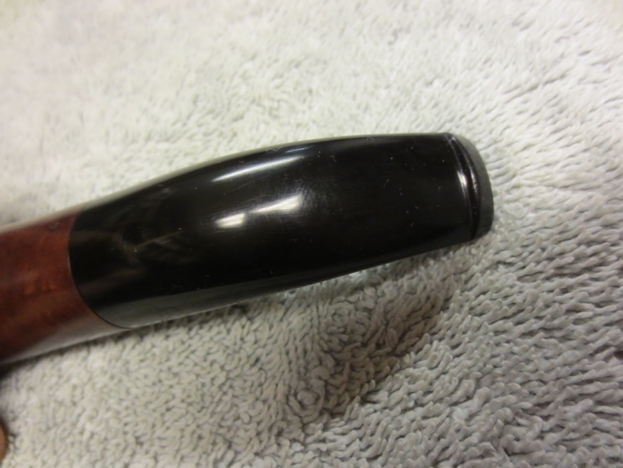
 The stem also made me wonder about the material it was made of. It has the rounded end button that often appears on orific button stems but there no photos of the end of the stem so it would also be clear once I received it. The stem appeared to be in great shape other than some internal staining.
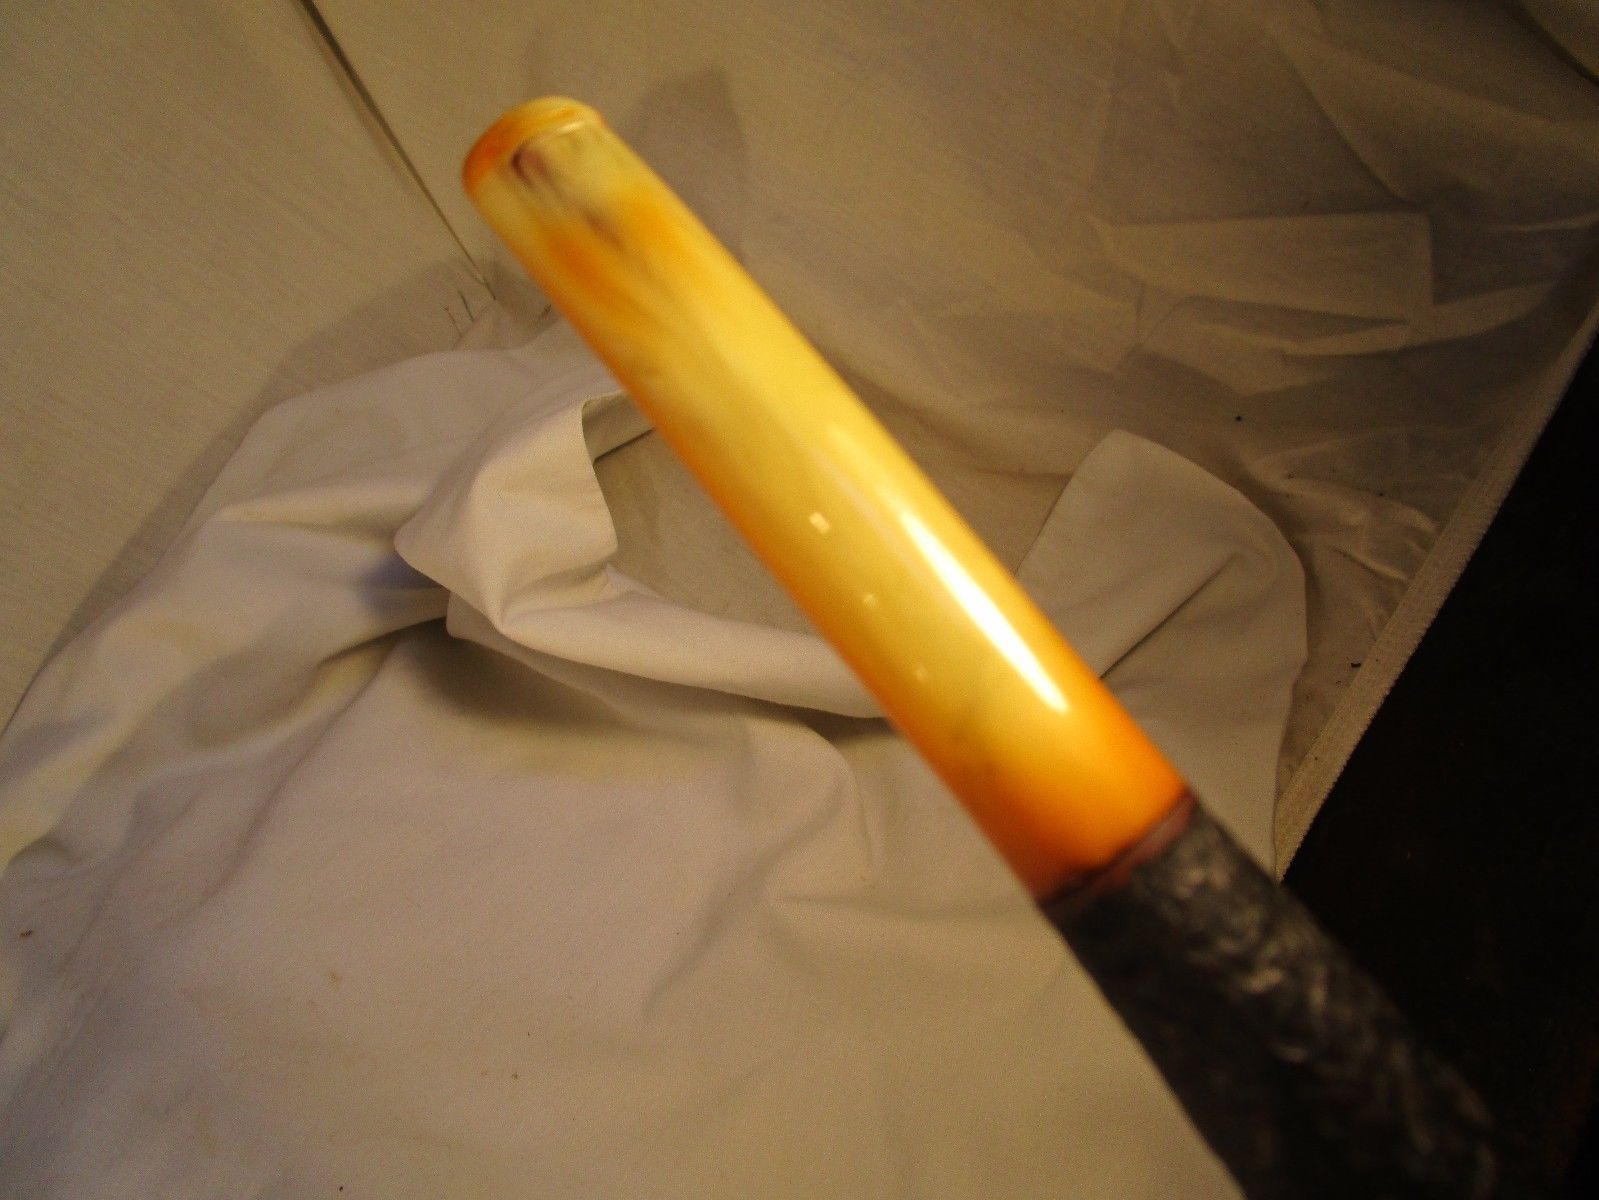

 I did some research on the brand and found that there was a patent taken out for a Moistless Pipe in 1935 by a S. Guida. The pipe I purchased is stamped Moistless over Italian Briar. The patent is from the US Patent Office and the pipe I have is American made in my opinion.
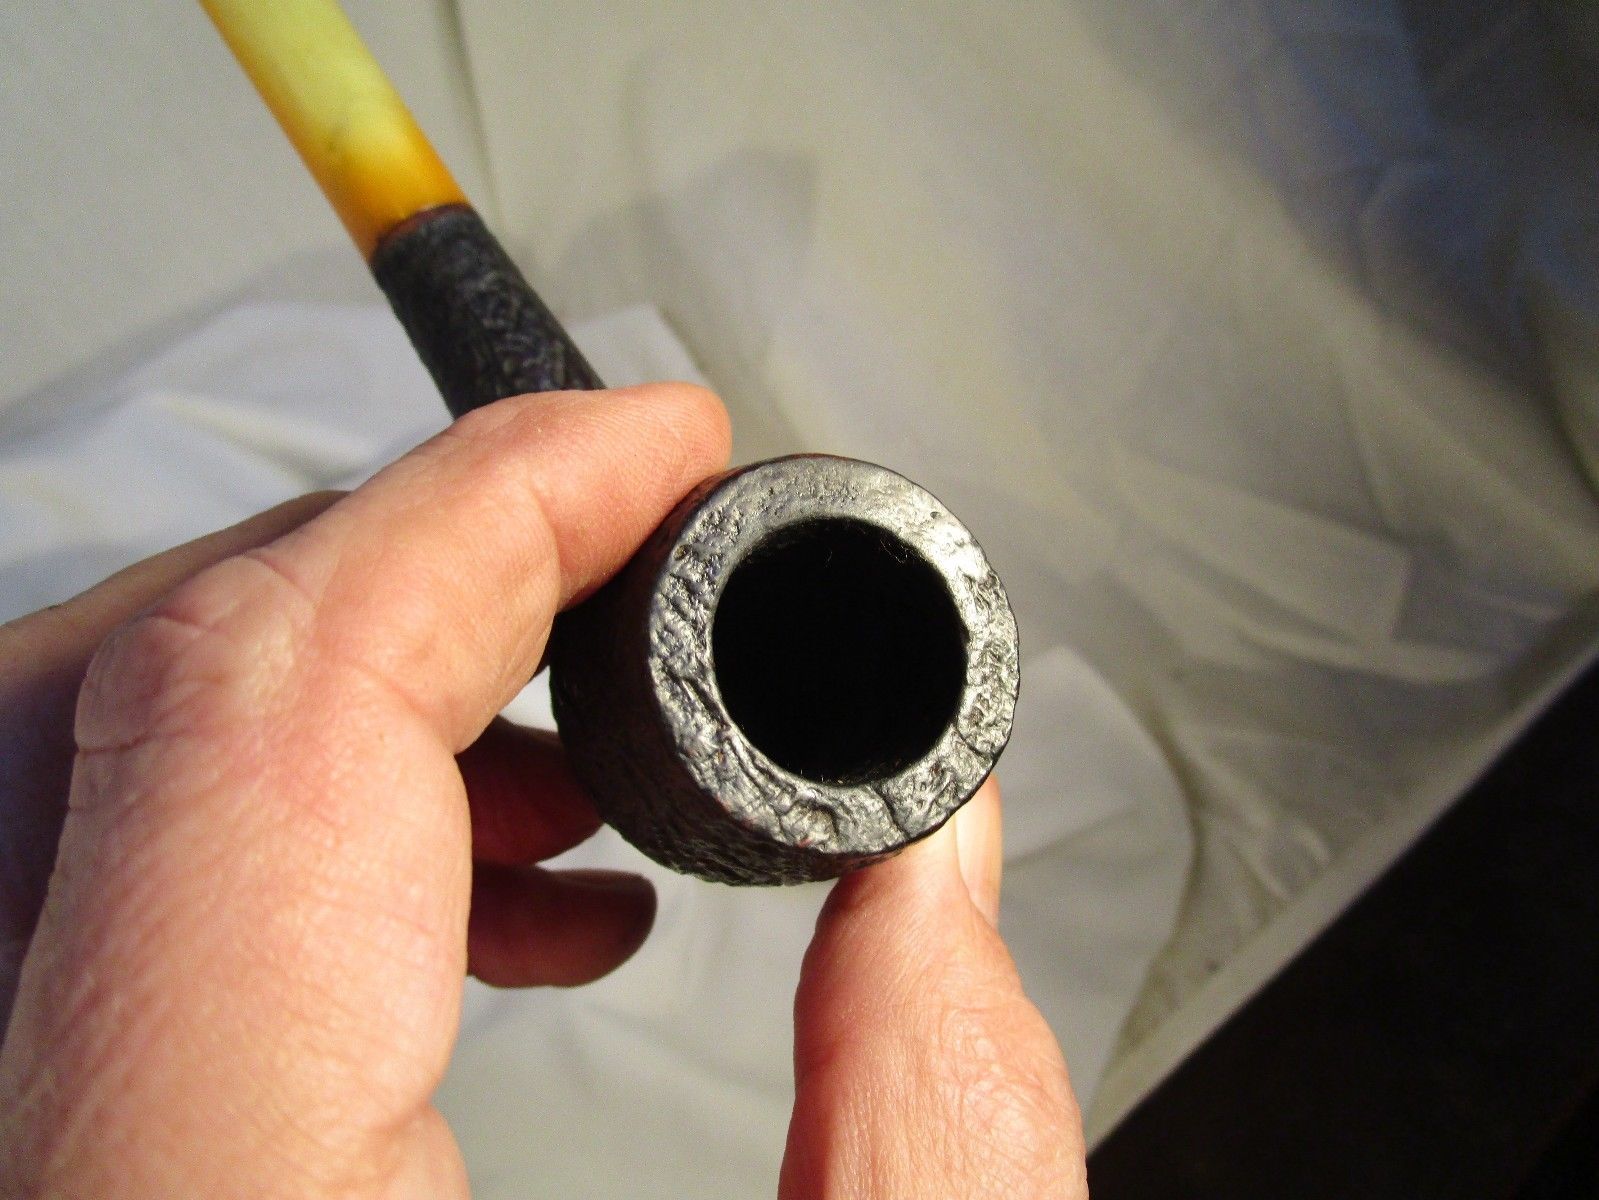
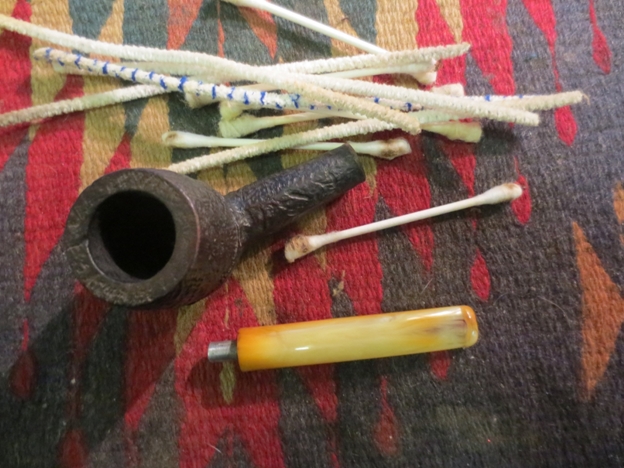
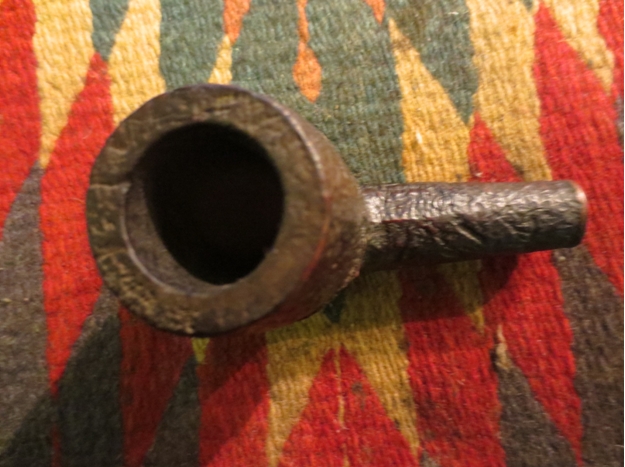
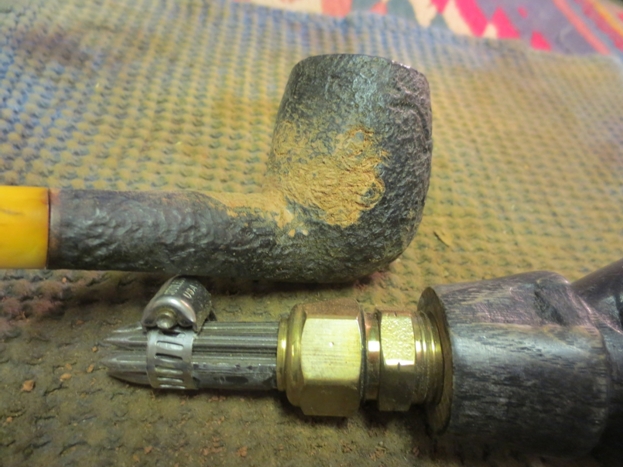
  When it arrived I took it apart to see if the insides reflect the drawings from the Patent diagrams. They did not. The tenon on this one is a metal tenon but there are no any of the other parts of the insert shown. The shank is quite open and deeply drilled so it well could have had the apparatus inside. The inside of the tenon looks like it could have had an insert as it is tapered into a cone shape guiding the smoke into the airway. The inside of the pipe was clean and the bowl lightly smoked with no cake build up. I ran some pipe cleaners, cotton swabs and isopropyl alcohol through the shank and stem. They came out remarkably clean.
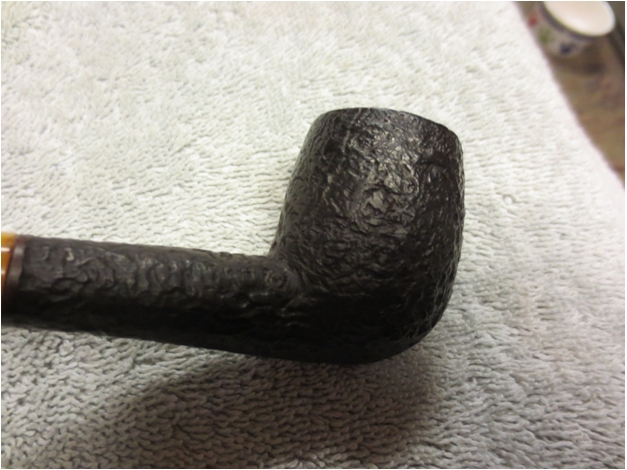
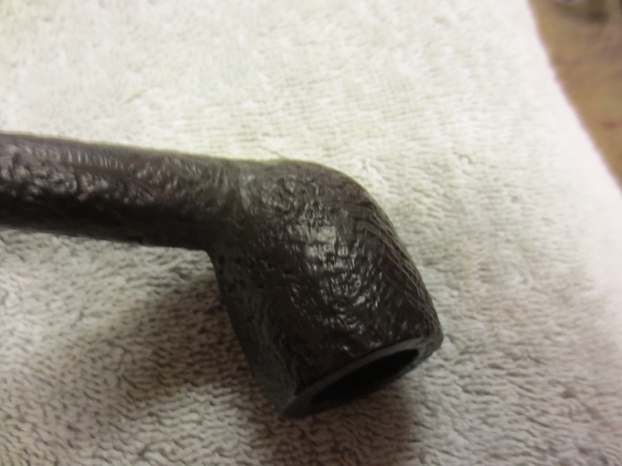
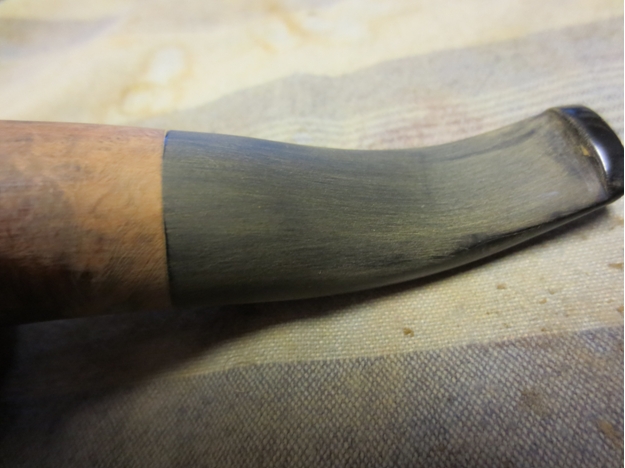
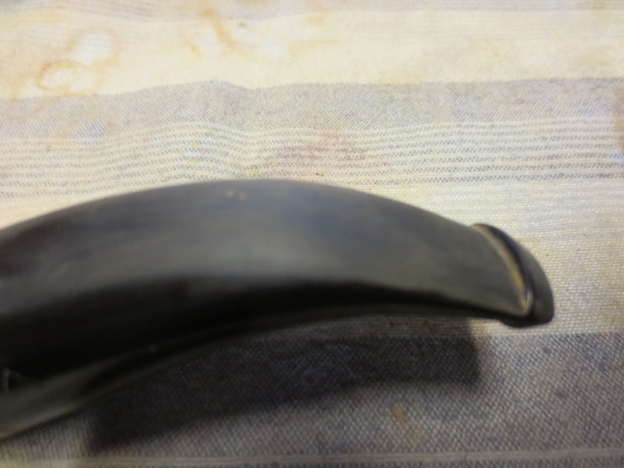
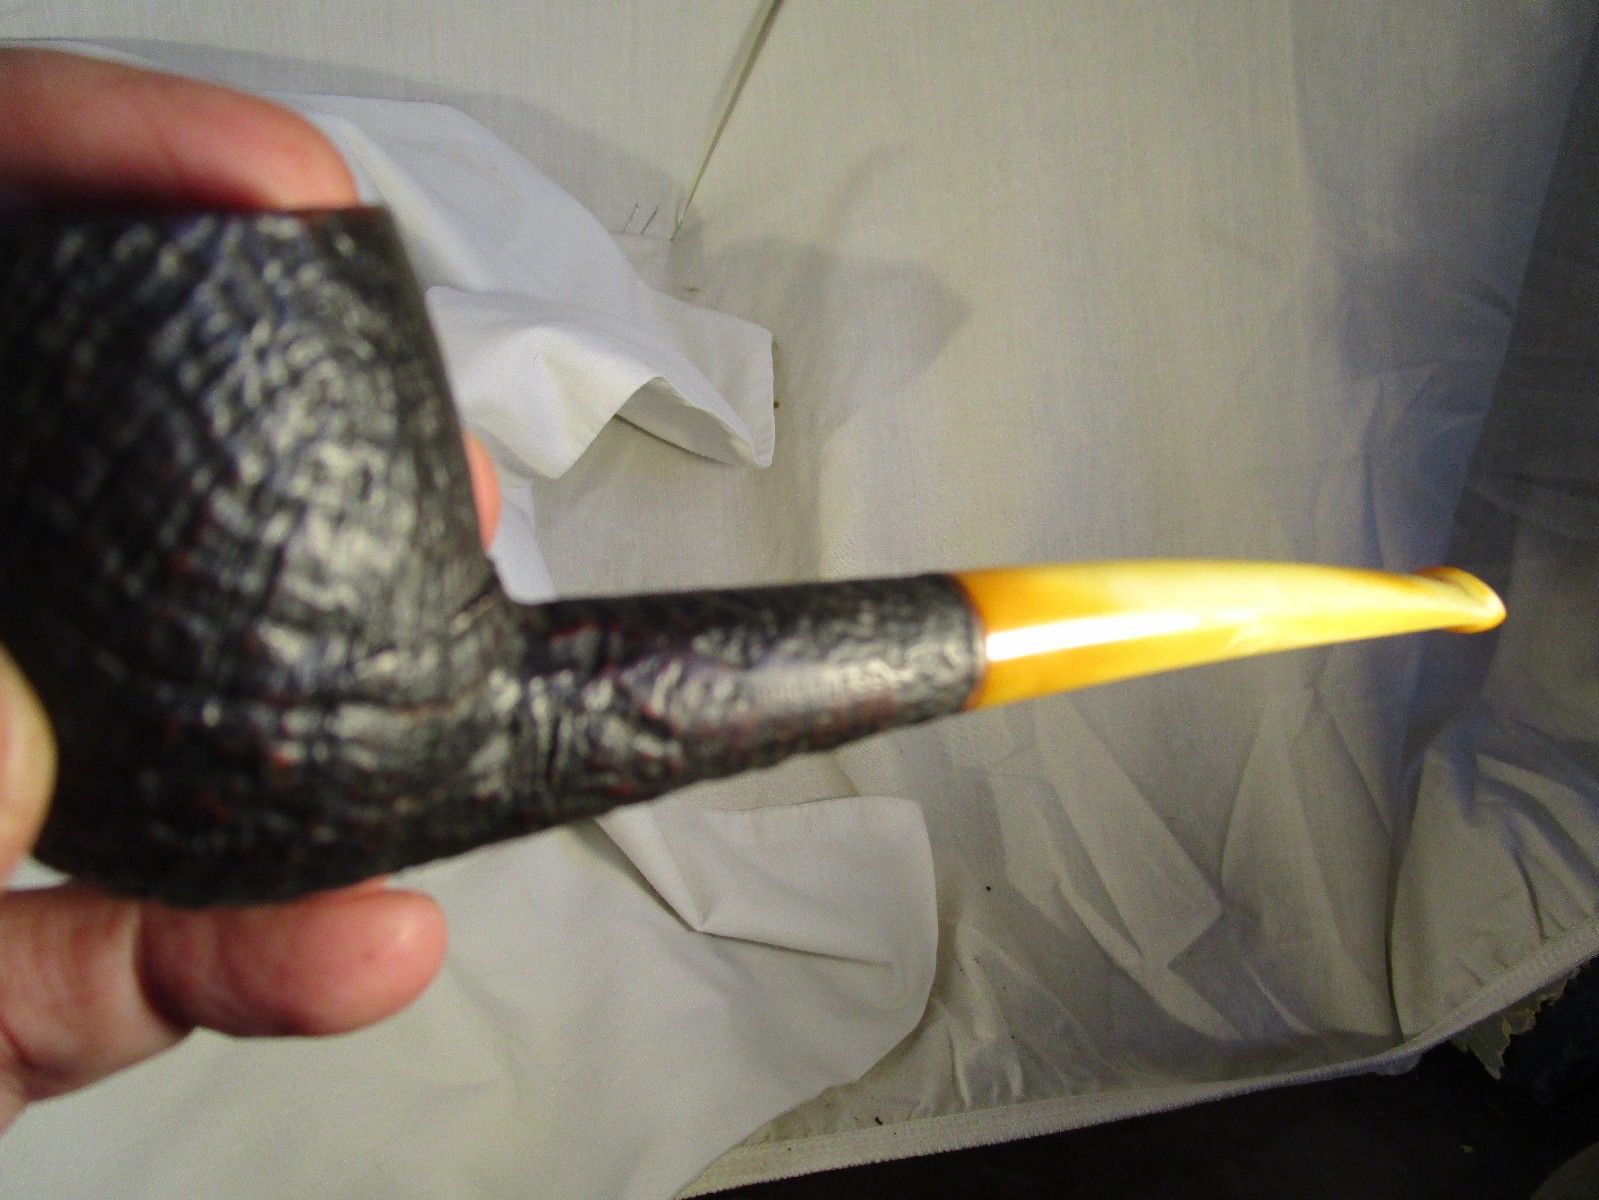
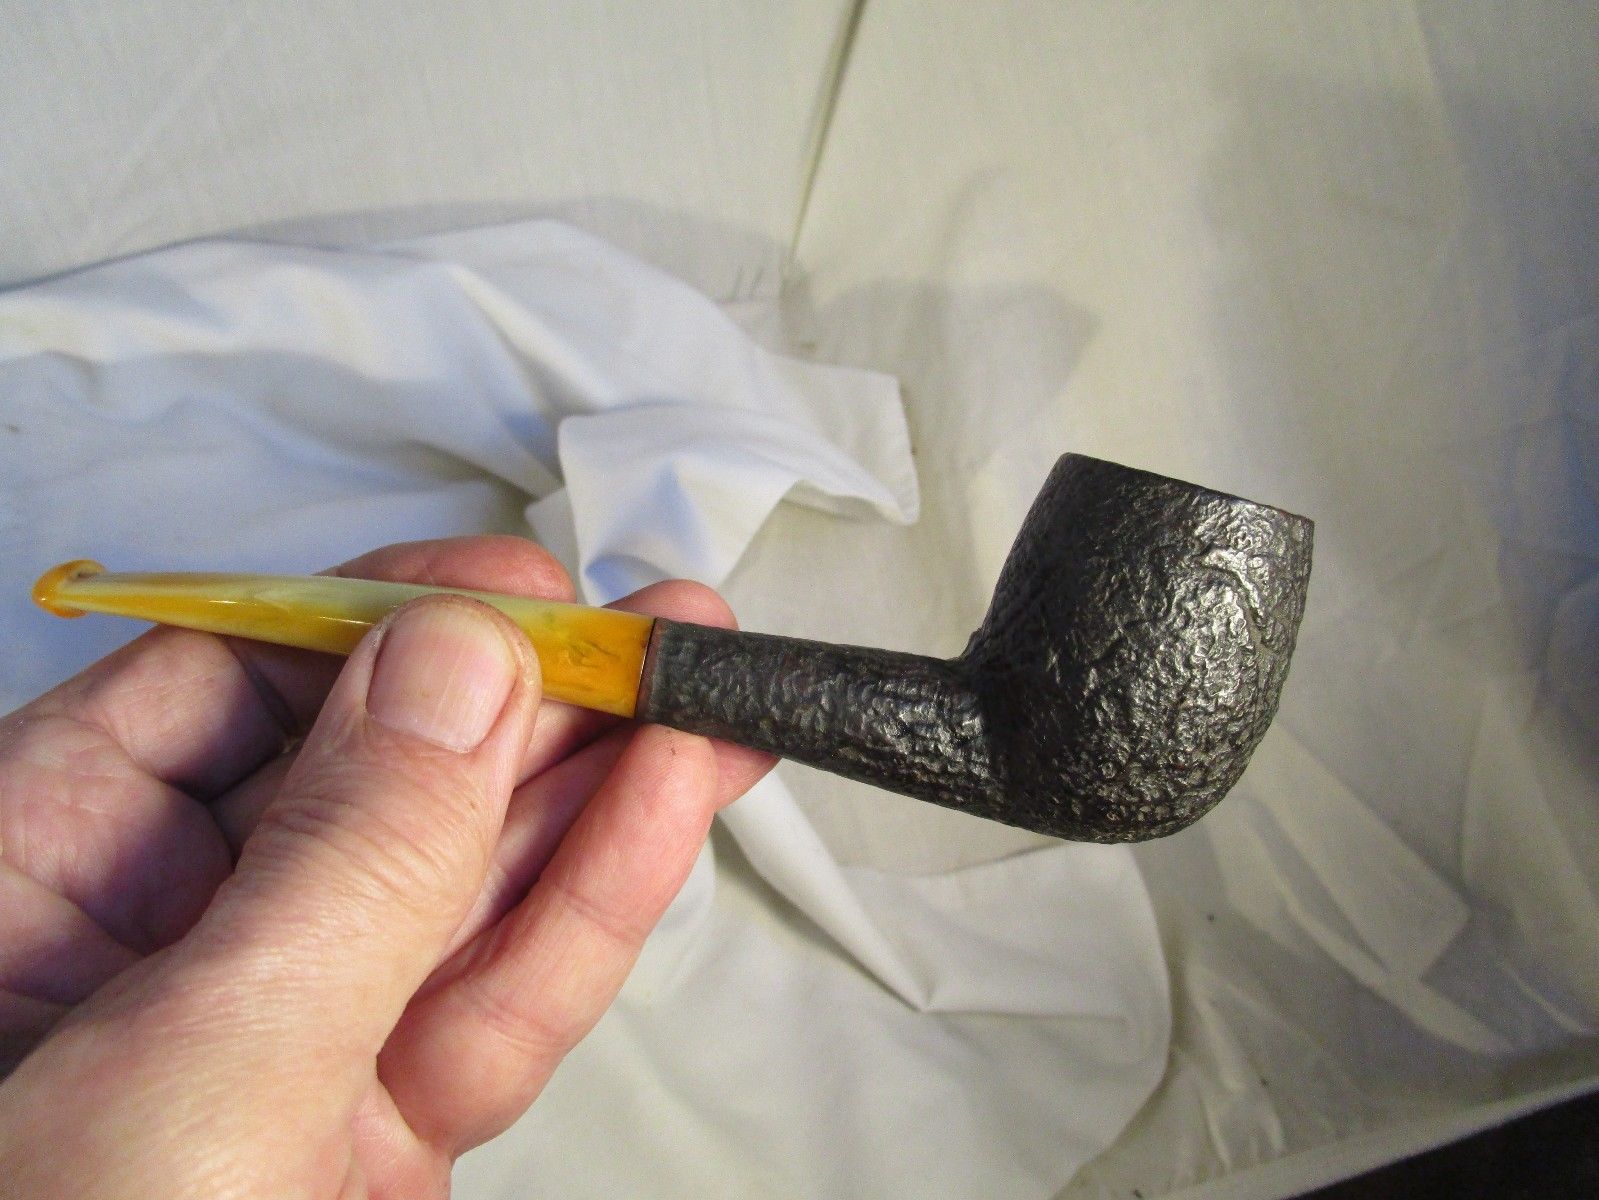
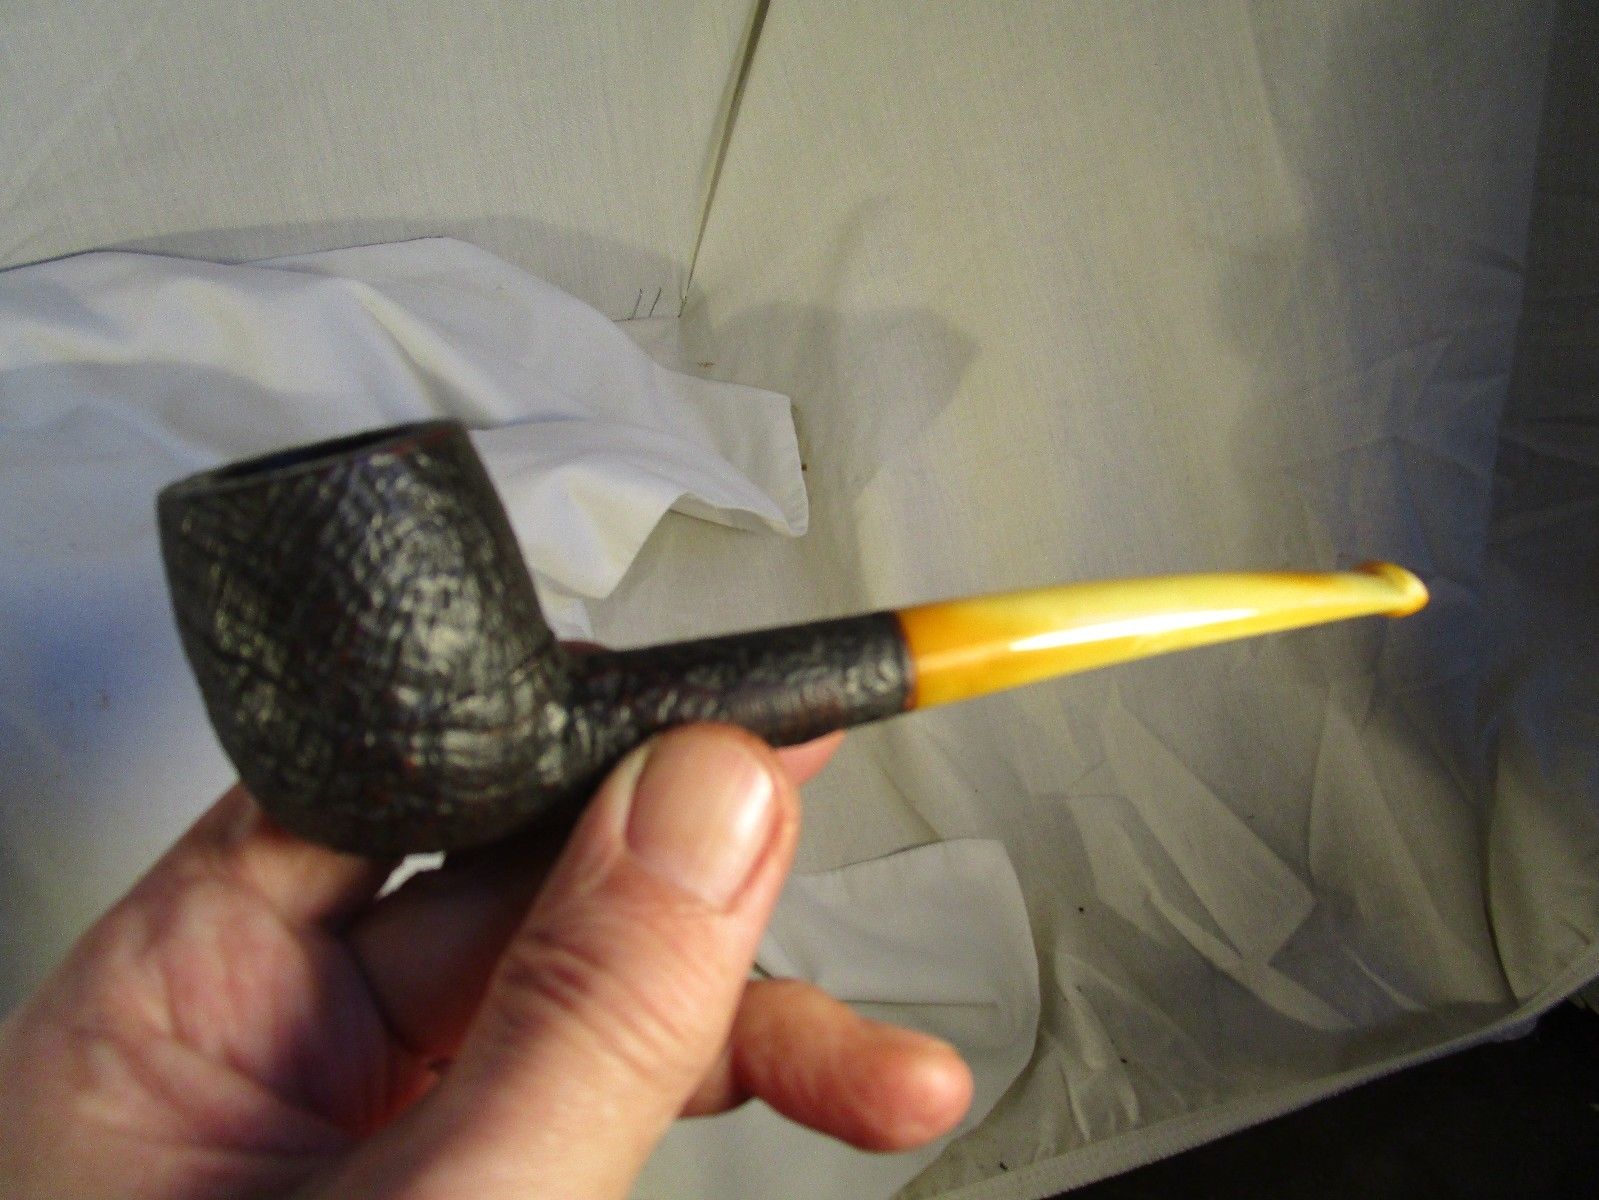
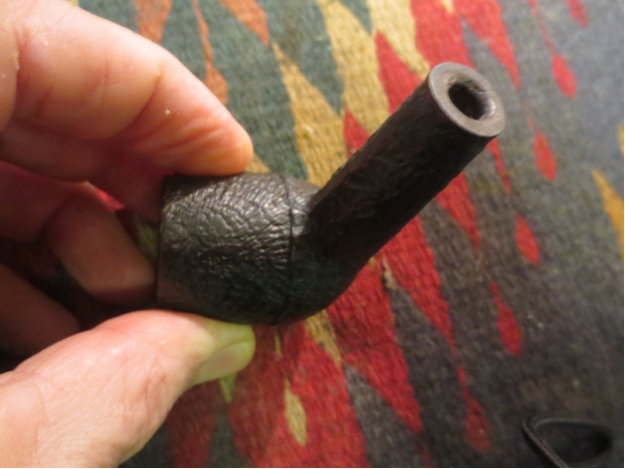
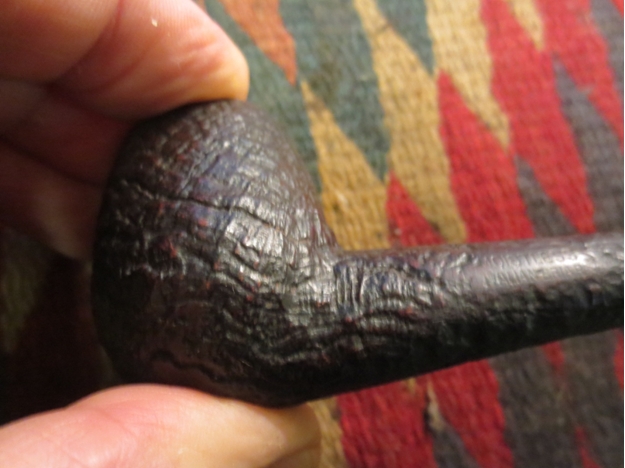
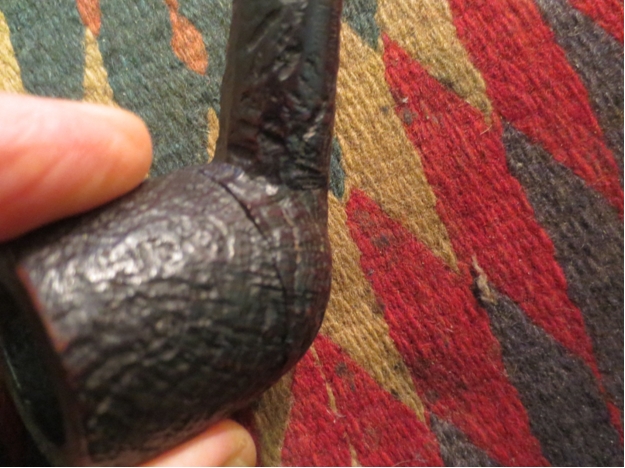
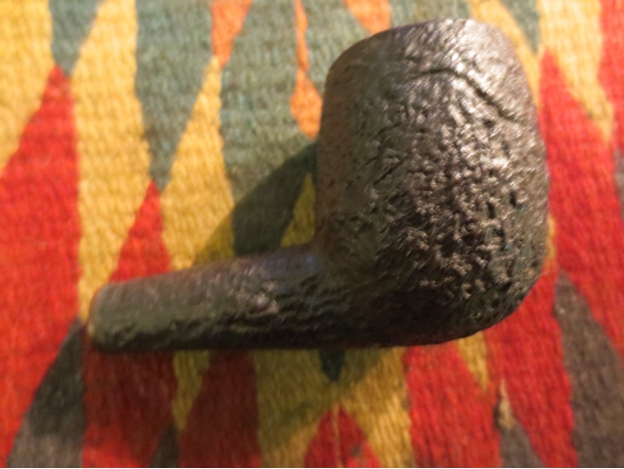
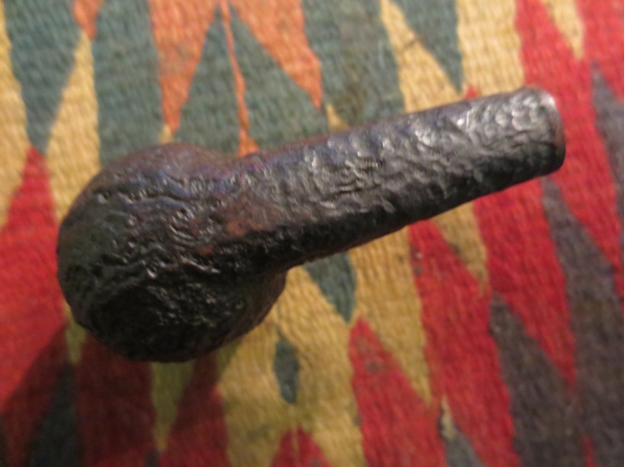
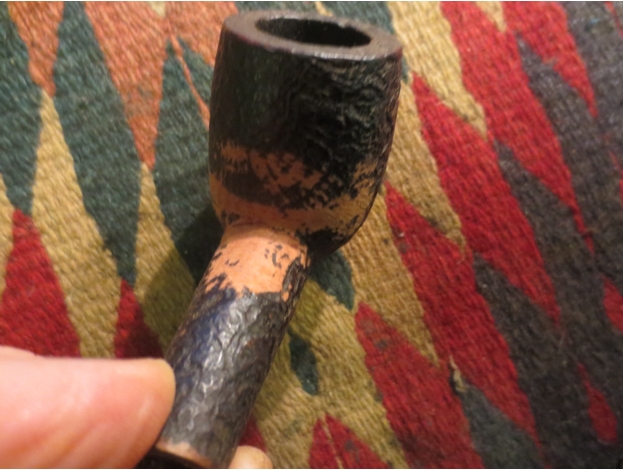
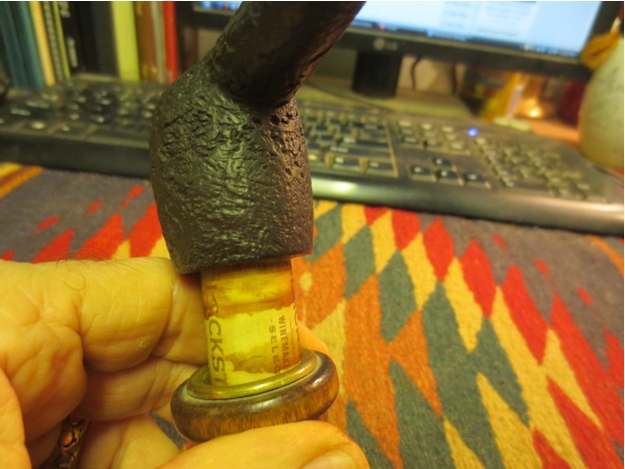
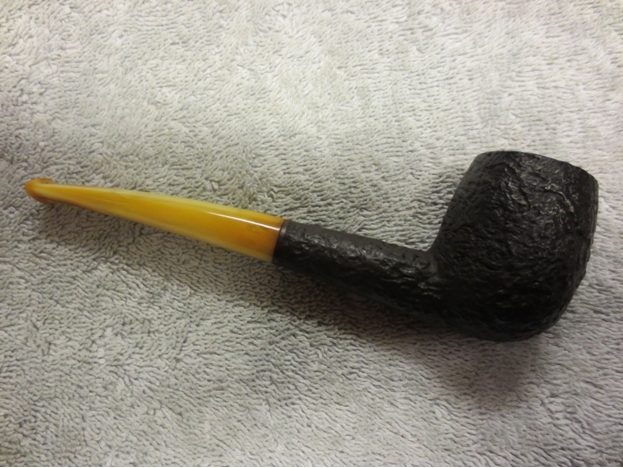
 When I examined the bowl there was a ridge that ran around ½ of the bowl just above the shank bowl junction. It was like a shelf and felt uncomfortable in the hand. The blast had taken some material but left a very distinct shelf and a ridge along the topside of the shank. In my mind it was an unattractive interruption in an otherwise classic shape. It would need to go to bring the most out of the shape of this pipe. The next seven photos show the bowl from a variety of angles to highlight the issue I am speaking of regarding the shelf. It is these issues that the impending plastic/cosmetic surgery will deal with.
 It almost took more time to decide to remove the shelf and clean up the shape of the bowl and the shank than it did to do the work. I wanted a cleaner junction for the shank and bowl as well. I used a Dremel and sanding drum to remove the excess material. The next three photos show the bowl after surgery – the cosmetic surgery/face lift had begun. The patient did not squeal too much even though there was no anesthesia. Within a matter of five minutes the foundational work was finished and what remained was hand work.

 I don’t have a sandblaster so I decided to start with a basic rustication pattern and then work it with carving knives and sandpaper to give the rustication a more blasted look. I used the rustication tool that Chris made for me and it did a great job turning the smooth sanded surfaces into a more patterned look.
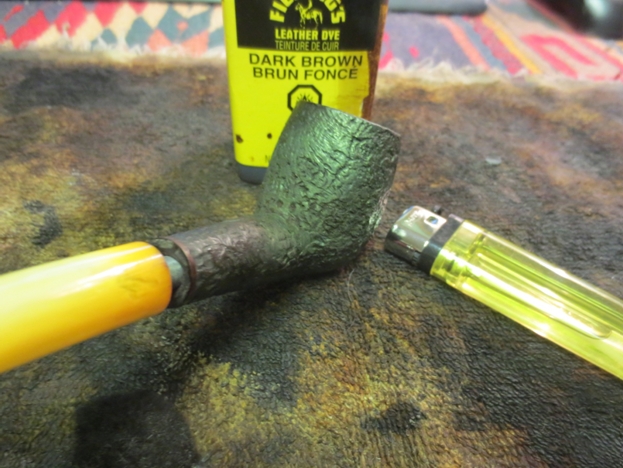
 I then used a carving knife to give swirls and movement to the rustication and try to blend it into the surface of the sandblast. I used the dark brown stain pen to highlight the high spots on the rustication to enable me to better determine the pattern I was working on.
 When I had finished the matching of the pattern as best I could I stained the bowl with a dark brown aniline stain and flamed it to set it in the briar.
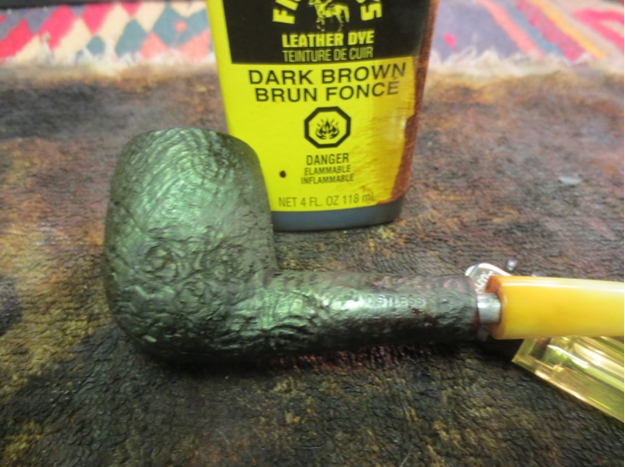
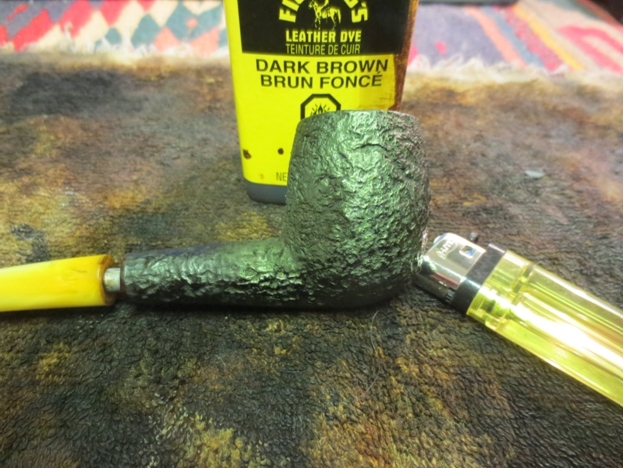 I buffed the bowl with red Tripoli to smooth out the rough spots and specifically used a sanding block to flatten the rustication more. Then I stained the bowl with an oxblood aniline stain and flamed it. I set the bowl aside to dry. Overall I am happy with the rustication and the match to the sandblast of the bowl.

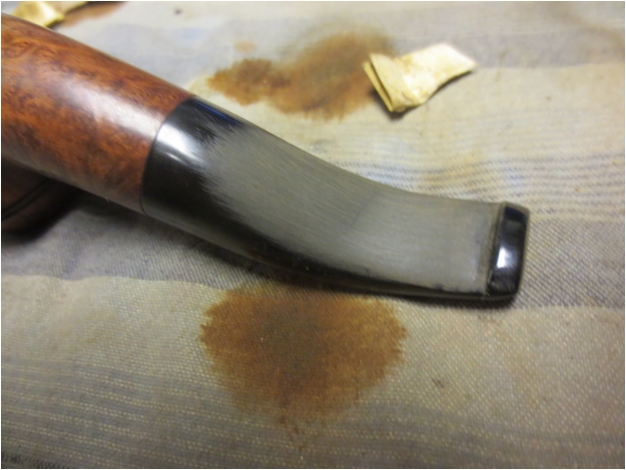
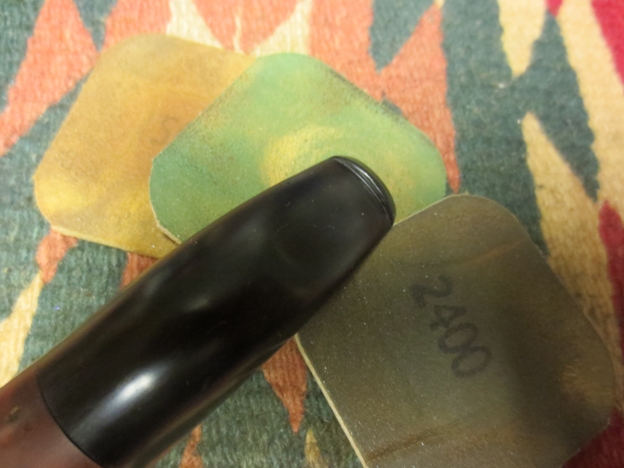
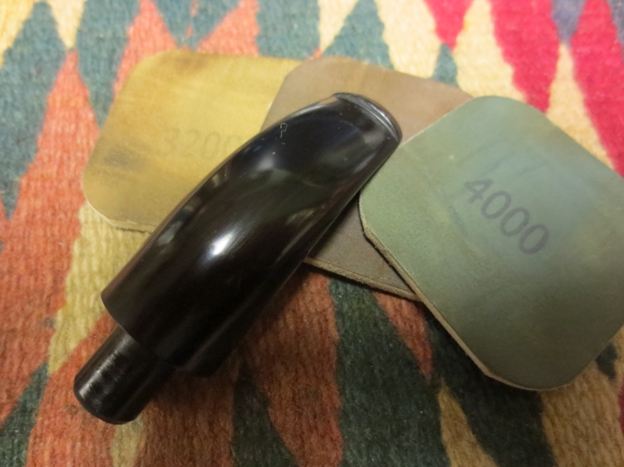
 When the stain was set and dry I took the pipe to the buffer and gave it a light buff with White Diamond. I also buffed the stem lightly with it to give it a shine. I gave the stem several coats of carnauba wax and buffed it to a shine. I rubbed the bowl down with Halcyon II wax and then buffed the bowl with a shoe brush to raise the shine. The finished pipe is shown in the photos below.
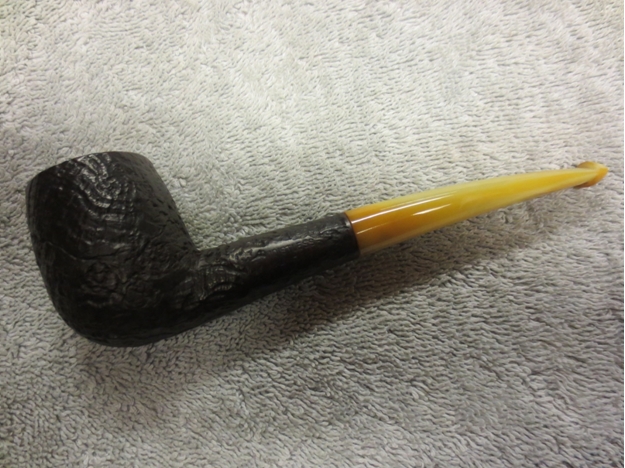

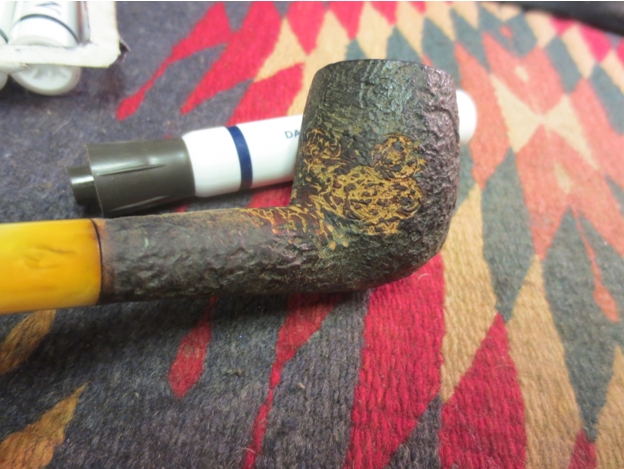
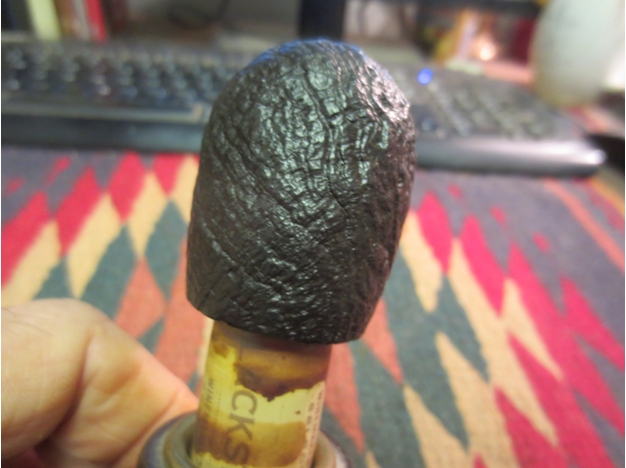
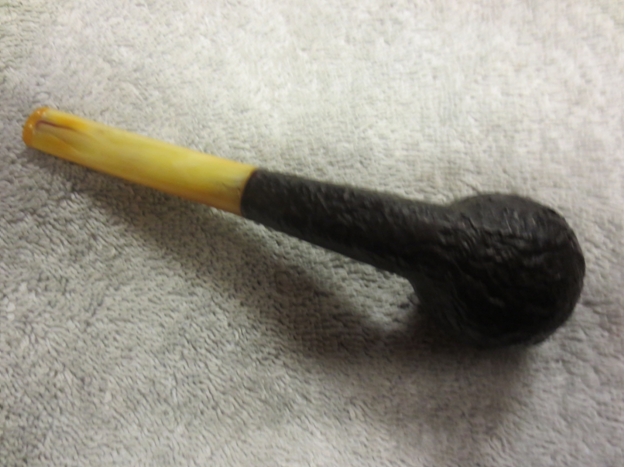 I have included the next two close-up photos of the bowl to show the finished rustication after the two coats of stain and the buffing and polishing have been finished. I really like the finished shape and look of the bowl and the bothersome shelf is gone. The junction of the bowl and shank is much cleaner with a sharper angle. The pipe now fits the classic shape that it approximated previous to the plastic surgery! The patient survived the procedure and looks to be thriving in its post operative glory. Oh, and the stem had an orific opening in the button and it was in excellent shape only needed a quick polish.