Blog by Andew Selking
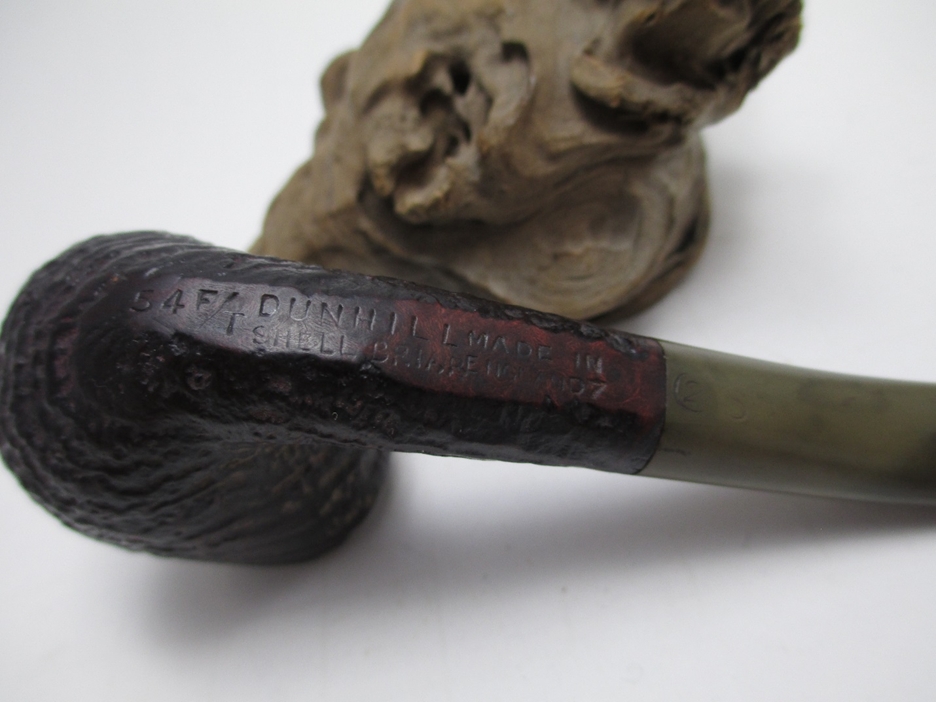
I have a weakness for Kaywoodies, especially those from the 1940’s or earlier; the briar is just amazing. I read somewhere that Kaywoodie was the largest pipe maker prior to WWII and used 100-year-old briar. I don’t know if that’s true or not, but this pipe was one of their mid-range pipes, yet it doesn’t have a single fill. Additionally, it weighs exactly the same as my Heritage Heirloom with the same shape number. (As an aside, the Heritage pipes were made in the 1960’s to compete with Dunhill. According to their brochures, only one pipe out of 300 made the cut.)
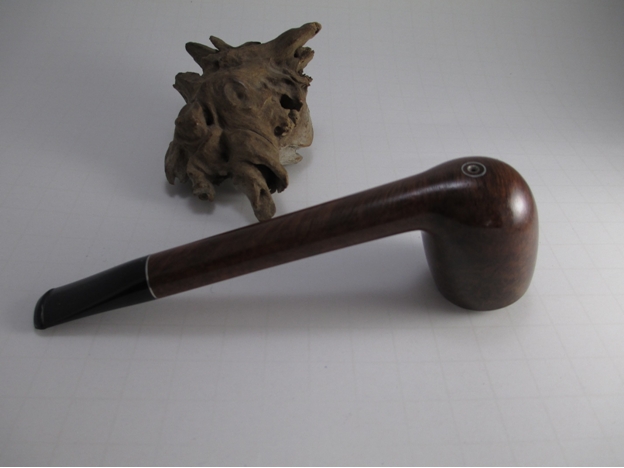
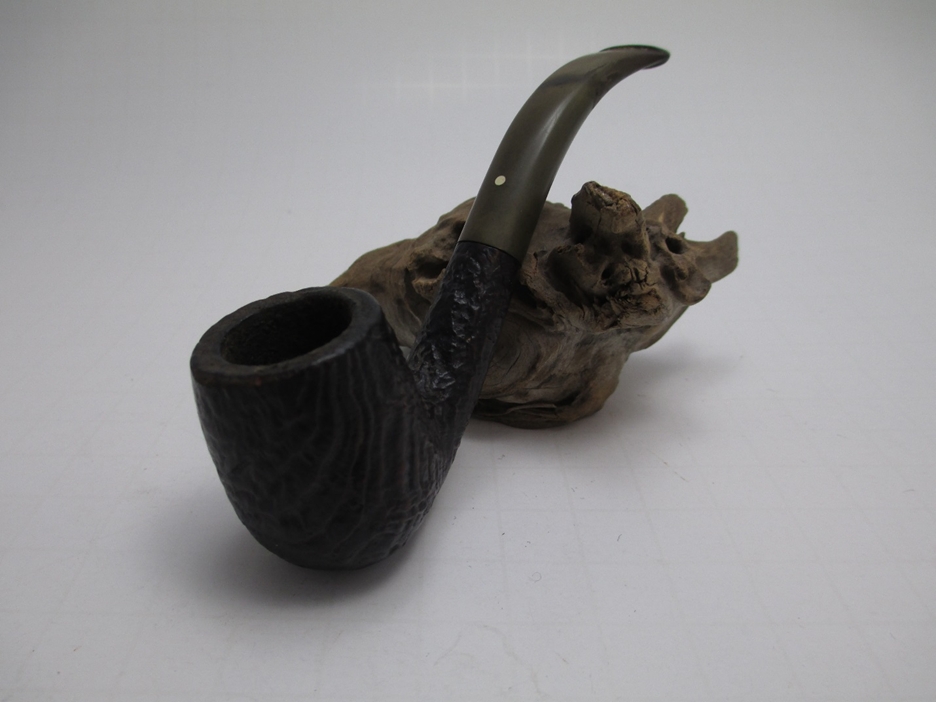
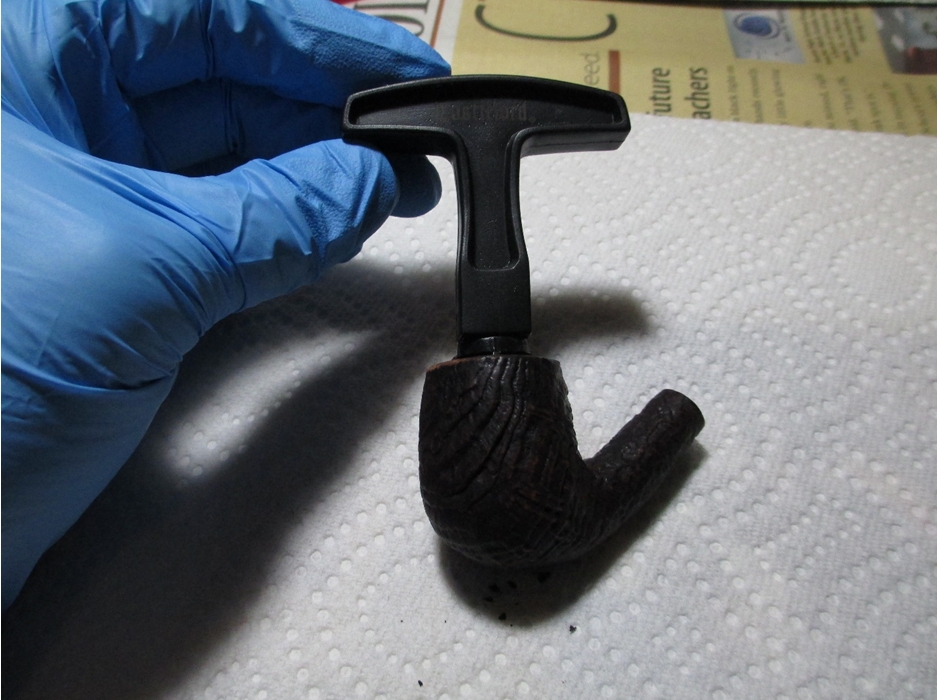
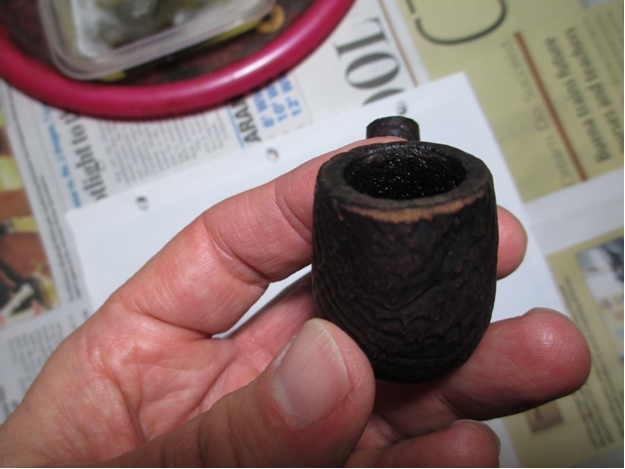
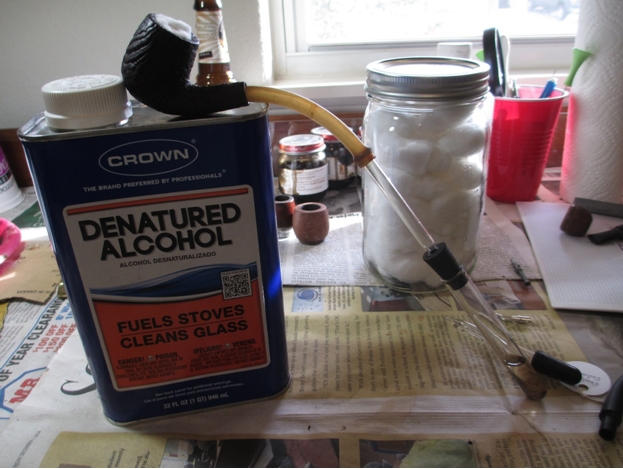
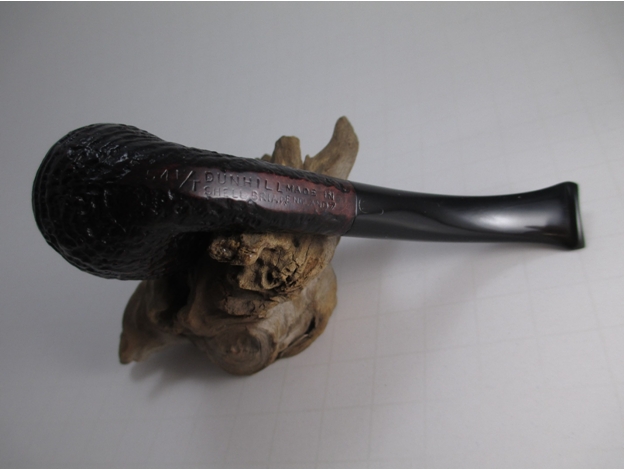
Here is a picture of the pipe when I received it. It had some heavy cake, tar build up on the rim, and a few dents in the stem. Cake doesn’t scare me, my reamer makes quick work of it, and tar build up often protects the rim from damage. The only problem from a collector’s standpoint was the stinger had been cut. I think pipes smoke better without the stinger, so that wasn’t a huge issue for me.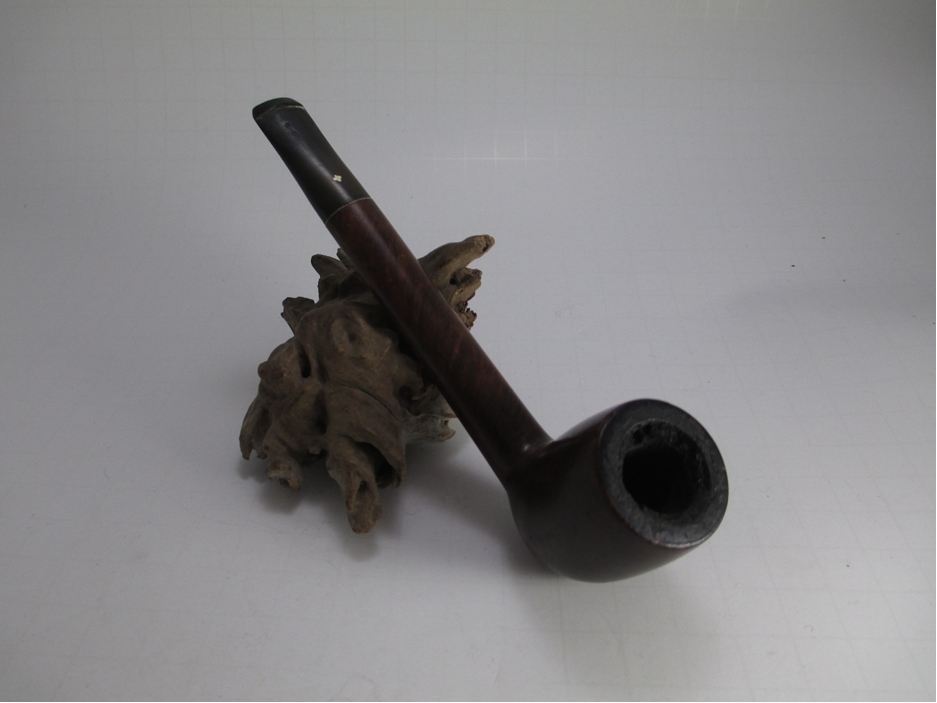 One of the things that I do to make reaming heavy cake easier is soak the bowl in alcohol. Here’s the bowl getting dropped into the bath.
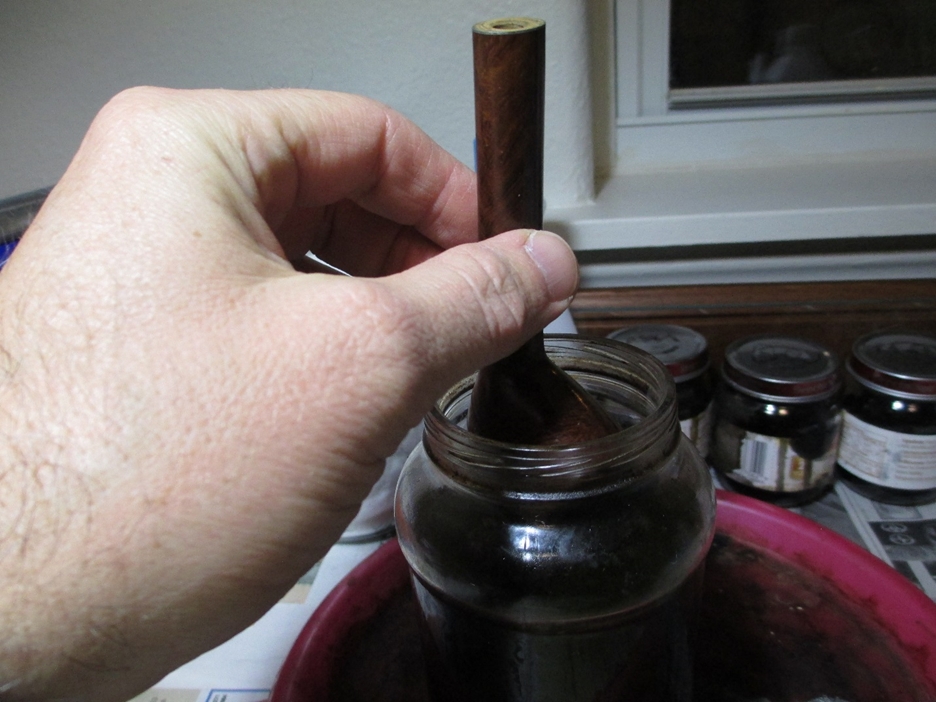 After a good long soak, it was time to remove the cake.
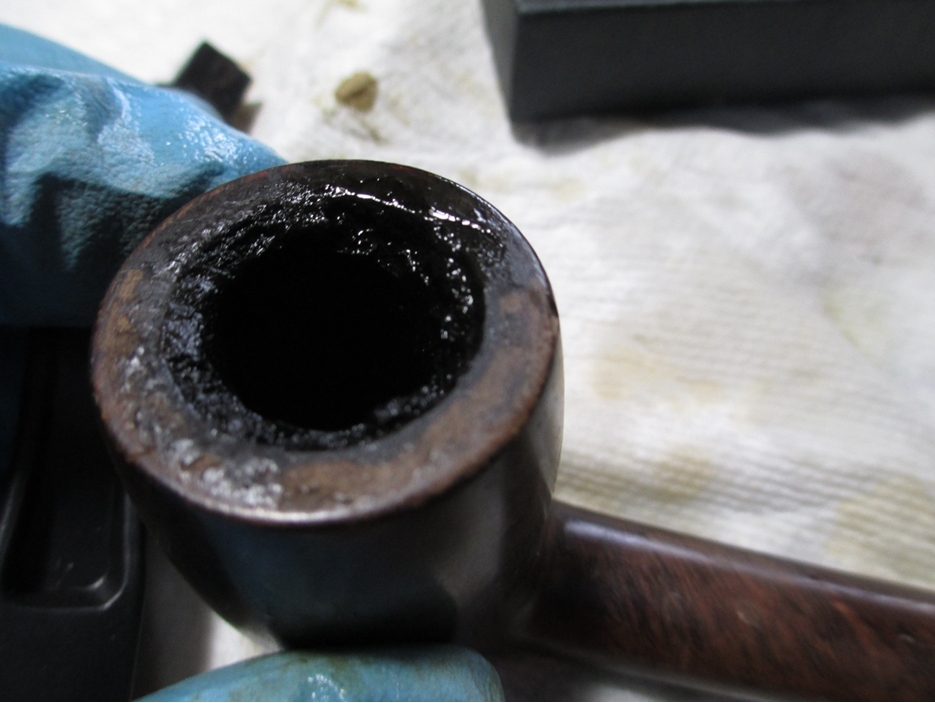 My Castleford reamer effortlessly removed the cake.
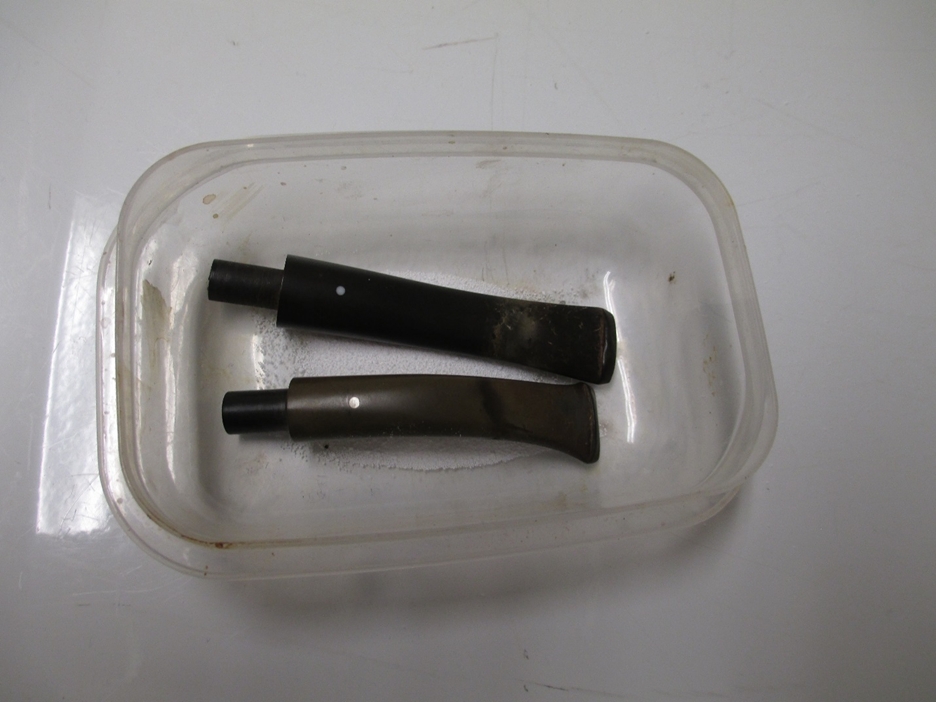
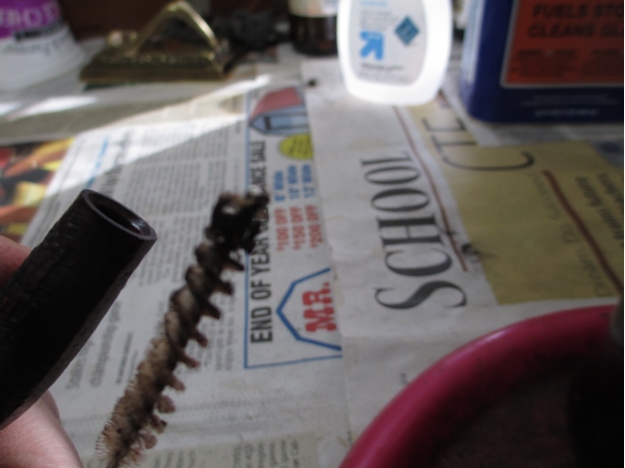
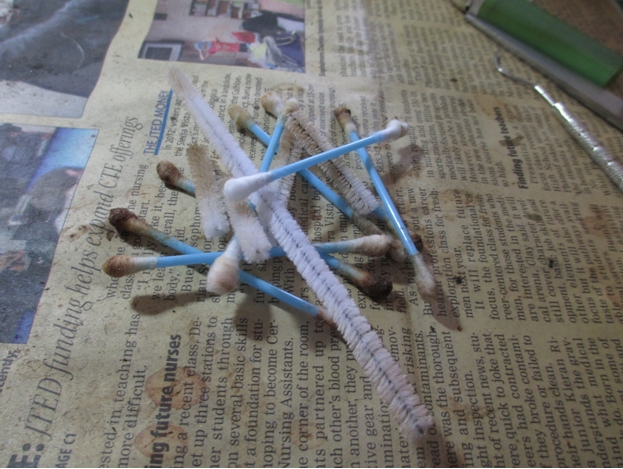
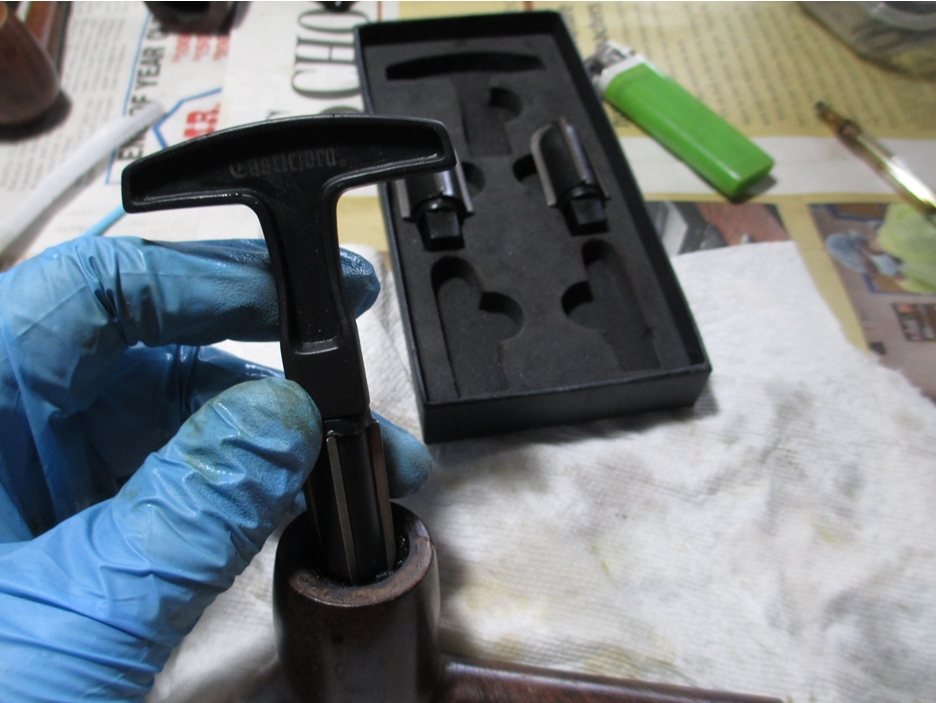 I like to multi-task, so while the bowl was working, I soaked the stem in Oxyclean. I used a fuzzy stick and Oxyclean solution to get the worst of the gunk out of the stem. Here is the first pass.
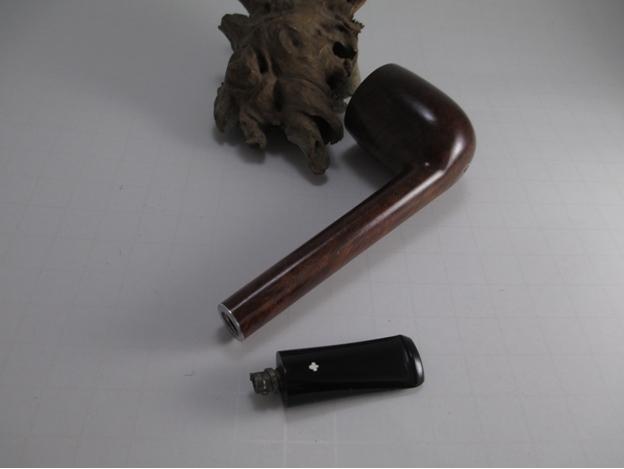
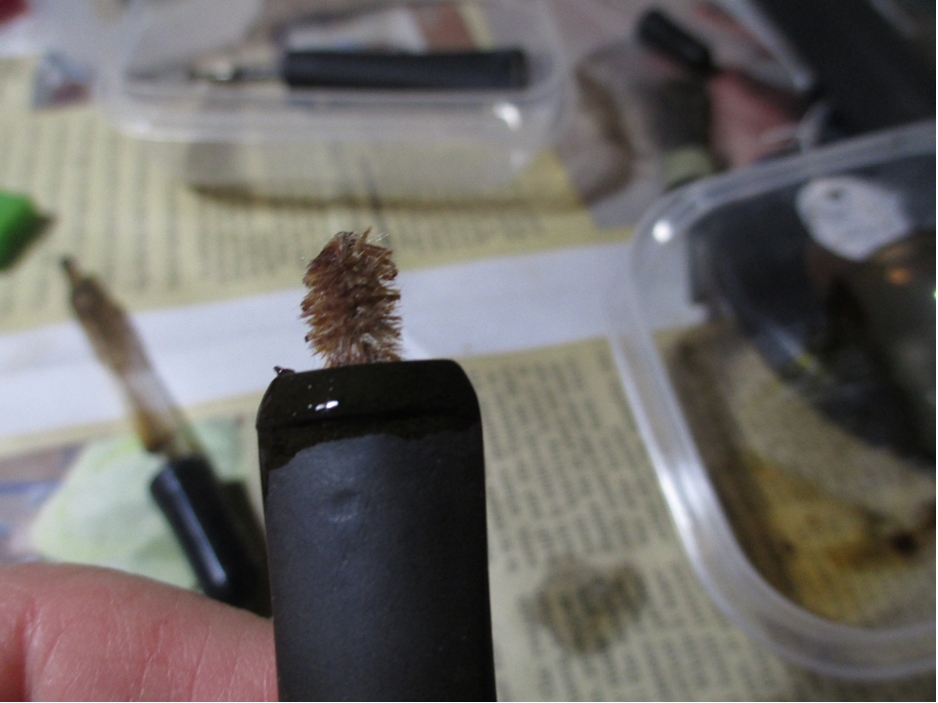 Although I usually retort the shank and stem separately, the screw in stem prevented that. I ended up retorting the whole pipe.
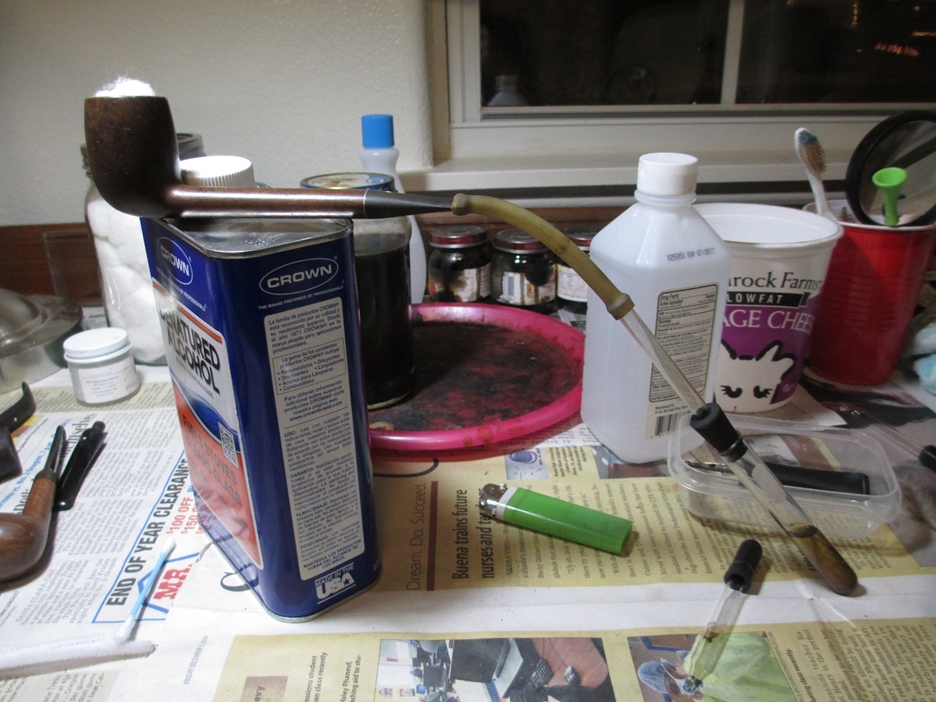 The inside of the shank and stem were nasty.
 Next I turned my attention to the rim. It had some scars that necessitated topping.
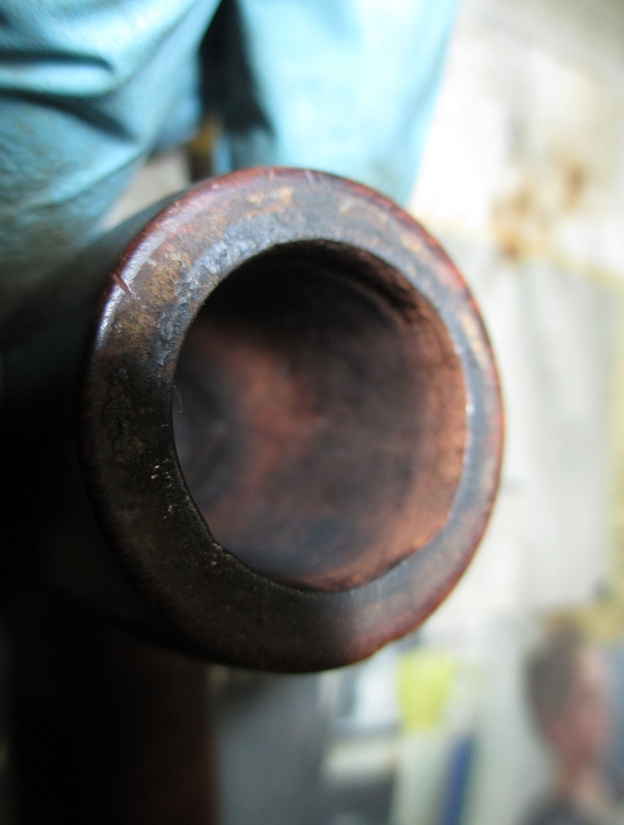
 I used 150 grit sandpaper on a piece of glass to remove the damaged section.
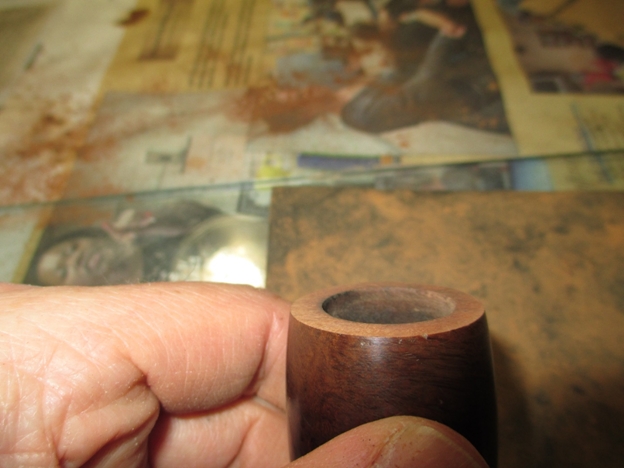 To fix the dents in the stem, I used a three-pronged approach. First I used steam to raise the dents as much as possible. I have an old kitchen knife that I heated with my heat gun. I placed a wet cloth over the area and pressed the hot knife blade onto the stem. It raised it a little bit.
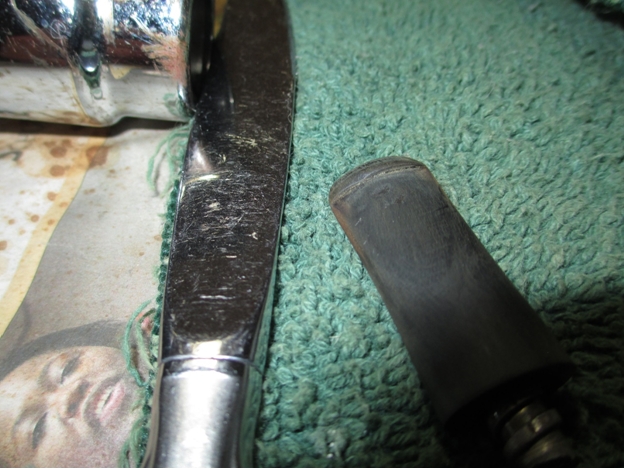 This is after the application of steam.
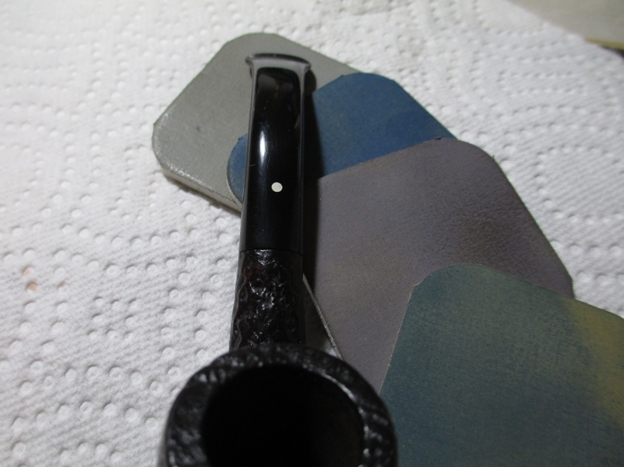
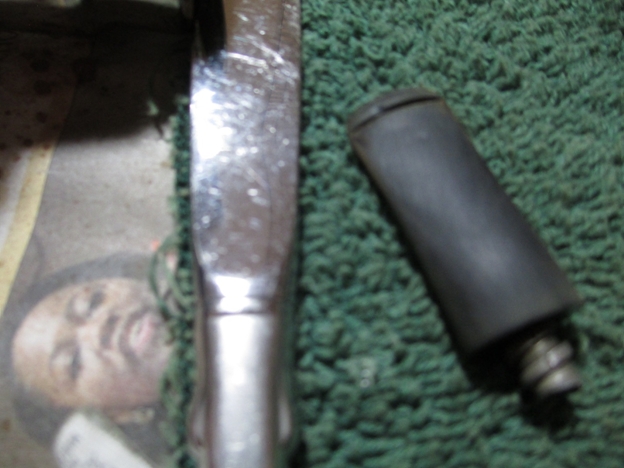 Next I used 400 grit sand paper.
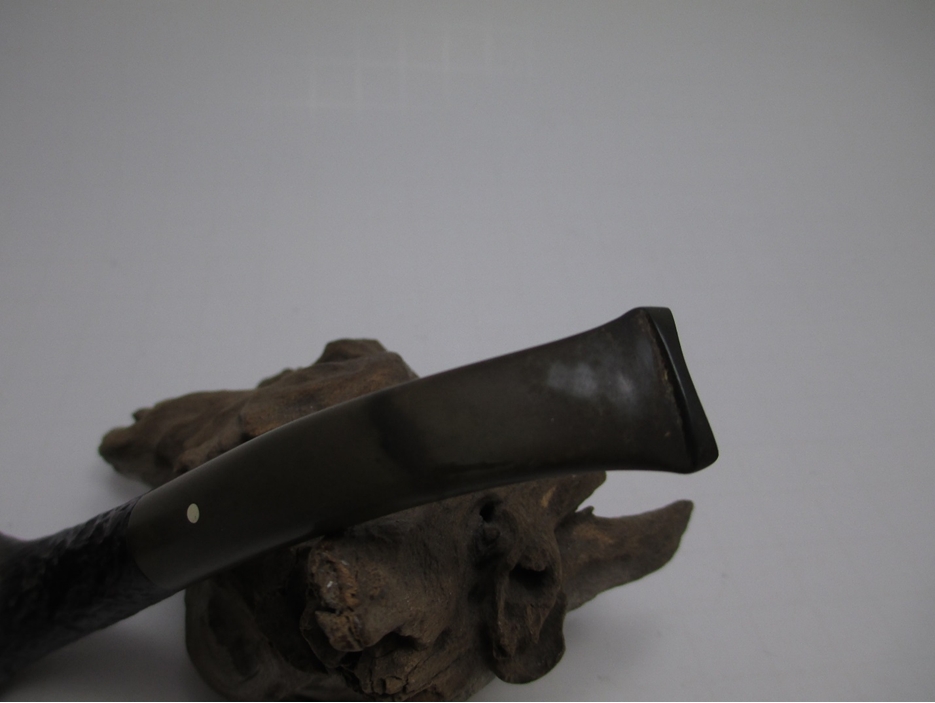
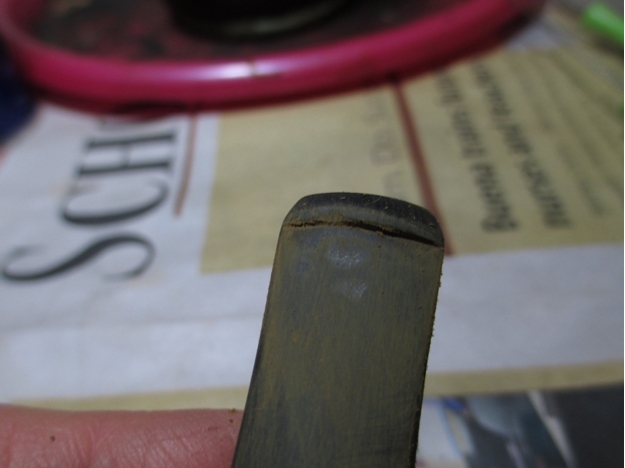 The underside of the button was kind of messed up, so I dressed it with a file.
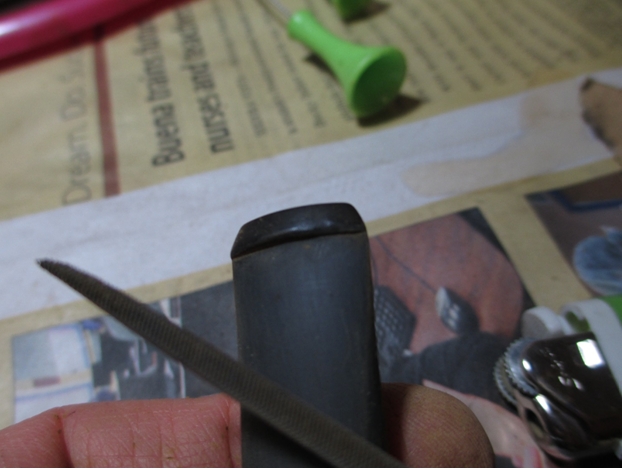 I still had a small dent, so I filled it with clear super glue and applied a drop of accelerator. The accelerator comes in a spray bottle, which I find makes a mess. My solution is to take the sprayer out and use the end as an applicator. I also use a thumb tack to apply a small amount of glue. I’m not very neat when using glue straight from the bottle and using a thumb tack gives me more control (it also means less material to sand after the glue dries).
 Once I had the stem sorted out, I used 400 grit wet/dry with water followed by 1500-2400 grit micro mesh with water.
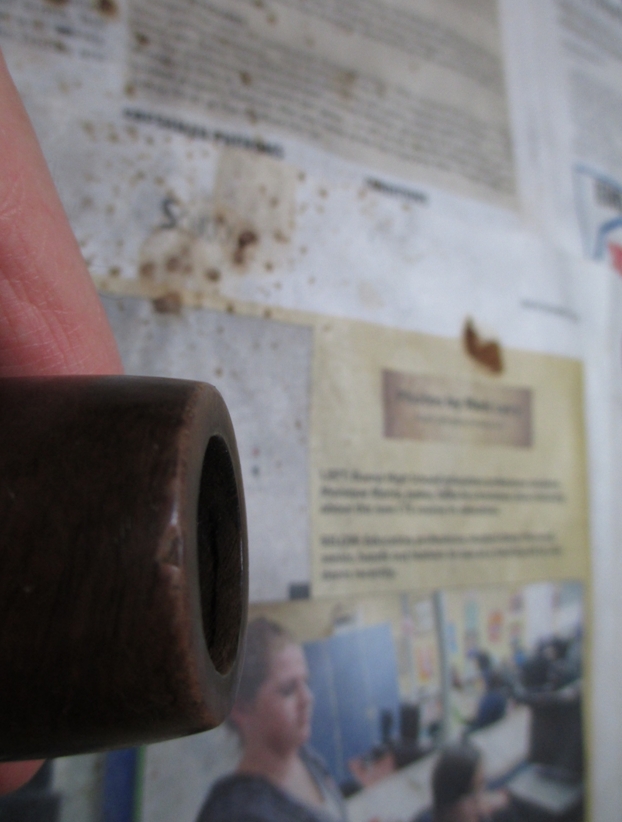
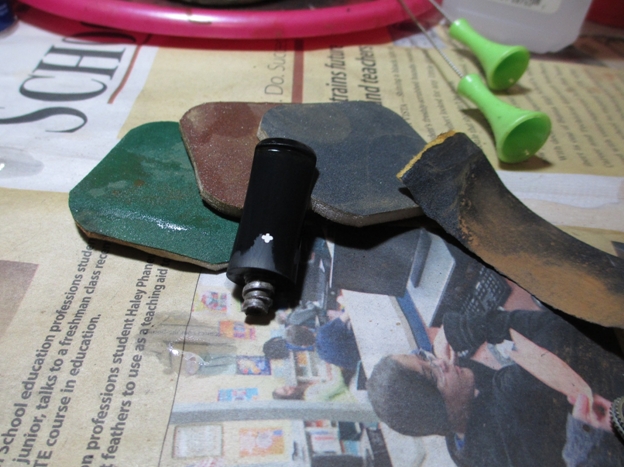 I used a progression of 1500-12000 micro mesh on the bowl. Next I used Pimo Pipe Supply medium walnut stain, cut with 50% de-natured alcohol, to make the rim match the bowl.
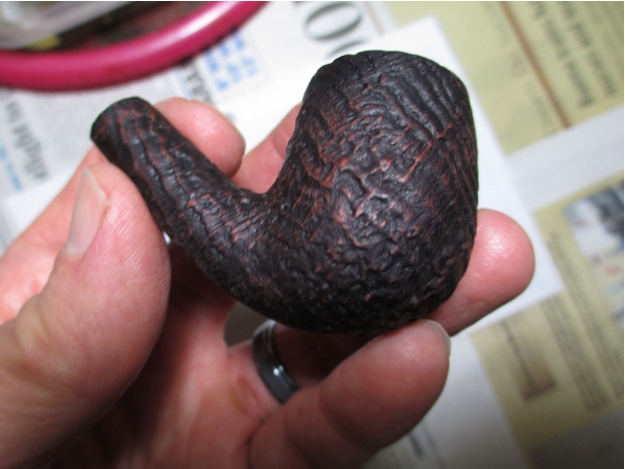
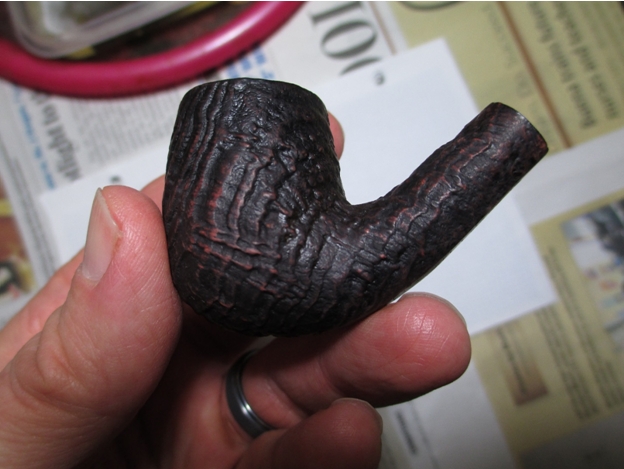
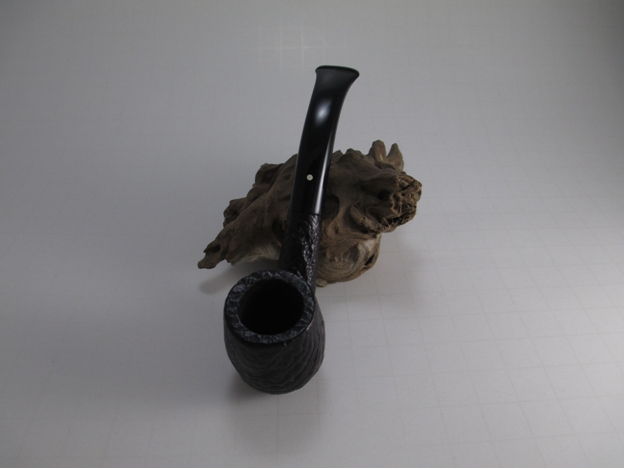
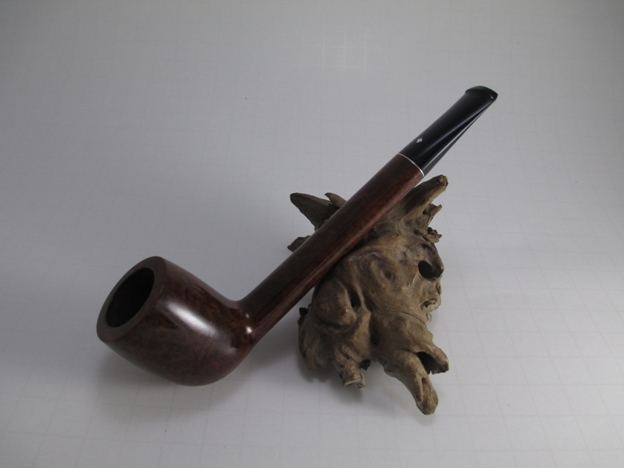
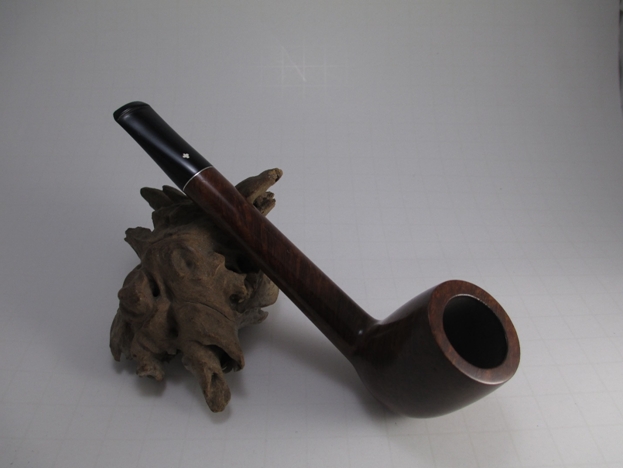
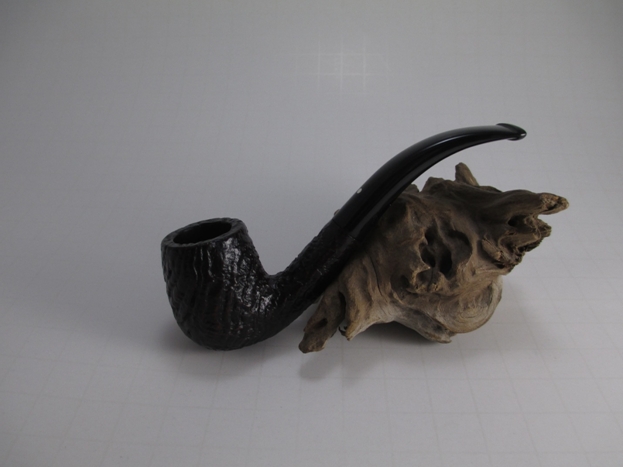
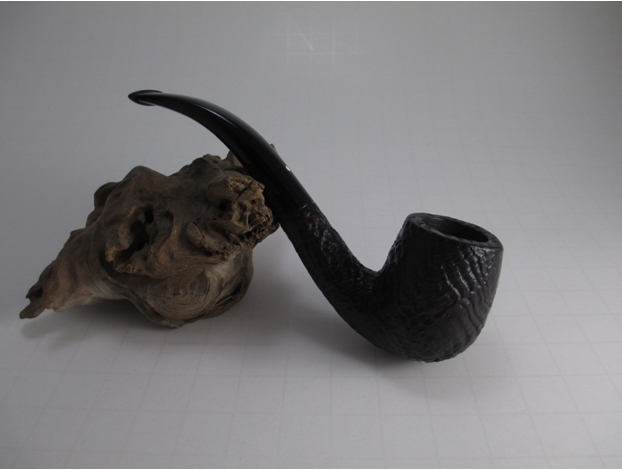
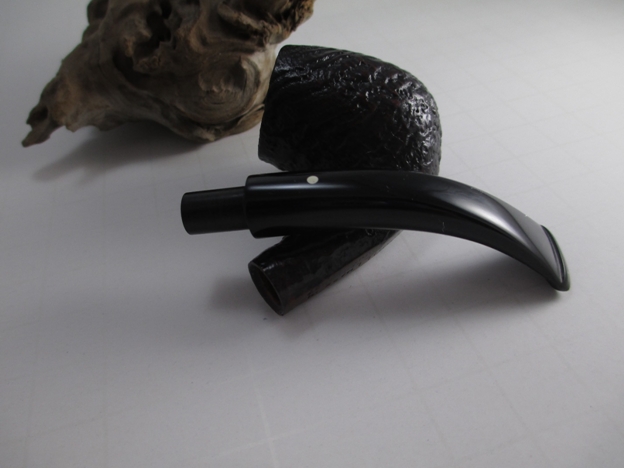
After an uneventful spin on the buffer (anyone who ever used a buffer to shine pipes understands the drama that can occur when the pipe gets away from you) this is the result.