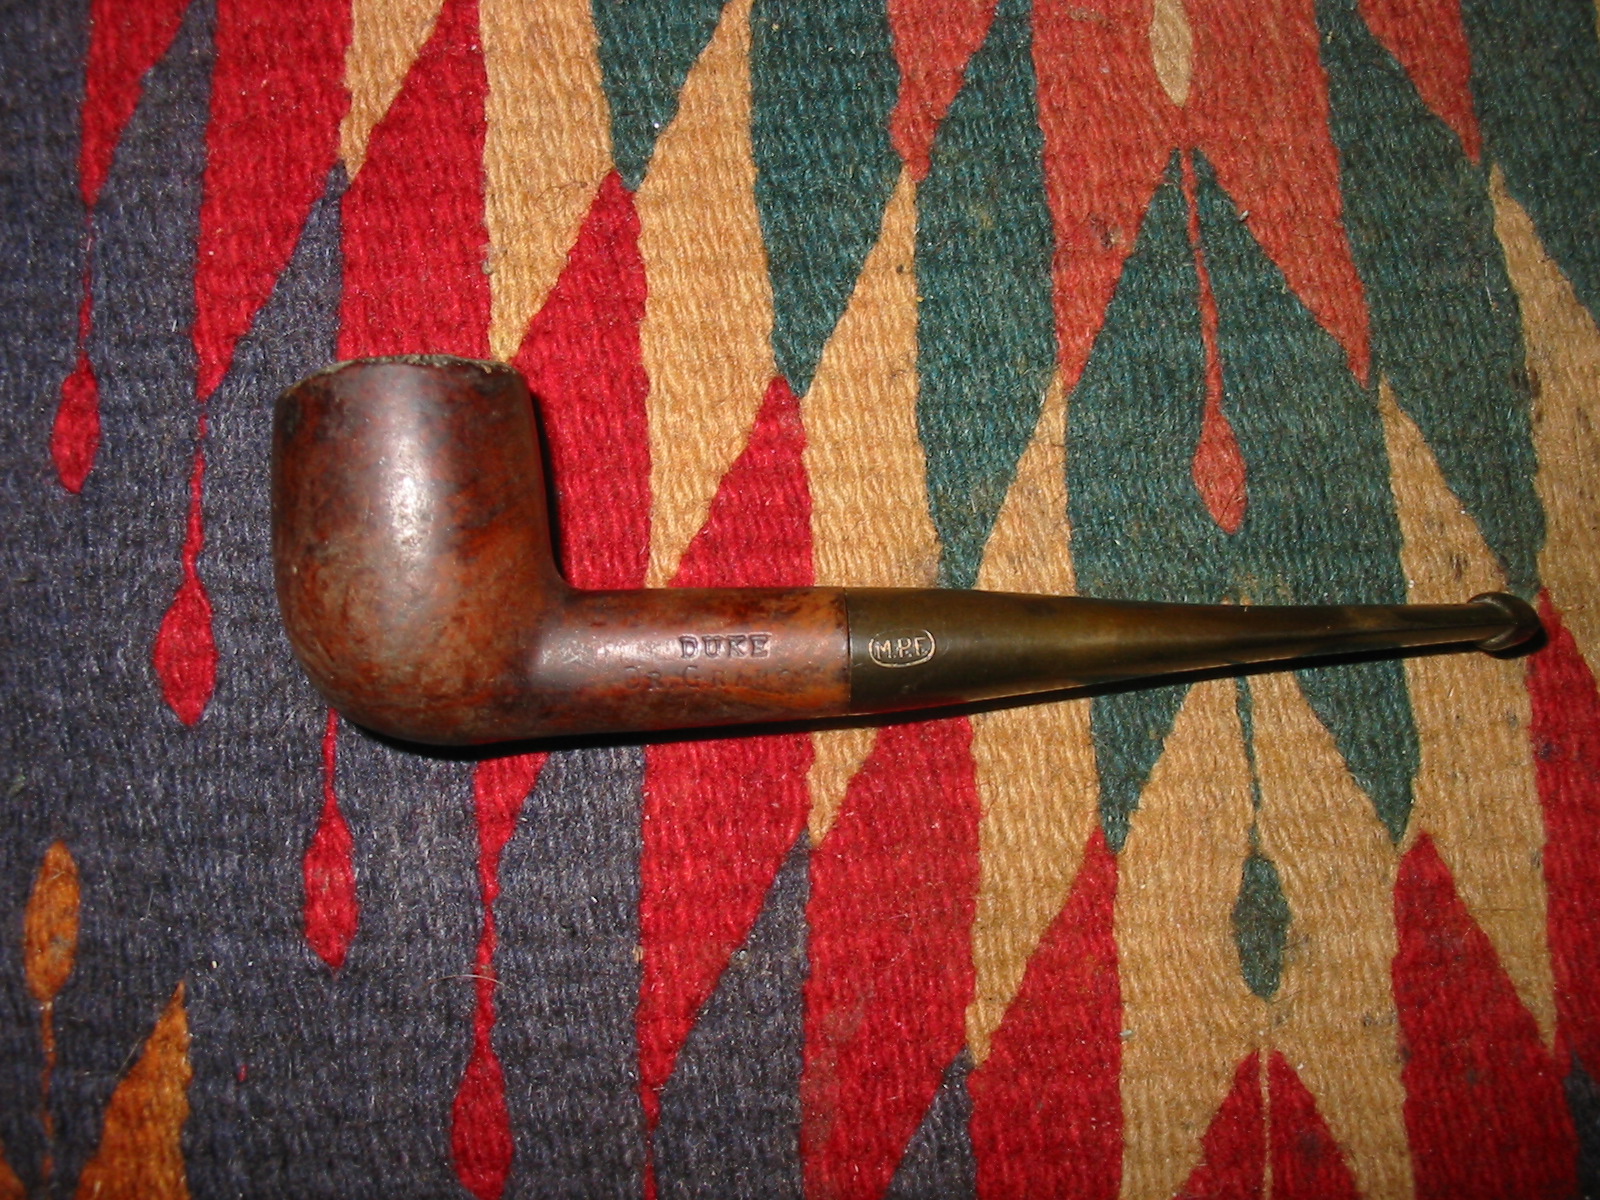
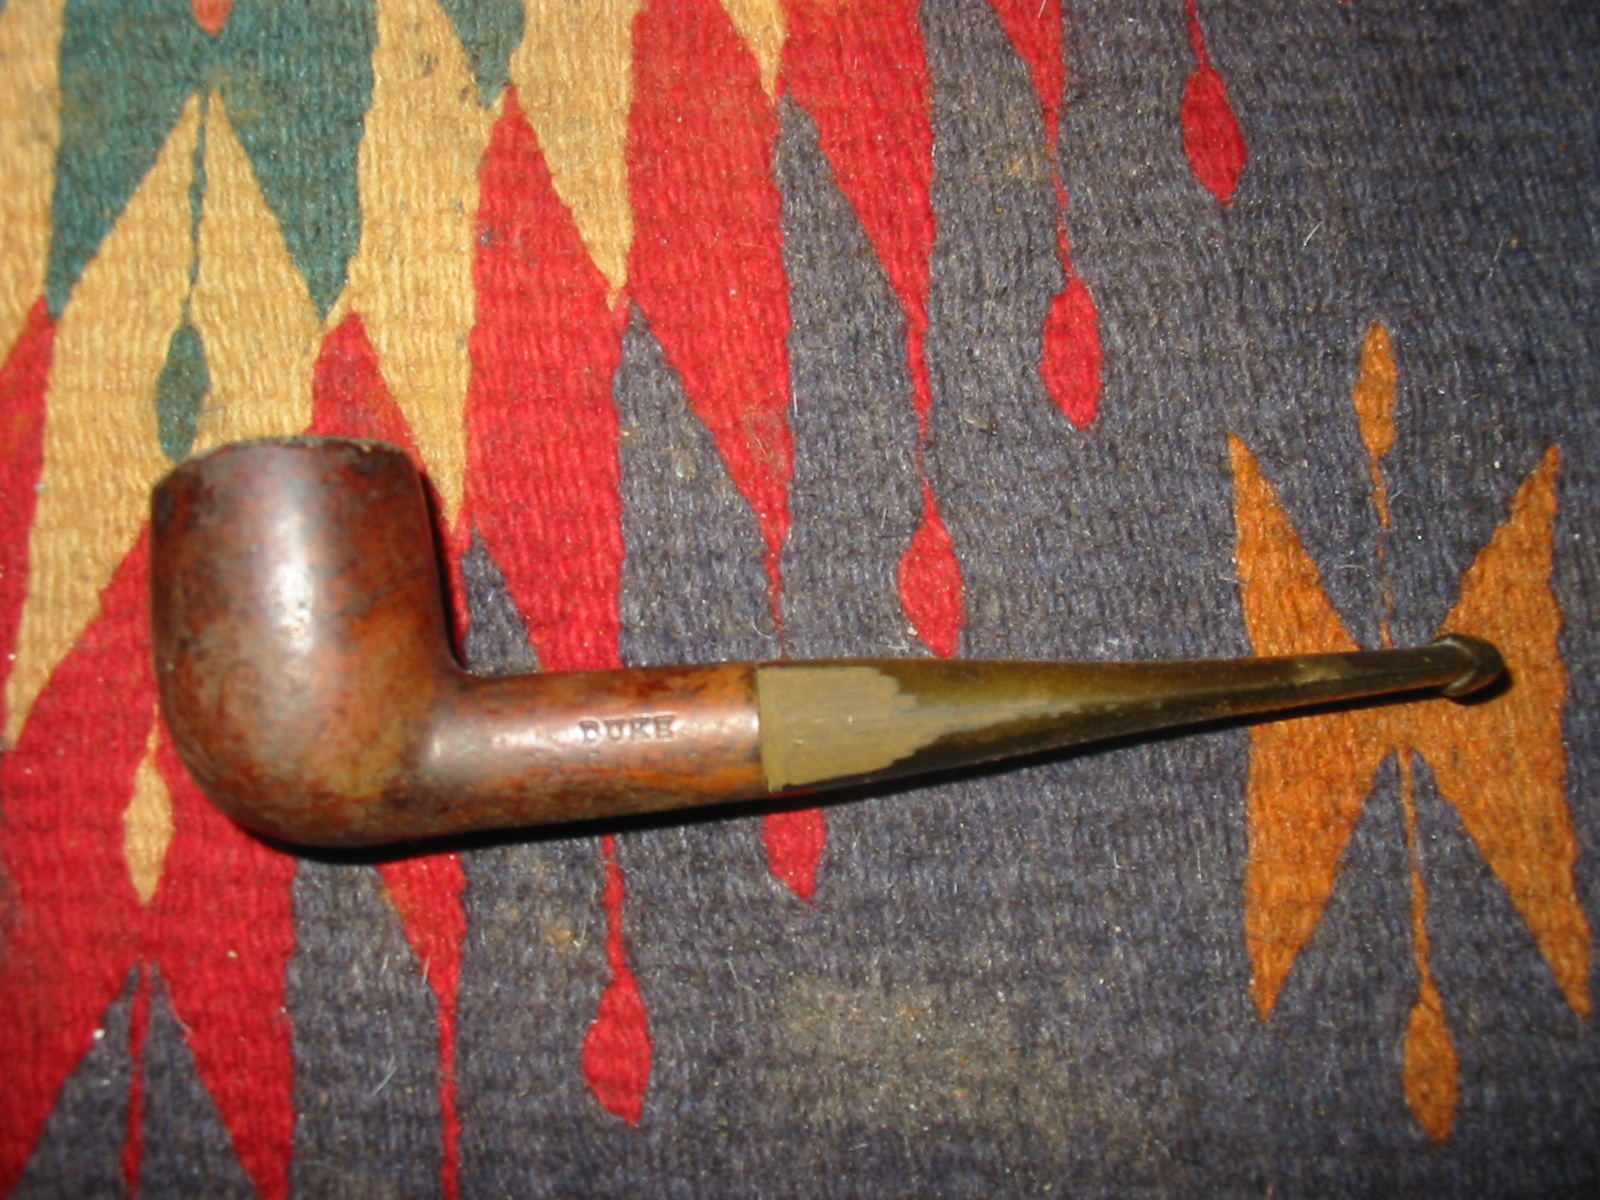
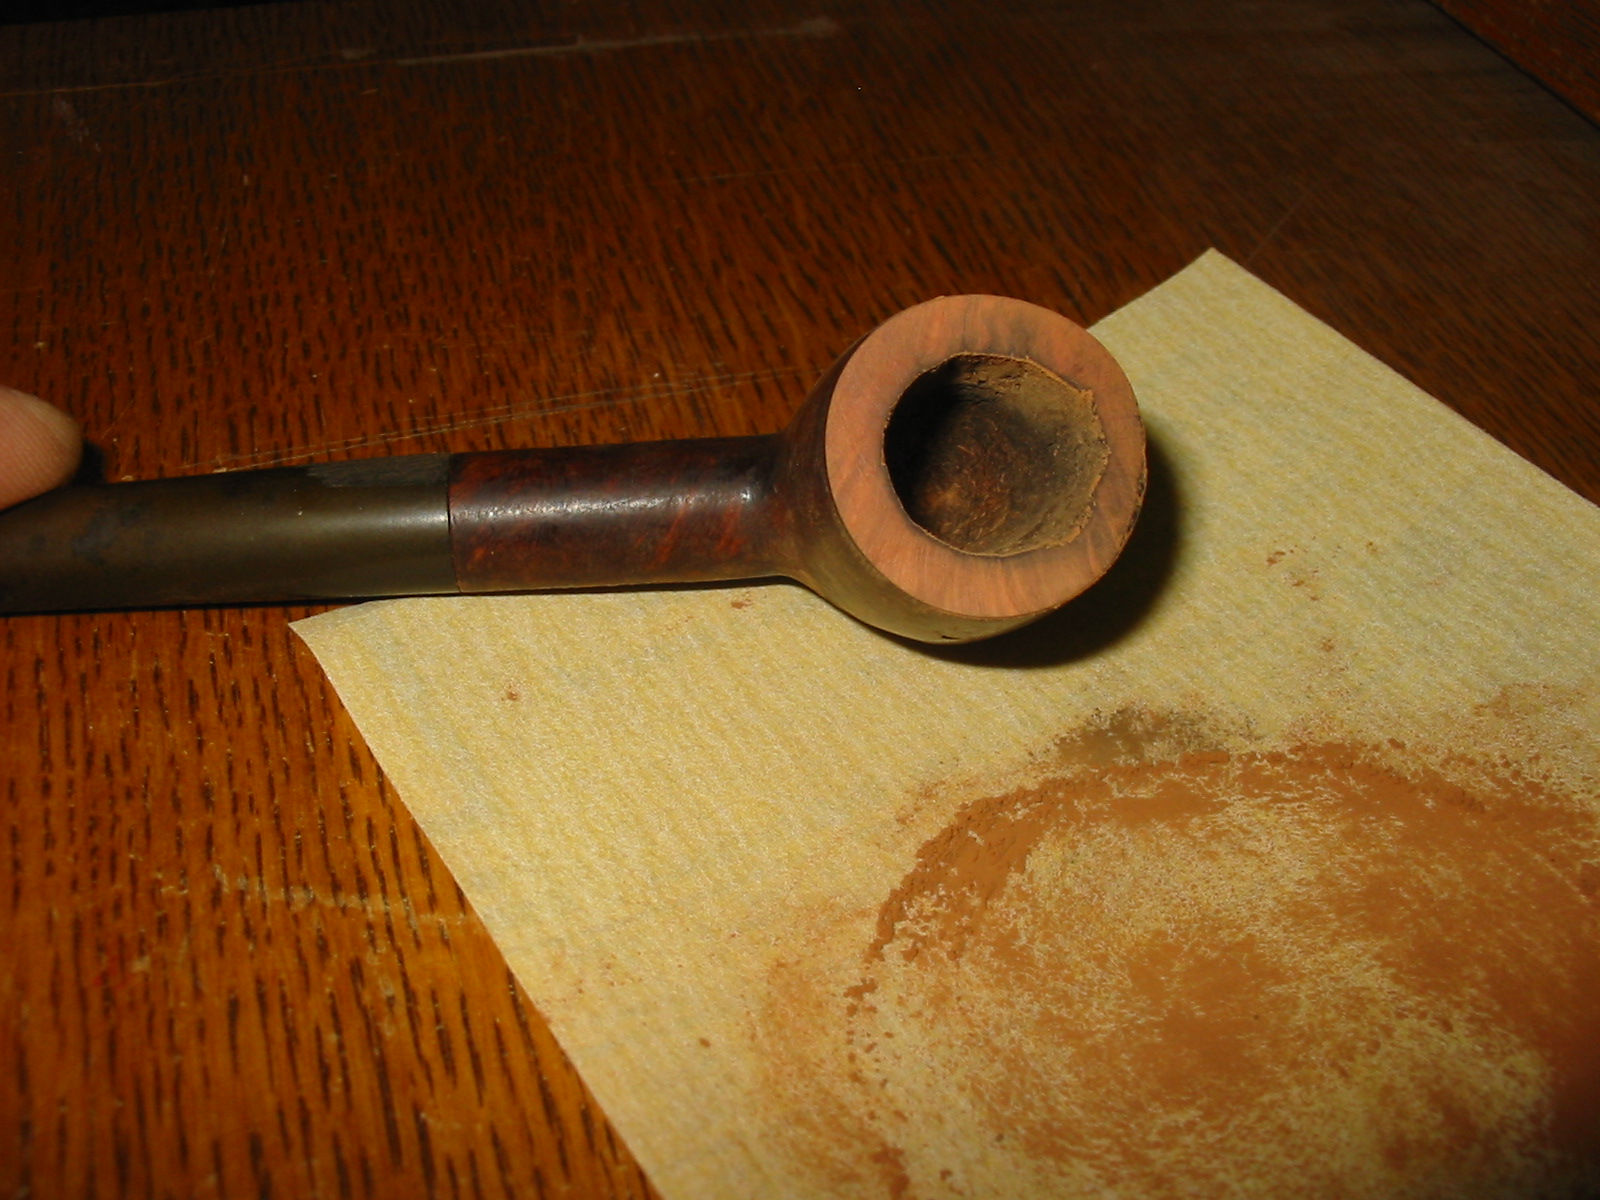
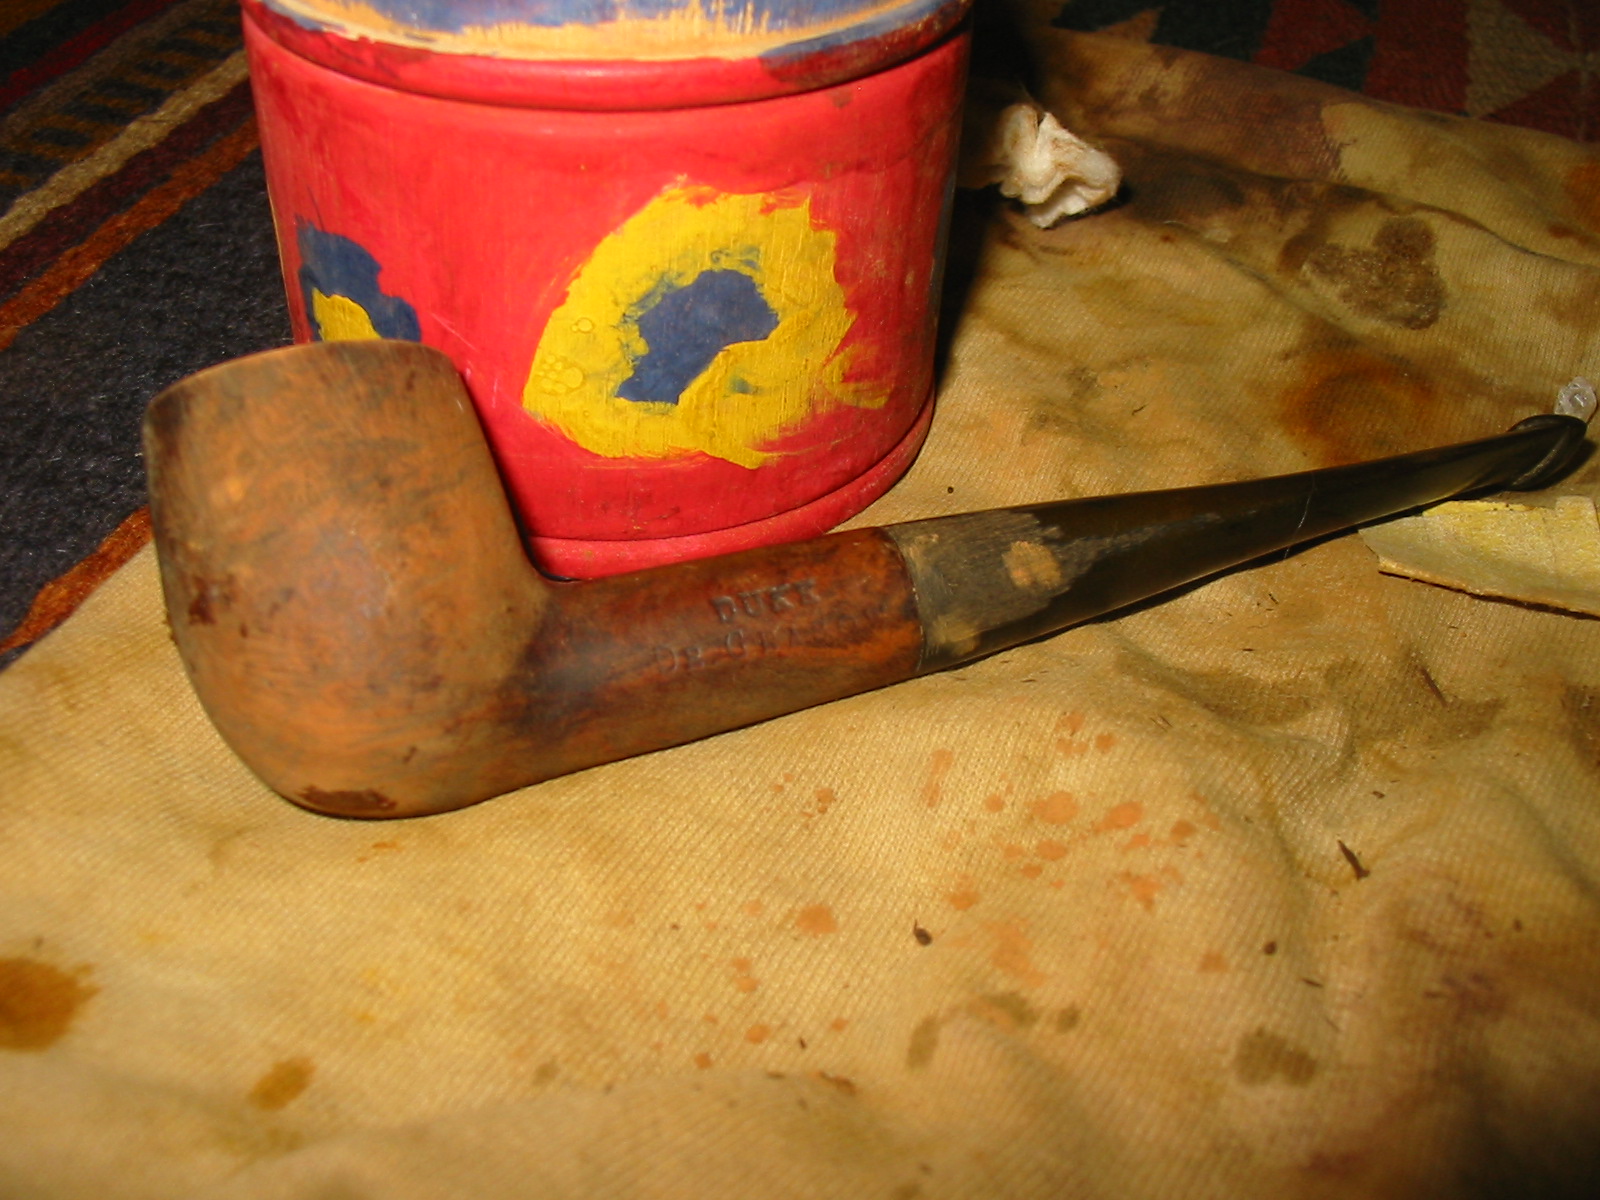
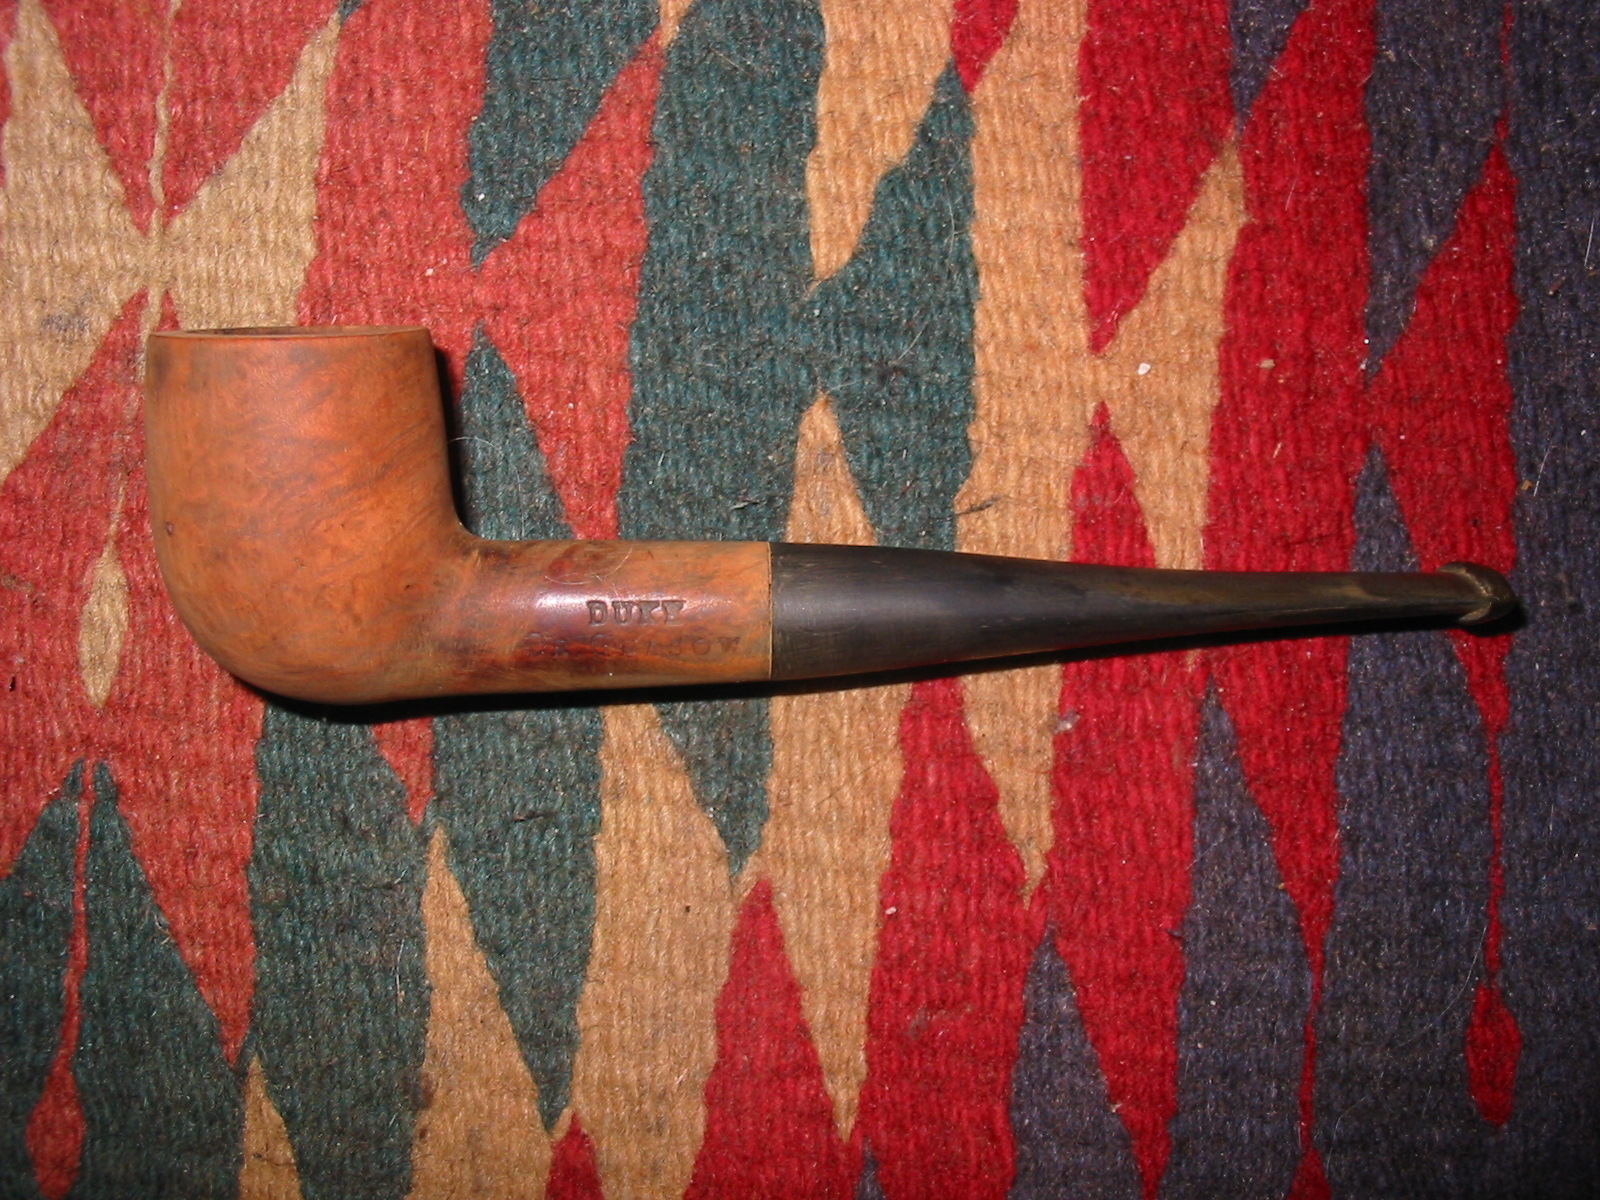
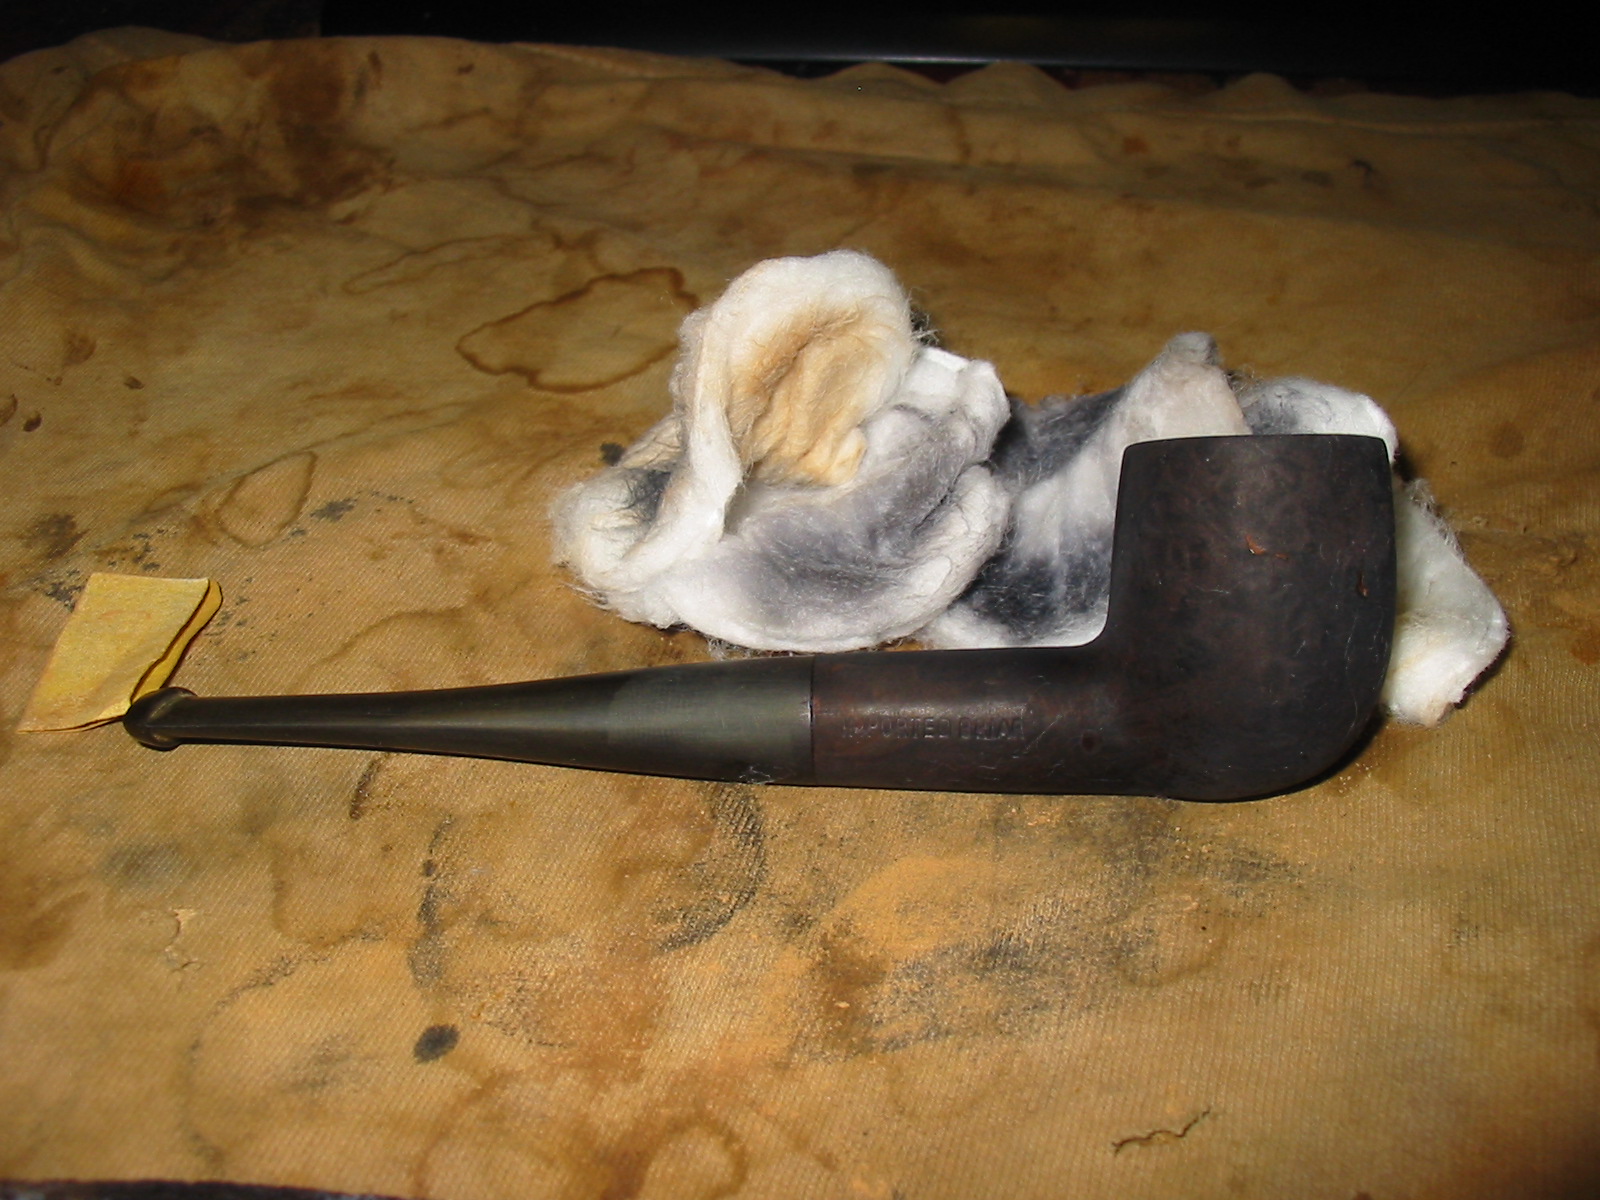
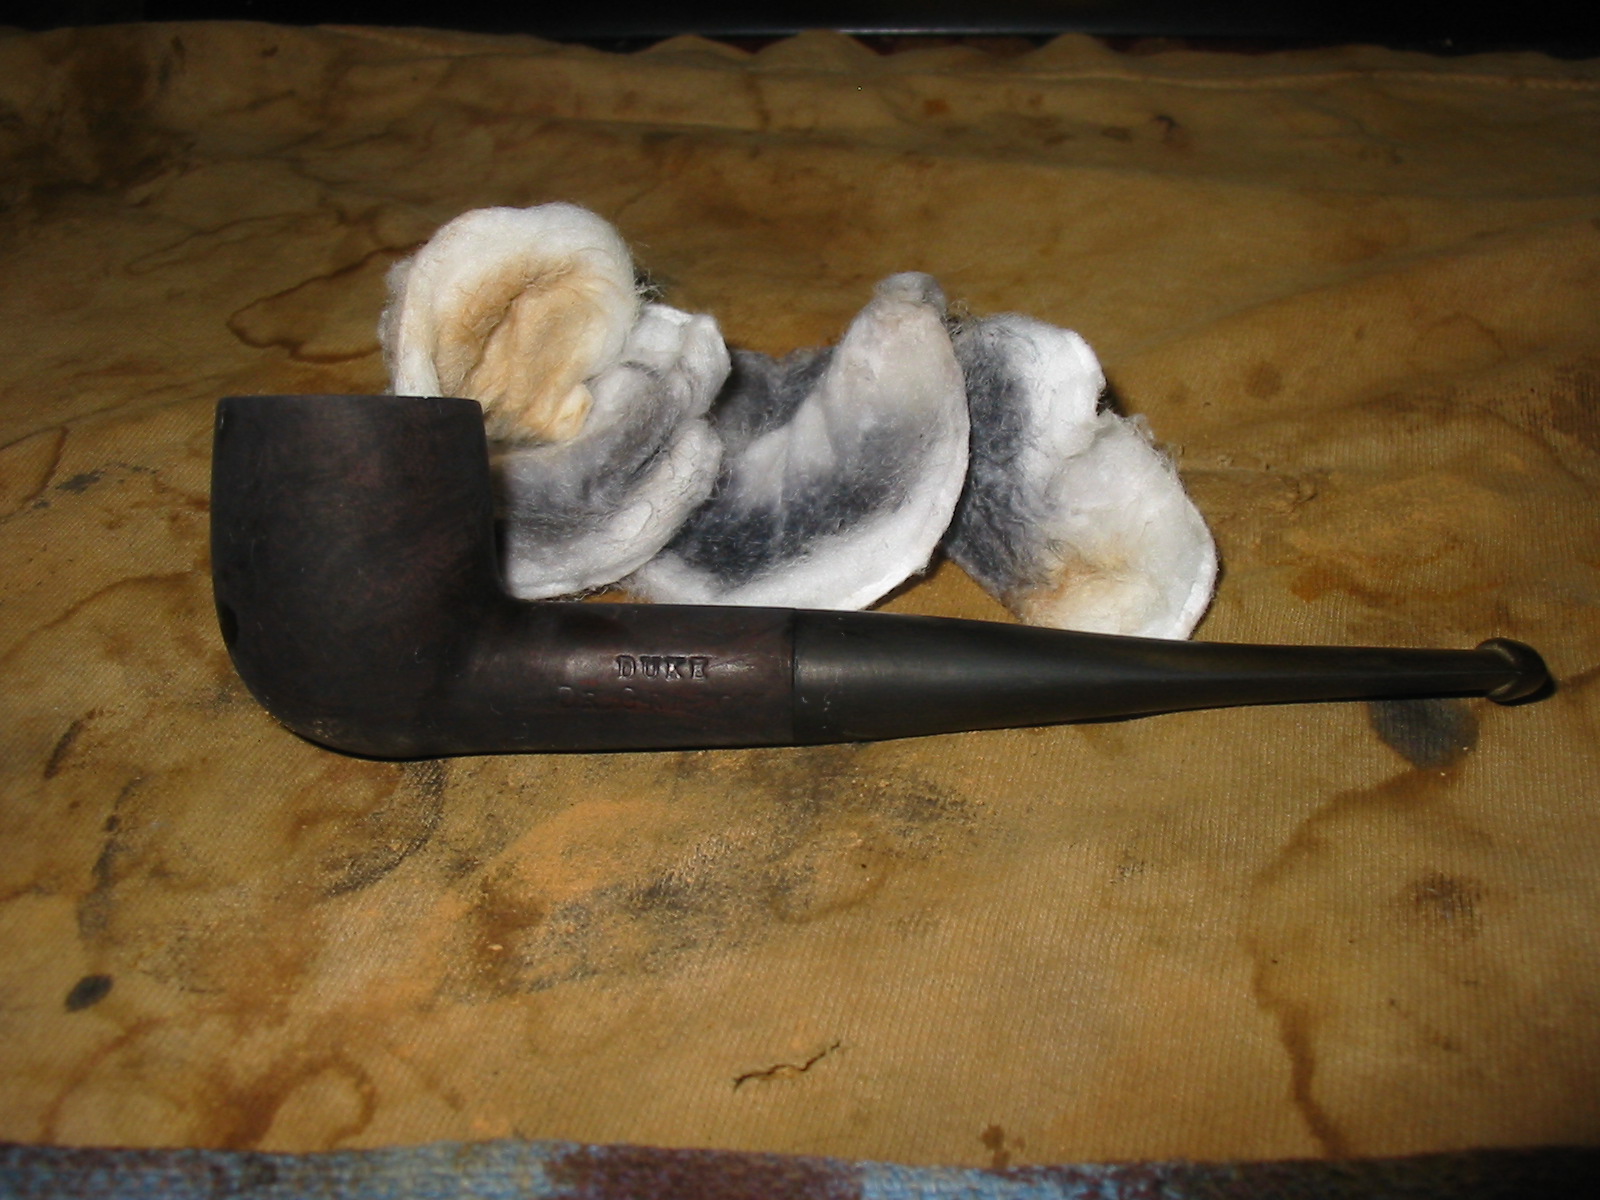
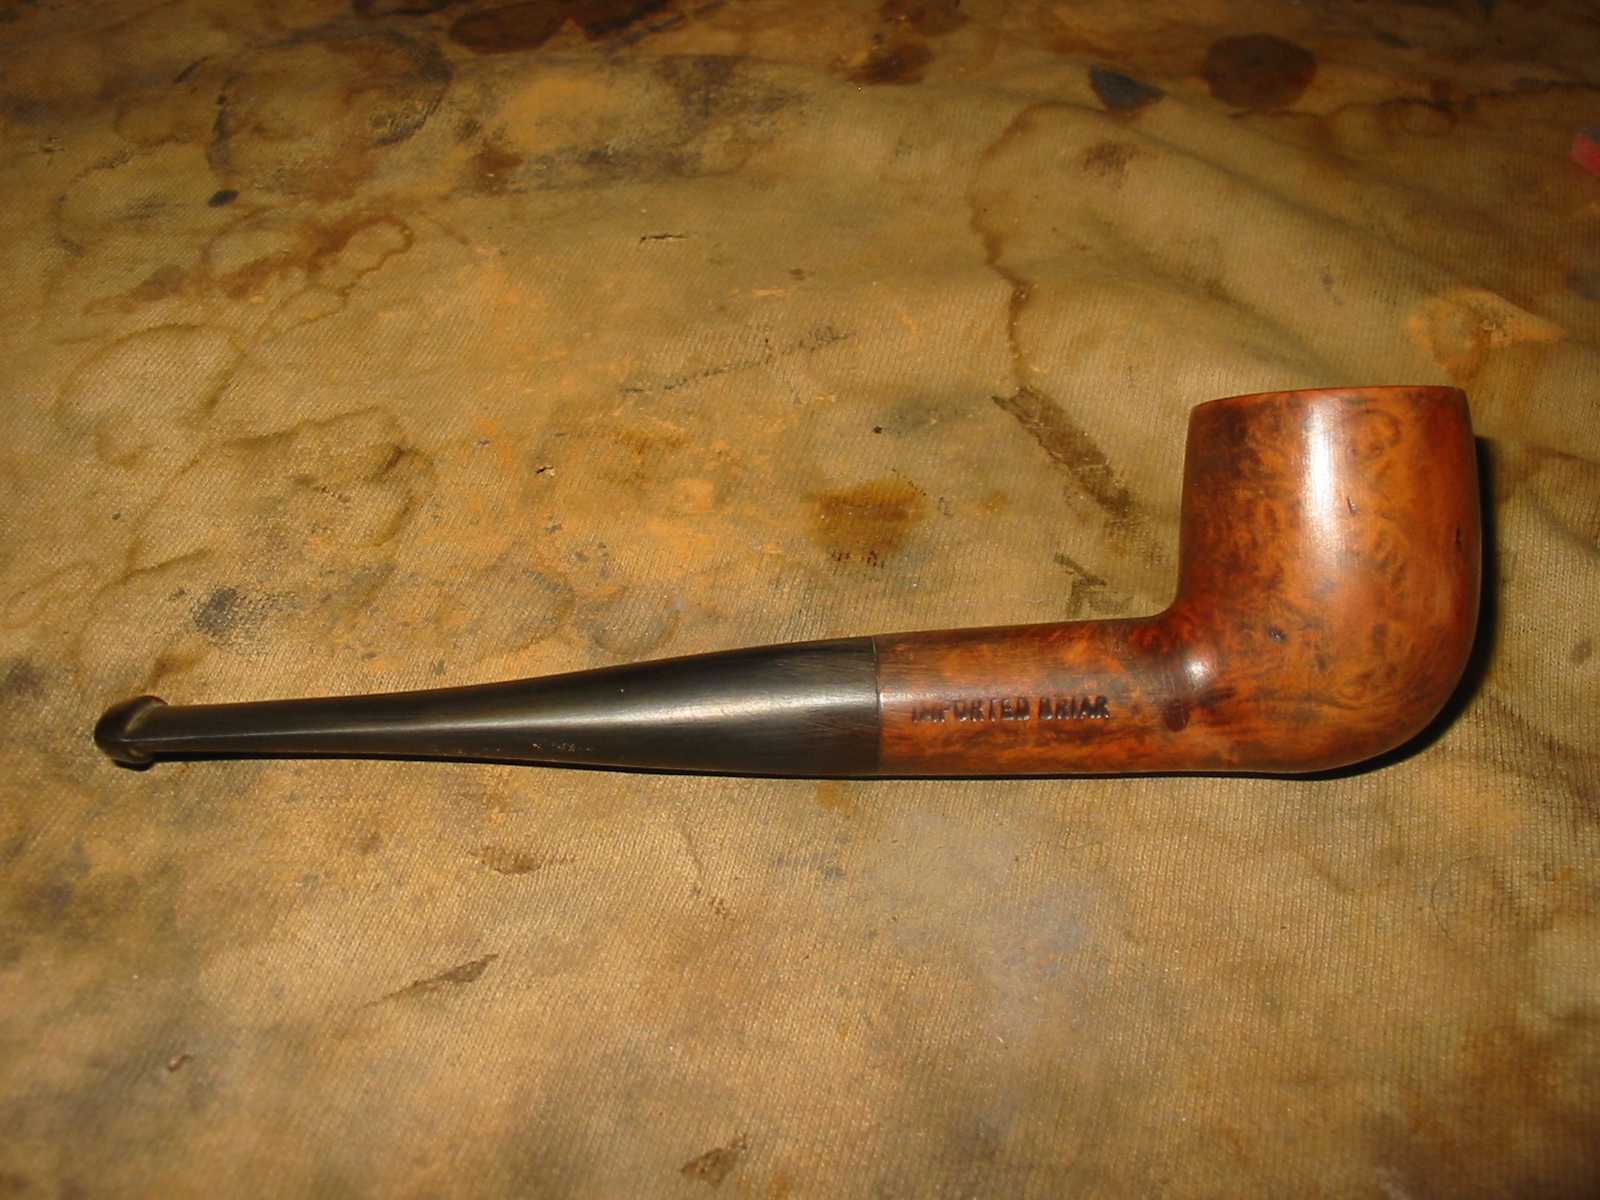
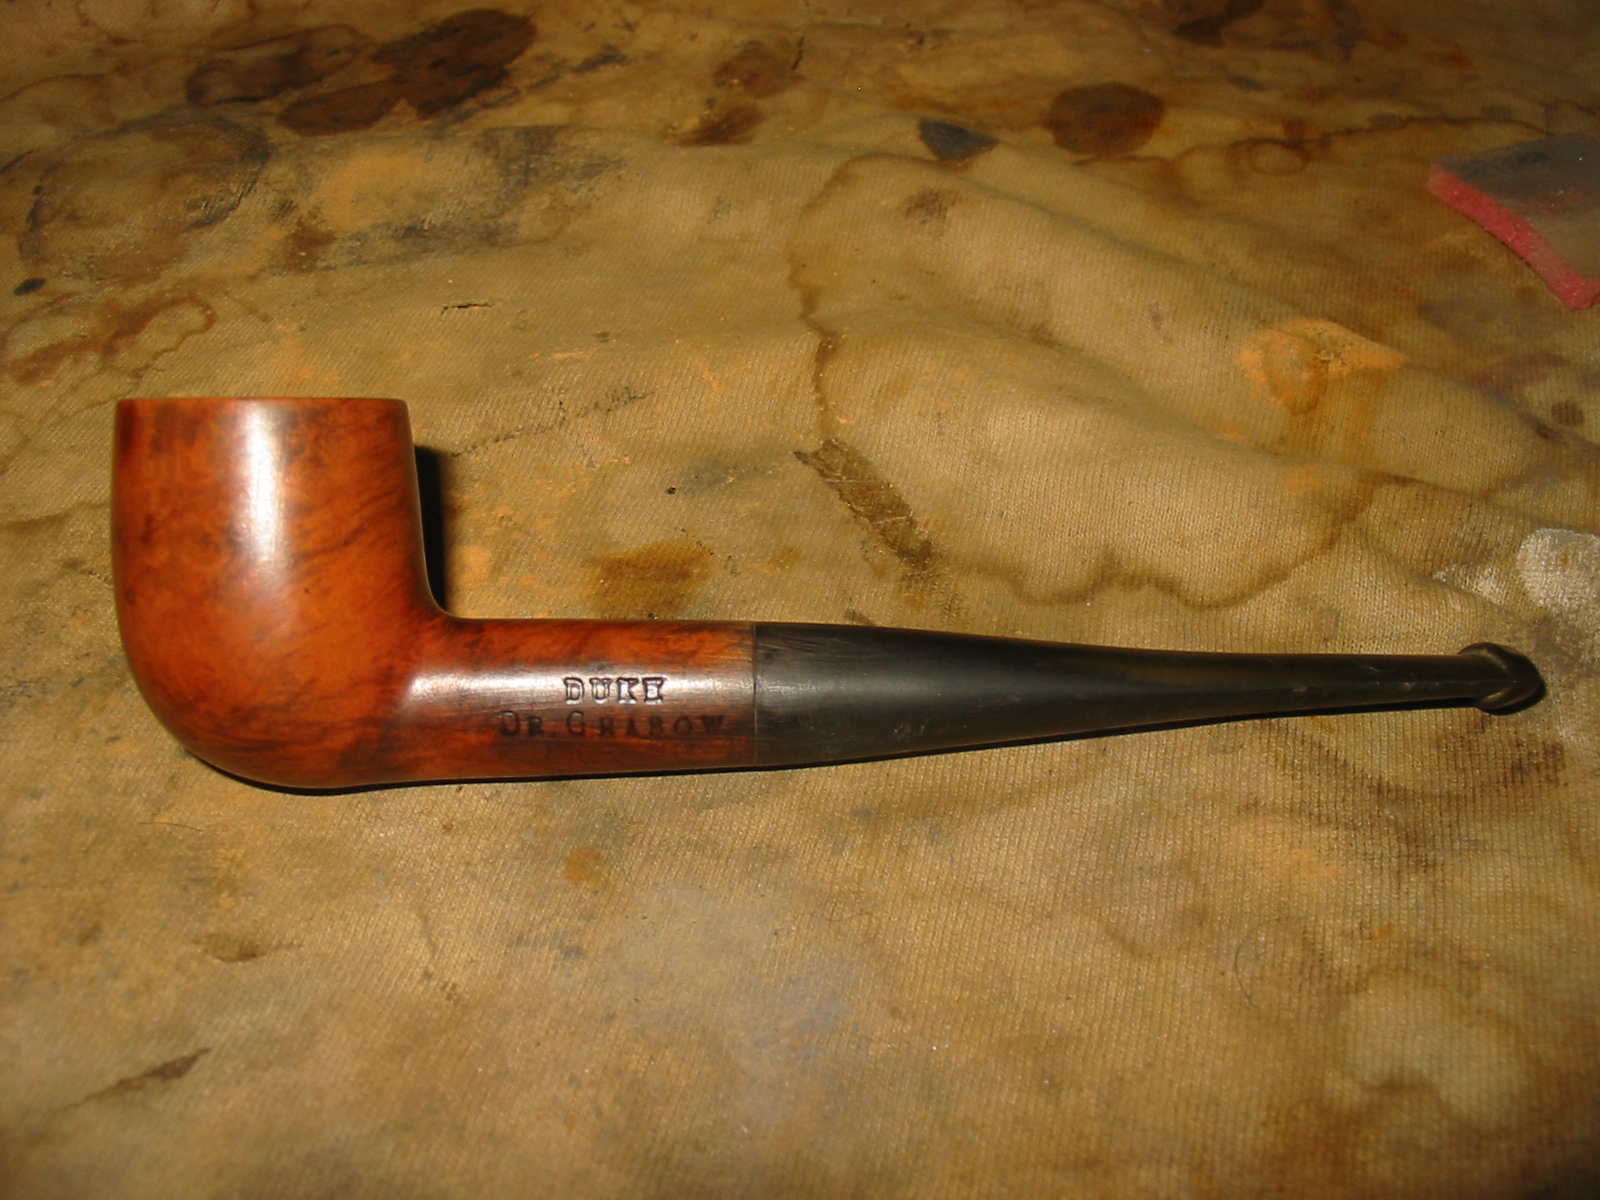
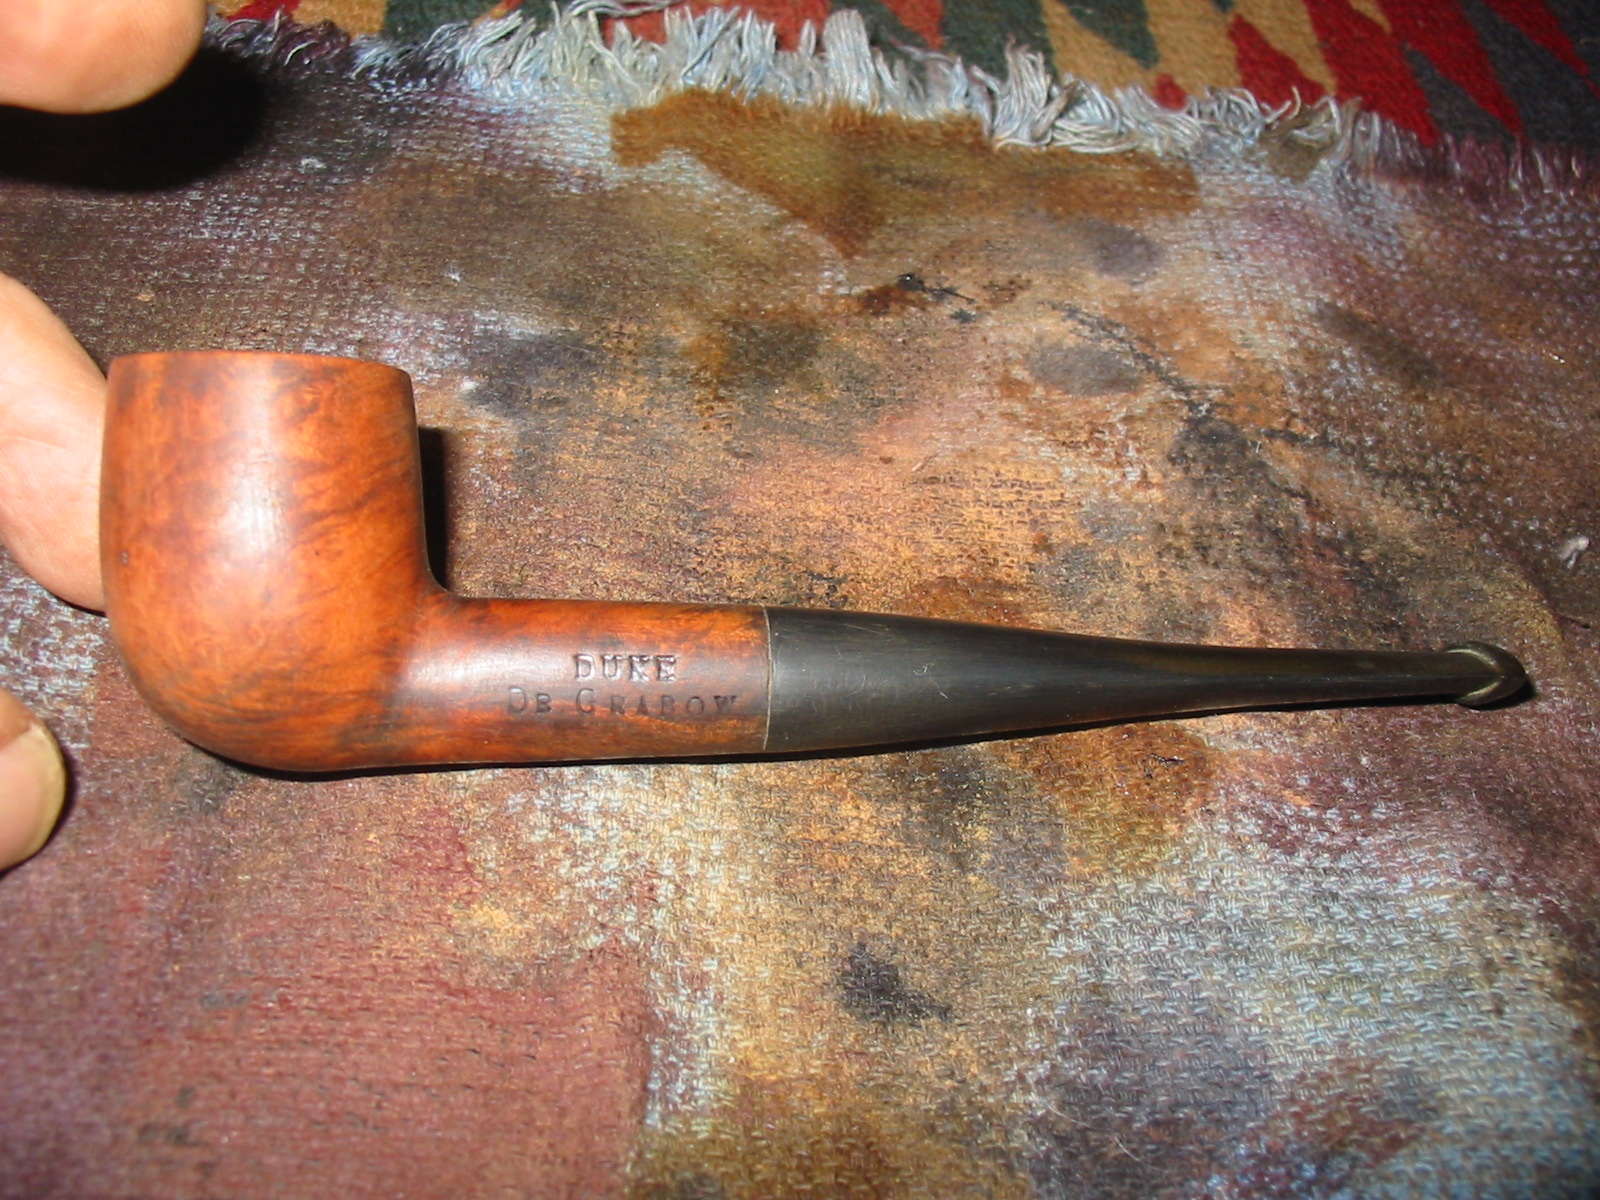
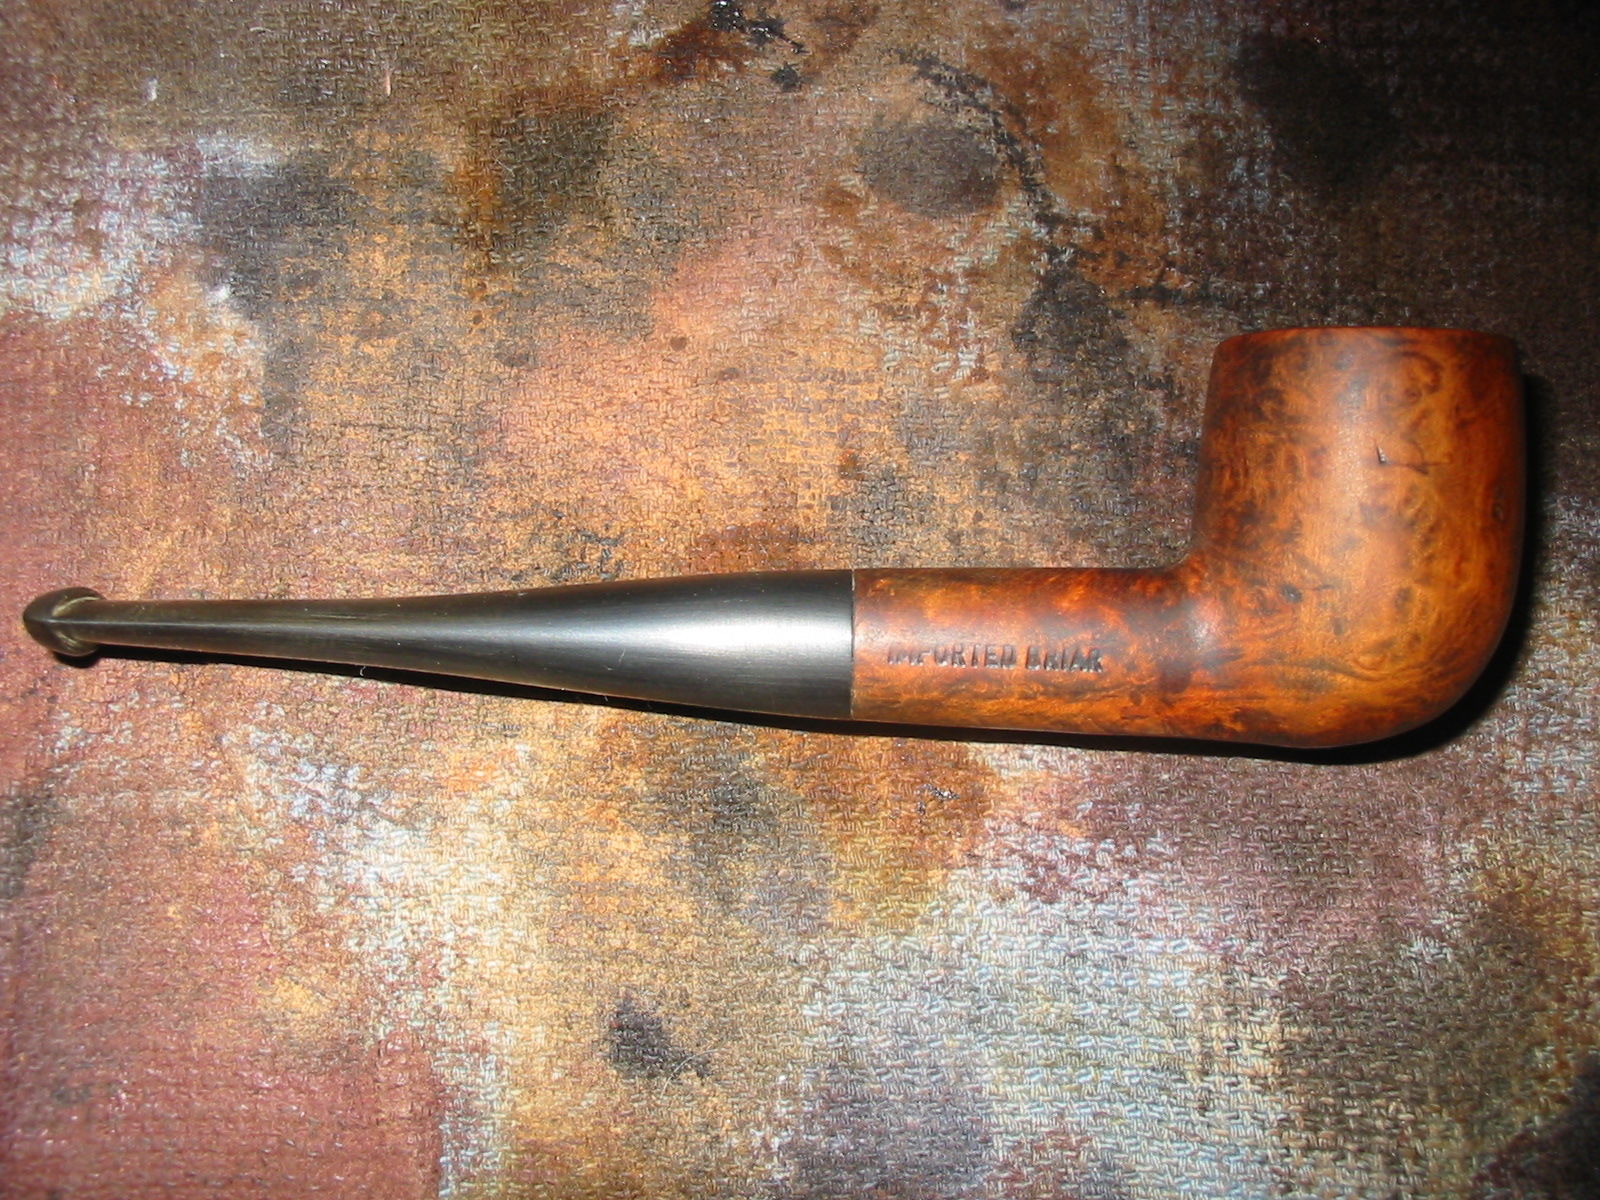
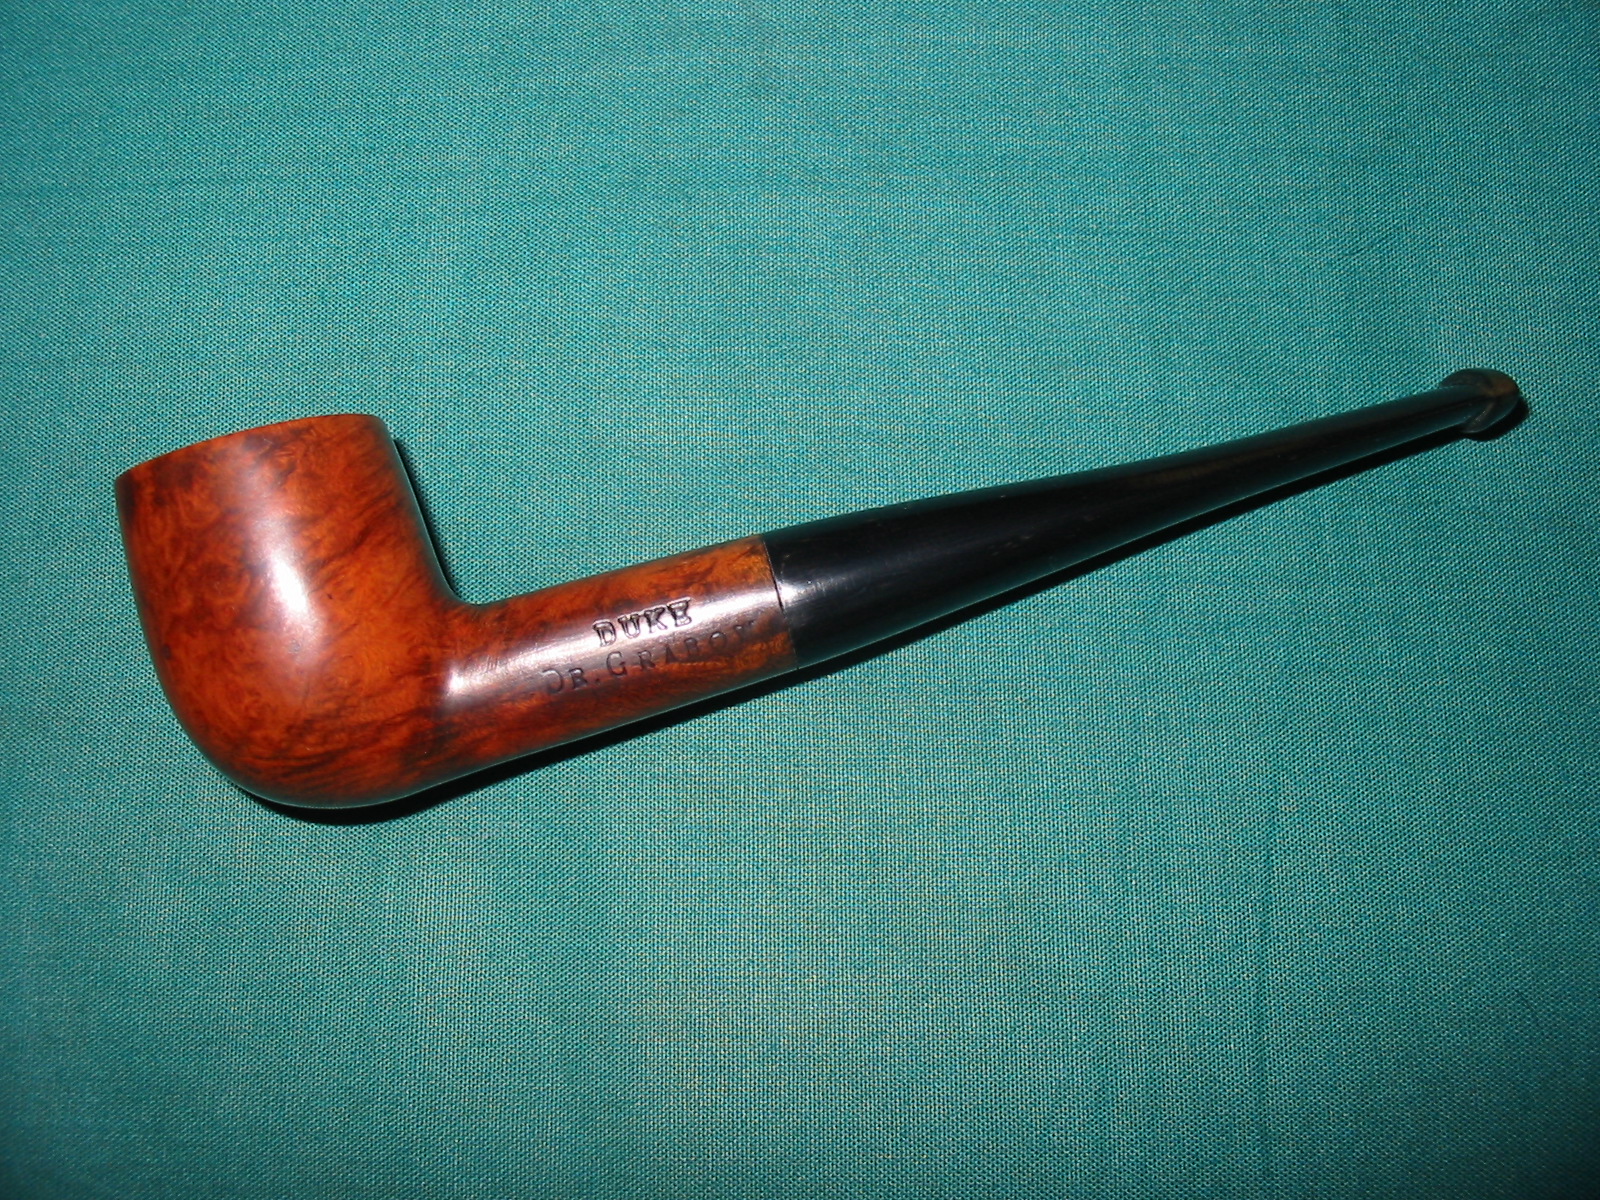
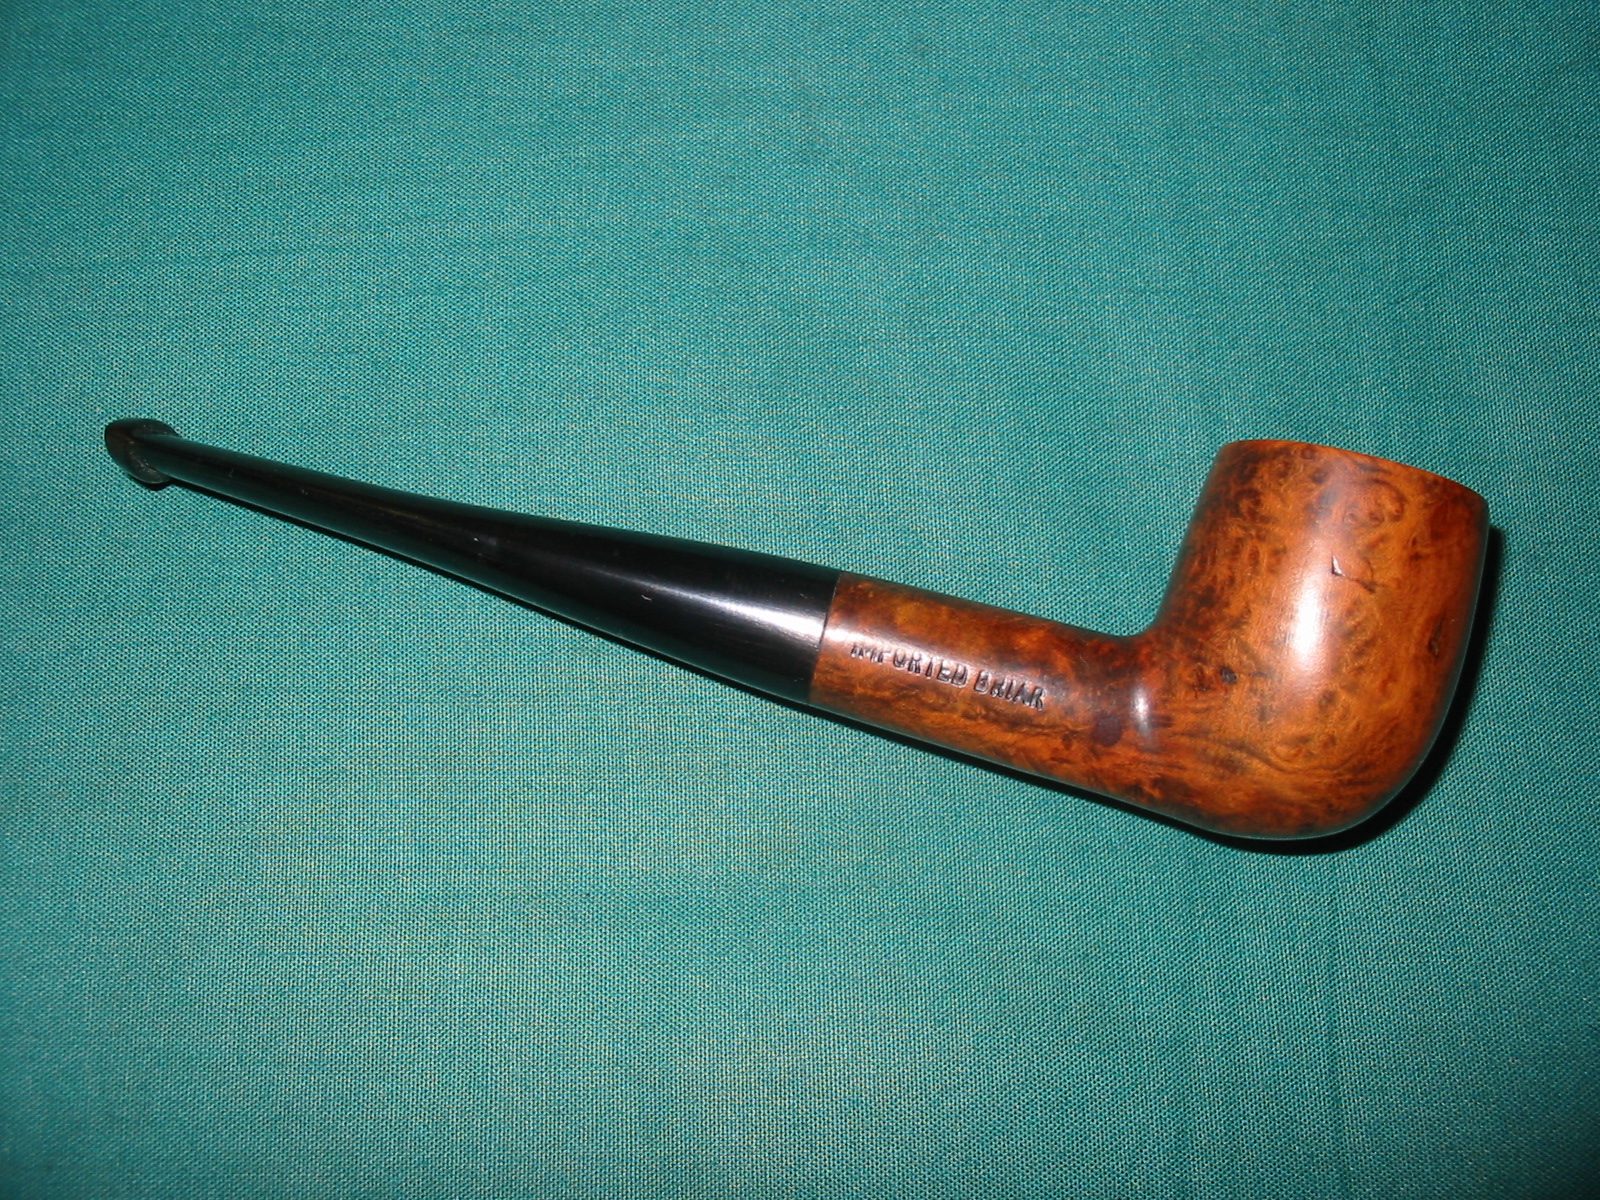
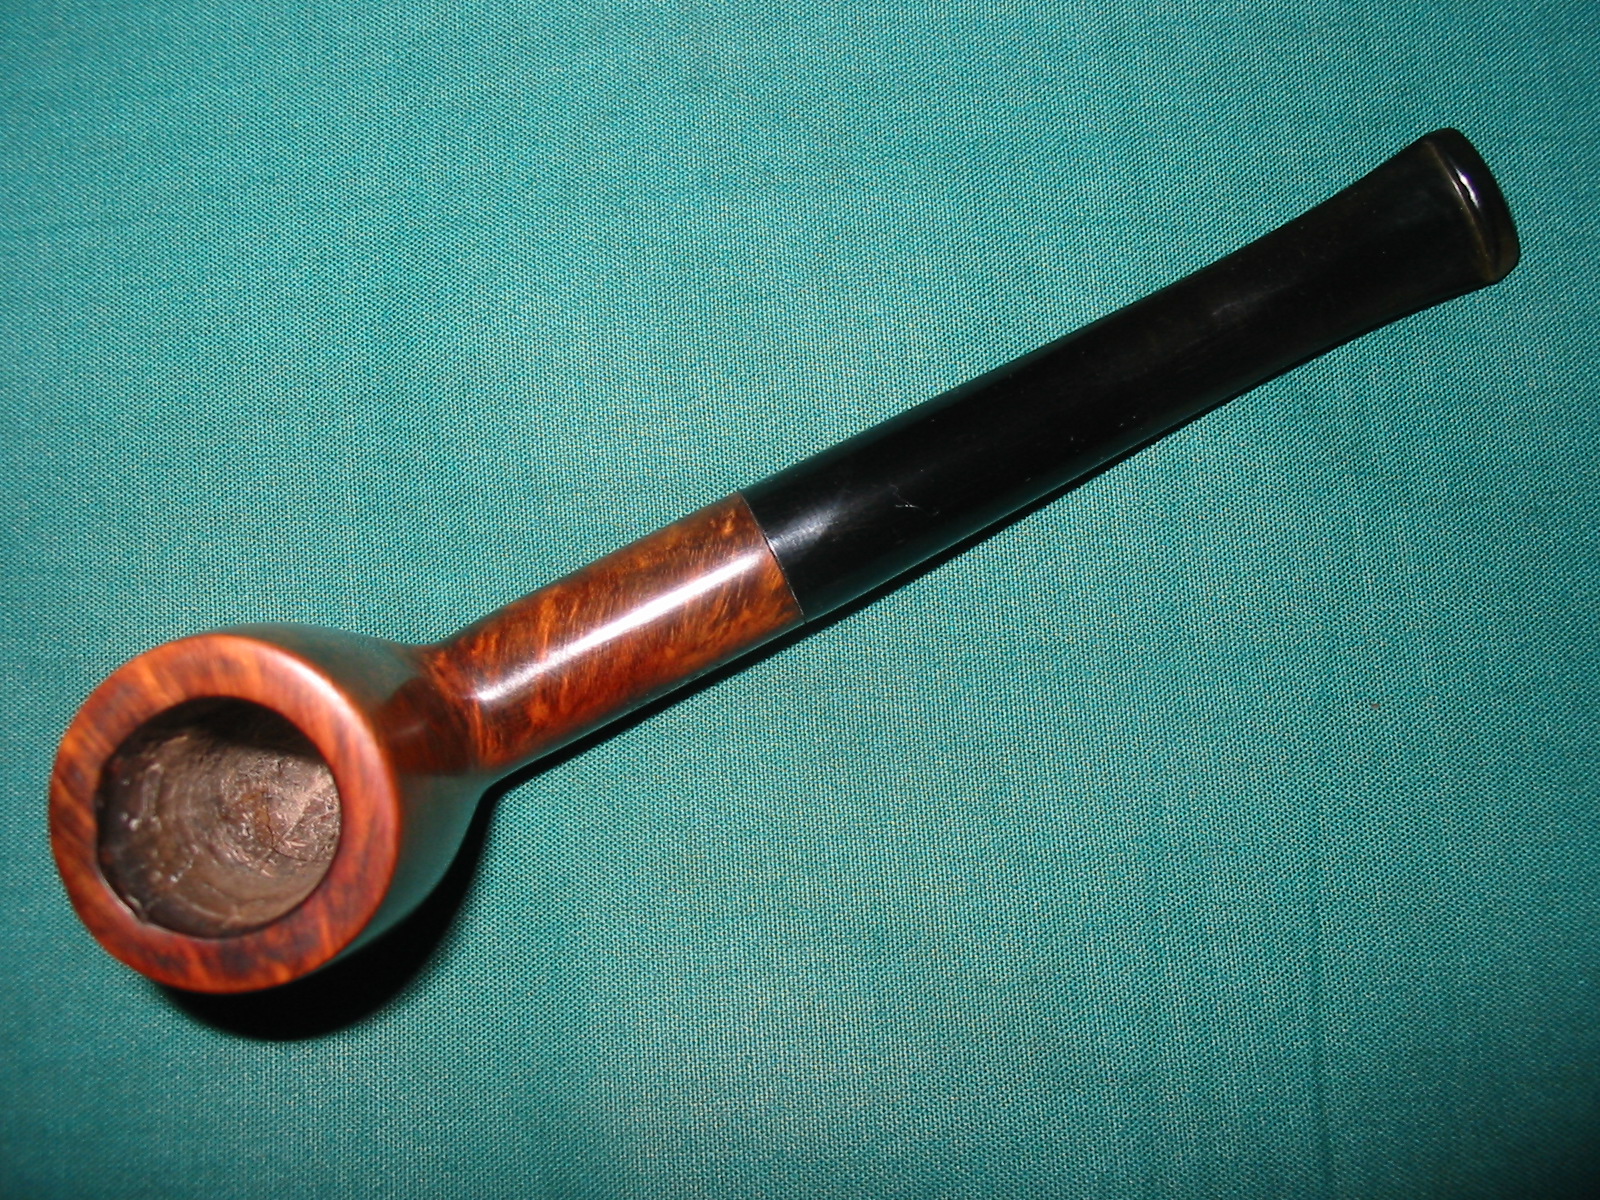
Two more pipes left in the box of pipes needing to be refurbished. The first is a Gr. Grabow billiard. It is stamped on the left side of the shank DUKE over Dr. Grabow and on the right side Imported Briar. It was a bowl without a stem. The bowl was in very rough shape. The top was no longer flat and had a large dip in the front where the bowl rim was burned down by a torch lighter or something like that. The finish was ruined and the fills on the left and right had fallen out of the briar. The bowl itself was caked heavily and appeared to be out of round. I sorted through my can of stems and found one that was close to the shank diameter. The oddity of this pipe was that the original shank was more oval than round so whatever stem I fit would have to be adjusted to fit the shape of the shank. I turned the tenon on this old stem and it fit quite well in the shank. I would need to adjust the diameter of the stem to the oval shape of the shank eventually.
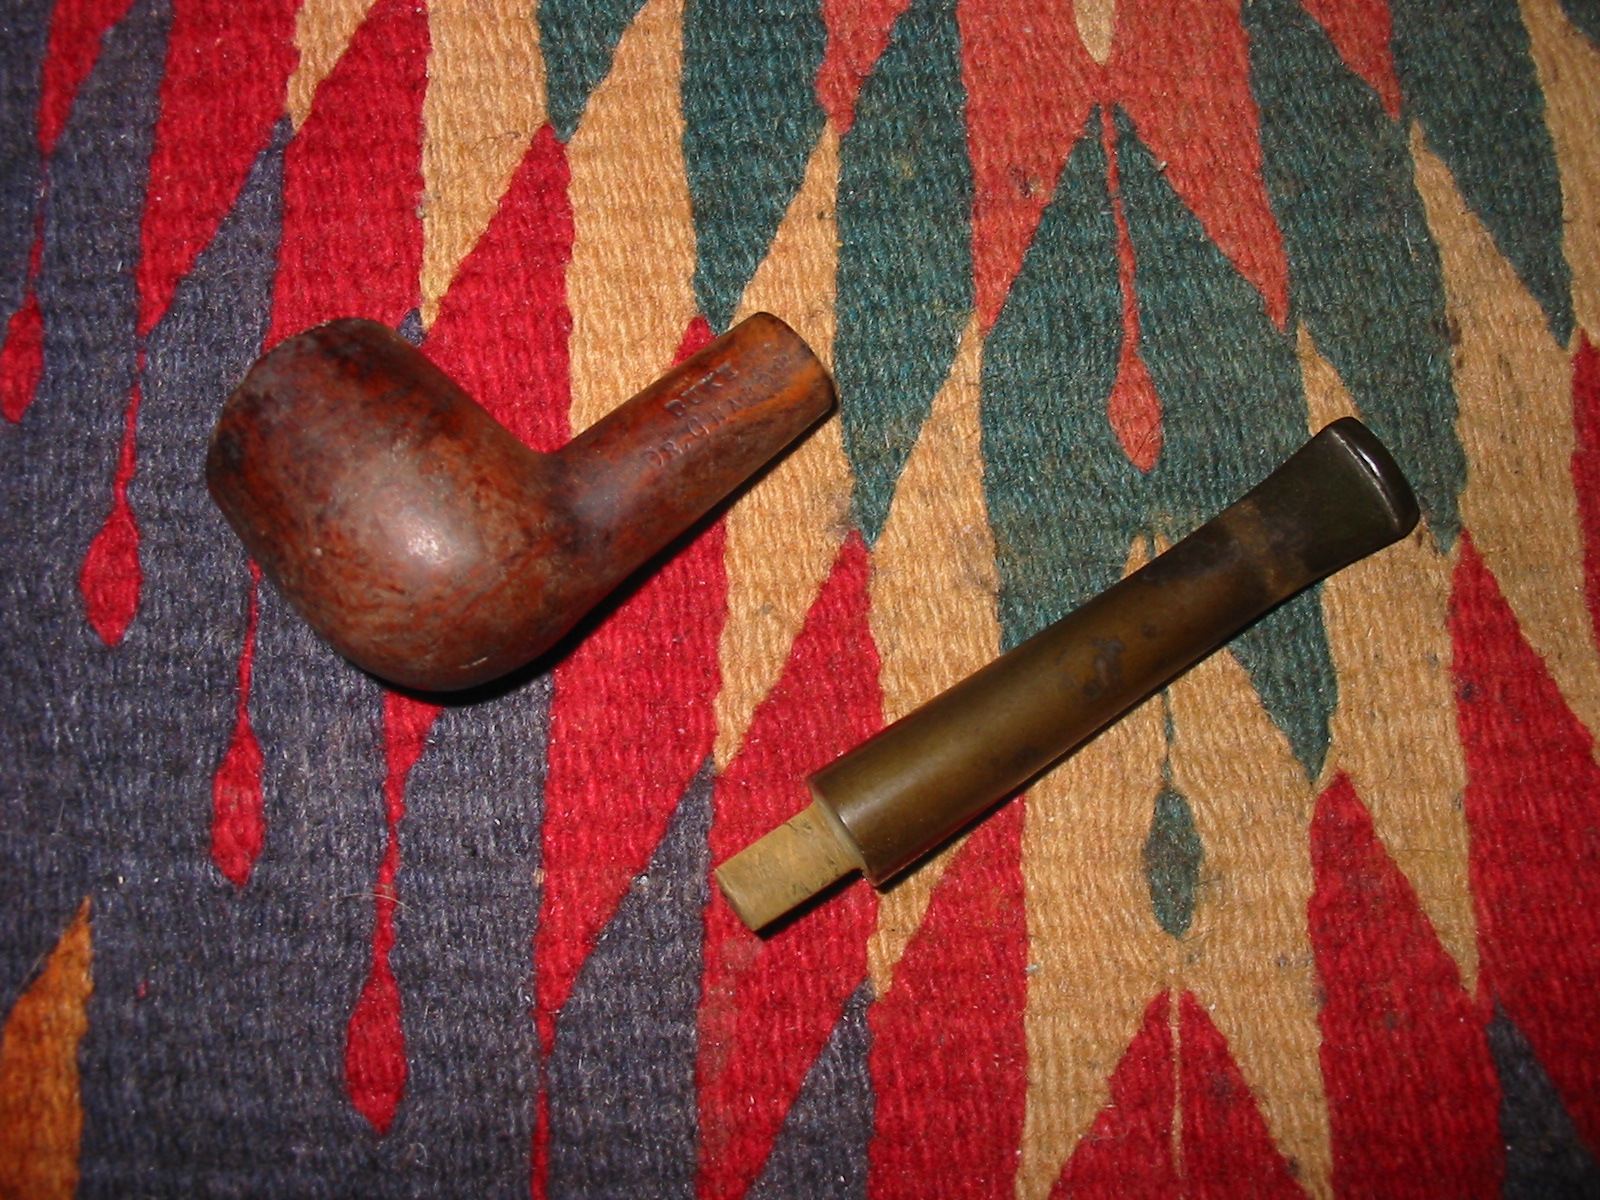

I adjusted the diameter of the stem to fit the shank with a Dremel and sanding drum. I was able to bring it very close to the shank size and then did the rest of the work in fitting the stem by hand sanding.
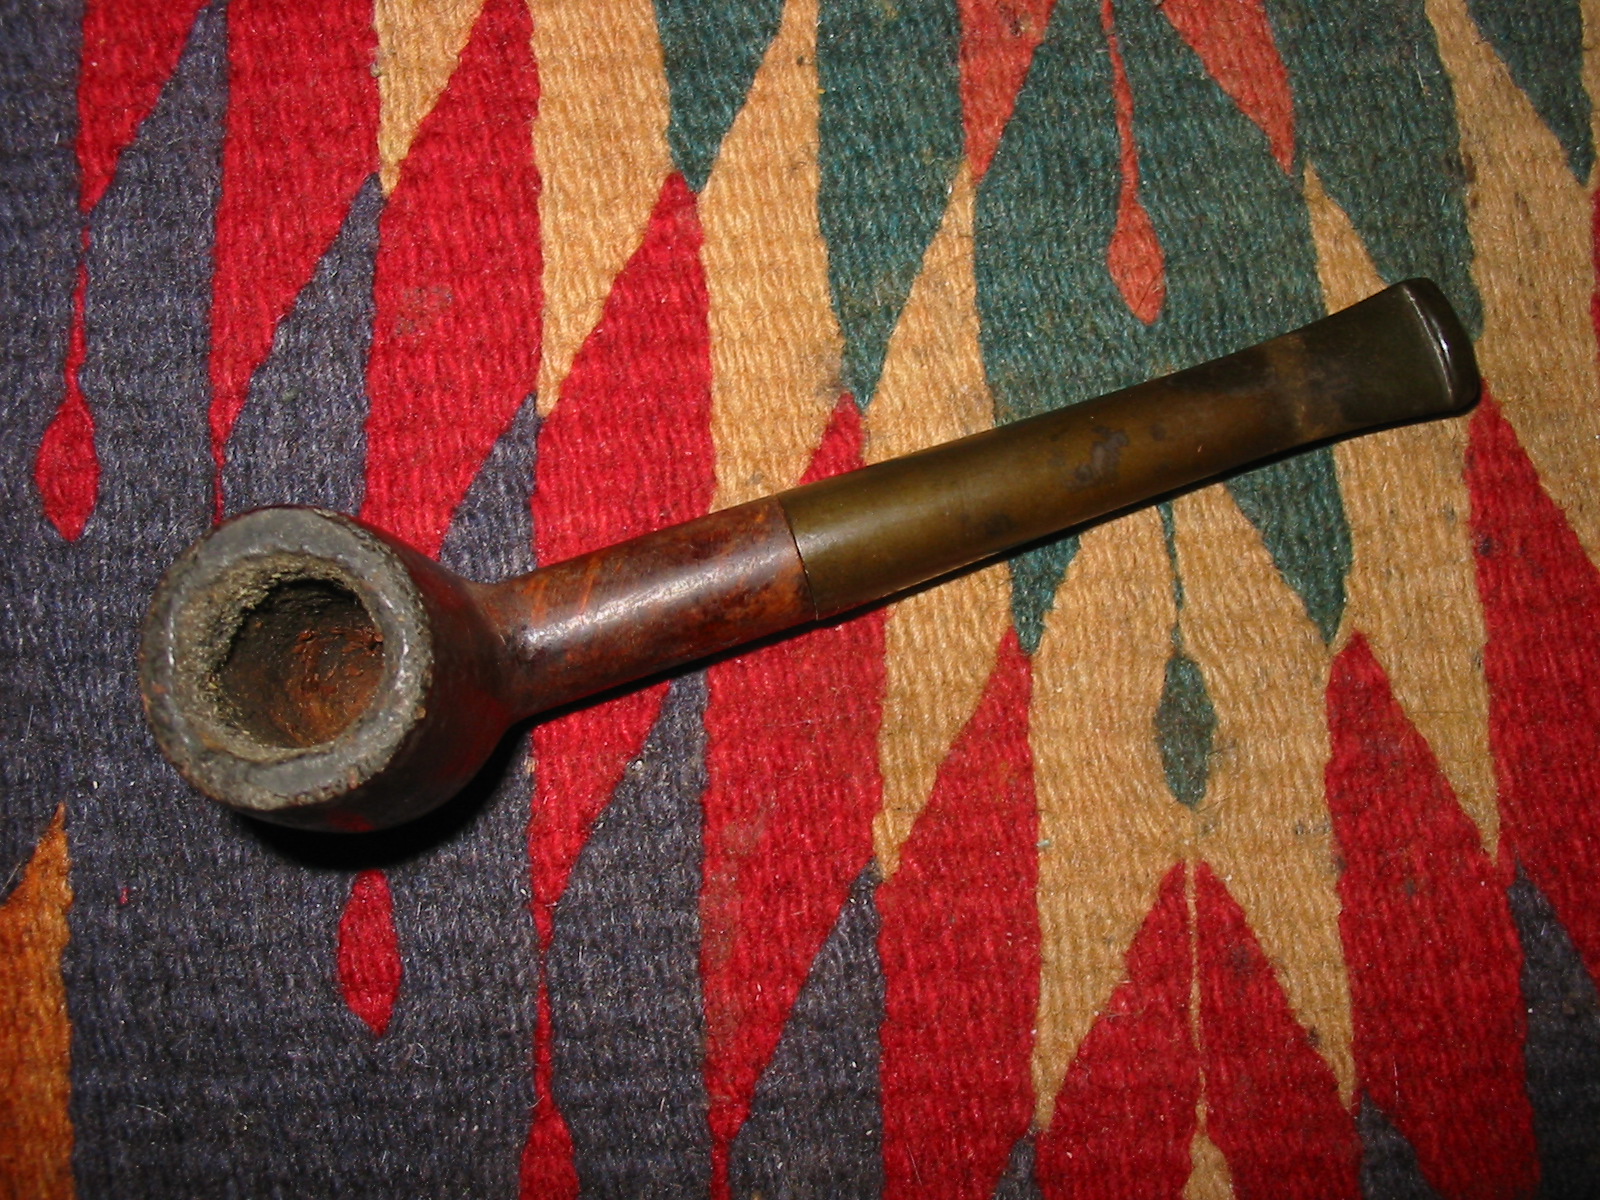
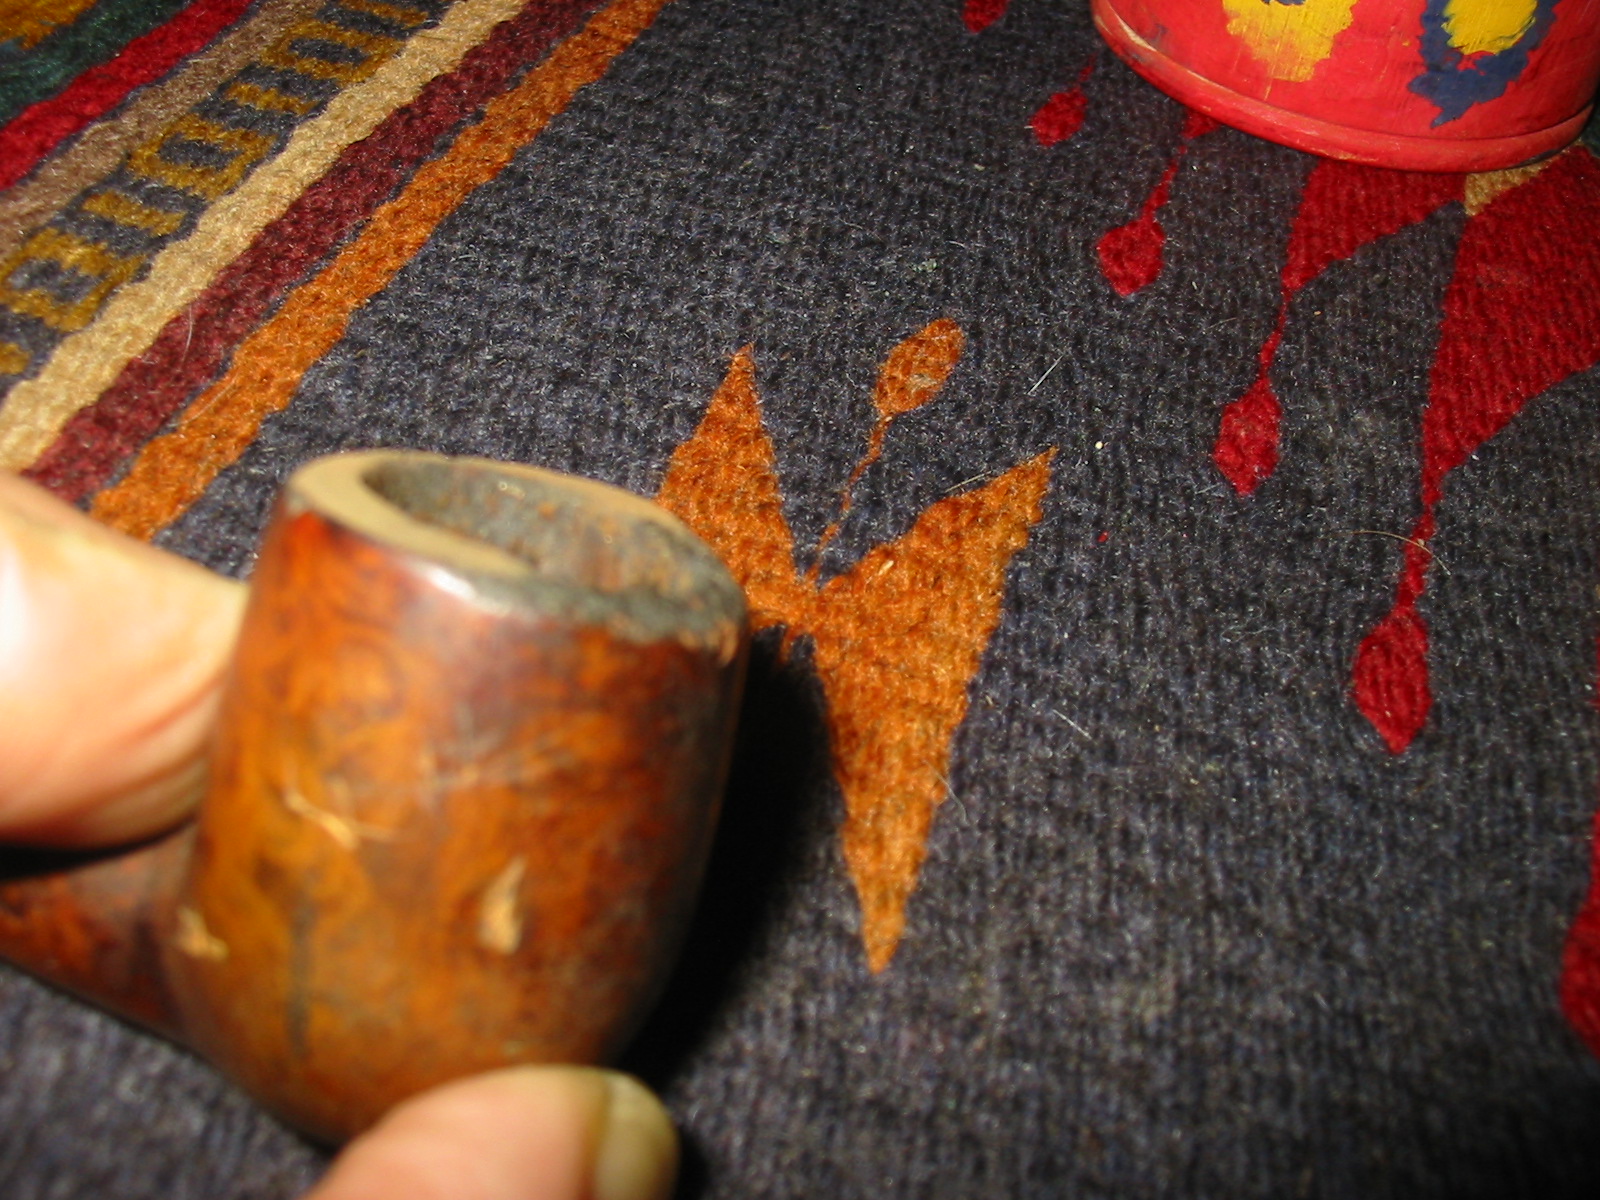
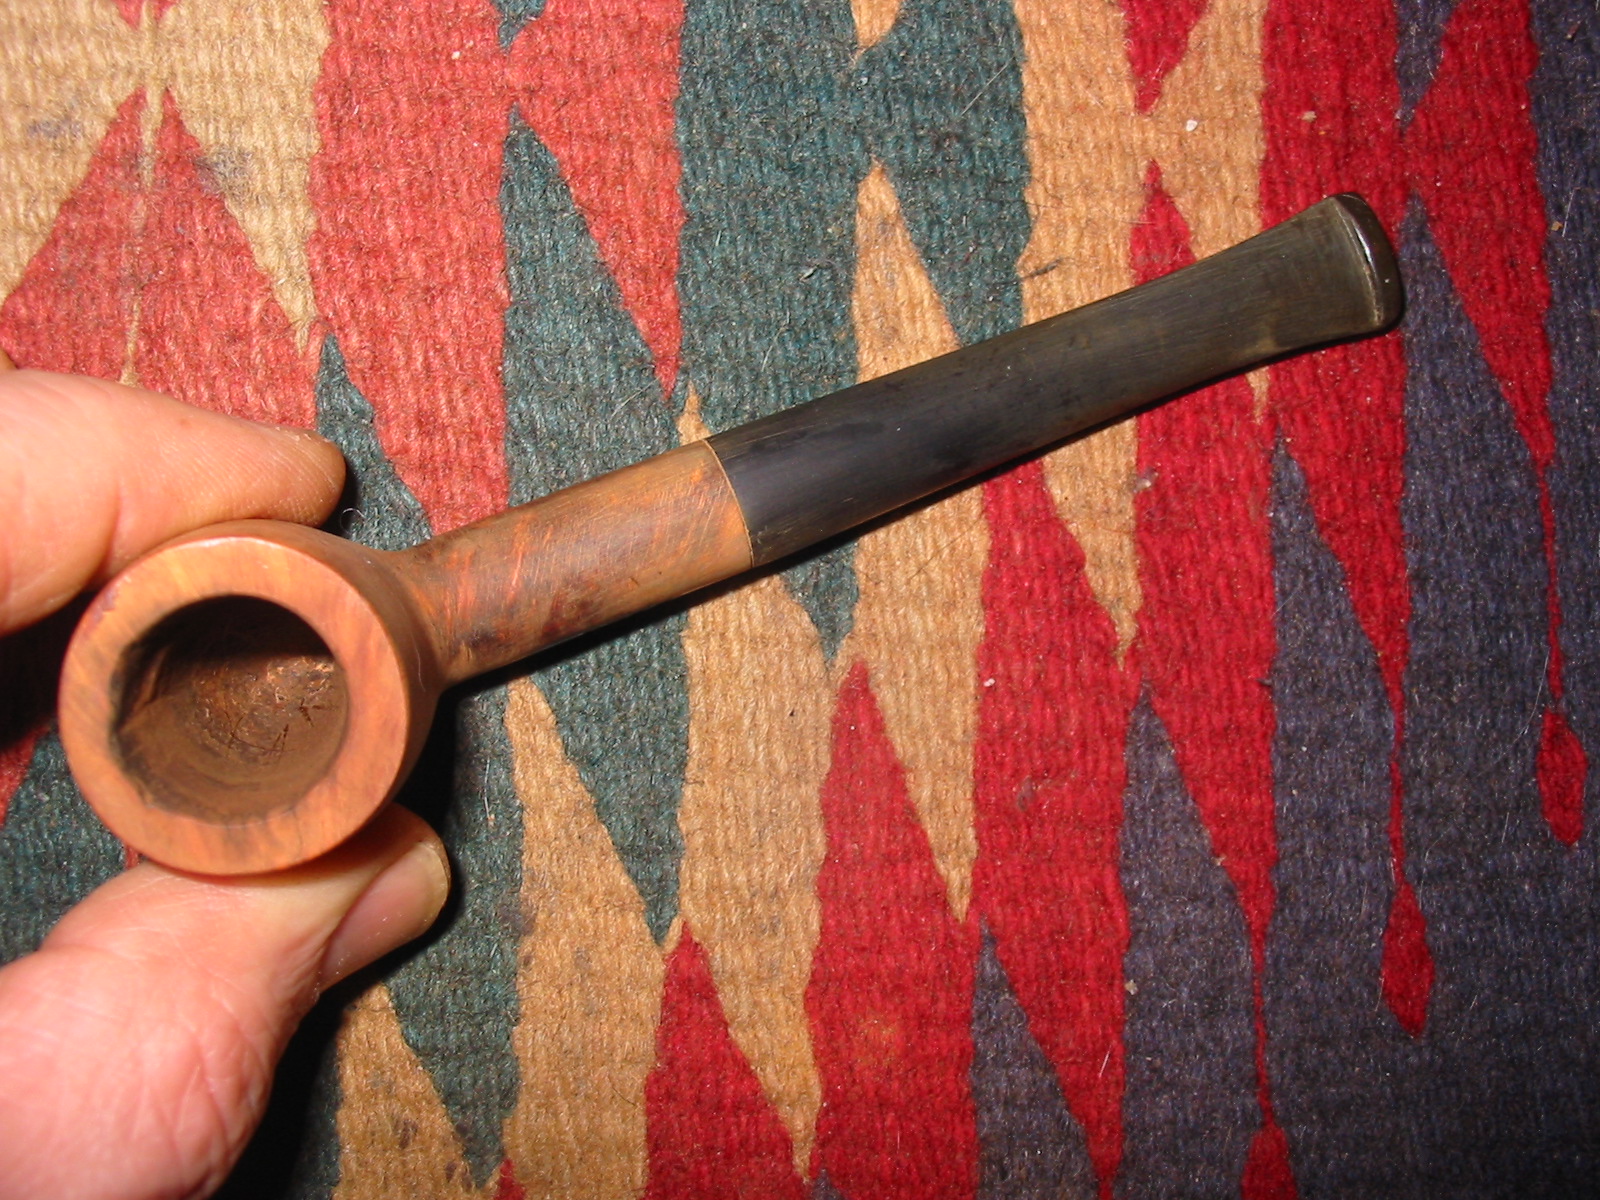
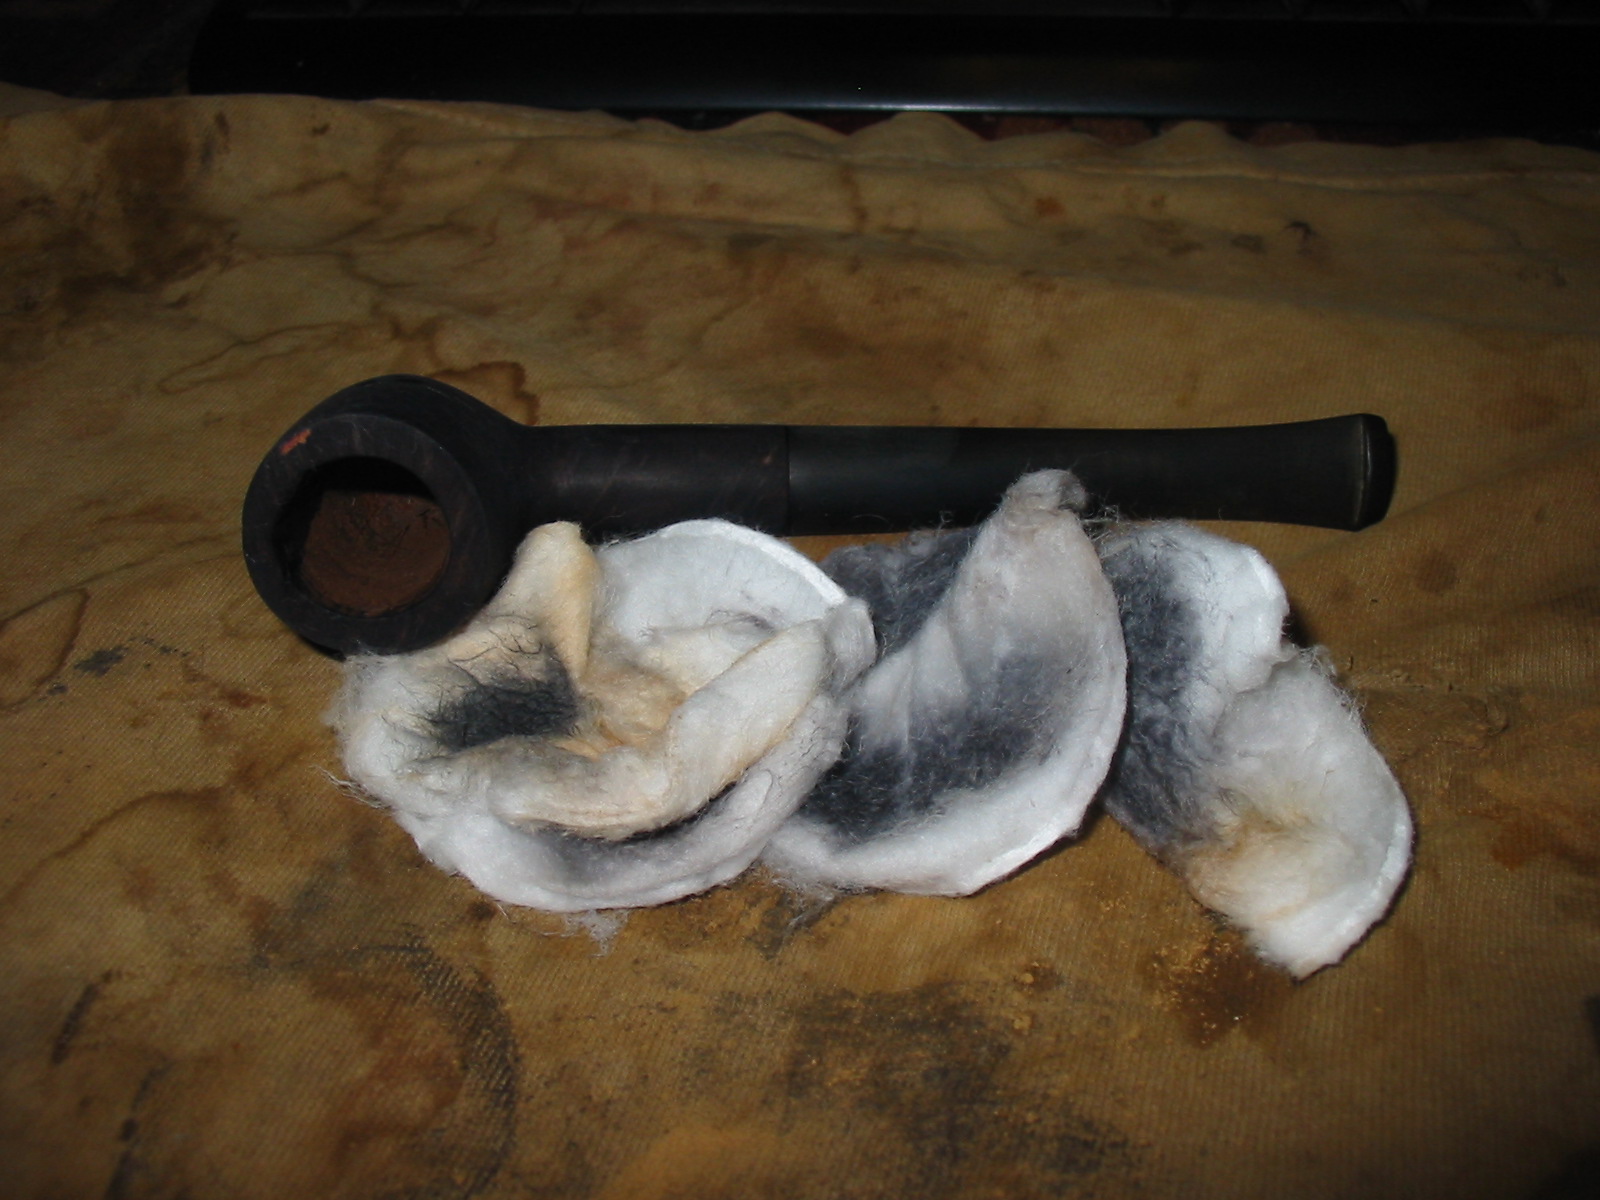
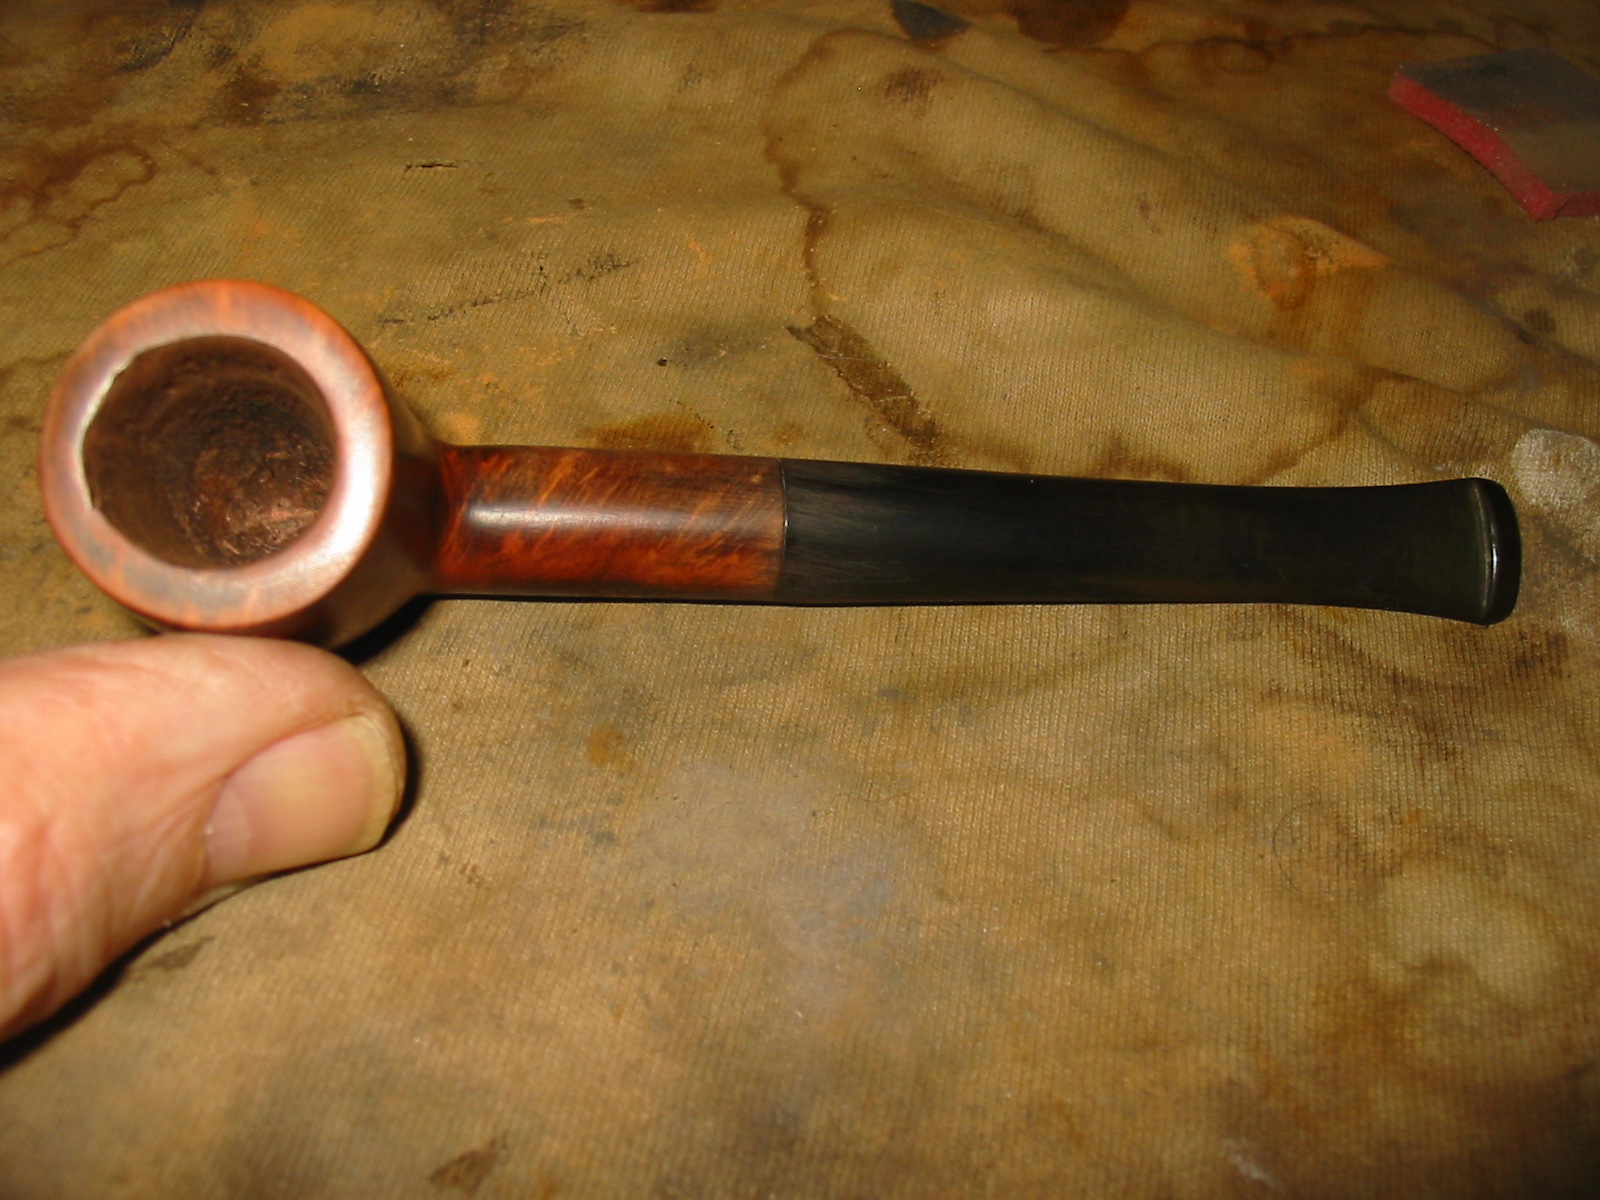
The bowl rim was in rough shape. I debated whether to refurbish this pipe since I received it from a friend. I would take it out and look it over and then put it back in the box undecided. However, with the box almost empty I decided to give a go. The biggest area of damage was the front edge of the rim. The extent of damage to the rim is visible in the next two photos.

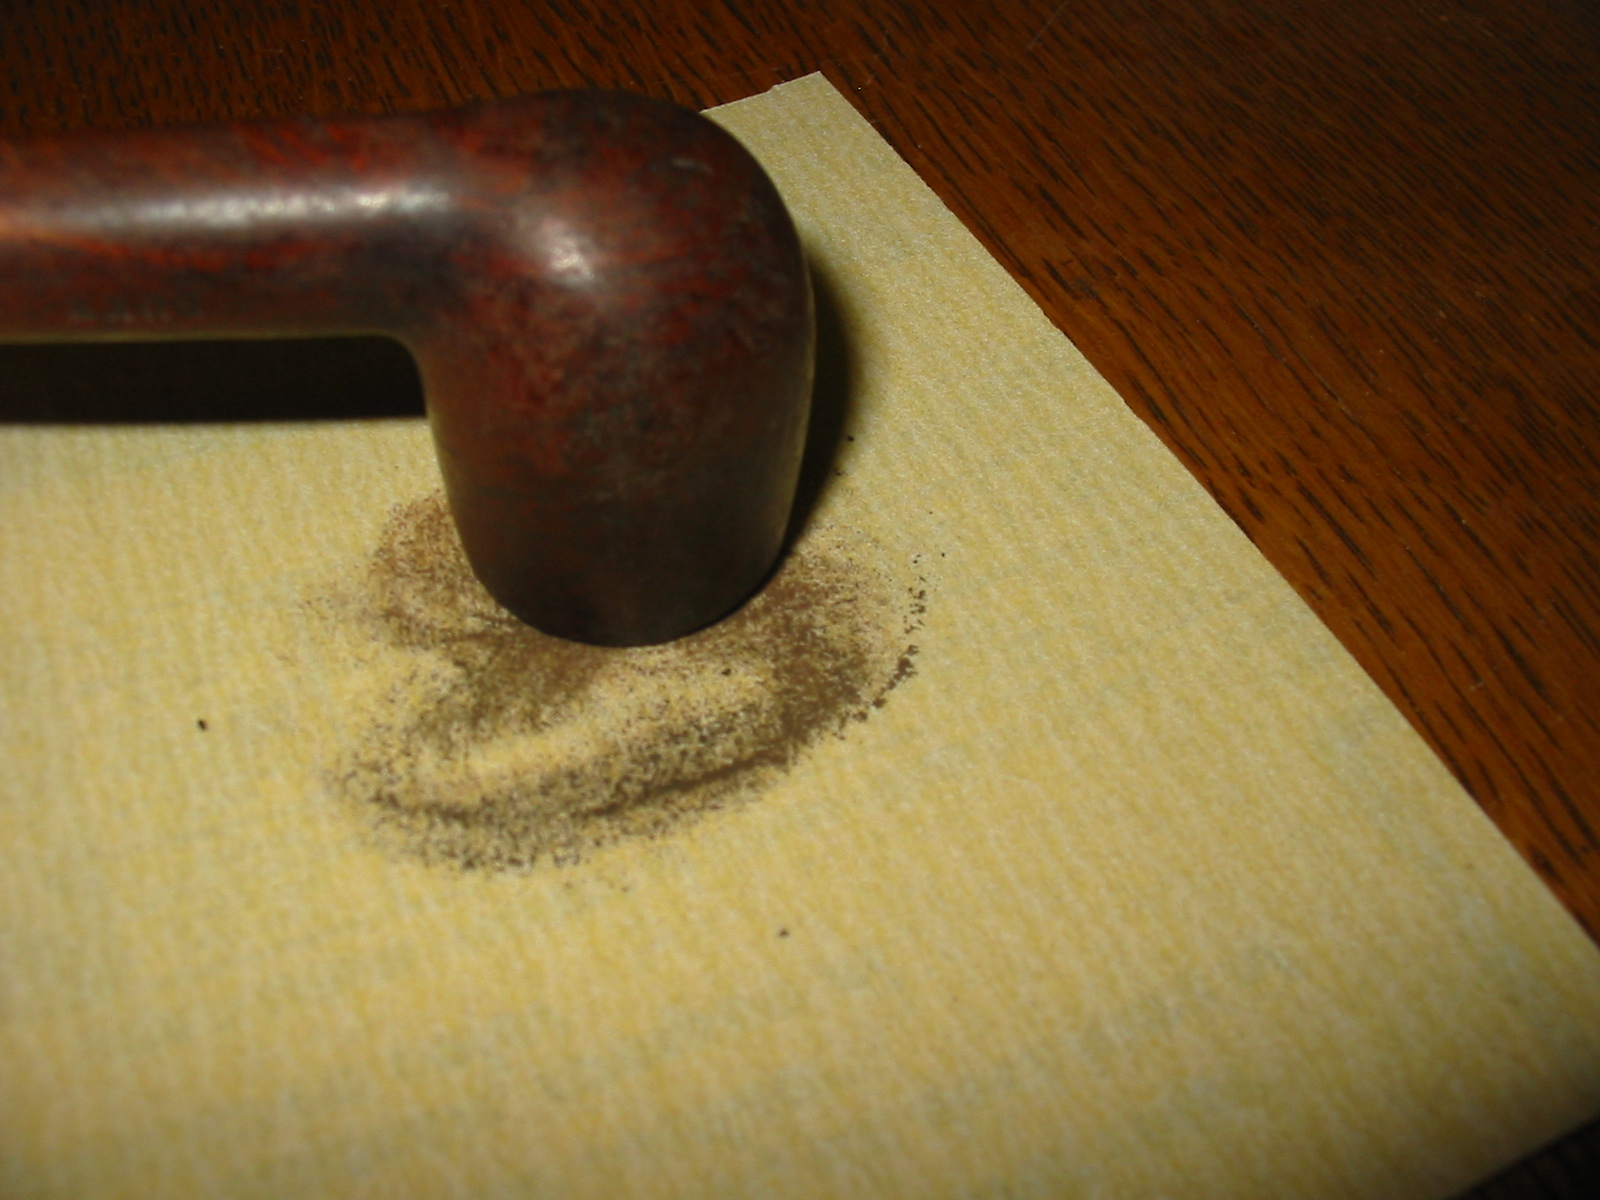
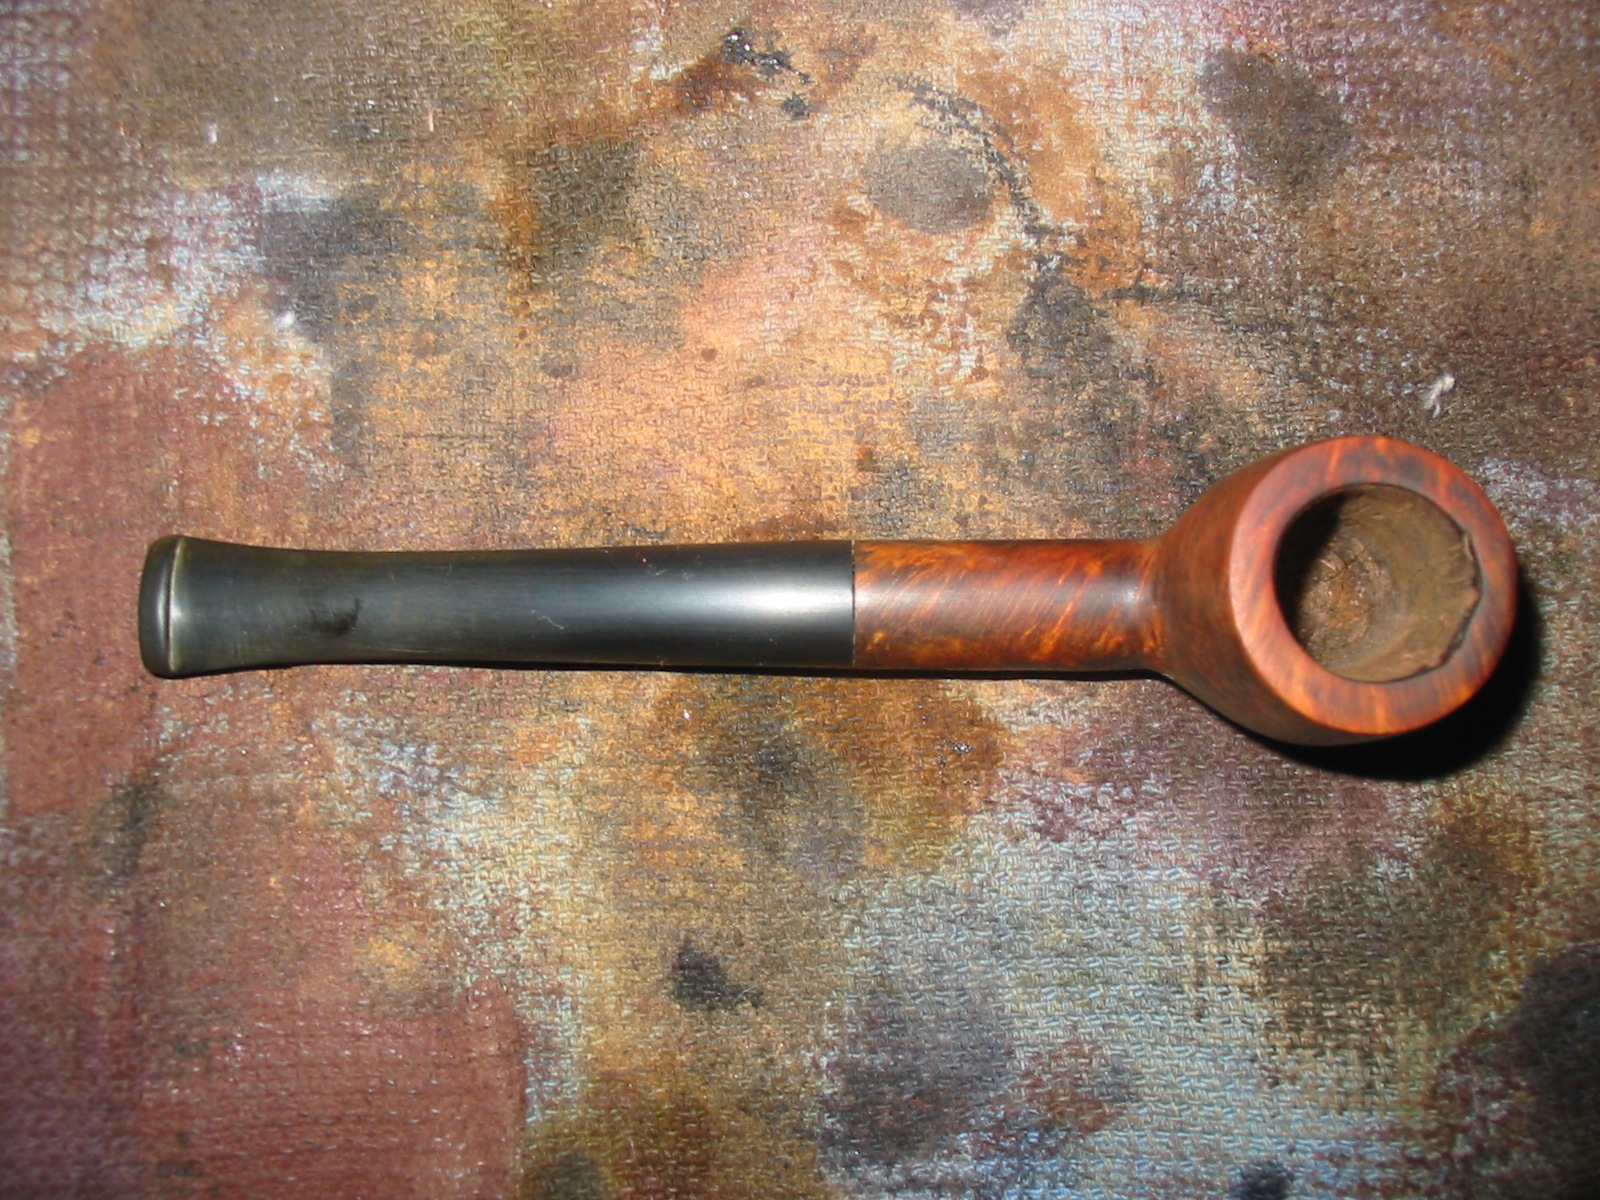
I reamed the bowl with a PipNet reamer to clean up the inside of the bowl and assess the damage to the inner rim on the front. The front edge of the rim had the most damage. I topped the bowl using my usual method of sandpaper on a flat surface. The sandpaper was 220 grit. I placed the bowl top flat against the sandpaper and turned it into the sandpaper to remove the damaged material. I worked the rim down until it was once again flat. I worked on the inner edge of the rim with a piece of sandpaper to smooth out the surface and restore as much of the roundness of the bowl as possible.
I repaired the fills that had fallen out next. First I cleaned them with a dental pick to remove loose debris and the wipe them down with alcohol. I packed briar dust into the holes and mixed it with wood glue. I wanted to experiment with the wood glue to see if it would take stain better than the superglue patches that I have been using. Once the glue was dry I sanded the bowl smooth again with 220 grit sandpaper and also a medium grit sanding sponge.

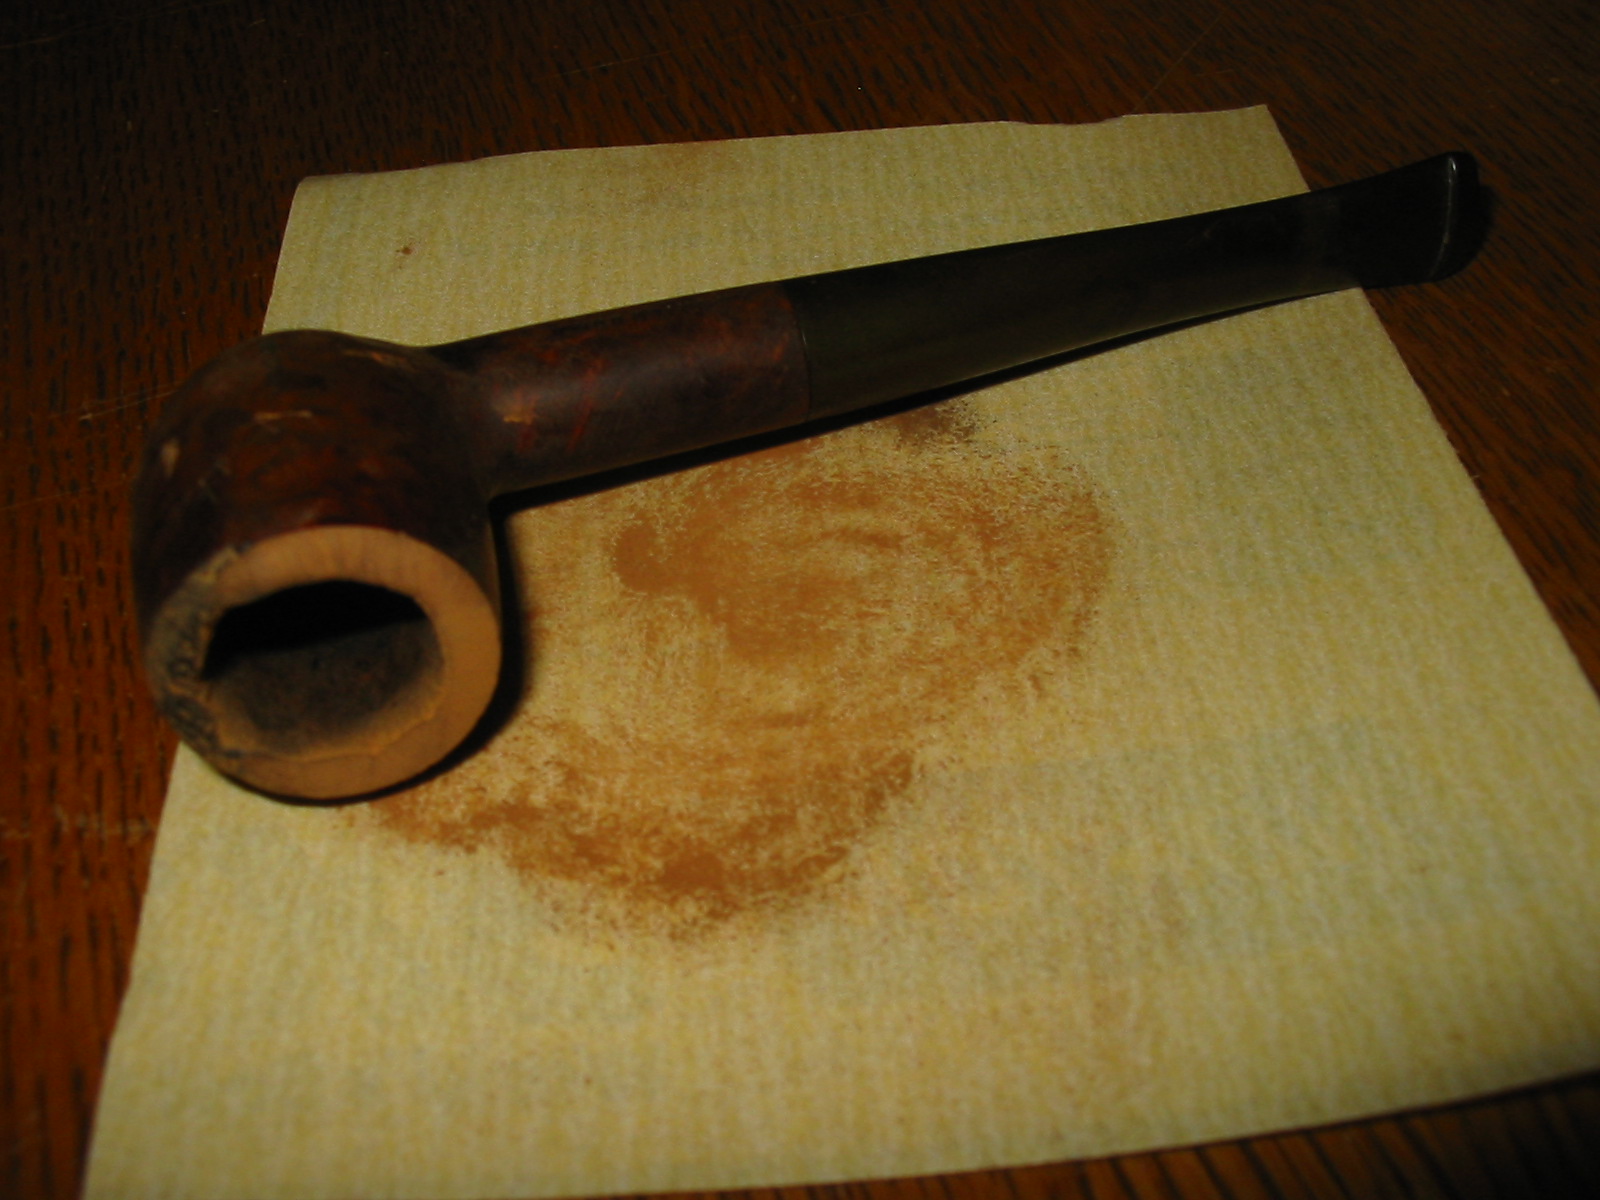
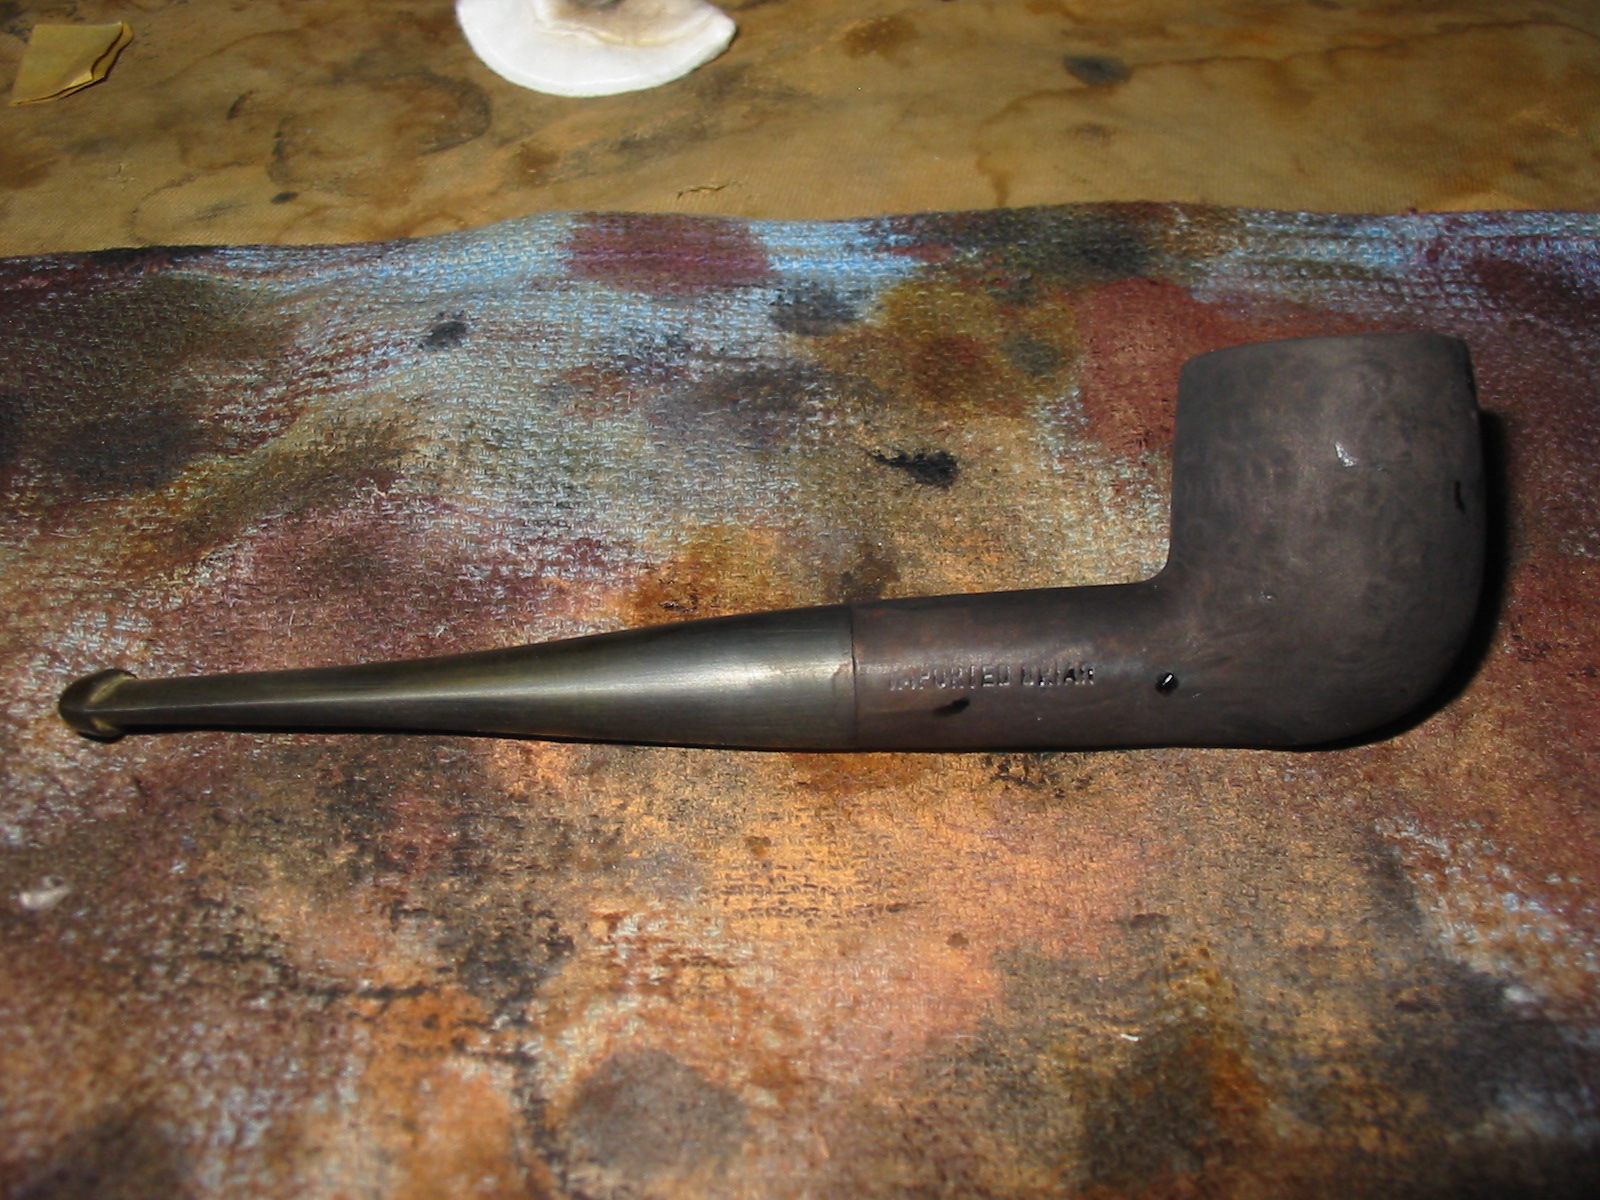
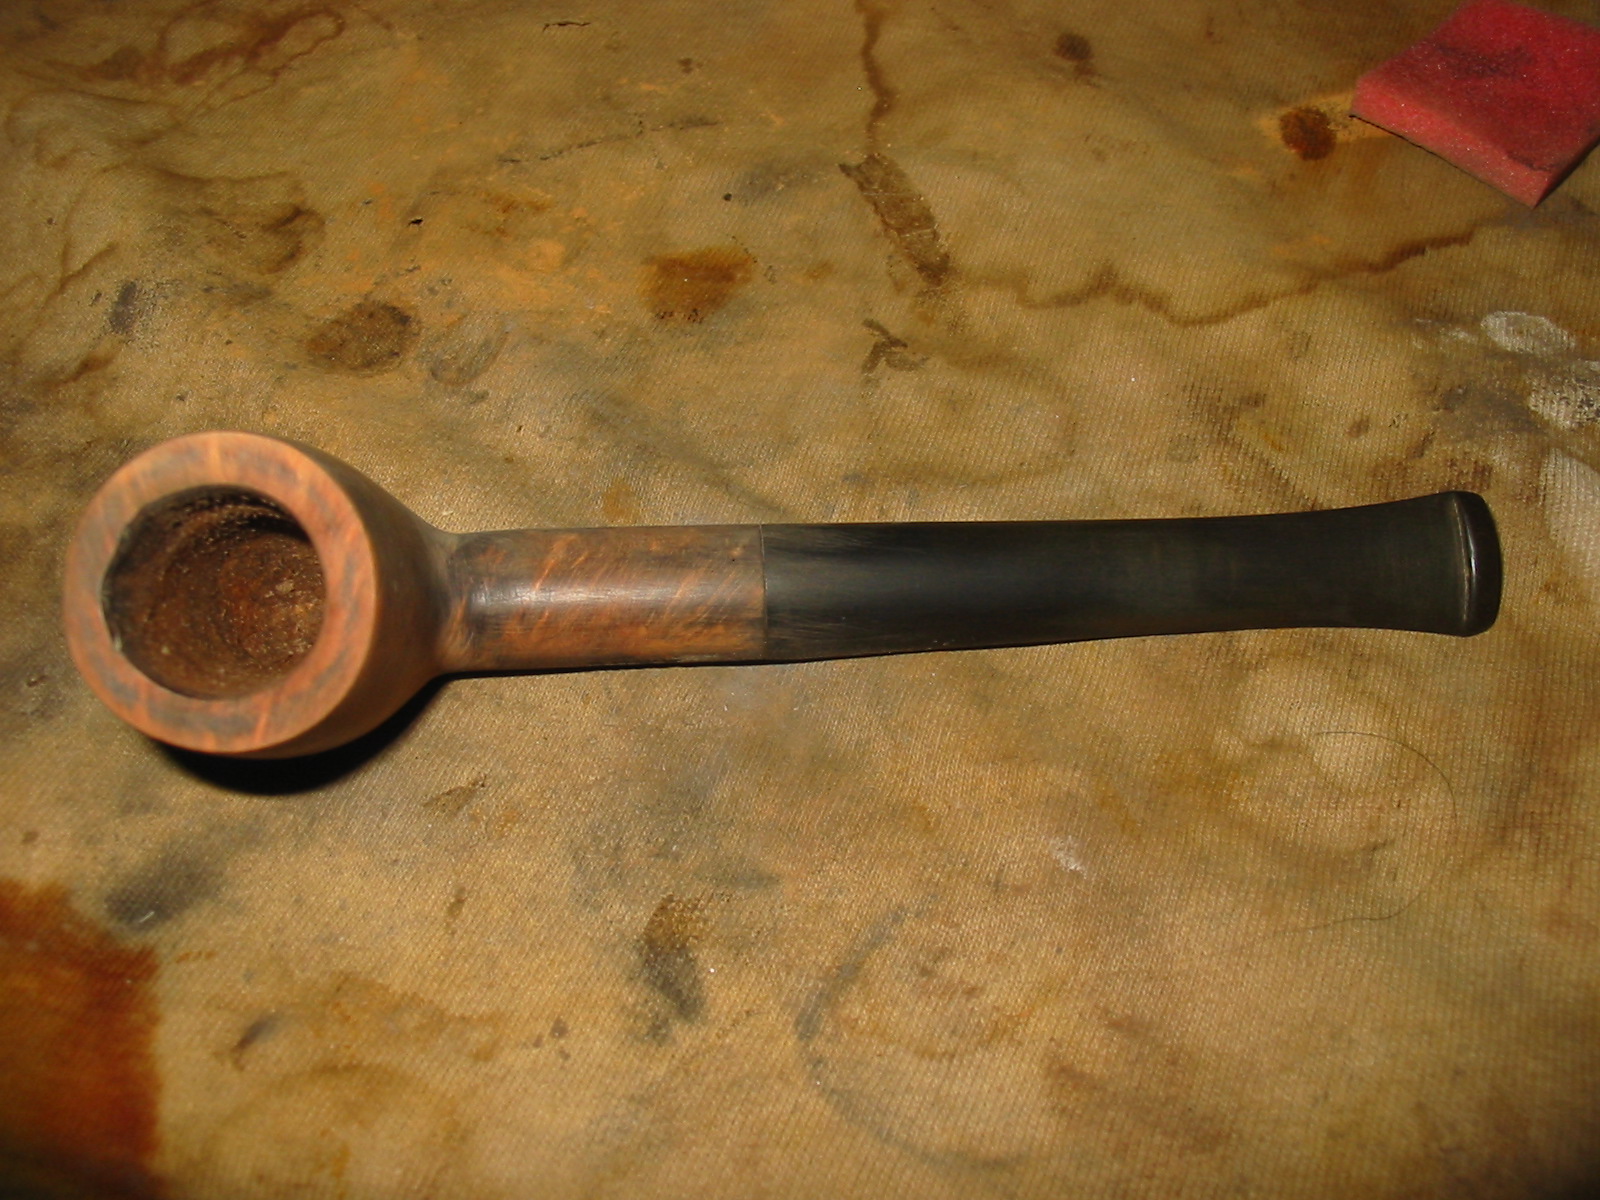
I sanded the bowl smooth and then wiped it down with acetone on a cotton pad to remove the stain and the remaining finish.
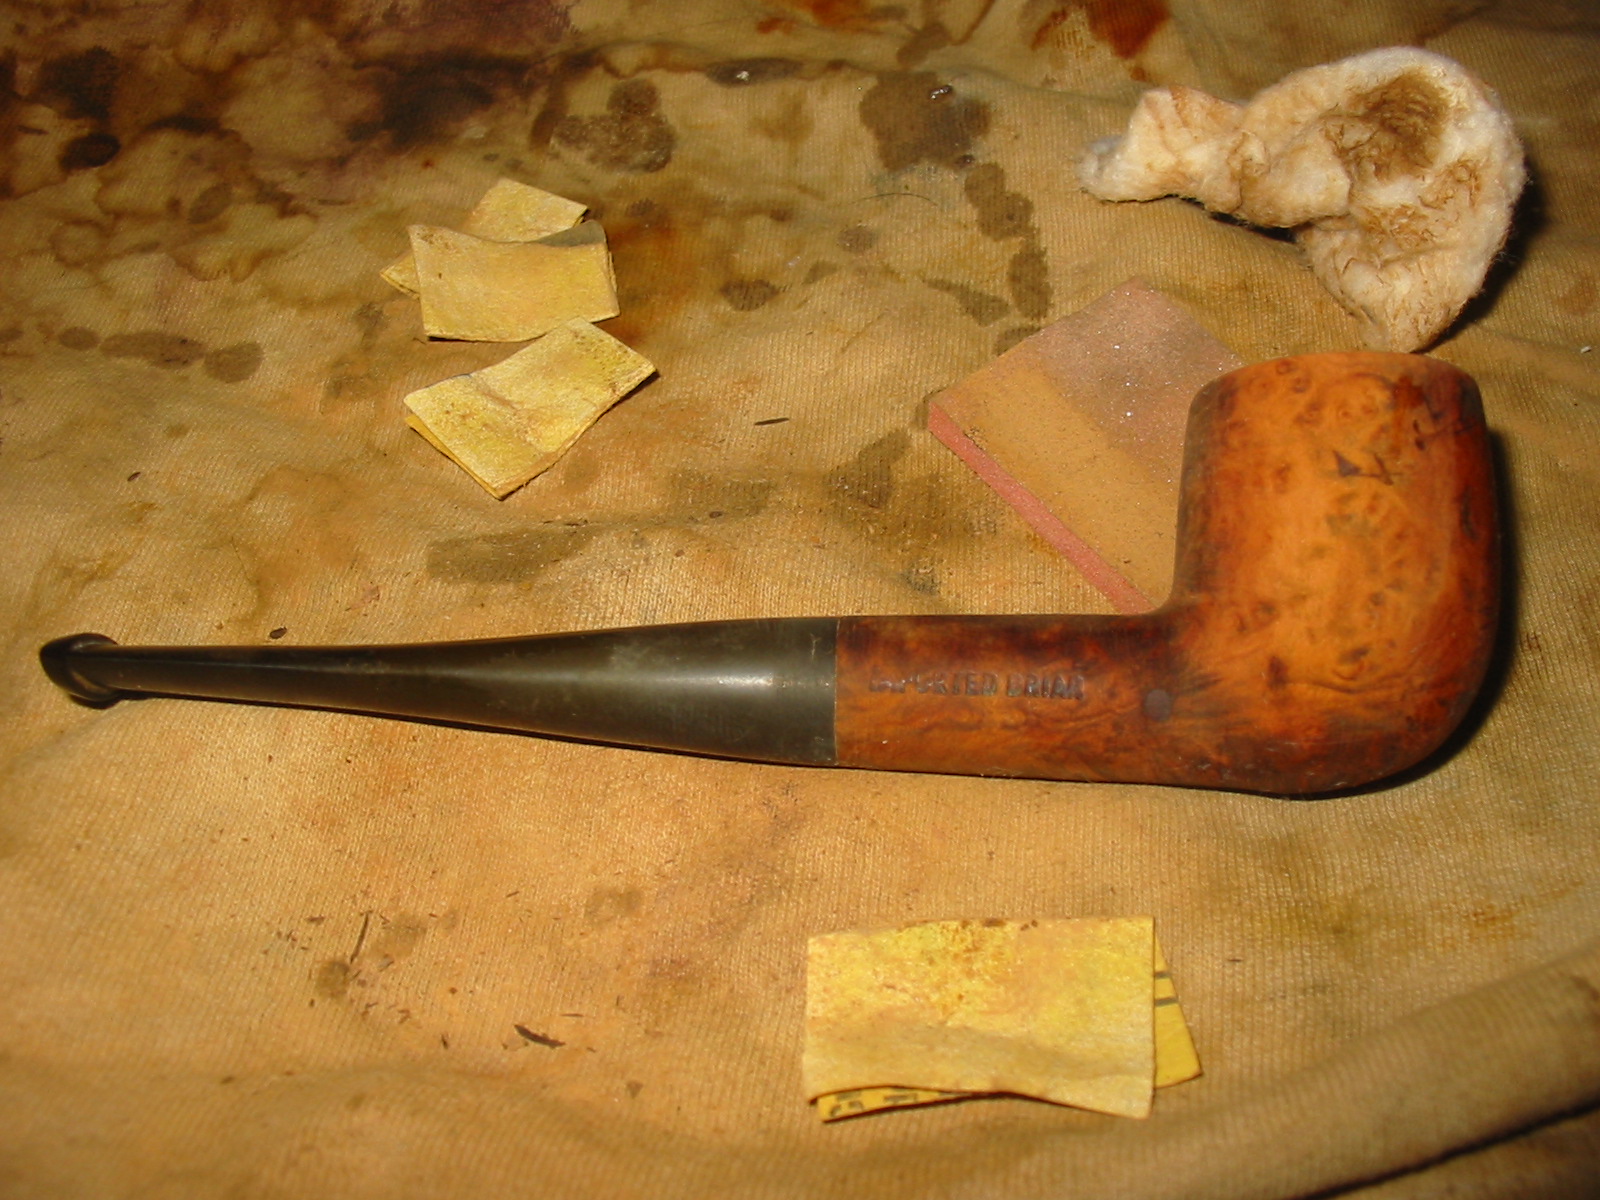
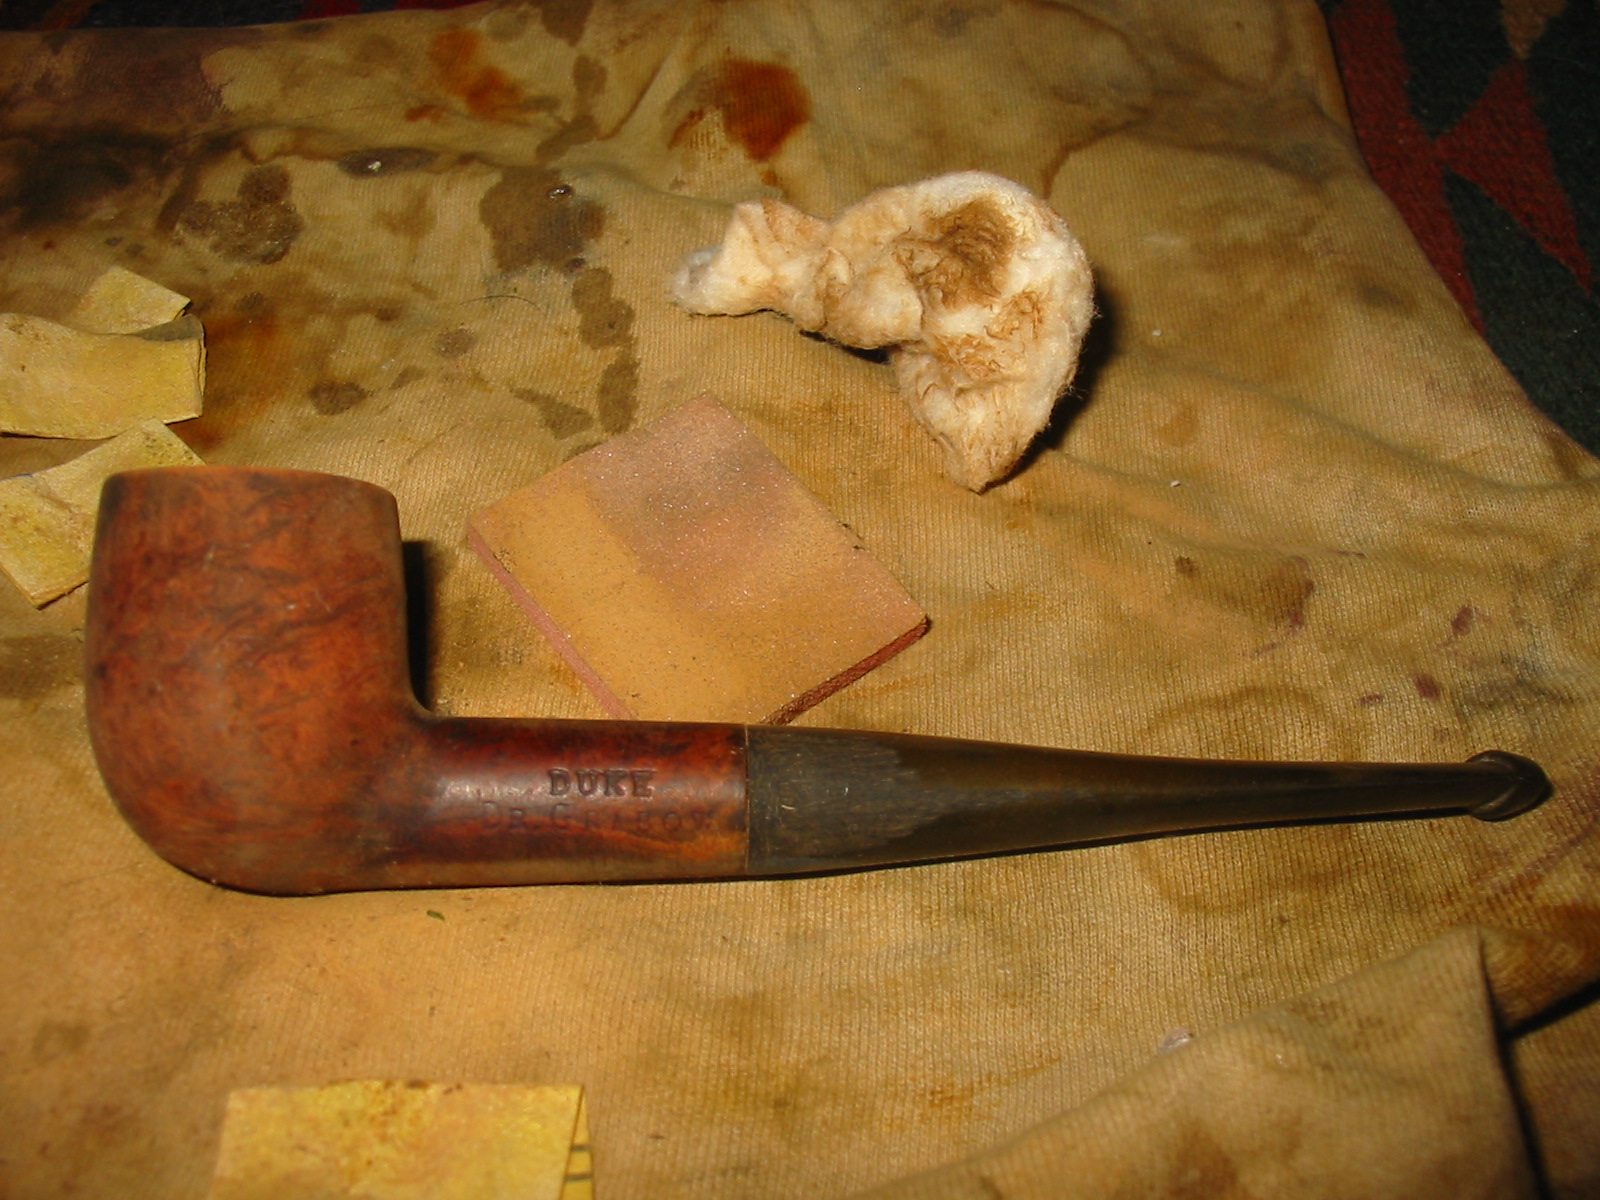
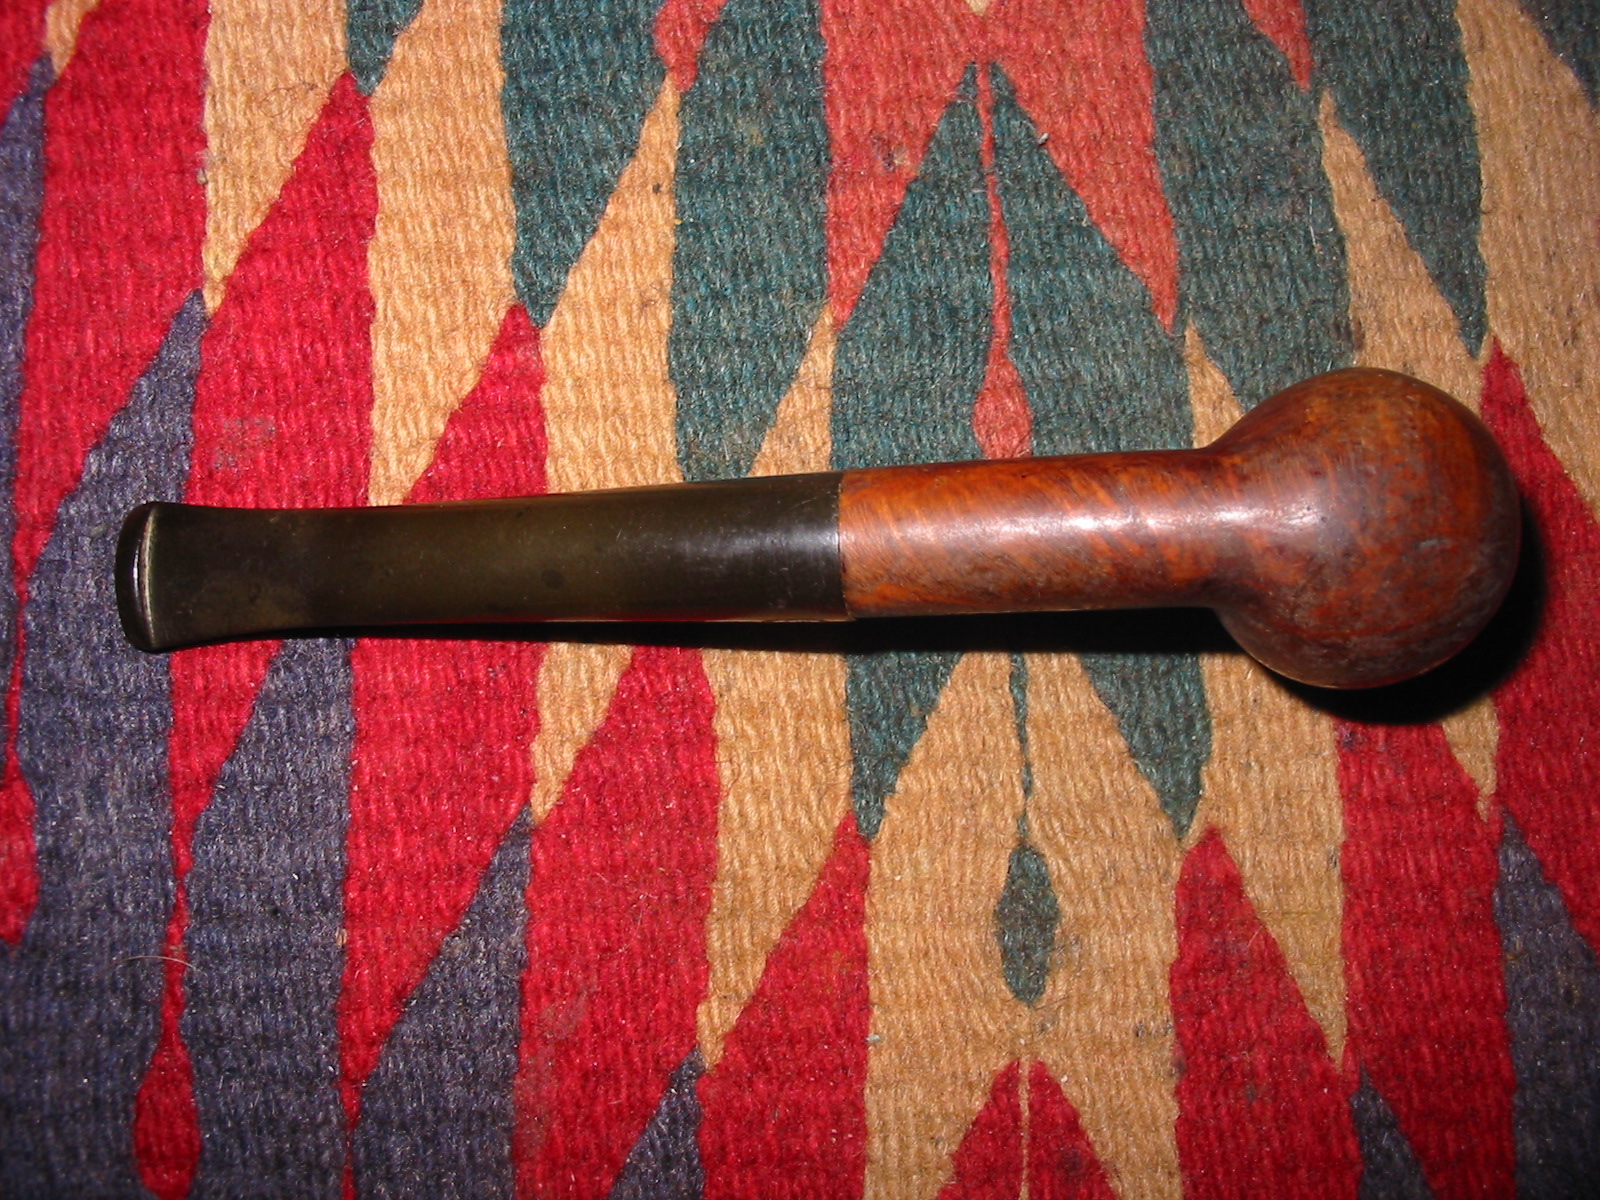
After wiping it down with the acetone I sanded it with a fine grit sanding sponge to smooth out the remaining surface and prepare it for staining. (In the third photo below the reworked inner edge of the bowl is visible.)


I decided to use a two part staining process once again to give good coverage to the bowl and to bring out some of the grain on the pipe. I applied the first coat of stain – a black aniline stain – with a cotton swab, flamed it and reapplied and reflamed it until the coverage was good. I warmed the briar with the flame of the lighter to set the stain deep in the grain of the briar.


I wiped the bowl down with acetone again to remove the top coat of the black stain and bring the grain highlights to the surface. I continued to wipe it down until I removed as much as possible with the acetone.
I sanded the bowl with the medium grit sanding sponge and then wiped it between sandings with cotton pads and Everclear. When I had the finish looking the way I was hoping it would I gave it a final wash with Everclear.


I buffed the pipe and stem with red Tripoli to remove more of the stain and to see what the finish would look like with a buff. I knew that I would need to do more sanding to the bowl and shank to remove the scratches that remained before I gave it the second stain colour coat.
I sanded the bowl with 1500-2400 grit micromesh sanding pads and then stained it with a top stain of walnut brown aniline. I applied it, flamed it and repeated the process until I had a good even coat of stain.

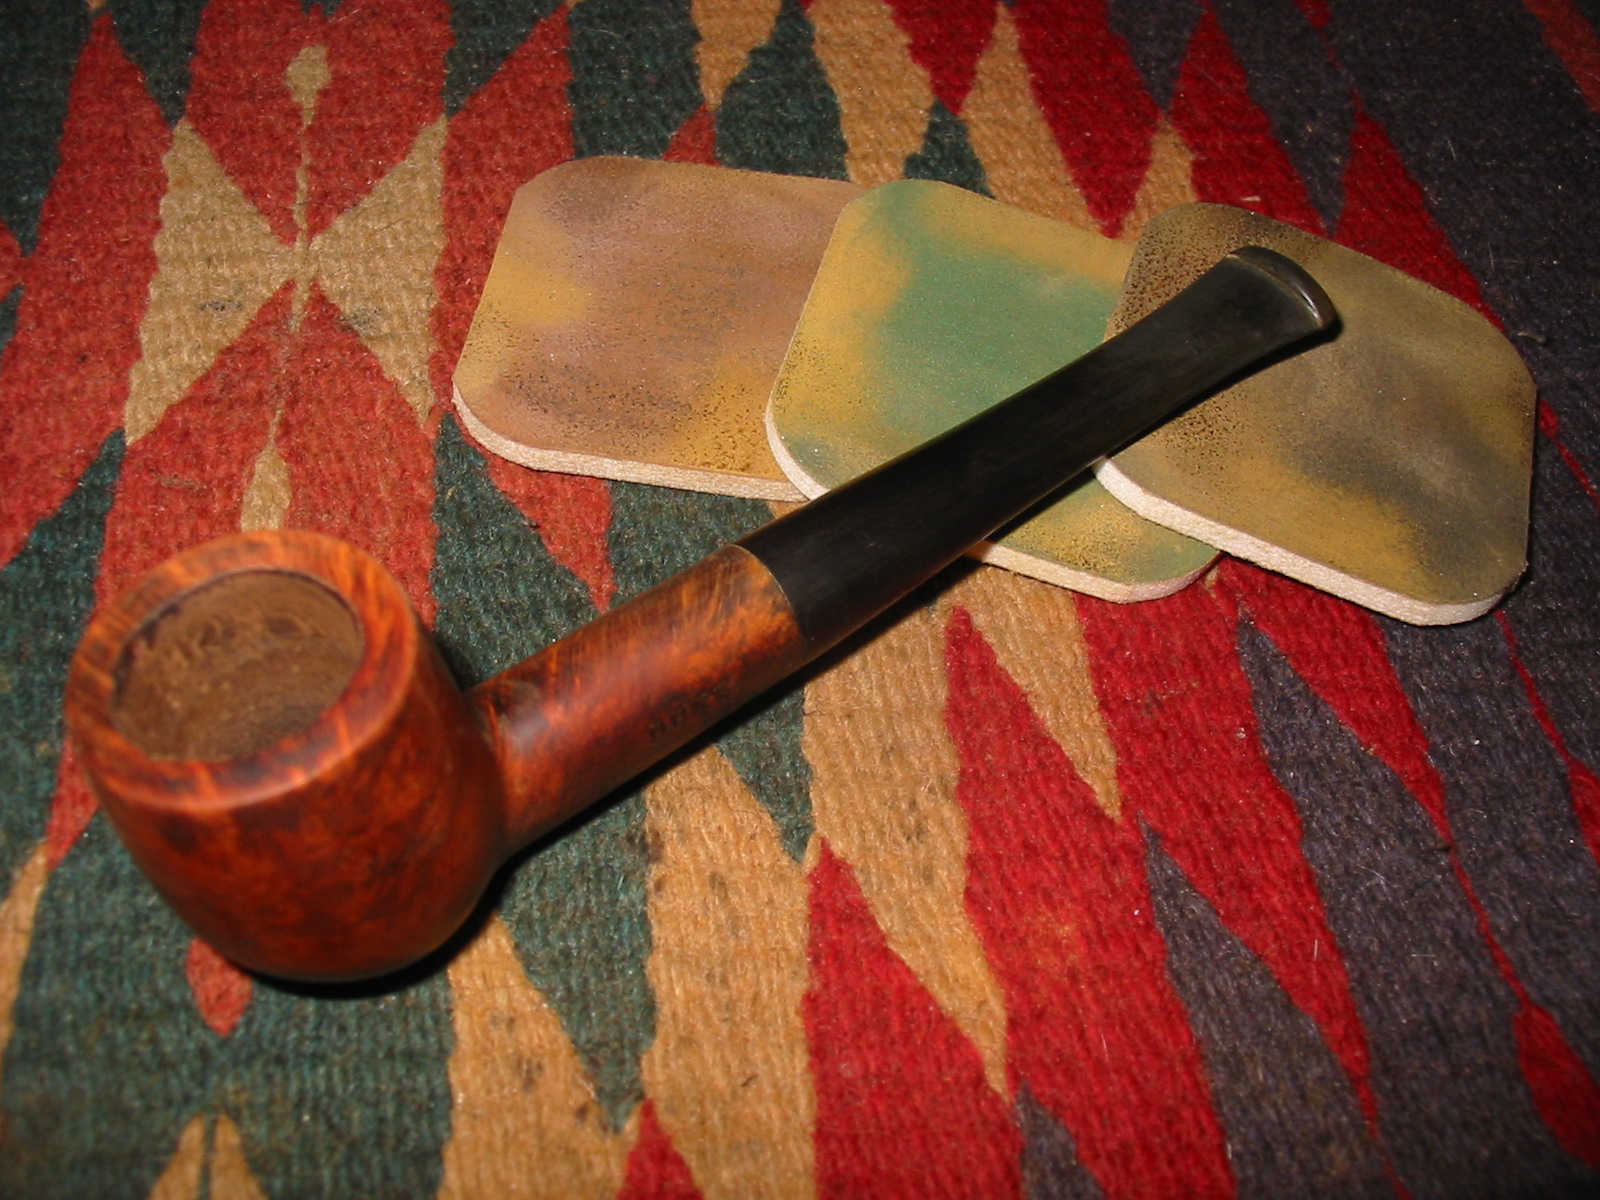
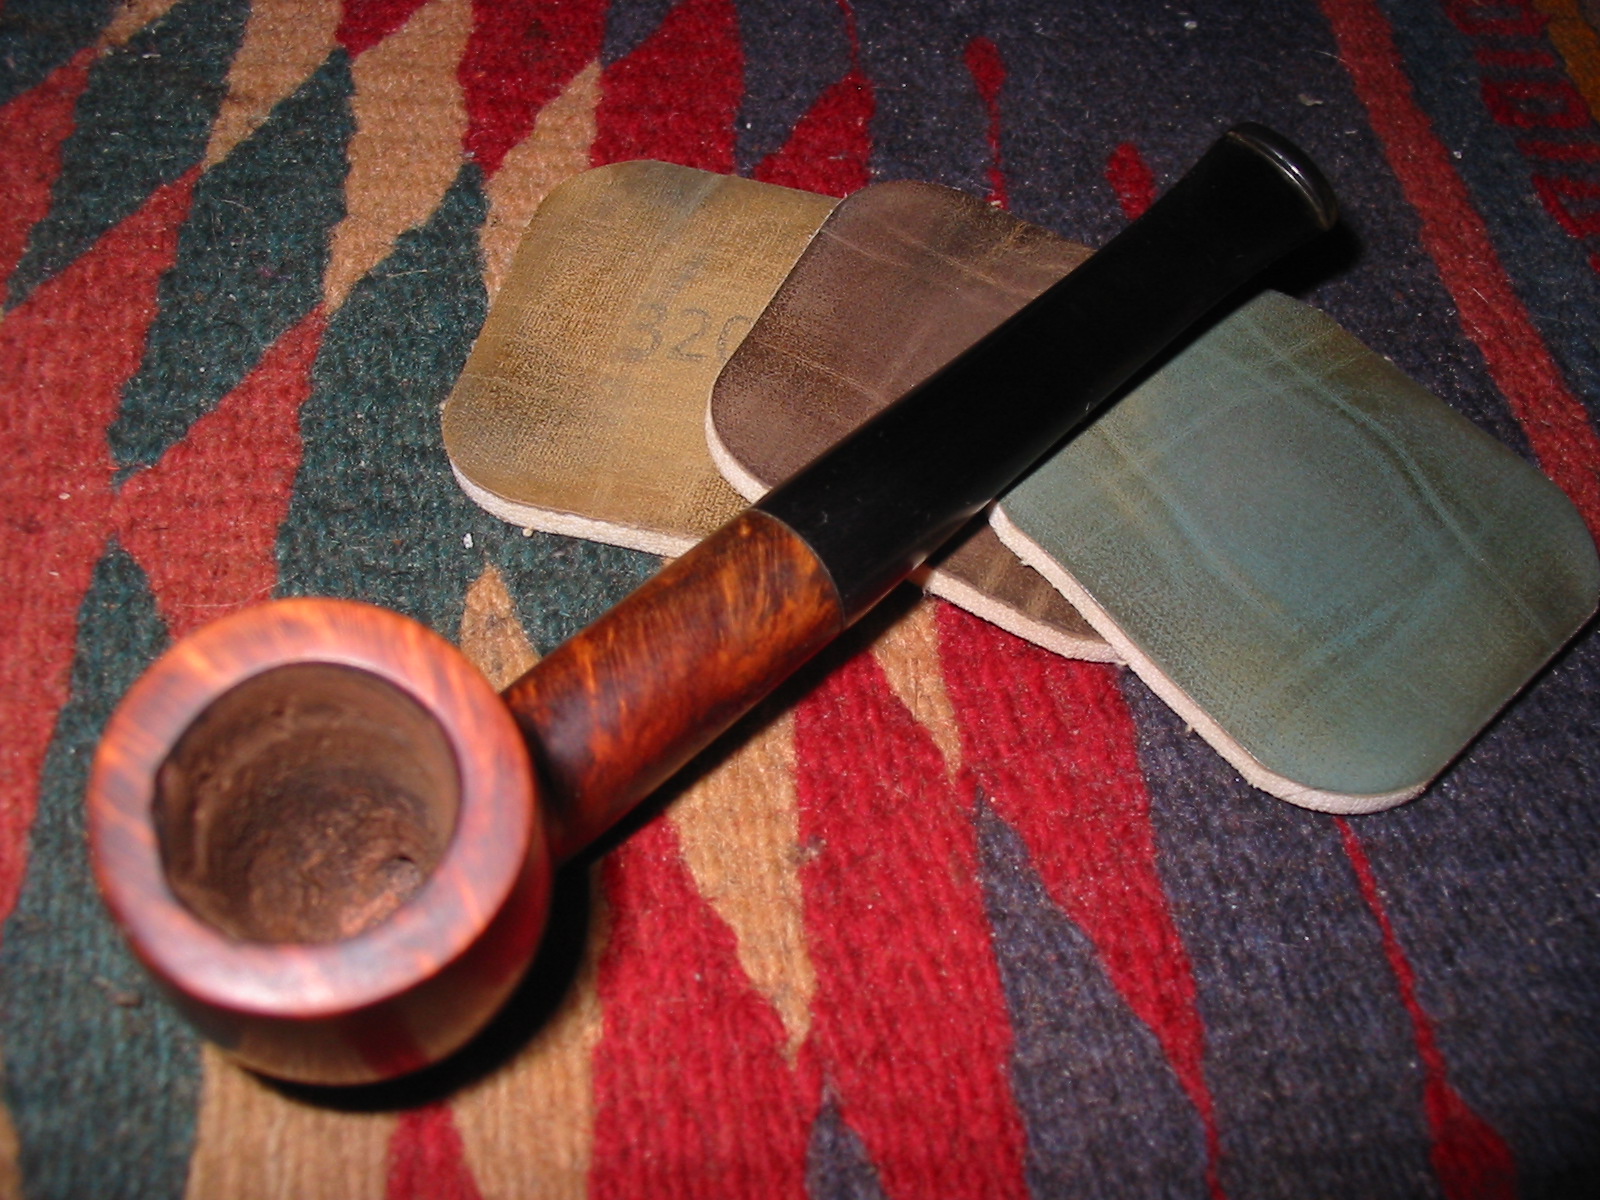
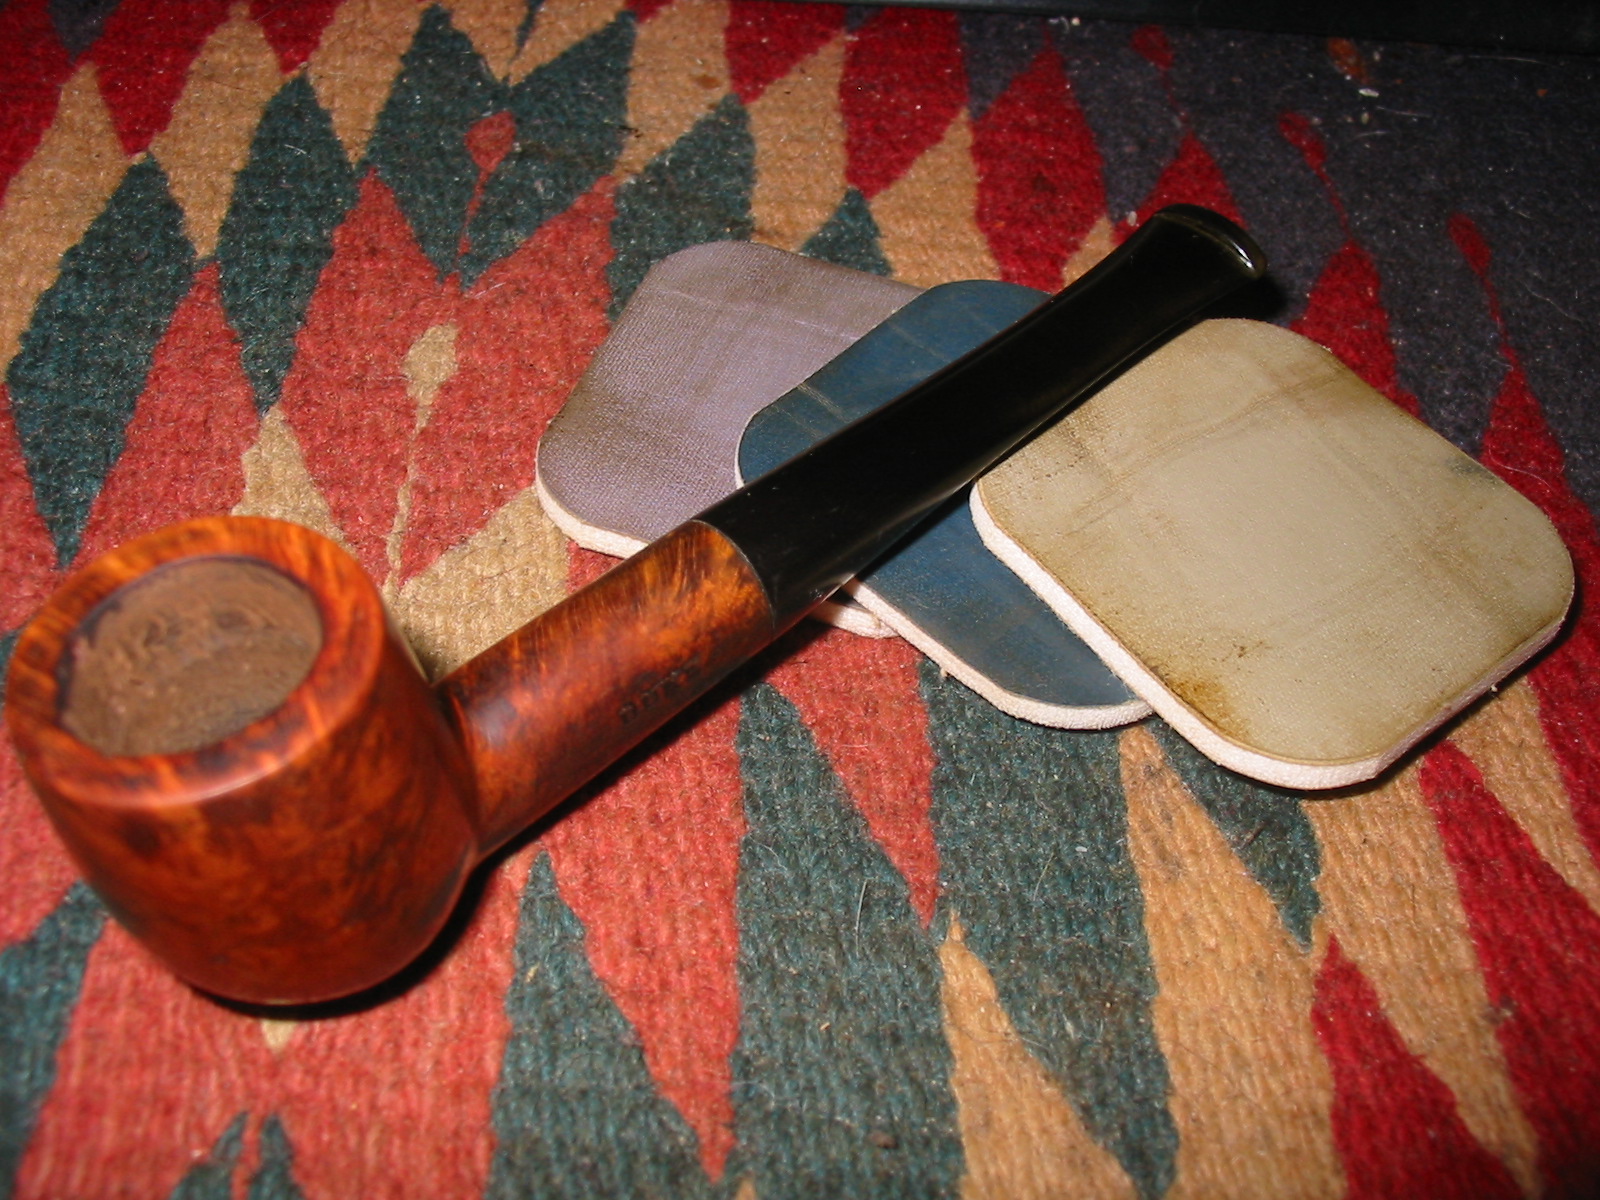
I sanded the bowl again and the stem as well with the micromesh sanding pads. I wet sanded with 1500-2400 grit and then dry sanded with the remaining grits from 3200-12,000. When I had finished sanding the stem I gave it a coat of Obsidian Oil and rubbed it into the stem.
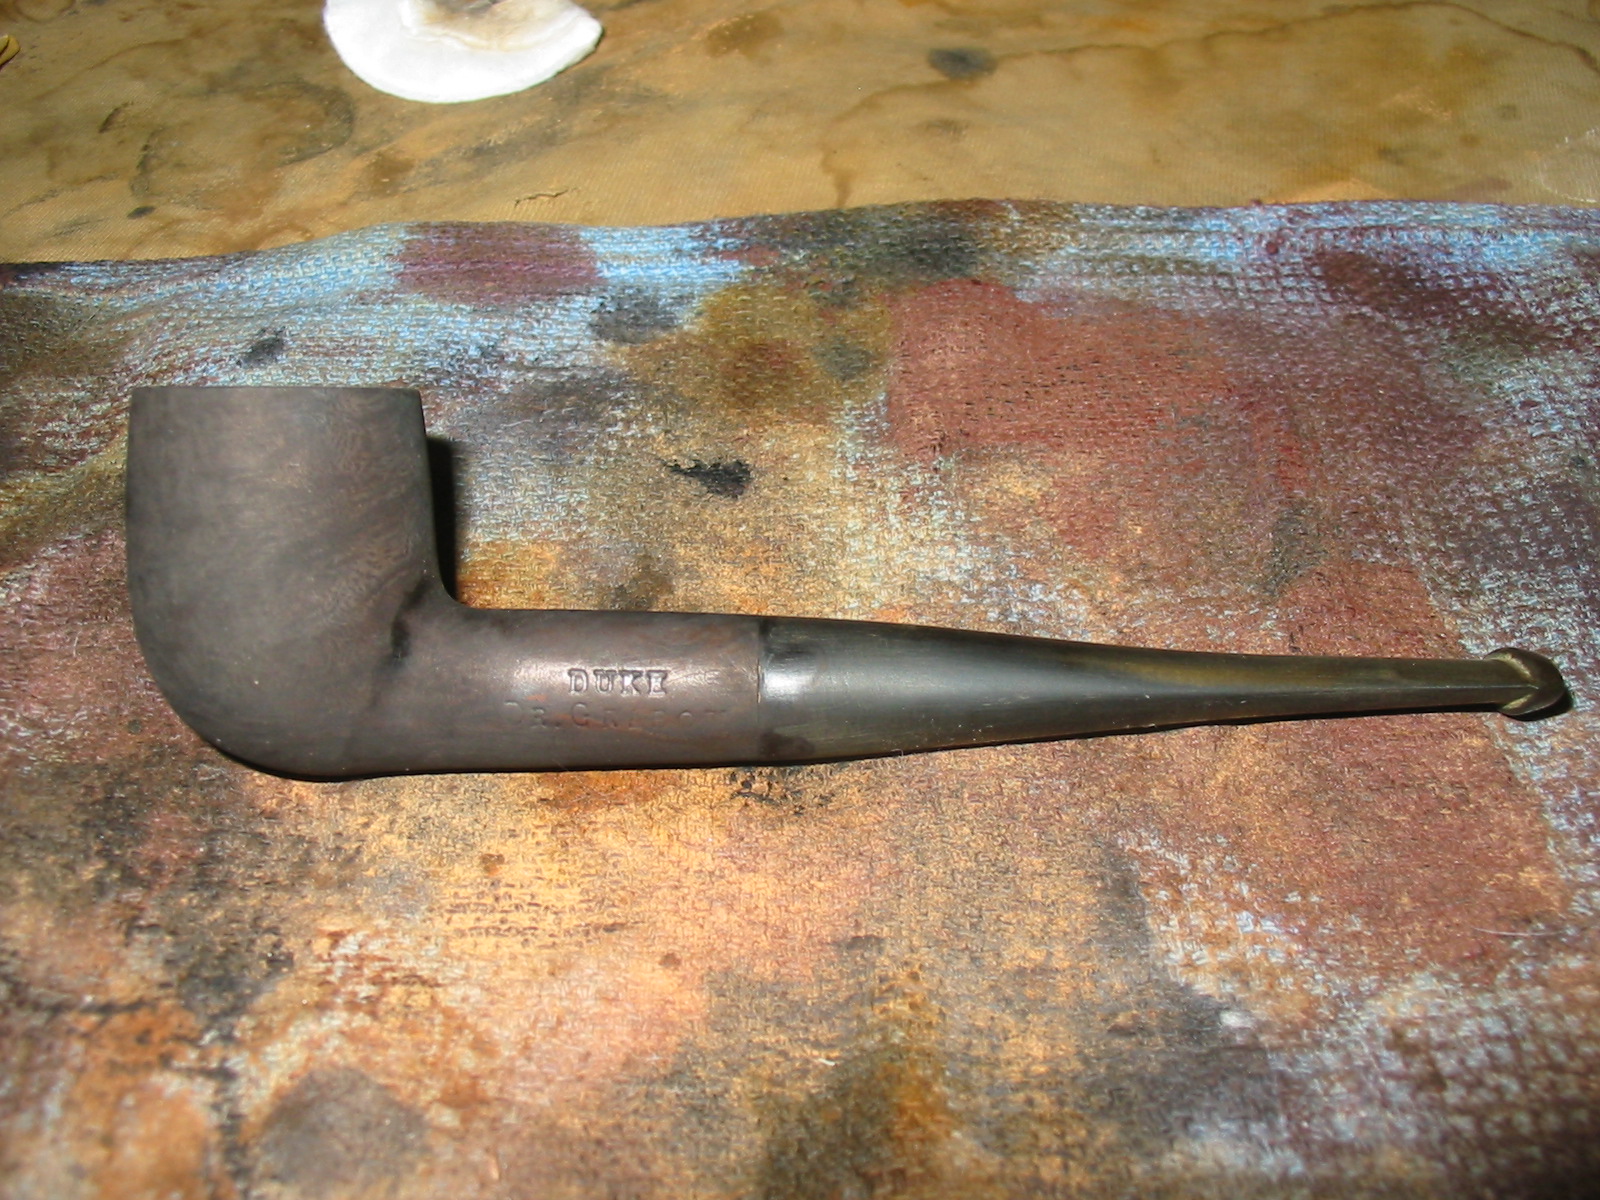
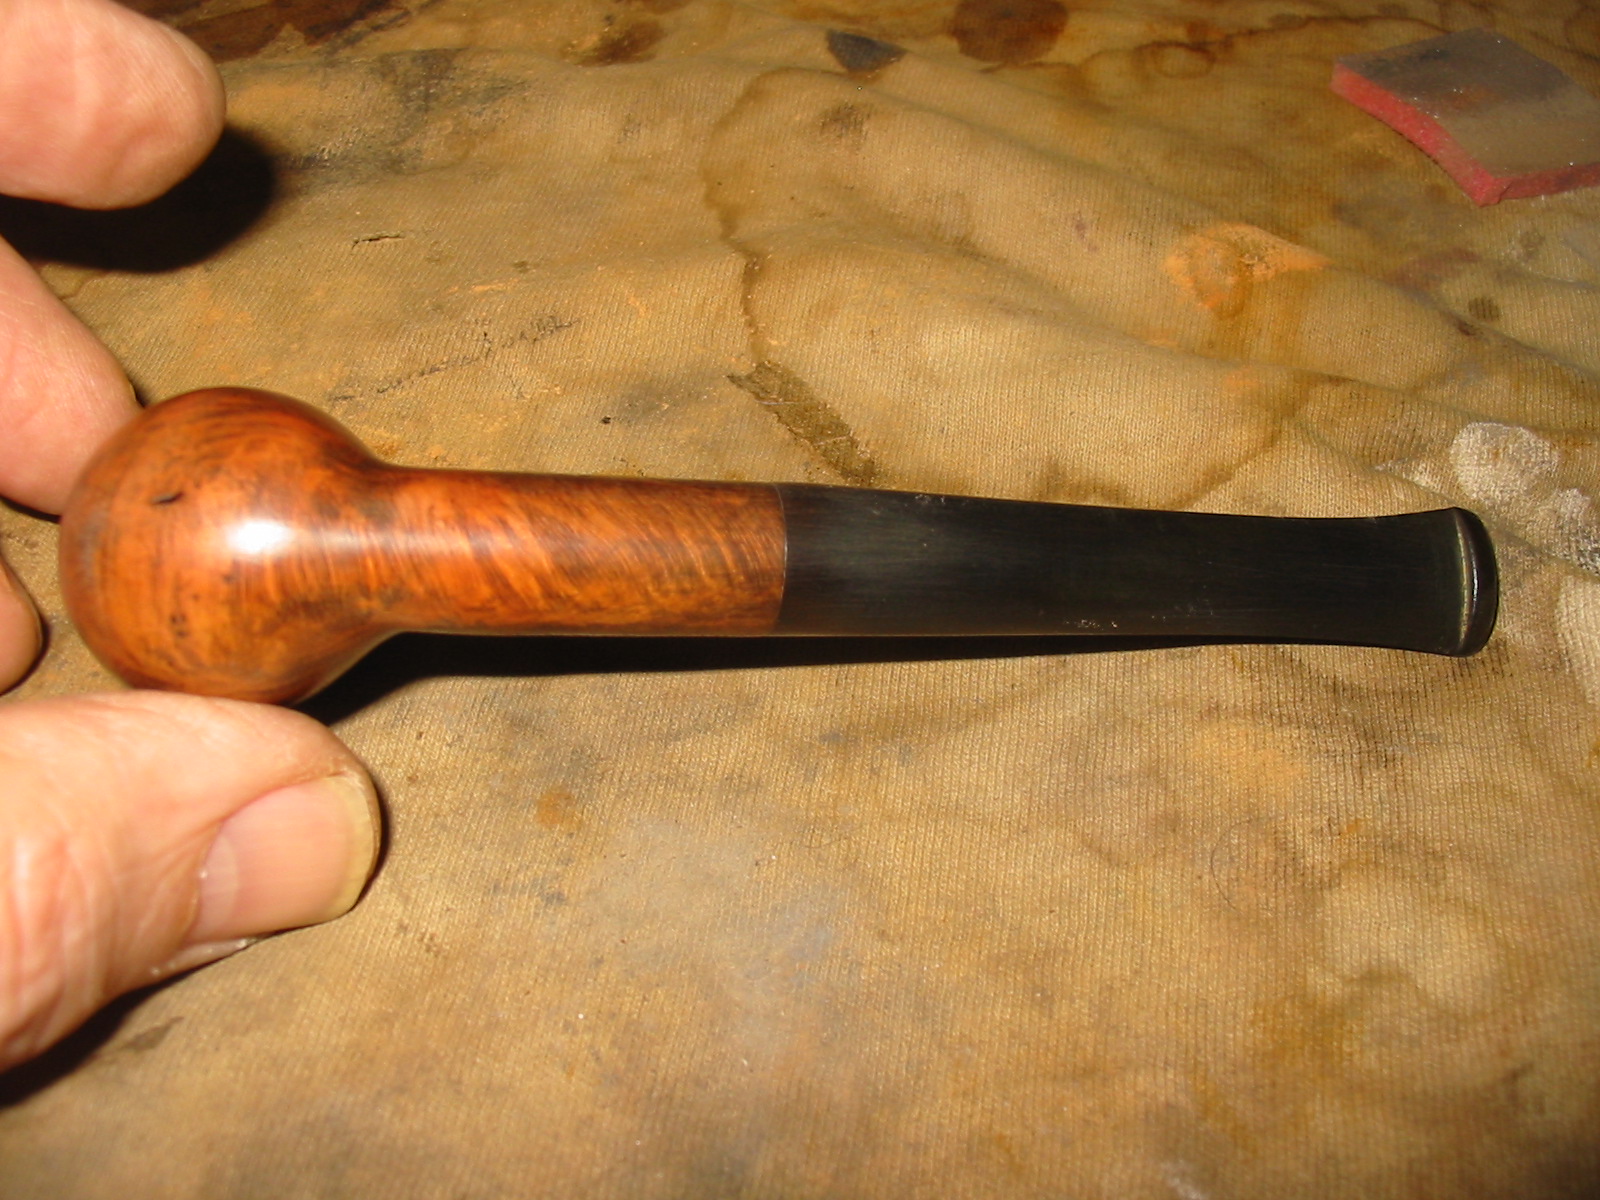
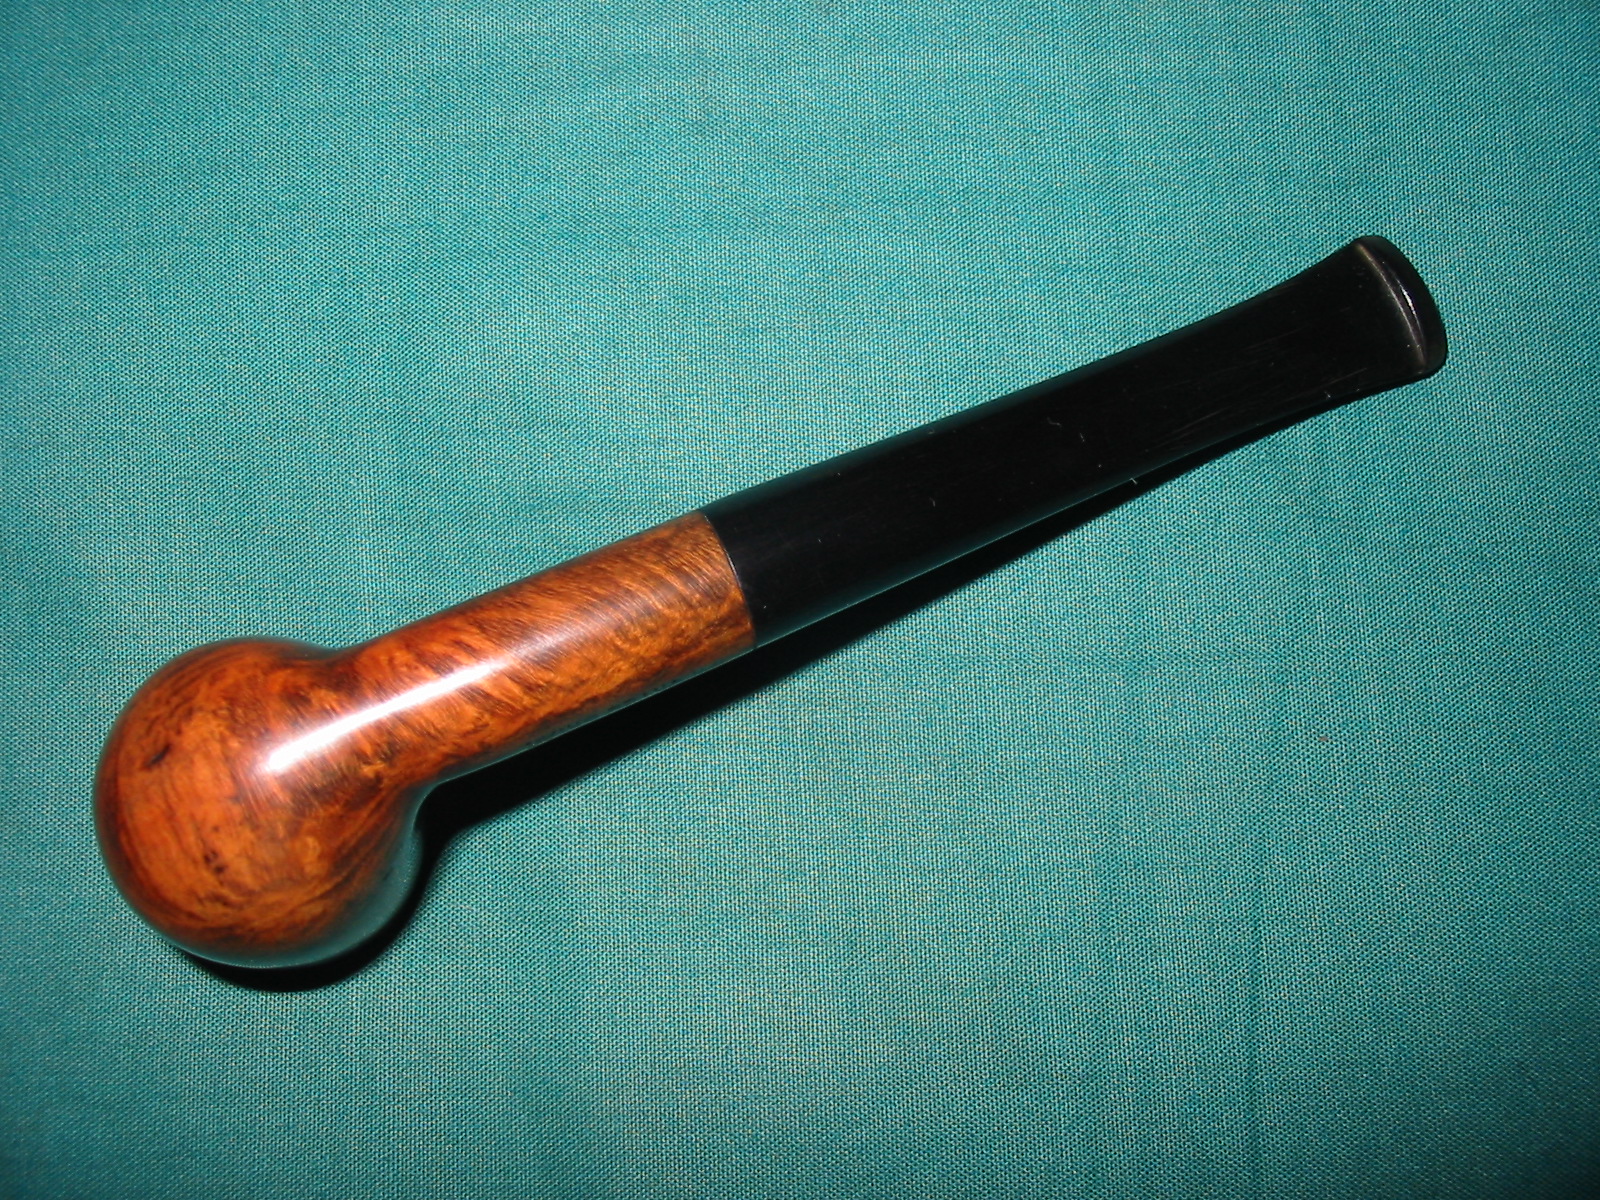
When it was dry I buffed the bowl and stem with White Diamond and then gave the entirety several coats of carnauba wax to protect and seal the stem against oxidation and to give some shine to the bowl of the pipe. The finished pipe is shown below. The finished look is far better than I expected when I started with the pipe. The rim looks better and the stain colour highlights the grain nicely. It should provide someone with a good smoking pipe for use in the yard or shop.

It looks like the wood glue did an equal job to the Superglue?
LikeLike
The wood glue seemed to do precisely the same thing as the superglue. The fill is slightly lighter but dark nonetheless.
LikeLike
And so the search continues…
LikeLike
Nice job! So what is your opinion of the wood glue? Did it turn black like the super glue?
LikeLike
The wood glue does seem to darken as does the superglue
LikeLike