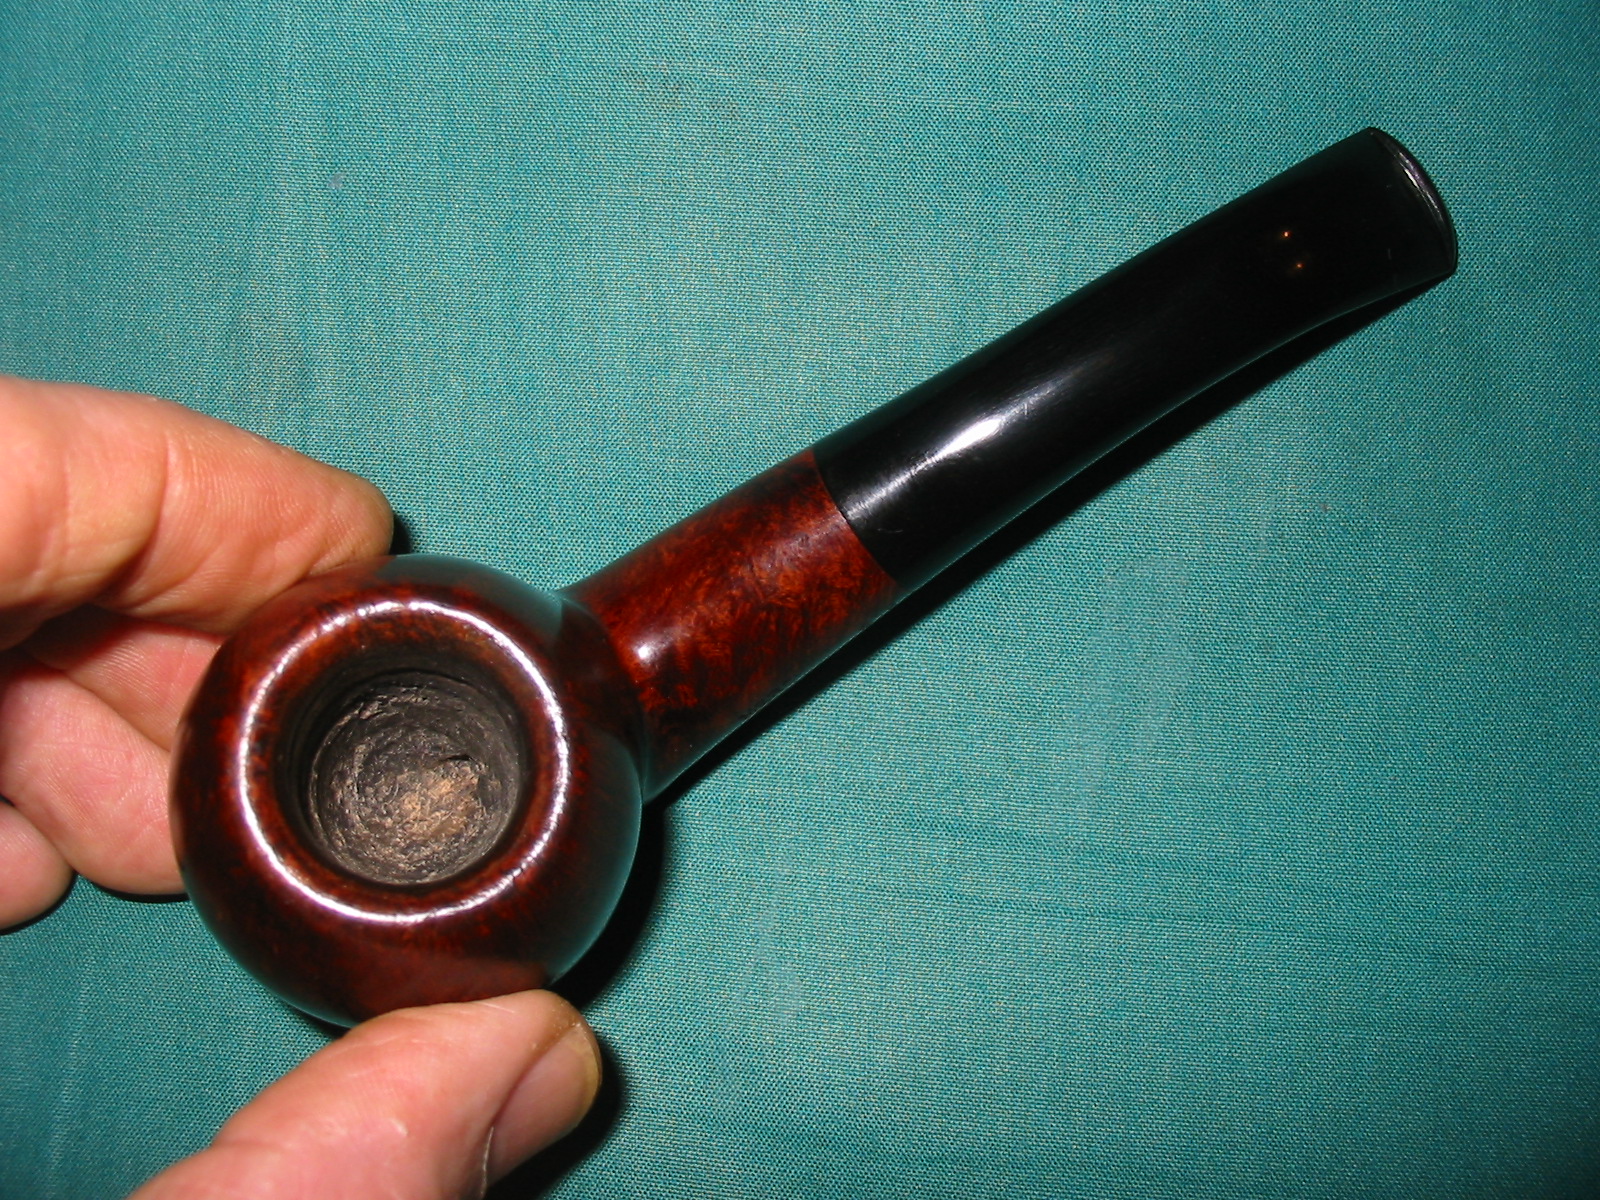
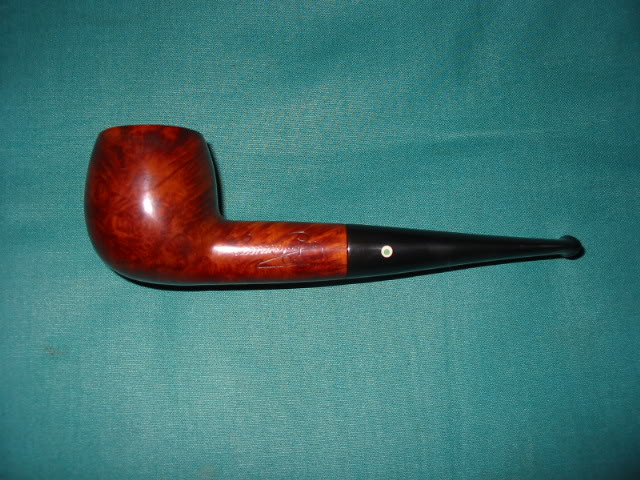
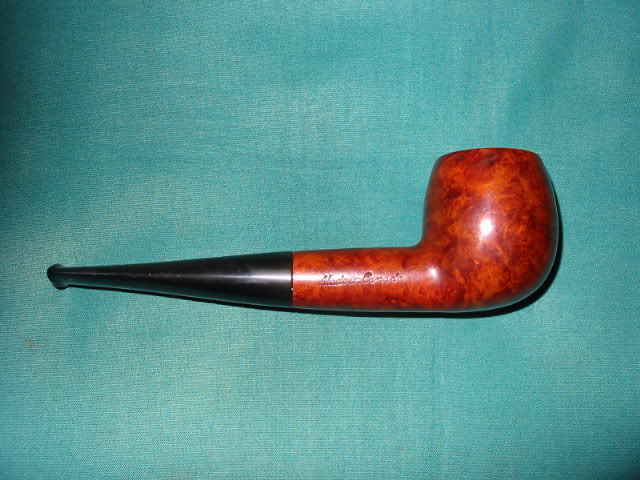
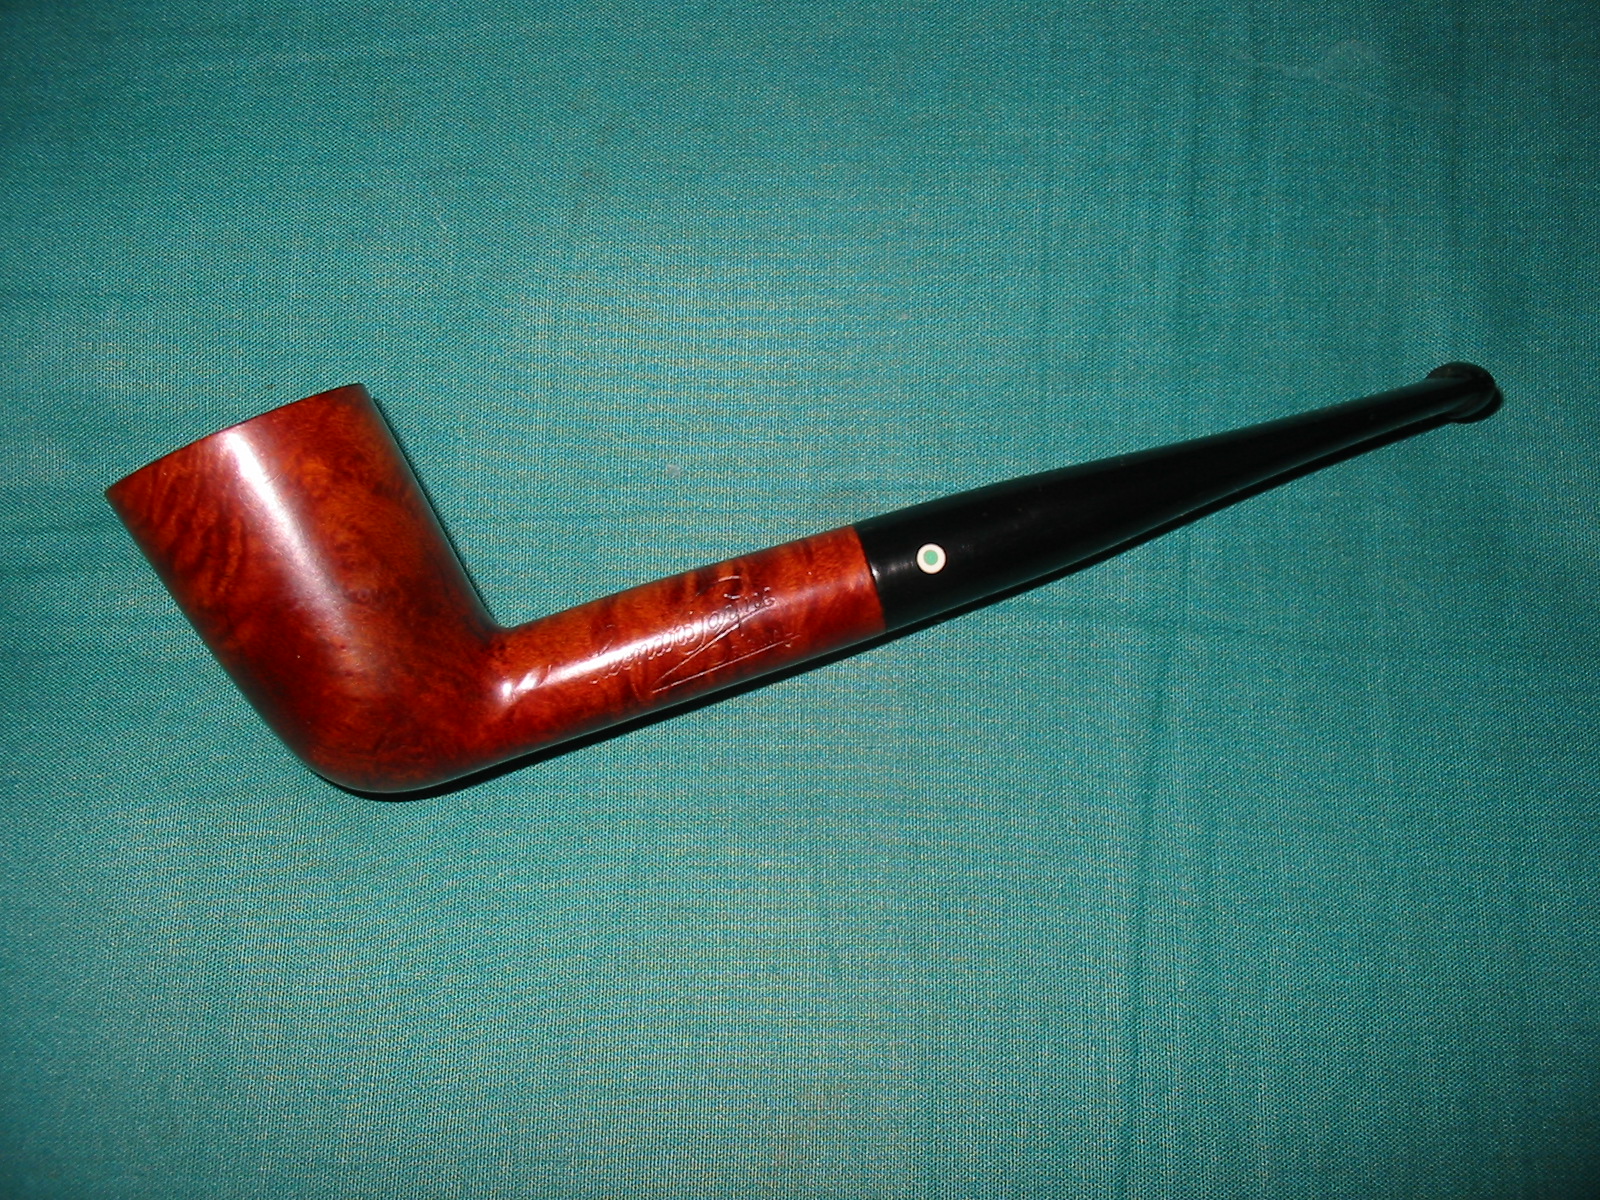
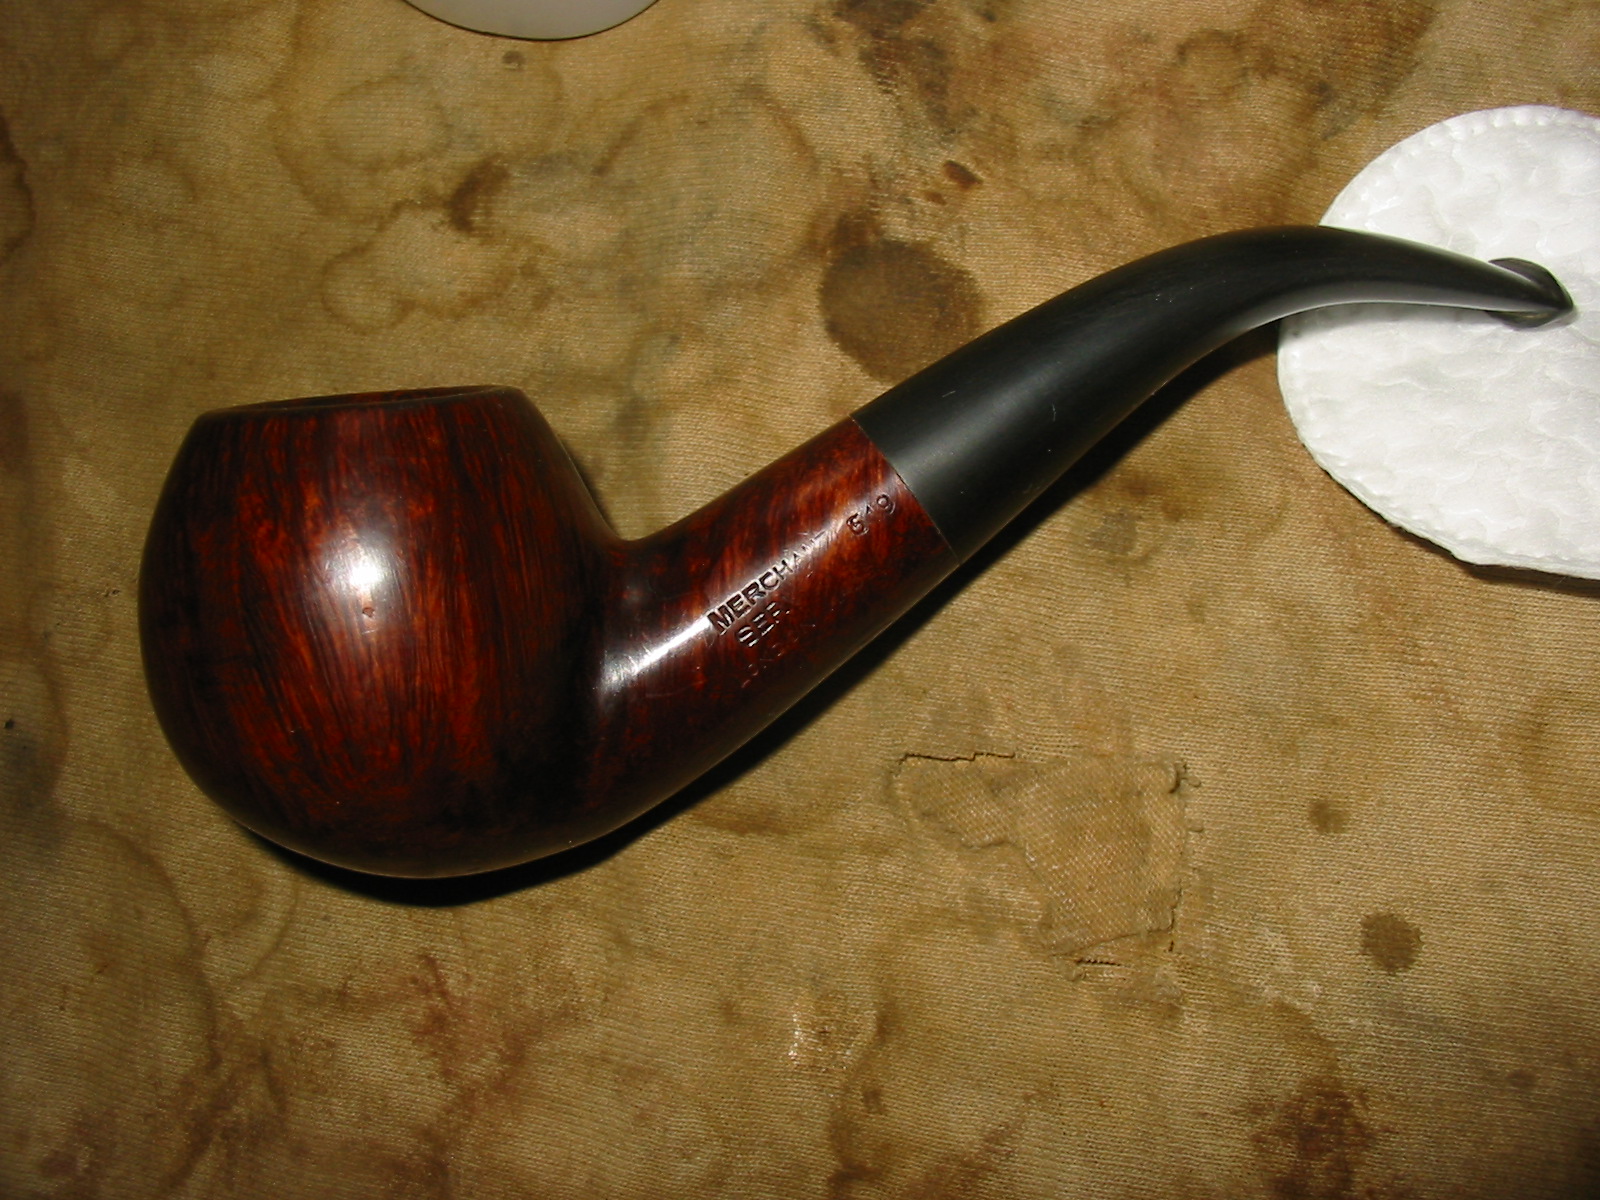
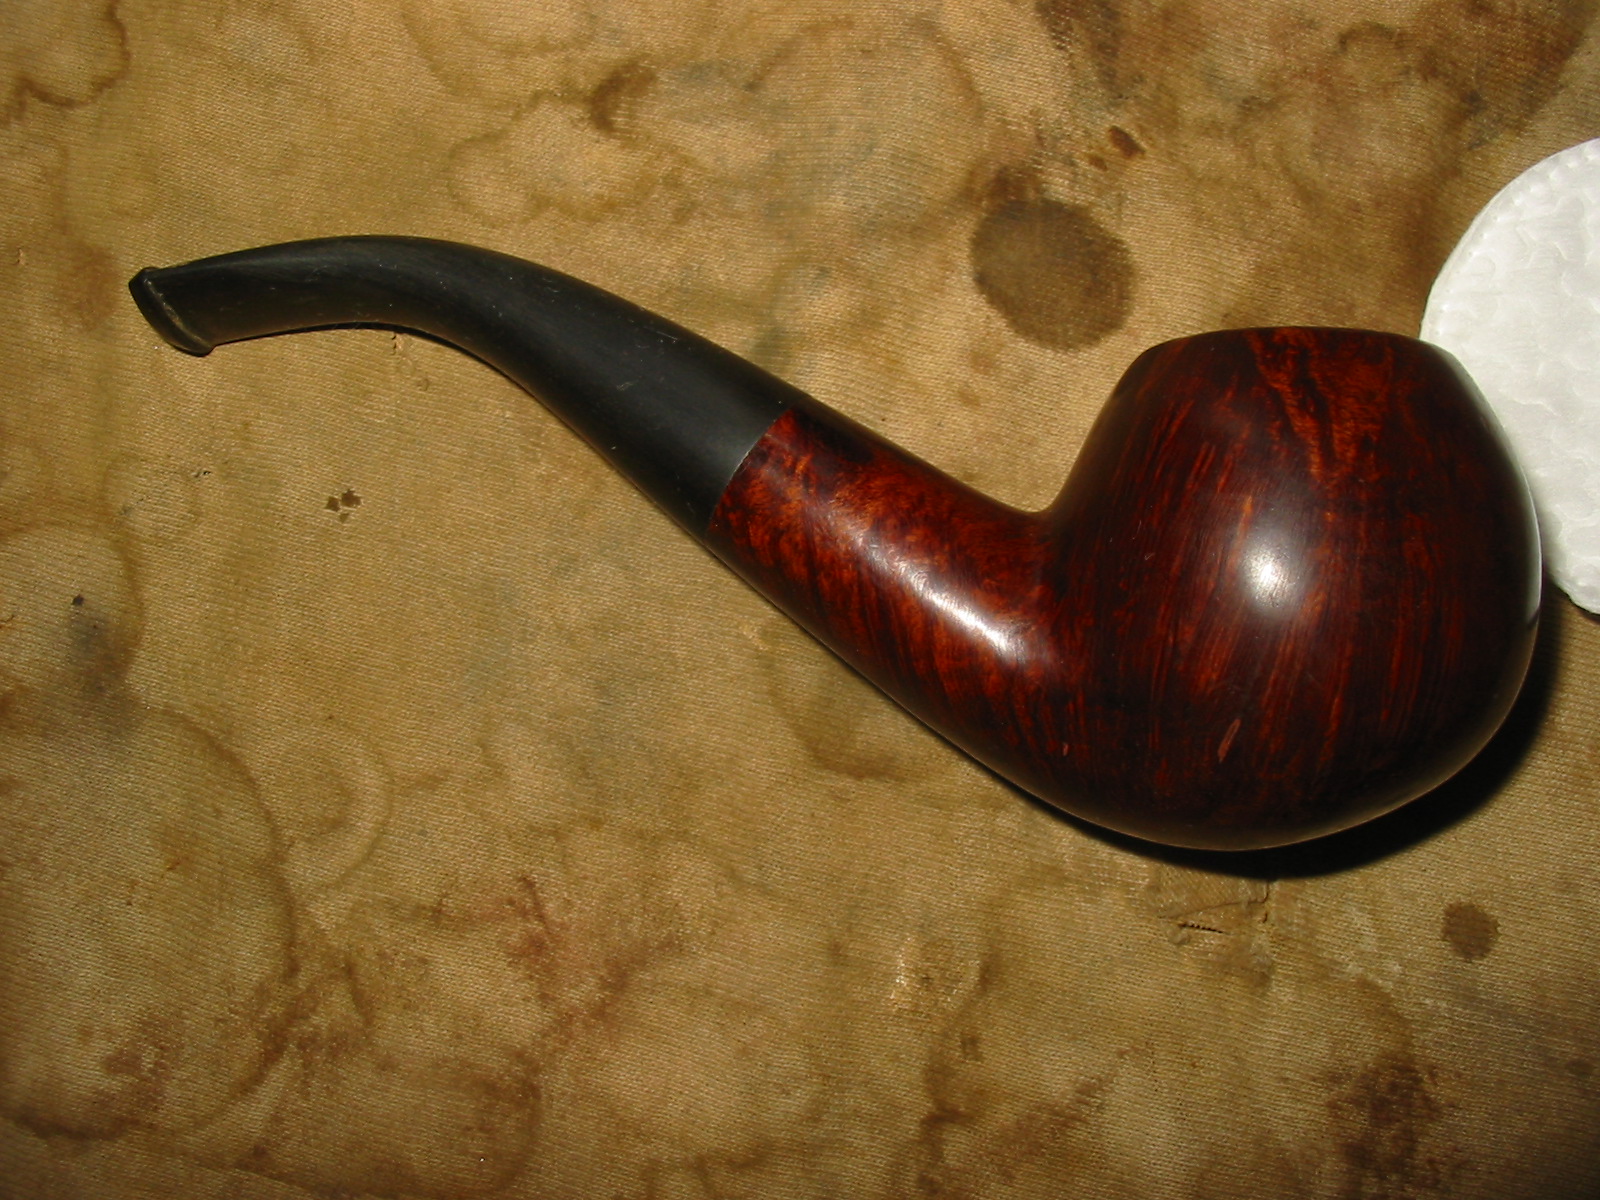
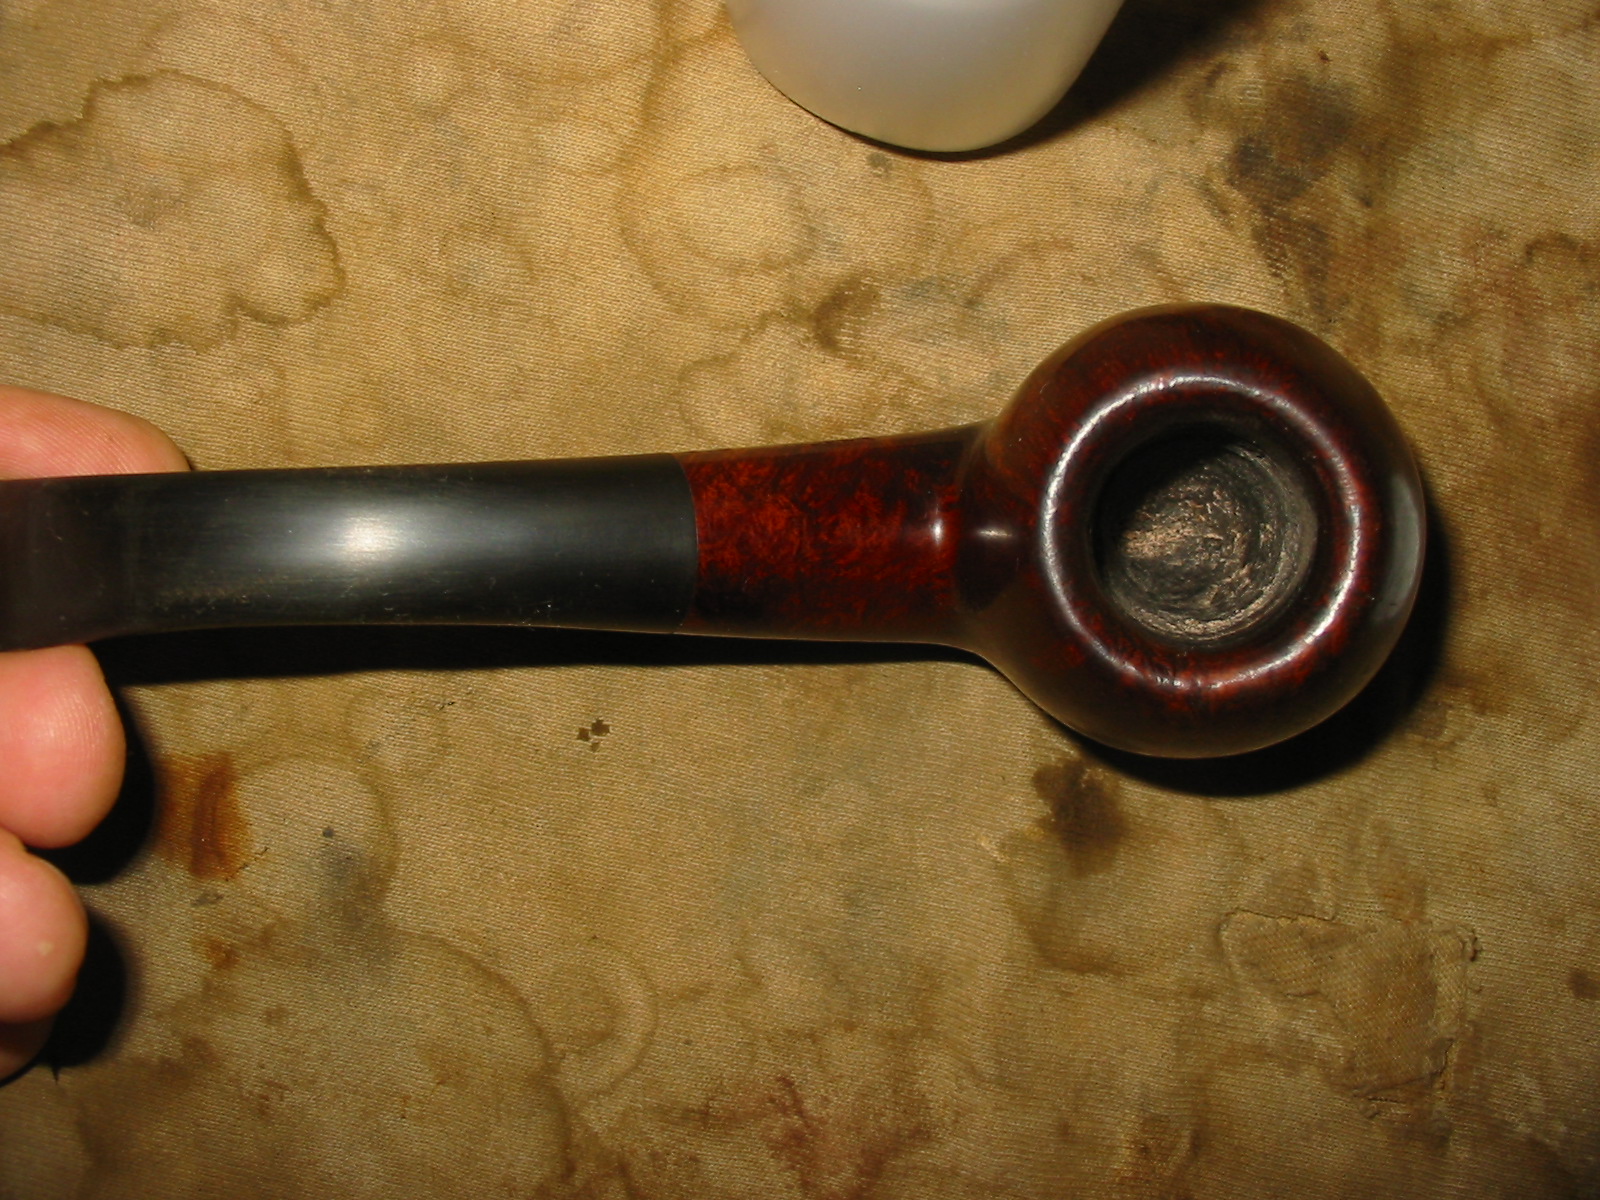
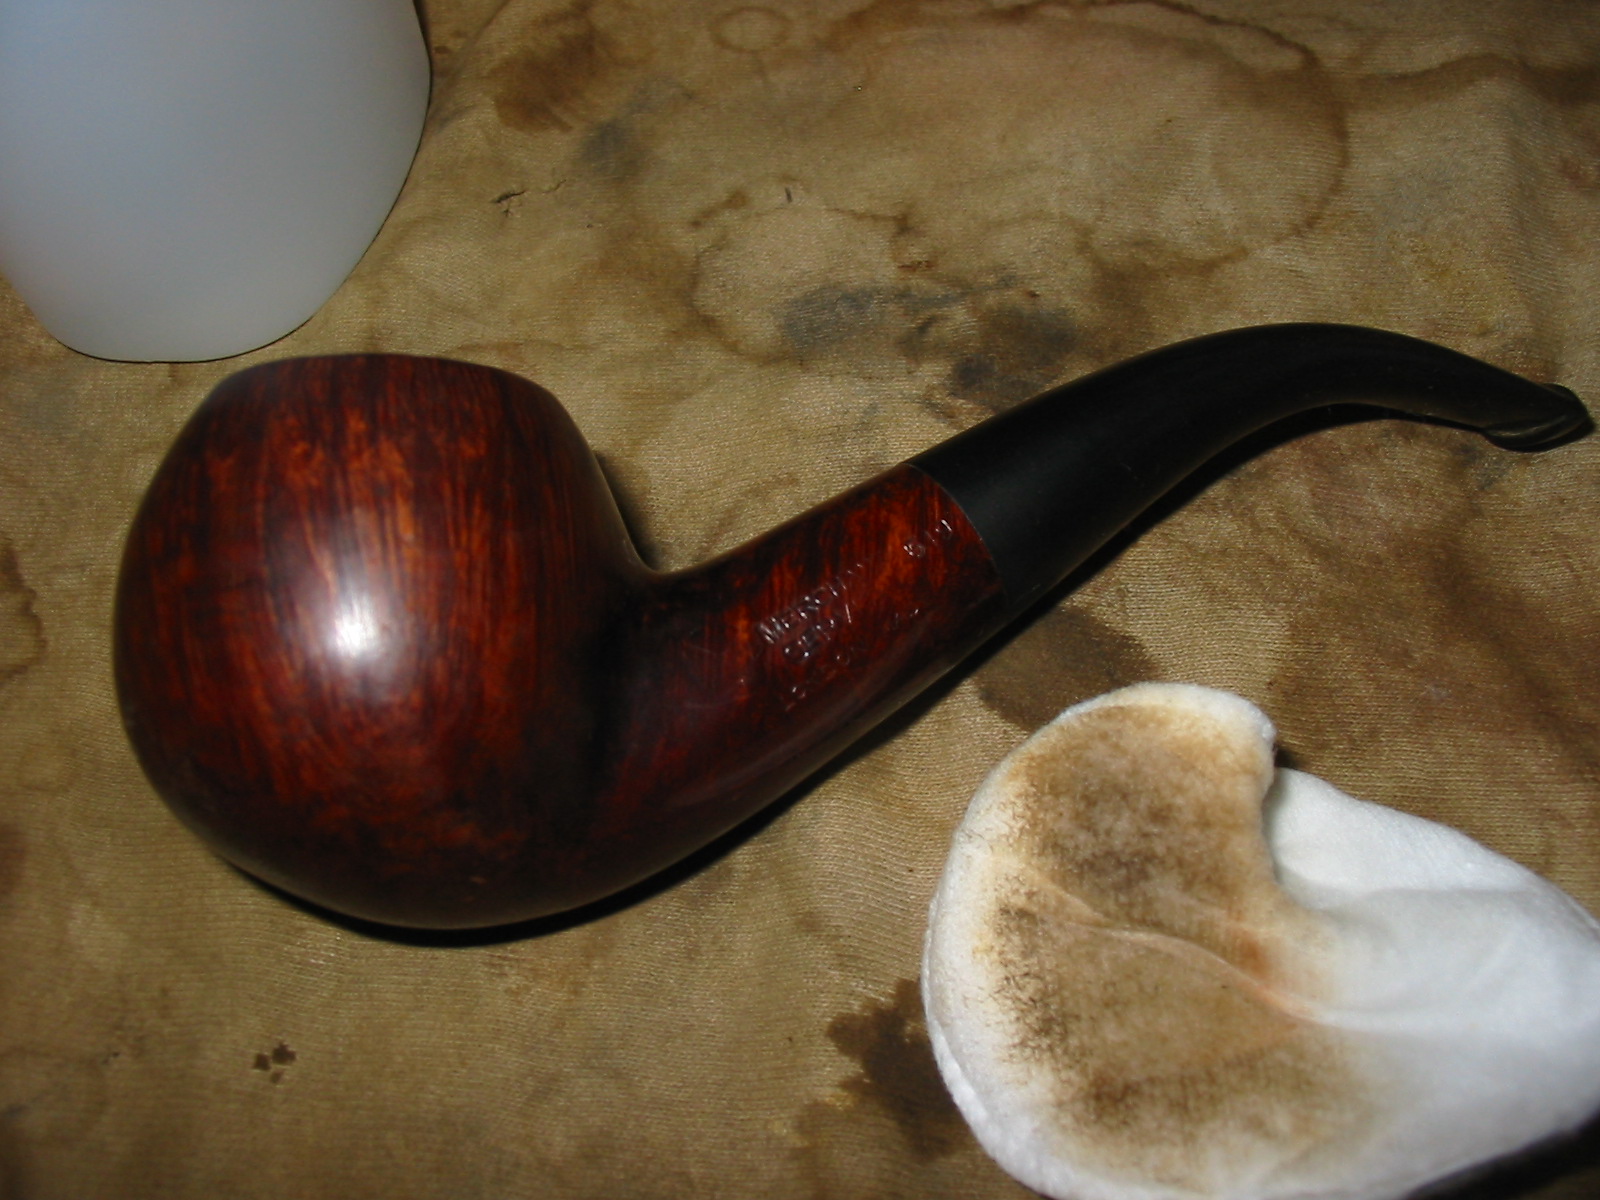
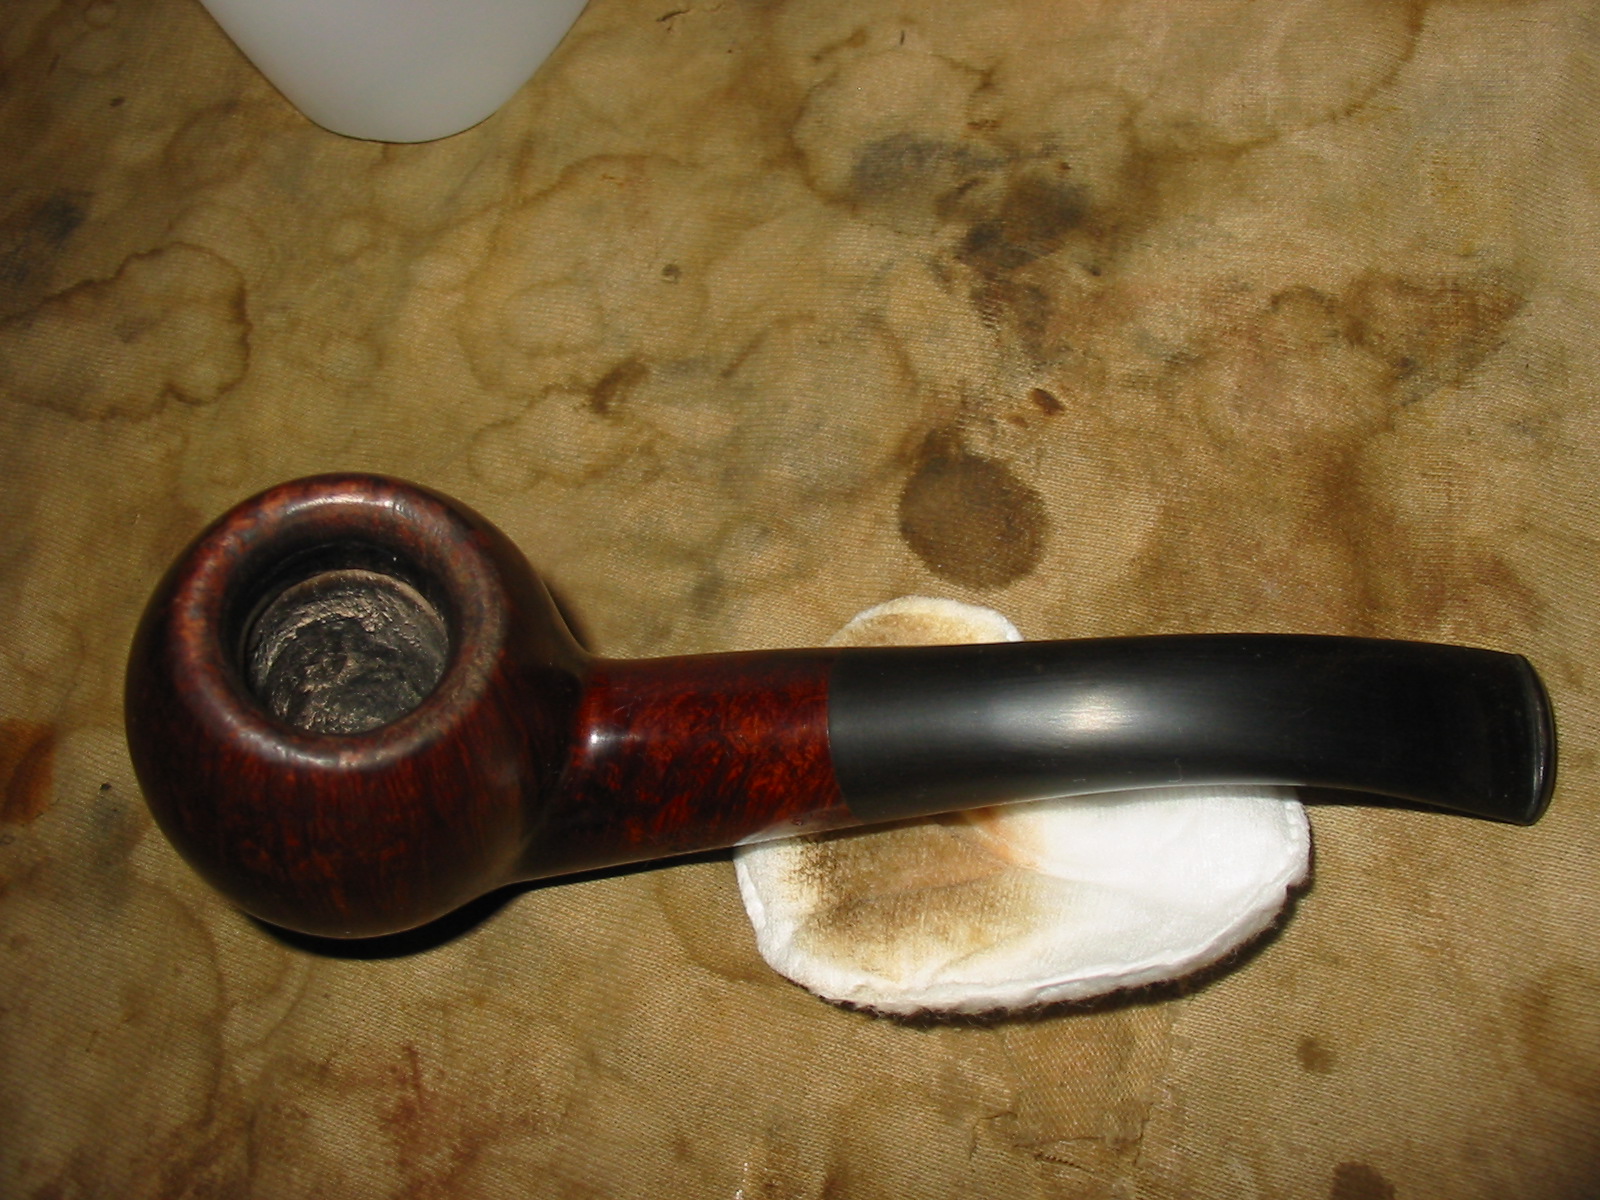
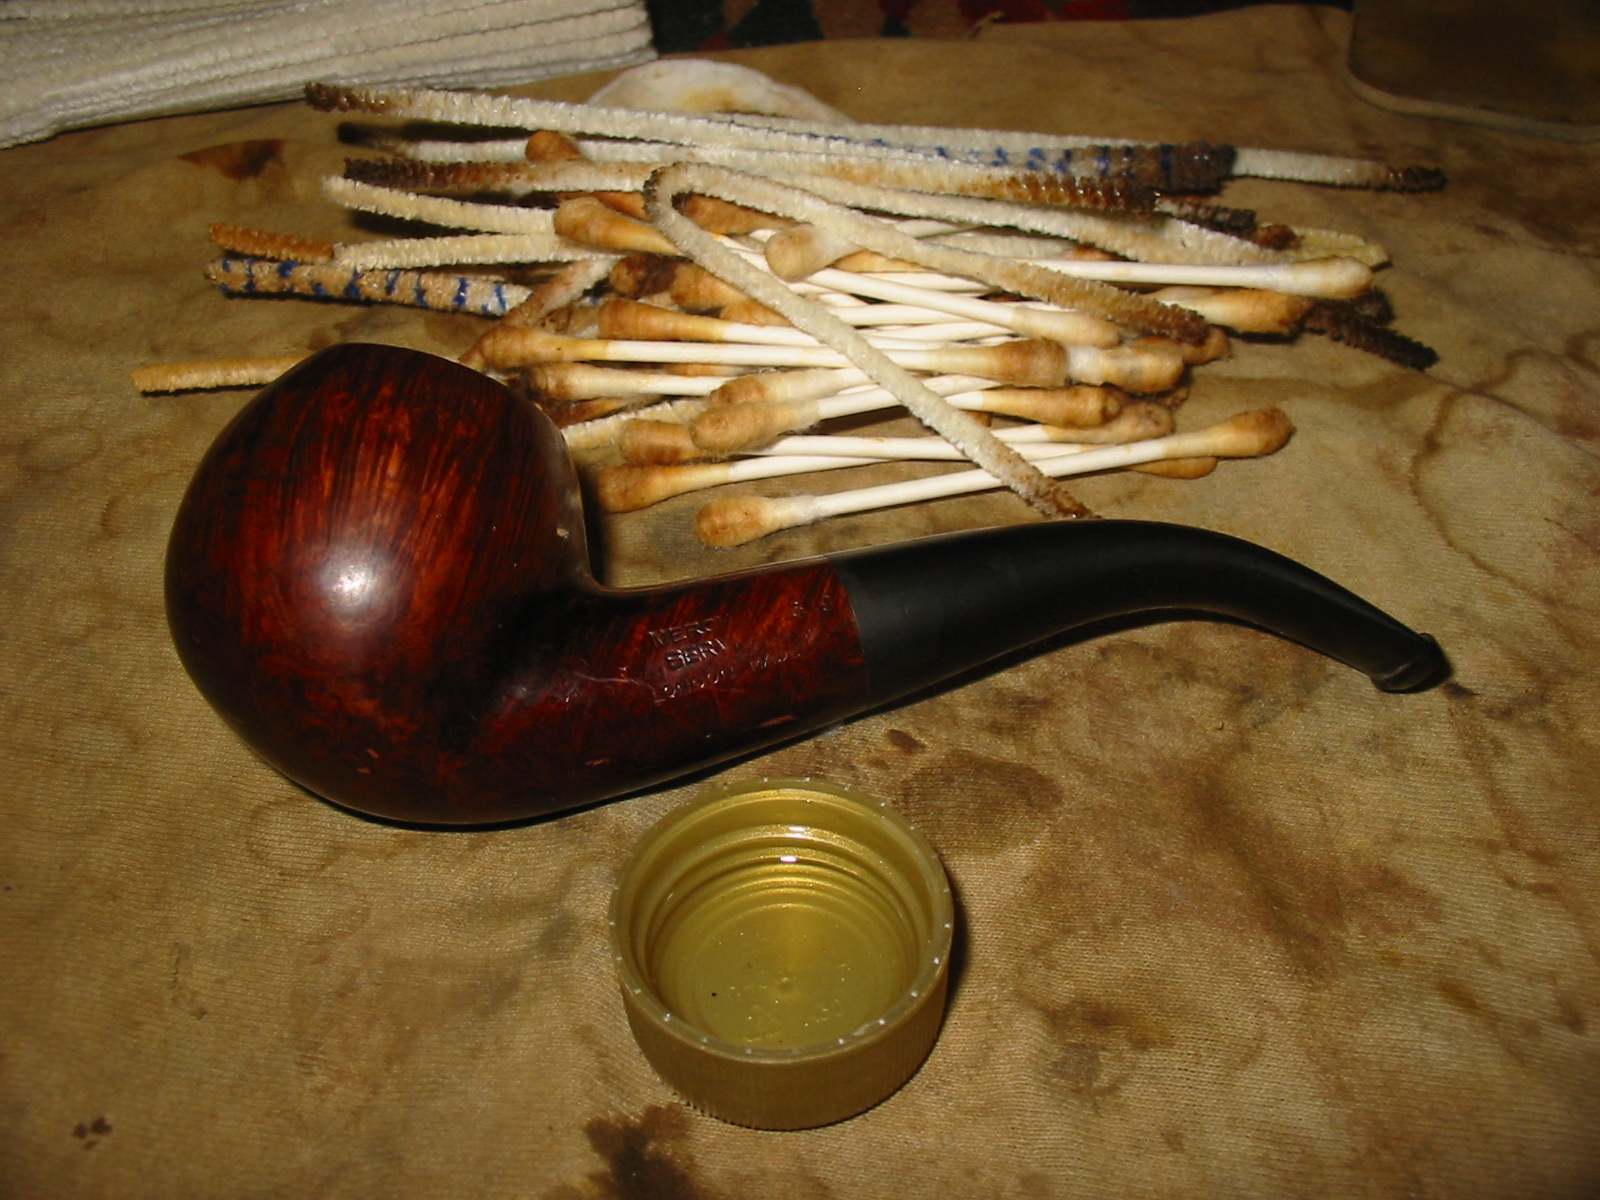
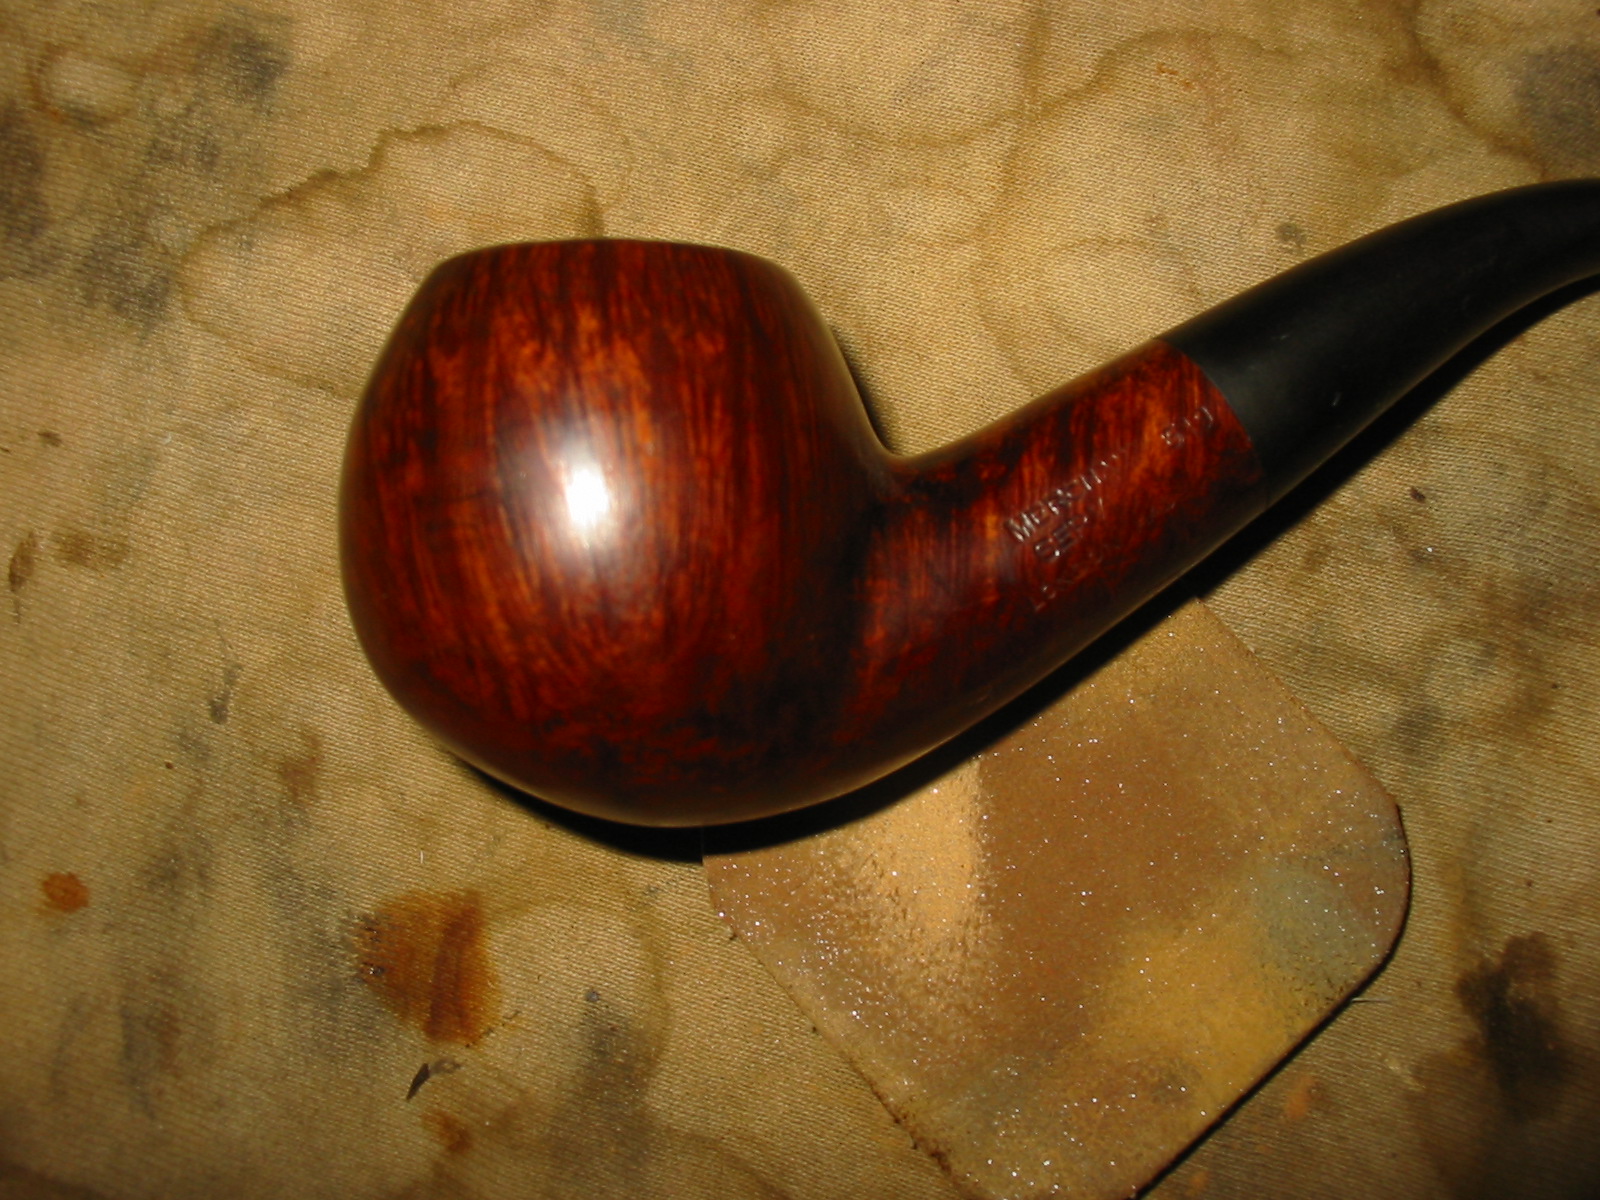
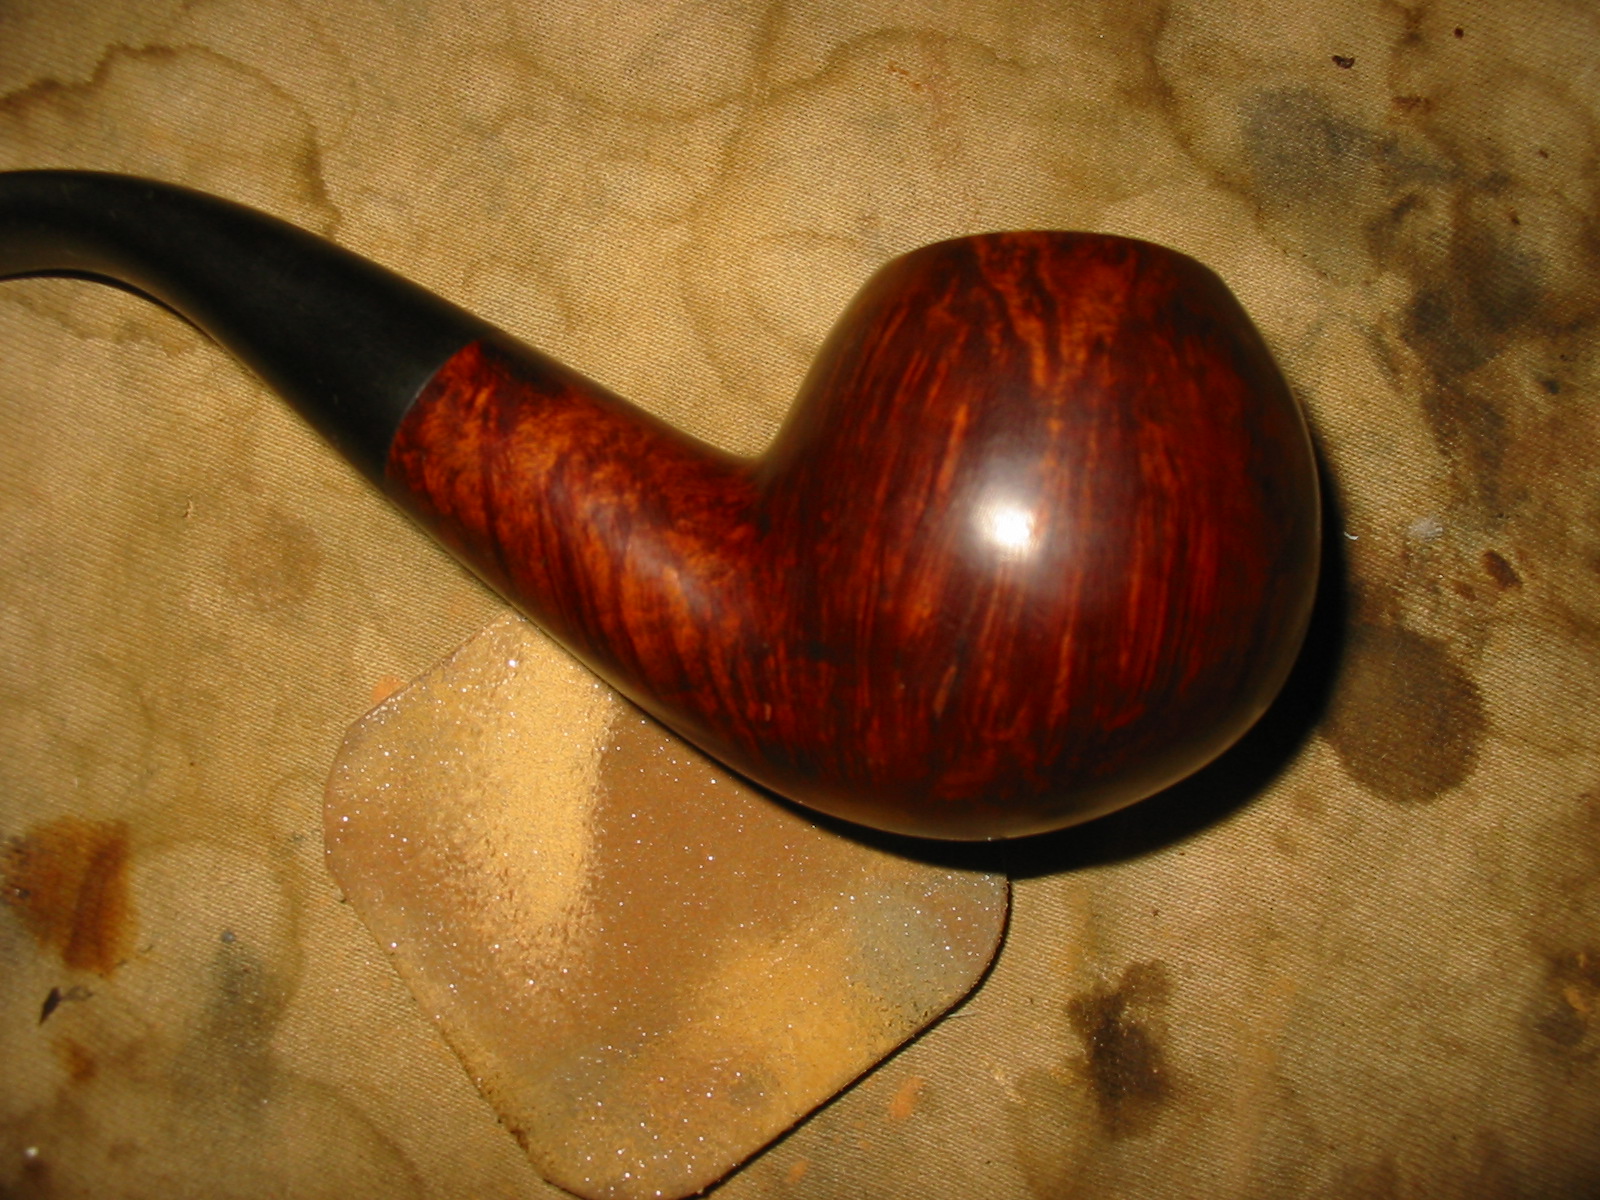
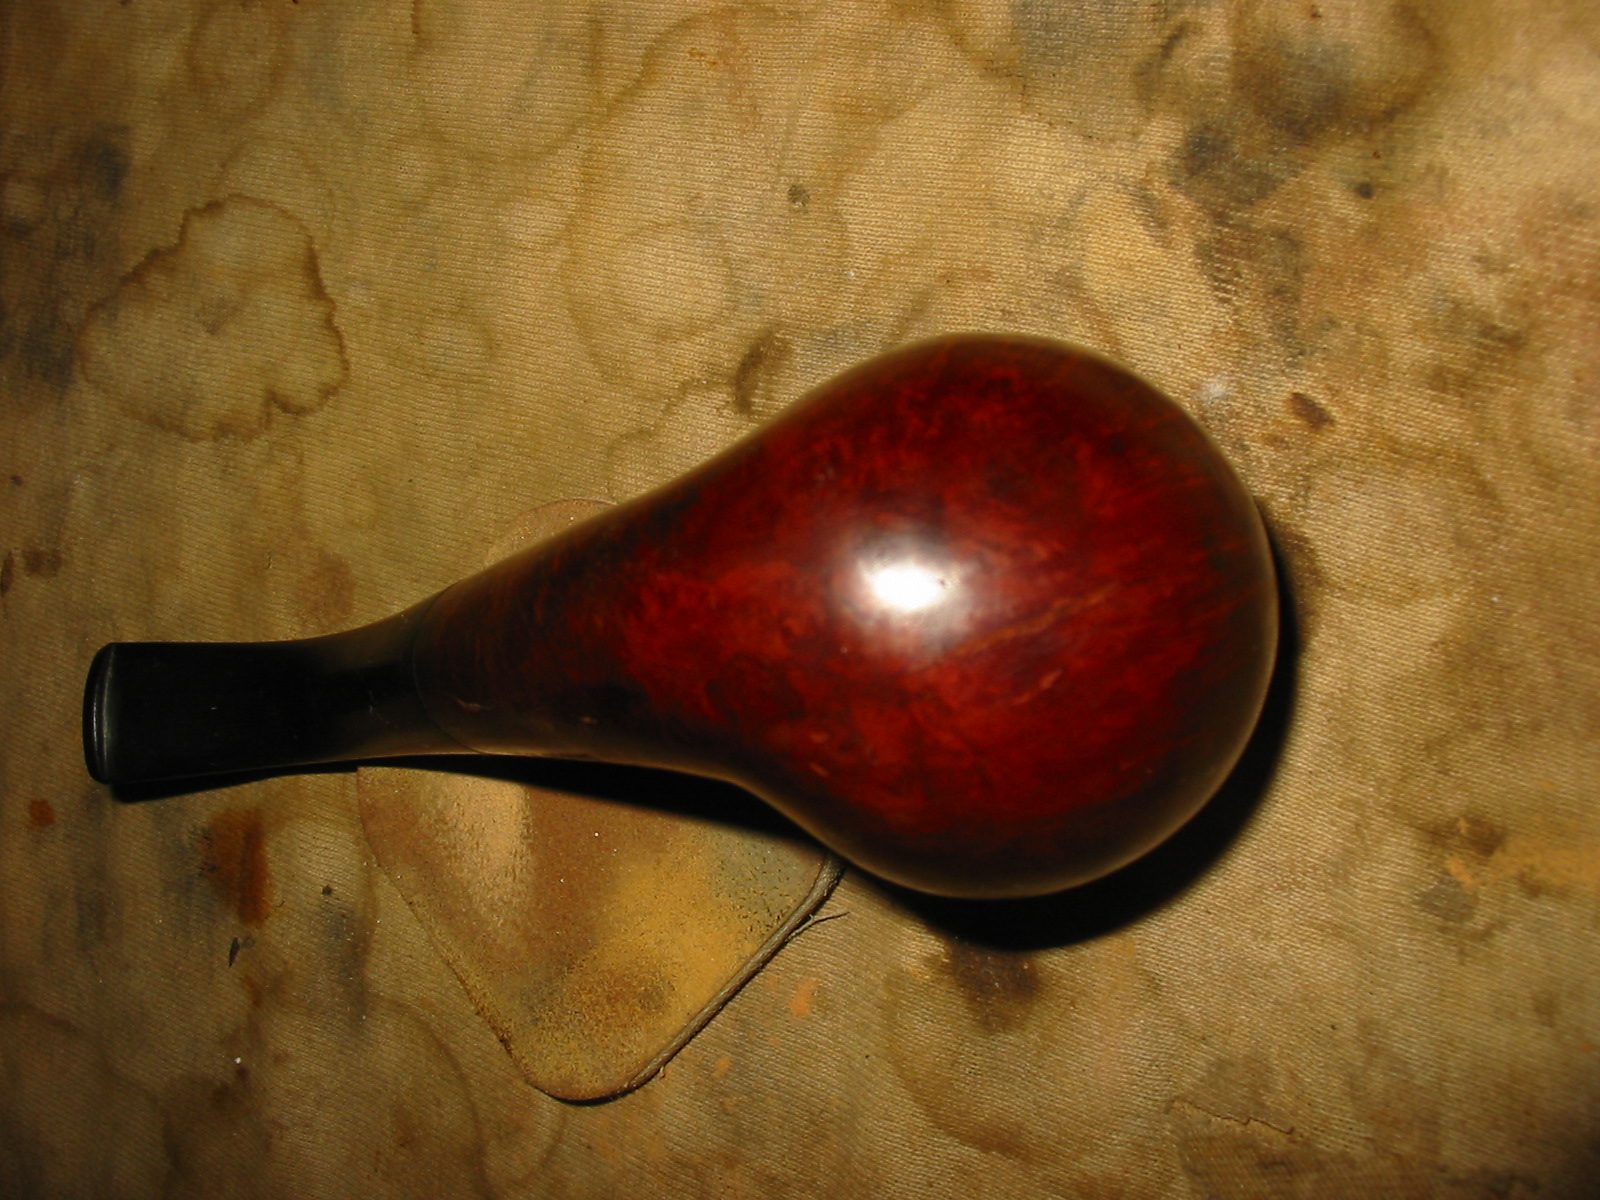
I bought a pair of older pipes on EBay for a good price. I have written about the refurbishment of the first – the ¾ bent Royal Falcon in an earlier blog post. This particular post is about the second pipe. It is pictured at the top of the first two photos below and on the left in the third photo. It is stamped on the left side of the shank with the words, Merchants over Service in block capital letters over London Made also in block caps though smaller stamp. There is a shape number stamped next to the above stamping and just prior to the stem – 519. The photos below were supplied by the seller in the EBay sale. The seller said that the finish on the pipe looked very good in the photos and the stem was in good shape without cracks, dents or tooth chatter. They also said that the bowl was clean but previously smoked.

While I waited for its arrival I did a bit of hunting on the web to find out what I could about the brand. There was not much information available and what was there was attached to Bing Crosby. What I found out about the brand on the internet turns out to have originally come from Jose Manuel Lopes great work called Pipes, Artisans and Trademarks. The Merchant Service Pipe was a former English brand of pipe made by Merchant Service Ltd. It was a firm created by Herbert Merchant (d.1944) and which later belonged to Holland Penny Limited. It turns out that the company was a favourite of the North American Entertainer Bing Crosby. That is not a lot of information and I would love to find some more. If anyone who reads this has more information please do not hesitate to post it in the response boxes below.
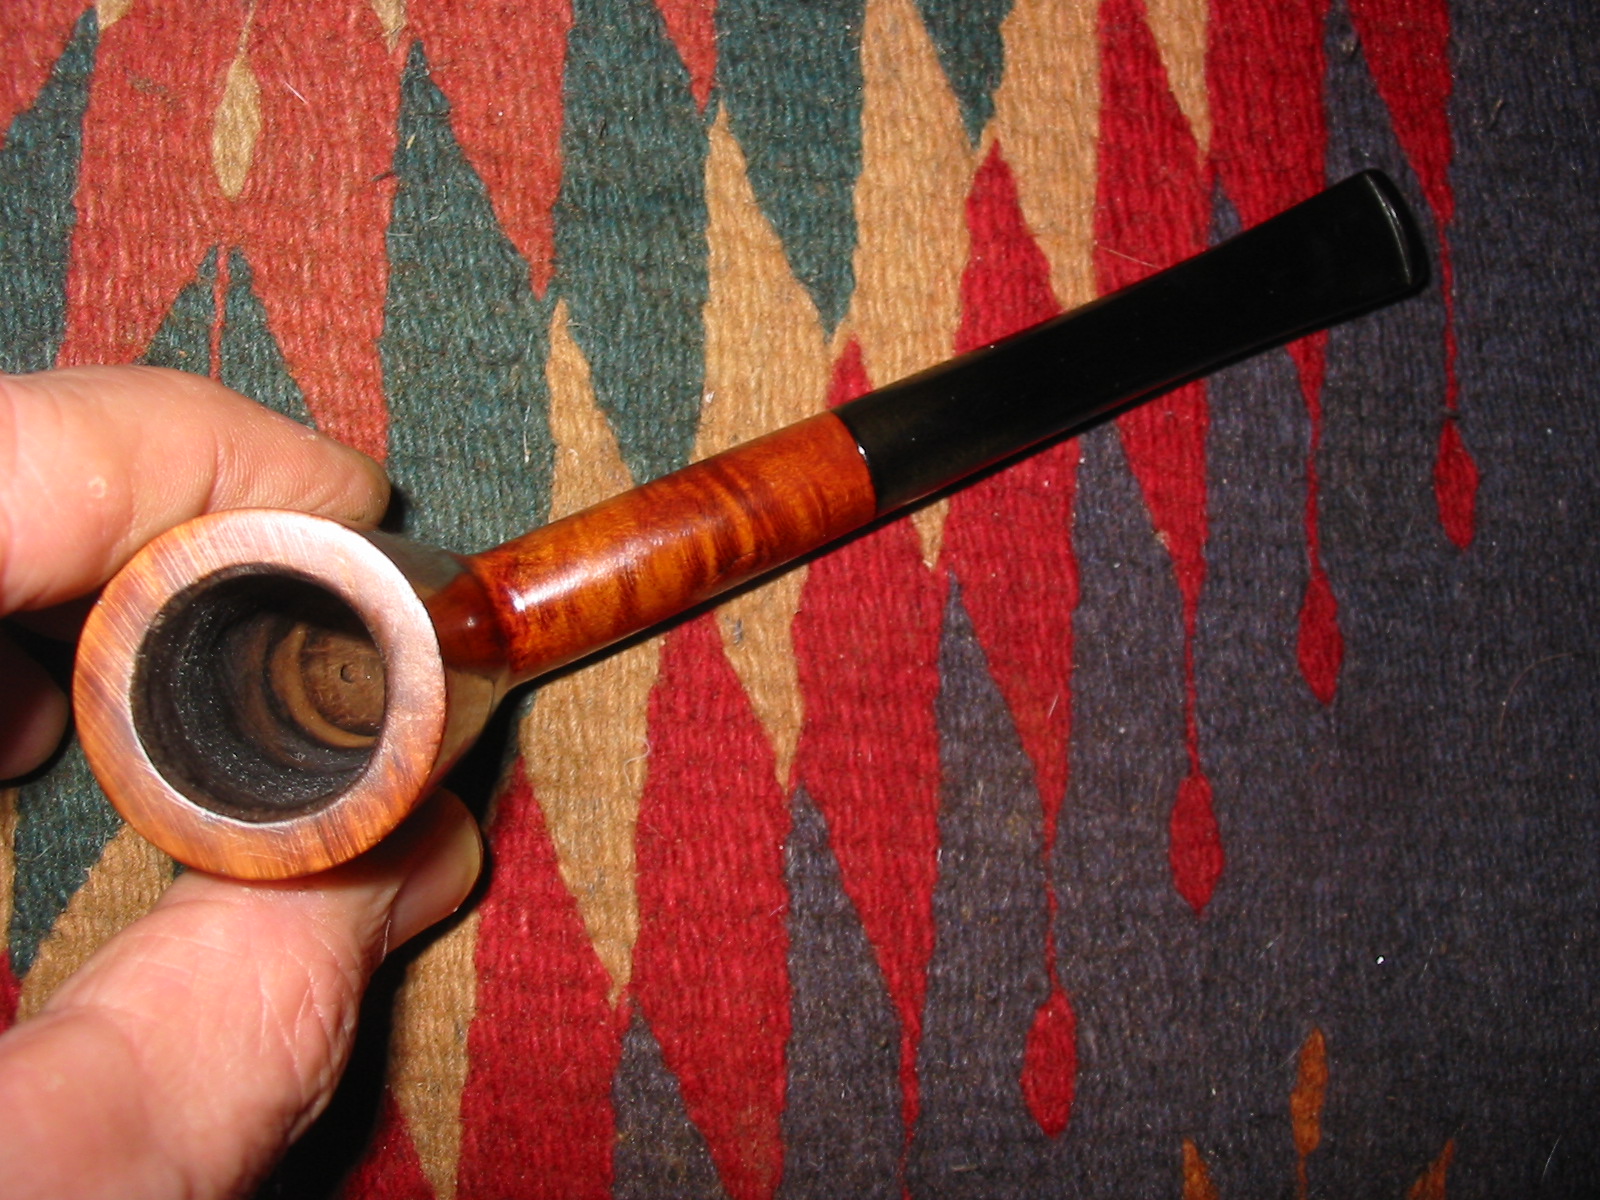
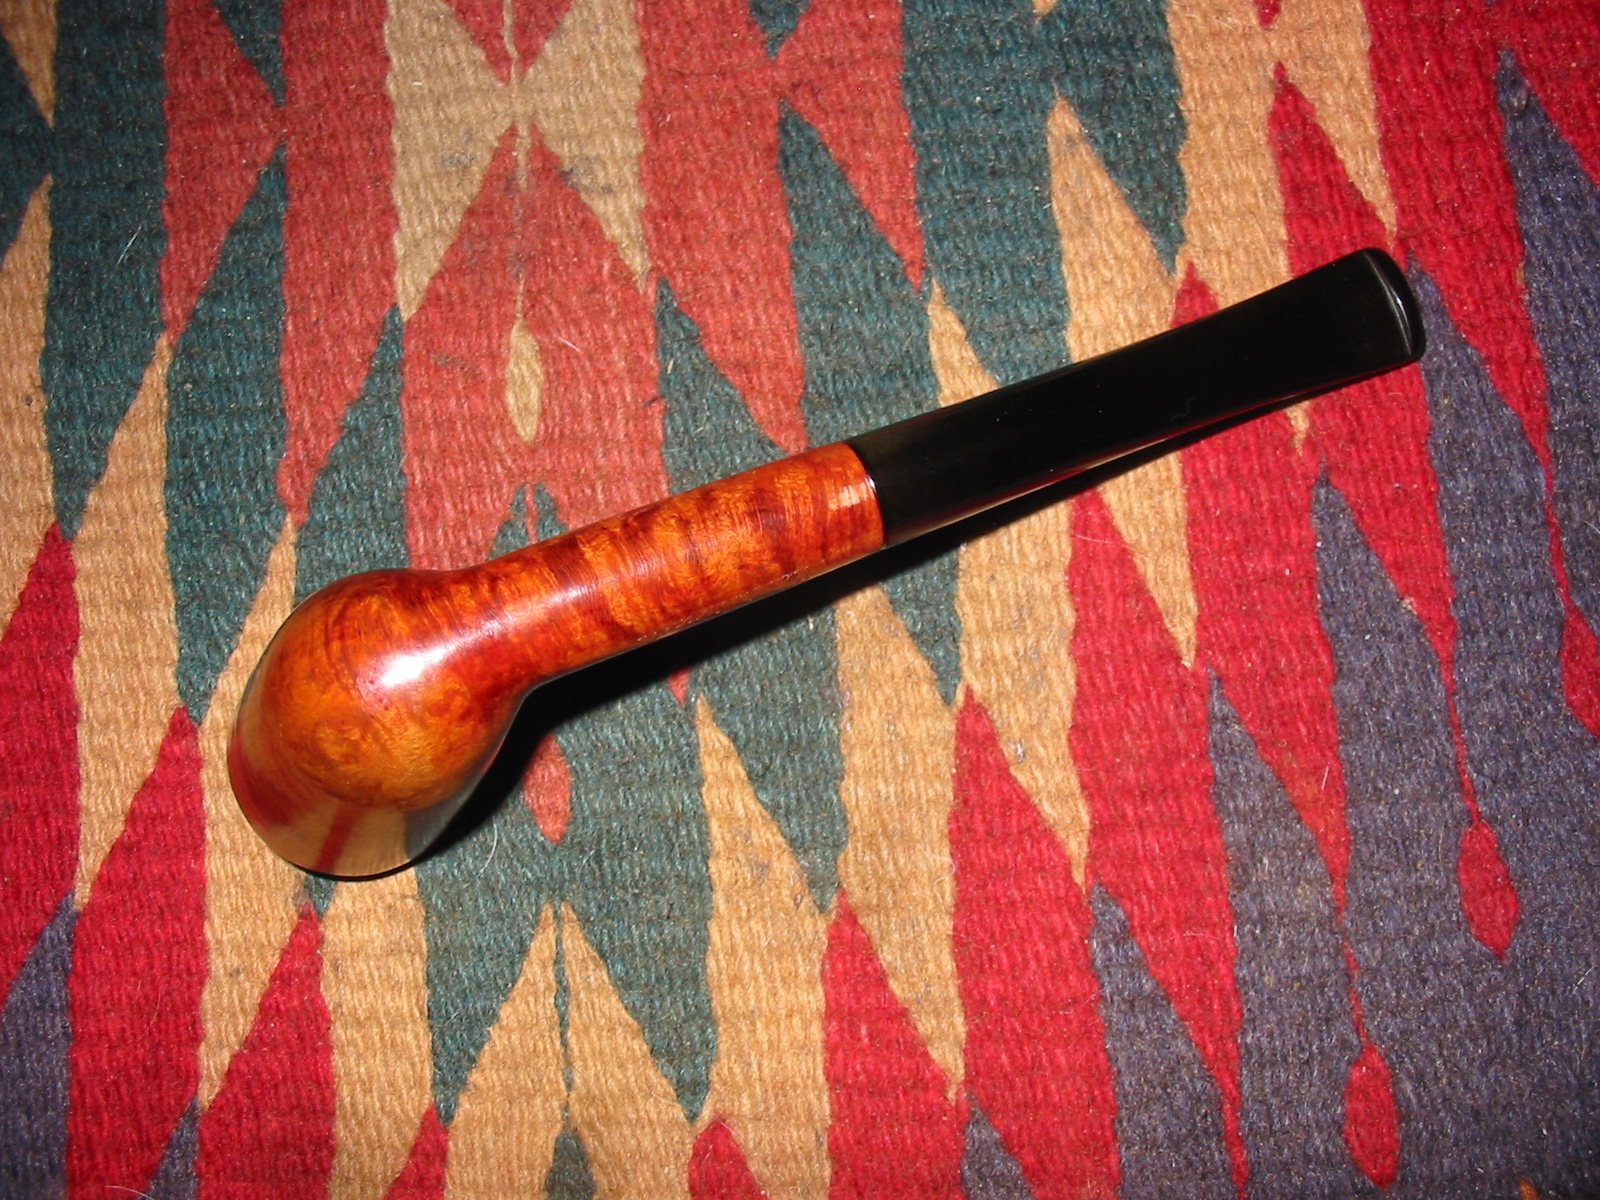
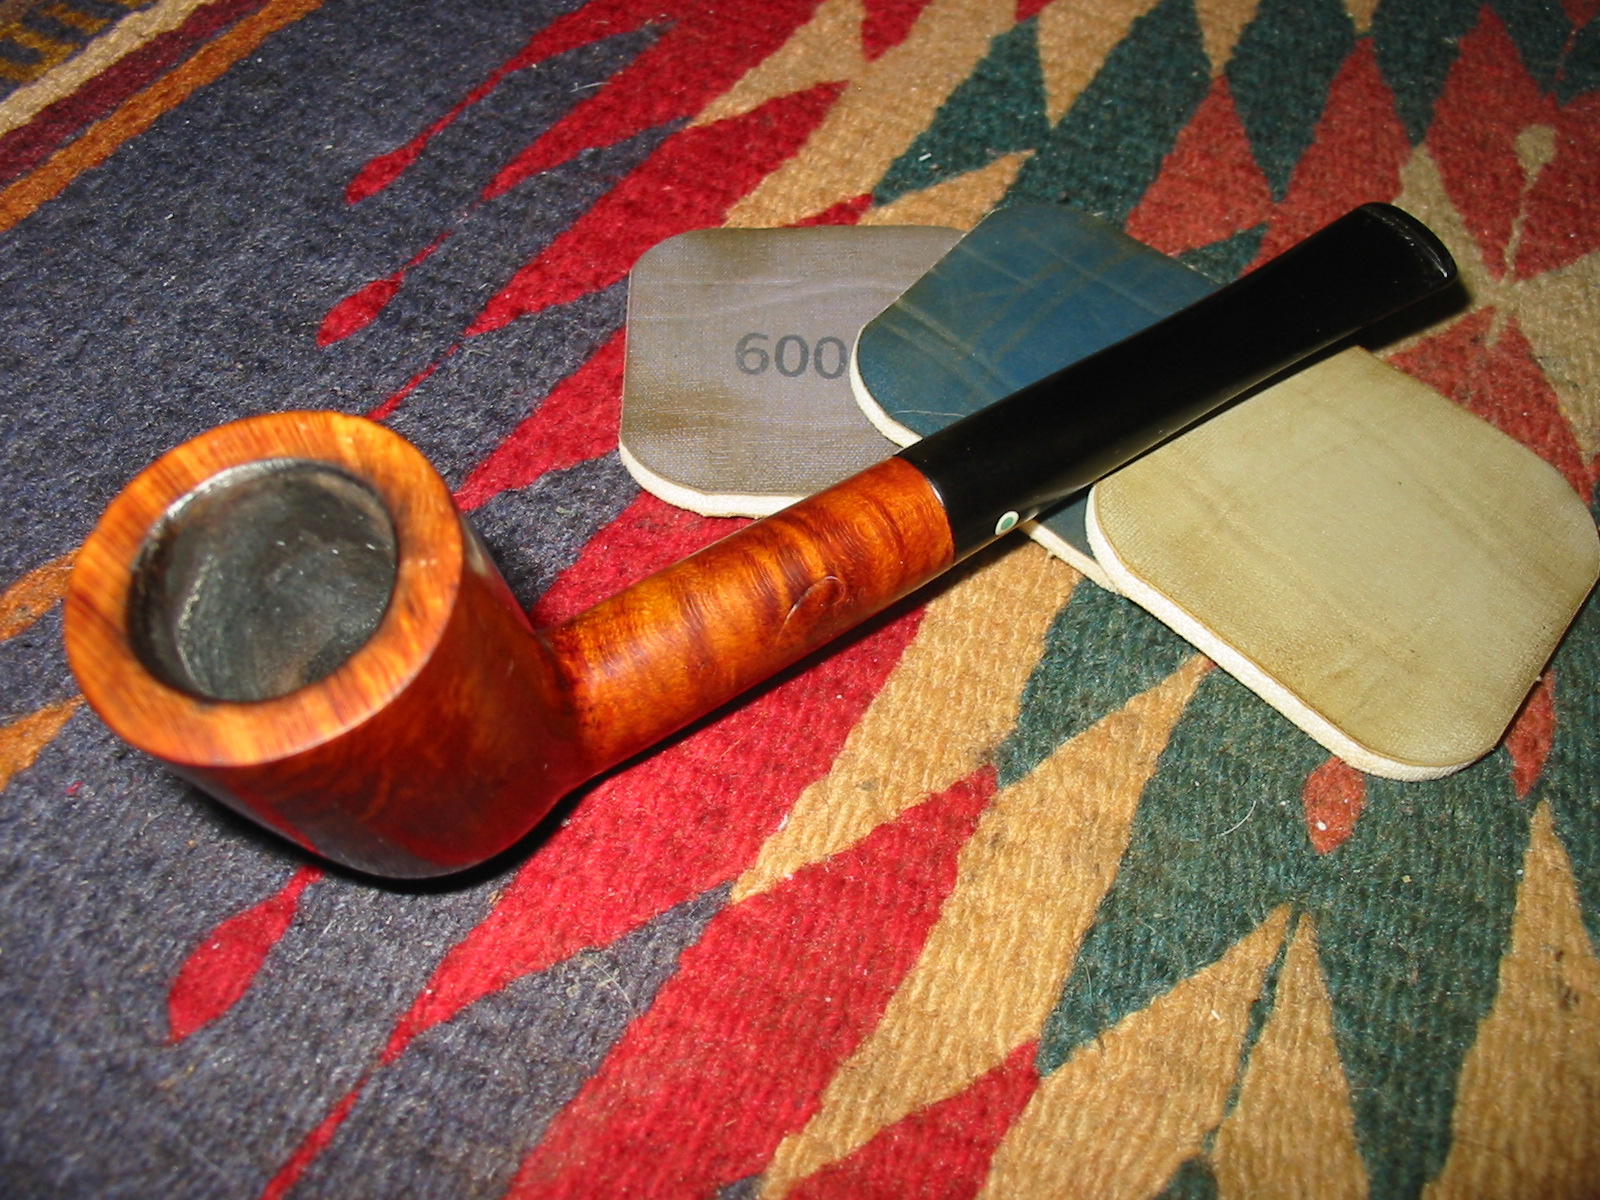
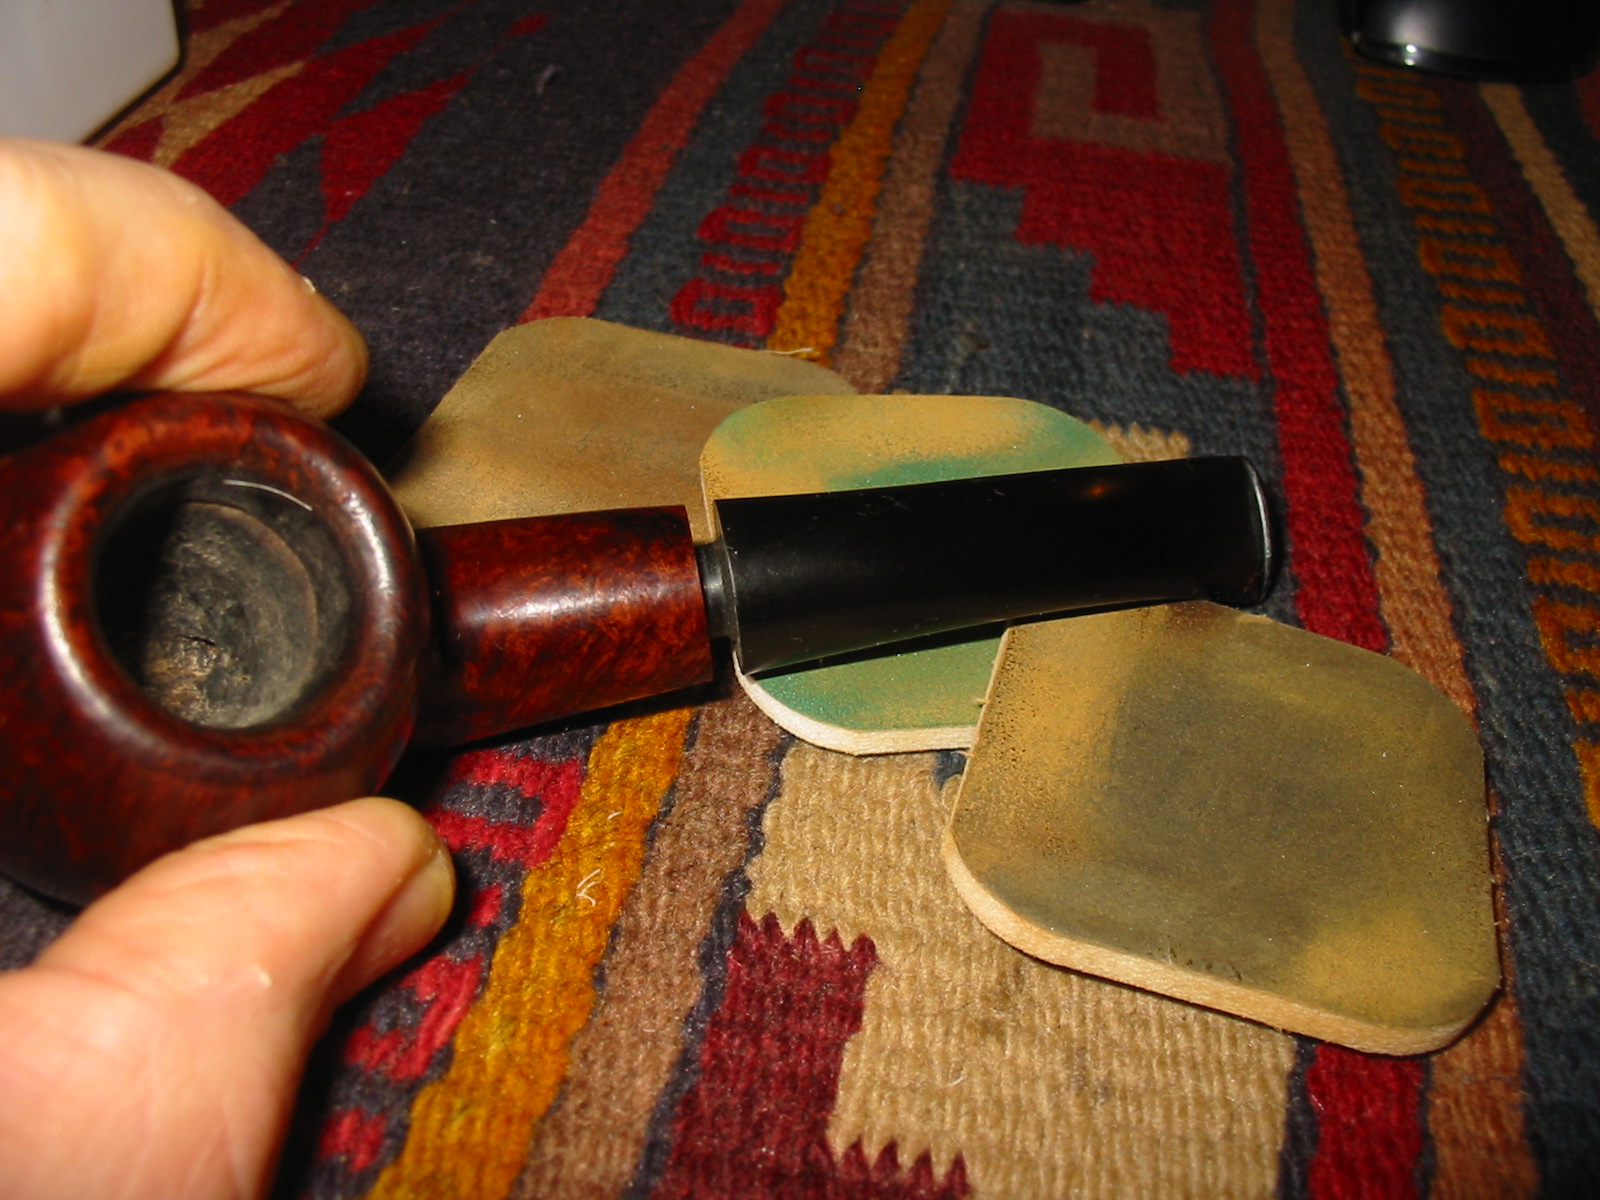
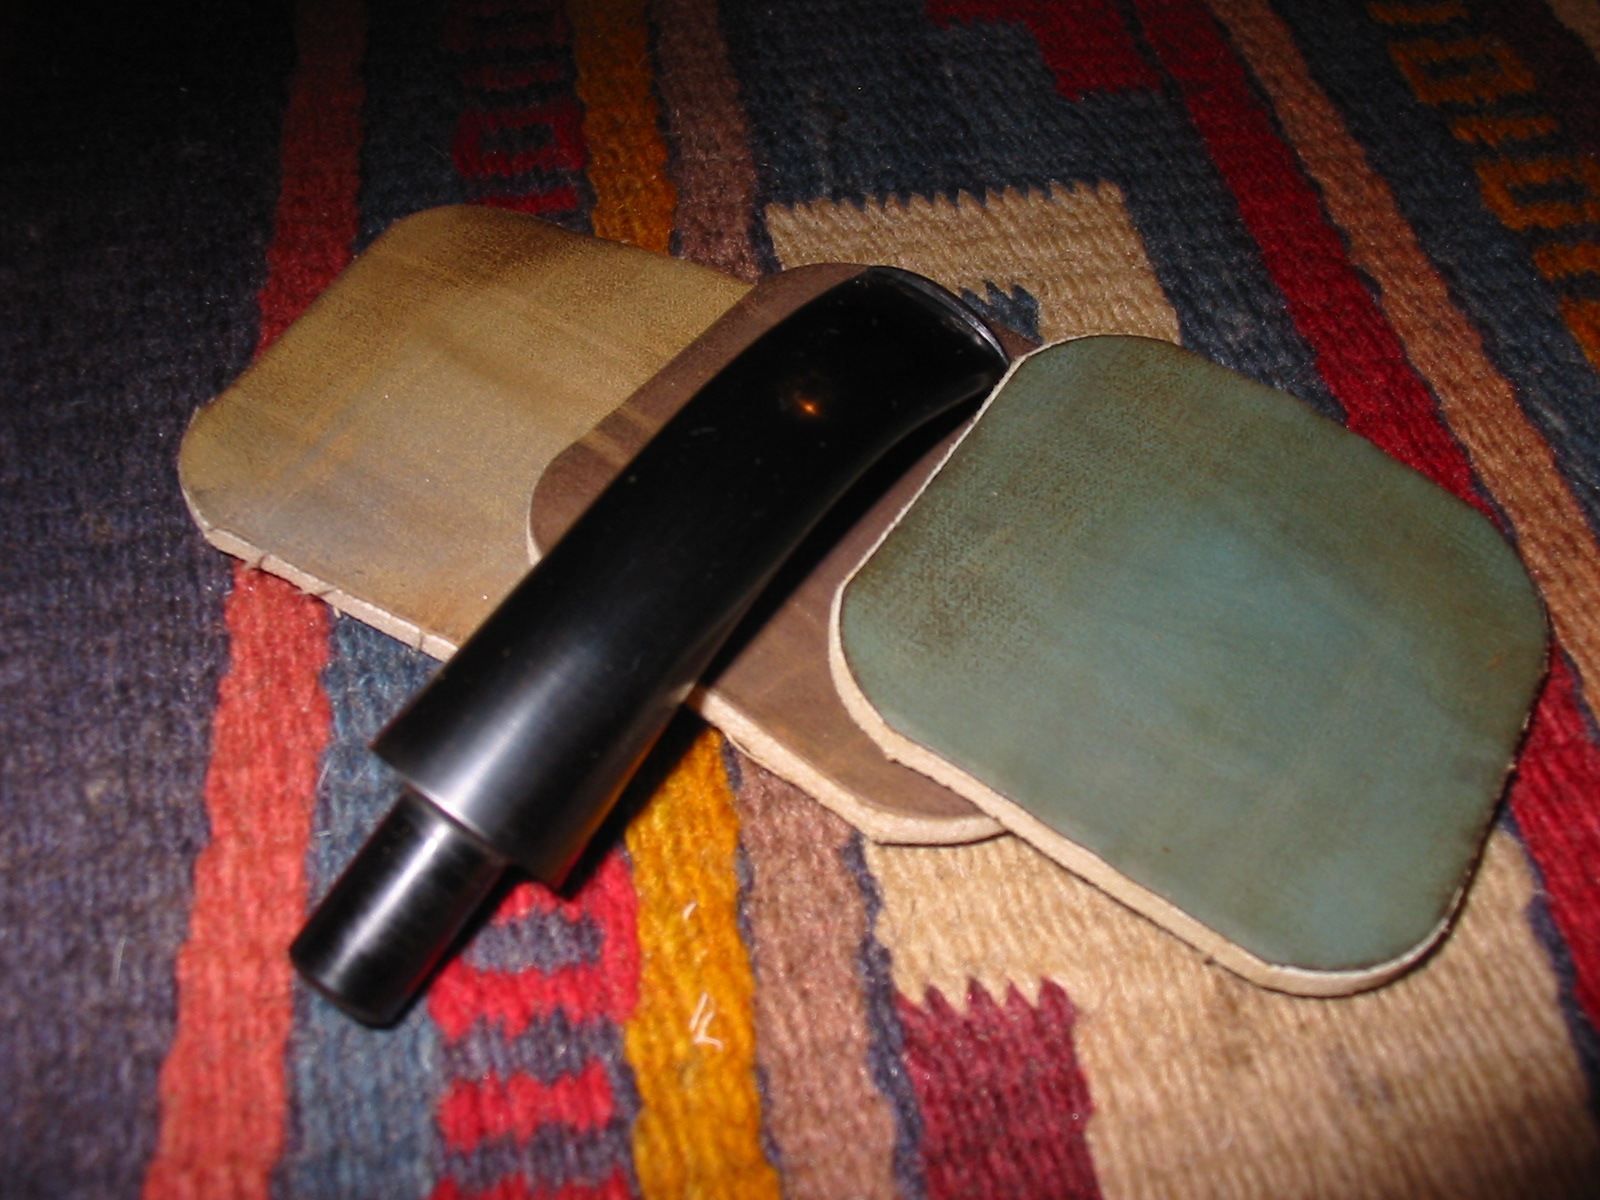
I took the pipe to my worktable this morning and worked on the stem. It was pretty clean though it had some oxidation on the left side next to the shank and some tooth chatter on the top and bottom of the stem next to the button. I sanded the stem with 1500 grit micromesh to remove the oxidation and to sand away the tooth chatter next to the button. I wet sanded with the micromesh pad until the finish was a matte black and free of oxidation and marks. The next four photos show the stem after this initial sanding.
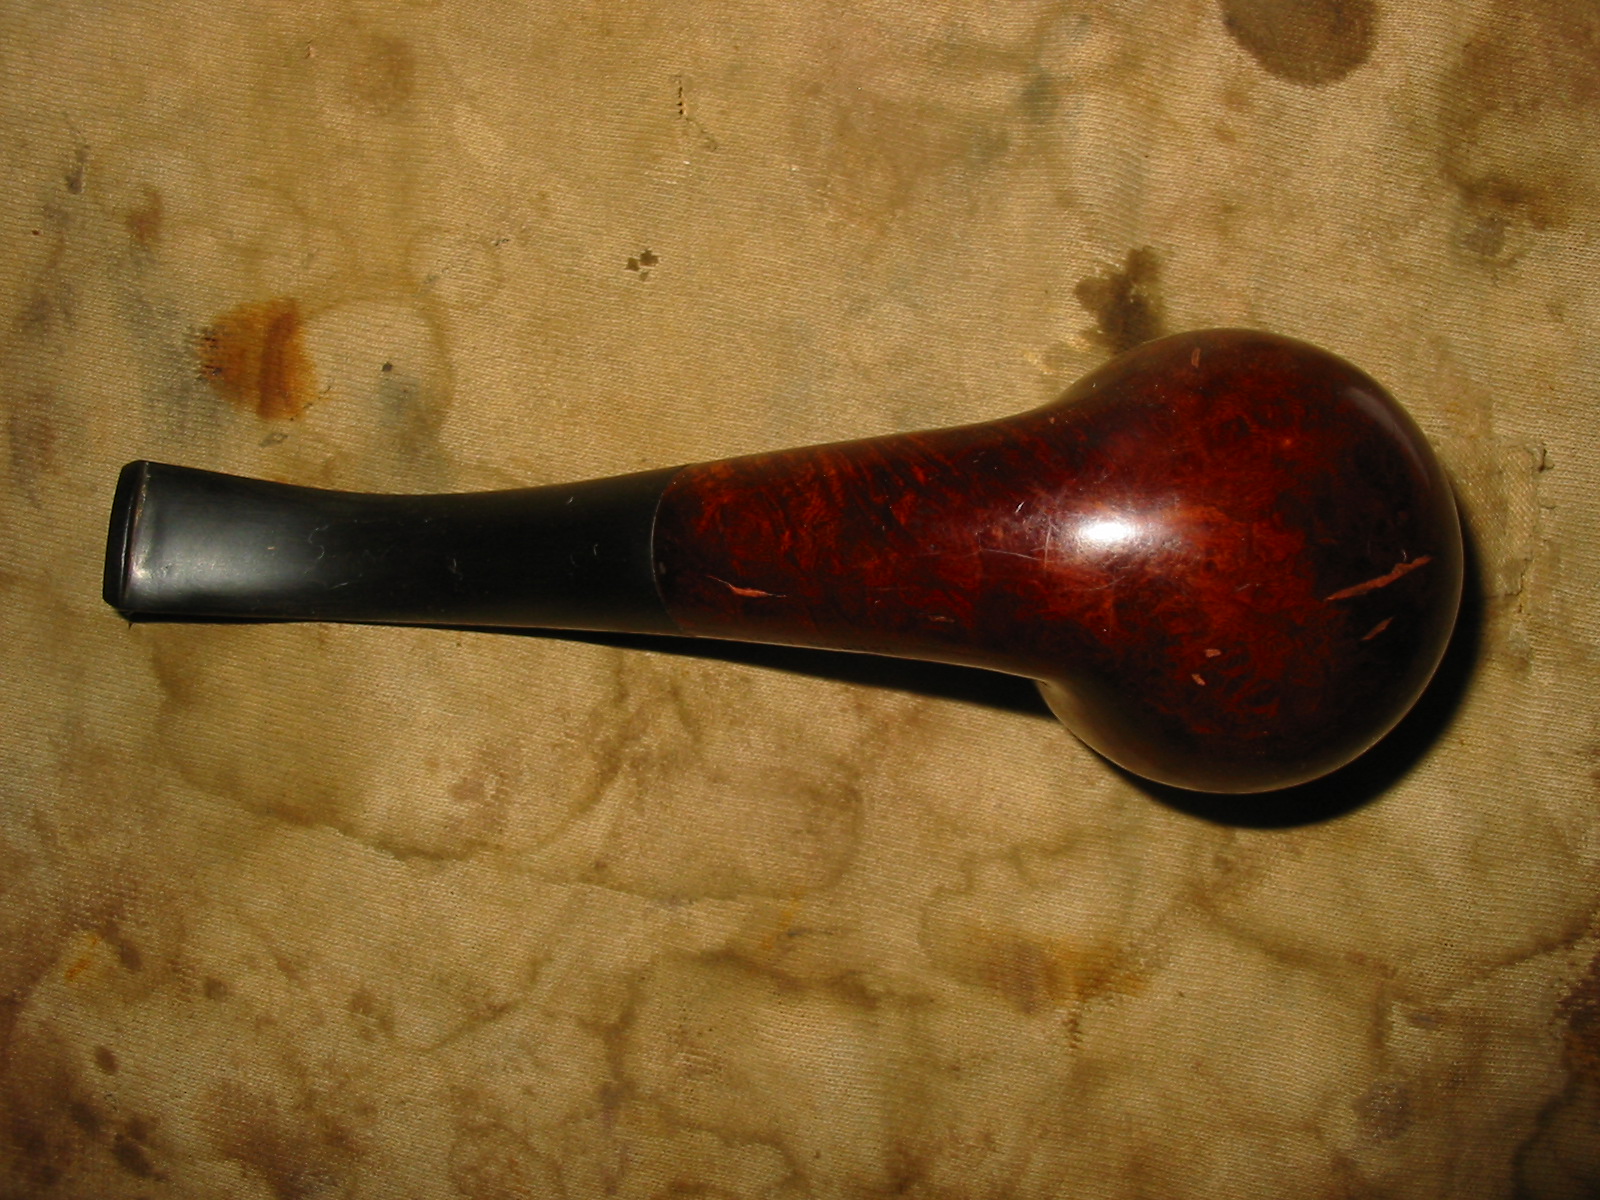
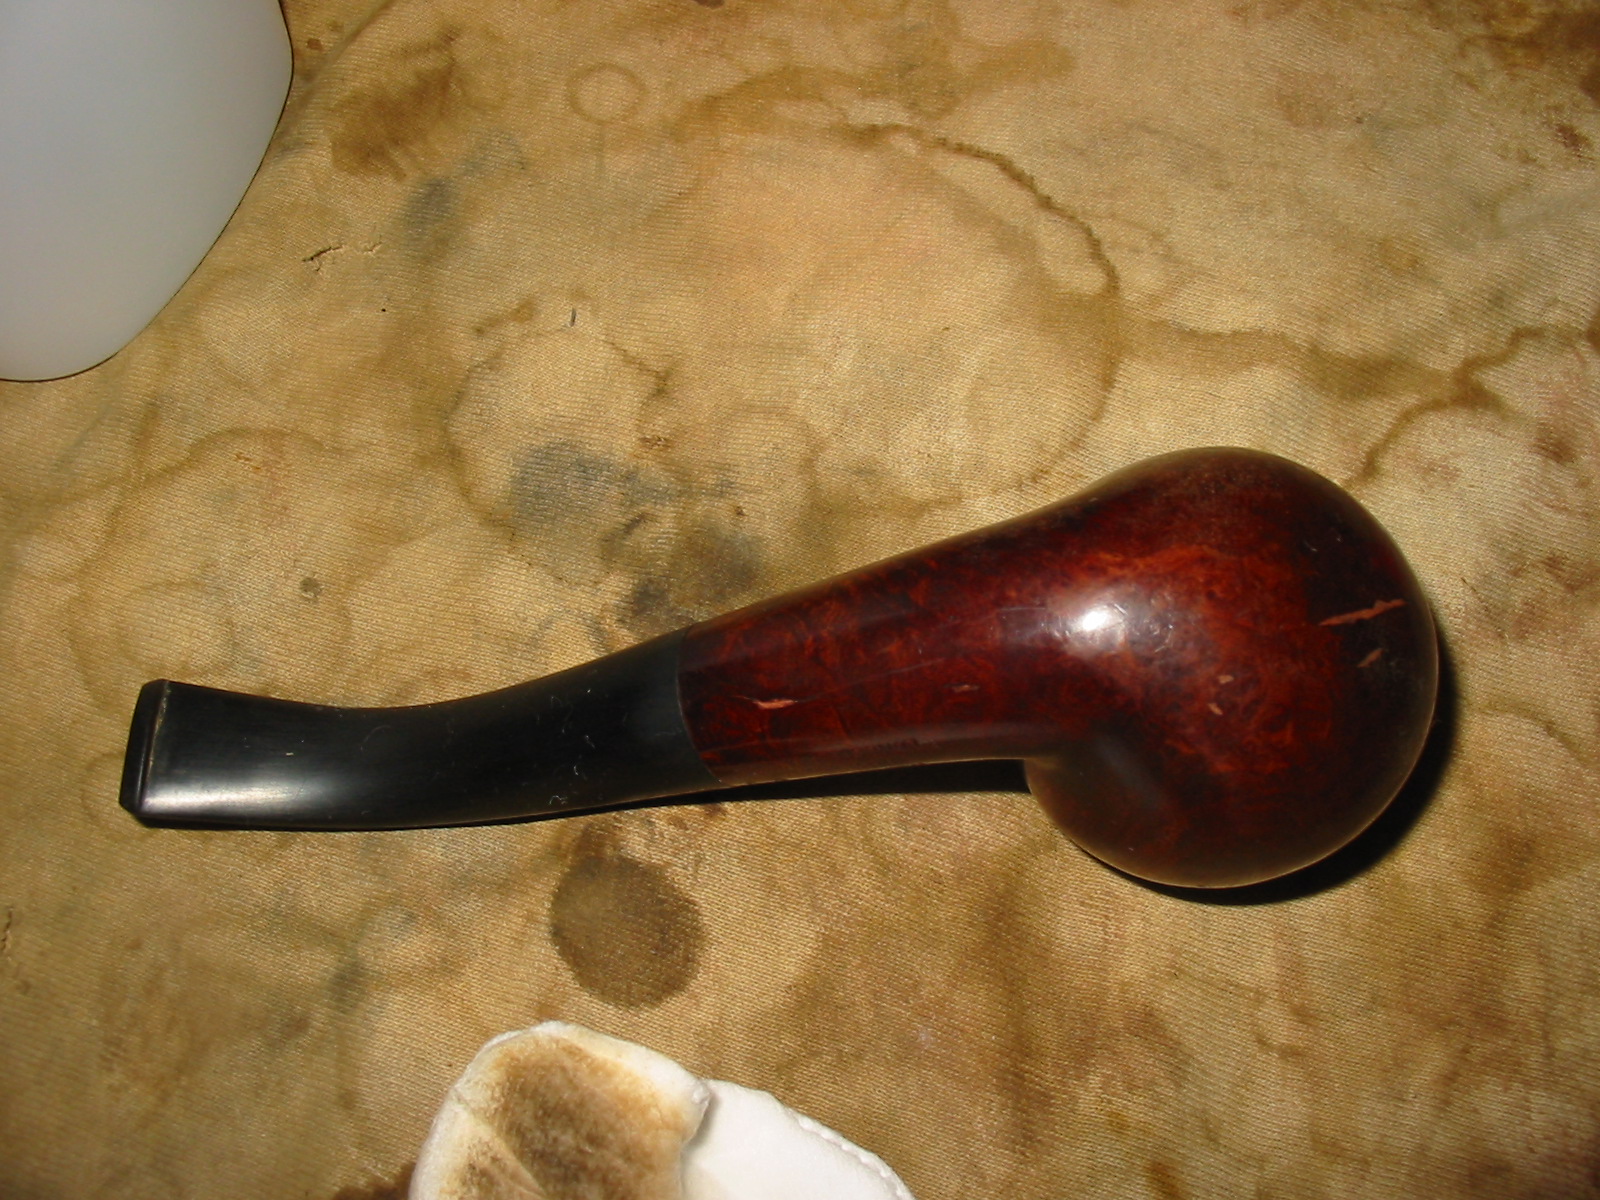
The underside of the bowl was covered with many fills of a pinkish coloured putty that showed through the finish.
I decided to remove the largest of the putty fills and rework them with briar dust and superglue. To prepare the surface of the briar for reworking the fills I wiped down the surface of the bowl with acetone on a cotton pad. As I removed the grime and some of the dark buildup on the bowl a beautiful grain began to pop out on the briar. This one was going to be a beauty when I finished refurbishing it.
I cleaned out the inside of the pipe and stem before working on the fills. It took many pipe cleaners and cotton swabs to remove the buildup inside the stem and shank. The shank had a reservoir area below the airway and it had collected a lot of tars and build up. The stem was also dirty on the inside.
When I had finished cleaning it I removed the stem and turned the bowl over on the worktable to begin to pick out the putty in the fills. Once I had the putty picked out I wiped the surface down with acetone once again to remove the debris that might be left behind in the flaws. I packed briar dust into the cleaned areas and tamped it down into the grooves. Once it was tightly packed I dripped clear superglue into the repaired area and pushed some more briar dust into the superglue surface. When it was dry, which takes very little time, I would sand down the surface to make it match the bowl surface.

I sanded the superglue/briar dust fill with 220 grit sandpaper and a medium grit sanding sponge to remove the excess of the patch (I always overfill them as they tend to shrink as the glue dries). The third photo below shows the patch after the sanding has blended it into the surface of the bowl. I sanded it with micromesh sanding pads 1500-3200 grit to prepare the surface for the restaining. I wiped it down a final time with acetone on a cotton pad to remove all grit from the sanding. It was ready for a restaining.
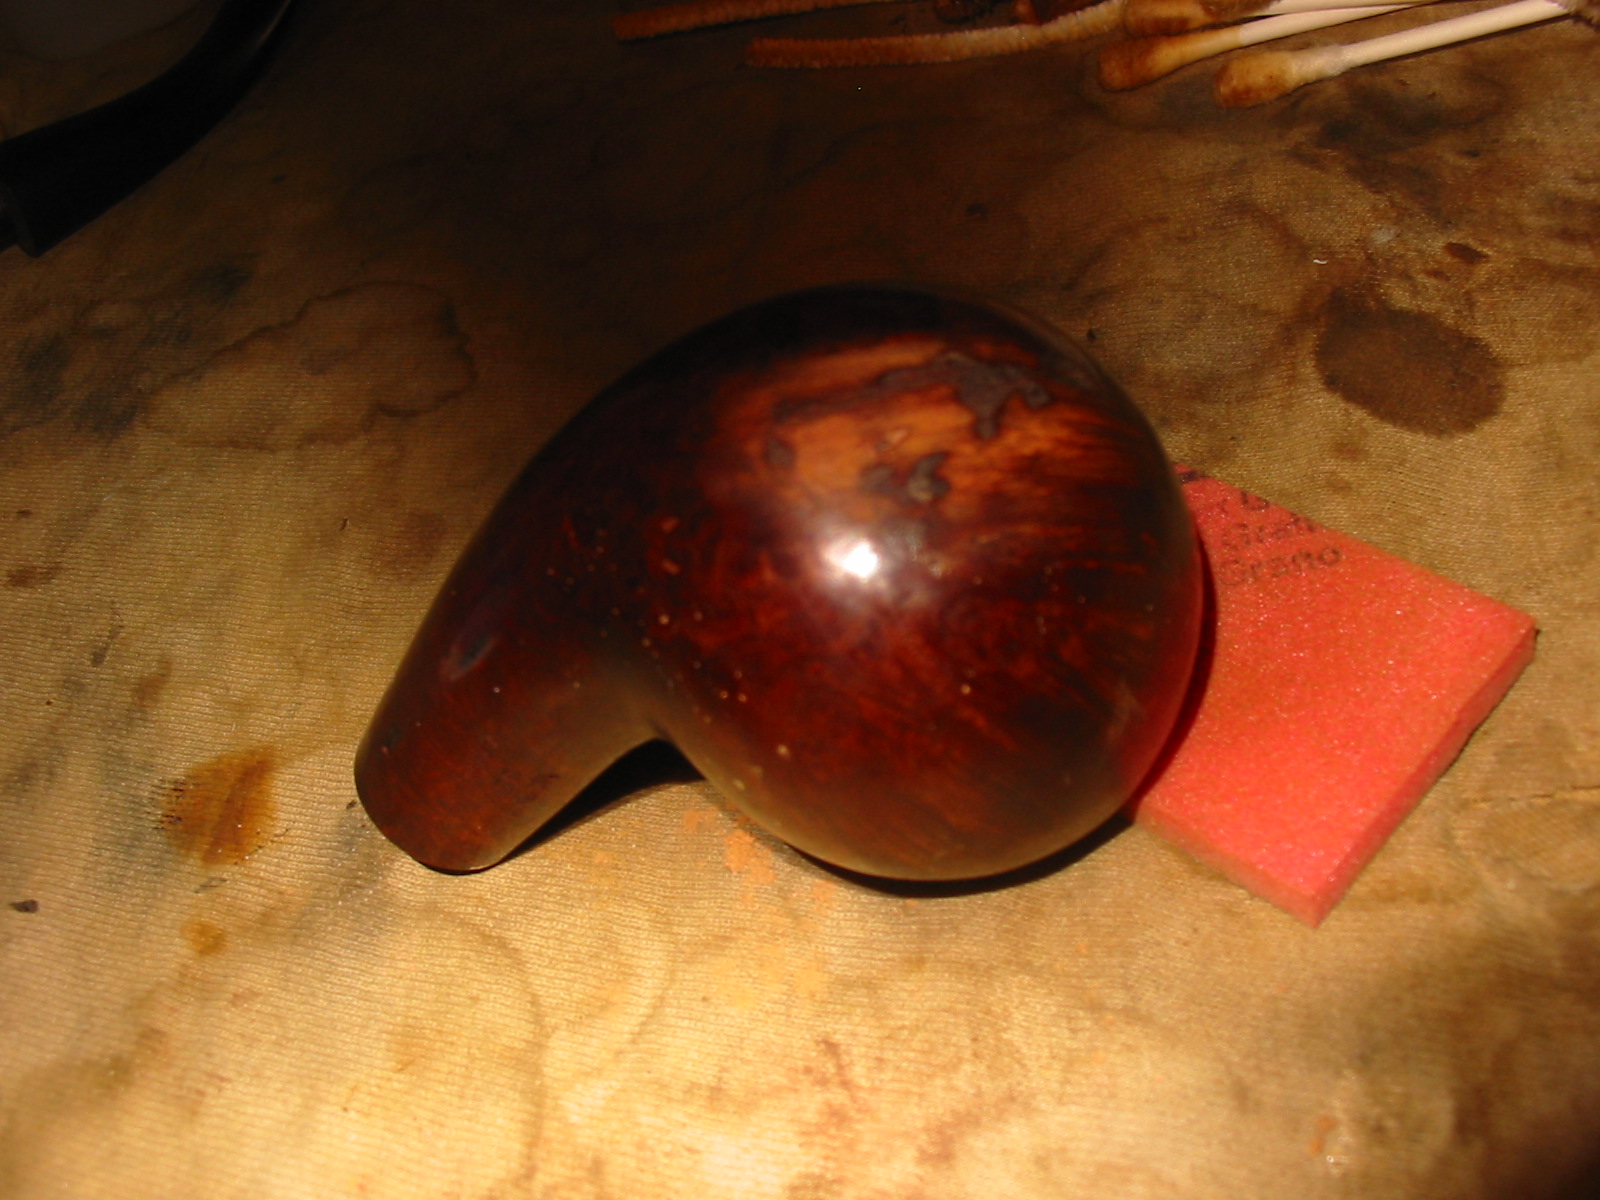


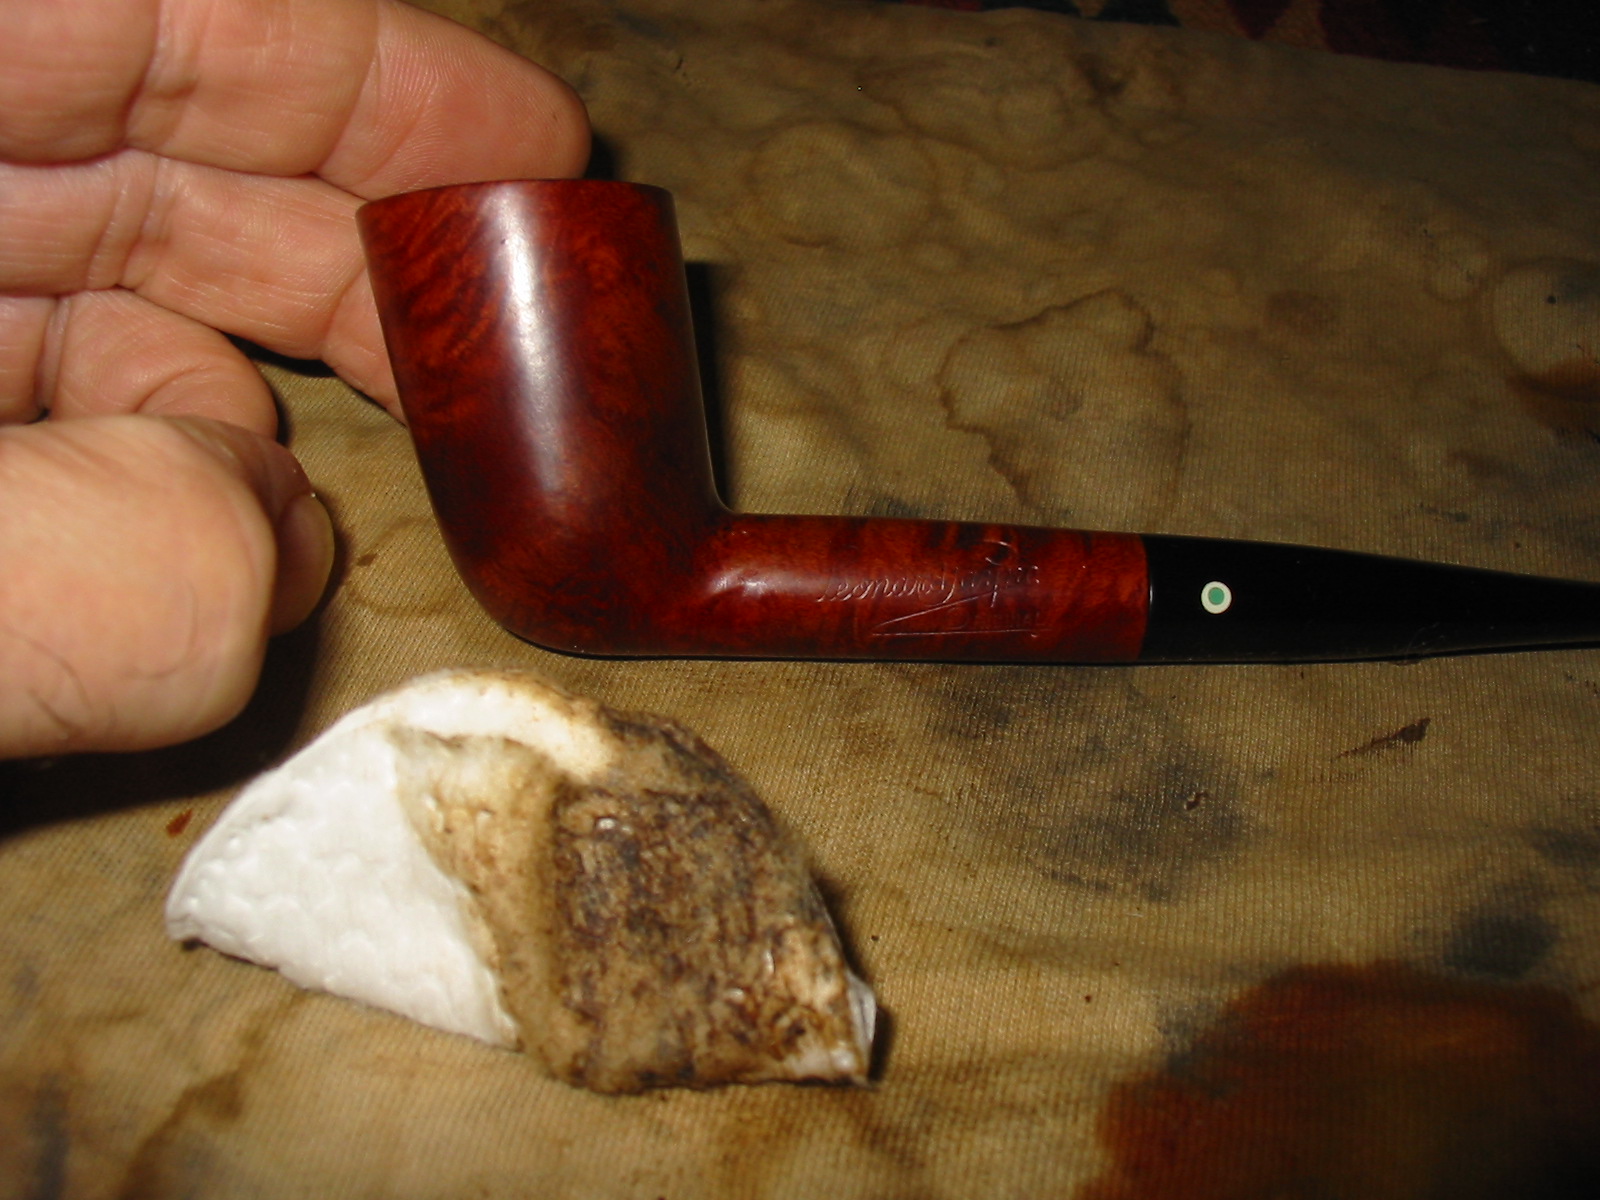
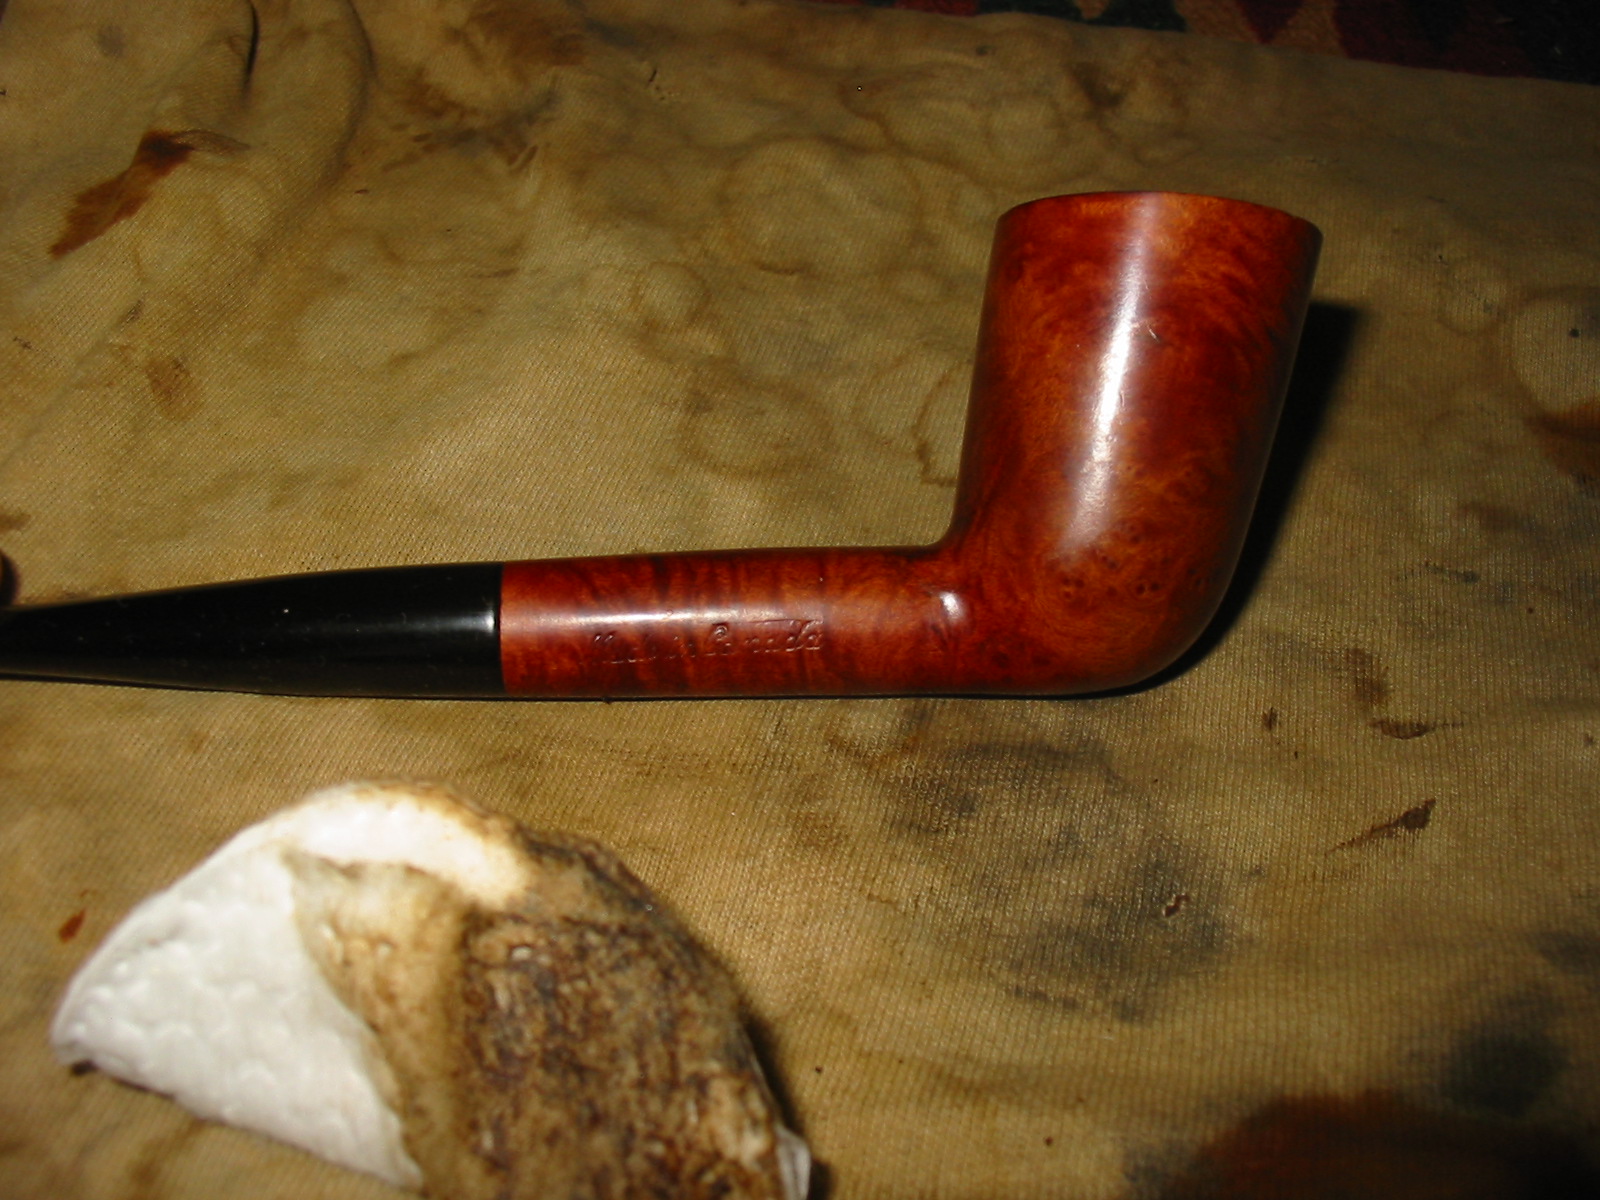
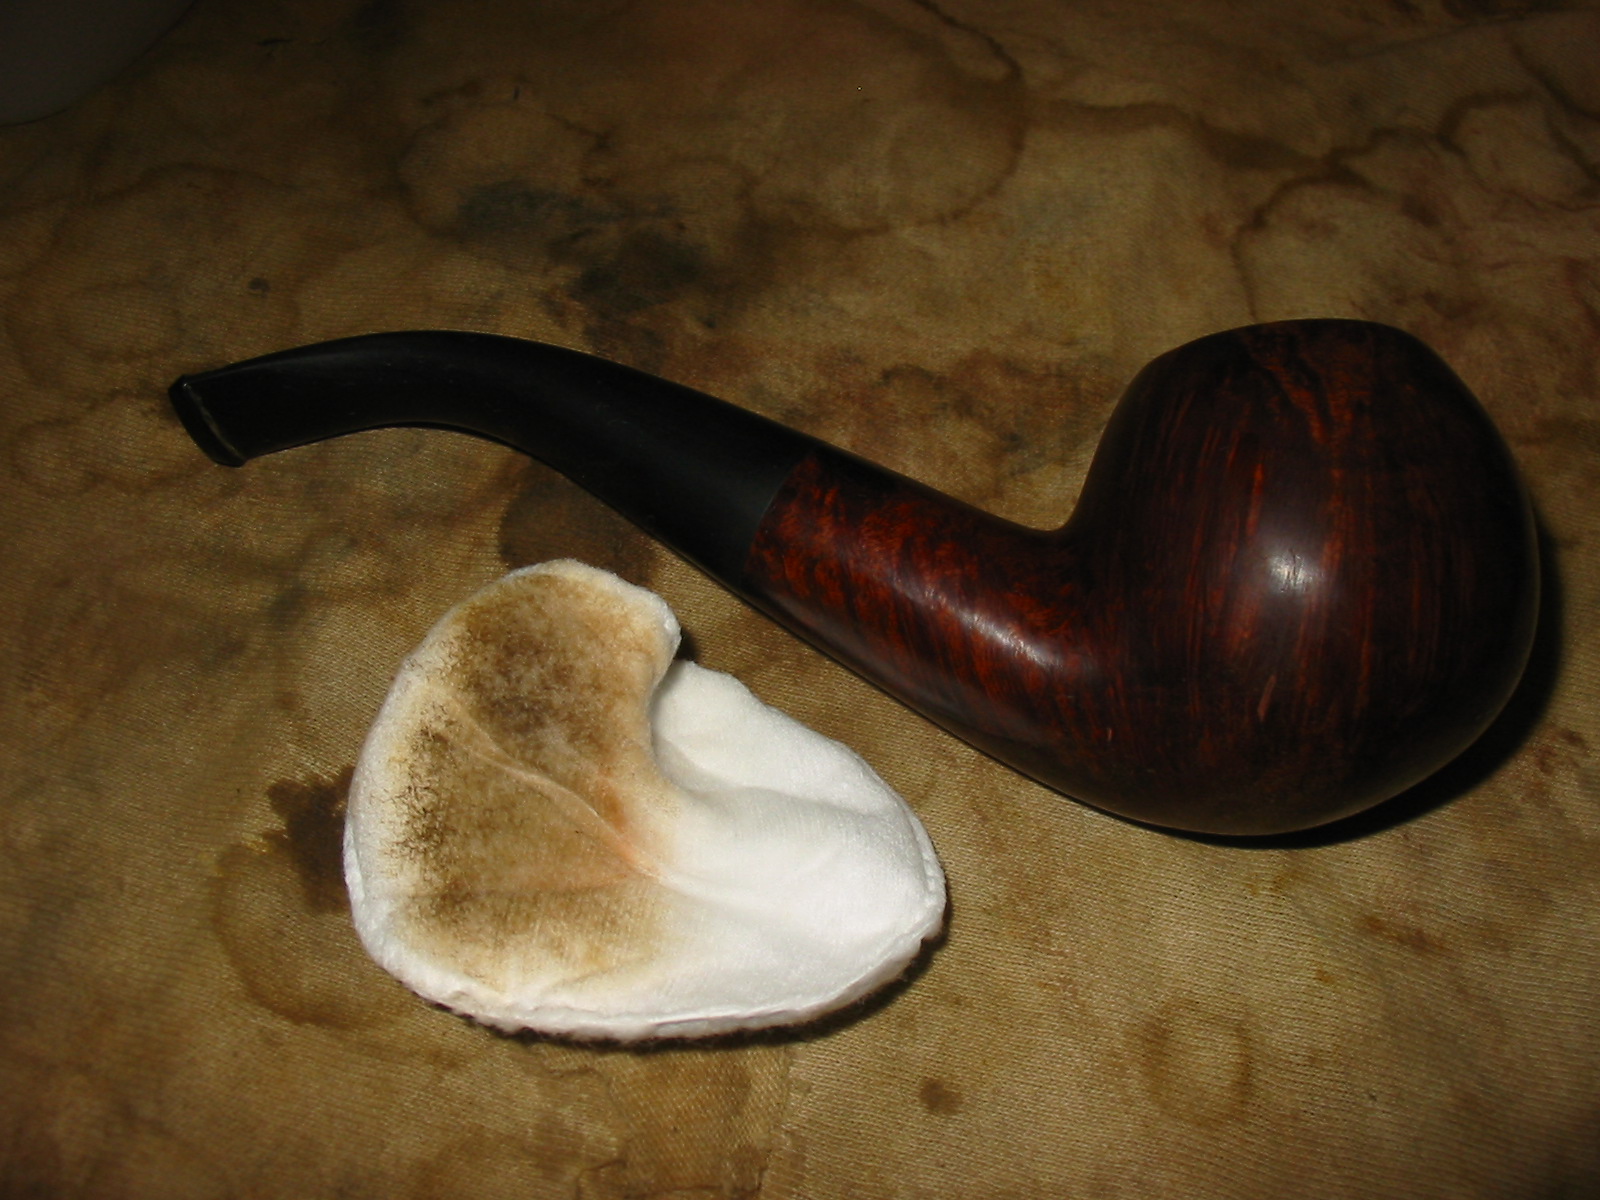
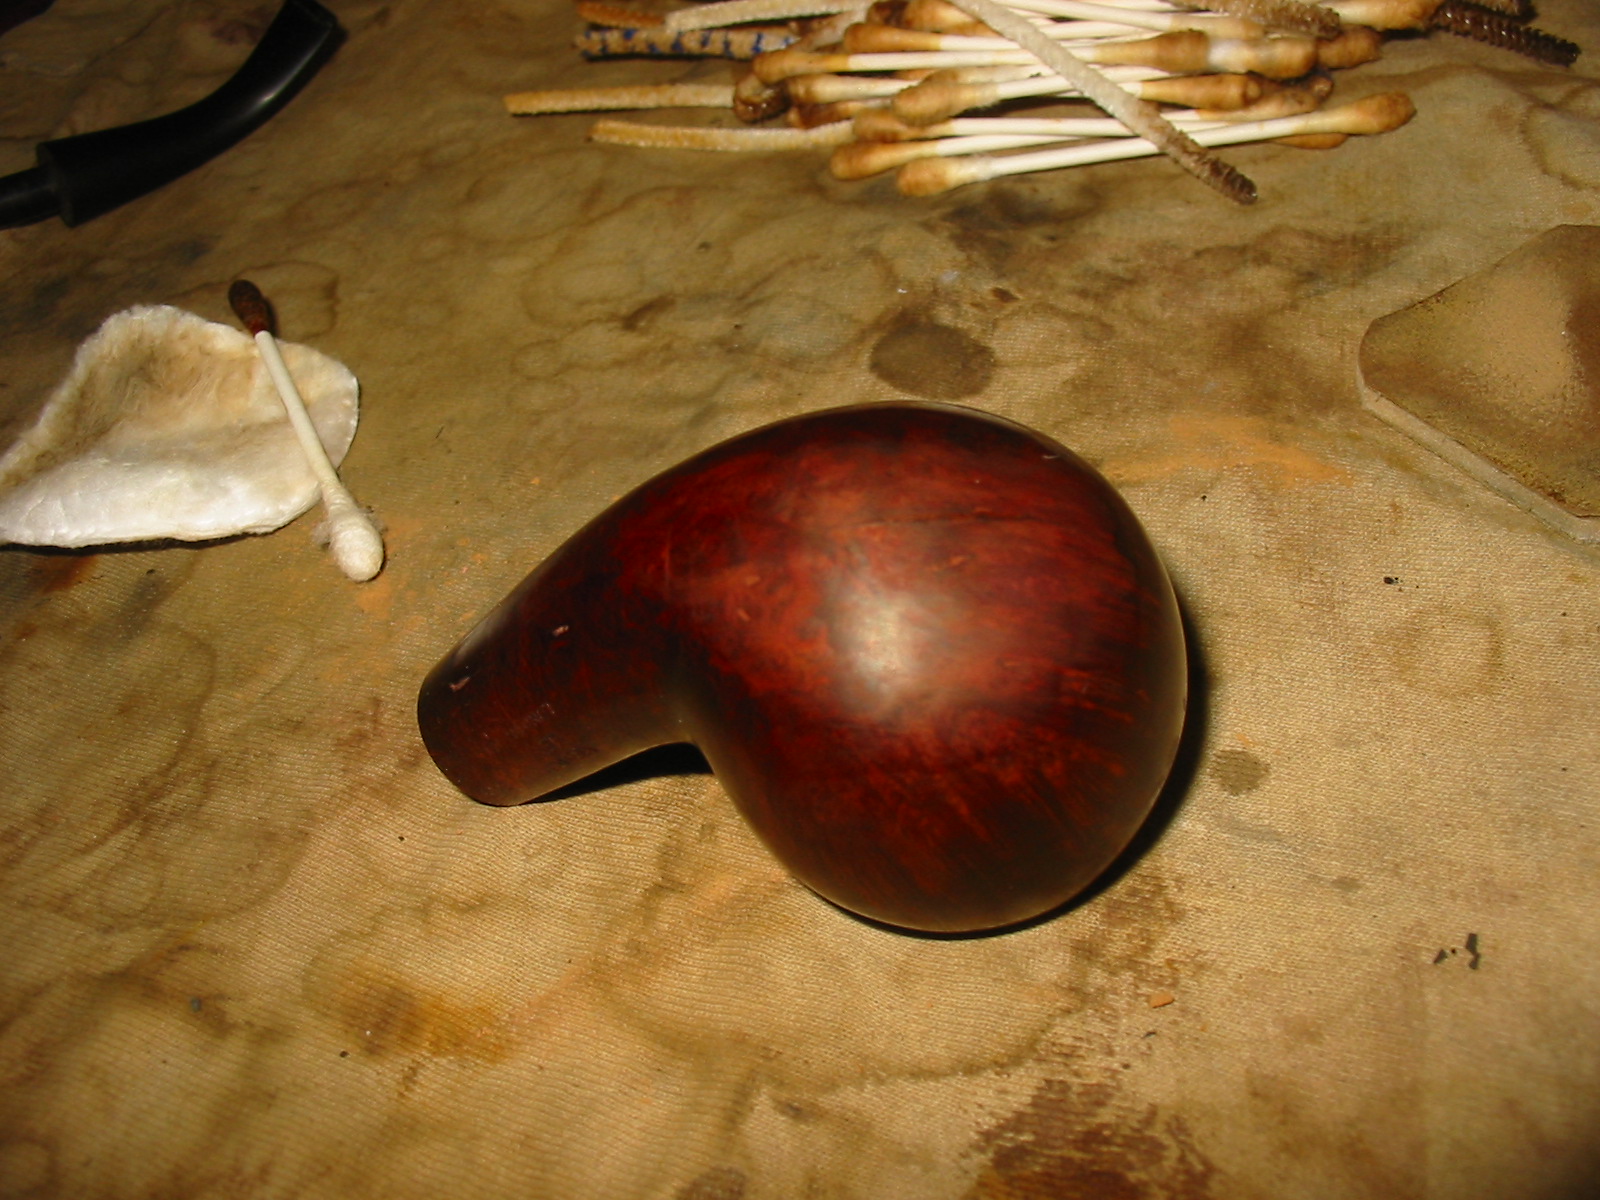
I applied a dark brown aniline stain mixed with two parts isopropyl alcohol to one part dark brown stain. I used a cotton swab to apply it to the newly sanded area of the repair and flamed it and restained until it matched the rest of the bowl. When that was finished I gave a light coat of stain and flamed it to the entire bowl to blend in the restain on the bottom even more. The next five photos show the restained bowl bottom and then the retouched remainder of the bowl.

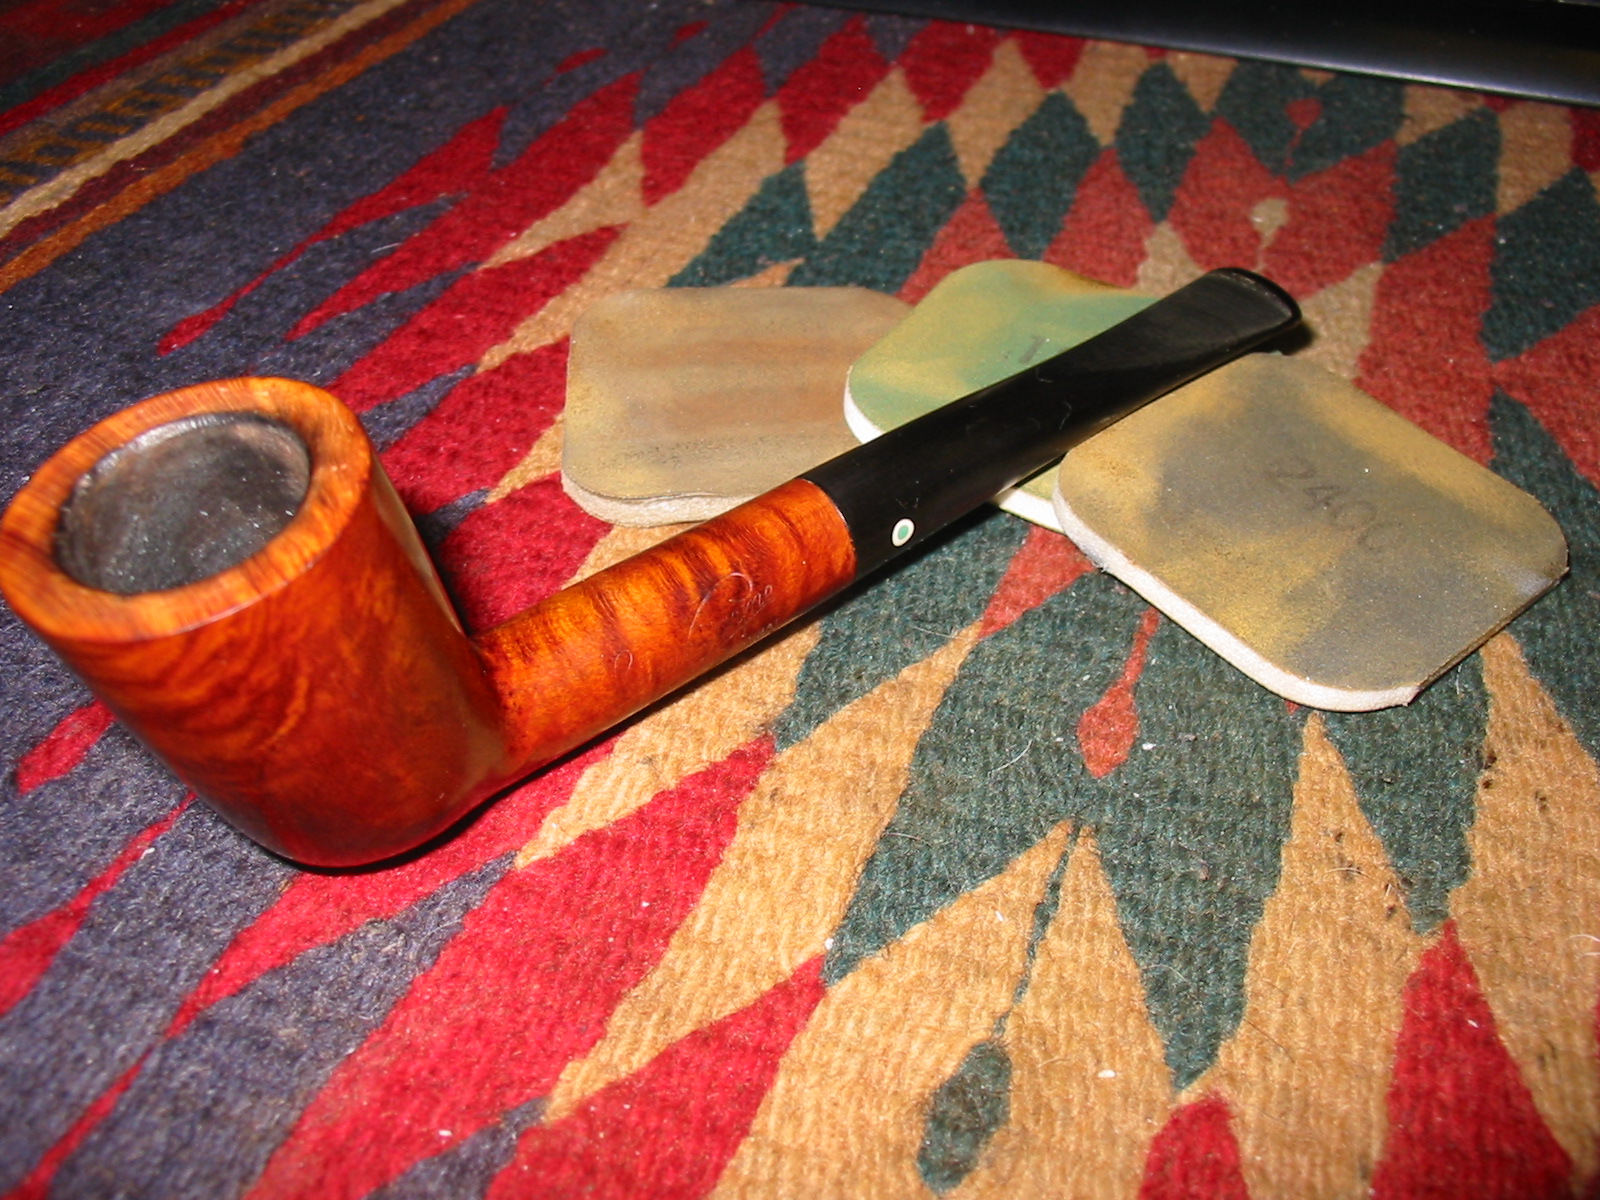
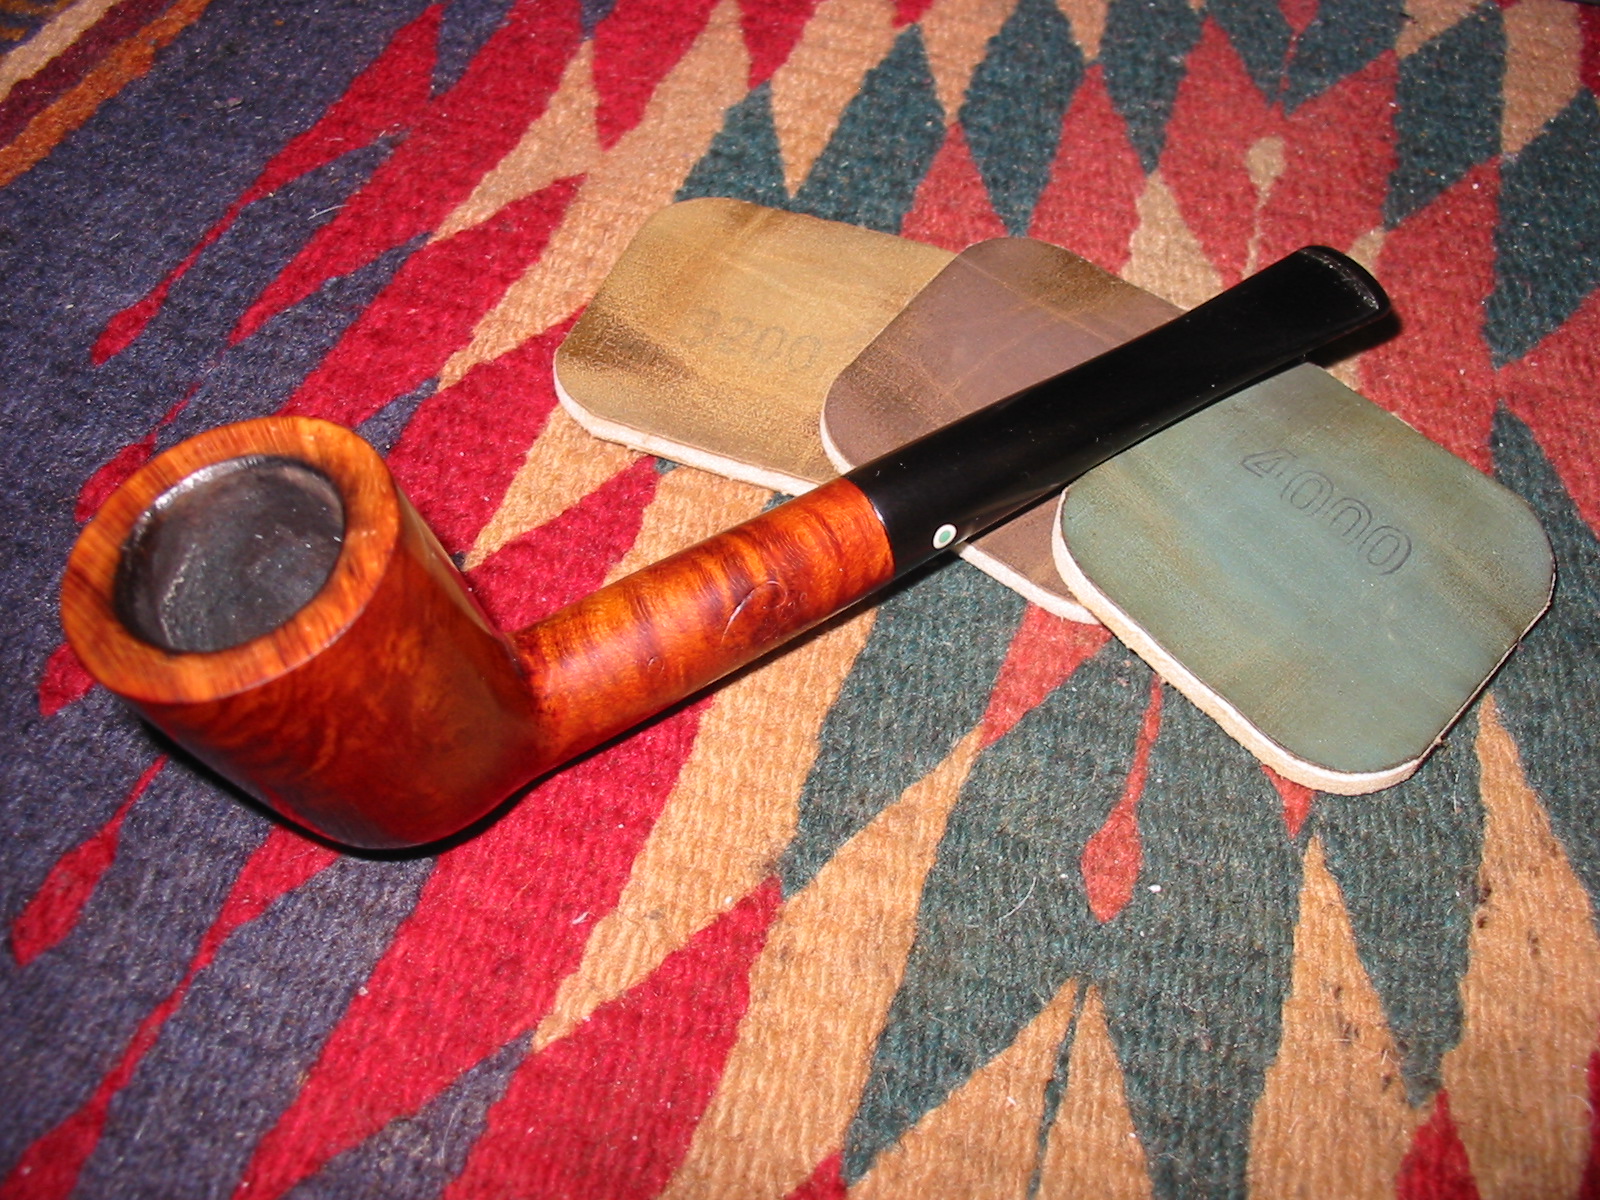
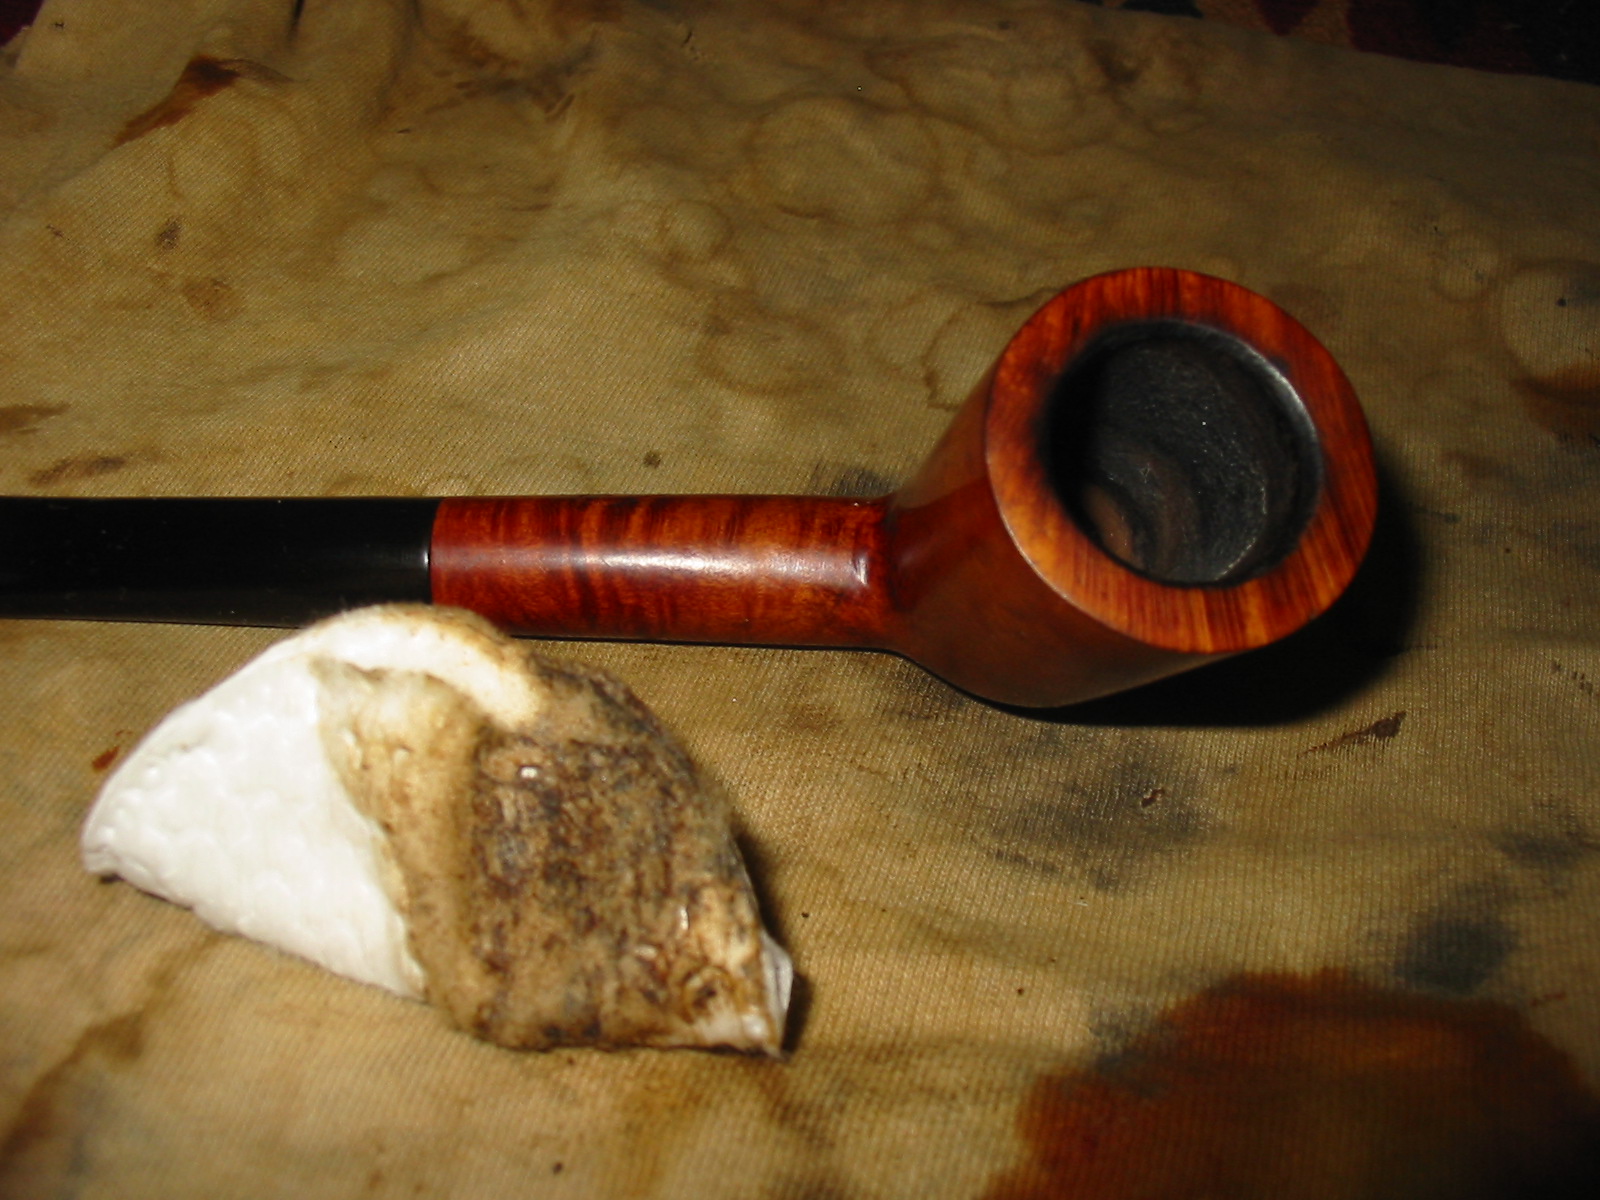
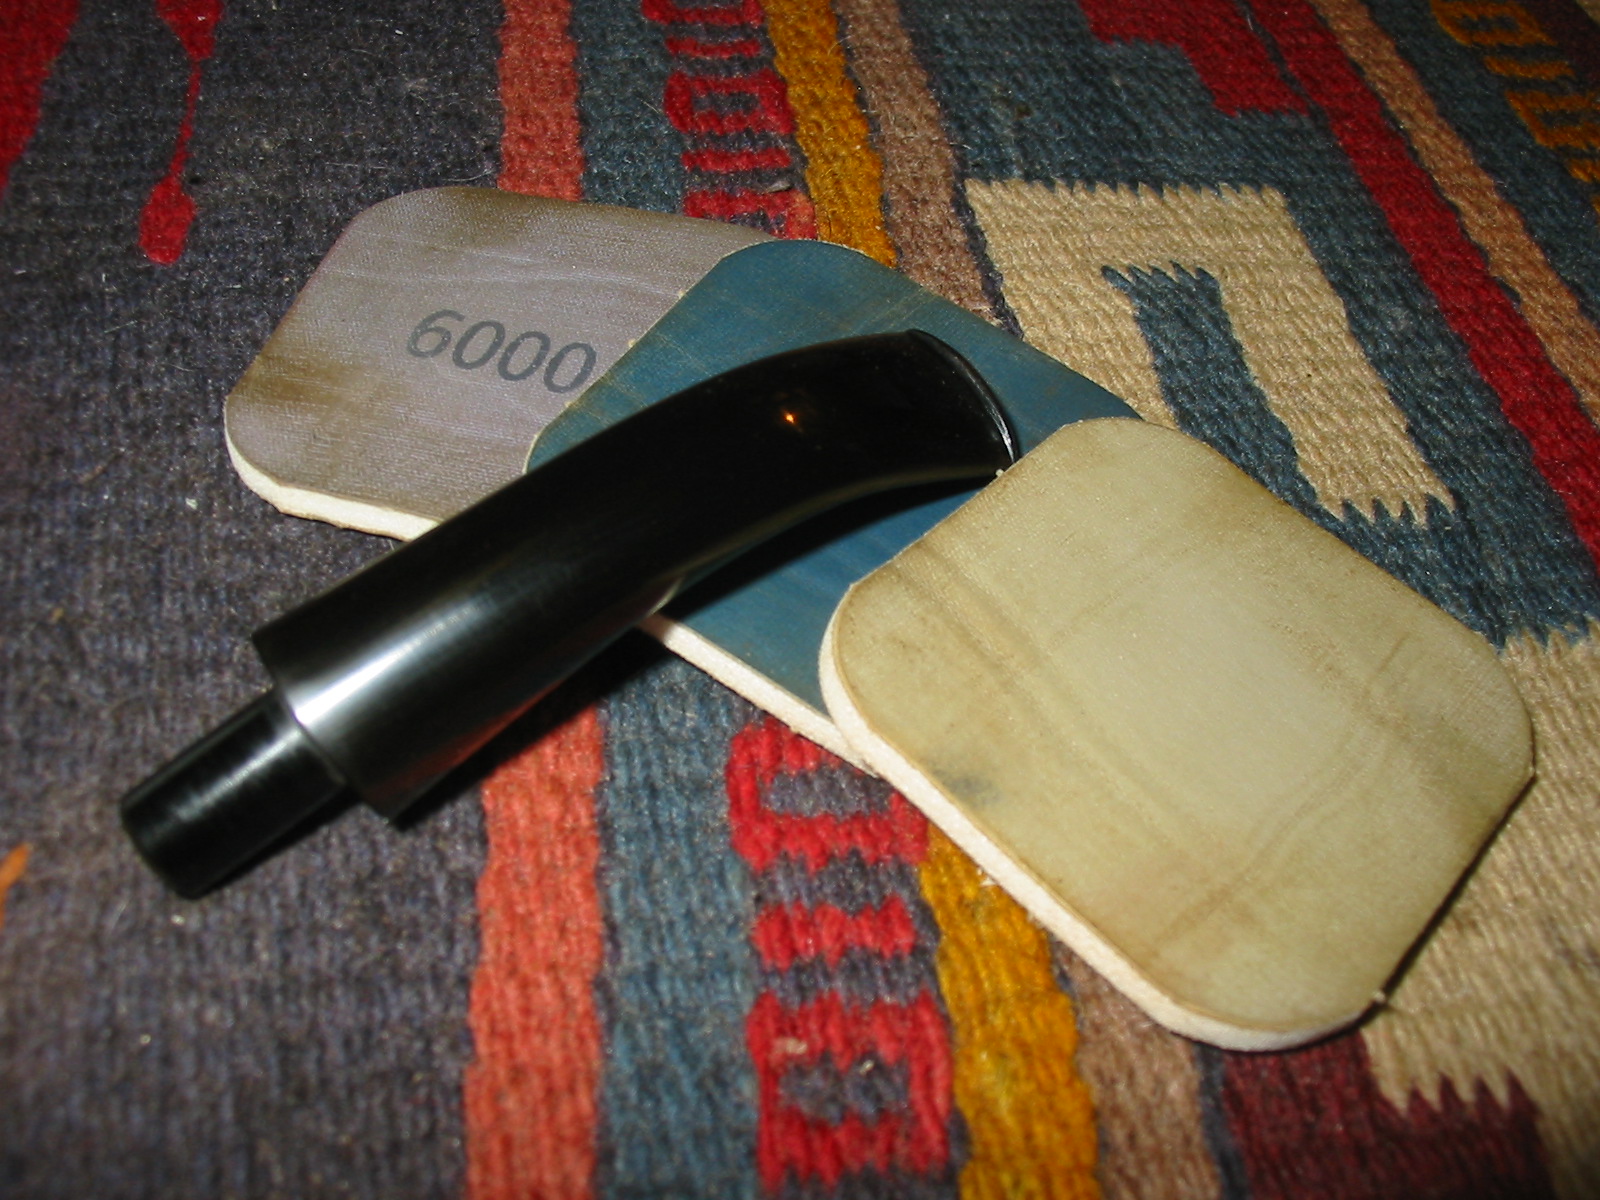
With the bowl finished and ready to go it was time to tackle the stem. I sanded it with micromesh sanding pads from 1500-12,000 grit. I wet sanded with 1500-2400 grit and dry sanded with the remaining grits. The next three photos below show the progressive shine building on the stem. Once it was finished I buffed it with White Diamond and then rubbed it down with Obsidian Oil to protect it. When it had dried I put it back on the pipe and took it to the buffer.
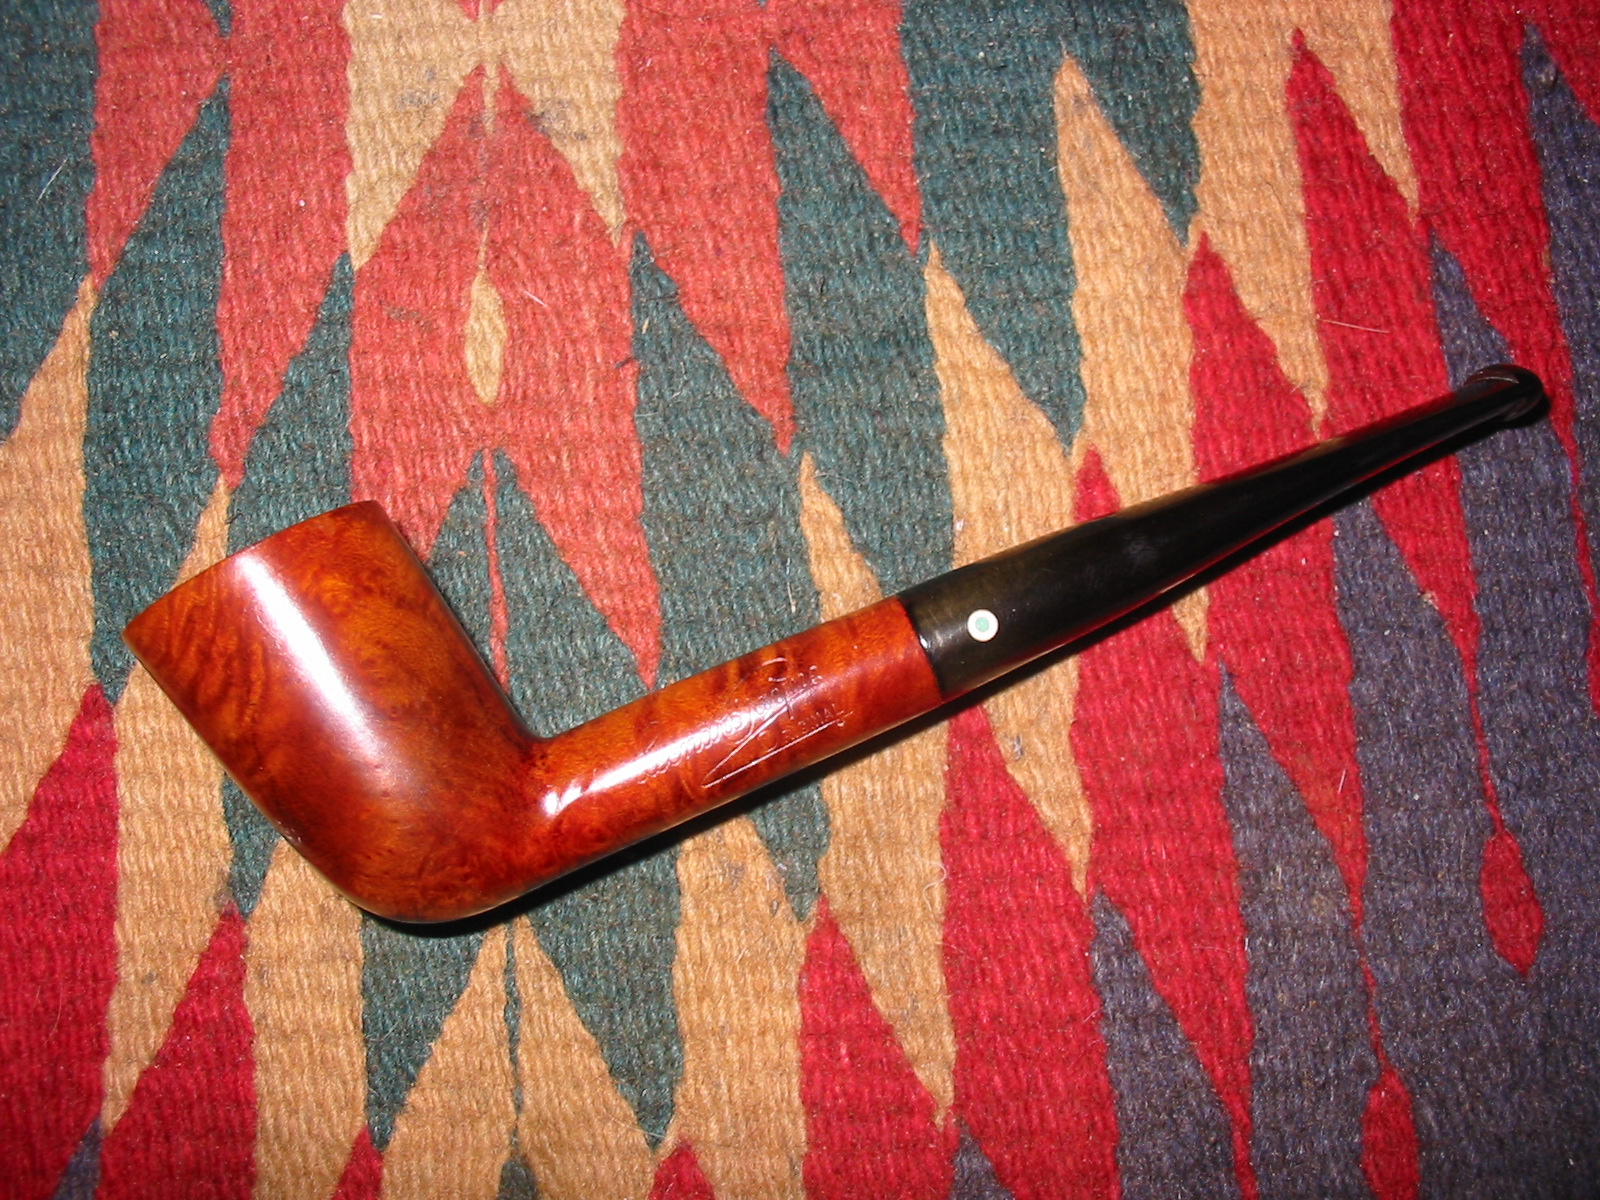
I buffed the entirety (carefully around the stamping) with White Diamond a final time and then gave it multiple coats of carnauba wax and buffed it with a clean flannel buffing pad. Once it was finished I loaded up a bowl of Balkan Sobranie Virginian No. 10 and went for a long walk on a cool and dry fall day in Vancouver. It is a great smoking pipe and one that is one of my favourite shapes.