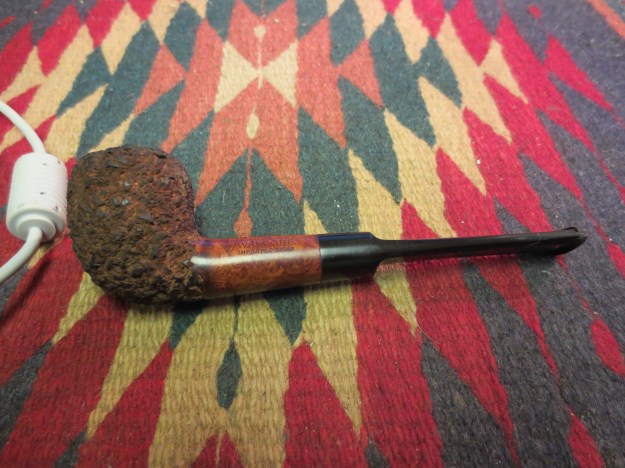
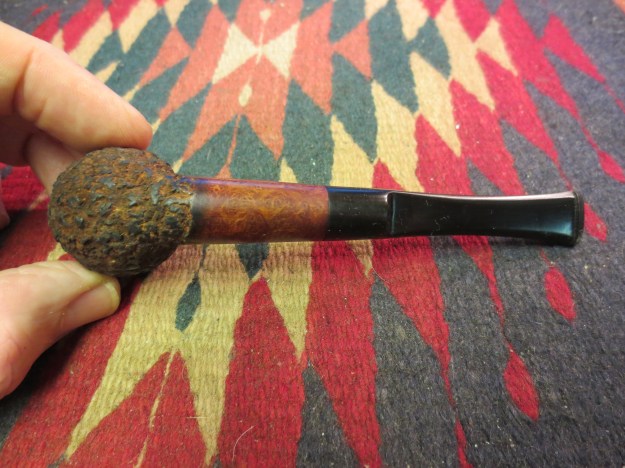
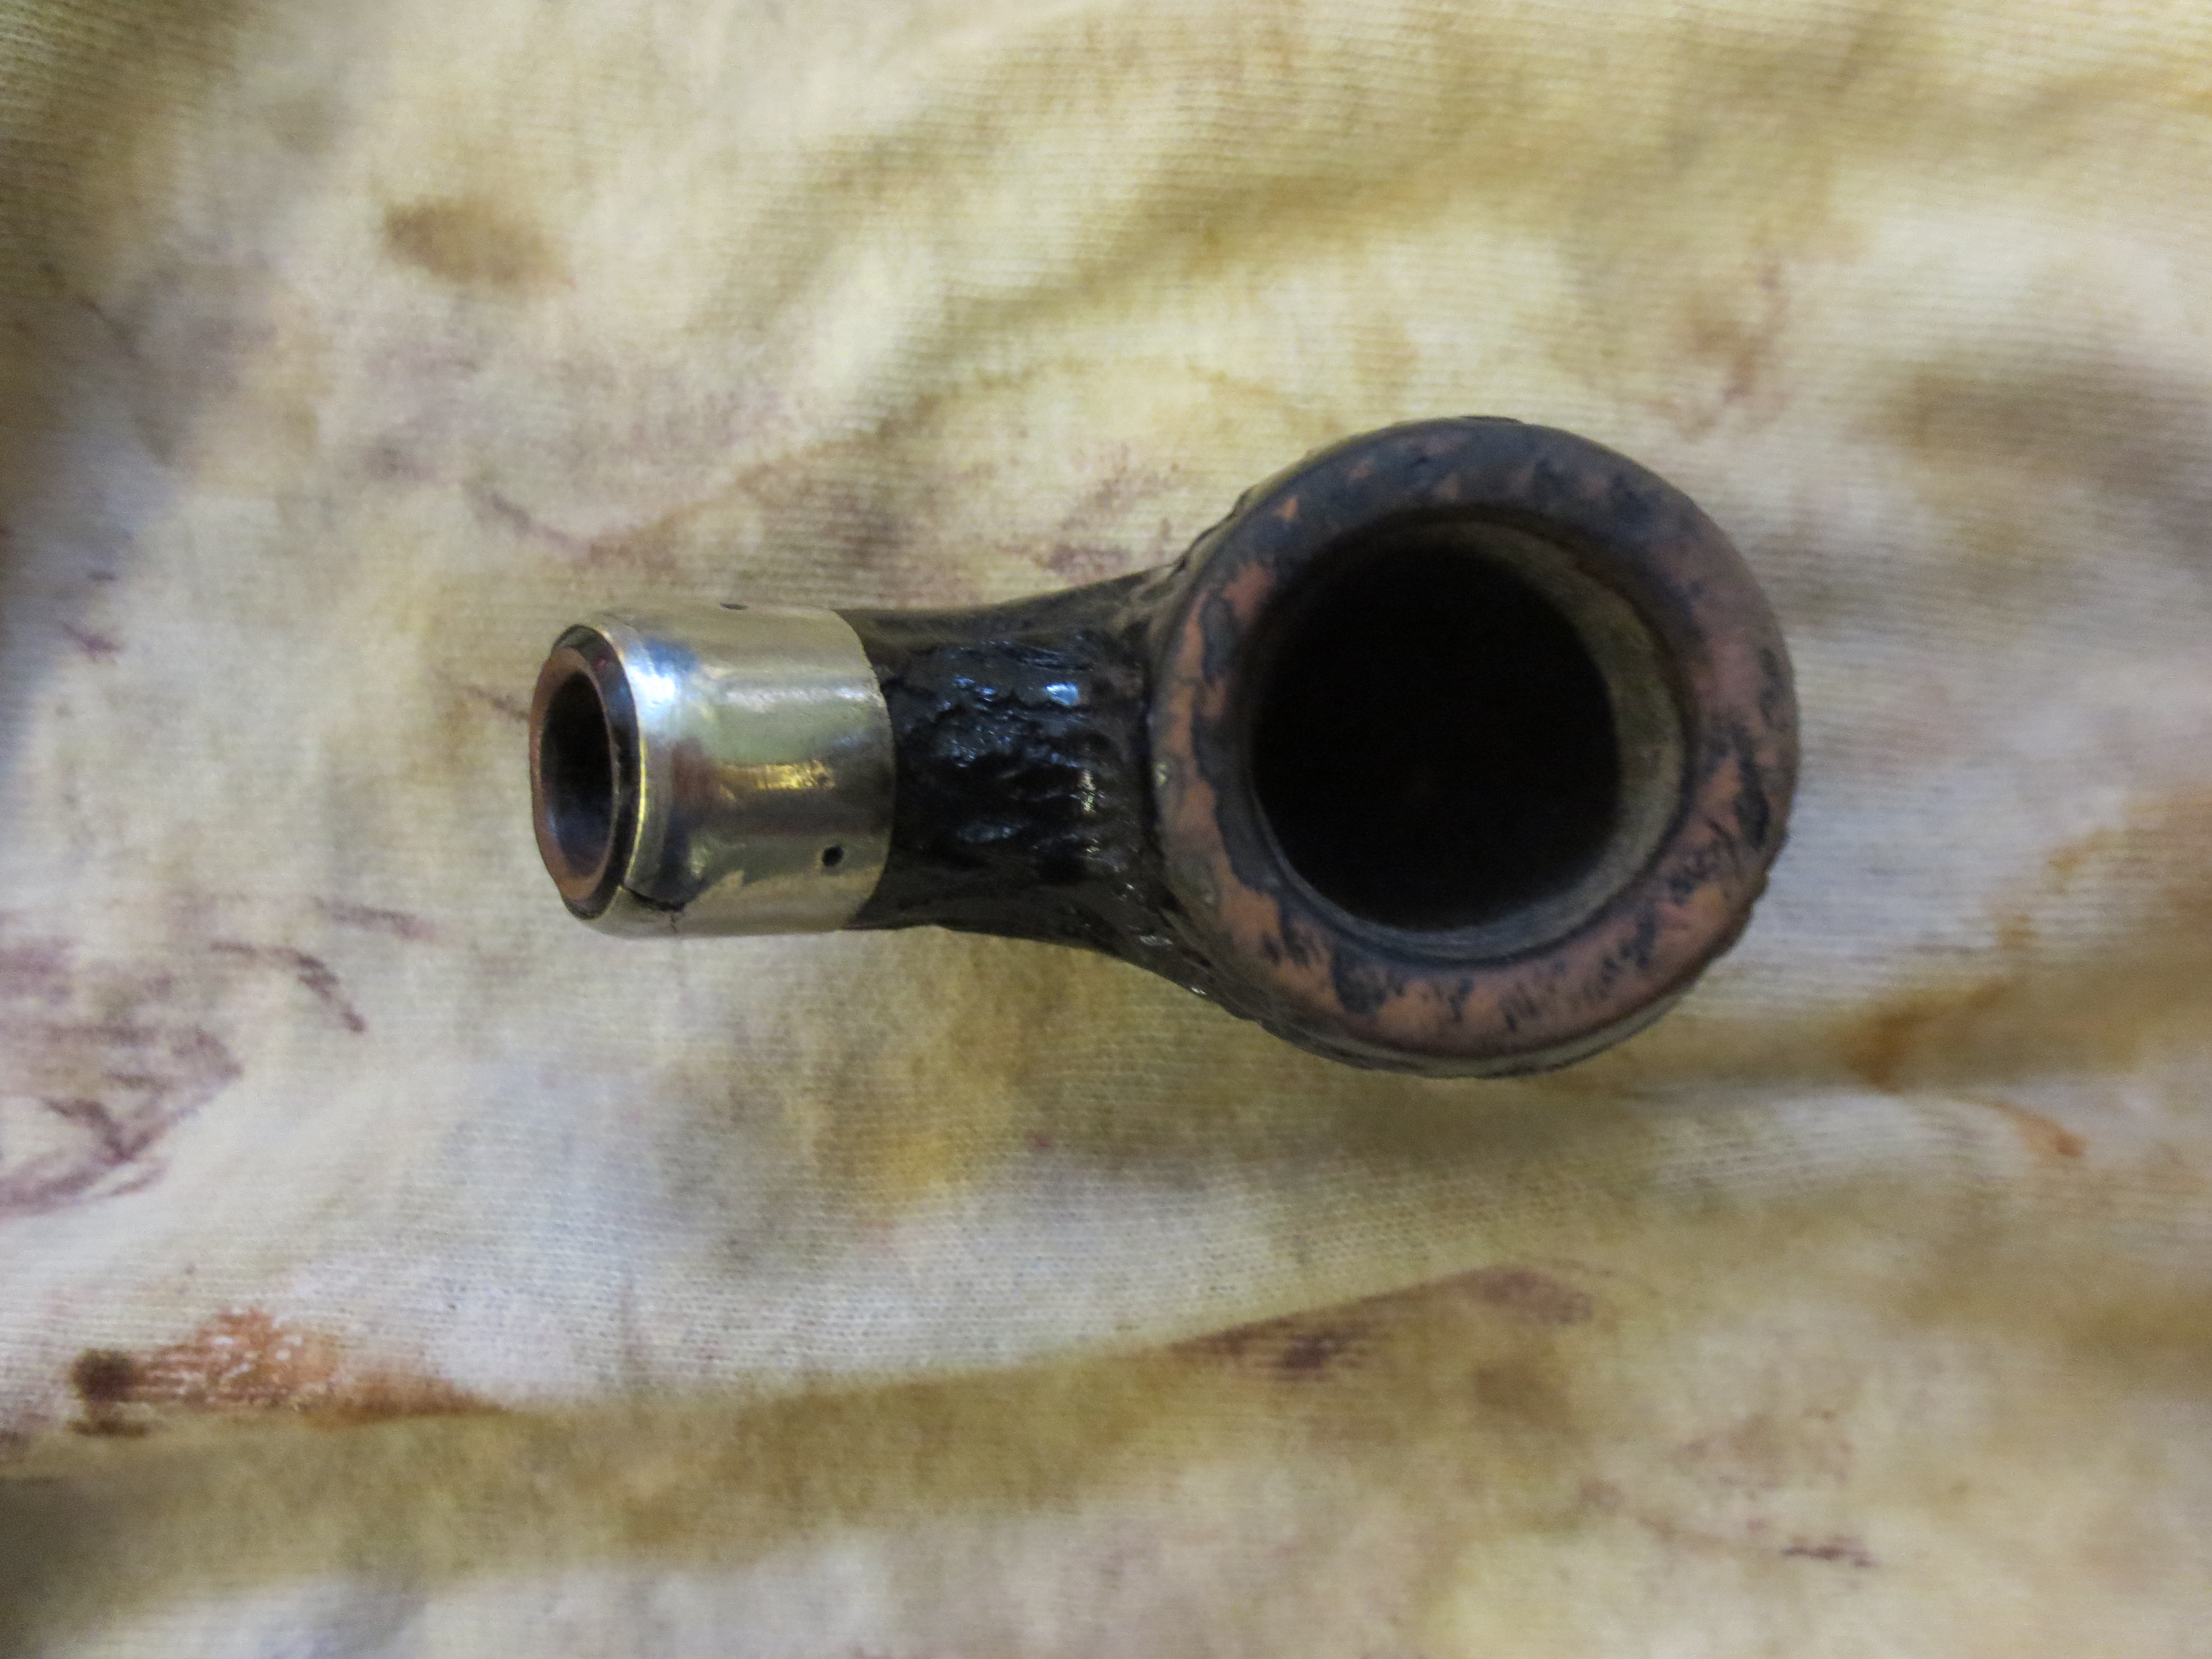
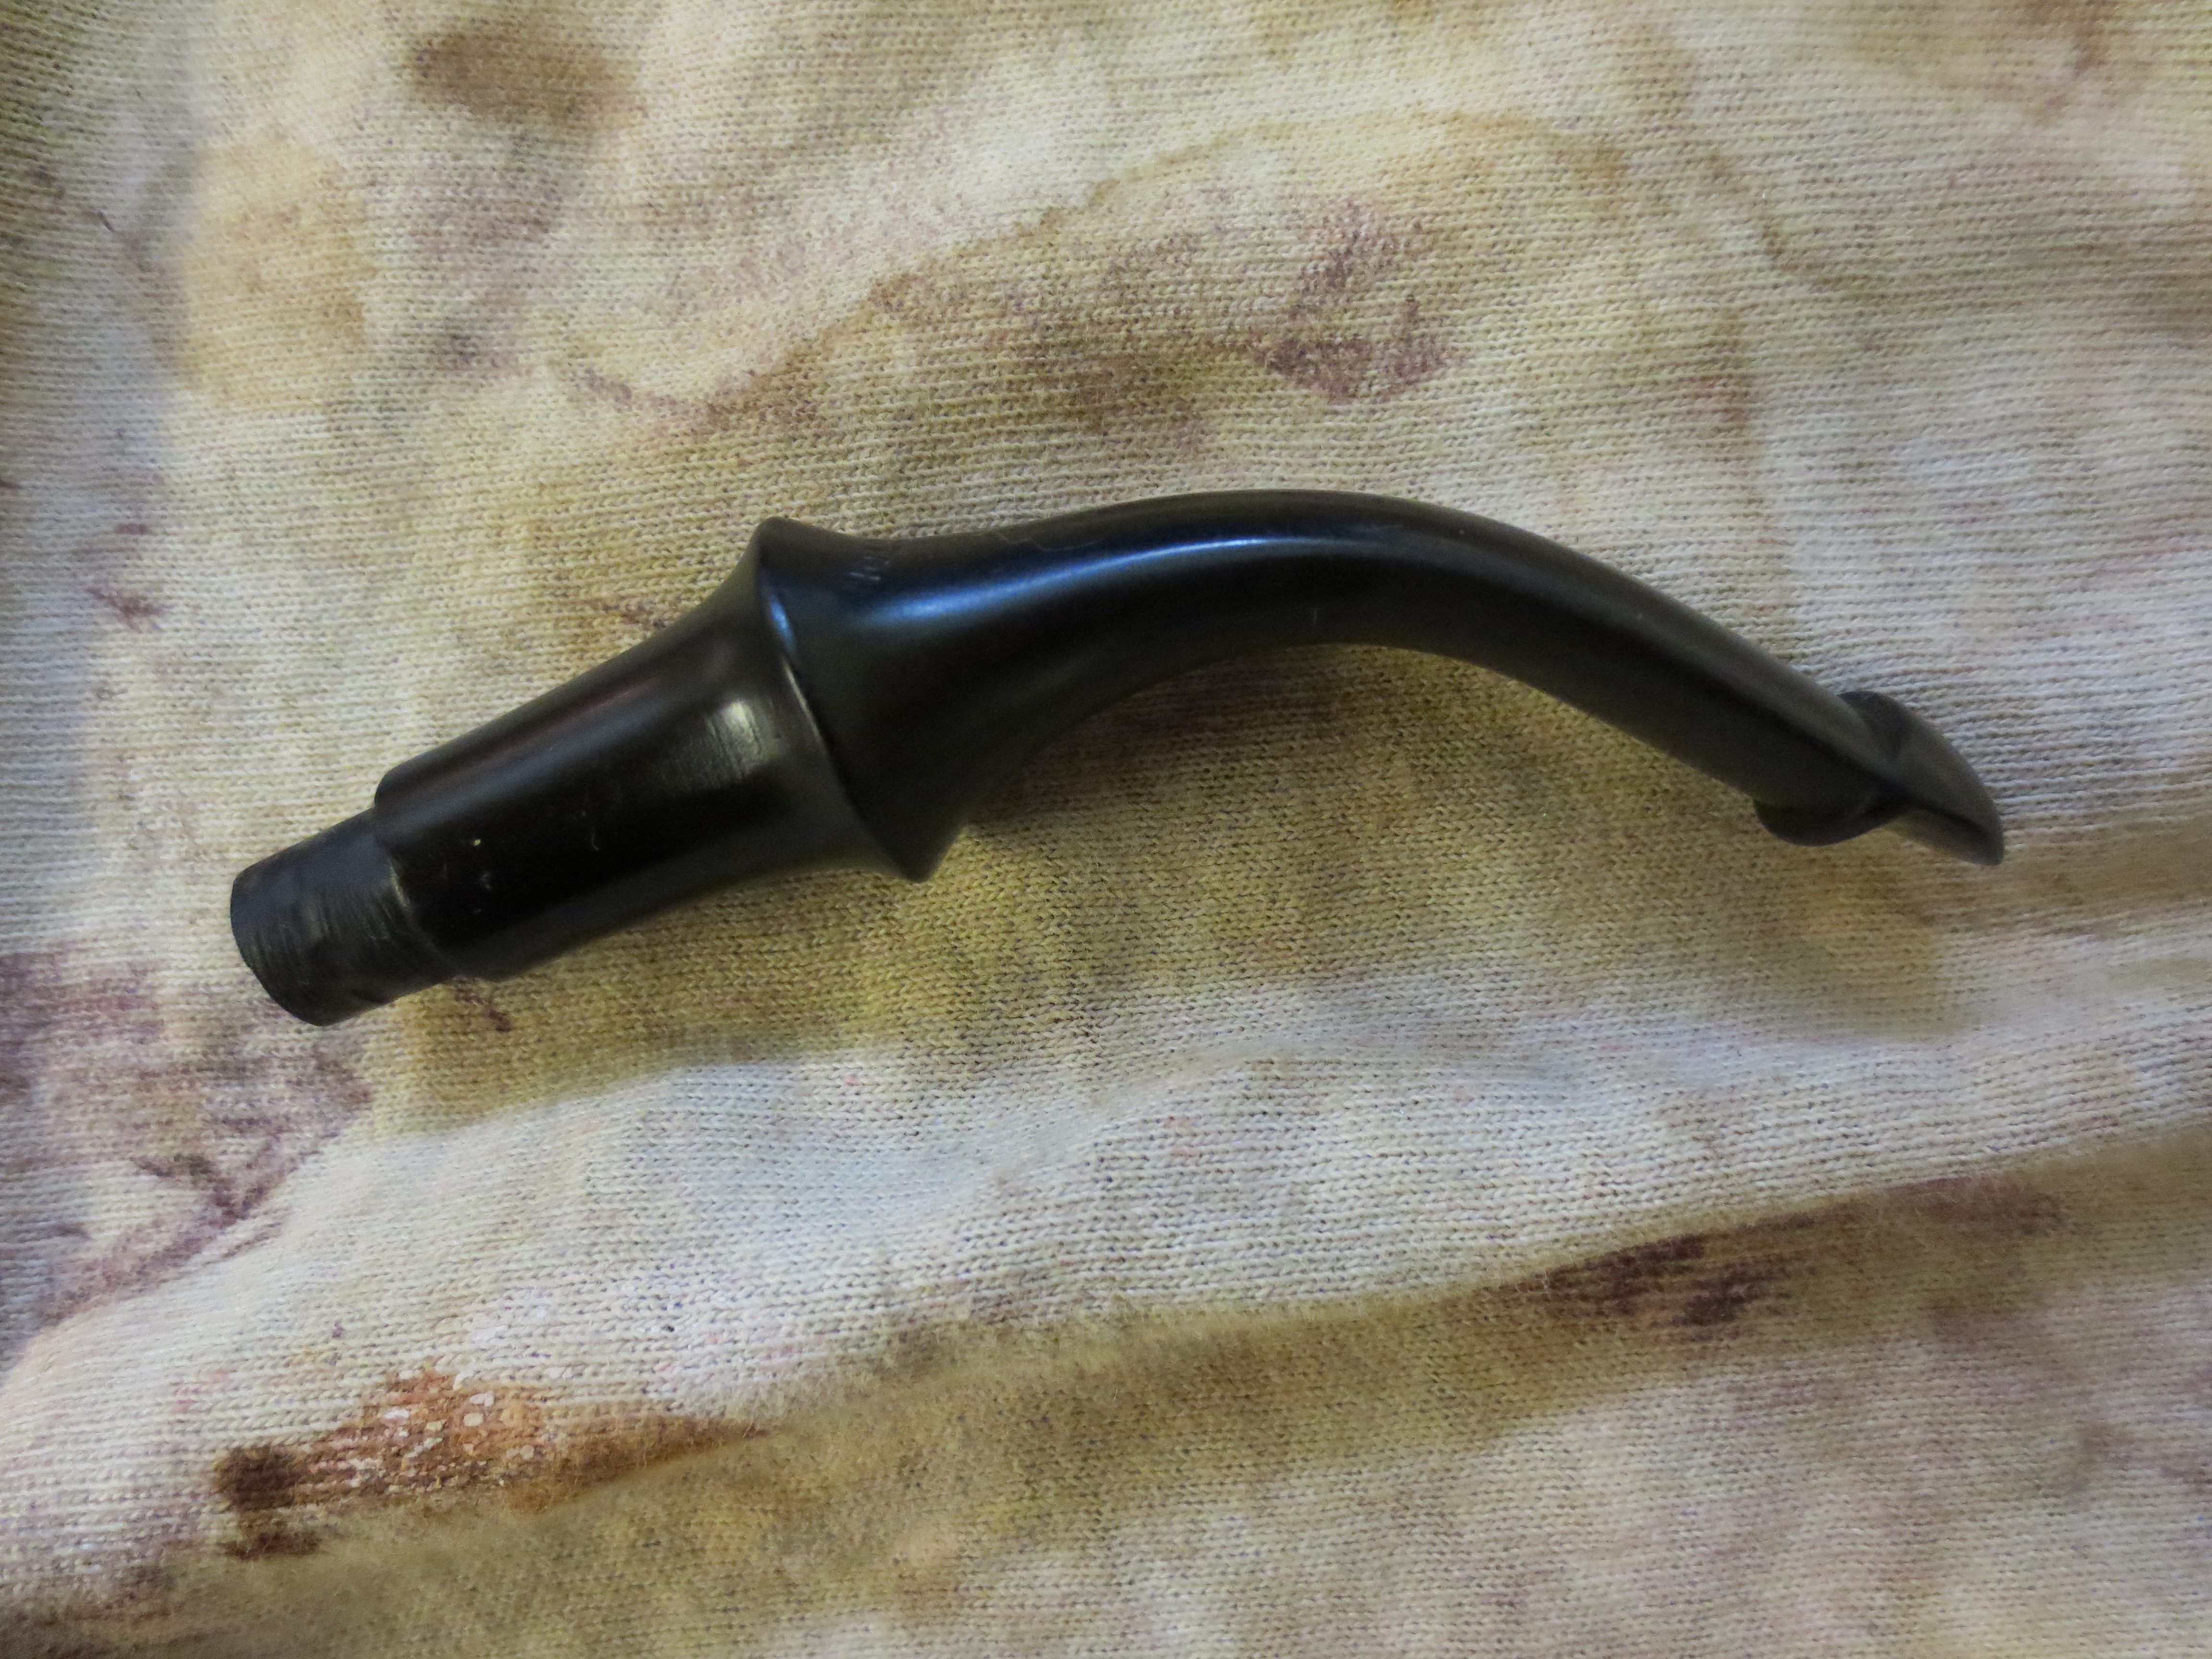
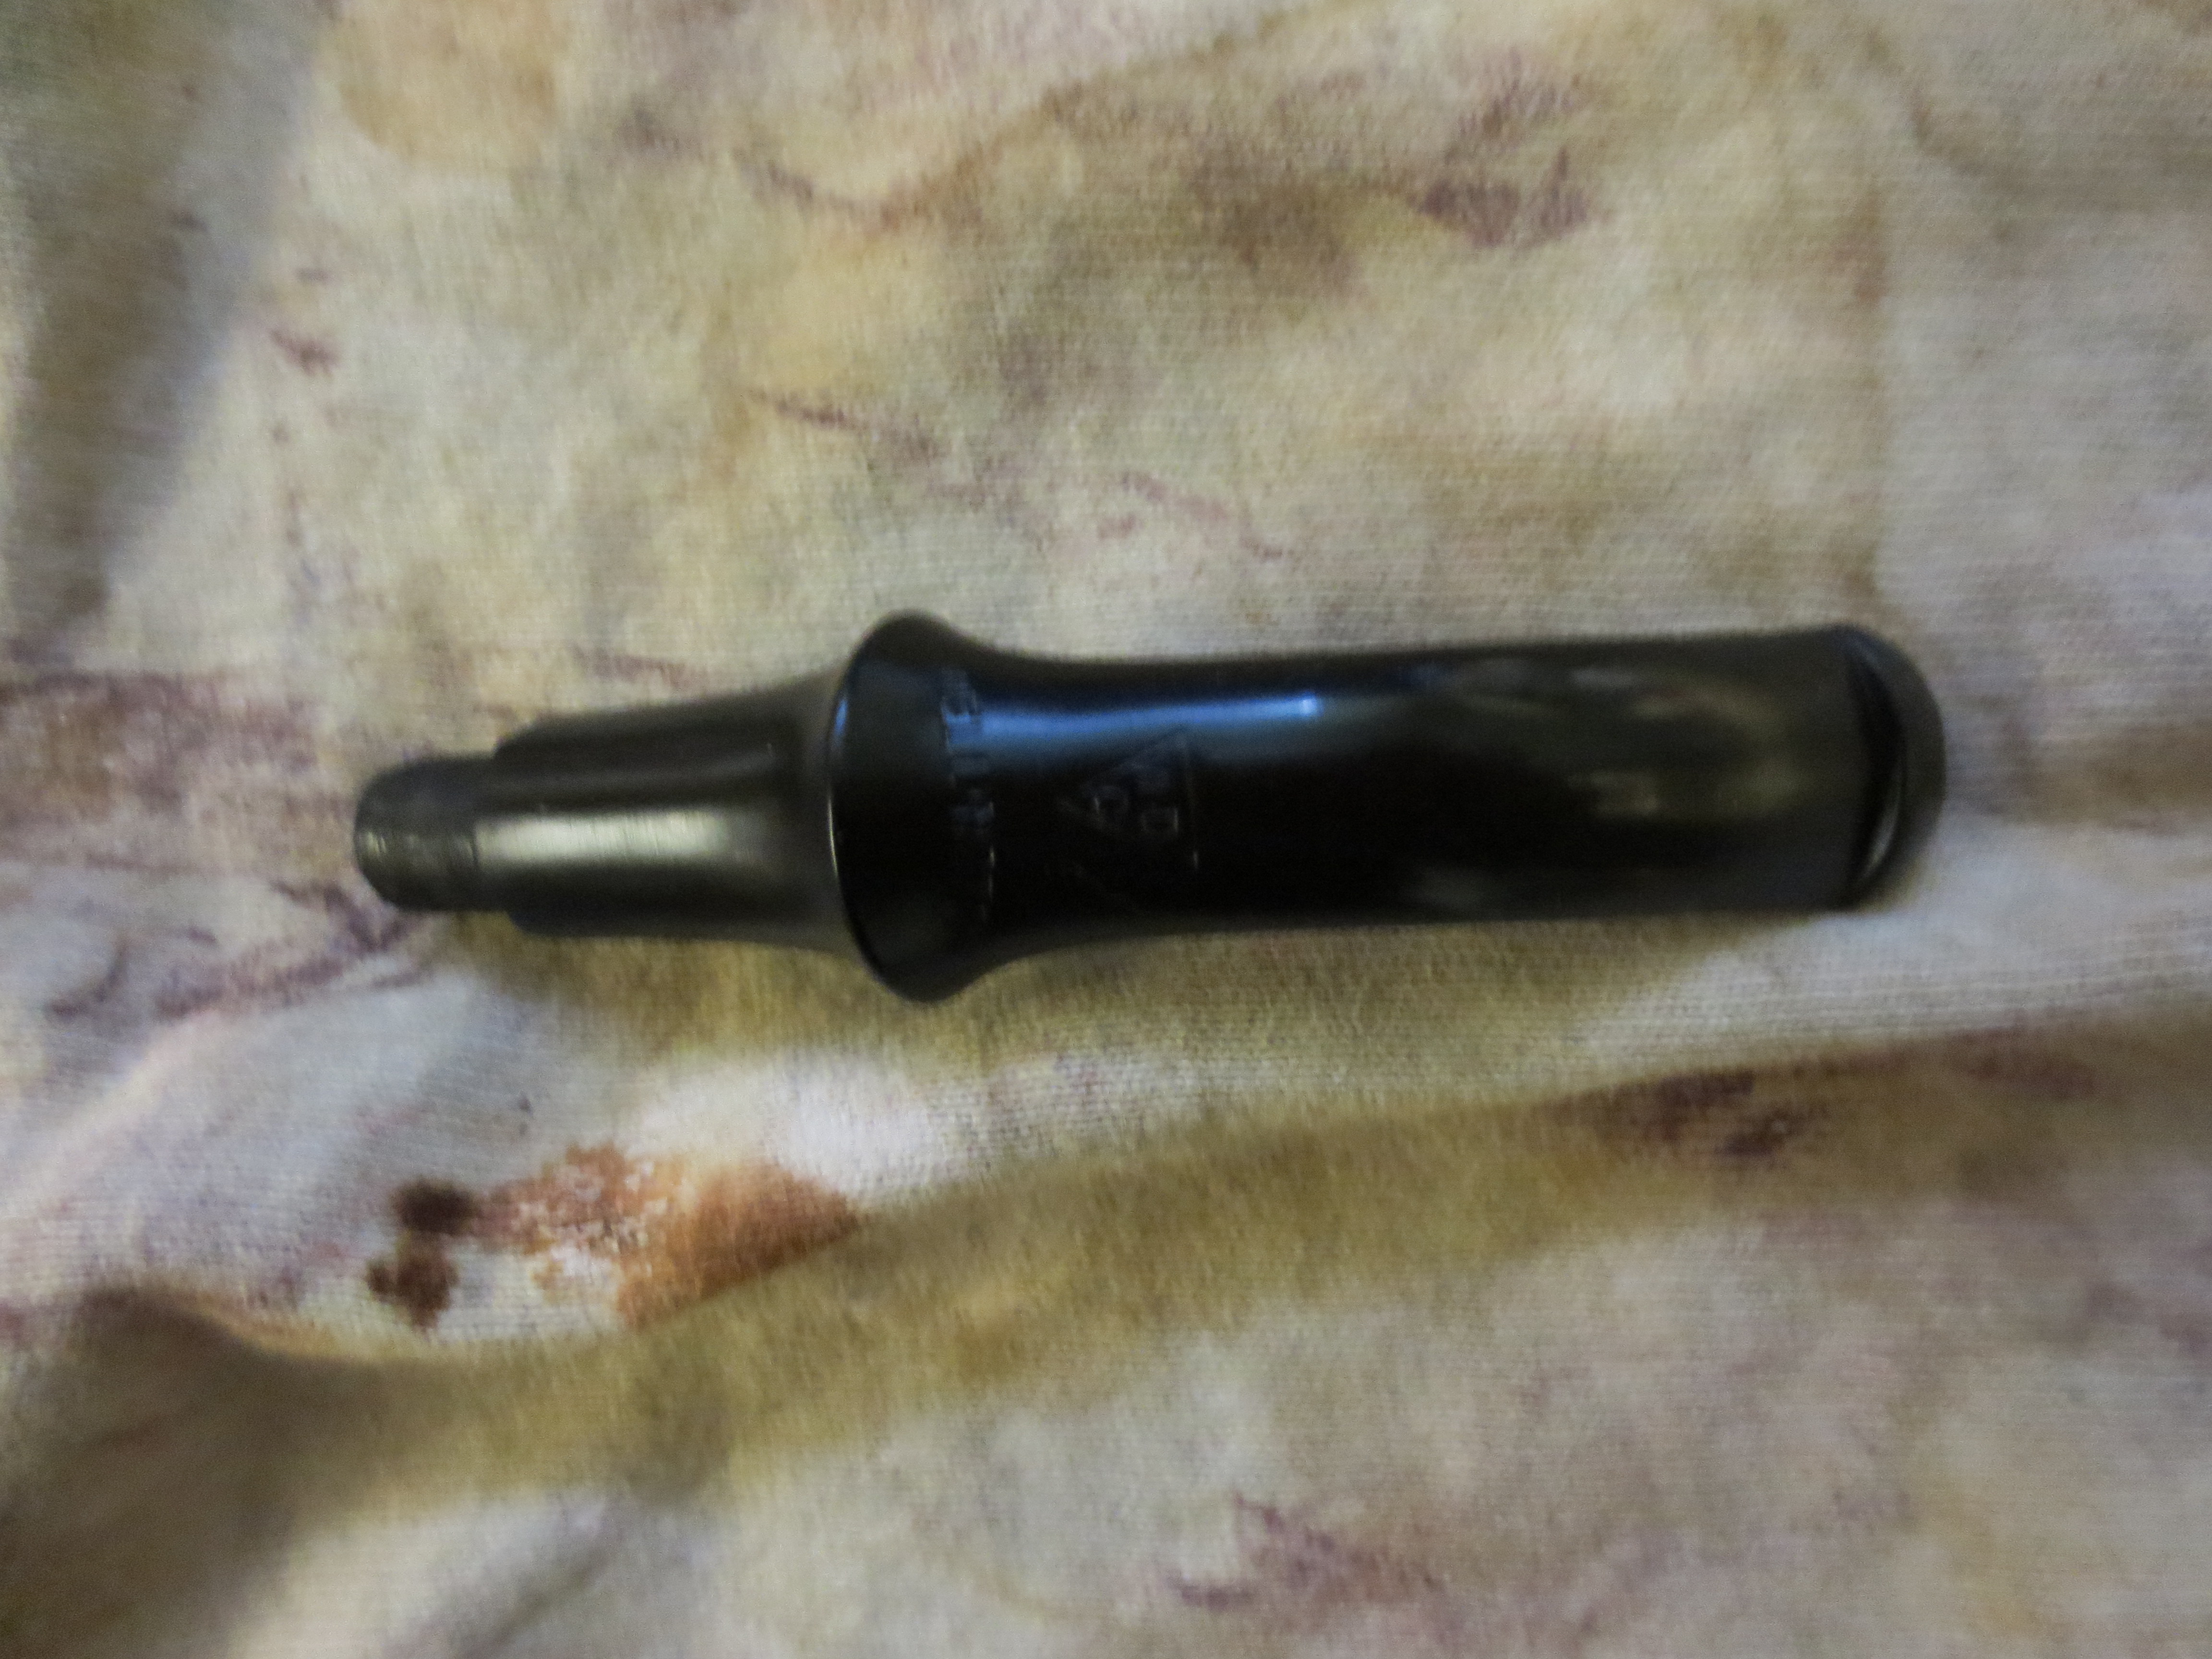
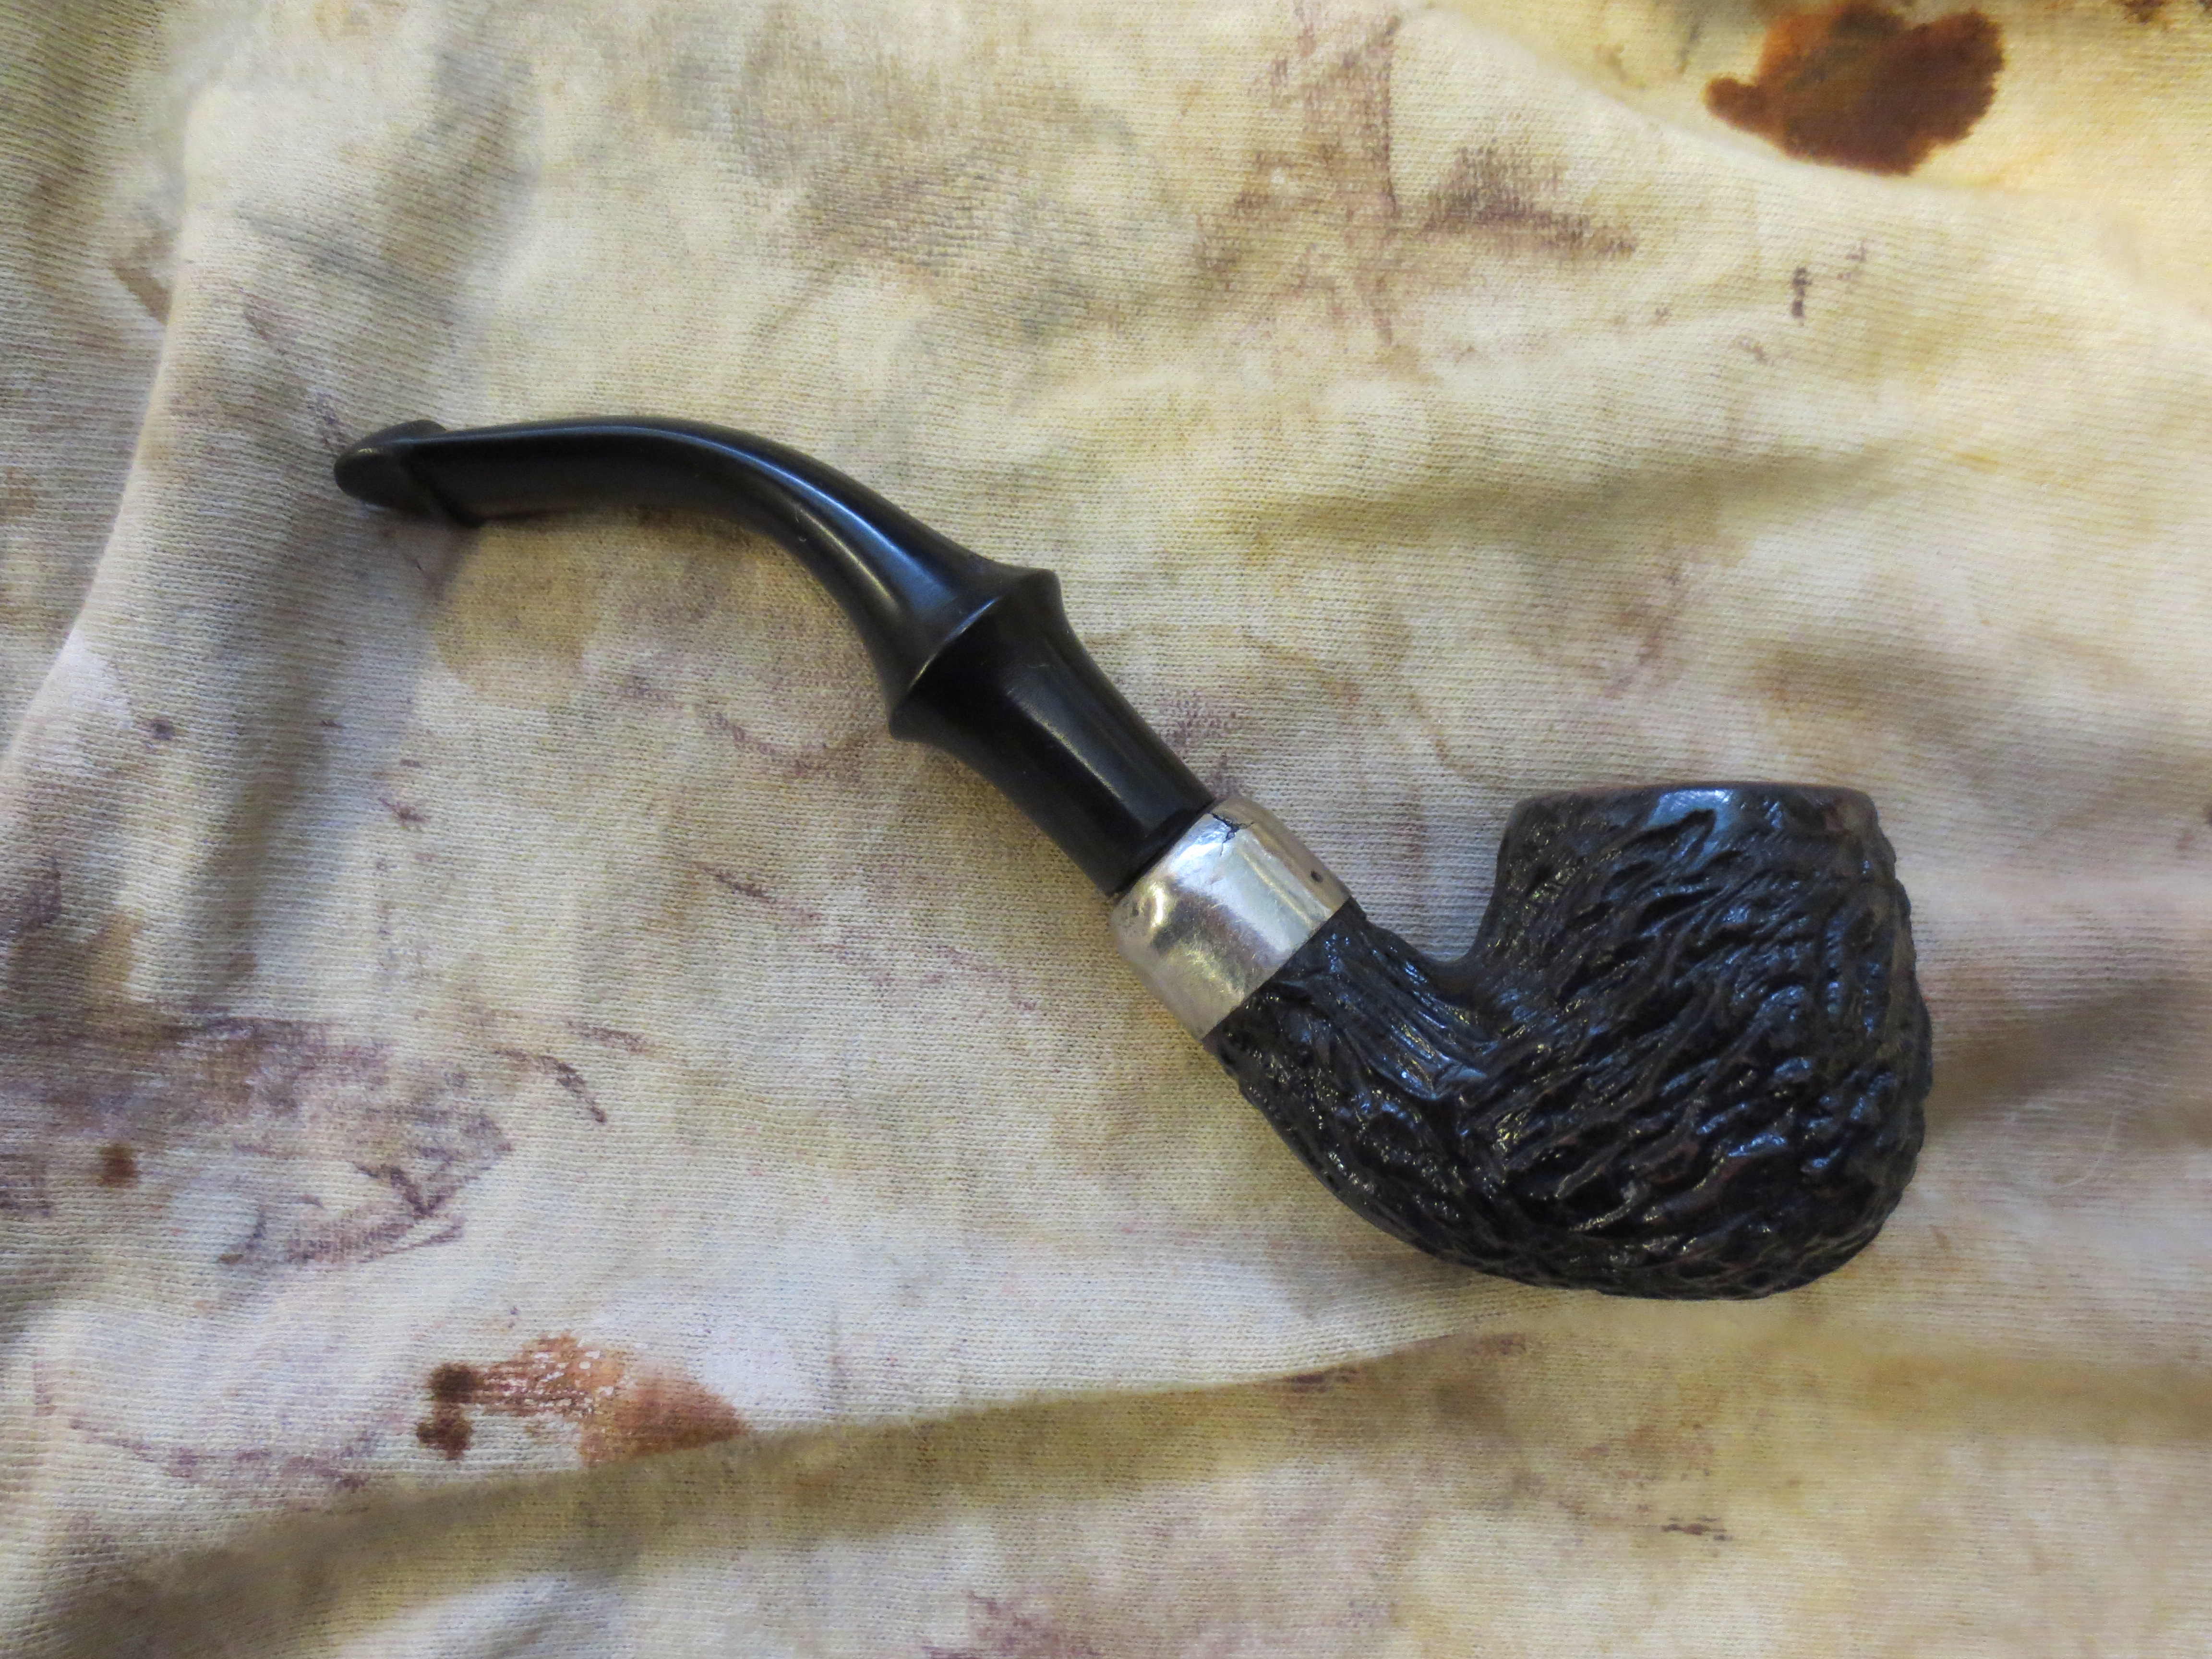
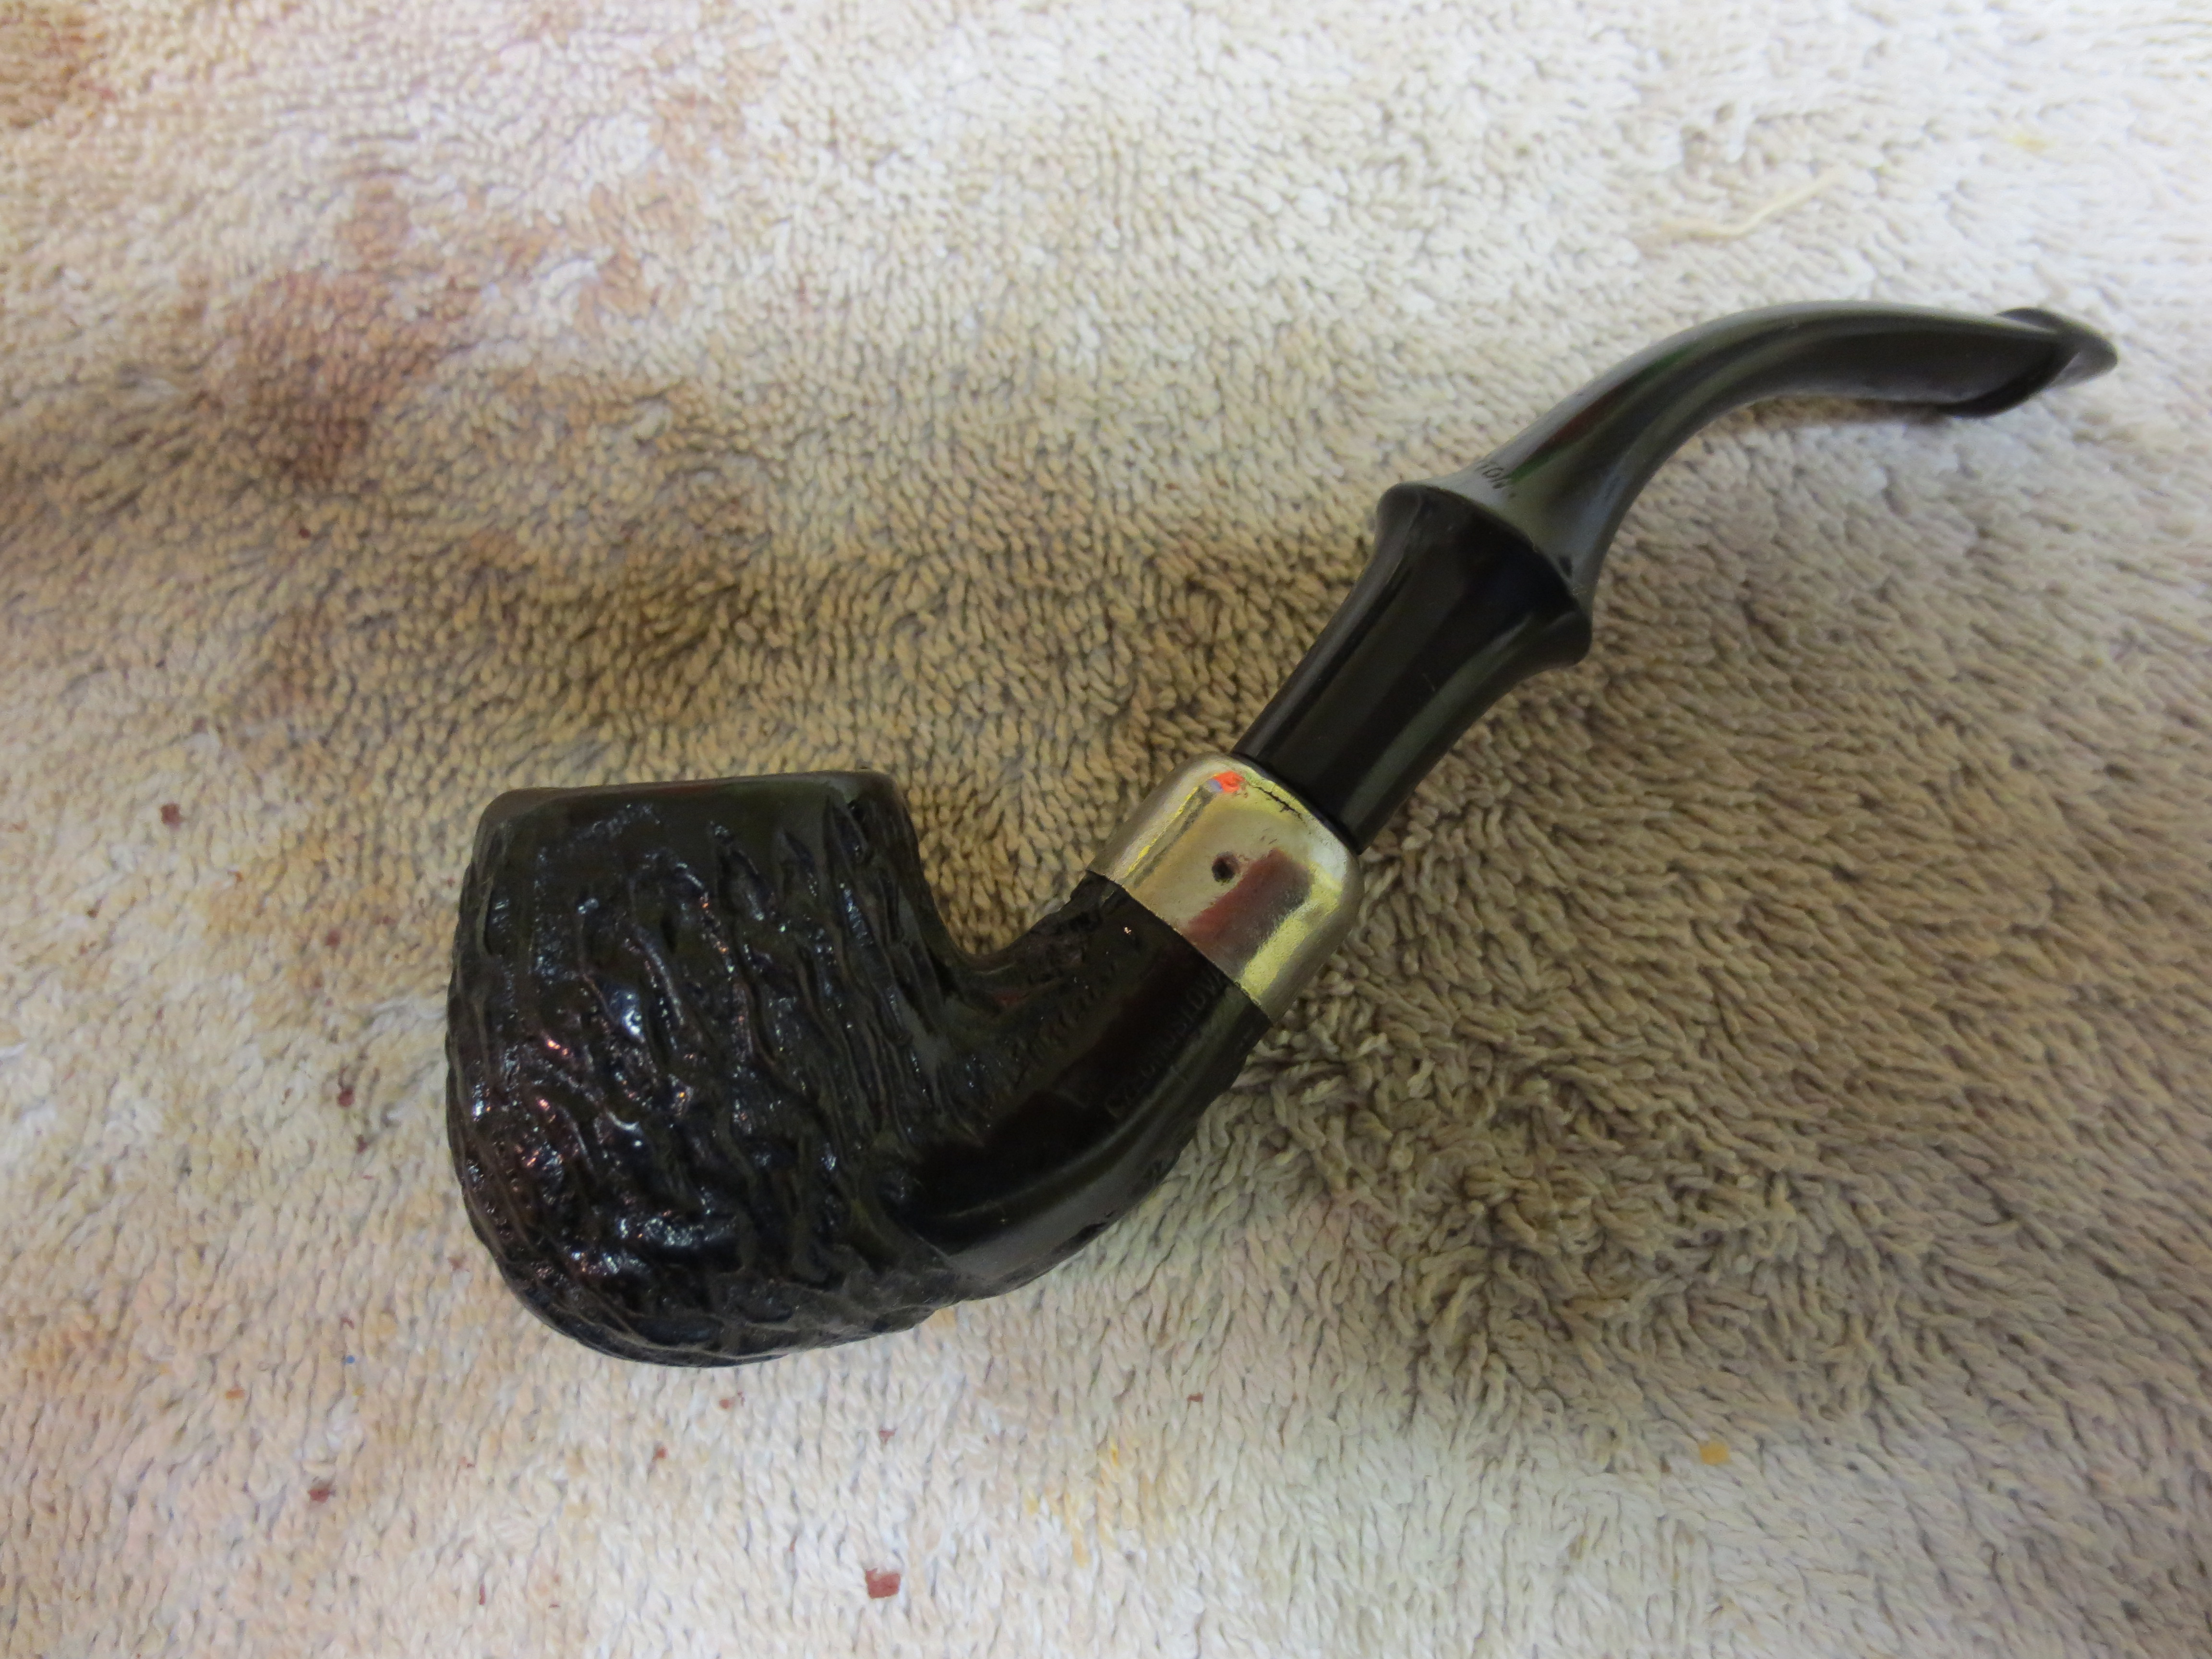
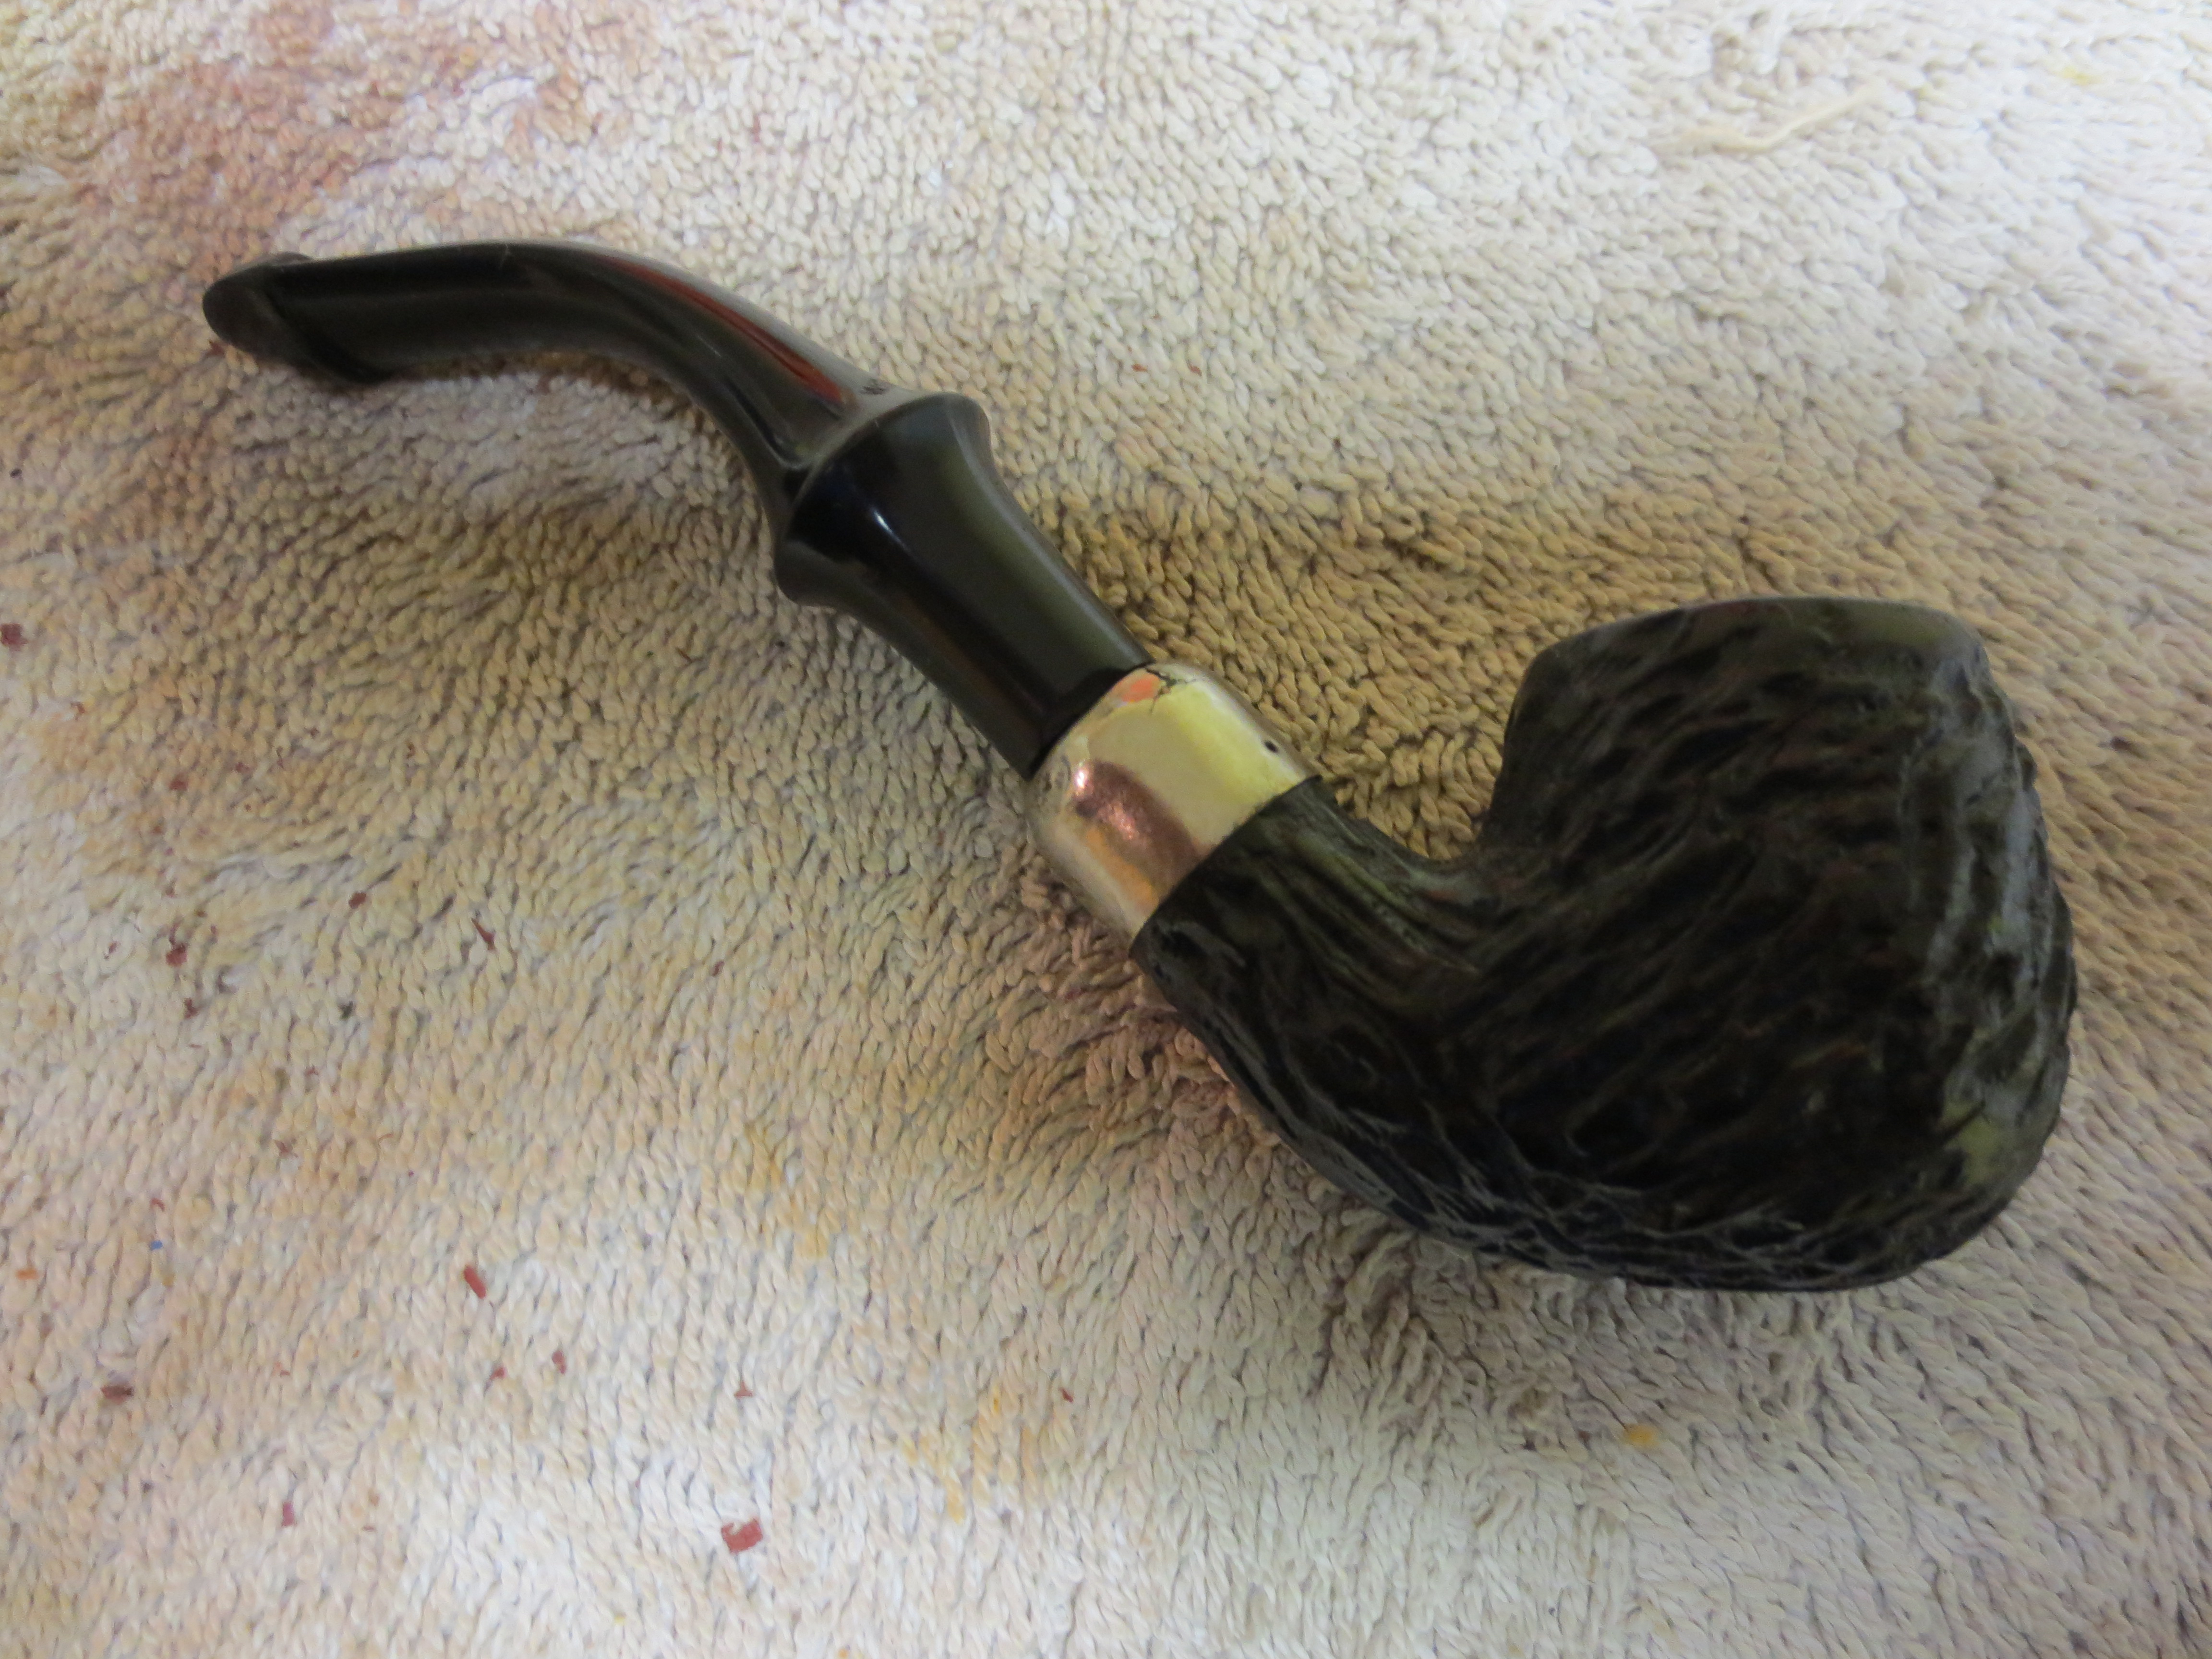
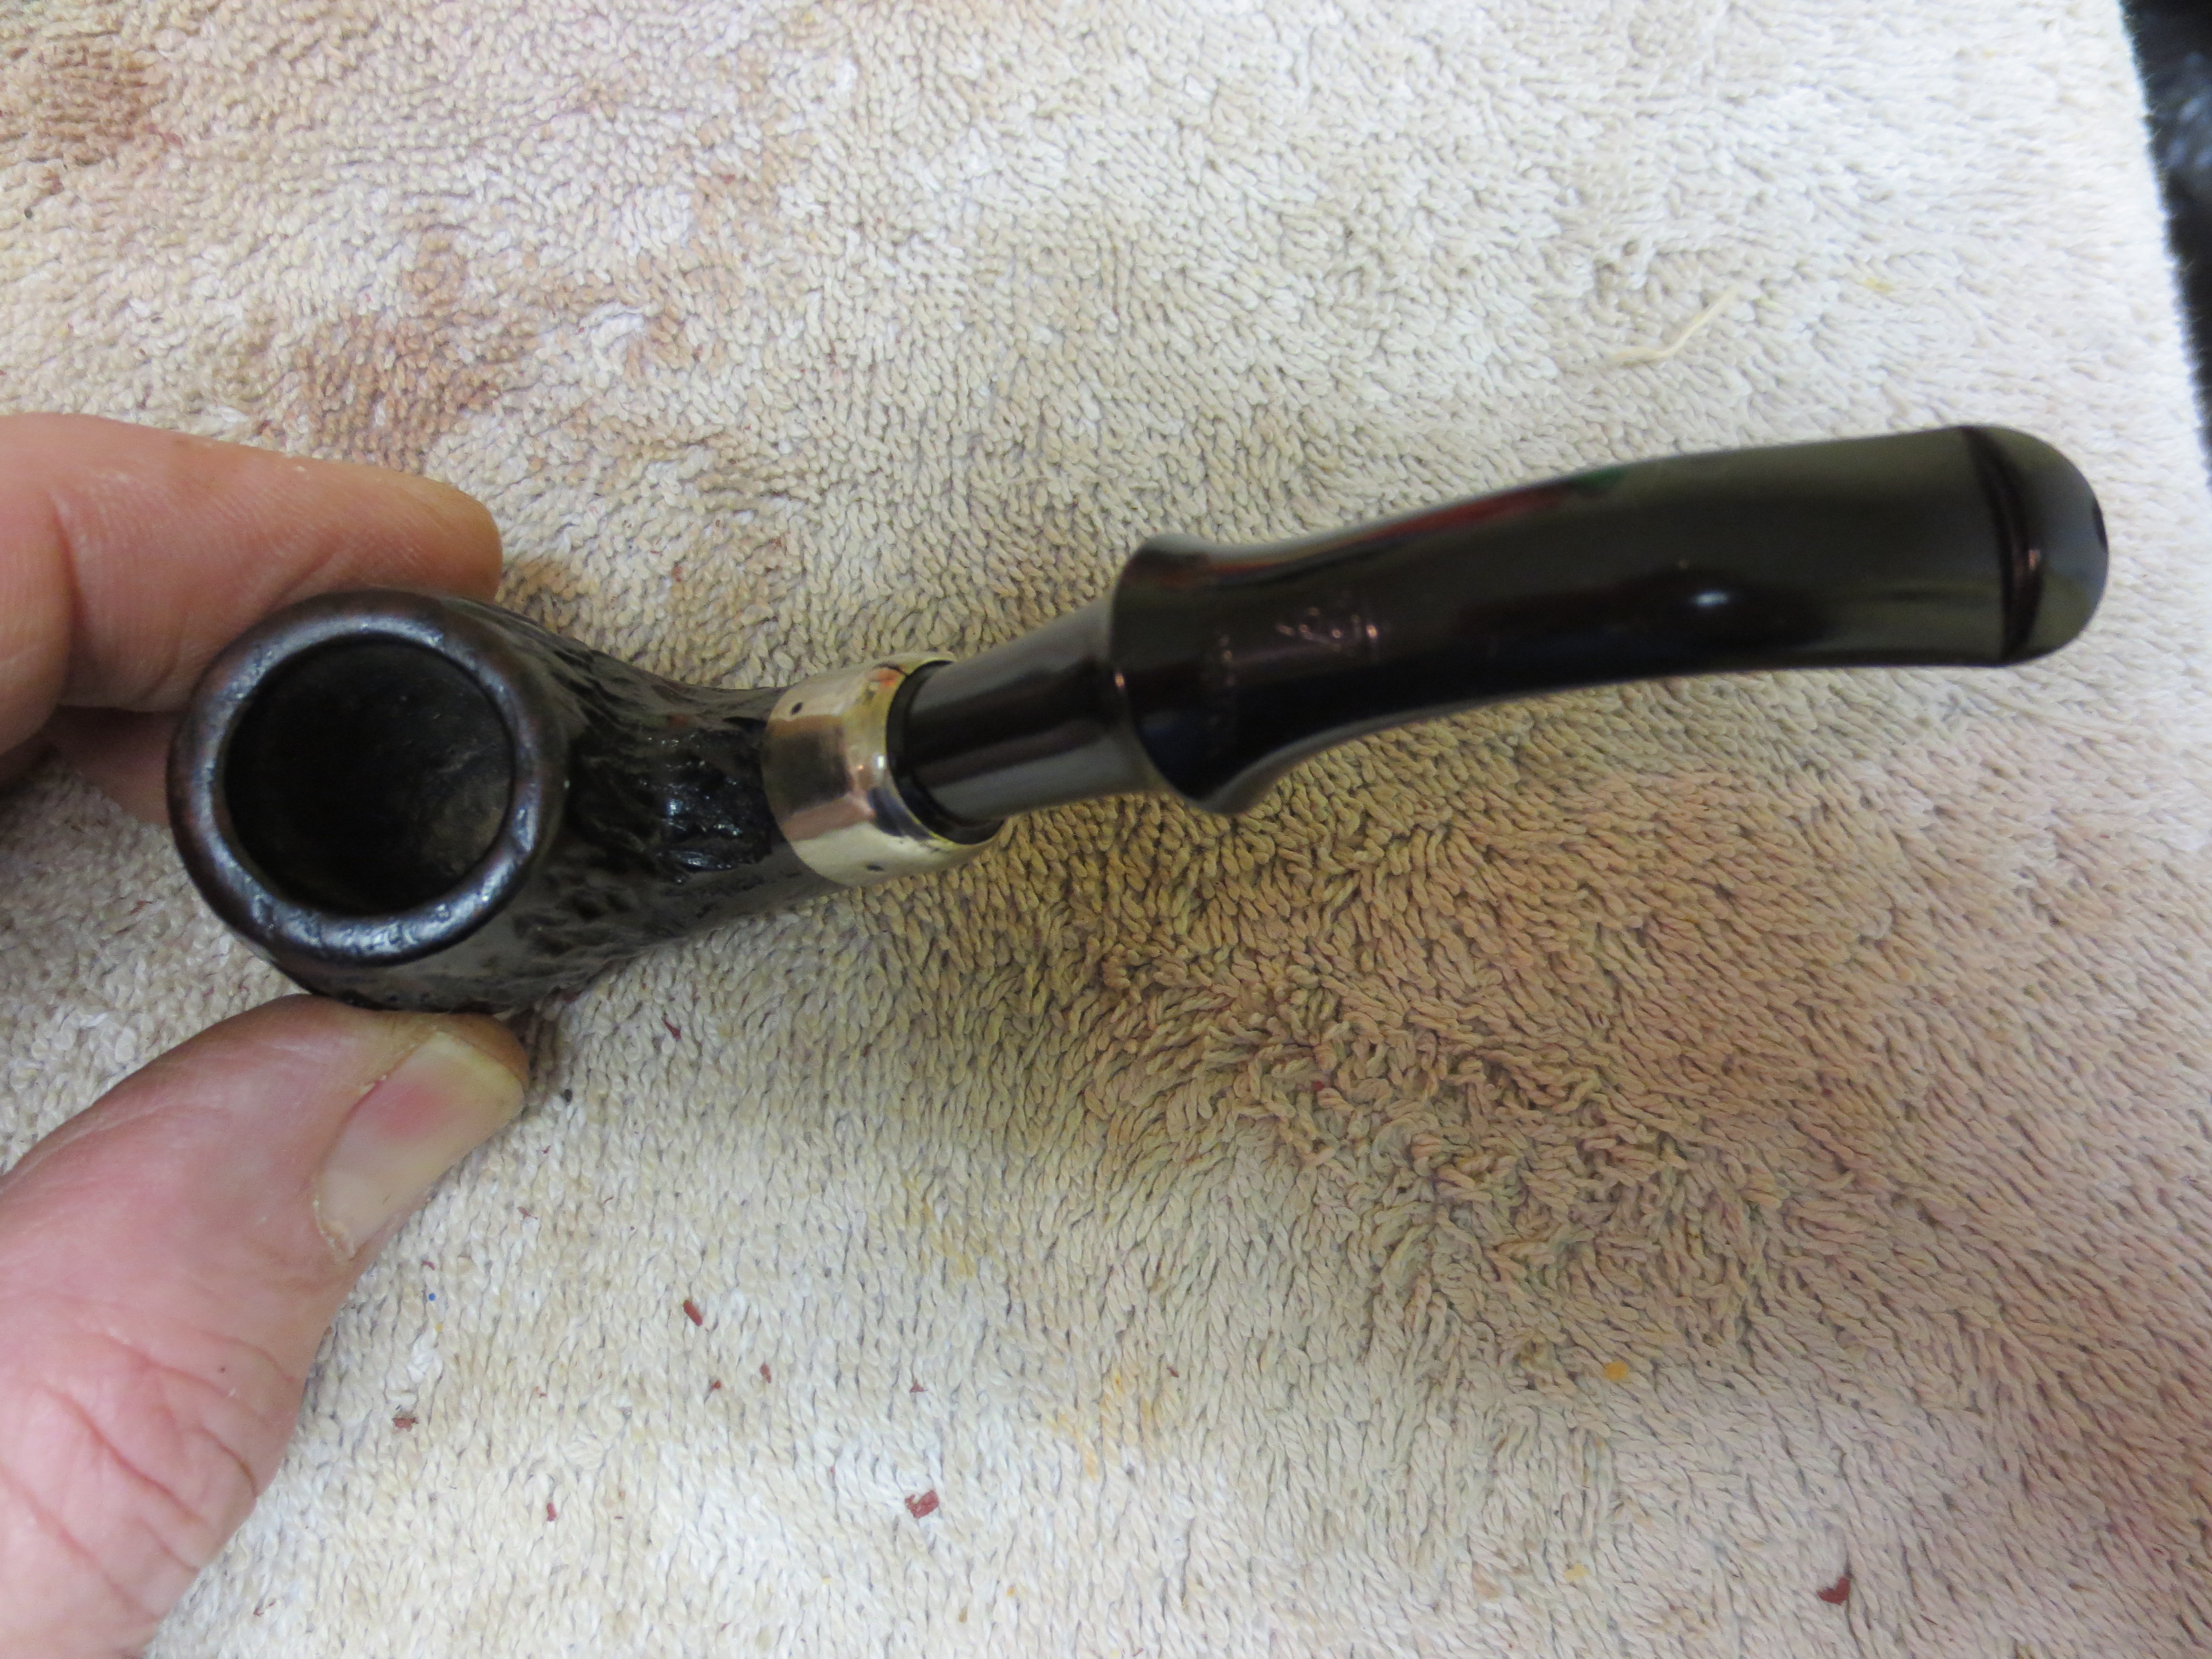
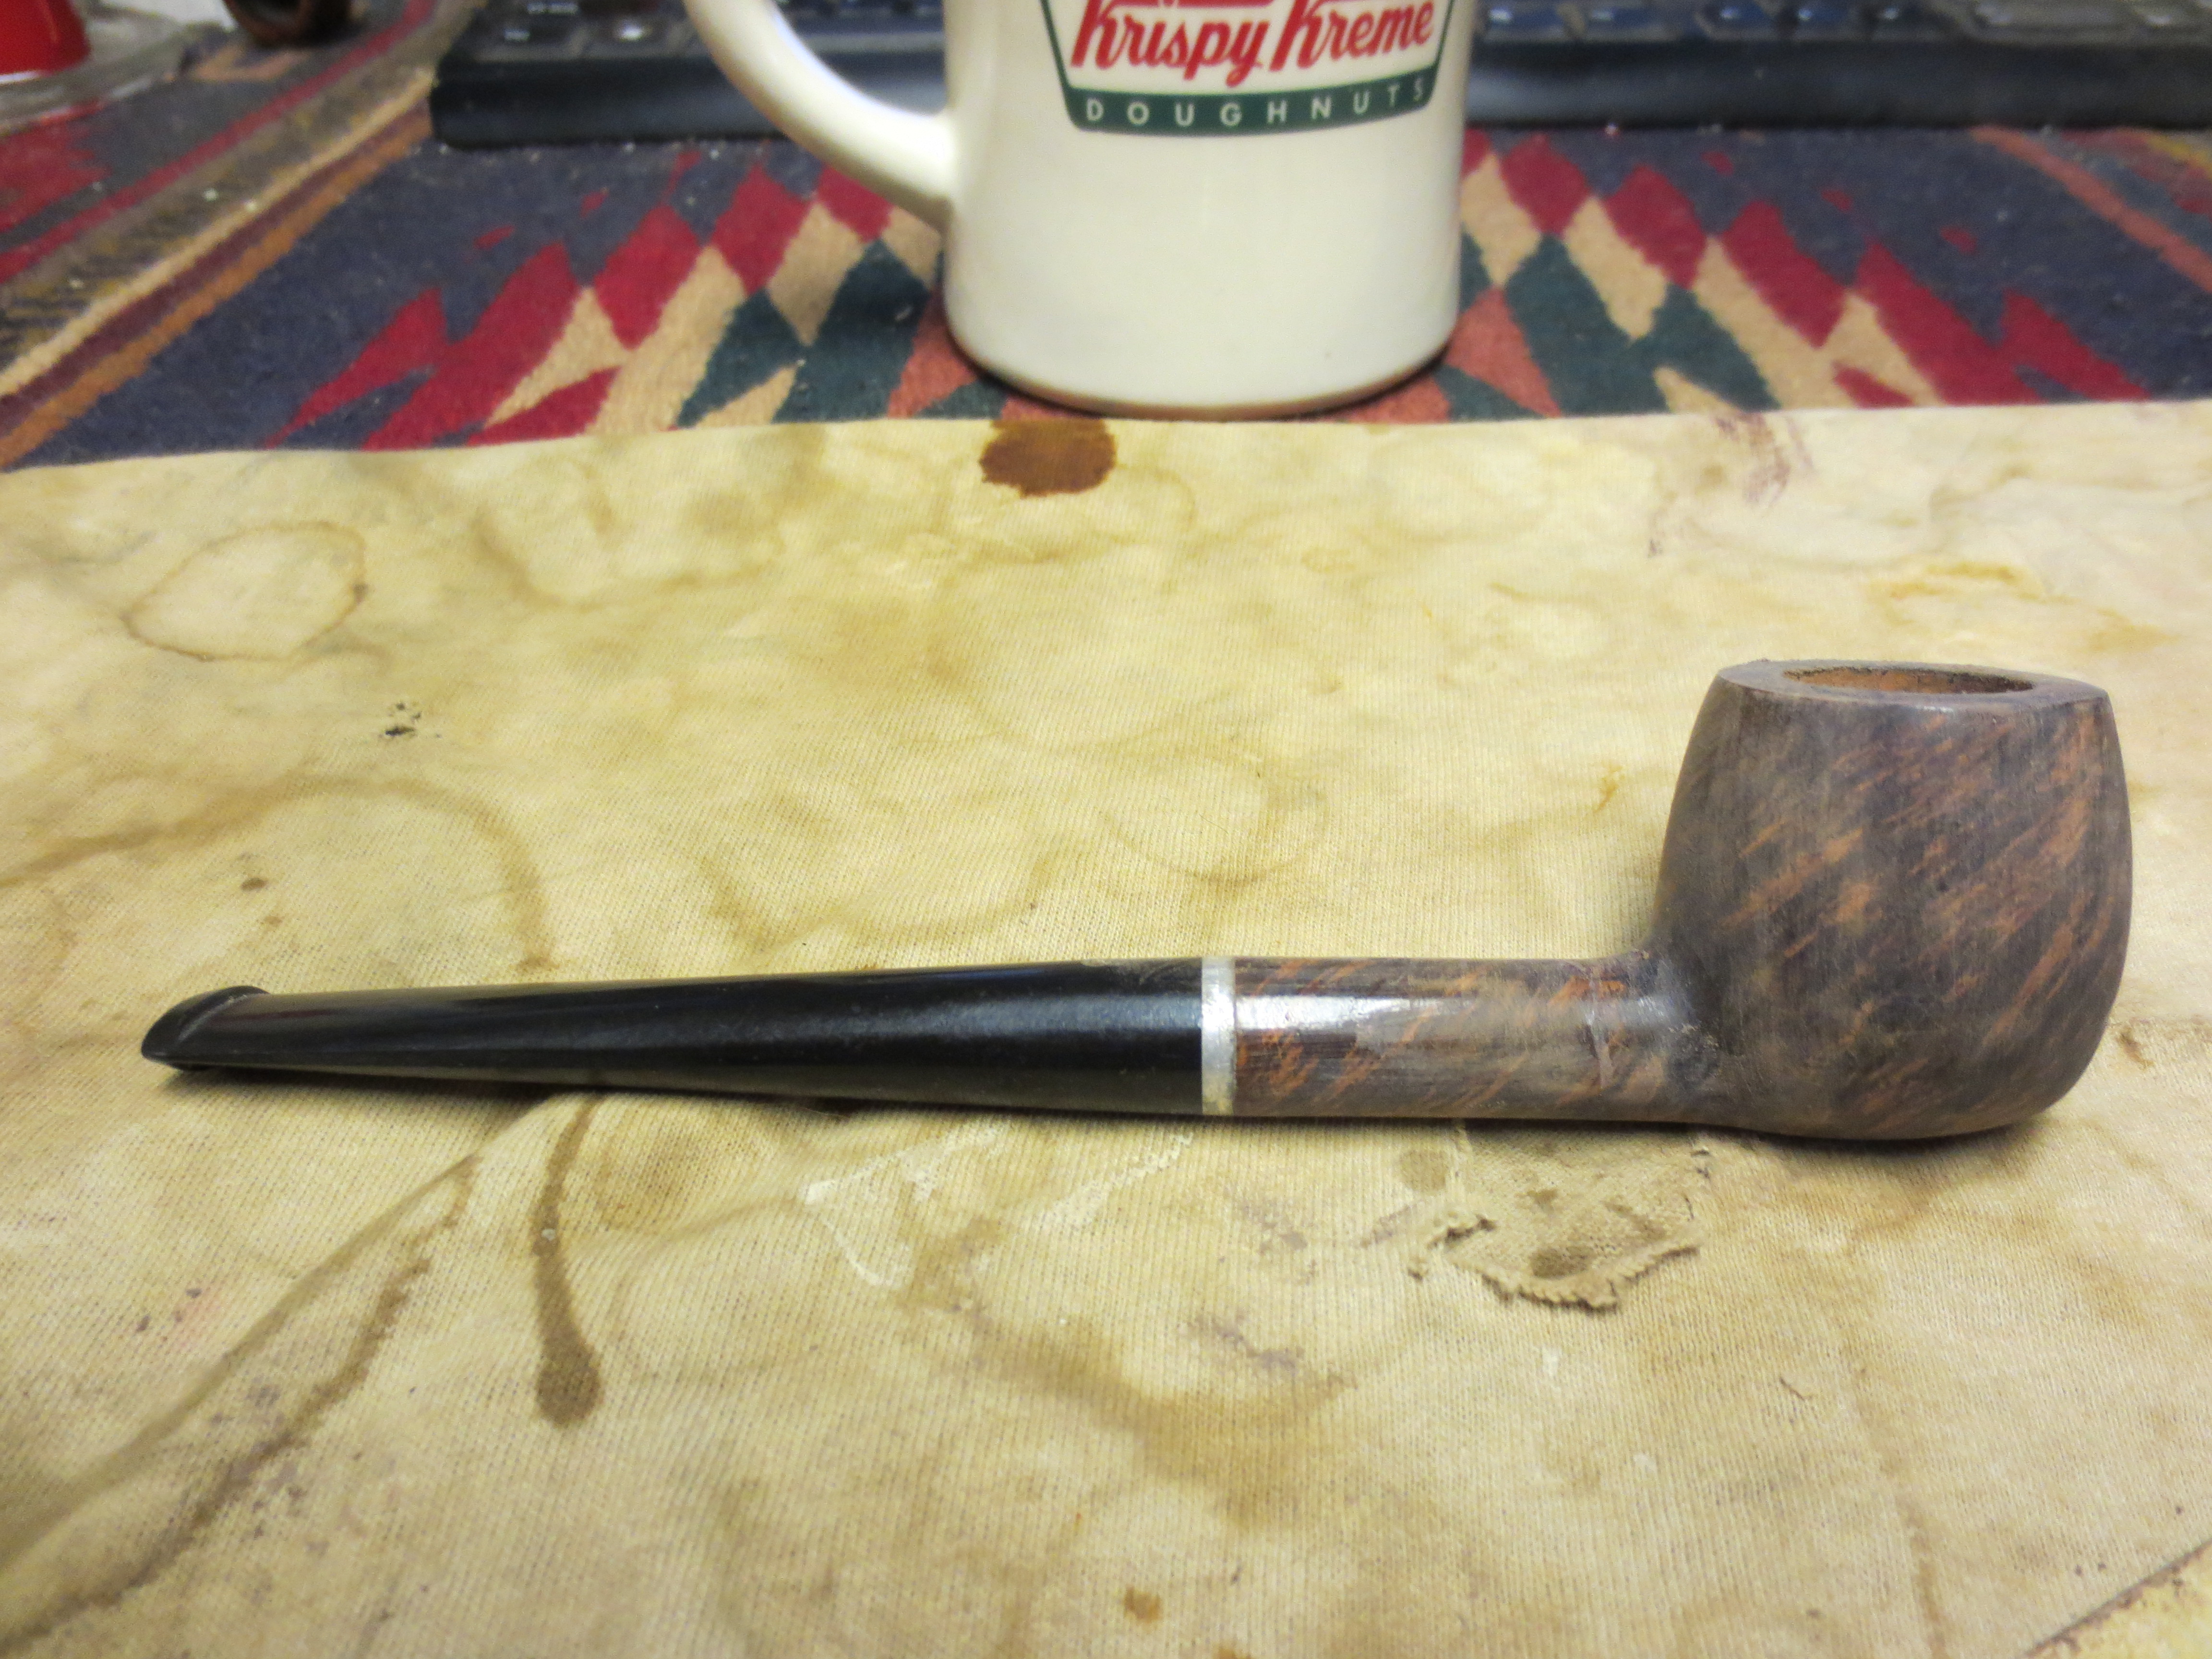
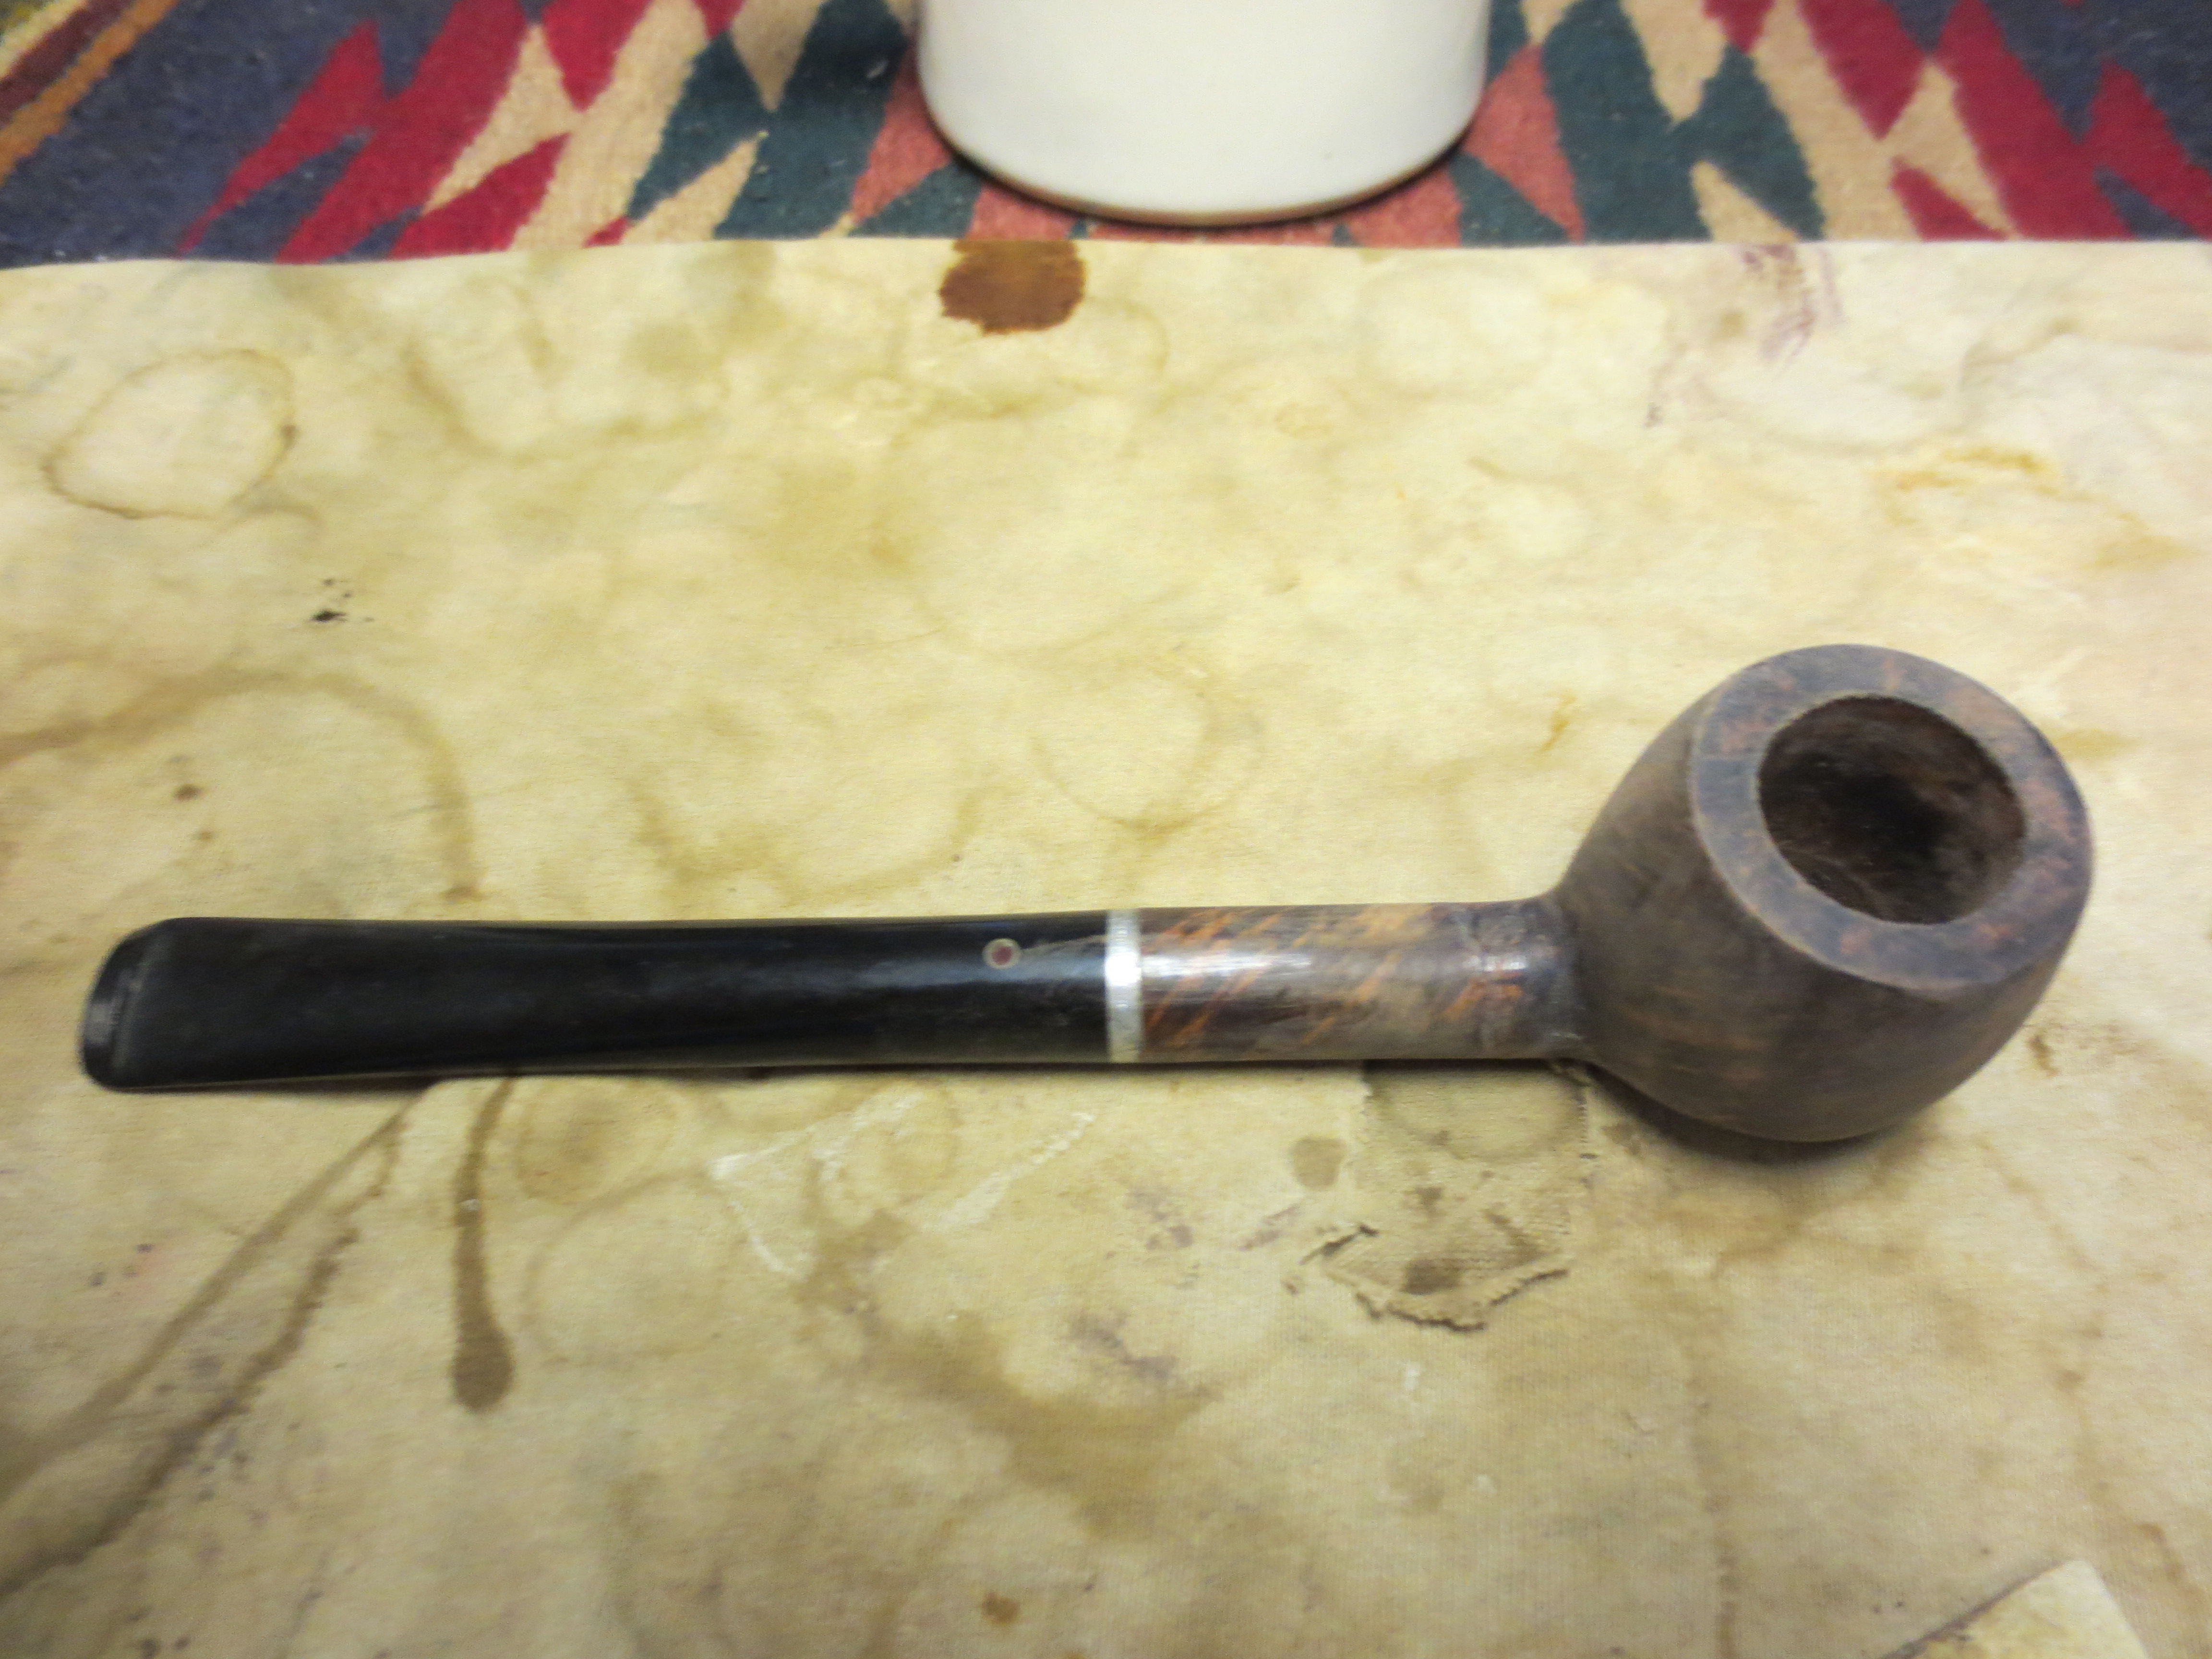
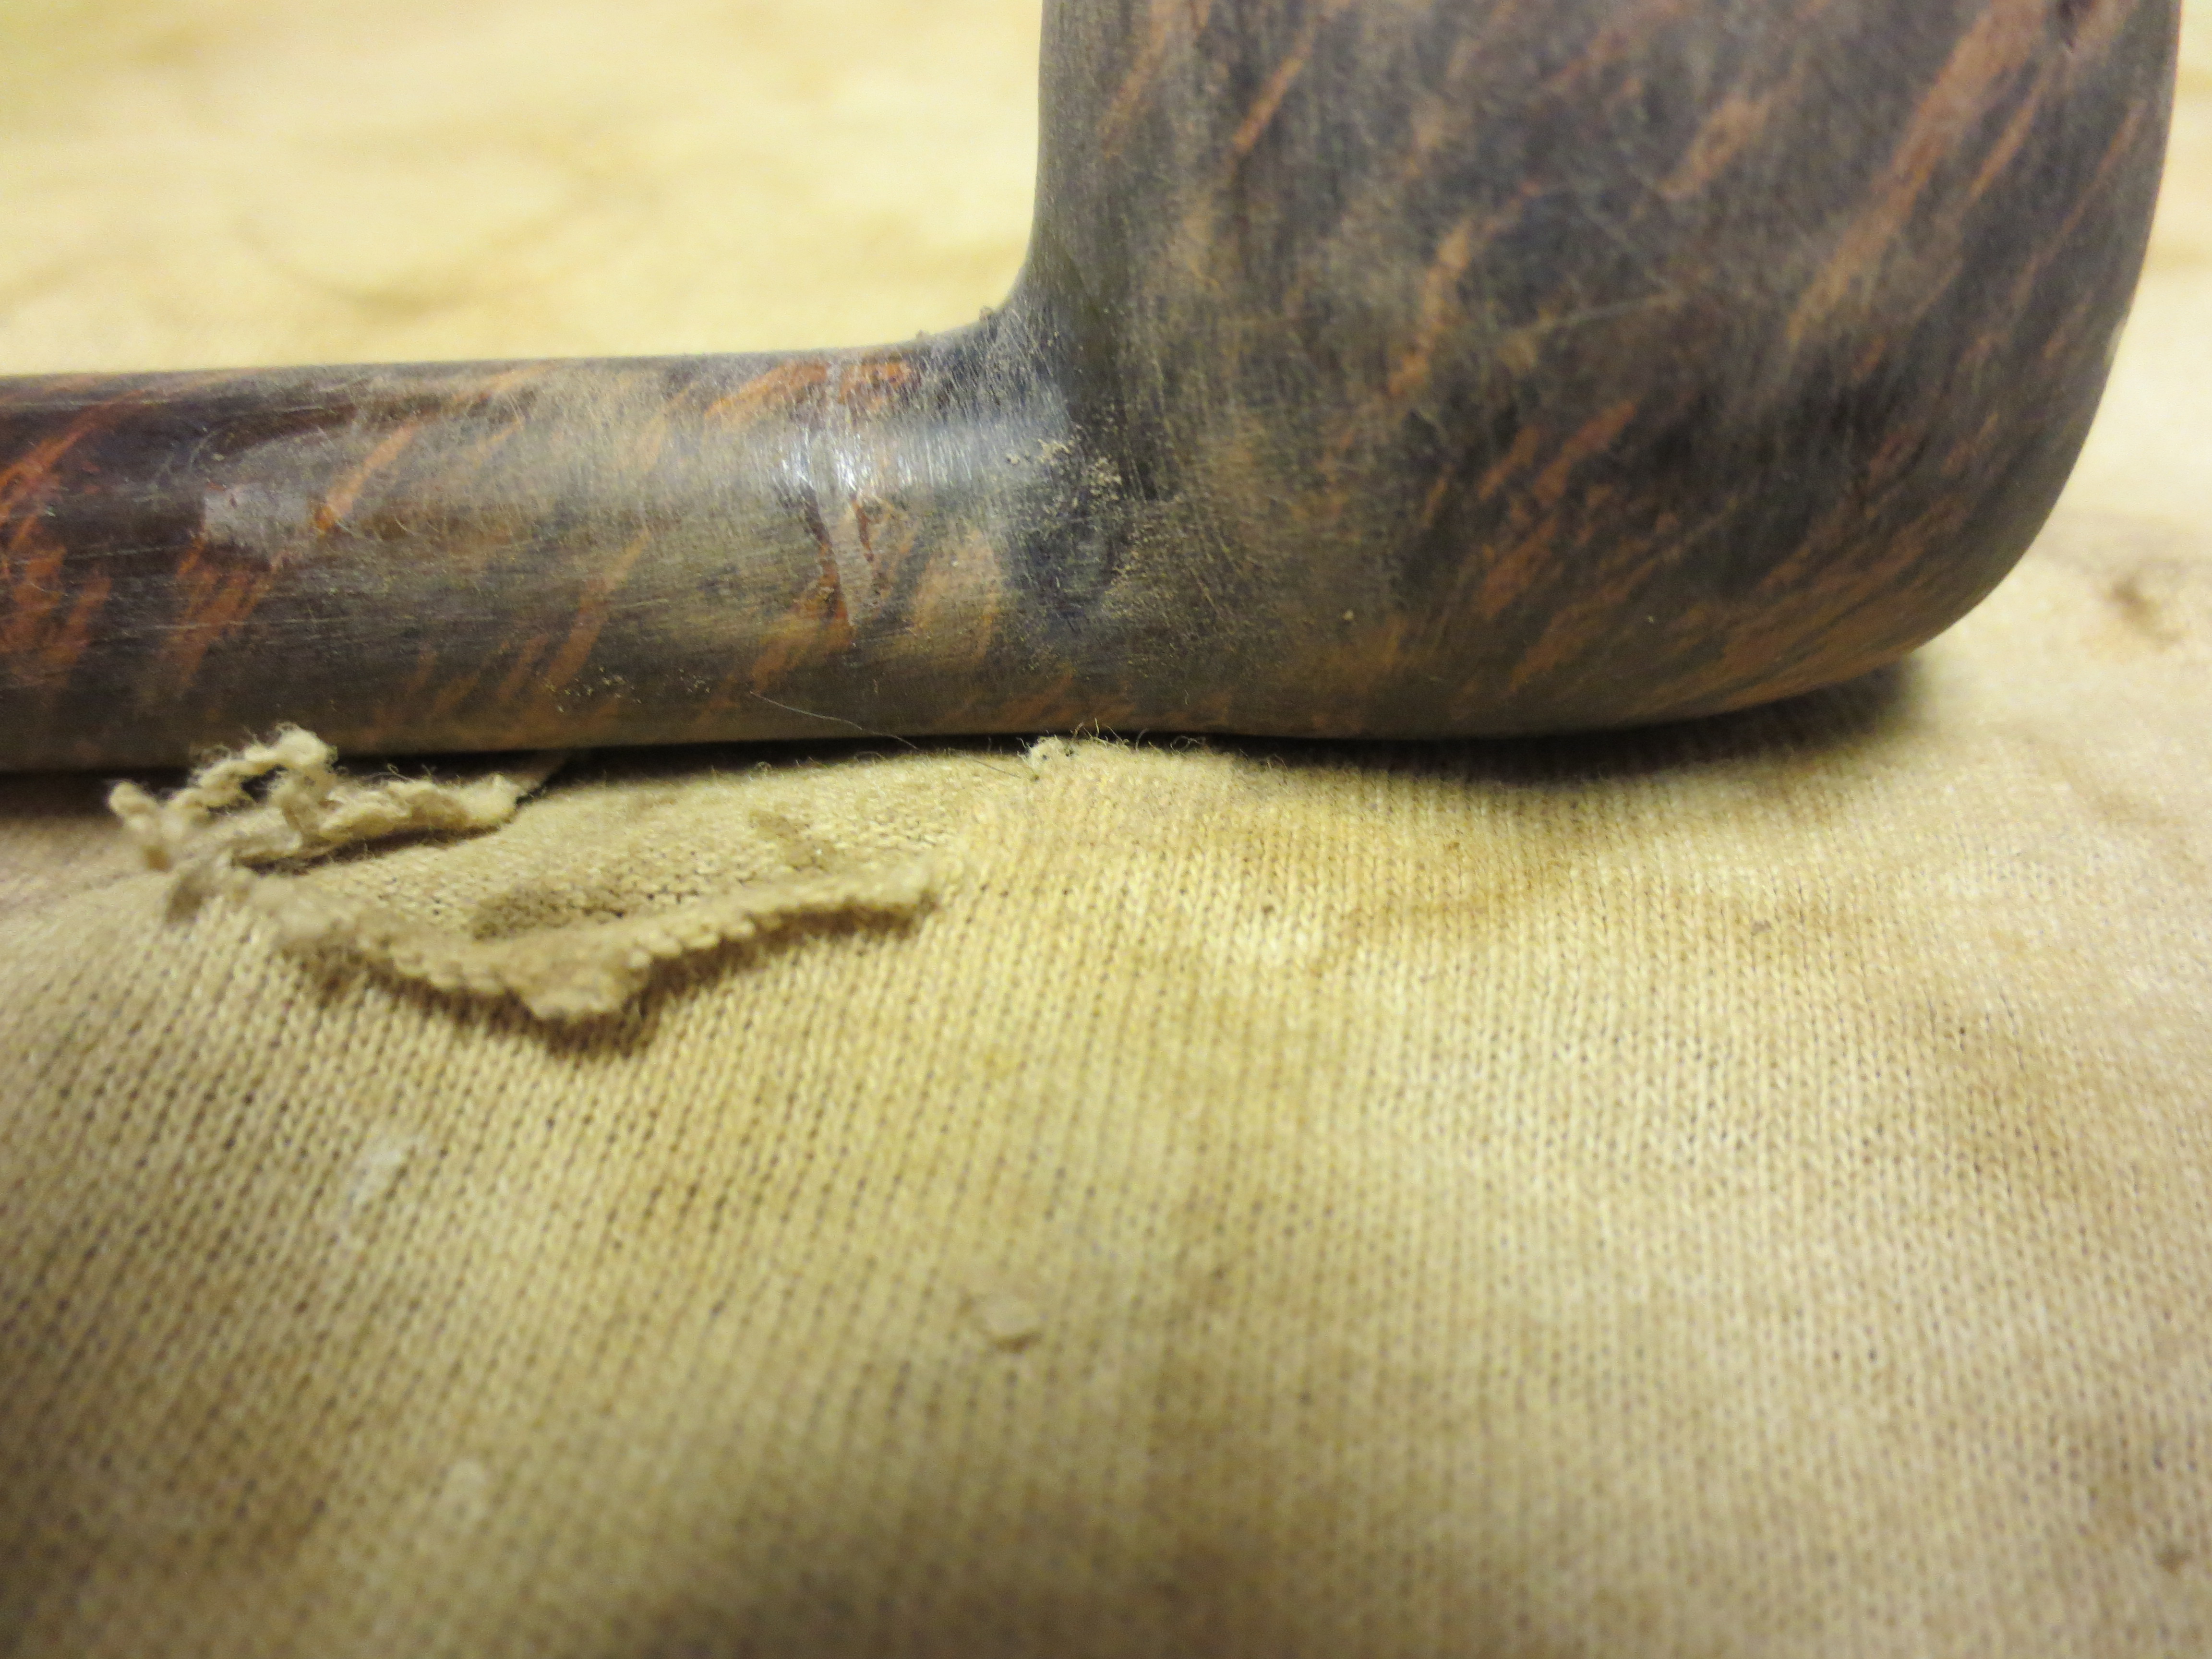
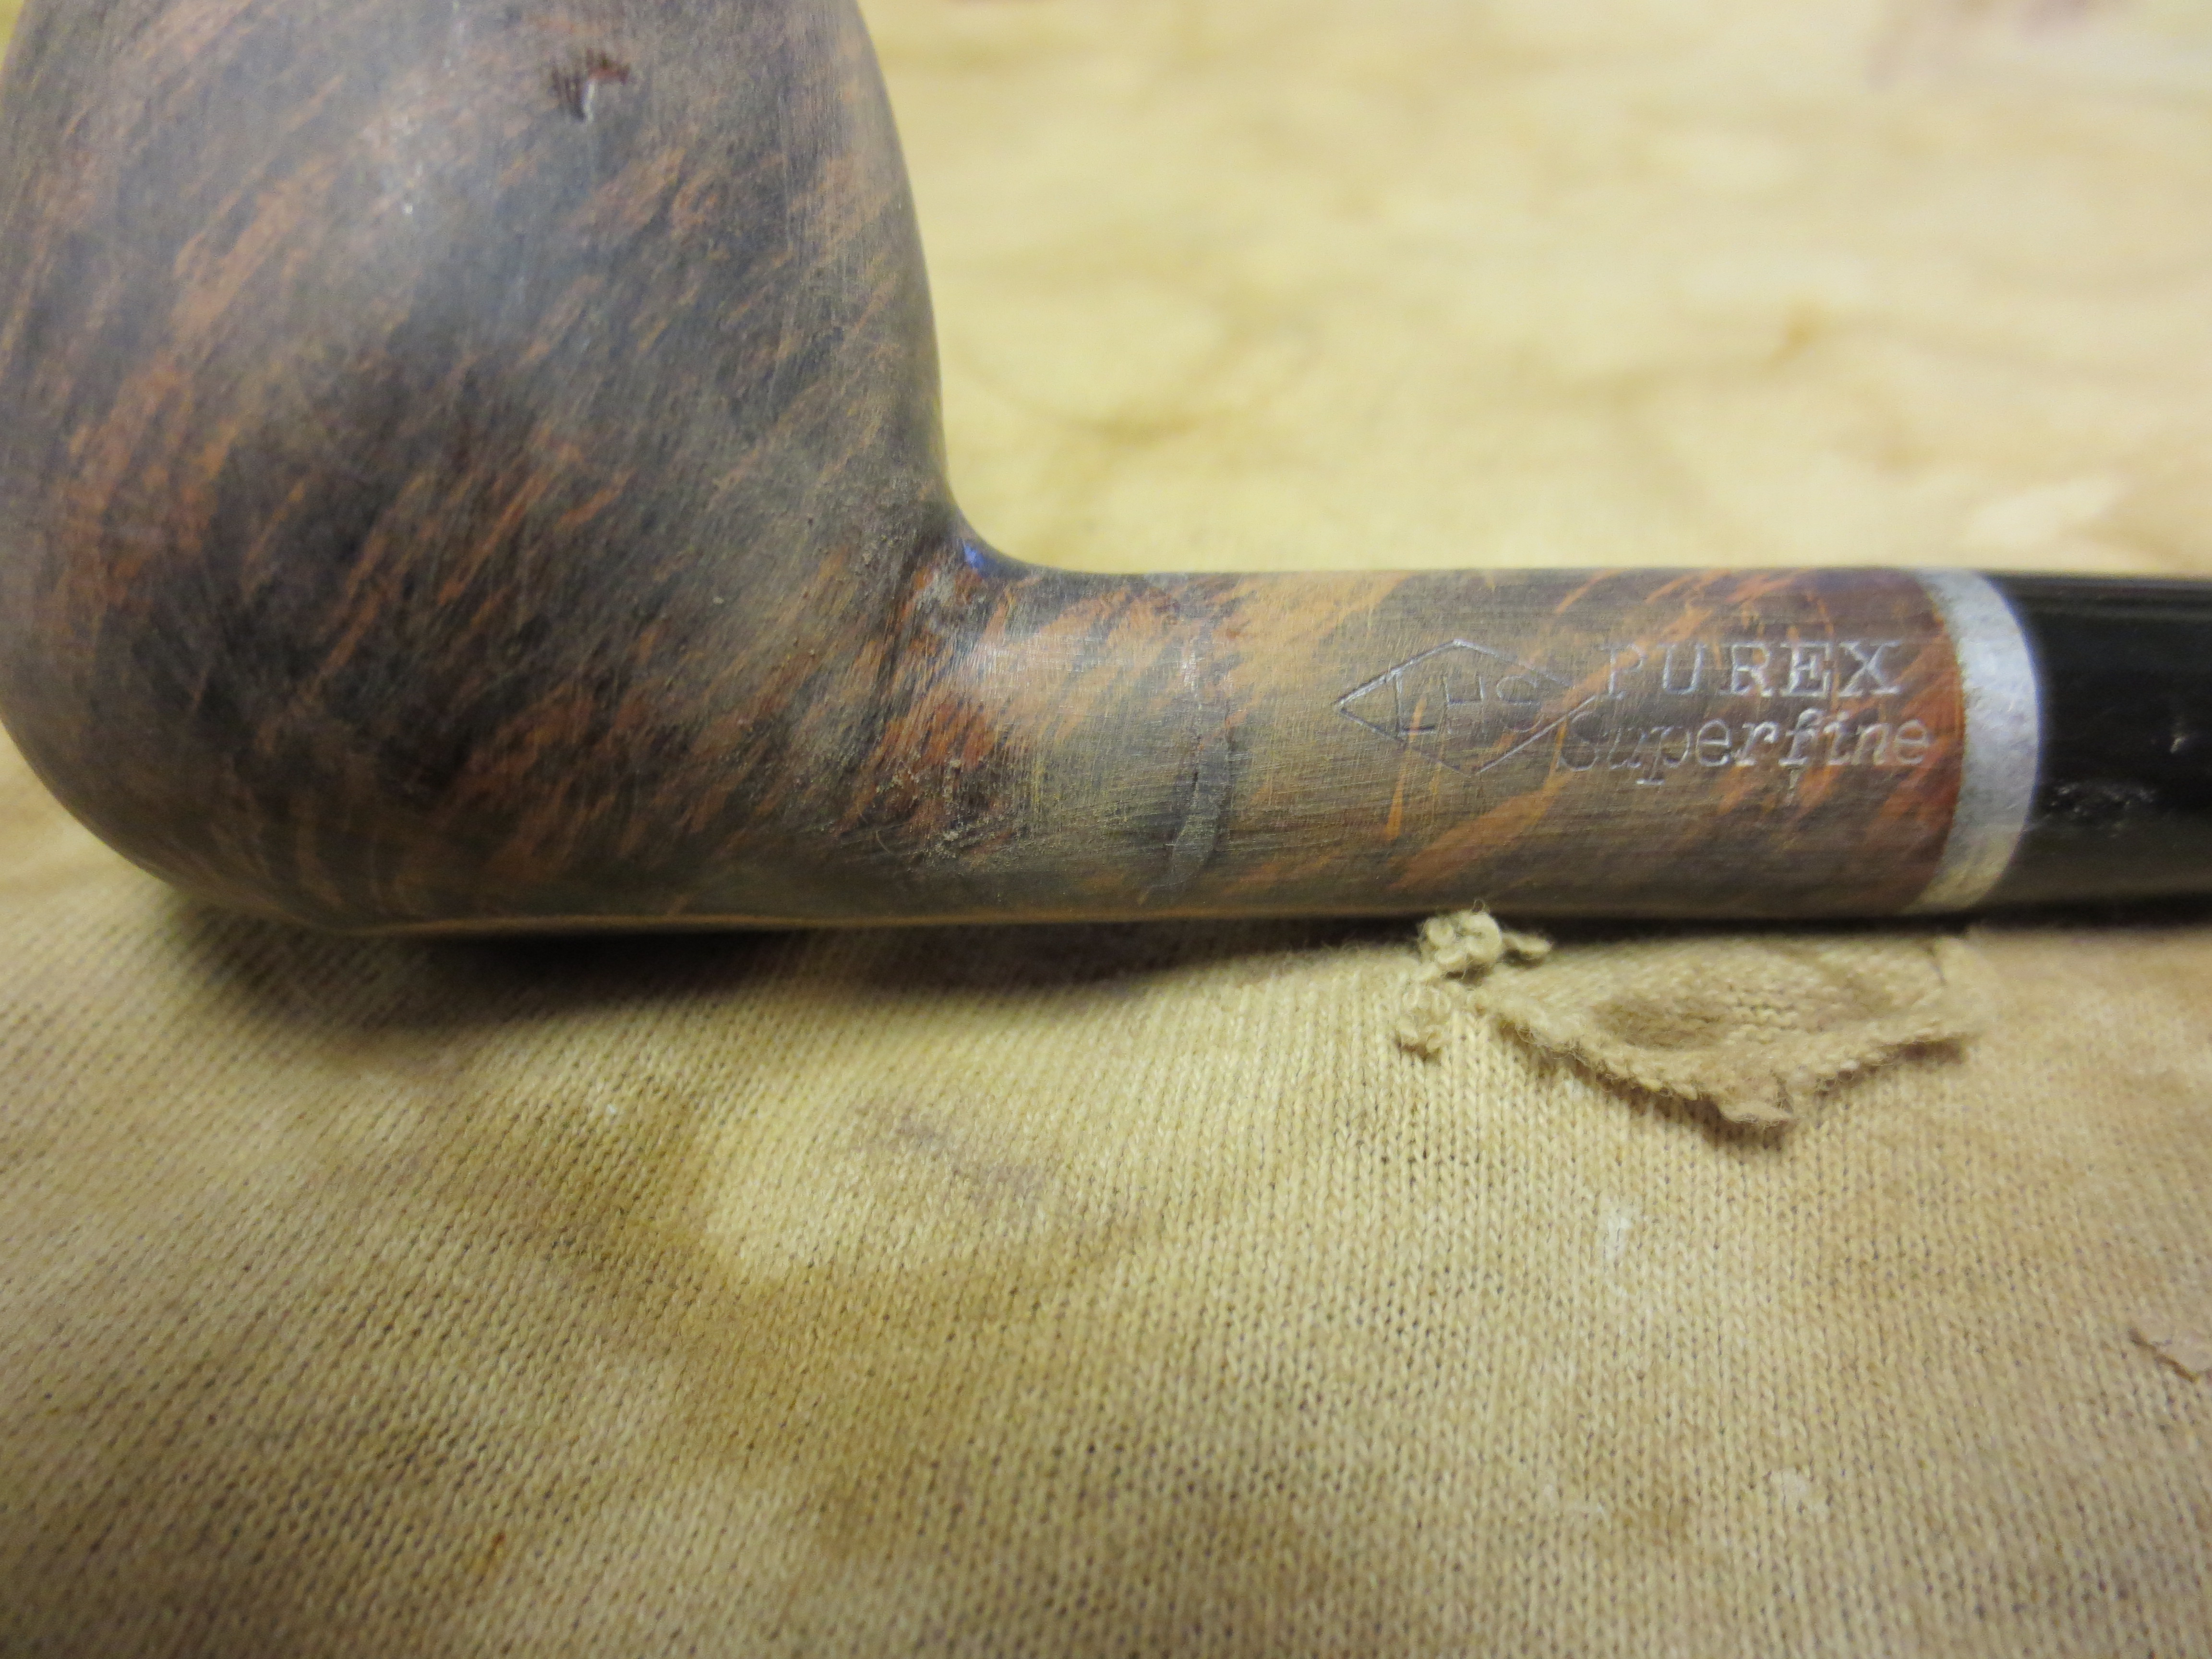
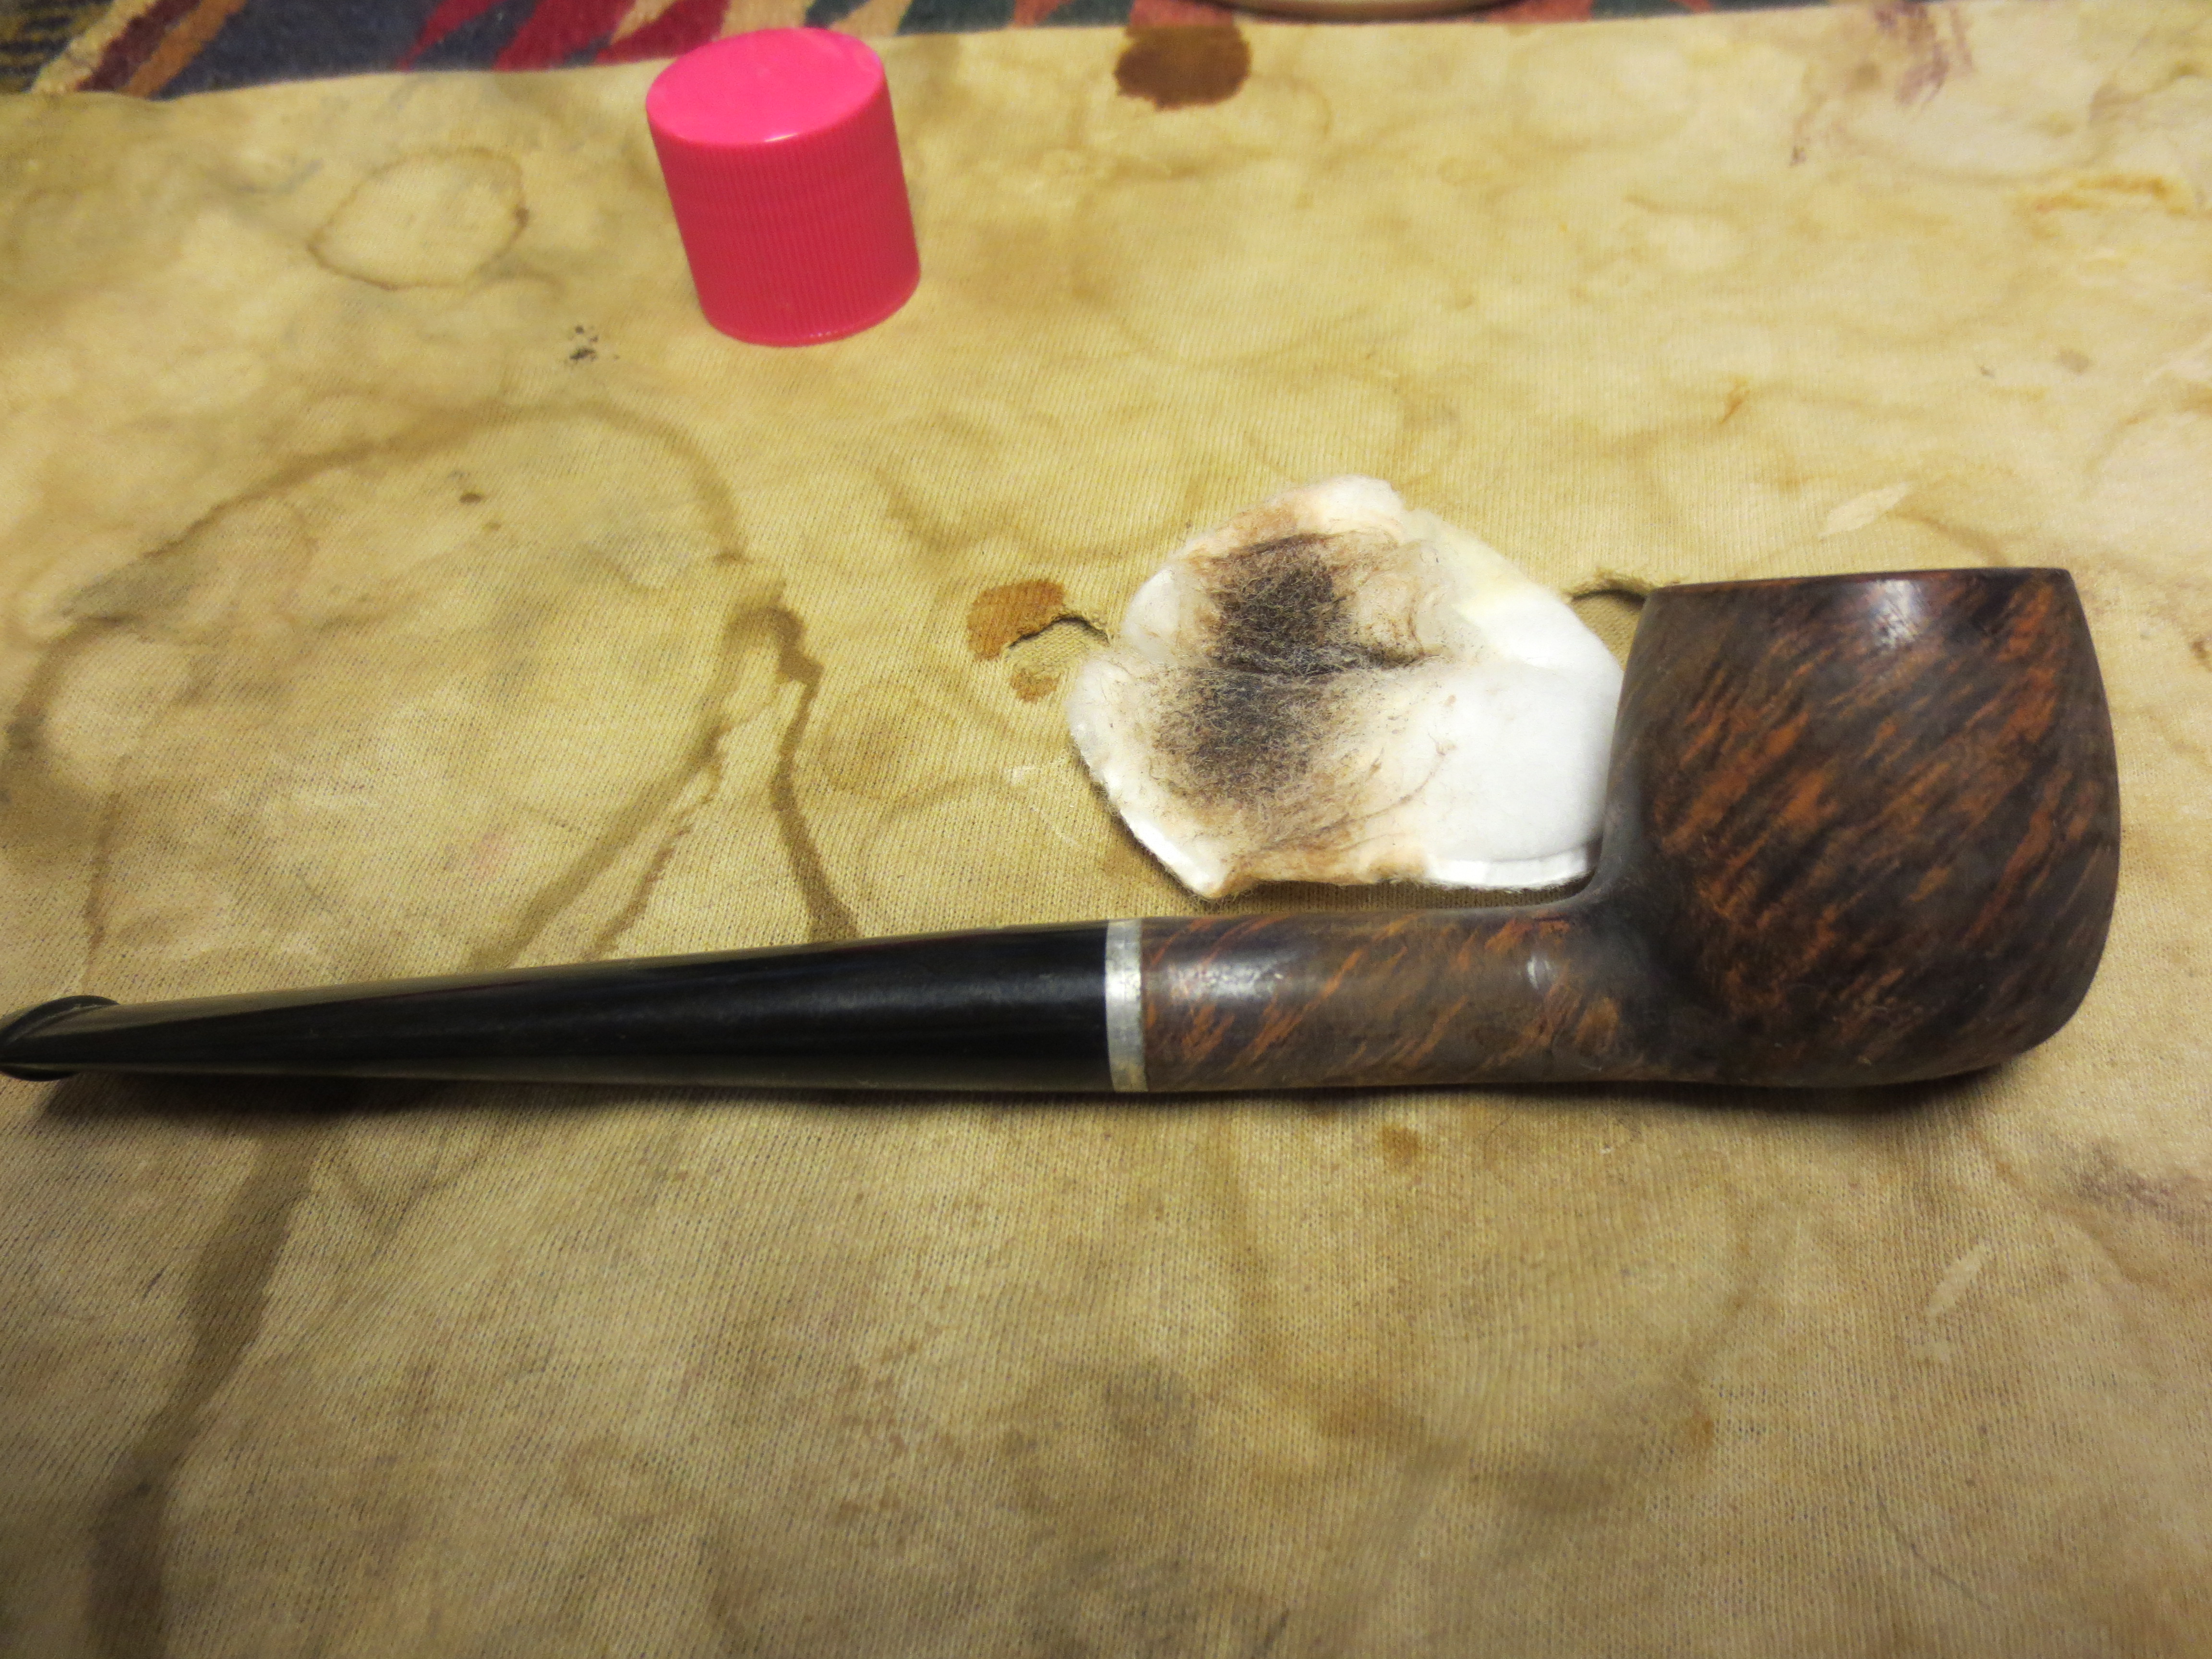
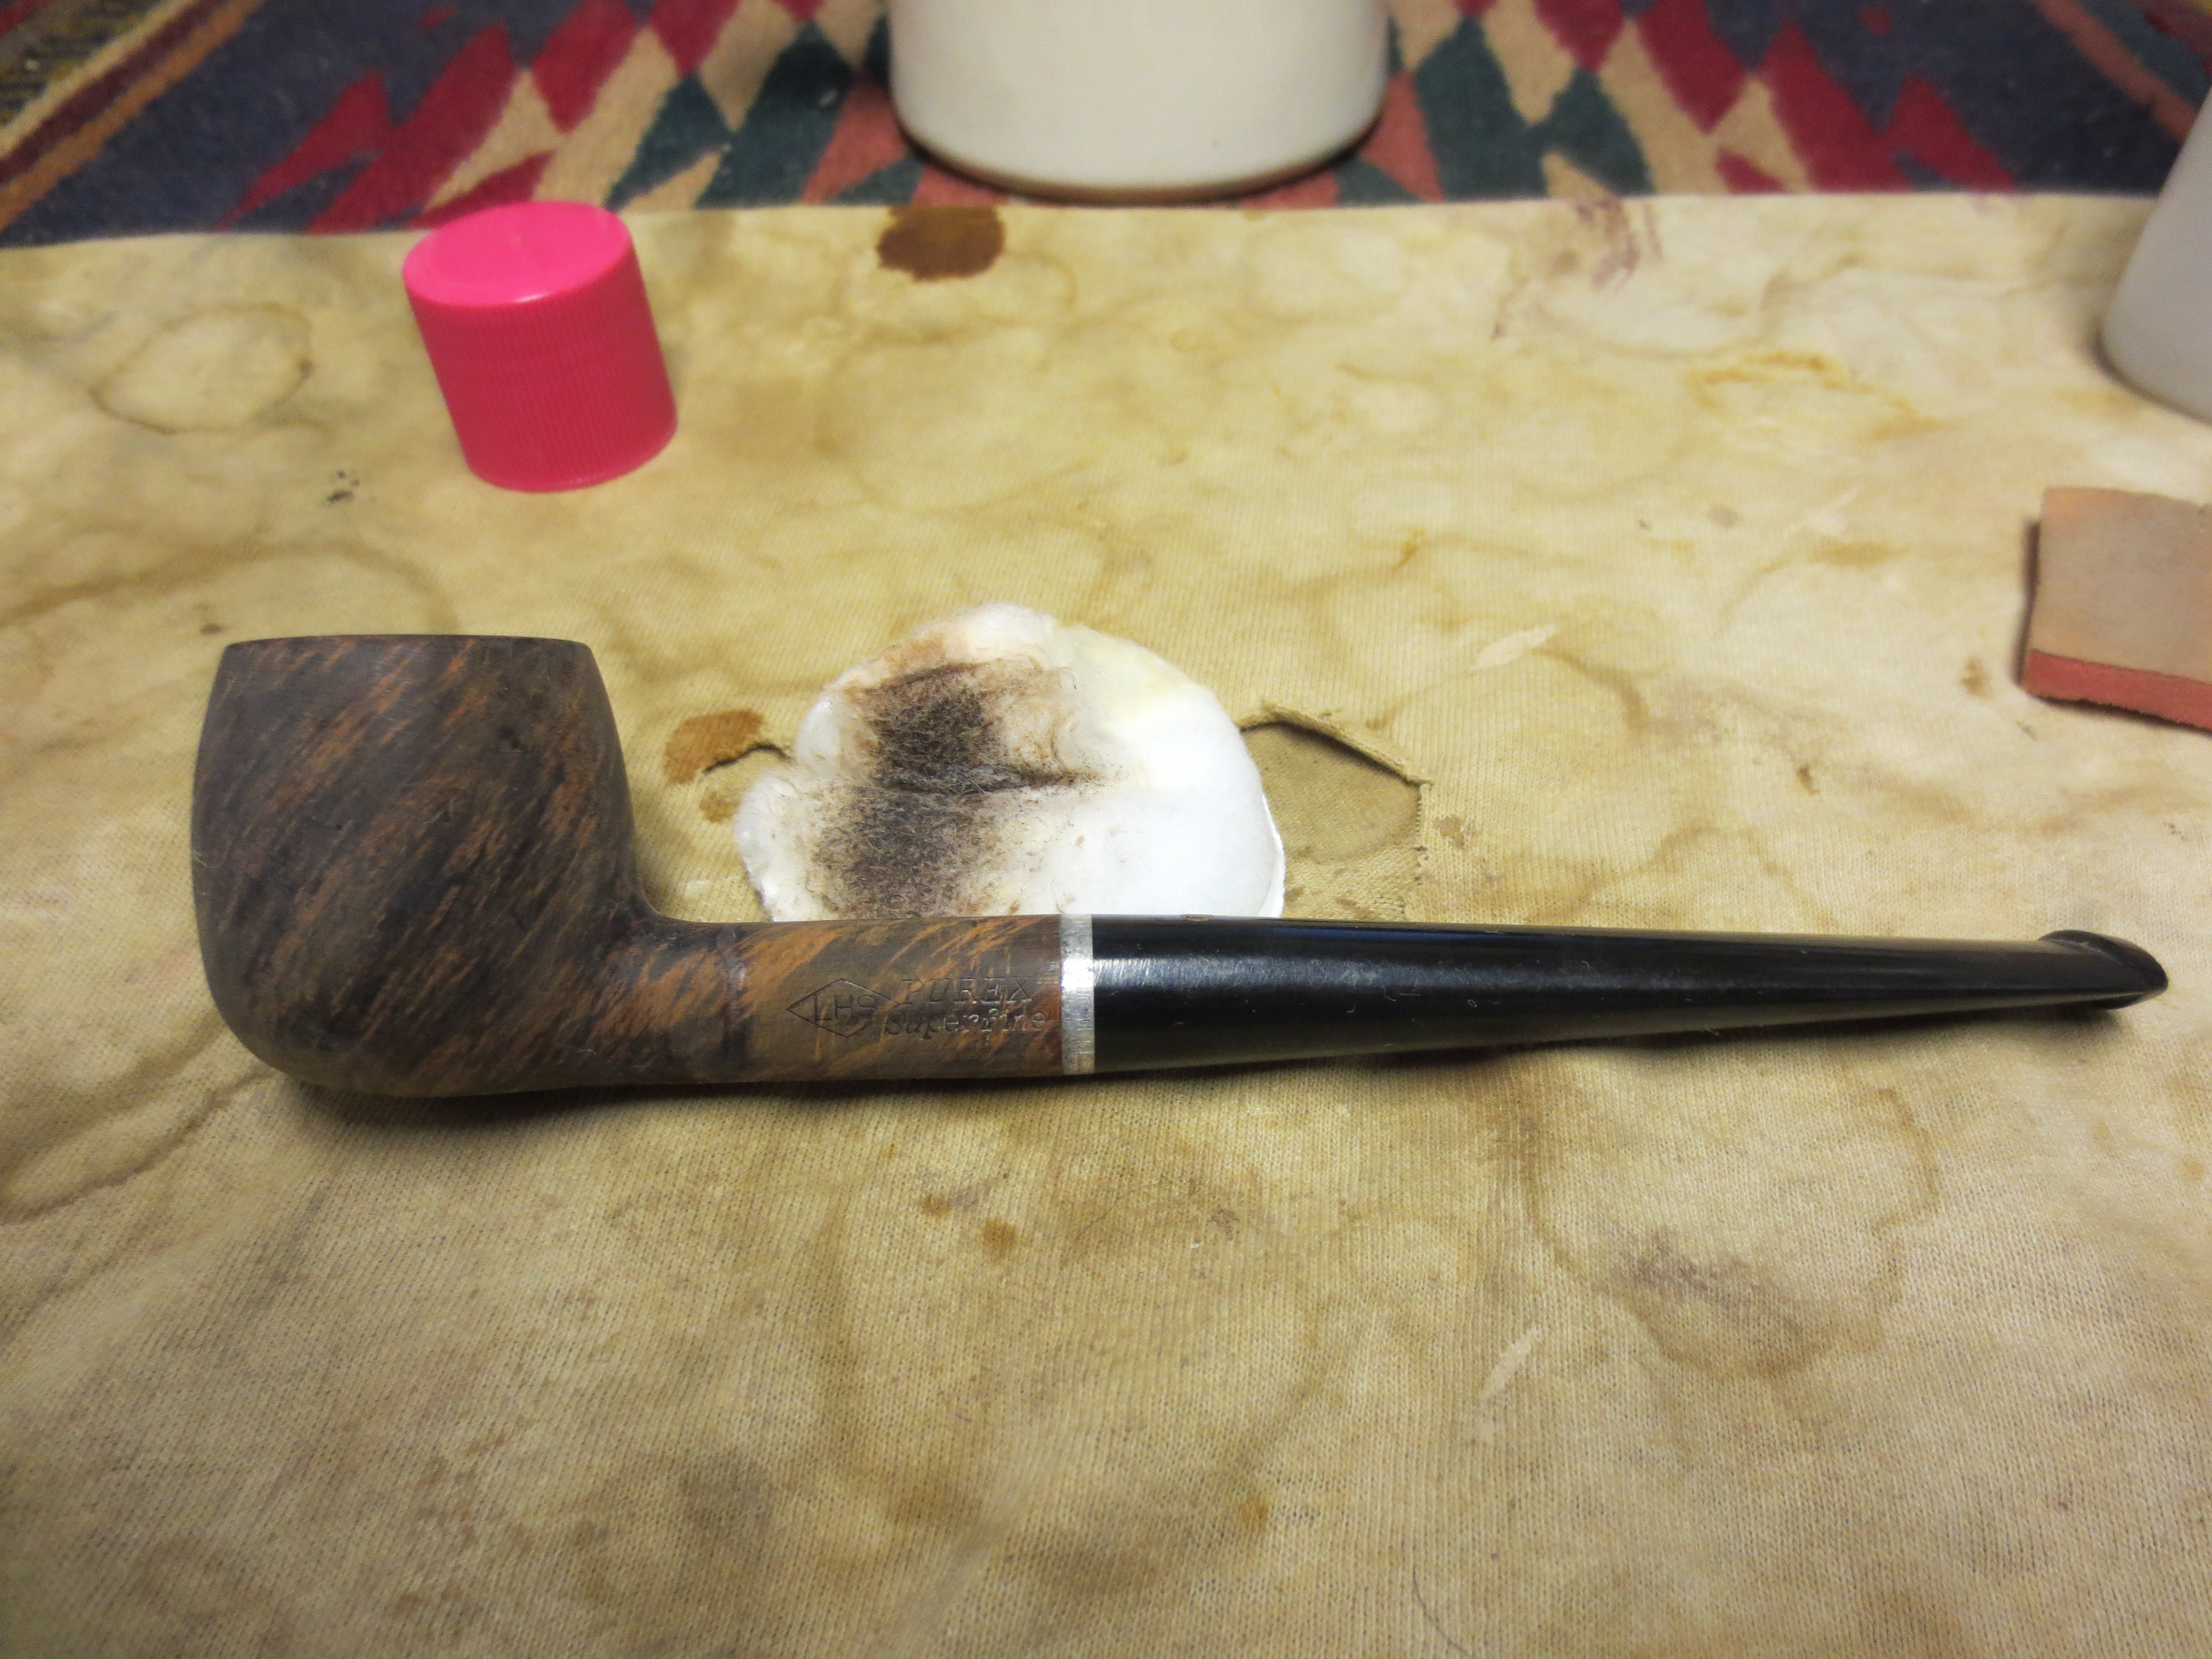
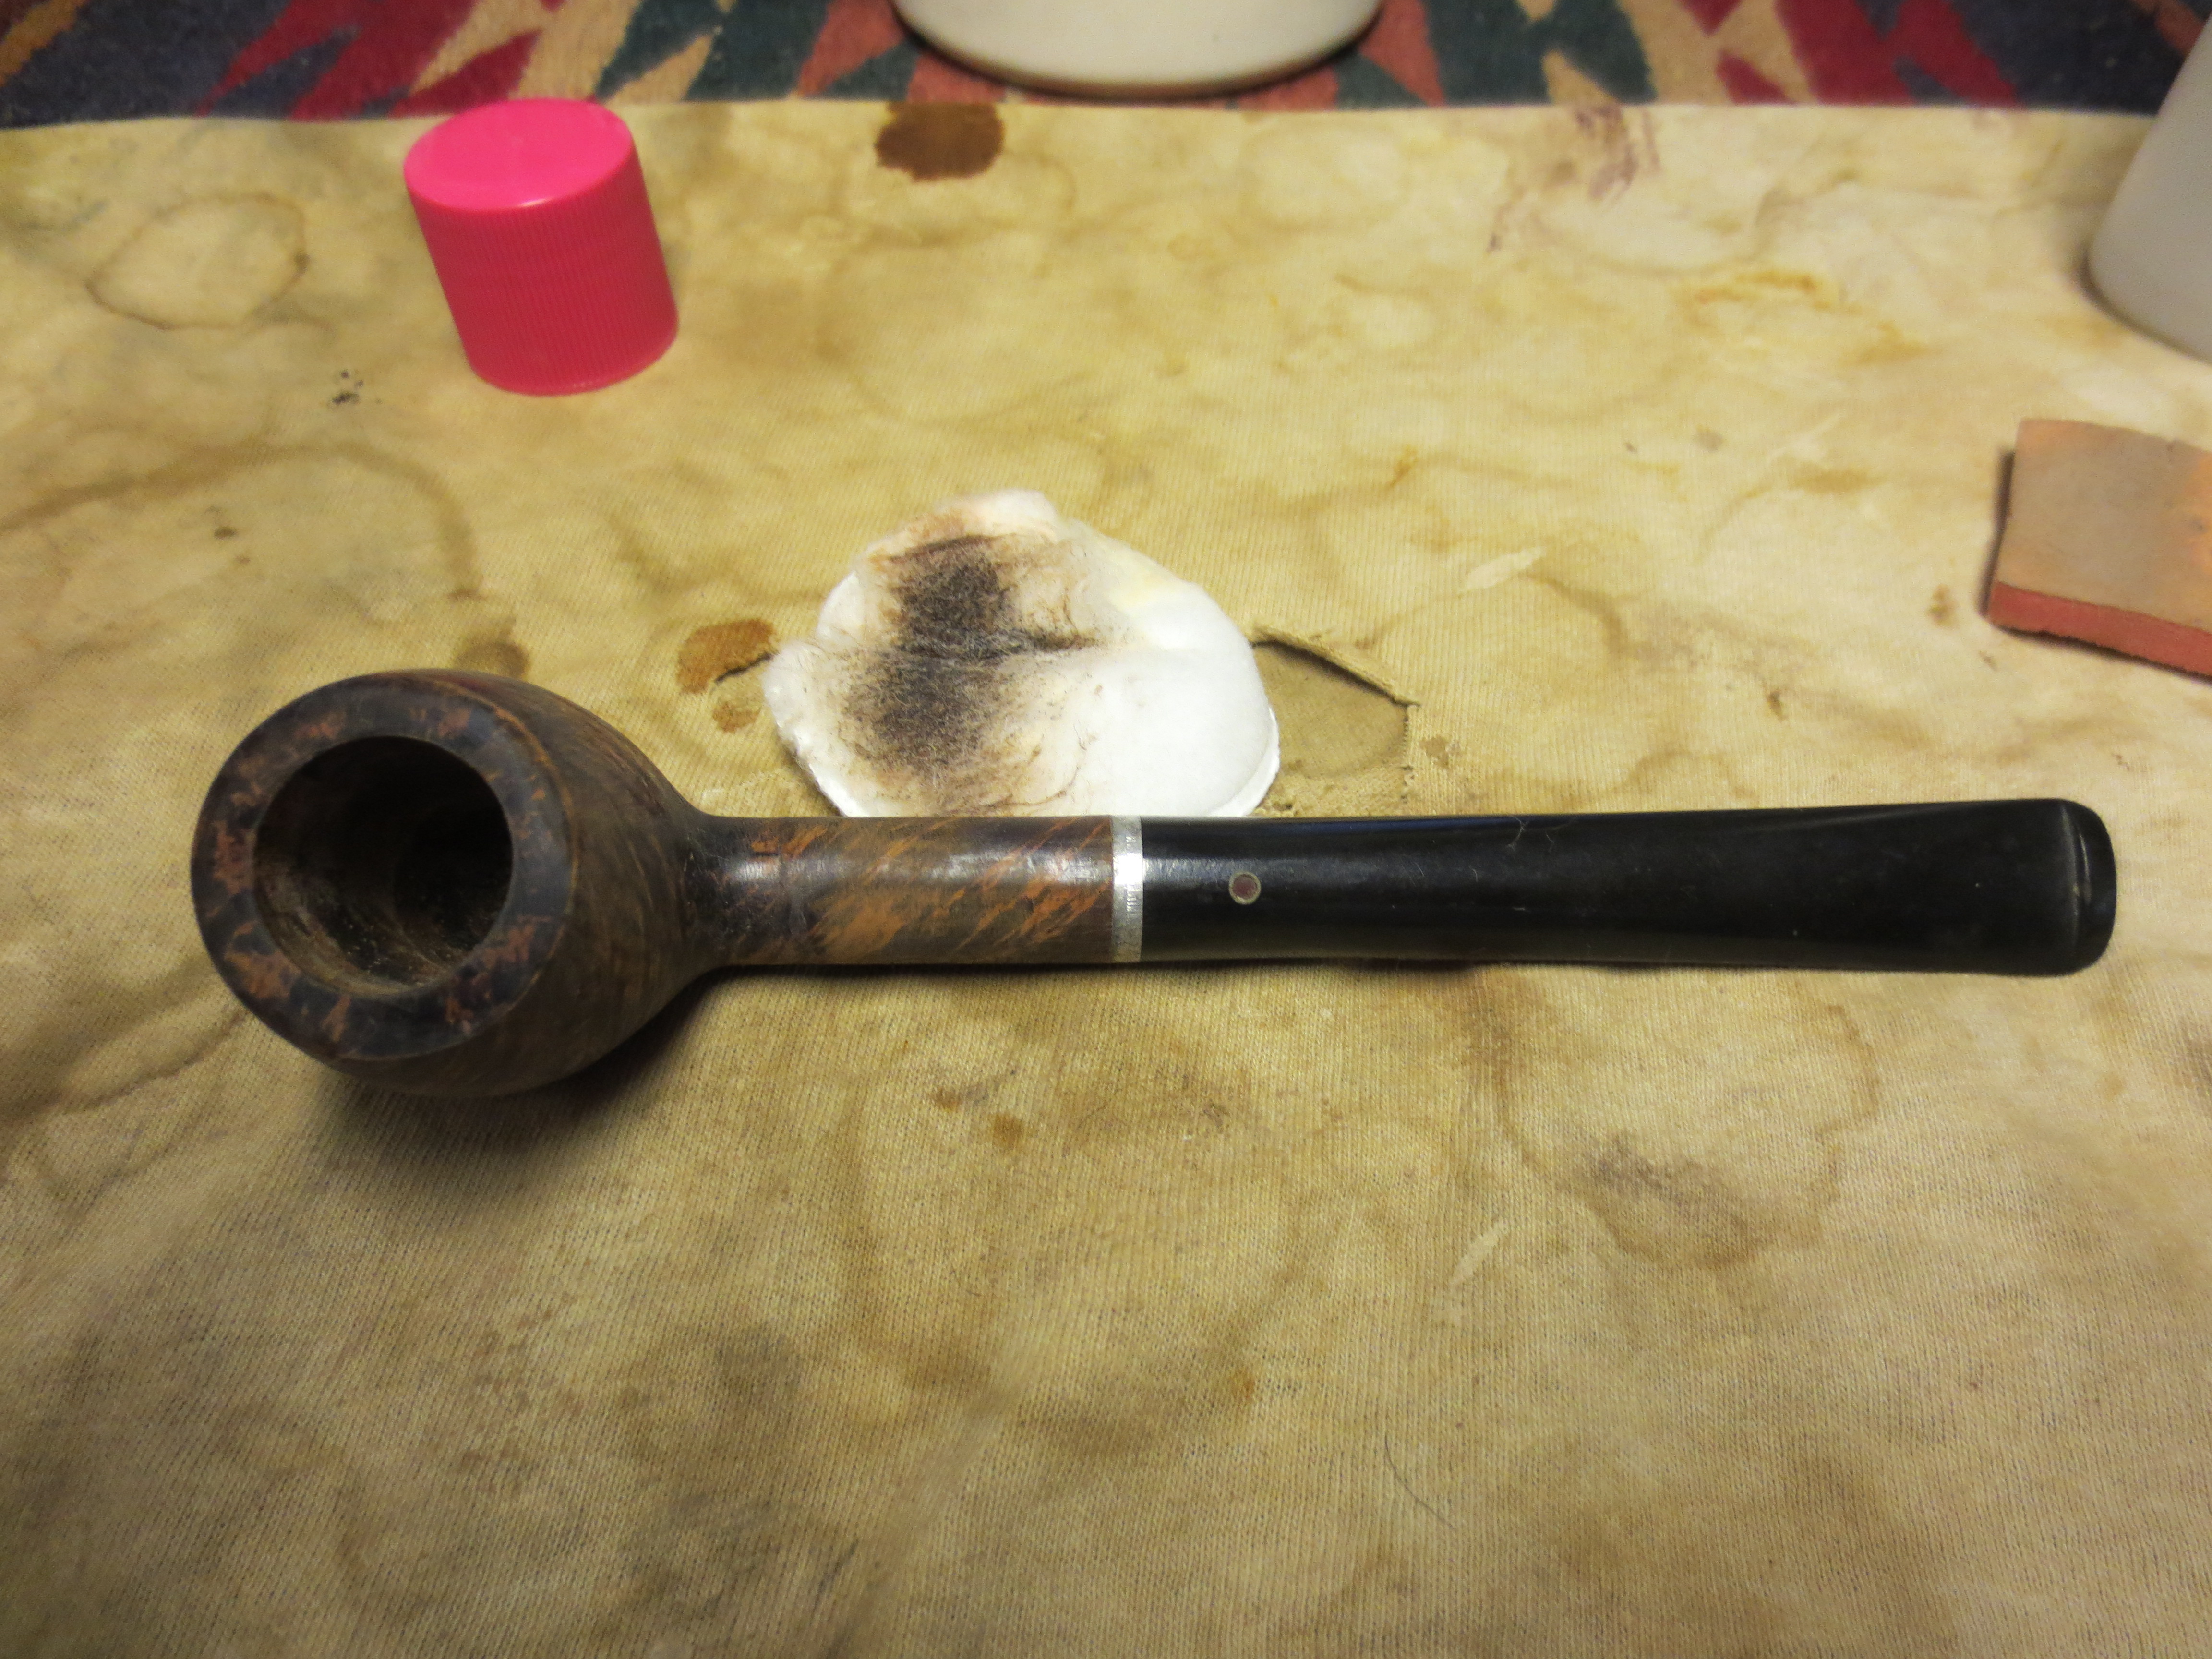
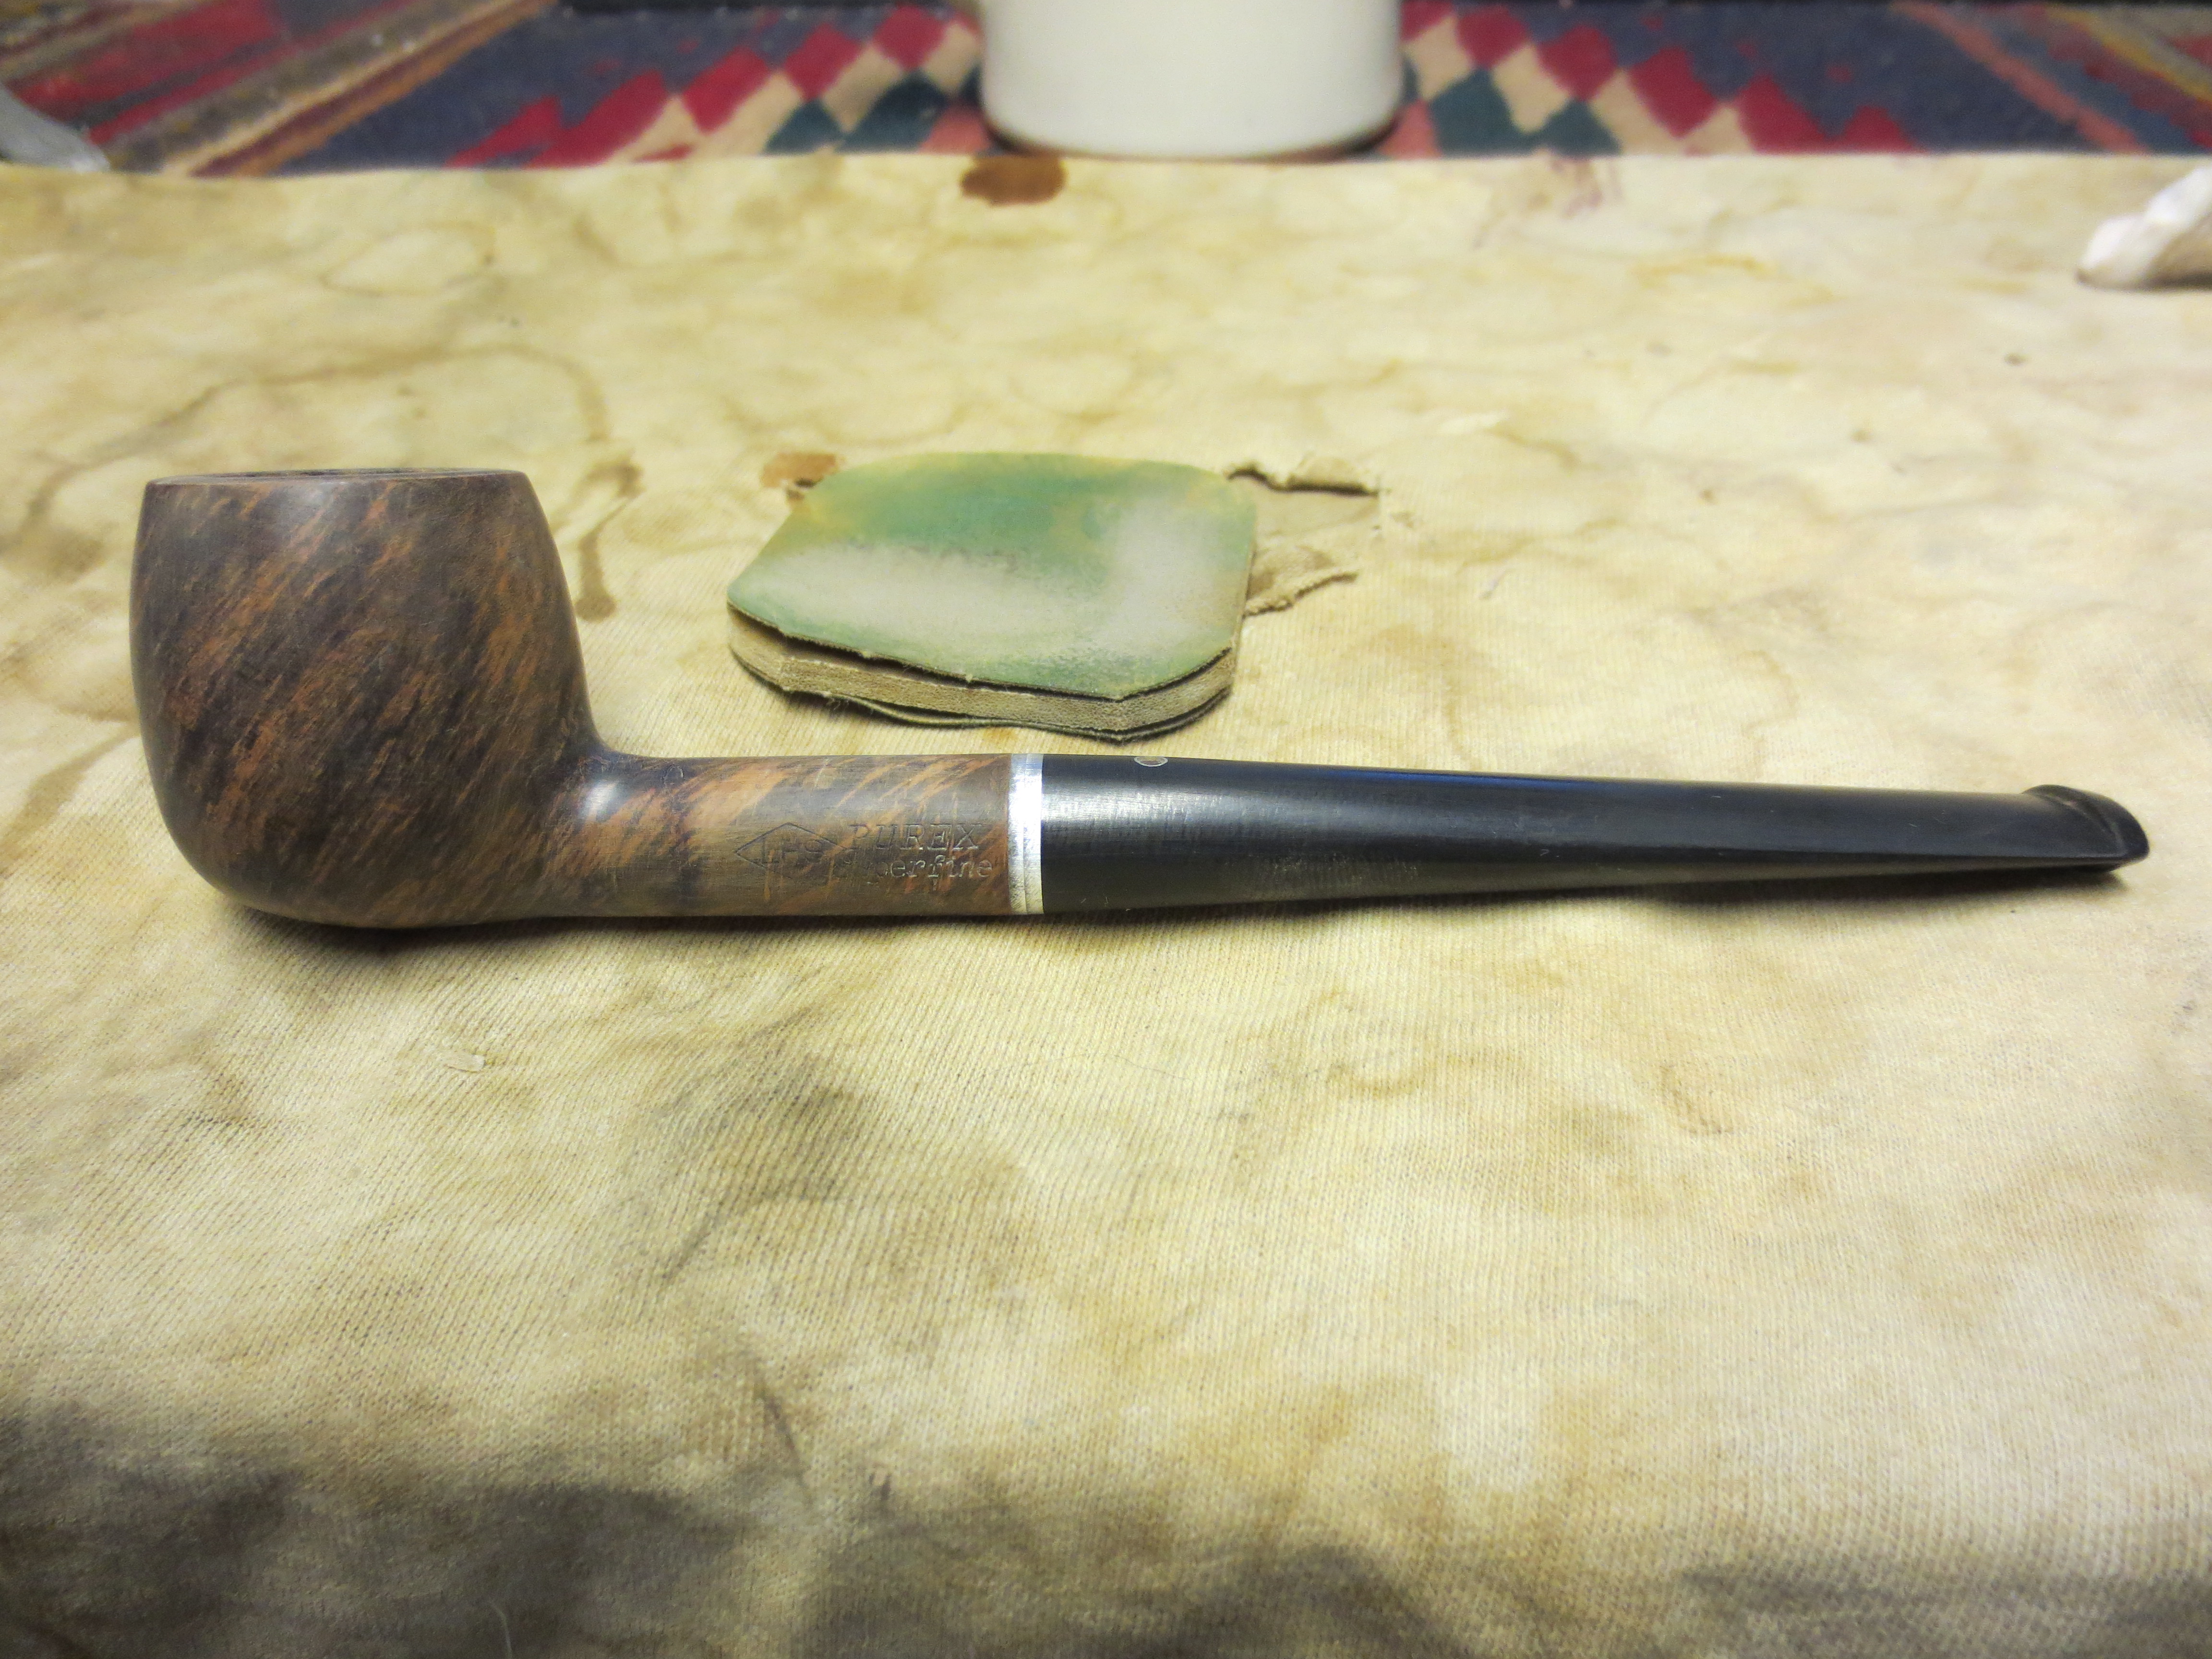
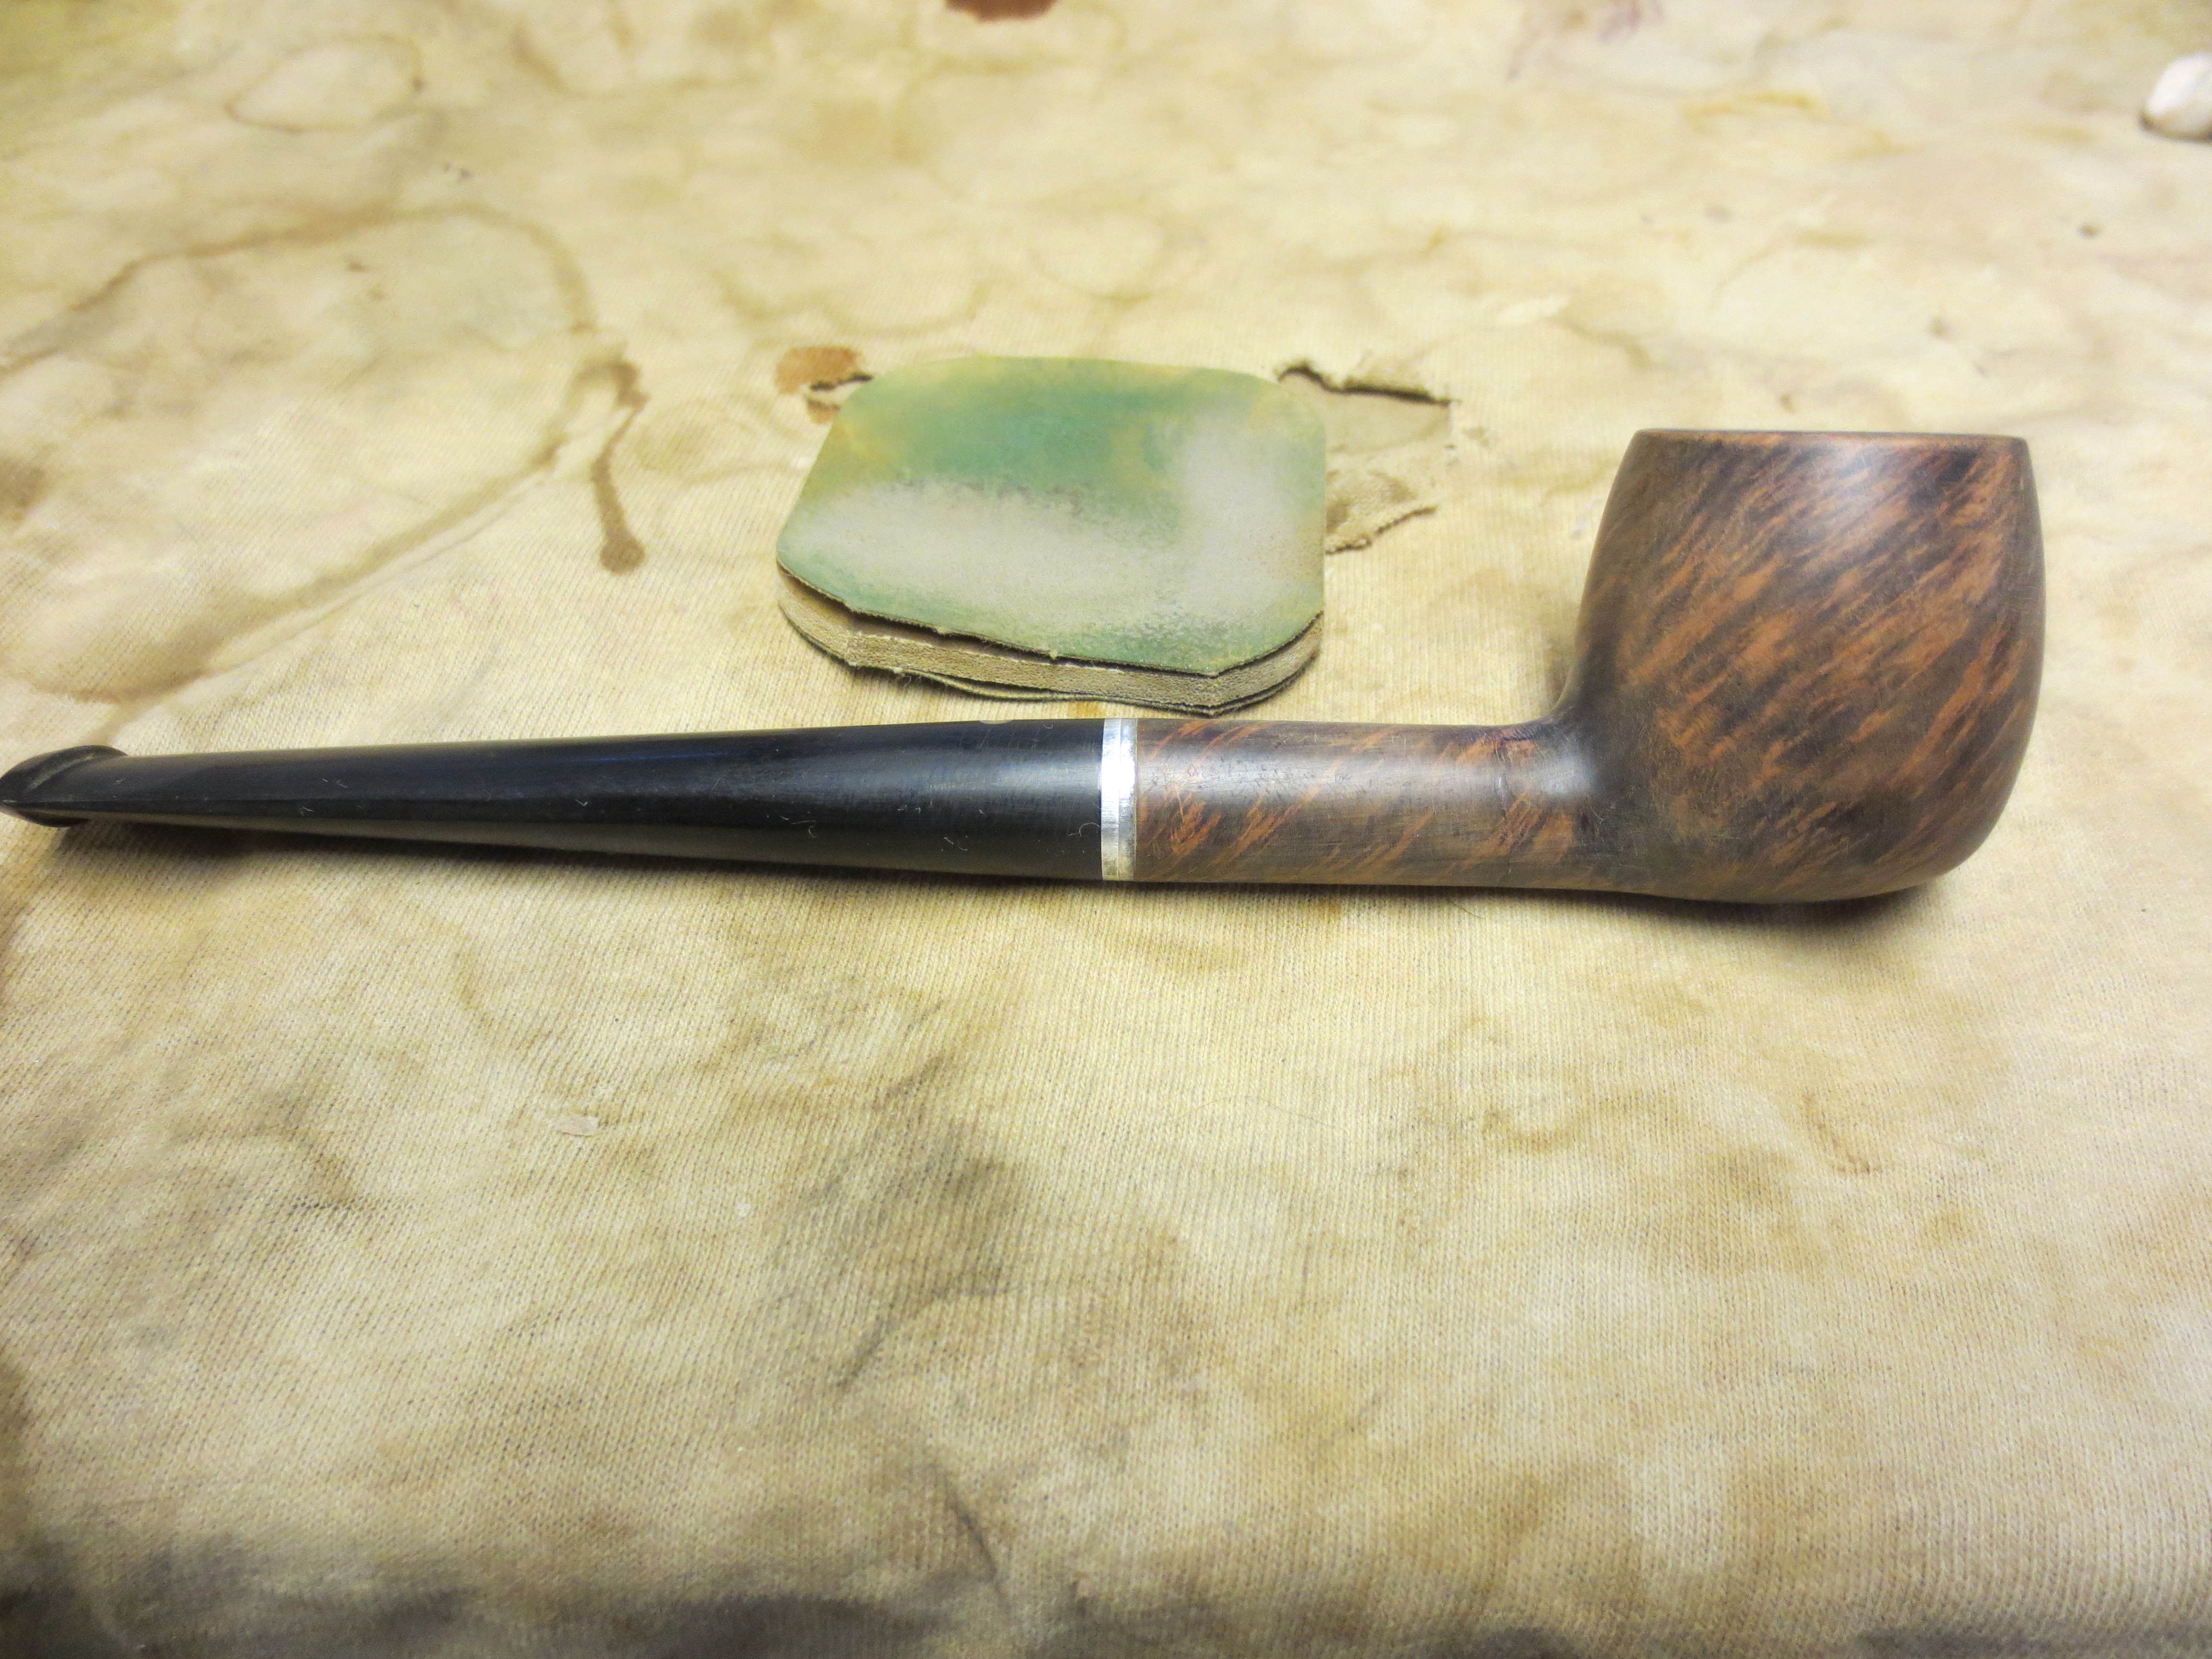
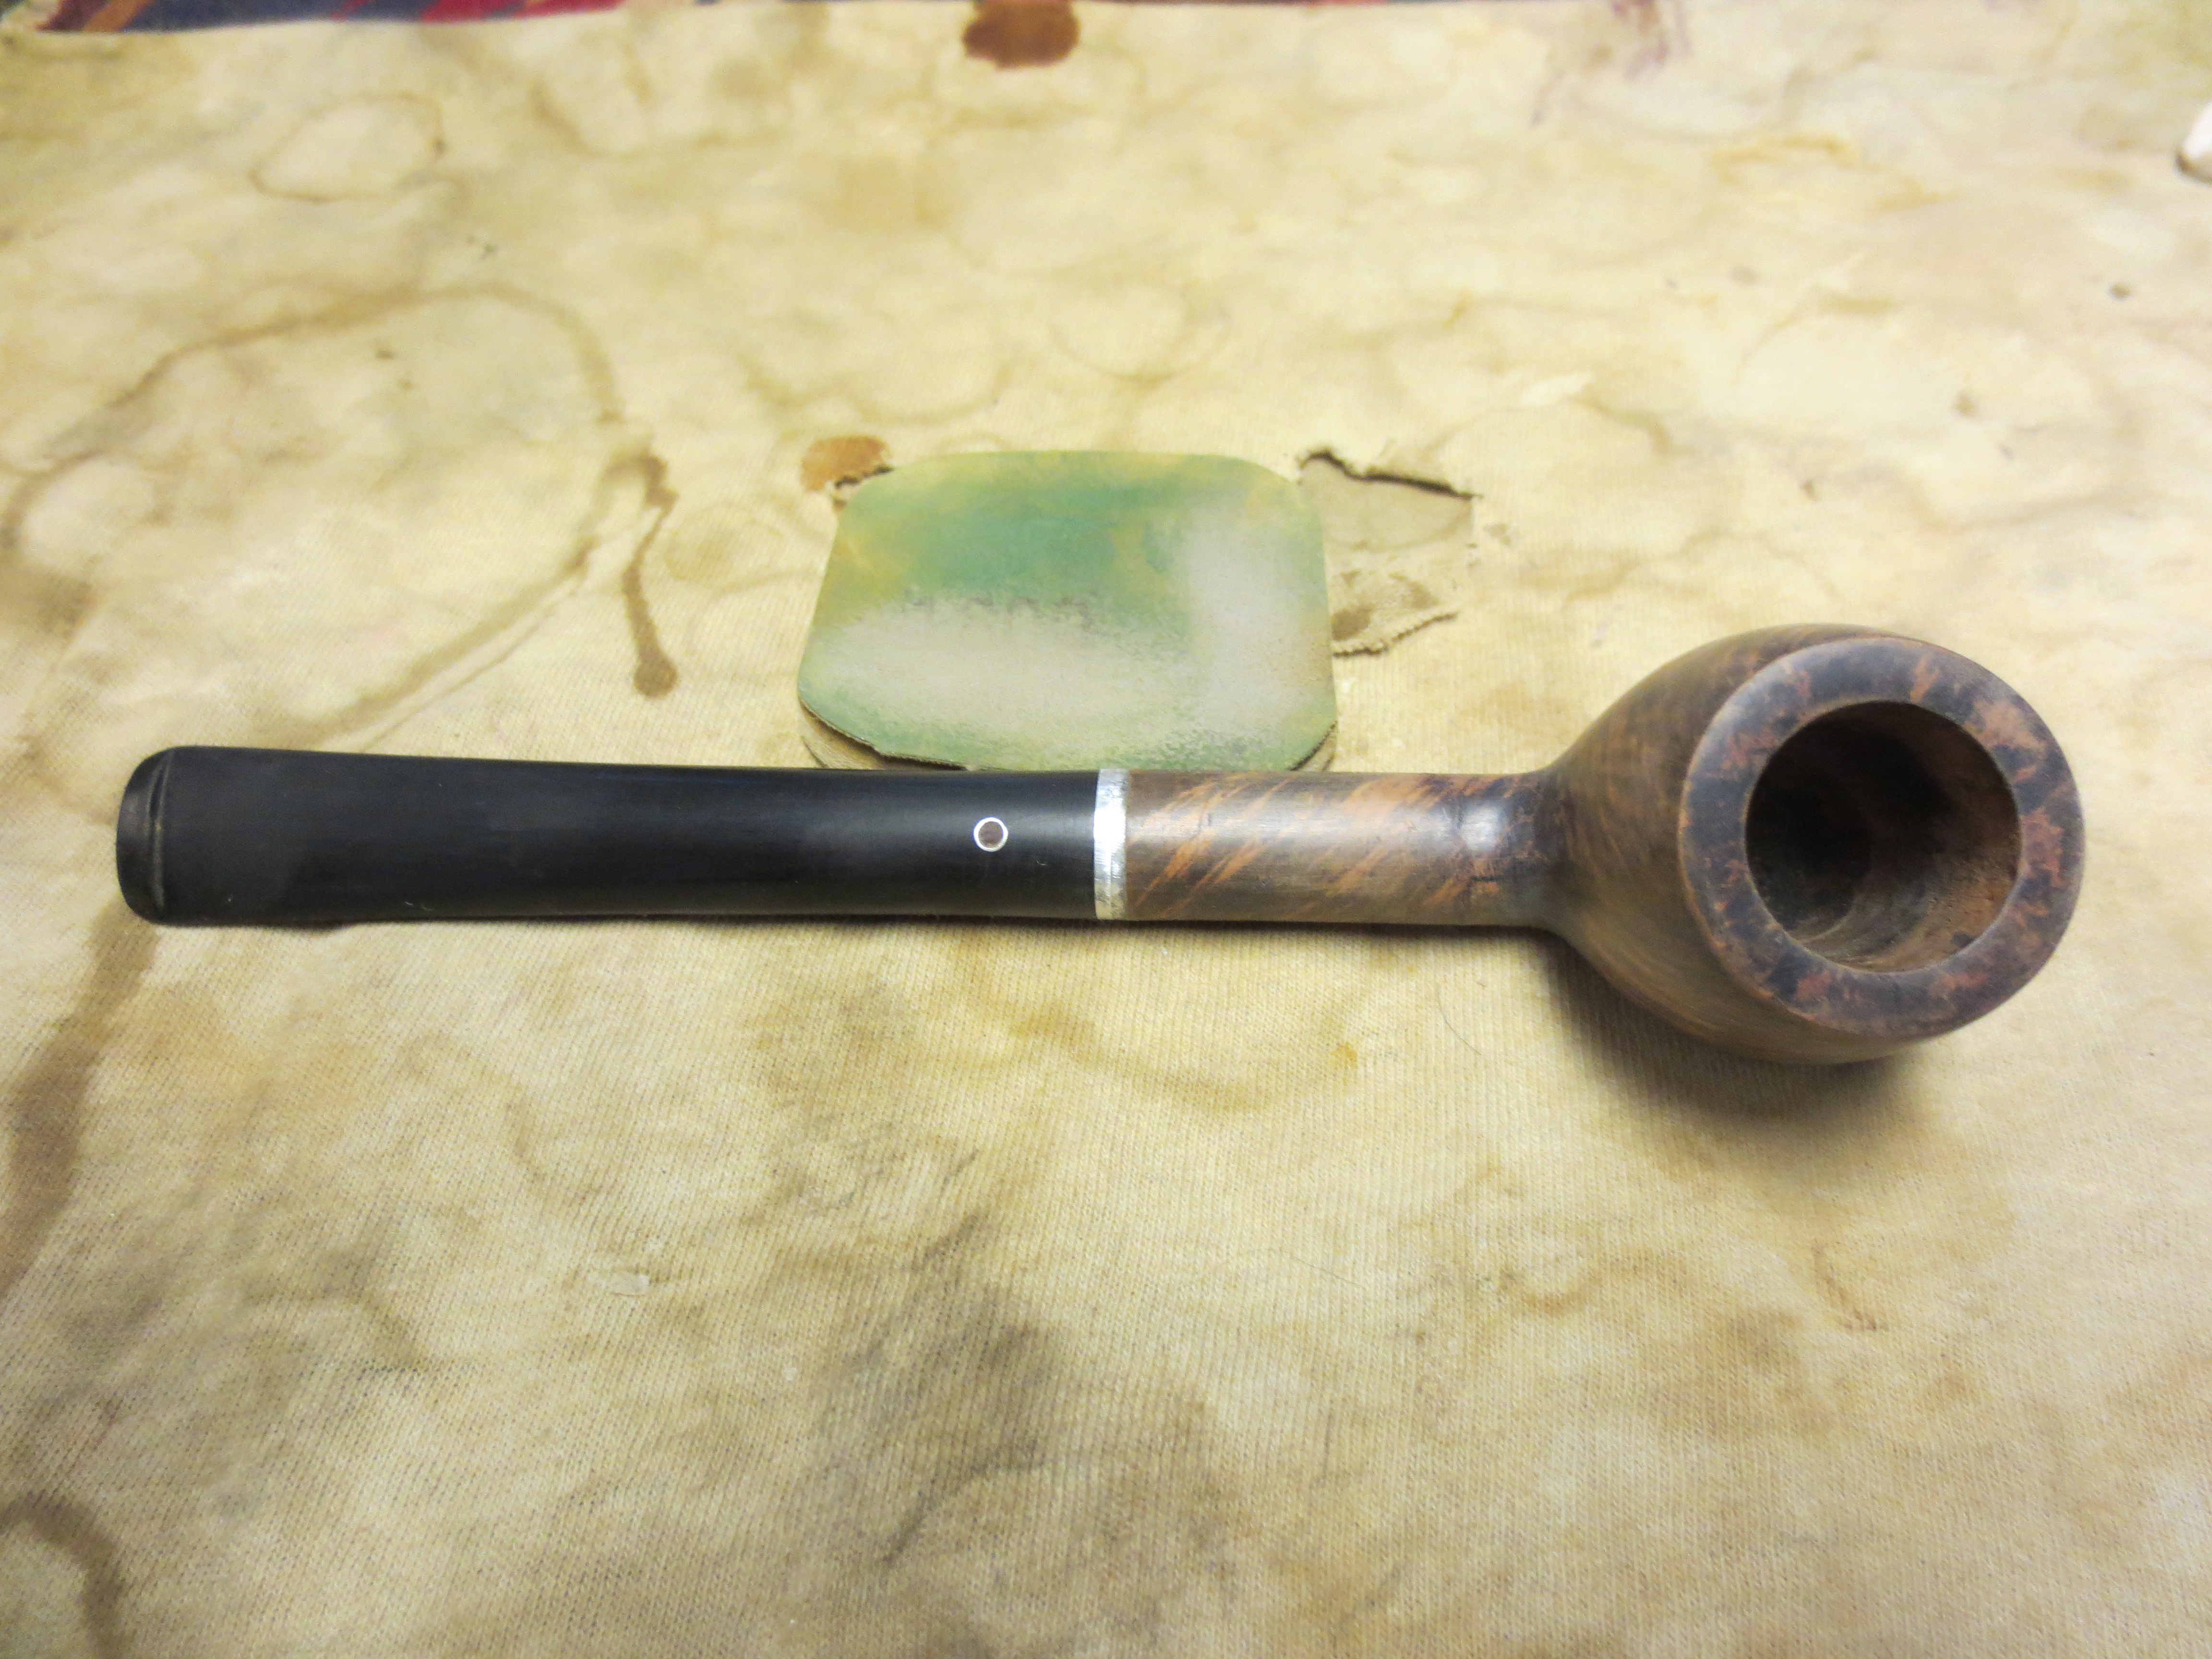
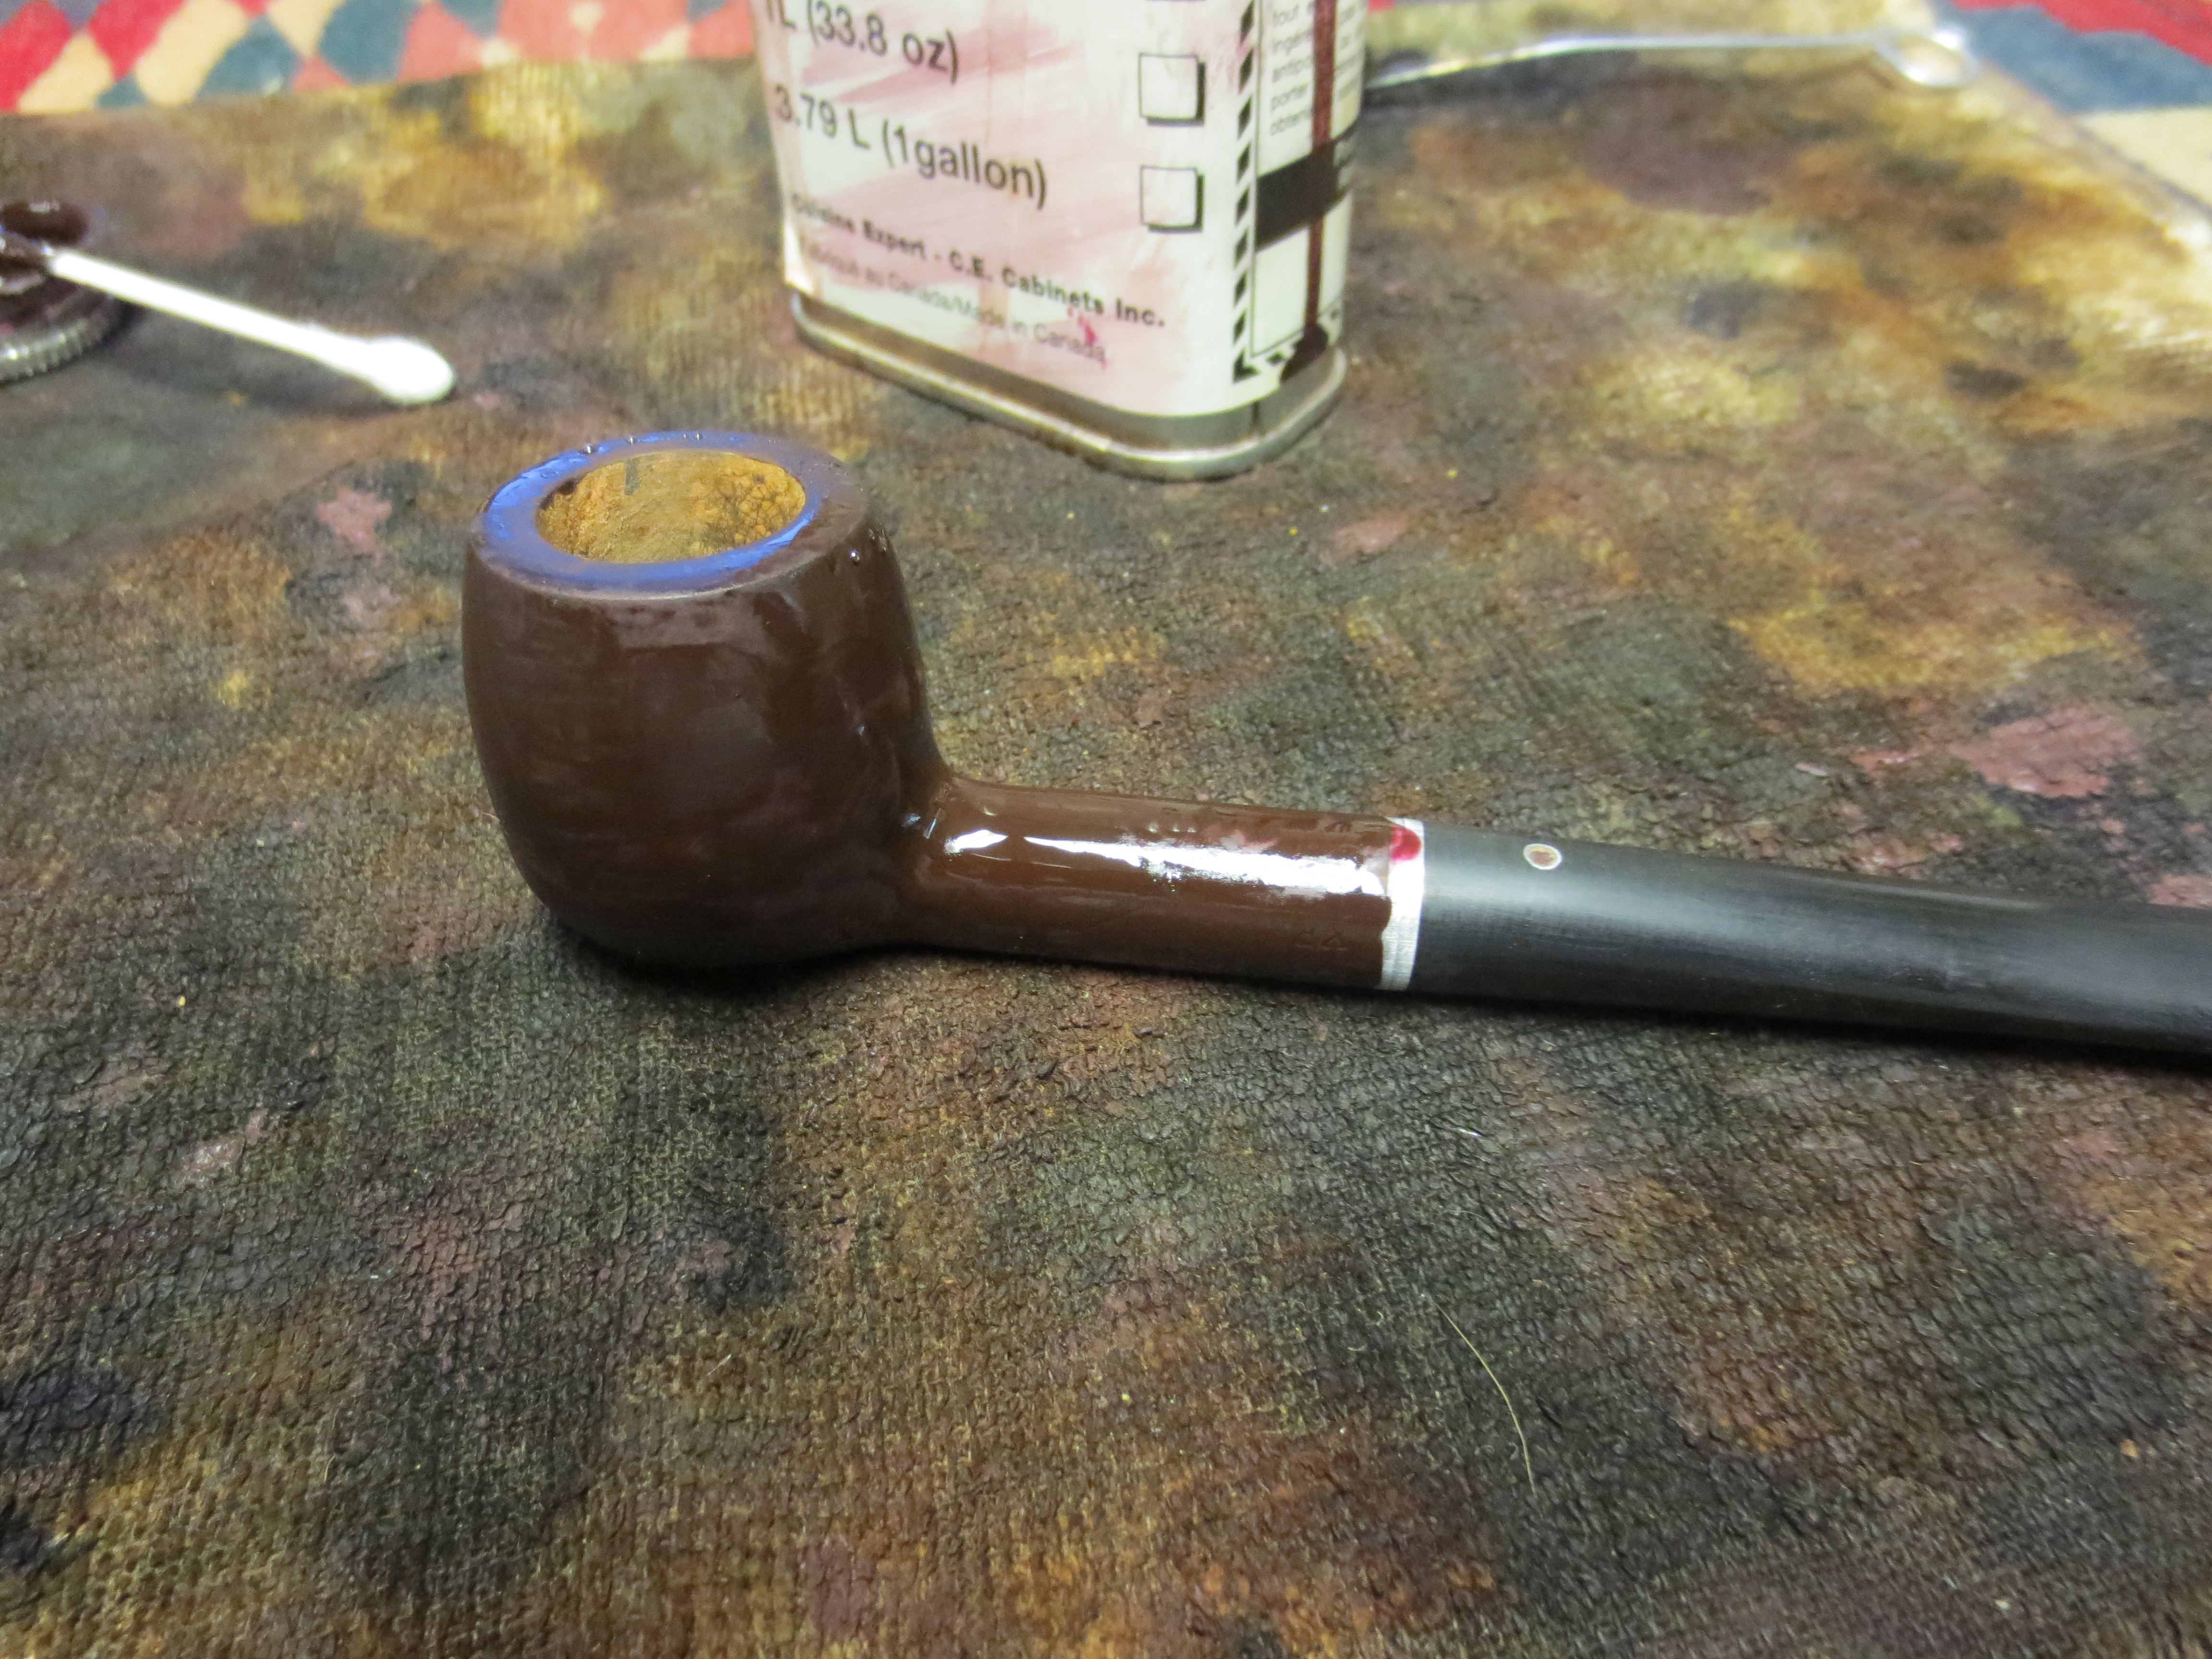
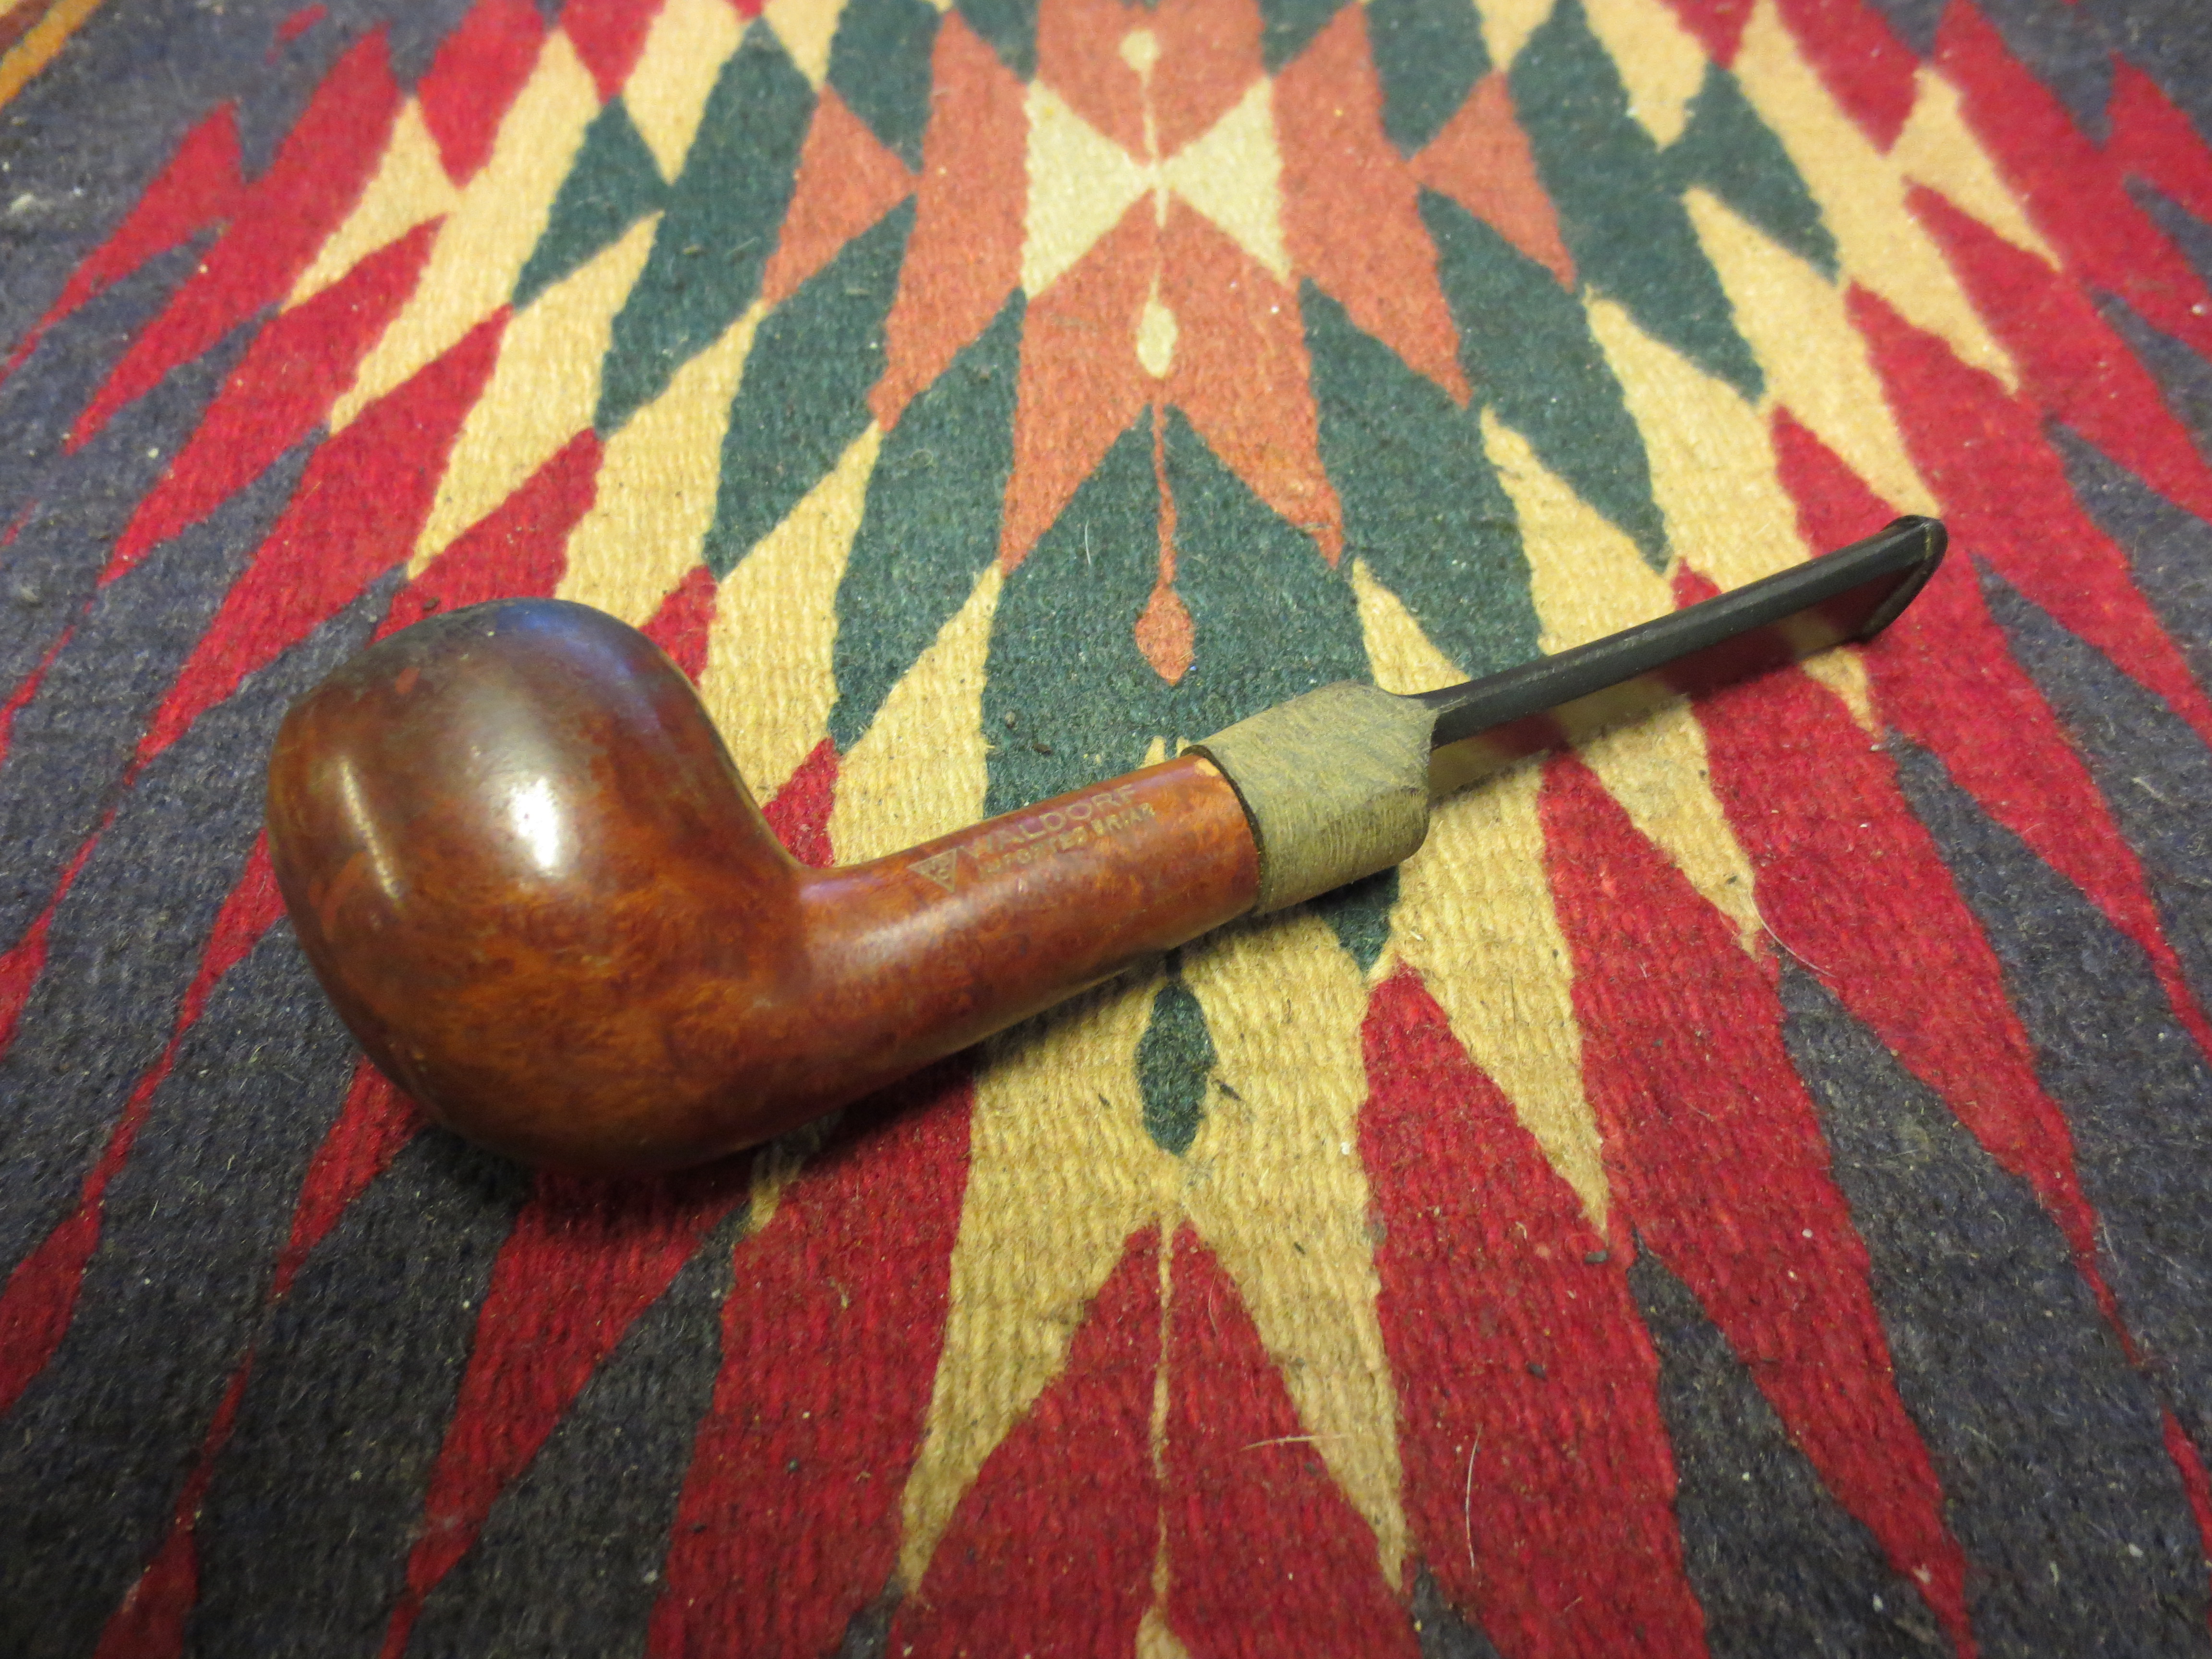
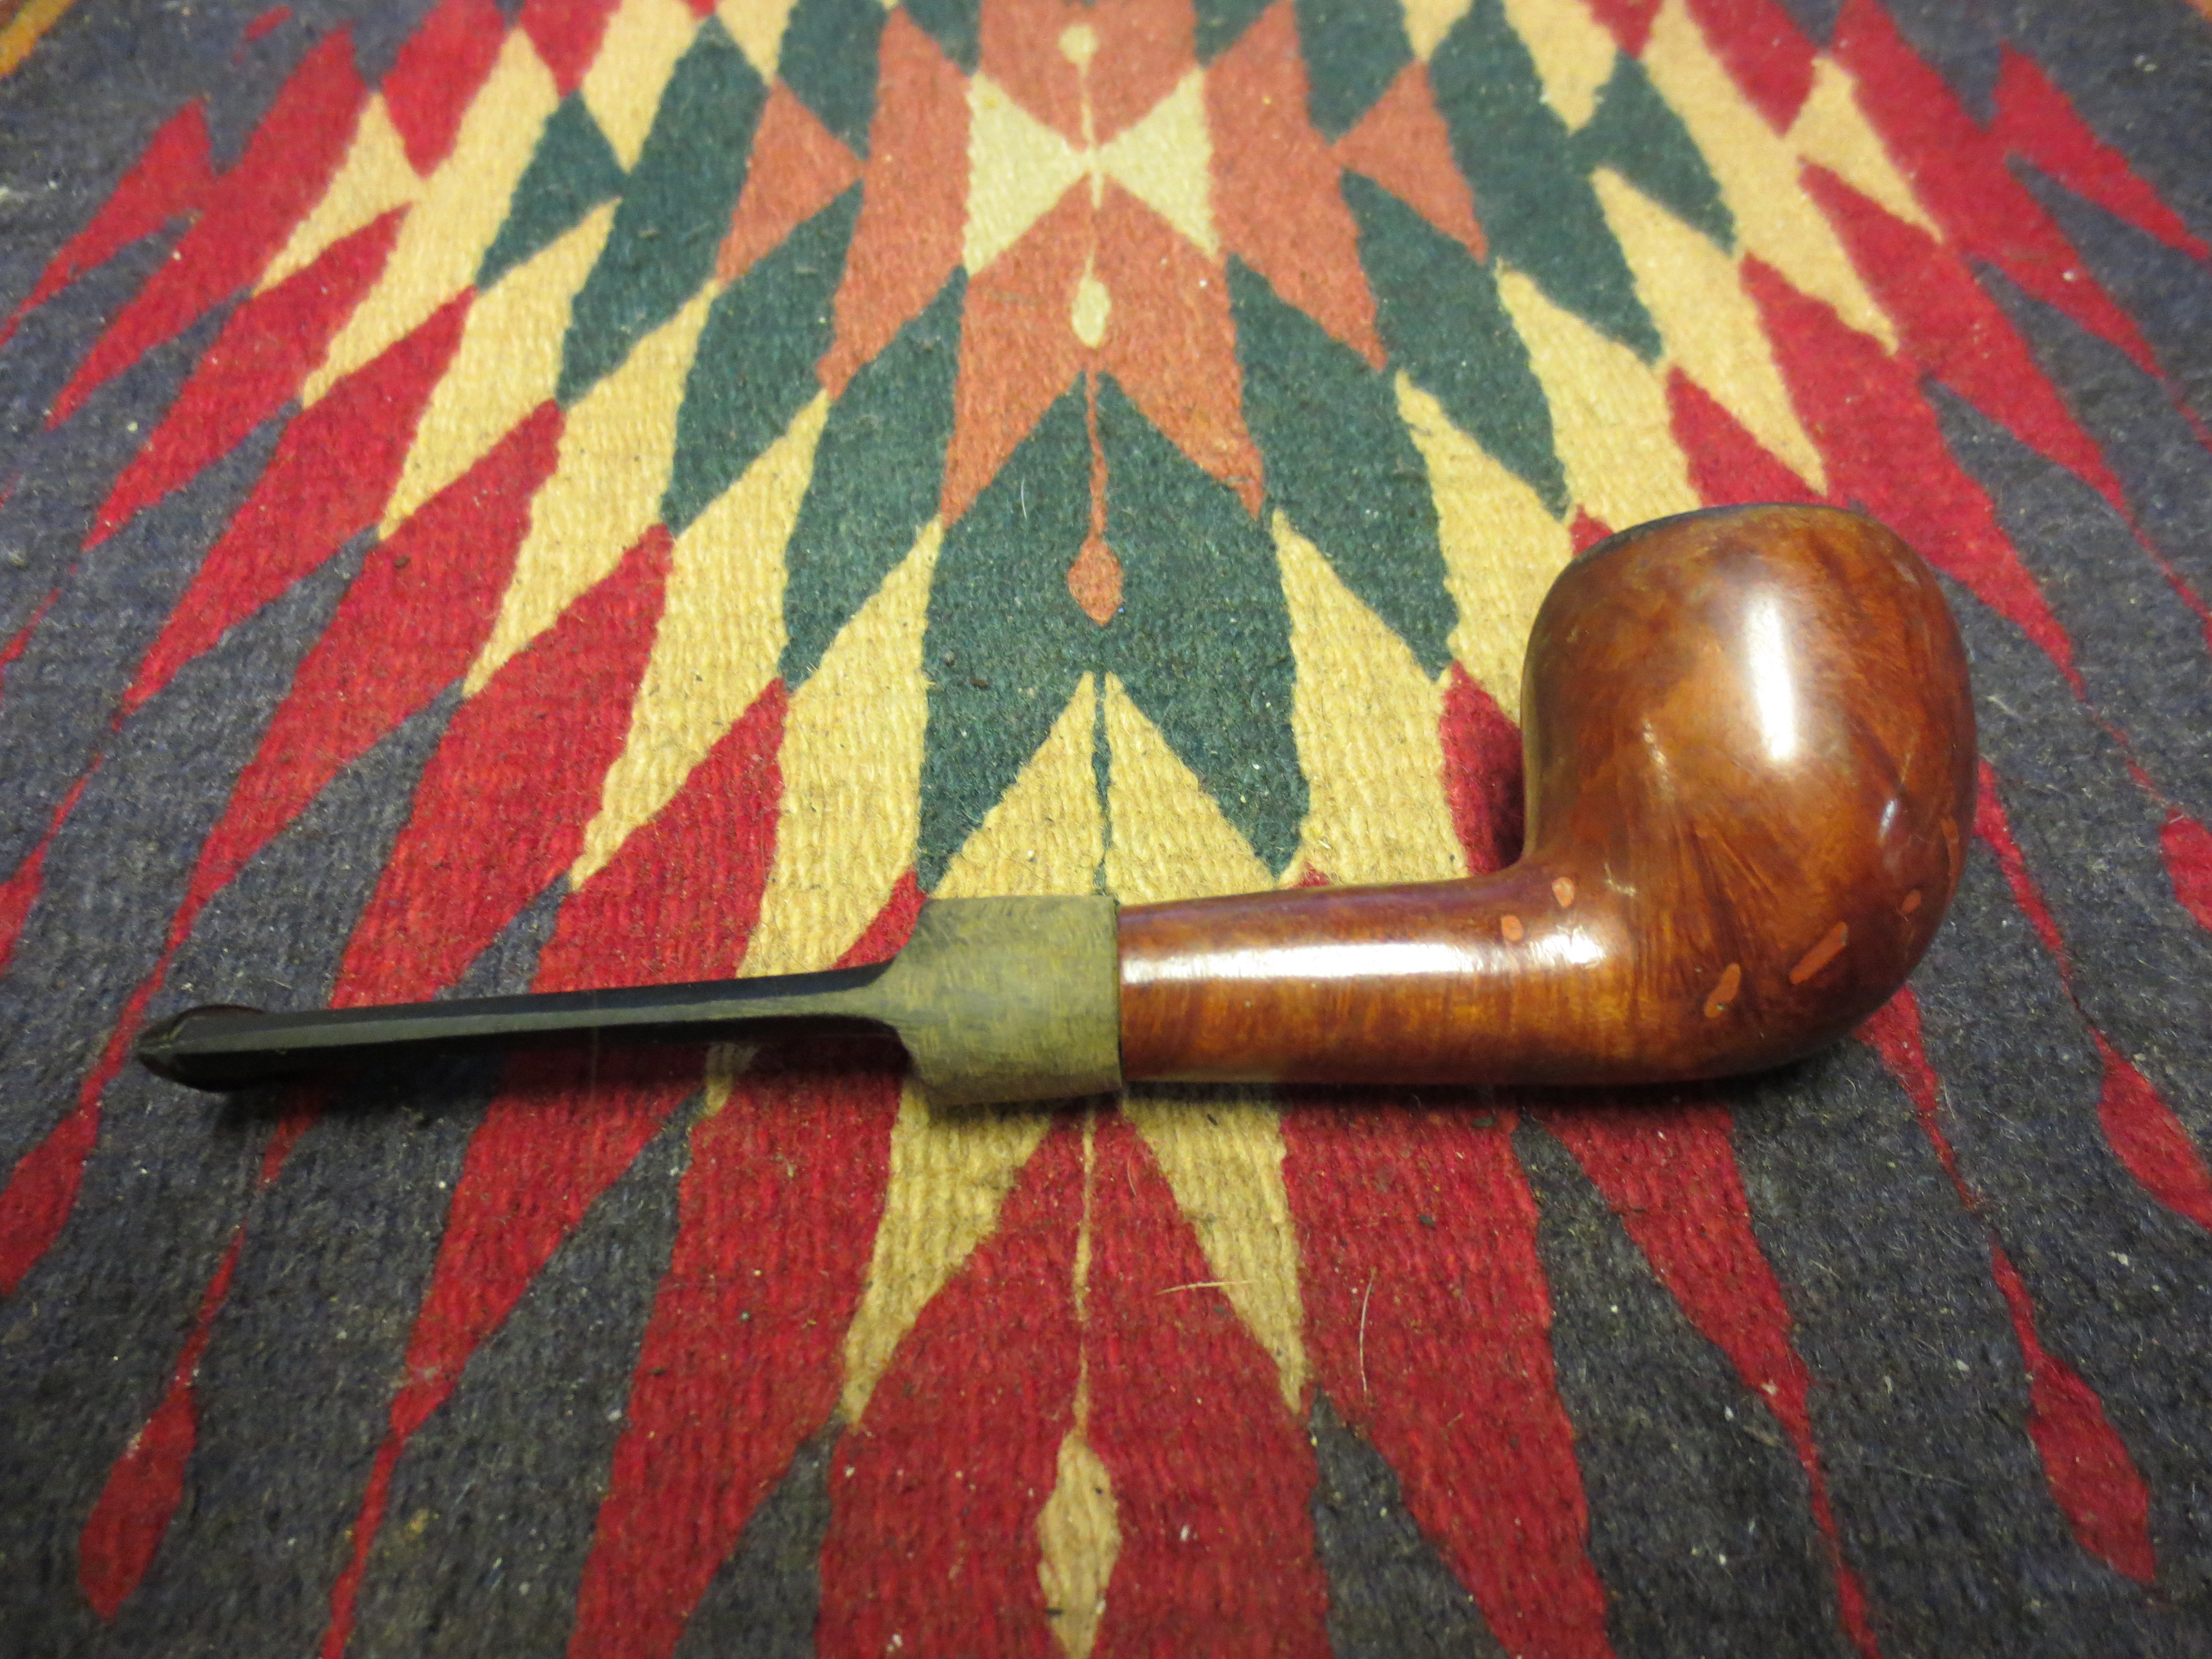
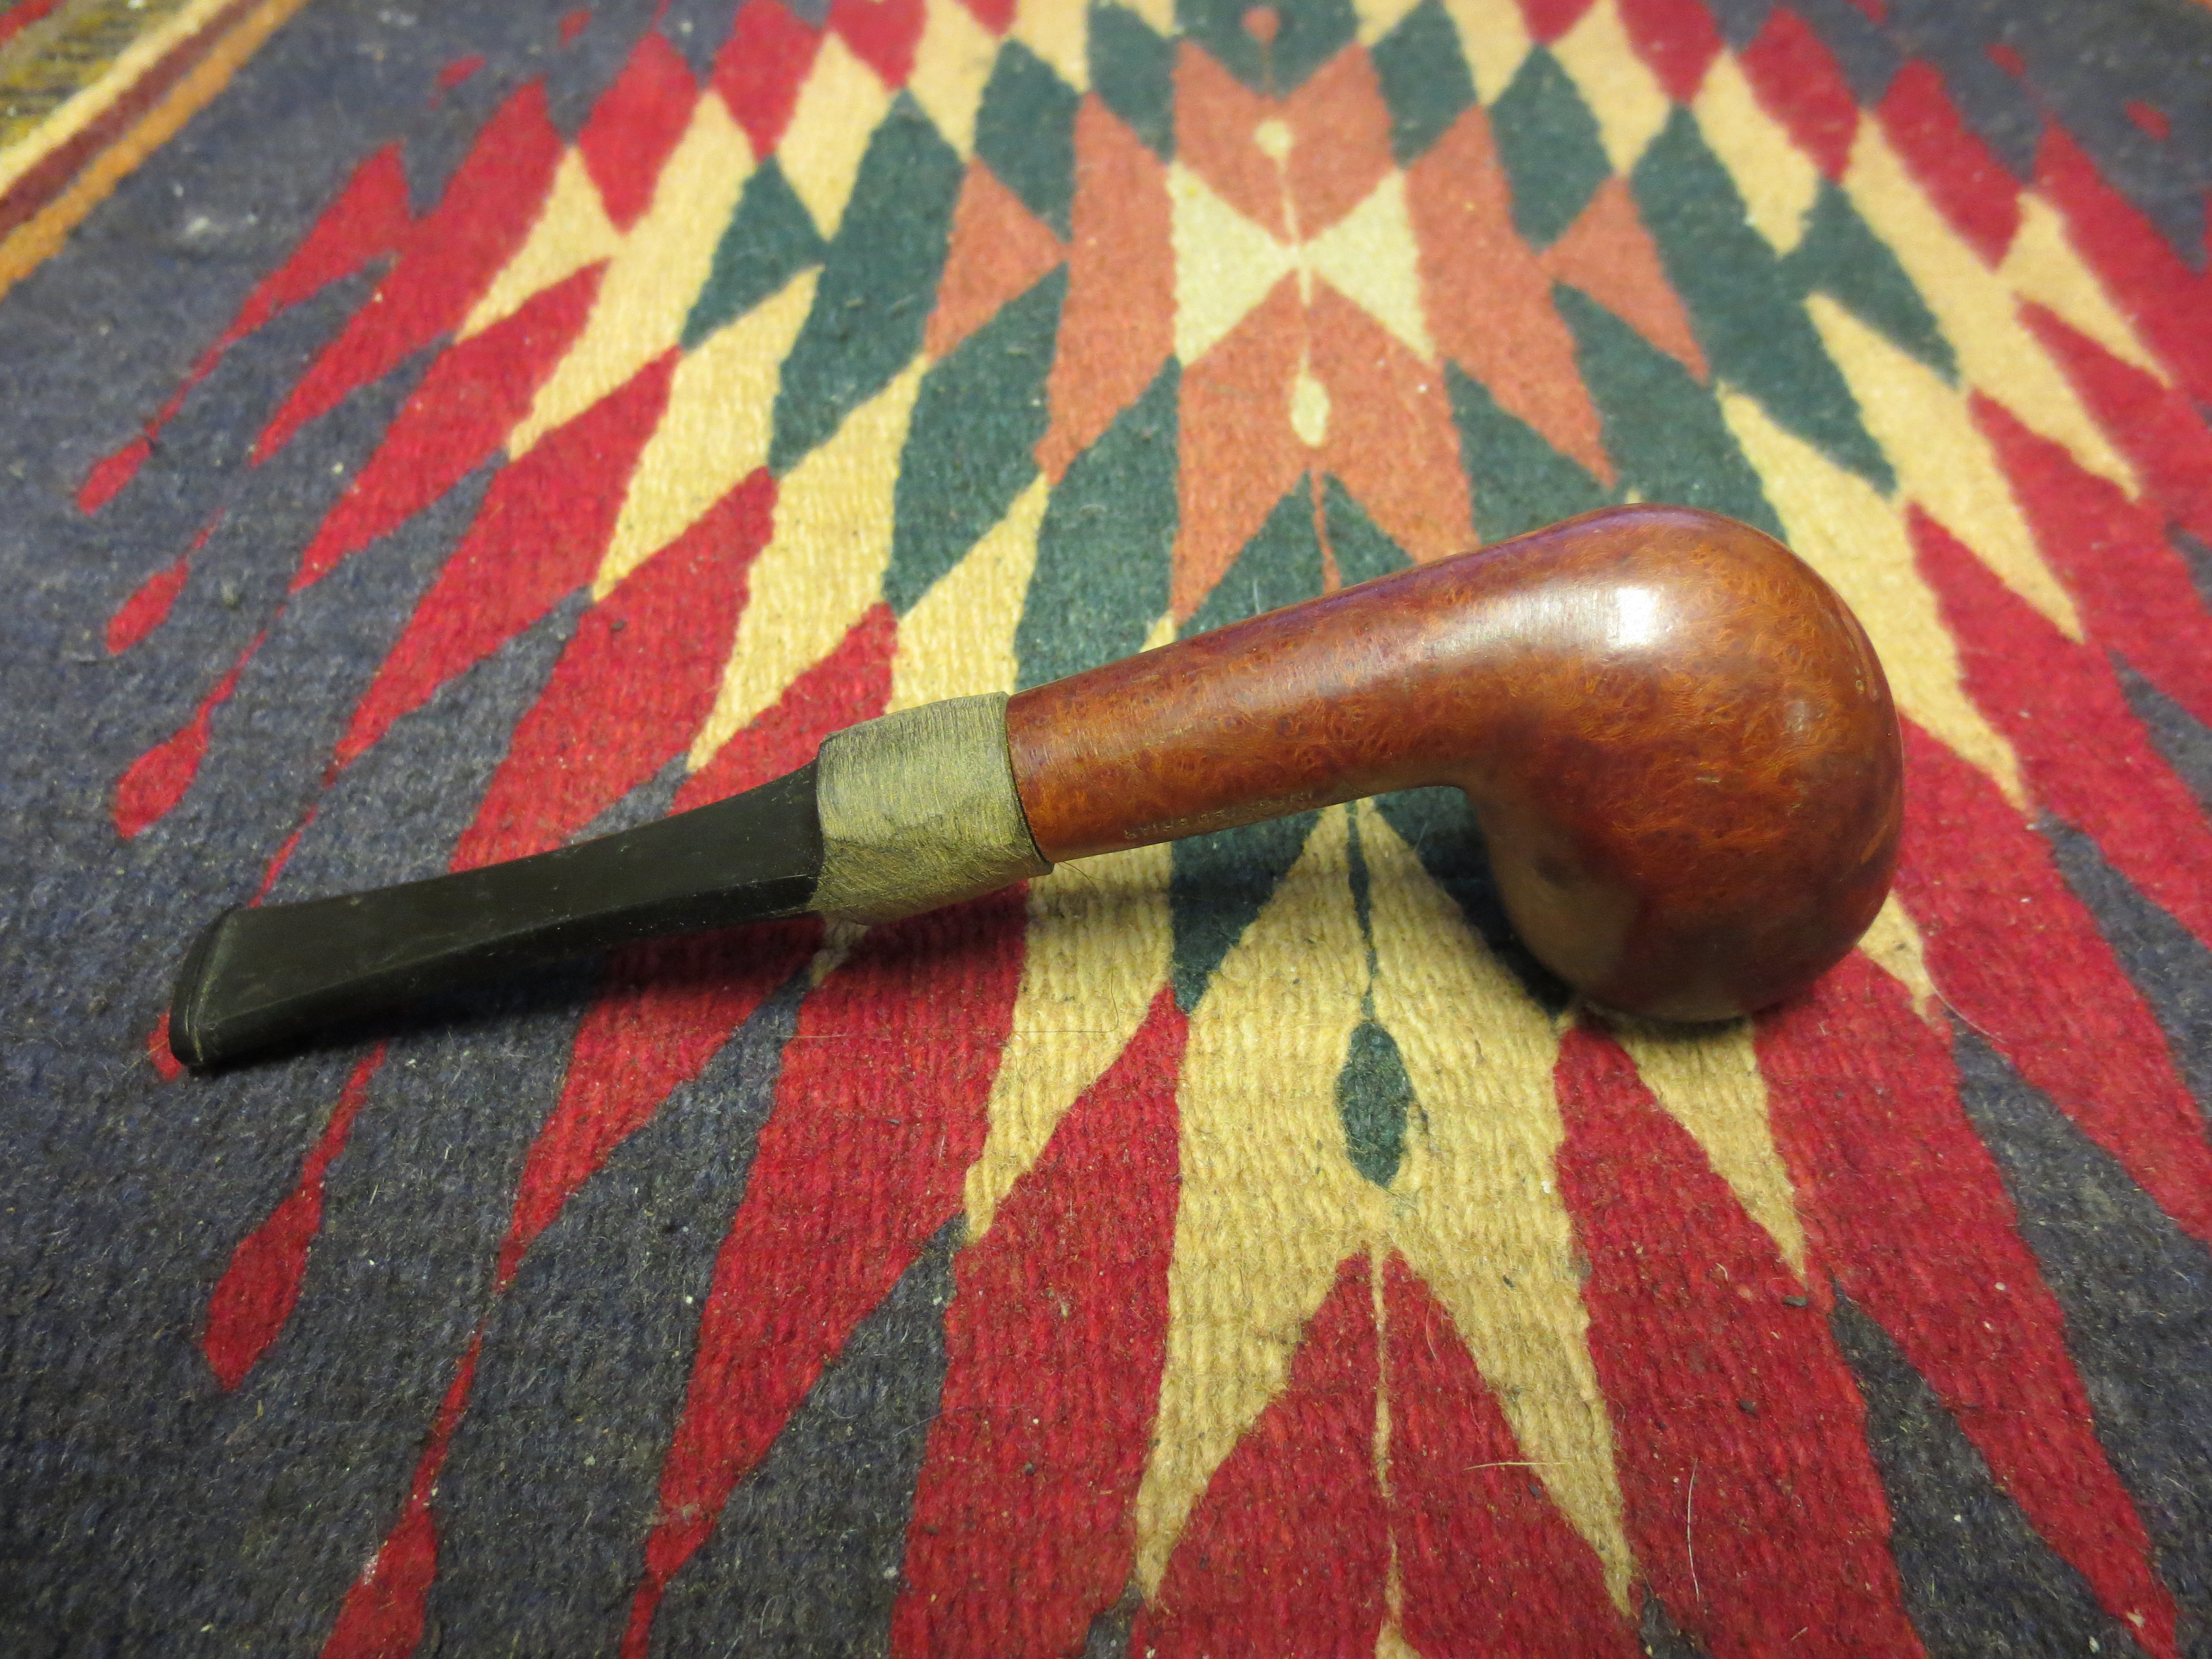
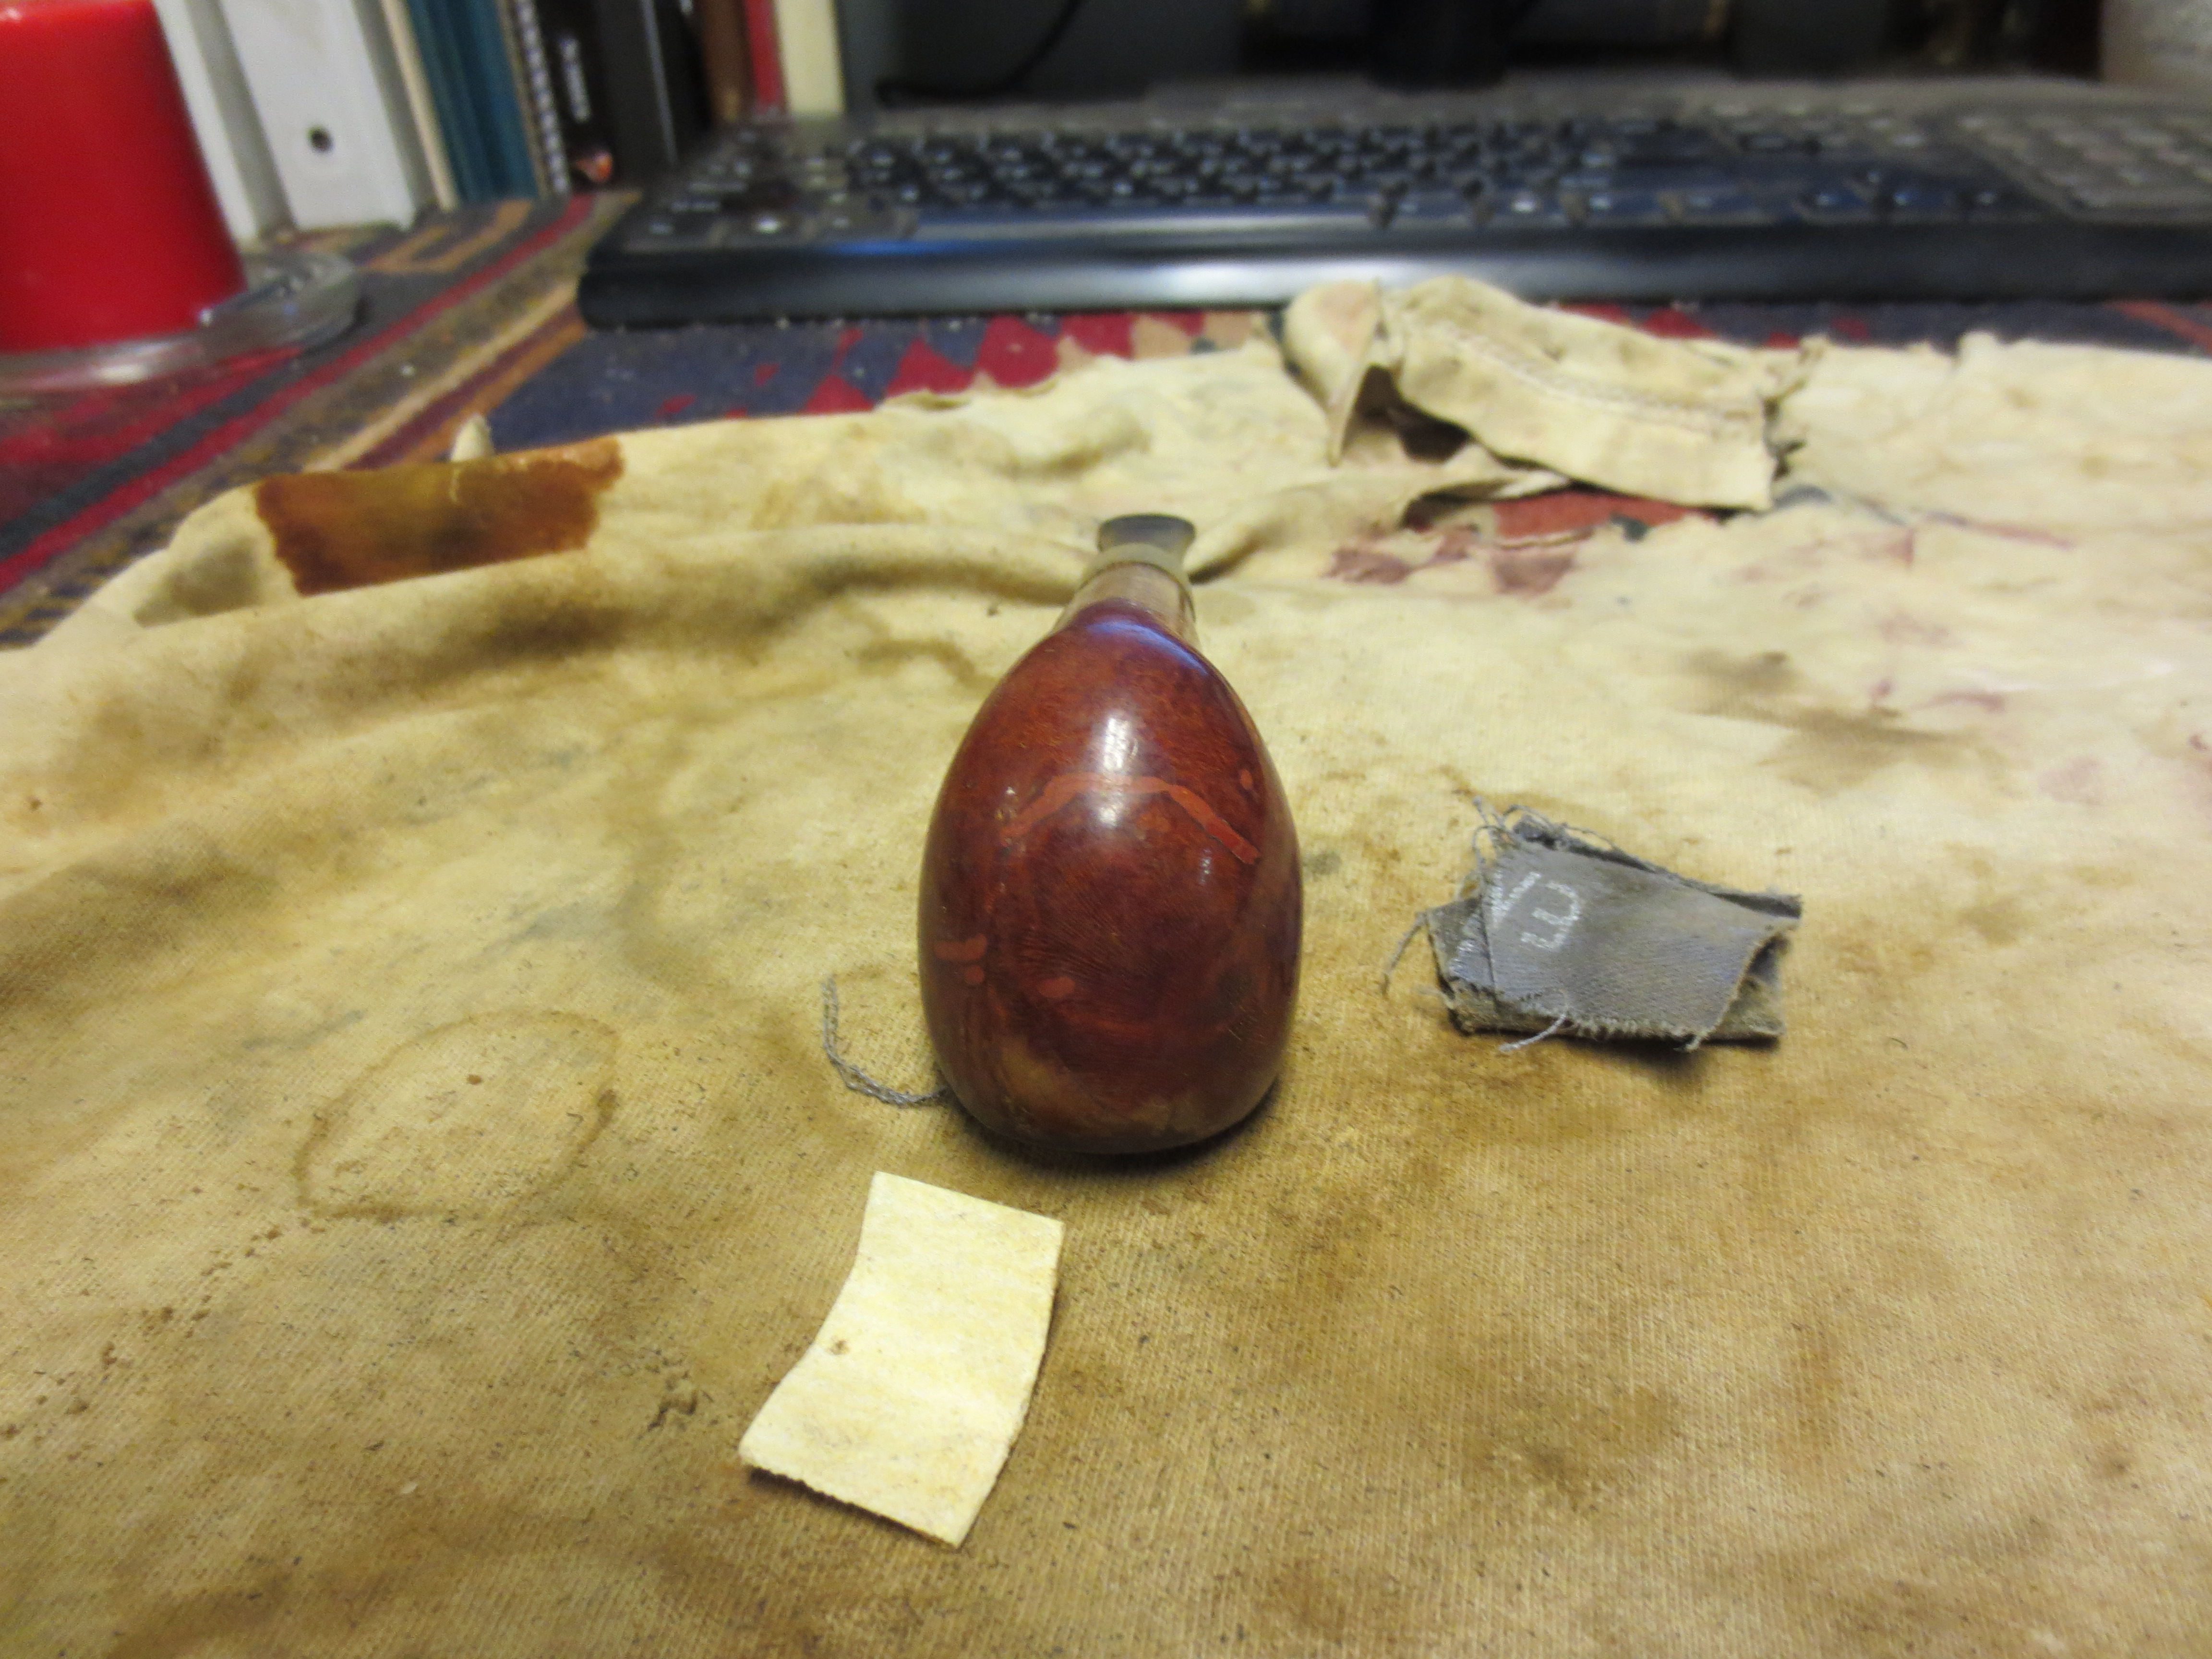
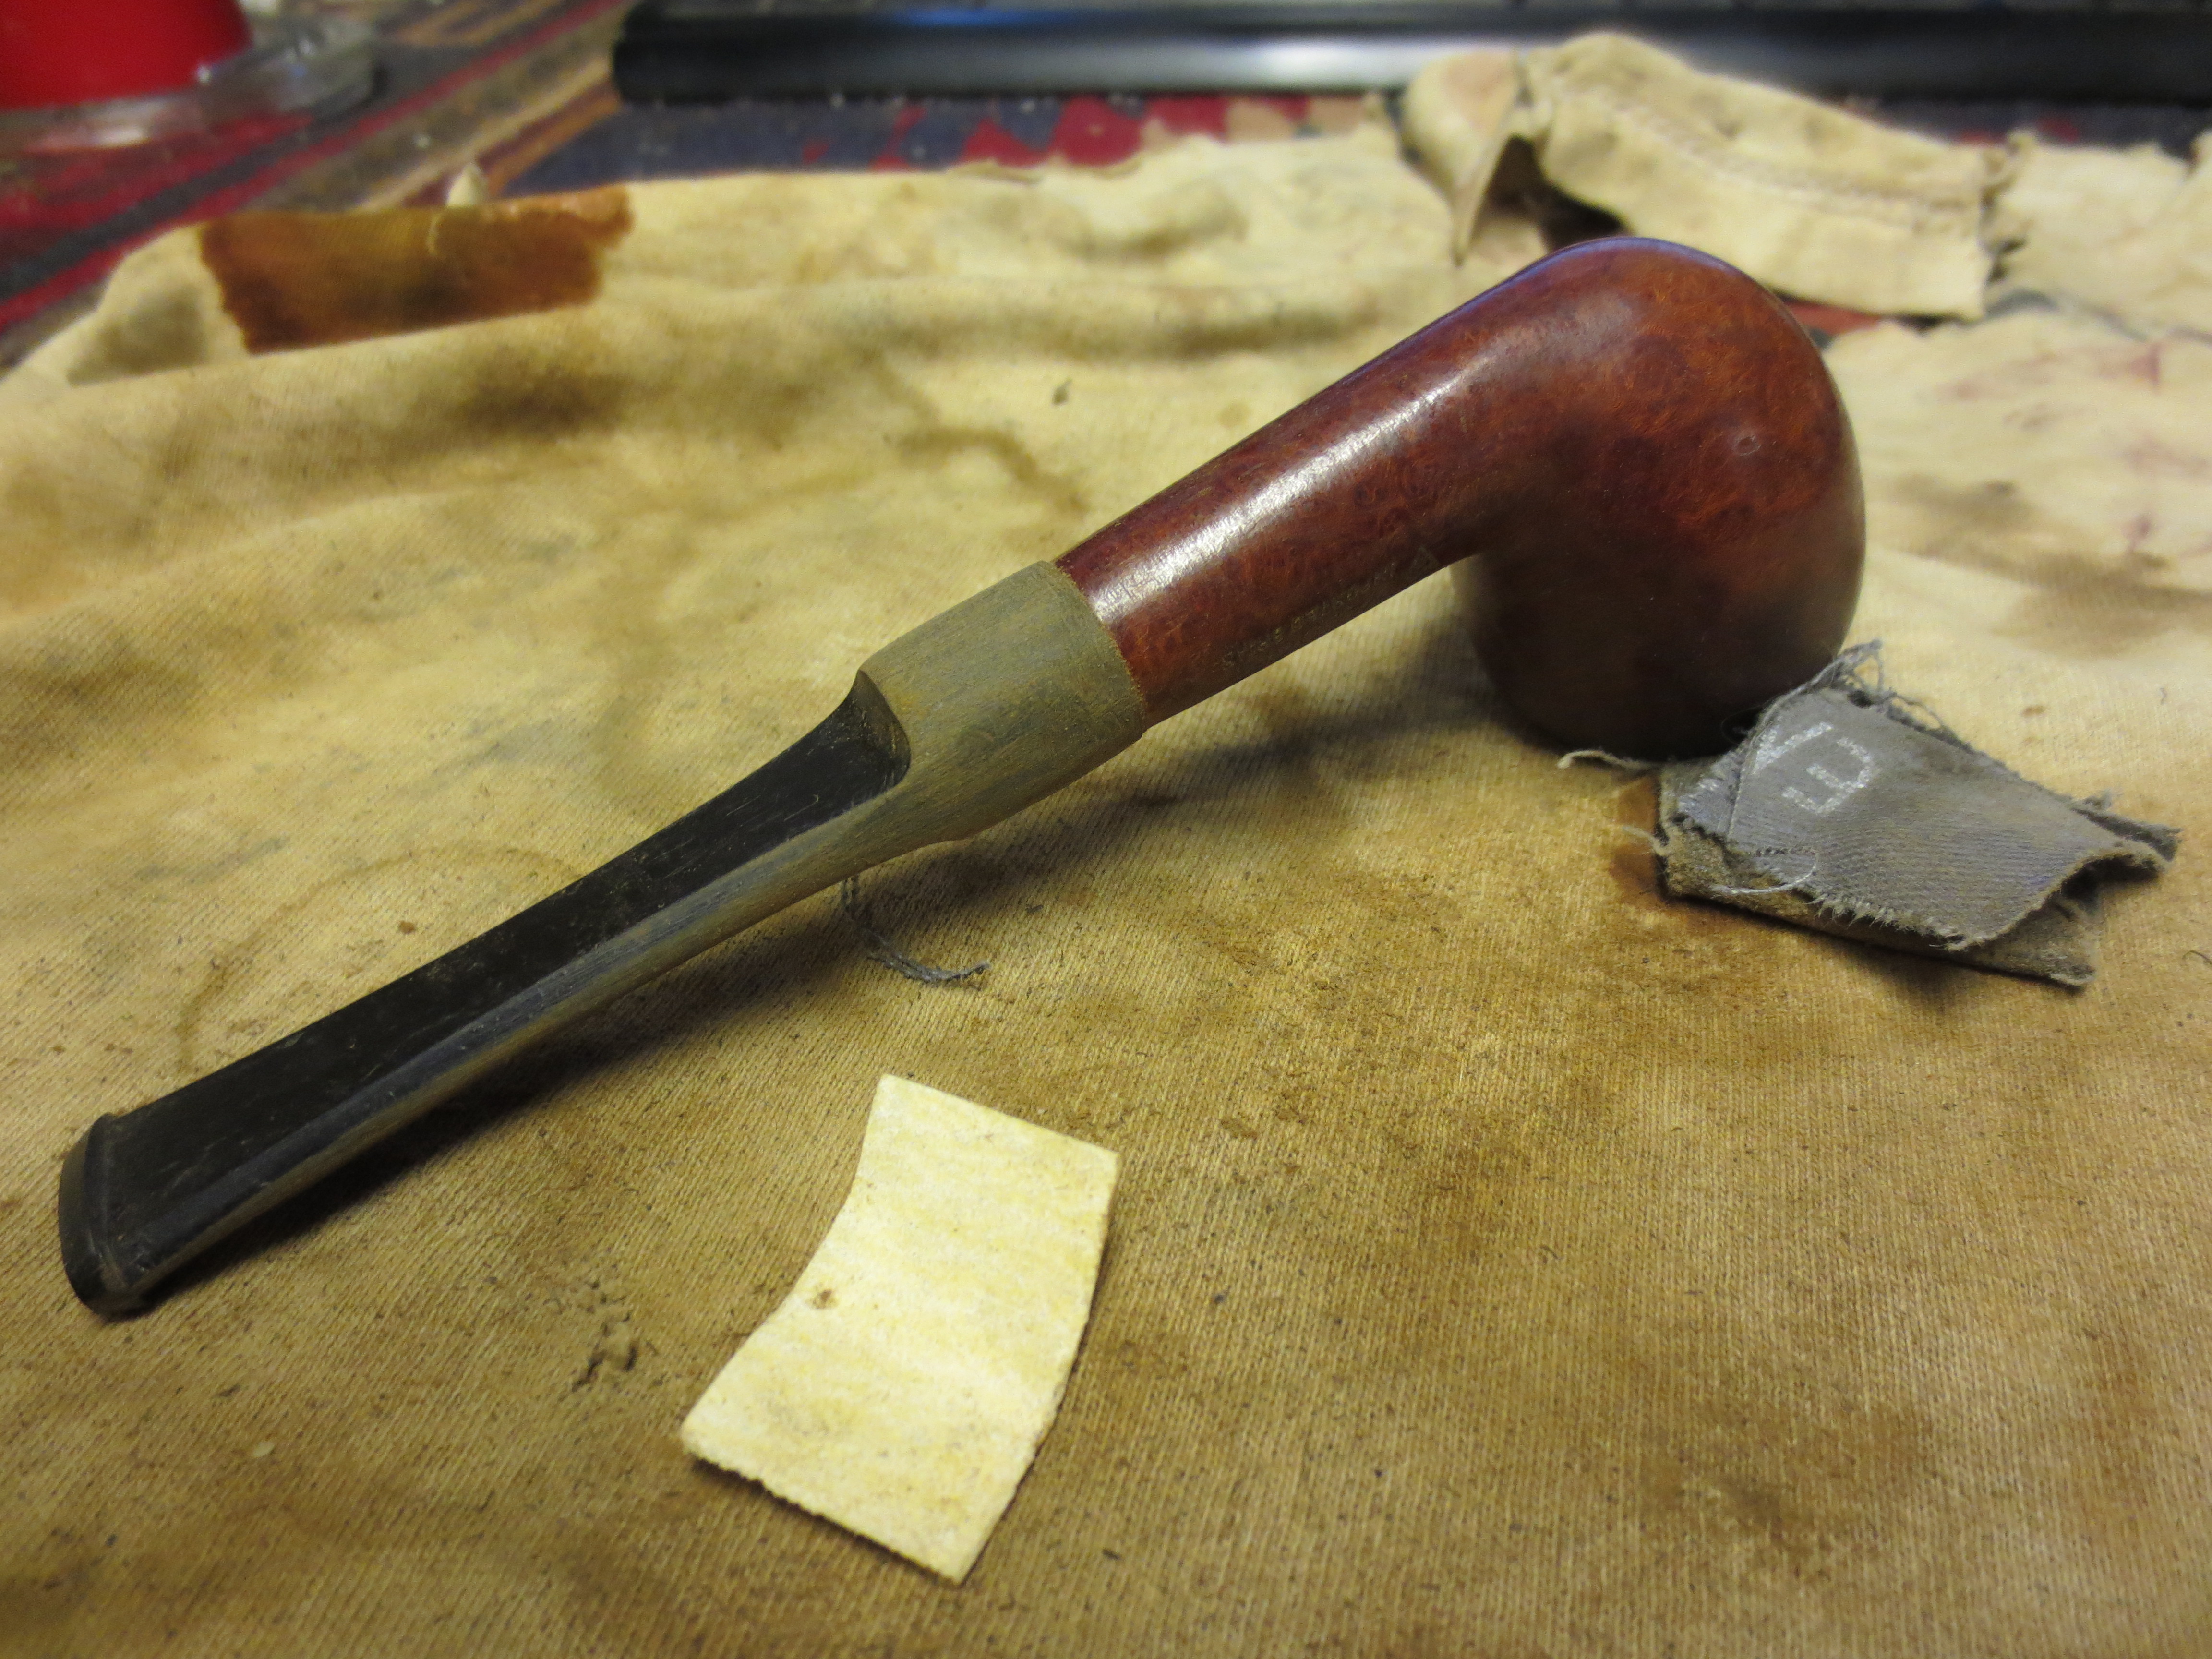
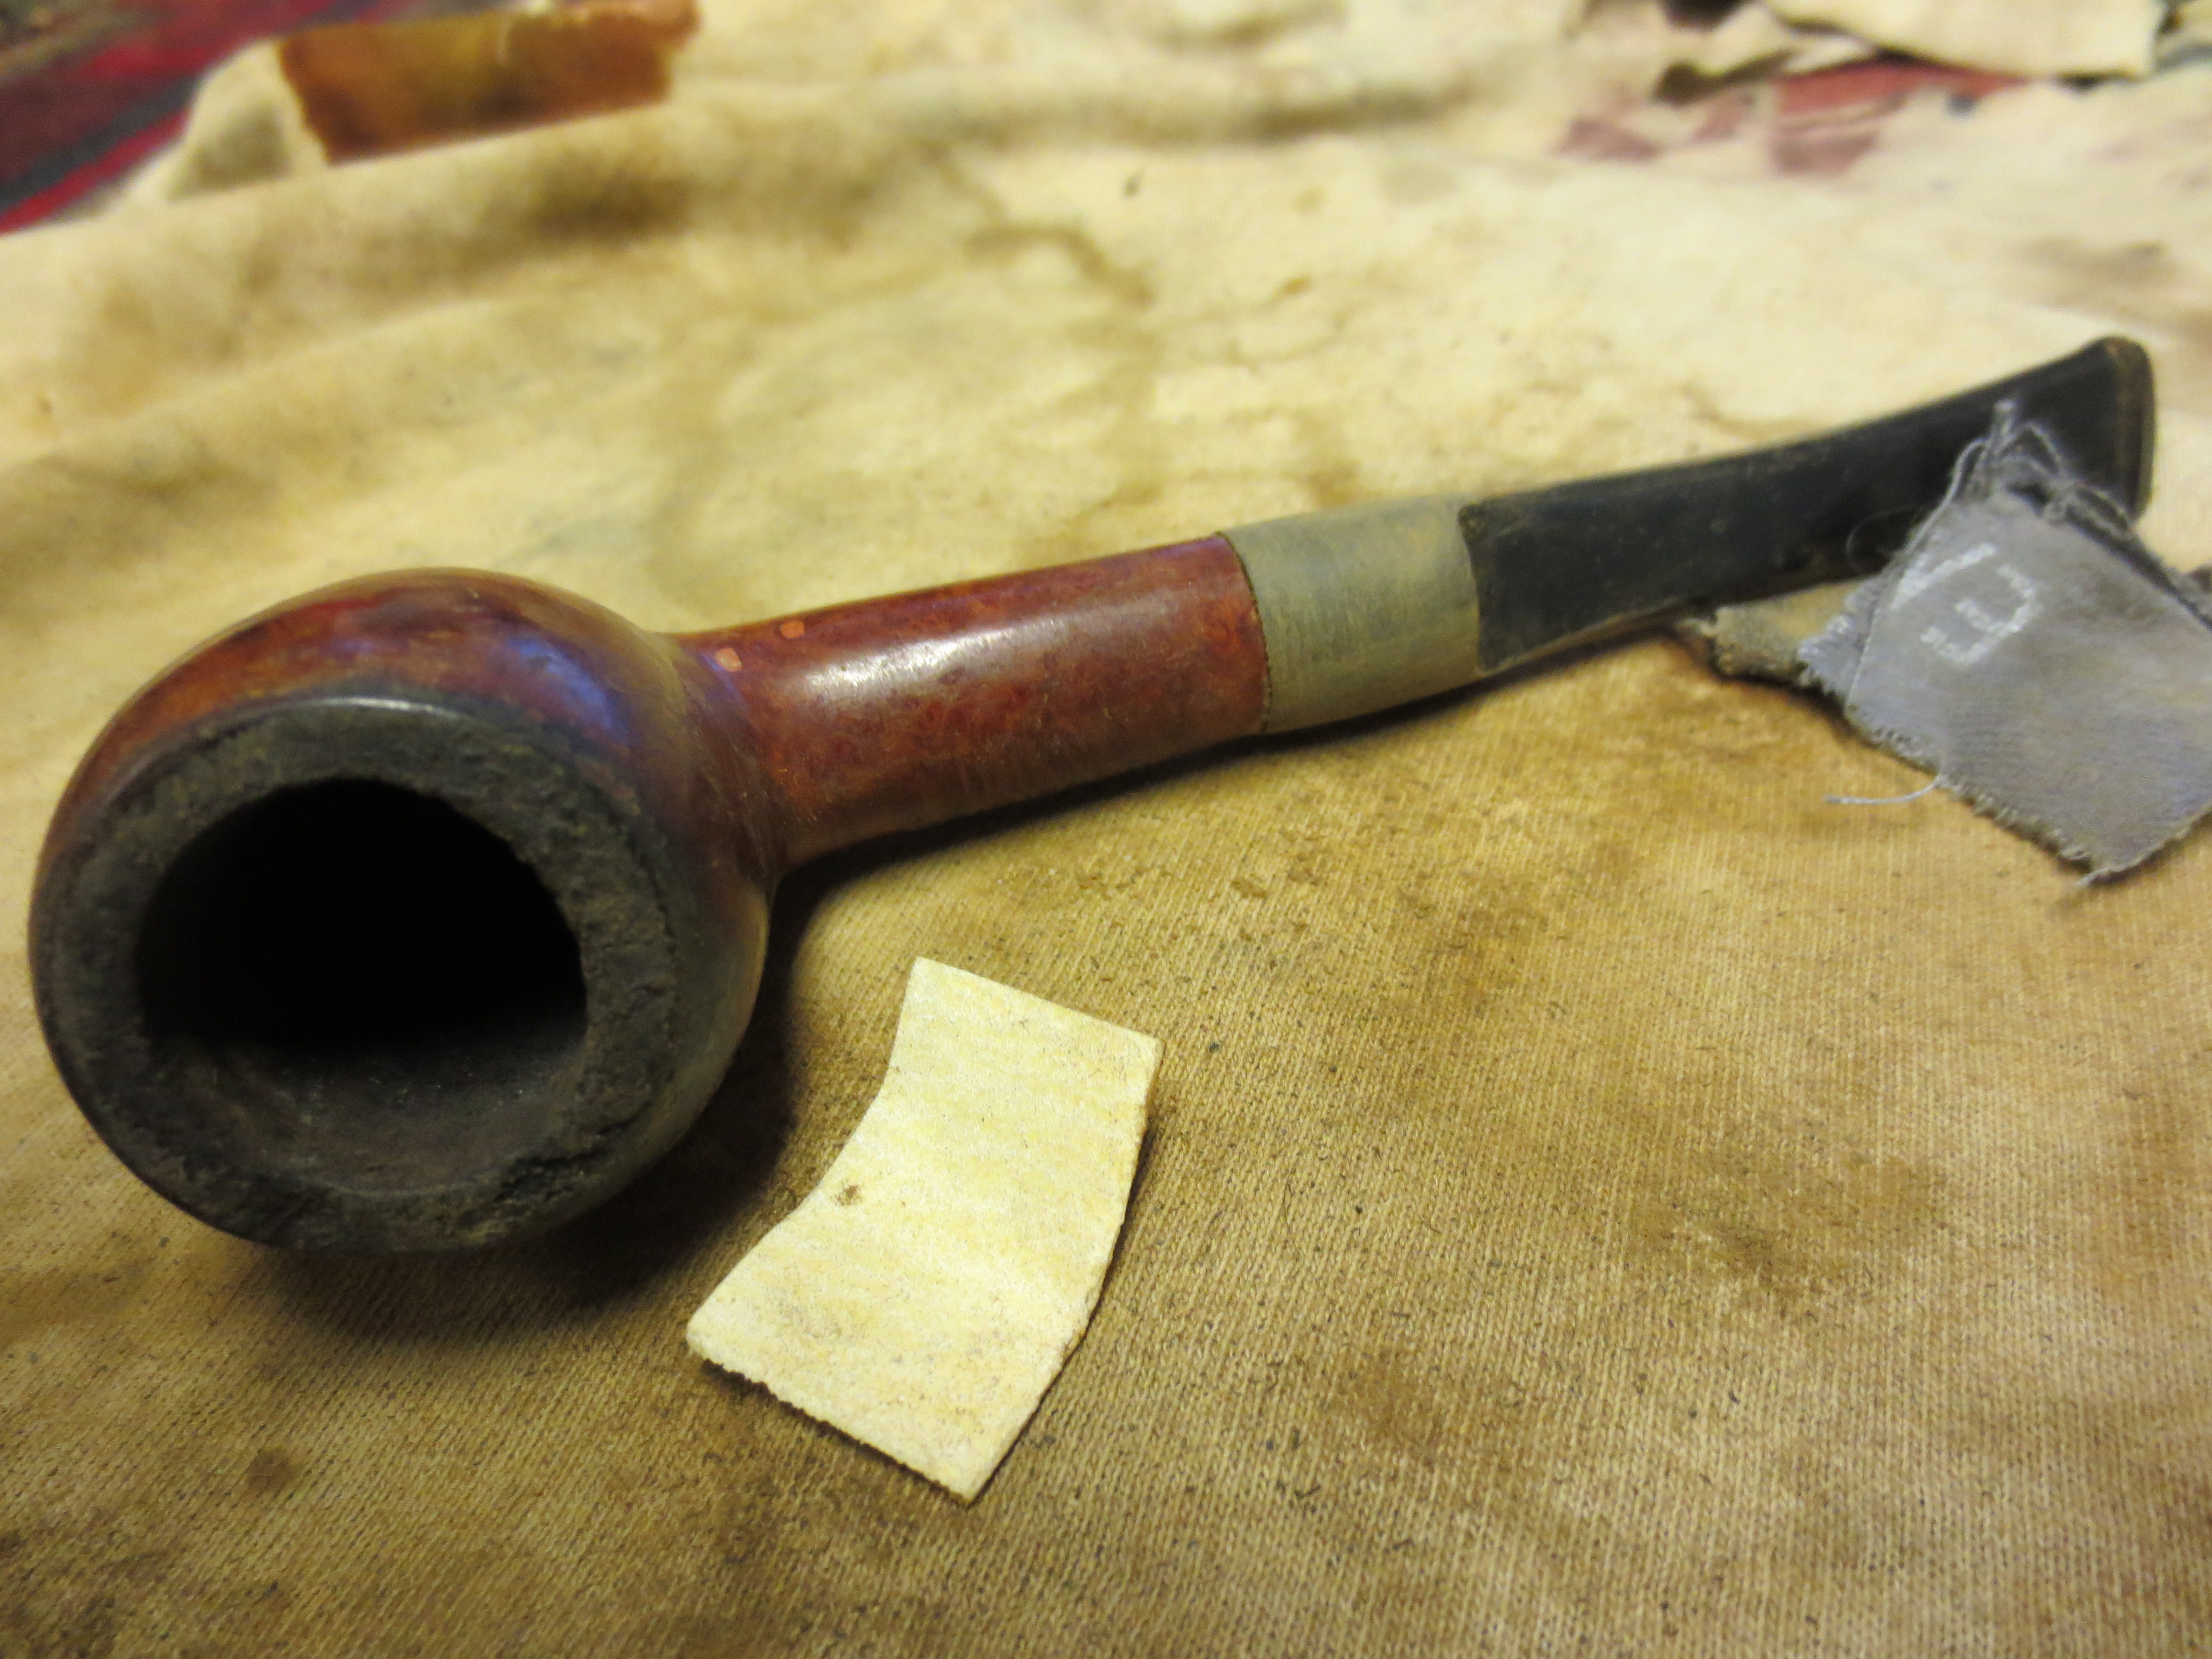
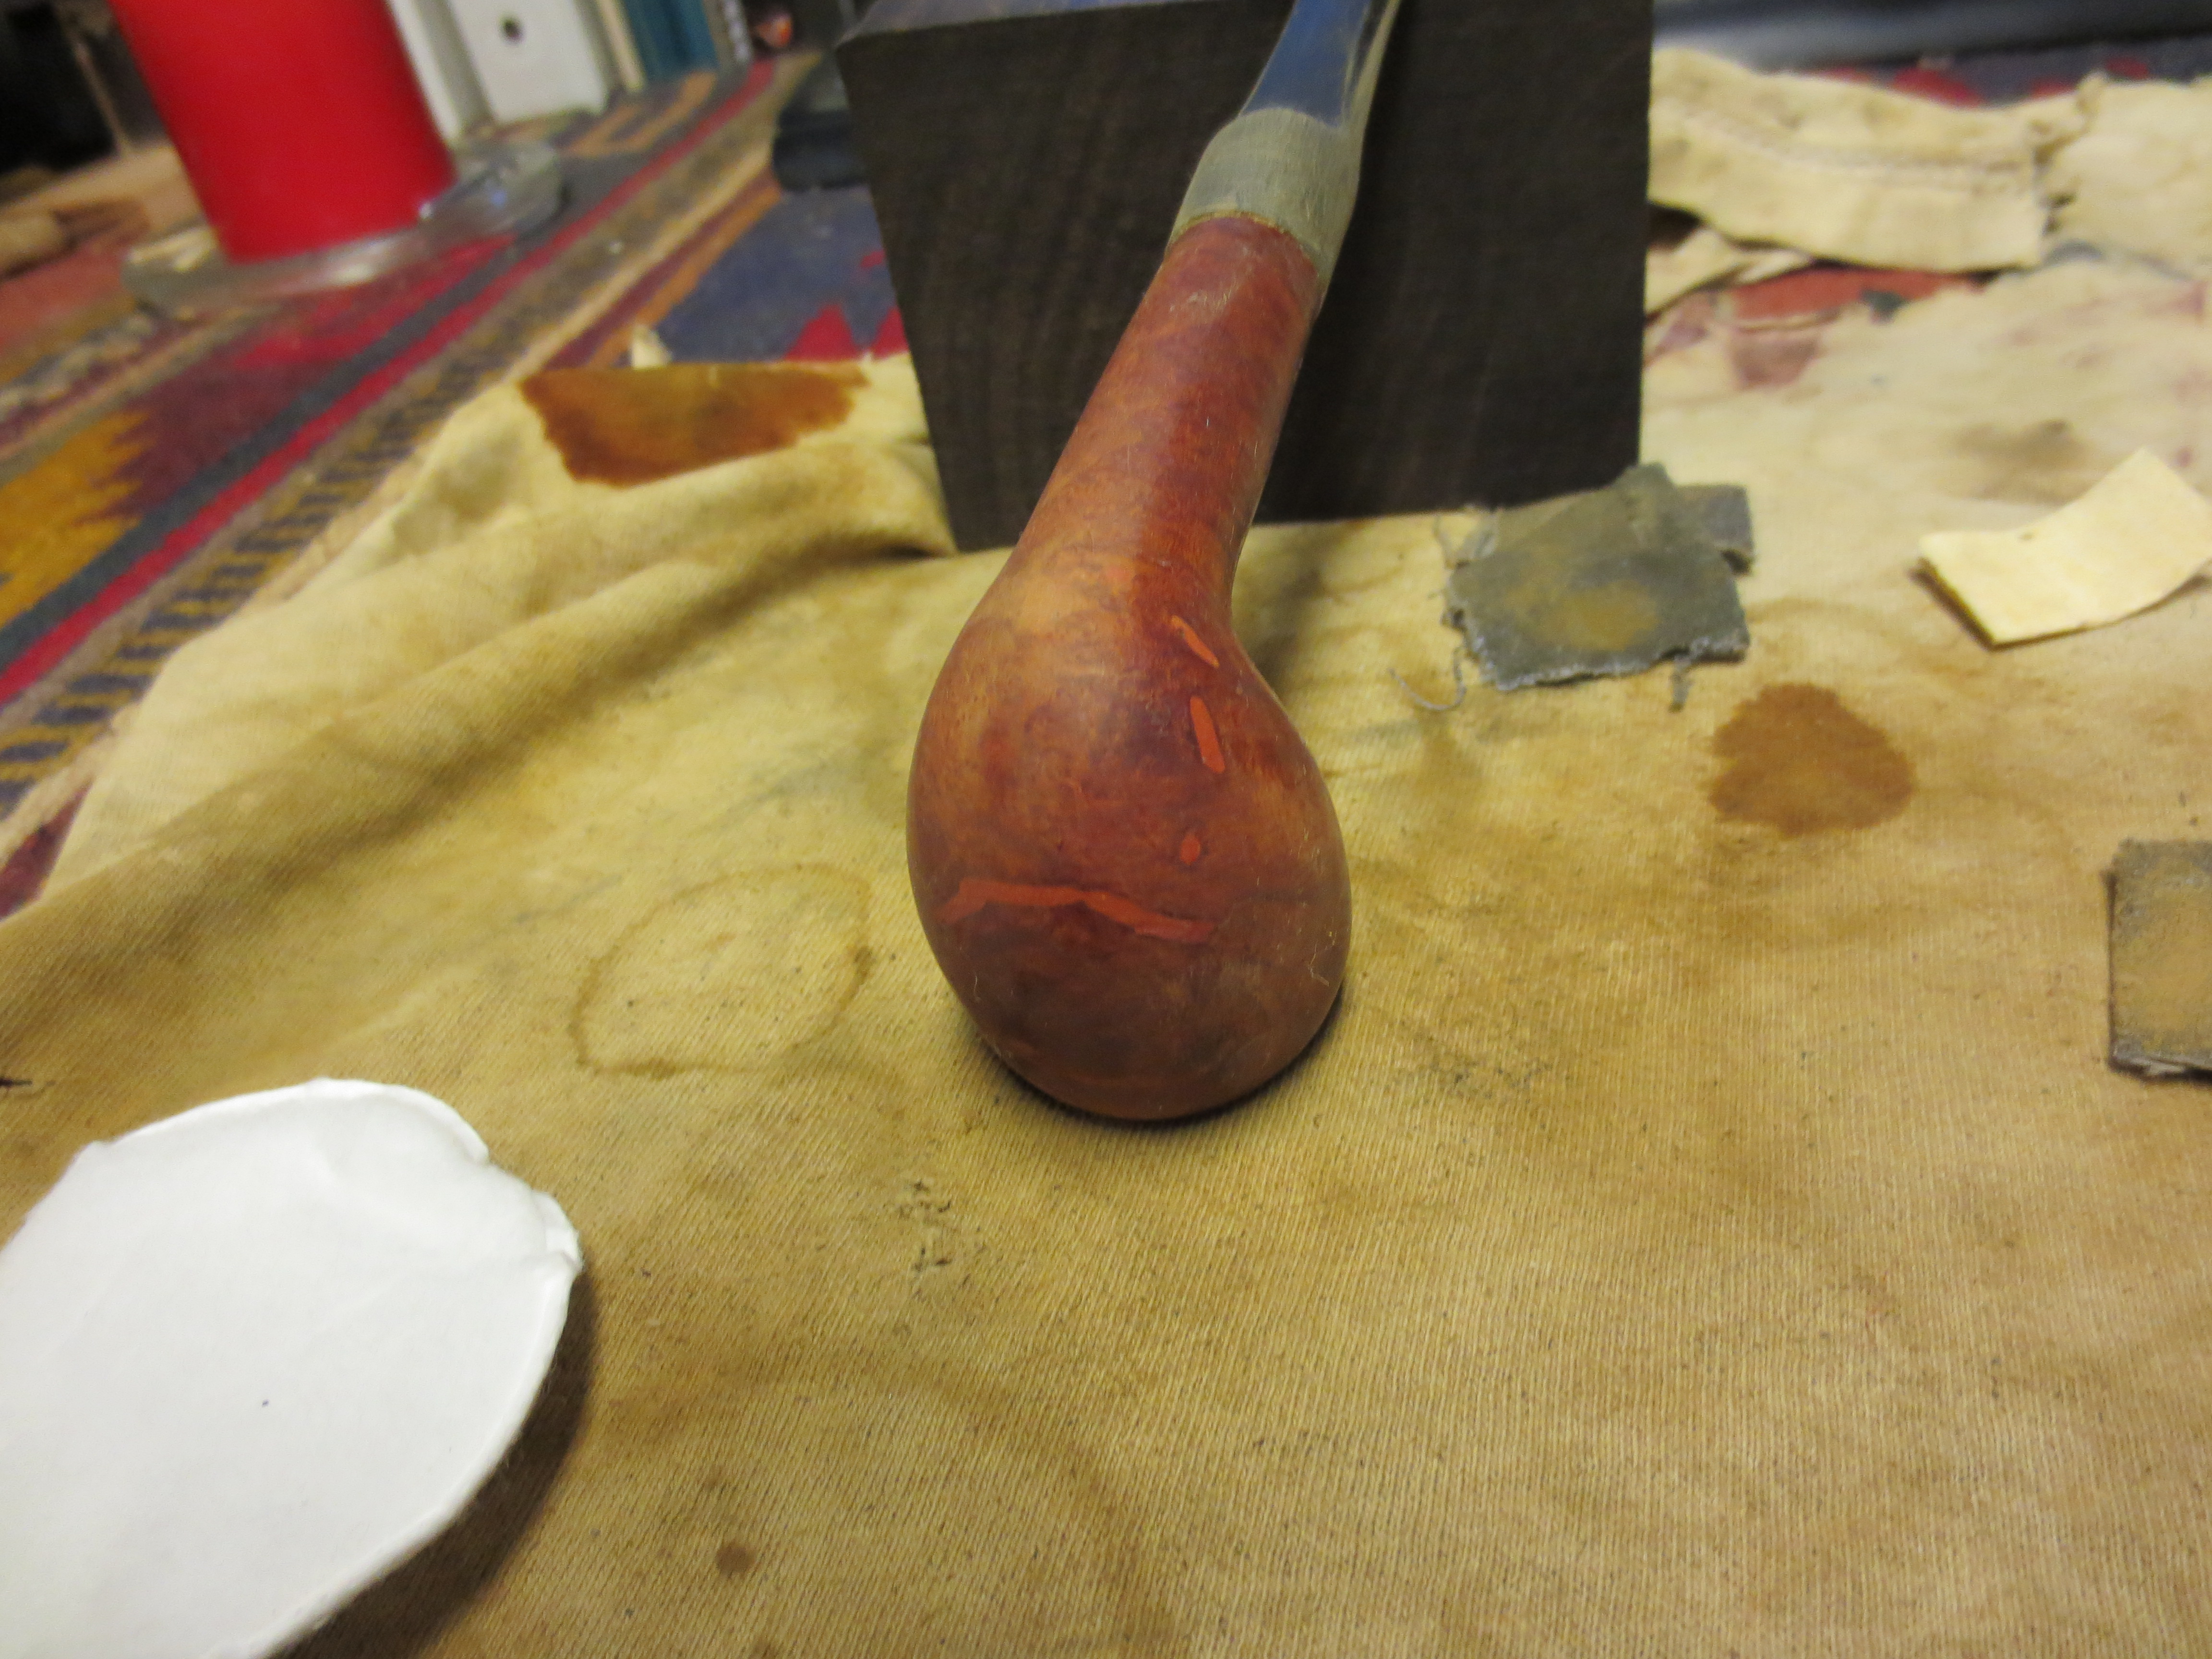
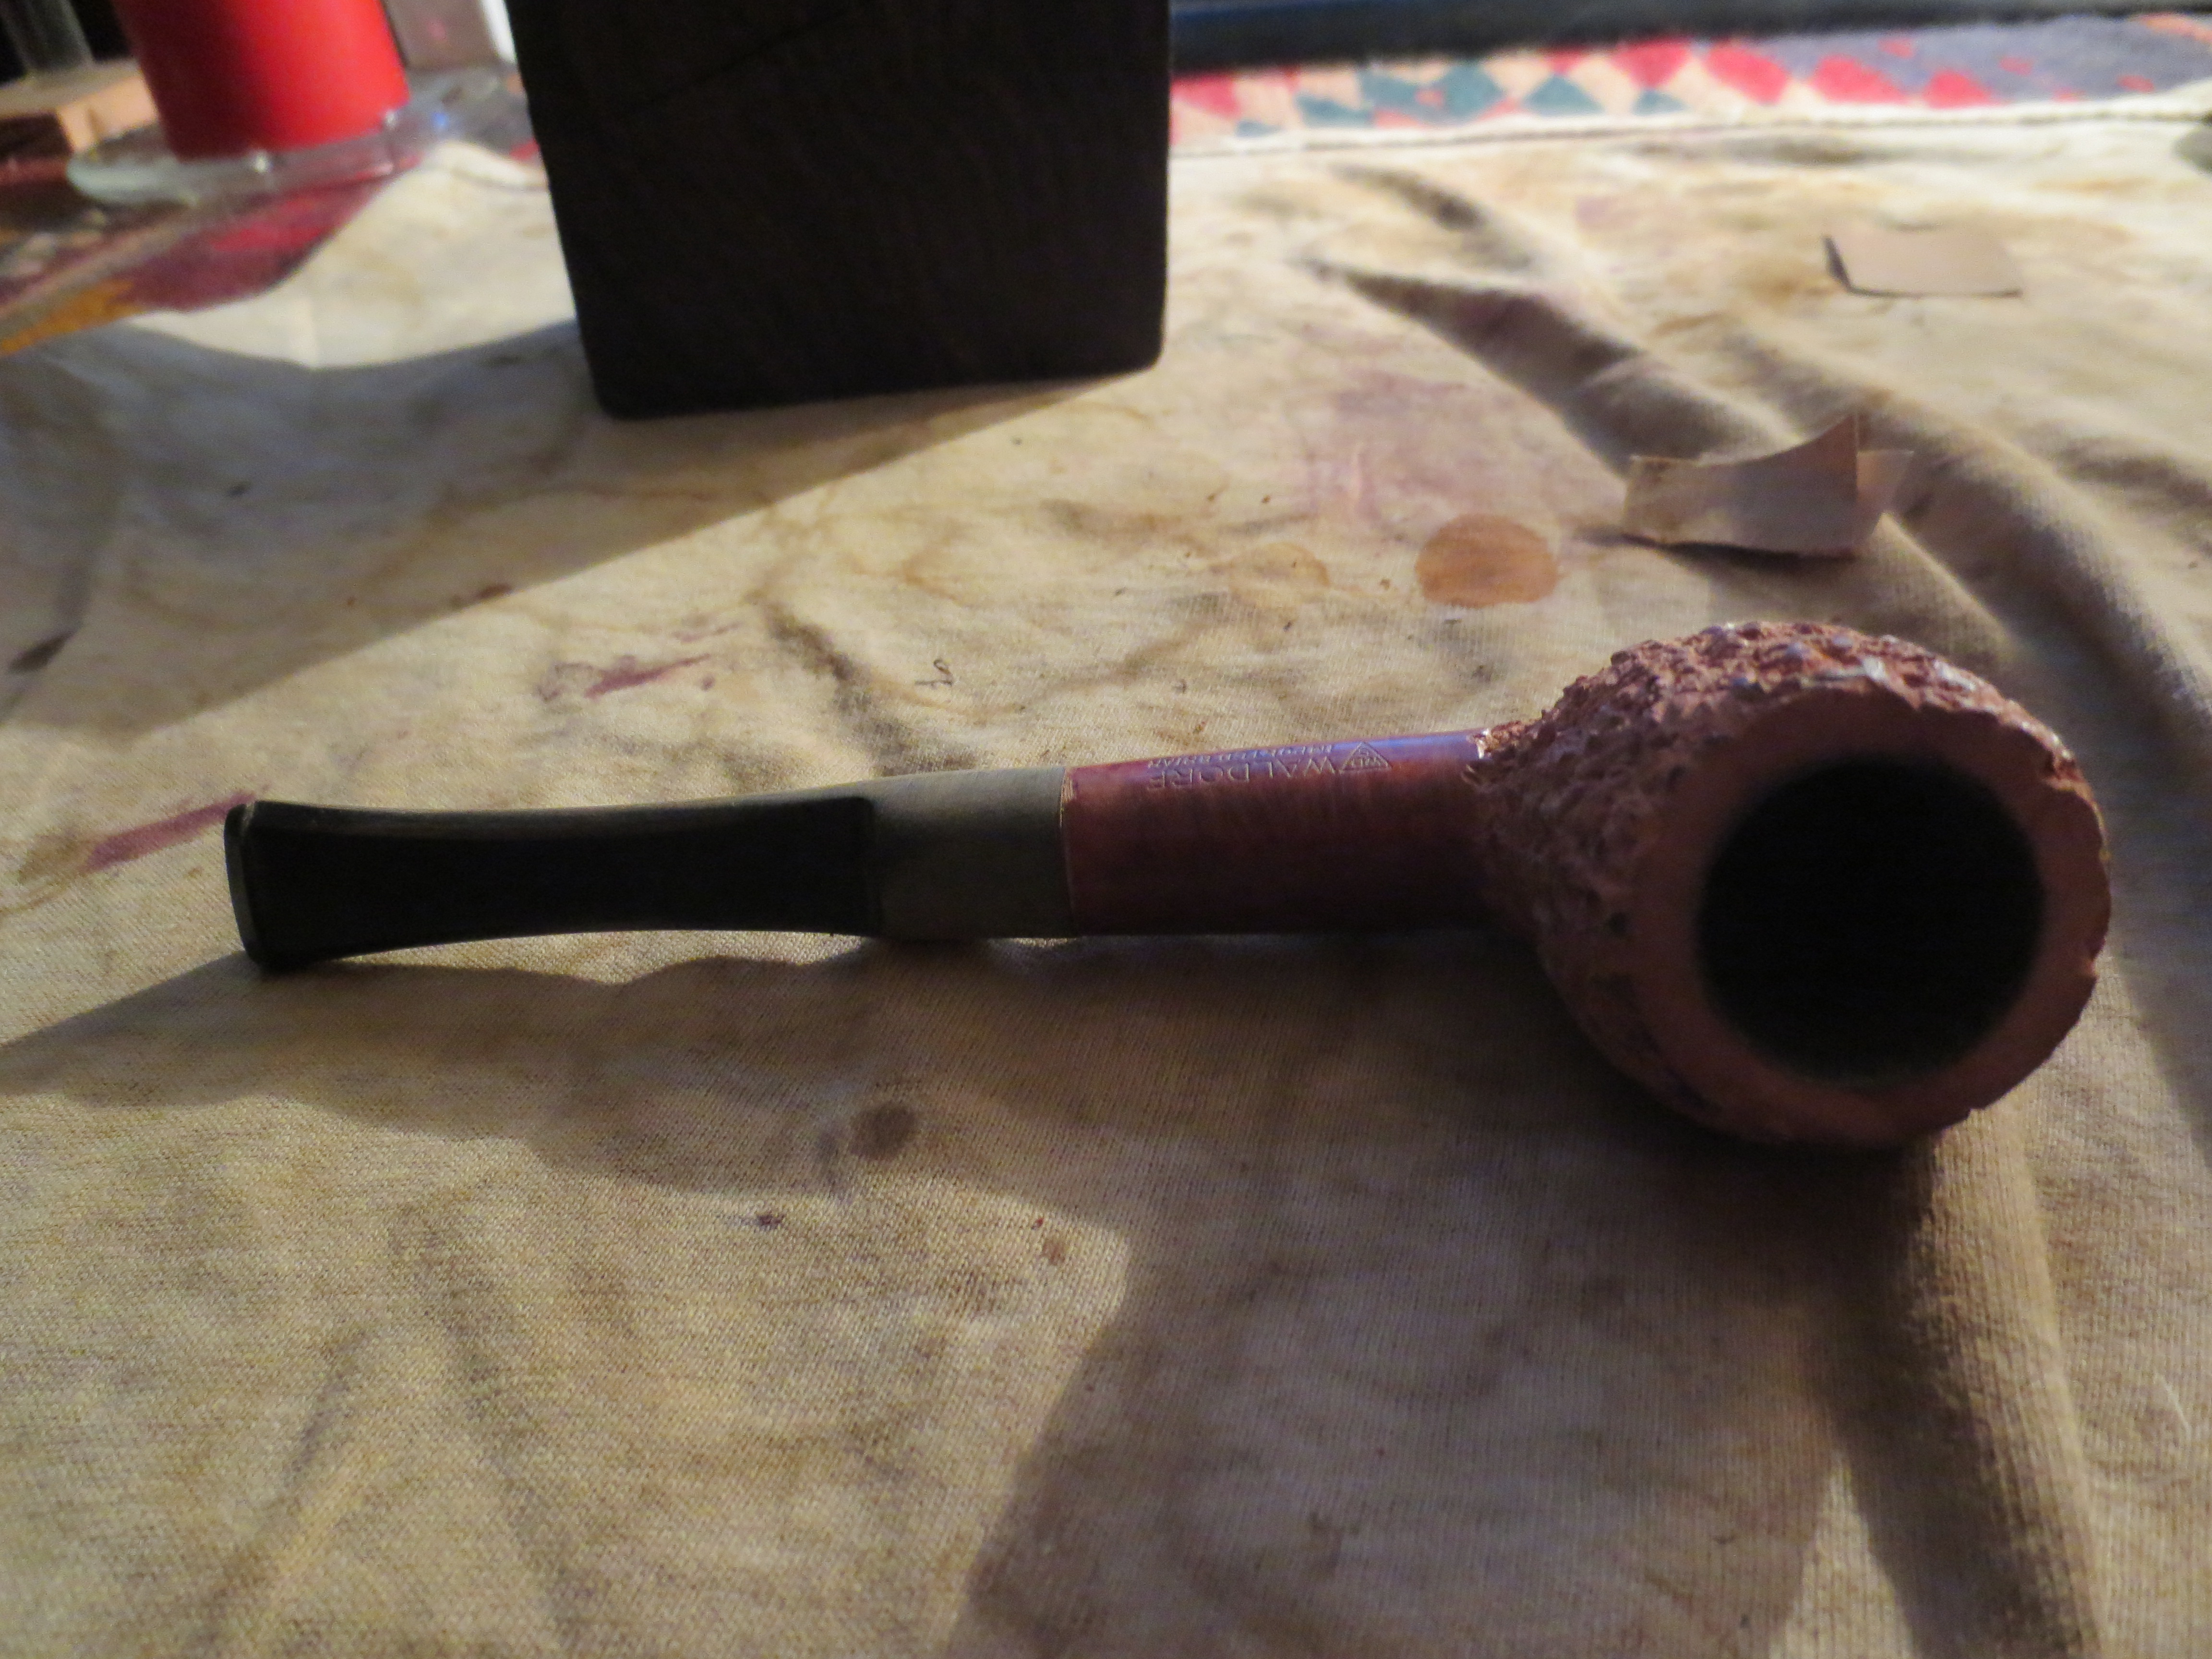
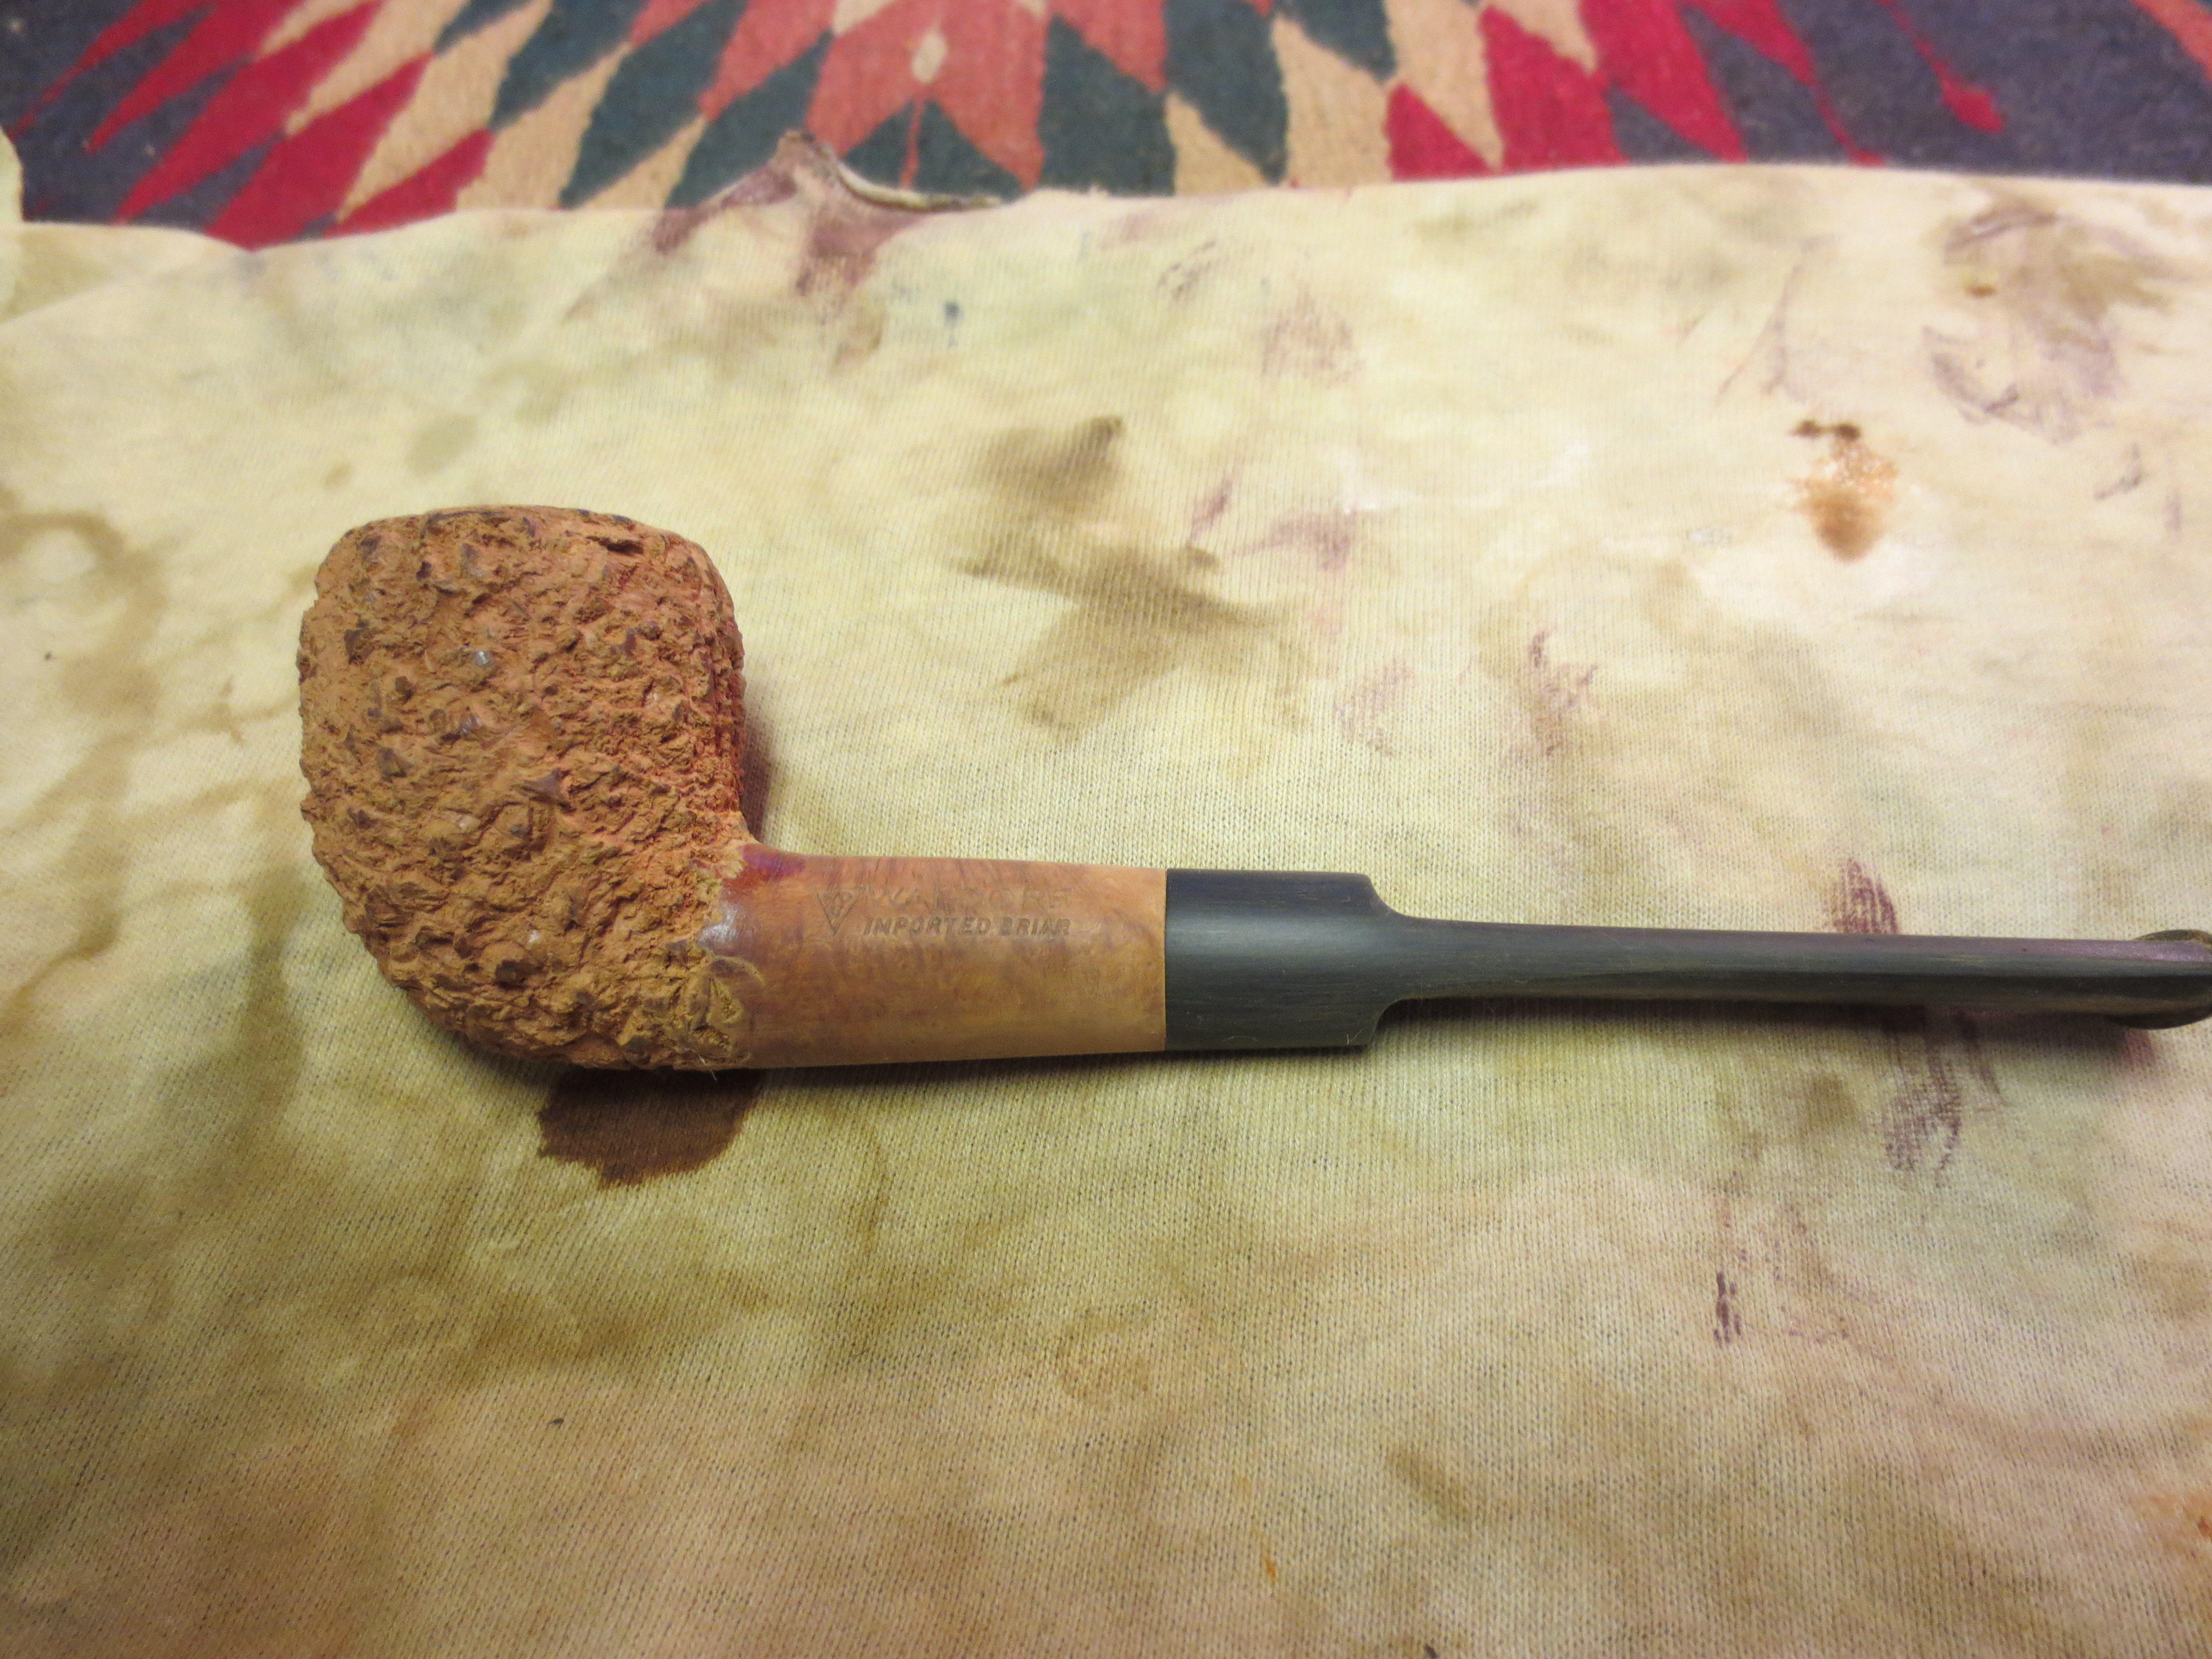
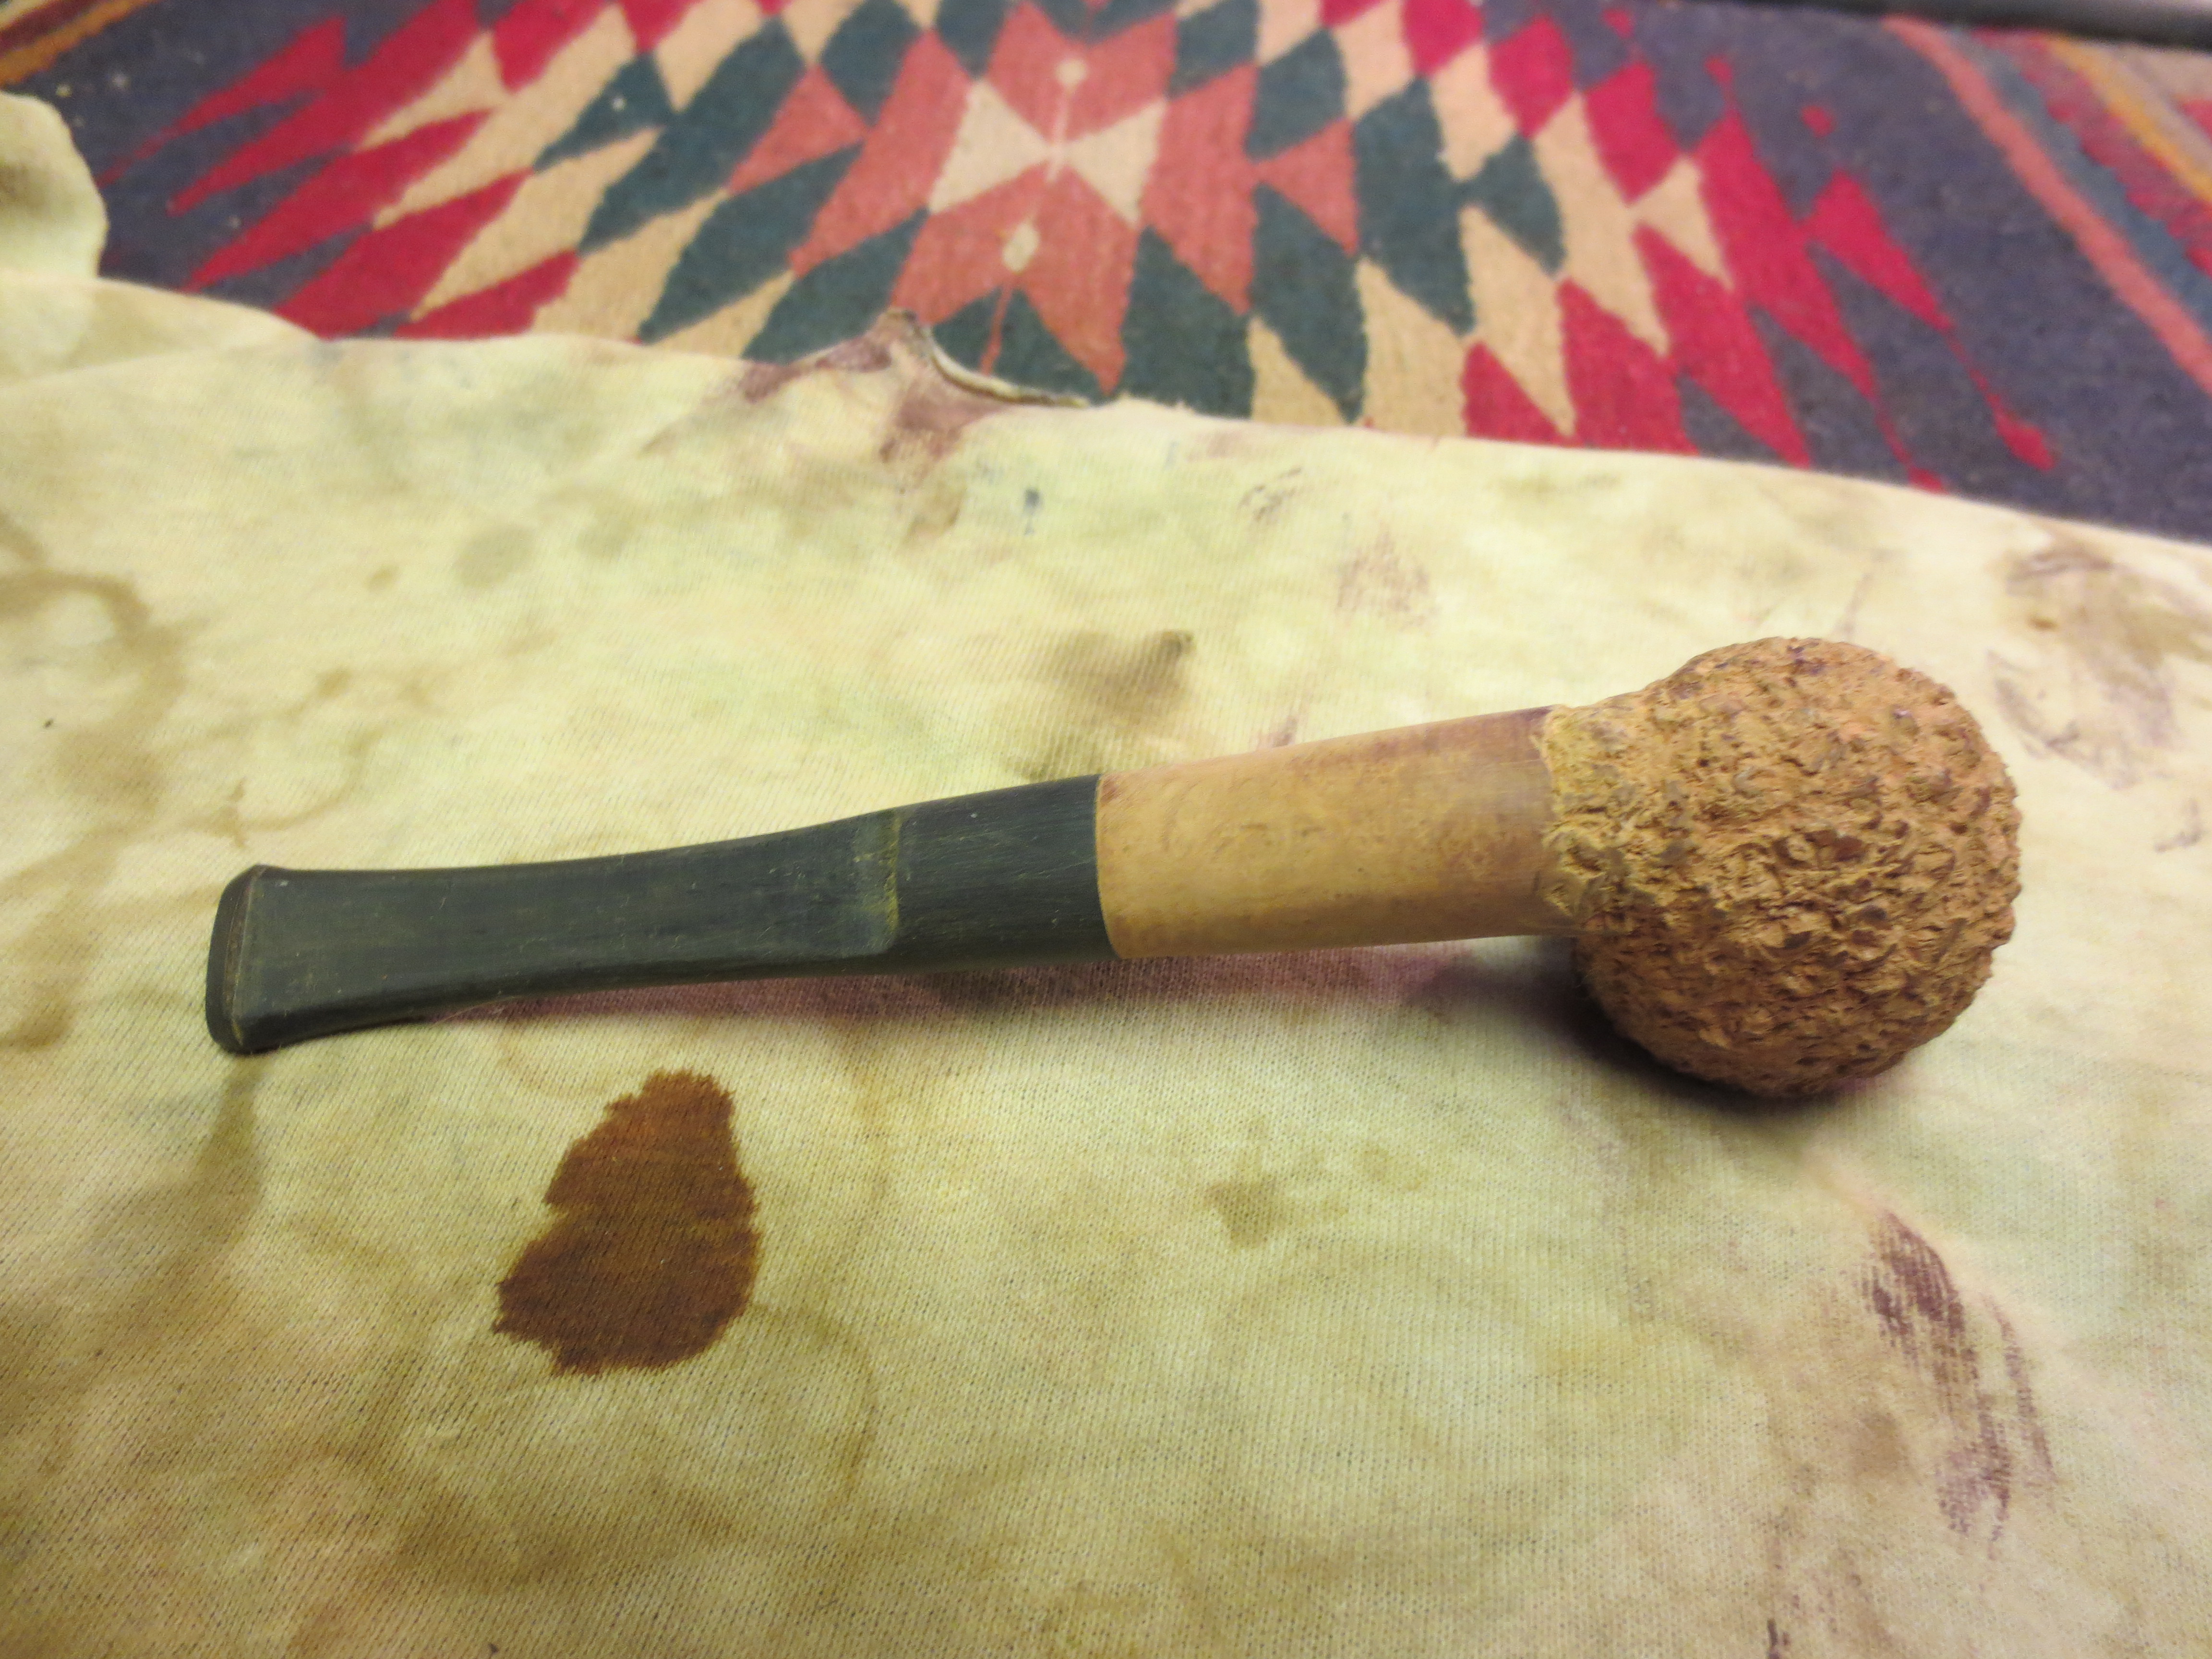
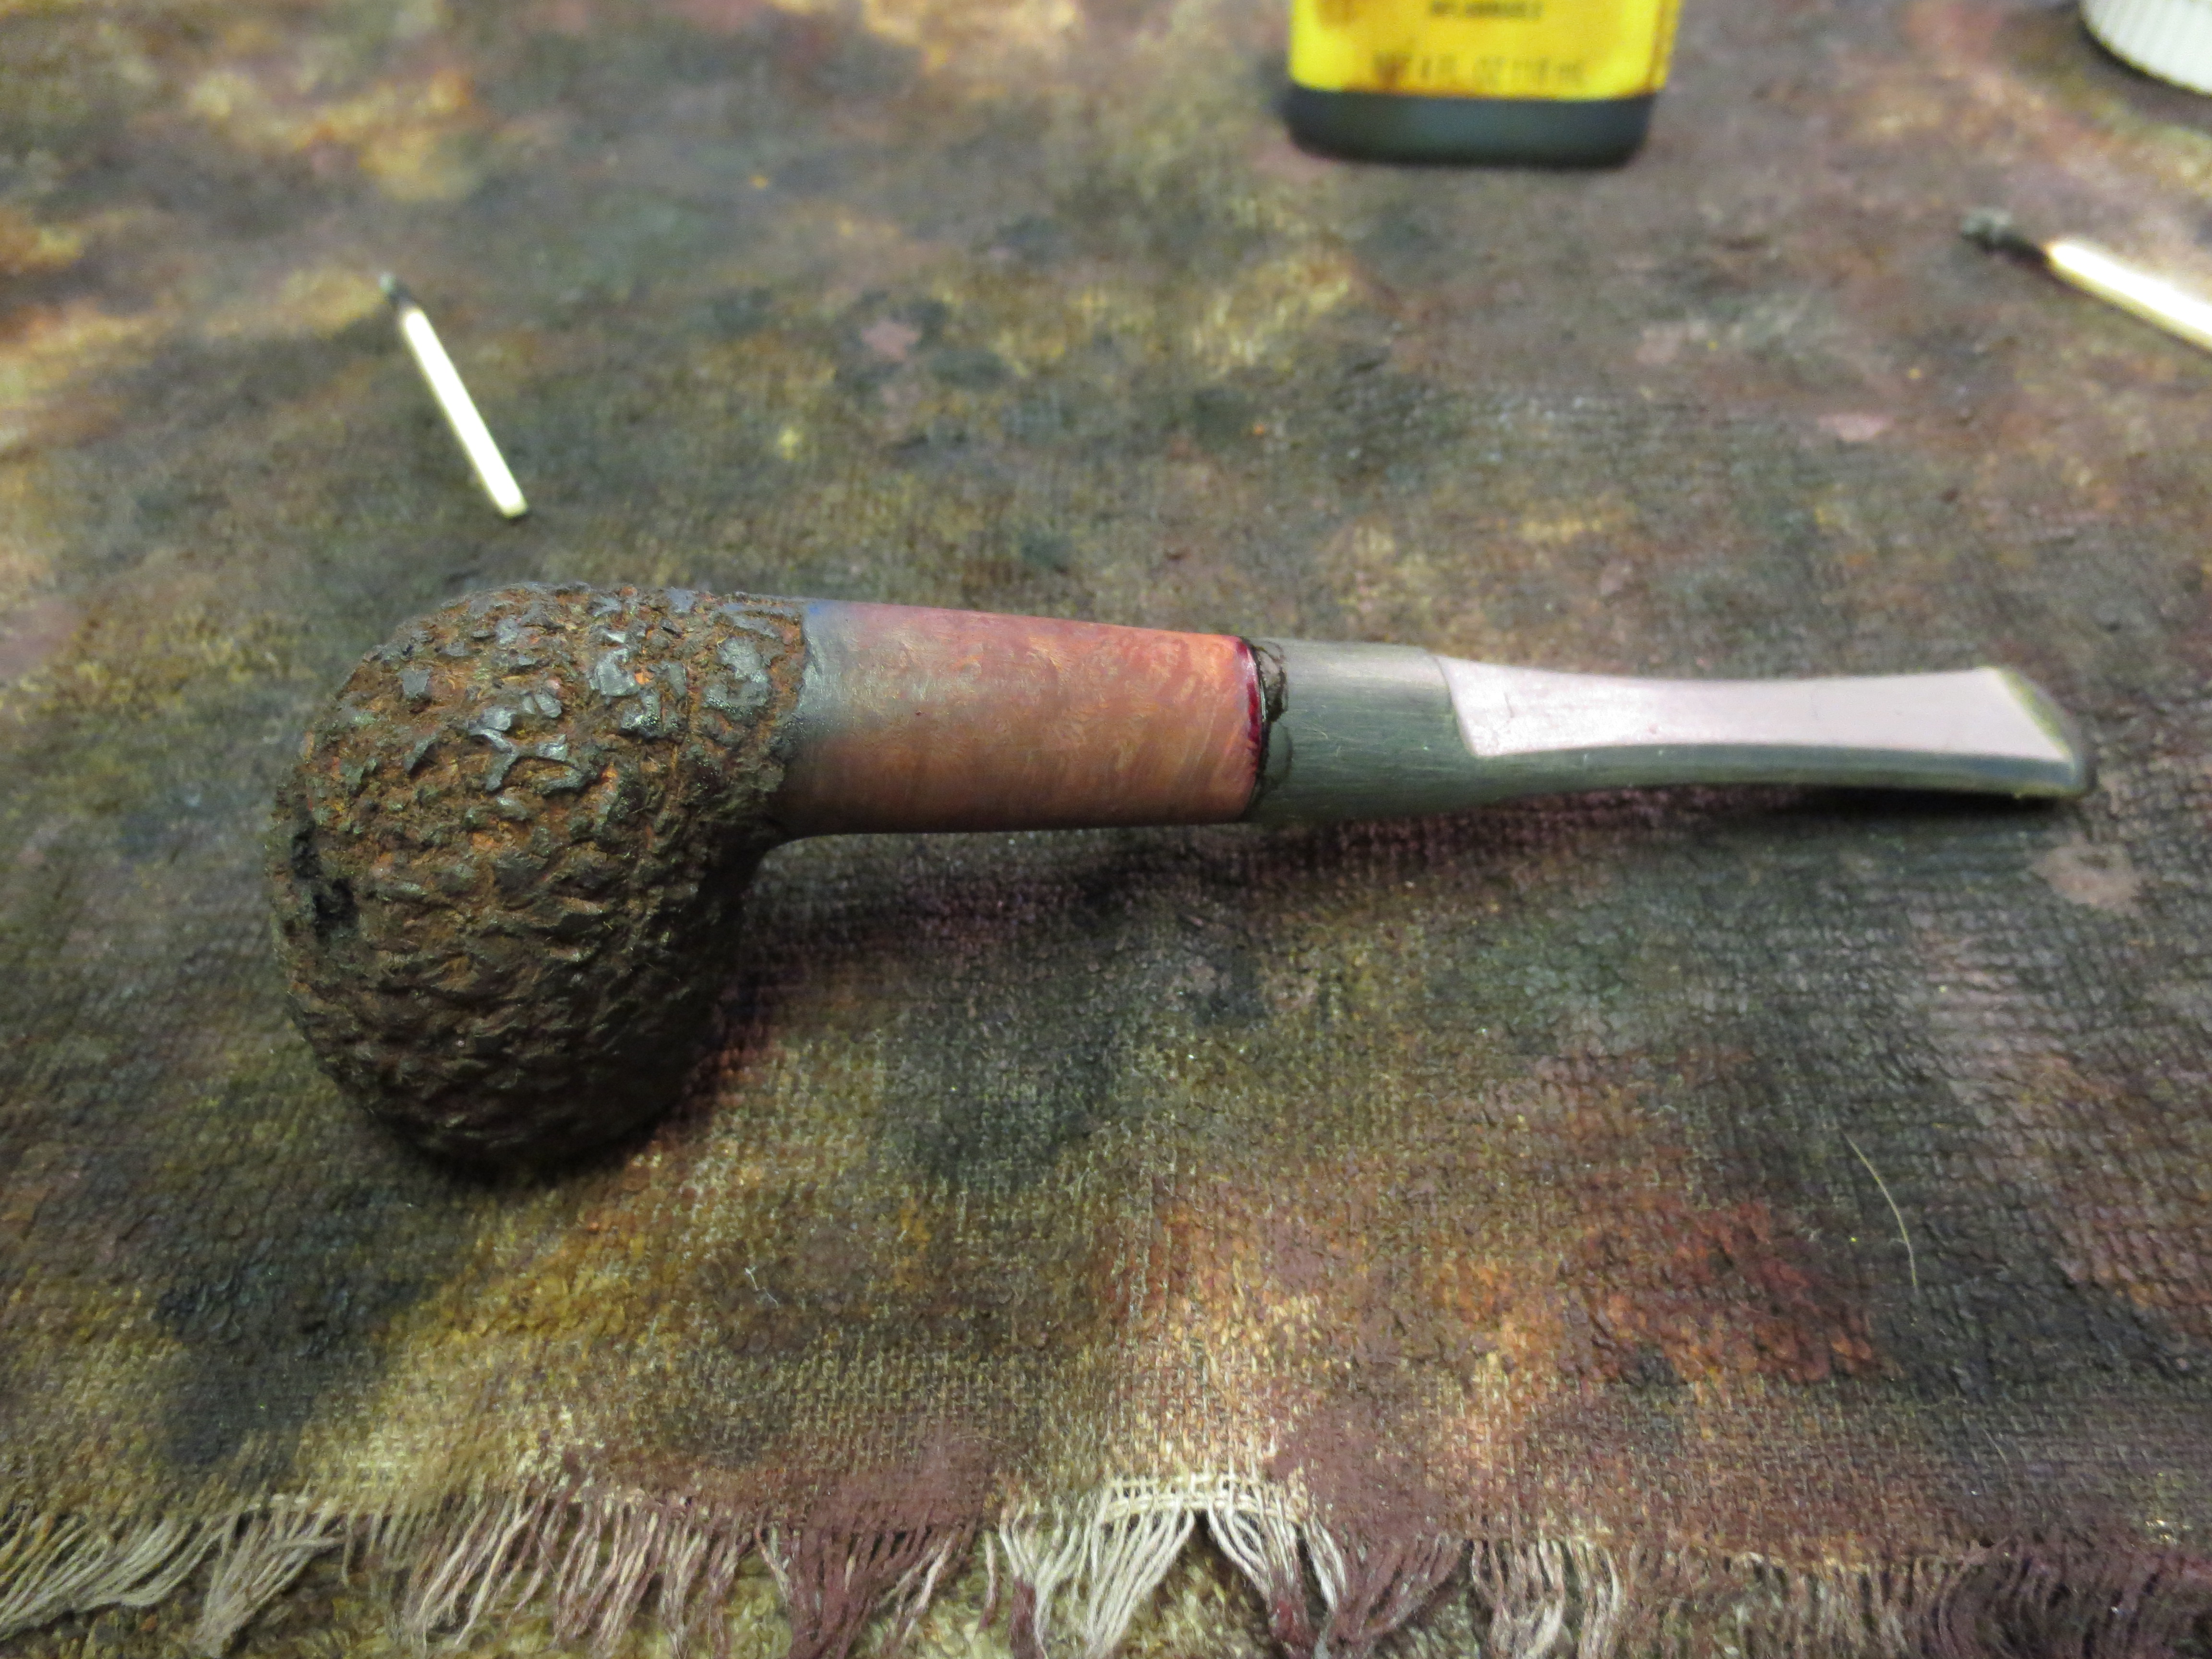
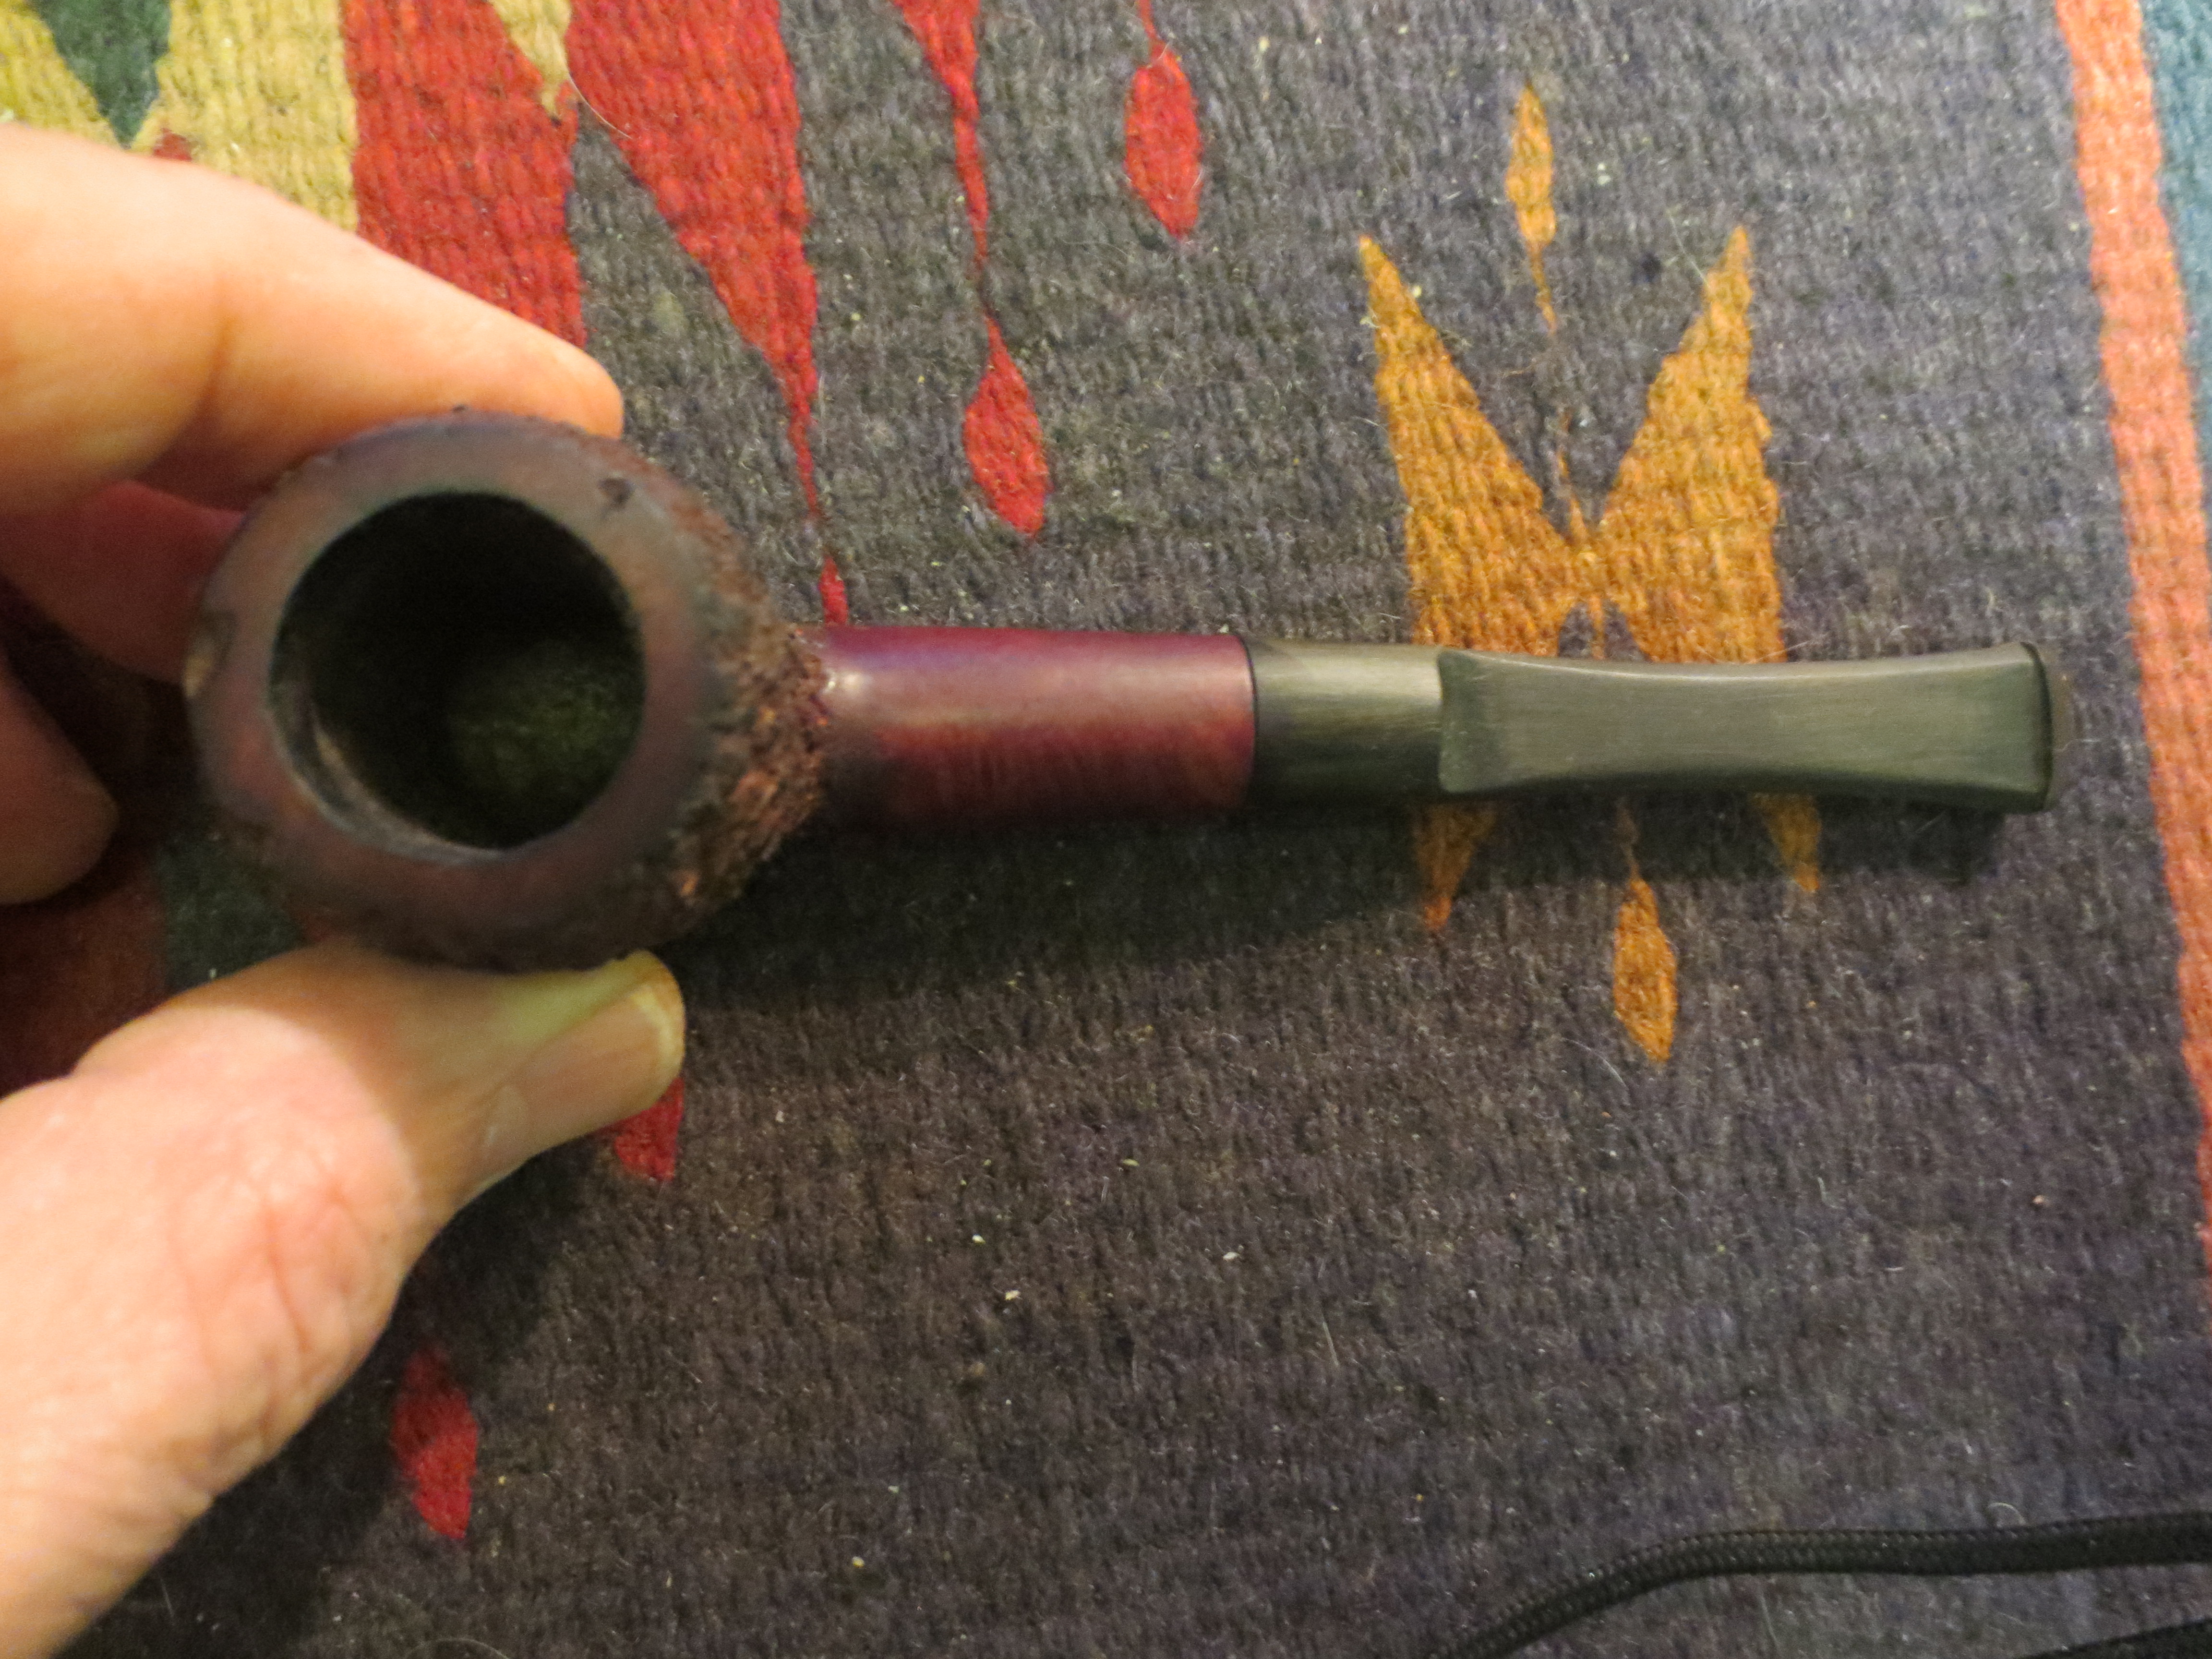
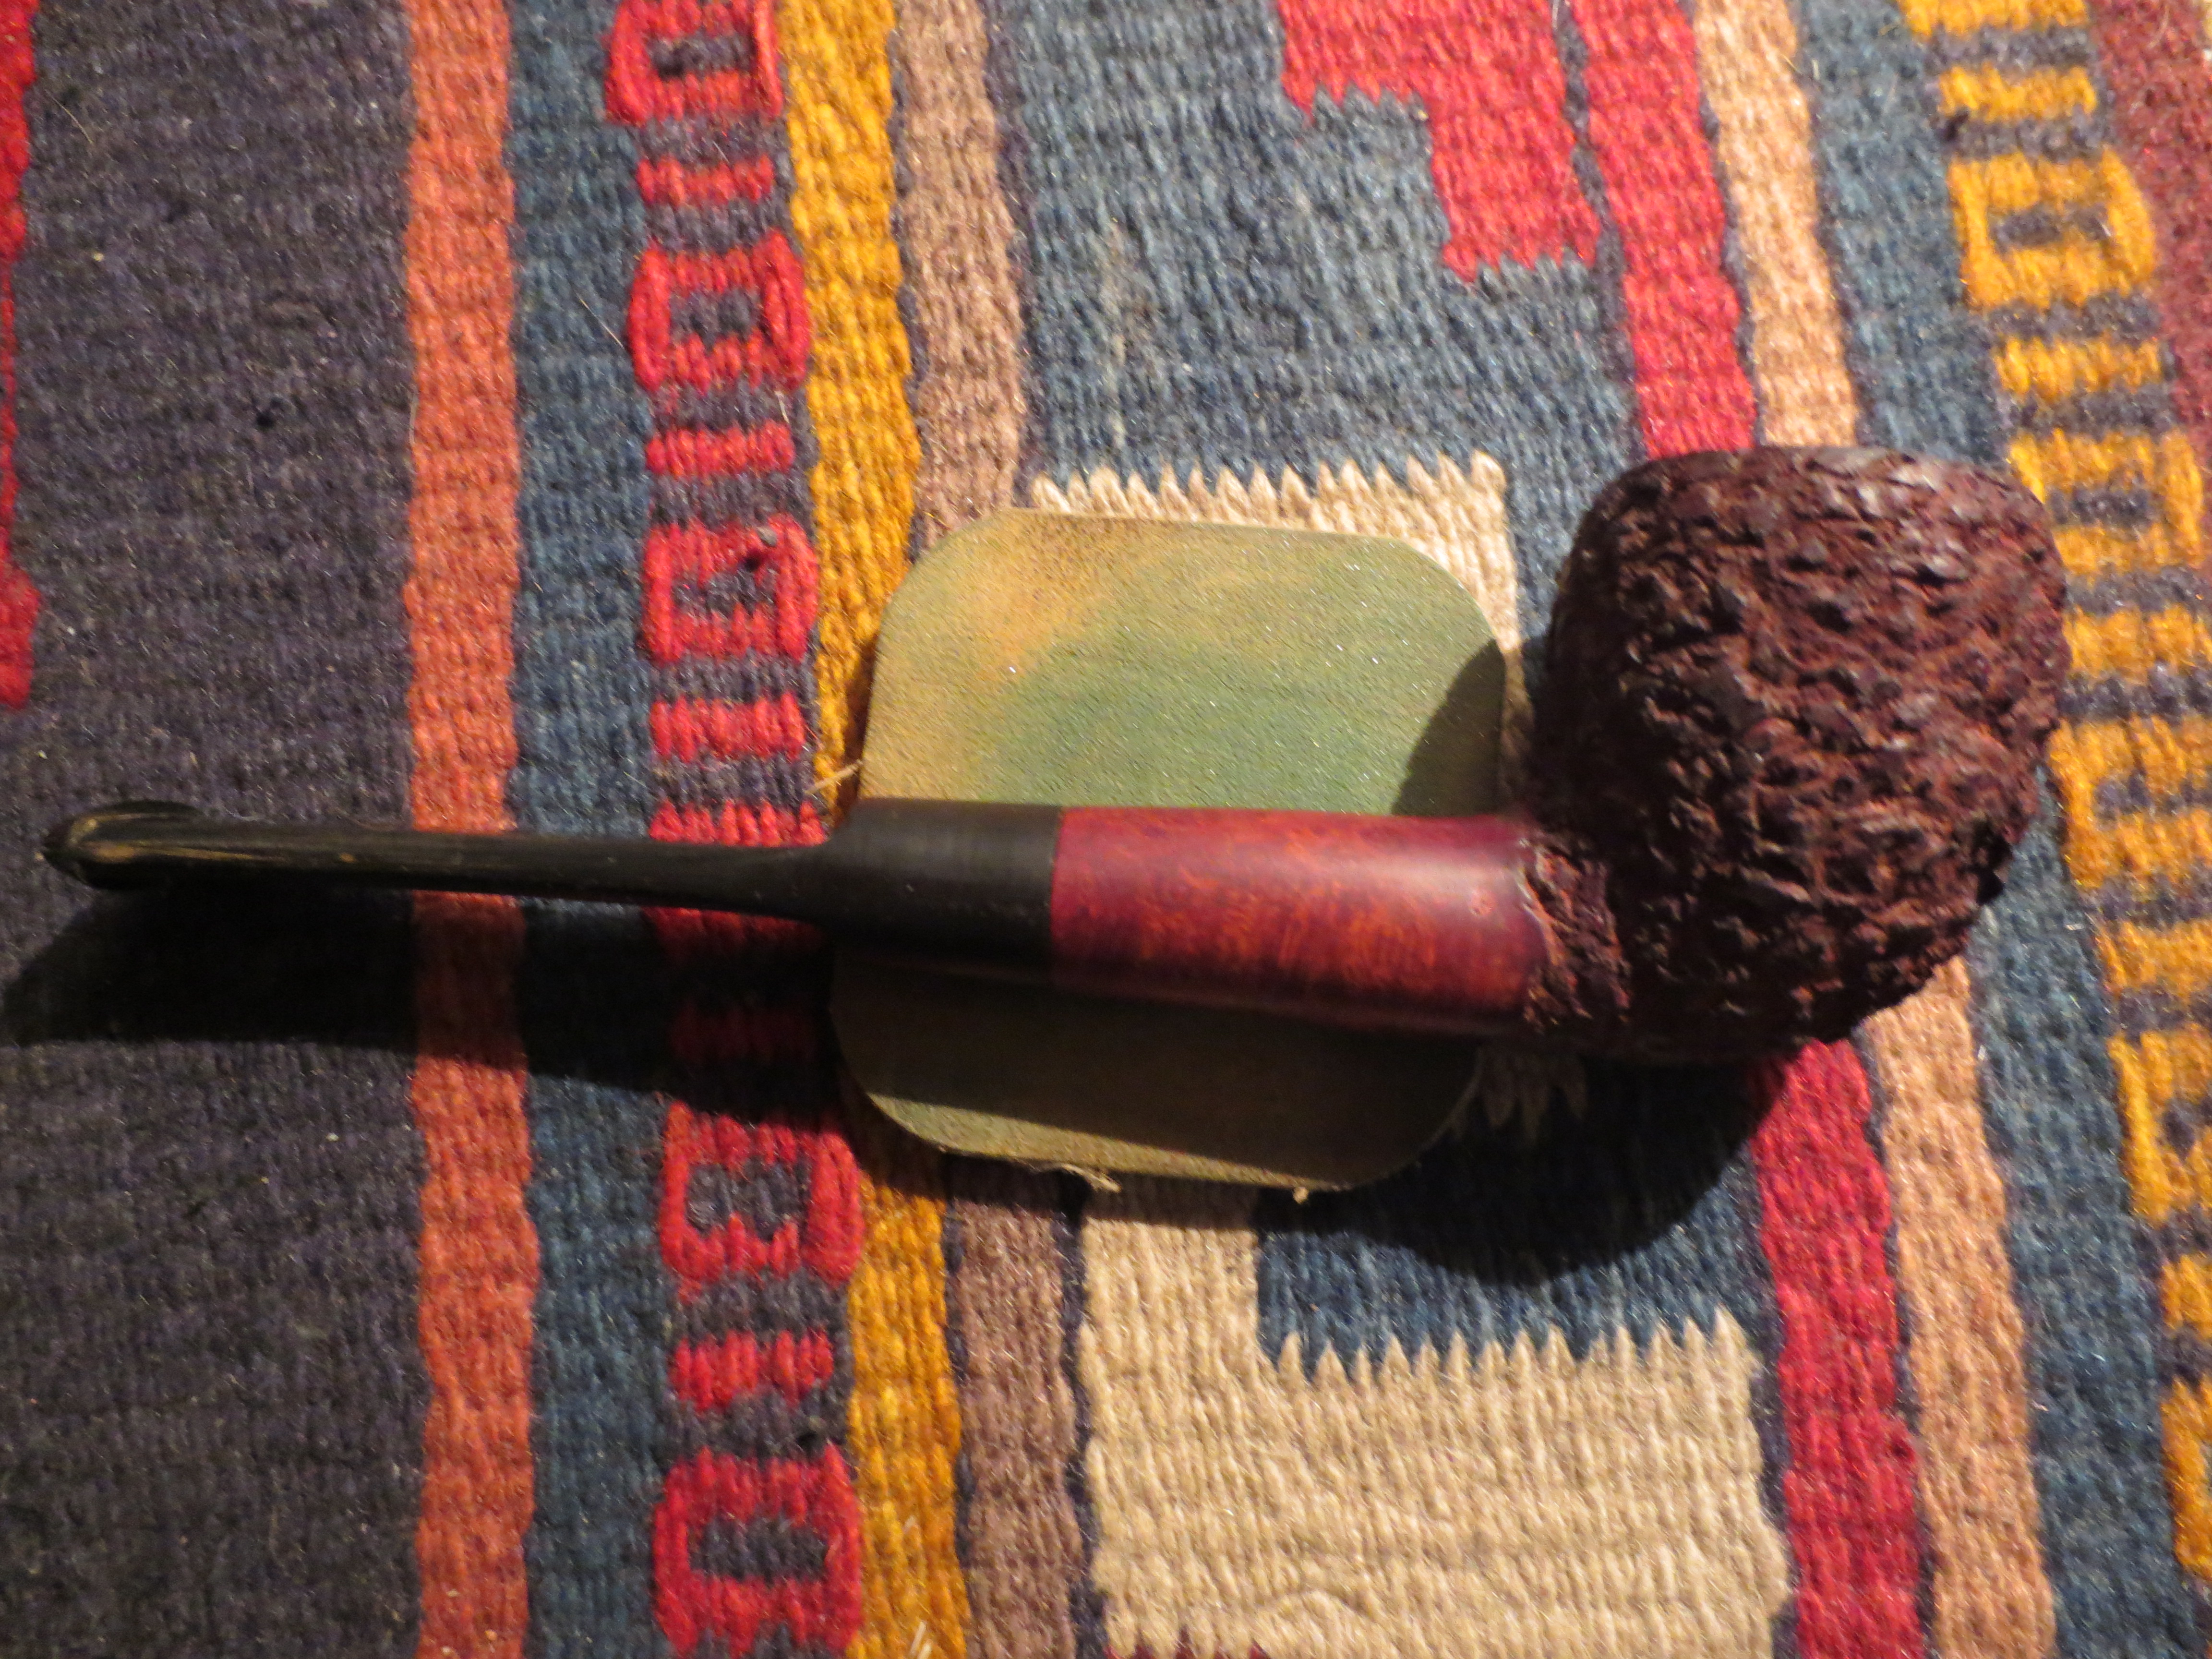
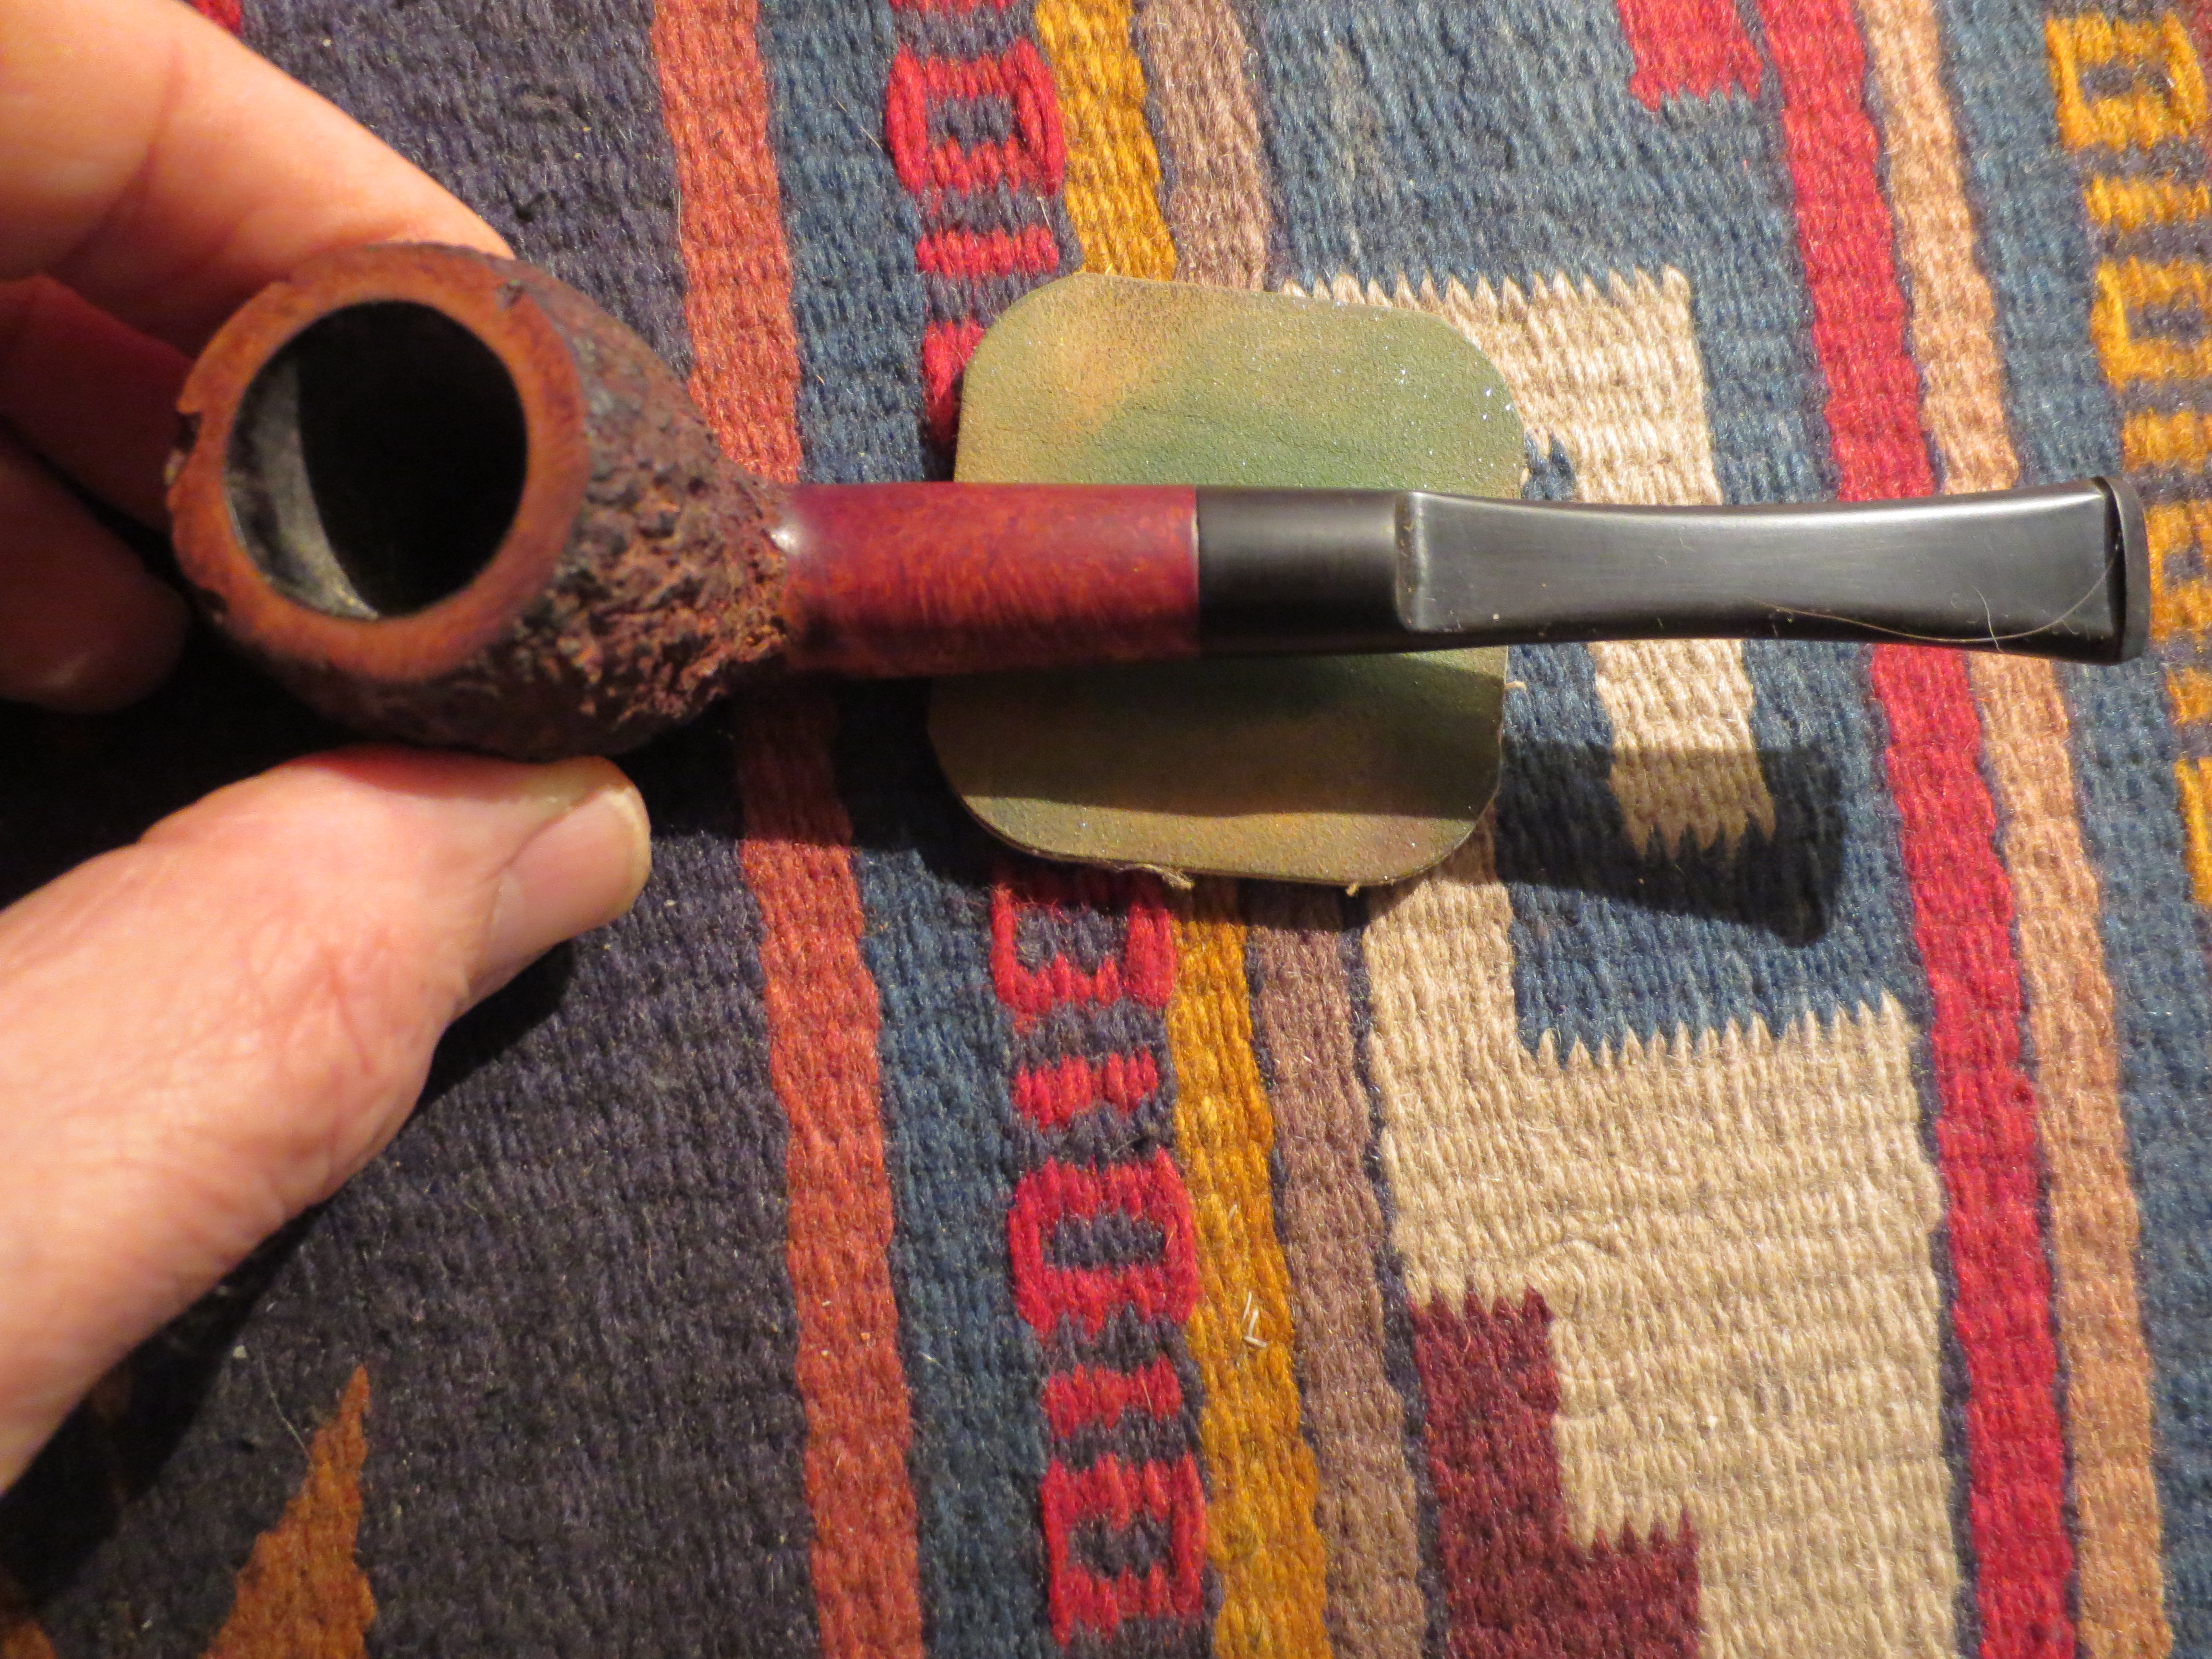
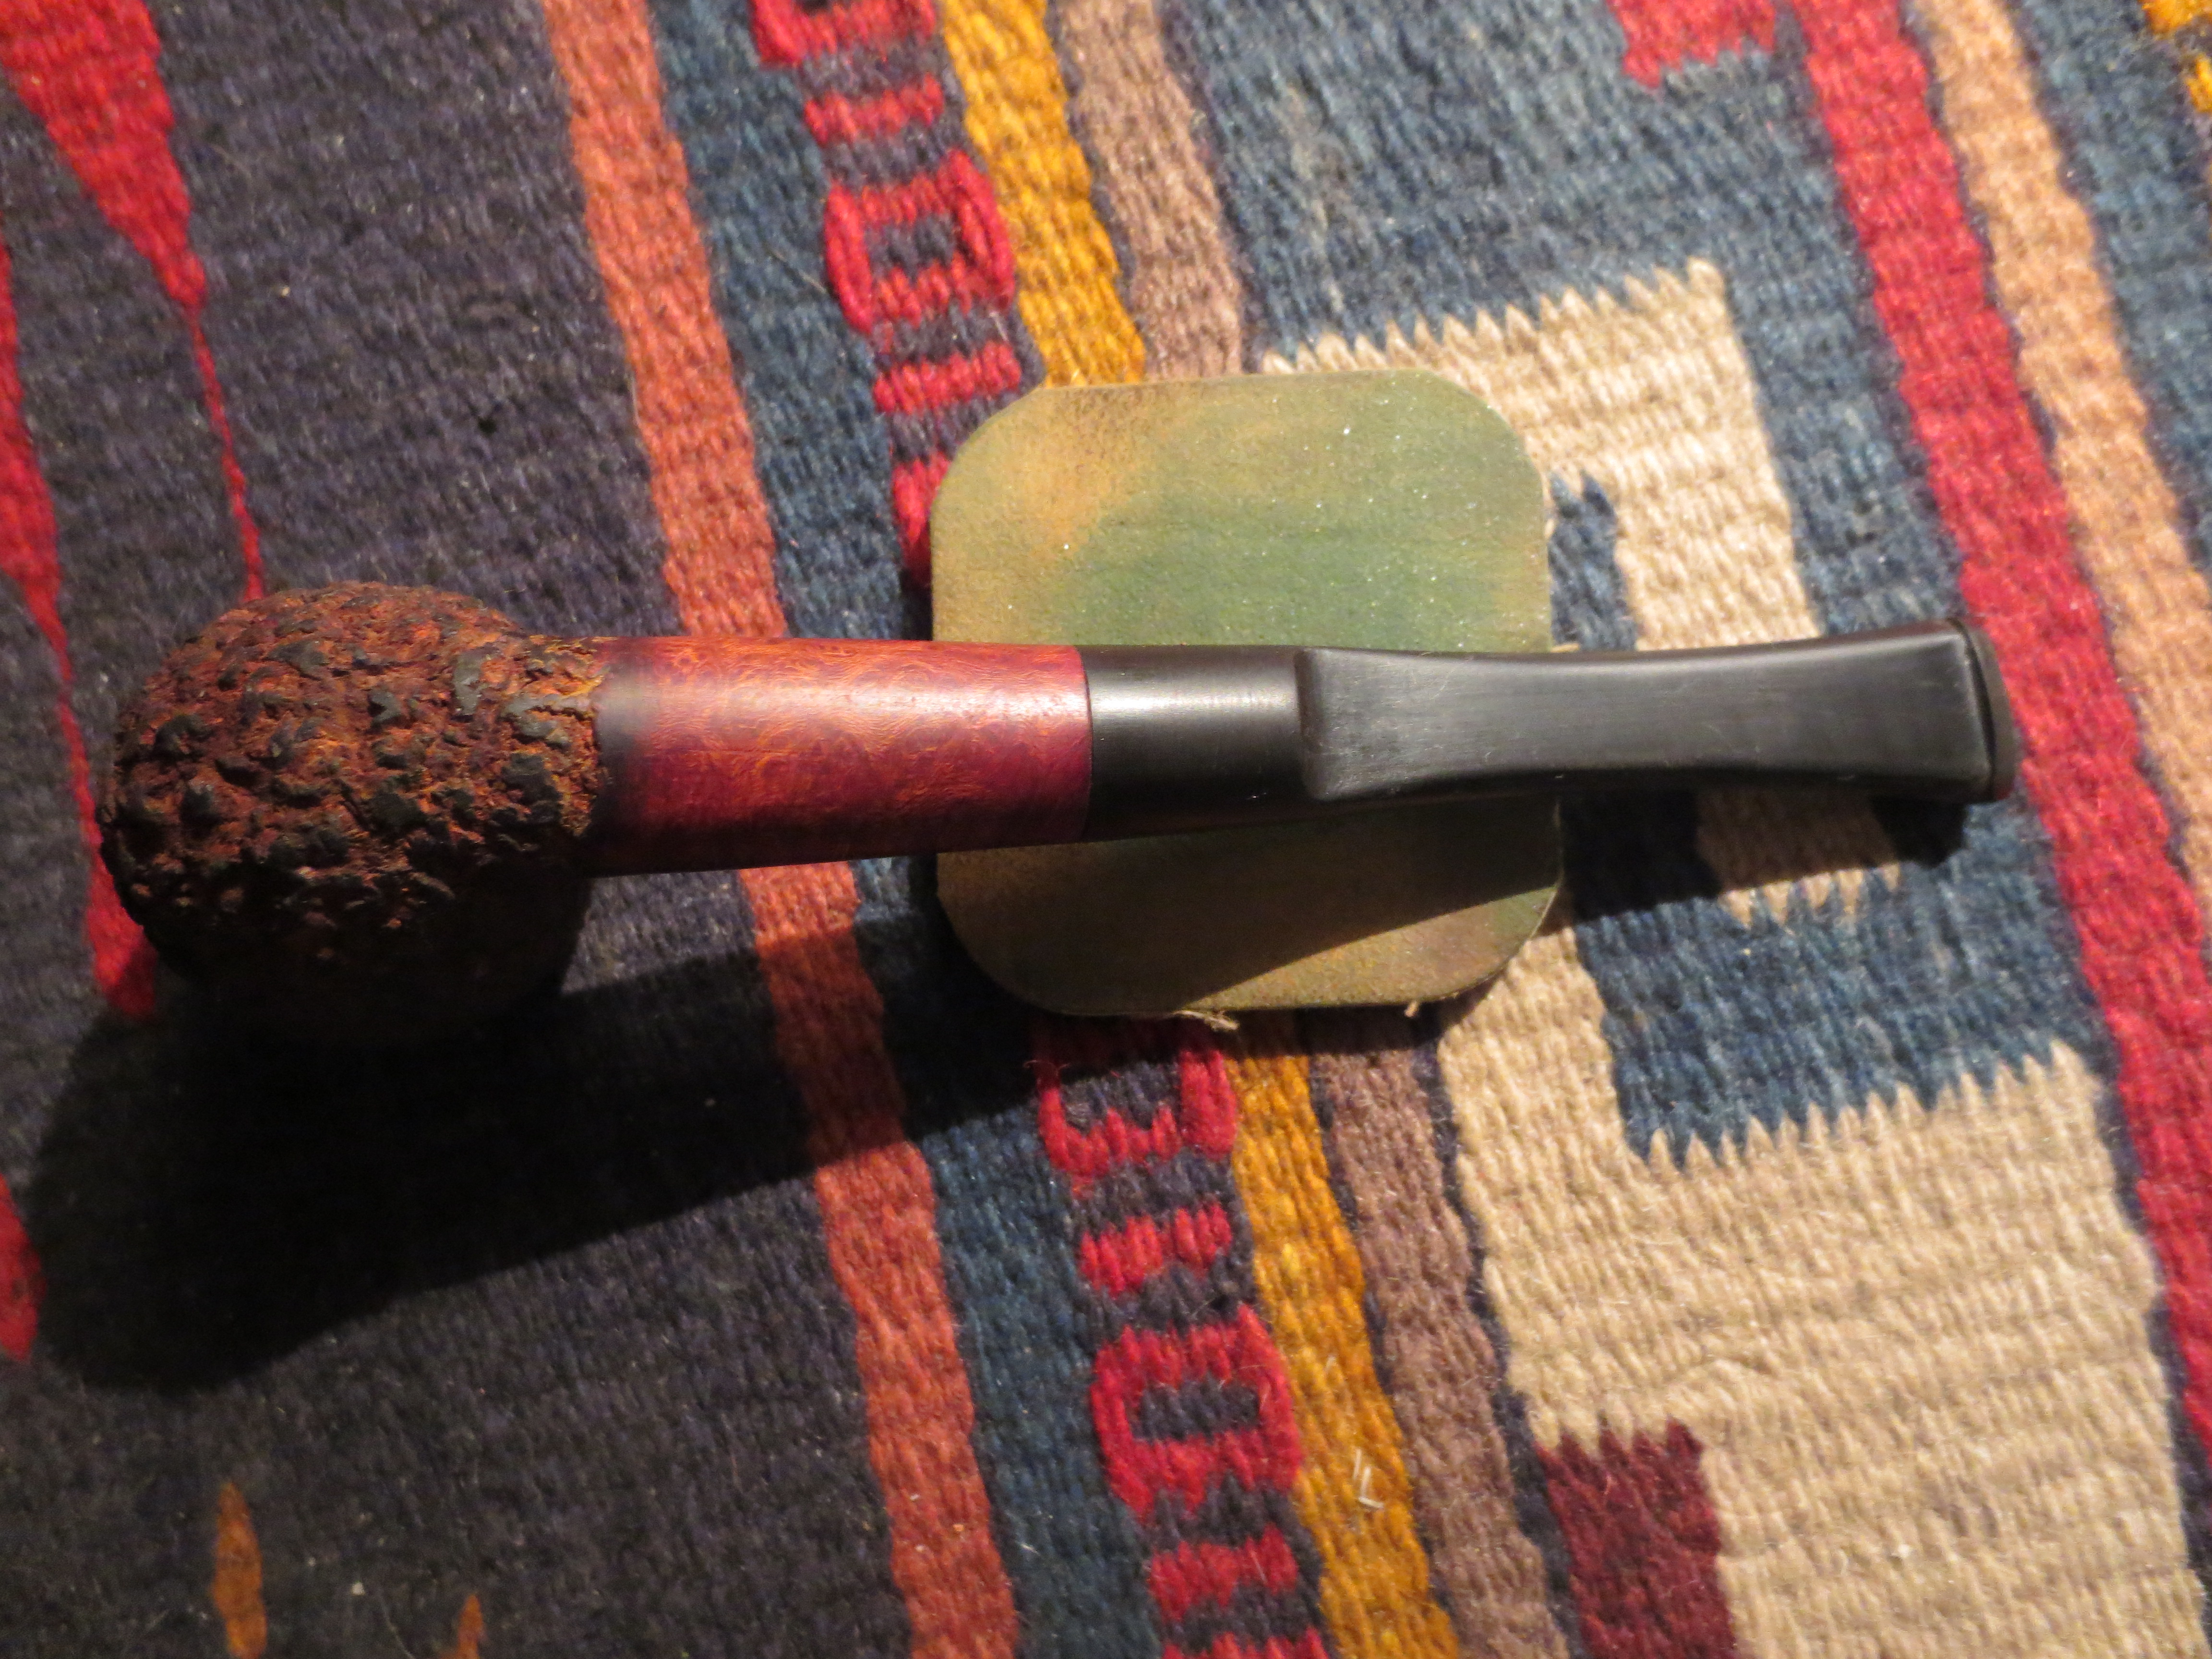
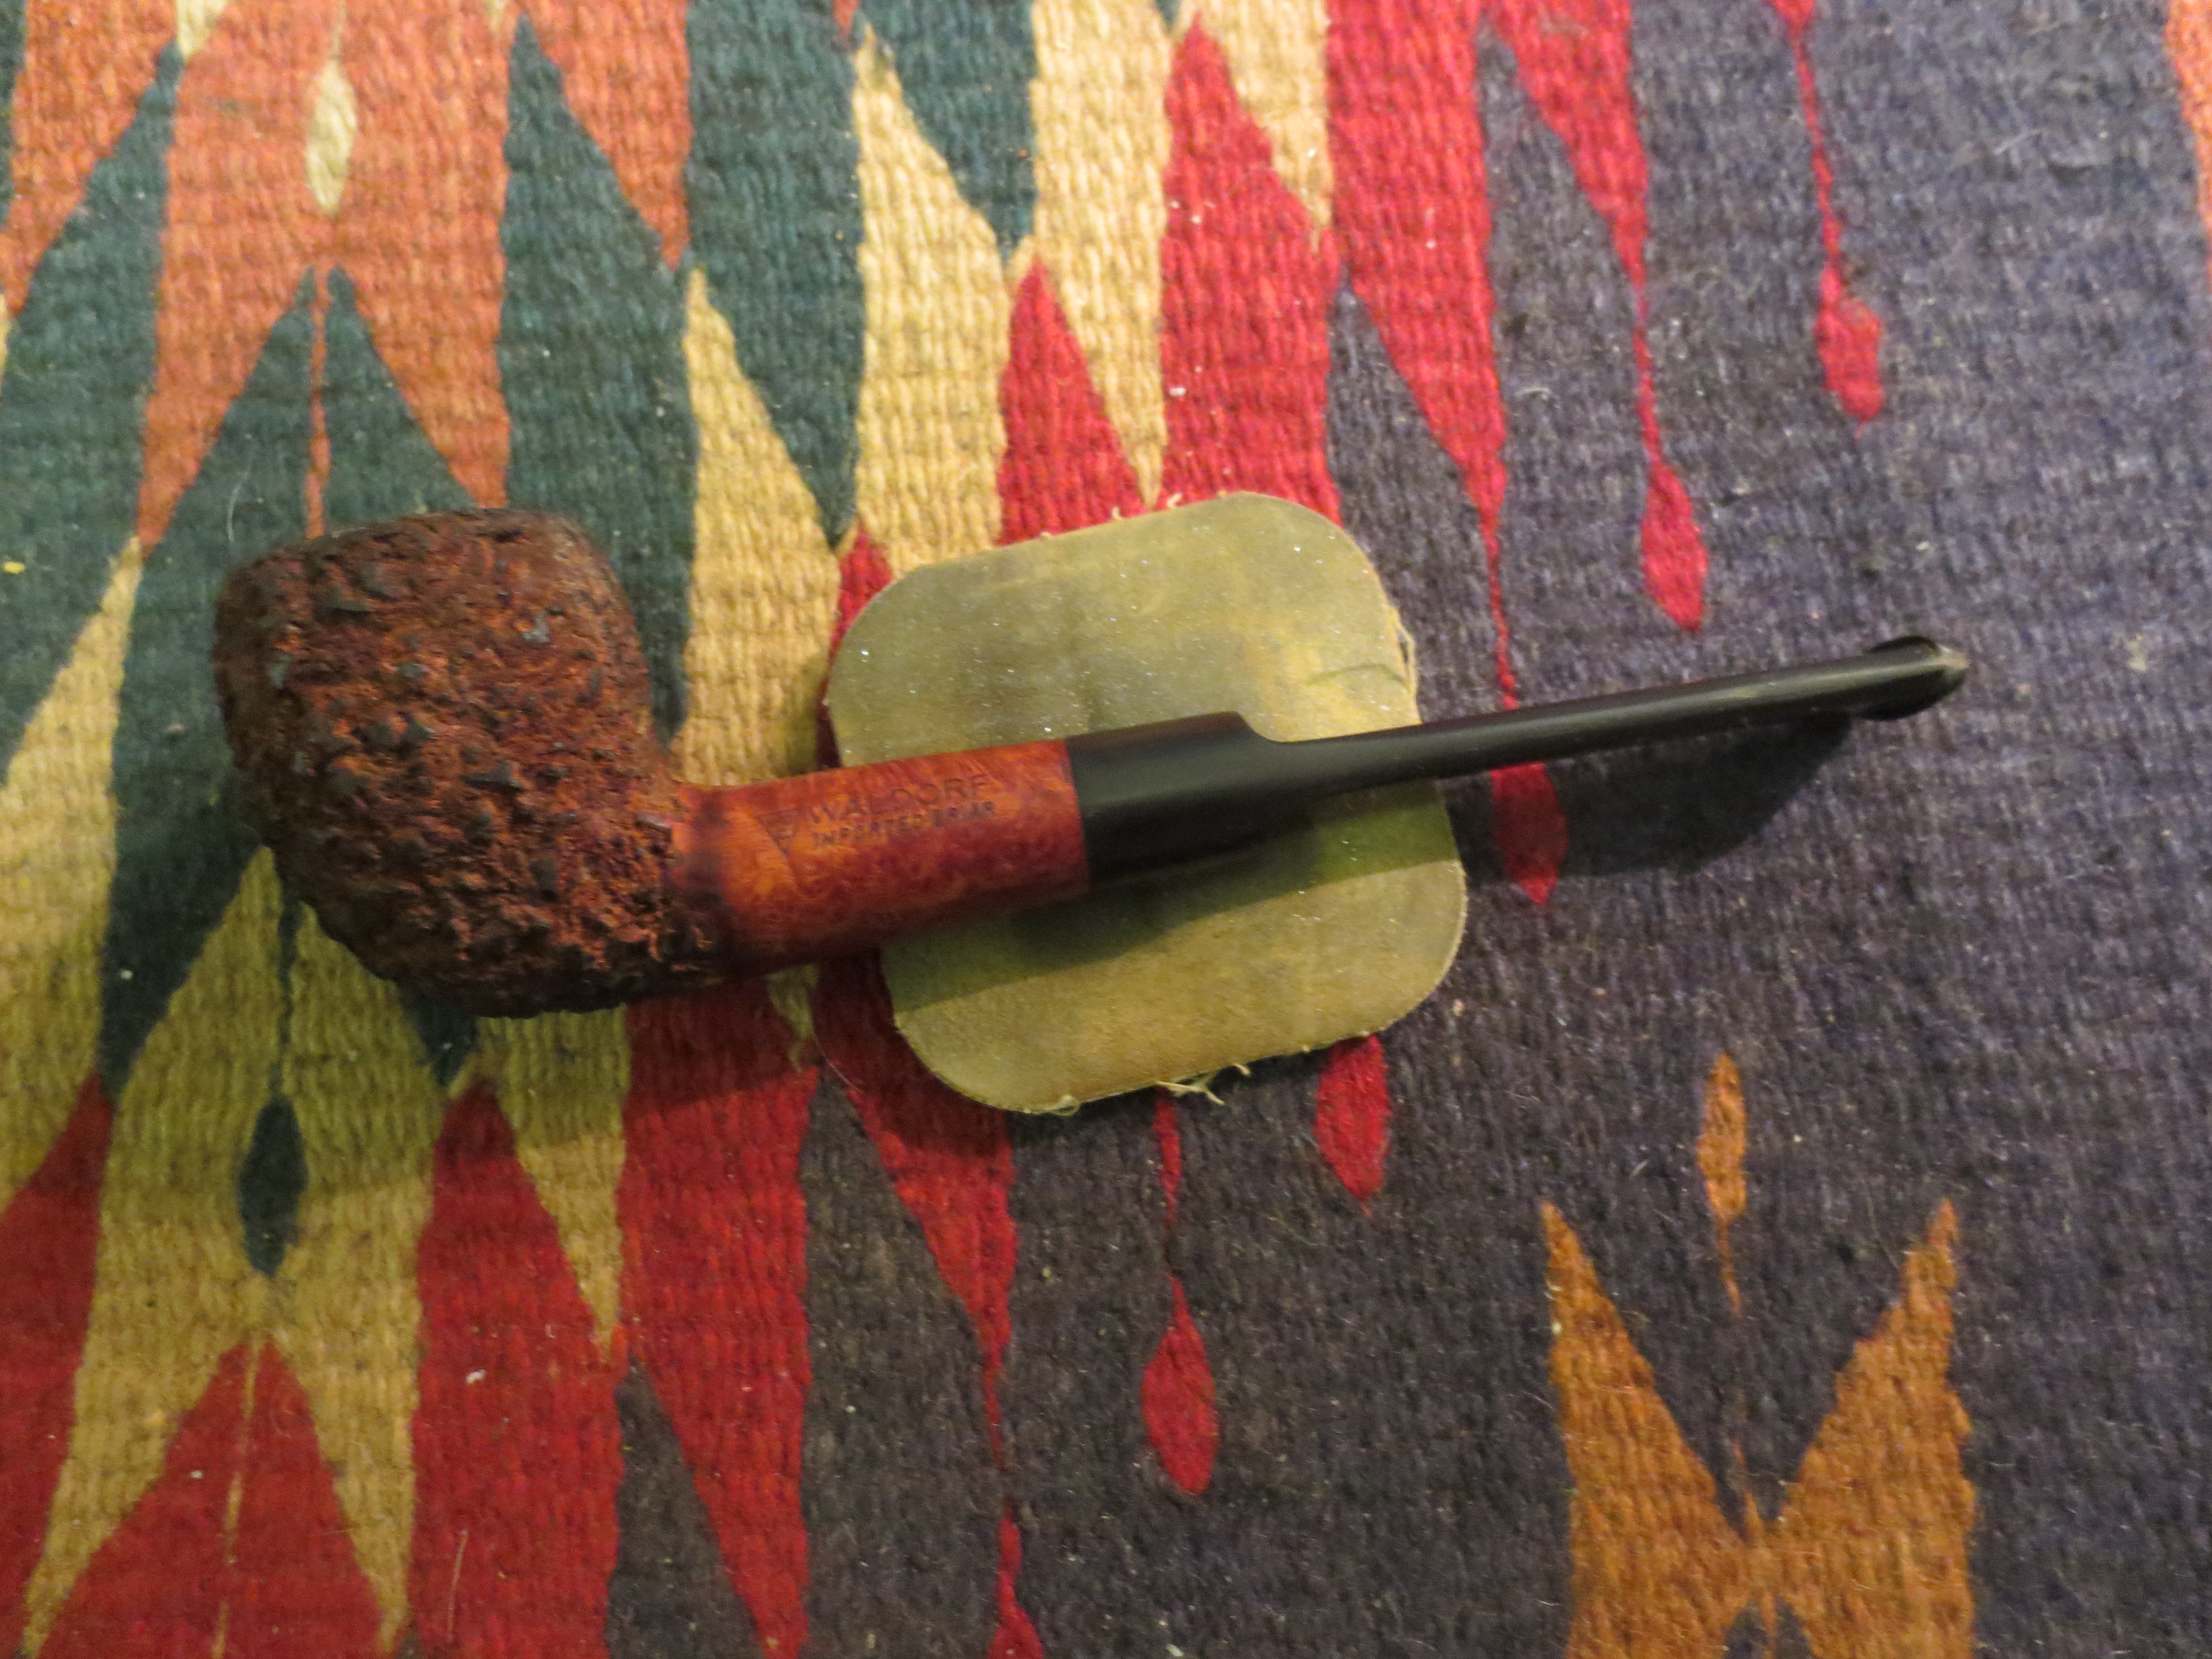
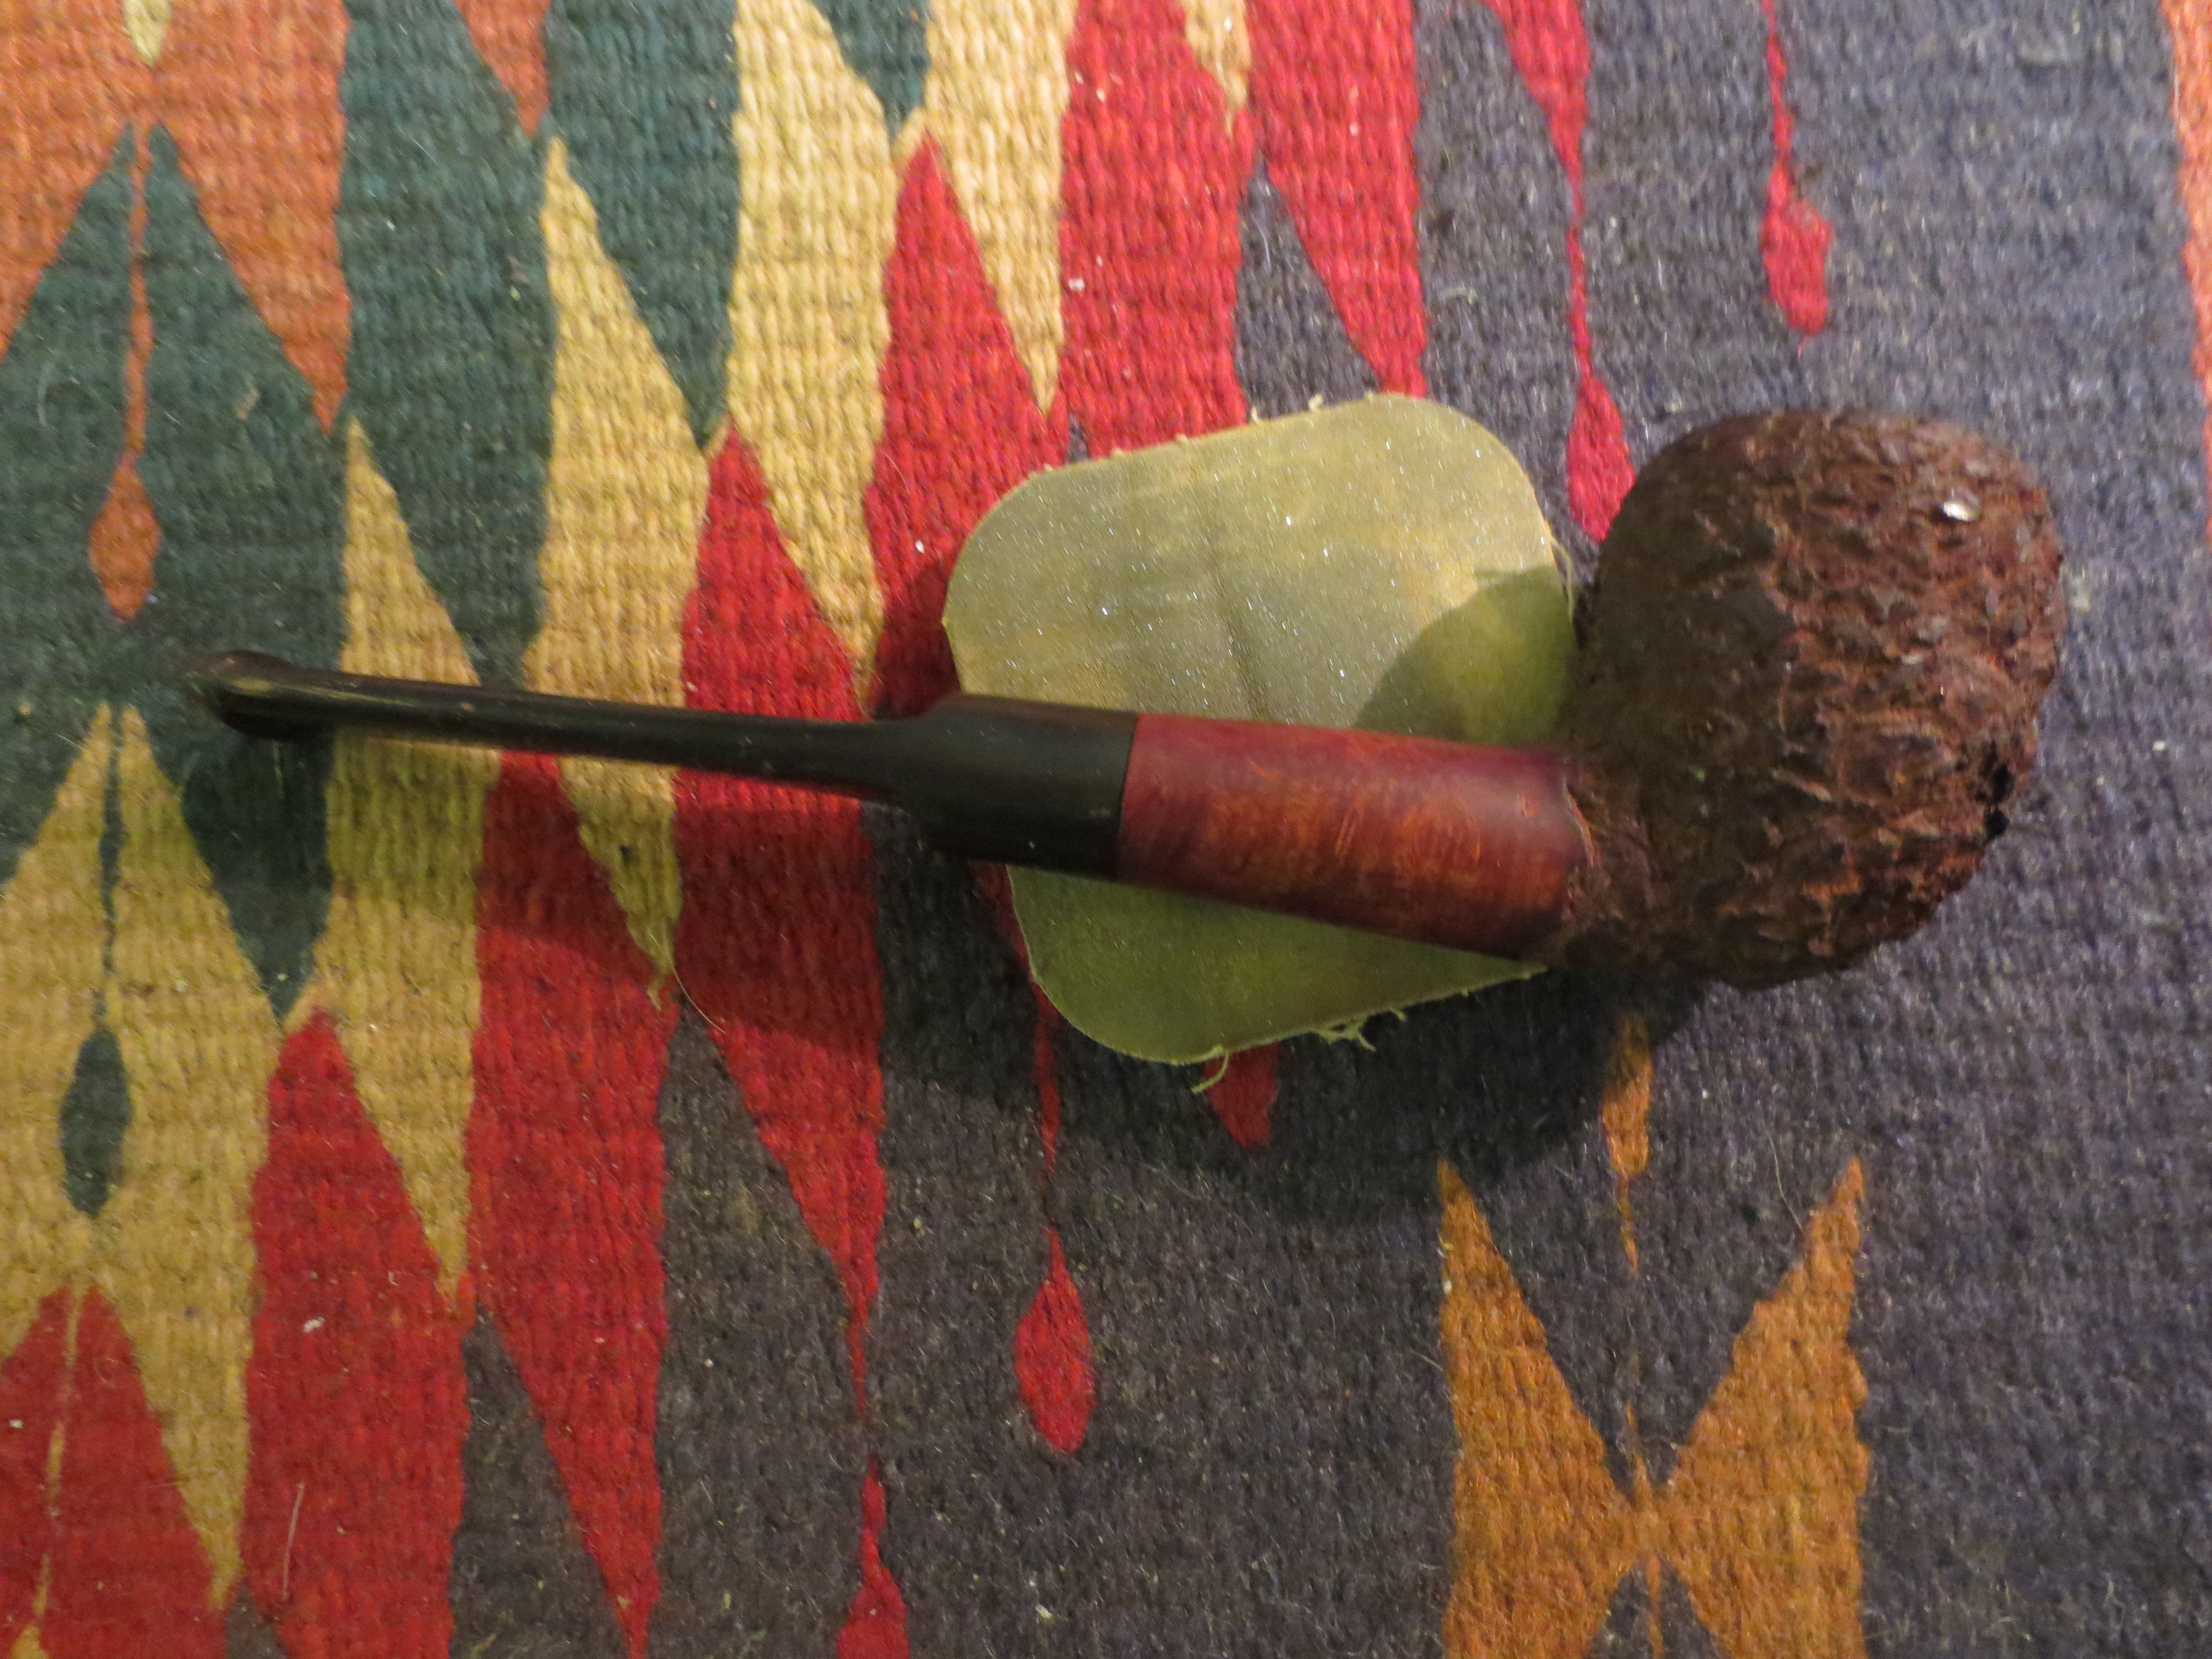
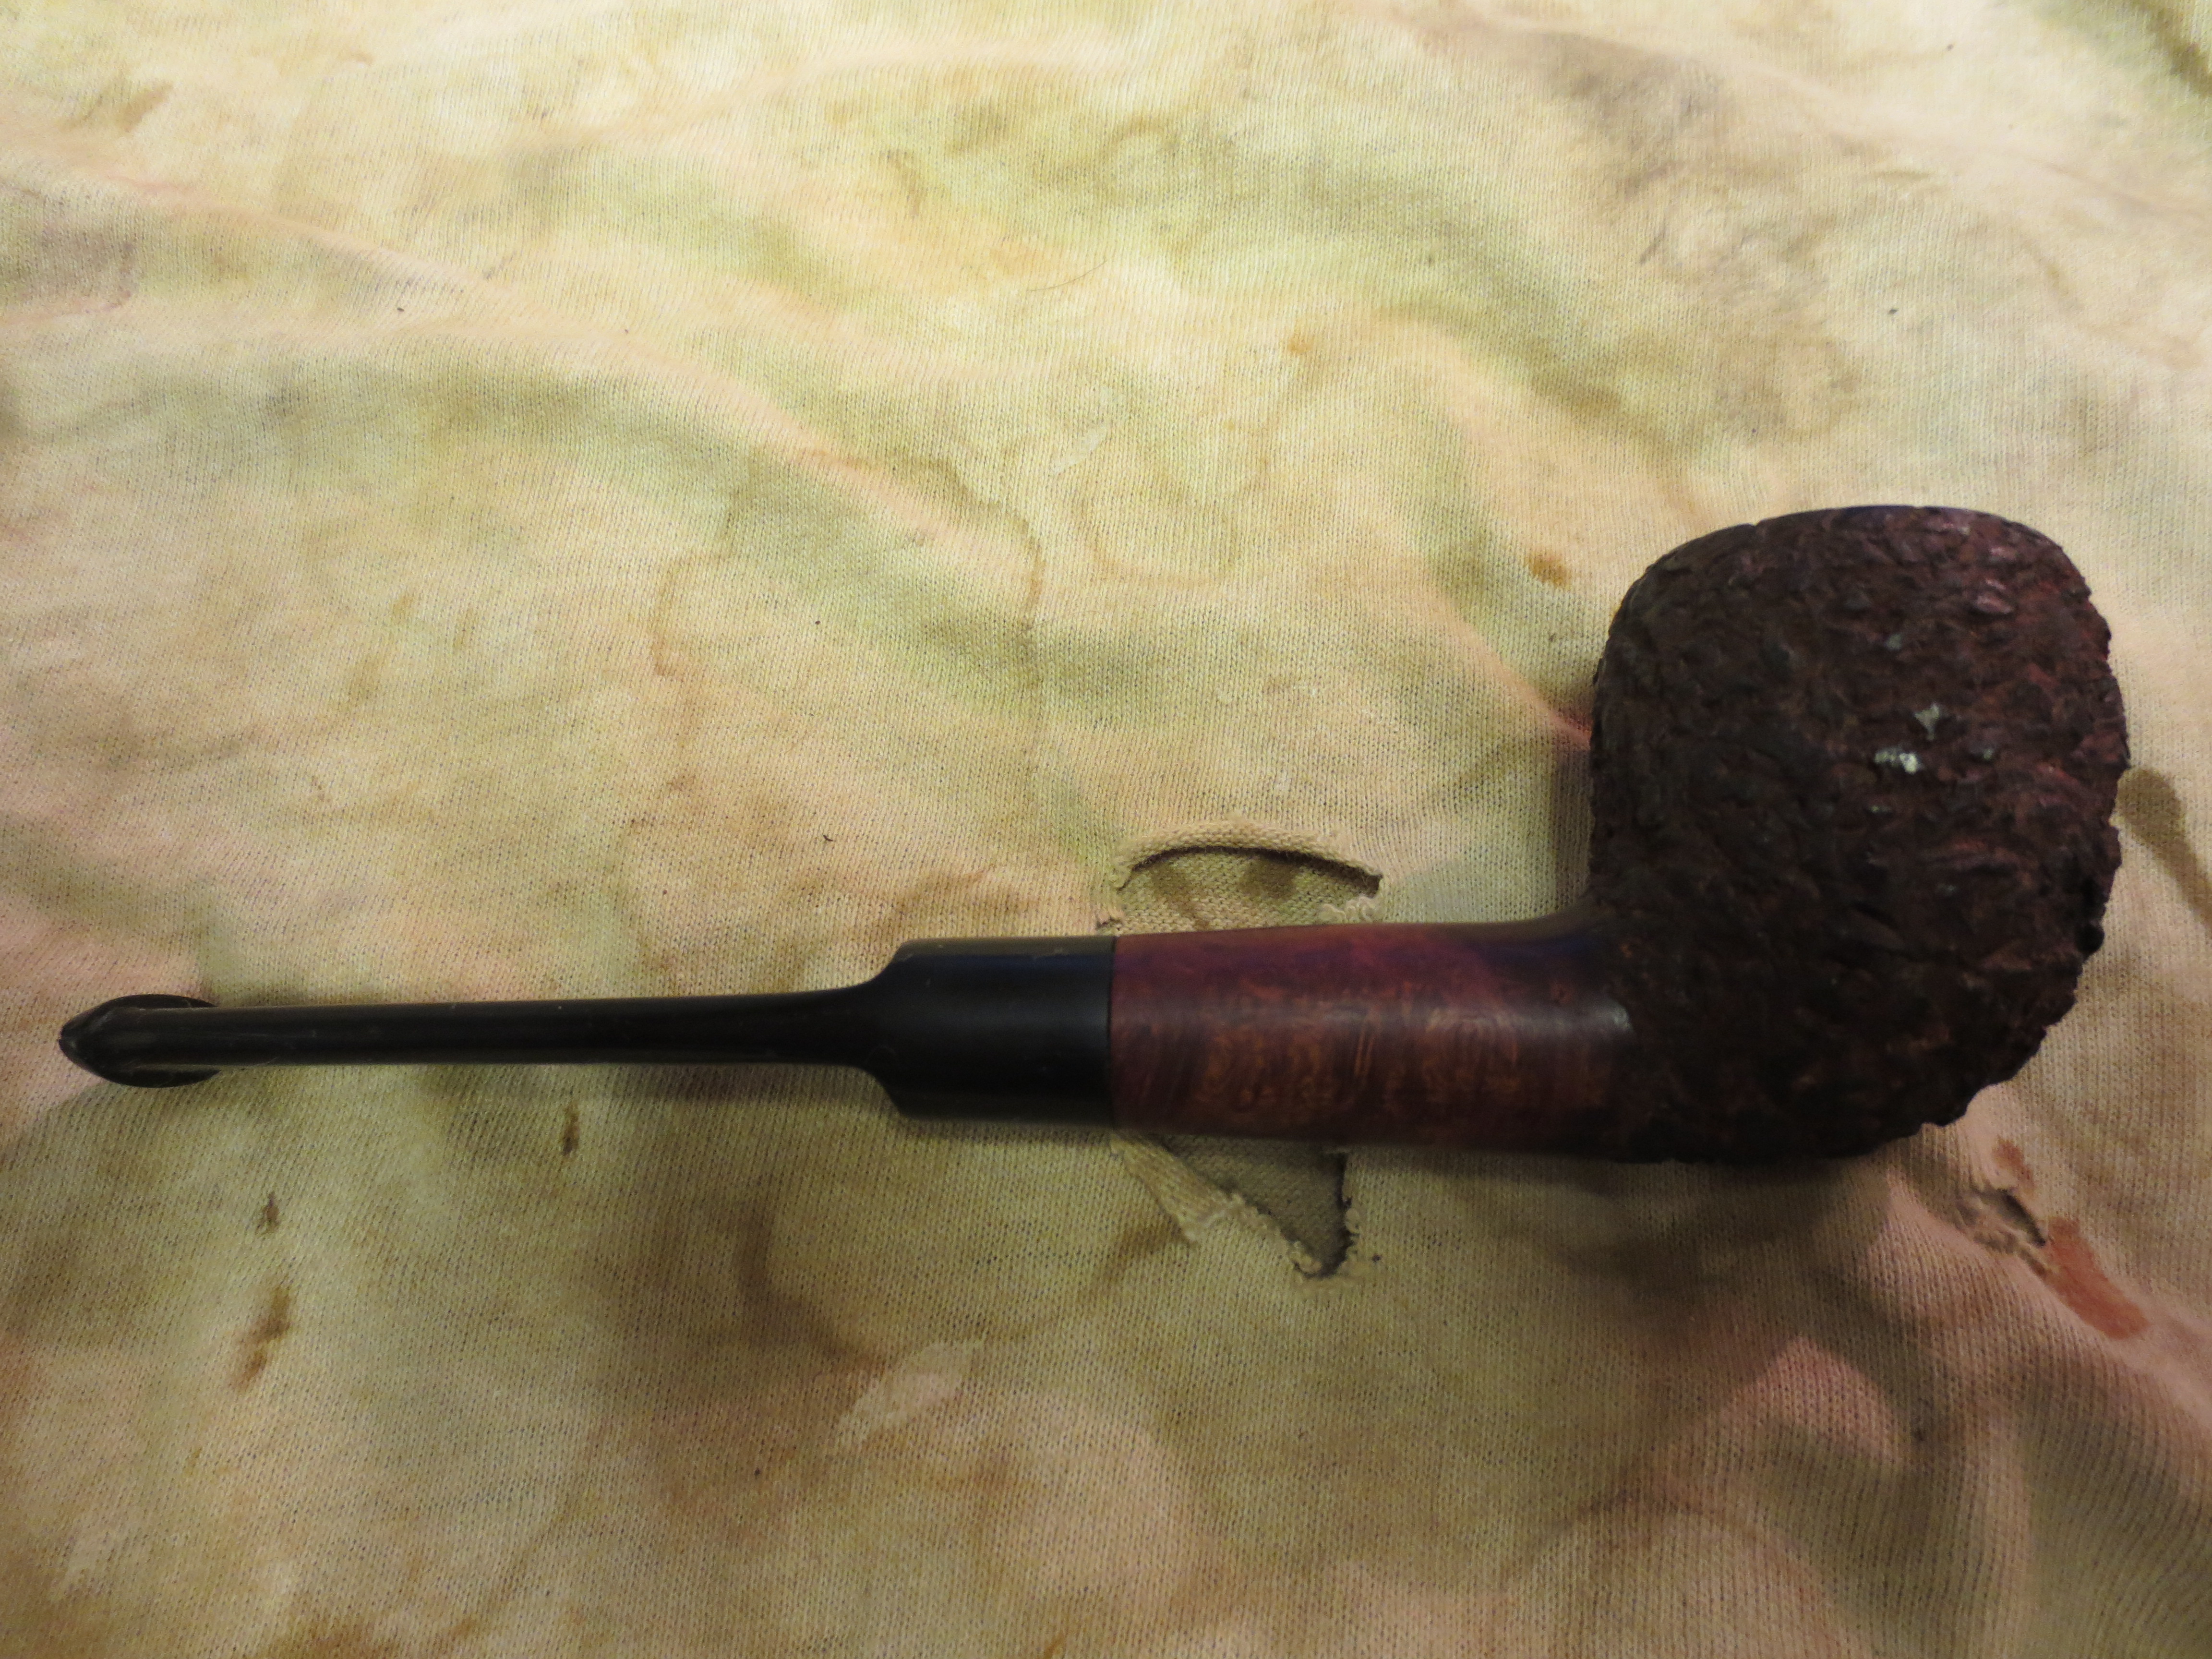
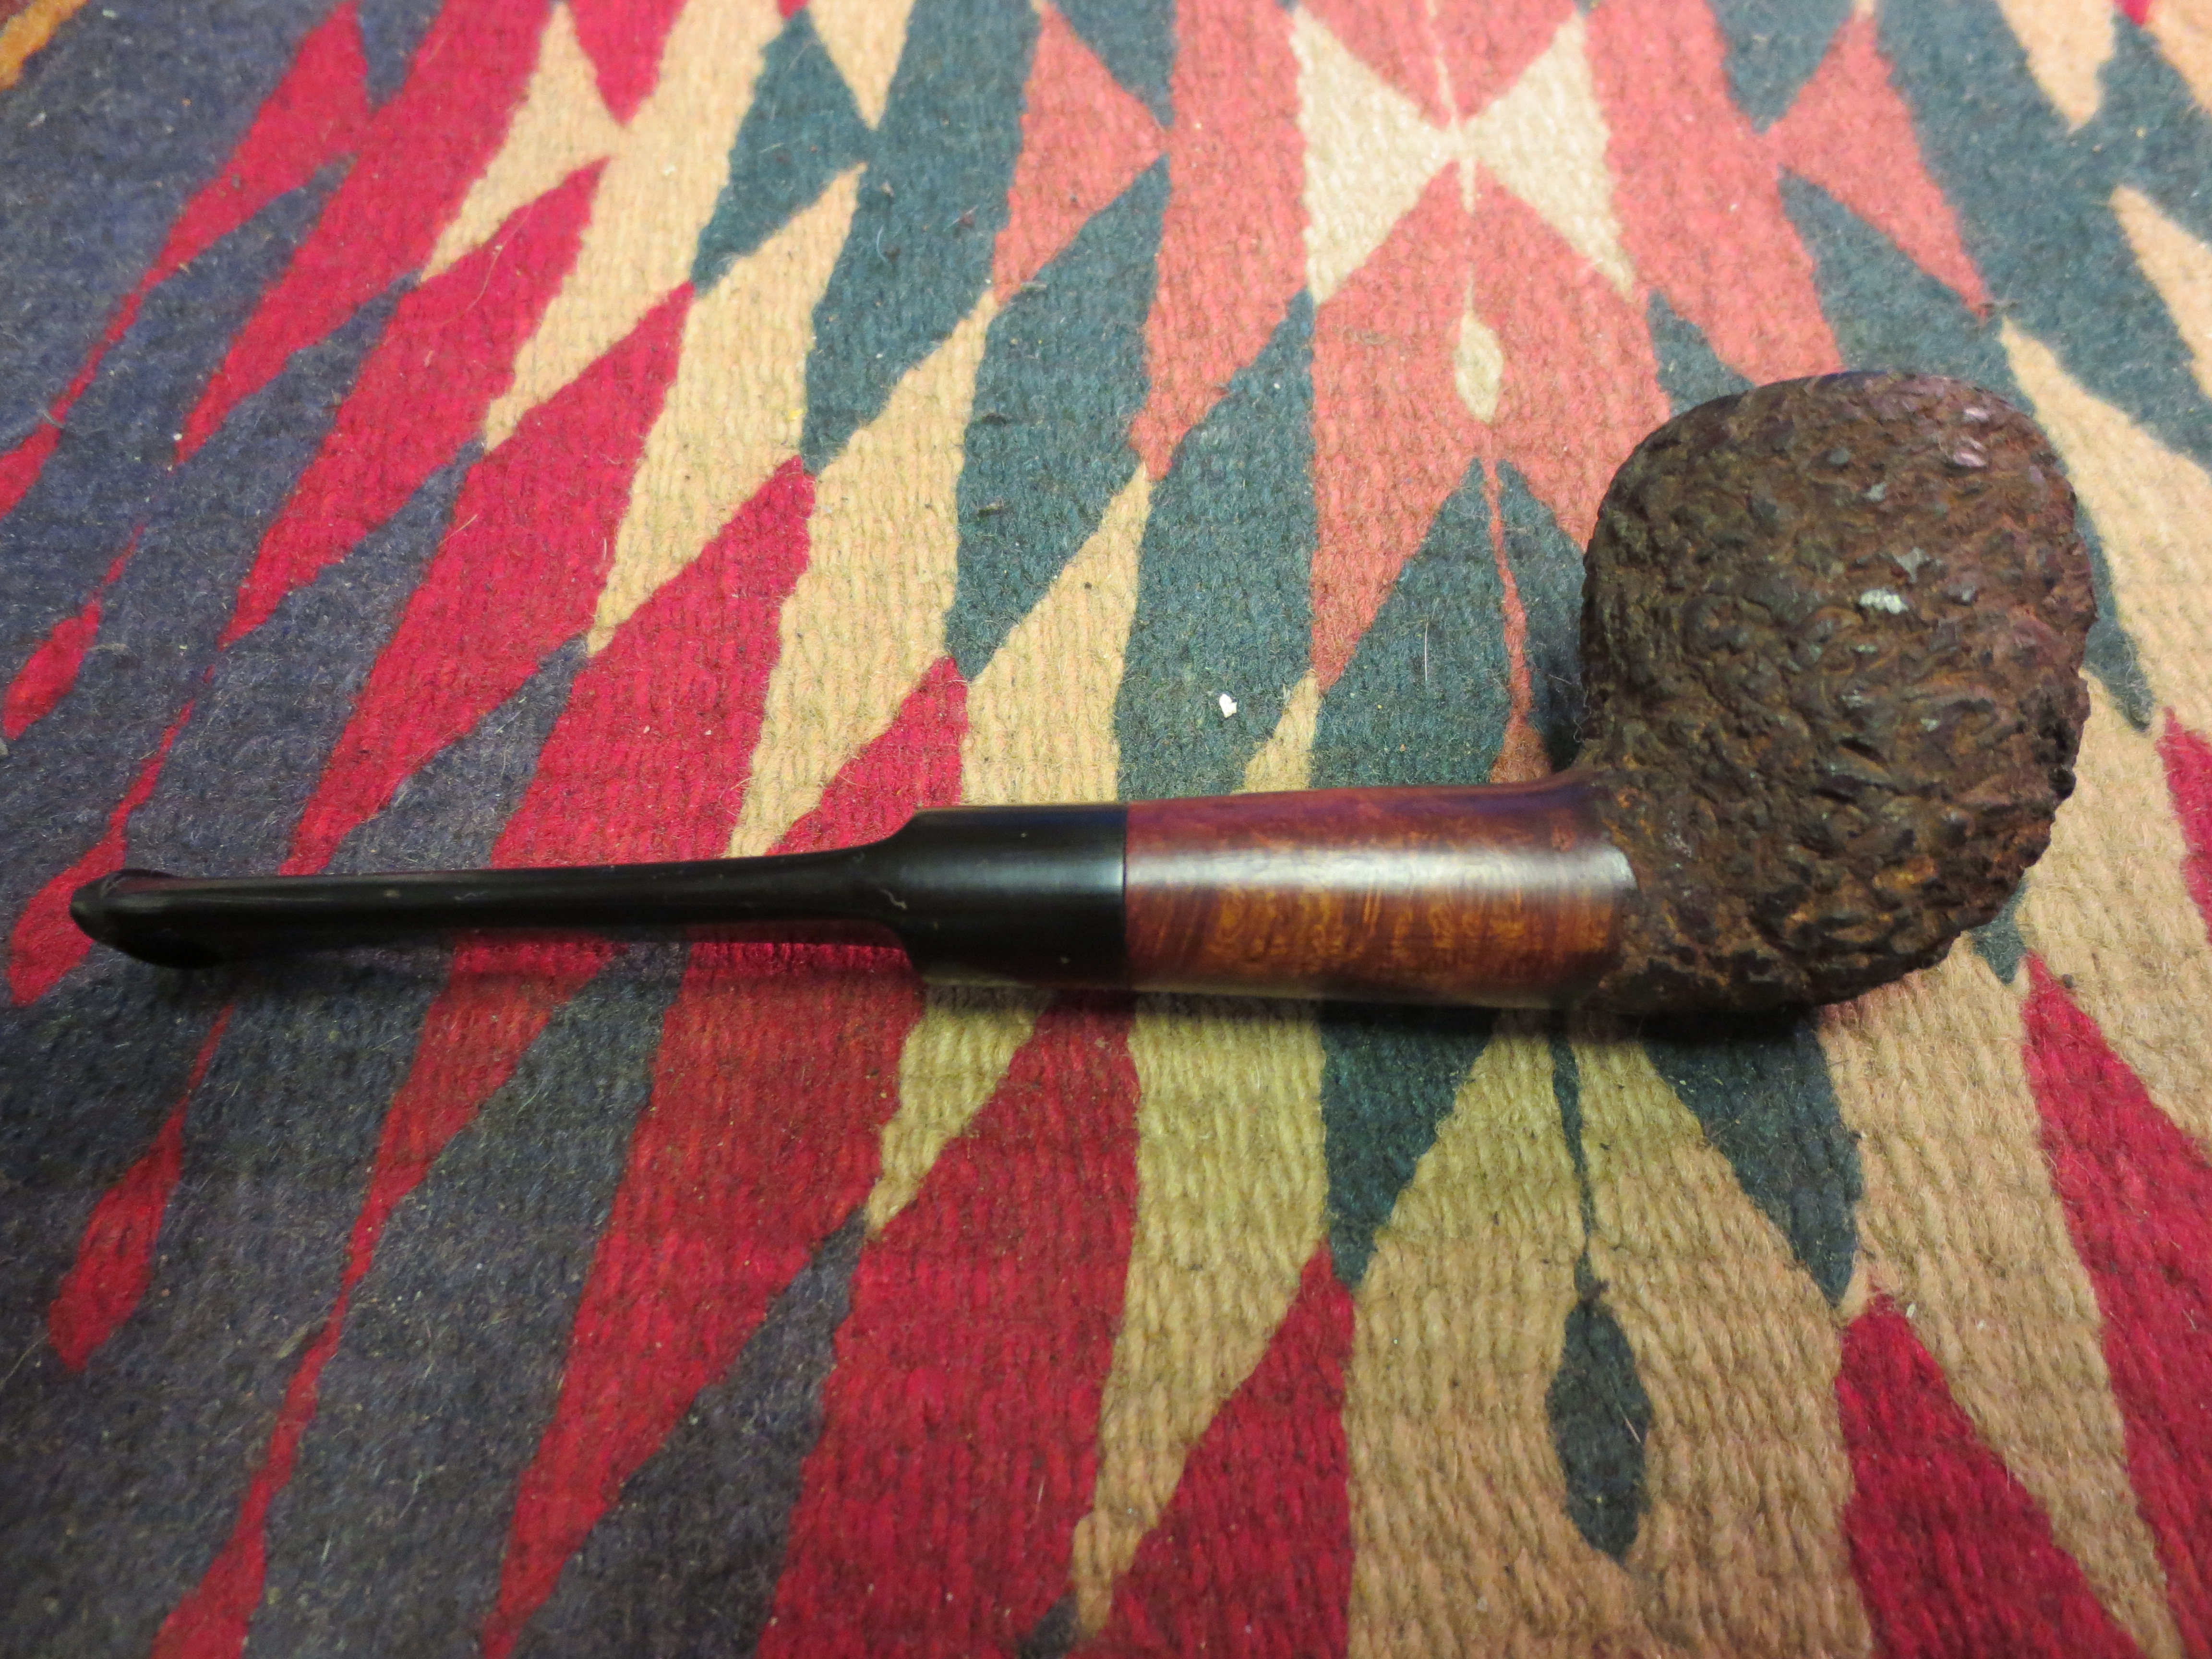
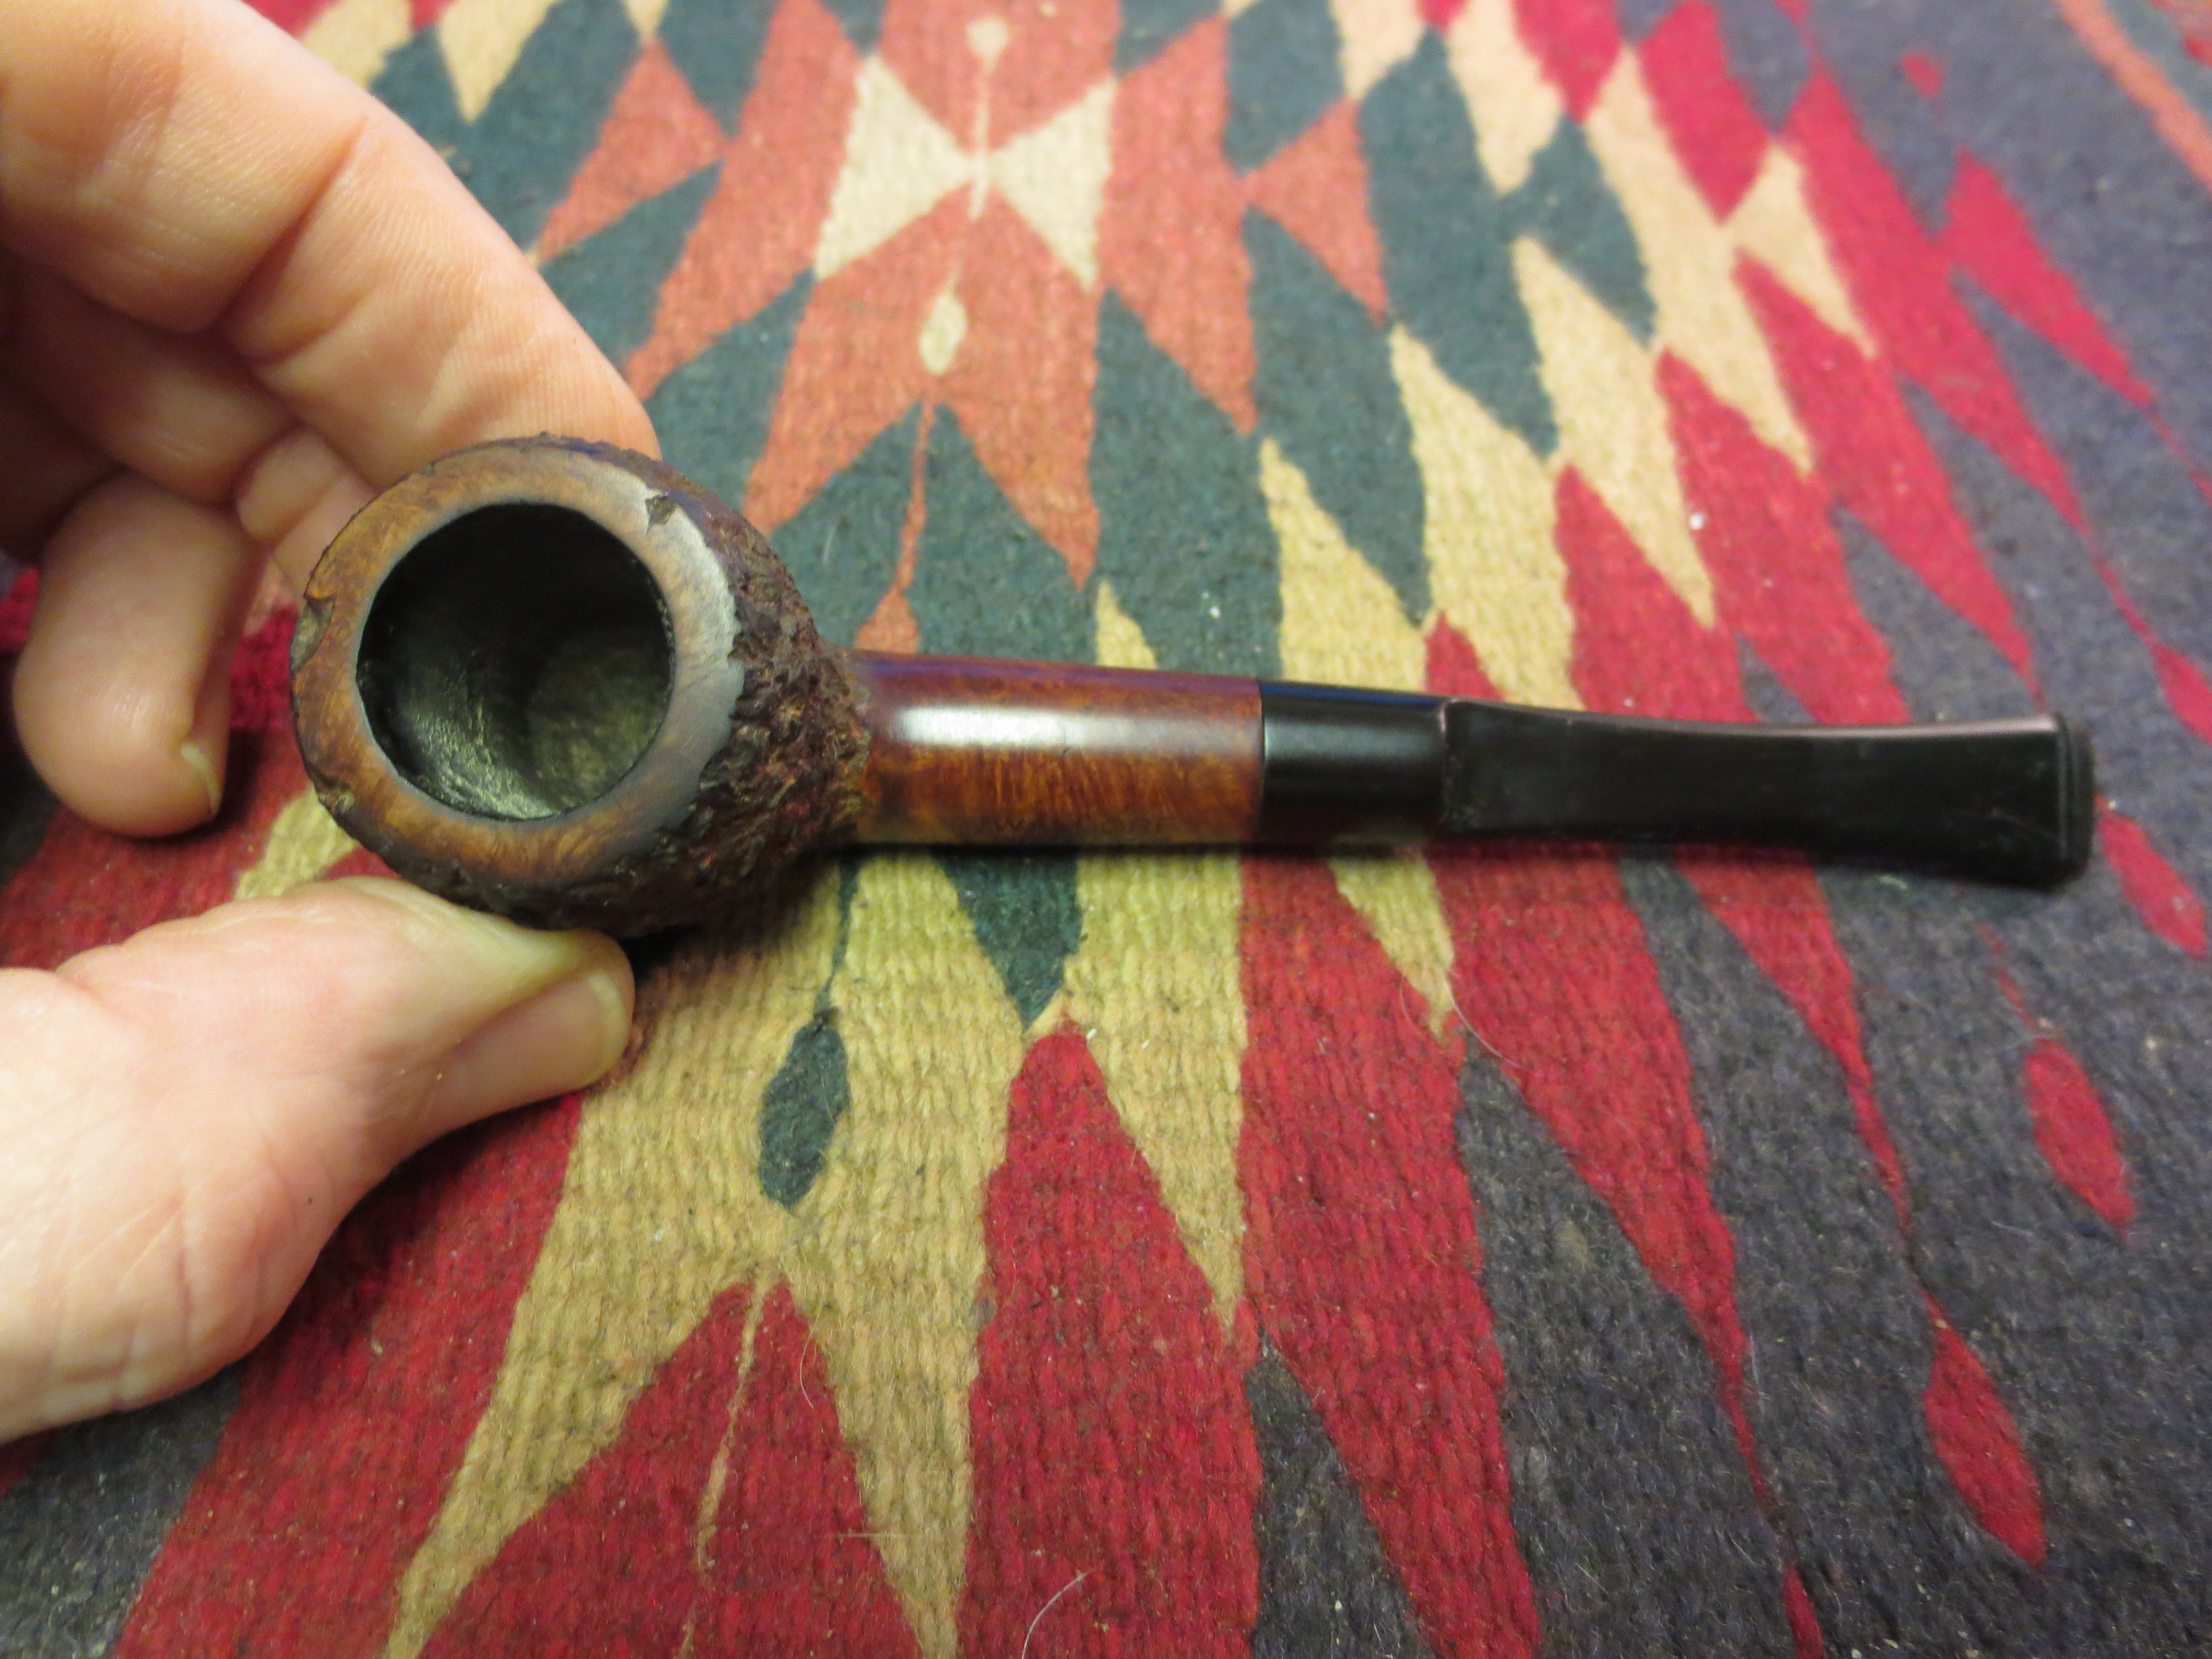
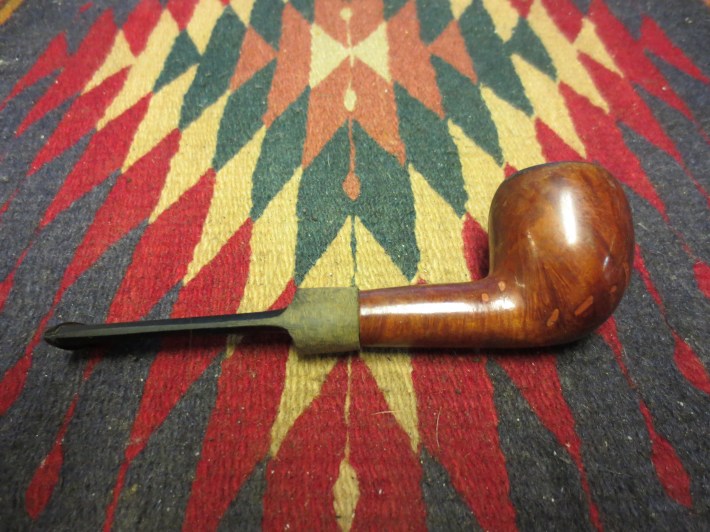
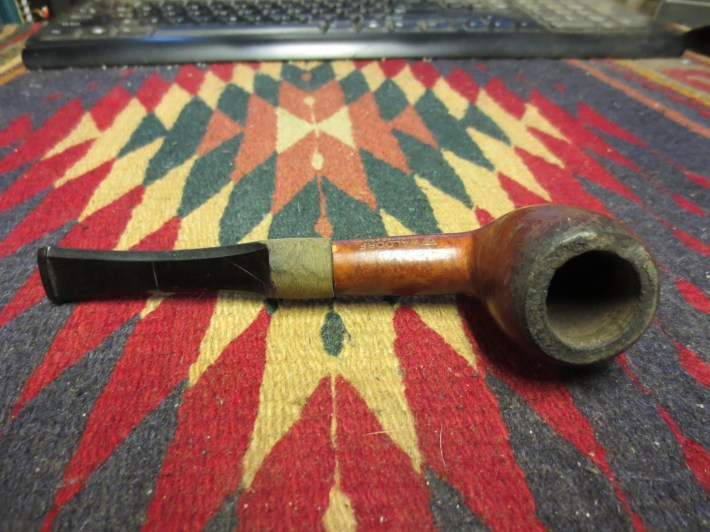
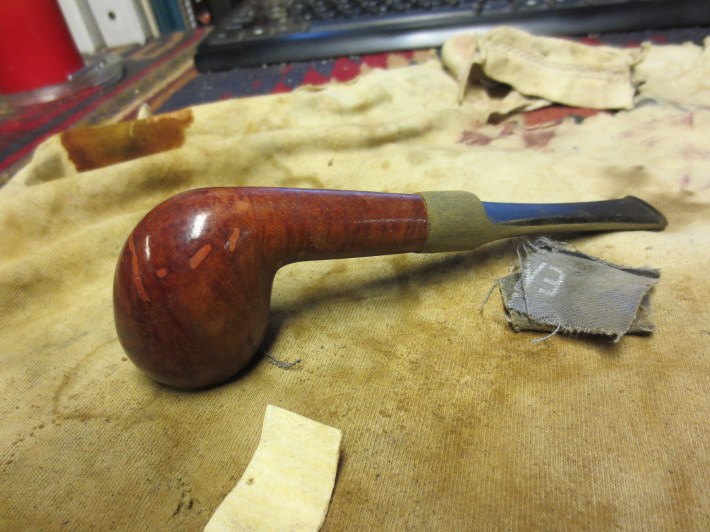
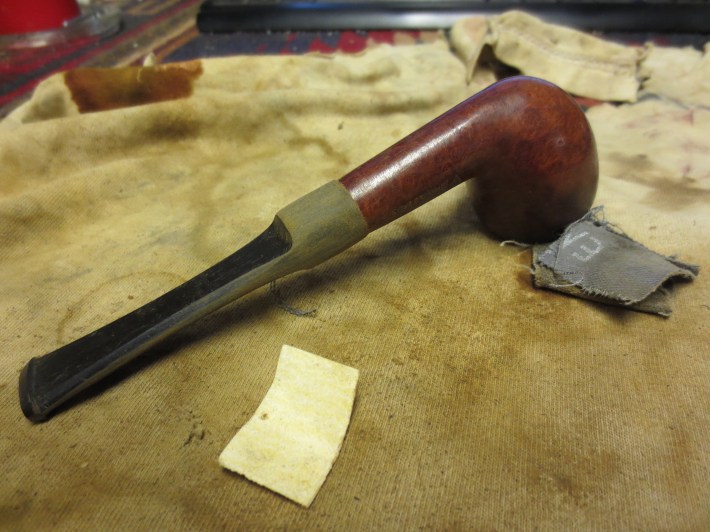
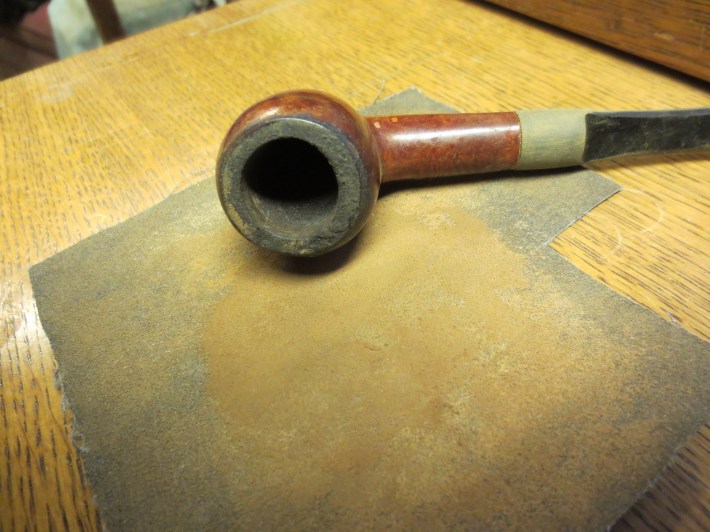
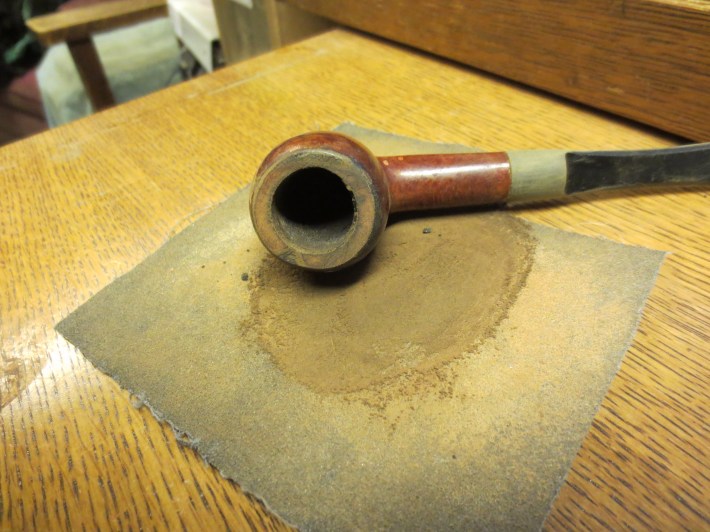
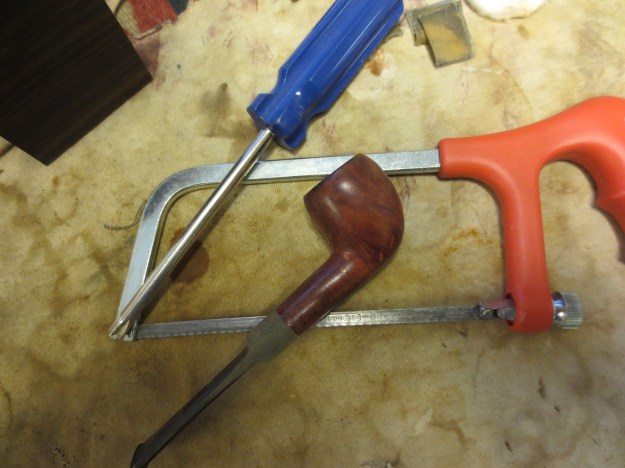
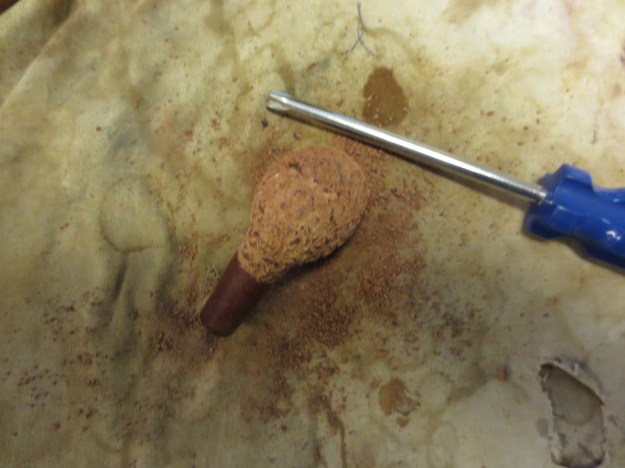
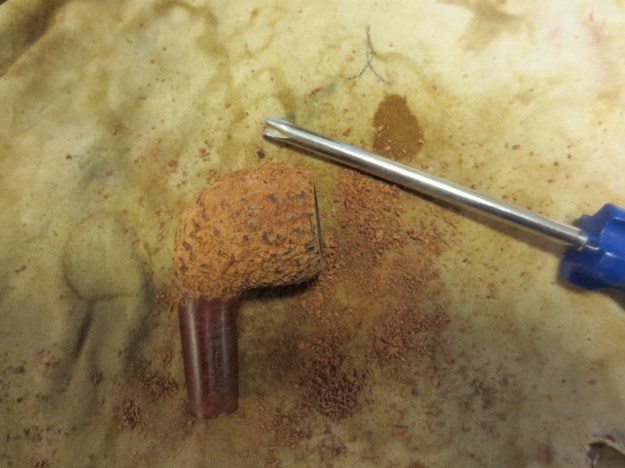
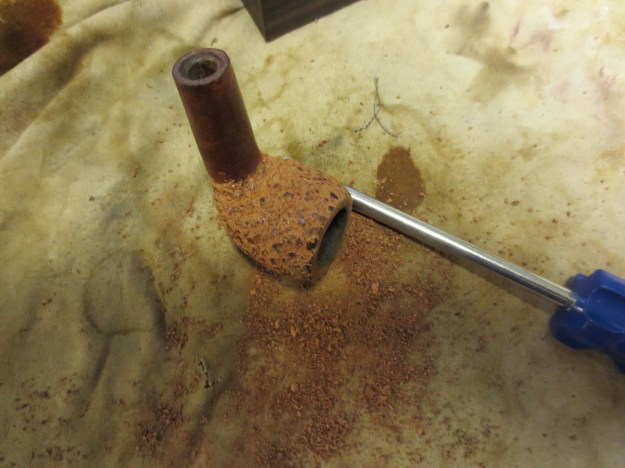
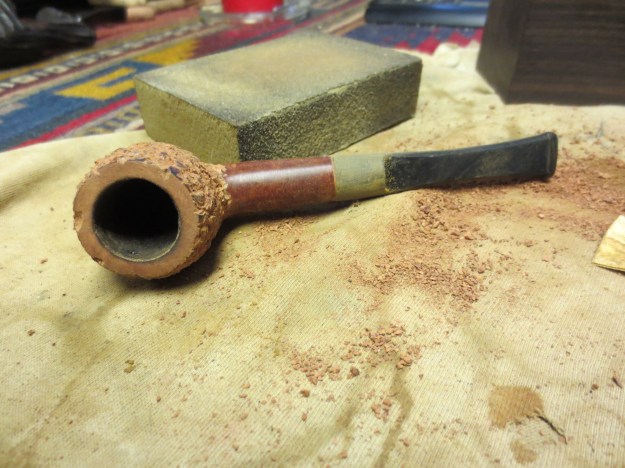
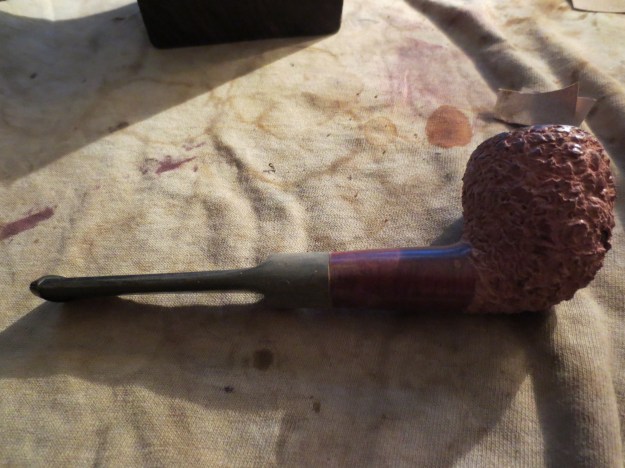
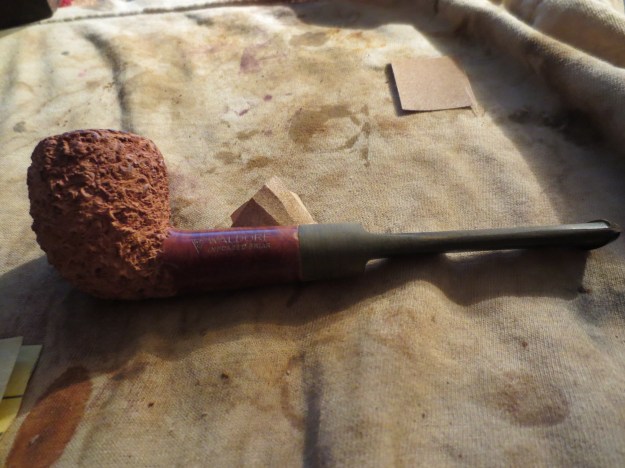
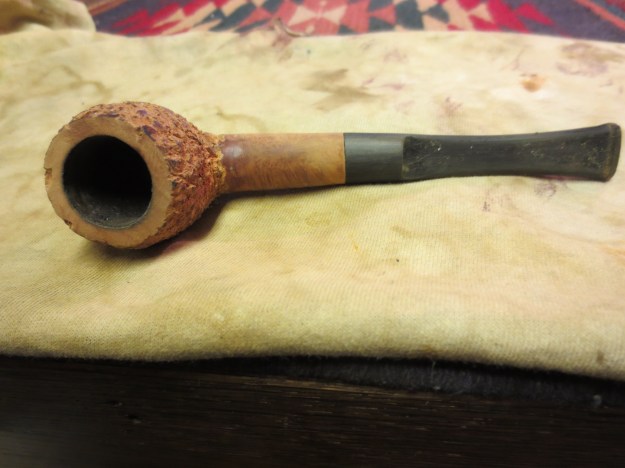
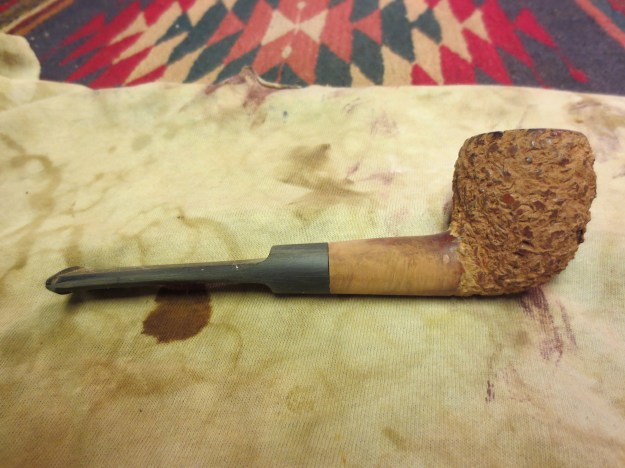
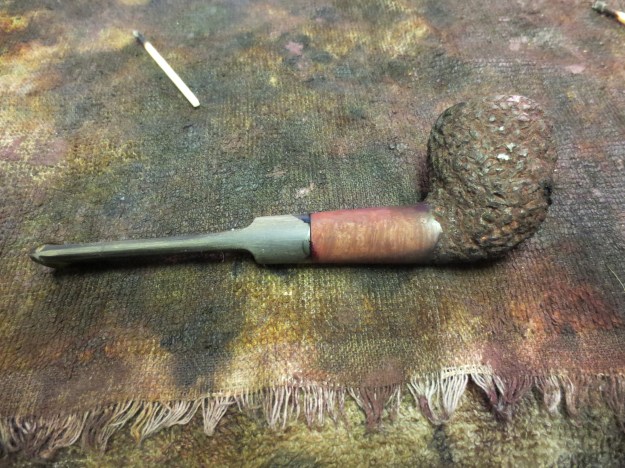
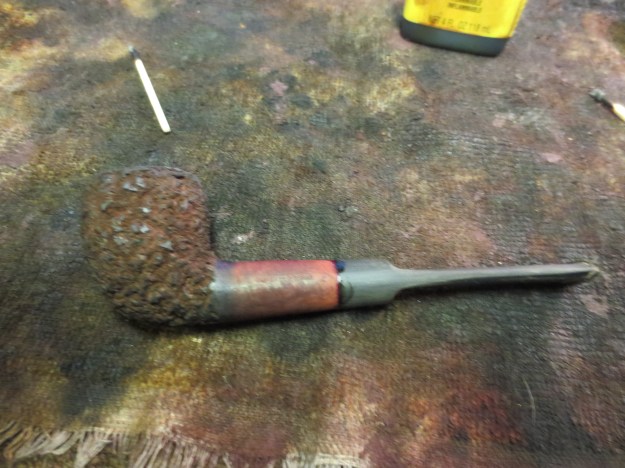
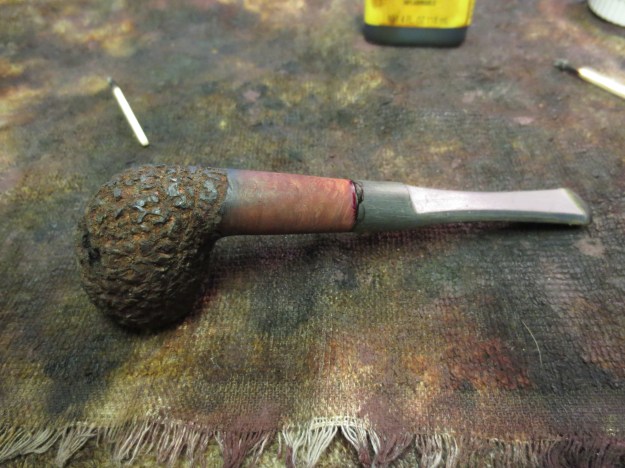
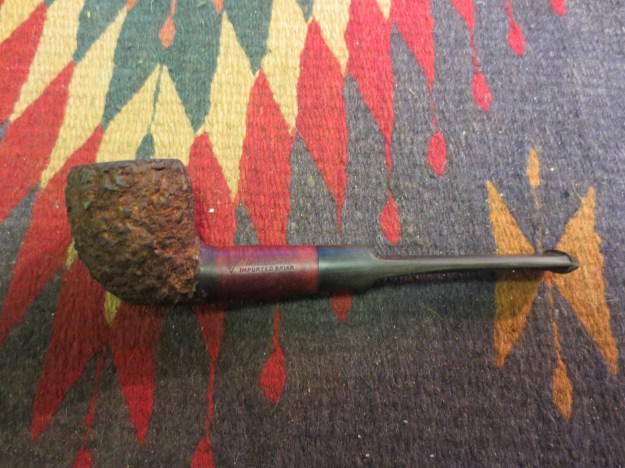
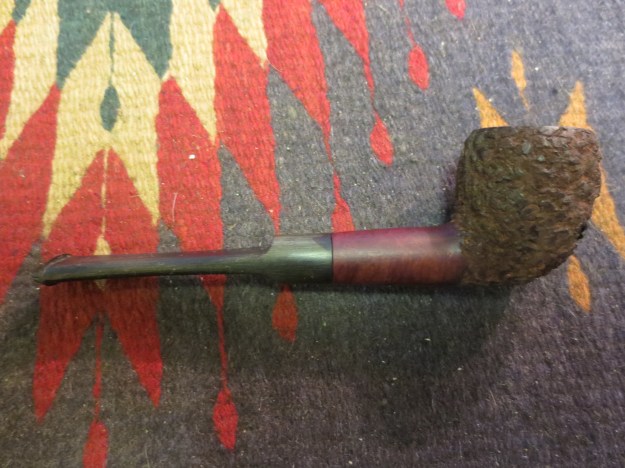
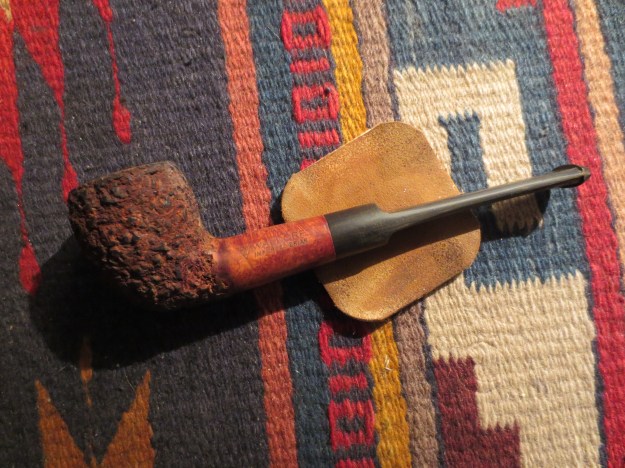
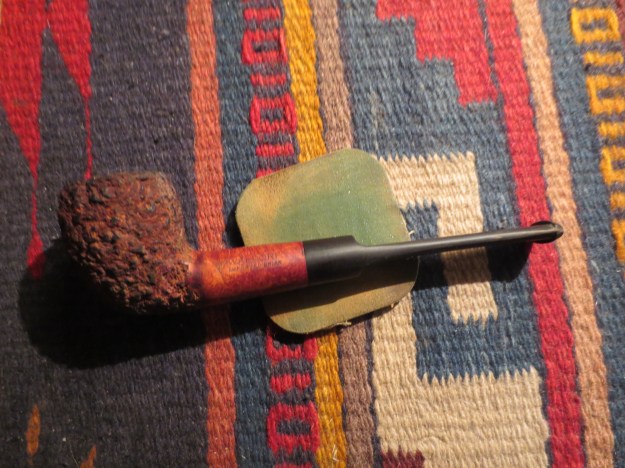
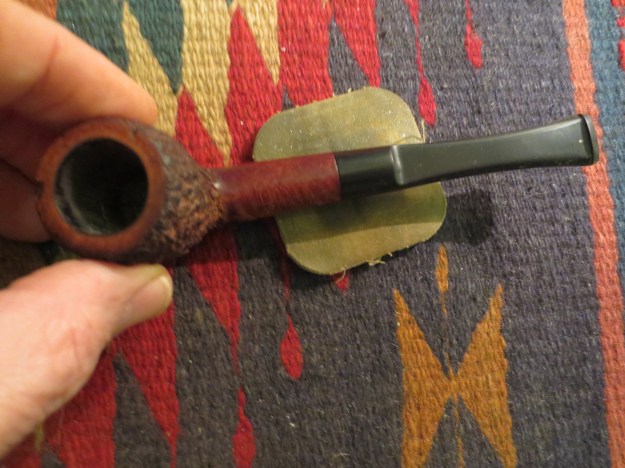
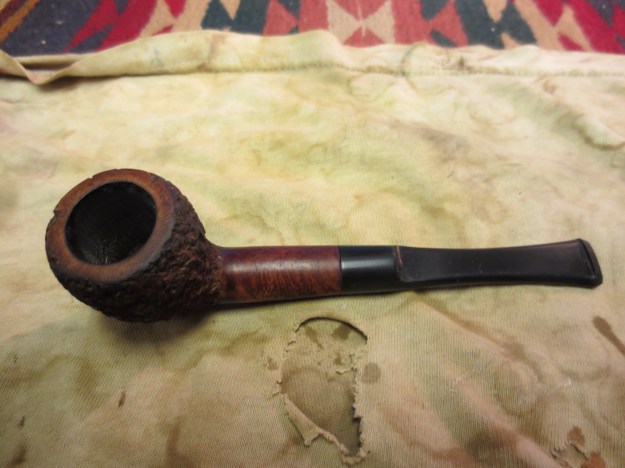
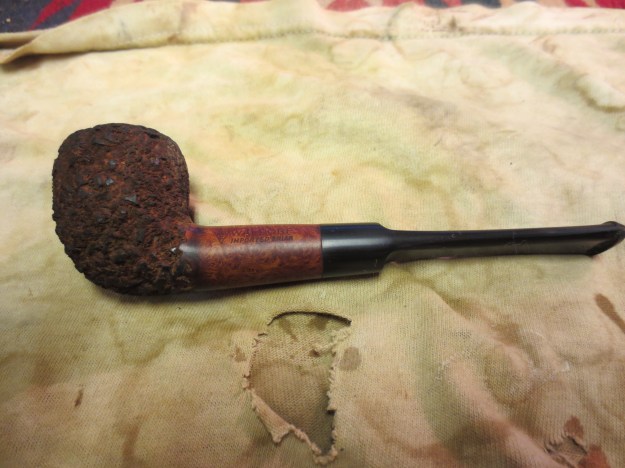
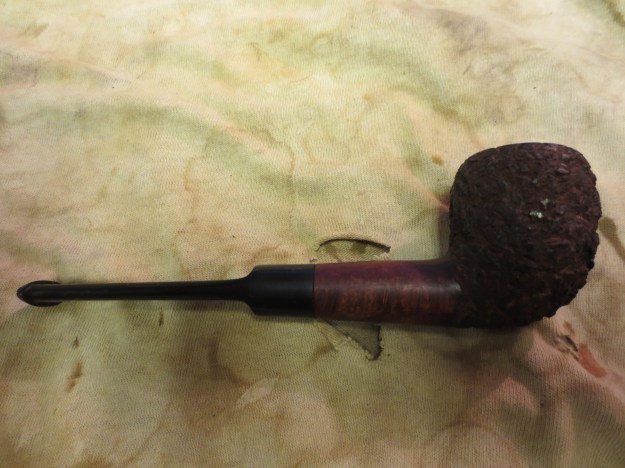
Today I decided to pick one of the stummels in my box of pipes that needed to be restemmed. I had cut the tenon a while back when I was restemming a bunch of old pipes I had. This one was in rough shape but I like the general shape of it. It is stamped WDC in a Triangle (William Demuth Pipe Company) and next to that is stamped WALDORF over Imported Briar. There is no other stamping on the pipe. According to Phil’s Pipe Logos and Markings website, http://www.pipephil.eu/logos/en/logo-w1.html the Waldorf is a second’s line of the WDC brand. Not sure but that is interesting to note. This one was in rough shape. The bowl was badly caked and the rim was tarry and charred with a notch out of the briar near the front of the bowl. The finish was rough, blackened and the varnish coat was peeling. The bowl also had a large number of fills on the front and both sides. These were the ugly pink putty fills. I cut a tenon and roughed a stem to fit the bowl. The four photos below show the state of the pipe when I began to work on it today.


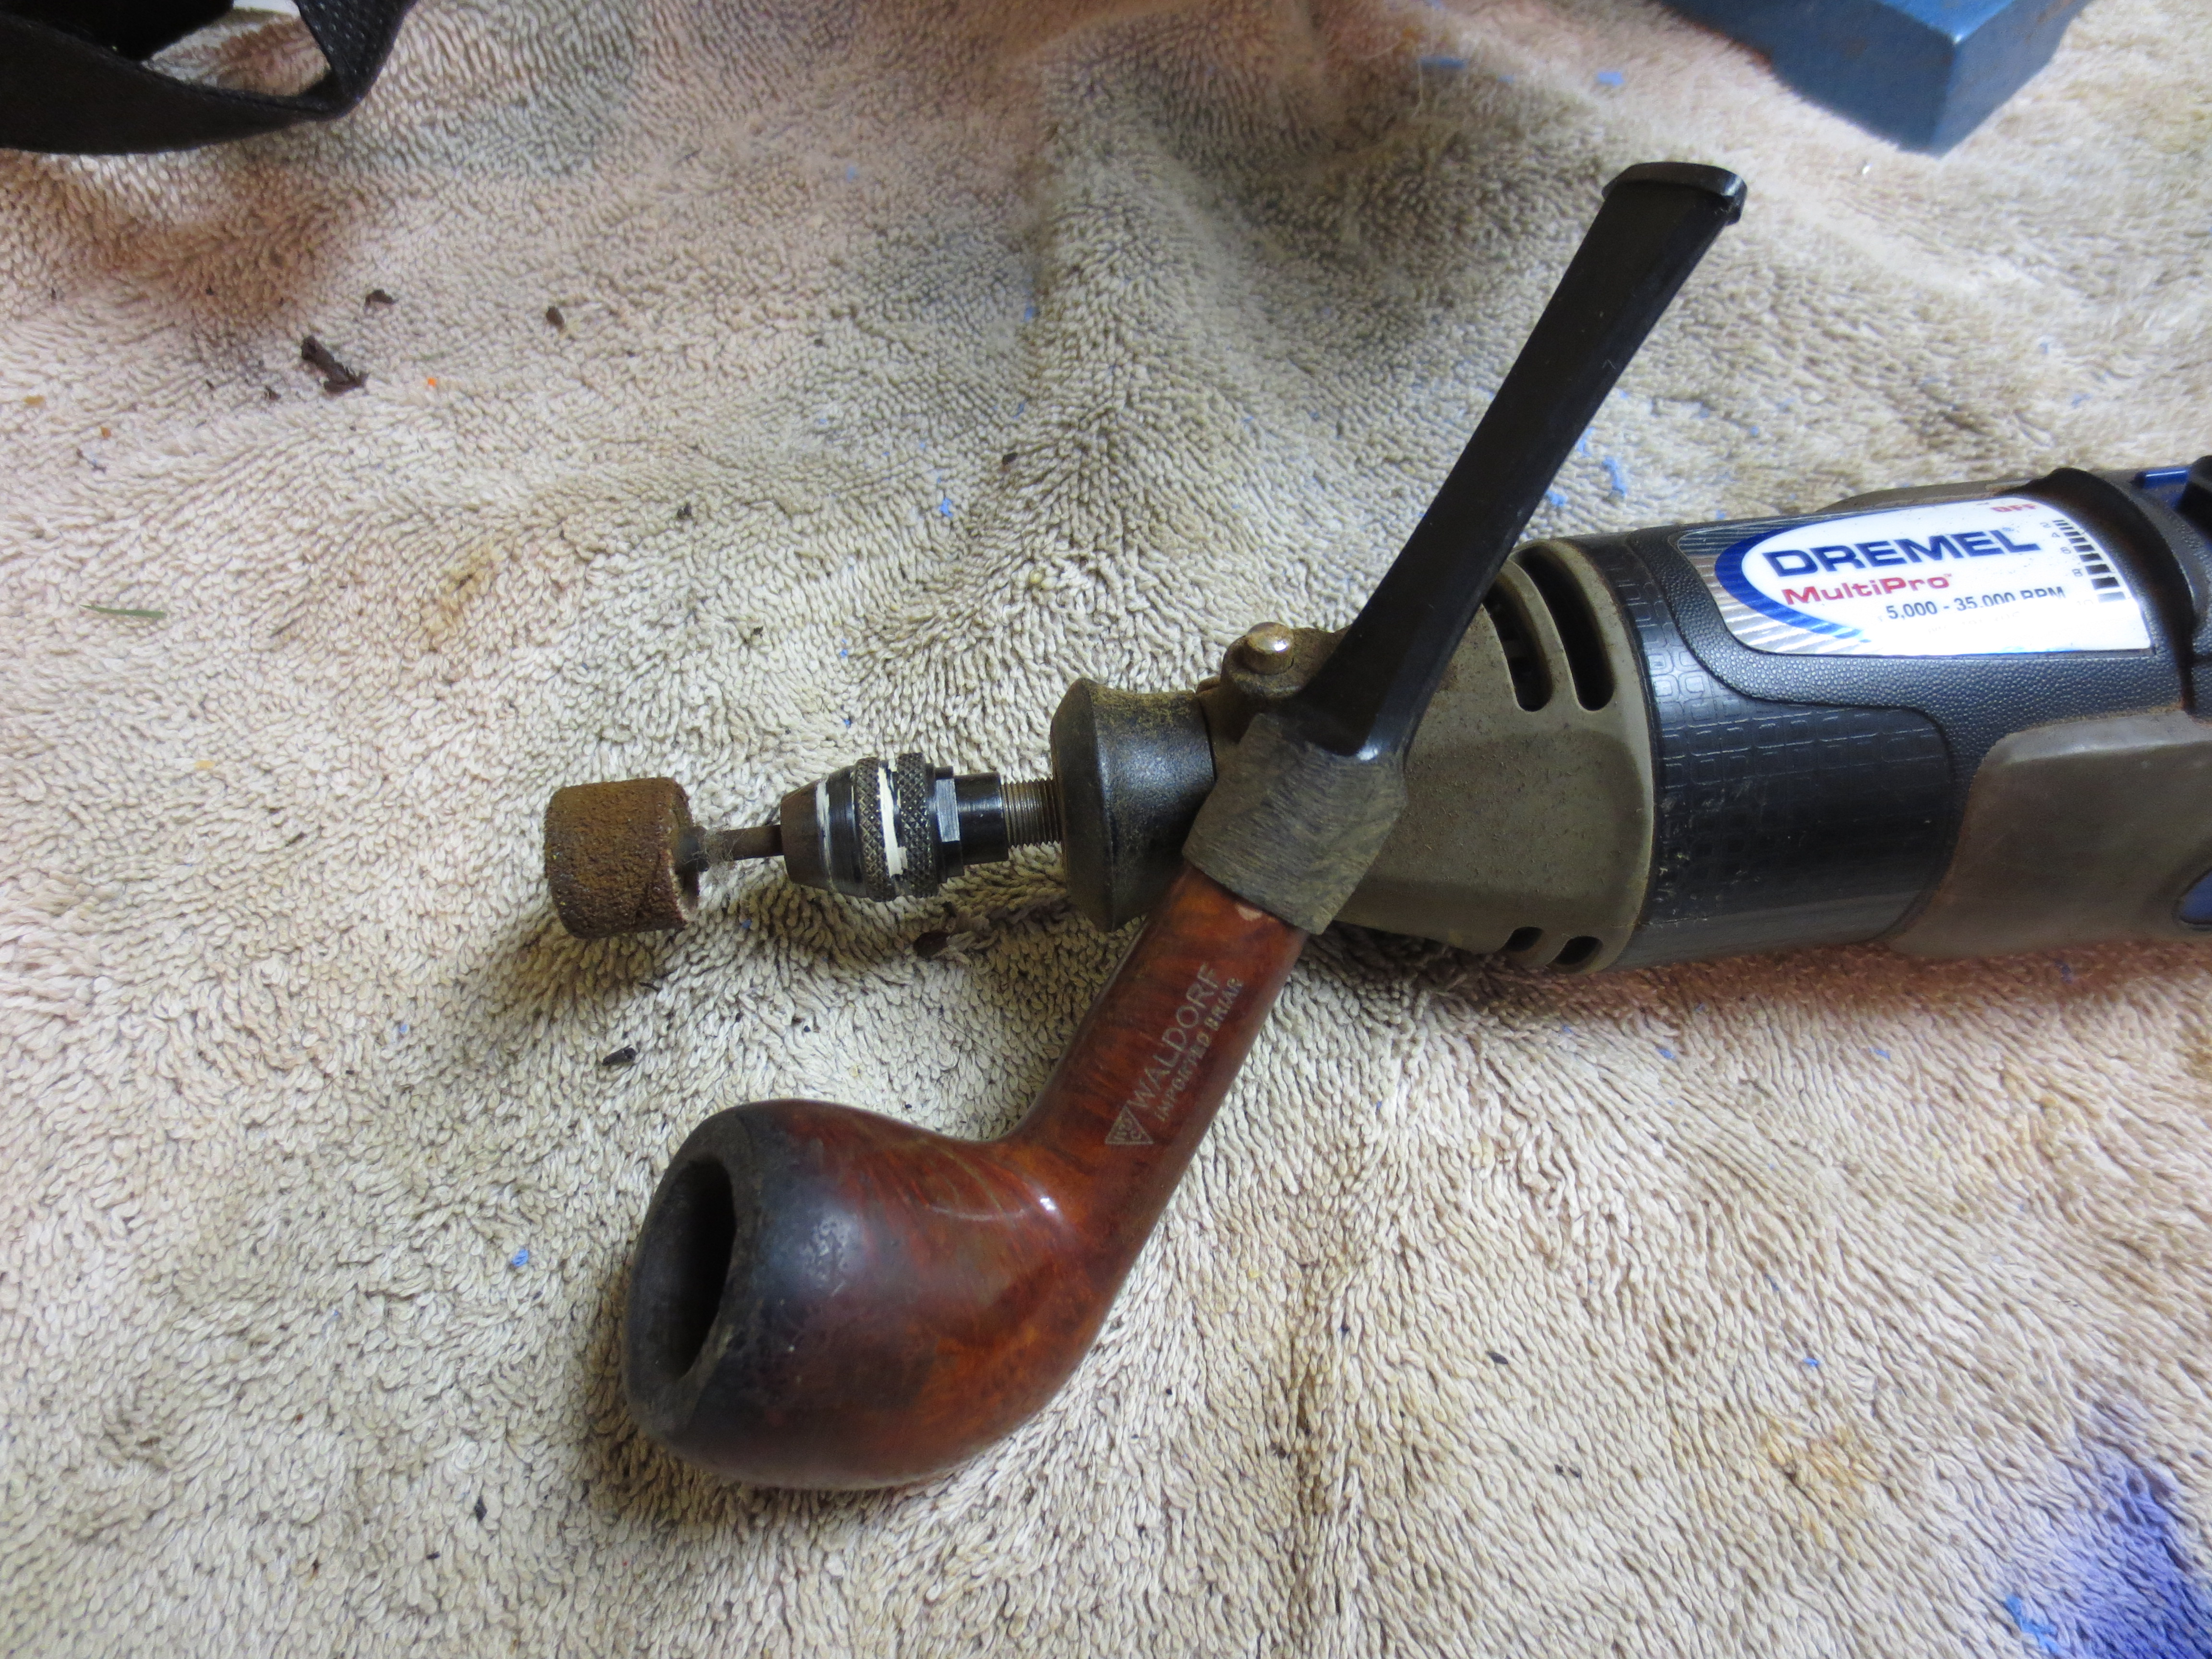
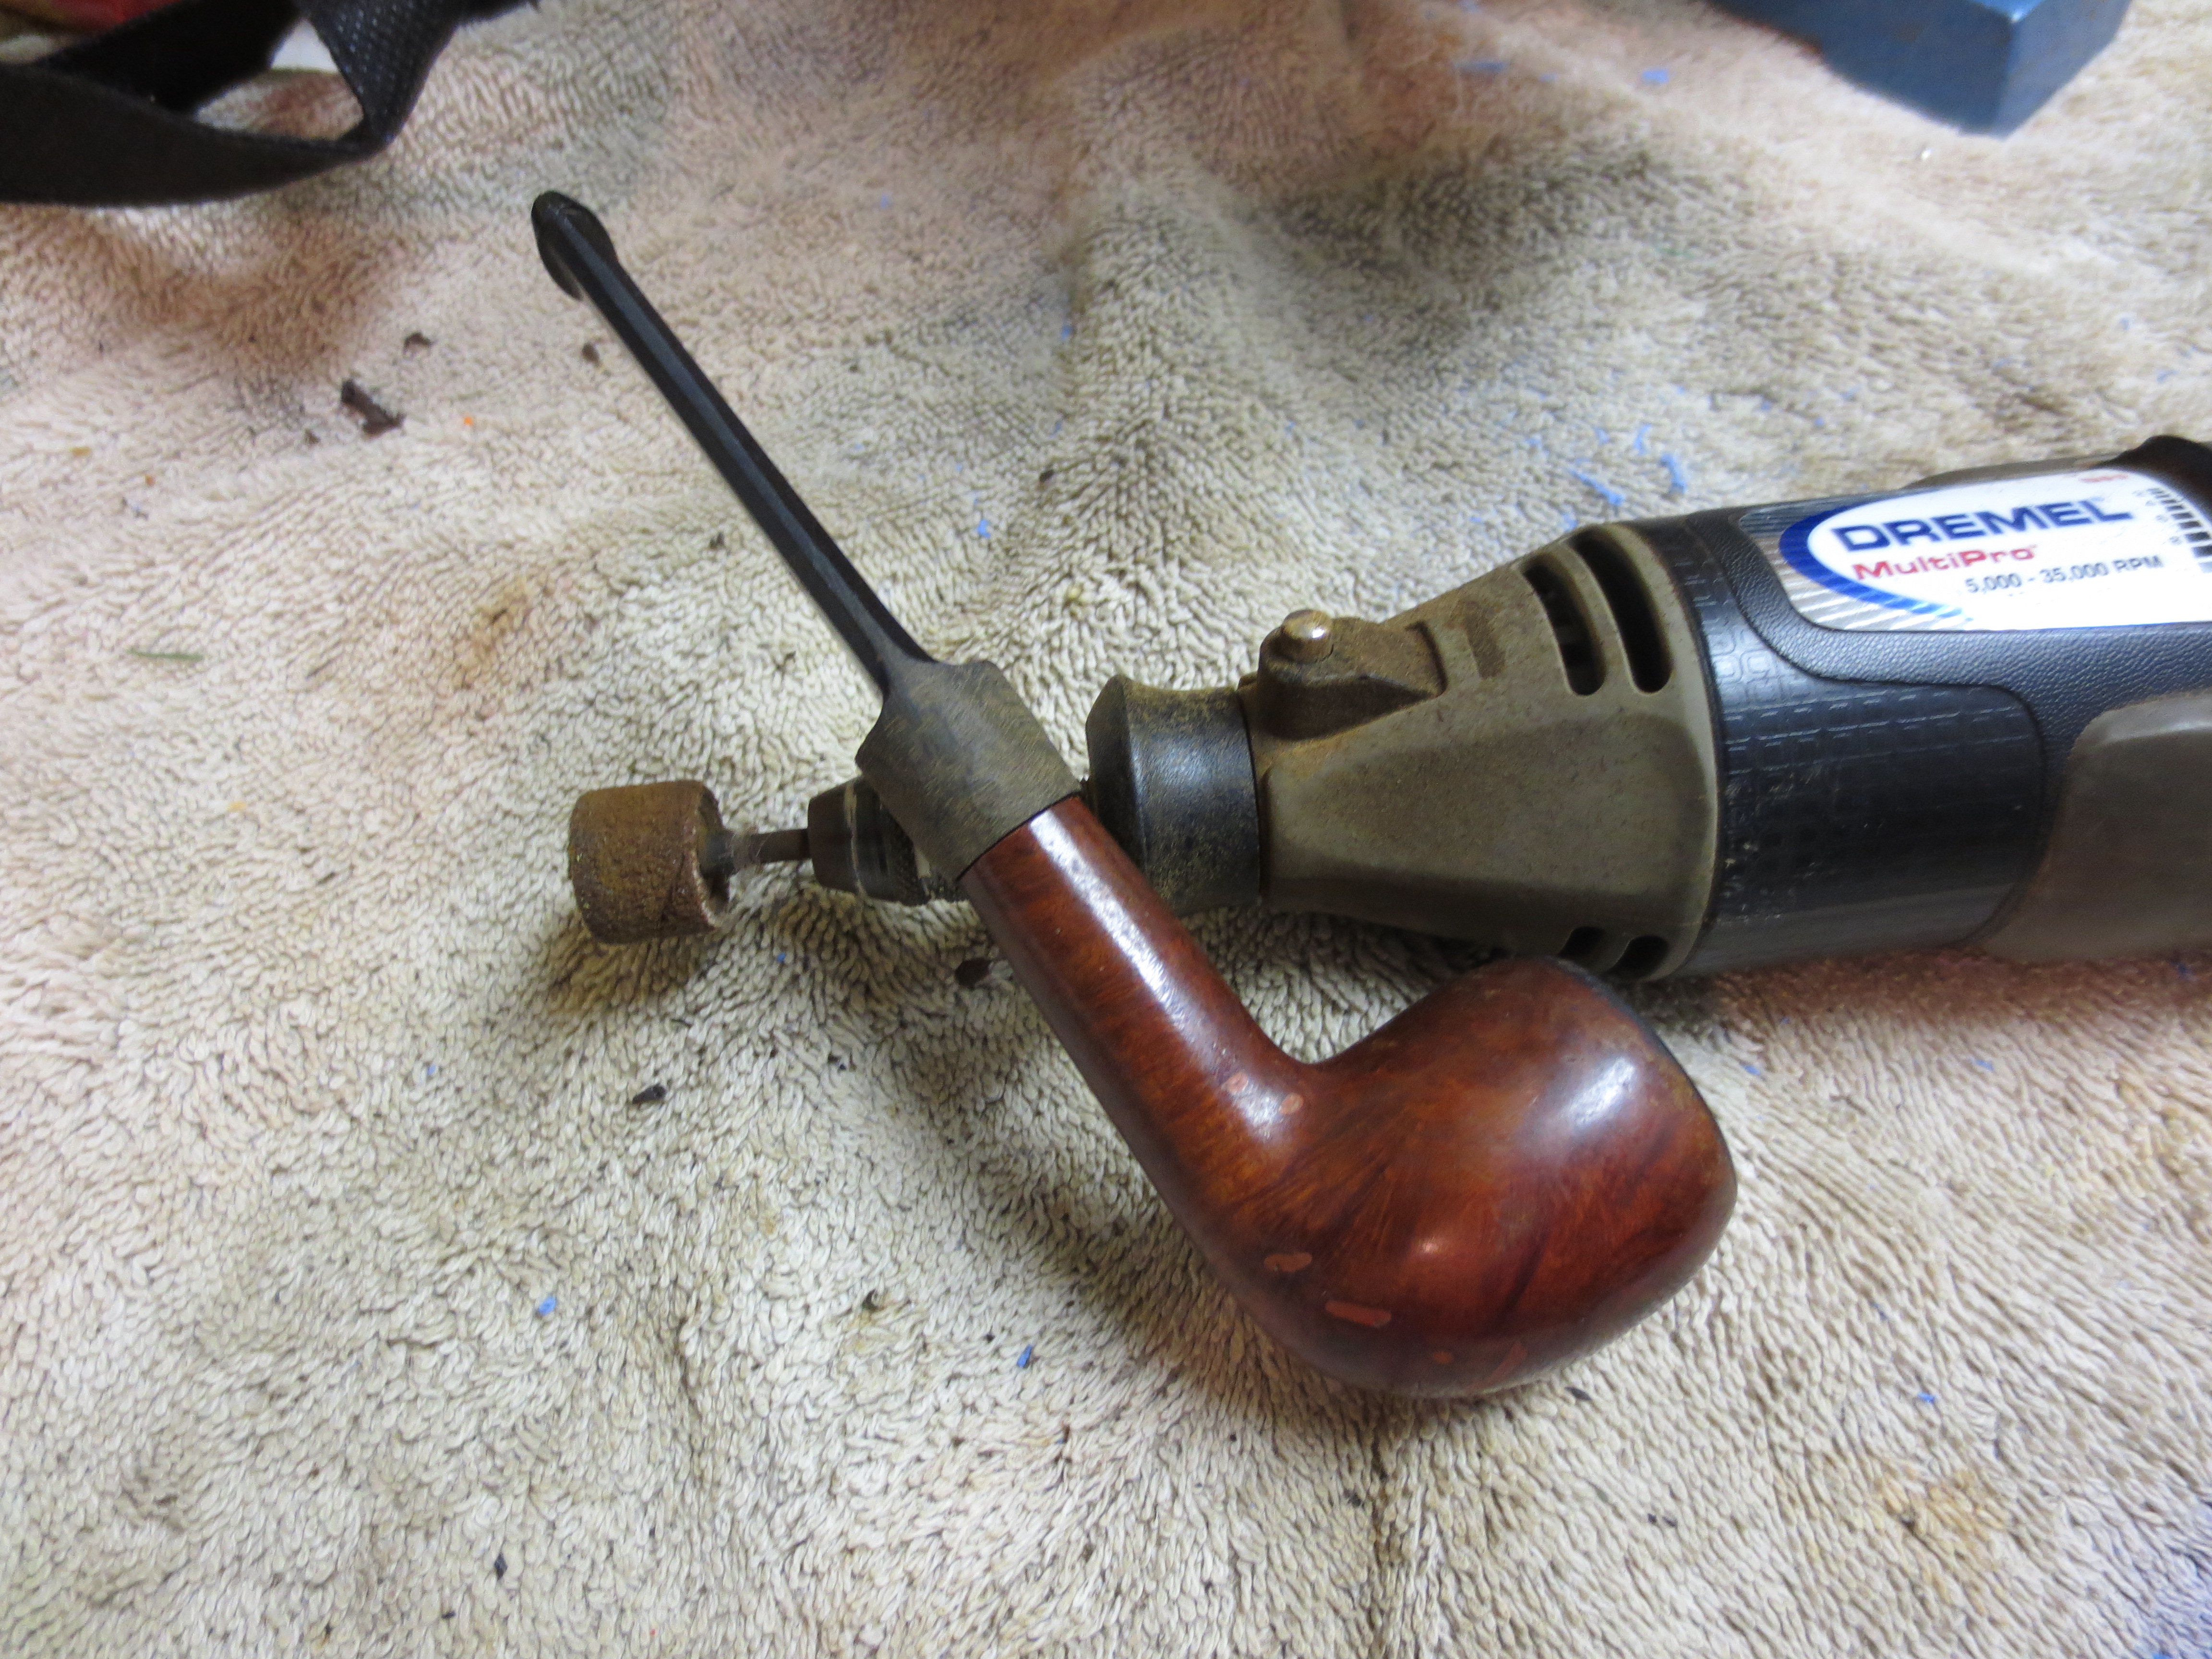
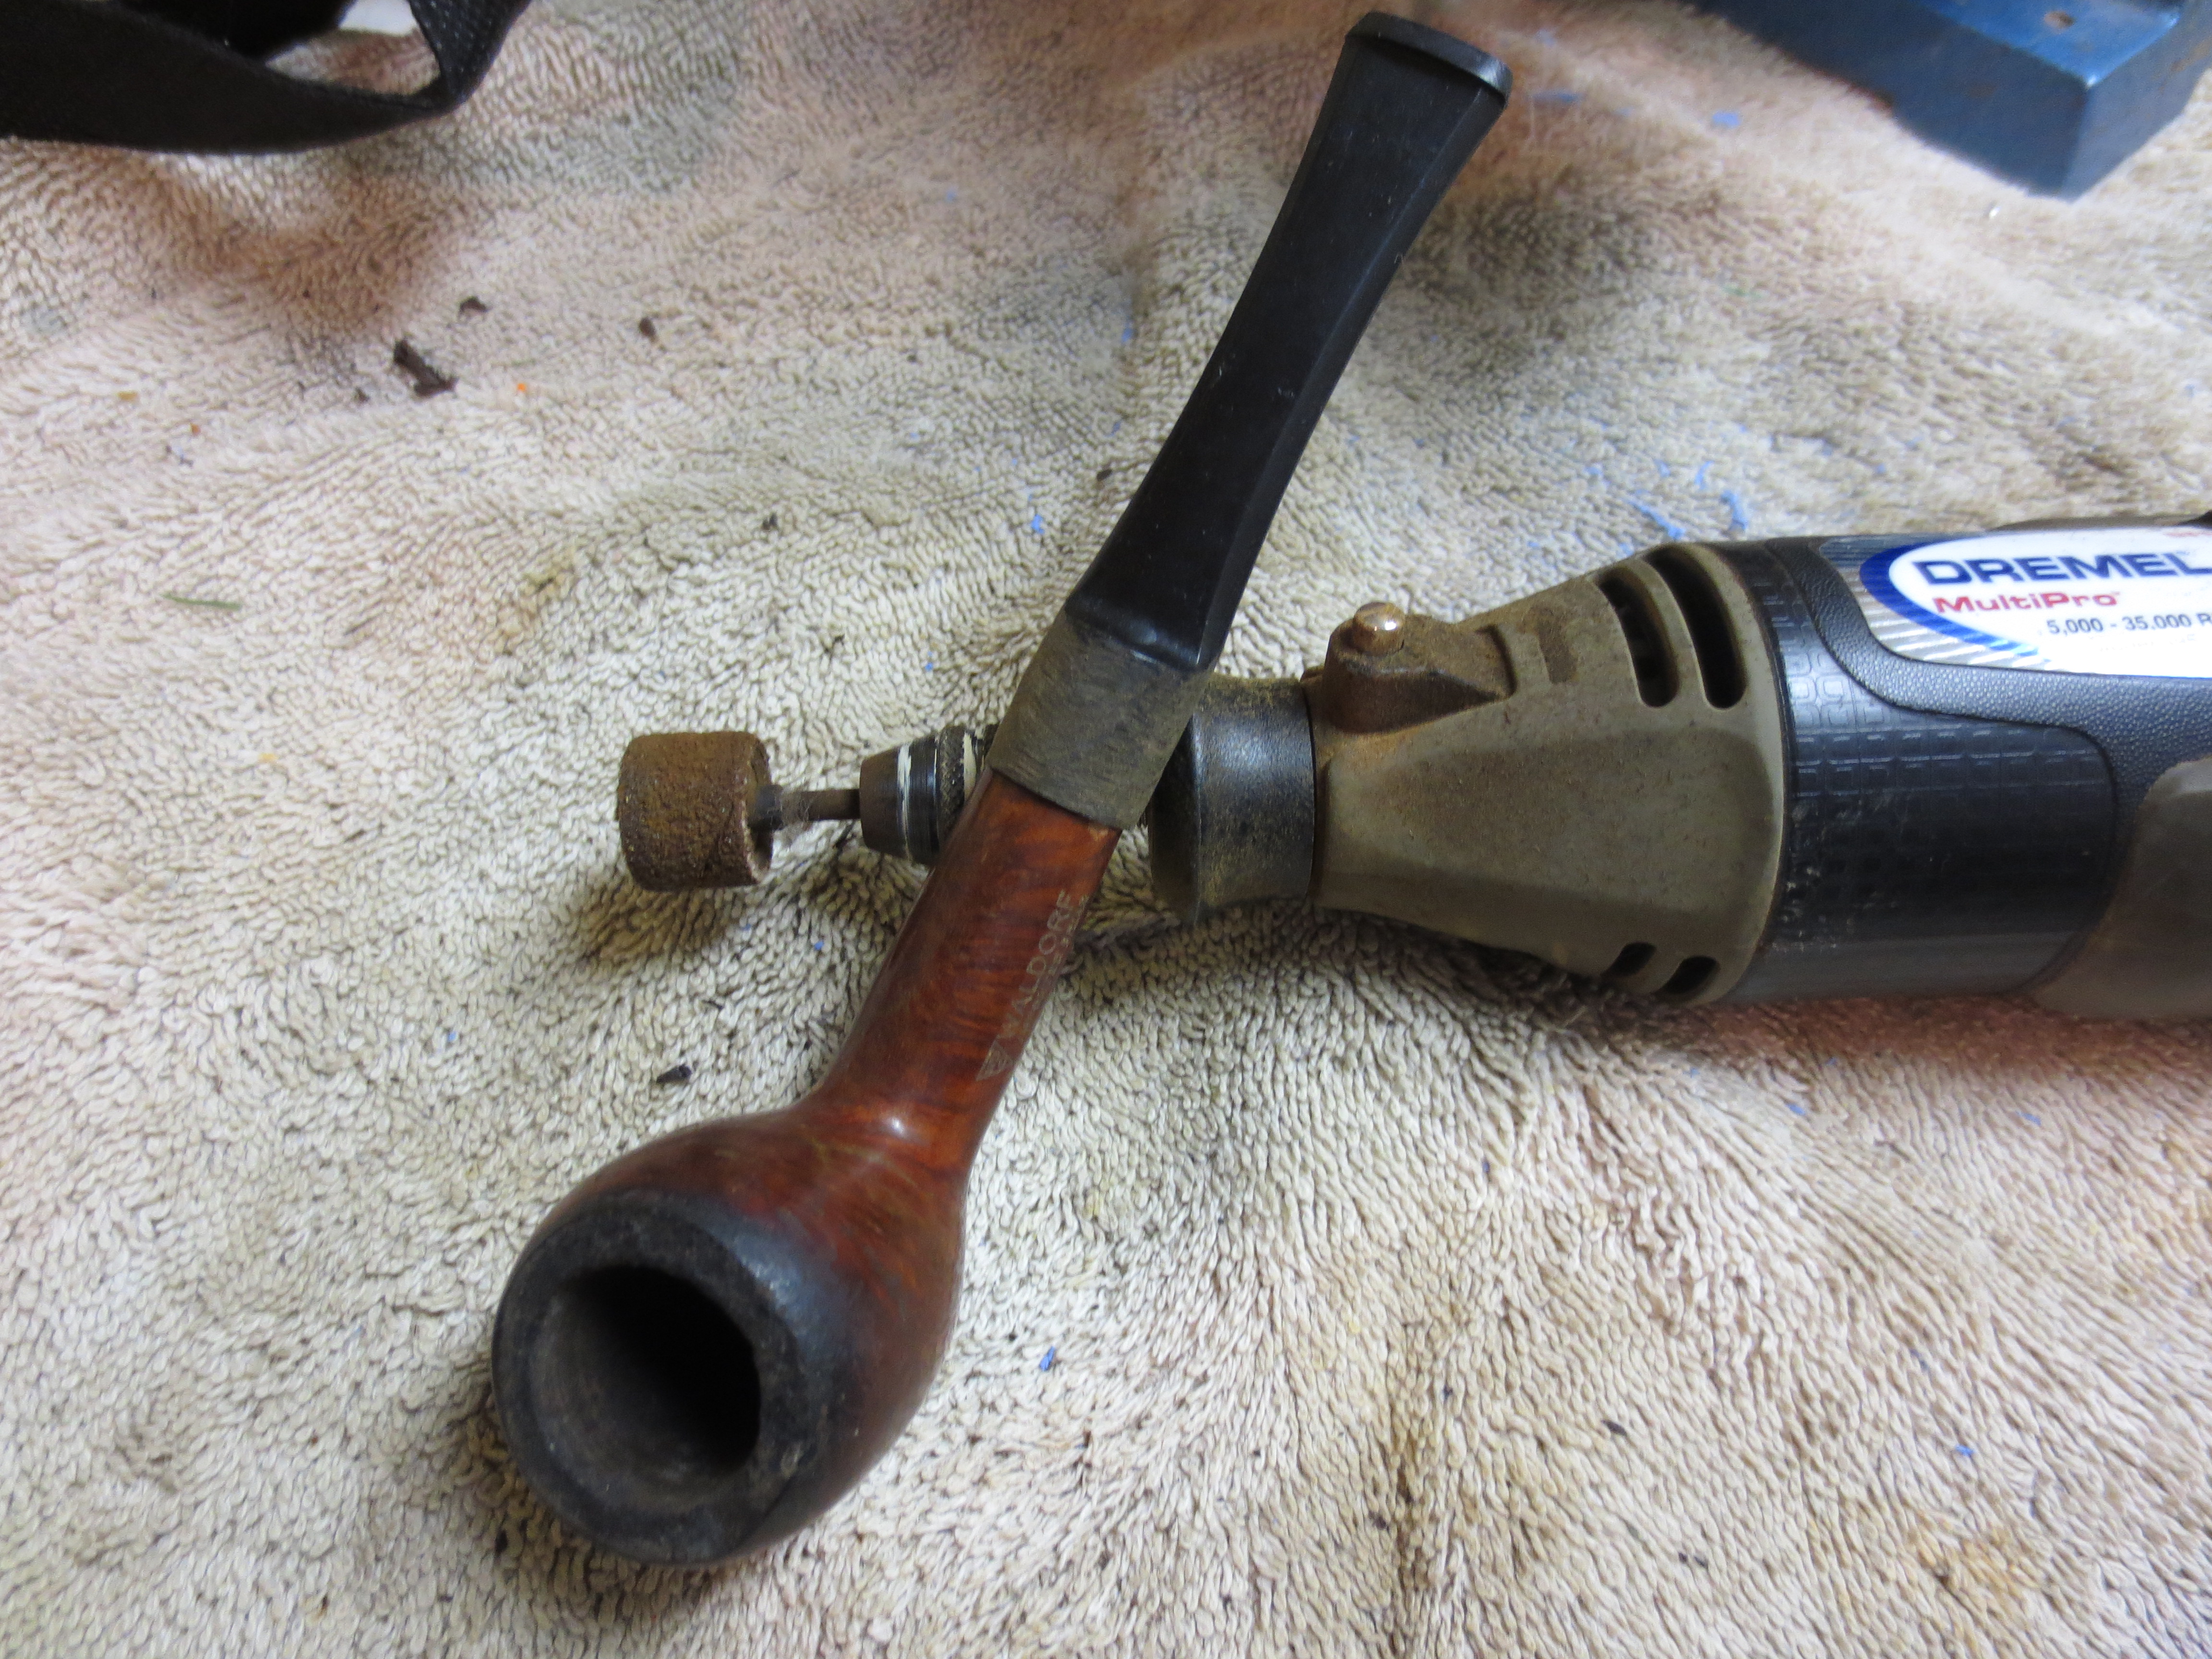
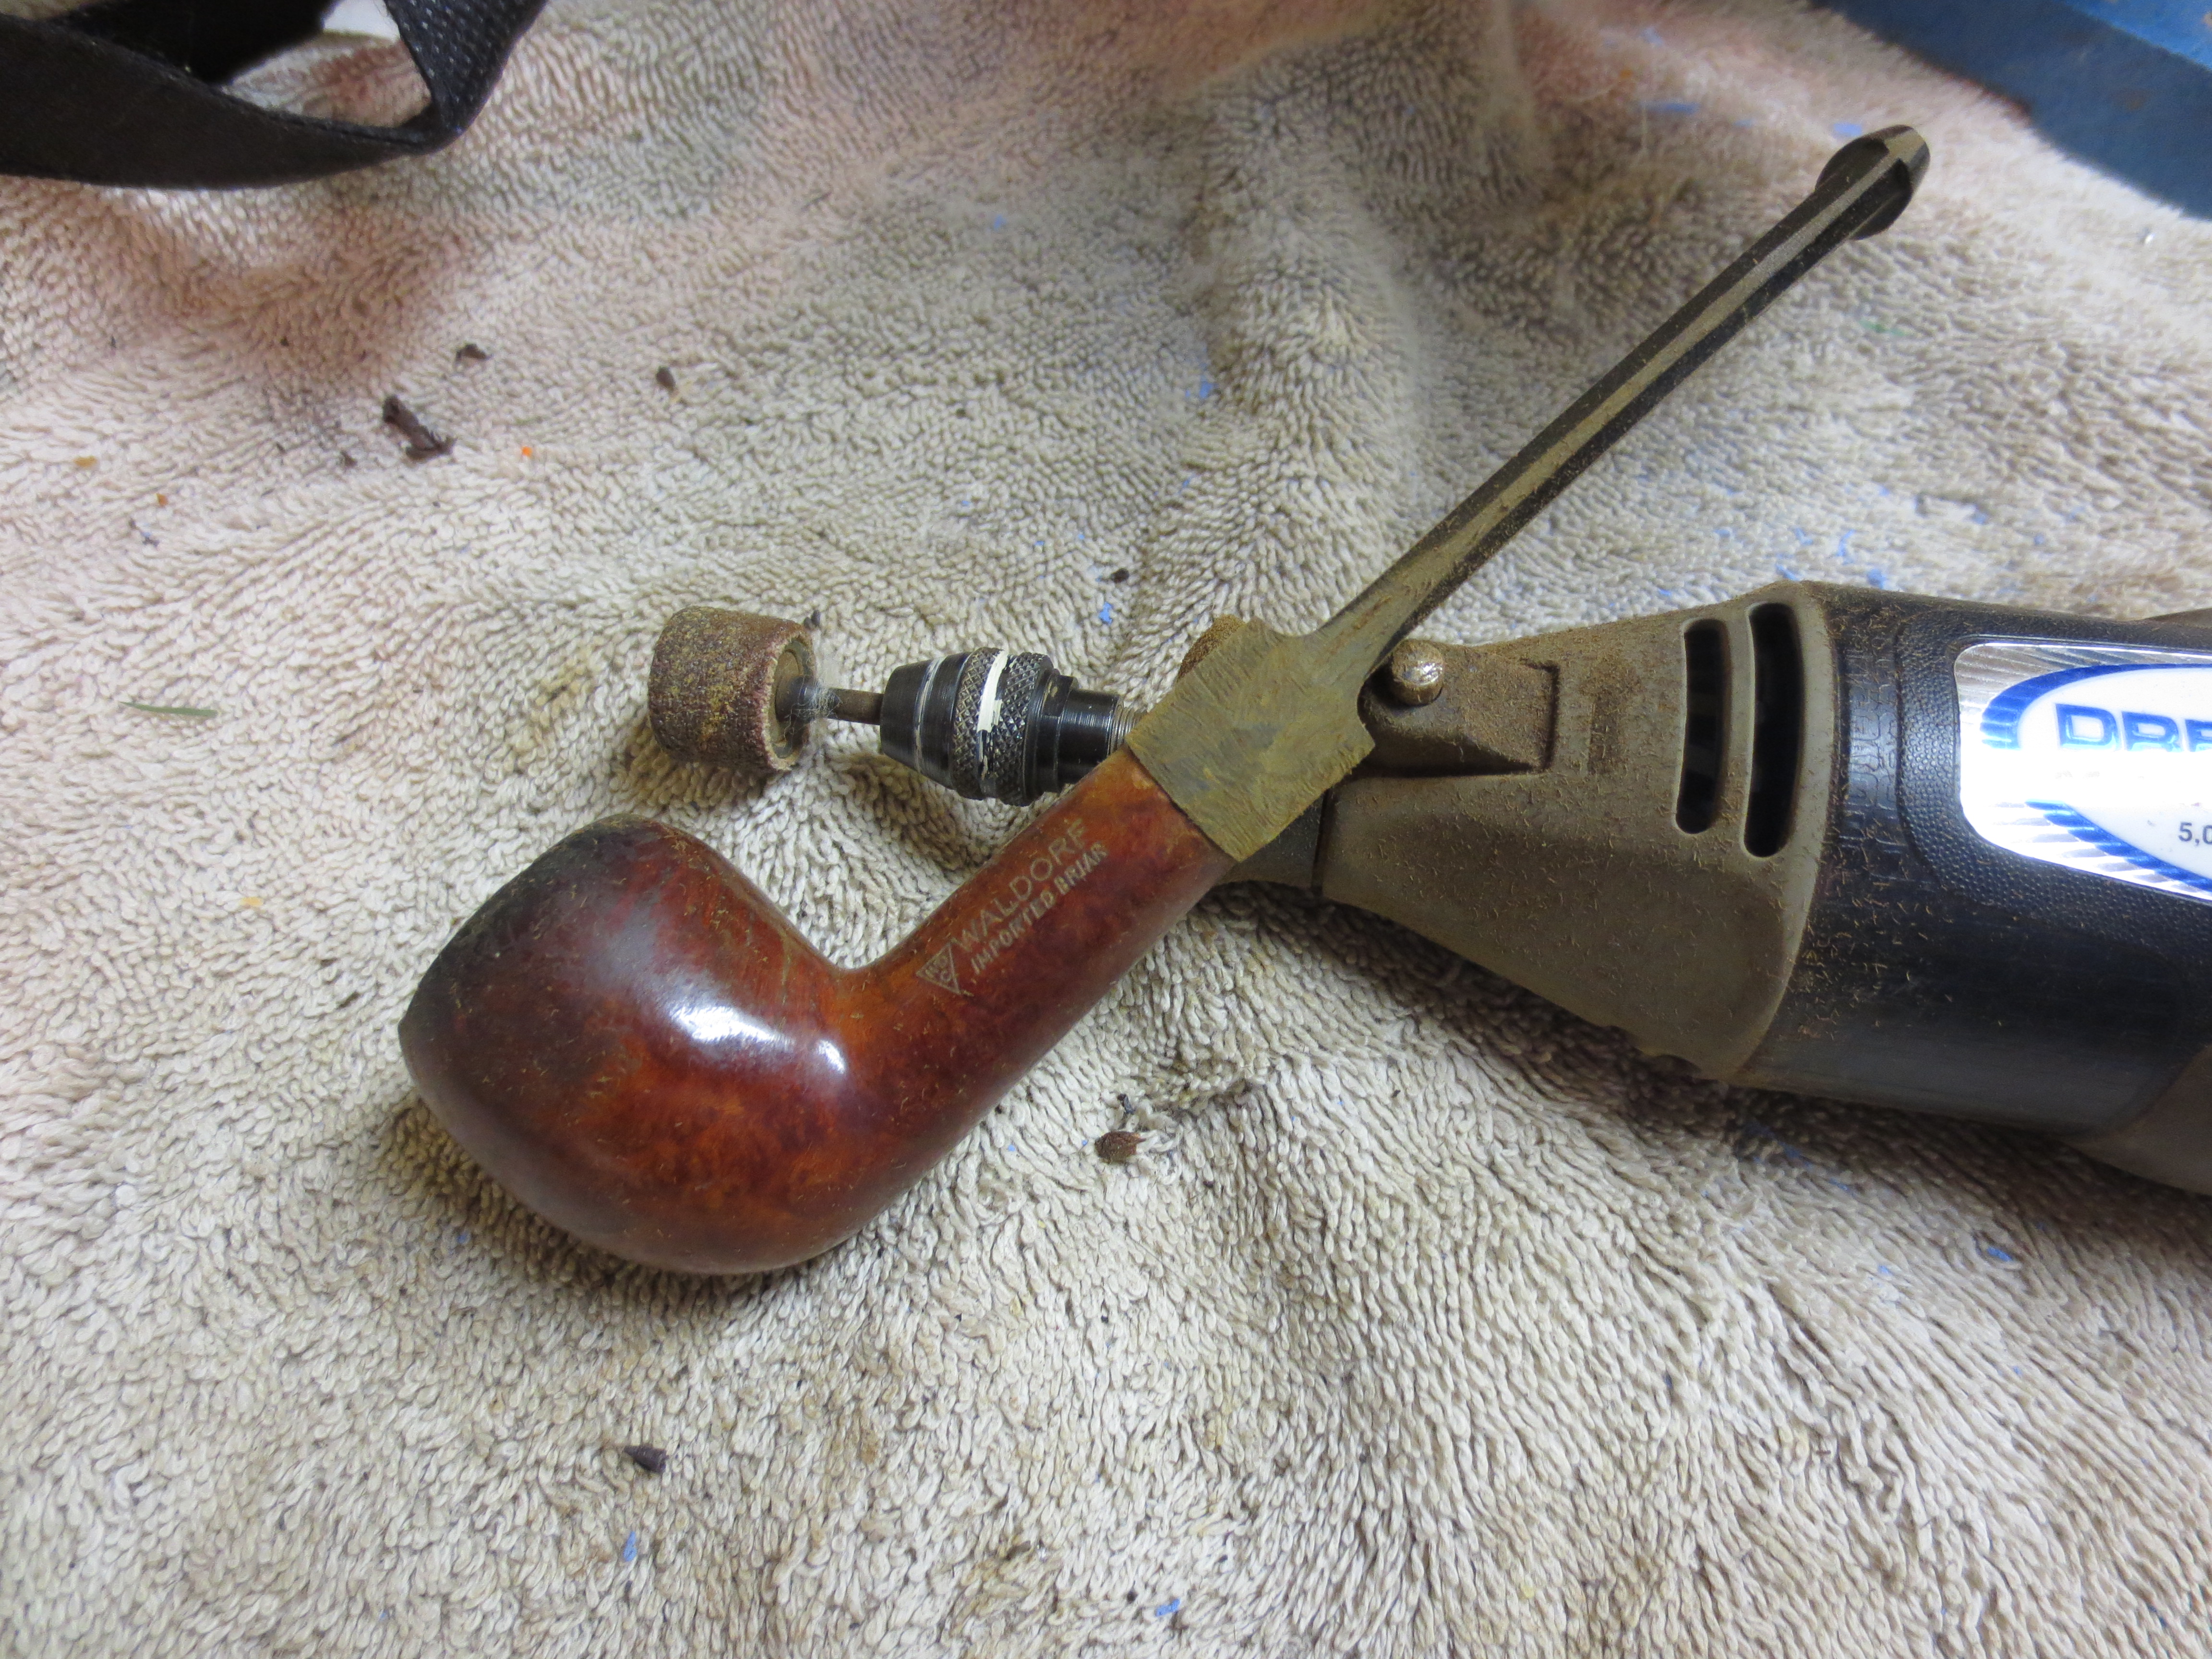
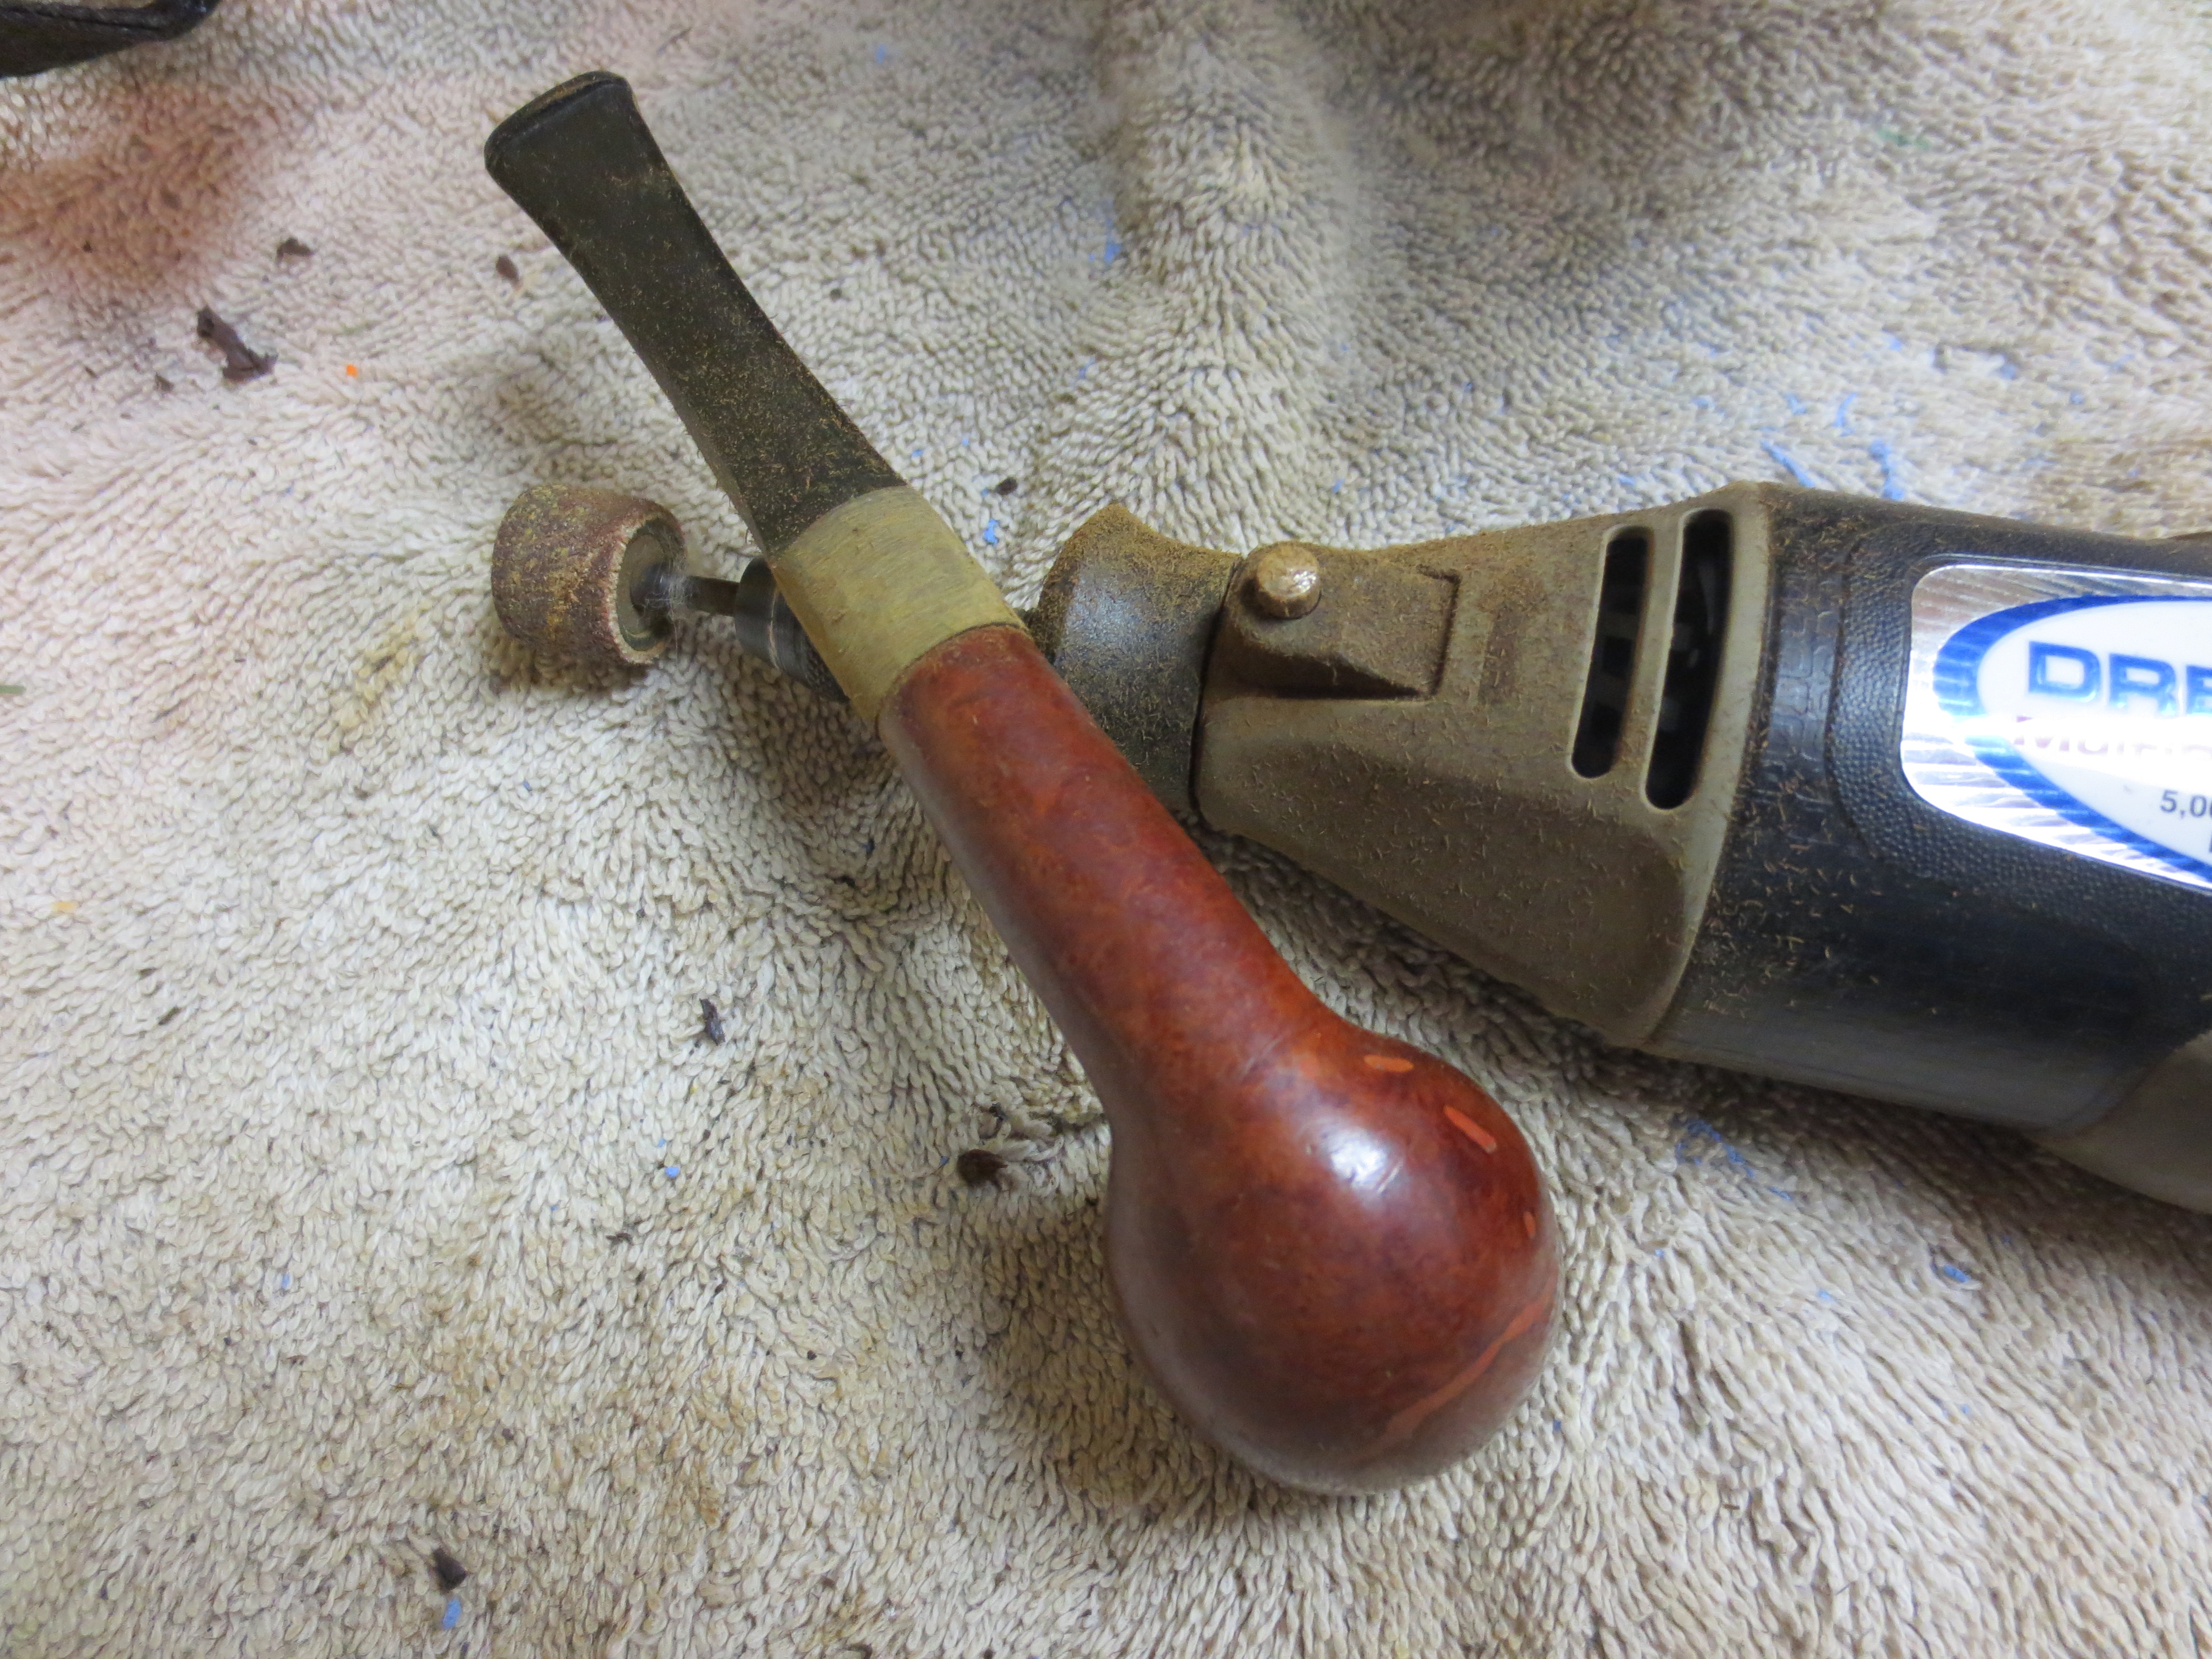
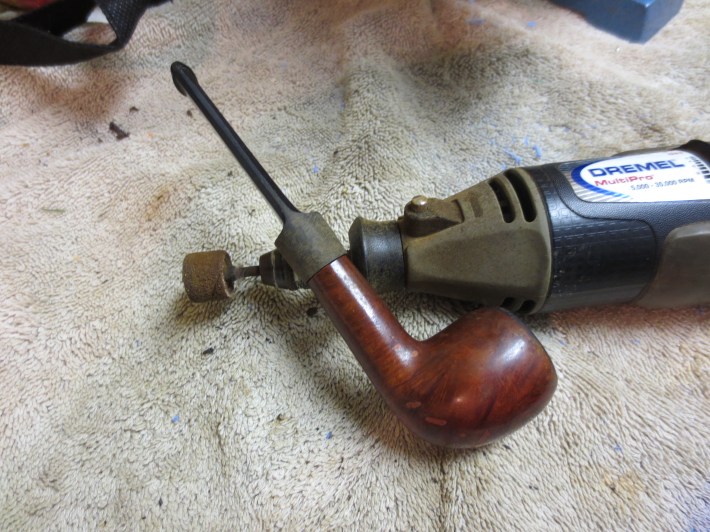
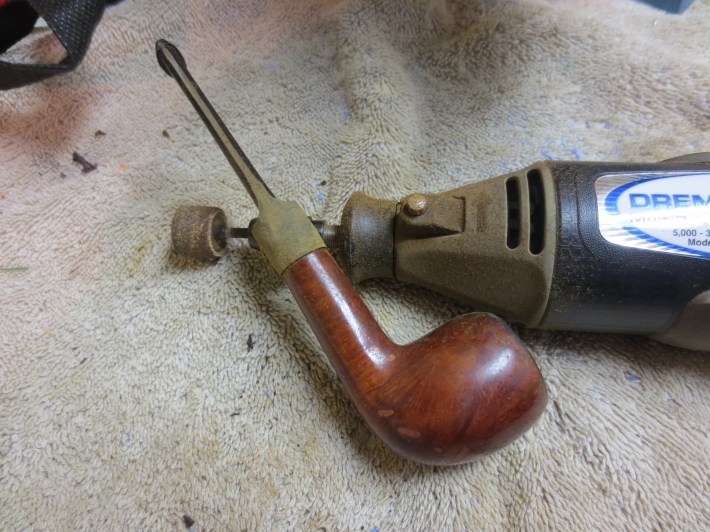
I decided to work on the fit of the stem first and trim it down to size. I took it to my work table where I keep my Dremel. I have the larger sanding drum on the Dremel and I have found that run at a medium speed it works well to trim down the stems to fit the shanks. I work carefully so that I do not damage the shank or cut too deeply into the stem. The next seven photos show the work on the stem and the progress from the pictures above to the last photo in the seven. I always work to get the stem as close to the diameter of the shank as I can so that I have less work to do with the sandpaper. Note also the visible fills in the bowl. They would make it a natural candidate for rustication when I got to that point.


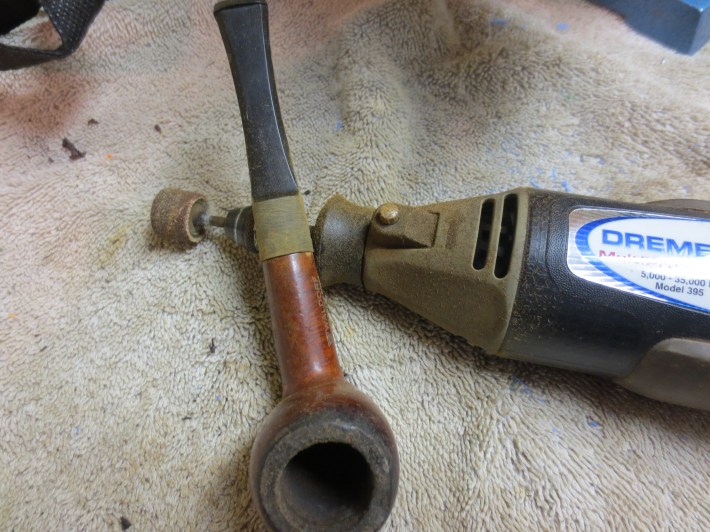
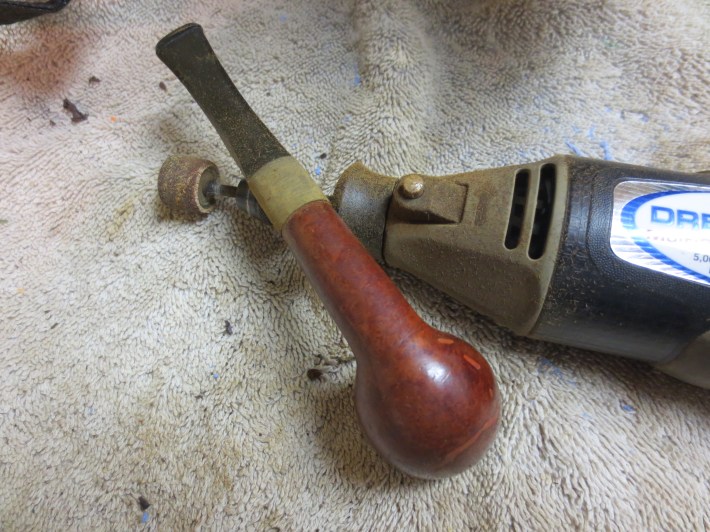
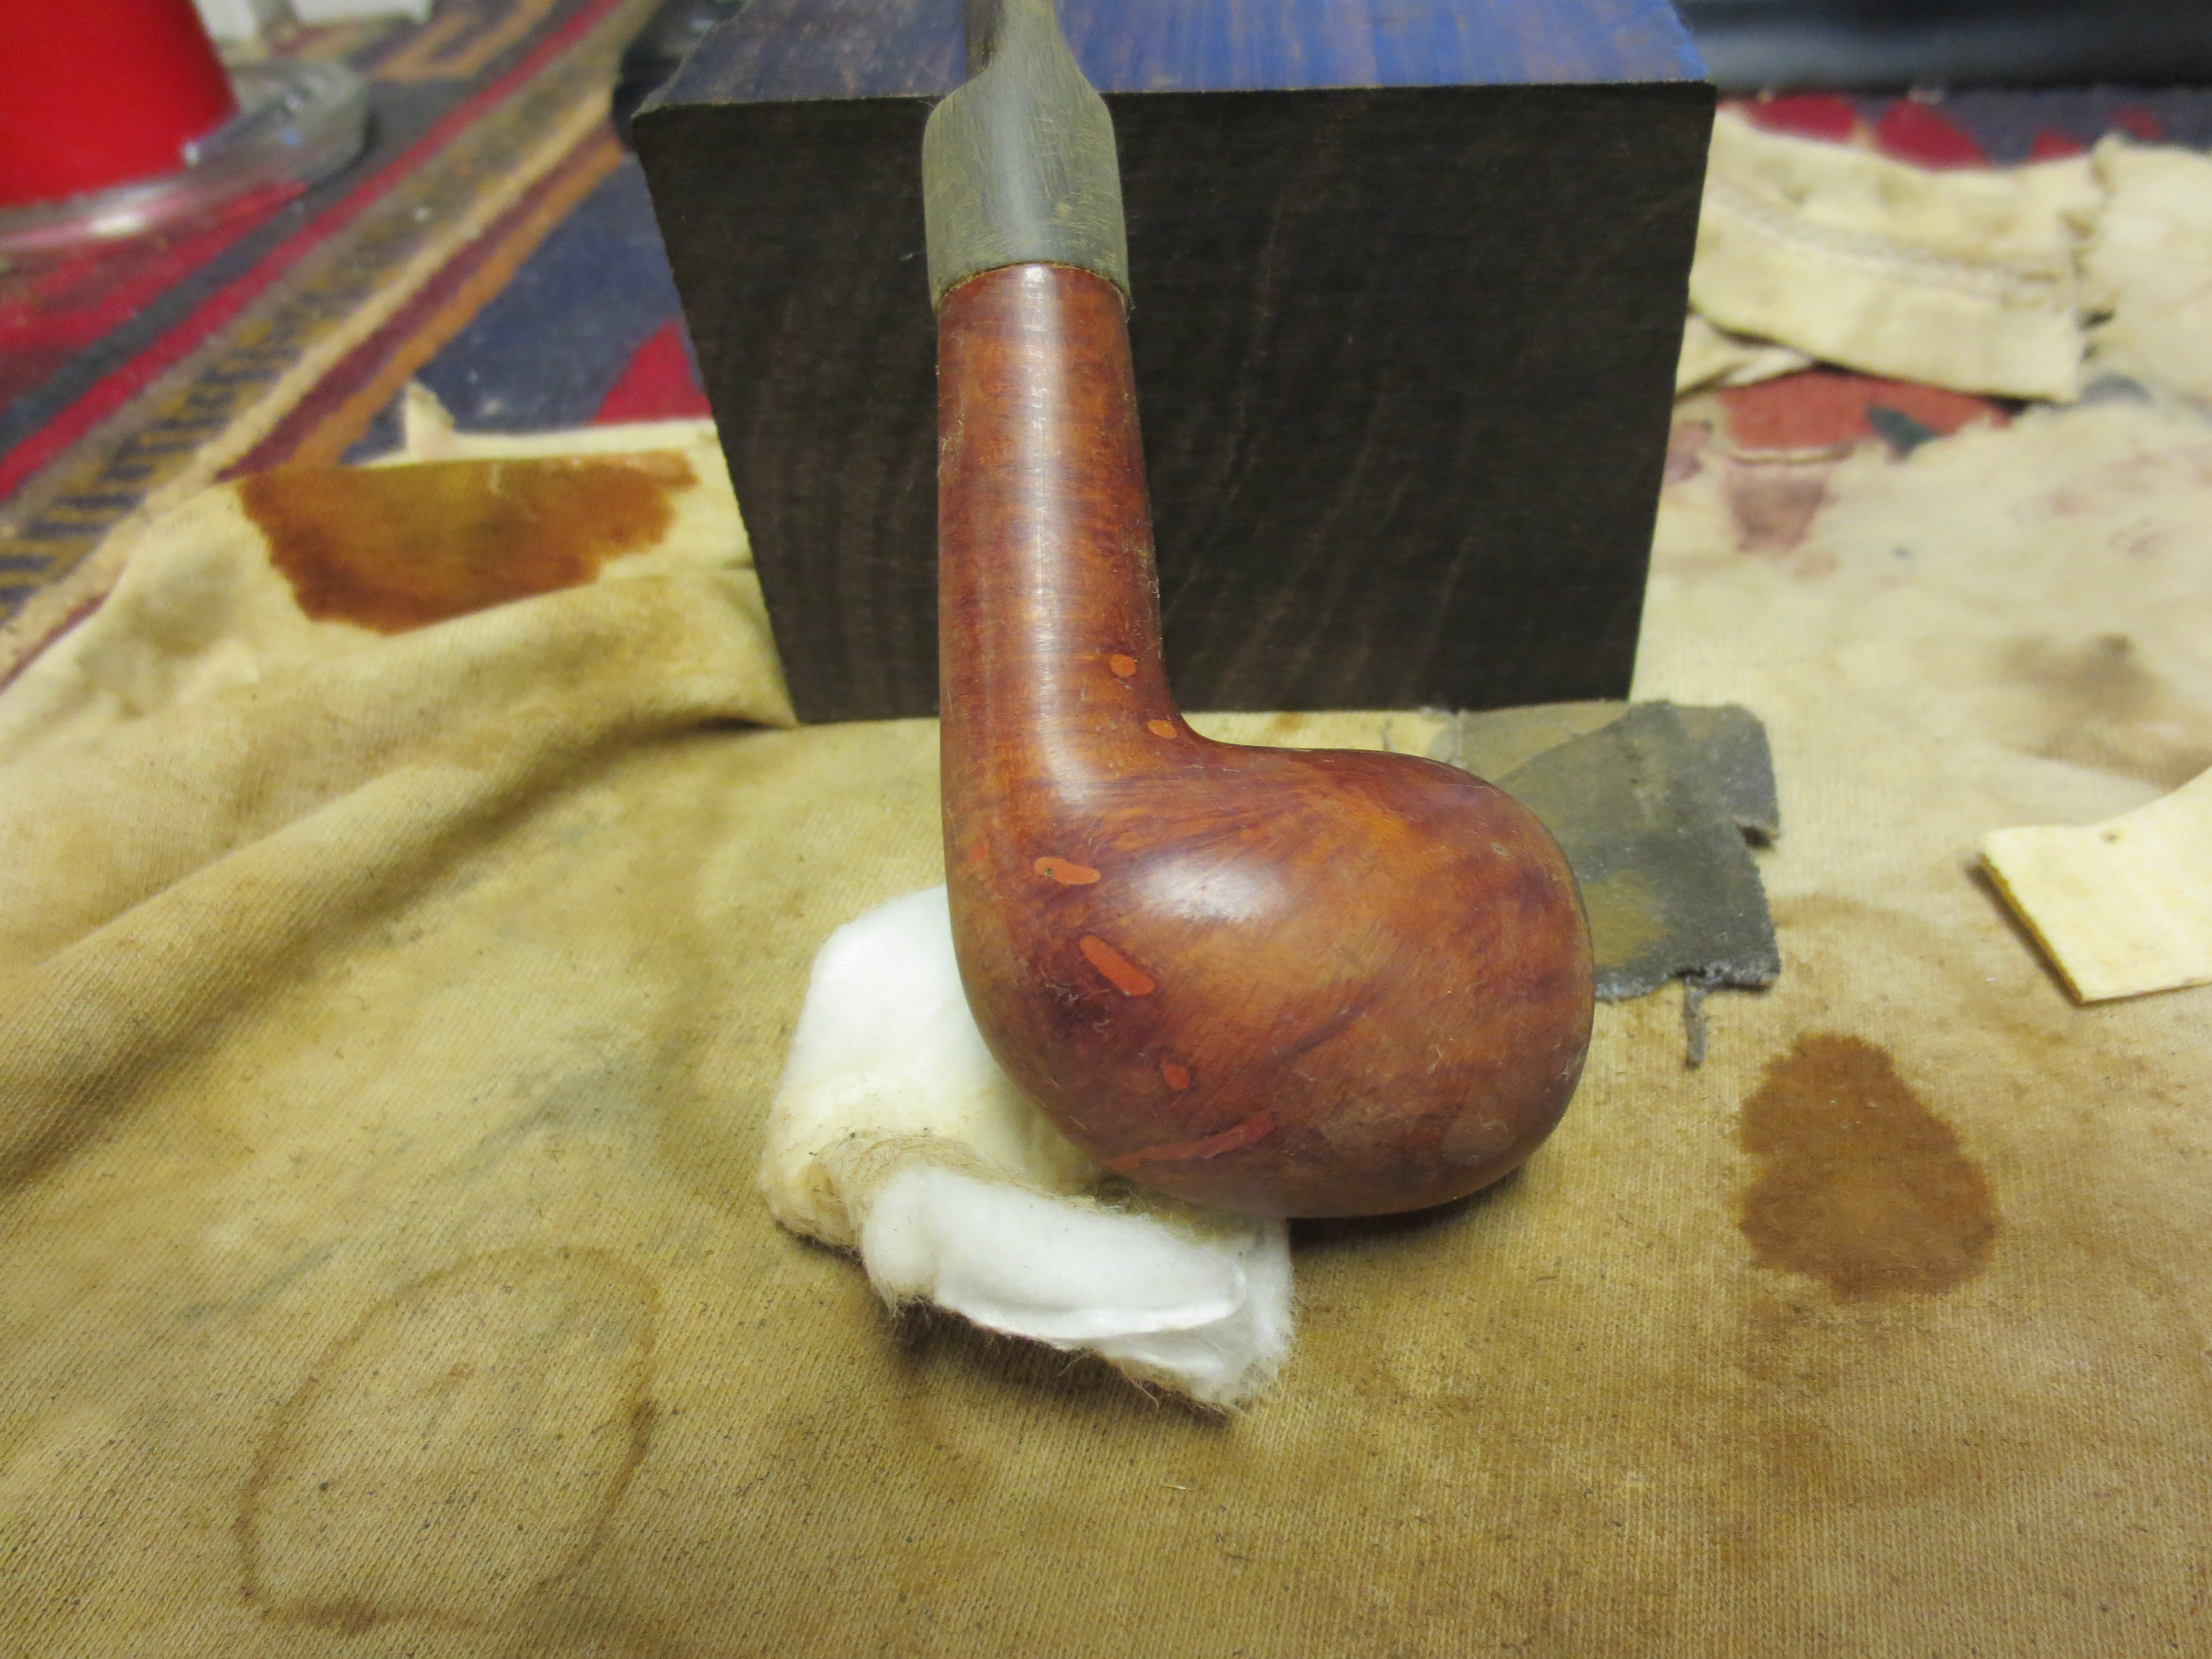
The next five photos show the sanding progress on the stem. I kept in on the shank to reduce the risk of rounding the edges/shoulders on the stem. I worked with a medium grit emery paper and 240 and 340 grit sandpaper. When I get to this point in the shaping of the stem I work to remove the excess vulcanite more slowly and work at removing the scratches left by the Dremel. The fills are very visible in these photos as is the shiny varnish finish on the pipe.


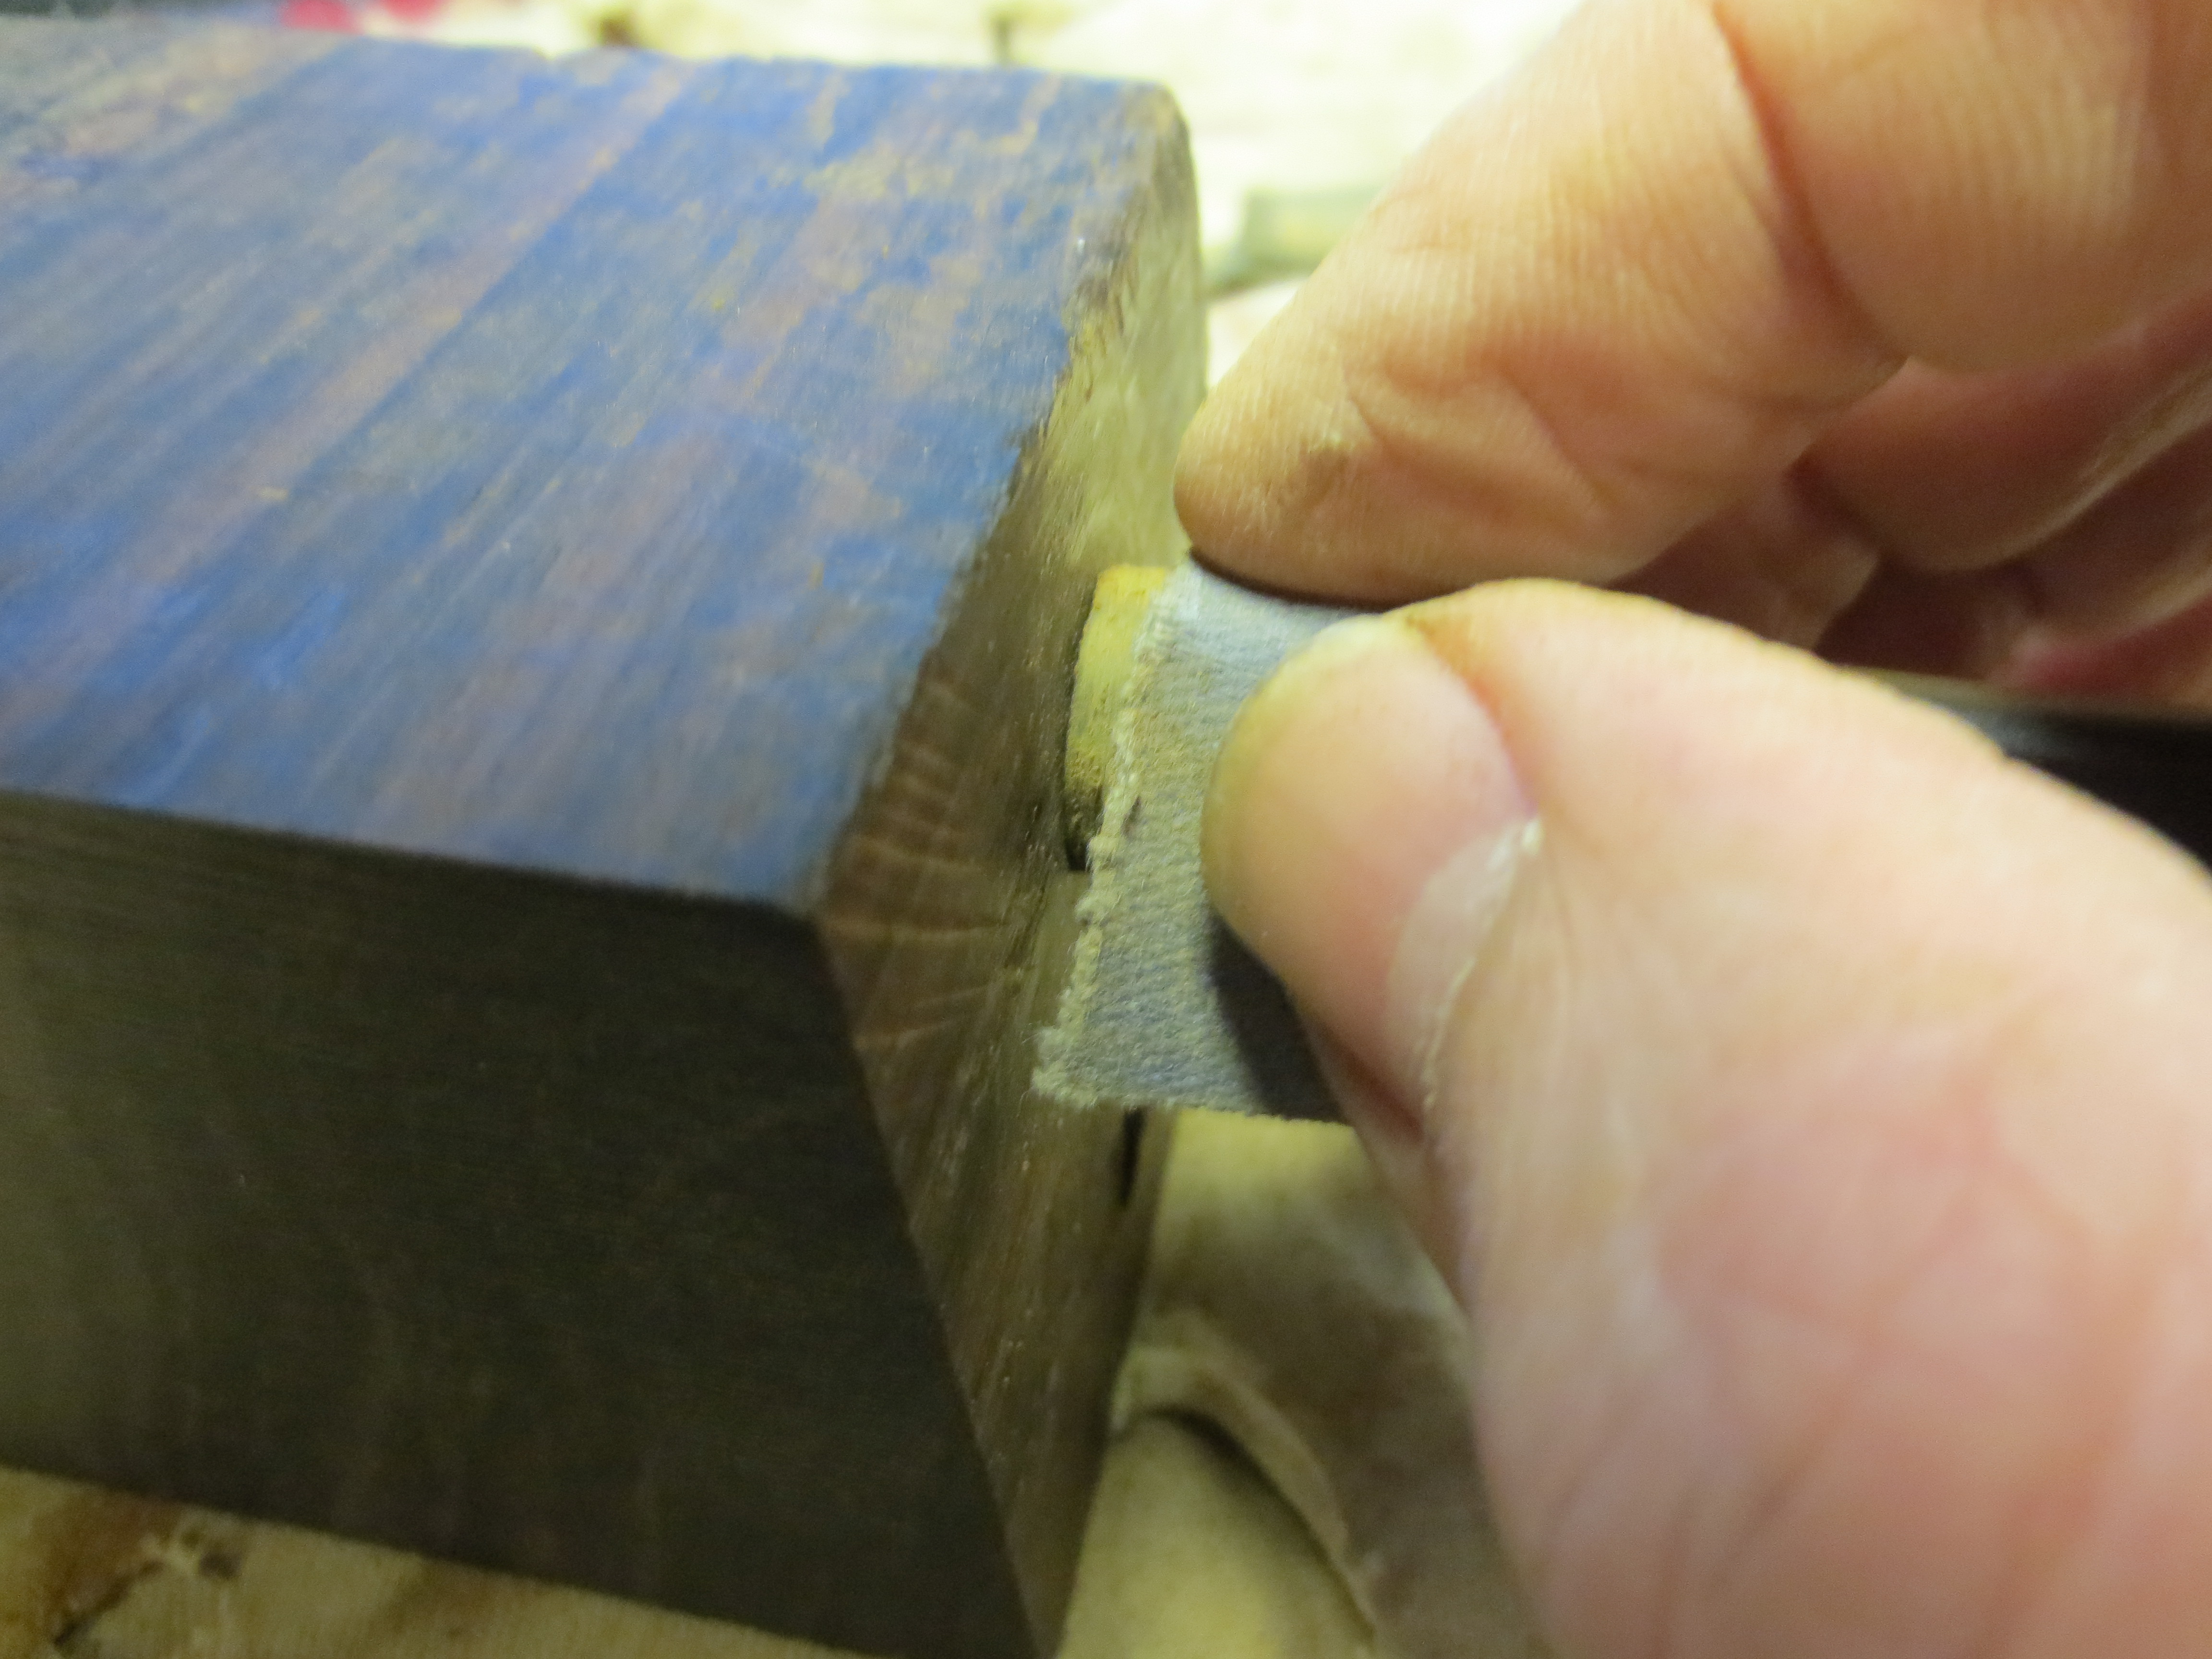
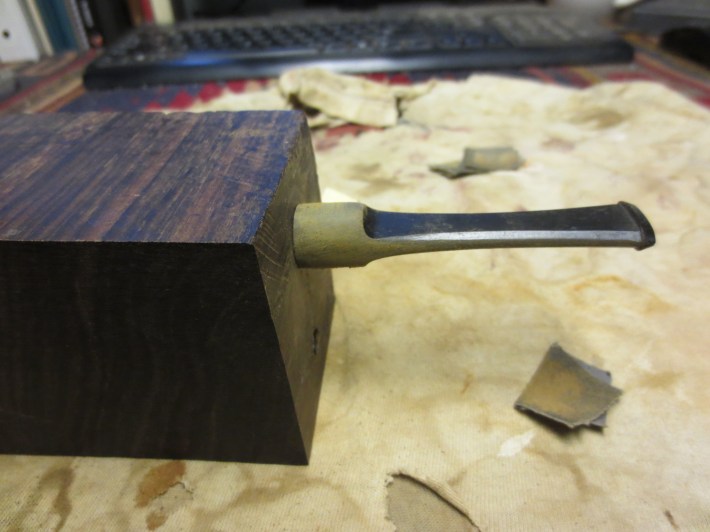
I am working on a block to hold the stem while I do the shaping sanding on them. I drilled out a small block of ebony that I have here to the size of the tenon and inserted the stem in the block. Then I can work the edge of the stem and not risk rounding the shoulders. This is still in the experimental stages and I have already decided on some significant improvements. I hold the stem tight against the block and work the folded sandpaper against the block to smooth out that part of the stem. The next three photos give the idea that is in its infancy stage. There will be more to come on this process in the days ahead.


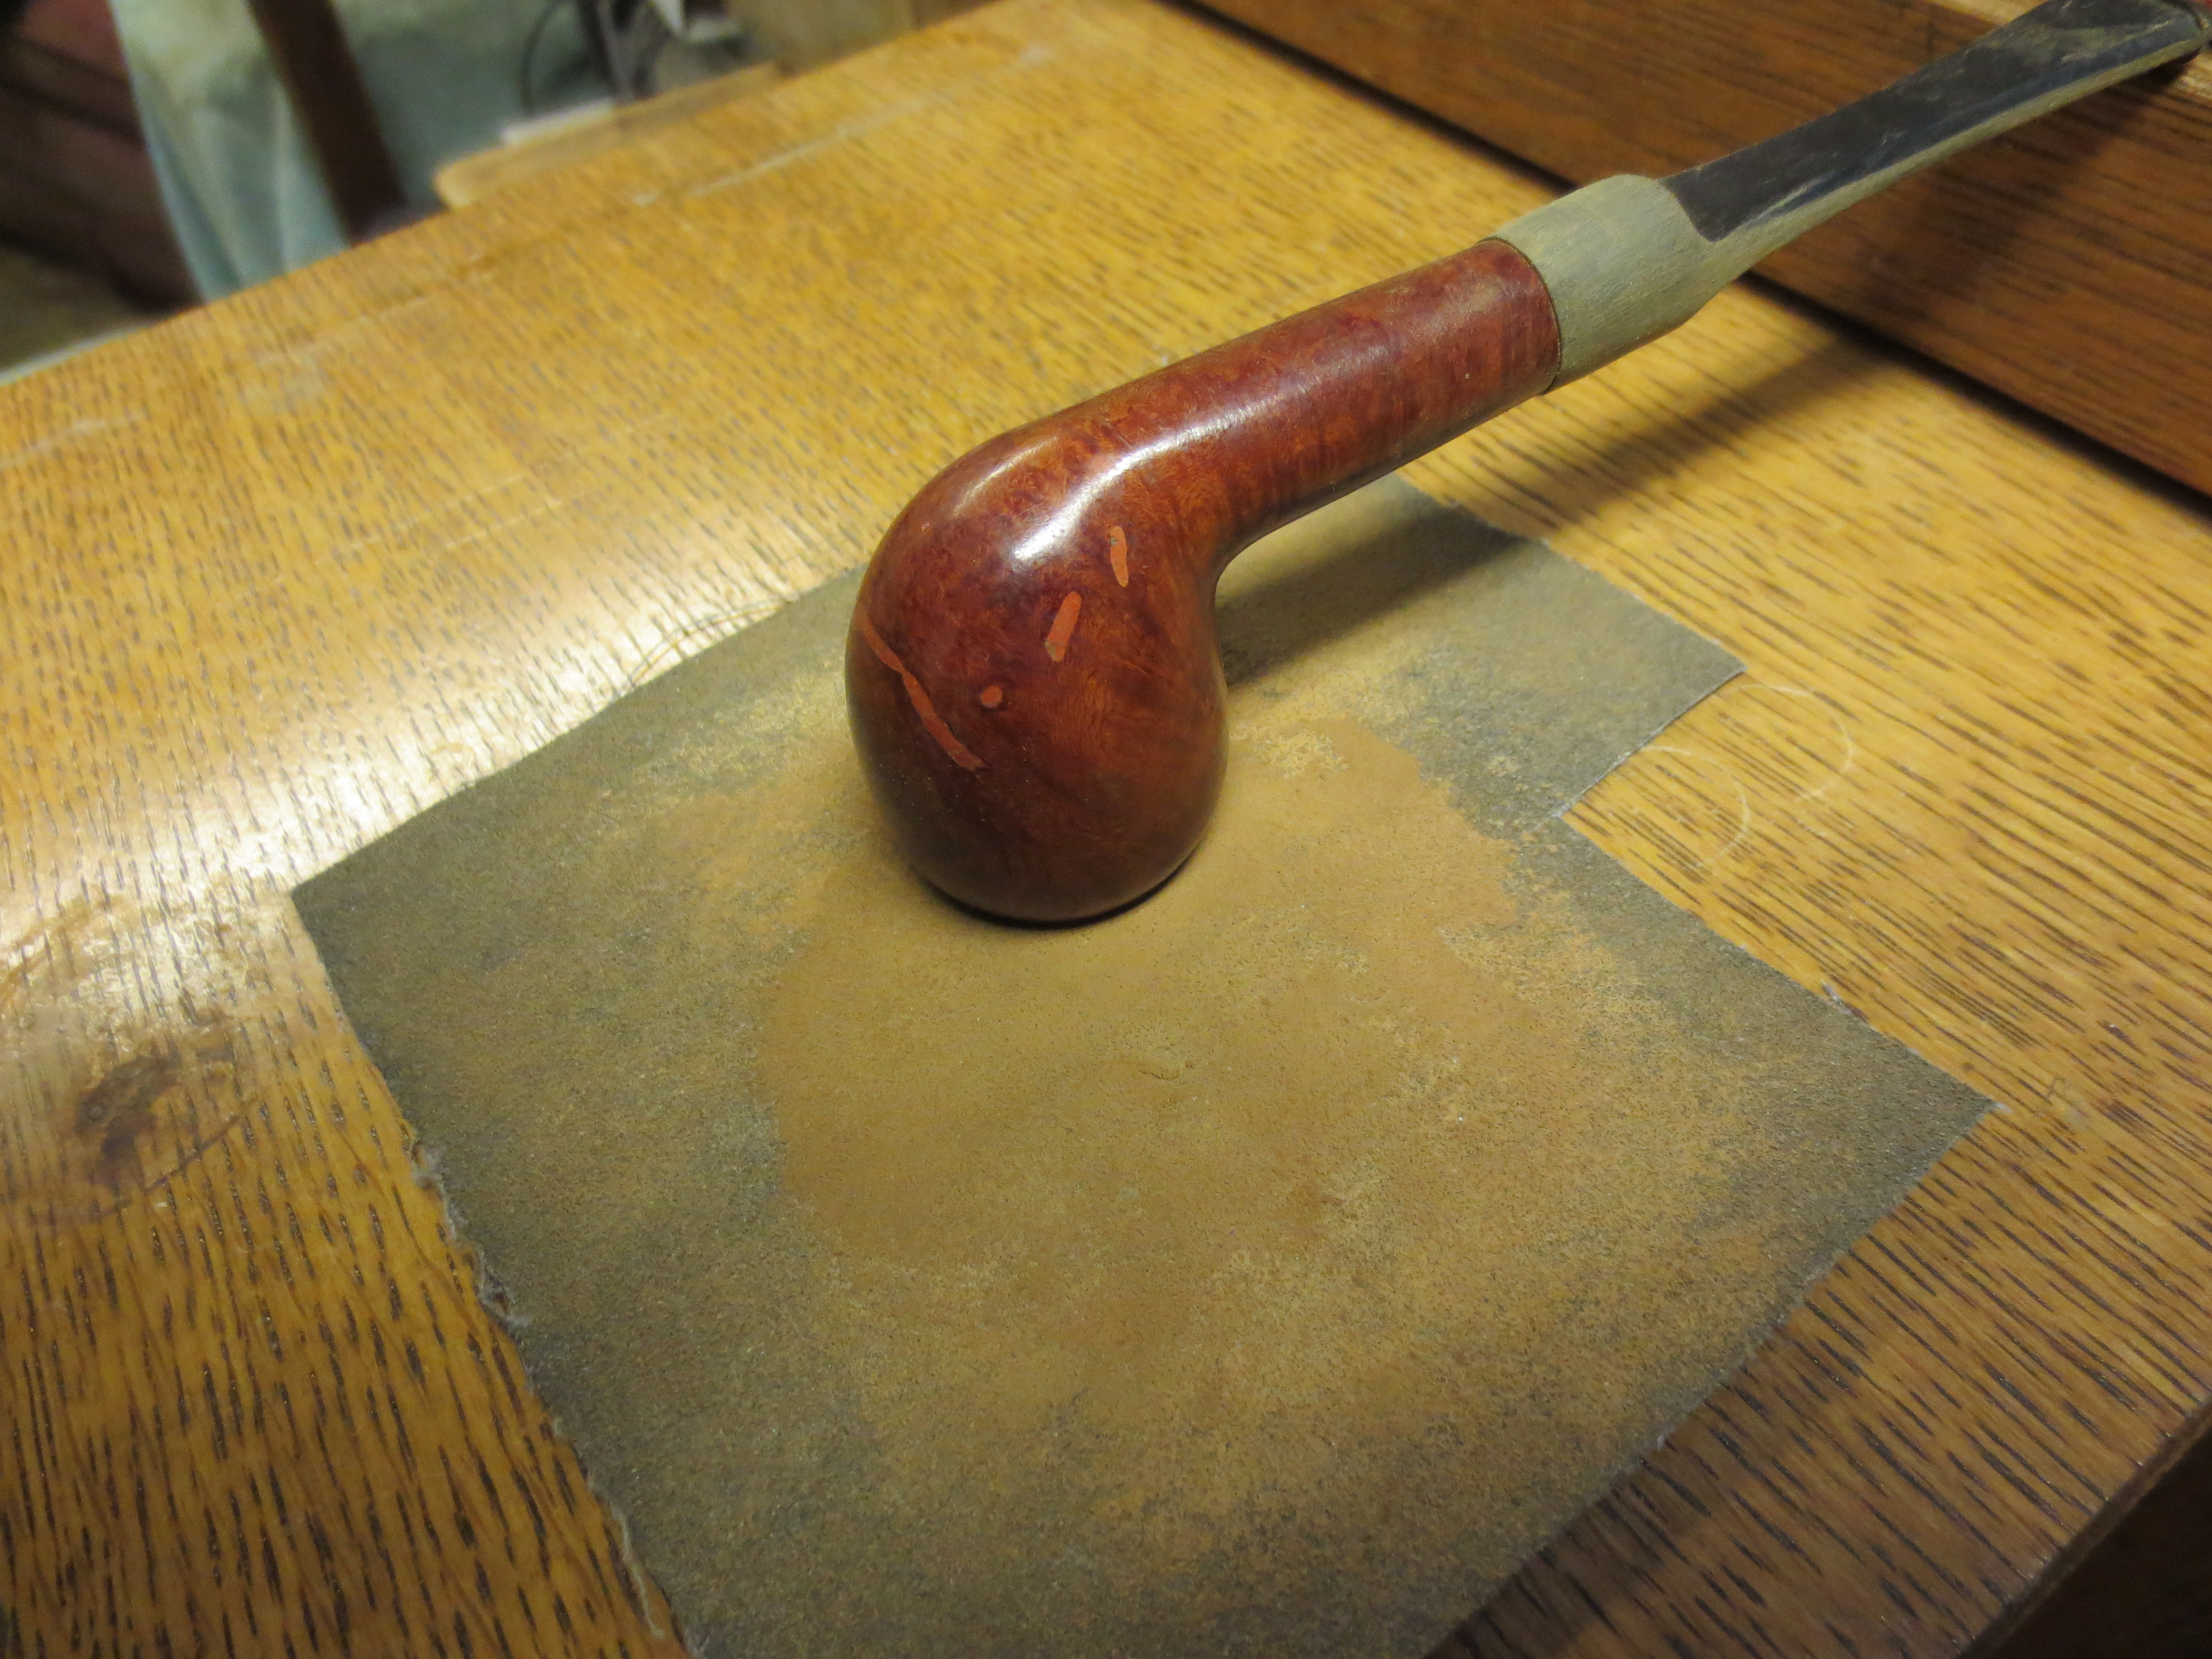
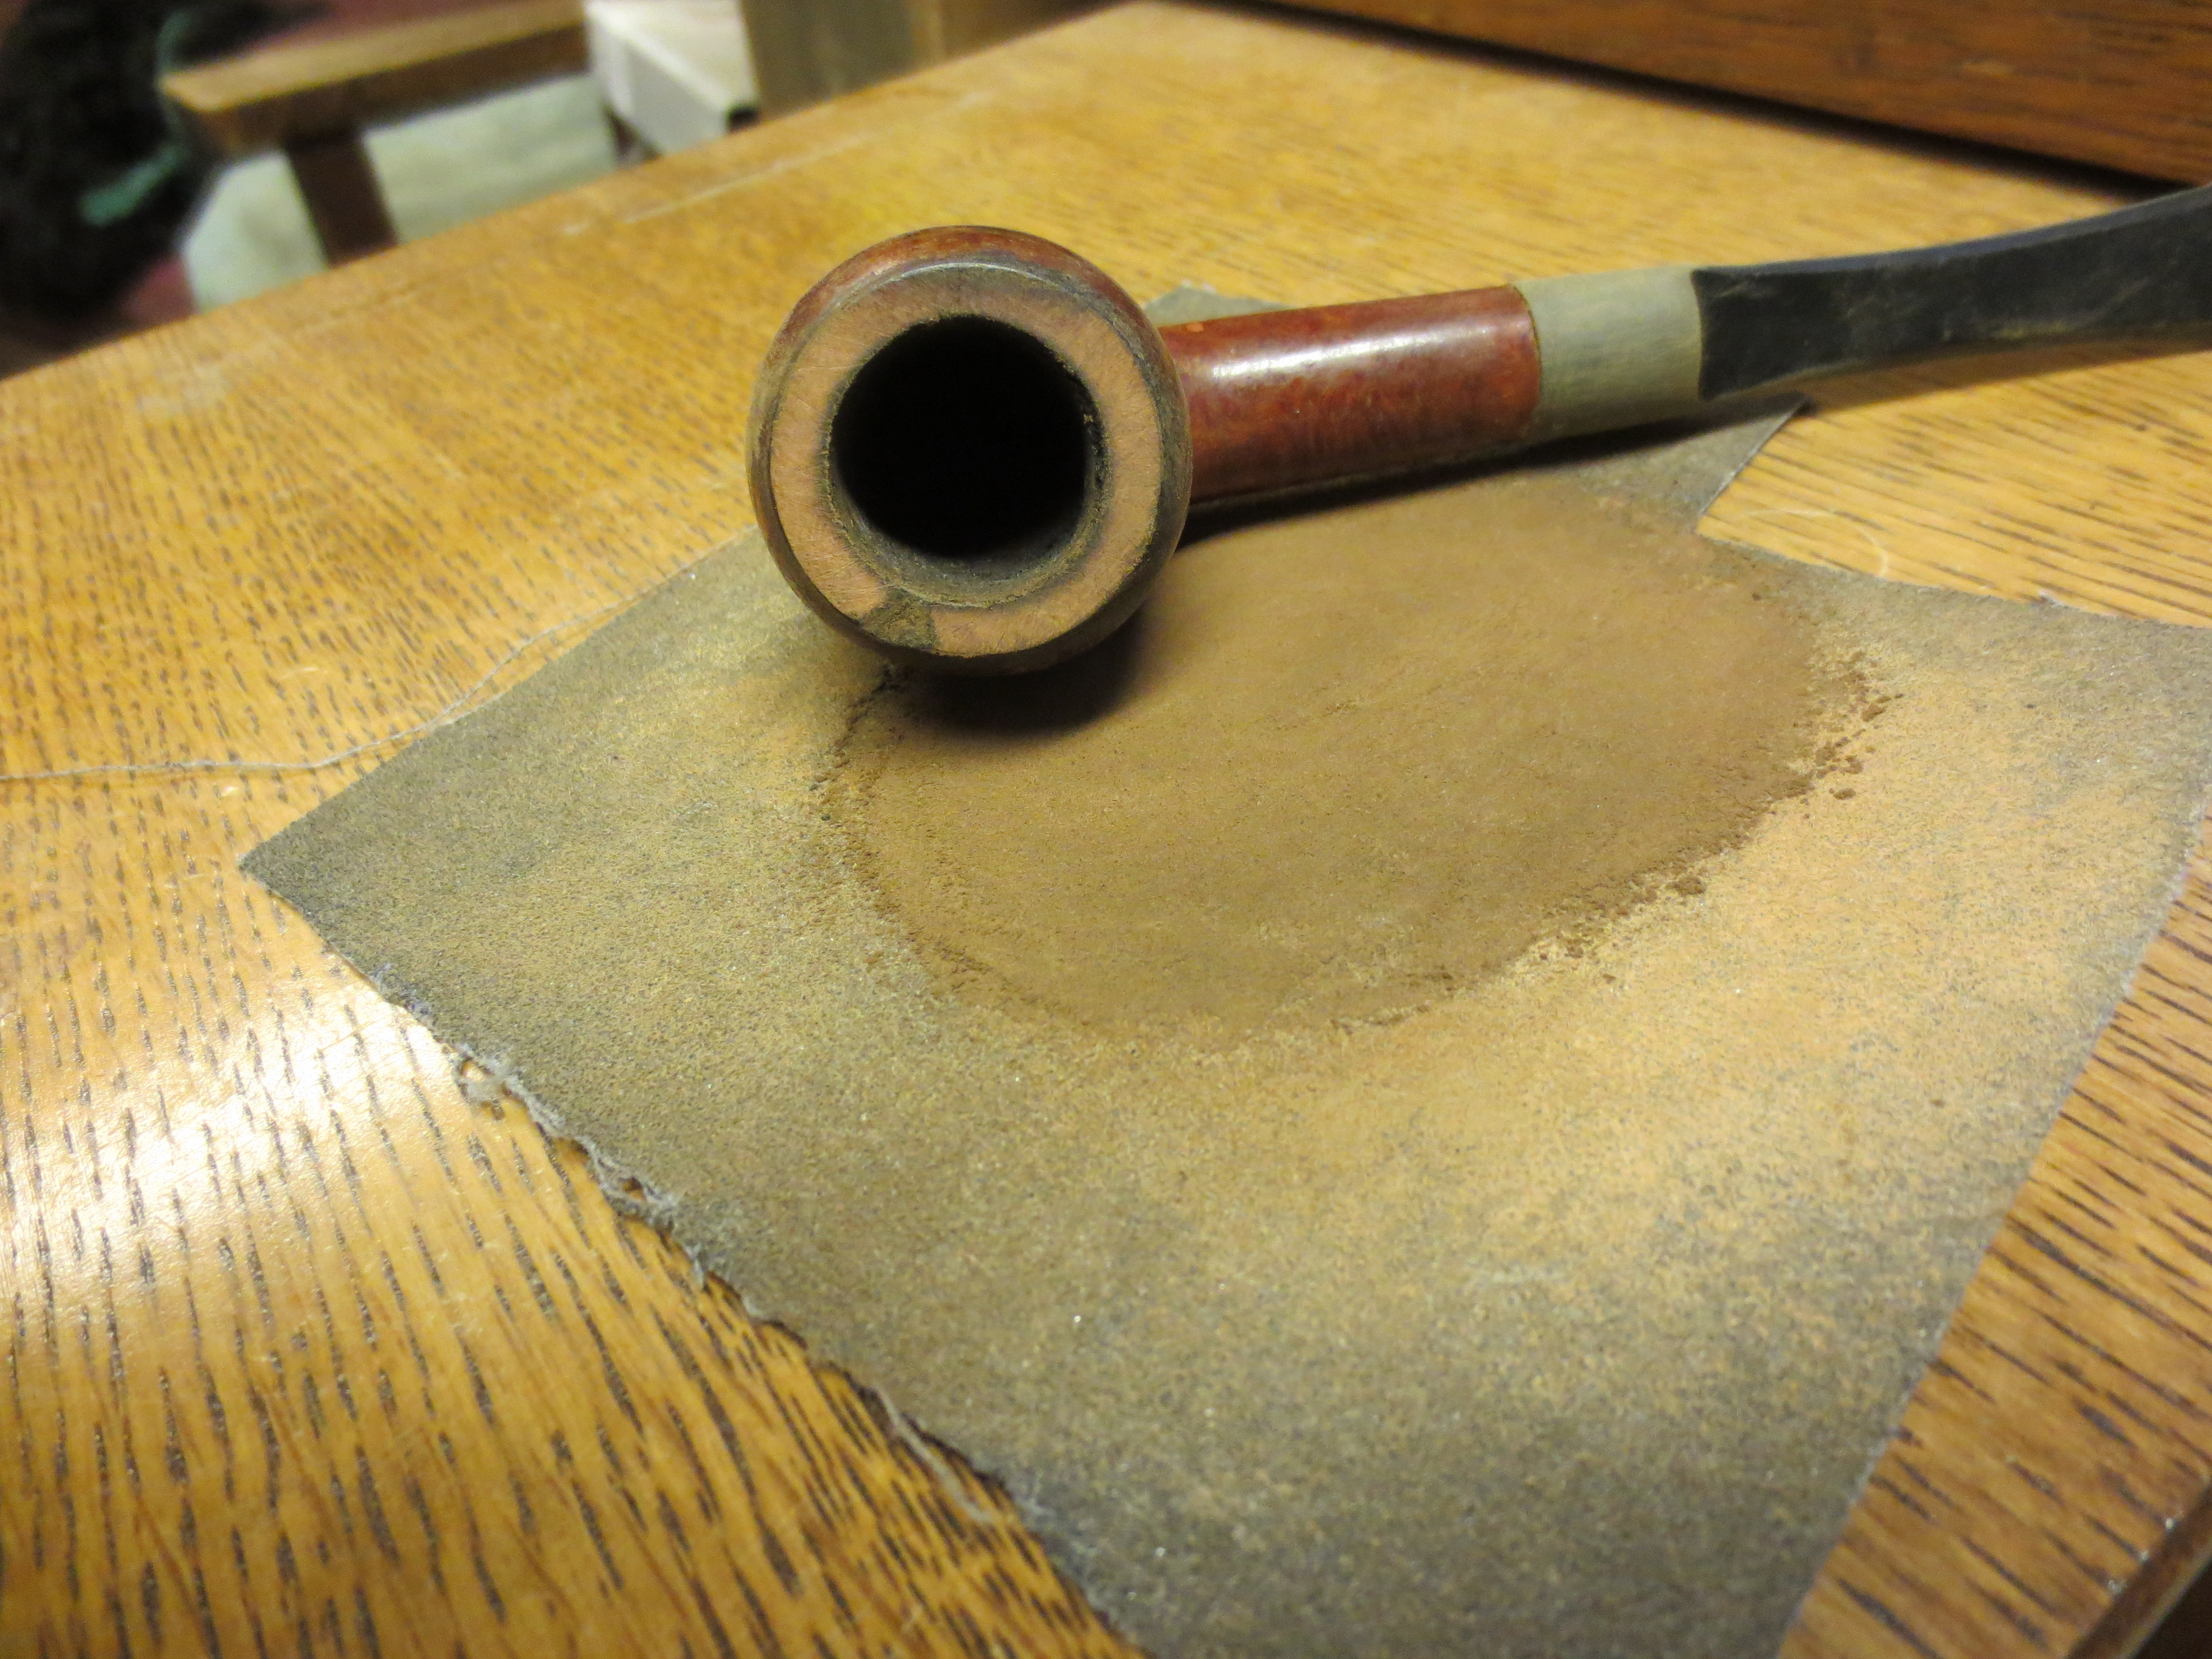
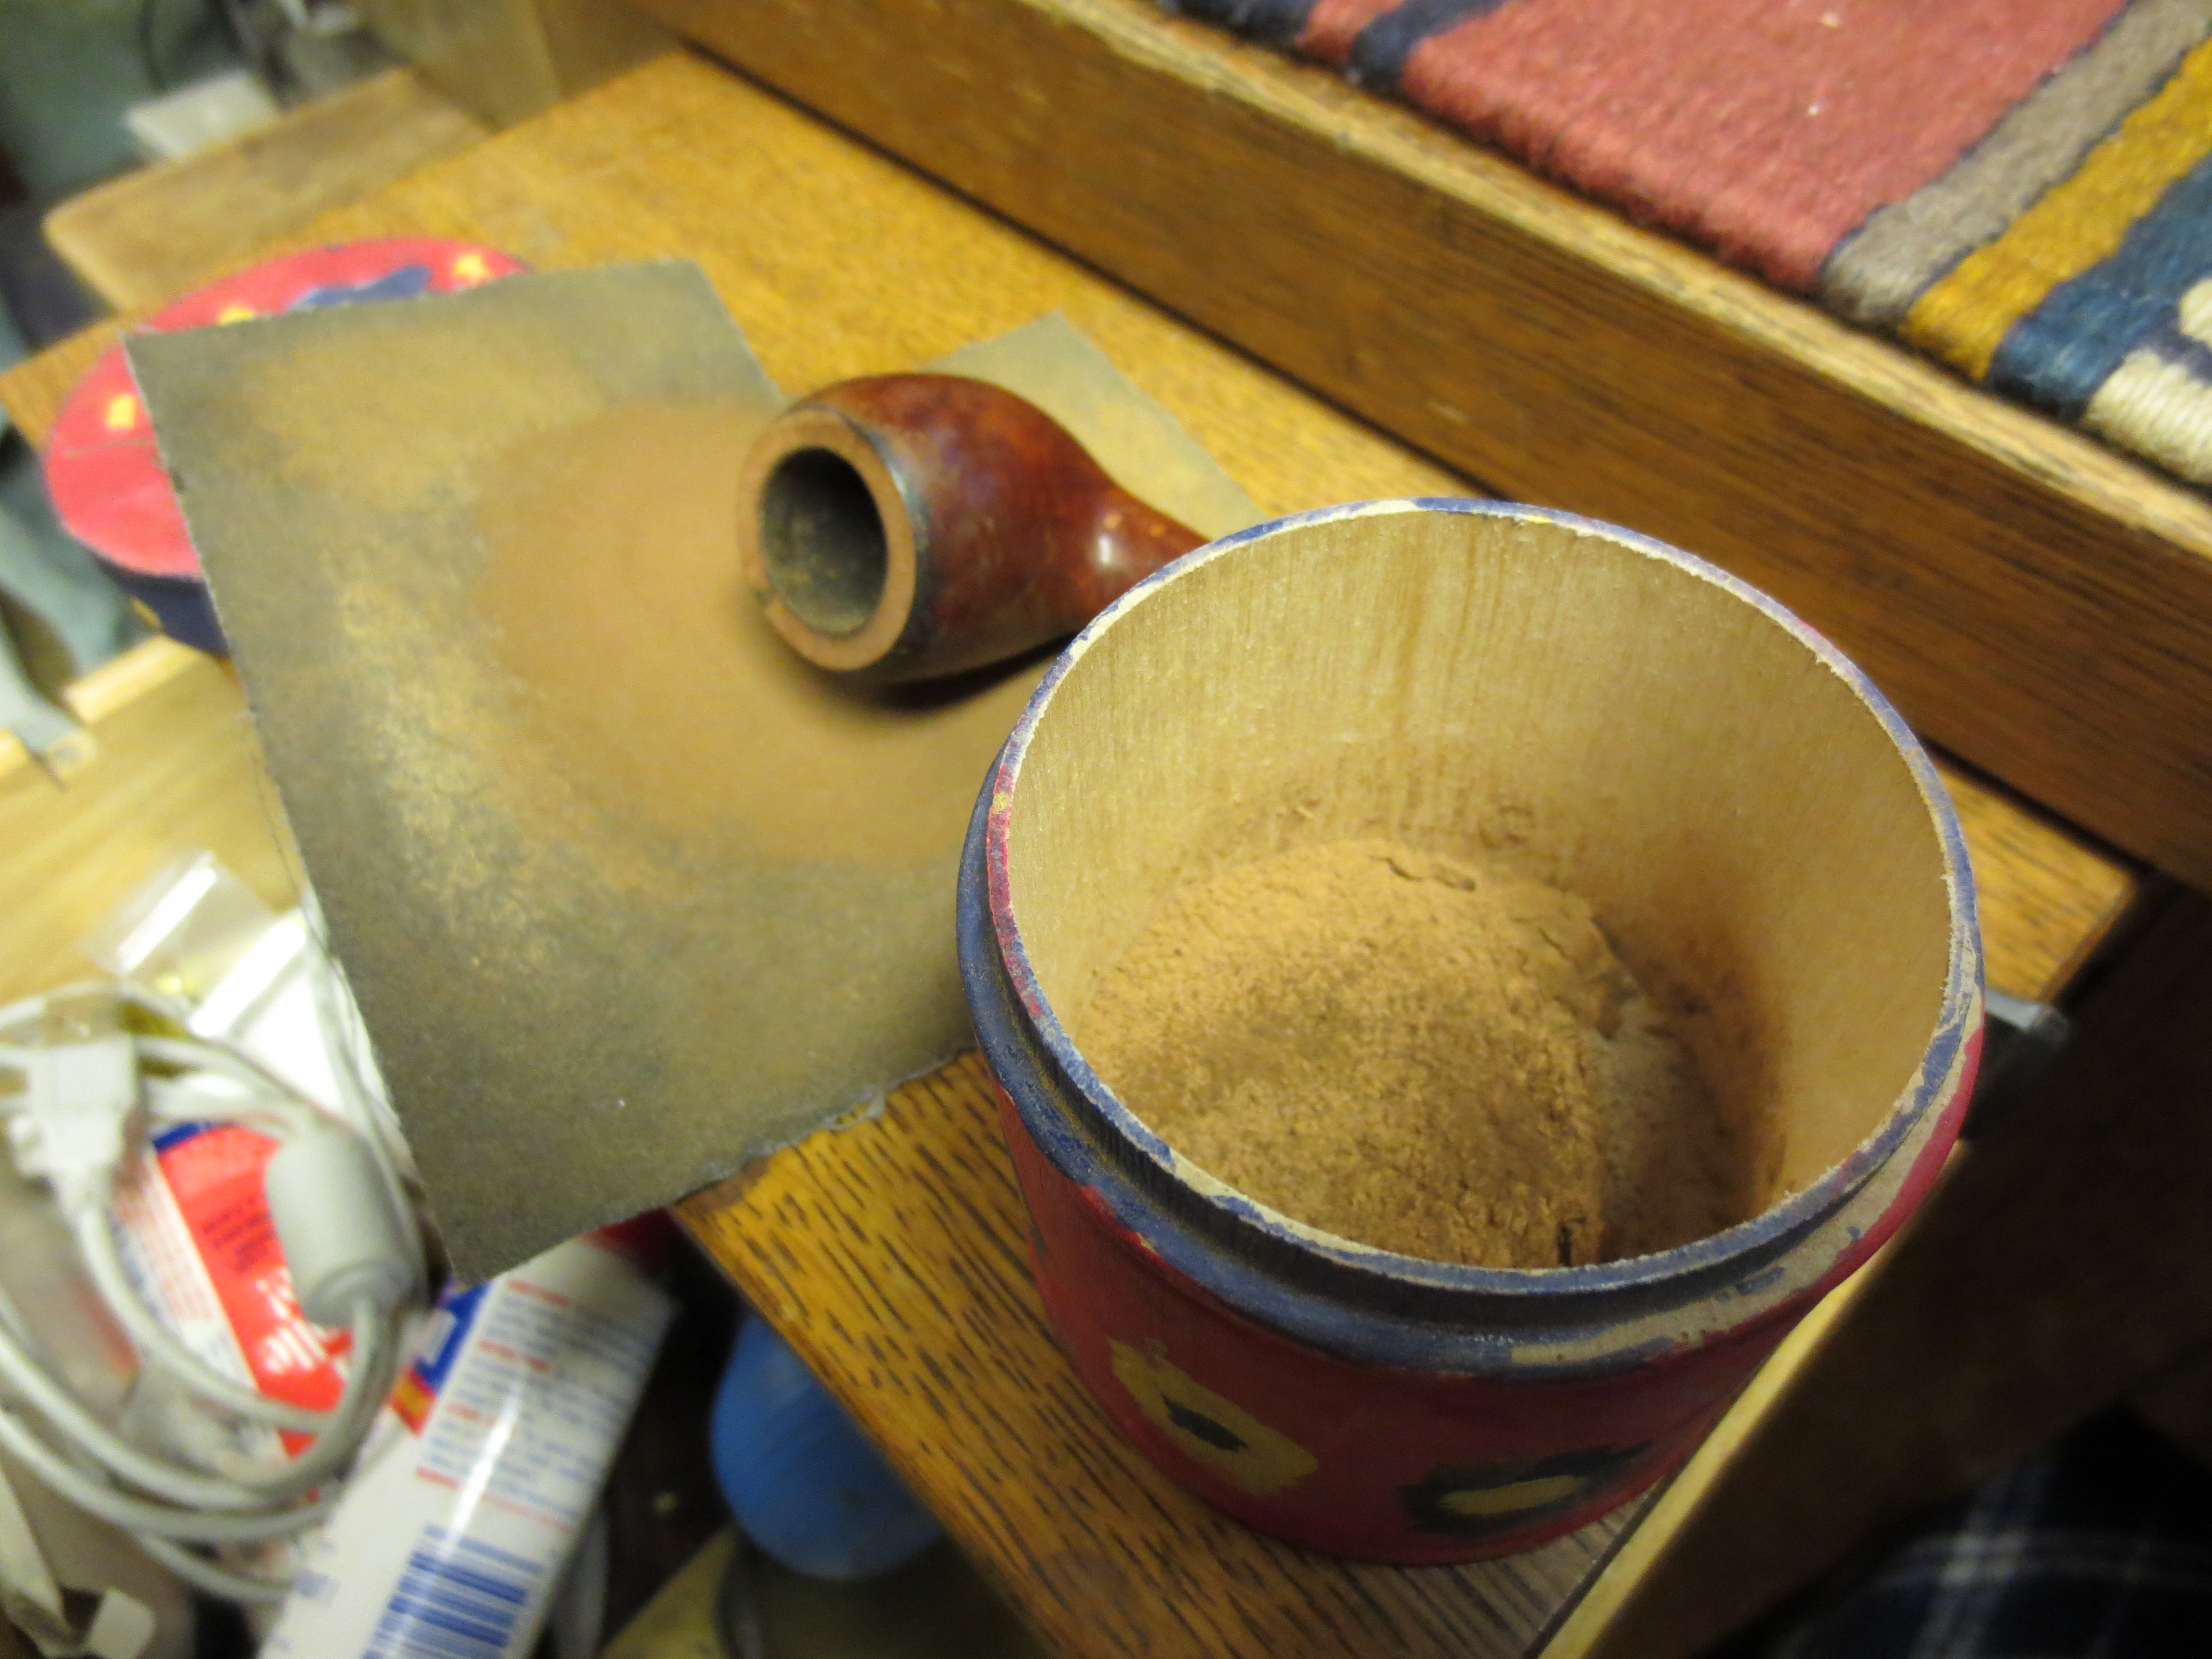
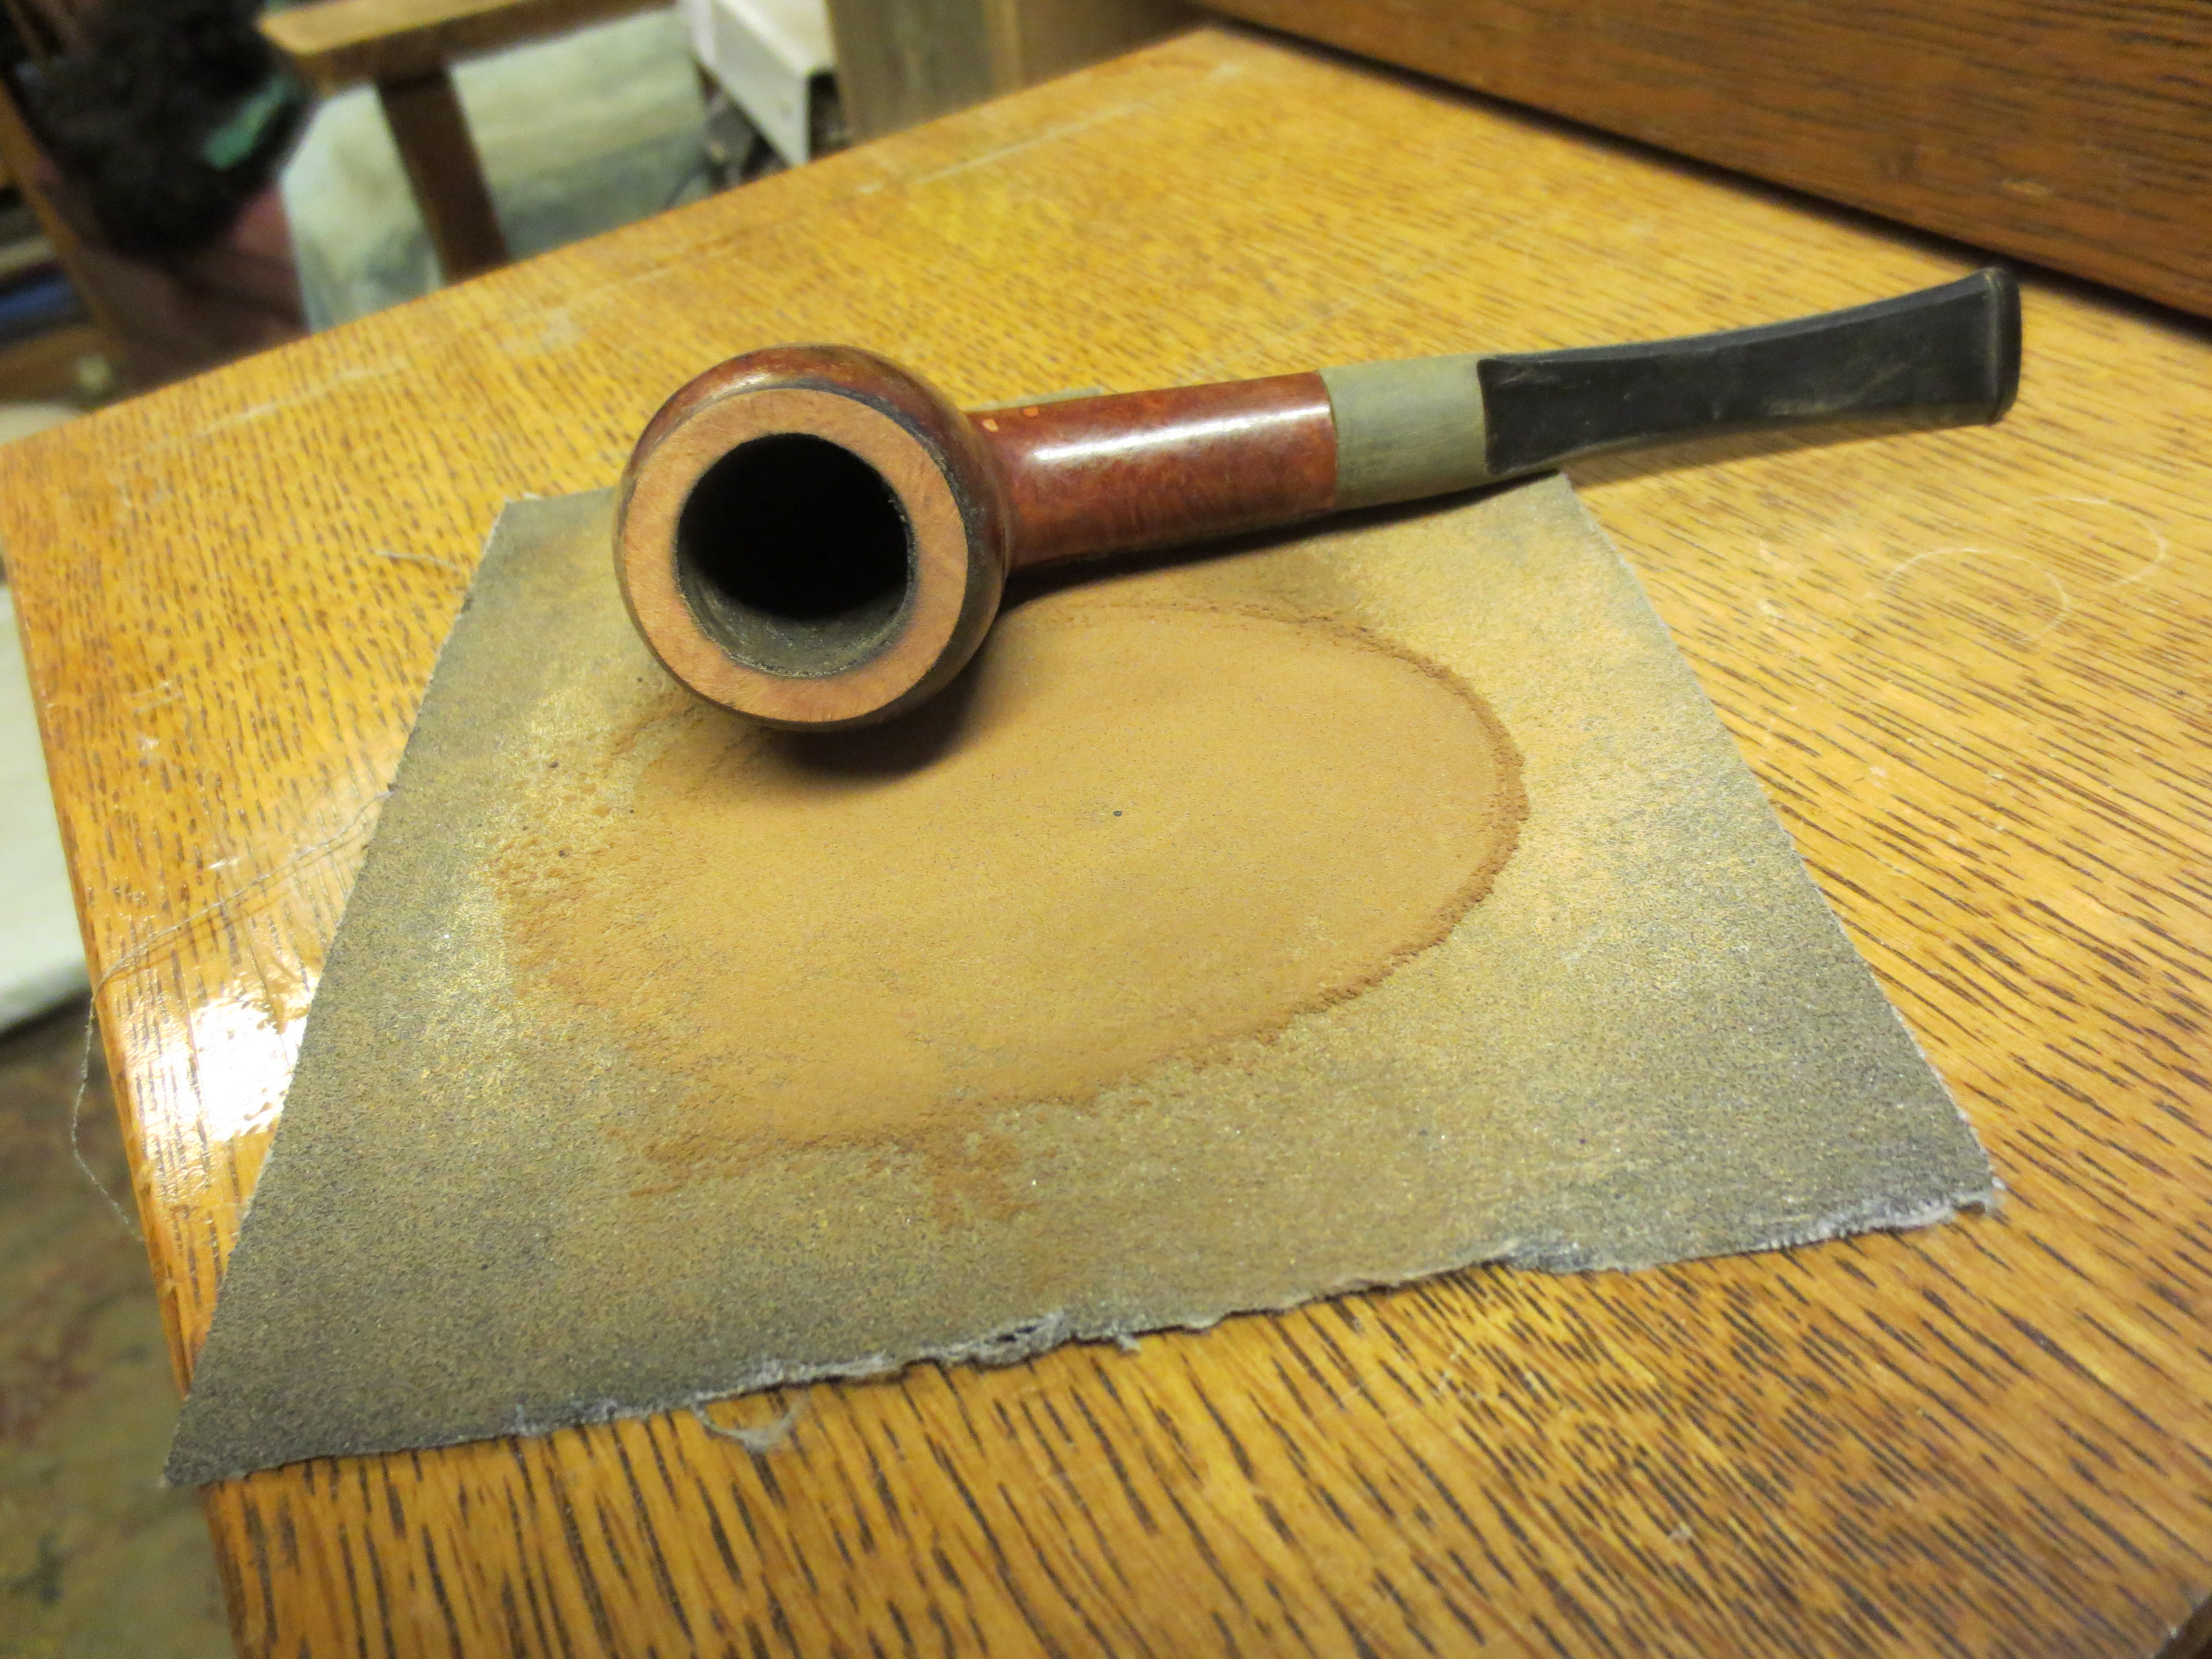
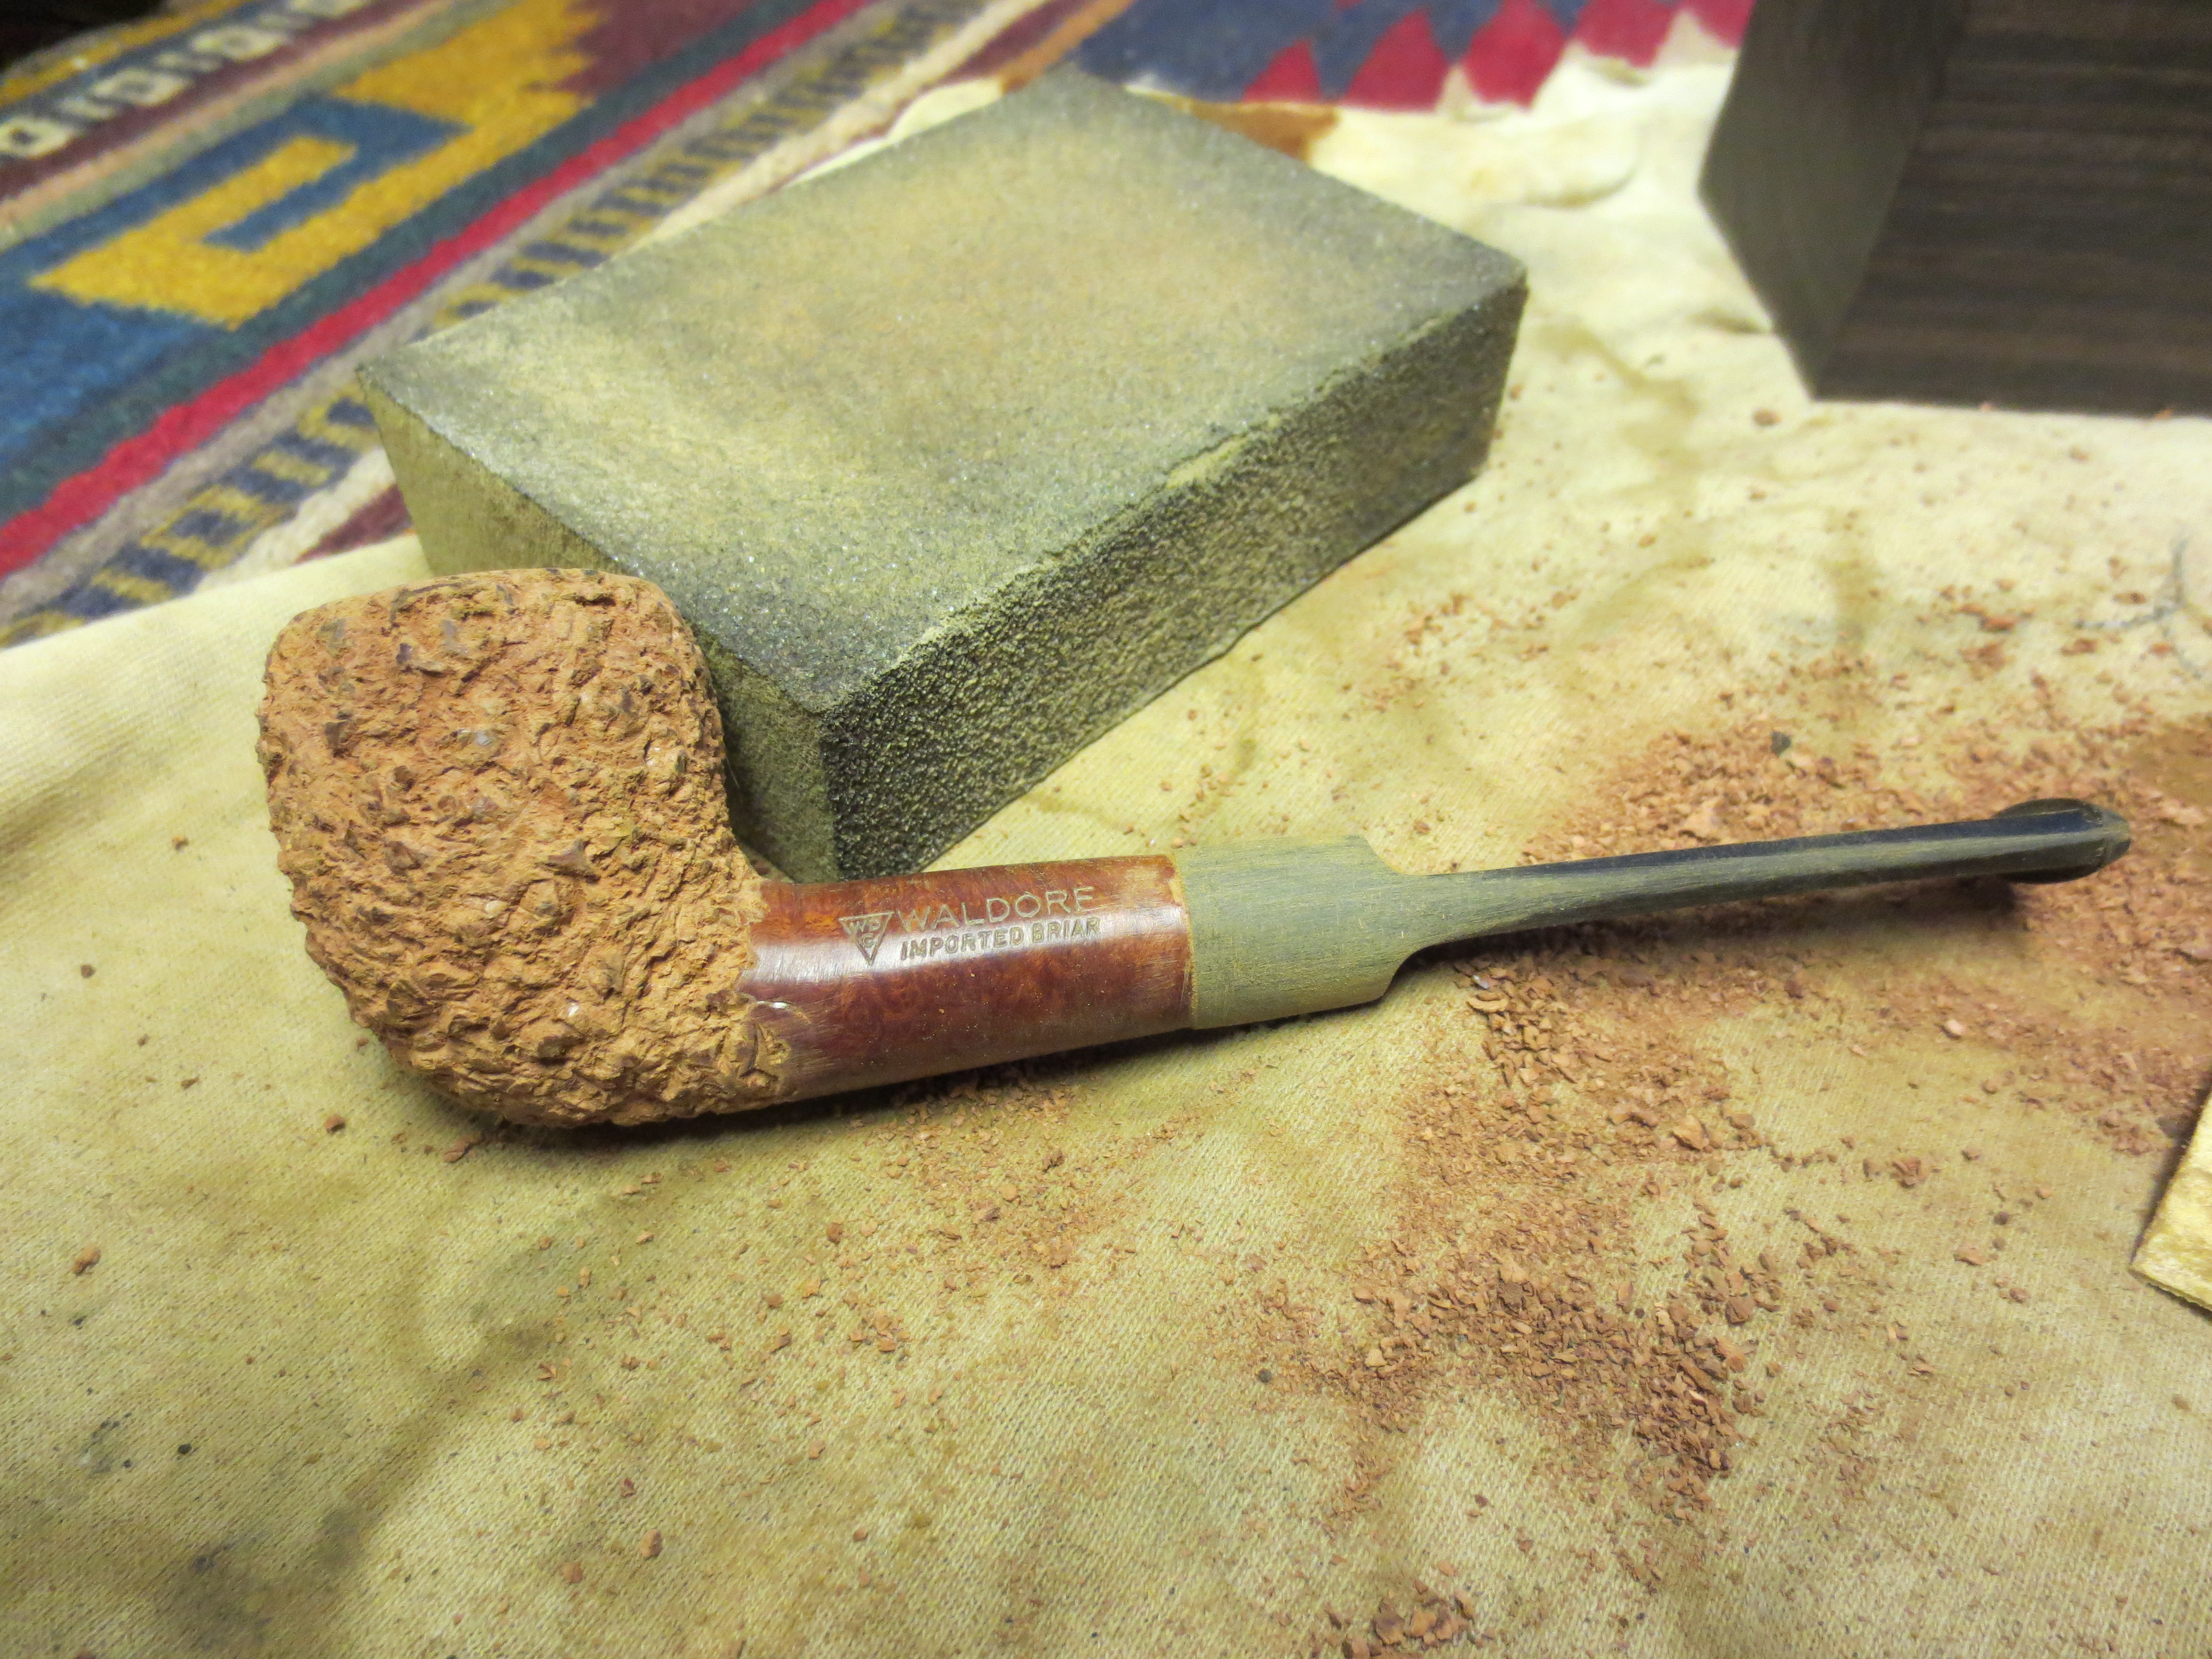
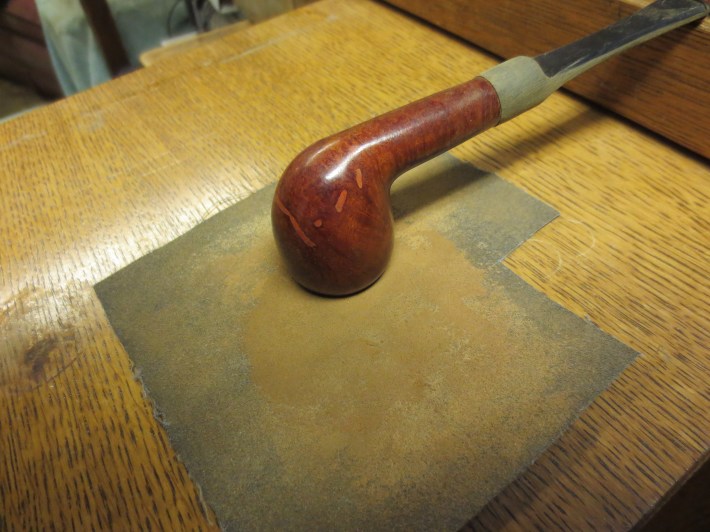
Once the stem was round and even – there were no bulges or dips in the line of the stem – I moved to the bowl. I decided to top it to get rid of the gouged out spot and to clean up the tars and burn to the rim. I set up my sandpaper (medium grit emery paper in this case to start with) on my flat board and began to twist the bowl against the paper in a clockwise direction. The next seven photos show the progress of the topping. I clean off the sandpaper regularly throughout the sanding and collect it in the wooden box that is pictured in these photos. It is this briar dust that I use for replacing the putty fills in the pipes that I work on. The final photo in the set shows a sanding sponge (medium grit) that I use to finish topping the bowl and to remove the scratches left by the emery cloth.


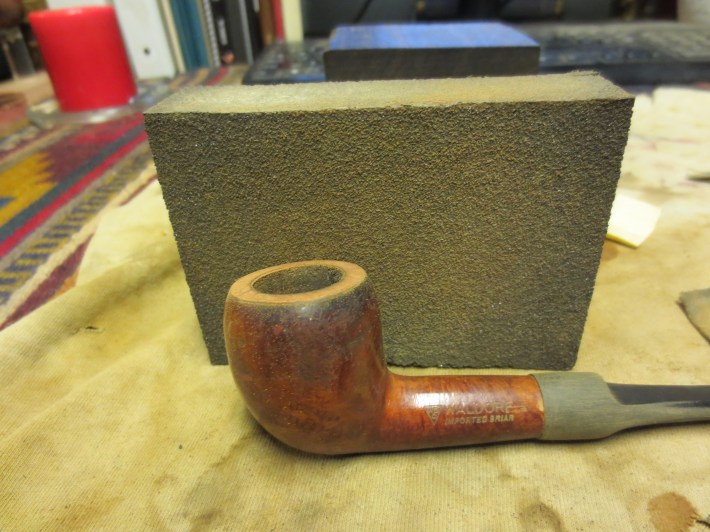
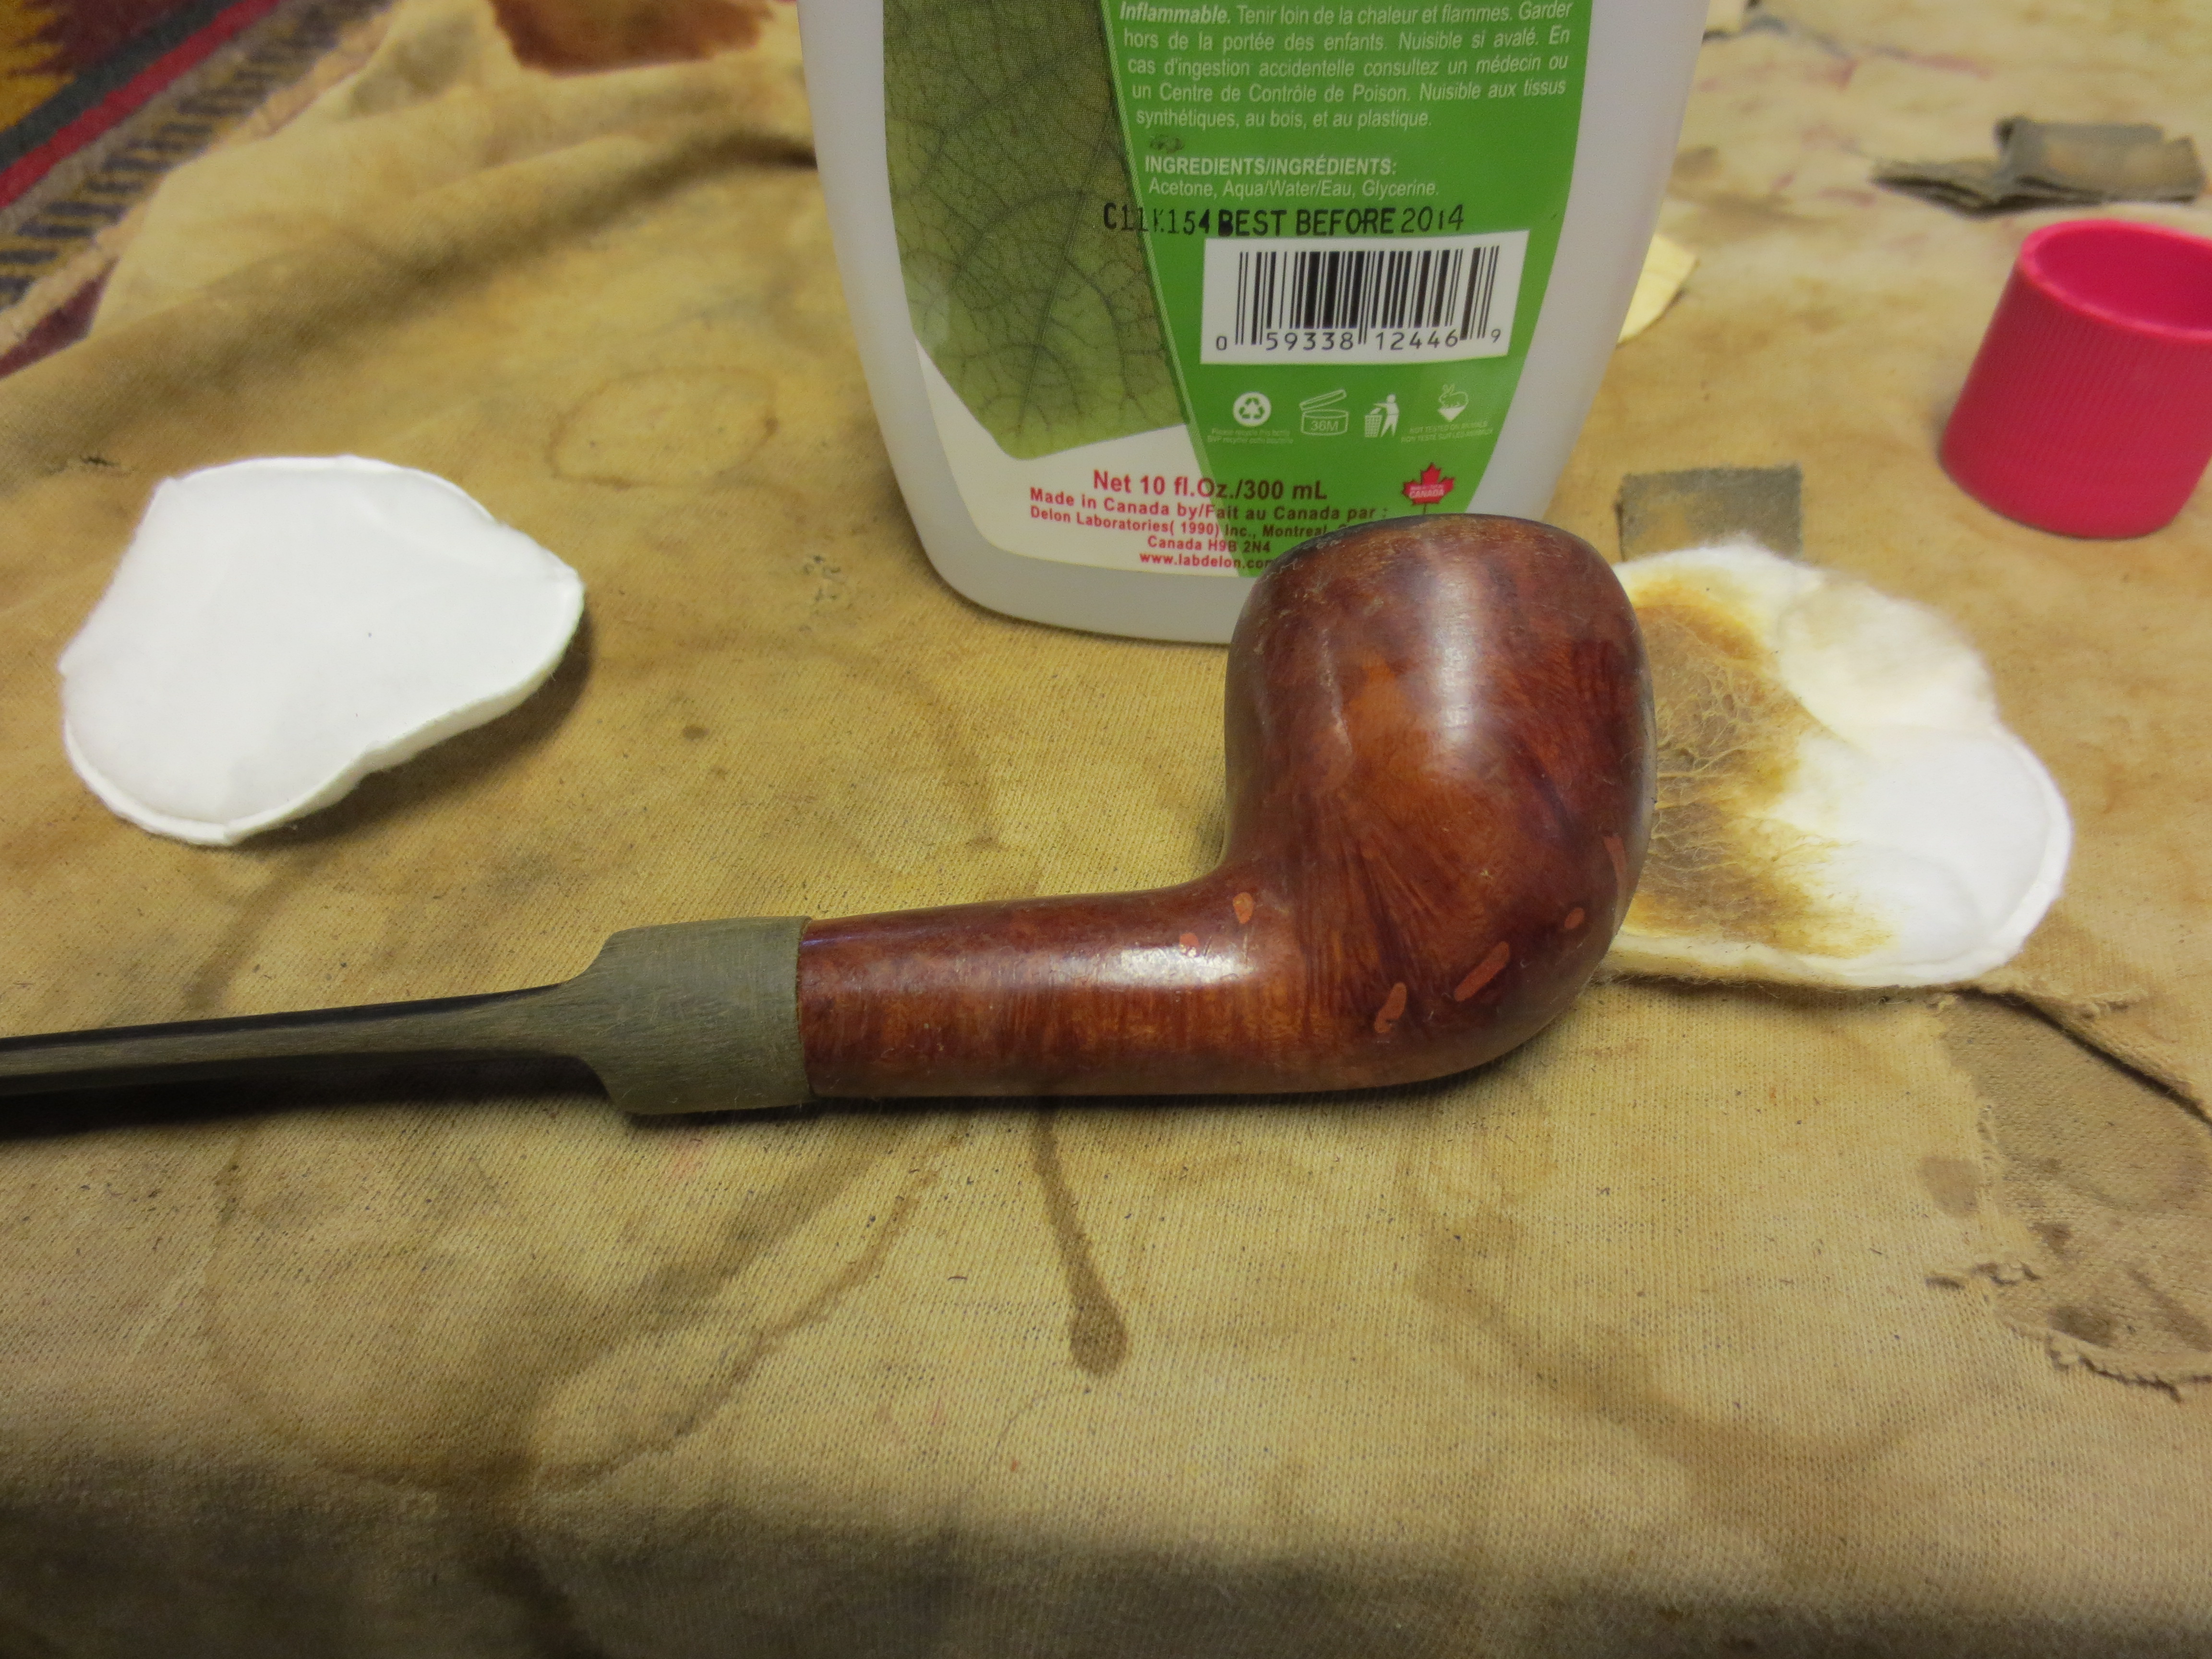
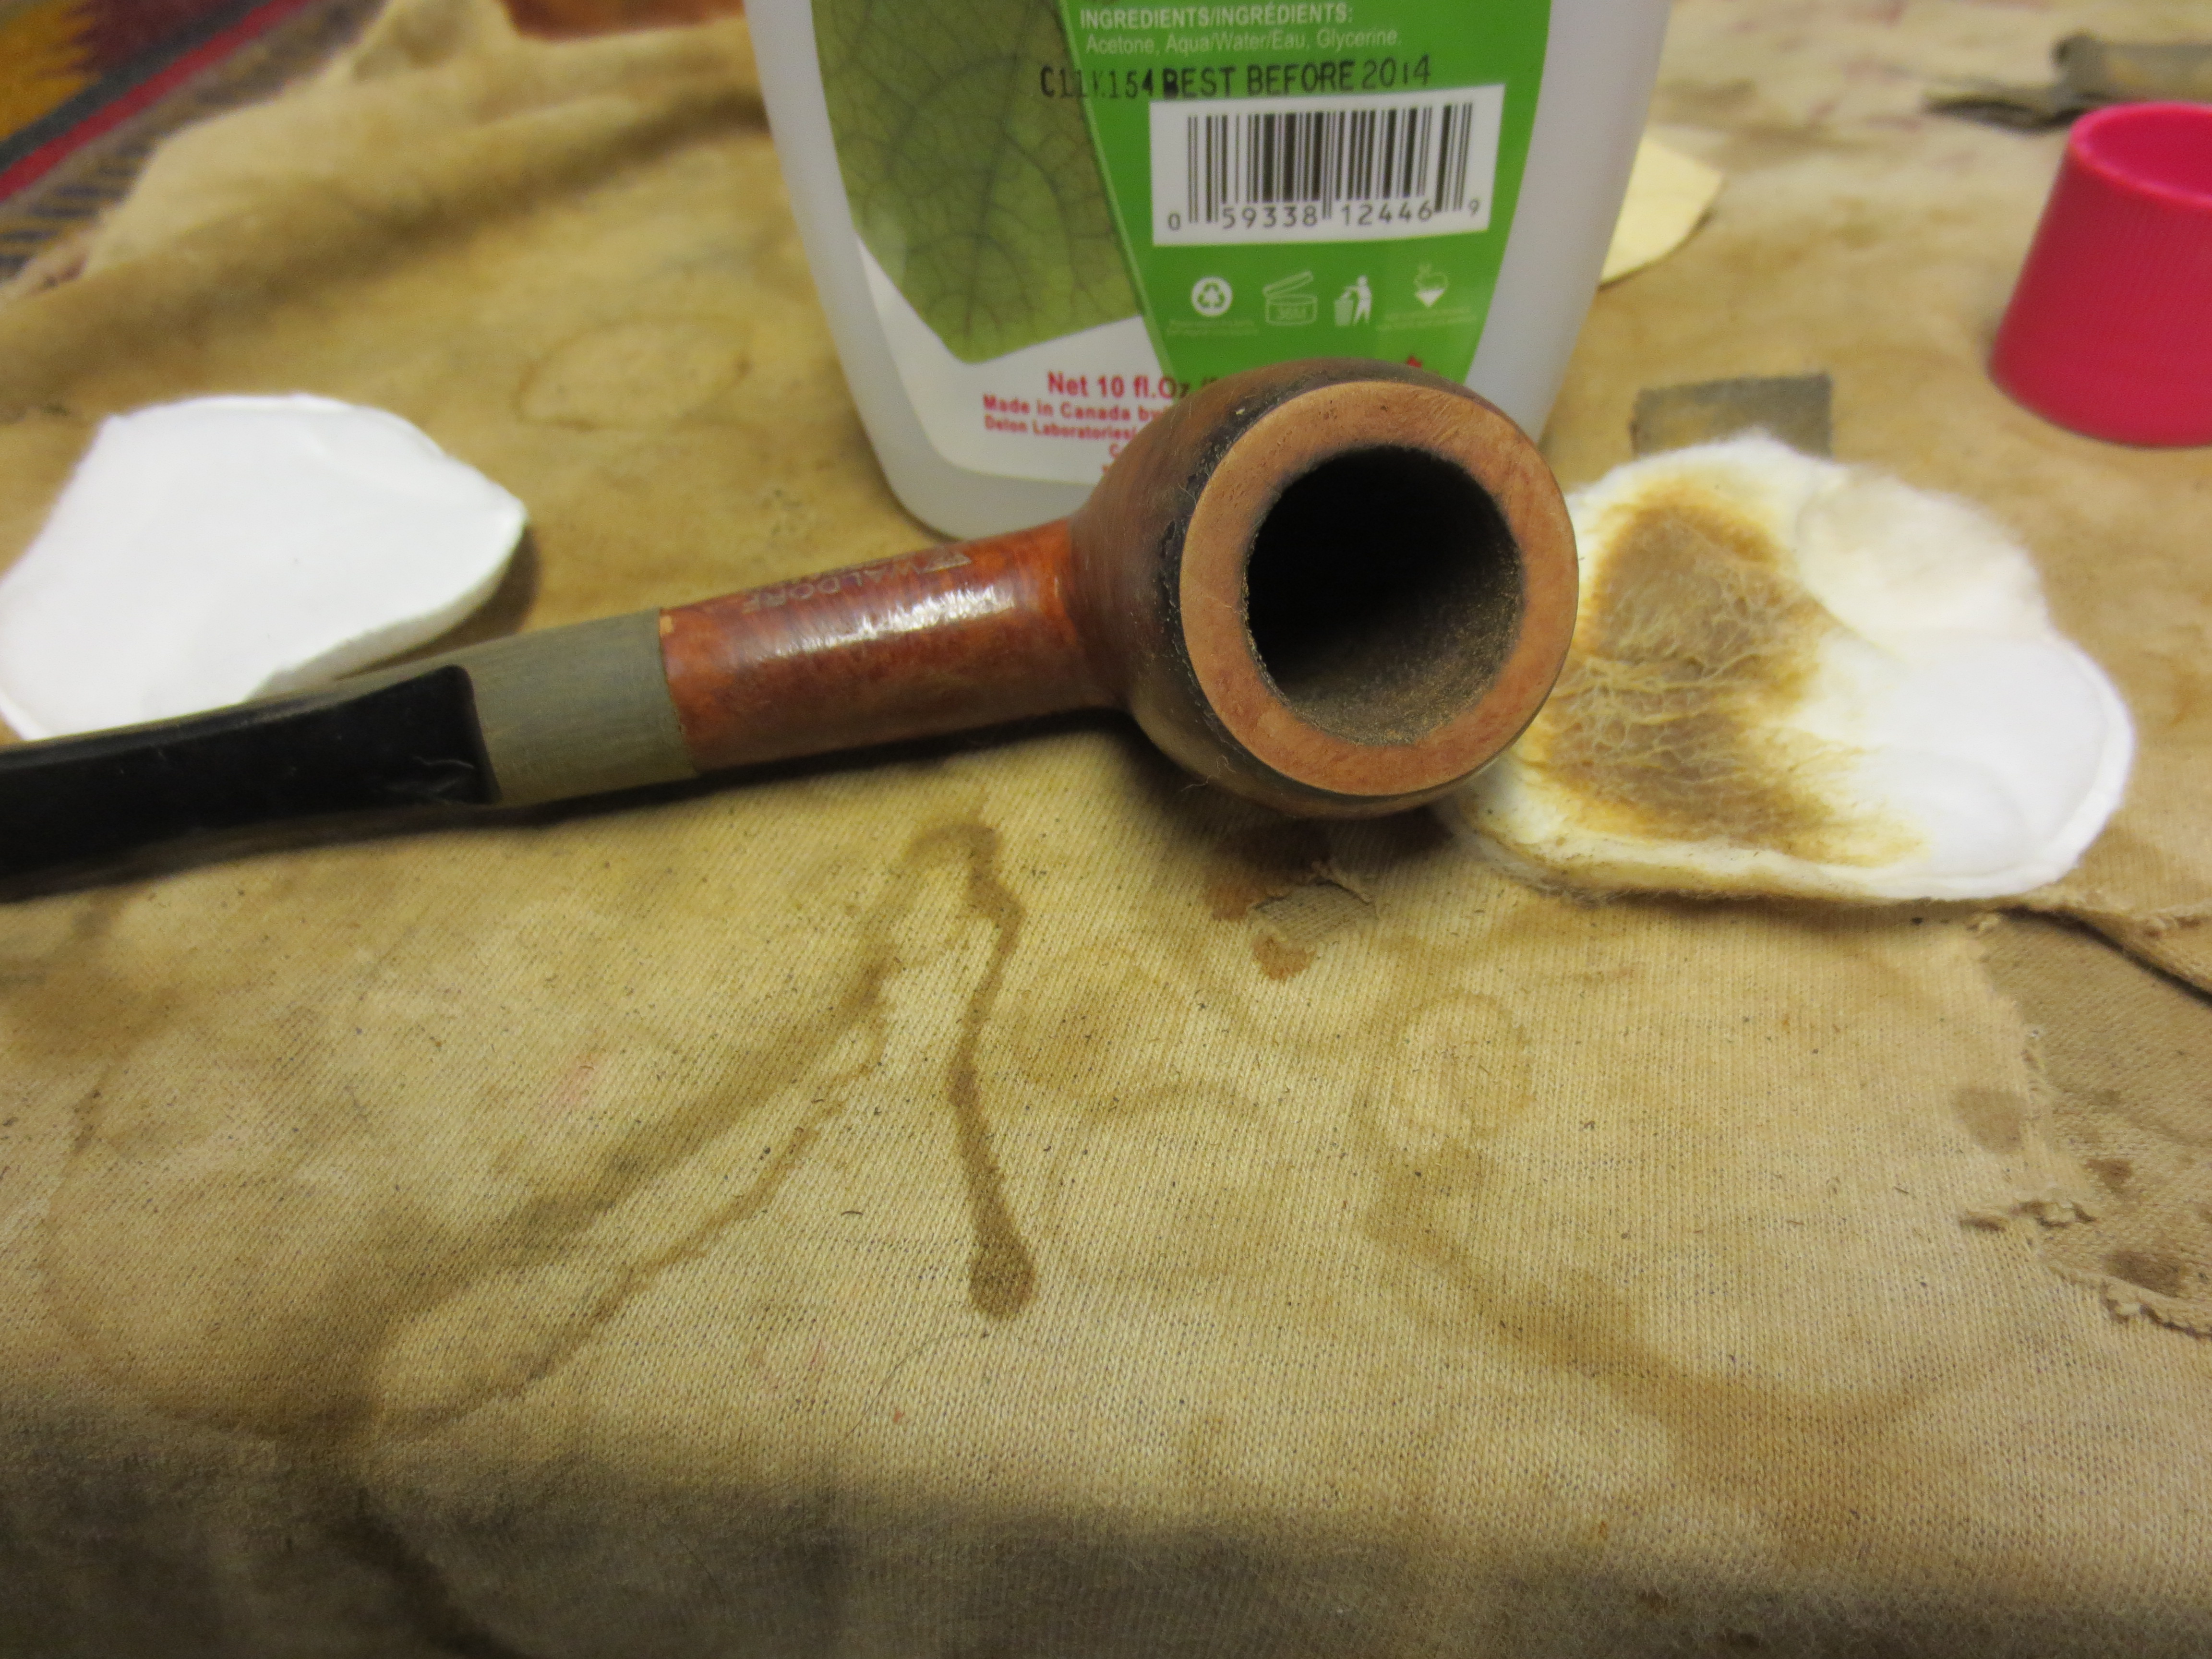
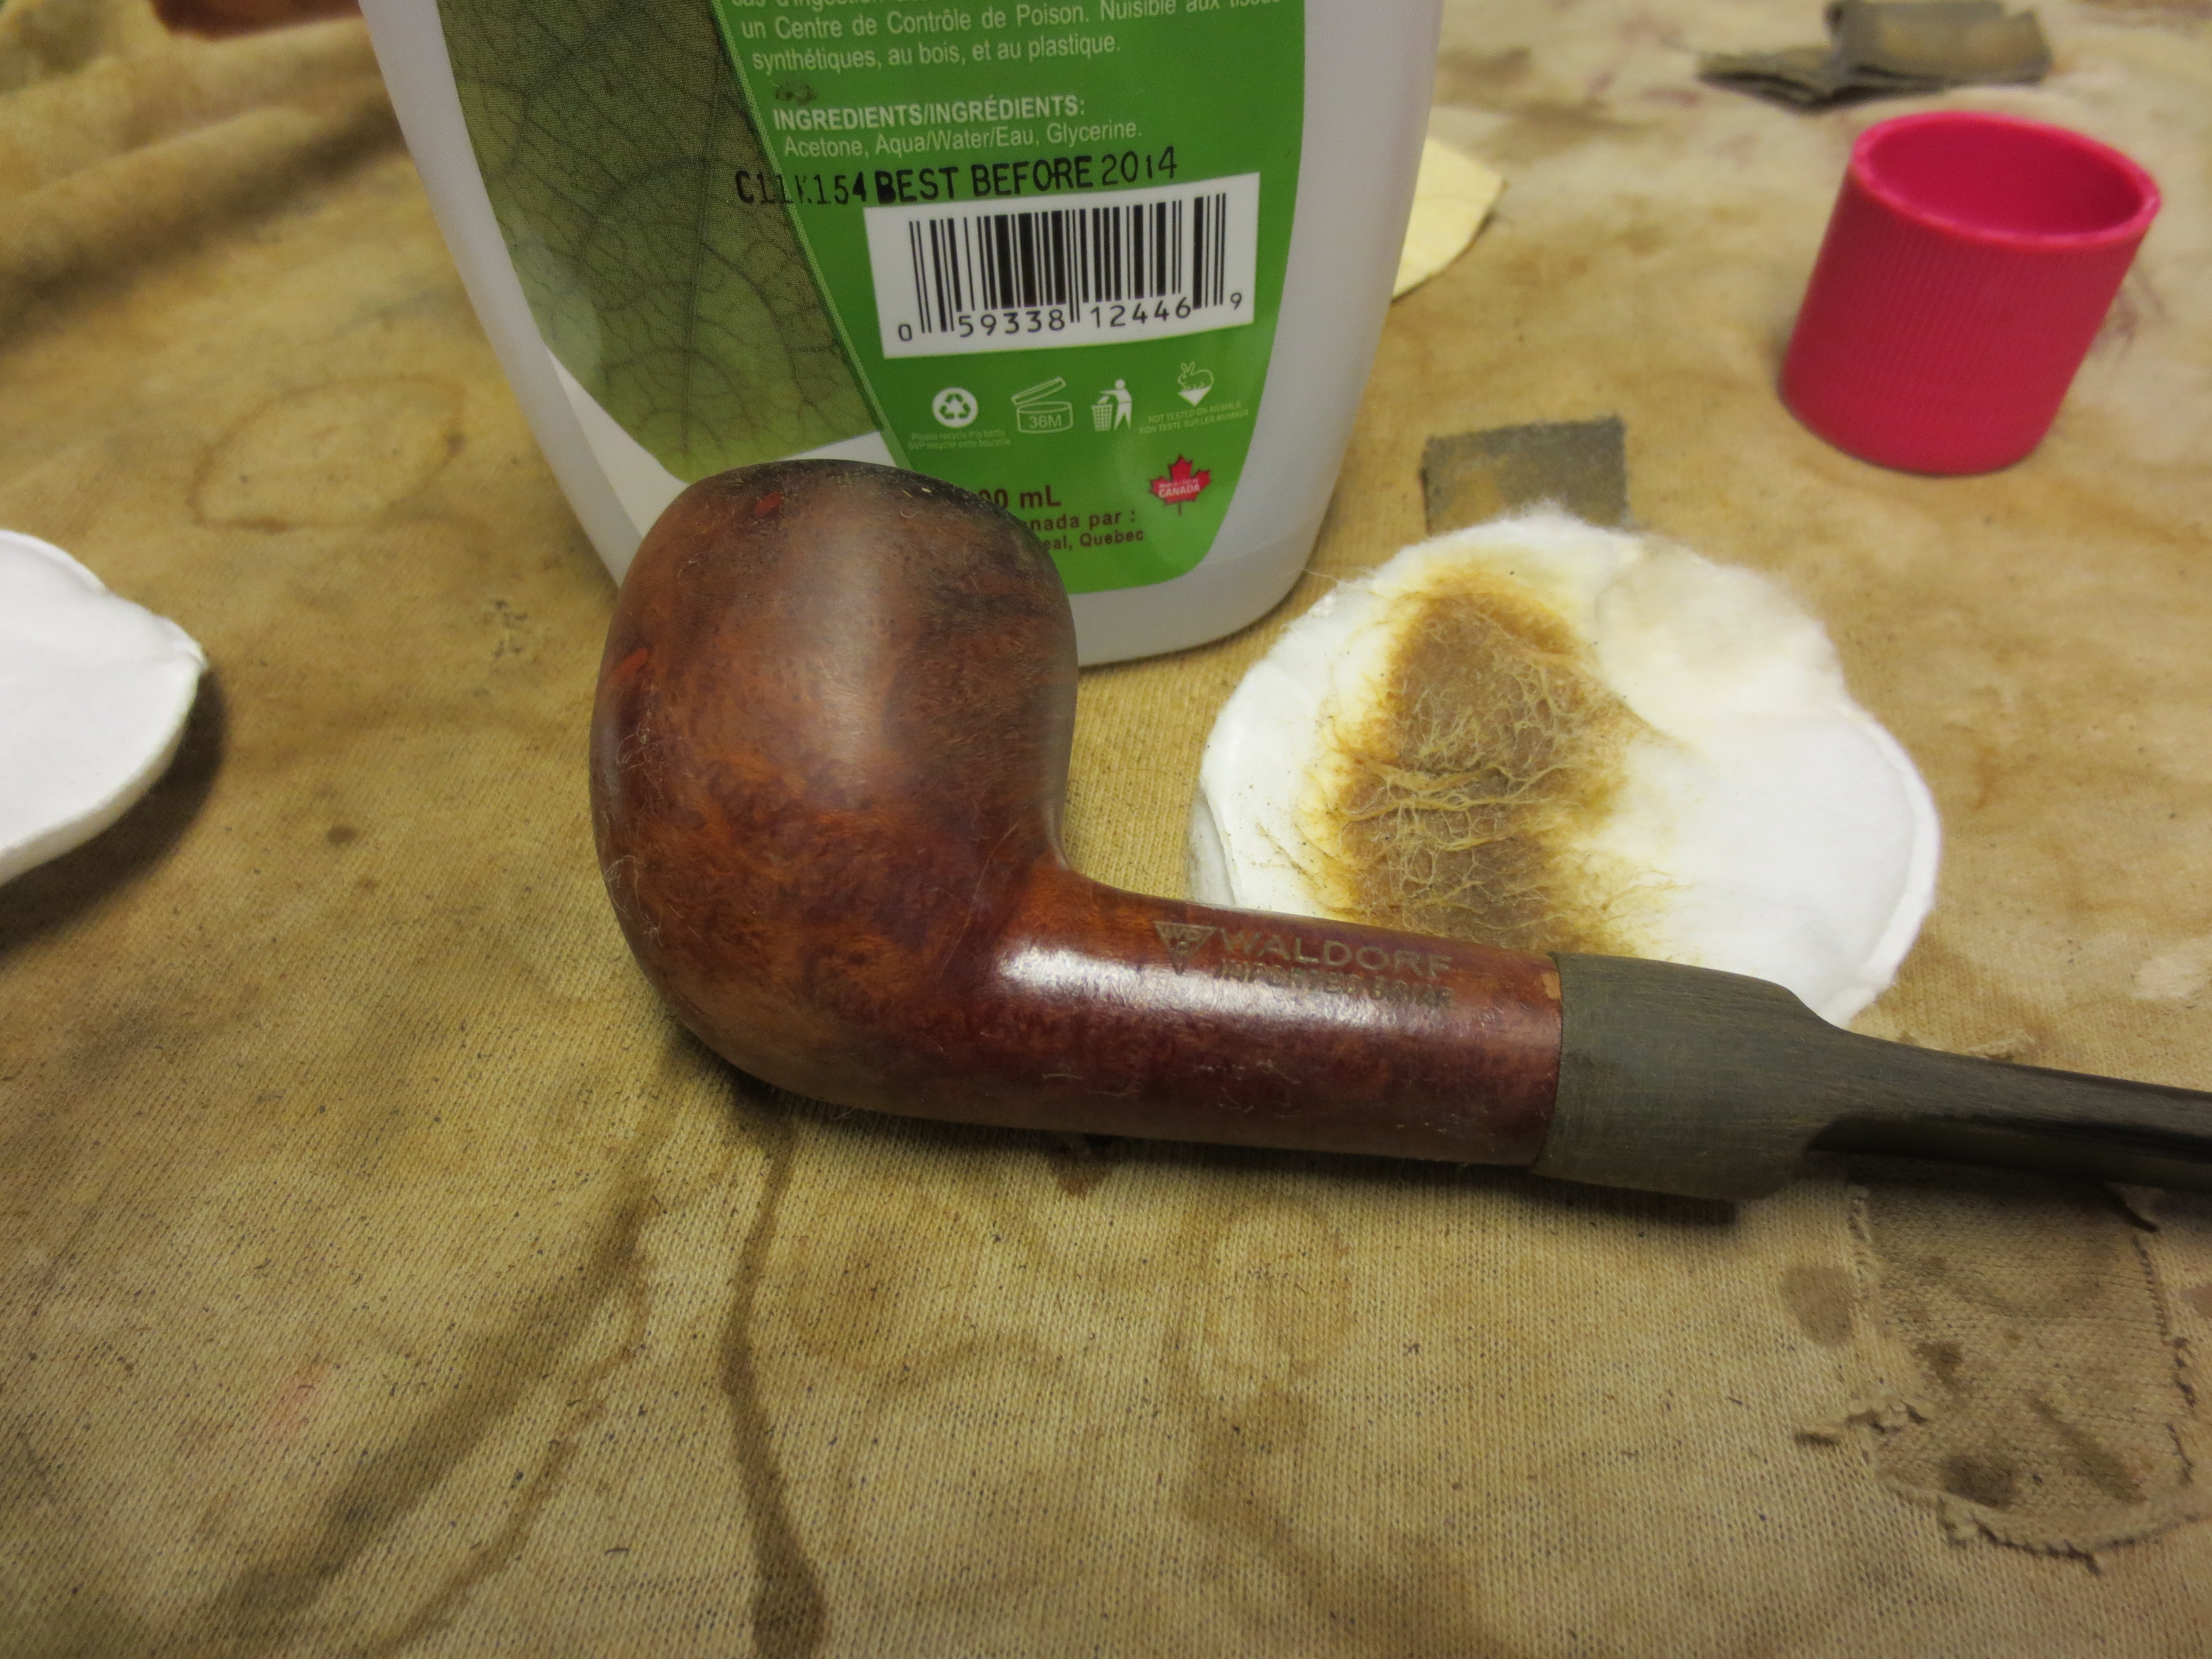
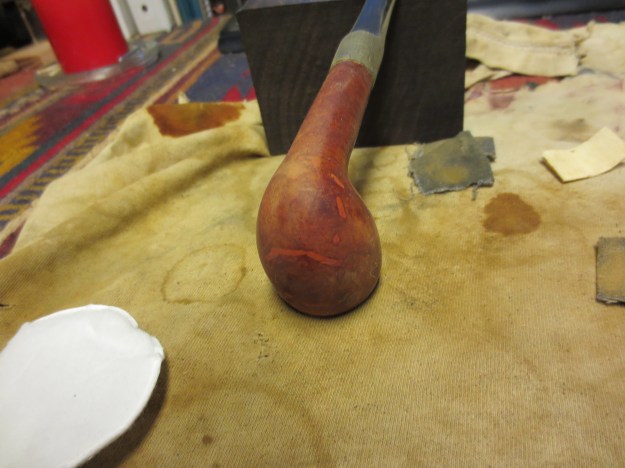
After topping the bowl I wiped the outside of the bowl down with acetone on a cotton pad. I wanted to break up the crackled finish that is visible above and also remove the darkening and grime on the top edges of the bowl. The next five photos show the progress in removing the finish on the pipe. Once it is gone you can clearly see the fills and also understand why I have chosen to rusticate this pipe.


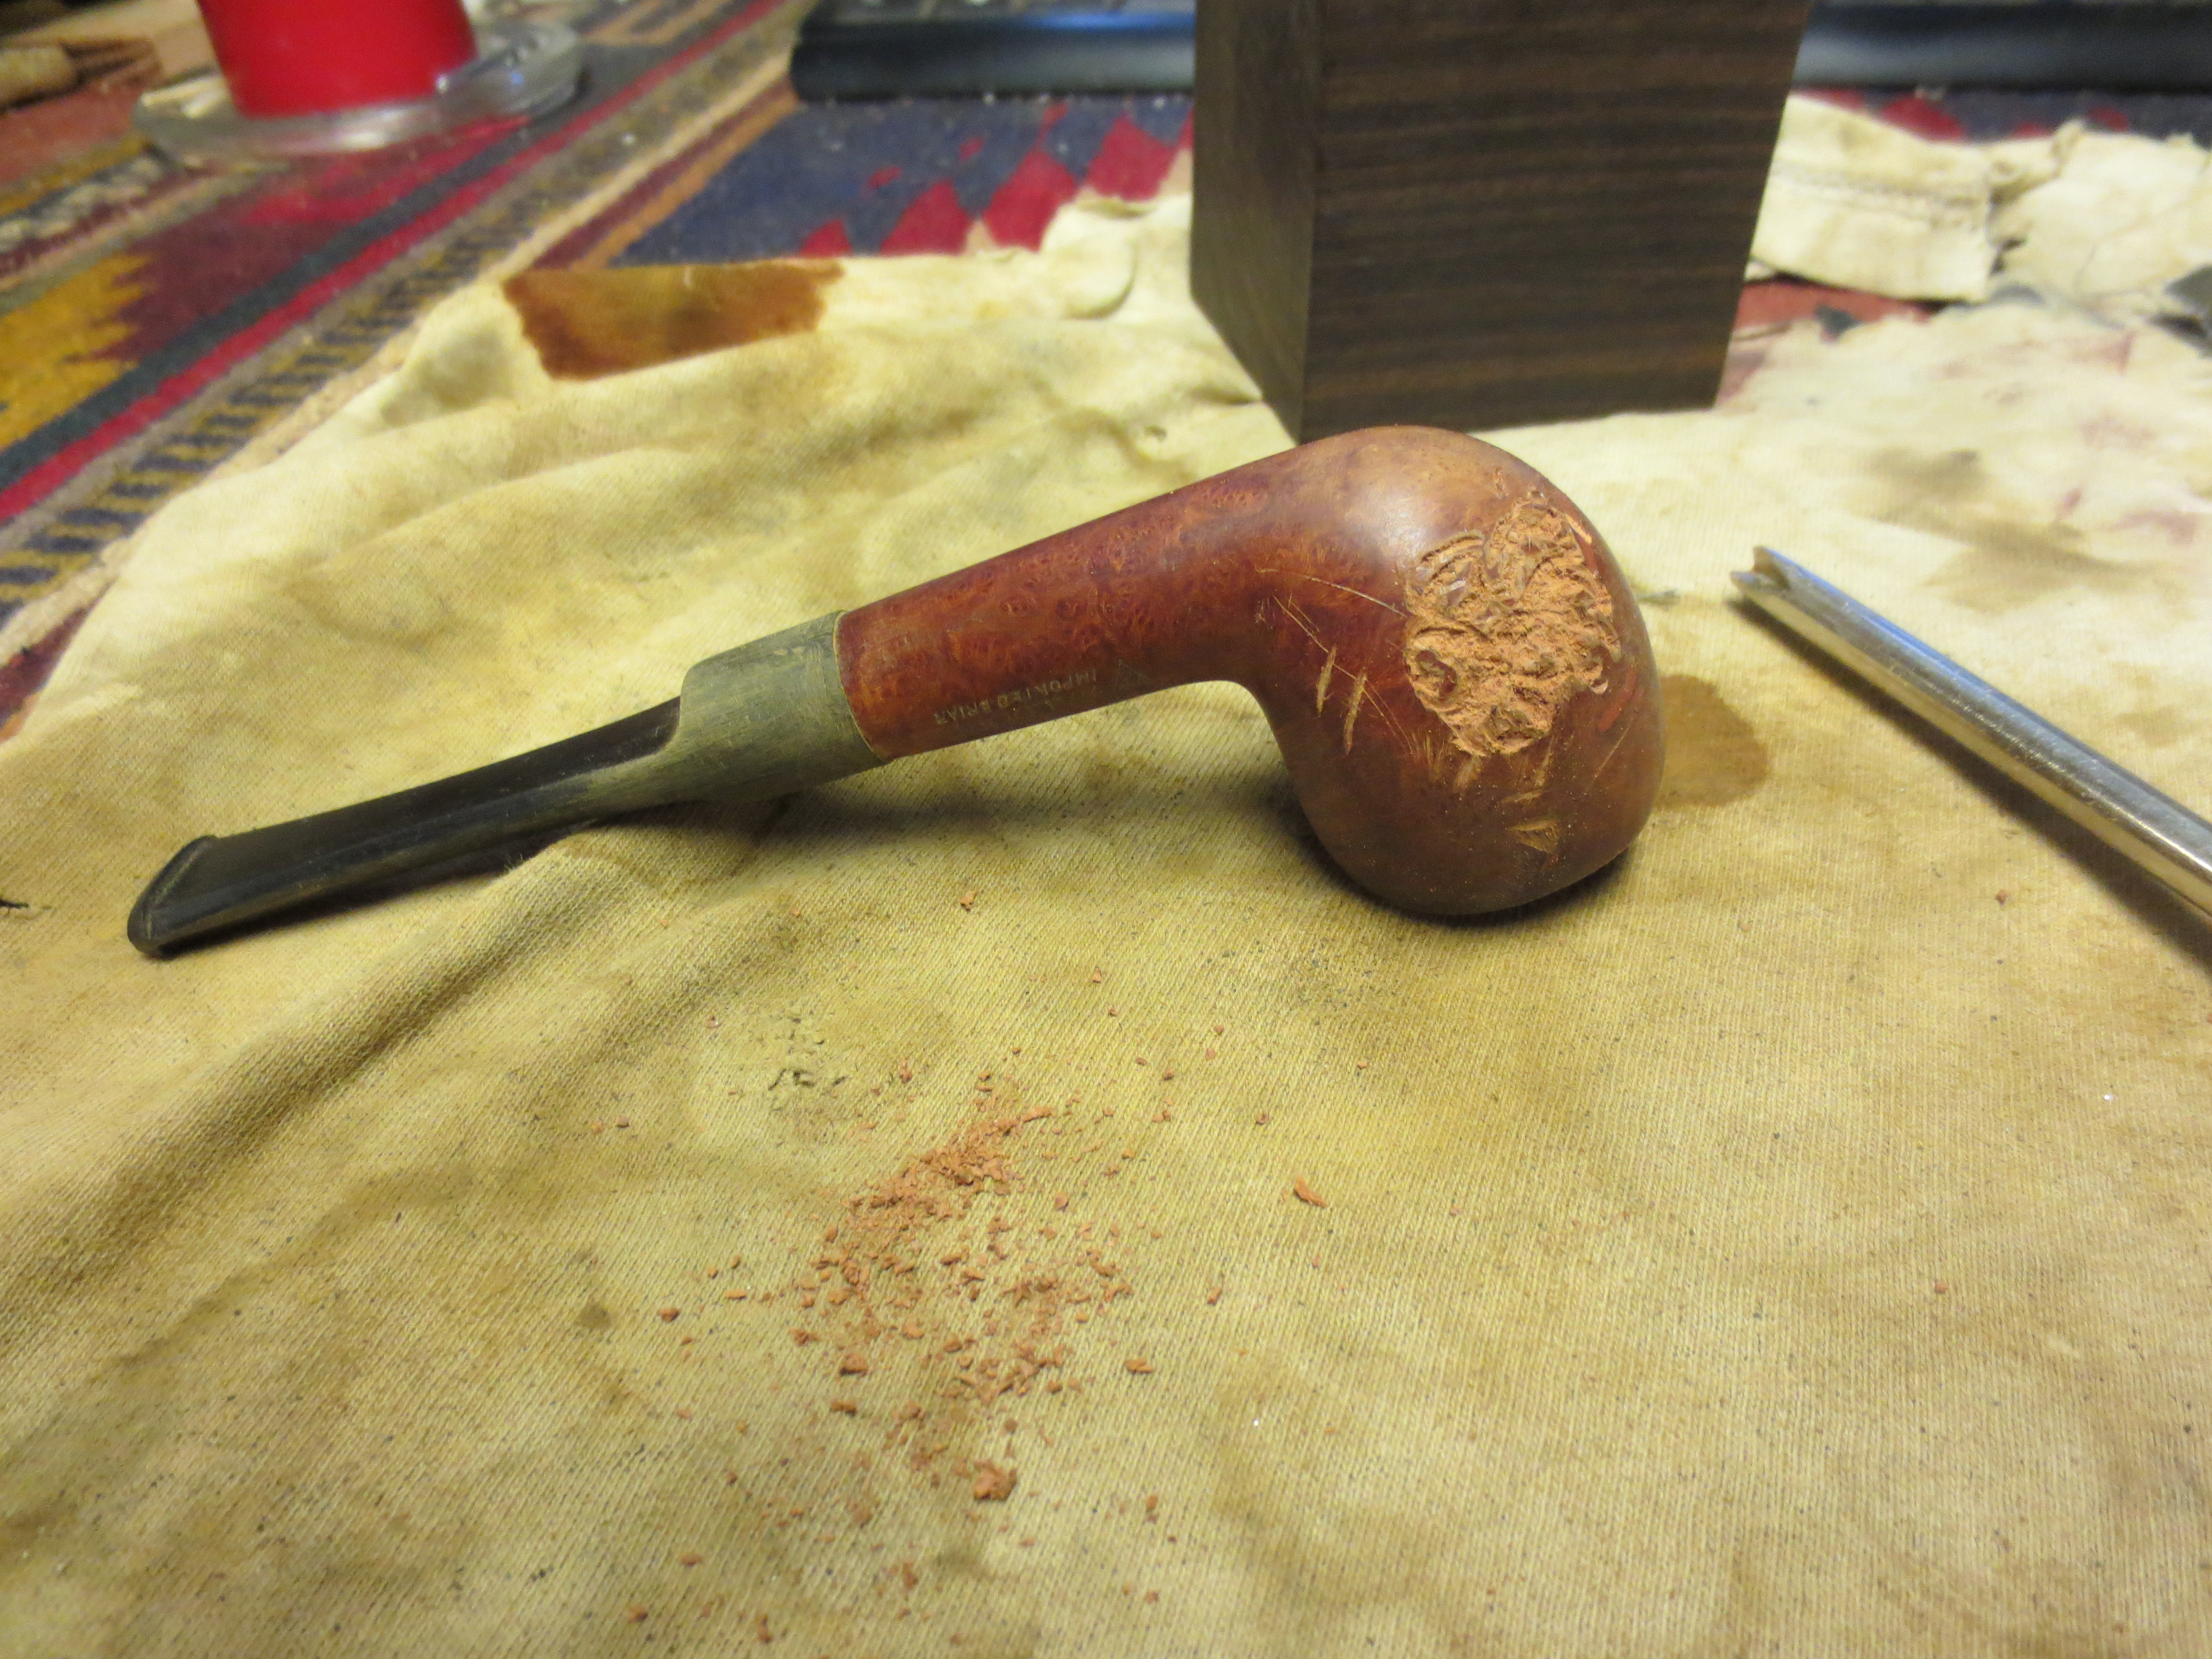
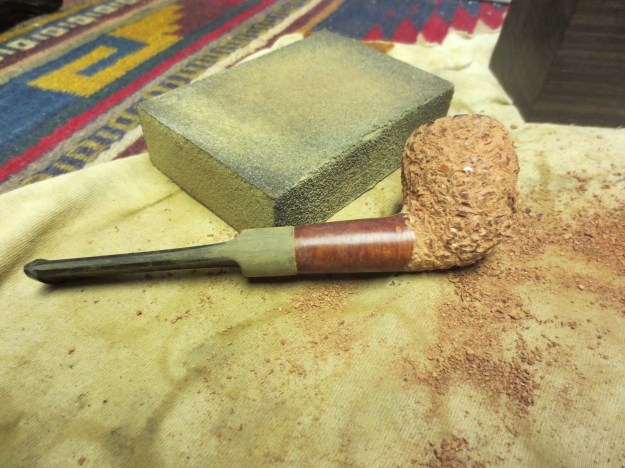
With the finish removed (maybe unnecessary for some, but I wanted a clean surface to rusticate) I brought out the tools that I use for rusticating a pipe. I will often use a small hack saw or coping saw to scar the surface of the bowl before using the modified Philips screwdriver that is my main rusticator. The first picture below shows the pipe and the tools ready to use. I used the saw for a few strokes and decided to skip that step and go with the screwdriver alone. The eleven photos following show the process and progress of the rustication. I generally work on one side at a time. I push the rim against the table top and rusticate the side from the rim edge to the bottom of the bowl. I work my way around the pipe, from the side to the back, to the opposite side to the front of the bowl. On this pipe I decided to leave the shank and the rim smooth as they had no fills and I liked the look of the partial rustication.

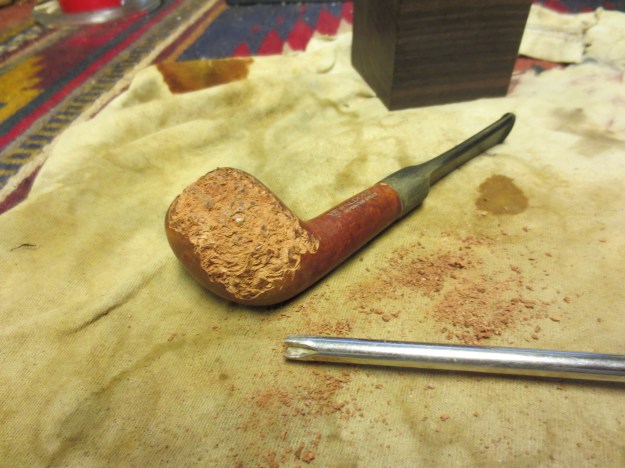
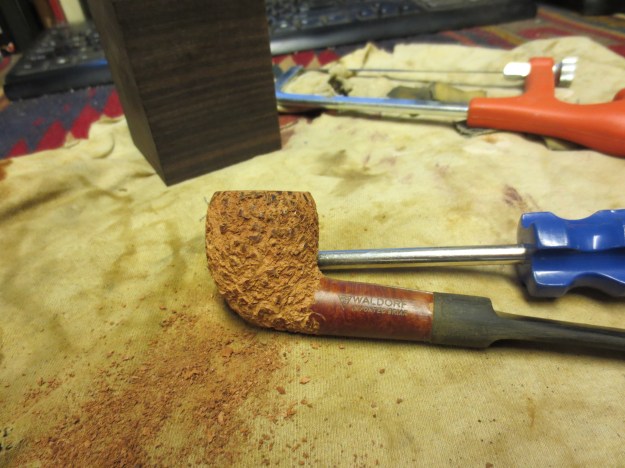
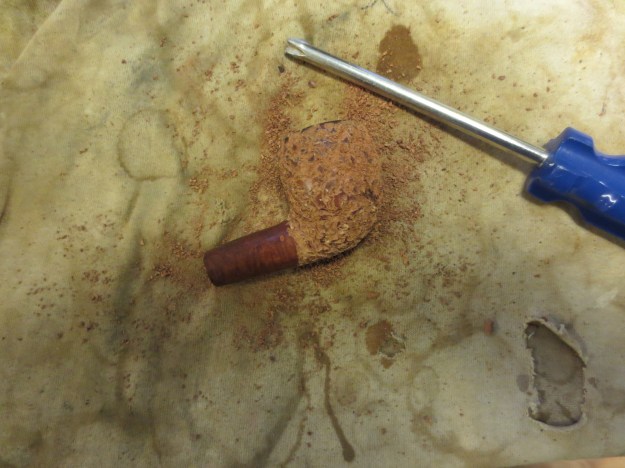

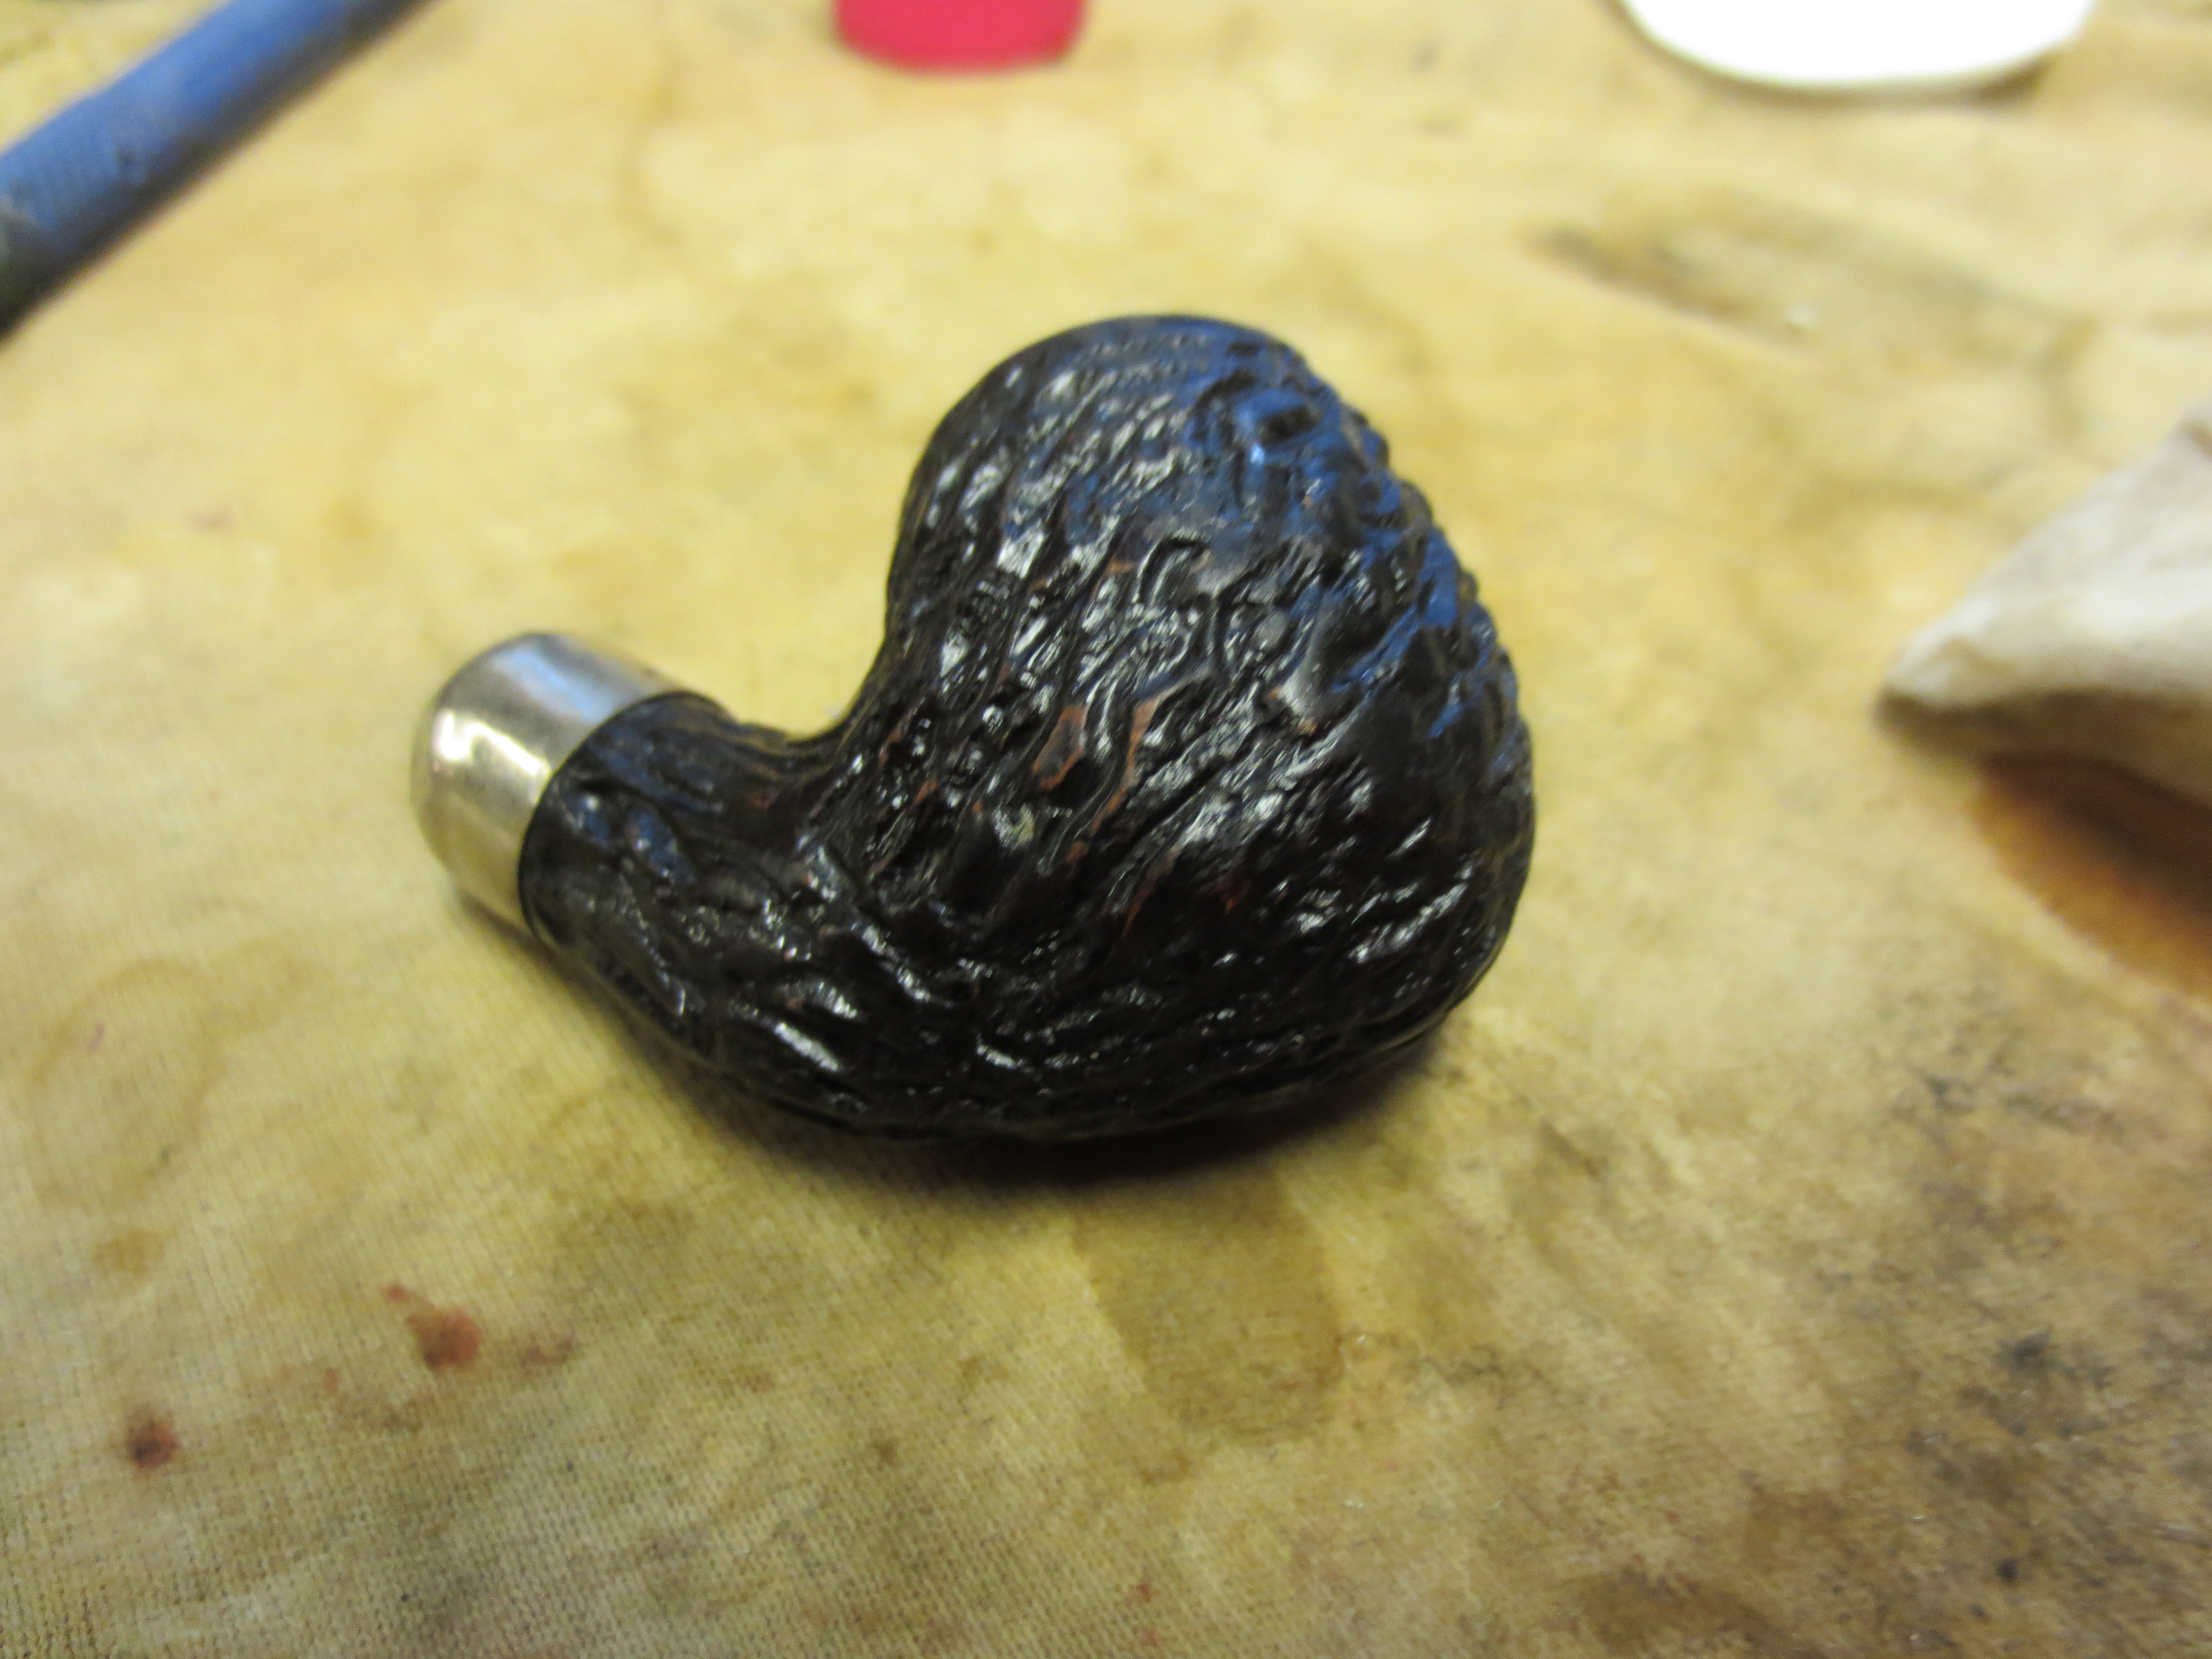
 Once the rustication was done the first time I went over it a second time with the rusticator and removed more briar and made the cuts deeper. The next series of five photos show the finished rustication. At this point I was ready to work on the shank stem junction and smooth it out.


I sanded the rim, the shank and the stem with 240 grit sandpaper to remove the remaining finish on the bowl and to begin to even out the transition between the shank and the stem. I find it is easier when I am reworking a whole pipe to treat it as if it is a new pipe that I am working on fitting a stem. That way I can sand the entirety as a unit instead of in parts. You have to be careful during this process as the hardness of the briar and the hardness of the vulcanite are different and you can easily remove too much from the shank. The next four photos show the clean and unfinished pipe. The briar is clean and sanded. I used the 240 and 320 grit sandpaper and a fine grit sanding sponge to remove the finish and the scratches. I wiped the bowl and shank down with acetone dampened cotton pad to clean off the dust and ready the pipe for a new stain coat.


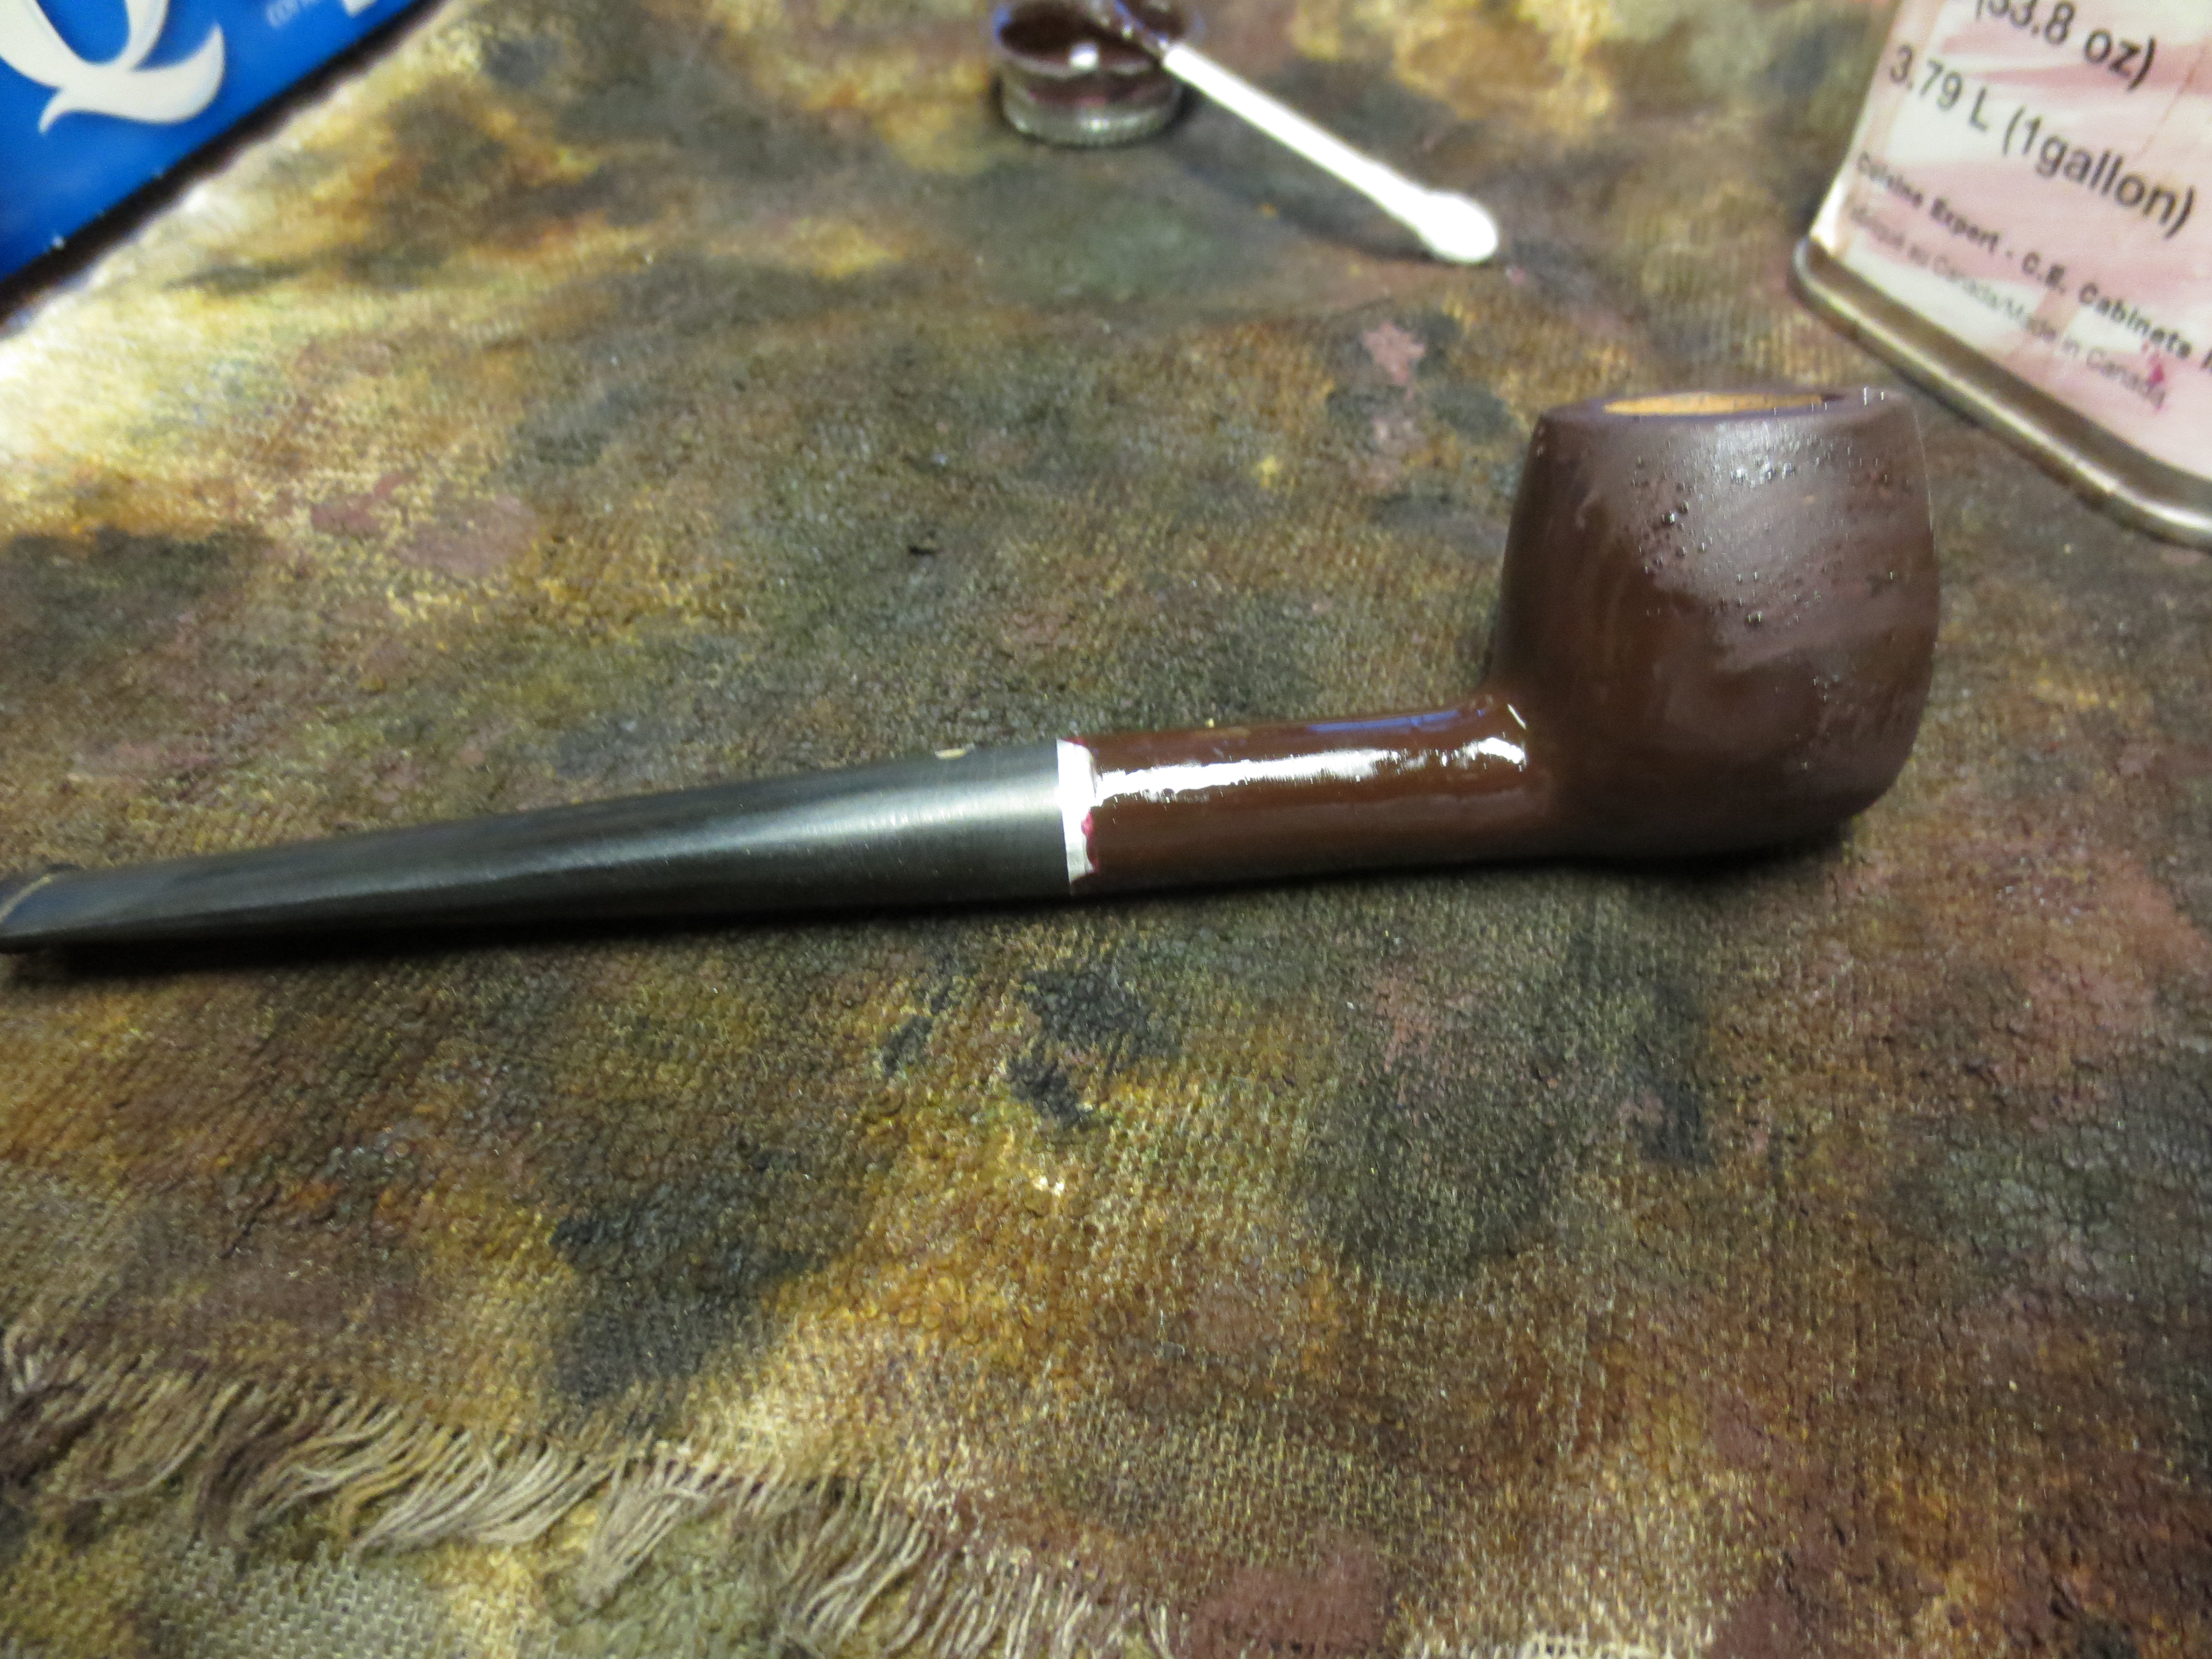
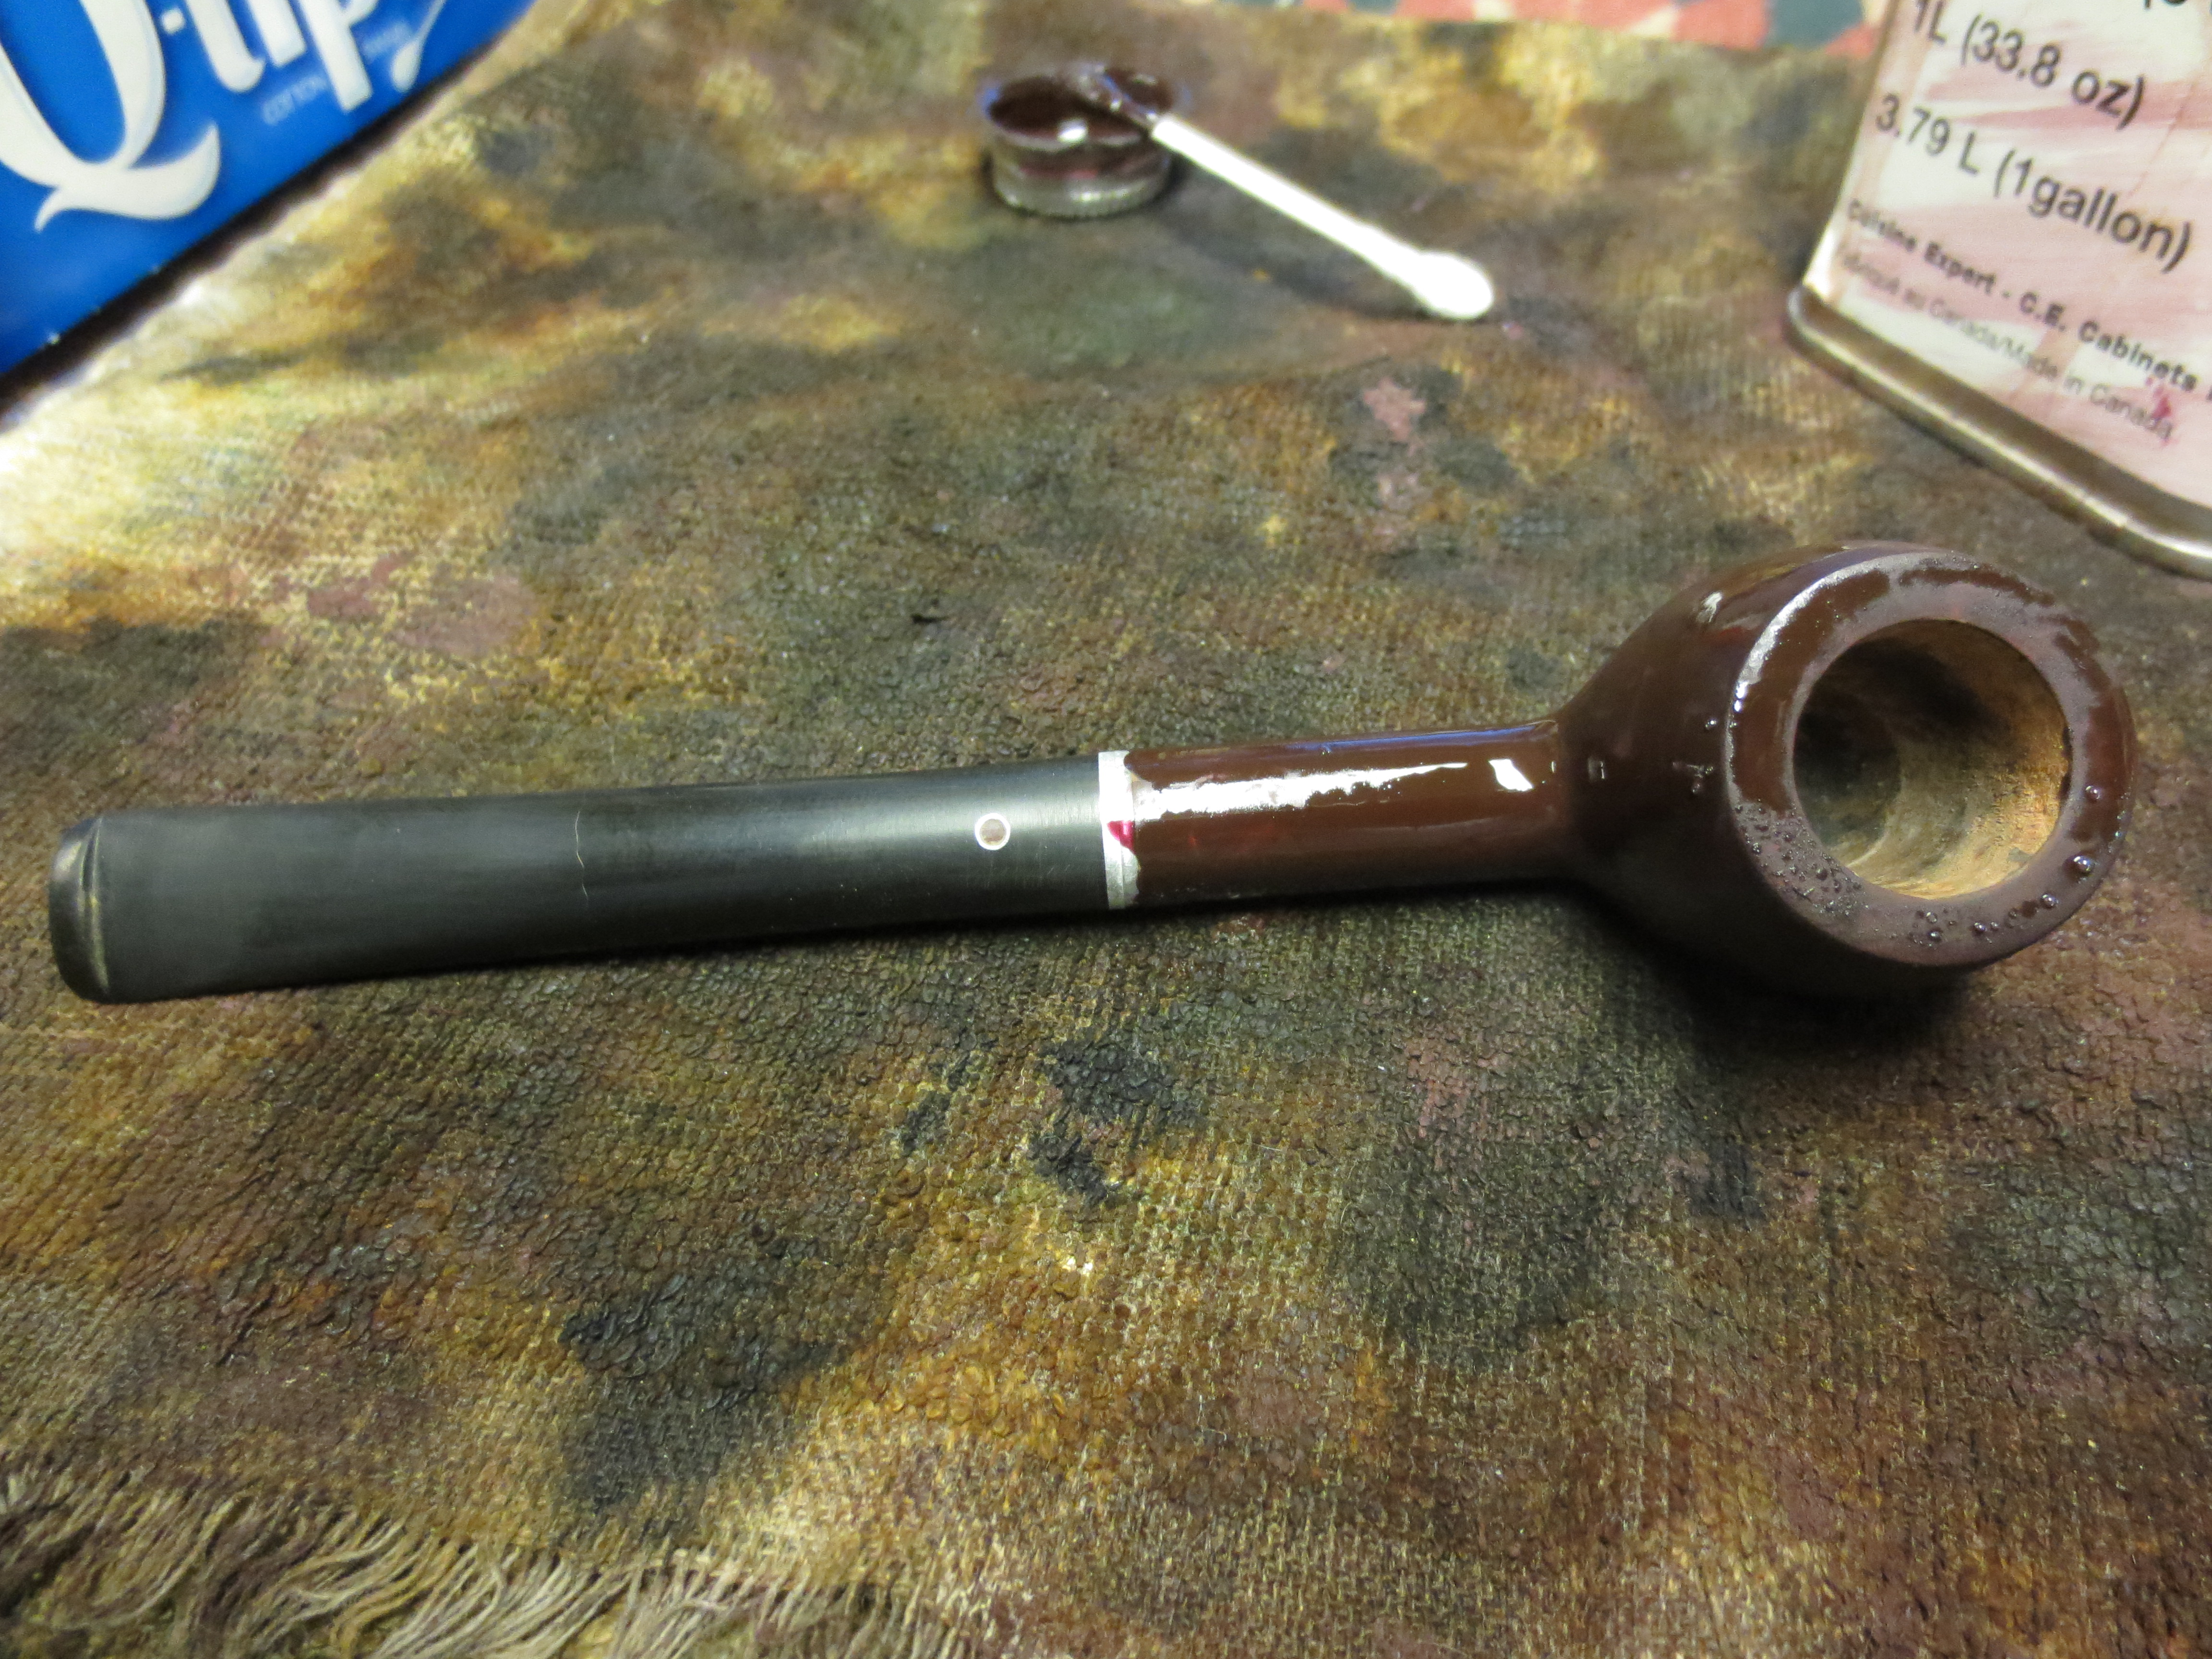
I decided to use a dark brown aniline stain for the finish on this pipe. I had learned from experience that I liked the way the dark brown settled into the crevices of the rustication and how it would be able to be washed to a lighter colour for contrast on the shank and the rim. I applied the stain with a dauber, as usual I start on the bottom of the bowl and let the stain run upward to the rim and finish with the rim. I flamed it, restained it, and flamed it again. I restain the rim several times to get good coverage and flow down the rusticated outer edges of the rim. The next five photos show the pipe after it has been stained and before I took it to the buffer.


The next series of three photos show the pipe after I buffed it with Tripoli and White Diamond. I also buffed the stem to get an idea of the depth of the scratches and the work that needed to be done. The stain on the rustication came out nicely with a flat finish at this point. I like the depth that it gives the finish. The shank and the rim are a shade lighter after buffing and there is a dark edge at the bowl shank angle. The shank and the rim would need some work to even out the stain and give it a uniform contrasting colour.

I then went to work on the stem with the micromesh sanding pads. The next nine photos show the progress in polishing the stem and the shank and rim using 1500, 1800 and 2400 grit sanding pads. I wet sanded with these grits, wetting the pad and then sanding and wiping the stem and shank down before going on to the next grit. I was able to even out the stain on the shank and the bowl rim and blend them well with the edges and also remove many of the scratches in the stem.


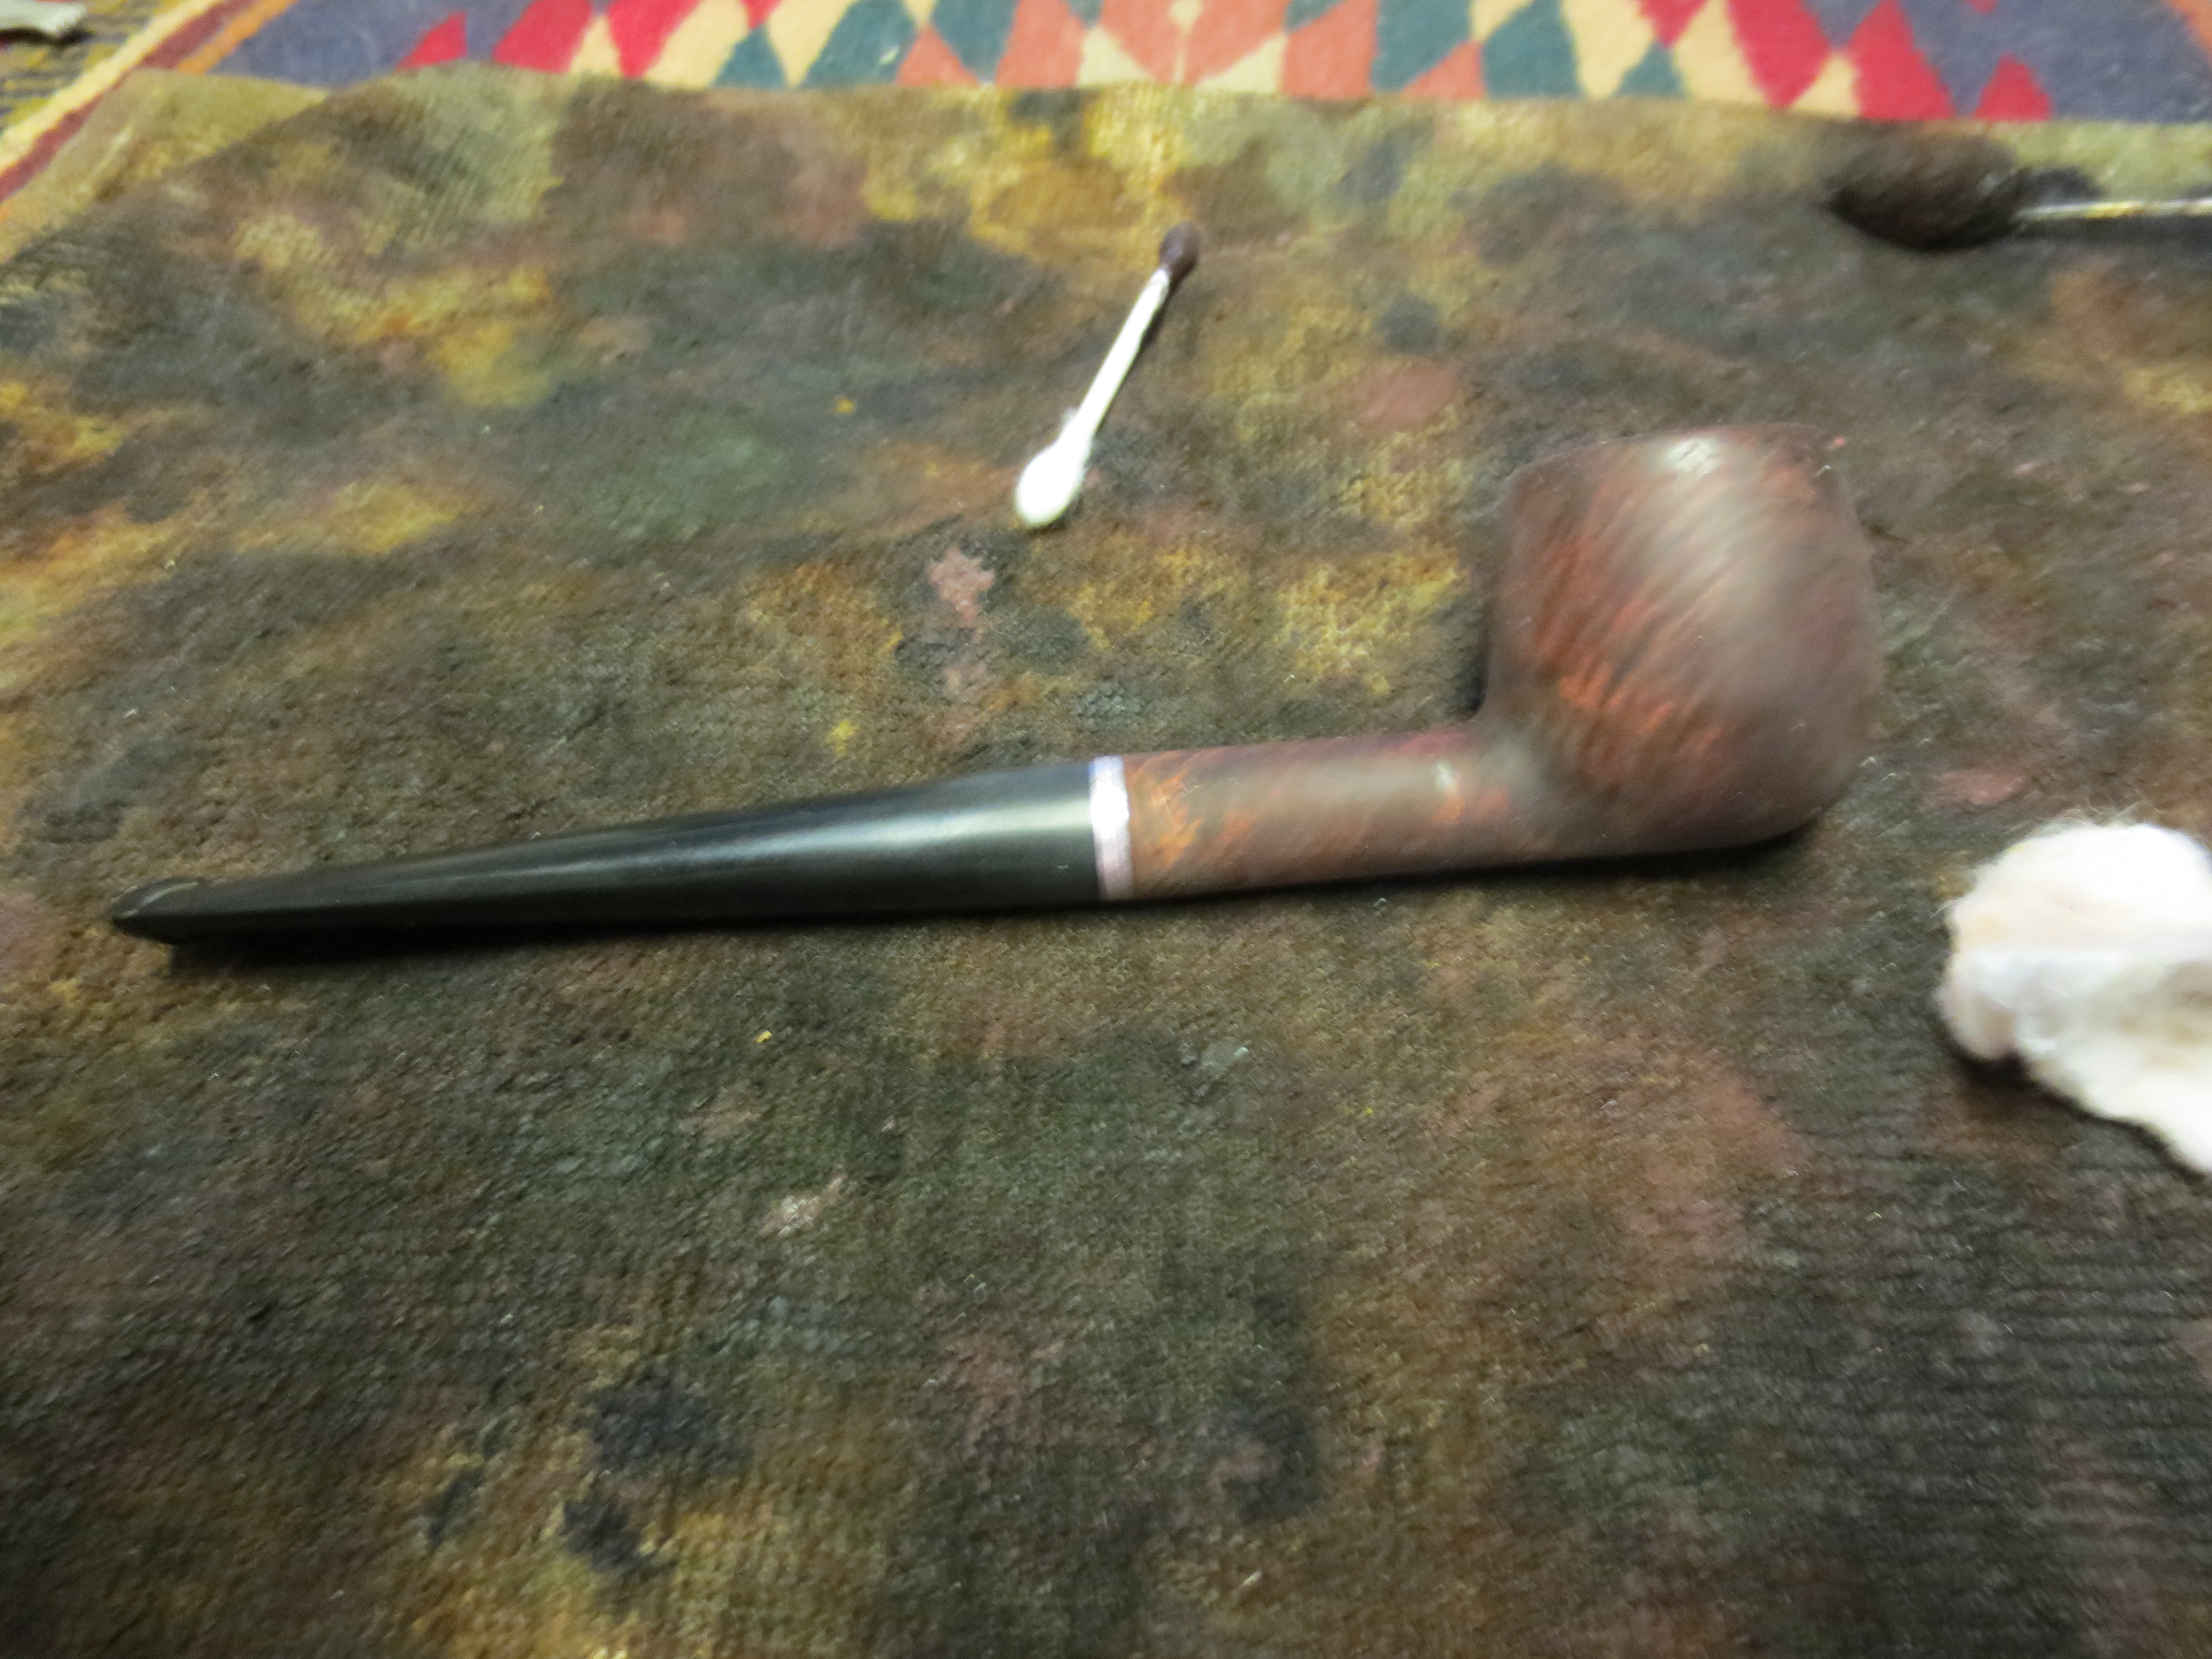
I went on to dry sand the stem with the rest of the micromesh sanding pads from 3200-12,000 grit. Each successive pad gave the stem more of a polish. When I had finished that I applied a coat of Maguiar’s Scratch X2.0 with my finger and scrubbed it off with a cotton pad and polished it to the shine that is shown below. Before finishing I sanded it a final time with the 12,000 grit micromesh pad and then gave it a coat of Obsidian Oil. The next four photos show the pipe just before I took it to the buffer for a final buff.
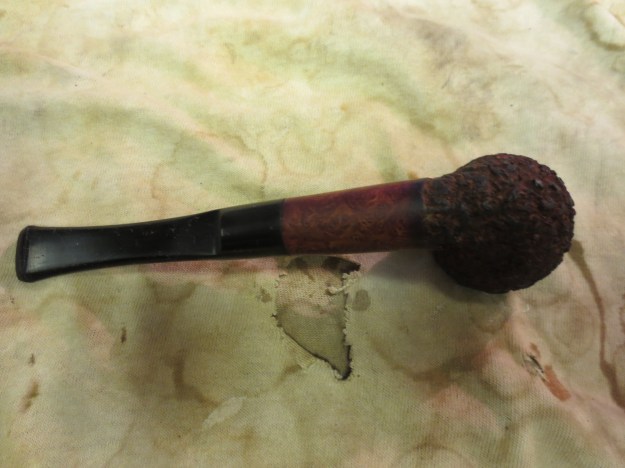
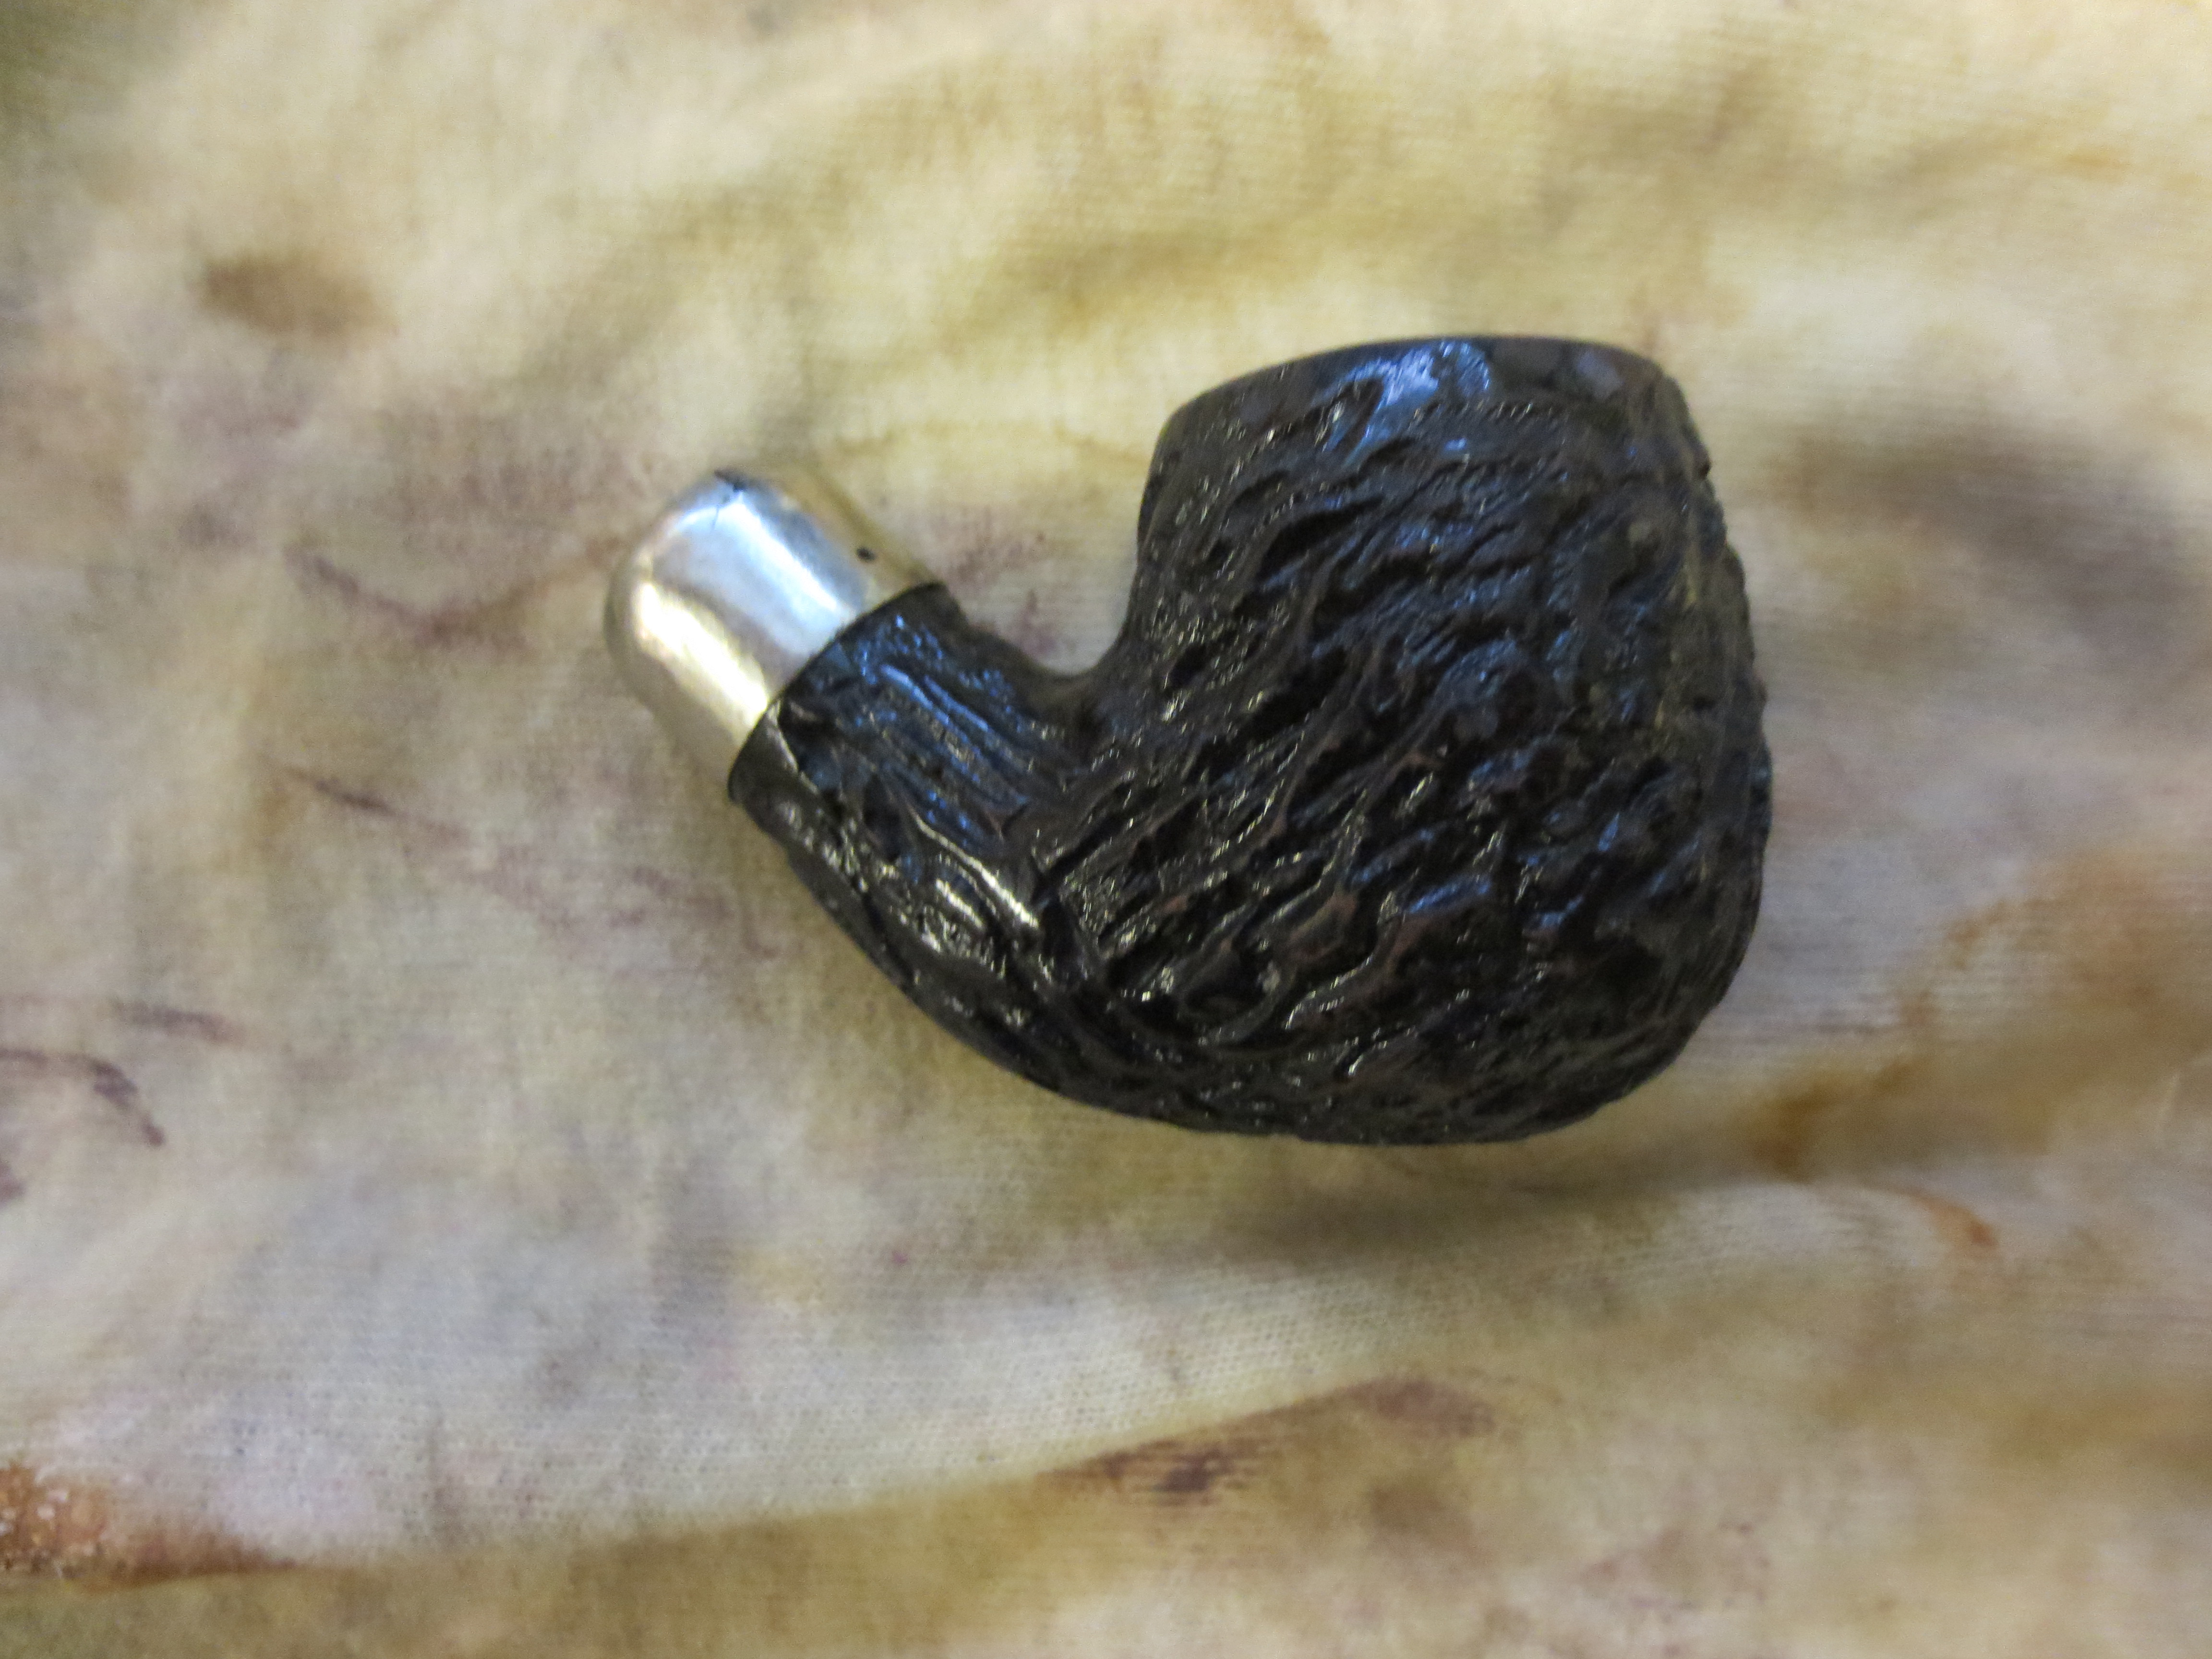
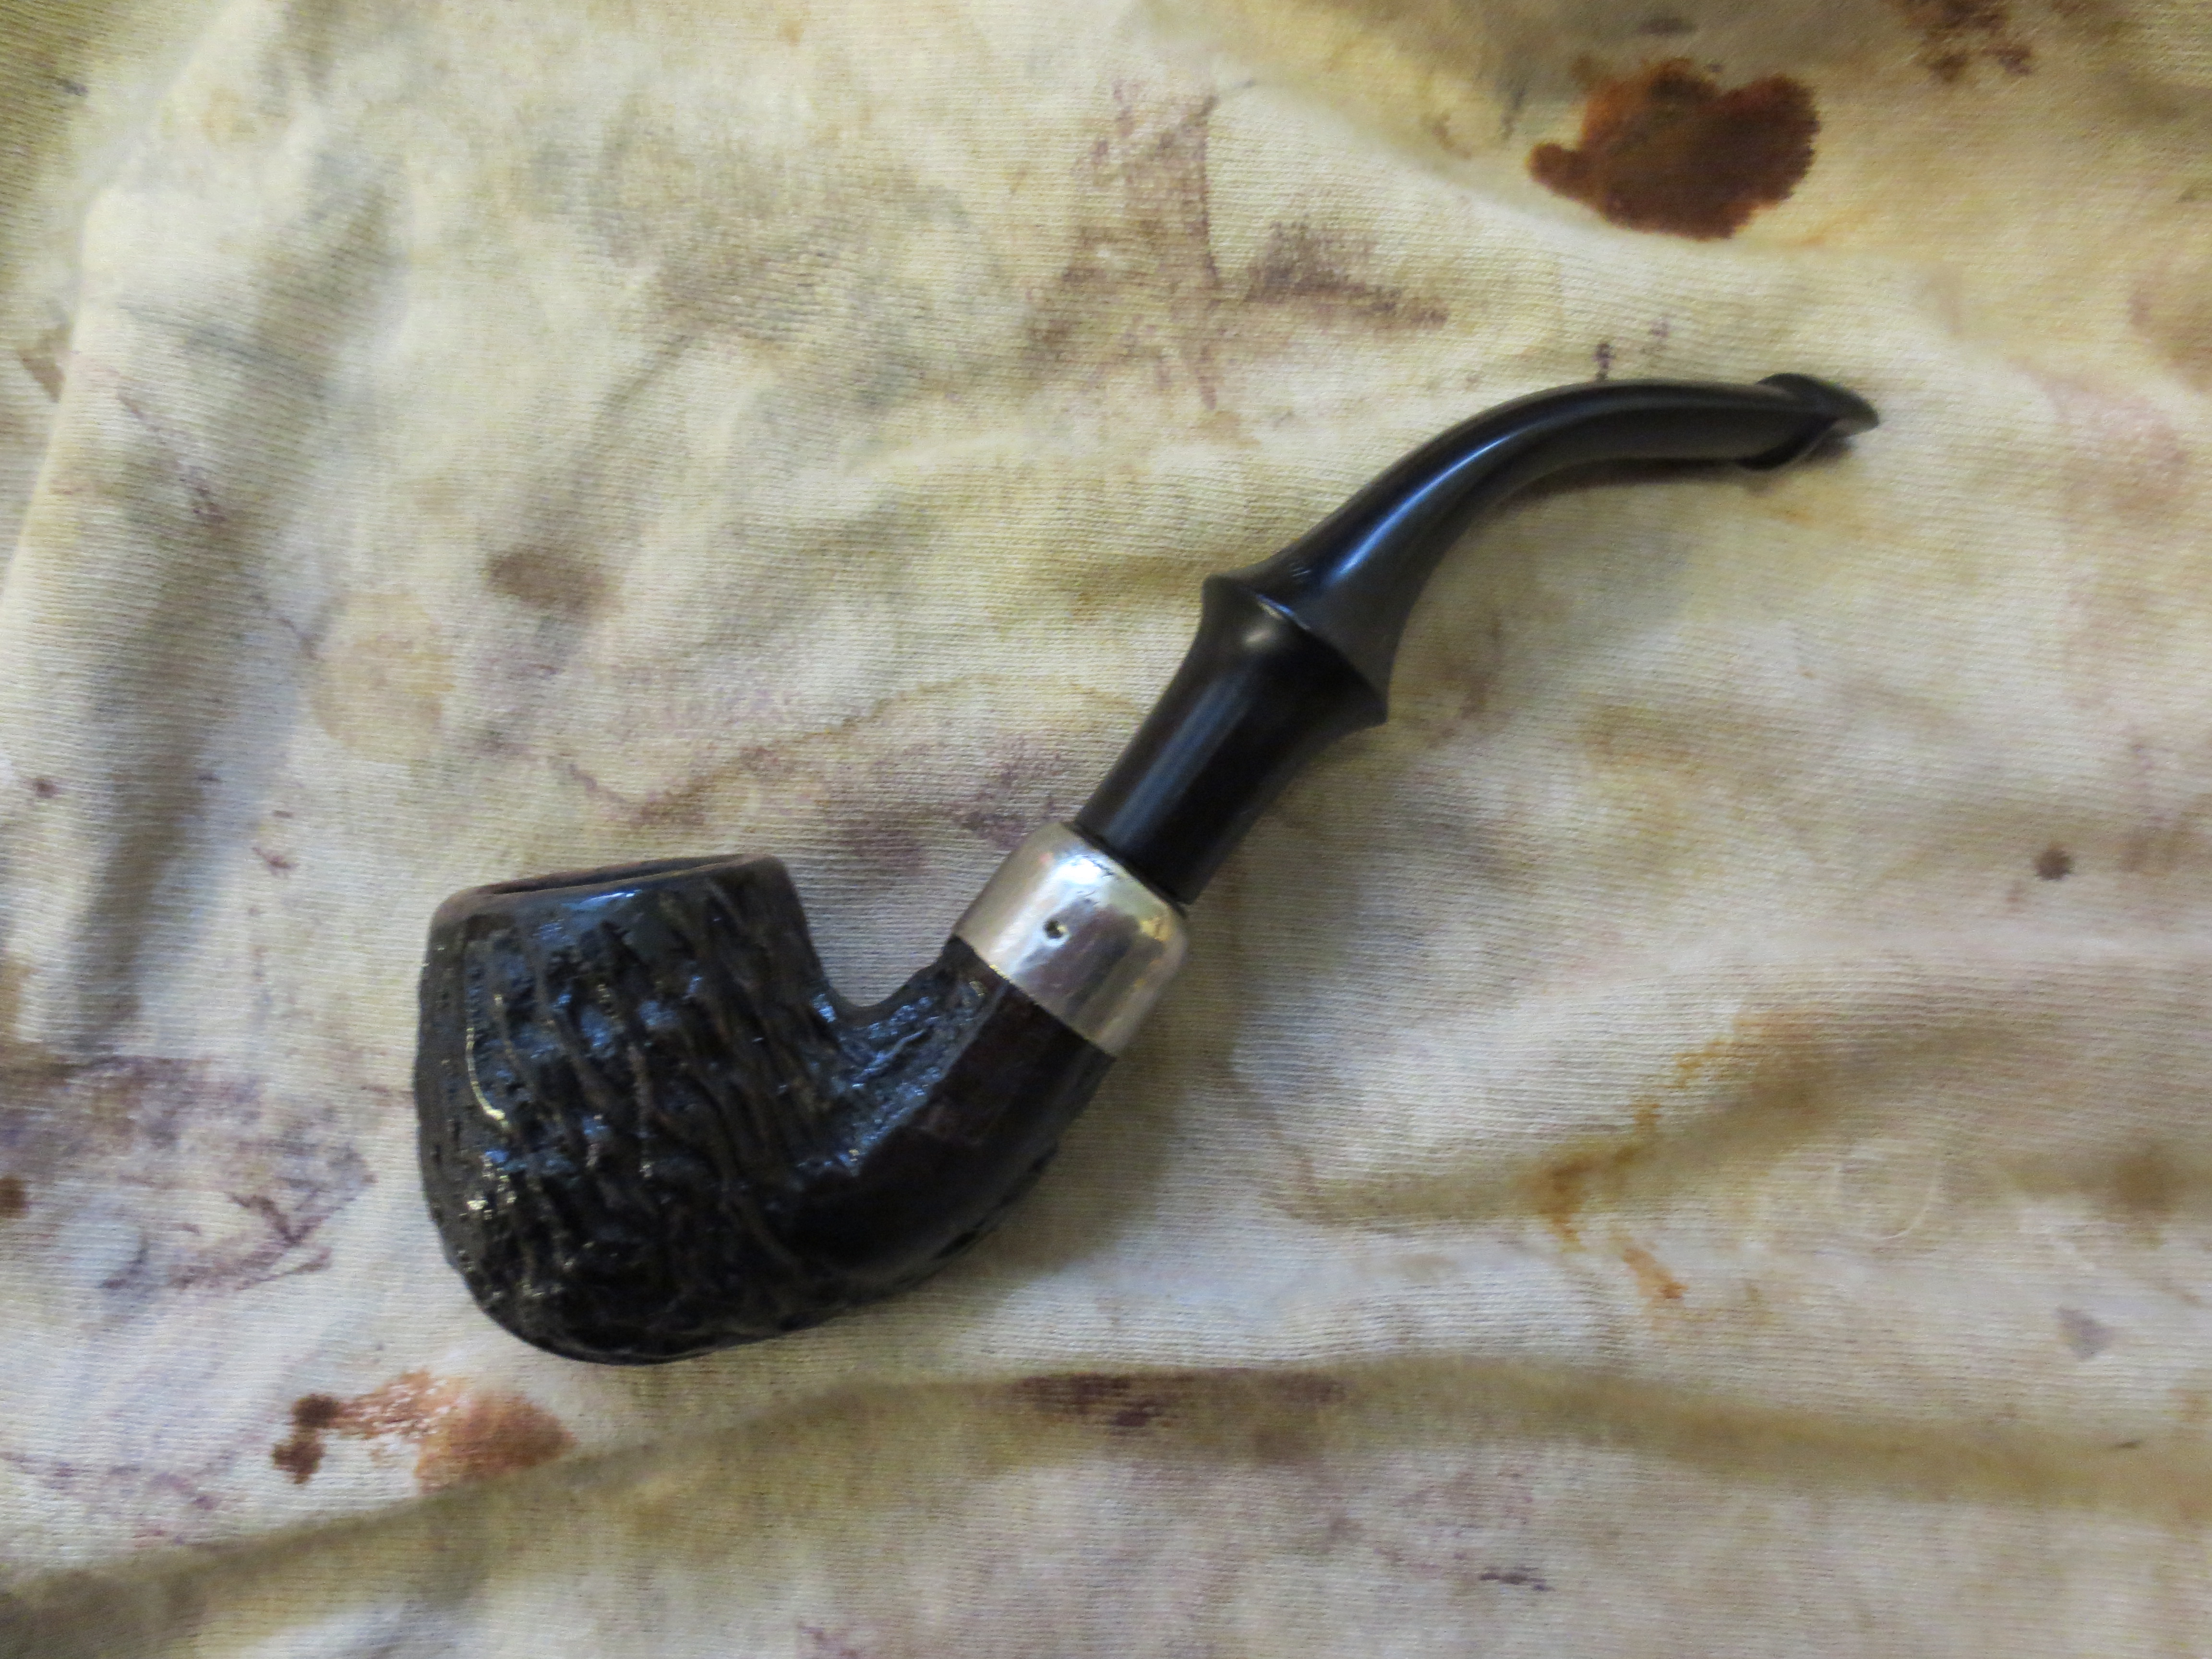
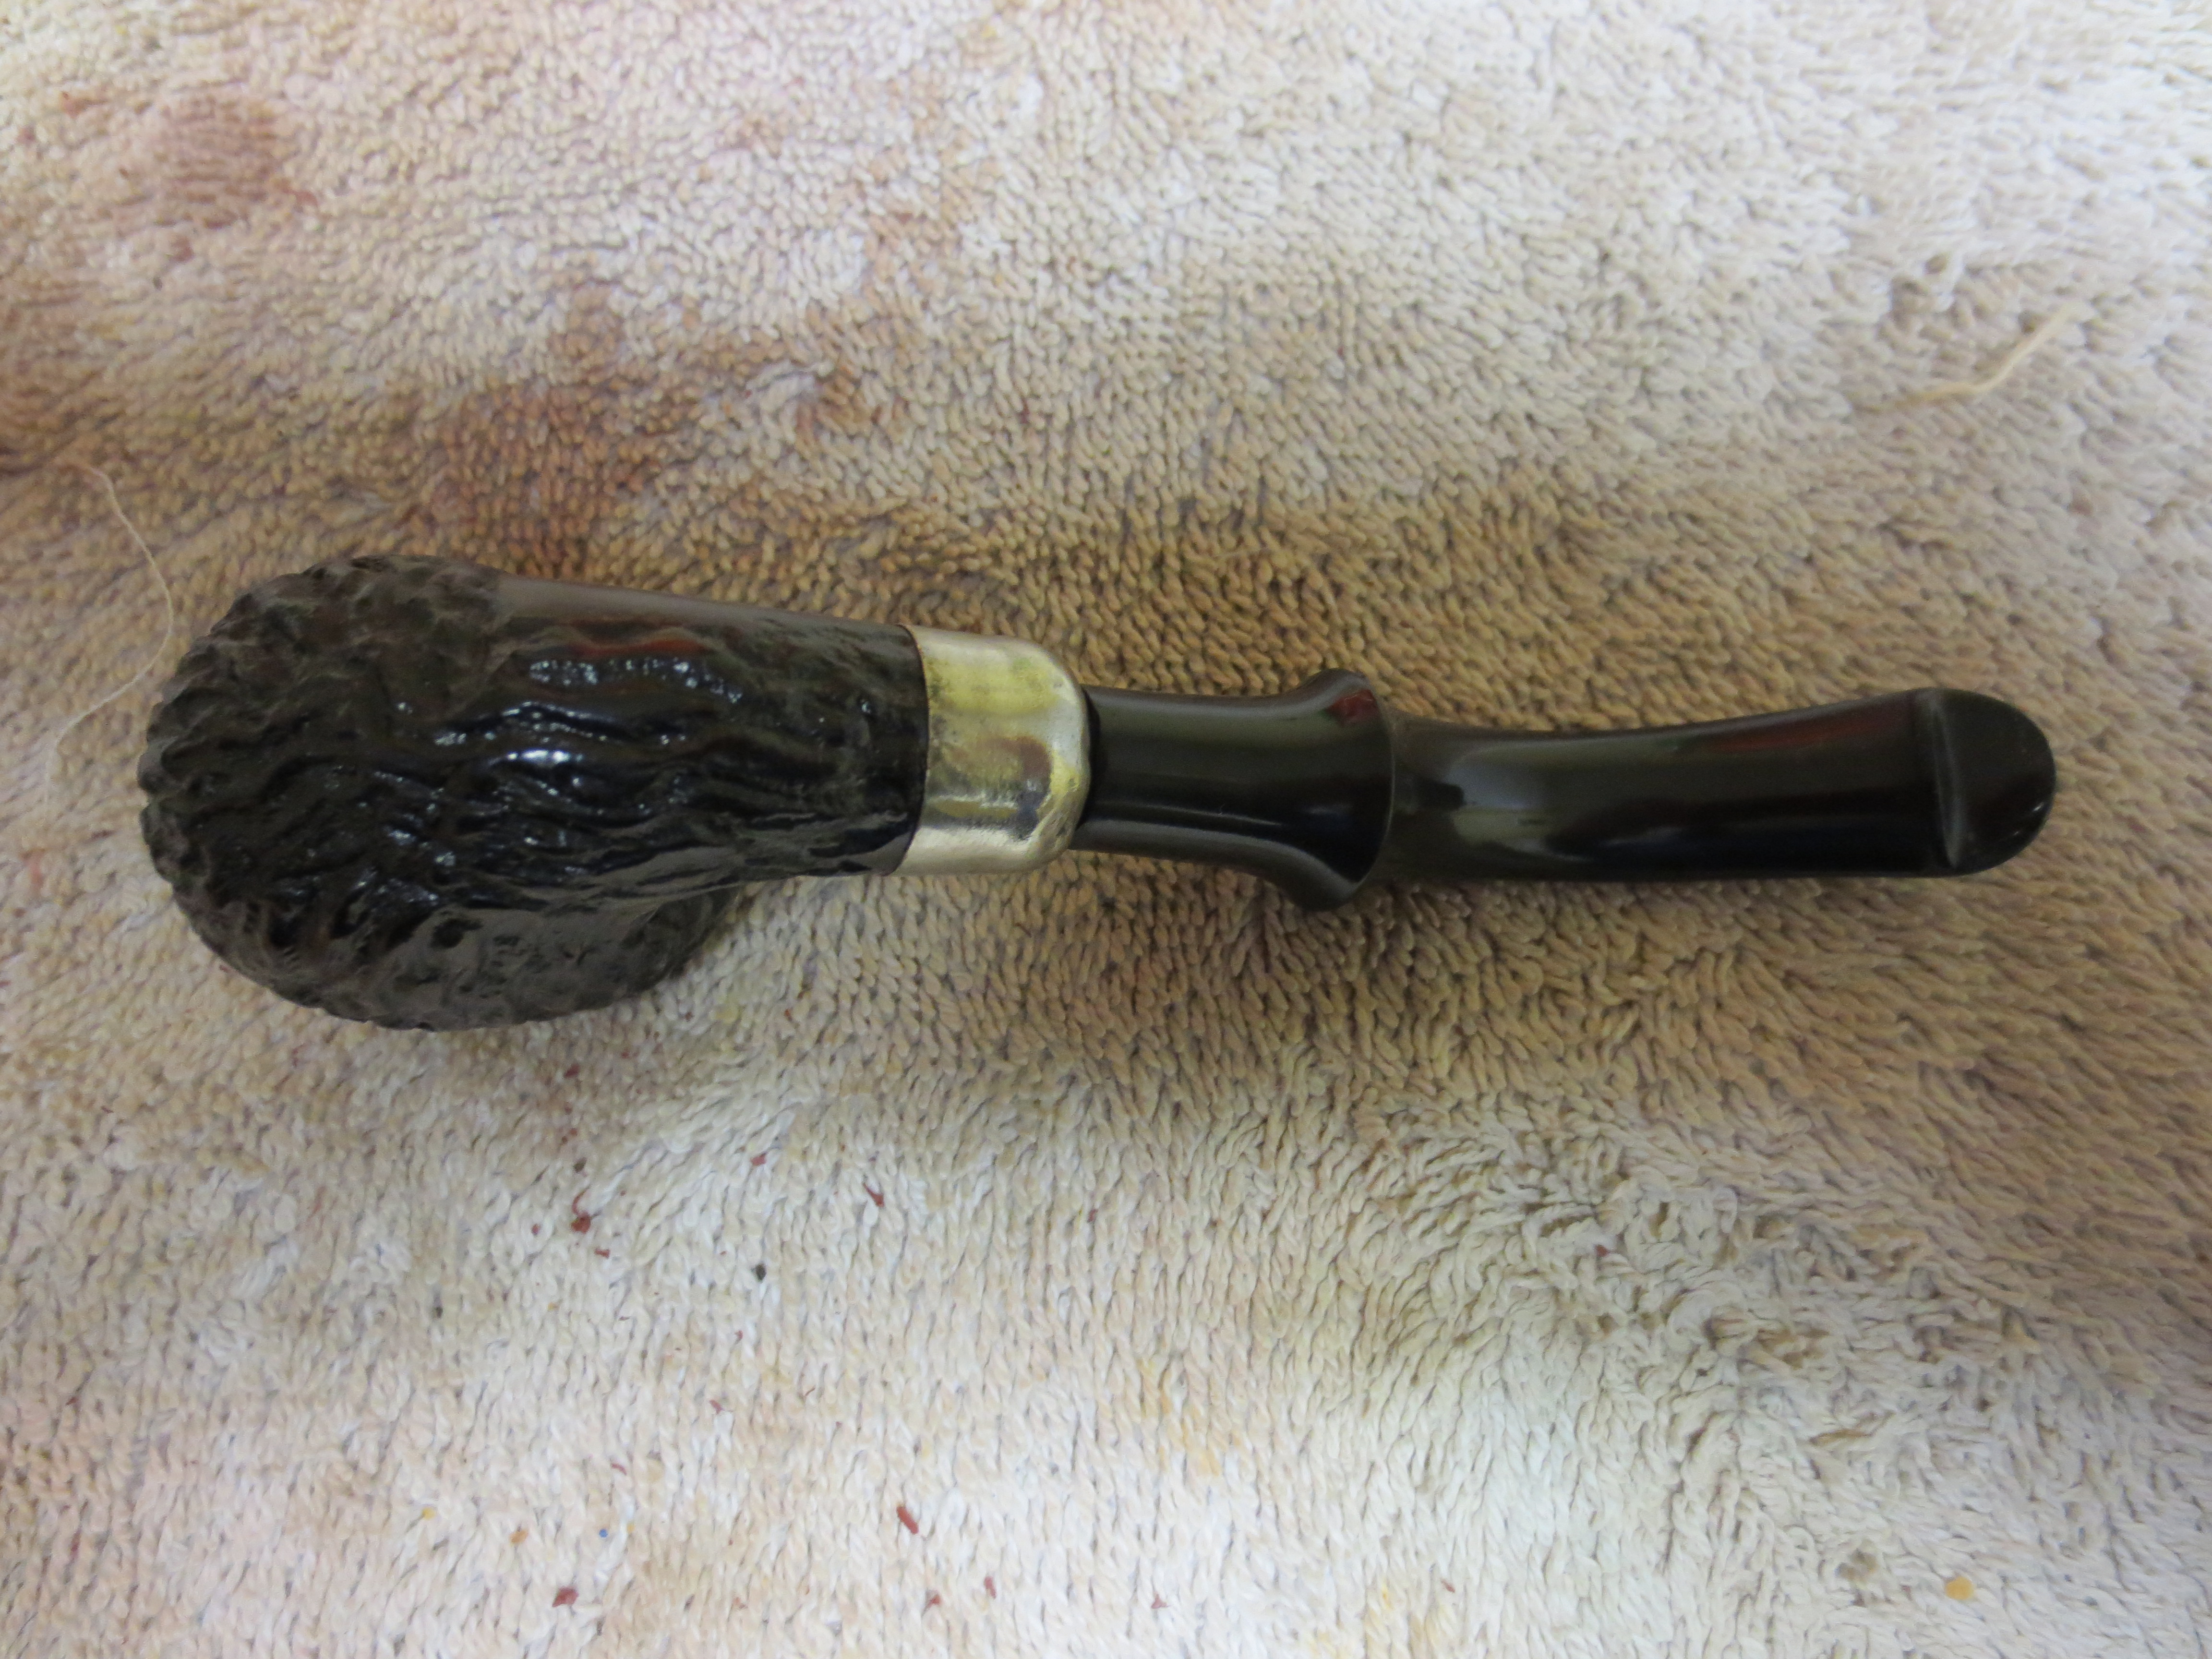
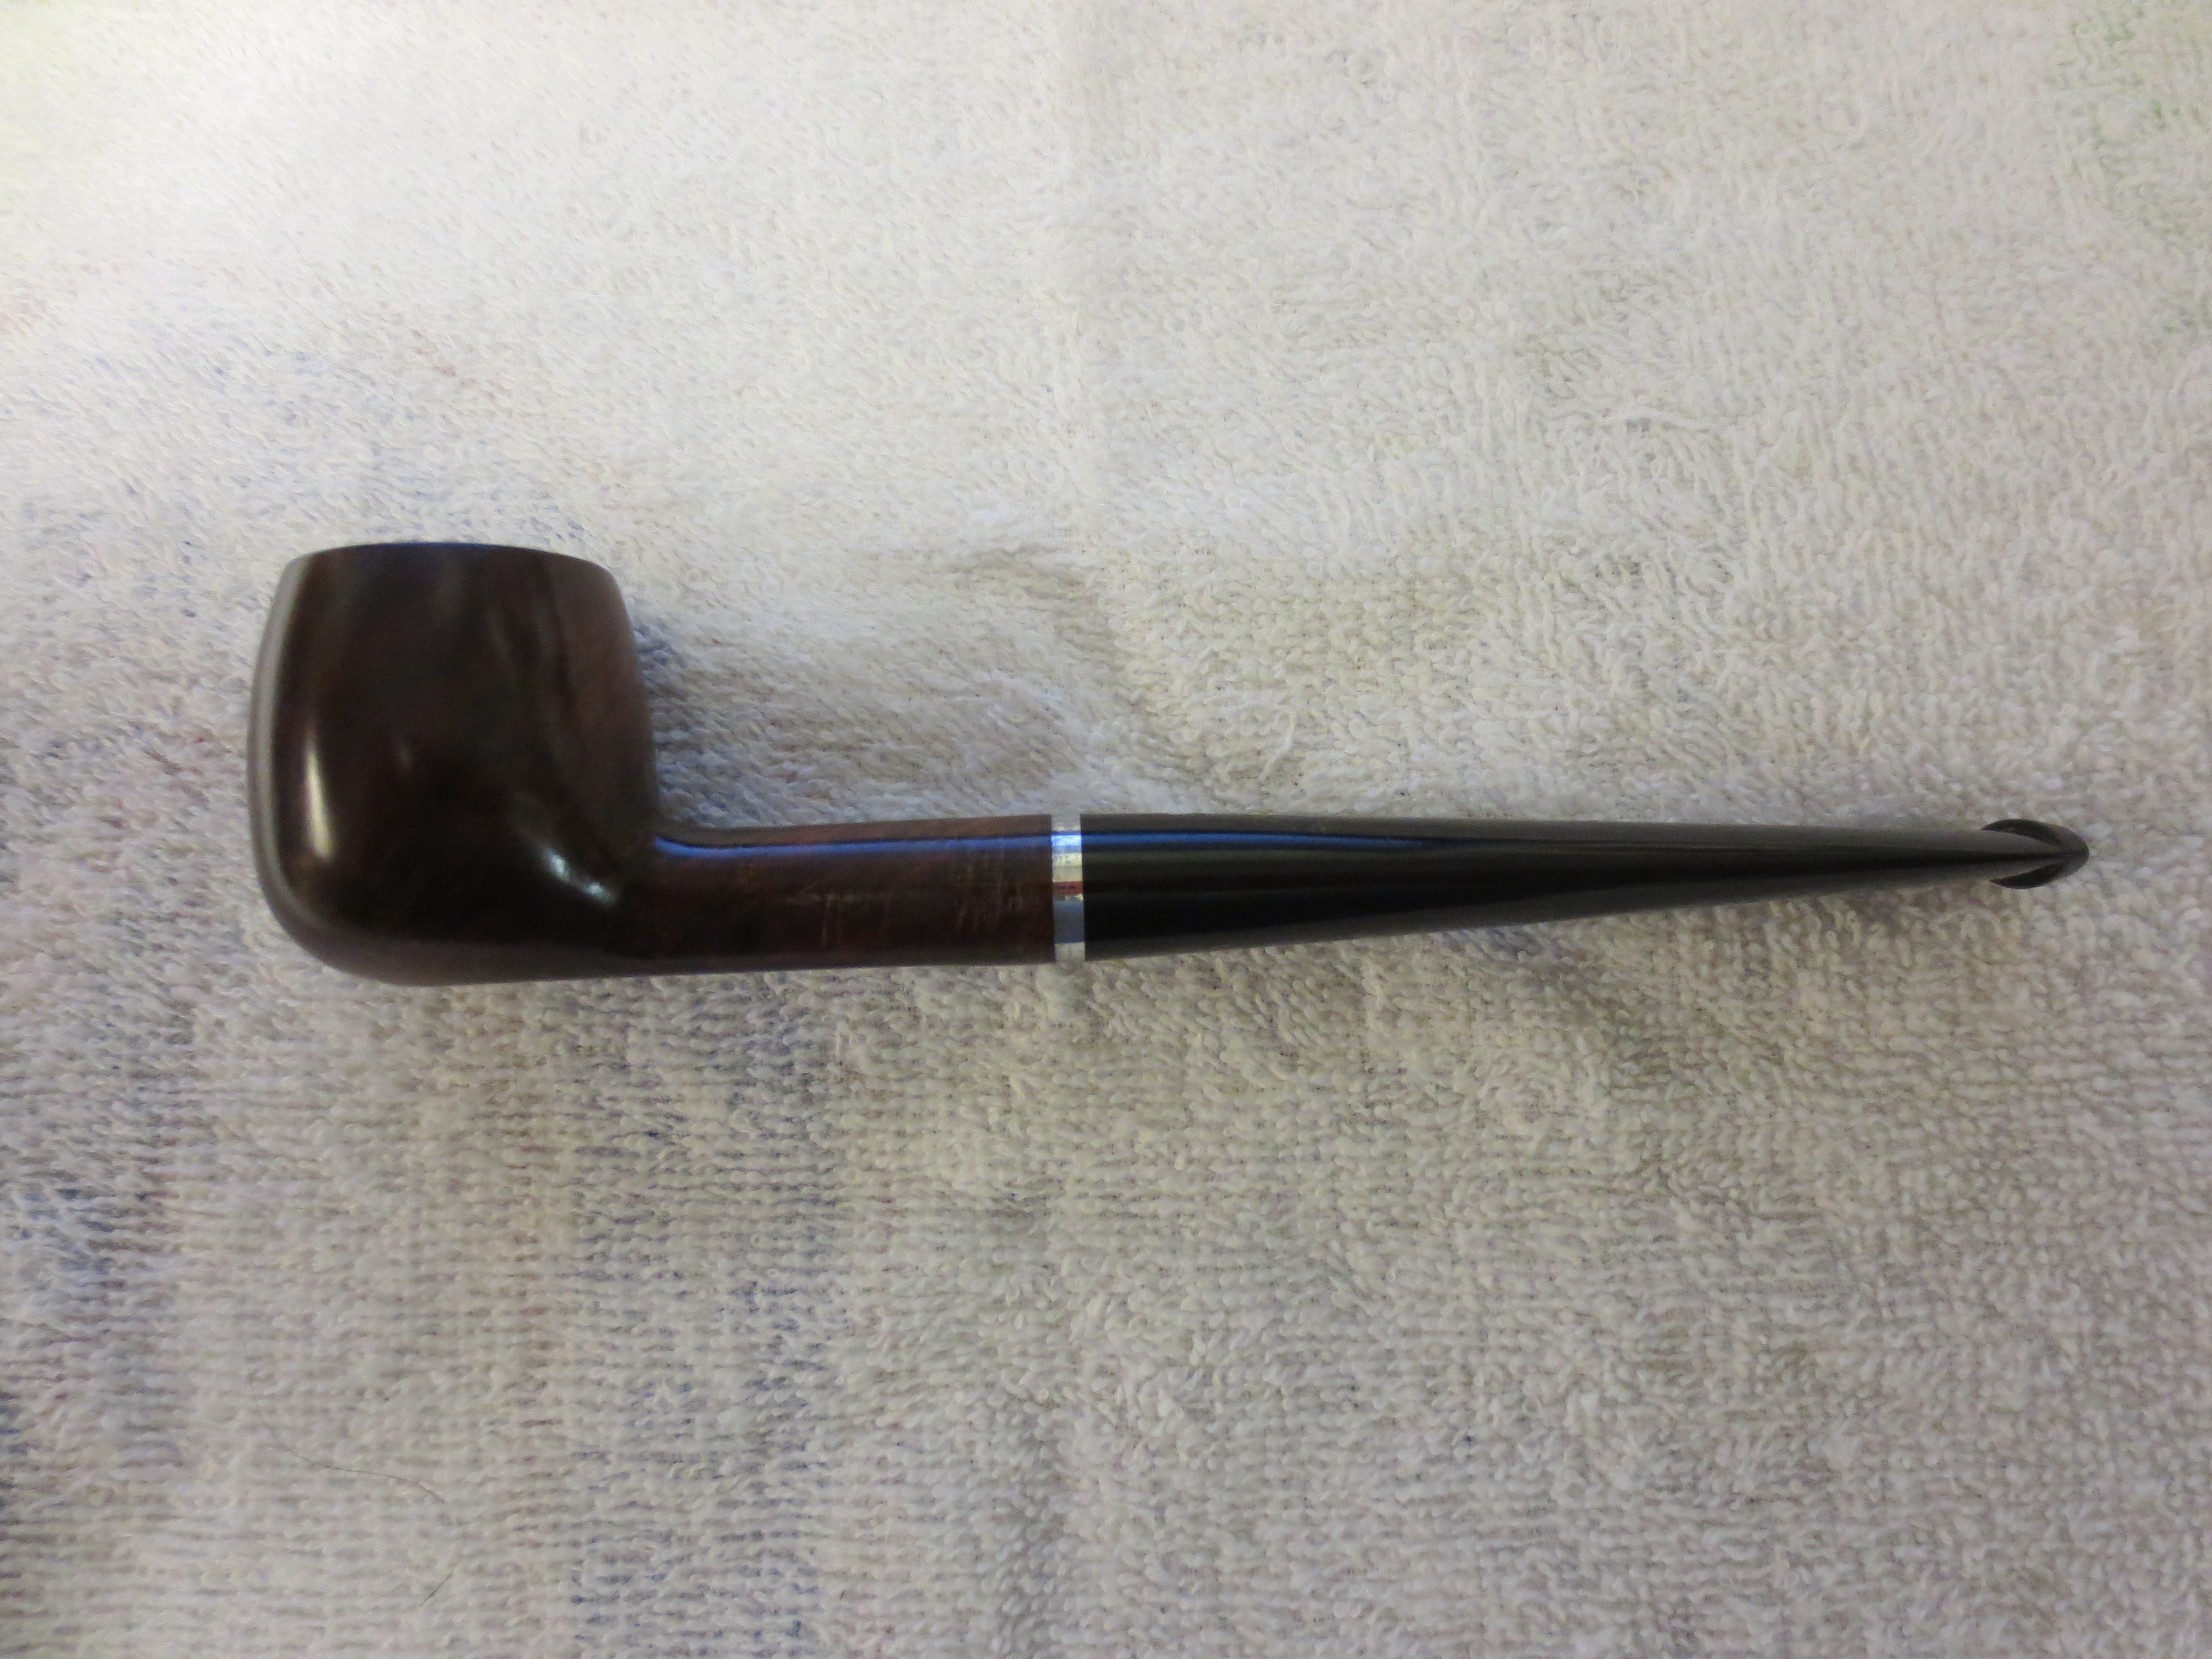
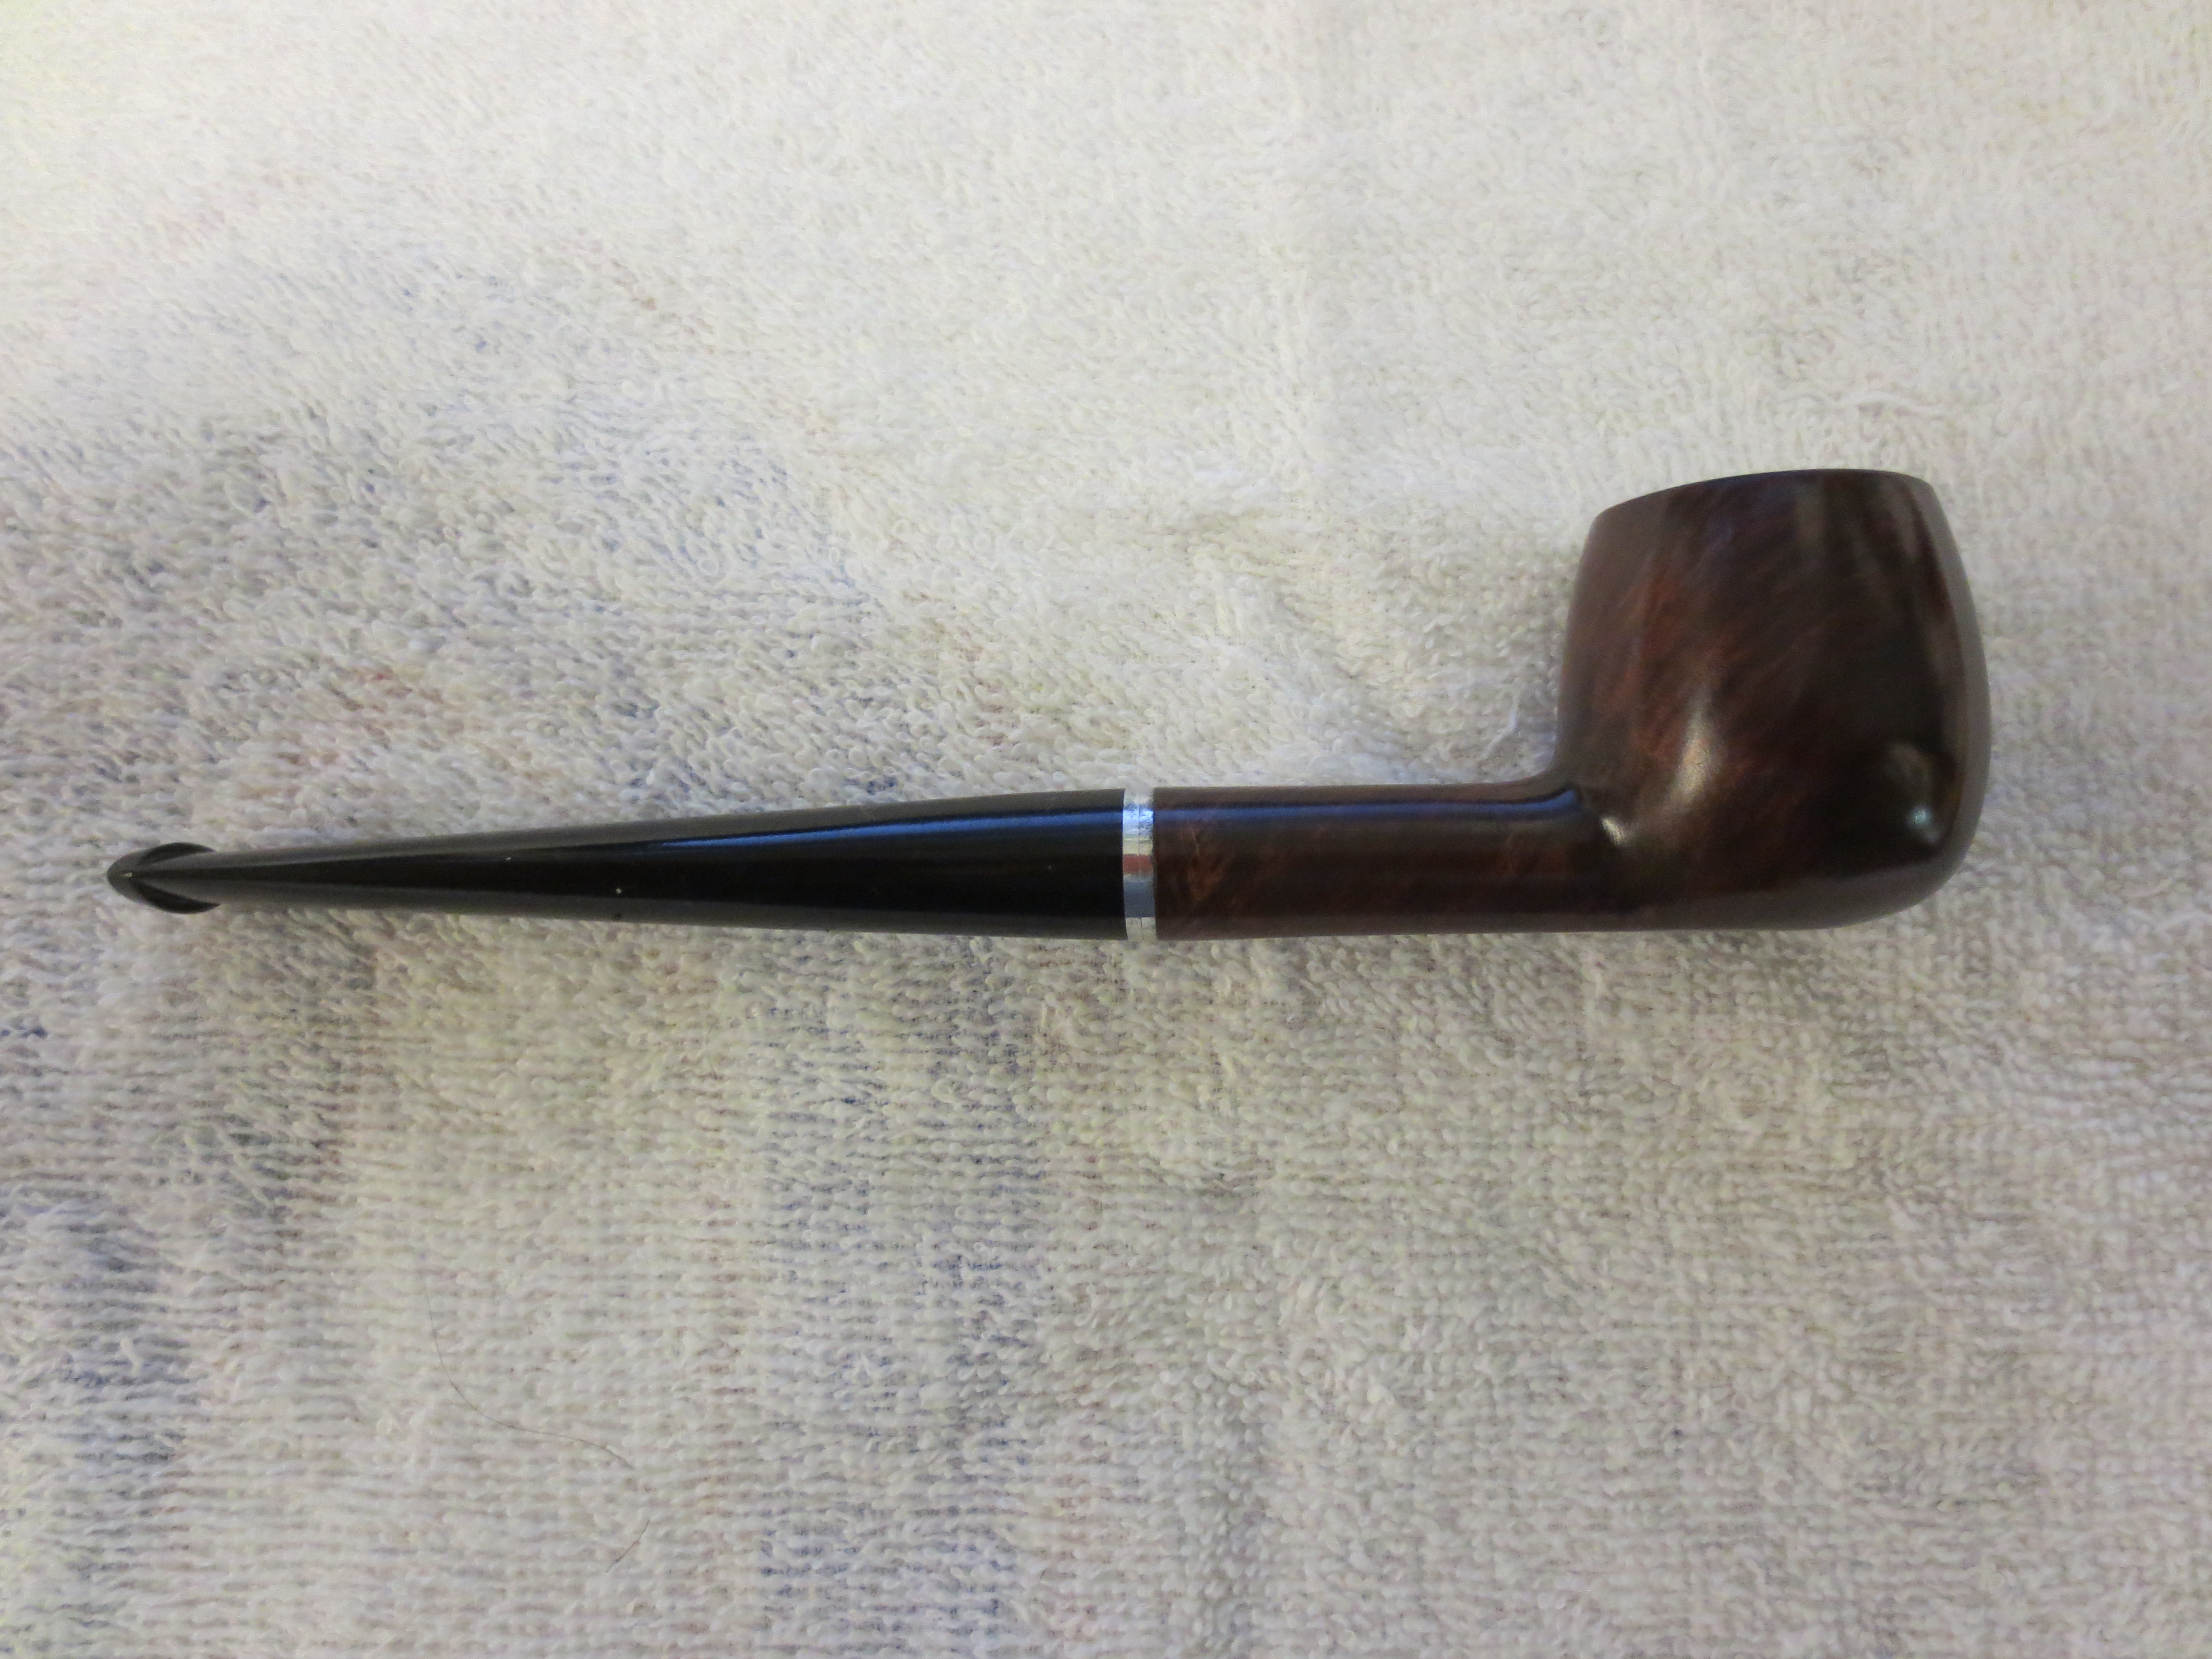
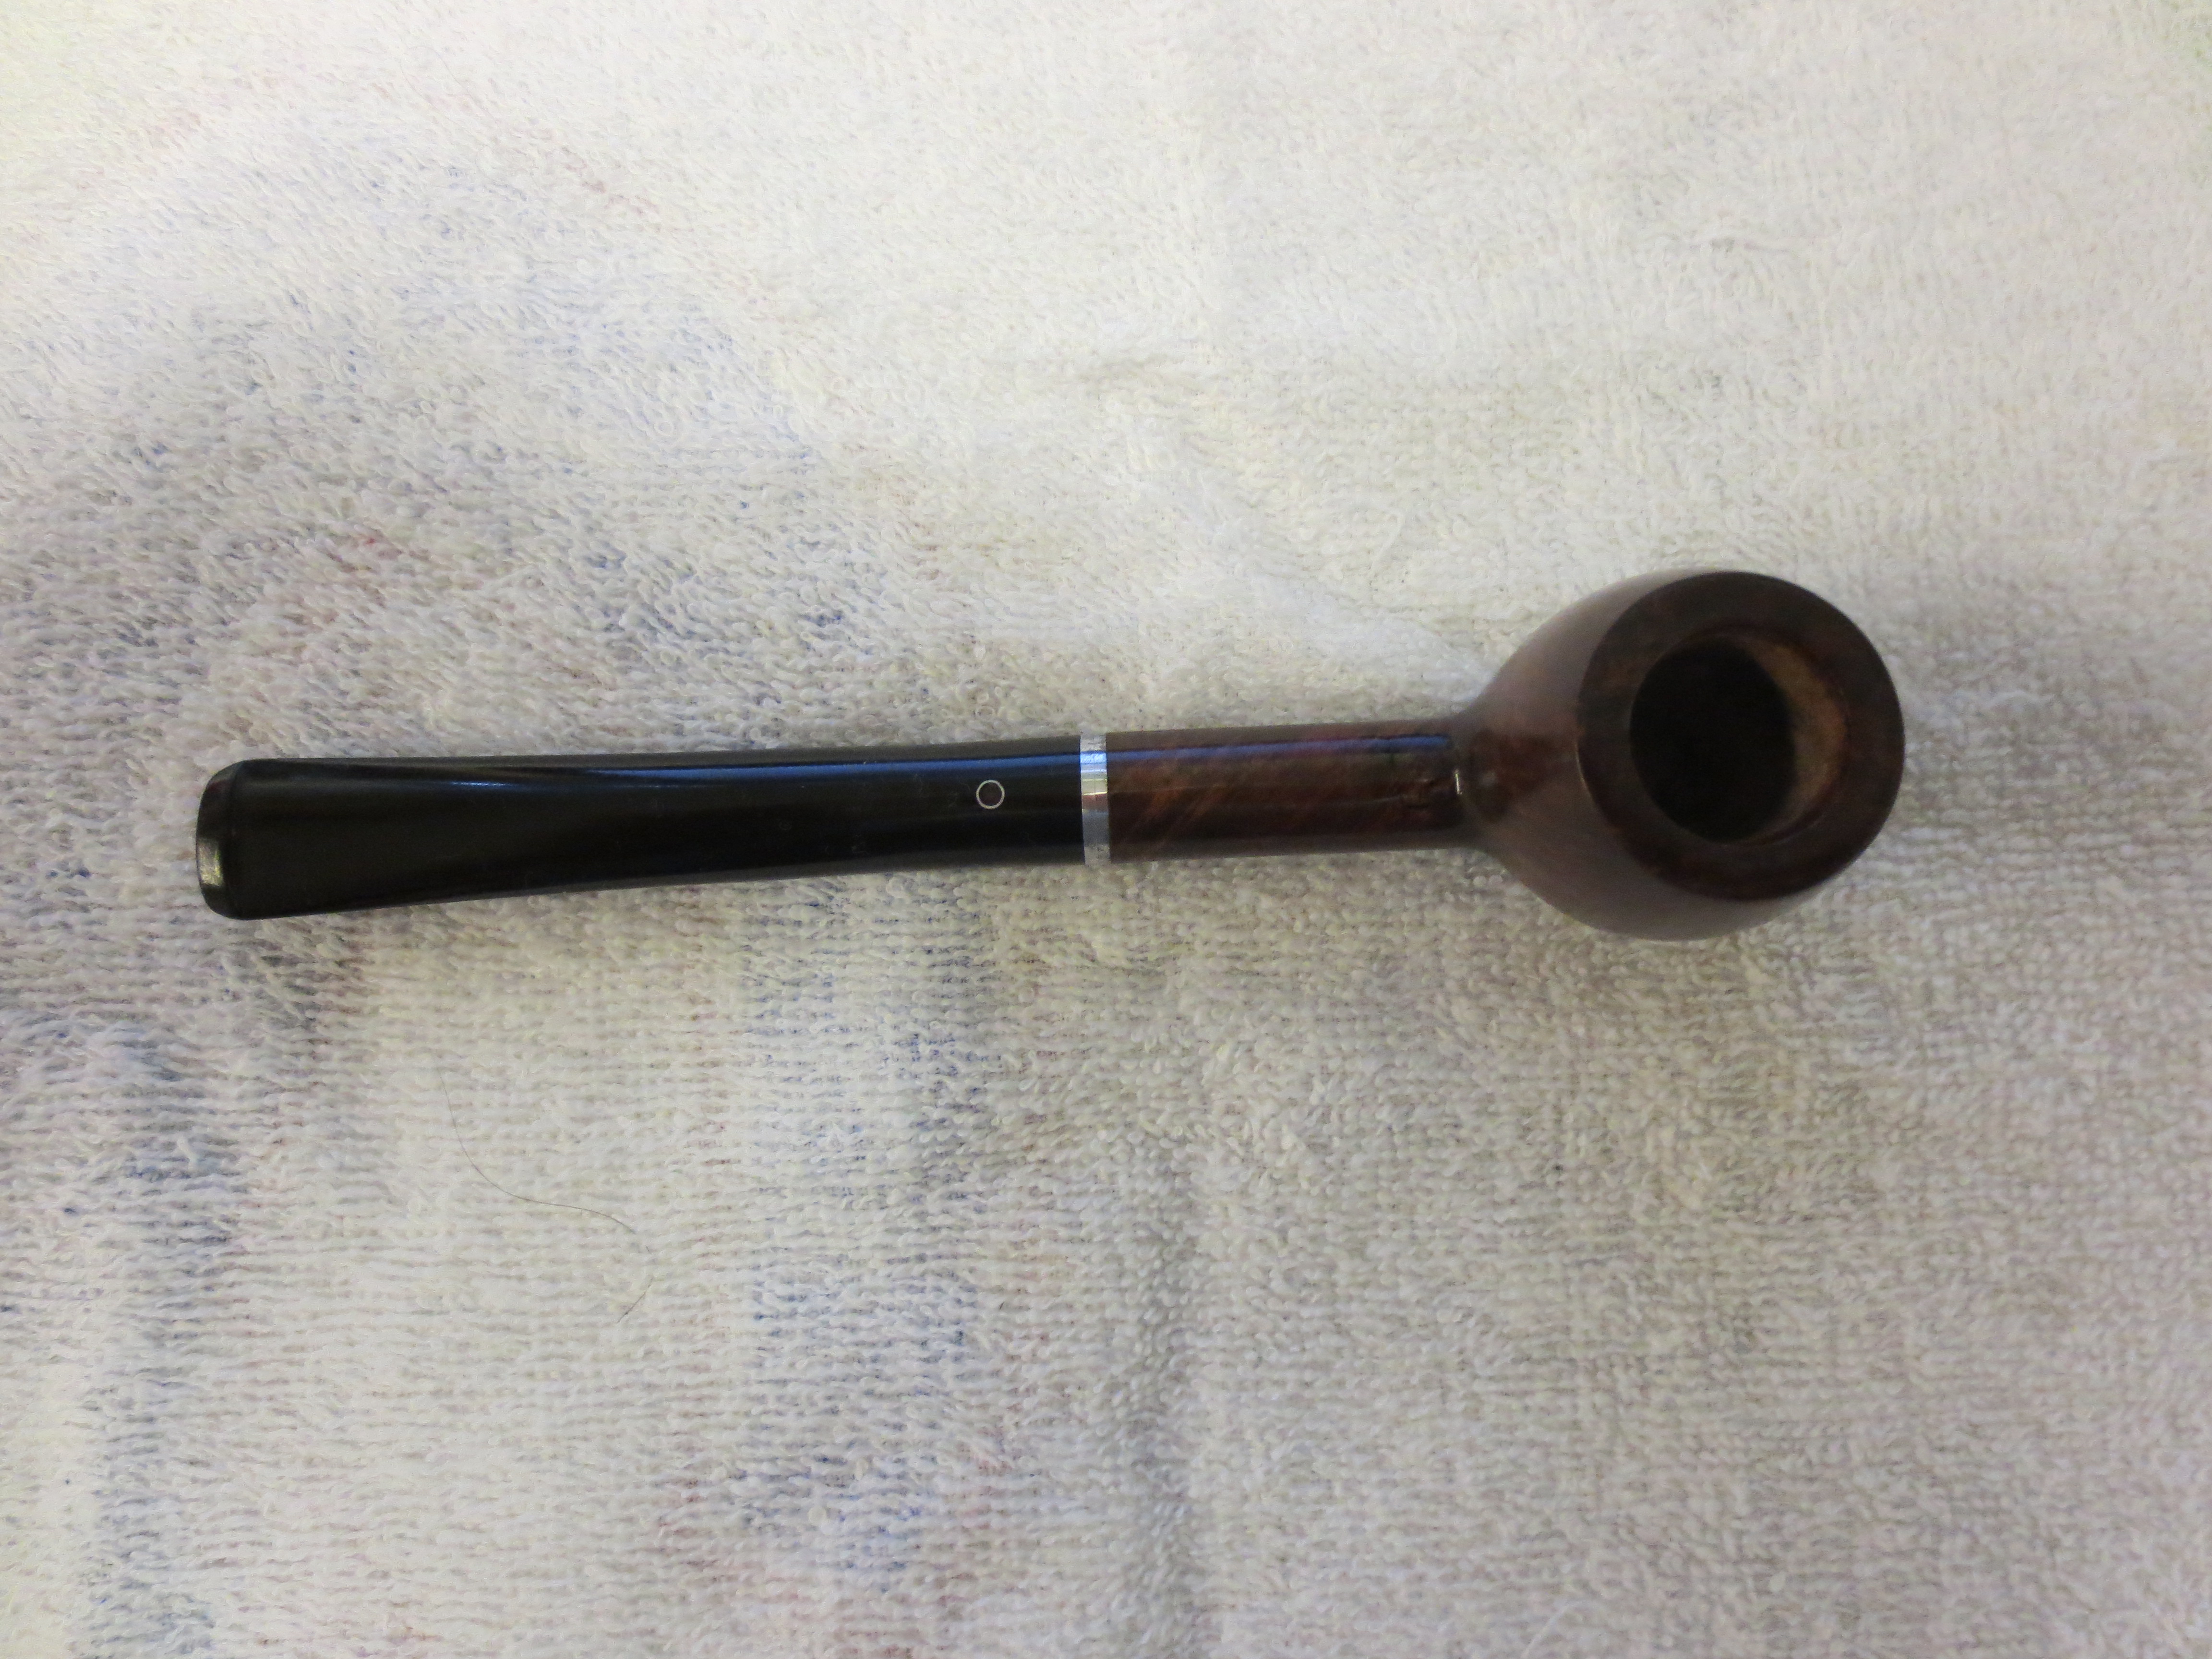
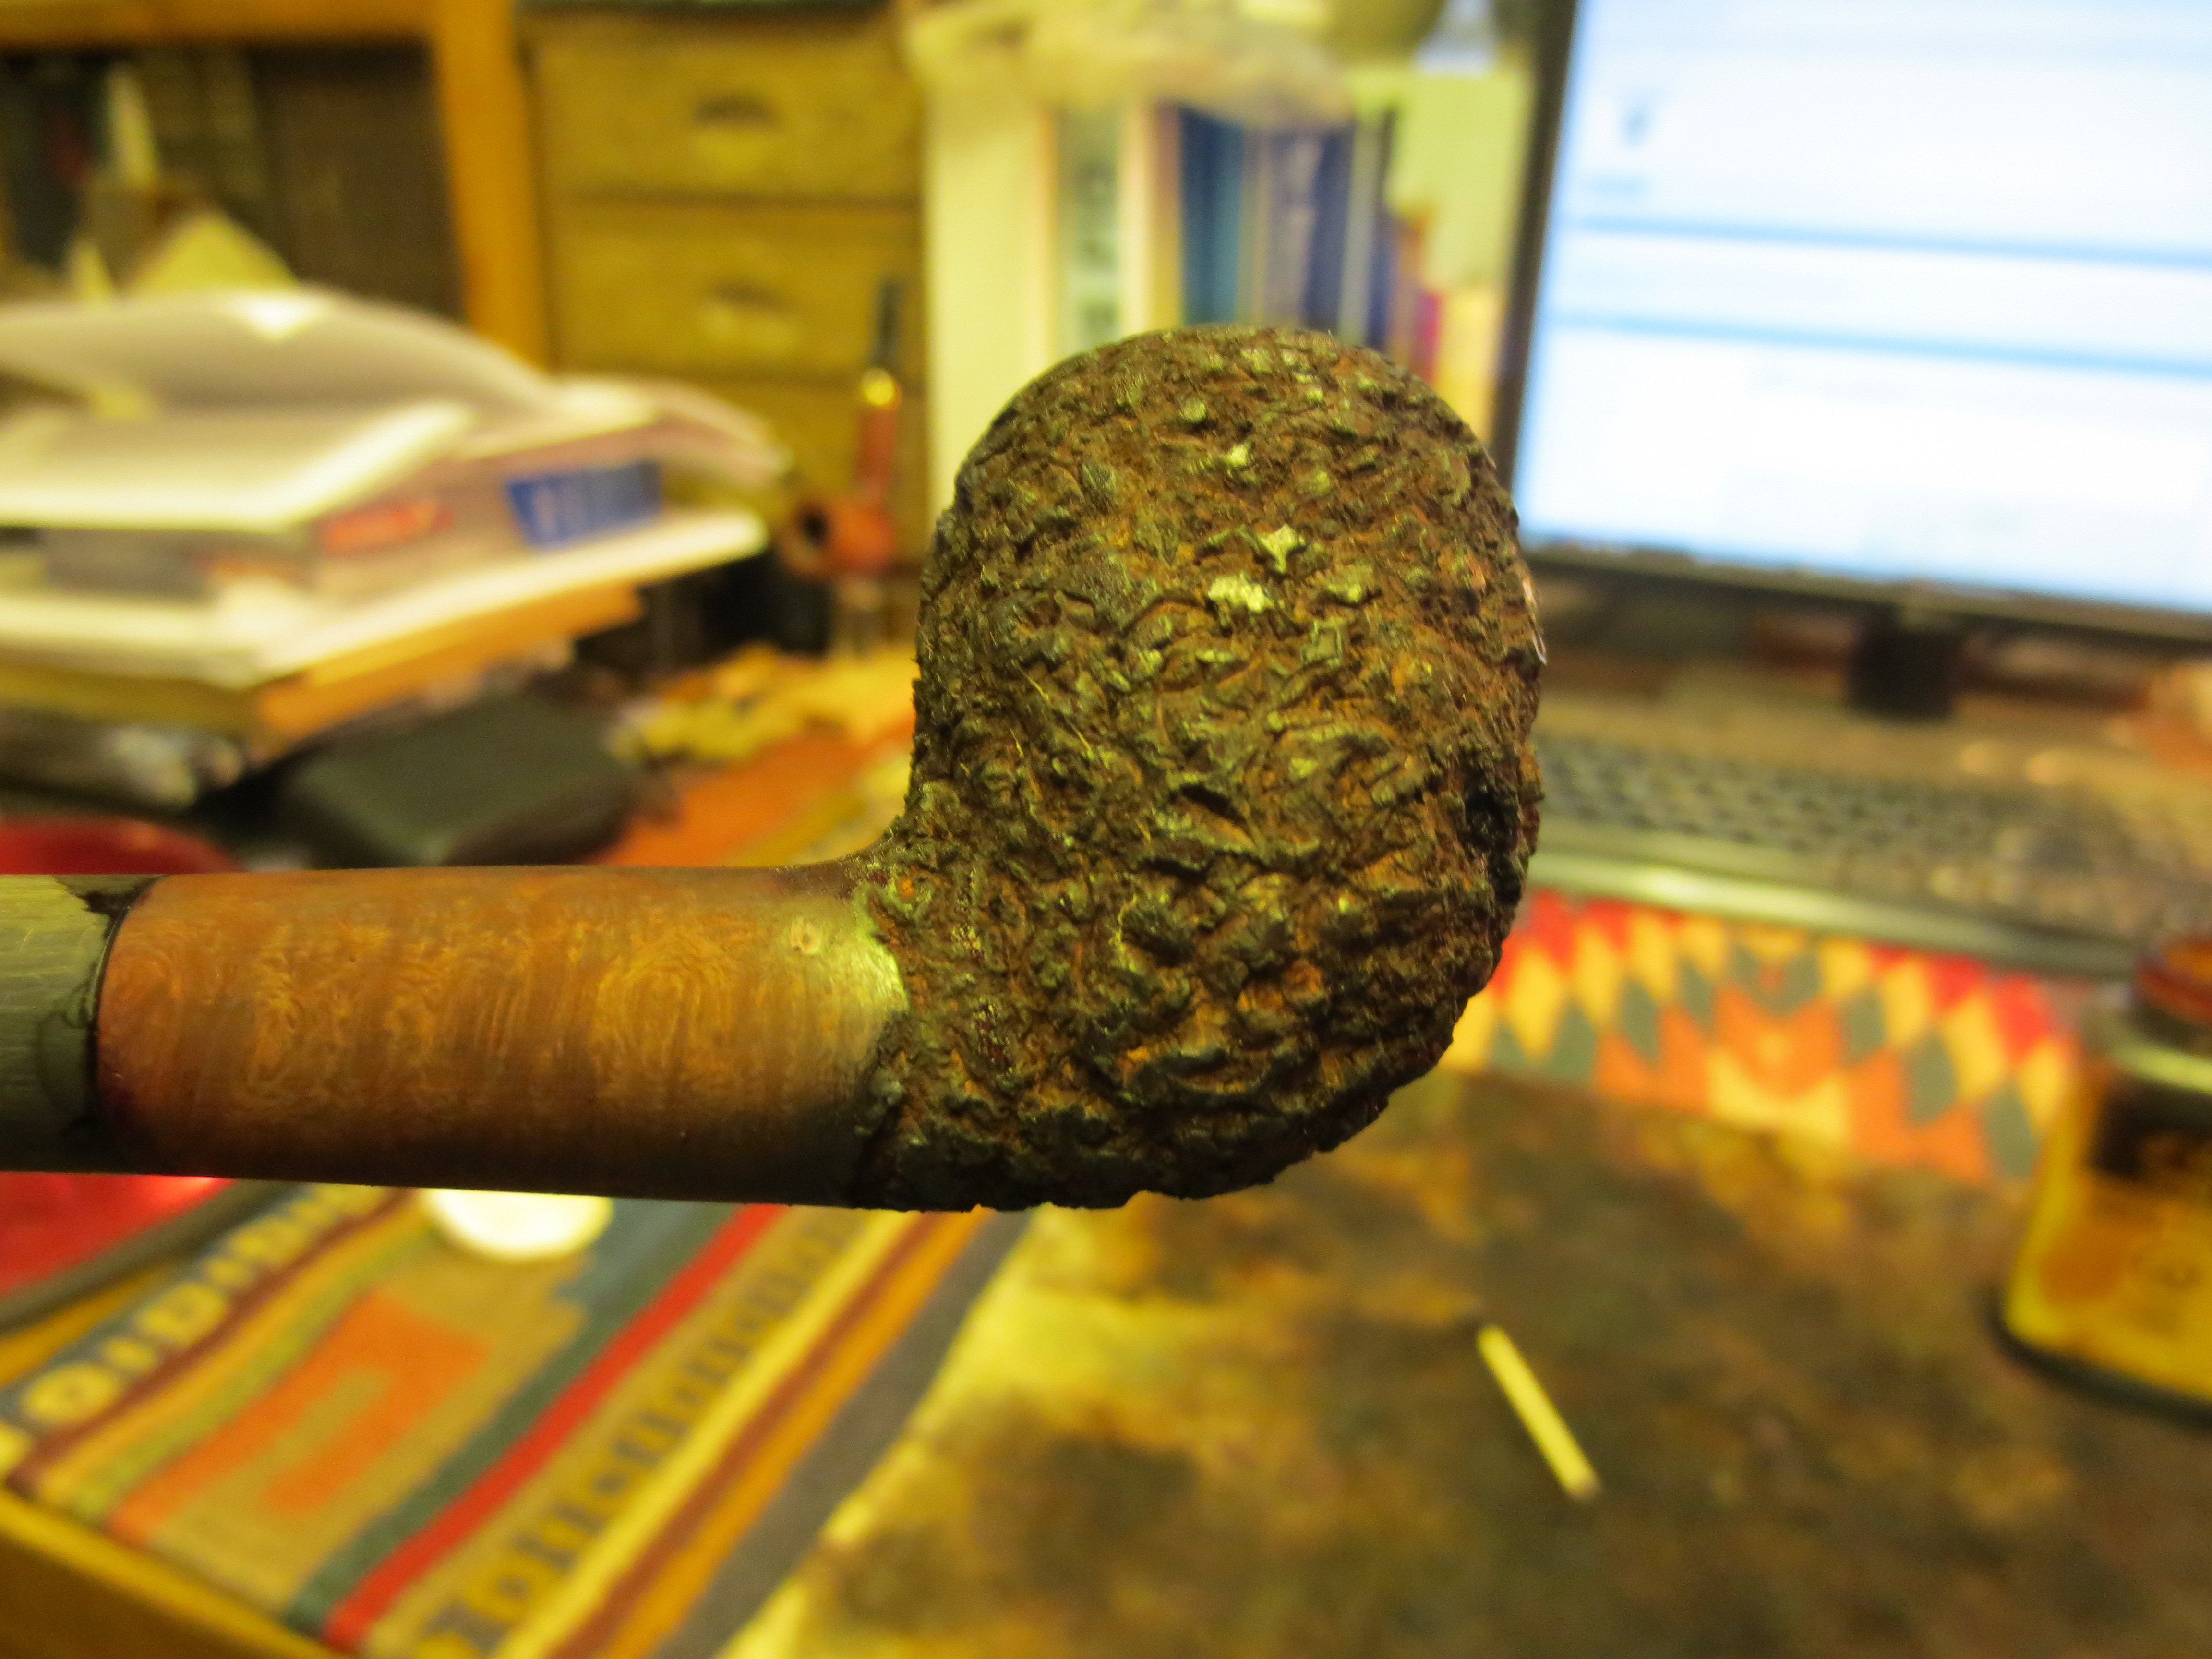
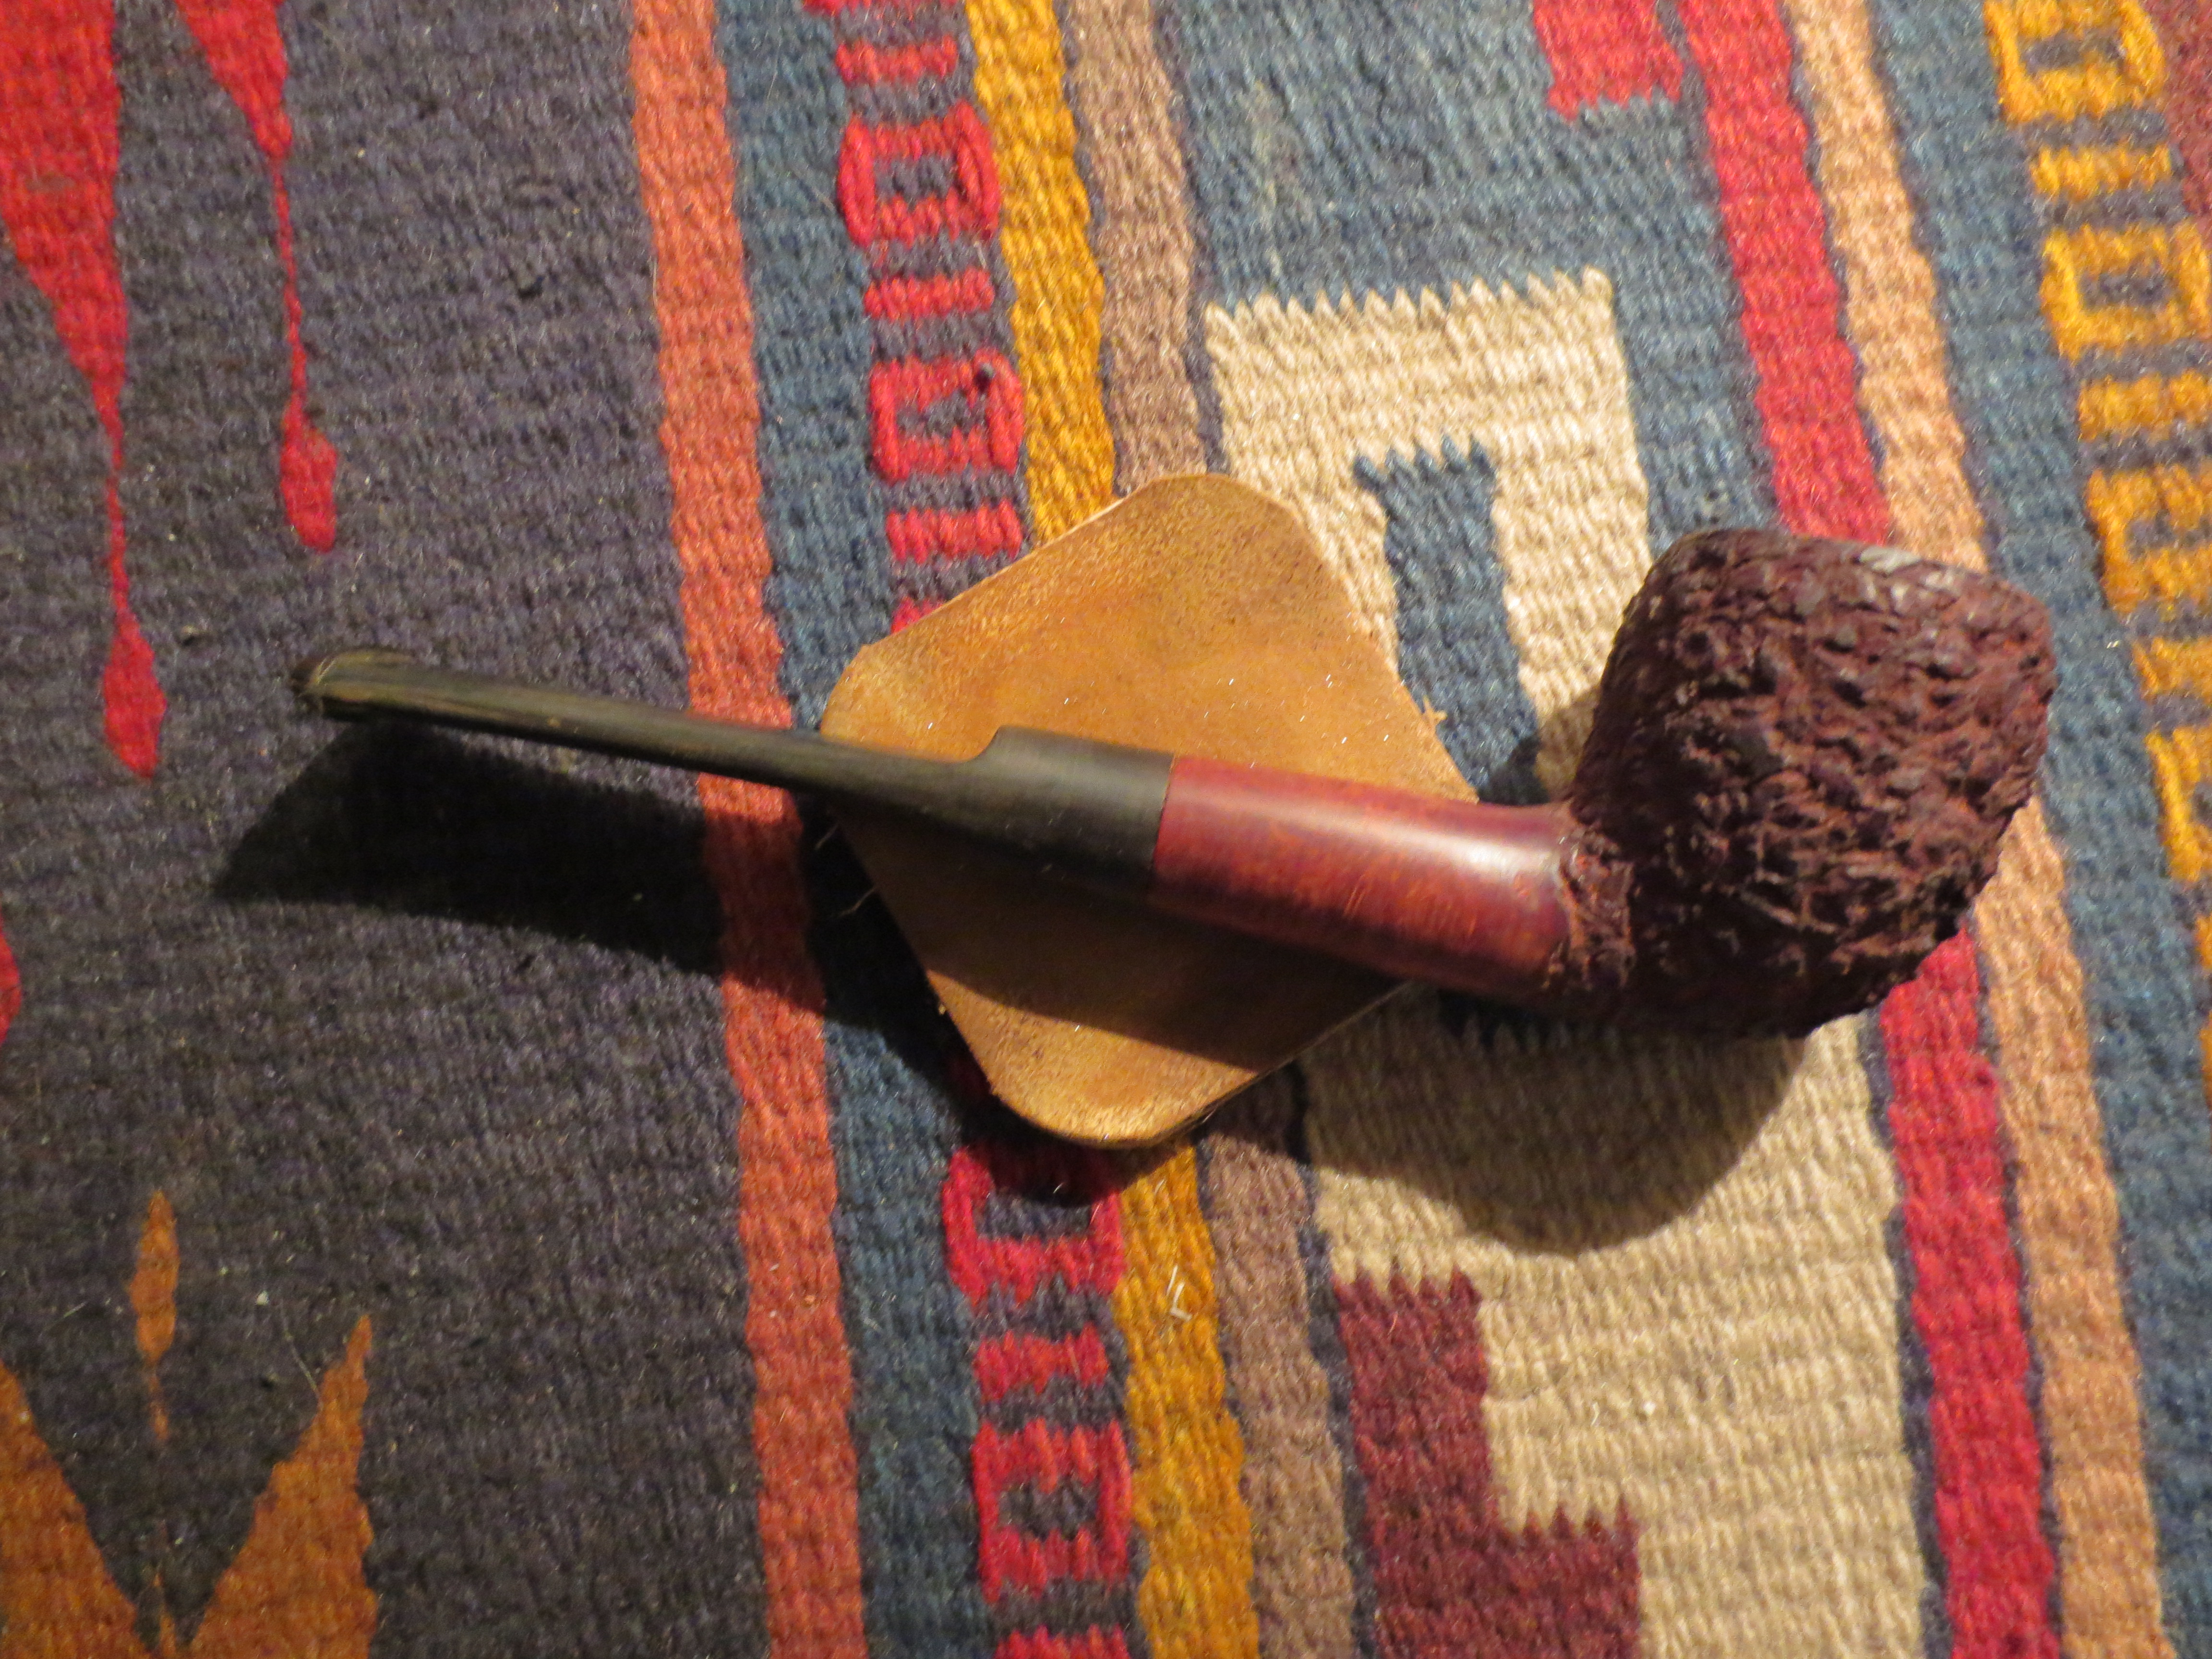
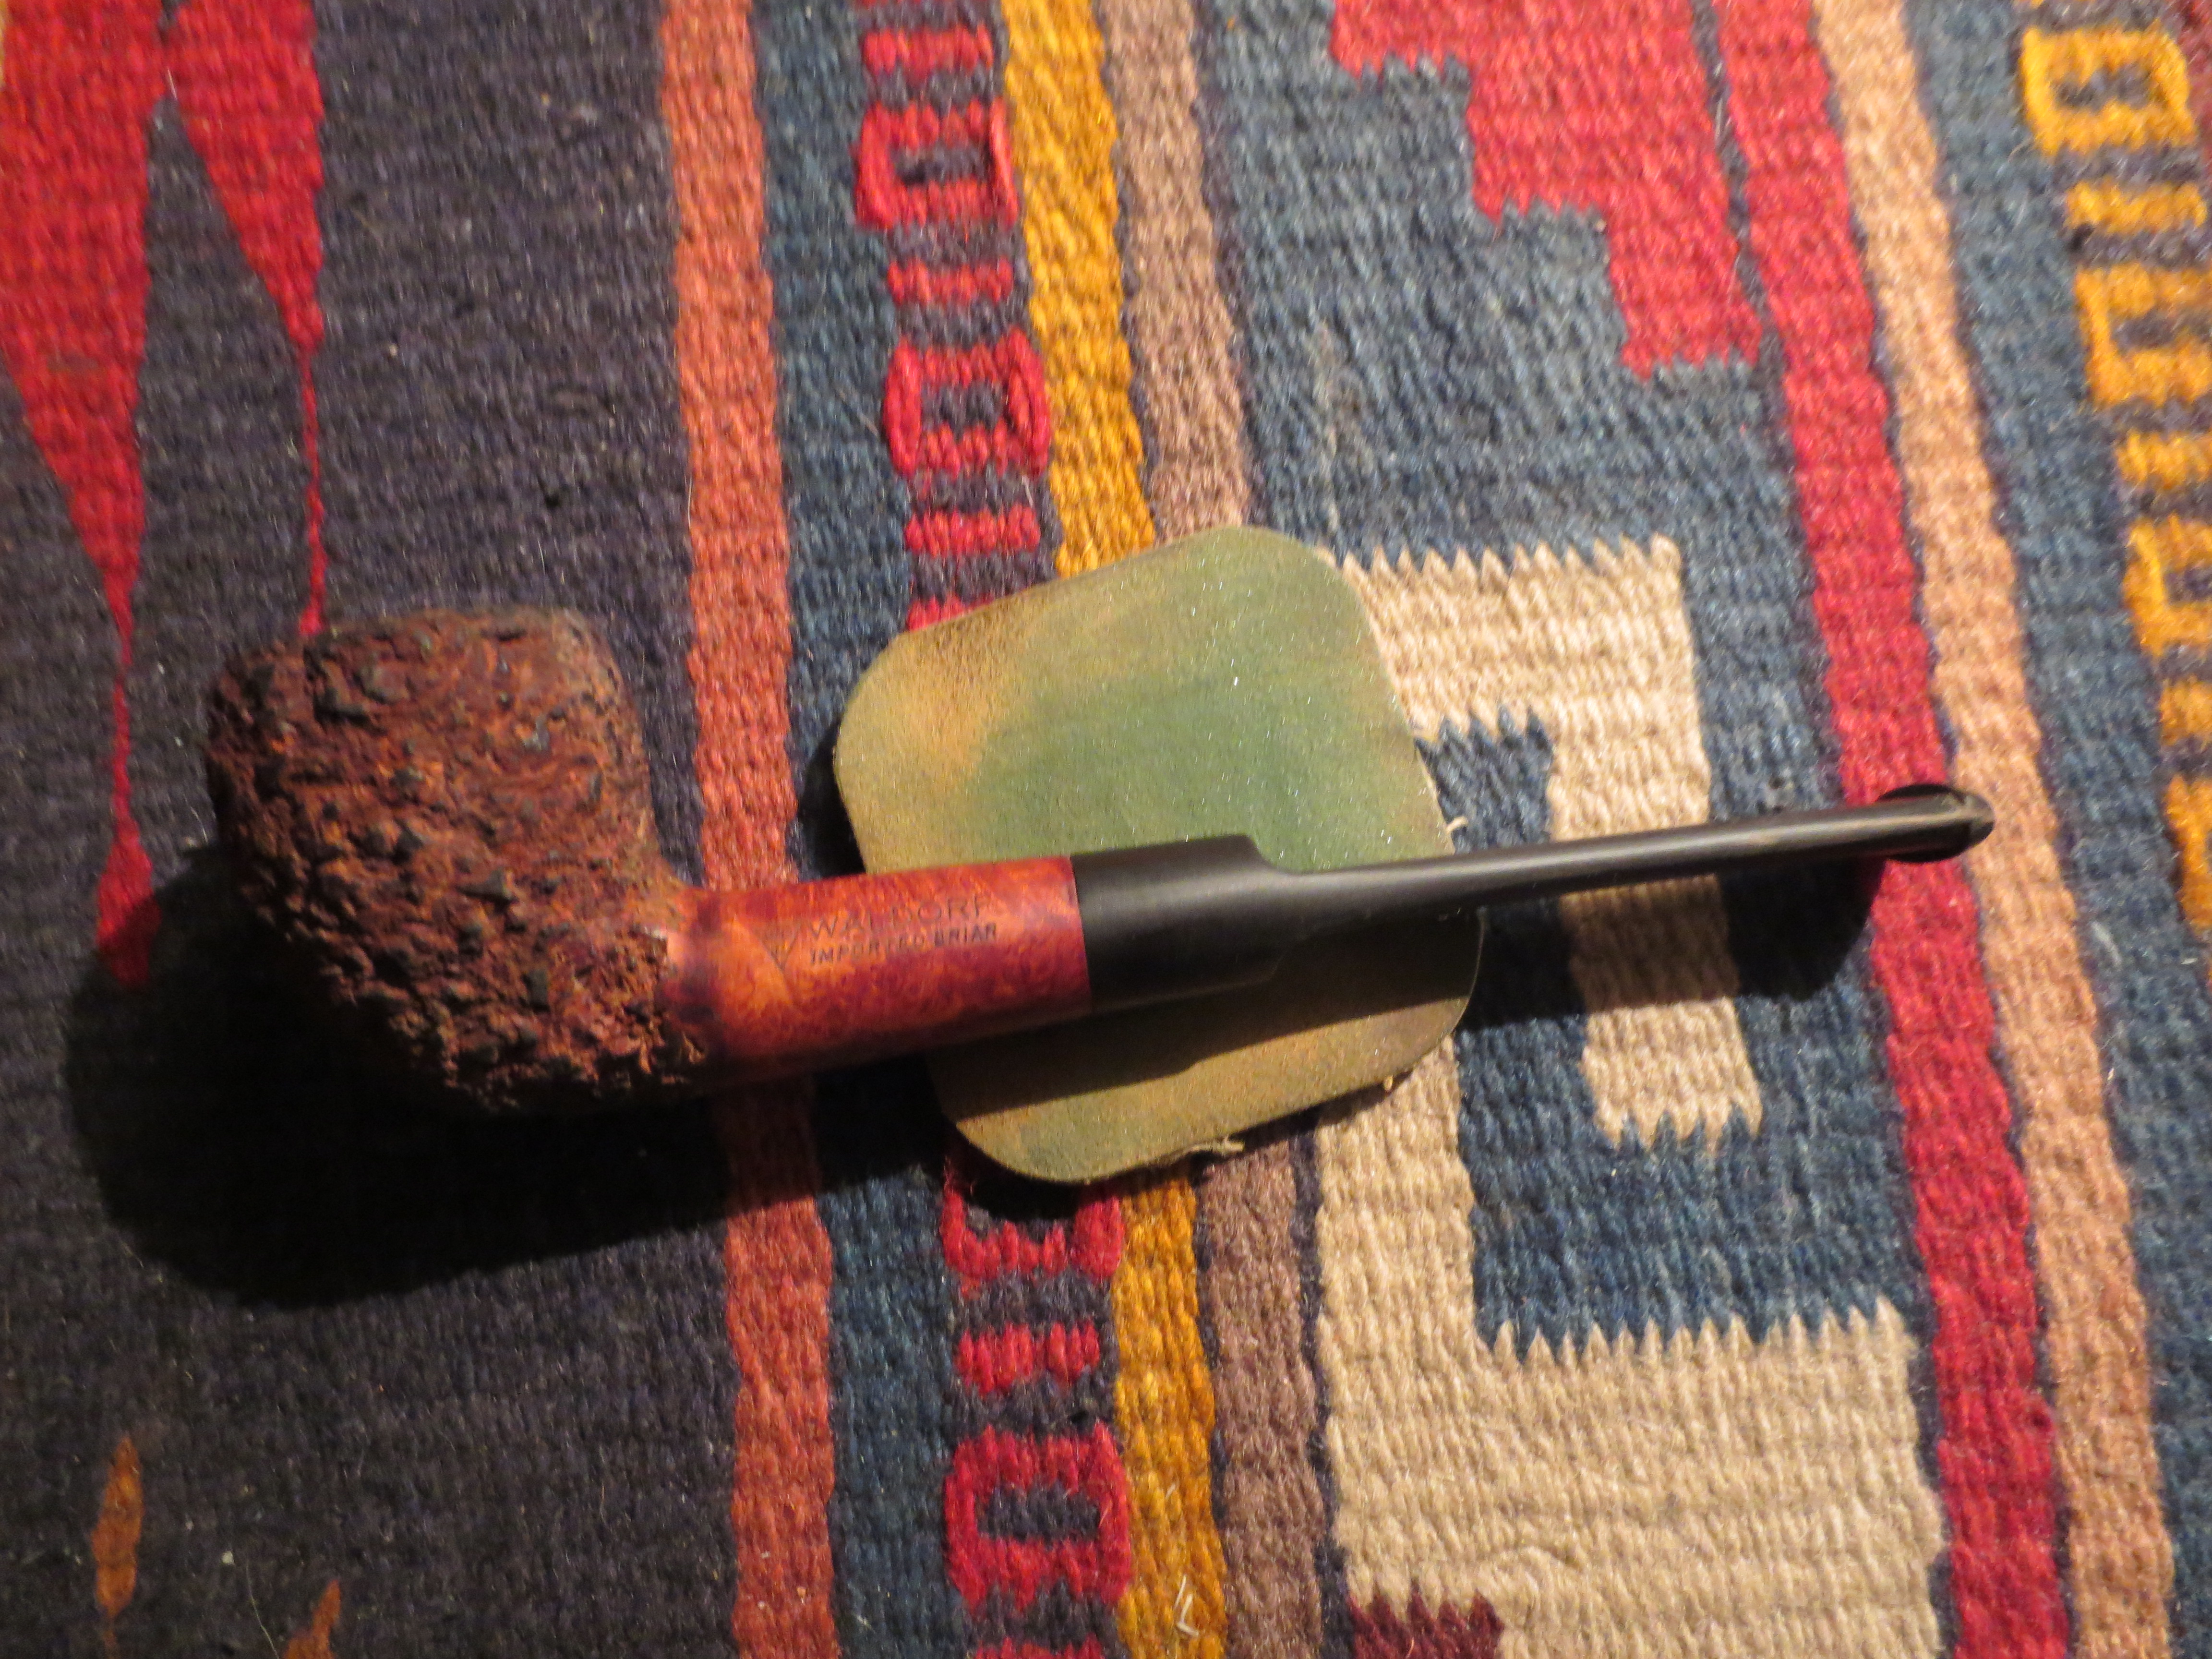
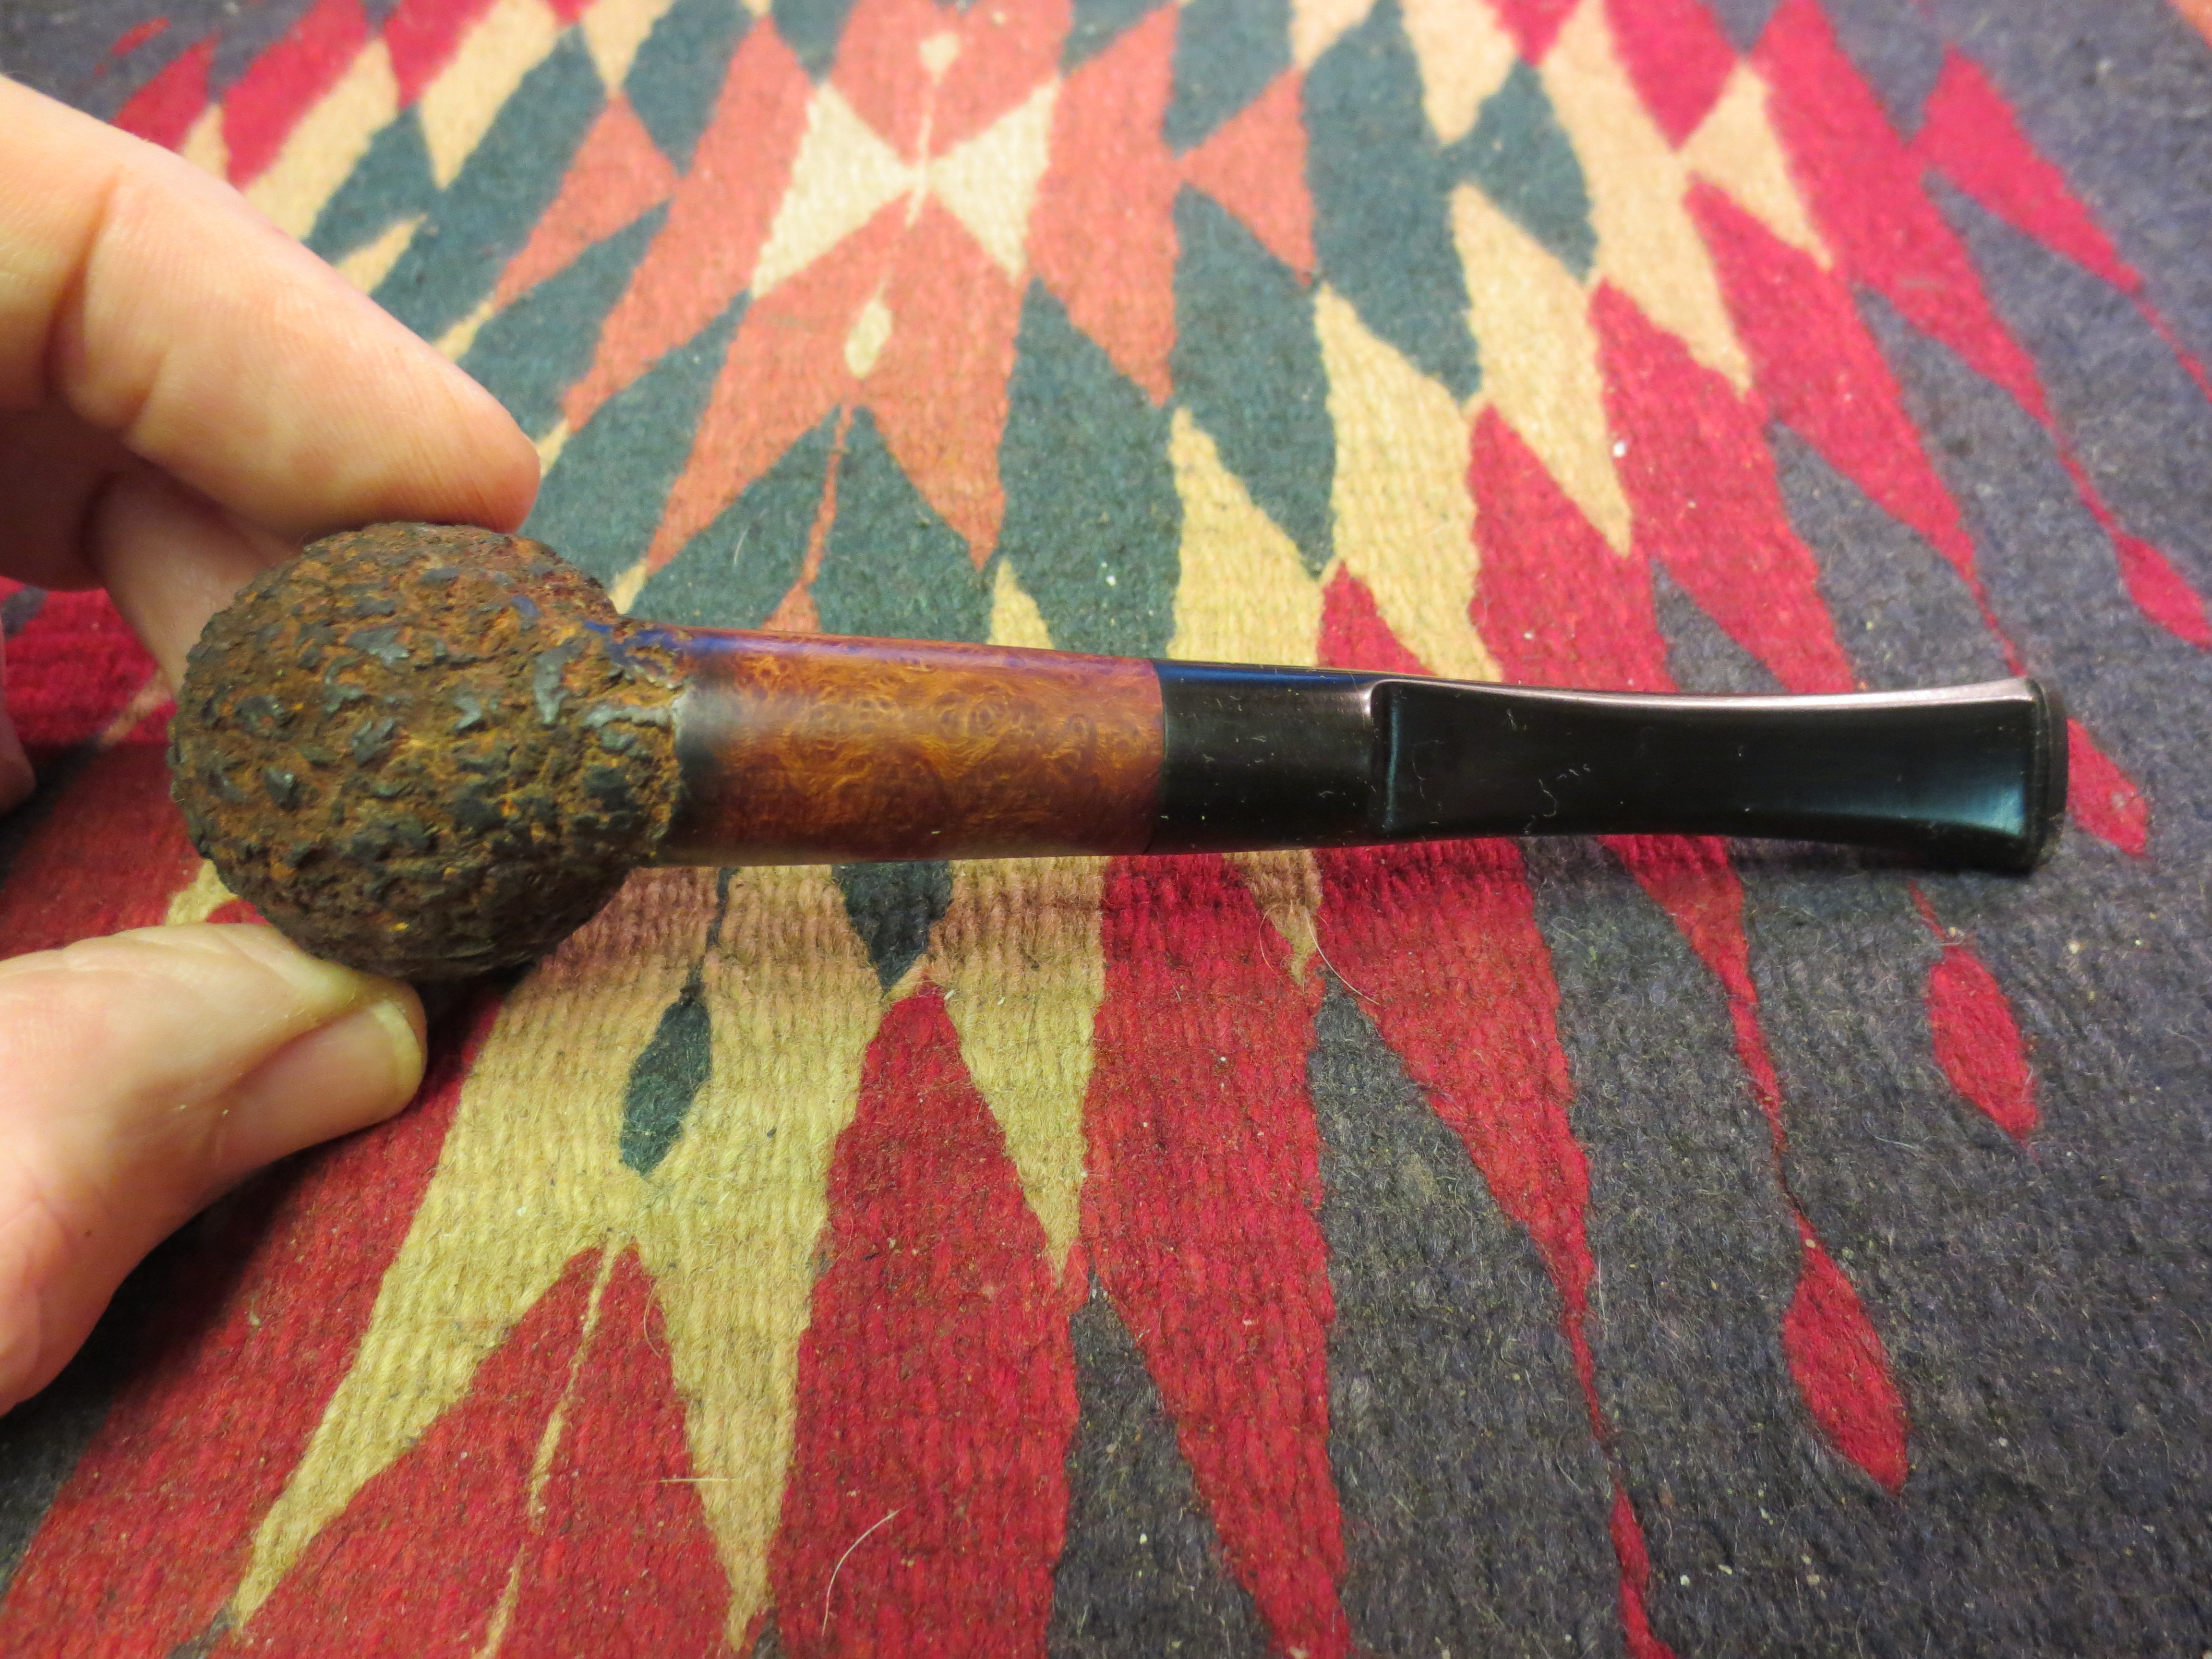
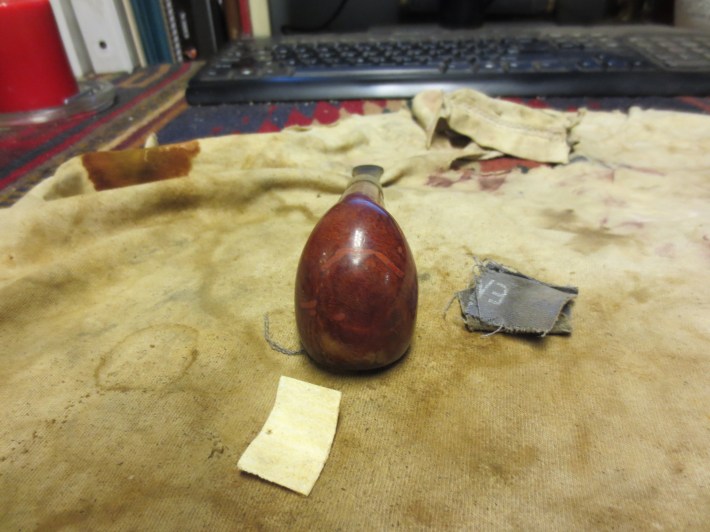
After buffing the pipe I was pleased that the original red stain came through the dark brown and gave the pipe a real contrast look. The finished pipe is pictured in the four photos below. It has a great feel in the hand and the rustication is tactile with the high spots showing dark and the valleys showing a lighter brown. The rim and the shank came out exactly how I wanted them and provide a contrast to the rustic bowl of the pipe. The stem is smooth and shiny and the pipe is ready for its new life.