Blog by Steve Laug
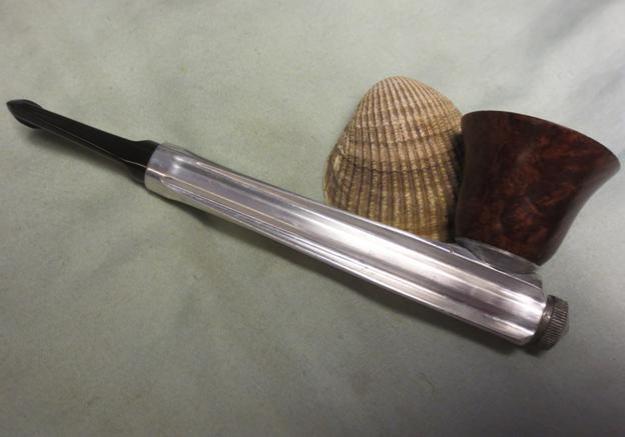
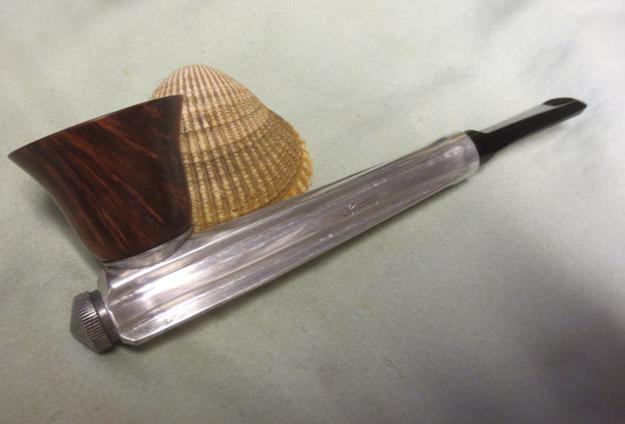
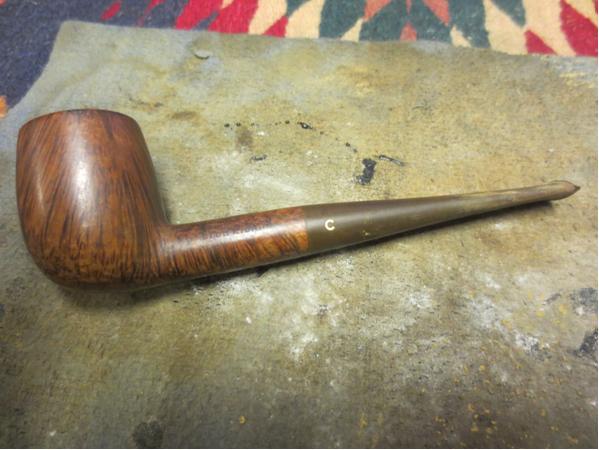
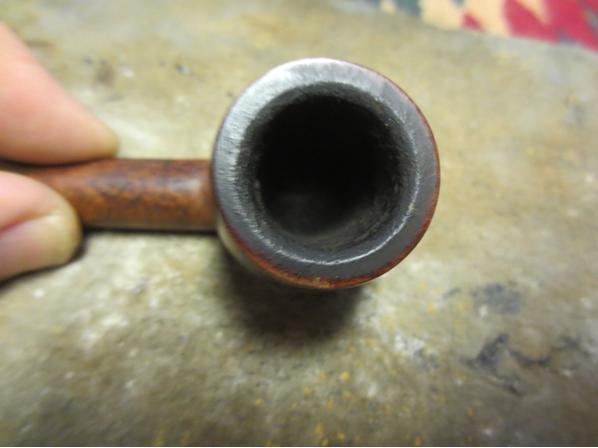
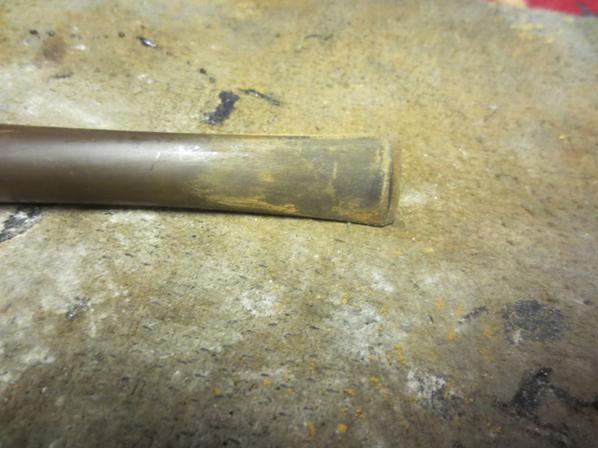
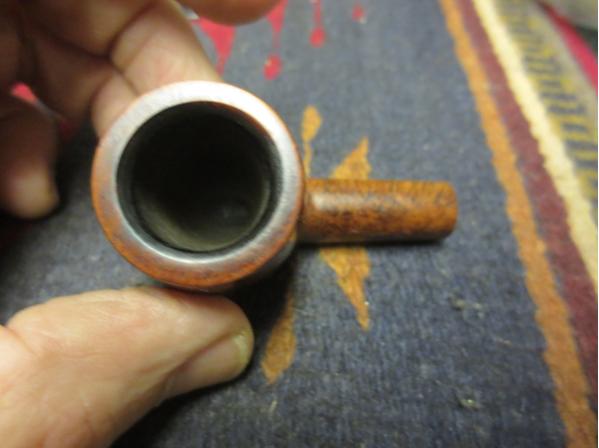
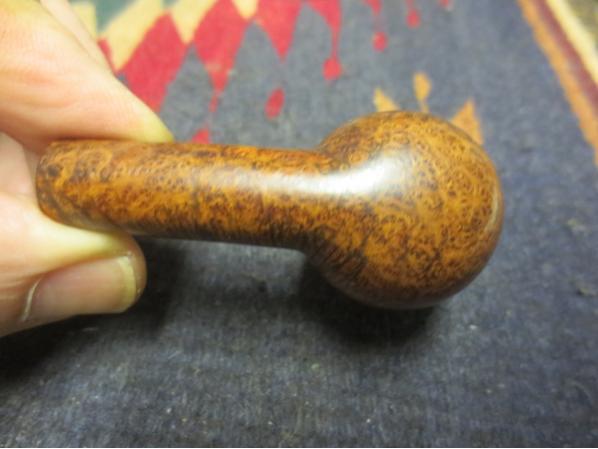
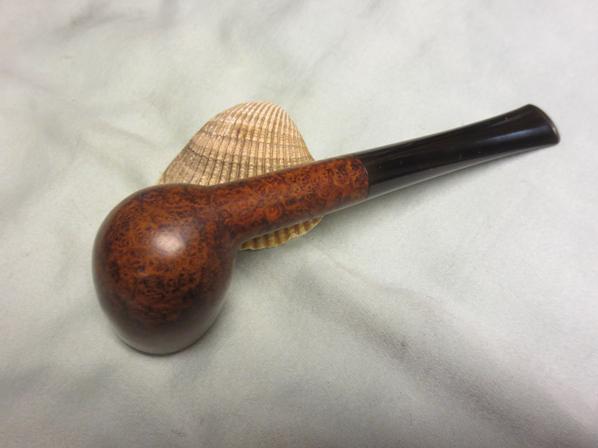
My brother picked up this Kirsten because he really liked the look of the bowl. I have never seen a Kirsten bowl this shape so I don’t know if it is an aftermarket bowl or one of Kirsten’s own. In the long run it does not matter because not only is the shape attractive but the briar is stunning. The rim has a slight bevel inward and the curve into the metal base cap looks great and feels great in the hand. The bowl had a heavy cake and the screw mount in the bottom of the bowl was caked over to the point that it was stuck in the bowl. The metal barrel was oxidized and pitted. It had no shine left but looked like a well-worn pipe. The stem was oxidized but there were no tooth marks or chatter on the stem. The rod that ran through the barrel was dirty and coated with tars and oils that had harden. The adjustable valve on the end of the barrel was stuck and could not be turn or adjusted. It was actually stuck closed so there was no airflow through the barrel.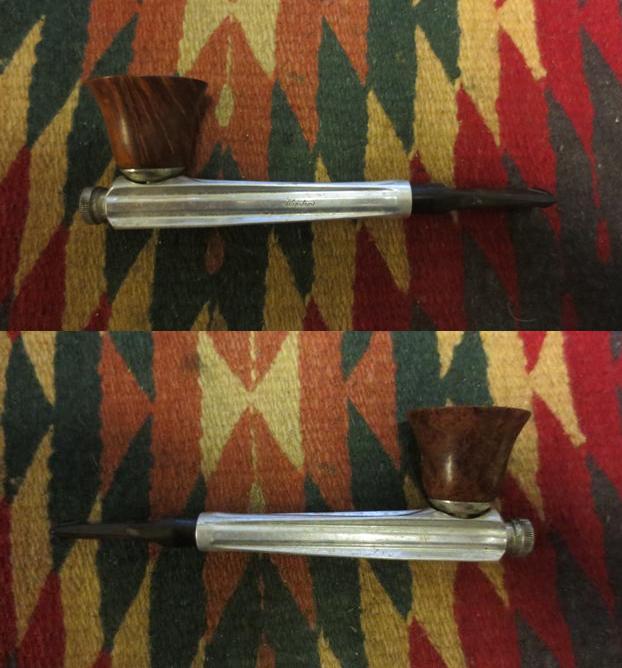
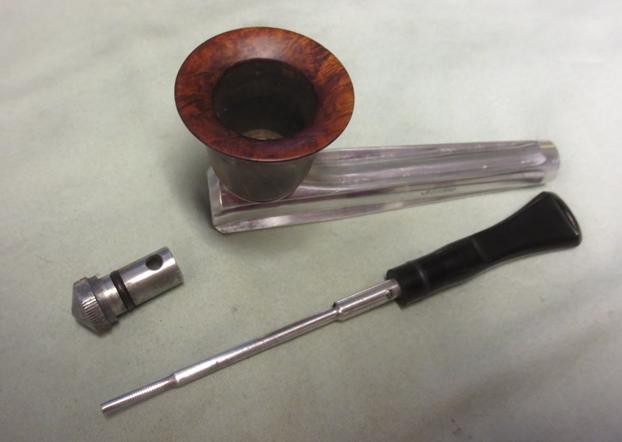
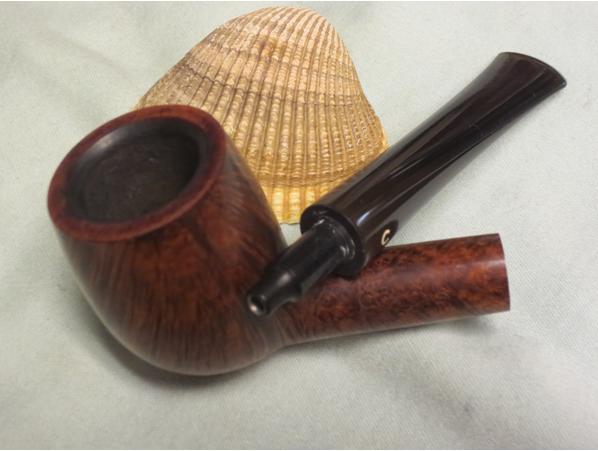
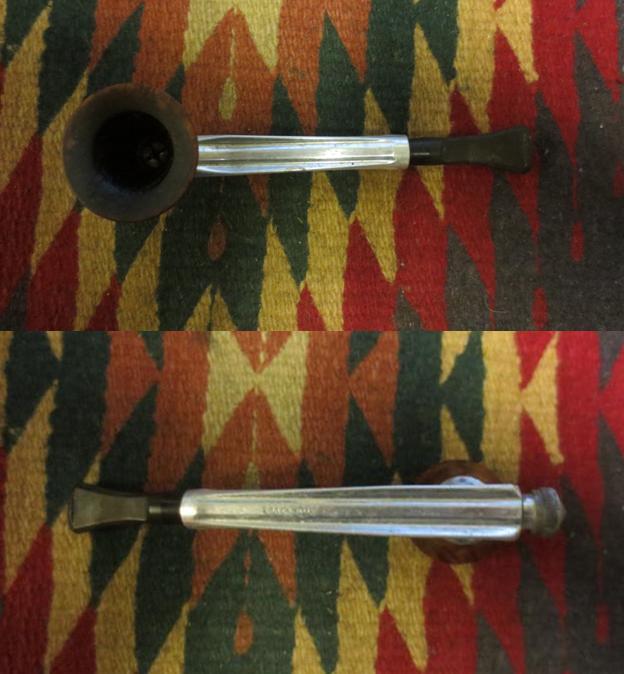 I put the pipe in an alcohol bath to let it soak for a day while I was at work. When I came home in the evening I was able to take it apart. The alcohol had softened the tars and the stem came out easily and I was able to use a screw driver and a light tap on the handle to knock out the stuck valve. The bowl came off the barrel but the screw was still stuck in the bottom of the bowl. When I had it apart I realized I was dealing with a Generation 2 Kirsten. It was made between 1958-1985. I quote from a previous blog on the site with the information that leads me to the conclusion that I was dealing with a Generation 2. “Markings on underside of metal shank “Made in USA XL” (or app. size) and “Pat. & Pats. Pending”. The presence of O rings on both the valve and the mouthpiece and the metal cup spacer under bowl are the biggest thing that separates the Generation 1 from the Generation 2 pipes. These O rings help provide a tighter seal when the stem and apparatus are inserted into the radiator stem. Instead of “O” rings, the machining of the Generation 1 pipes was so precise the fit was exact.” https://rebornpipes.com/2012/11/03/kirsten-generation-1-1-5-2-3/ The blog also identifies the S stamp on the bottom of the shank as the Sportsman Model from that era.
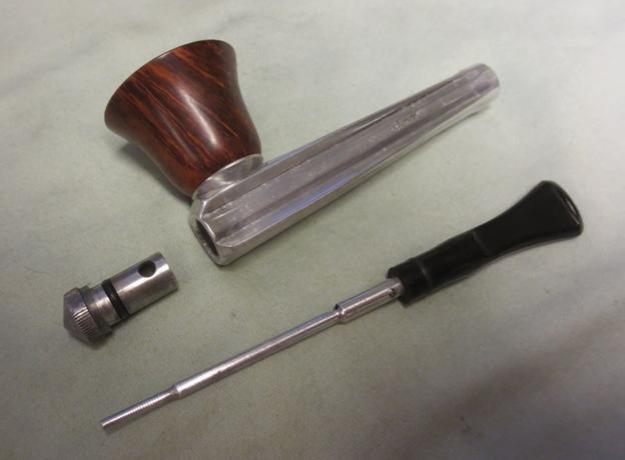
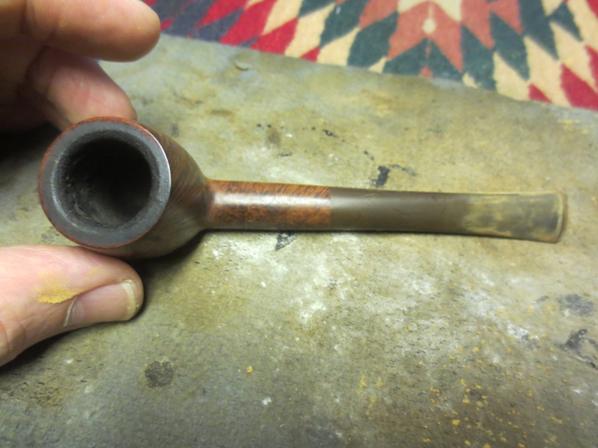
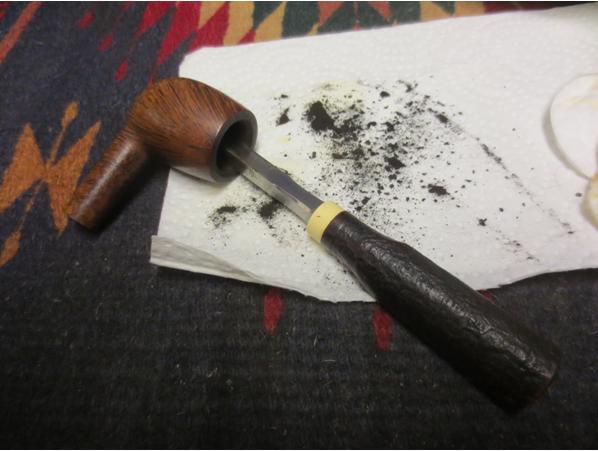
So I knew that the pipe I had, came from the time period of 1958-1985 and that the O rings on both the valve and the mouthpiece confirmed that. The S stamp also fits the pipe squarely within that date range. Armed with that information I began to work on refurbishing the Kirsten.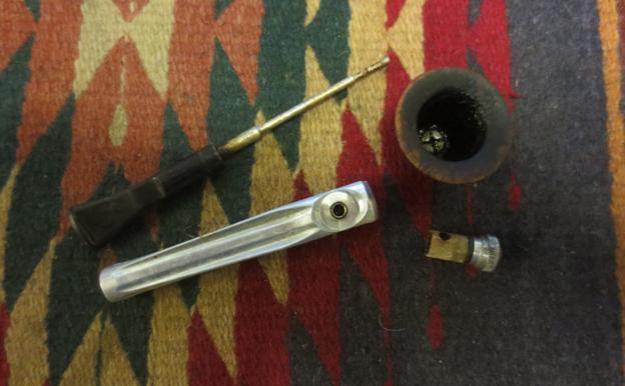 I reamed the bowl with the Savinelli Pipe Knife and was able to clean out the cake enough that I could use a flat blade screwdriver to loosen the screw from the bottom of the bowl. Once the screw was removed I cleaned out the bowl with sandpaper to take the cake back to bare briar.
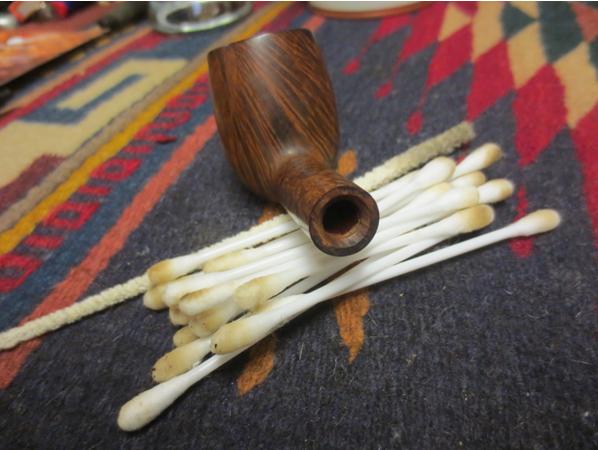
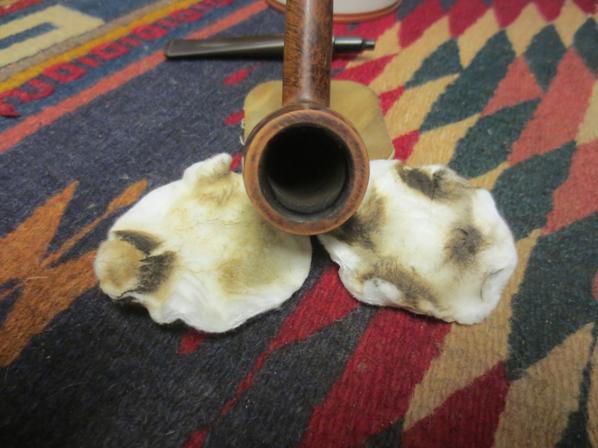
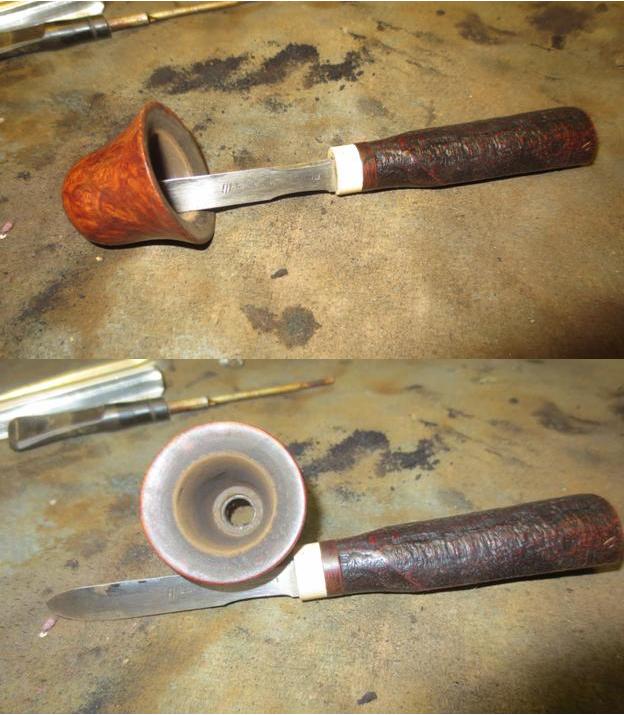 I scrubbed the rim with a cotton pad and saliva and was able to remove the majority of the tars and oils. I used micromesh sanding pads to further clean up the rim top. The briar was beautiful once the grime was removed. I wiped down the outside of the bowl and rim with alcohol and the finish was in very decent shape.
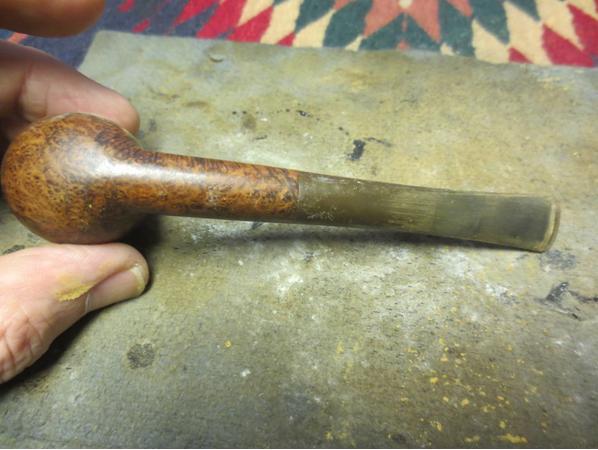
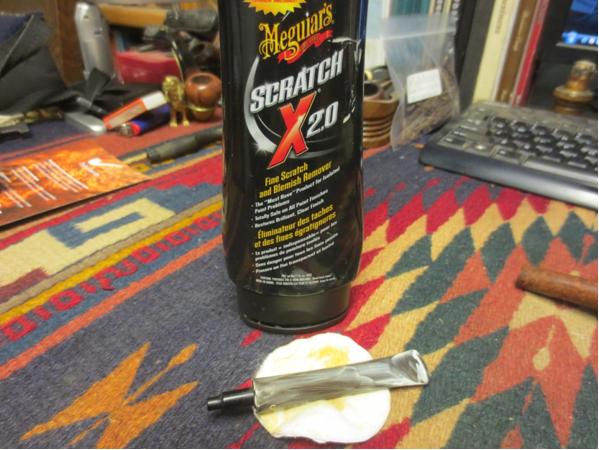
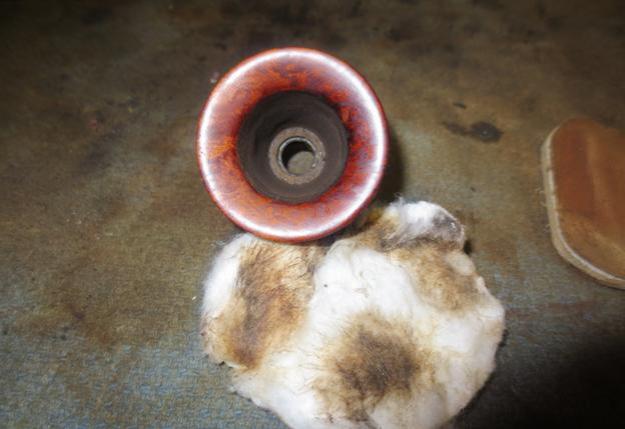 I scrubbed the oxidized finish with Meguiar’s Scratch X2.0 and cotton pads and cotton swabs and was able to remove the worn and oxidized build up on the surface. Underneath the oxidation was a shiny metal finish. It would not take too much scrubbing to remove all of the damage.
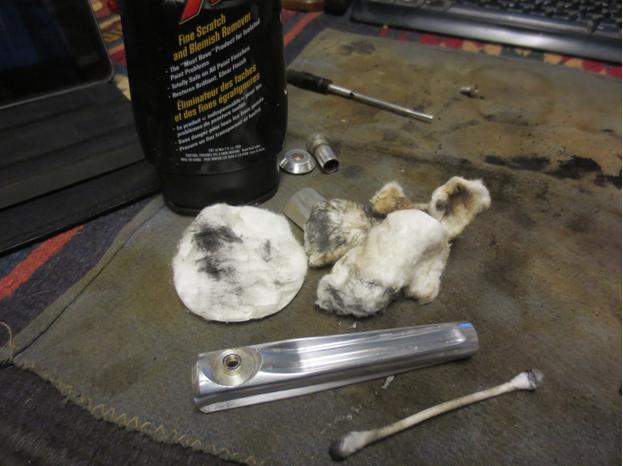 I soaked some cotton pads in alcohol and pushed them through the barrel and also scrubbed the inside of the barrel with cotton swabs and alcohol to remove the tars and oils there. I cleaned out the inside of the valve and the outside of the insert end.
  I cleaned out the airway in the stem with alcohol and pipe cleaners. I sanded the metal rod with micromesh sanding pads to remove the build up and tars on the metal surface. I scrubbed it with alcohol to clean it and polished it with the Meguiar’s.
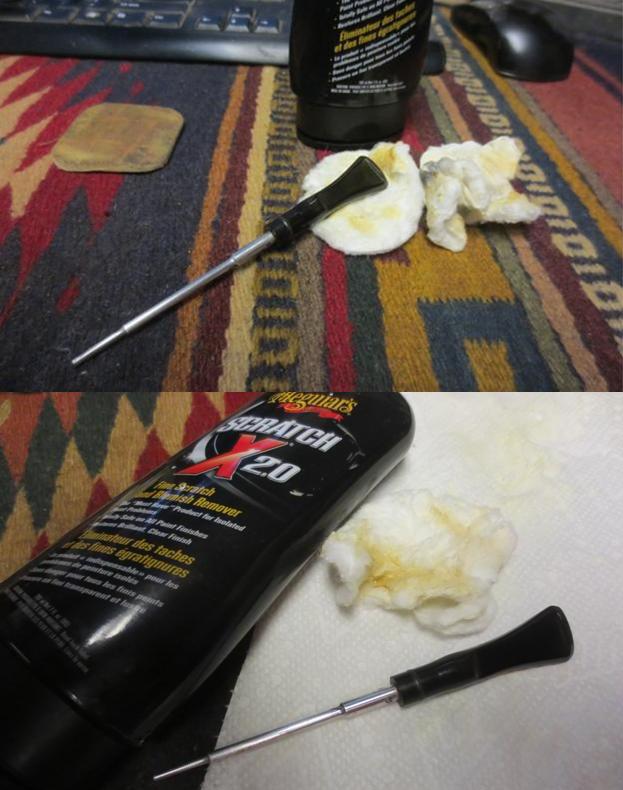
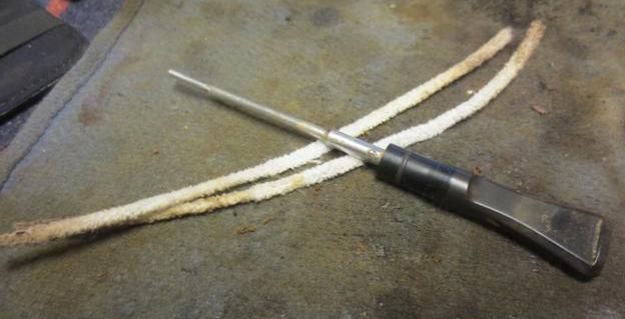 With the internals cleaned, the bowl reamed and cleaned, the barrel polished and cleaned it was time to polish the stem. I scrubbed it with Soft Scrub cleanser to remove the oxidation. Once I broke through it I used the Meguiar’s Scratch X2.0 to further polish the stem. I decided to try to see if I could successfully use Charles’ method of cleaning oxidation with the Meguiar’s.
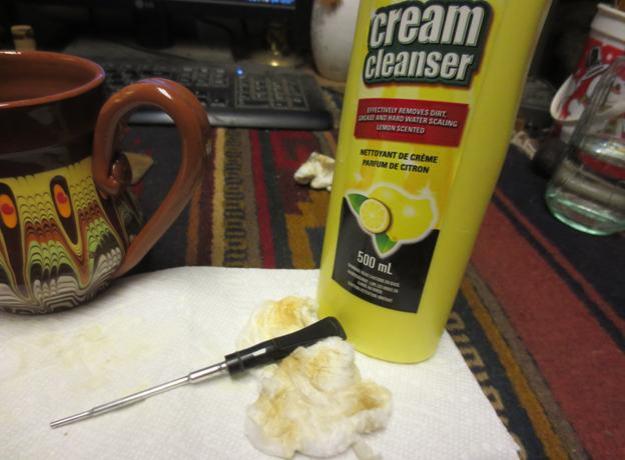
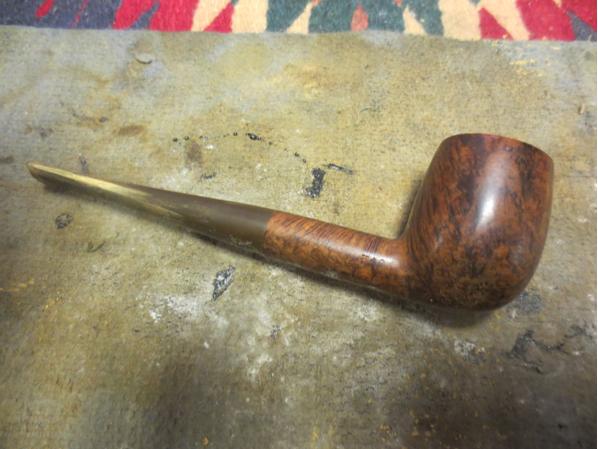
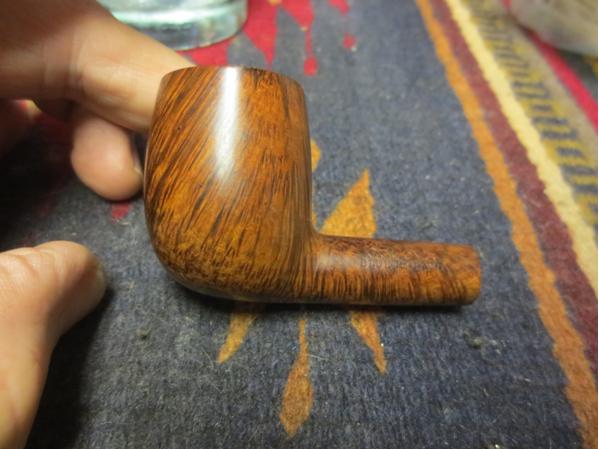
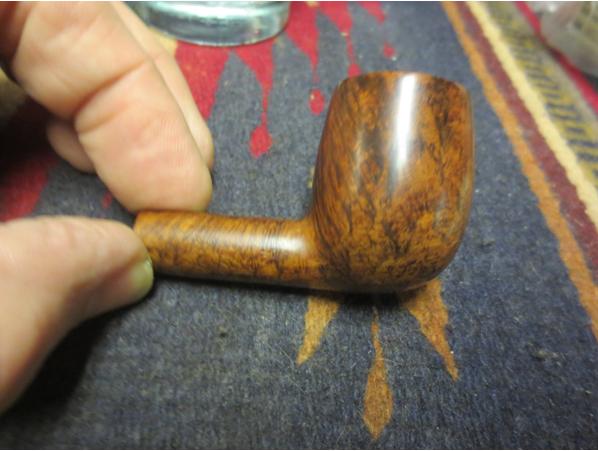
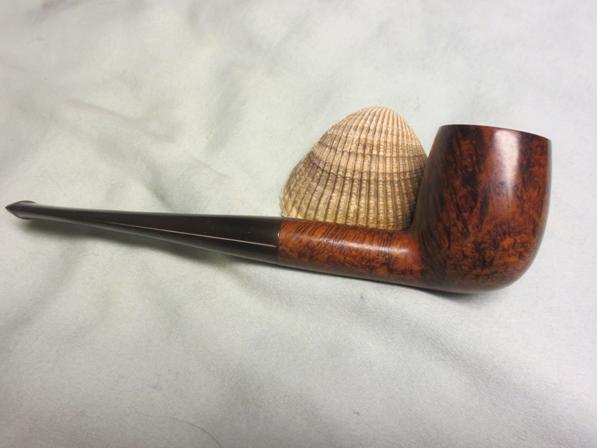
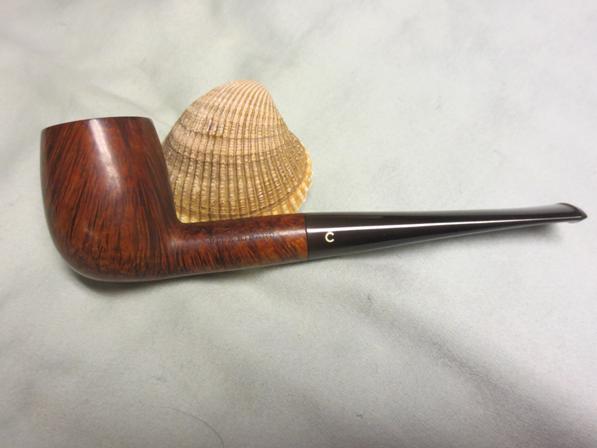
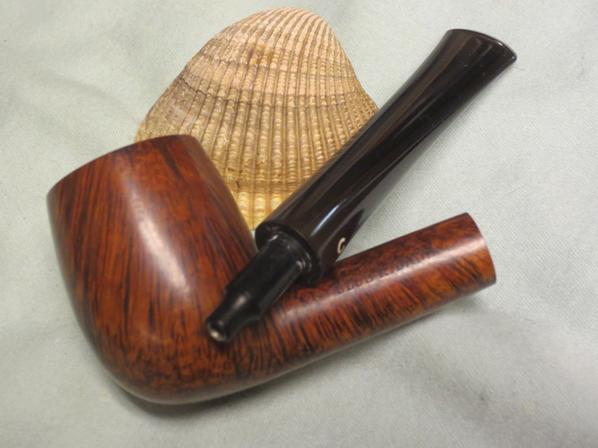
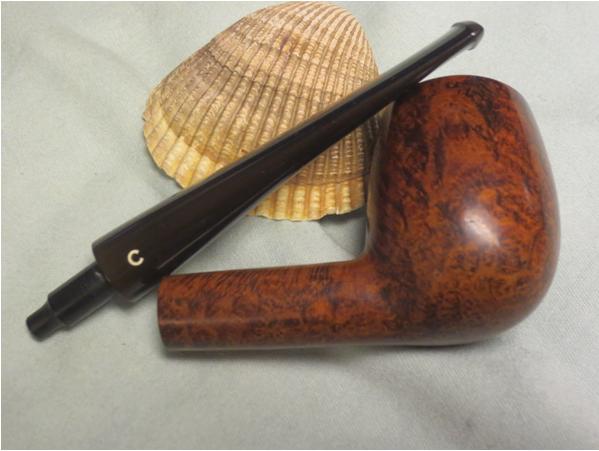
 I was pretty amazed with the results. The finish glowed and the polish actually removed all of the oxidation. It just took repeated scrubbings and polishing until finally no more oxidation came off with the polish. I buffed the pipe with Blue Diamond on the wheel to polish the briar, barrel and the stem. I gave the pipe multiple coats of carnauba wax and buffed it with a clean buffing pad to polish it. I hand buffed it with a microfibre cloth to deepen the shine. The finished pipe looks like new and it just glows with warmth and a shine that must have originally graced the pipe. It is a beautiful Kirsten and should grace someone’s pipe rack for years to come. The finished pipe is shown in the photos below. If you are interested in this pipe let me know. Thanks for looking.