by Steve Laug
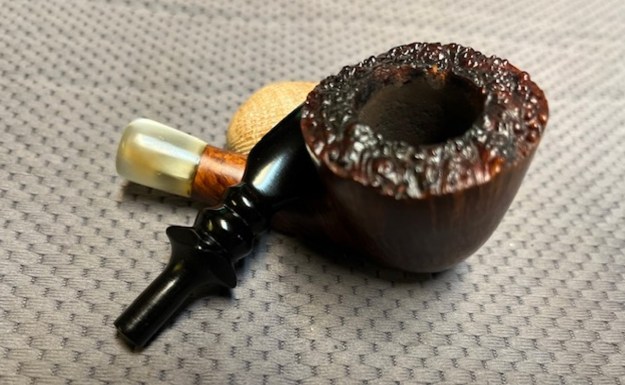
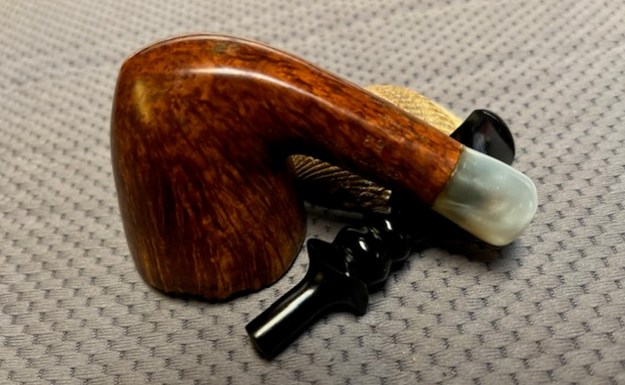
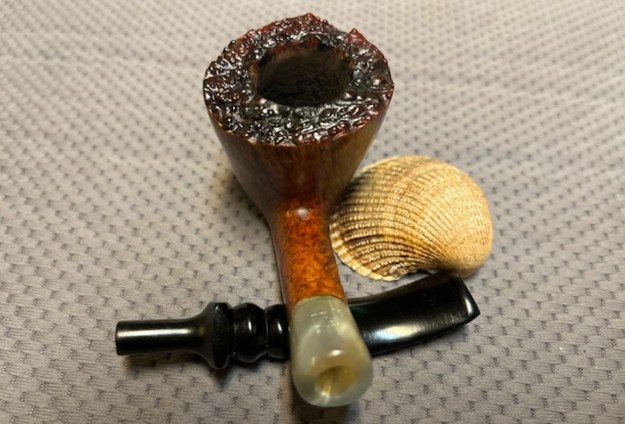
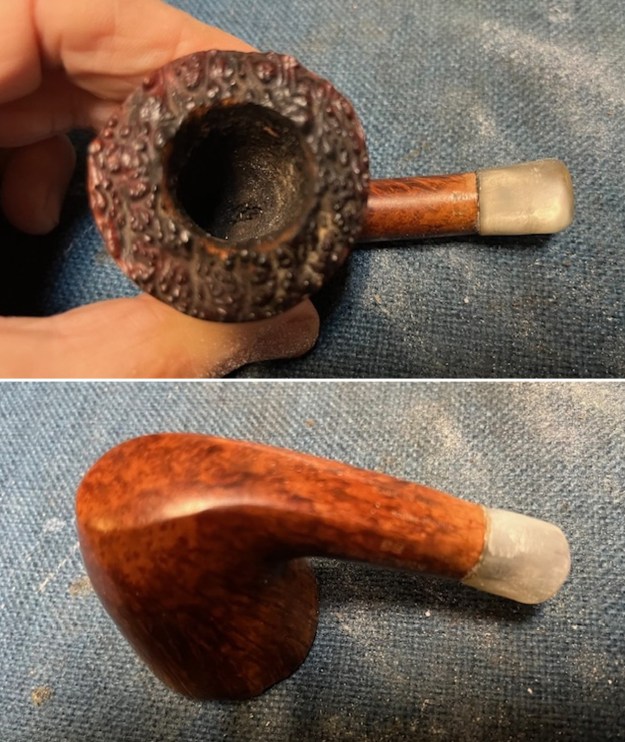
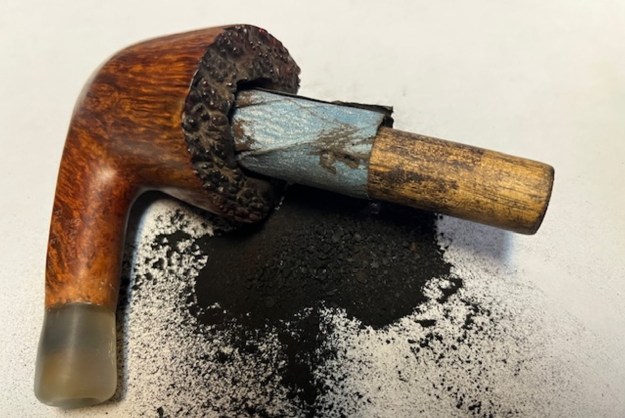
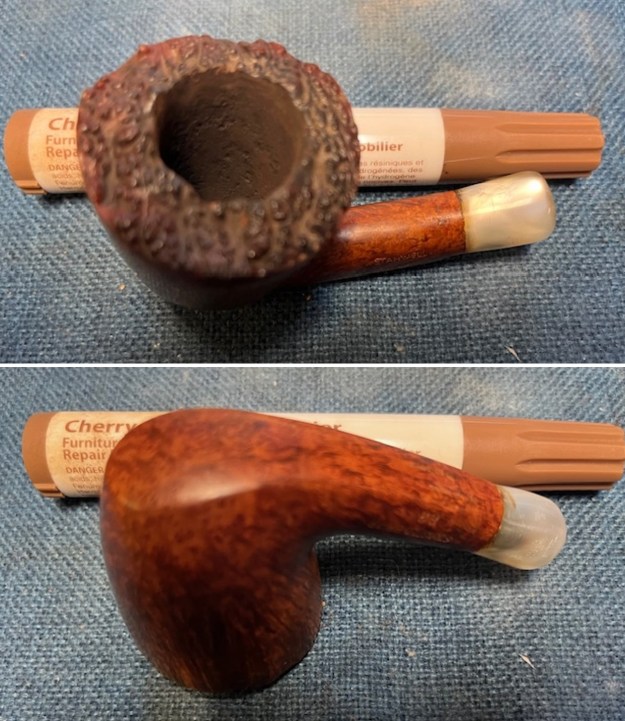
I took a break from working on repairs for customers and my own pipes to have some fun with an unstemmed bowl I had in my box. I went through my stems and did not have a normal or original stem for the bowl. I tried a variety of stems and none of them fit well of even close. I know this one will certainly irritate some purists but I have to tell you it was a fun pipe to work on.The shank had a bit of an odd shape as it was round on the top and the right and left sides. The unique part was that the bottom of the shank was flat. It was stamped on the left side of the shank and read Stanwell [over] Regd. No. 969-48 [over] Flame Grain. On the right side of the shank it is stamped Selected Briar [over] shape number 63. On the underside of the shank it is stamped Made in Denmark [over] Modele Depose. The shape was a classic Dublin with a plateau rim top. I only took one photo of the bowl before I started working on it. The bowl had some amazing grain around the sides and shank. Definitely the pipe lived up to its name FLAME GRAIN. I went to my can of stems and found both an interesting stem and a horn acrylic shank extension. With a bit of adjusting they would make an interesting looking freehand.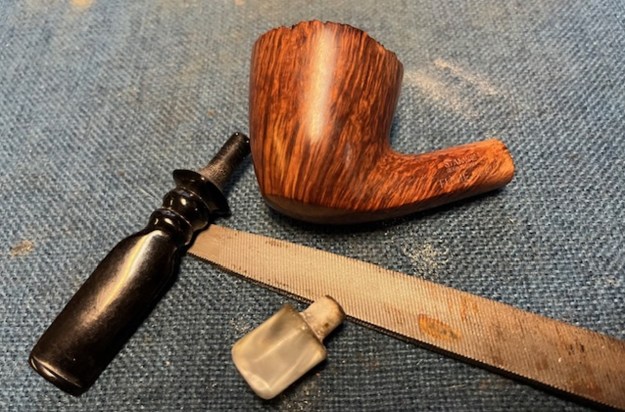 The tenon end on the shank extension took only a little adjusting to fit the mortise in the shank. I used a file and a Dremel and a sanding drum to adjust the fit. I fit it in the shank end to get a sense of what it looked like with the extension.
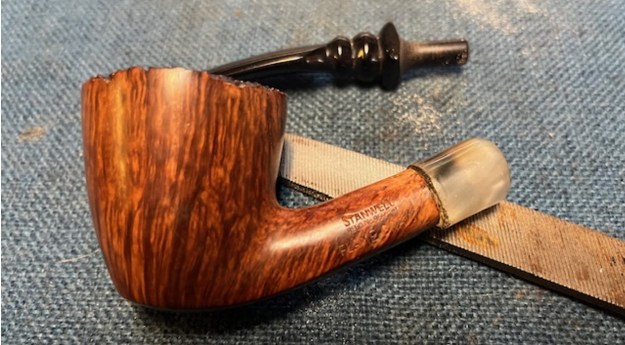 I coated the tenon end of the extension with some clear super glue and pressed it into the shank end. I held it in place until the glue set and the extension was solid in the shank.
 I used a flat file/rasp to shape the shank extension the shank end. I used a Dremel and sanding drum as well. It took a lot of sanding and filing to shape the extension but it gradually began to take on shape.
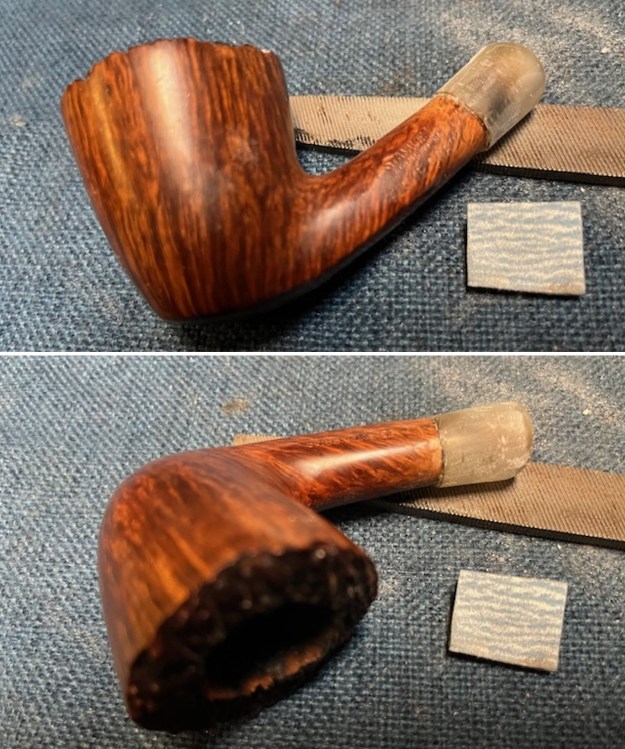
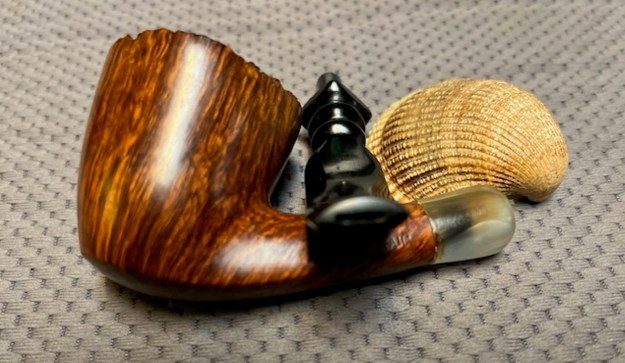
 I took some photos of the pipe after the heavy file work was finished. It is looking much better in terms of the fit. Lots of heavy sanding to do to further shape it.
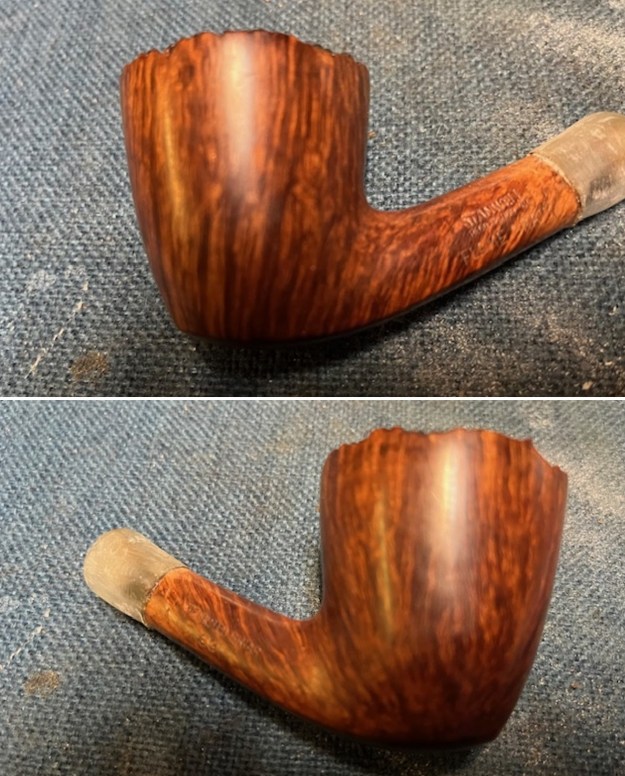
 I took some photos of the stamping on the shank sides. The photos are far blurrier than the stamping is in person. It is very readable.
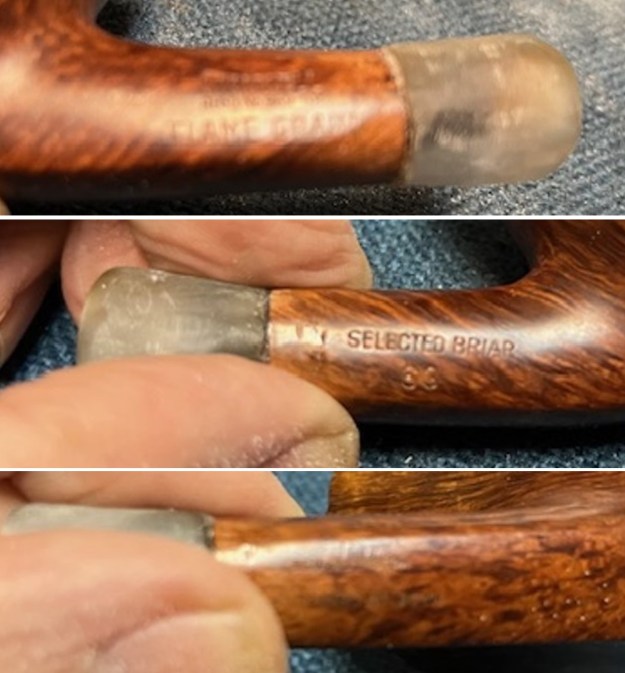 More filing and more sanding with 220 grit sandpaper really gave the shank extension a defined shape and look. Polishing the shank extension would bring the horn shank back to life.
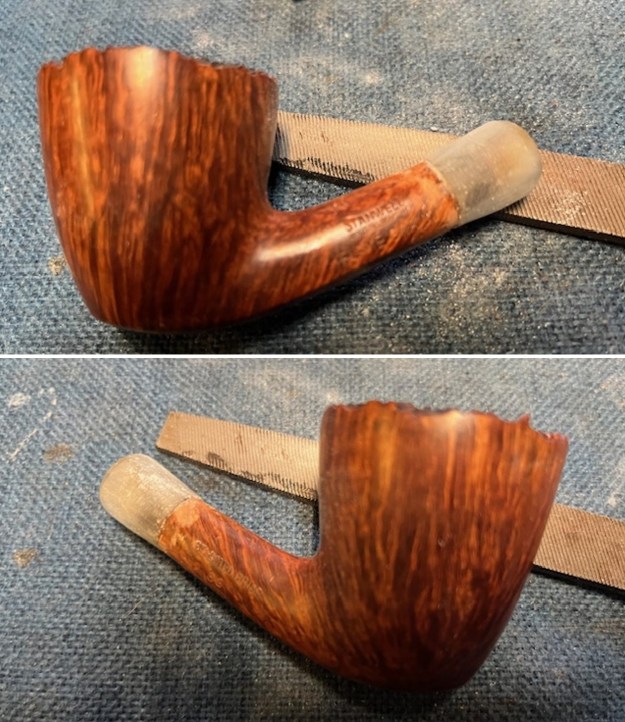
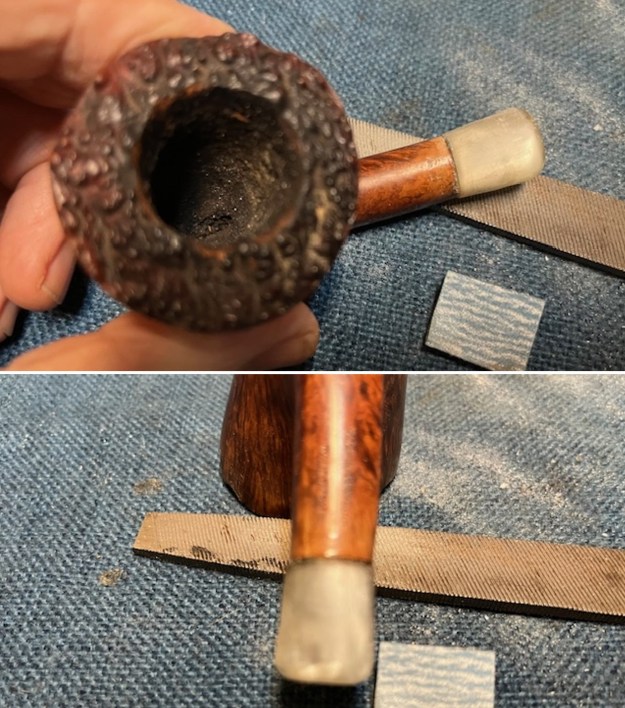
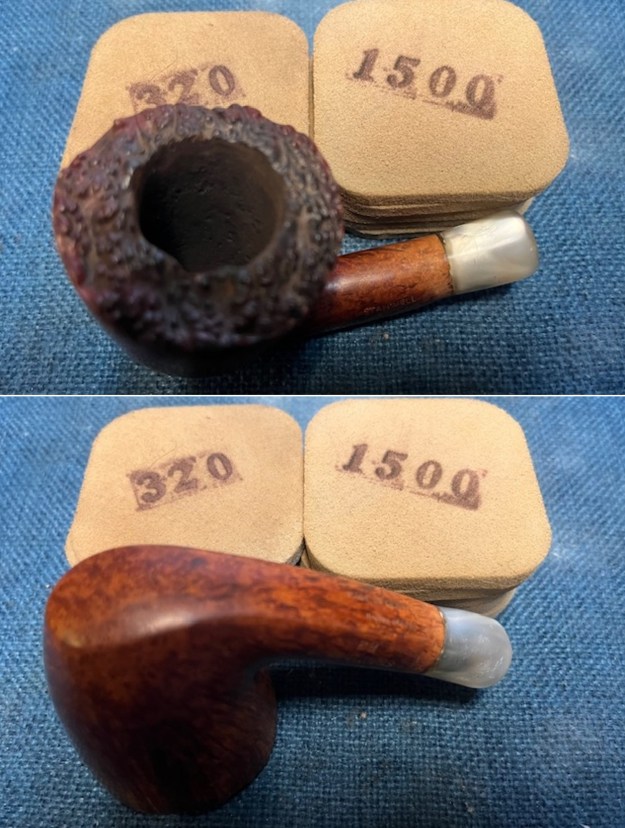
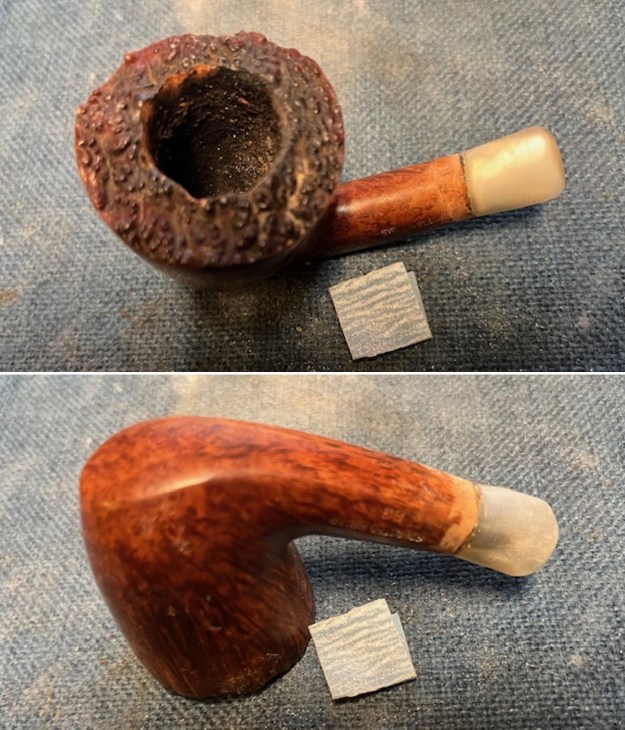 I paused in the polishing of the acrylic horn extension to clean up the bowl. I worked over the rim top with a brass bristle wire brush to clean out the debris in the plateau. It polished up nicely with the brush. It looked much better.
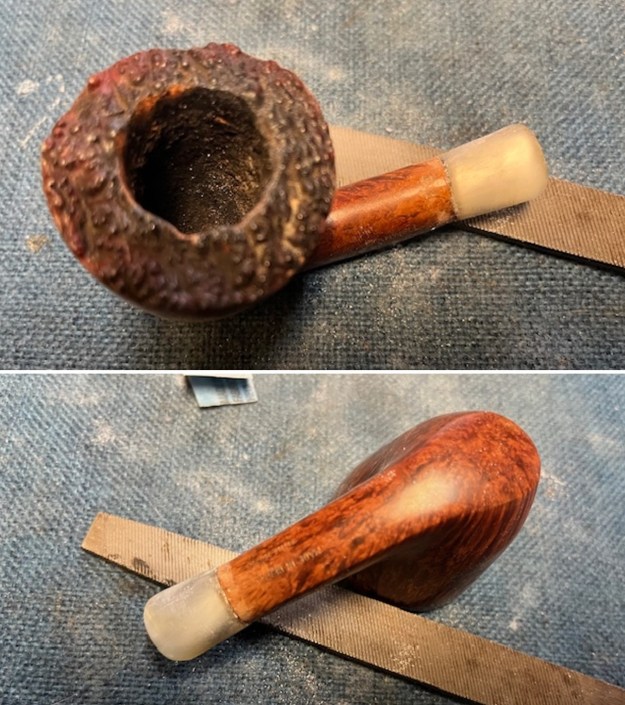
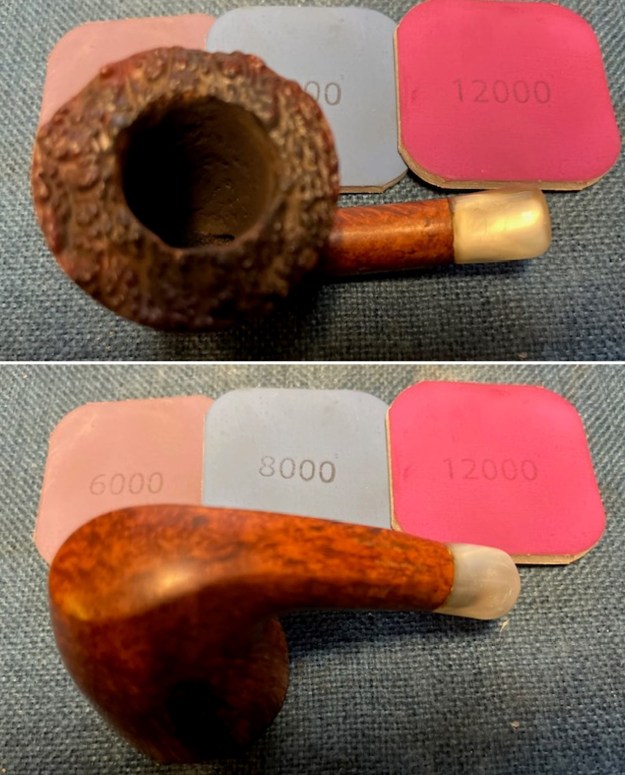
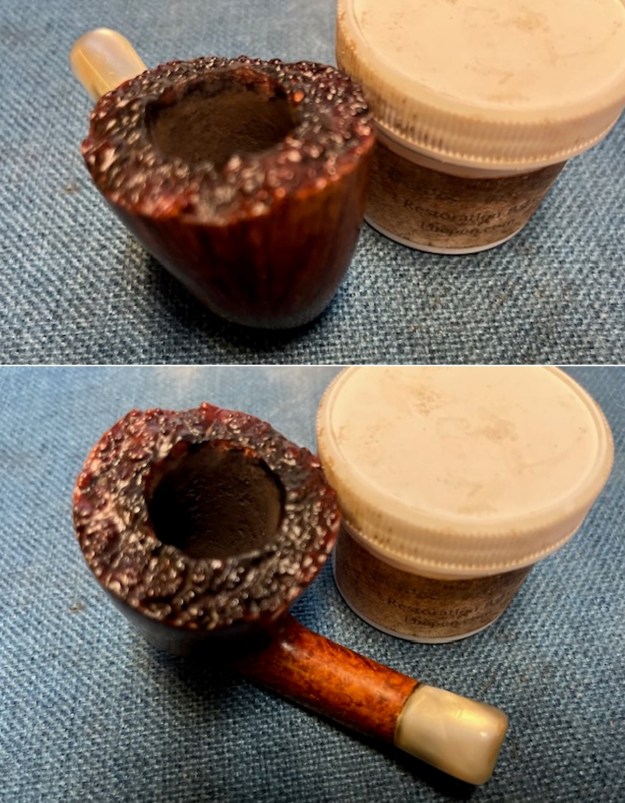
 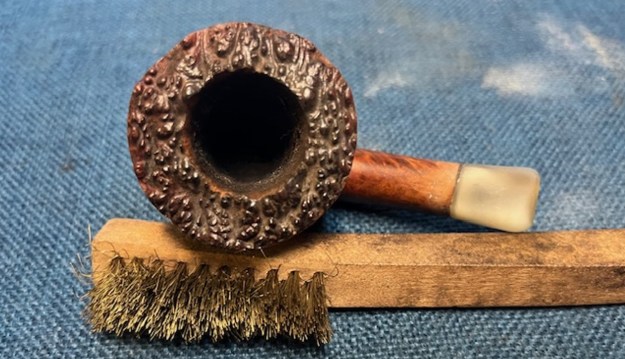 I began my work on this pipe by reaming the pipe. I used a PipNet Reamer with the first and second cutting heads to take back the heavy cake to bare briar. I cleaned up the reaming with a Savinelli Fitsall Pipe Knife and finally sanded the bowl walls with 220 grit sandpaper wrapped around a dowel. I like to remove all the cake to examine the walls for damage and checking. Great news is that this one is free of any damage!
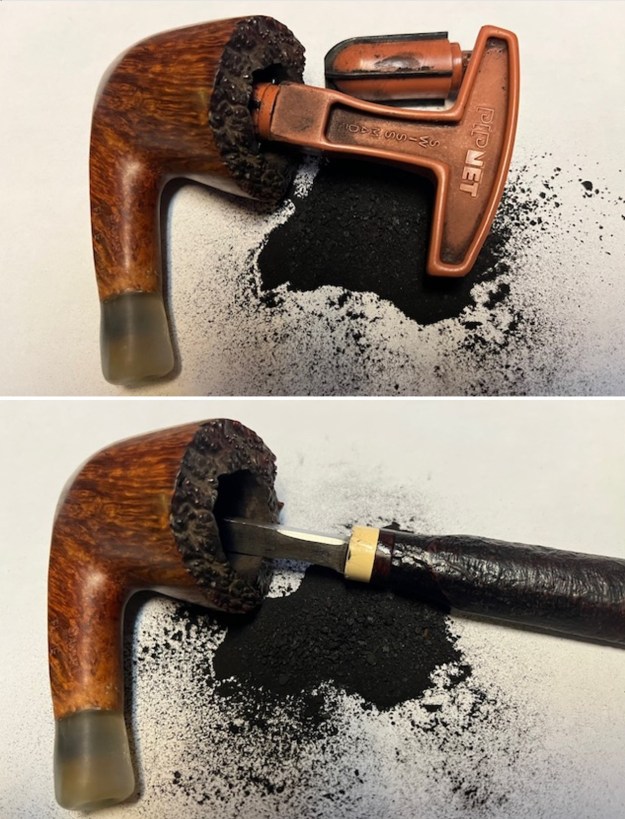
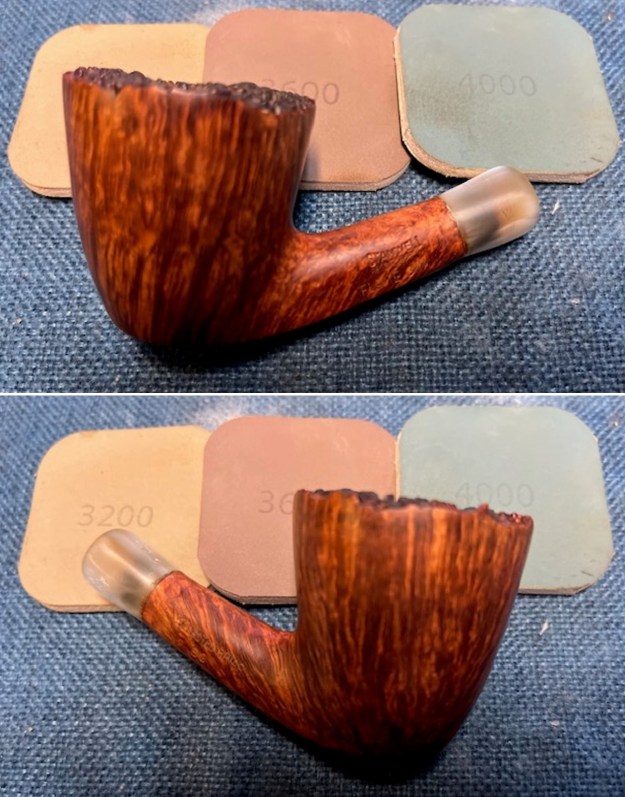
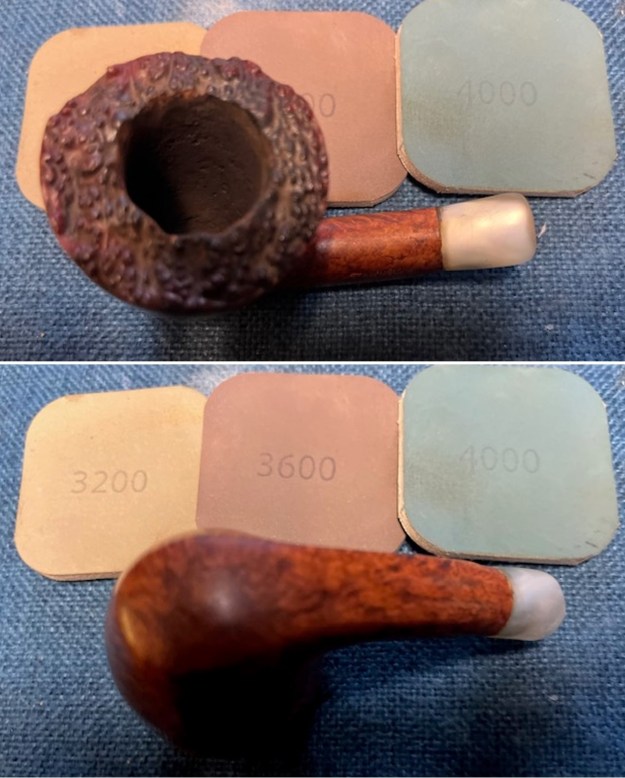
 I sanded the bowl to smooth out the finish on the bowl and take care of nicks and scratches in the bowl sides and shank. I also sanded the acrylic horn shank extension. I also sanded the areas where the file and the 220 grit sandpaper had been used on the briar shank. I used 320-3500 grit sanding pads and wiped the bowl down after each pad with a damp cloth to check on the progress. It came out looking much better.
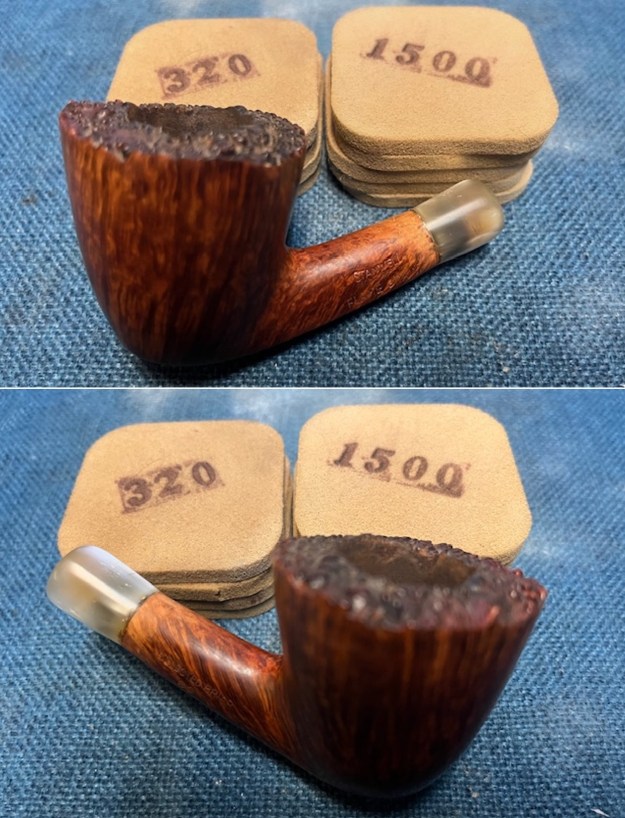
 I touched up the sanded areas on the shank end ahead of the extension with a Cherry stain pen. It matched surrounding briar very well. The acrylic horn shank extension looked very good.
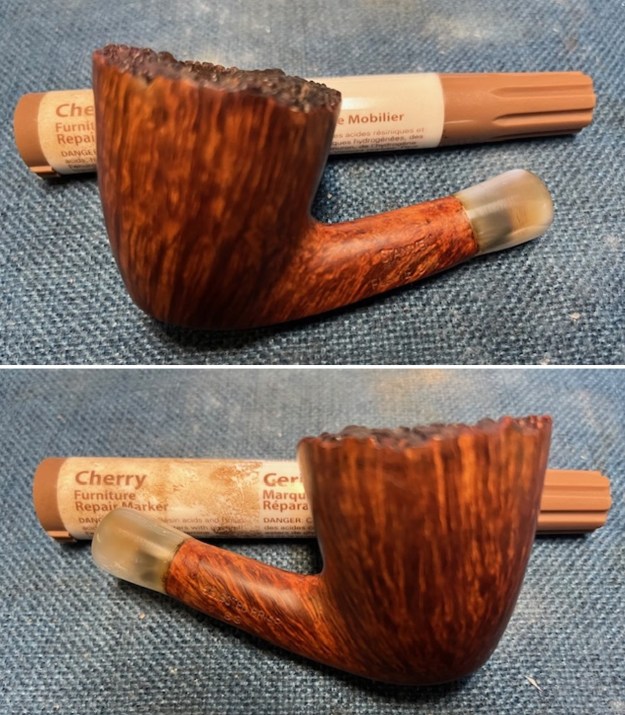
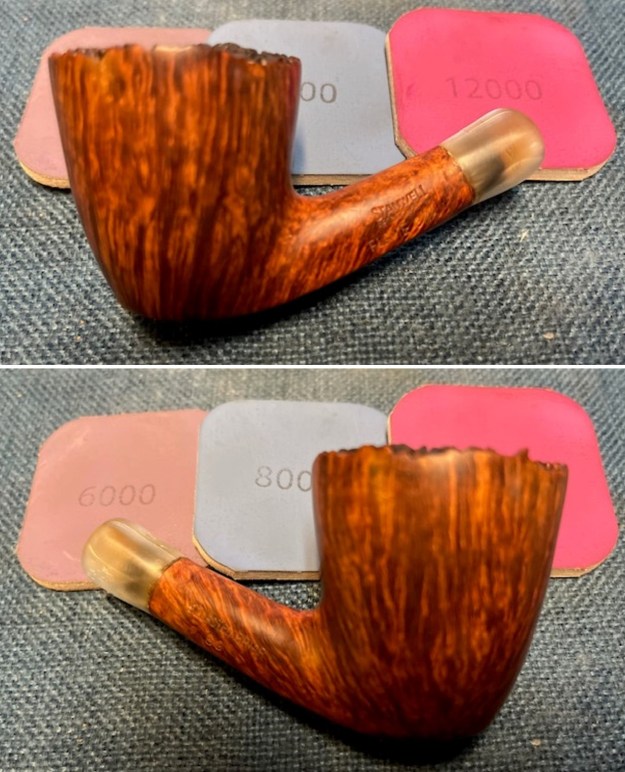
 I polished the briar bowl and the acrylic horn shank extension with micromesh sanding pads – dry sanding with 1500-12000 grit sanding pads. I wiped it down with a damp cloth after each pad to remove the debris. The bowl and the band took on a rich glow.
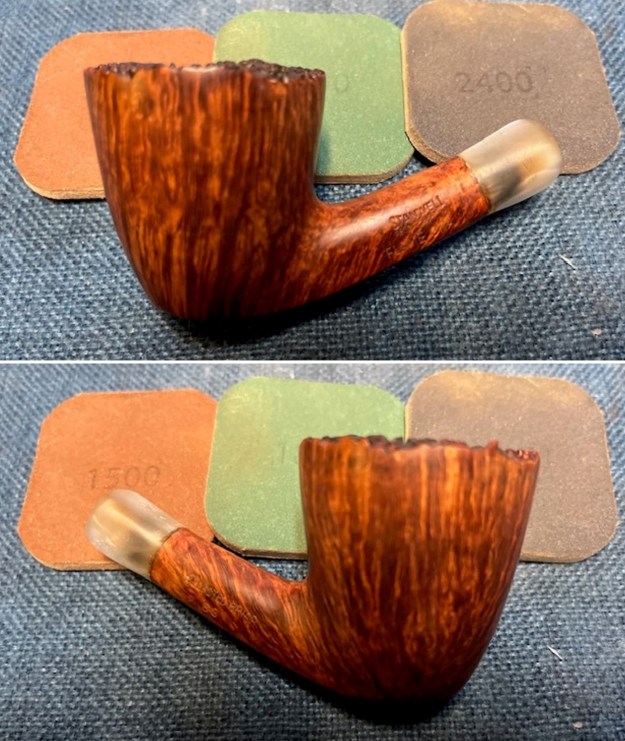

 I cleaned out the shank and the airway in the stem with pipe cleaners, cotton swabs and alcohol. It was surprisingly clean and the pipe smelled fresh.
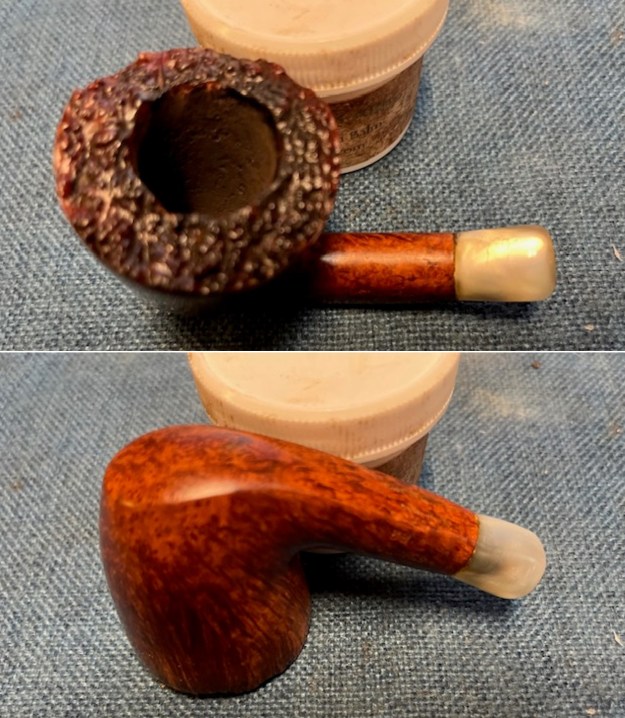
 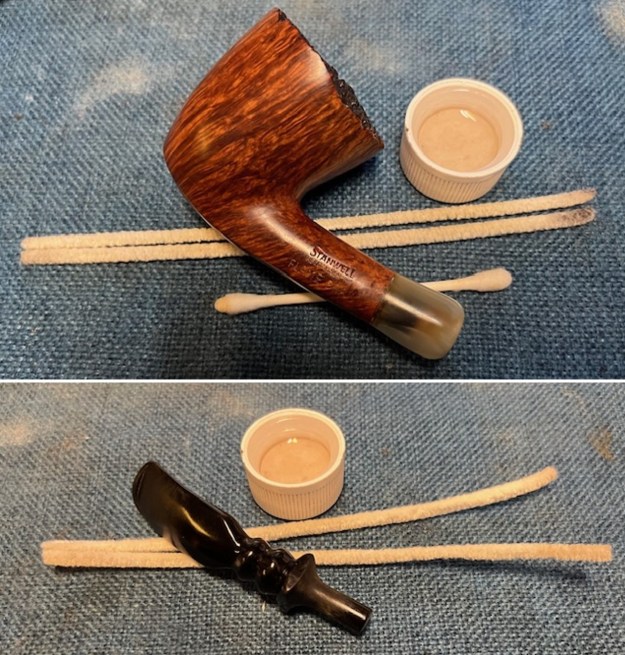 I rubbed down the briar Before & After Restoration Balm. I worked it into the surface with my fingertips. I used a shoe brush to work the balm into the plateau. The product works to clean, enliven and preserve the briar. I let it sit for 15 minutes then I buffed it with a cotton cloth to deepen the shine. The briar really comes alive with the balm.
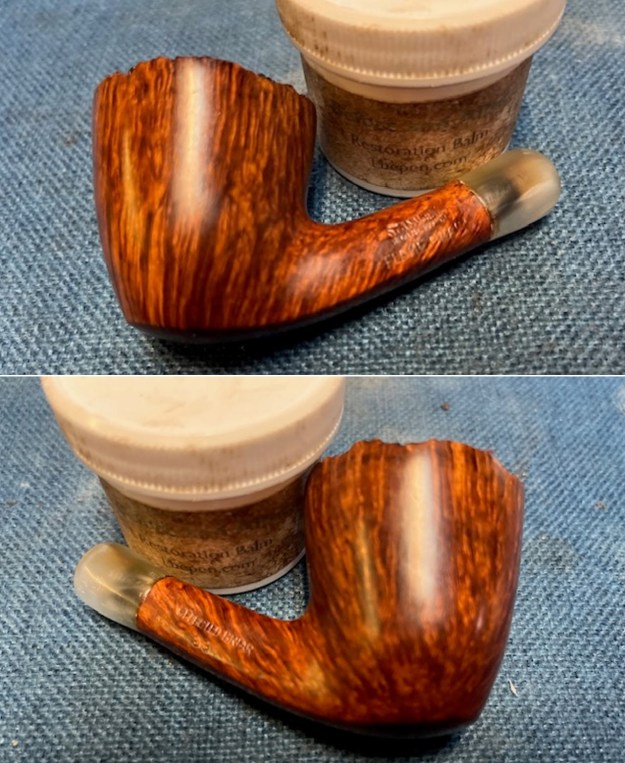
 I used the sanding pads I purchased recently – 320-3500 grit regular pads to smooth out the finish and remove the light tooth and chatter marks in the stem. I wiped the stem down with Obsidian Oil to finish the preliminary work after the 3500 grit pad.
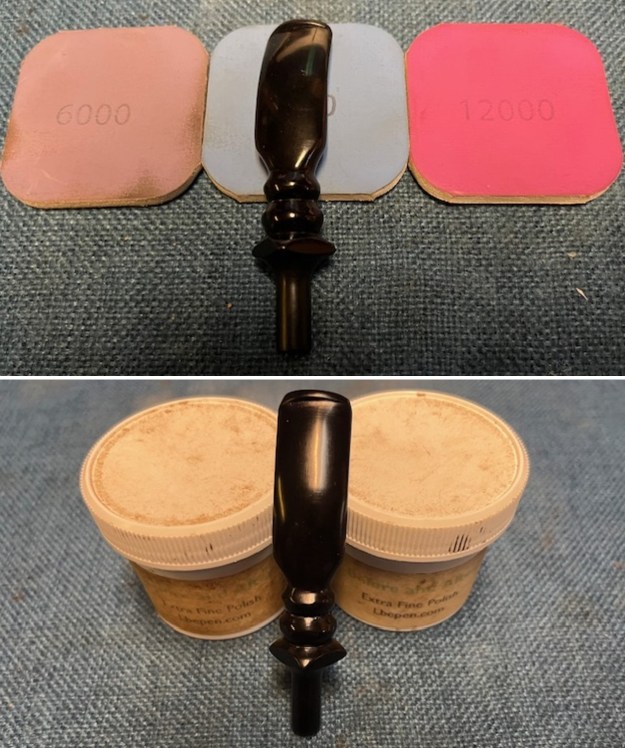
 I polished the stem with micromesh sanding pads – dry sanding with 1500-12000 grit pads. I wiped the stem down after each sanding pad with Obsidian Oil. I polished the stem with Before & After Pipe Stem Polish – both Fine and Extra Fine. I gave it a coat of Obsidian Pipe Stem Oil. It works to protect the stem to protect the stem. I set it aside to dry.
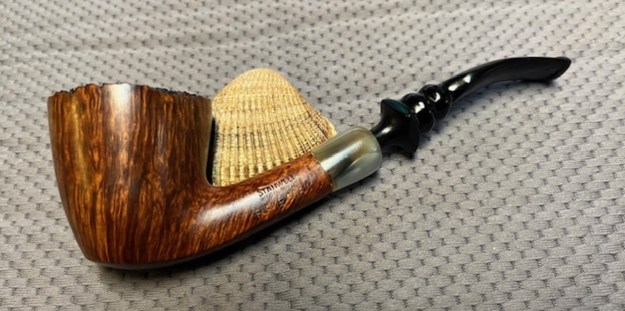
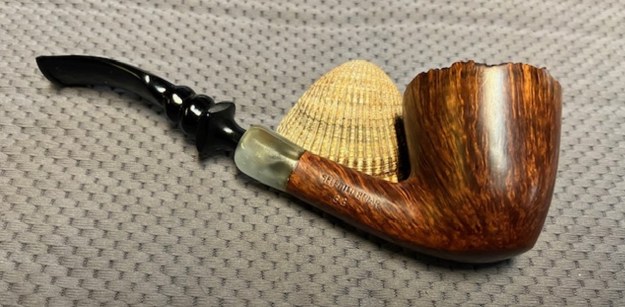
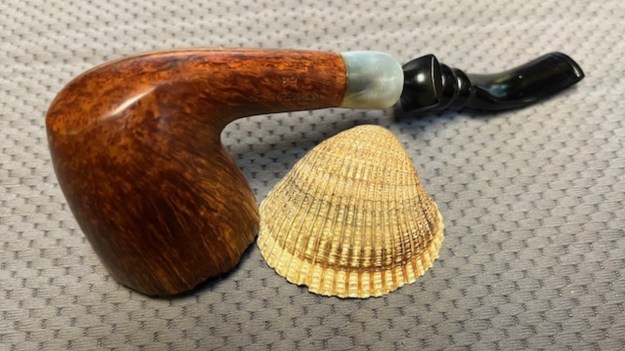
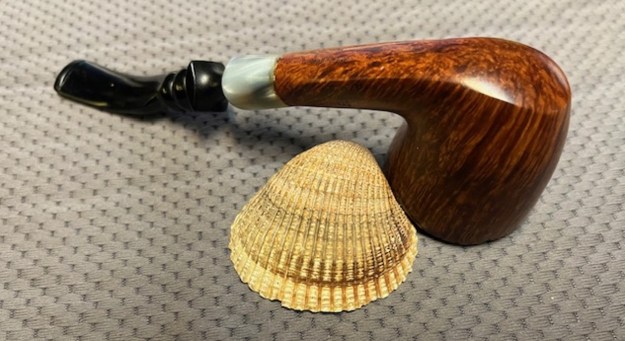
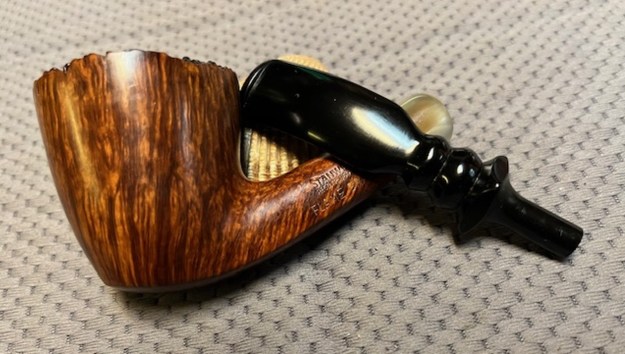
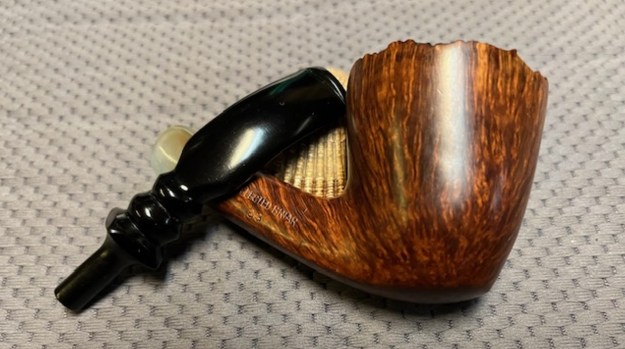
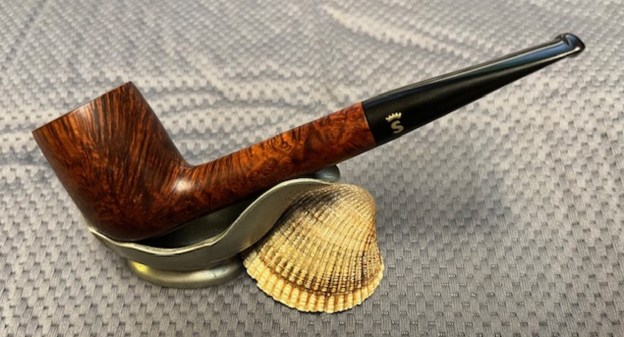
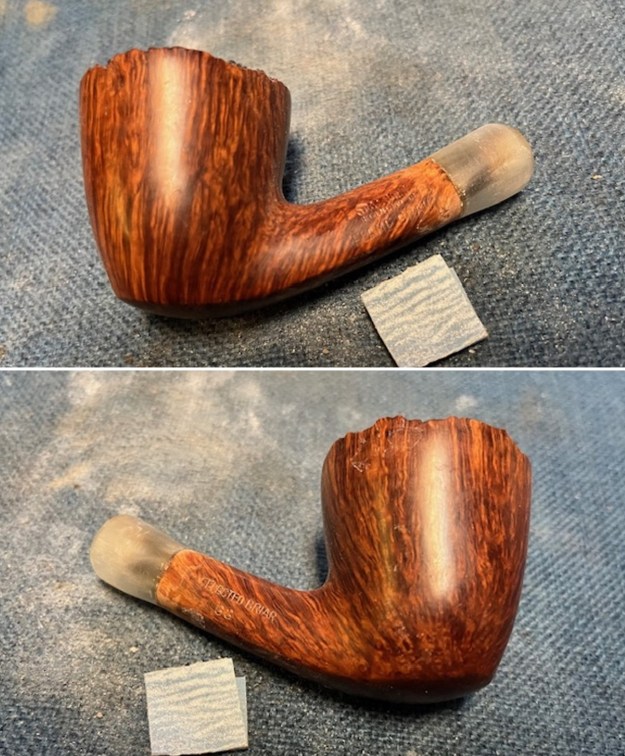
 I put the stem back on the reborn/re-imagined Stanwell Flame Grain Made in Denmark 63 Dublin Freehand and took it to the buffer. I buffed the bowl and stem with Blue Diamond to polish the briar and the acrylic. Blue Diamond does a great job on the smaller scratches that remain in both. I gave the bowl and the stem several coats of carnauba wax and buffed the pipe with a clean buffing pad to raise the shine. I hand buffed it with a microfiber cloth to deepen the shine. I am amazed at how well it turned out. The finished pipe is shown in the photos below. This is a beautiful Stanwell Flame Grain Dublin 63 – the acrylic horn shank extension, black acrylic stem and smooth finish combine to give the pipe a great look. The dimensions of the pipe are Length: 6 inches, Height: 2 inch, Outside diameter of the bowl: 1 ¾ inches, Chamber diameter: ¾ of an inch. The weight of the pipe is 1.55 ounces/45 grams. This is another pipe that I will be putting on the rebornpipes online store in the Danish Pipe Pipemaking Companies Section shortly, if you are interested in adding it to your collection. Thanks for walking through the restoration with me on this beauty!
As always, I encourage your questions and comments as you read the blog. Thanks to each of you who are reading this blog. Remember we are not pipe owners; we are pipe men and women who hold our pipes in trust until they pass on into the trust of those who follow us.