by Steve Laug
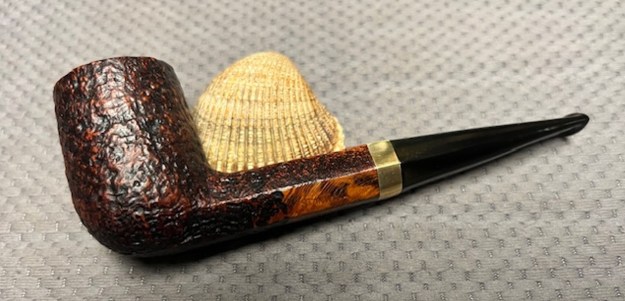
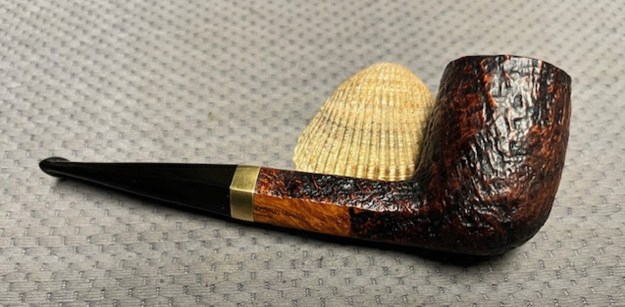
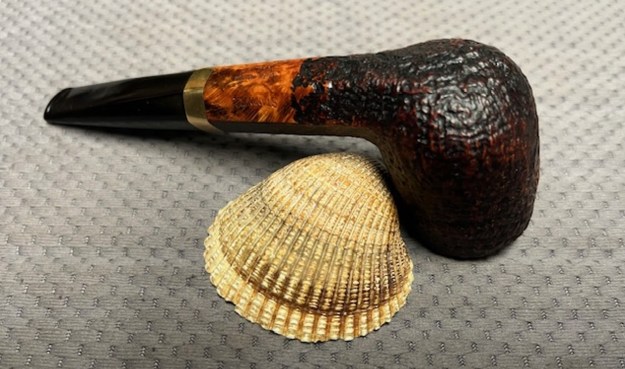
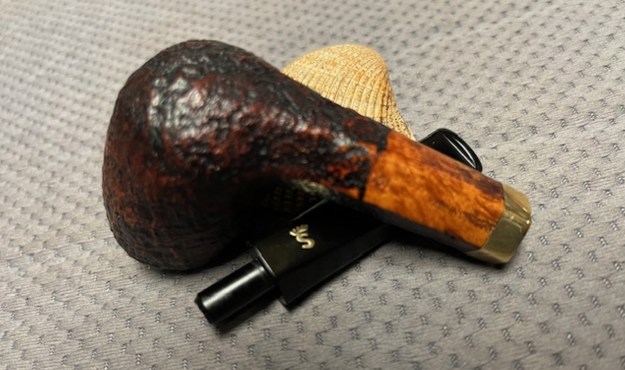
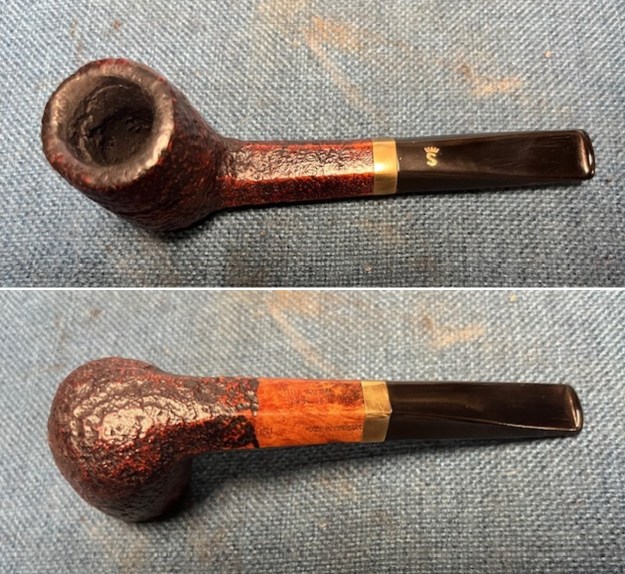
I moved on to work on another pipe. The next one I chose was another Stanwell. We purchased this from our contact in Copenhagen, Denmark on 02/16/2023. The stamping on the pipe was very clear and readable. On a smooth panel on the left side of the shank it reads Stanwell in an arch. On the underside it read Jubilaeum [over] 1942-92. On the right side it read Made in Denmark with the shape number 190. The shank end had a gold coloured band. The stem had a gold inlaid Crowned “S” Stanwell logo on the topside of the hexagonal taper stem. The Jubilaeum series was the 50th Anniversary line. The shape is a classic 190 Hexagon shank design by Tom Eltang and is easily recognizable as such. The bowl had a moderate cake but there was lava in the sandblast of the rim top. The finish was in dirty condition and was quite polished. The stem was acrylic and had light tooth chatter on both sides ahead of the button. It showed a lot of promise through the grime. I took photos of the pipe before I started my clean up work. 
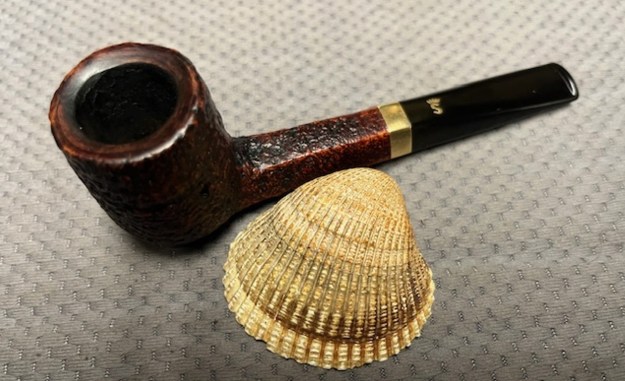
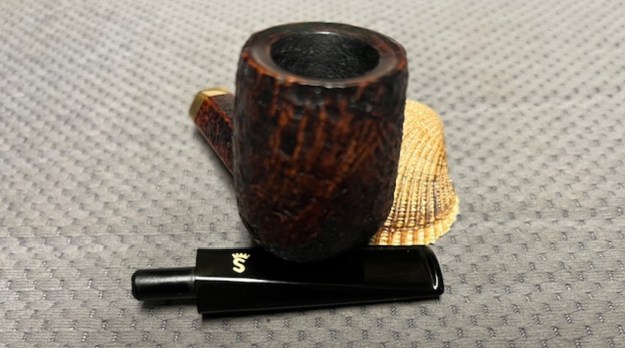
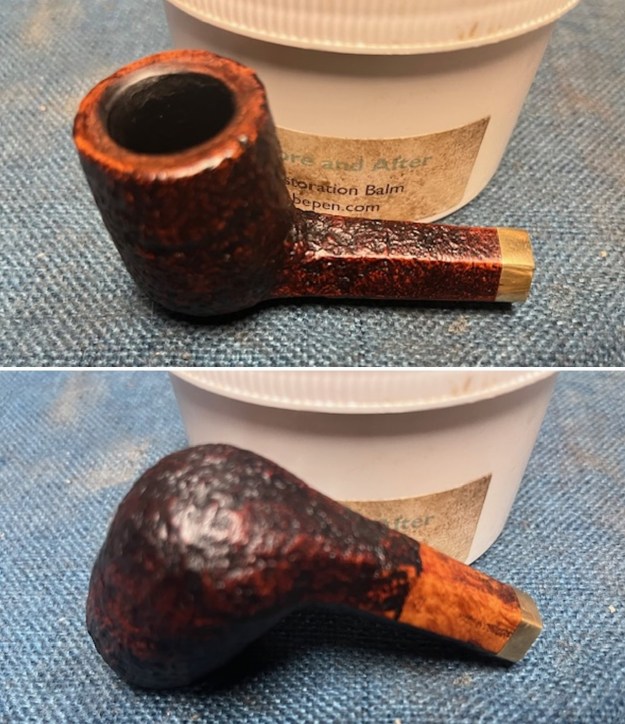
 I took photos of the bowl and rim top to show the thickness of the cake and the condition of the rim top. The stem photos show the condition of the acrylic saddle stem ahead of the button.
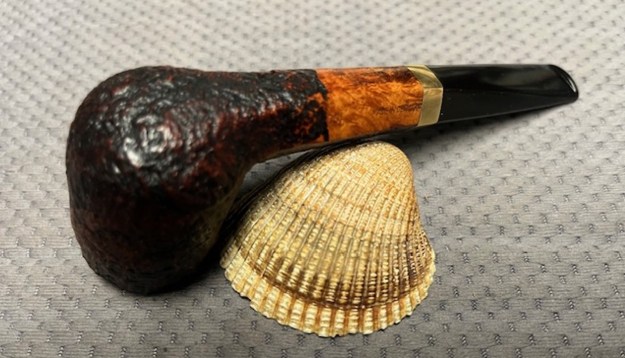
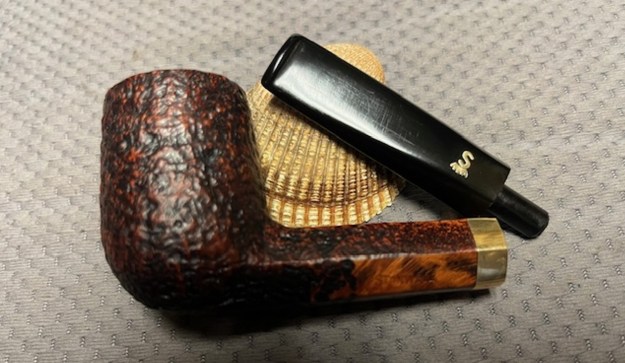
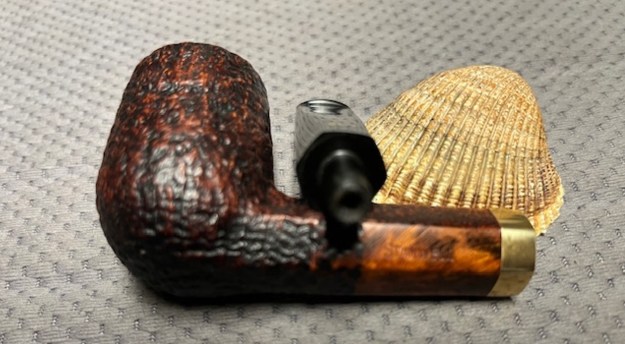
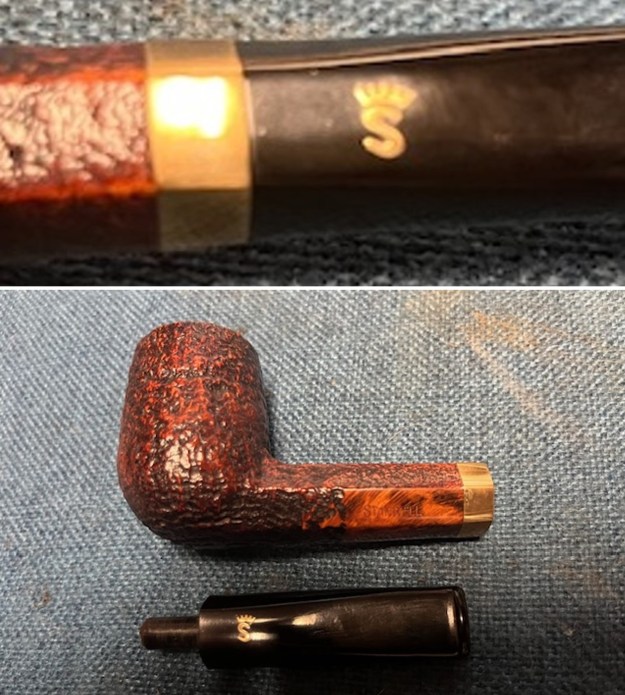
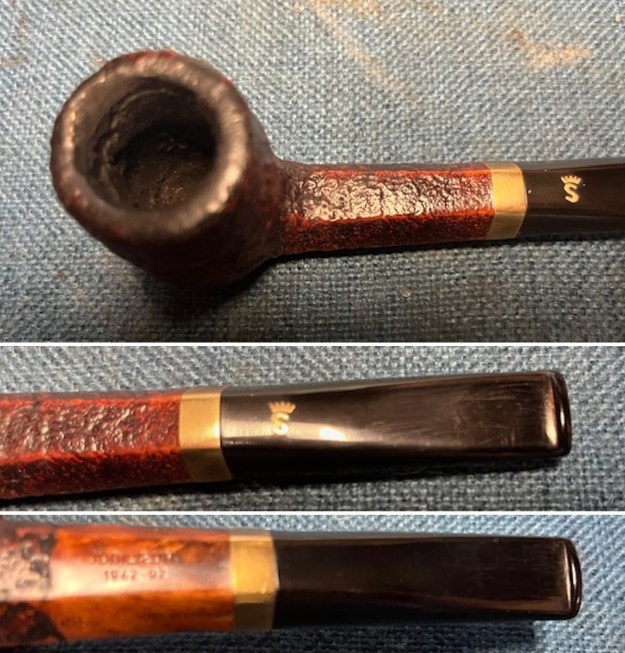 The stamping on the underside of the shank is clear and readable as noted above. I also took a photo of the gold Crown S on the left side of the stem. I took a photo of the pipe with the stem removed to give a sense of the proportions of the pipe. The mortise is lined with a nylon liner that makes for a snug and smooth fit in the shank.
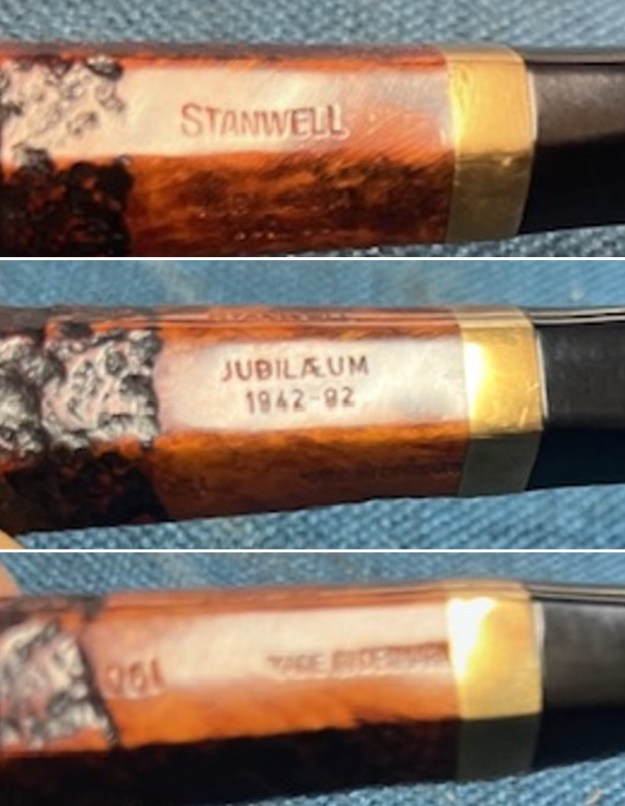
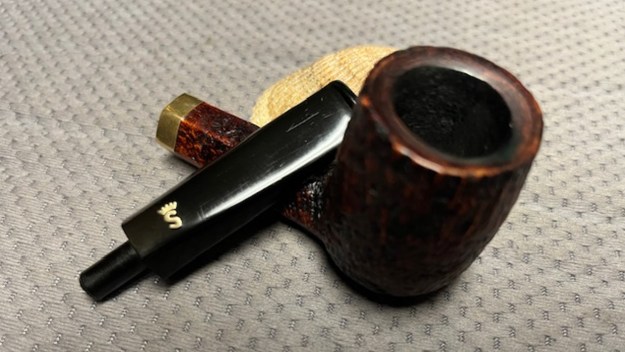
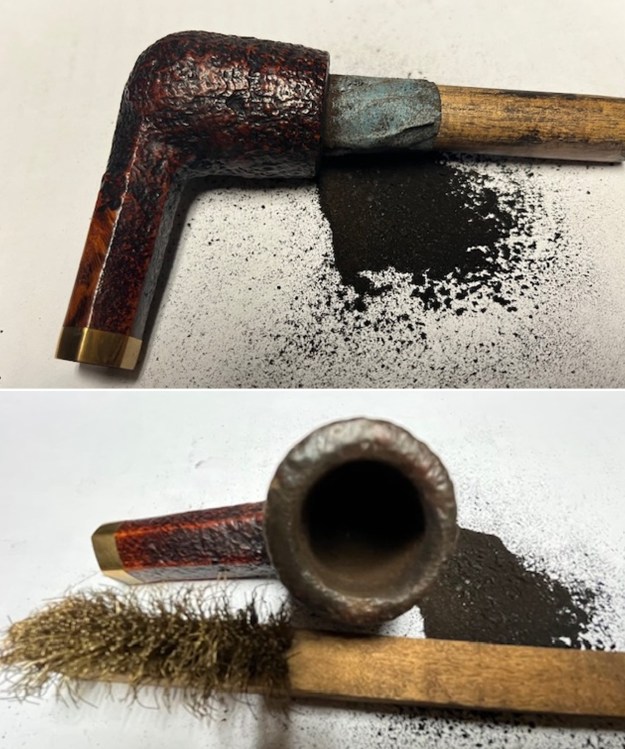
 I started my work on the pipe. I reamed the bowl with a PipNet pipe reamer using the cutting heads 2 and 3. I finished the reaming with a Savinelli Fitsall Pipe Knife. I sanded the walls of the bowl with 220 grit sandpaper wrapped around a piece of dowel. I worked over the rim top with a brass bristle wire brush and you can see the damage on the inner edge of the rim.
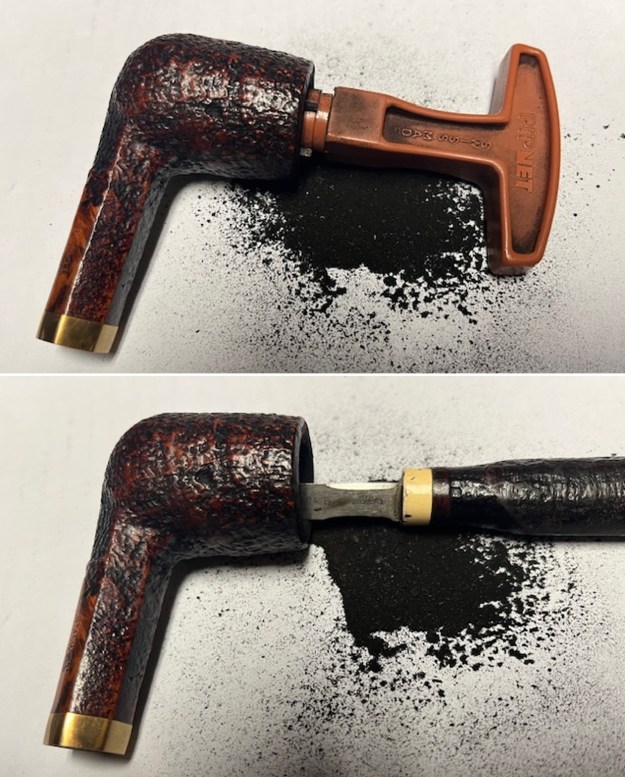
 I used a half sphere and a piece of 220 grit sandpaper to clean up the damage on the rim top and inner edge of the bowl. I gave the bowl a slight inward bevel to take care of the burn damage on the front inner edge of the bowl. I touched up the rim top with a black stain pen to hide the remaining burn damage.
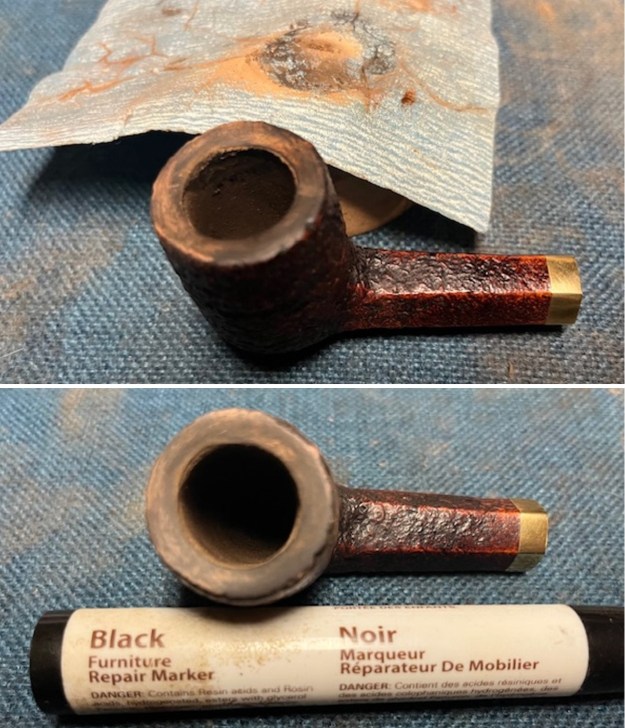 I polished the rim top with 320-3500 grit 2×2 inch sanding pads to smooth out the scratch marks in the briar. I wiped it down with a damp cloth after each sanding pad to remove the sanding debris. It began to take on a rich shine.
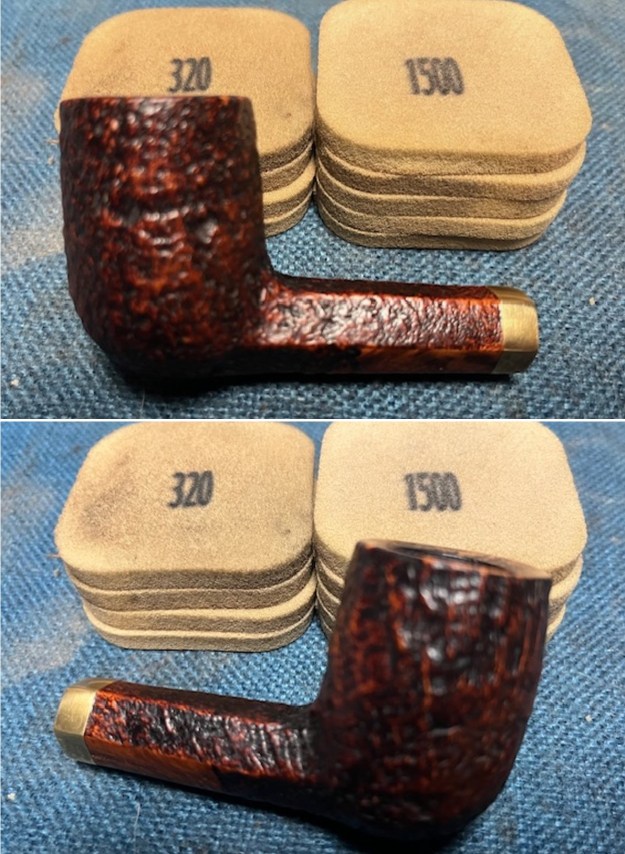
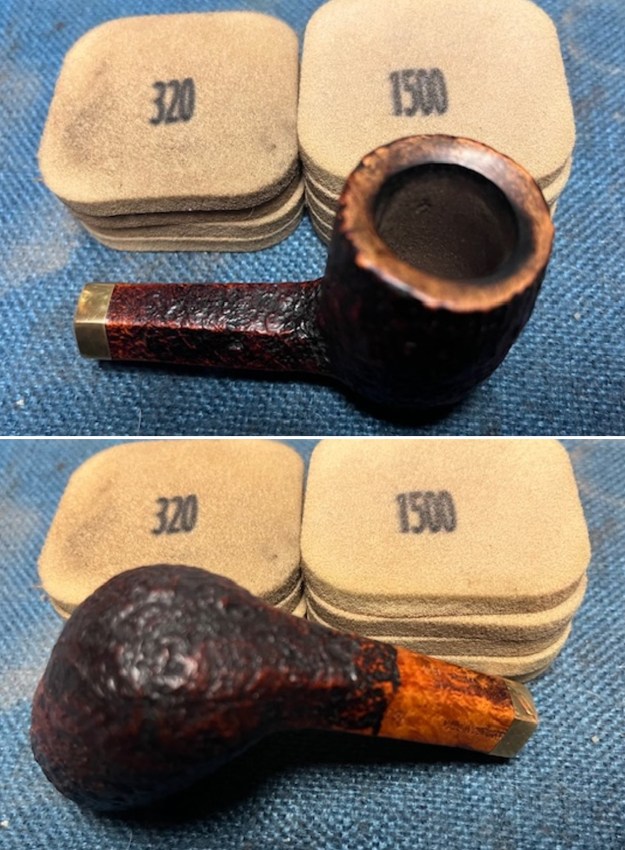 I touched up the rim top stain with a Mahogany Stain pen to match the rest of the briar on the sandblast of the shank and bowl. It looks quite good.
 I cleaned out the inside of the shank and the airway in the stem with alcohol, cotton swabs and both bristle and regular pipe cleaners.
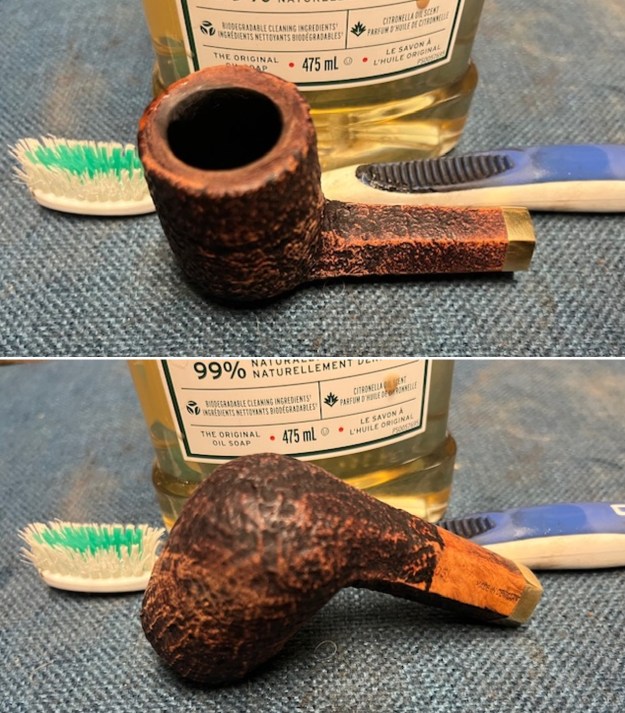
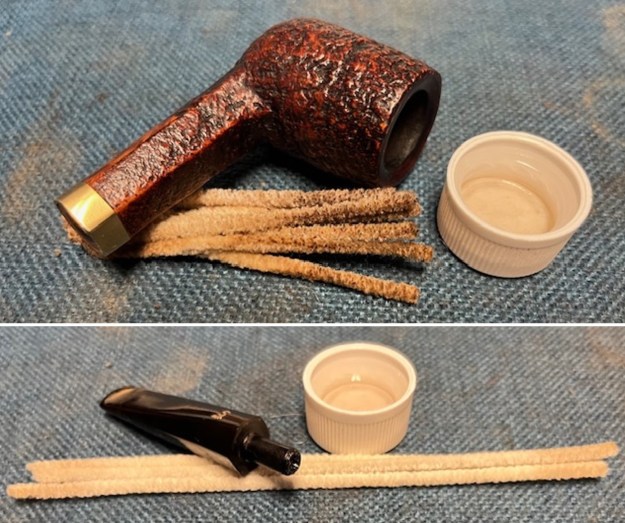 I scrubbed the bowl and shank with a tooth brush and some undiluted Murphy’s Oil Soap. I rinsed it off with warm water to remove the dust and soap from the finish. I dried it off with a soft cloth and it looked much better.
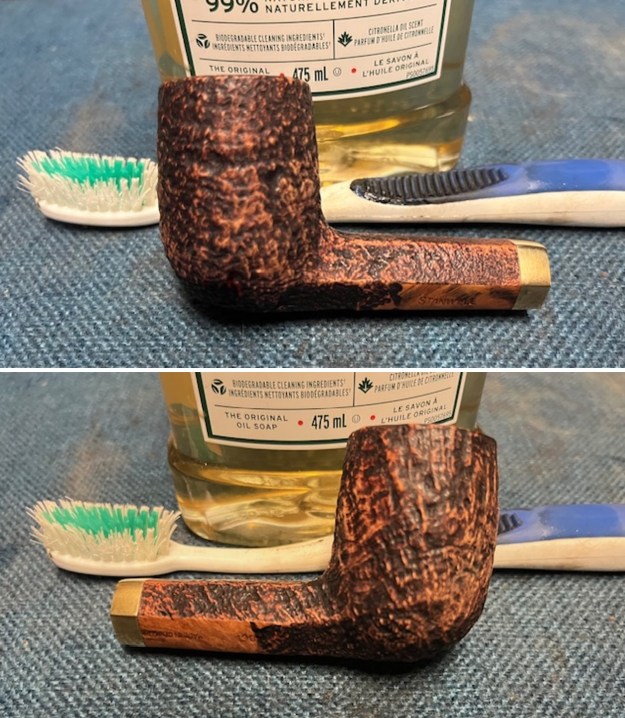
 I rubbed the briar down with Before & After Restoration Balm. I worked it into the briar with my fingertips. The product works to clean, enliven and preserve the briar. I let it sit for 10 minutes while I worked on the stem. After the time passed I buffed it with a cotton cloth to deepen the shine. The briar really comes alive with the balm.
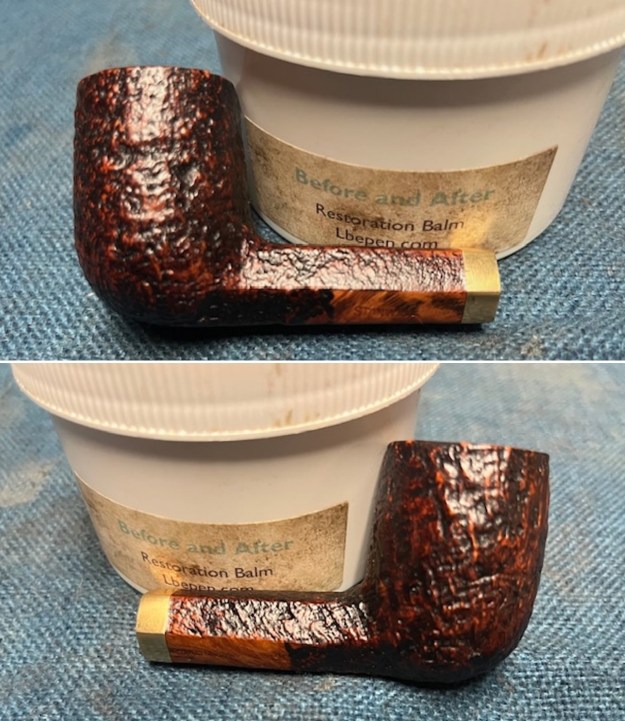
 I set the bowl aside and turned my attention to the stem. I sanded the stem with 220 grit sandpaper to remove the tooth chatter and light marks on the top and underside of the stem ahead of the button.
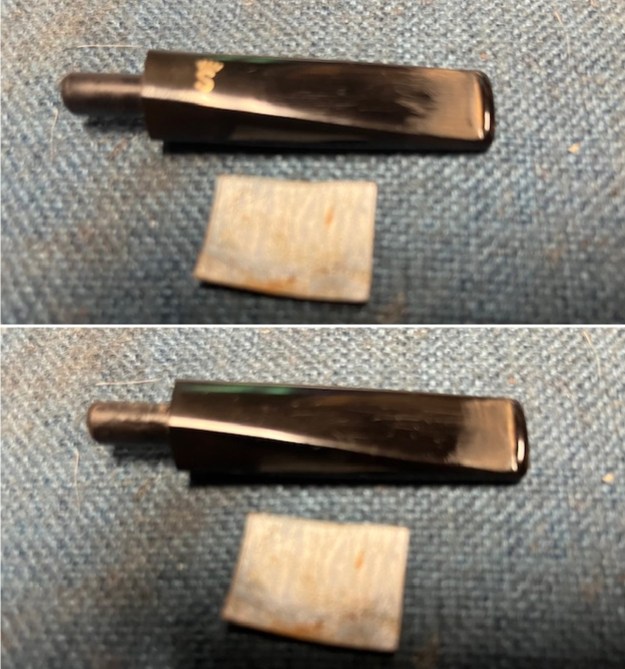 I sanded the stem surface with 320-3500 grit 2×2 inch pads to further blend in the repairs to the acrylic surface. I also sanded the deep scratches in the surface of the acrylic that ran the length of the stem surface. I wiped the stem down with an Obsidian Oil cloth after each sanding pad.
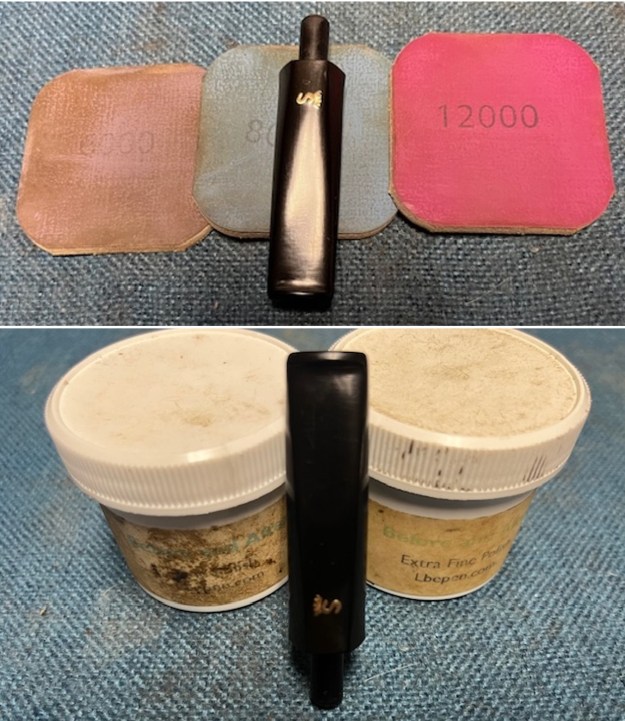
 I polished the stem with micromesh sanding pads – dry sanding with 1500-12000 grit pads. I wiped the stem down after each sanding pad with Obsidian Oil. I polished it with Before & After Pipe Stem Polish – both Fine and Extra Fine. I gave it a coat of Obsidian Pipe Stem Oil. It works to protect the stem from oxidizing. I set it aside to dry.
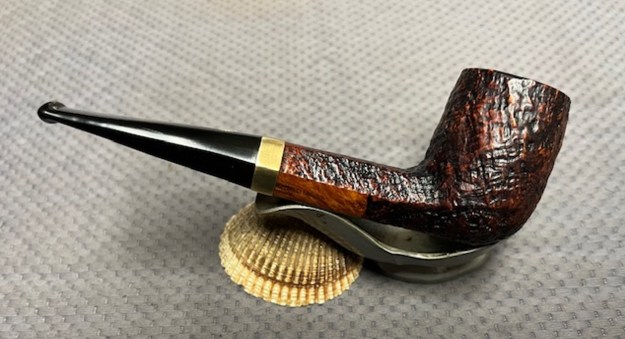
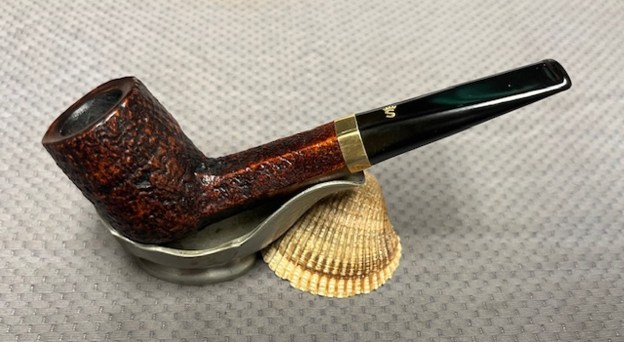
 I am excited to put the finishing touches on this Tom Eltang Design Stanwell Jubilaeum 1942-92 Hexagonal Shank 190 Billiard. I put the pipe back together and buffed it with Blue Diamond on the buffing wheel. I gave the bowl and the stem multiple coats of carnauba wax. I buffed the pipe with a clean buffing pad to raise the shine and hand buffed it with microfiber cloth to deepen the shine. It is fun to see what the polished bowl looks like with the polished black, fancy turned vulcanite stem was beautiful. This Tom Eltang Design Stanwell Jubilaeum 1942-92 Hexagonal Shank 190 Billiard is nice looking and the pipe feels great in my hand. It is light and well balanced. Have a look at it with the photos below. The dimensions are Length: 5 inches, Height: 1 ¾ inches, Outside diameter of the bowl: 1 ¼ inches, Chamber diameter: ¾ of an inch. The weight of the pipe is 1.23 ounces/36 grams. It is a beautiful pipe and one that I will be putting in the Danish Pipemakers Section on the rebornpipes store. Thanks for walking through the cleanup with me as I worked over this pipe.
As always, I encourage your questions and comments as you read the blog. Thanks to each of you who are reading this blog. Remember we are not pipe owners; we are pipe men and women who hold our pipes in trust until they pass on into the trust of those who follow us.