Blog by Steve Laug
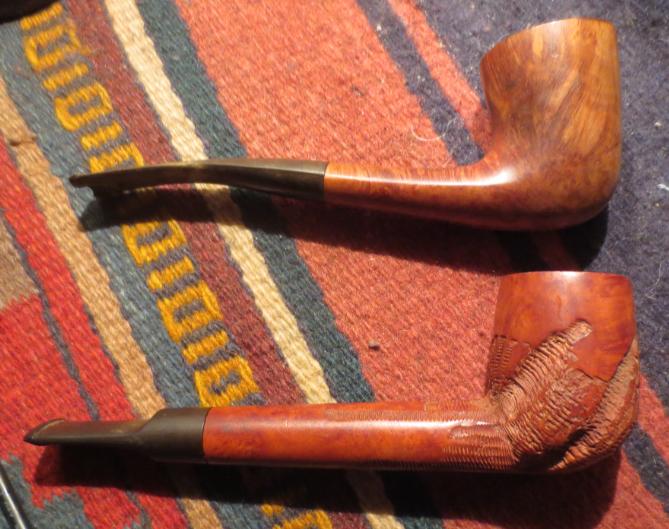
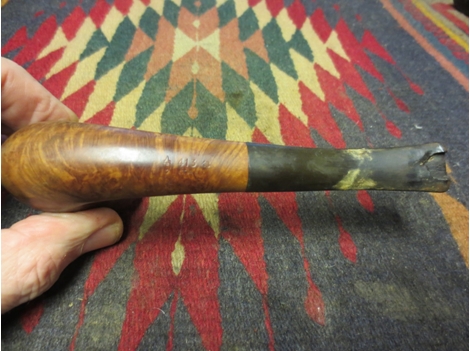
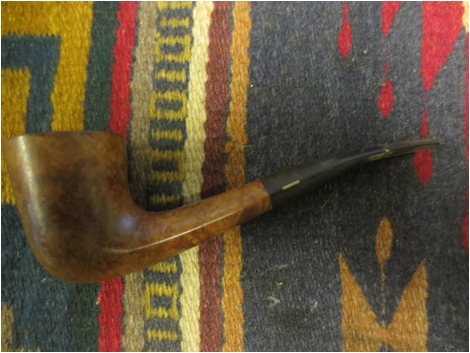
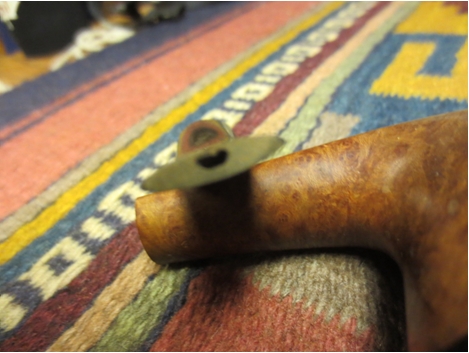
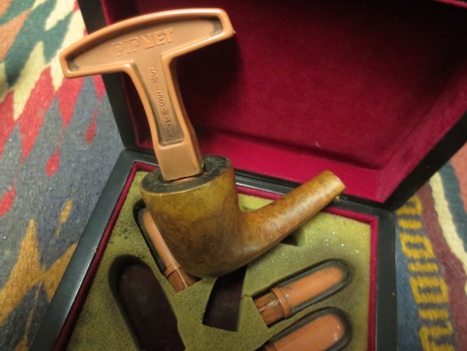
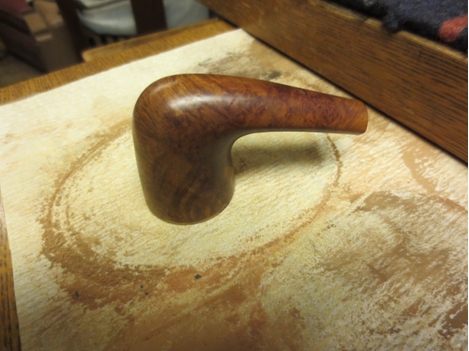
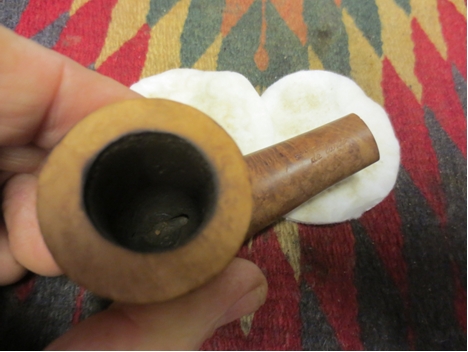
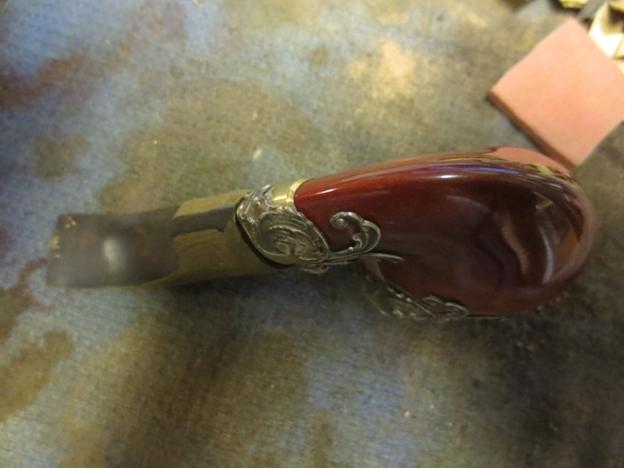
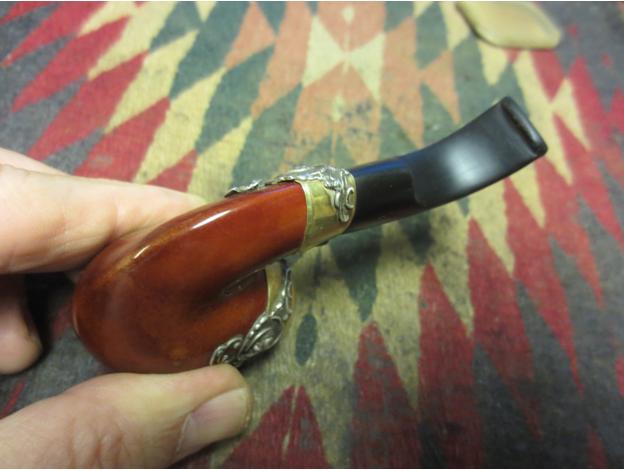
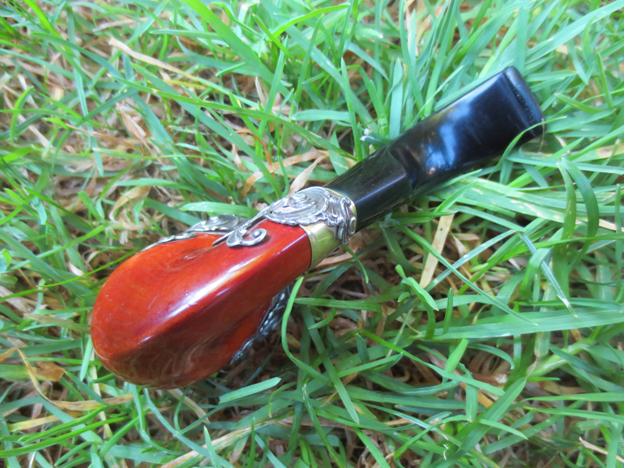
When I purchased the German Folk art meerschaum at the antique mall in Idaho Falls I also got a little meerschaum bowl with lots of brass bling around the rim and the end of the shank. It had a broken bone tenon in the shank that was hopelessly corroded and not removable by normal methods. It appeared to have been glued in place with epoxy. The pipe had an oval shank and I figured that if I could get it cleaned up it would be a neat looking keepsake. It would definitely be a pocket pipe but I had a vision for it. The first photo is a bit blurry but it gives you an idea about the look of the old pipe. There was a lot of dust and debris in the filigree work and the decorative band at the end of the shank was loose because of a broken nail on the left side.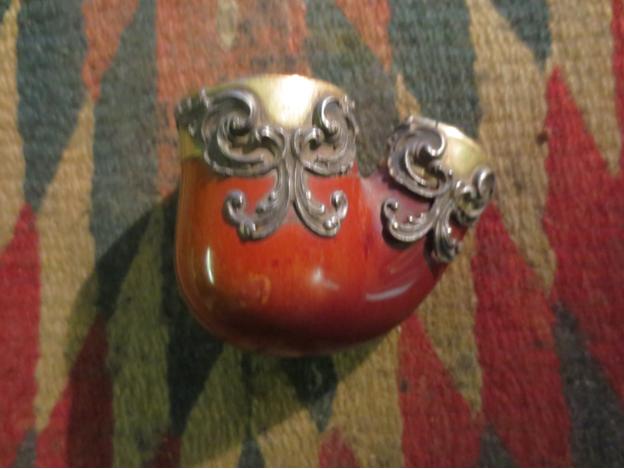

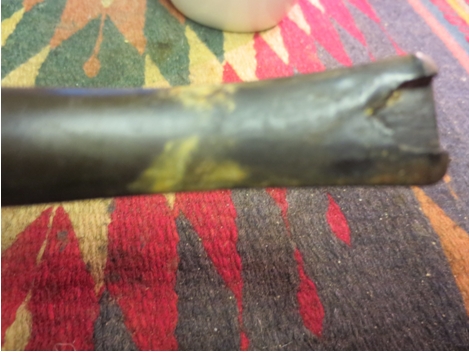
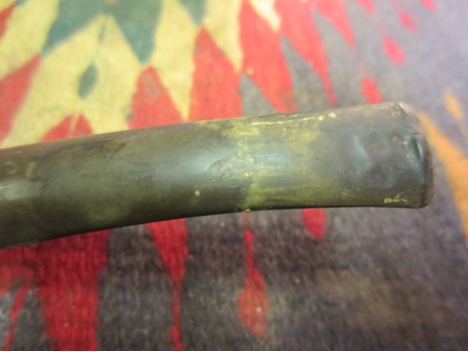
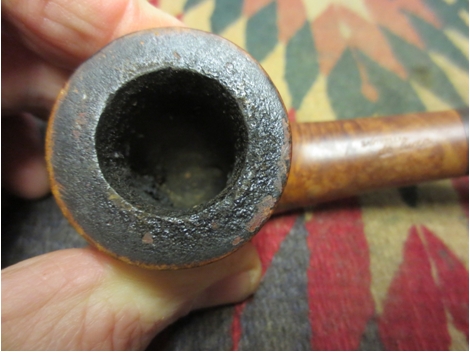
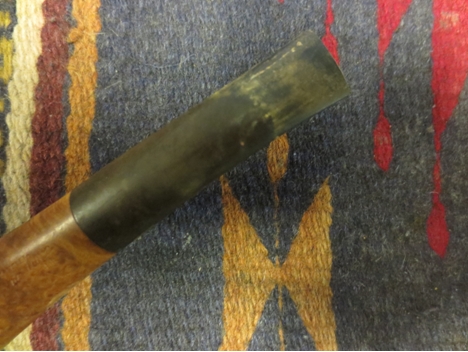
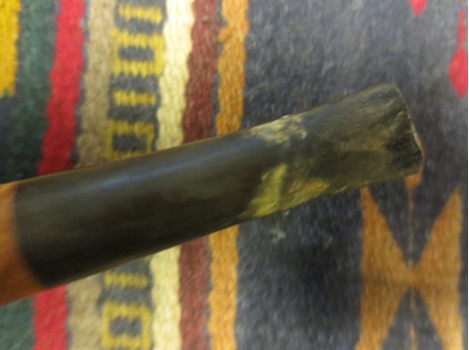
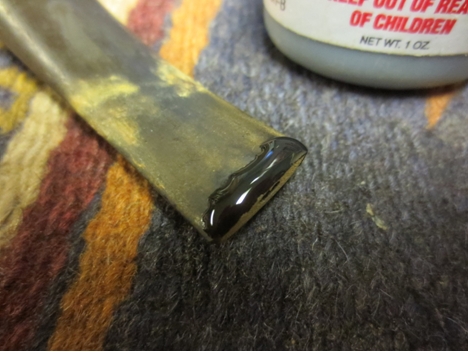
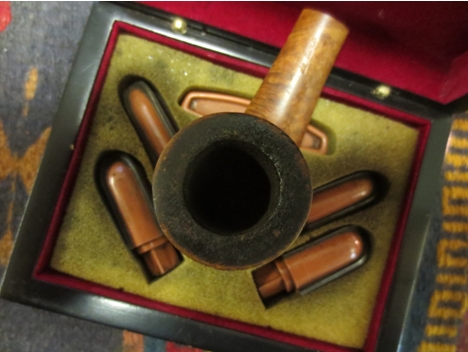
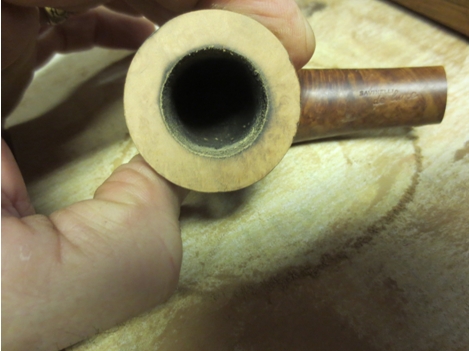
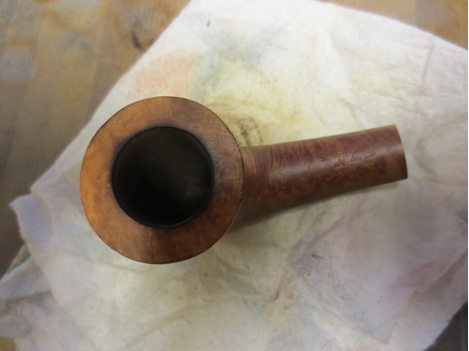
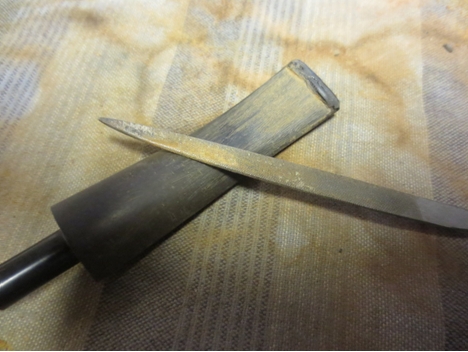
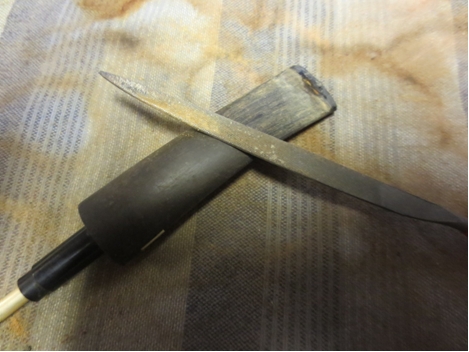
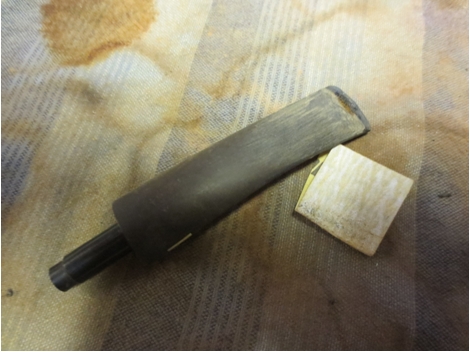
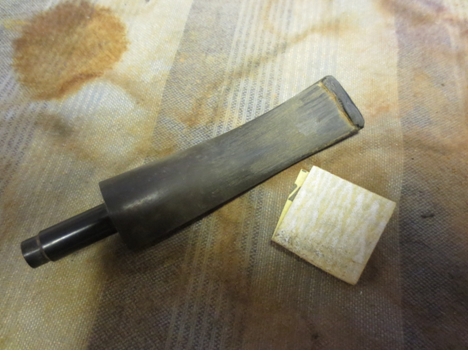
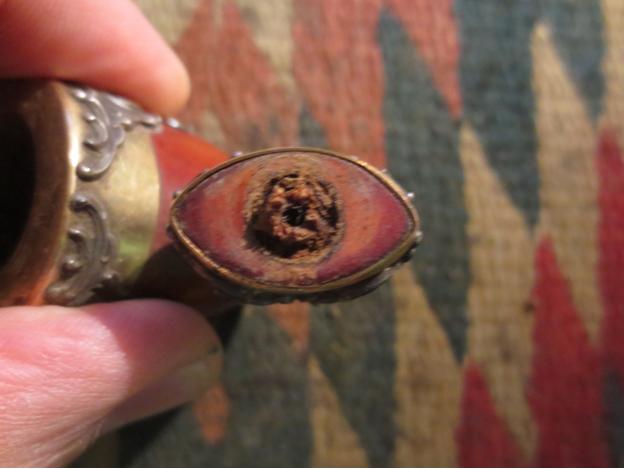
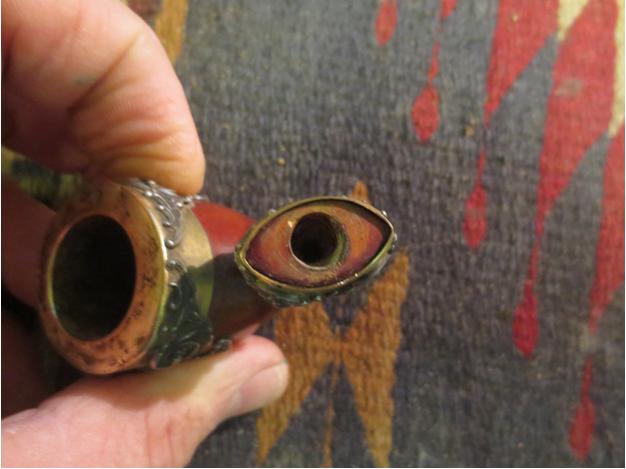
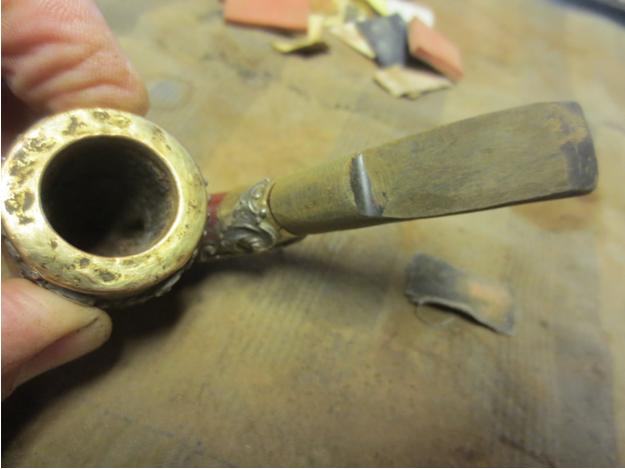
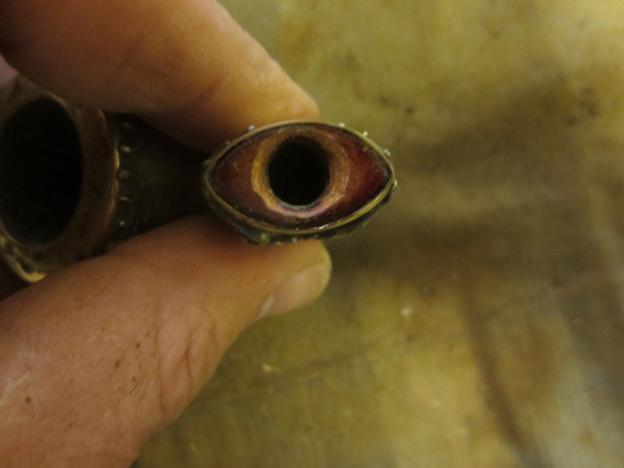
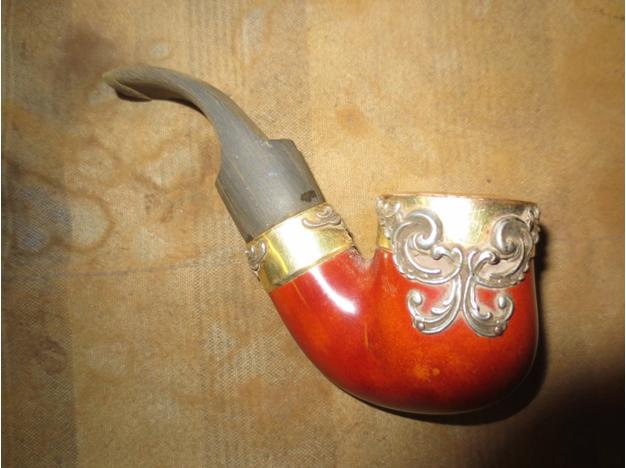
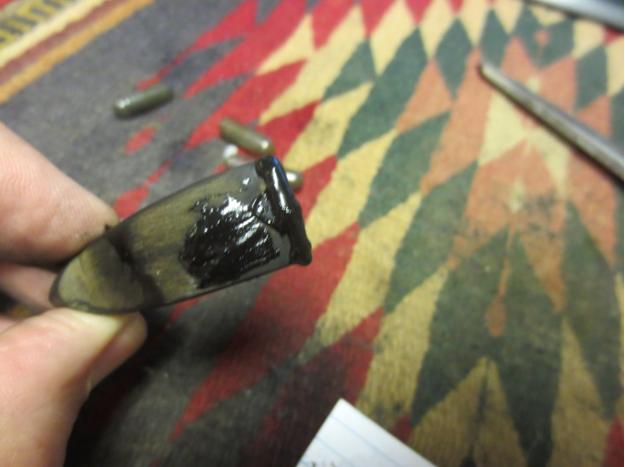
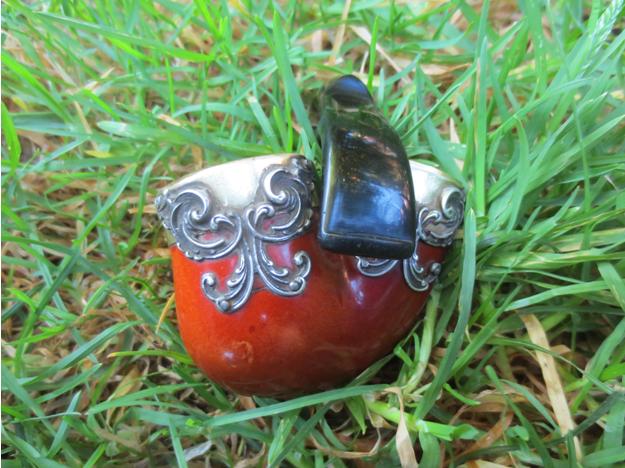
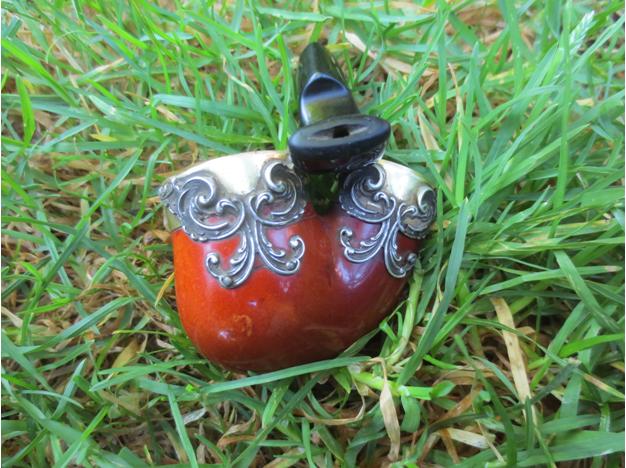
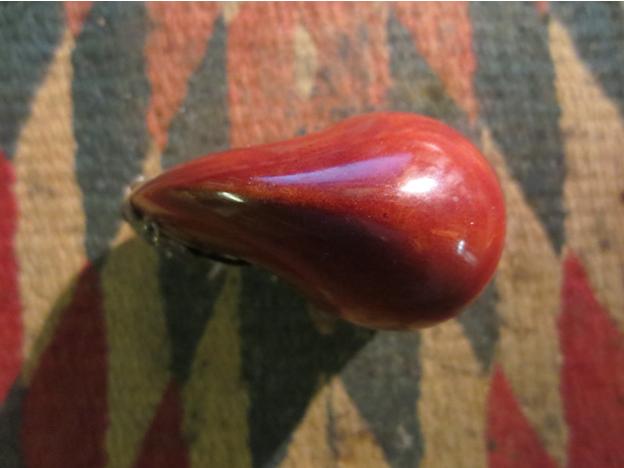 The next two photos show the damage to the rim and the broken tenon in the shank. The rim damage was significant enough to look bad but I would not be able to remove the cap without breaking the meerschaum bowl so I would need to remedy that in a different way. In the second photo you can see the broken tenon and how it appears to be glued into the shank.
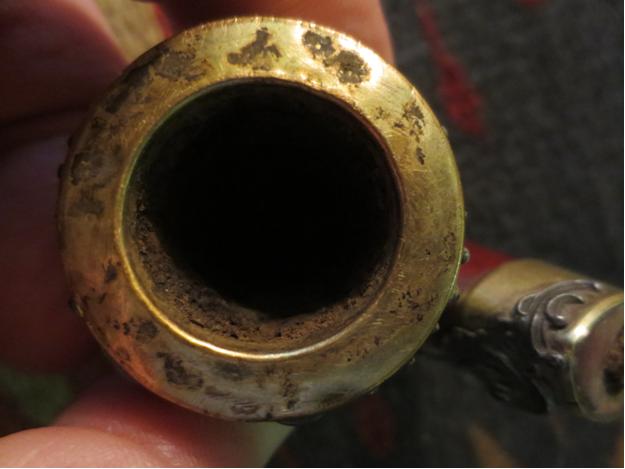
 I tried my normal method for pulling stuck tenons but this one would not even budge. It was stuck in the shank.
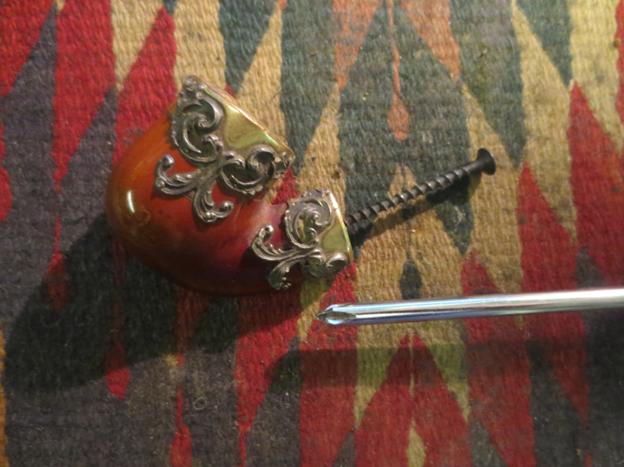 So I had to drill it out of the shank. This is trickier than it looks. I never power the drill on. I set it up and use it as a stationary base. I hand twist the shank onto the bit. I start with a bit about the size of the airway and work my way up until I have the entire old bone tenon out of the shank.
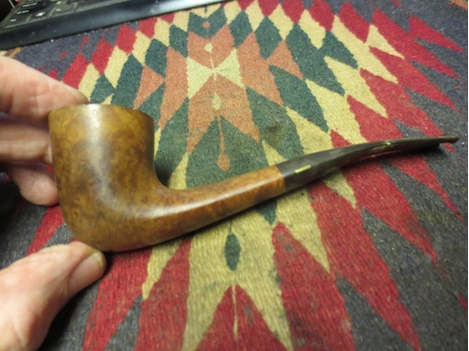
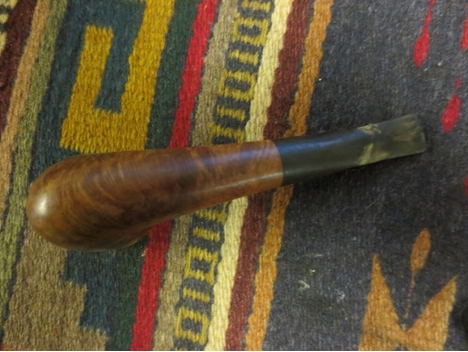
 I had a damaged round stubby stem from a GBD 9438 that I picked up somewhere. The button was gone and the stem had been cut off. Since the oval shank was vertical I needed a stem with a similar dimension from top to bottom. The GBD stem was perfect. I took off the excess vulcanite with the Dremel and sanding drum and roughly shaped it to fit. There would be more – a lot more – sanding that would have to happen but the shape was there. I would also need to build a new button and thin down the thickness of the stem but overall you can see the shape.
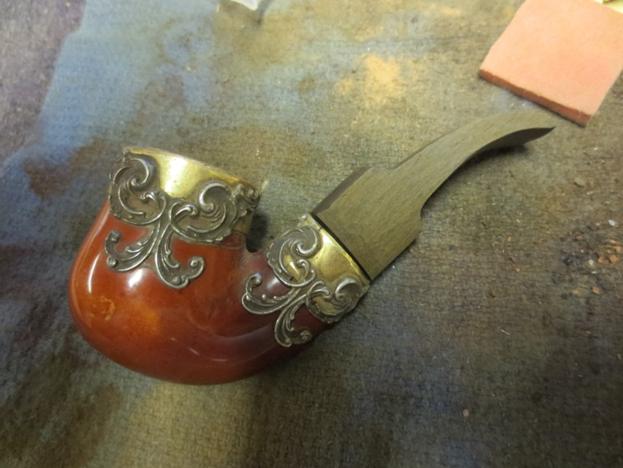

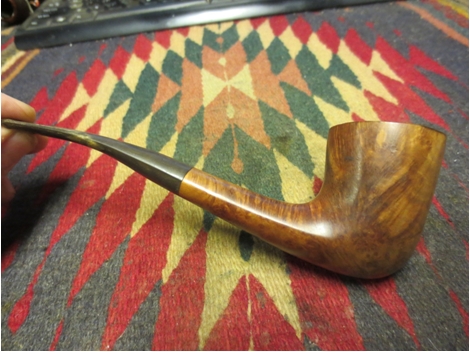
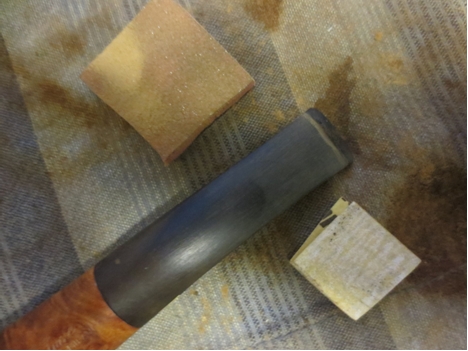
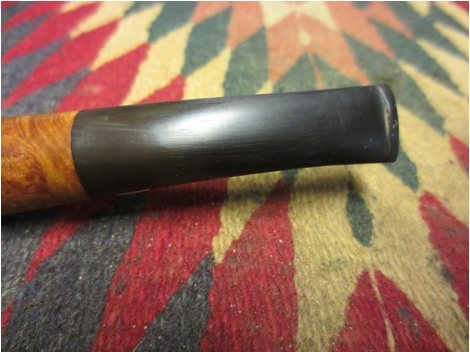
 More shaping with the Dremel. I wanted the stem to have a thin oval shape at the shank and then flare out toward the end. I would cut the new button so I wanted a smooth taper back toward it.
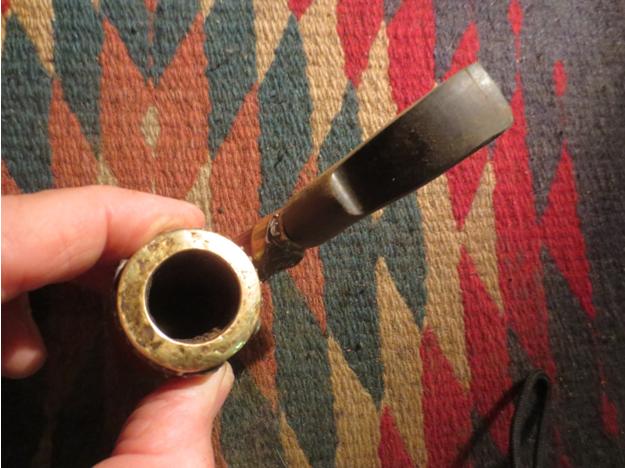 With the Dremel work done it was time to hand shape the stem with sandpaper. I sanded it with coarse emery cloth and then refined it with 180 grit sandpaper. The lion’s share of the work was done with 220 grit sandpaper.
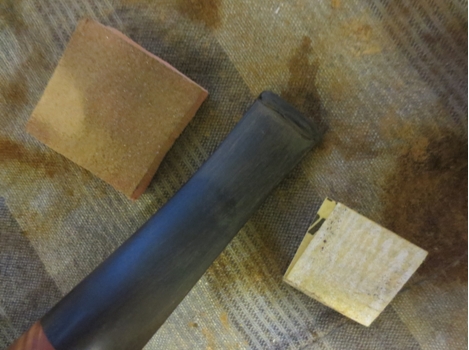
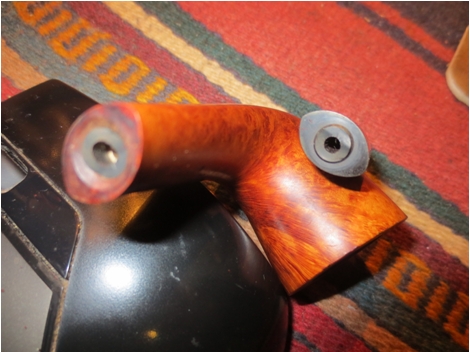
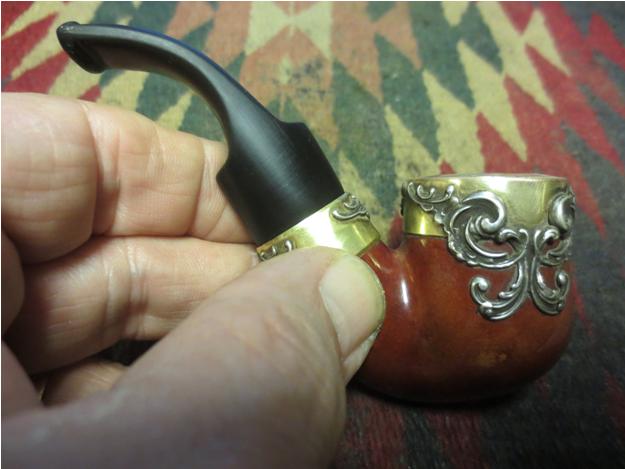
 The oval of the stem finally matches the oval of the shank. The tenon fits snugly. More sanding will need to be done so that the new stem sits in the band tightly against the shank end.
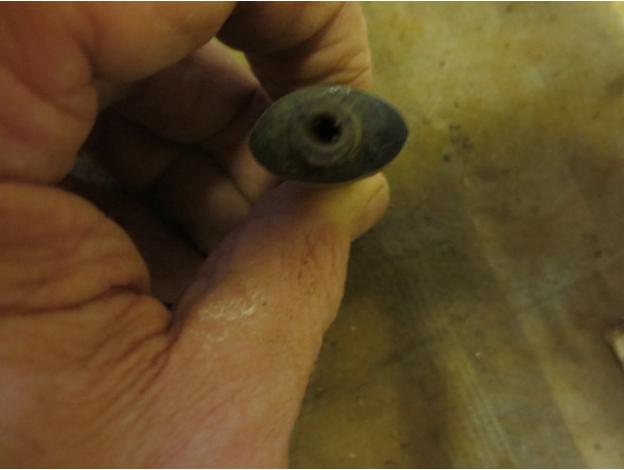
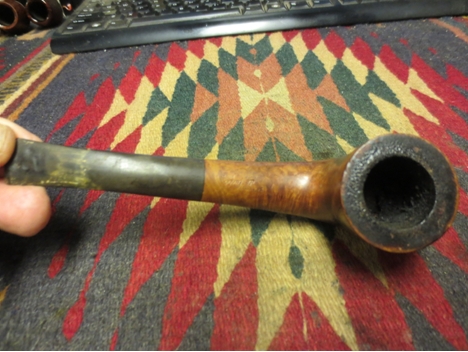
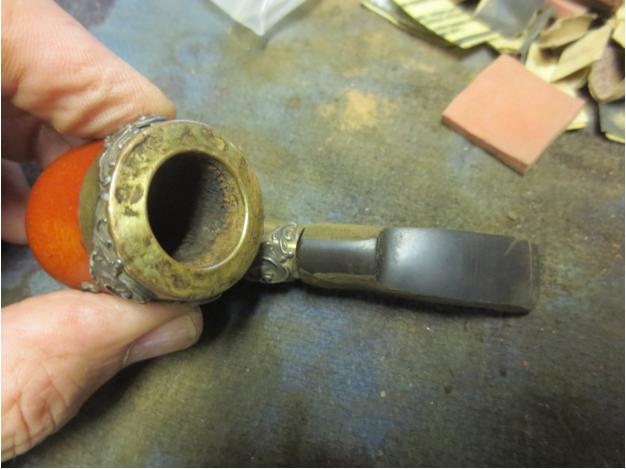
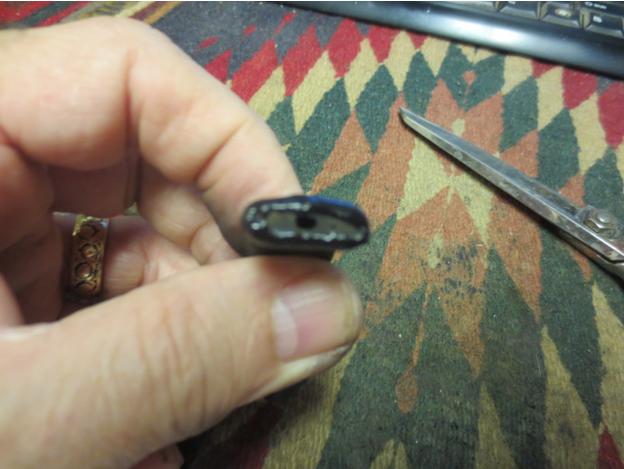
 On a whim I blew air into the airway on the shank and it was plugged. When I drilled out the mortise the debris obviously clogged the airway from the shank to the bowl. I used the drill bit that comes with the KleenReem reamer I have to open the airway and push the debris into the bowl. It did not take much and the airway was clear and open.
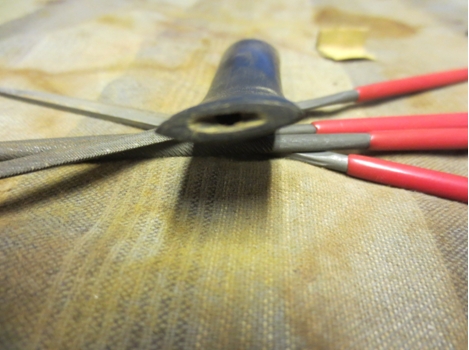
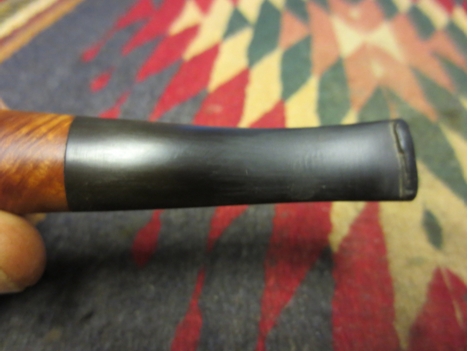
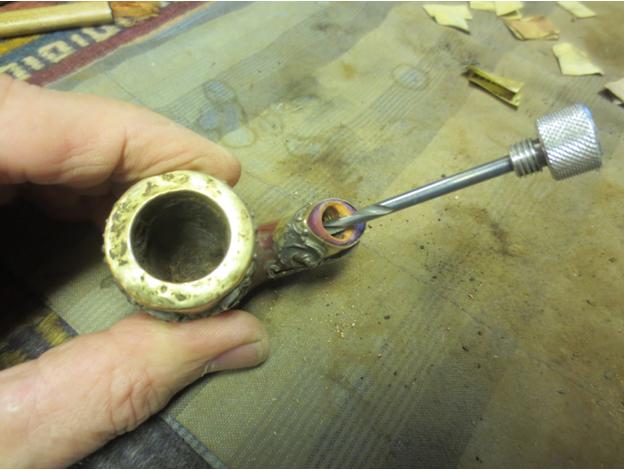 I used needle files and flat files to recut a new button on the stem and to smooth out the taper from the saddle backward. The next photos show the newly cut button. The stem is quite thin at this point so a deep button cannot be cut deep enough.
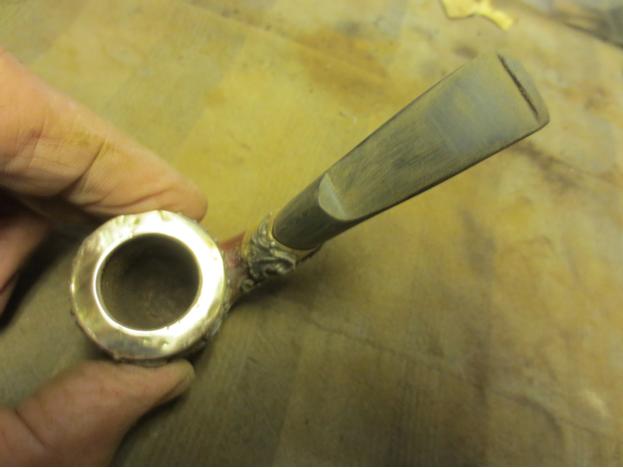
 The bend in the stem was insufficient for the pipe to sit correctly in the mouth so it would need to be carefully bent to more of an angle.
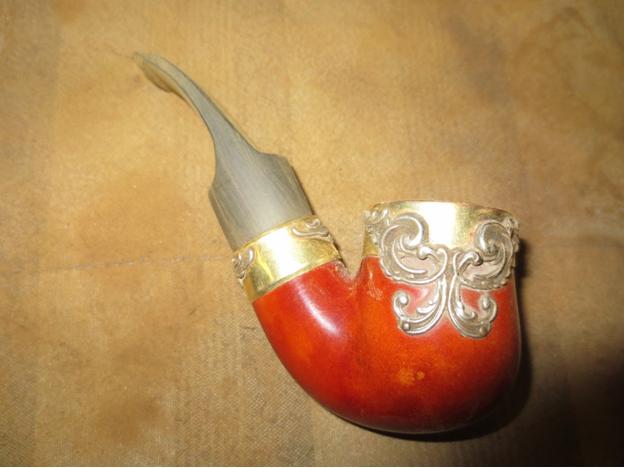 I heated the stem with a heat gun until the vulcanite was soft and then bent it to the correct angle.
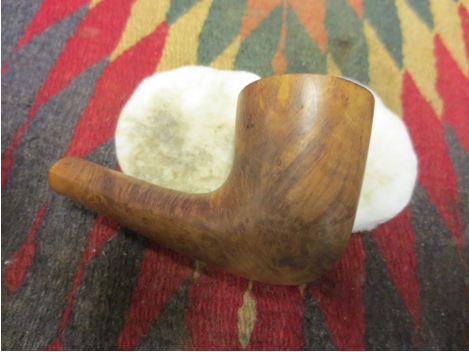
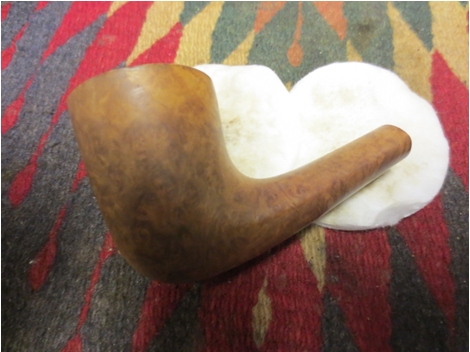
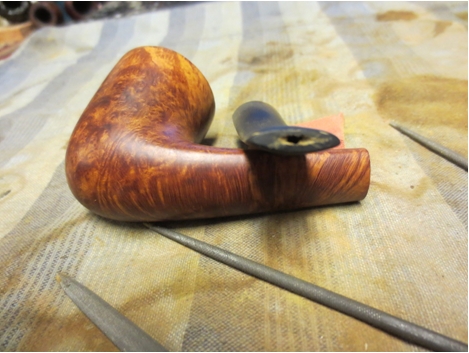
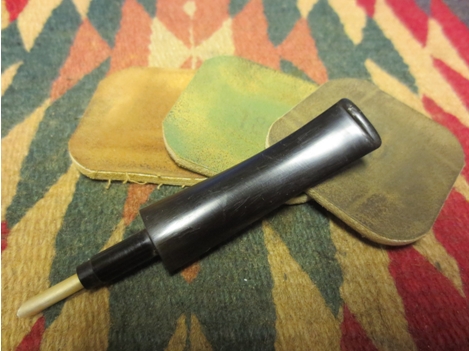
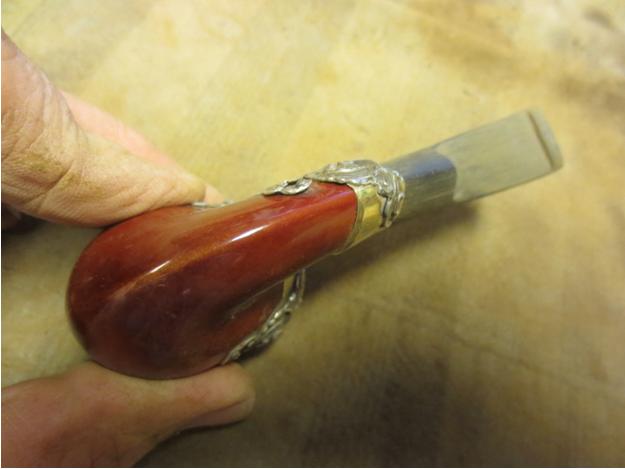
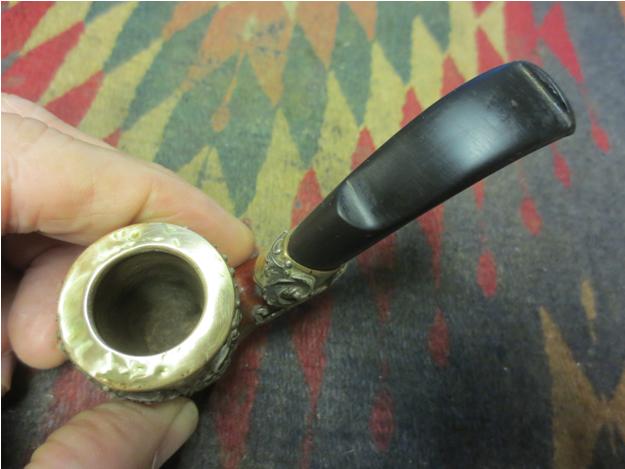
 The newly bent stem is shown in the next series of photos. It matches the angle of the bottom of the bowl.
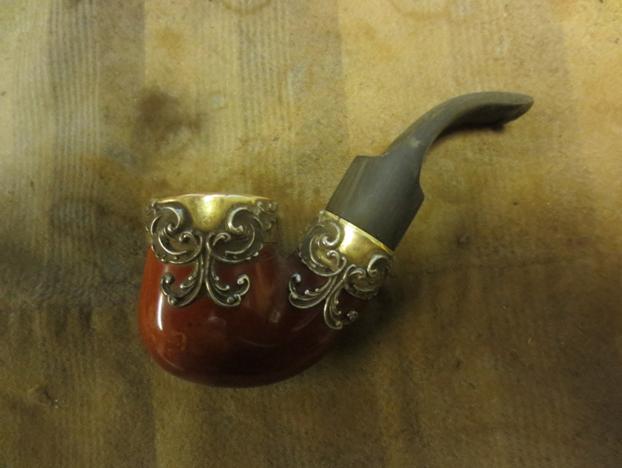
 There are some spots on the stem in the photo below that look like a hole – it is not it is a damp spot from cooling the stem to set the bend. I sanded the rim with a medium grit sanding sponge and also with a fine grit sponge to clean up some of the high spots on the rim cap. In the photo below you can see the improvement.
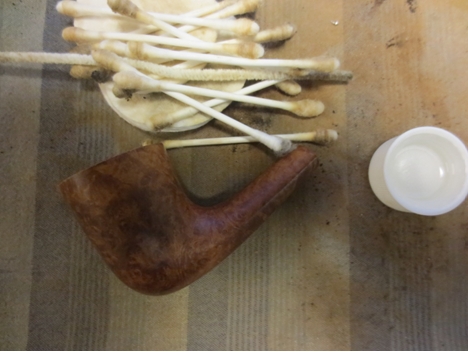
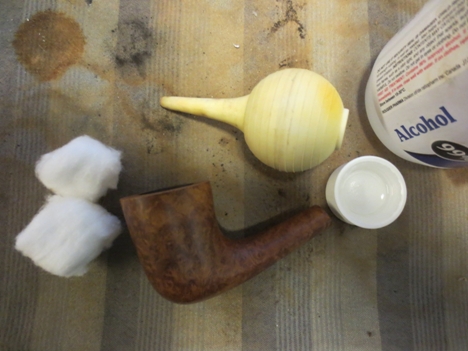
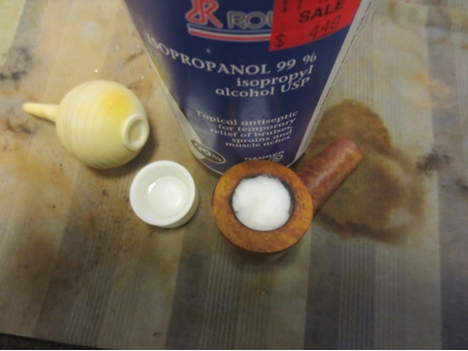
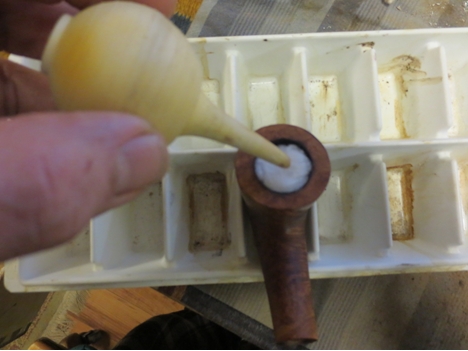
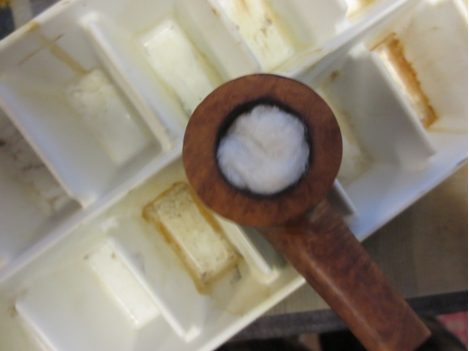
 I cleaned the grooves in all the filigree adornments on the rim and the shank using cotton swabs and alcohol. The photo below shows the cleaned bling and the meer spots between the bling. The pipe is coming along.
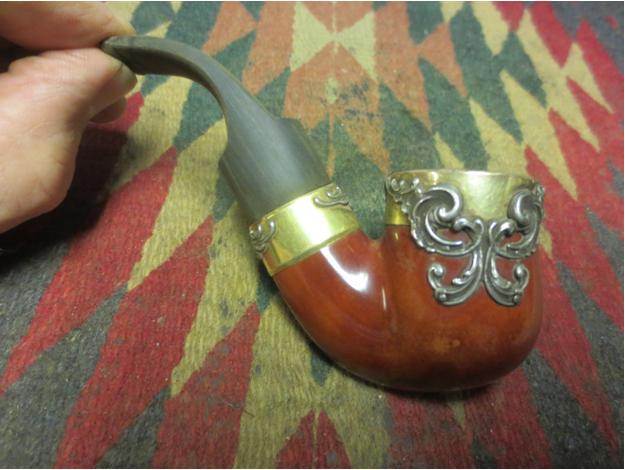 To make the end of the stem thicker and give me more material to work with to shape the button I built it up with a mixture of black super glue and charcoal powder. I mixed it to a paste and used a dental pick to shape and build up the edges of the button.
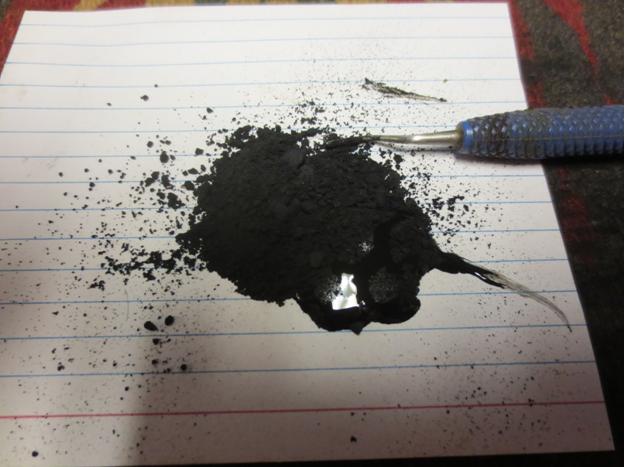
 The next three photos show the stem after I have built up the material for the new button. I set the stem aside to cure for the day while I headed off to work.
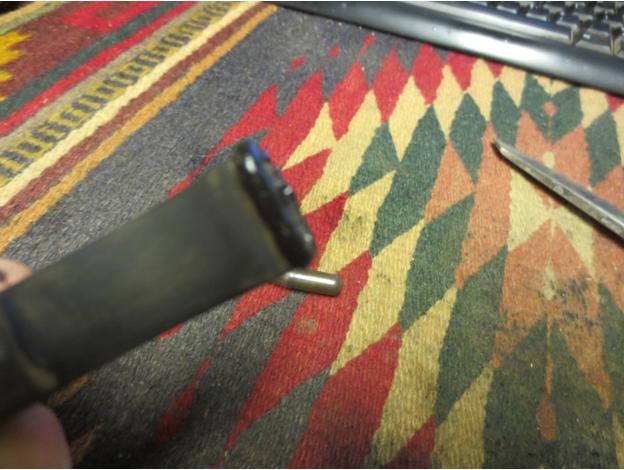
 I used a file and sandpaper to begin shaping the new button. It was going to take a lot of sanding but the new button was beginning to take shape.
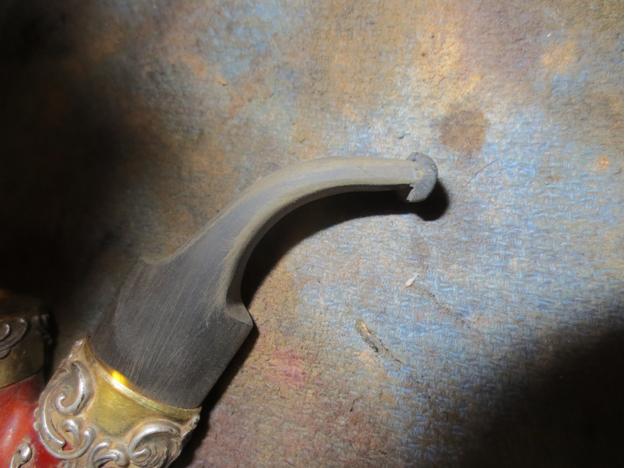
 I sanded the stem with a medium and a fine grit sanding sponge to shape the button and smooth out the stem.
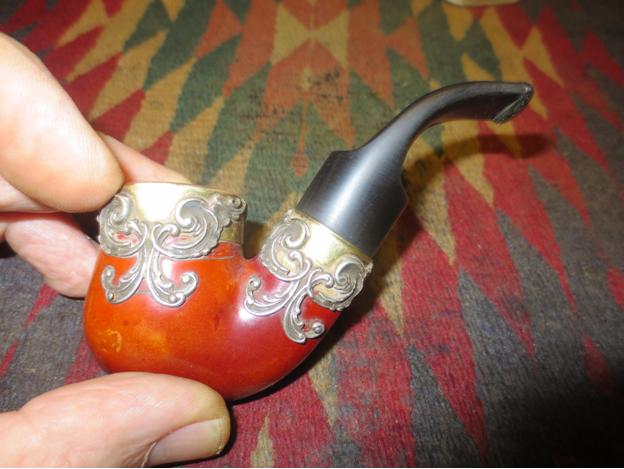
 At this point in the process I was still debating the final shape of the airway in the button. My original intent was to make an orific button styled after the era of the pipe. However, the more I worked on it the more I was thinking of making the stem more modern era and leave the bowl old era. The combination would be a wedding of old and new!
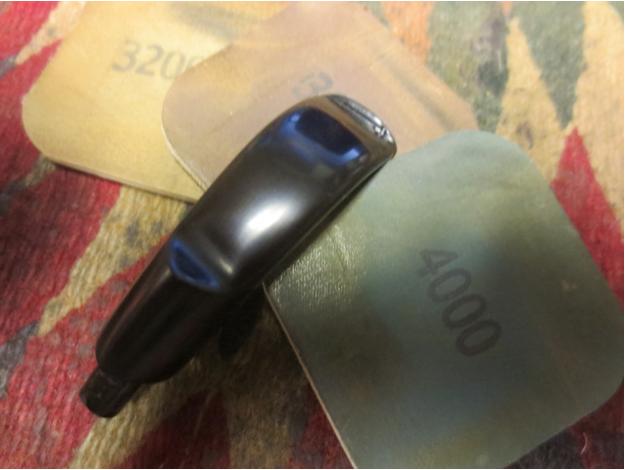
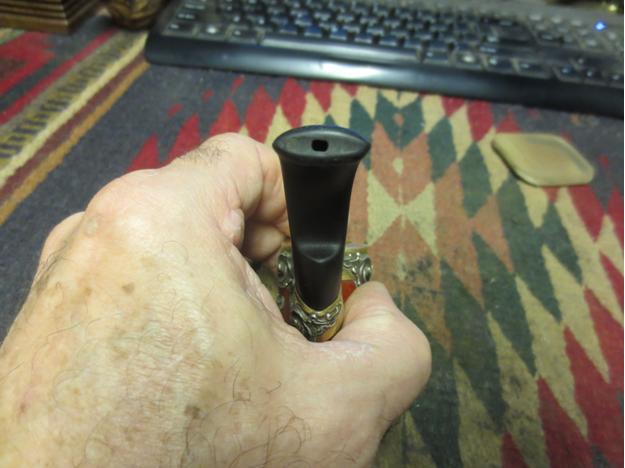 For the time being I put that decision on hold and worked on polishing the stem. I wet sanded it with 1500-2400 grit micromesh sanding pads and then rubbed it down with Obsidian Oil. While the oil was still wet I dry sanded the stem with 3200-4000 grit micromesh pads. I again rubbed it down with oil after the 4000 grit pad was used. I dry sanded with 6000-12000 grit pads and then gave it a final coat of Obsidian Oil. I let it dry before buffing.
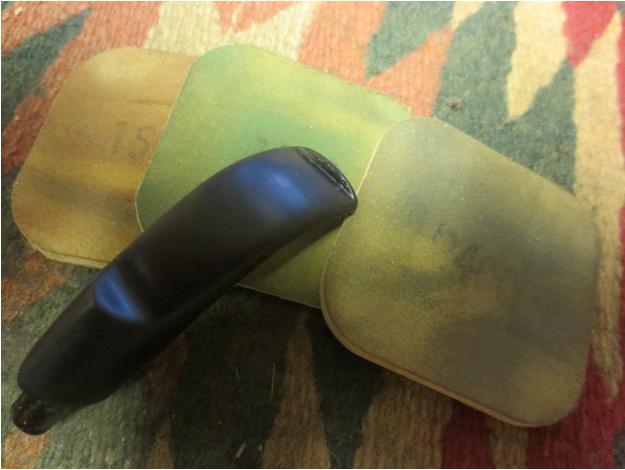
 I finally made the decision to flare the slot in the stem. I figured it makes it clear that this is a replacement stem if nothing else does. I like the wedding of old and new in this pipe and it one I plan on keeping so I made it the way I like it. The photo below shows the slot before I did the final sanding with sandpapers and micromesh to clean up the file marks and fine tune the slot. The finished slot can be seen in the final pictures.
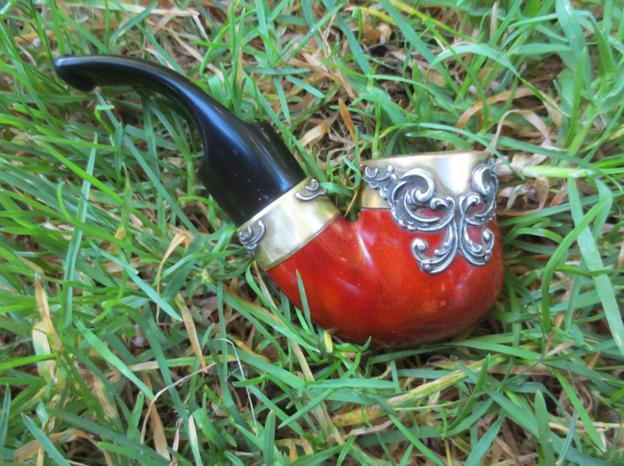
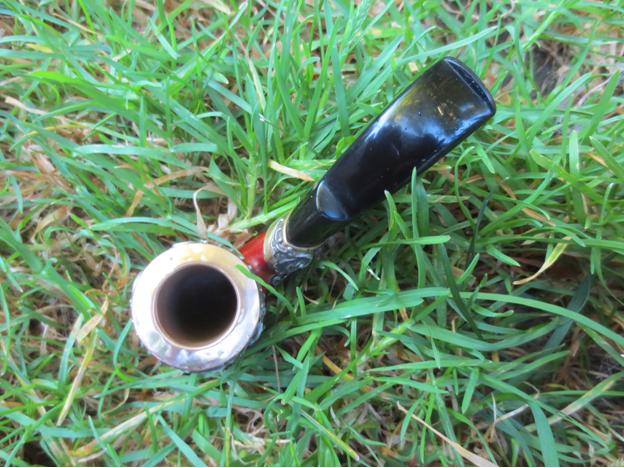
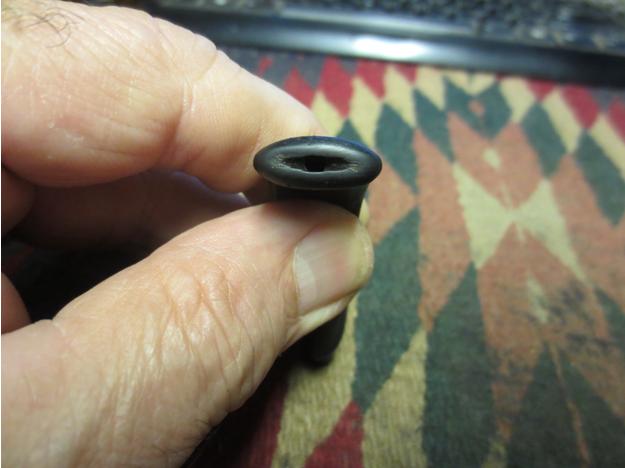 I buffed the stem with Blue Diamond and gave it multiple coats of carnauba wax. I buffed it with a clean flannel buff and then finished with a hand buff with a microfibre cloth to give depth to the shine. The finished pipe is shown in the photos below. I am looking forward to giving this one an inaugural smoke soon. The draw is very open and the airflow uninterrupted. The pipe should last long after I have passed it on to the next pipeman to care for.
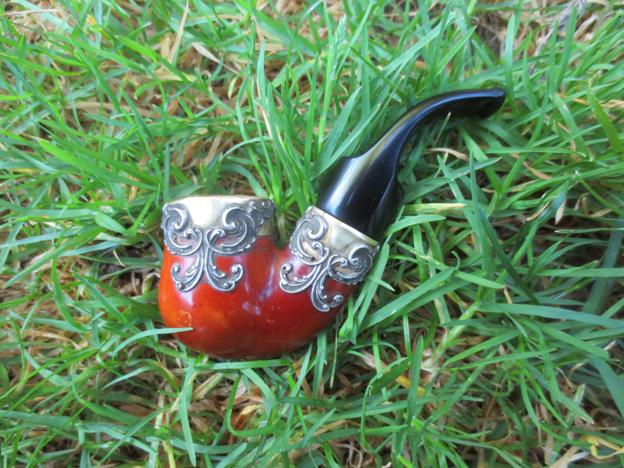
 Thanks for looking.