![]() I have received quite a few emails and tweets over the years about how to read the stamping on Brigham pipes. I have hunted for information in the past and almost always had to do more digging than should have been necessary. So yesterday when I was asked again to help with the stamping on a particular pipe I did some digging. The friend who asked said the stamping was 5955 on the underside of the shank. He said he had called Brigham and that they had told him that number was not on their shape charts. He had hit a dead-end. We connect on Twitter so he contacted me and asked for help. I thought I would give it a try to see what I could find out about the pipe. I Googled and read various online pipe forums where information was given. I searched for Brigham shape and numbering charts and old catalogues. Nothing helped. Then I decided to go to the Brigham site itself and go through the layers of information there and see what I could dig up. I was certain the clue to the mystery had to be there. It was just a matter of spending the time reading through the layers of information there to see what could be found.
I have received quite a few emails and tweets over the years about how to read the stamping on Brigham pipes. I have hunted for information in the past and almost always had to do more digging than should have been necessary. So yesterday when I was asked again to help with the stamping on a particular pipe I did some digging. The friend who asked said the stamping was 5955 on the underside of the shank. He said he had called Brigham and that they had told him that number was not on their shape charts. He had hit a dead-end. We connect on Twitter so he contacted me and asked for help. I thought I would give it a try to see what I could find out about the pipe. I Googled and read various online pipe forums where information was given. I searched for Brigham shape and numbering charts and old catalogues. Nothing helped. Then I decided to go to the Brigham site itself and go through the layers of information there and see what I could dig up. I was certain the clue to the mystery had to be there. It was just a matter of spending the time reading through the layers of information there to see what could be found.
The Brigham Pipes website is found at http://www.brighampipes.com. I read through a lot of the pages on the site and took notes as I read. I have edited the material I found and organized it here in one place so it would be easy to use in the future. I am thankful to Brigham for putting this information on the site because it certainly made identifying the pipe my friend wrote me about quite simple once I had read through the information on the website and in the various blog posts I found.
I have many older Brigham Pipes in my collection as do many of you who read this blog. The information I have collated will be useful to more people than me and the person who sent me the question. I have collected older Brigham pipes for over 15 years and enjoy smoking them with and without their patented maple filter system. Brigham pipes were made in Canada for nearly 100 years, though I am told that recently they are made in Italy and finished in Canada. There have been variations in the stamping on the pipes over the course of the years and I have most of the variations in my collection. However, the one constant has been has been the 3 digit stamping code on the underside or the side of the shank. The pipes are organized in several groups designated from the 100 series to the 700 series (100, 200, 300, 400, 500, 600, 700). The quality of the pipes goes up as the series numbers rise. The 100 series pipes are entry-level pipes and each level above that increases in quality and price. The 700 series is made of the highest quality of briar and workmanship.
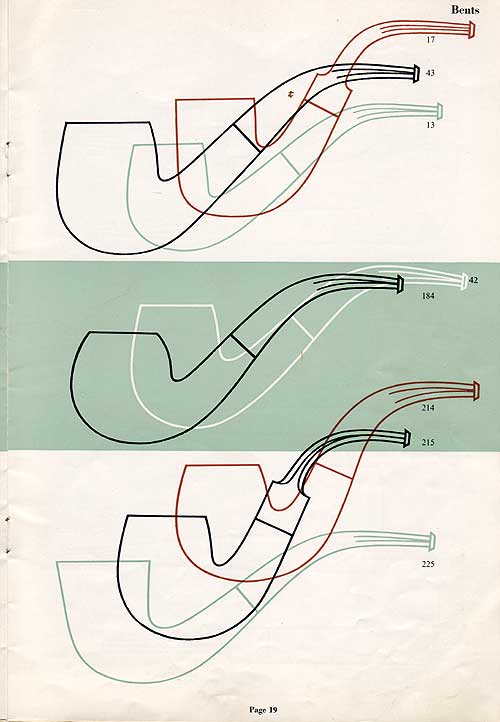
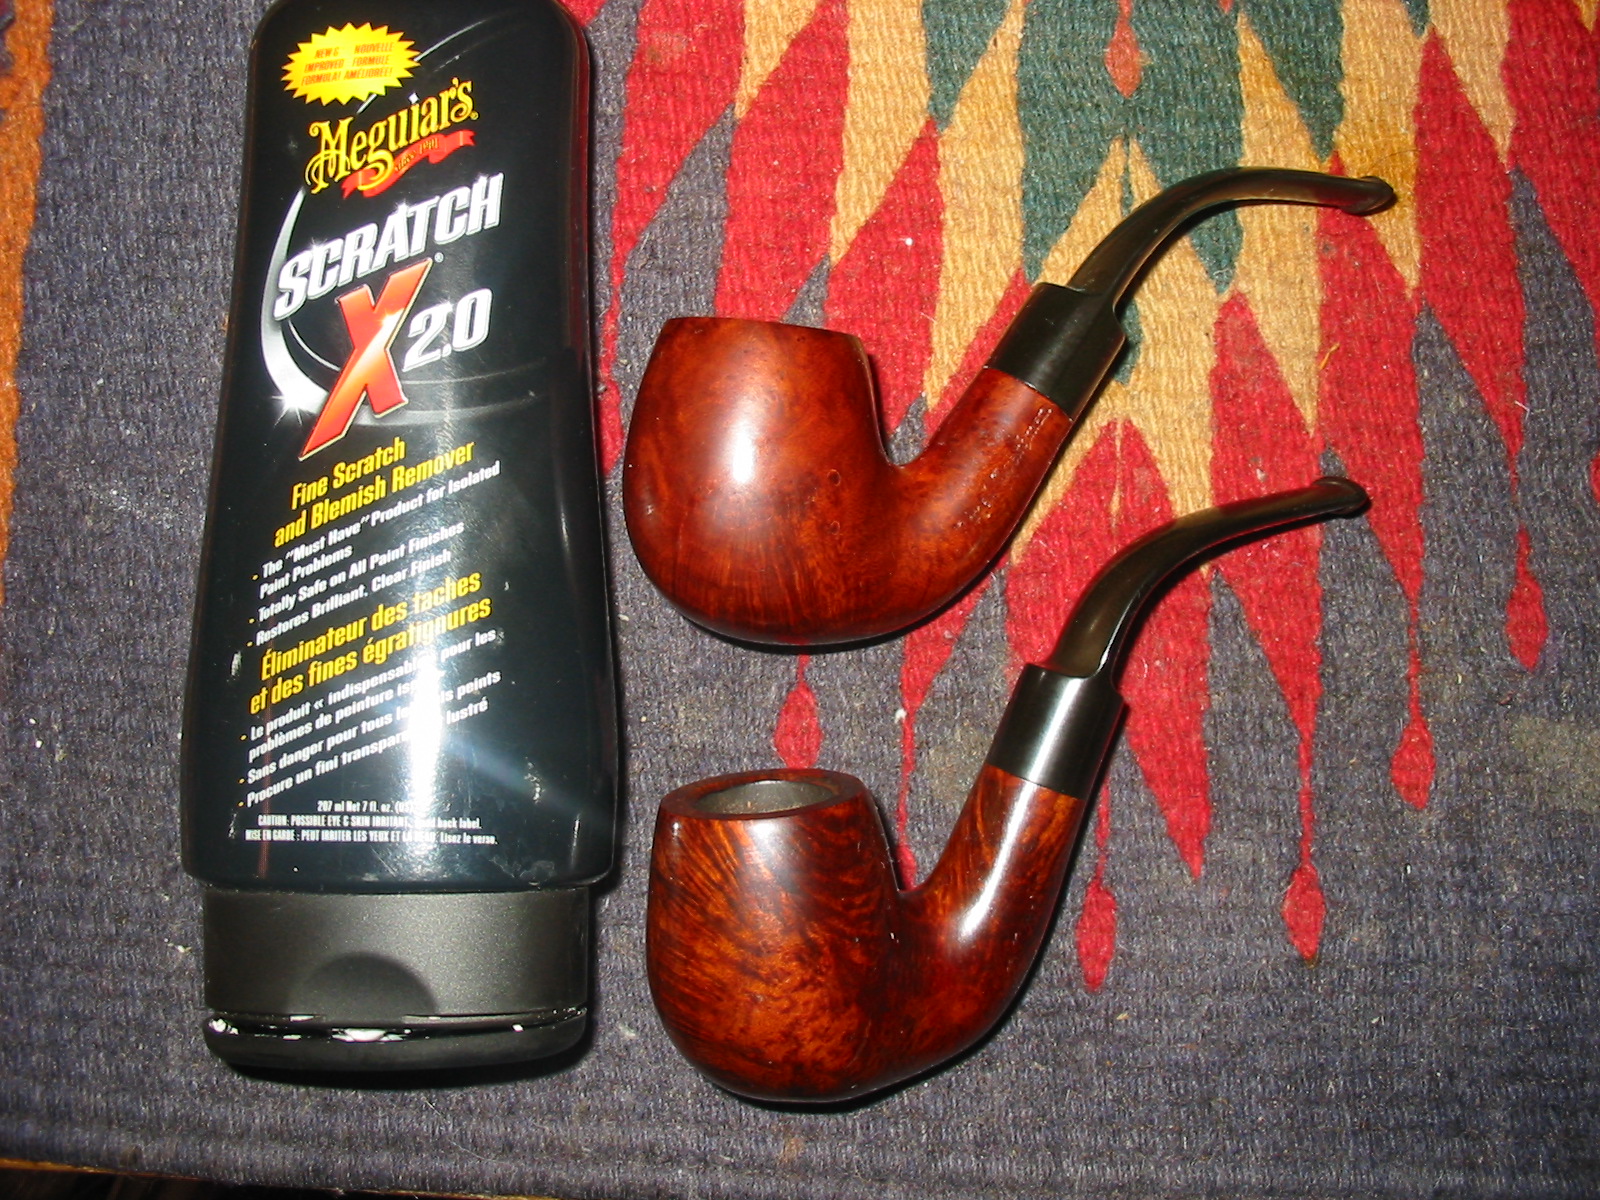
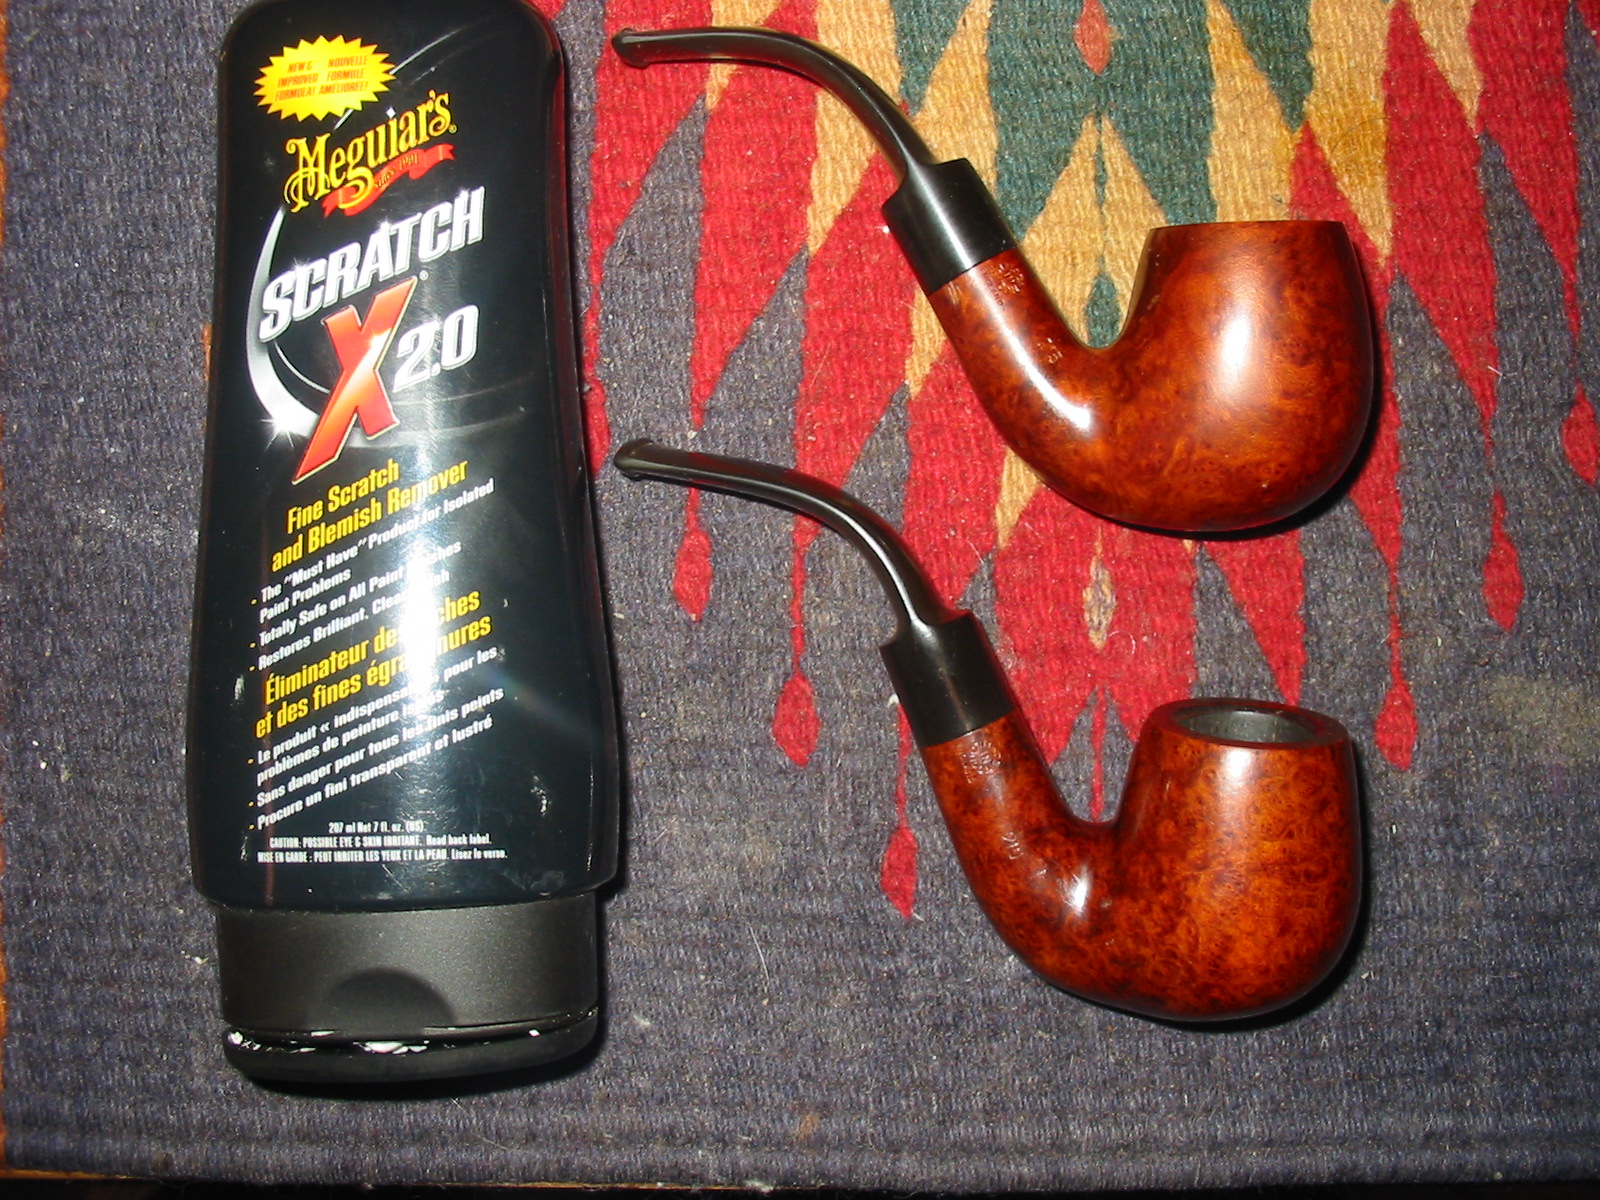
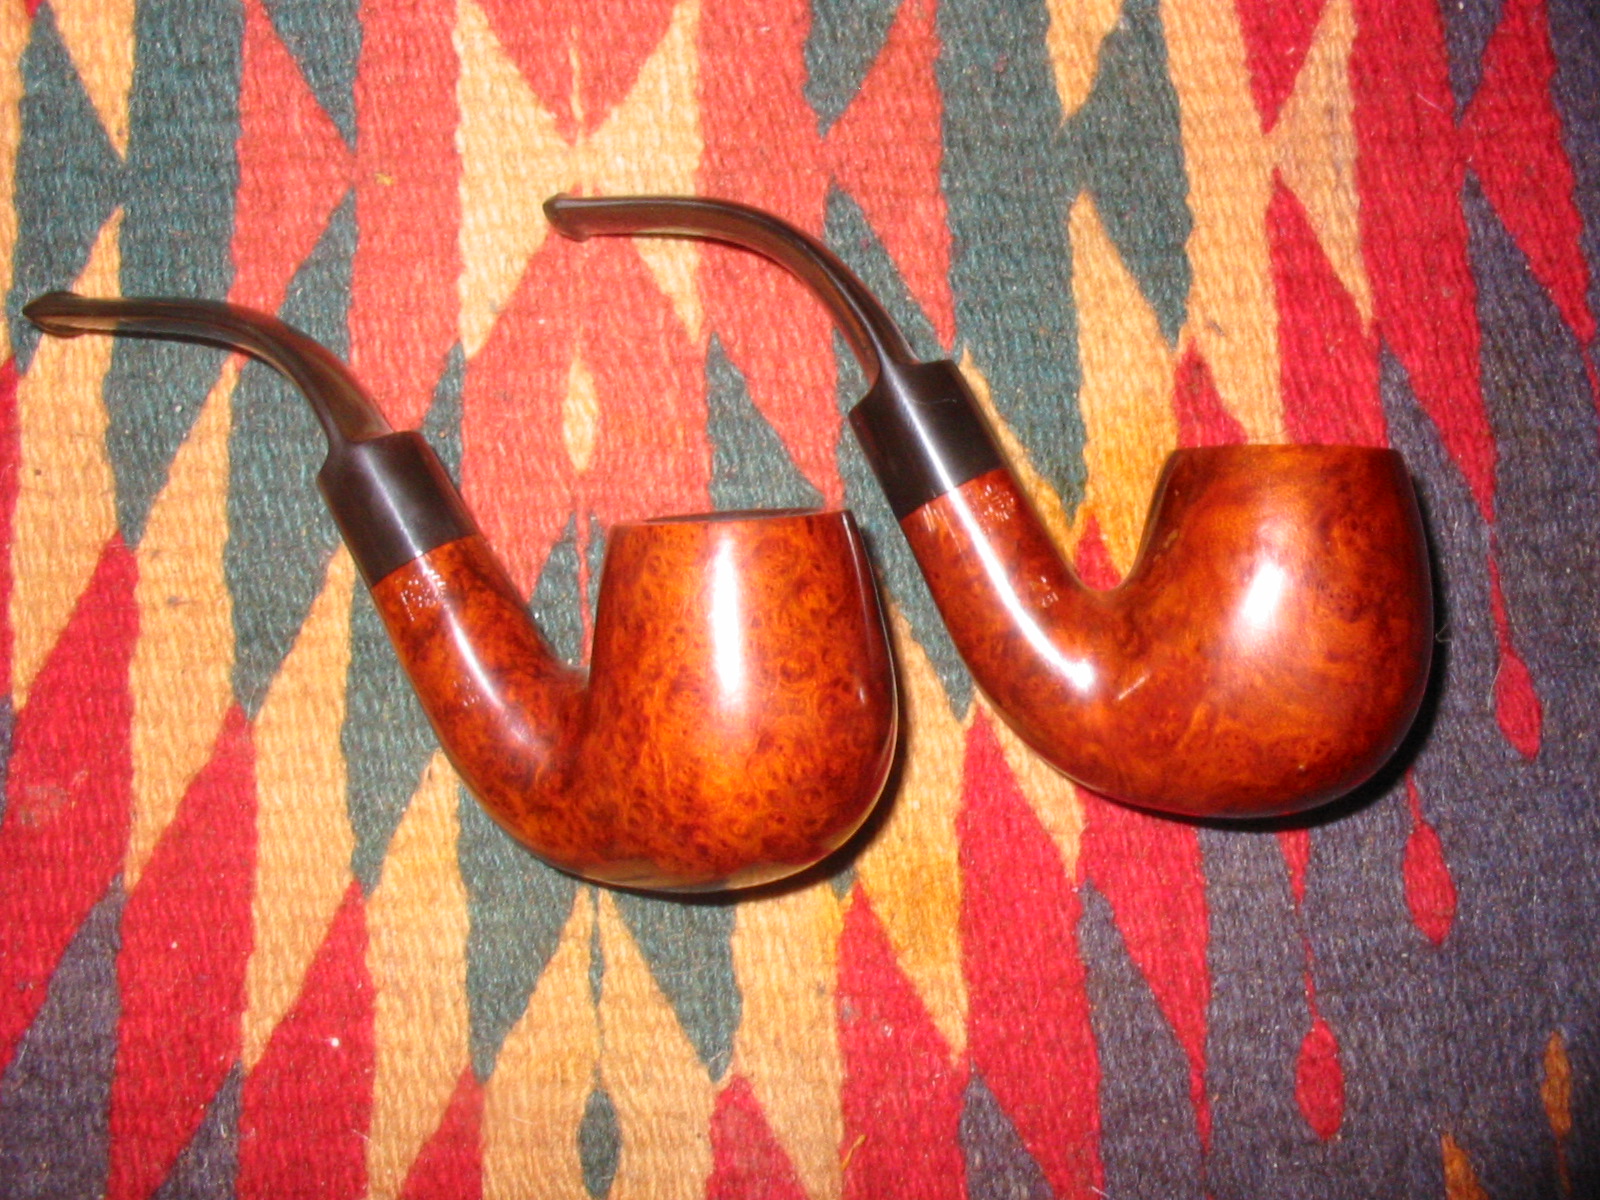
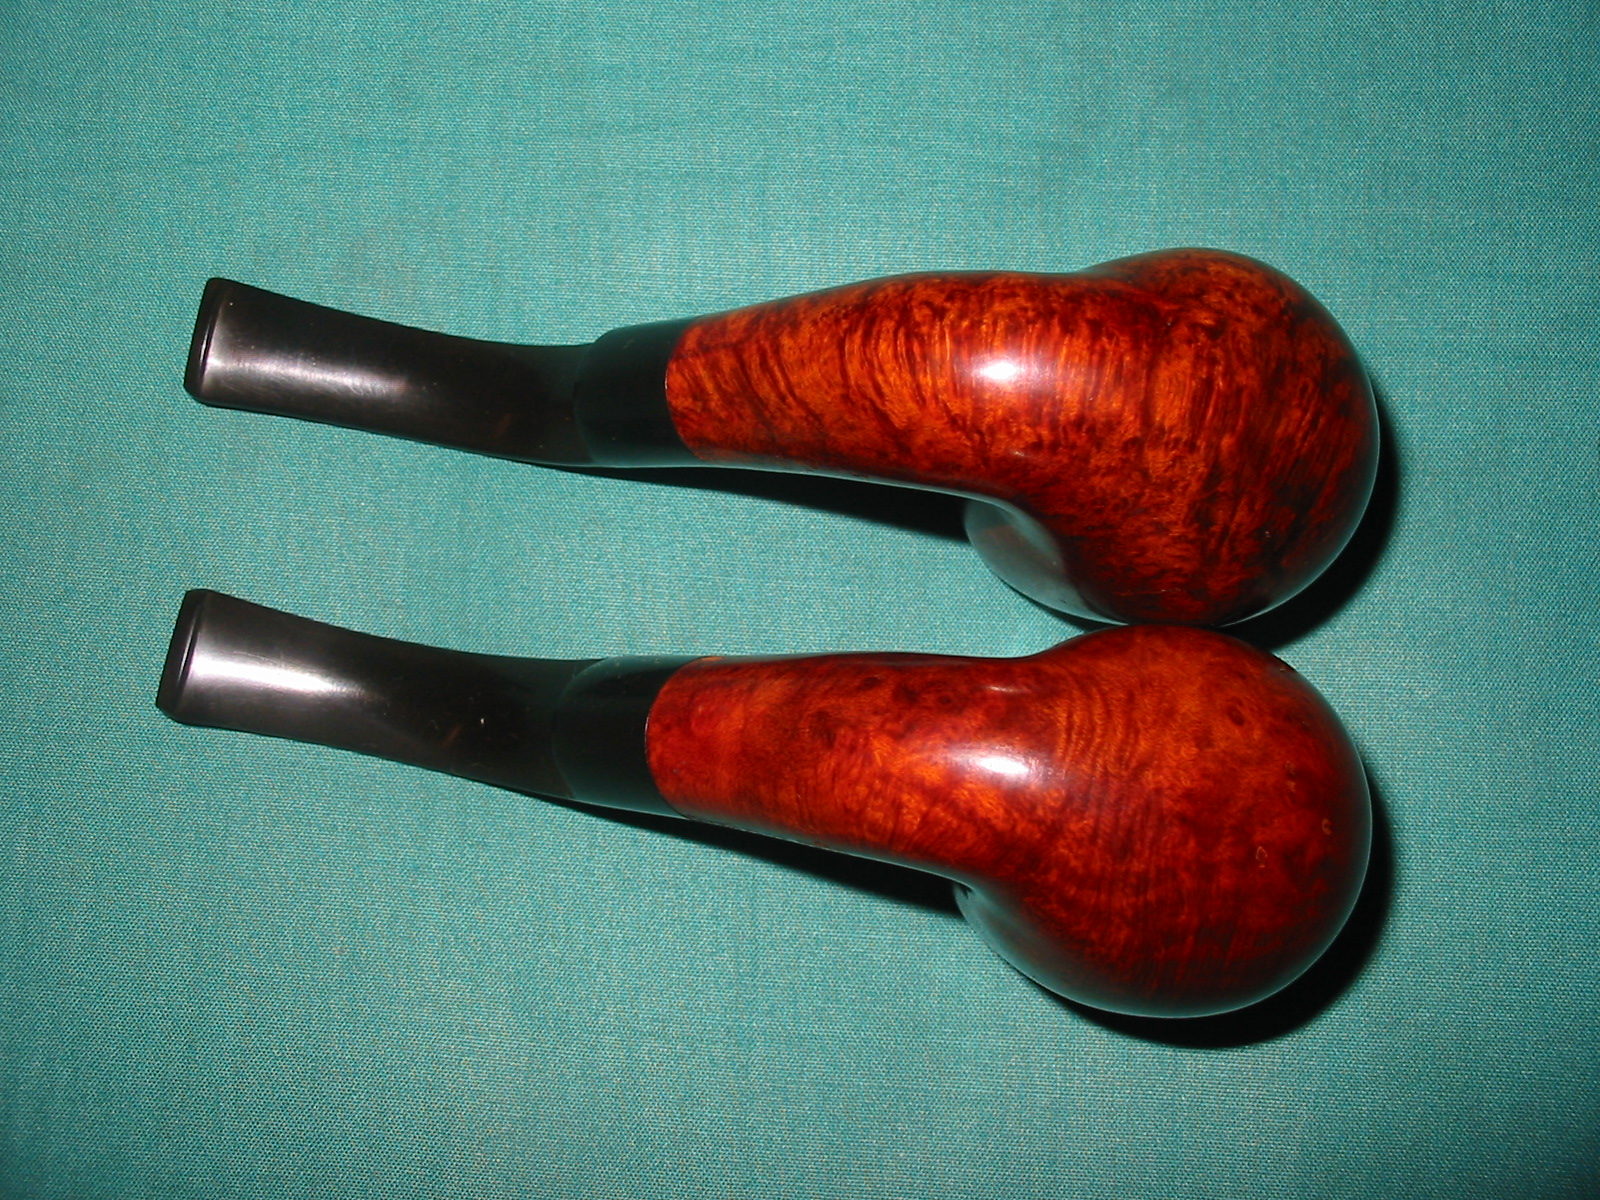
Using this information I took the number that was given to me – 5955 stamped on the bottom of the pipe’s shank – as my starting place. The first number in the stamp denoted the series (1 to 7). Thus the pipe was a 500 series pipe. The next 2 numbers indicated the shape number which in this case was 95. I am assuming that is the shape number for the Zulu or yachtsman shape of this pipe. Summarizing what I had learned so far – I now knew what the first three digits in the stamping meant. The “595” indicated a 500 series pipe in shape #95. Reading further I found that a letter could follow the numbers in the stamp – particularly on older pipes. The letter indicated the size of the bowl. Thus the letter S = small, M = medium, ML = medium/large, L = large. I wrote the questioner and asked him to magnify the stamping on his pipe. Sure enough, the pipe was a 595S – the final stamp was the letter S, making this pipe a 500 series Zulu with a Small bowl. Mystery solved on this one. Armed with this information I went through my older Brigham pipes and was able to interpret all of the stamping.
I knew from previous research and refurbishing these pipes that Brigham utilized a dot system to denote the pipe series. Brass pins were inserted on the side or top of the stem in dot patterns and these were what I looked for to ascertain that I had an original stem on a Brigham pipe that I had found in a thrift shop, antique mall or garage sale. In my reading online this time I found out that these were more than mere decorations or emblems in that they were originally used to secure the special Brigham aluminum tenon into the shank of the pipe. Later they came to be used to denote the quality of each pipe. This also accounts for the use of the term “dot” instead of “series” among all of the Brigham collectors that I have met. From the website and web forums I found the following information regarding the “dot” grading system and created the comparison with the series numbers in the chart below. (This information is correct to the best of my knowledge though it is certainly open to correction and adjustment.)
There were originally 8 separate grades noted by the number and arrangement of the brass dots. These are arranged in the list starting with the lowest and ending with the highest grade. I have put the series number next to the dot information in the list below.  More reading led me to the next information I have edited and collated from the Brigham website. It is very helpful in terms of the stamping of the Brigham logo and patent information. It gave some direction for dating pipes to a certain era. Many of the pipes that I have in my collection that use the dots also have the Brigham patent number stamped on the shank, under or next to the name. It reads CAN PAT 372982. This number was stamped beside or under a cursive “Brigham” logo. This signature was thinner than the signature on the pipes found today. During the transition from this thin signature and patent stamping to the new logo adopted in the late 70s there were at least two variations of a cursive “Brigham” signature stamped into the pipes including two horizontally type-set fonts. I found out that the patent number appeared on pipes up to approximately 1980. After that date the new logo which is similar to the modern stamping though with the maple leaf, was used exclusively. All of my patent number pipes thus were pre-1980.
One interesting fact I found out was that there were several other series of pipes made by Brigham between the 60s and 80s including a selection of handmade ones. These handmade pipes were known as the Valhalla and Norseman Series. There were others as well but I could not find identifying names on the site or through Google searching. These handmade pipes were typically much larger than the 100-600 series pipes and had freehand bowls in a Danish style. They incorporated the patented Brigham filter system. The finishes and stamping on the pipes were unique to the lines. For example the Norseman line of pipes were fully rusticated and marked with a “W” followed by a shape number. There were 3 dots on the stem that were horizontally aligned with a larger dot in the center. The Valhalla pipes were smooth or partially rusticated in the same shape as the Norseman pipes and had the same dot pattern.
In approximately 1980 the 7-grade dot system was started. The reason given for the new system was that it simplified the pinning of pipes and made them more easily identified. When the system made its appearance the specific names for each grade stopped being used. The vertical and horizontal 3-dot pinning pattern was also no longer used. In higher series, a small number of interesting experimental shapes were carved and these had an “S” stamped beside or near the shape number. I am wondering if the 598S that I mentioned above came from this time period and the S indicates not the bowl size as a small but the experimental shape. I am prone to thinking that this particular pipe does not fit this category because it is a standard Zulu shape with no intricate of special carving. Brigham did not keep a catalogue of these shapes so they are unique and represent a time of experimentation by Brigham.
Hopefully this information will be an aid to others who are seeking to understand the stamping system on Brigham pipes. The numbers unlock the series and shape of the pipe and the Brigham script gives an approximate date for the pipes whether before the transition, during or after. This is a part of the hobby that I truly enjoy – hunting down information on a brand and trying to understand the background on a pipe.