by Steve Laug
It is another rainy day in Vancouver and a day off so I decided to go to the basement and work on a pipe that was purchased on 12/03/2025 from a seller in Houston, Texas, USA. It is a no name rusticated Meerschaum Bent Rhodesian shape pipe that is quite beautiful. The rusticated bowl and shank of this large Rhodesian that has a very tactile feel that I am sure is even better when it heats up. The shank has some patina developing around the shank and end. The rim top has some patina under the lava. There was no stamping on the shank or bowl. The pipe was dirty when Jeff received it. There was dust and grime ground into the finish. The bowl was heavily caked and there was some thick lava on the rim top and inner edge. The hand carved wooden taper stem was dirty and had light tooth marks and chatter on both sides ahead of the button. There no stamping or logo on the stem top or sides. Jeff took photos of the pipe before he started his clean up work on it.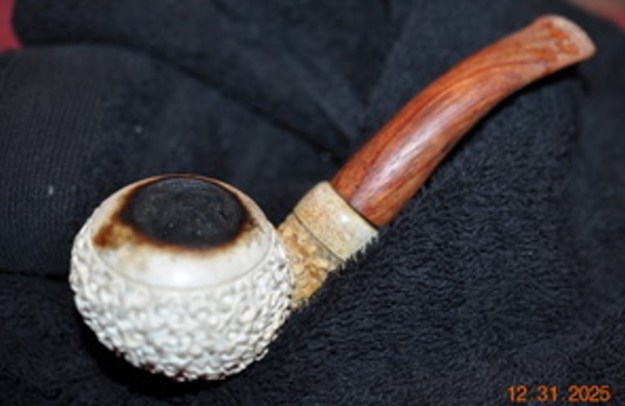
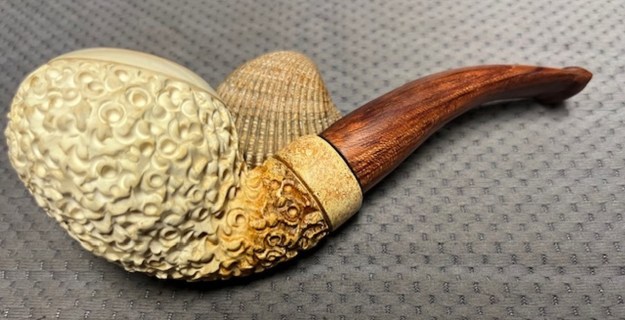
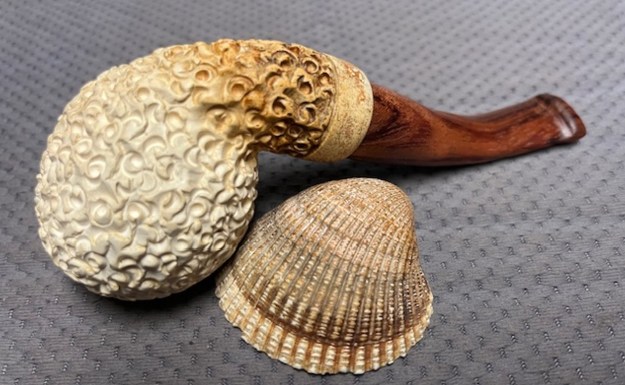
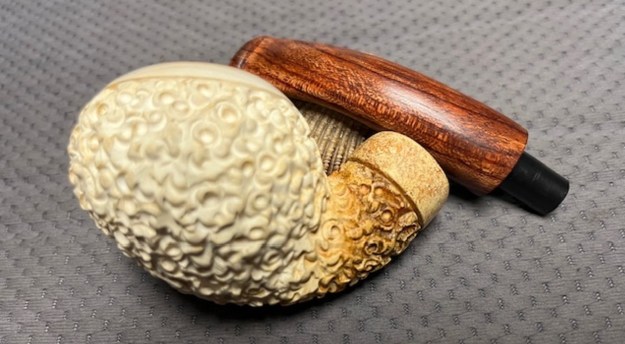
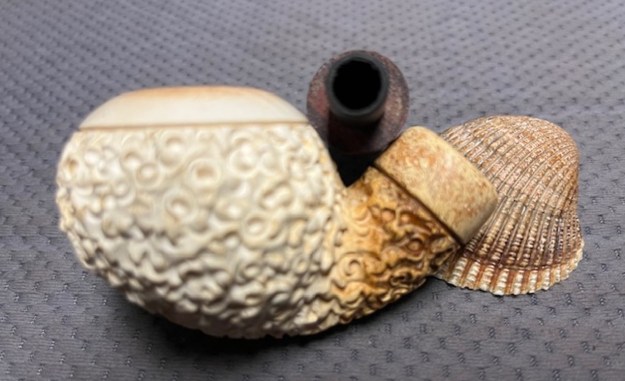
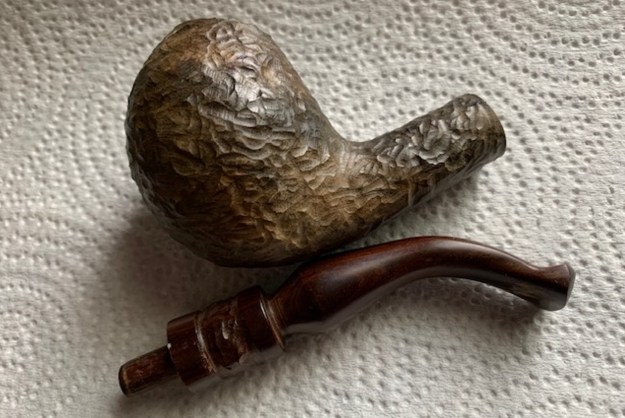
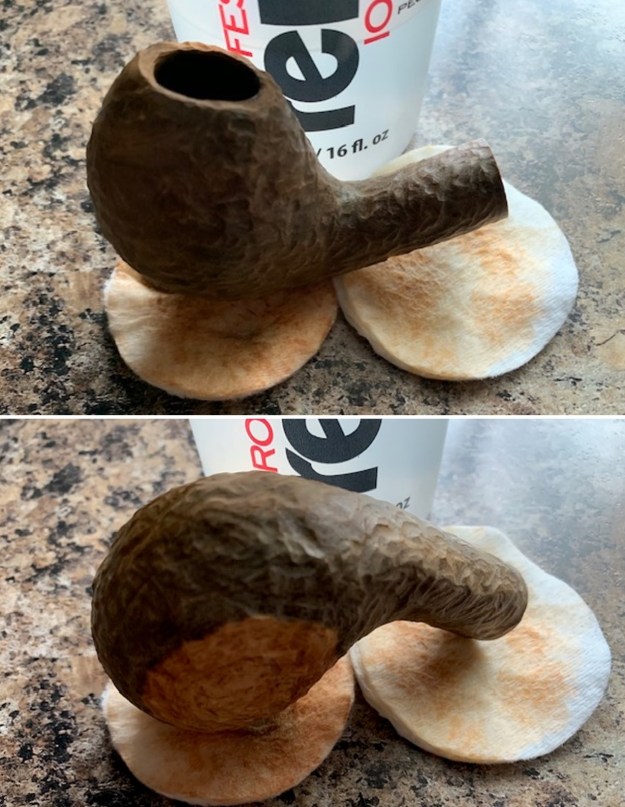
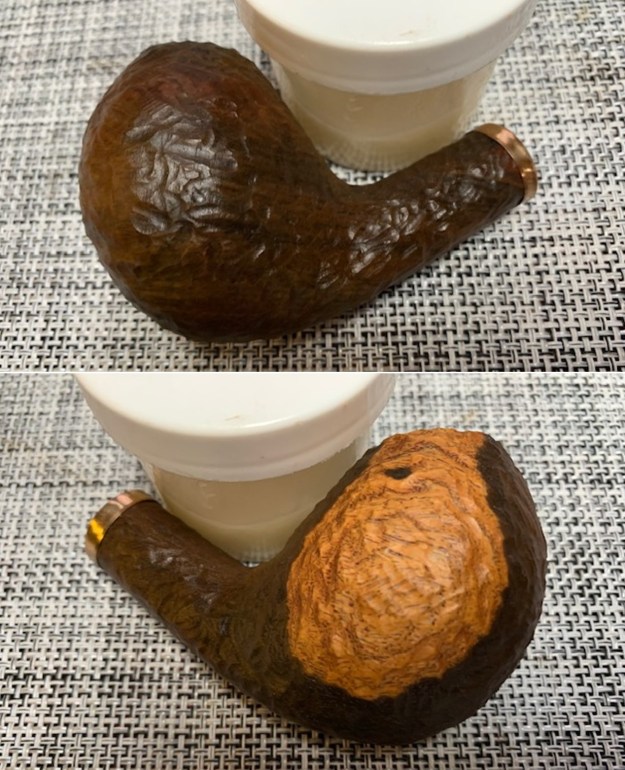
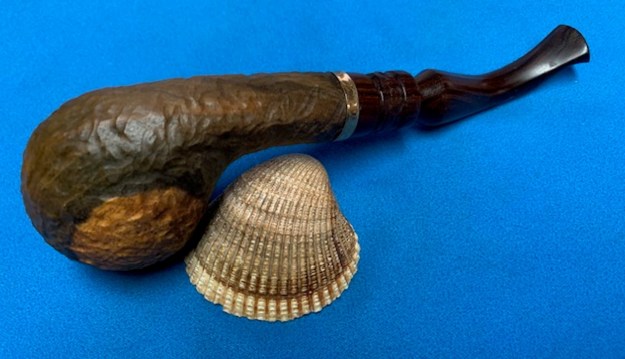
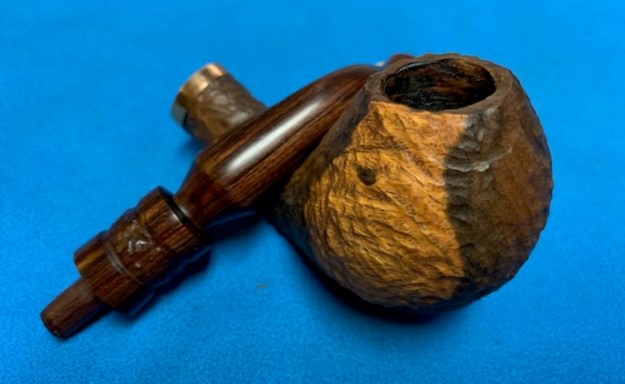
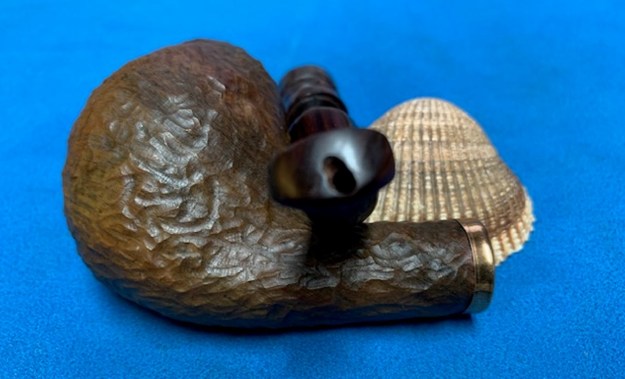
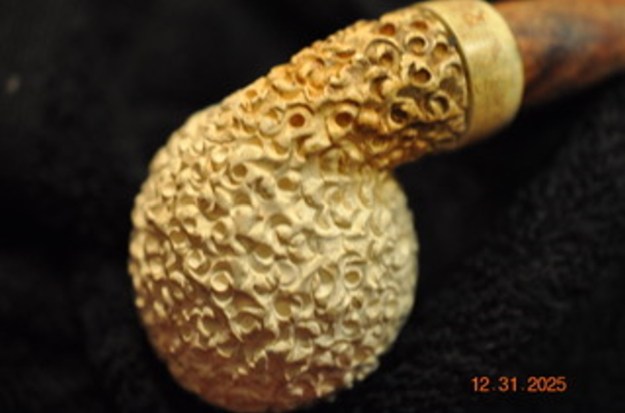
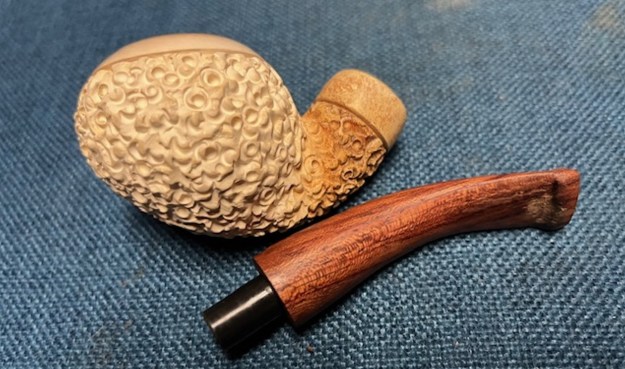
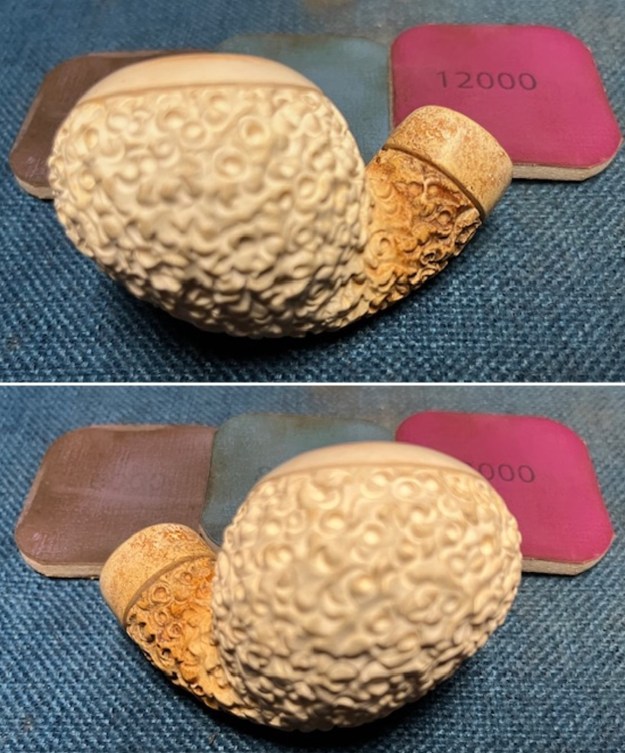
The photo to the right is a great photo of the general appearance of the bent Rhodesian and the rugged rustication on the bowl sides and heel. You can also see the lava and darkening to the rim top and inner edge of the bowl. It has a great looking hand carved stem – it is hardwood and I wonder if it is Walnut or possibly Paduak. I am uncertain of the kind of wood that the stem is made of but it certainly a reddish coloured hardwood.
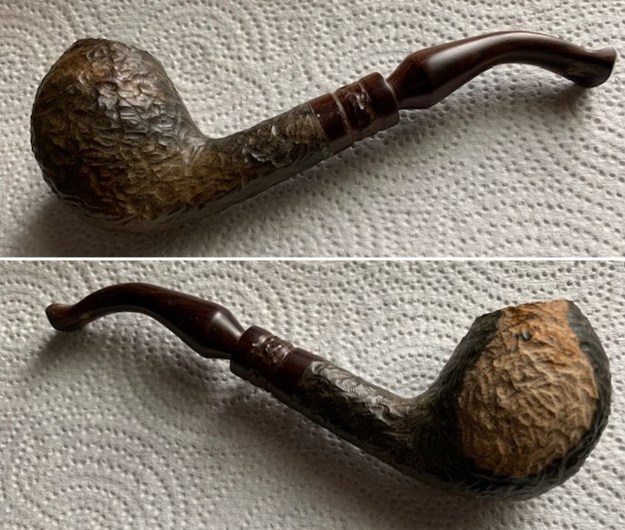
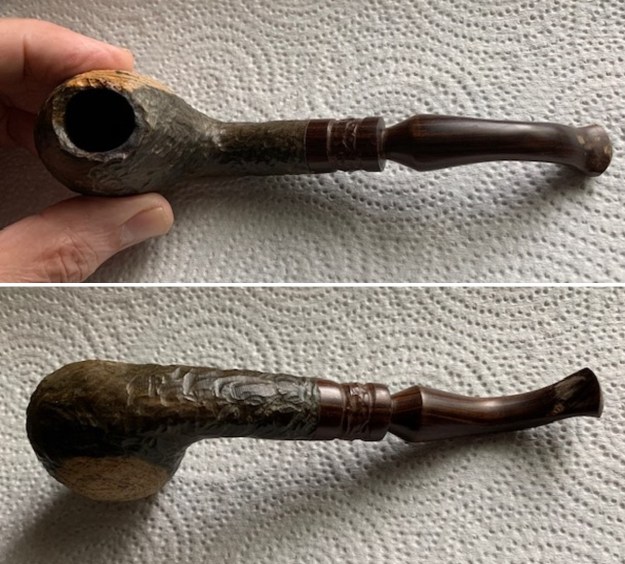
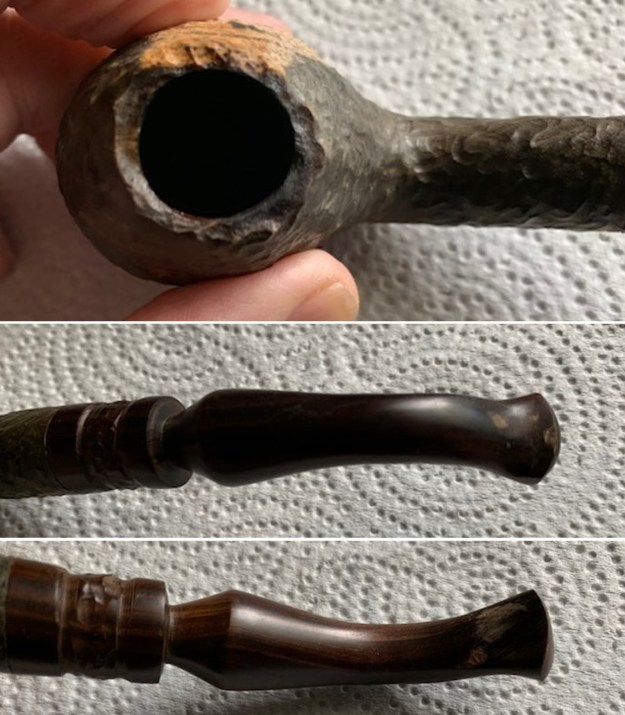
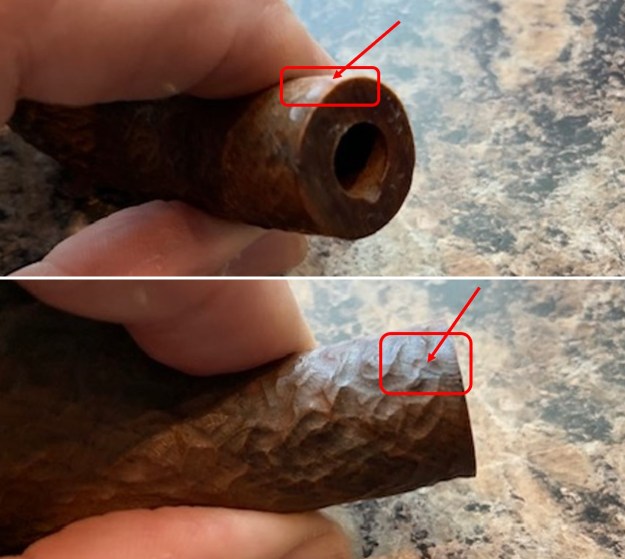
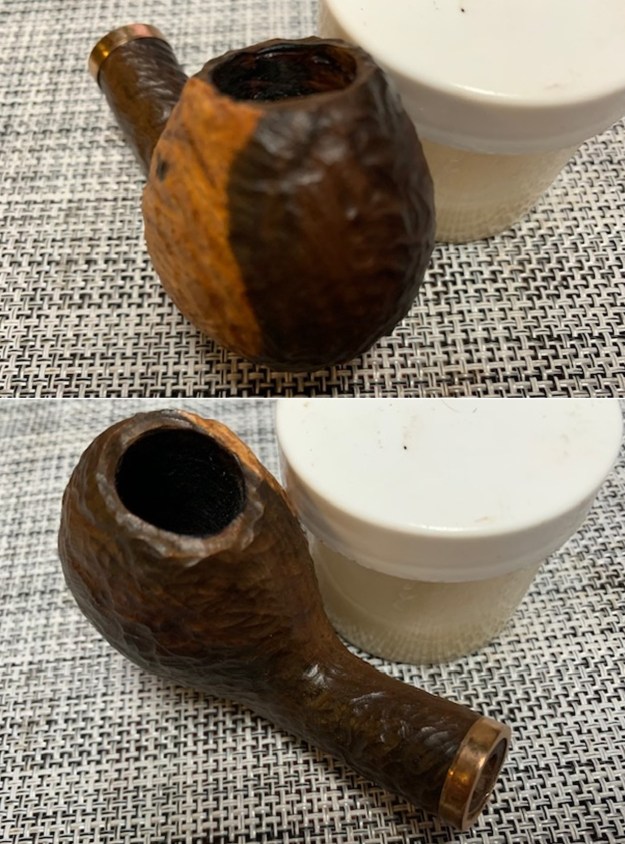
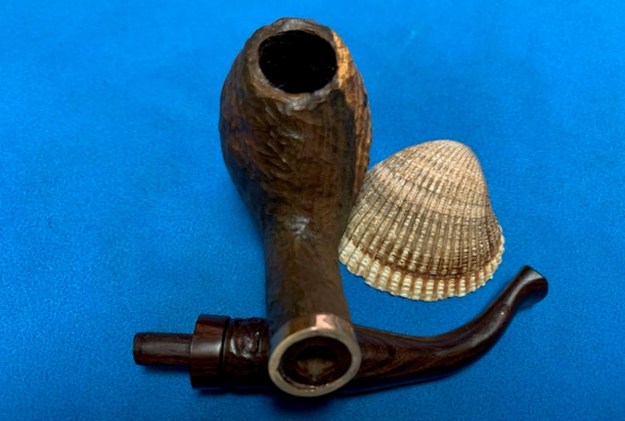
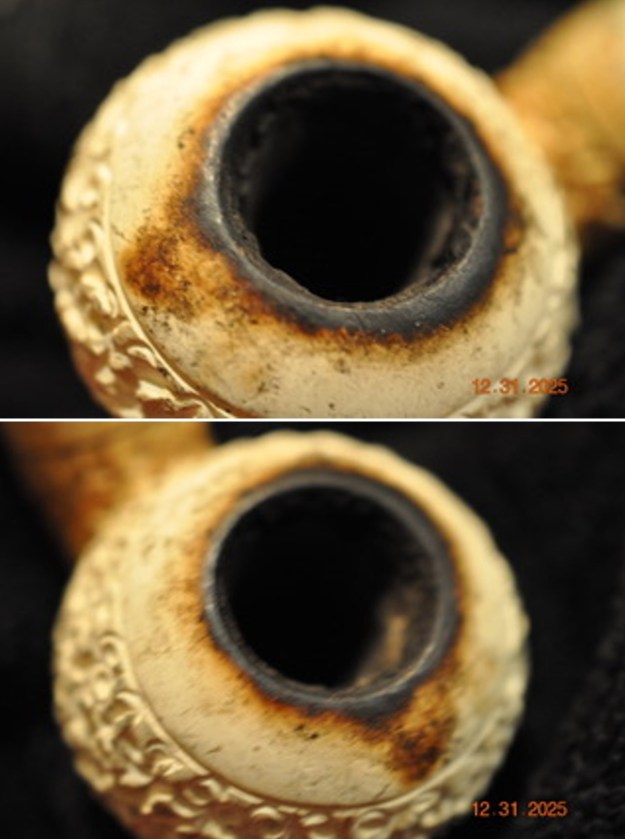
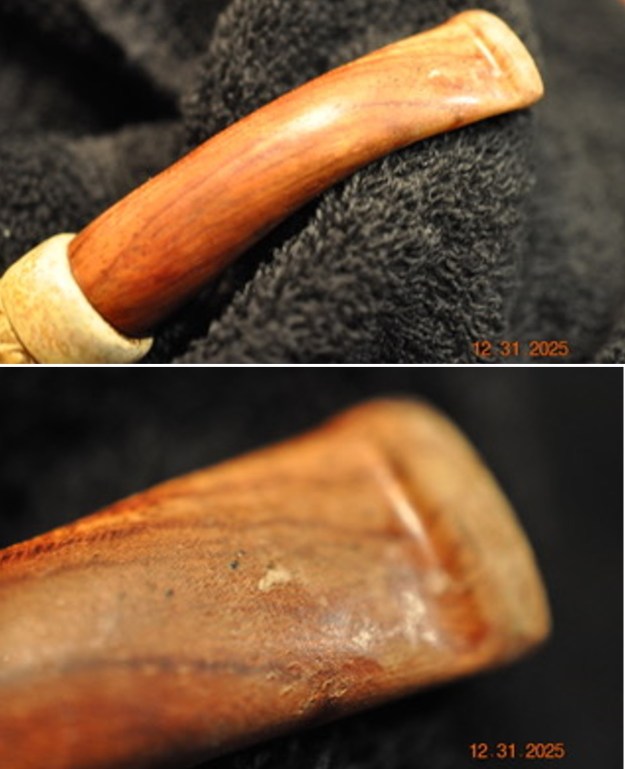
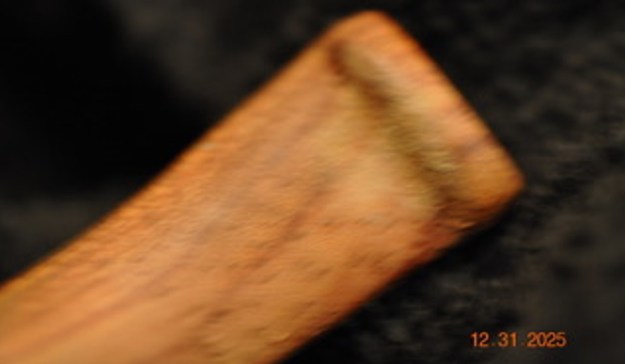
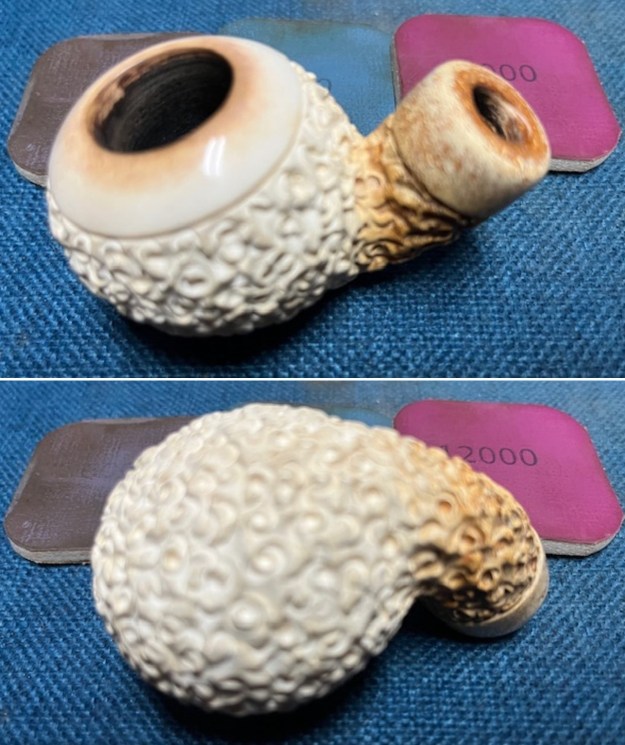
He took some photos of the rim top and bowl from various angles to give me a clear picture of the condition of the rim top and bowl. The inside of the bowl is heavily caked with a heavy lava build up on the inner edge and rim top. He included photos that show the top and underside of the stem. The photos show the lack of defined edge on the button and the wear ahead of the button. The condition of the stem is as I described above.
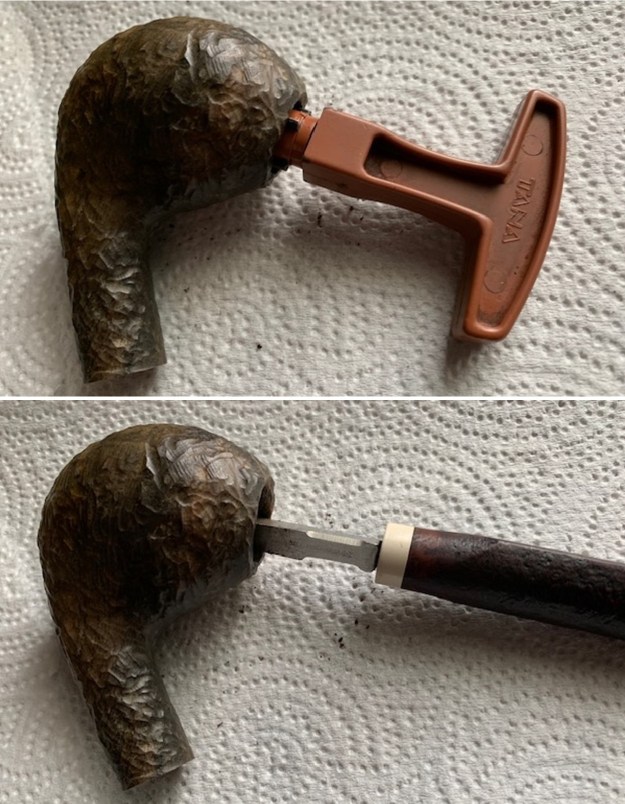
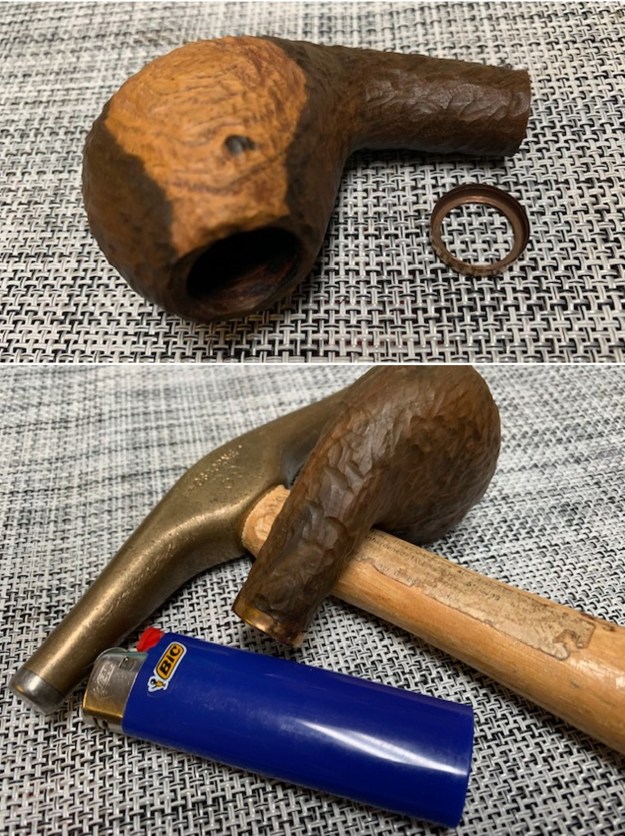
 The tenon is fit for a Medico style paper filter. The tenon is too small for a 9MM filter and too big for a 6MM filter.
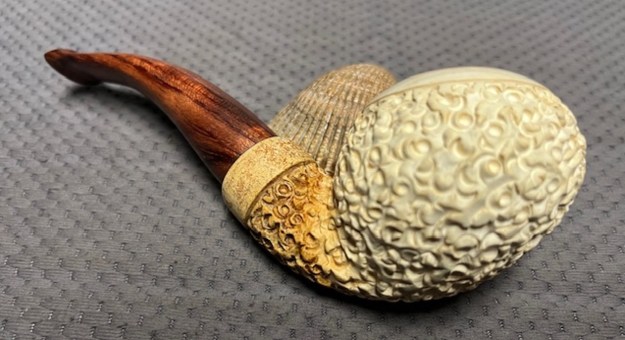
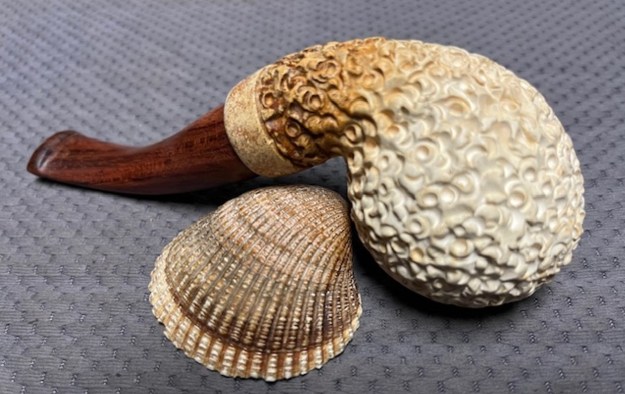
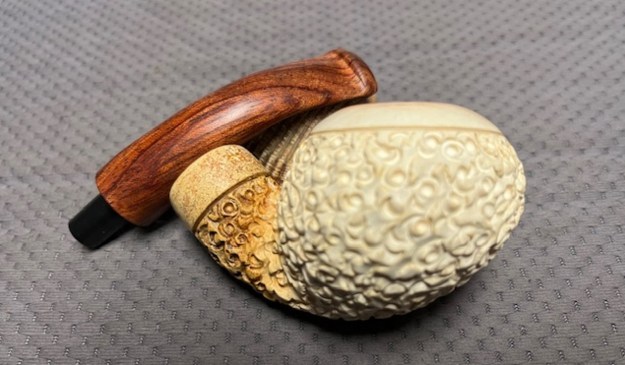
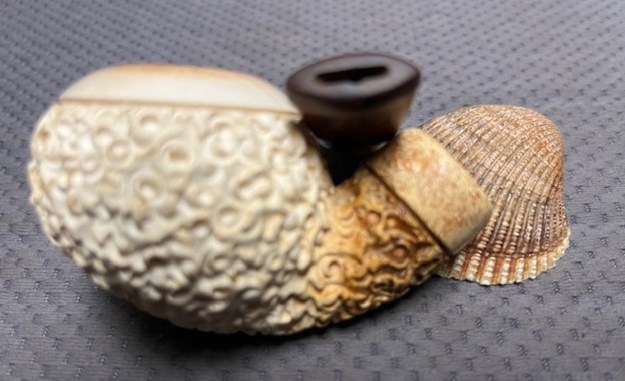
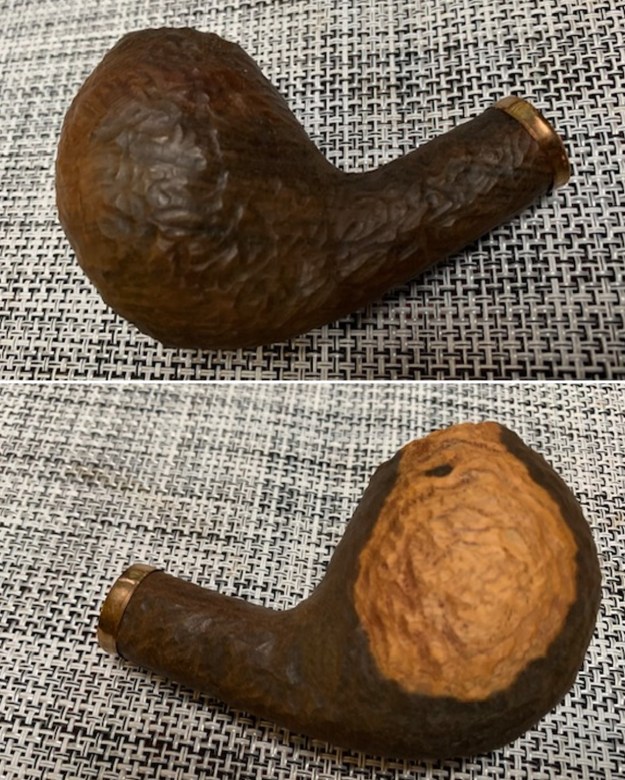
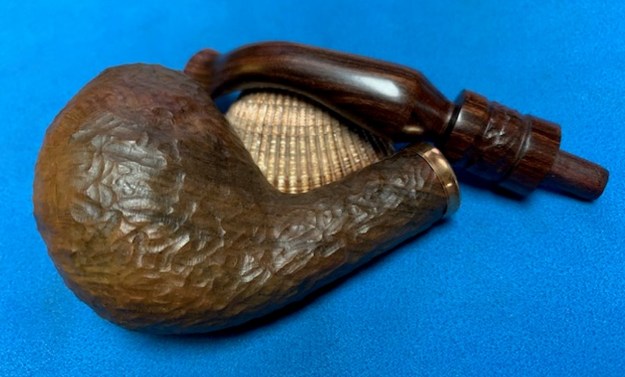
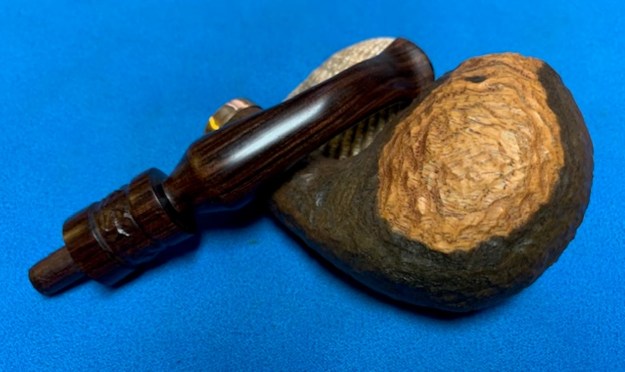
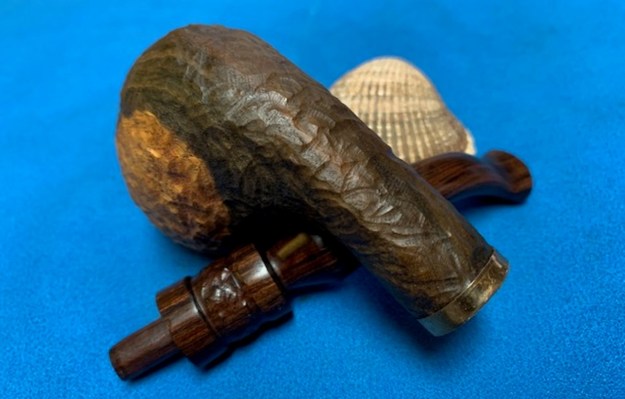
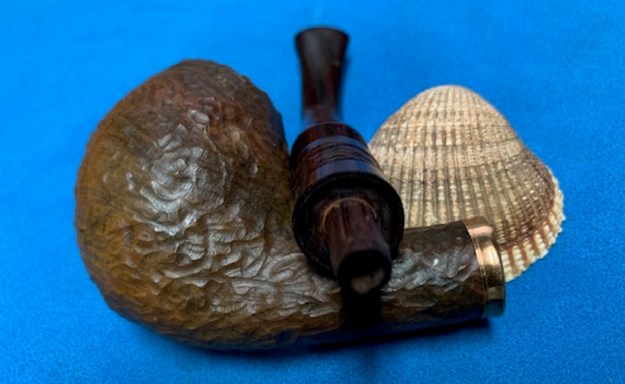
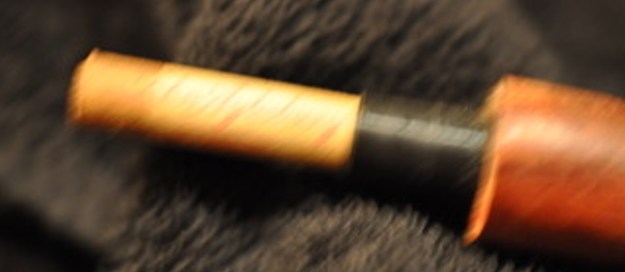 Jeff took photos of the sides and heel of the bowl to give a sense of the finish and the developing patina on the shank and bowl.
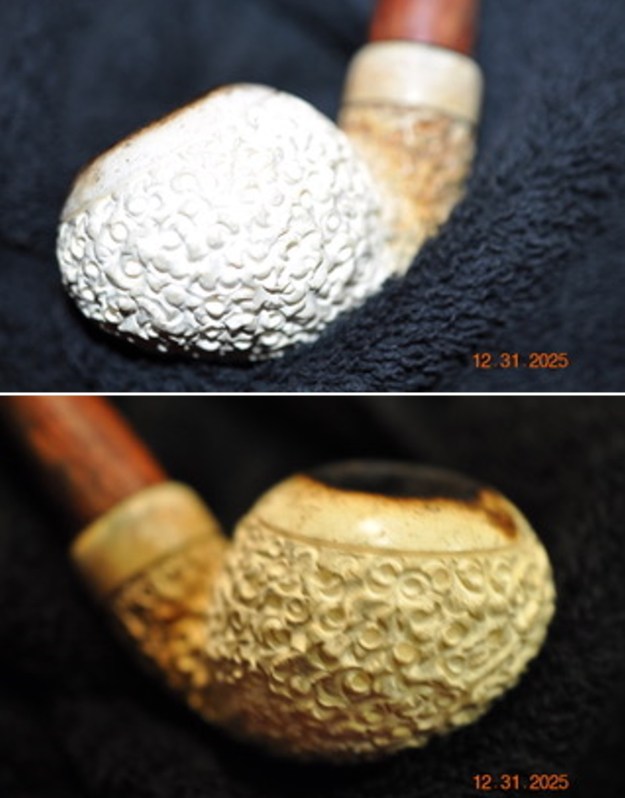
 Now it was my turn to work on the pipe. Jeff had done an amazing cleanup of the pipe. He reamed the light cake with a PipNet reamer and cleaned up that with a Savinelli Fitsall Pipe Knife. He scrubbed the internals of the bowl and stem with alcohol, cotton swabs and pipe cleaners. He scrubbed the externals with undiluted Murphy’s Oil Soap and rinsed the bowl off with running water. He scrubbed the exterior of the stem with Murphy’s Oil Soap and a tooth brush. I rinsed it off with warm water to remove the residual solution. He dried it off and rubbed it down to remove any oxidation that was still on the stem. The pipe looked very good when I received it.
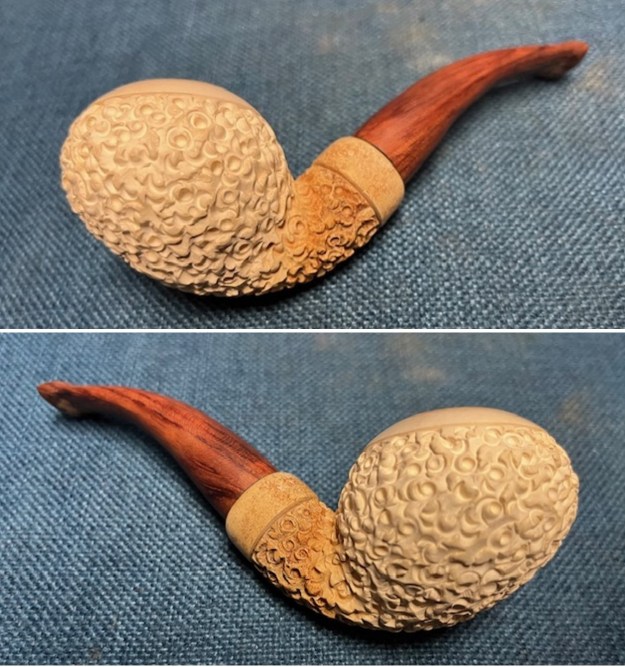
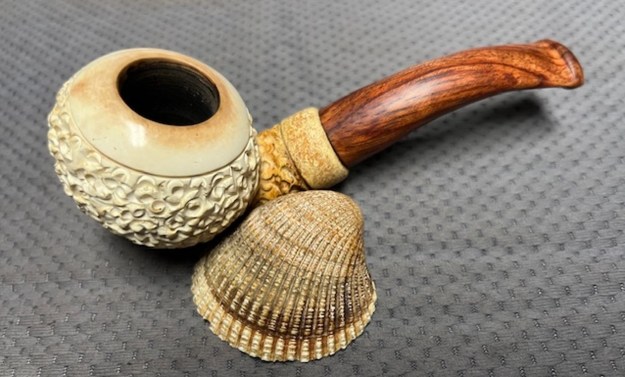
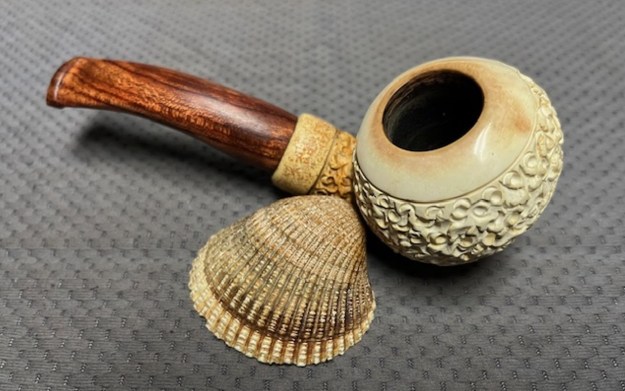
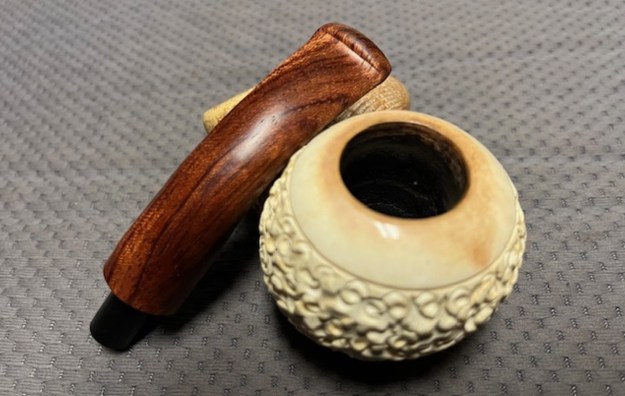
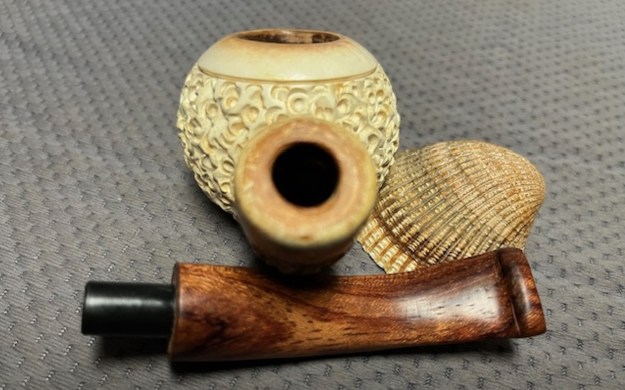
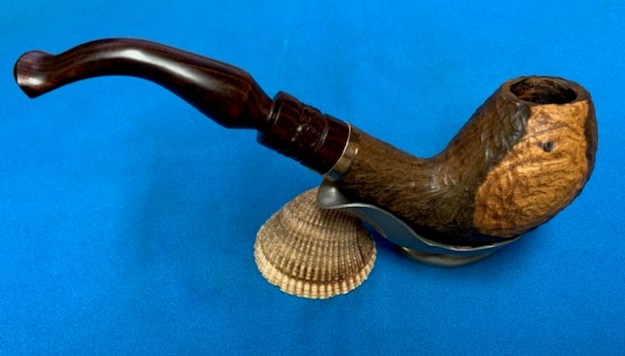
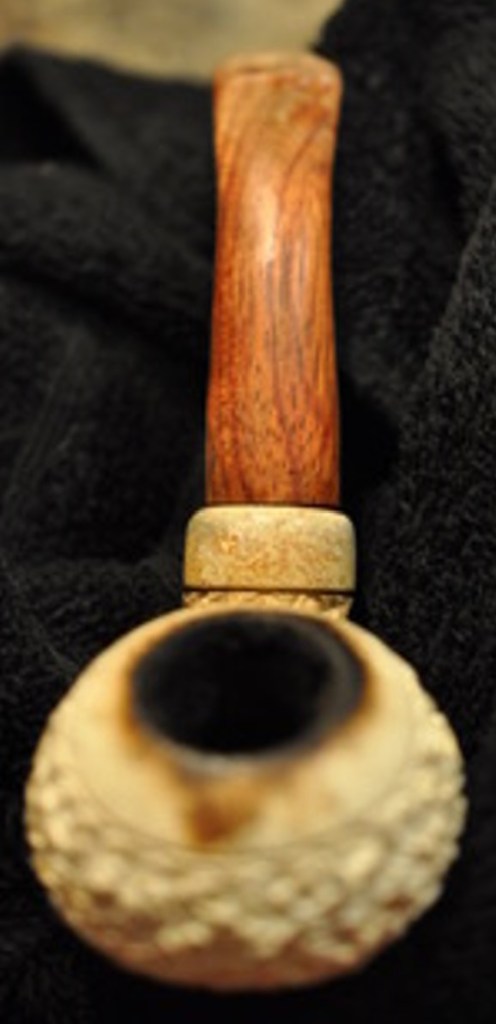
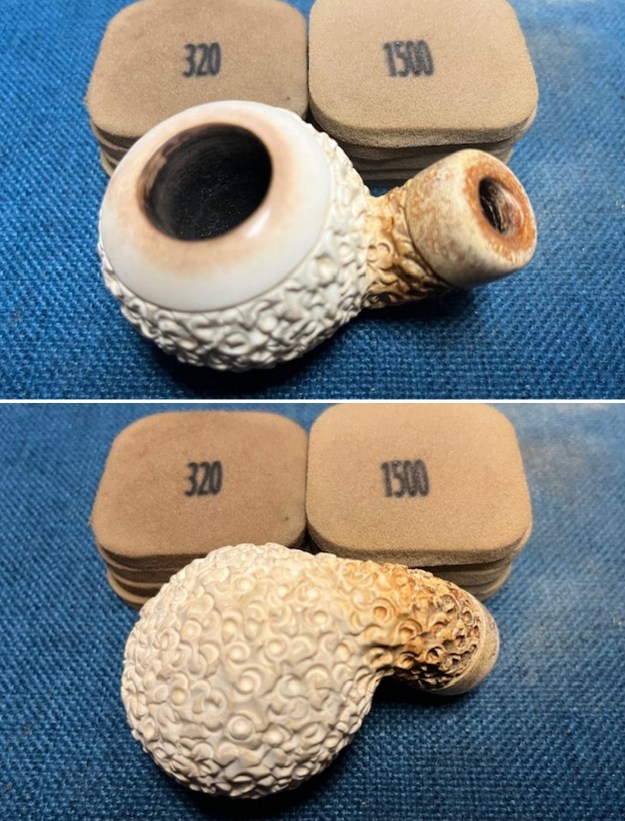
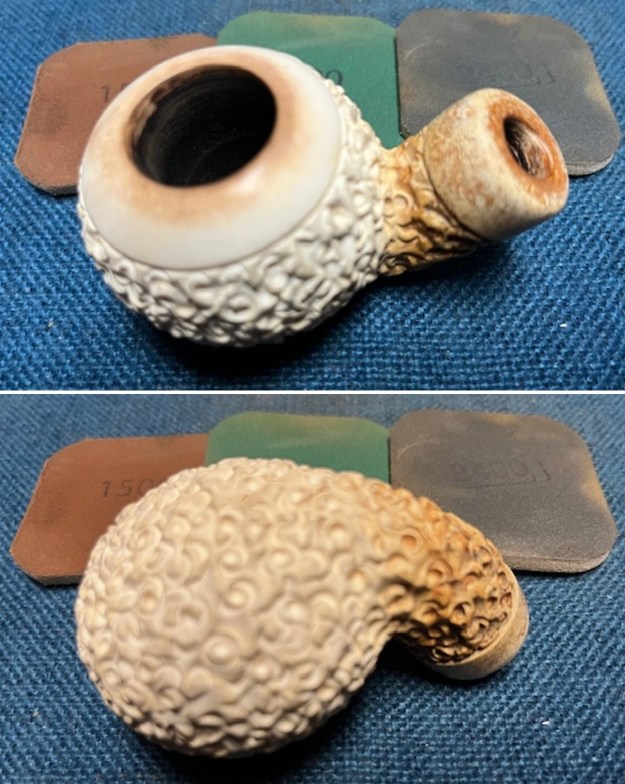
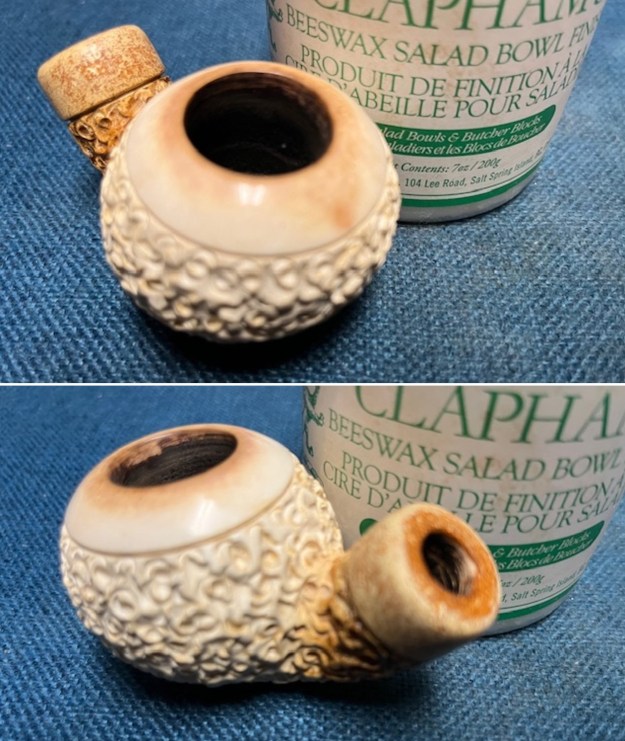
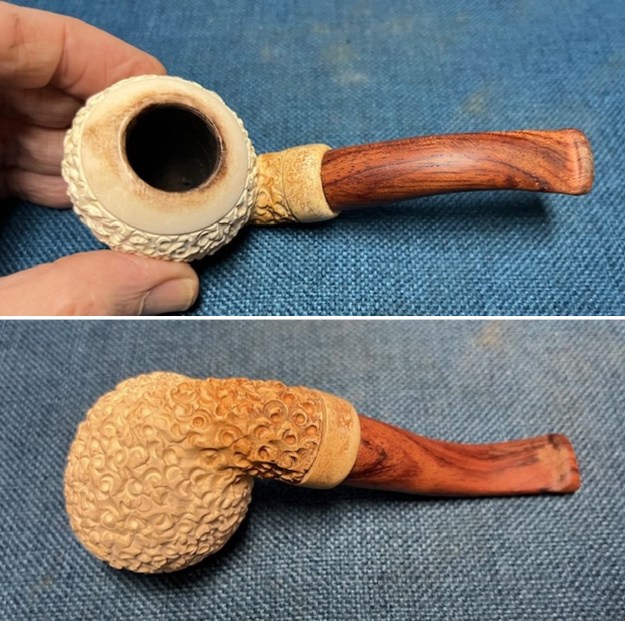 I took a photo of the rim top to show the condition. You can see the clean bowl. The bowl is in excellent condition and the rim top looks very good. There is a little darkening on the back topside of the rim but otherwise it is excellent. The stem came out looking quite good. It only needed to be polished. I took the stem off and took a photo of the overall look of the pipe. It really is a beauty.
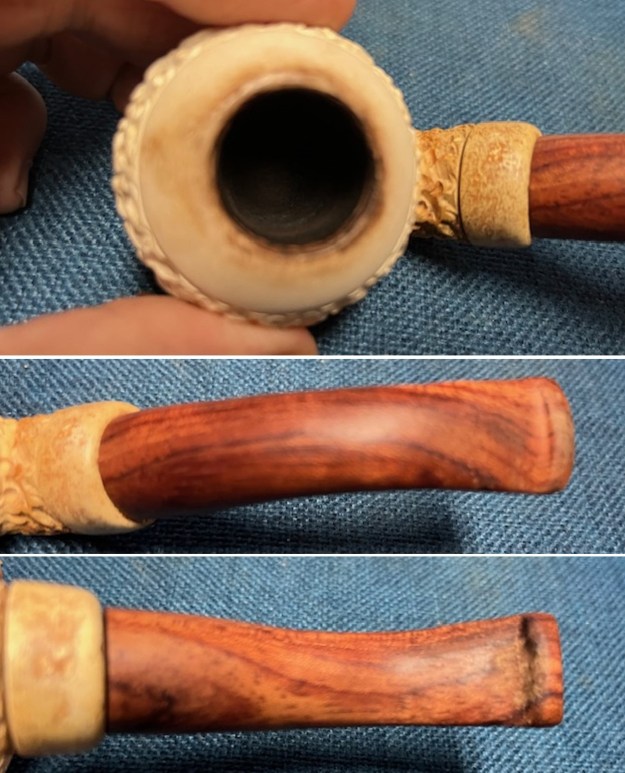
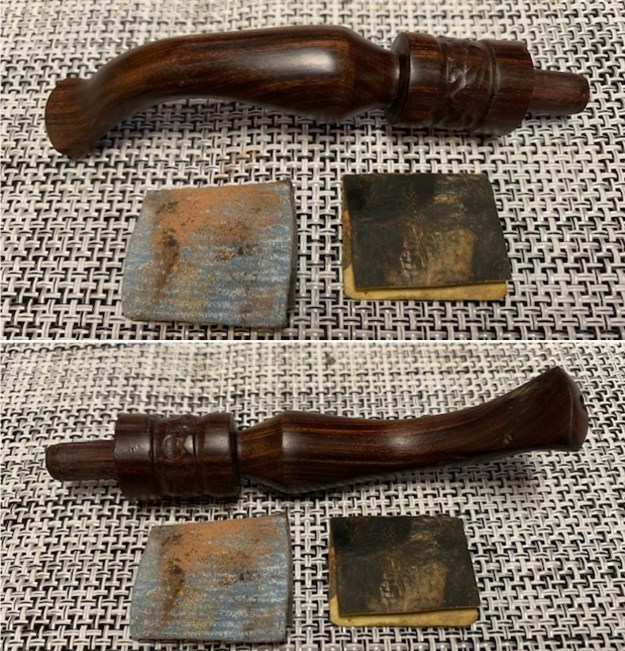
 I carefully sanded the smooth surface of the rim top and shank end of the shank with 320-3500 grit 2×2 inch sanding pads to remove the darkening and small scratches in the surface of the meerschaum. The bowl and shank began to look very good.
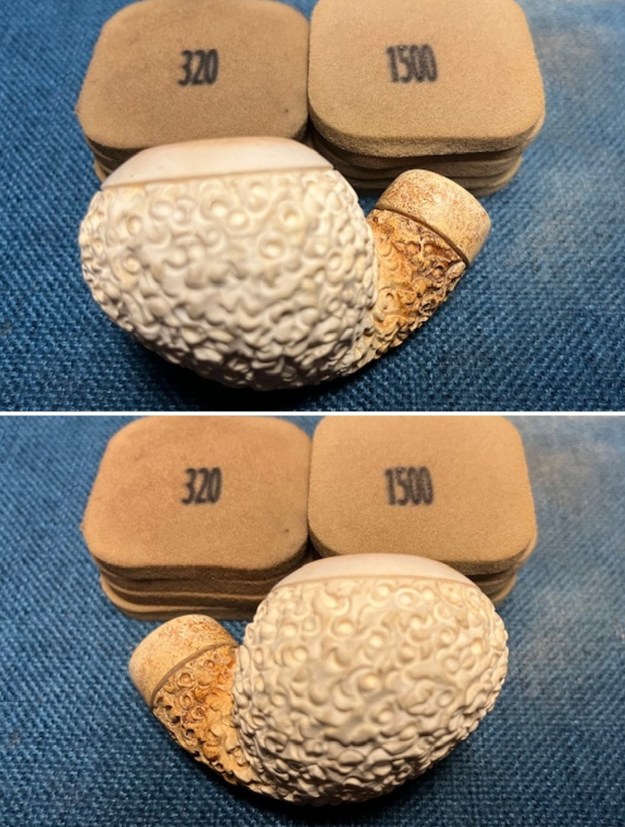
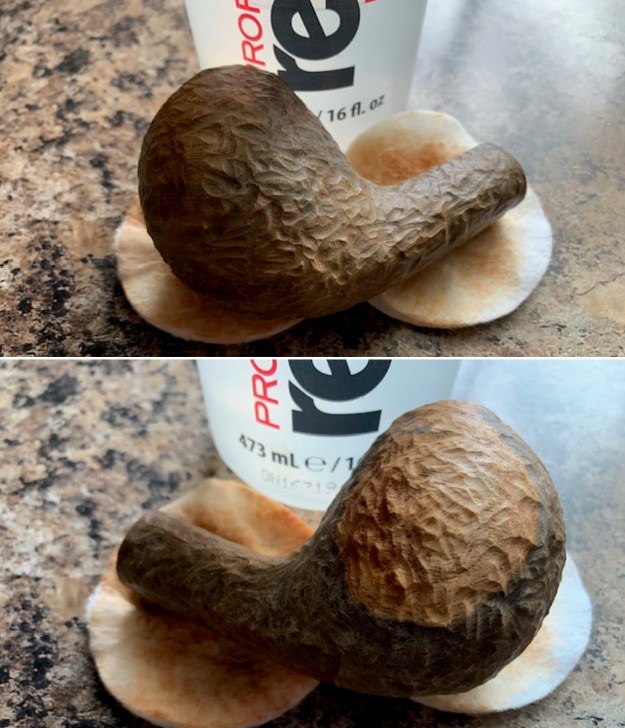
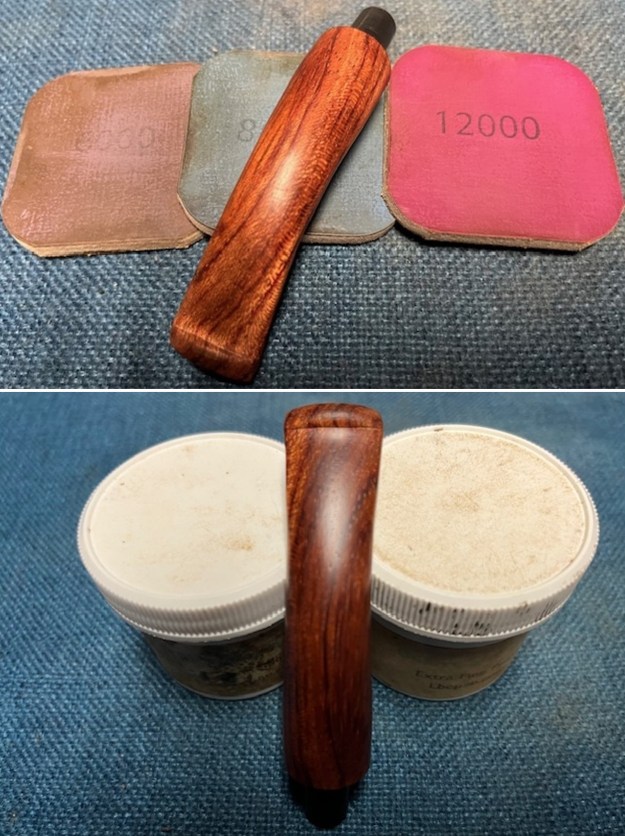
 I polished the meerschaum rim cap, top and shank end with 1500-12000 grit micromesh sanding pads – dry sanding the briar and wiping down the bowl after each sanding pad. It really began to take on a rich shine and the grain stood out beautifully.
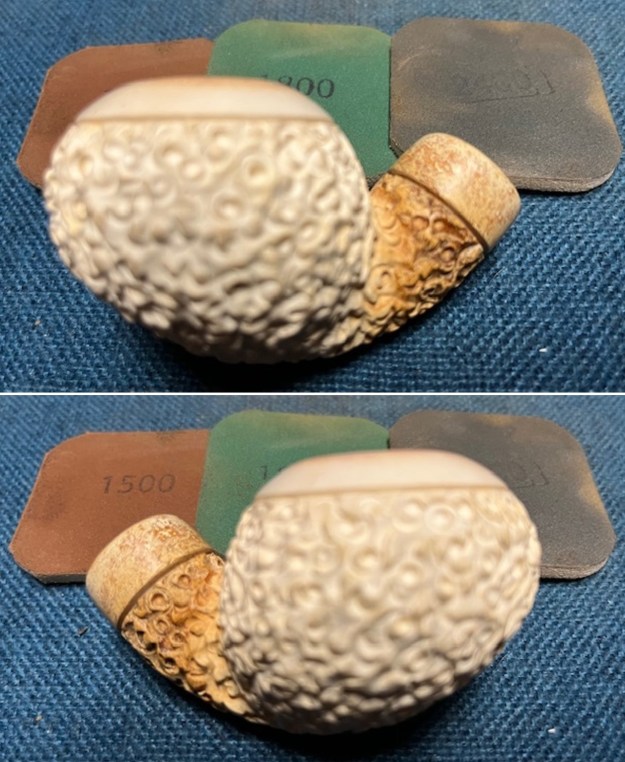
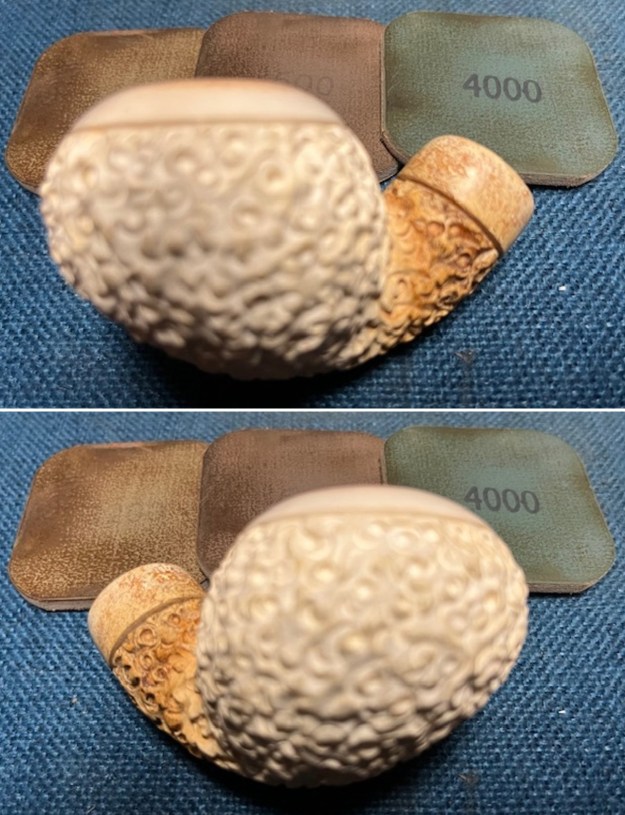
 I rubbed the meerschaum down with Claphams Beeswax/Carnauba wax. I worked it into the meerschaum with my fingertips and a horsehair shoe brush to work it into the nooks and crannies of the rusticated finish. I let it sit for 10 minutes then I buffed it with a cotton cloth to deepen the shine. The meerschaum takes on a deep patina that really comes alive with the wax.
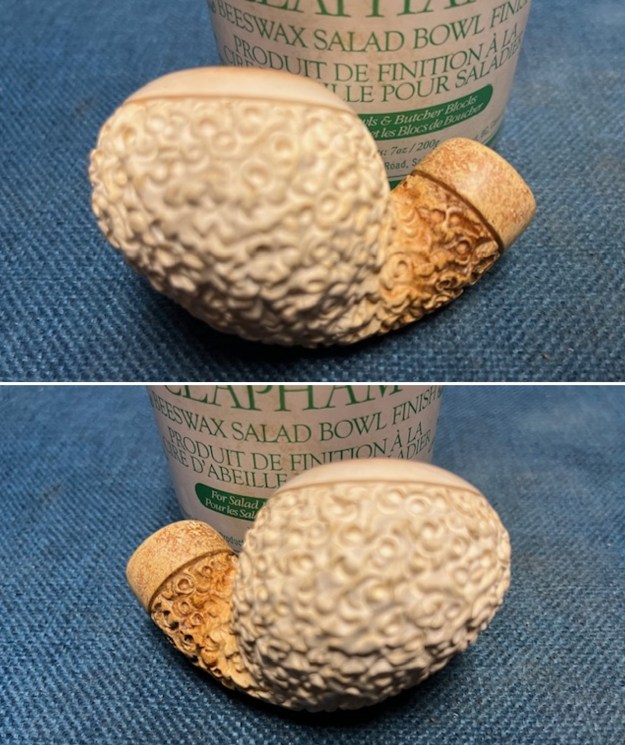
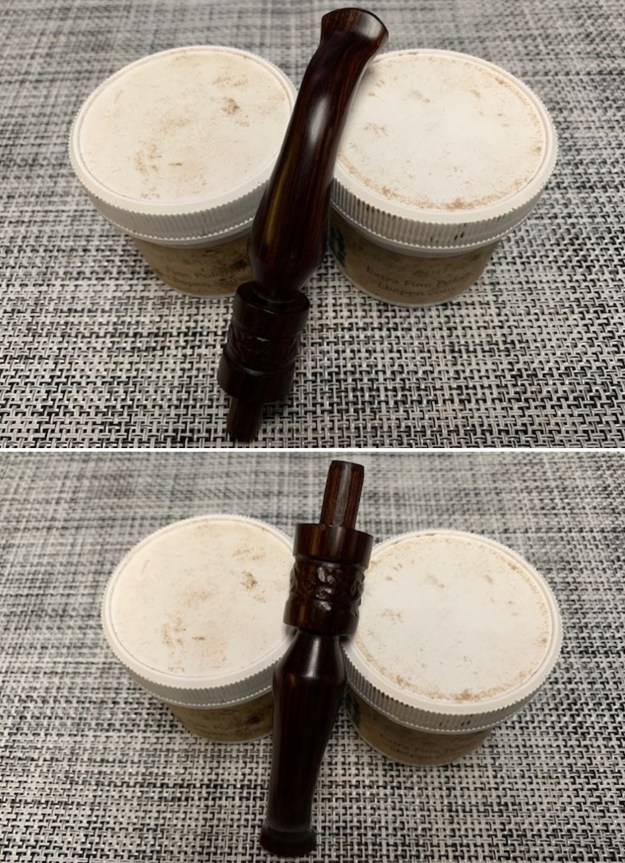
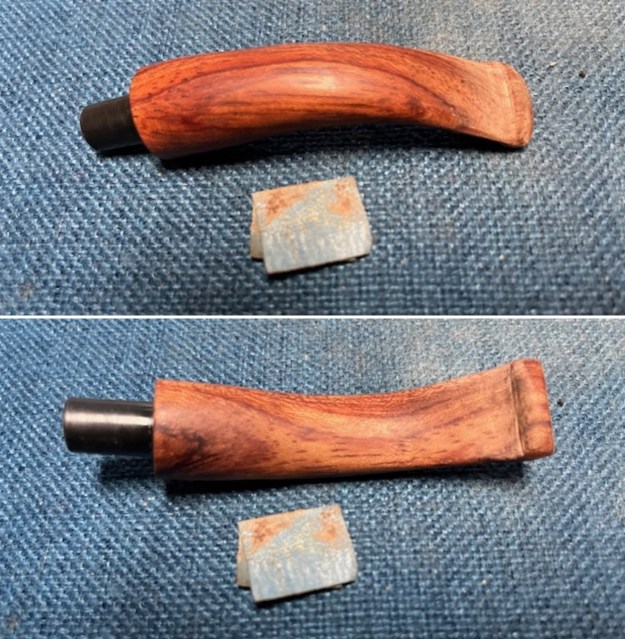
 I set aside the bowl and turned my attention to the stems. I recut the button edge and reshaped it with small needle files. I sanded the stem with a folded piece of 220 grit sandpaper to finish reshaping the button edges.
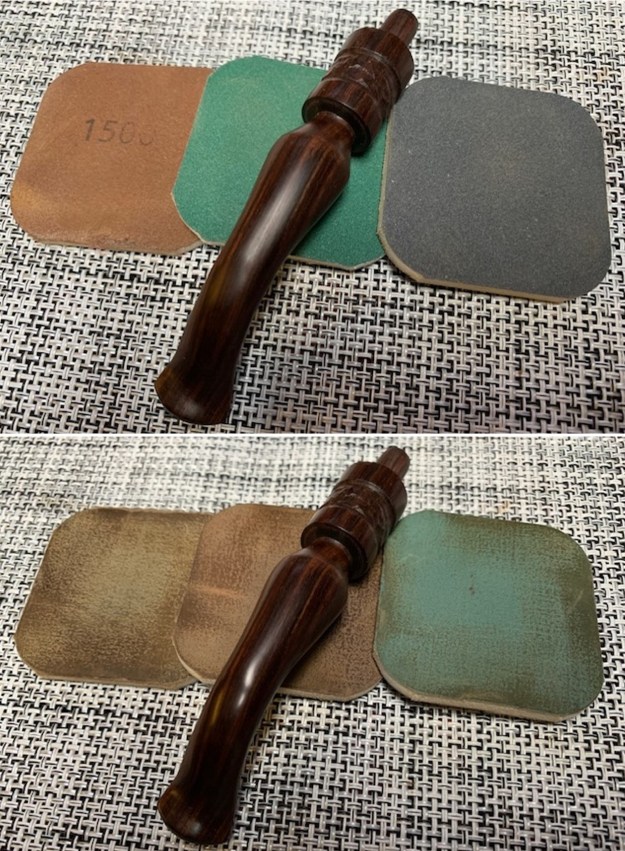
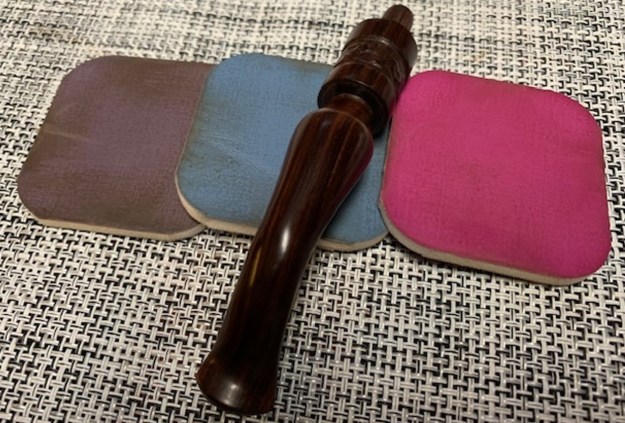
 I sanded the stem with 320-3500 grit 2×2 inch sanding pads. The shape and look of the stem looked better and better. It really began to shine.
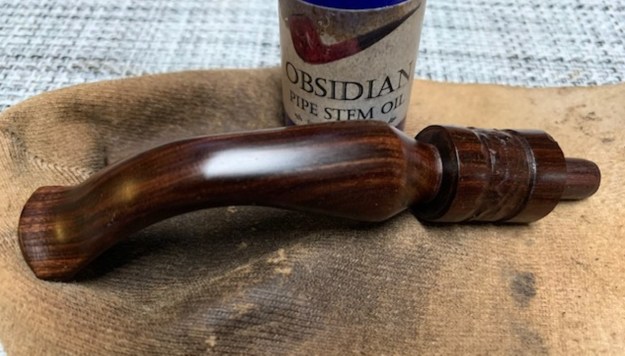
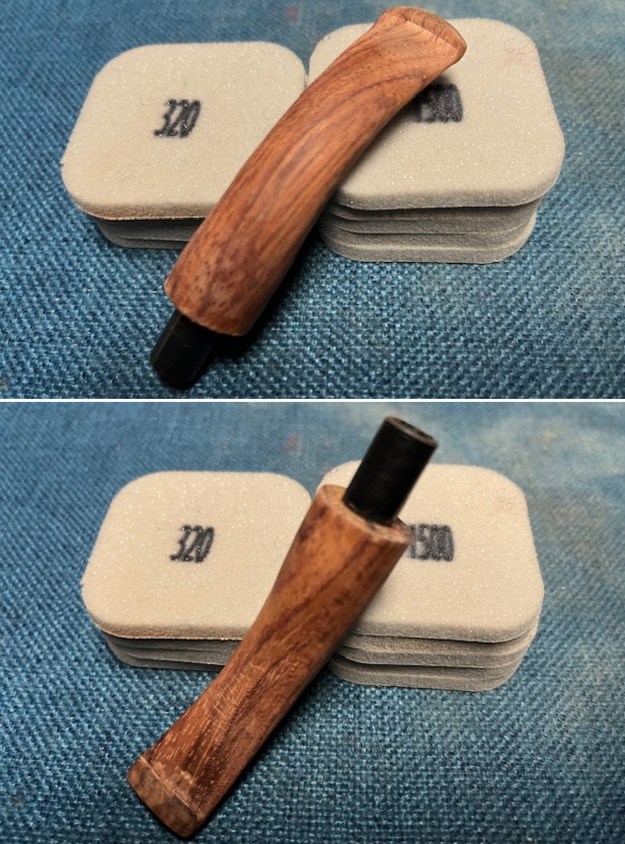 I polished the wooden stem with micromesh sanding pads – 1500-12000 grit pads. I wiped them down with Obsidian Oil after each sanding pad. I used Before & After Pipe Polish – both Fine and Extra Fine to further polish the stem.
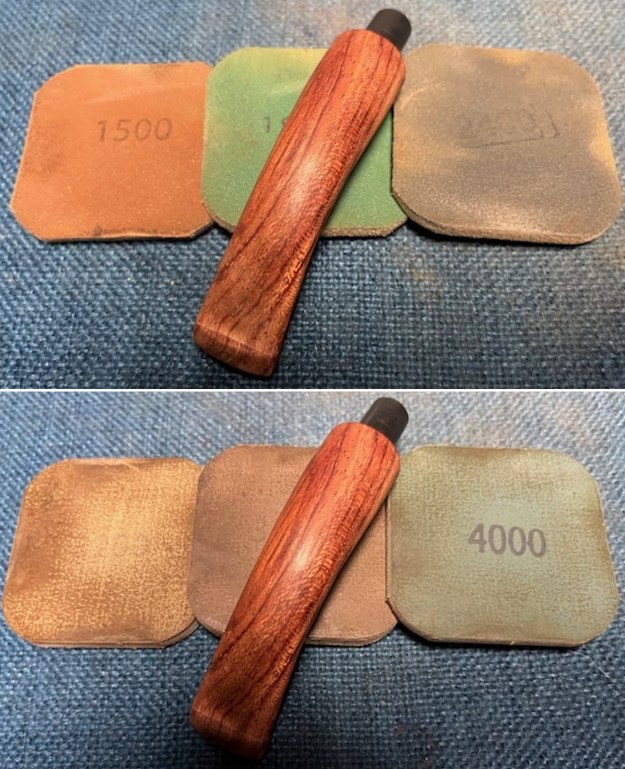
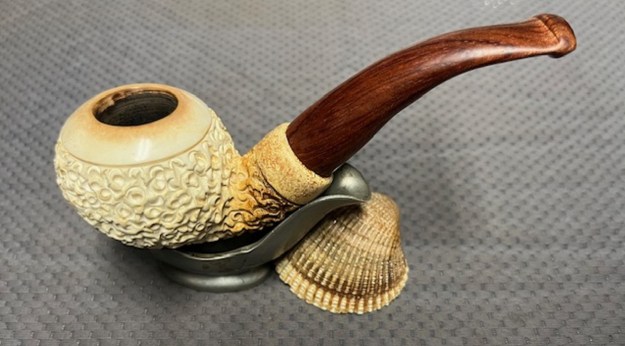
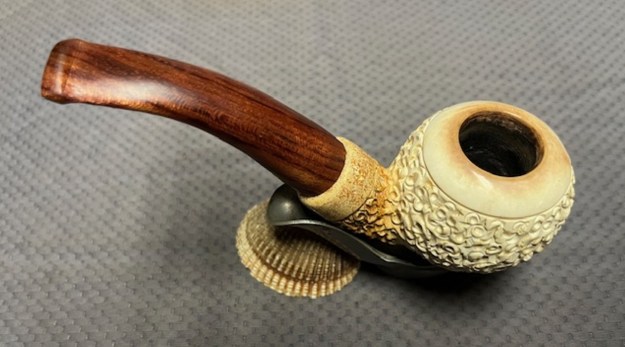
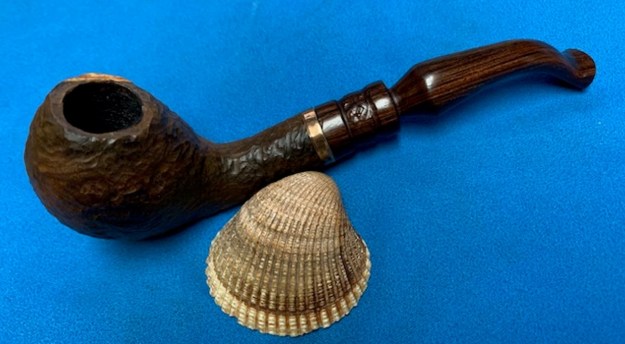
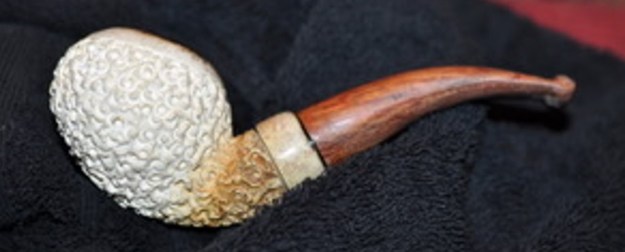
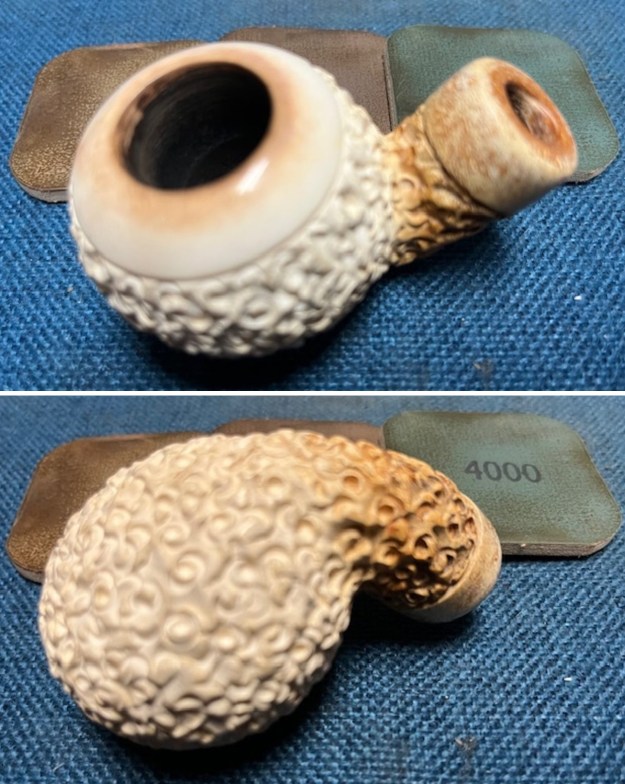
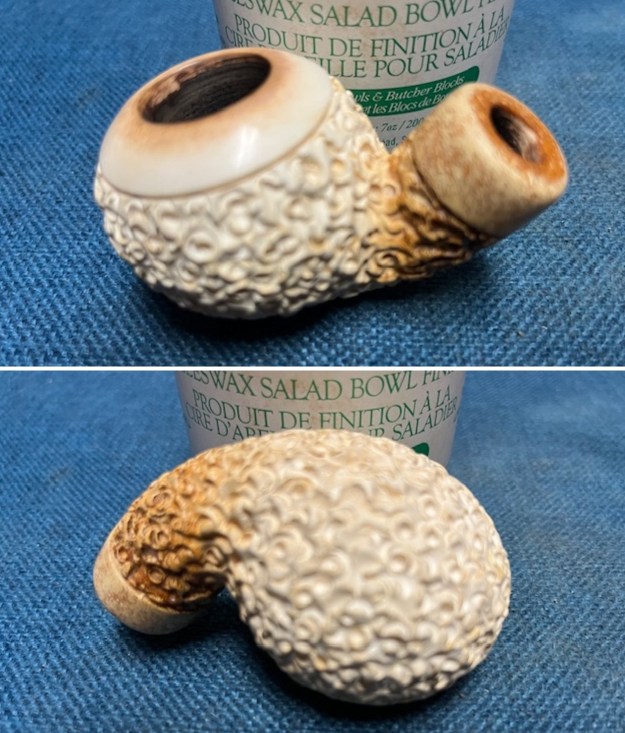
 This Rusticated Meerschaum Bent Rhodesian with a Wooden Filter Stem has a beautiful, reddish brown finish that highlights some beautiful grain. I put the stem back on the bowl and buffed the pipe with Blue Diamond on the buffing wheel being careful to not buff the stamping. I gave the bowl and the stems multiple coats of carnauba wax on the buffing wheel and followed that by buffing it with a clean buffing pad. I hand buffed the pipe with a microfiber cloth to deepen the shine. The finished Rusticated Meerschaum Bent Rhodesian with Wooden Stem is quite stunning and feels great in my hand. Give the finished pipe a look in the photos below. The dimensions of the pipe are Length: 5 ½ inches, Height: 1 ¾ inches, Outside diameter of the bowl: 1 ½ inches, Chamber diameter: 7/8 of an inch. The weight of the pipe is 2.12 ounces/61 grams. Thanks for walking through the restoration with me as I worked over another beautiful pipe. I am not sure where this will end up. I may keep it here for awhile to make sure the draught is correct. Then I will see. Thanks for your time.