Blog by Steve Laug
A while ago I sold this Bertram Grade 55 Lovat to a fellow who was excited to get it. When it arrived he examined it and sent me a message that it had a lot of carbon in the bowl and had a crack as well. I am pretty sure we left a thin coat of cake in the bowl but we generally clean the pipes we work on very well. I knew that I had gone over it with a fine tooth comb and was not sure what he meant about a crack. It did not matter though as he was not happy with the purchase. I refunded his payment and postage and had him send the pipe back to me. It took a while to arrive but I really wanted to see what was going on. Before I talk about what I found though, here is the link to the restoration of the pipe (https://rebornpipes.com/2019/04/13/the-8th-of-a-collection-of-bertrams-a-bertram-55-lovat/). It really was a beautiful piece of briar.
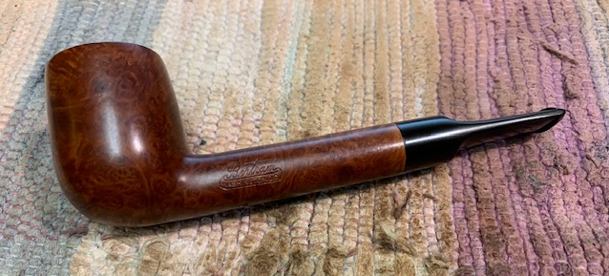
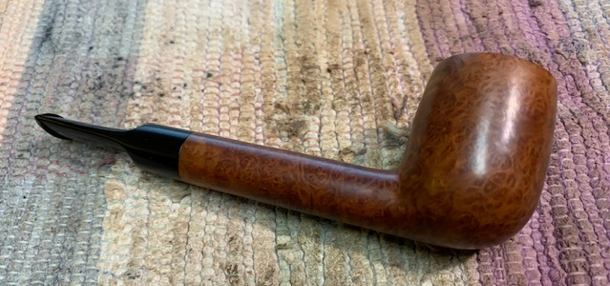
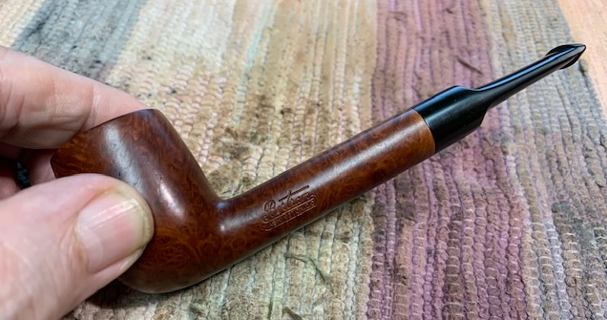
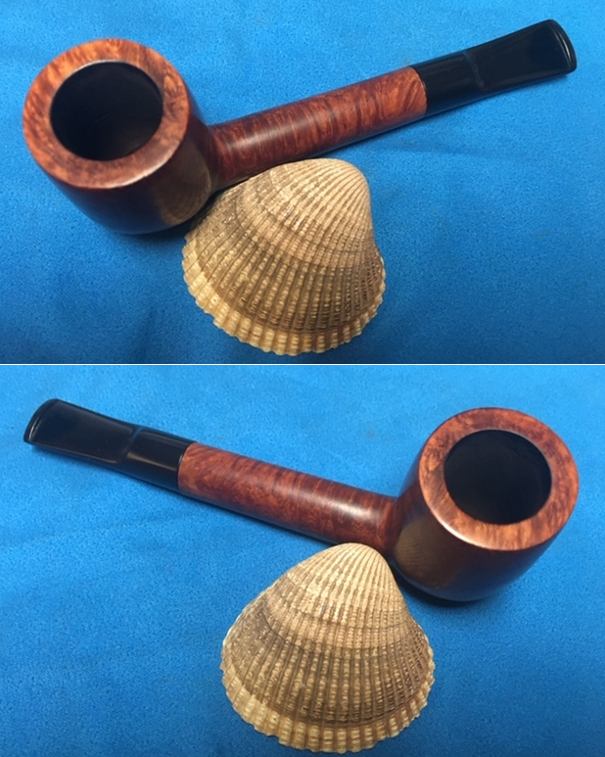
It is a Bertram Grade 55 in a classic Lovat shape and some amazing grain on a proportionally well carved pipe. Once it was buffed the pipe the briar came alive and the mixture of grain – cross, swirled and birdseye – popped with polishing. The black vulcanite stem had a rich glow. The finished pipe is a beautiful grained Lovat shaped pipe. Like the other Bertrams I have worked on this one fits well in the hand and sits right in the mouth. Have a look at it with the photos below. The dimensions are Length: 5 1/4 inches, Height: 1 3/4 inches, Outside diameter of the bowl: 1 1/4 inches, Chamber diameter: ¾ of an inch. The weight of the pipe is 33 grams/1.16 oz. I have included photos of the pipe after the first restoration to show the beauty of the pipe.
 When it arrived in its shipping box I actually let it sit here for a few days. I was quite discouraged that somehow I had missed a crack in the bowl. To my mind I expected to open the box and find some horizontal crack around the bowl somewhere. I just could not figure it out or even imagine how I had missed that.
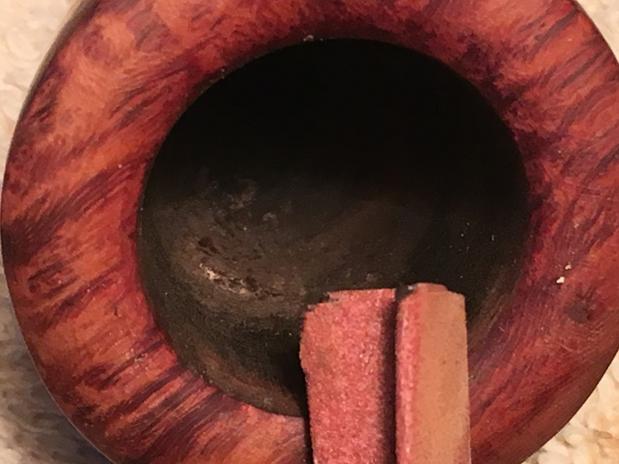
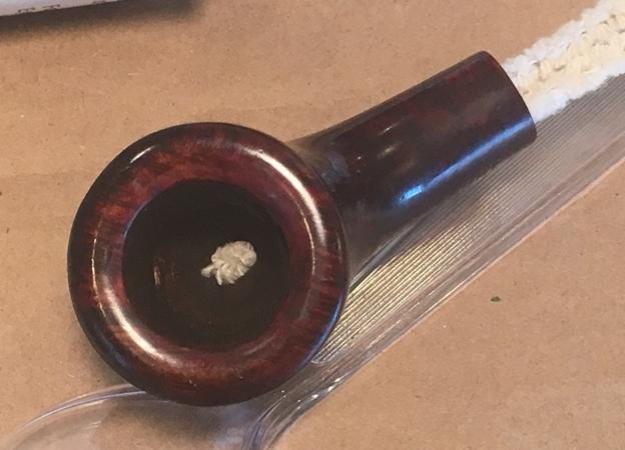
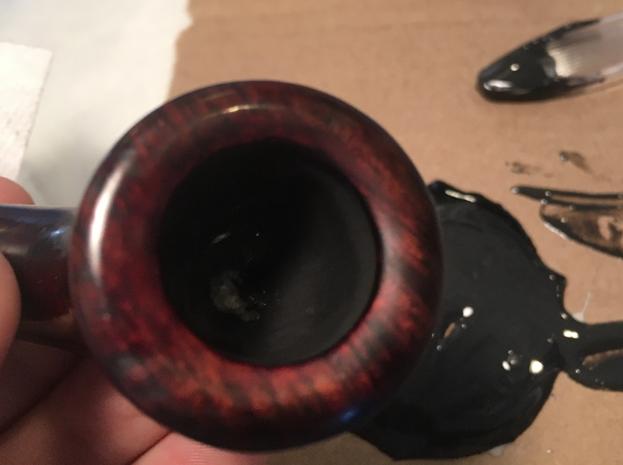
When I finally opened the box and unpacked it I went over it even more thoroughly than before. I worked my way around the rim, bowl sides and bottom with a bright light and a lens. There were no cracks in the exterior of the briar that I could find. I breathed a sigh of relief about that. The bowl was not cracked externally! Whew. Then I went over the interior of the bowl using a light and a dental pick. The front, back and left side of the bowl were solid. There was however a large area on the right side of the bowl that had some significant checking. I picked it clean and it definitely had what looked like a crack. I have learned that sometimes these are surface fissures so I would need to reclean and ream the bowl again and then re-examine it. I set it aside for awhile and worked on some other pipes.
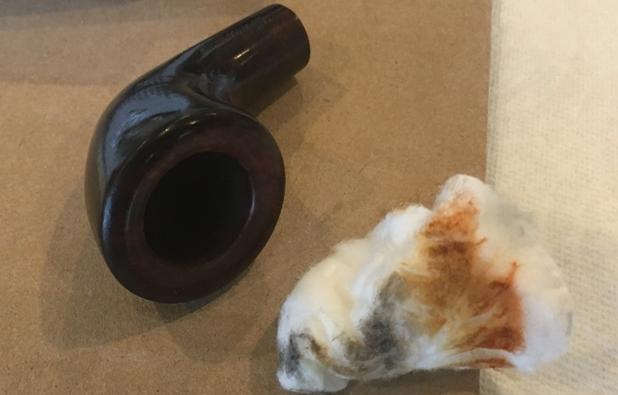
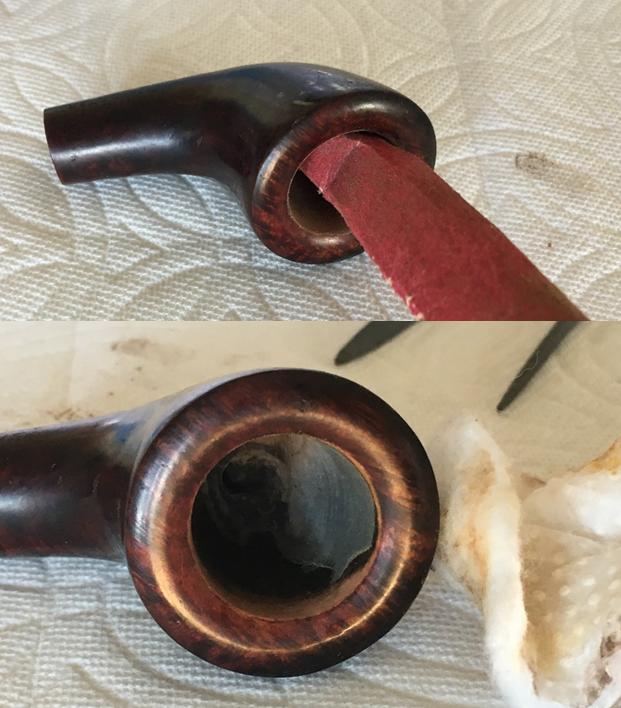
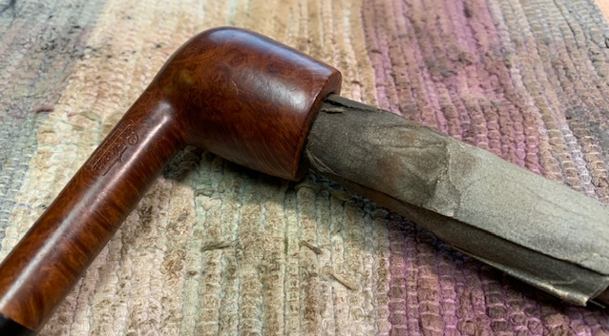
I finally got around to dealing with the issue this evening. I started by scraping all of the cake off the walls with a Savinelli Fitsall Pipe Knife. I took it back to bare briar and remove all possible cake. I sanded the bowl with 220 grit sandpaper on a dowel and smoothed out the bowl surface.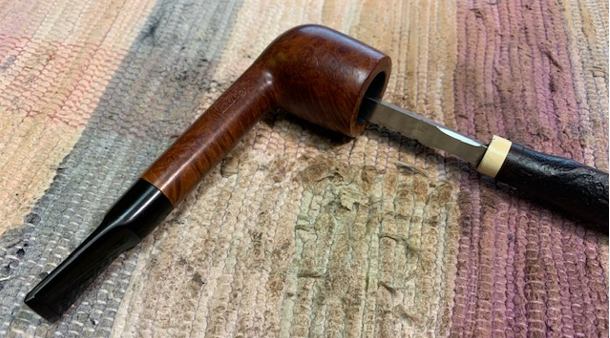
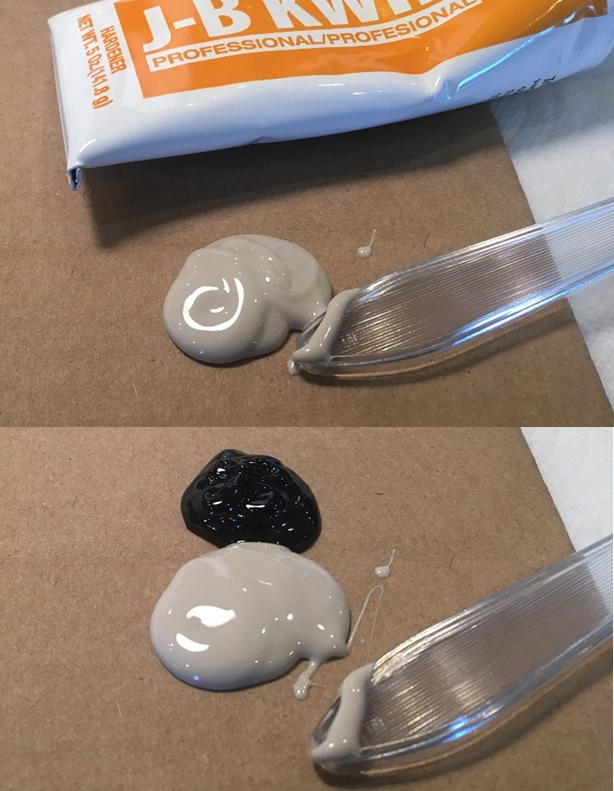
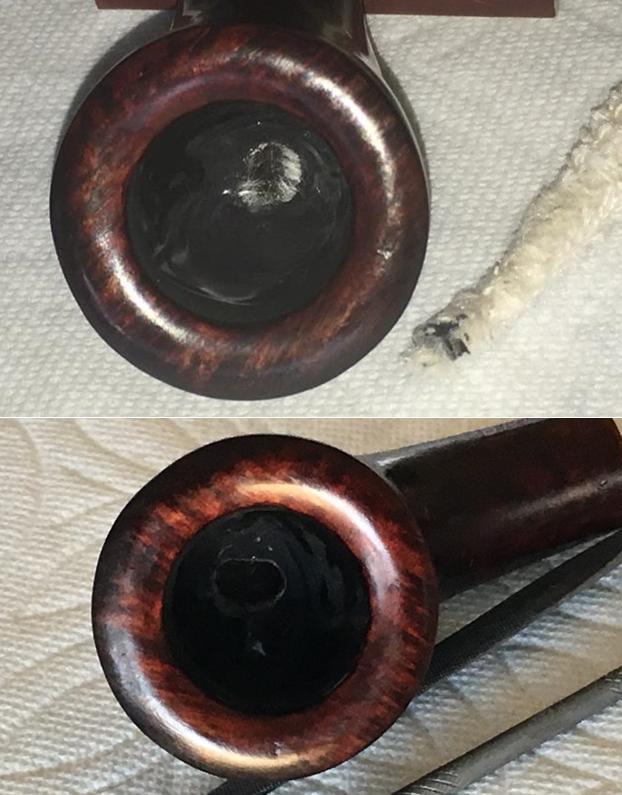
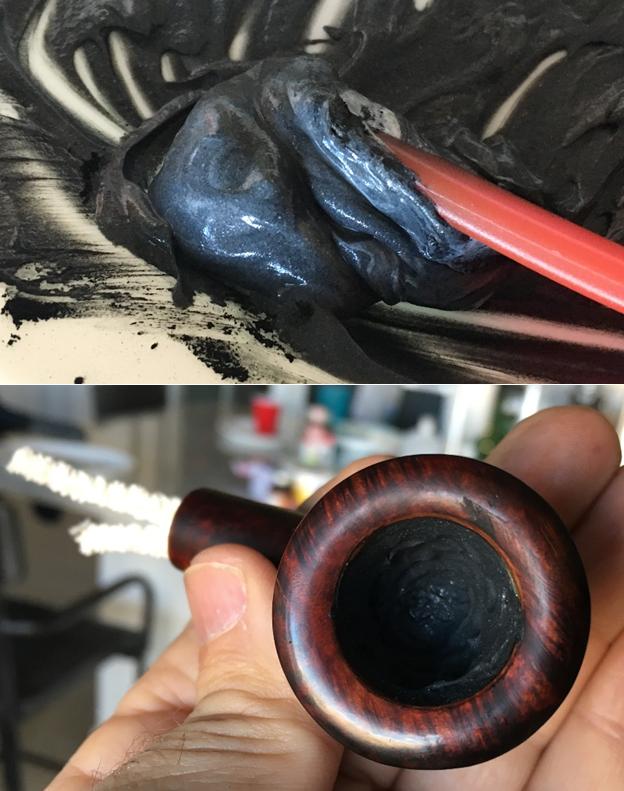
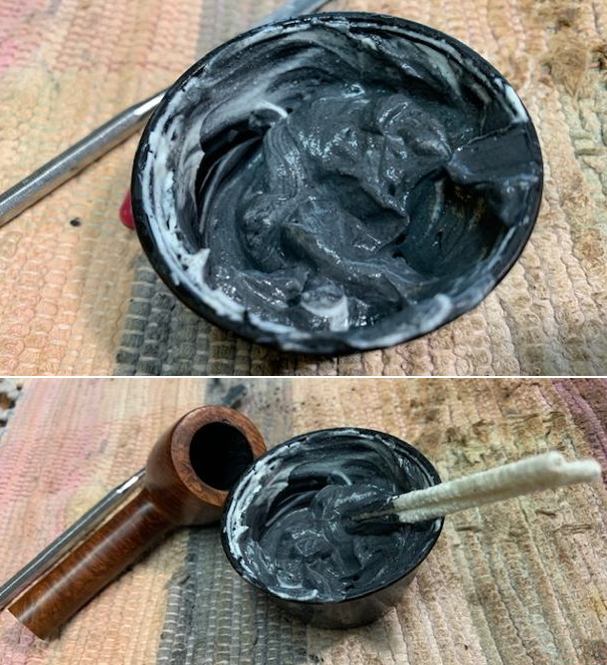
 I was able to remove almost all of the offending checking. There was a small spot of it left midbowl on the right side so I decided to mix up a bowl coating of activated charcoal and sour cream. I applied it to the inside of the bowl with a folded pipe cleaner and painted the walls. I let the first coat dry for 30 minutes and then gave it a second coat. Once it was coated I set the bowl aside to let the coating cure over night.
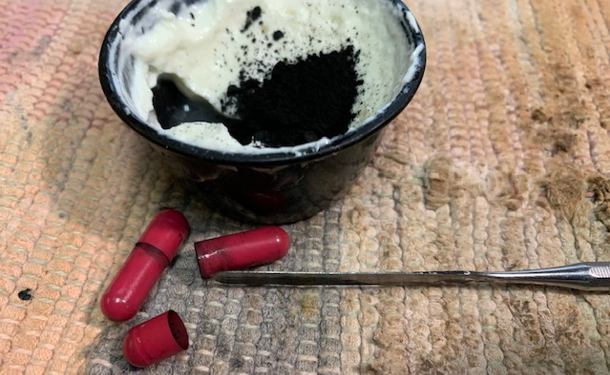
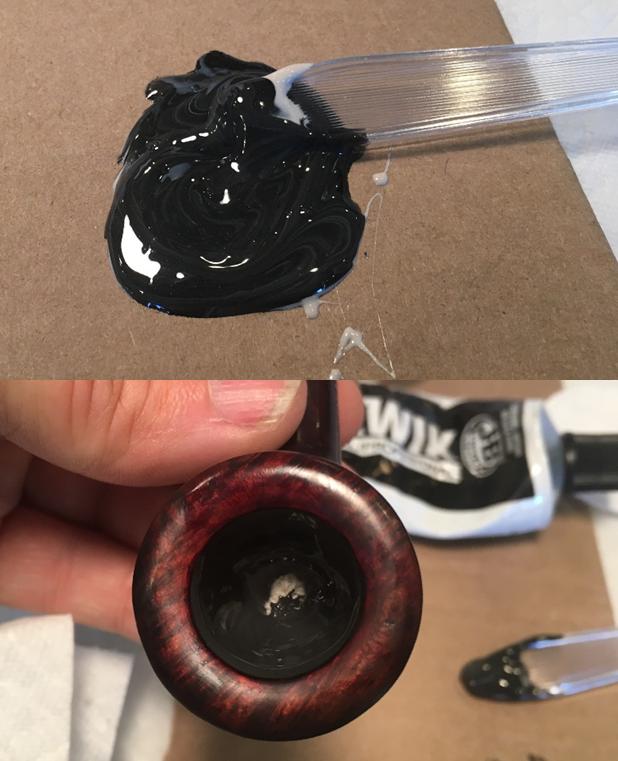
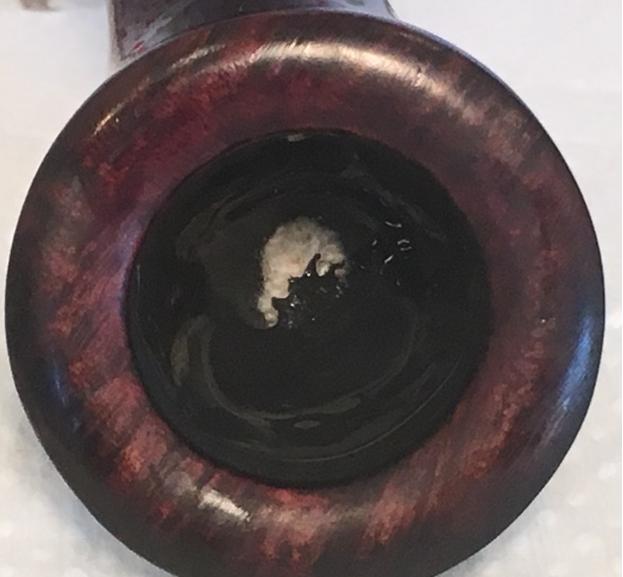
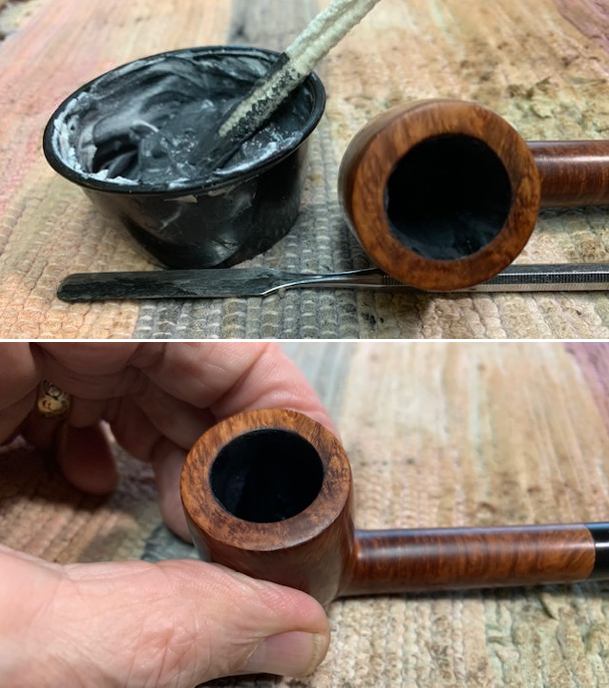 I set it aside for an overnight cure that eventually ended up being two days. The coating dried black and smooth on the bowl sides. There really is no smell in the bowl which always surprises most folks. I used a flashlight to illuminate the walls of the bowl and took some photos to show what it looks like now. You can see the small ridges in the bowl coating but it is smooth to touch.
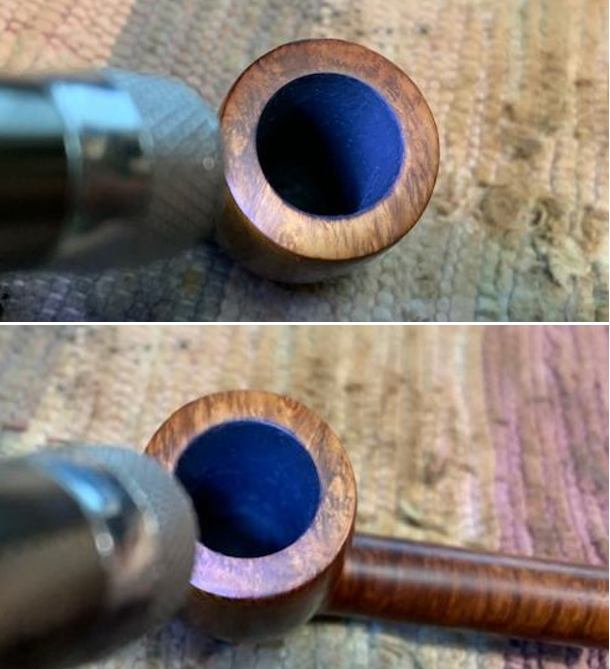
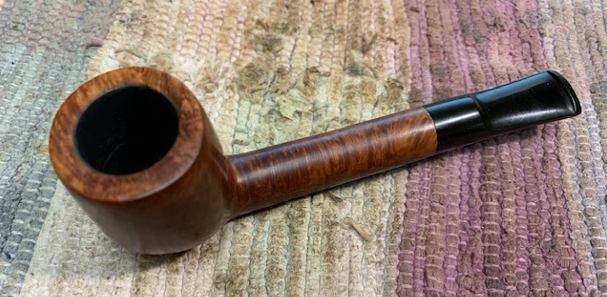
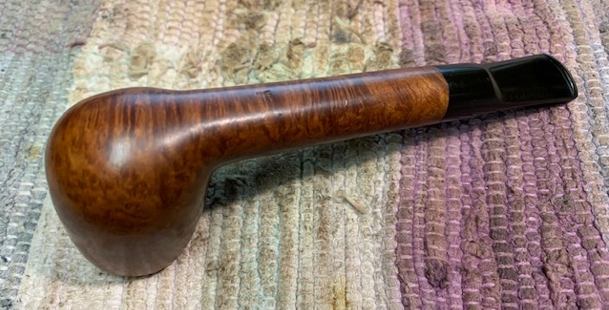
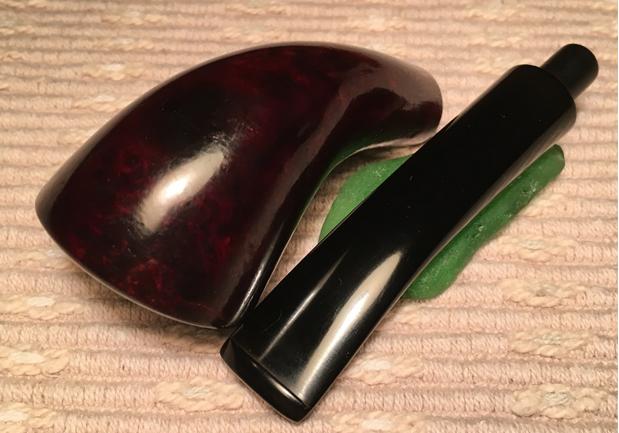
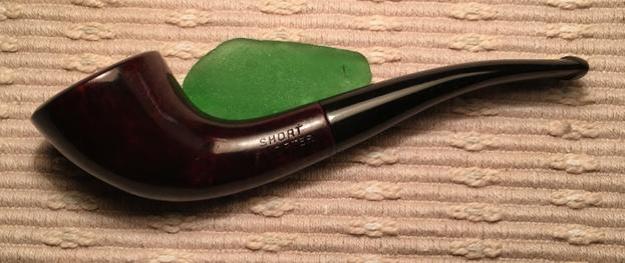
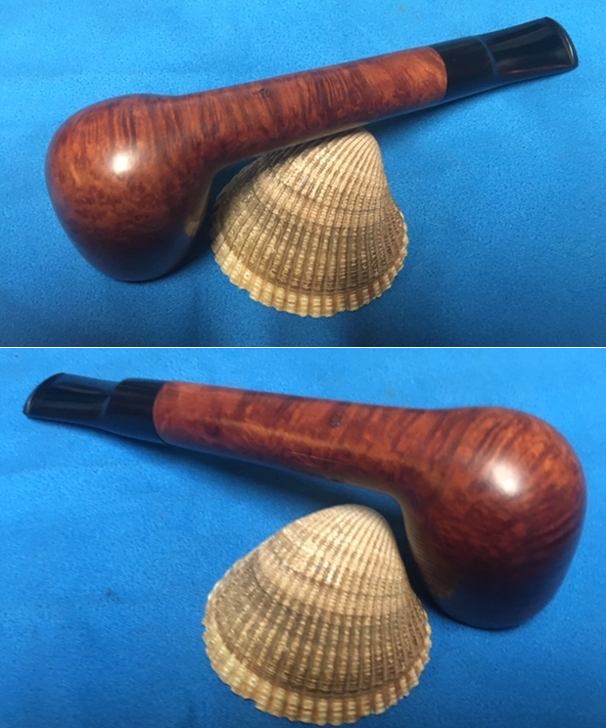
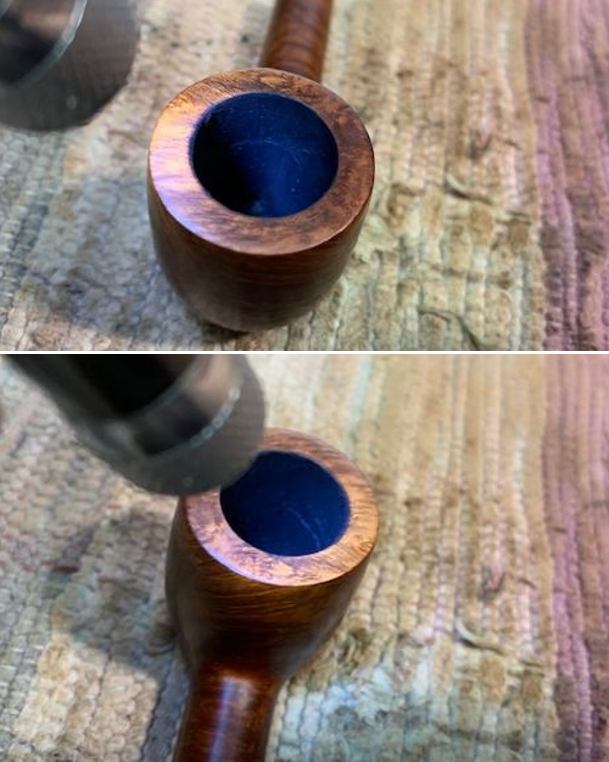 I put the stem and bowl of this lovely Bertram Lovat Grade 55 back together. It really is a beautiful little pipe. I buffed the pipe with Blue Diamond on the buffing wheel. I polished the briar and the vulcanite of the stem until there was a rich shine. This Bertram has a classic Lovat shape and some amazing grain on a proportionally well carved pipe. The briar came alive and the mixture of grain – cross, swirled and birdseye – popped with polishing. The black vulcanite stem had a rich glow. The finished pipe is a beautiful grained Lovat shaped pipe. The neutral bowl coating should take care of the checking issues on the bowl walls and give the pipe a long life. The dimensions are Length: 5 1/4 inches, Height: 1 3/4 inches, Outside diameter of the bowl: 1 1/4 inches, Chamber diameter: ¾ of an inch. The weight of the pipe is 32 grams/1.13 ounces. This one will be going back on the rebornpipes store in the American Pipe Makers section soon. I will be pricing it as a bargain for someone to add to their rack. If you are interested let me know.