
by Steve Laug
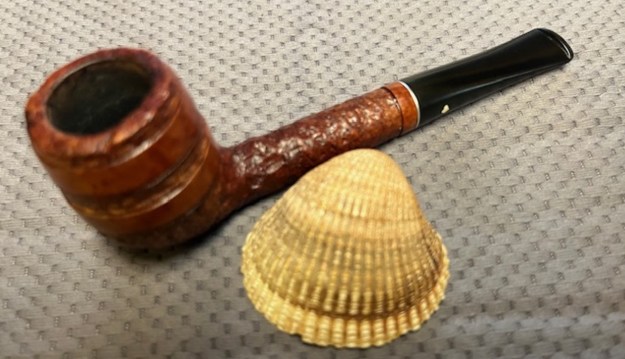
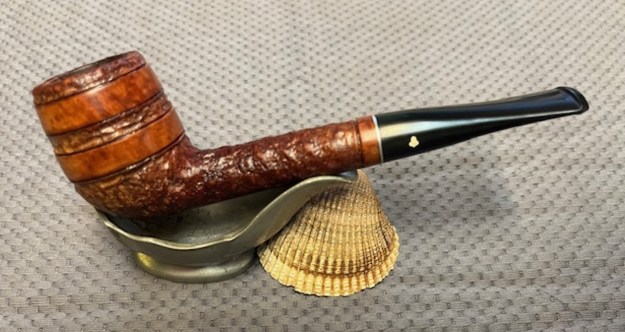
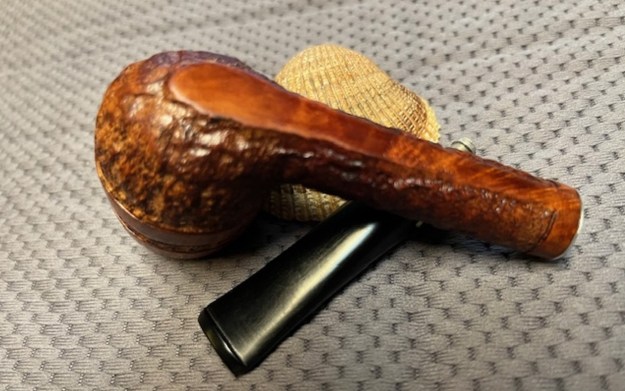
Recently when I visited my Dad and family in Idaho Falls, Idaho Jeff and I did a bit of pipe hunting. We did not find much but we picked up this Kaywoodie Standard Long shank Billiard – shape and finish that I had not seen before. The price was right ($30USD) so we brought it home to Jeff’s house. The surface of the briar was rusticated with a smooth band on the shank end, twin bands around the bowl on the top half and a smooth panel on the underside of the bowl and shank which allowed it to be a sitter. The exterior of the bowl had been coated with a very shiny coat of varnish and there was some dust underneath the shiny coat. The pipe was stamped on the underside on the smooth panel and read Kaywoodie [over] Standard. The bowl had a light cake in it but the rim top and edges looked good underneath the shiny coat. The stem had a white Kaywoodie Club/Shamrock logo on the left side that was in good shape. The stem was lightly oxidized and there were light tooth marks on the top and underside ahead of the button. The stem was also overclocked. When I removed the stem, I found that the stinger had been cut off but was well done. It was actually smooth and wide open. I took a few photos of the pipe in the car on the way home and have included them below.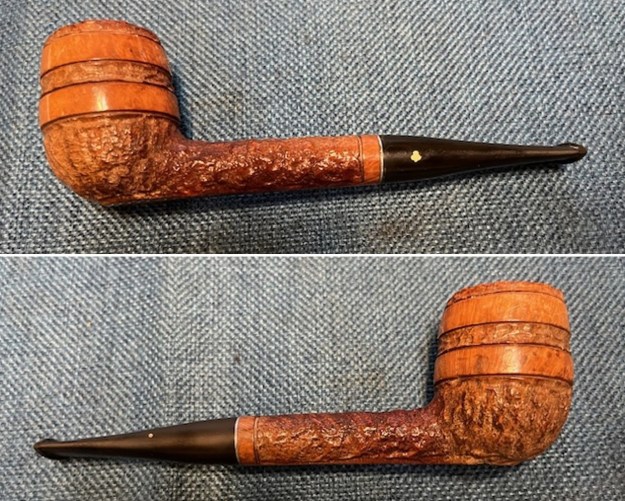
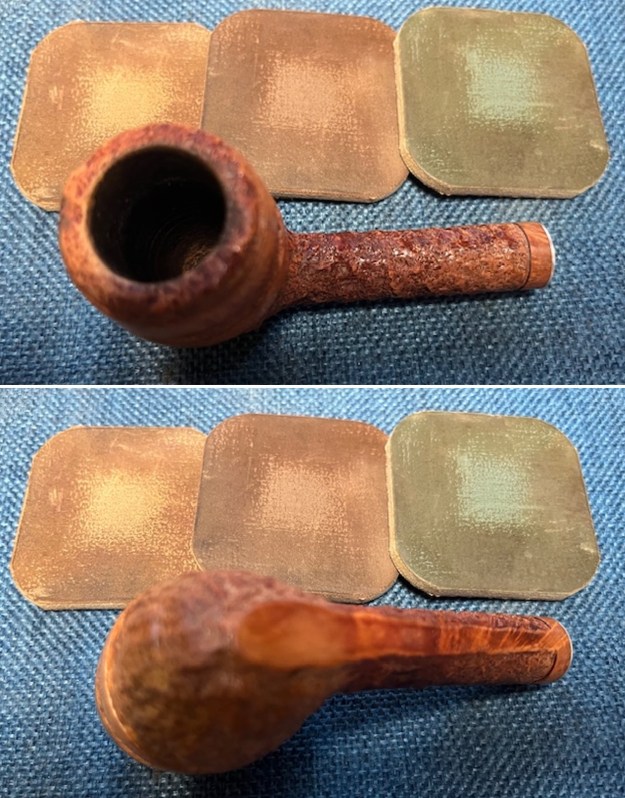
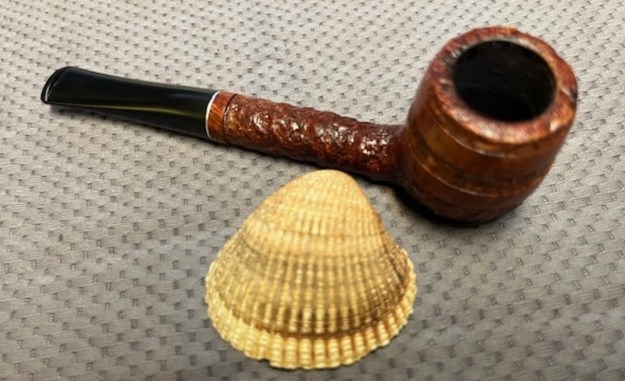
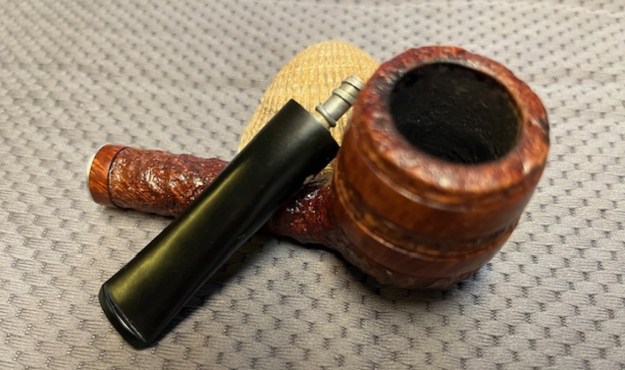
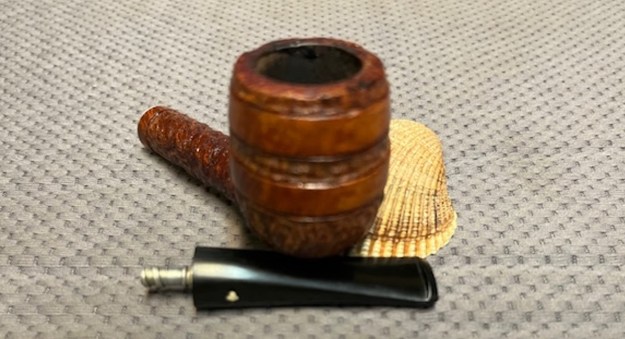
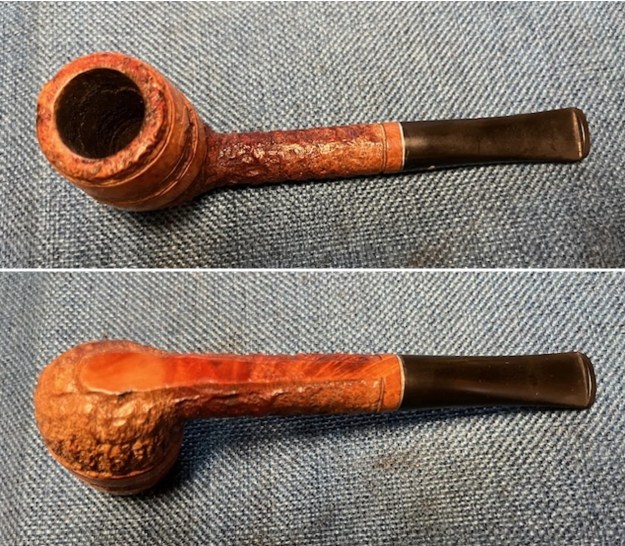 I took a photo of the rim top and bowl to show the condition of both of them. The bowl shows some light to moderate cake on the walls. The rim top showed some darkening and debris in the rustication under the shiny coat. The edges of the bowl looked good. The photos of the stem show the light oxidation and light tooth marks/chatter on both sides ahead of the button.
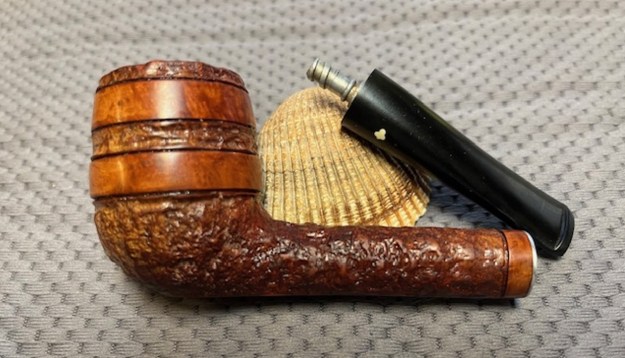
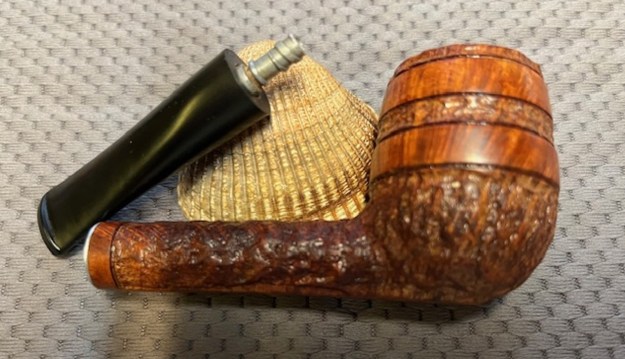
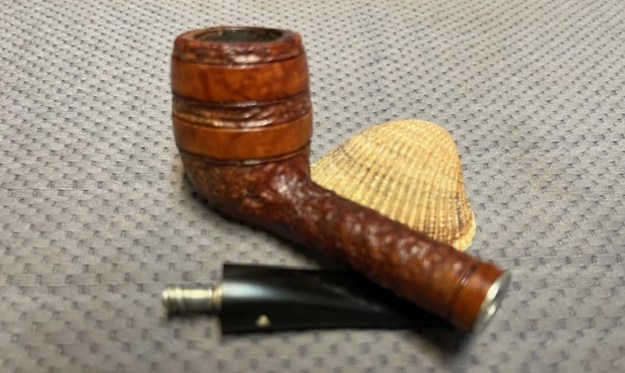
 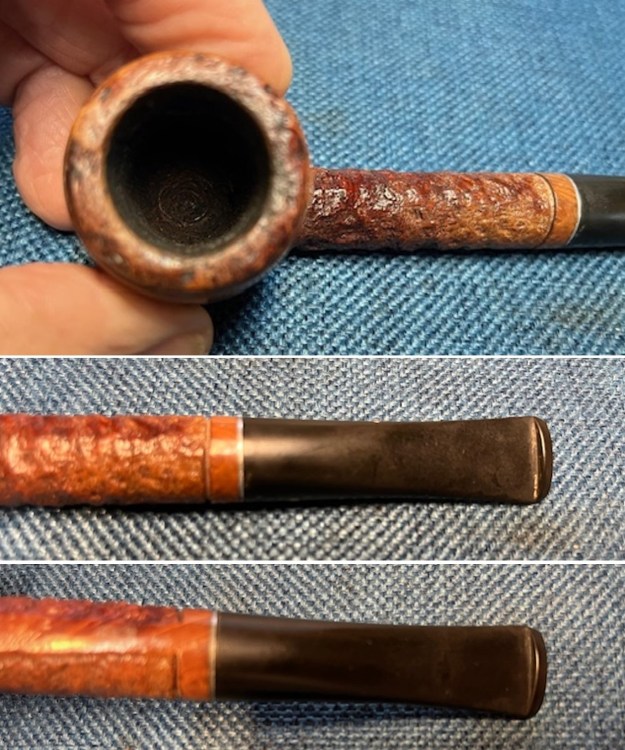 I took a photo of the stamping on the underside of the shank. The stamping was clear and readable as noted above. I removed the stem from the shank and took a photo to show the proportions of the pipe.
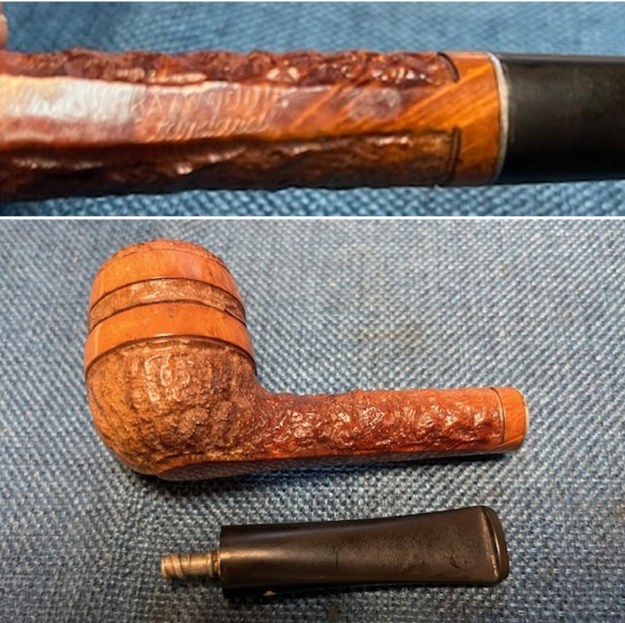 I turned to Pipephil’s site (http://www.pipephil.eu/logos/en/logo-kaywoodie.html). I went through all of the sections on the site through the various lines of Kaywoodie pipes and did not find one similar to the one I had in hand. There were Standards but none were finished like this one. They also said made in Italy and bore a different stem logo. This pipe was not made in Italy.
From there I turned to the Kaywoodie Collectors section on Pipedia to see what I could find about the Standard (https://pipedia.org/wiki/Collector%27s_Guide_to_Kaywoodie_Pipes). The article is full or rich information on the brand. Give it a read. Disappointingly it does not include anything on the Standard with the twin rings on the bowl sides.
I googled for the Line with the twin rings around the bowl and found examples in a lot of different shapes but no information that helps establish a timeline for the pipe. I abandoned my search (at least for now) and I turned to work on the pipe.
SEE THE ADDENDUM: from that additional information I have learned that the pipe is somewhat rare and was only made in 1975 and 1976. The style is called an Embassy Style or Finish.
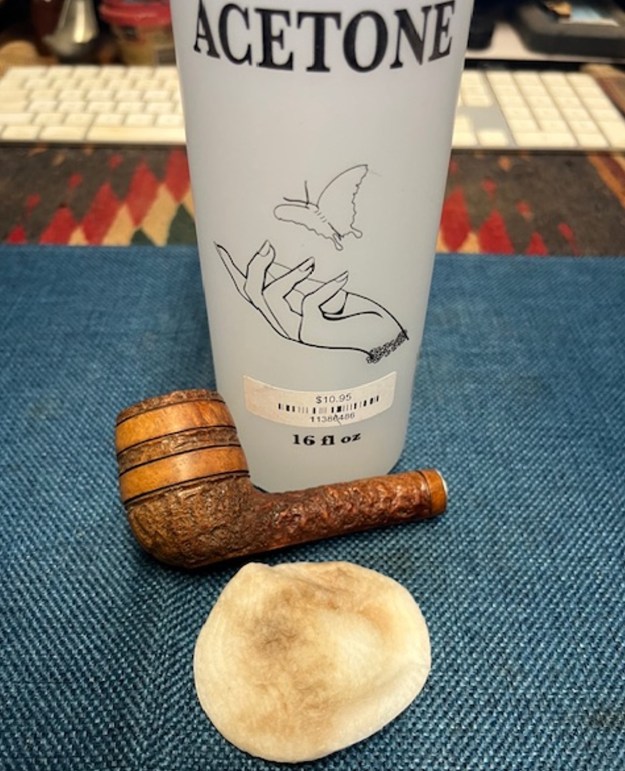
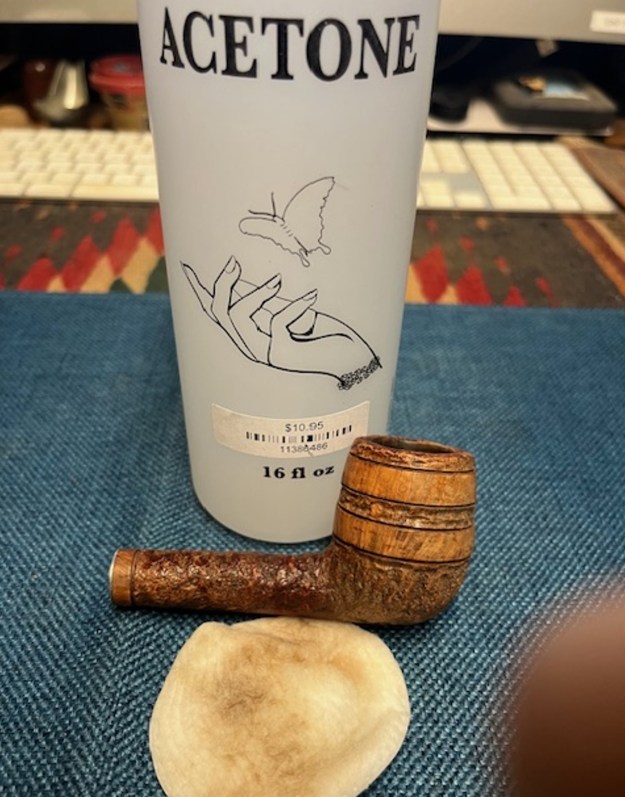
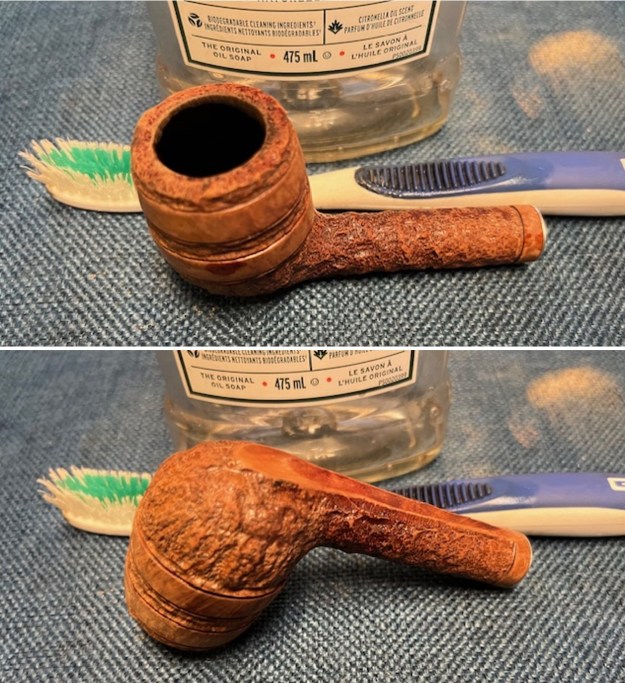
I started my work by trying to remove the shiny varnish coat on the bowl and shank. I went over the rusticated portions with a brass bristle wire brush to loosen the varnish coat. I went over the smooth portions with a 320 grit sanding pad to break up the shiny coat. I wiped the bowl down with acetone on cotton pads repeatedly until I was able to remove the shiny coat. It looked better.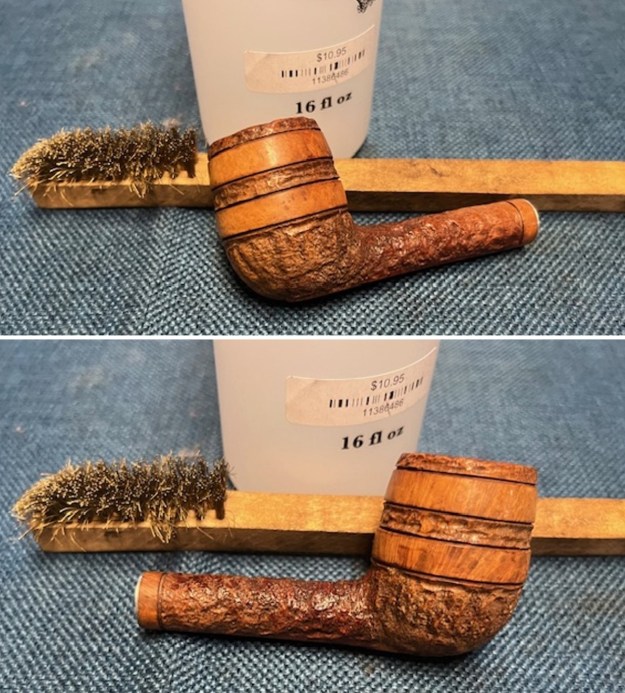
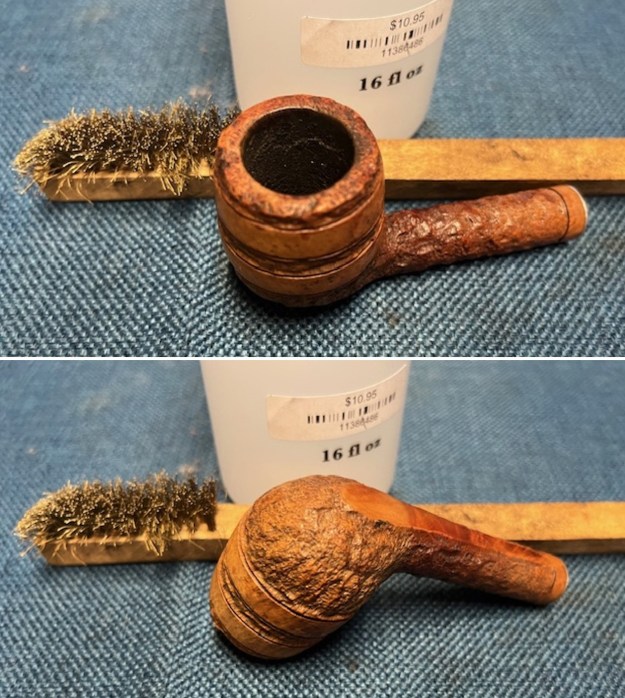 I reamed the pipe with a Pipnet Pipe Reamer and took the cake back to bare briar. I cleaned up the remnants around the bowl sides with a Savinelli Fitsall Pipe knife and then sanded the walls with 220 grit sandpaper wrapped around a piece of dowel. The walls were smooth and showed no burn damage.
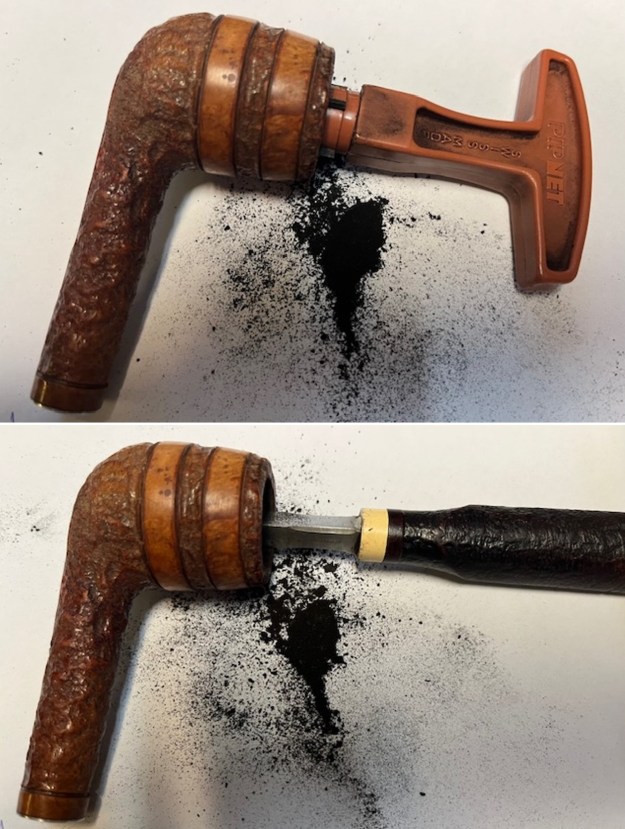
 I cleaned out the interior of the shank, mortise and airway in the stem with pipe cleaners, cotton swabs and alcohol. The pipe was surprisingly clean.
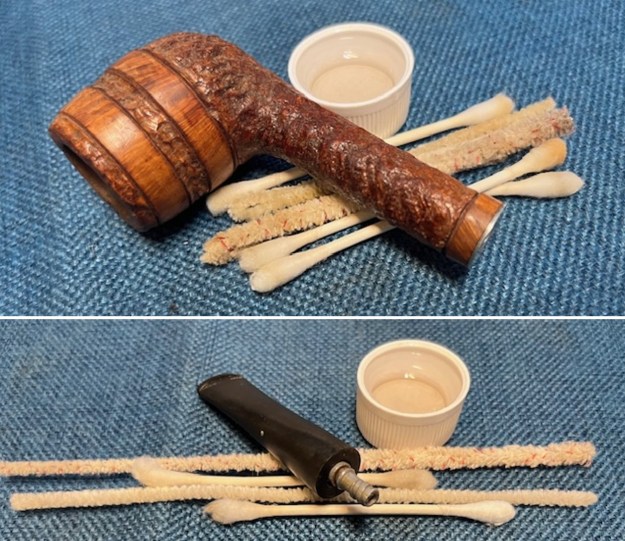 I scrubbed the externals of the pipe with undiluted Murphy’s Oil Soap and a tooth brush. I worked over the inside of the bowl at the same time. I rinsed it with warm water to remove the grime and debris. I dried it off with a soft cotton cloth and lightly buffed it with the cloth. It smelled very clean.
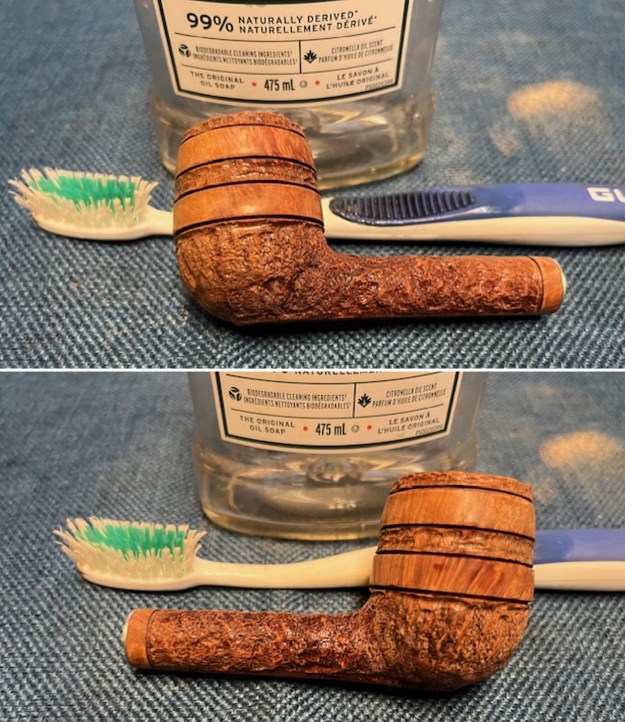
 I sanded the smooth portions of the bowl with 320-3500 grit sanding pads to smooth out the roughened finish. I wiped it down after each sanding pad to get a sense of the progress on the finish. It was looking better with each pad I used. I wiped the bowl and shank down with alcohol on a cotton pad to remove the sanding dust and get a sense of the grain around the bowl sides. I am very happy with how it is looking at this point.
 I polished the bowl with micromesh sanding pads – dry sanding with 1500-12000 grit pads. I wiped it down with a cotton pad and a cloth impregnated with Obsidian oil after each sanding pad. The briar really took on a patina that began to look better with the polishing.
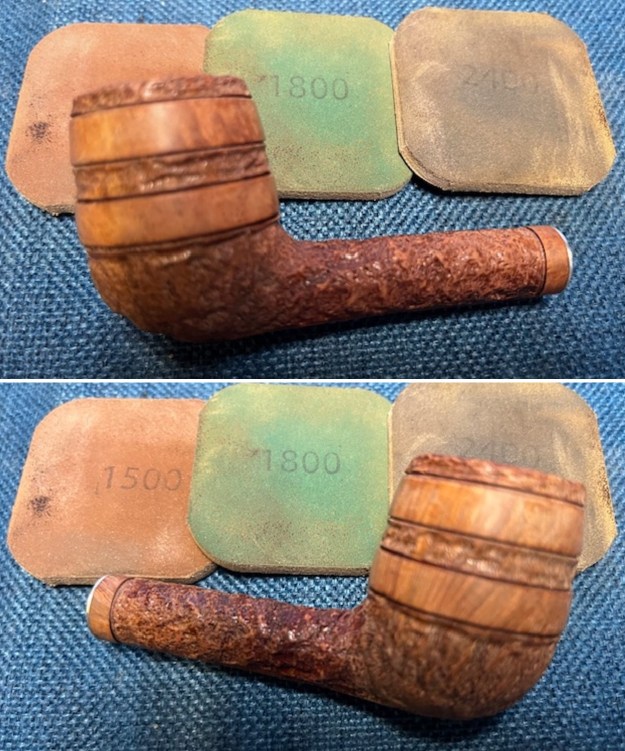
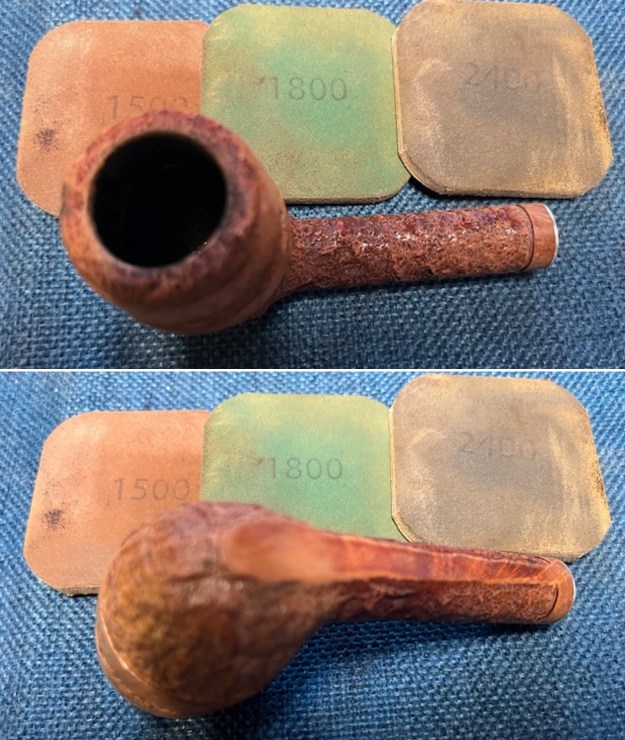
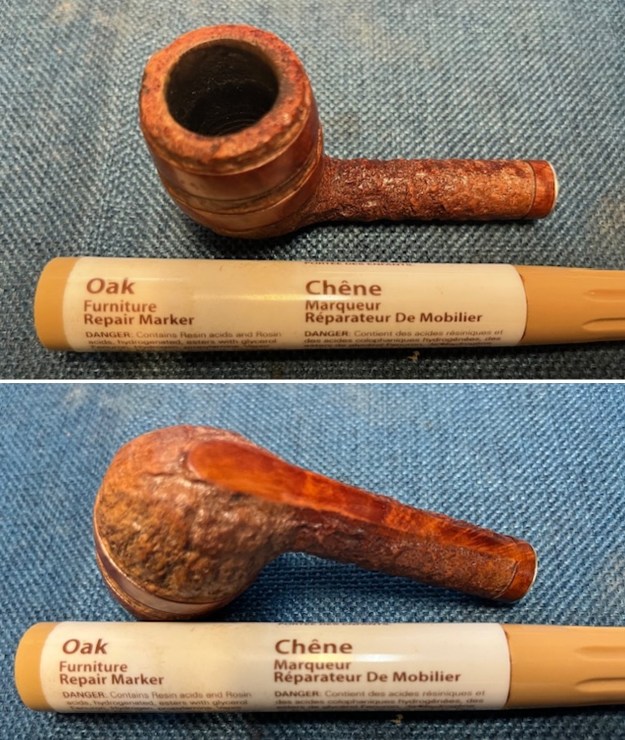
 I paused the polishing of the smooth portions of the pipe to touch up the smooth portions of the pipe with an Oak Stain pen. It matched the rest of the stain around the bowl and once polished the match would be perfect.
 I went back to polishing the briar with the last three micromesh pads. The briar really began to take on a shine. It looked very good.
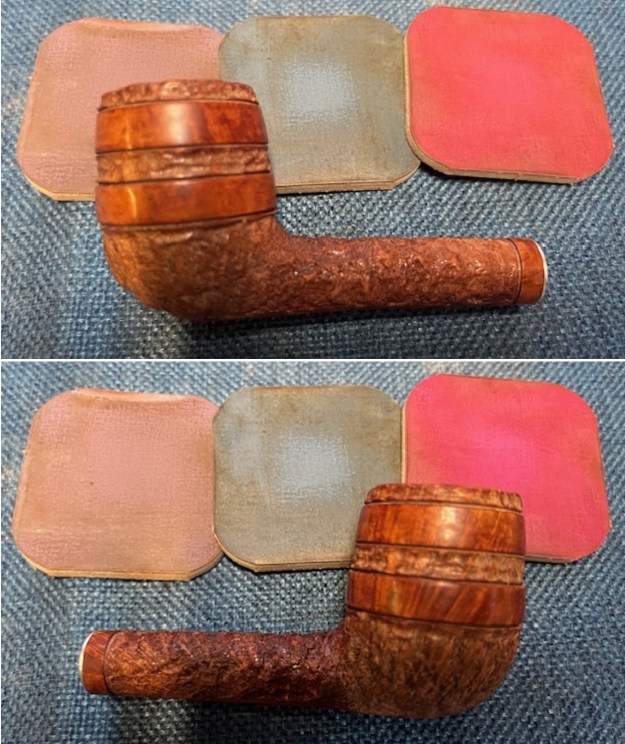
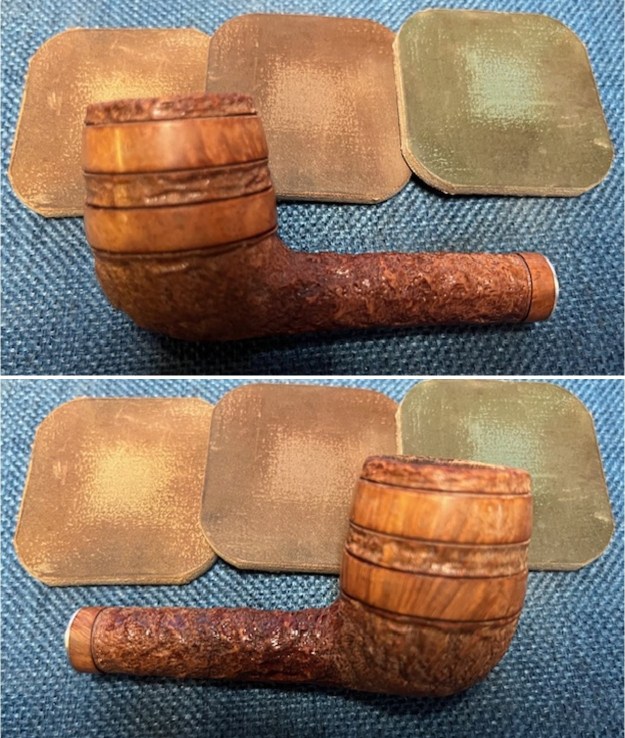
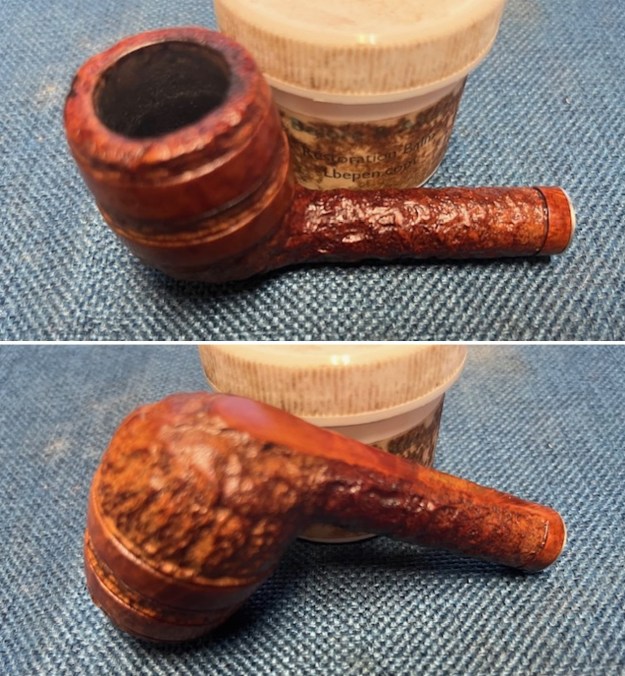
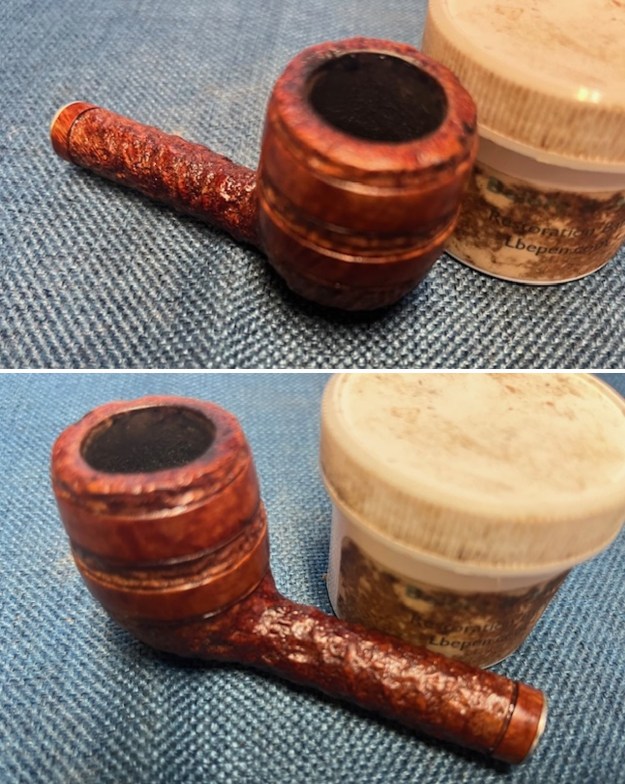
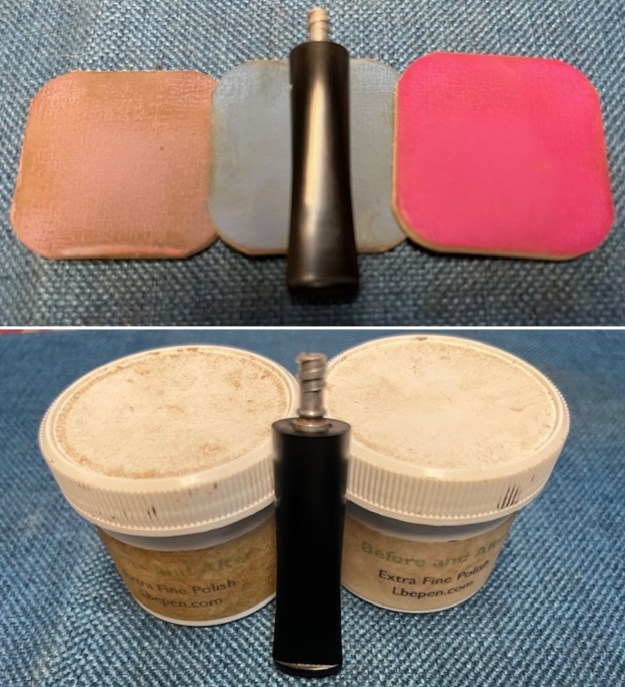
 I rubbed the bowl down with Before & After Restoration Balm. It is a paste/balm that works to deep clean the finish, enliven and protect the briar. I work it into the briar with my finger tips and a shoe brush to make sure that it covers every square inch of the pipe. I set it aside for 10 minutes to let it do its work. I wiped it off with a soft cloth then buffed it with a cotton cloth. The briar really began to have a deep shine. The photos I took of the bowl at this point mark the progress in the restoration. You see the shine that the briar has taken on and the way grain pops on the smooth portions and the rusticated parts have depth.
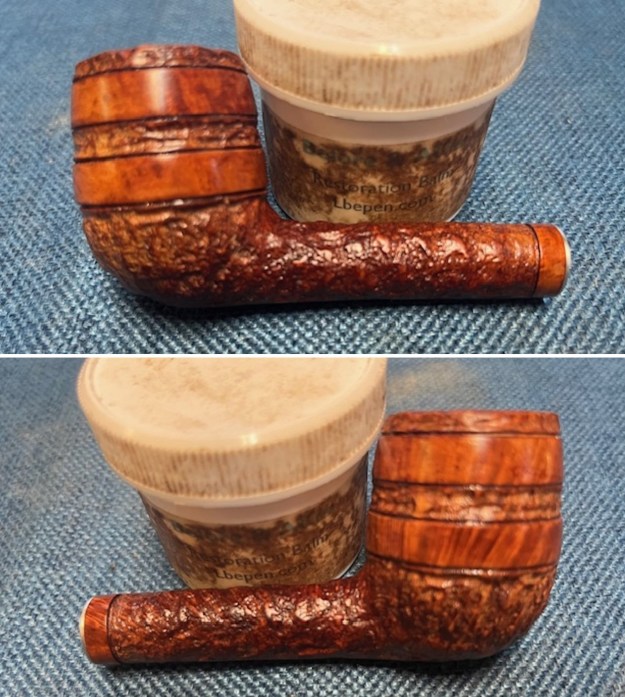
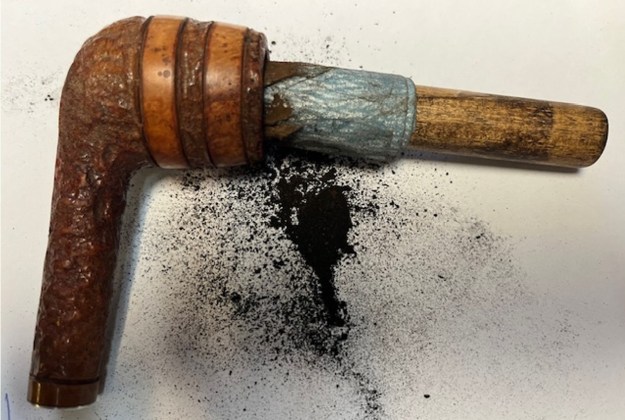
 I set the bowl aside and turned my attention to the stem. I decided to address the overclocked stem first. I heated the metal threaded tenon with the flame of a lighter to soften the glue. Once it was softened I turned the stem back into the shank and aligned the stem and shank sides. It looked much better.
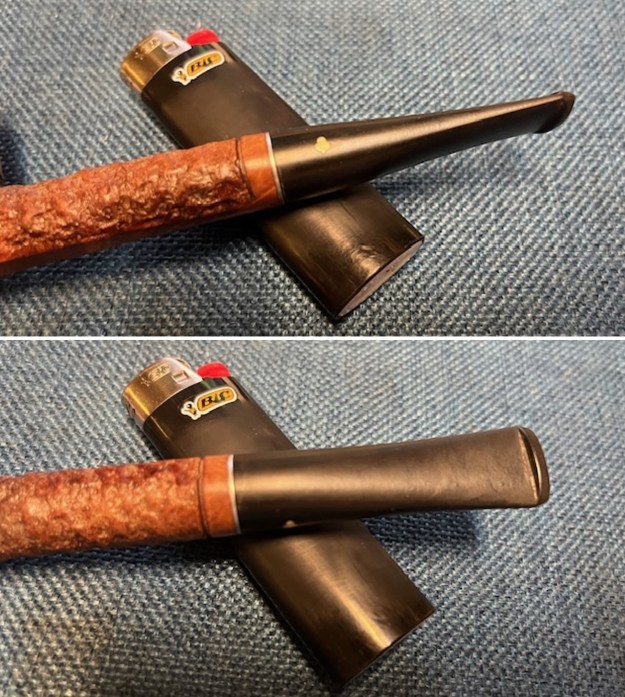 I sanded the stem with 320-3500 grit sanding pads to break up the remaining oxidation. I wiped it down after each sanding pad with an Obsidian Oil impregnated cloth. It began to look good.
 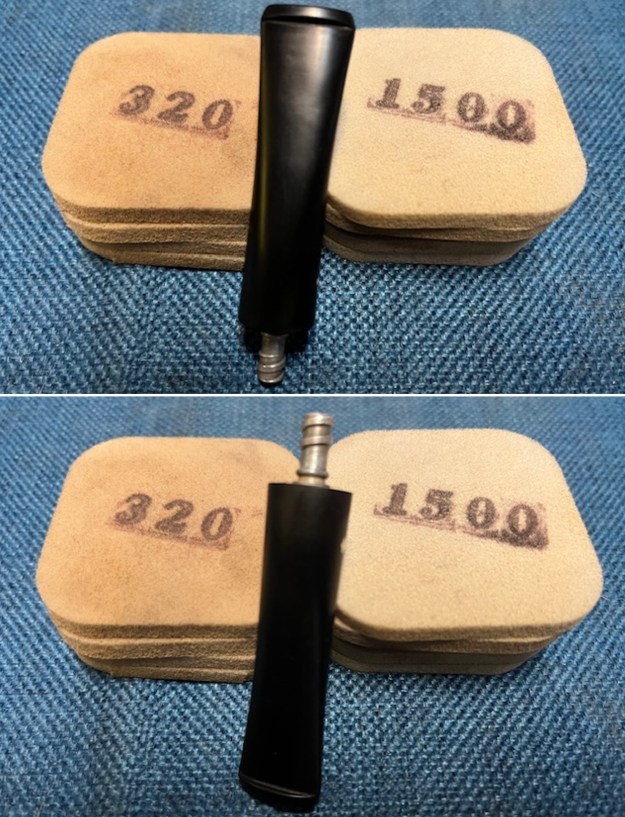 I polished the stem with micromesh sanding pads – dry sanding with 1500-12000 grit pads. I wiped the stem down after each sanding pad with Obsidian Oil. I polished it with Before & After Pipe Stem Polish – both Fine and Extra Fine. Once I had finished the polishing I gave it final coat of Obsidian Oil and set it aside to dry.
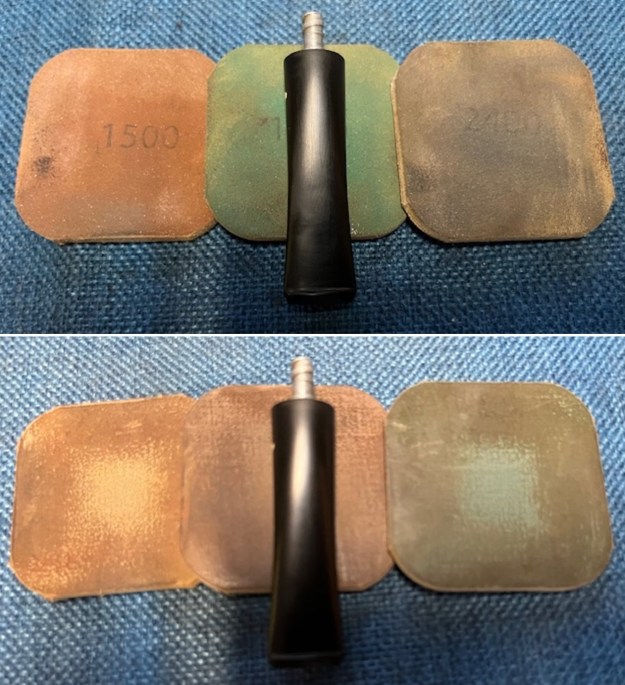
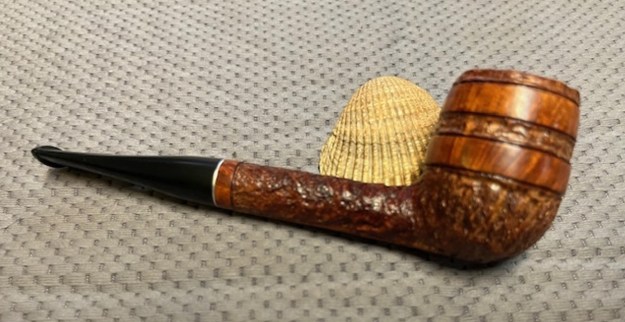
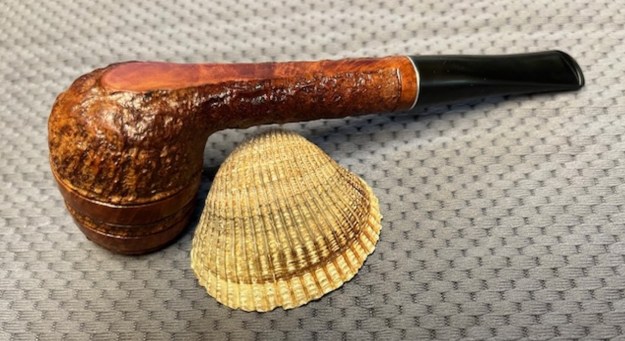
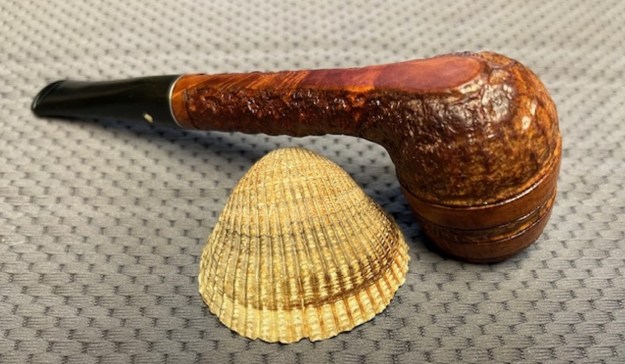
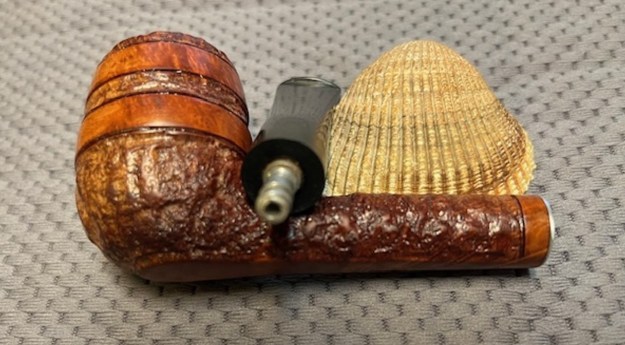
 More than usual at this point in the restoration process I am excited to be on the homestretch. I really am looking forward to the final look when I put a pipe back together, polished and waxed. I polished the bowl and stem with Blue Diamond to polish out the scratches in the briar and the vulcanite. I gave the bowl and the stem multiple coats of carnauba wax. I buffed the pipe with a clean buffing pad to raise the shine. I hand buffed it with a microfiber cloth to deepen the shine. The pipe polished up pretty nicely. The grain pops on the smooth sections and in the rustication with the wax and polish. The shiny black vulcanite stem is a beautiful contrast to the browns of the bowl and shank. This Kaywoodie Standard was another fun pipe to work on. The pipe is comfortable pipe to hold in the hand. The finished pipe is shown in the photos below. The dimensions of the pipe are Length: 5 ½ inches, Height: 1 ¾ inches, Outside diameter of the bowl: 1 ¼ inches, Chamber diameter: ¾ of an inch. The weight of the pipe is 1.31 ounces/38 grams. It is the second of my Idaho Pipe Hunting finds. I will be adding it the American Pipemakers section of the rebornpipes store. Thanks for reading this blog and my reflections on the pipe while I working on it.
As always, I encourage your questions and comments as you read the blog. Thanks to each of you who are reading this blog. Remember we are not pipe owners; we are pipemen and women who hold our pipes in trust until they pass on into the trust of those who follow us.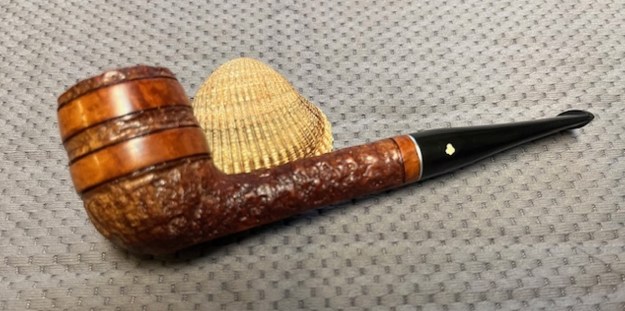

ADDENDUM: I received an email from a reader, Mark Bialzik with information on the line that this pipe comes from. He sent me the information on a pipe that he purchased from a seller that was much the same as this one. Here is the information that the seller sent him and that Mark sent to me:
A very rare Dublin by Kaywoodie. The majority of people don’t even know what this special design is called. This is a Kaywoodie Embassy style or finish. As far as I know these were made only in 1975-76. As I said, many don’t know what these are called and you’ll see them called “ring grain” or other names. I’ve messaged a few sellers telling them the name, hoping it’ll help them sell faster. I try and buy every one that’s in very good condition I can. So far, I’ve owned 5 I think. Sold just one and the rest I’ve kept for myself. There are a couple I’ll list or when I get a duplicate.
