Tag Archives: Joyal Taylor

Yellow Acrylic Stem Patch – Part 2 – Joyal Taylor (aka holymolar)


Blog by Joyal Taylor

Earlier I posted a You Tube video that Joyal posted about patching this yellow acrylic stem https://rebornpipes.com/2014/07/08/stem-patch-using-amber-super-glue-joyal-taylor-aka-holymolar/ It is part of an ongoing work in progress where Joyal is experimenting with different mixture to patch a bite through in an acrylic yellow stem. This is Part 2 of the ongoing experiment. Thanks Joyal for taking us with you in this experiment.

Since the amber superglue didn’t work well on this stem, I’m trying other things.

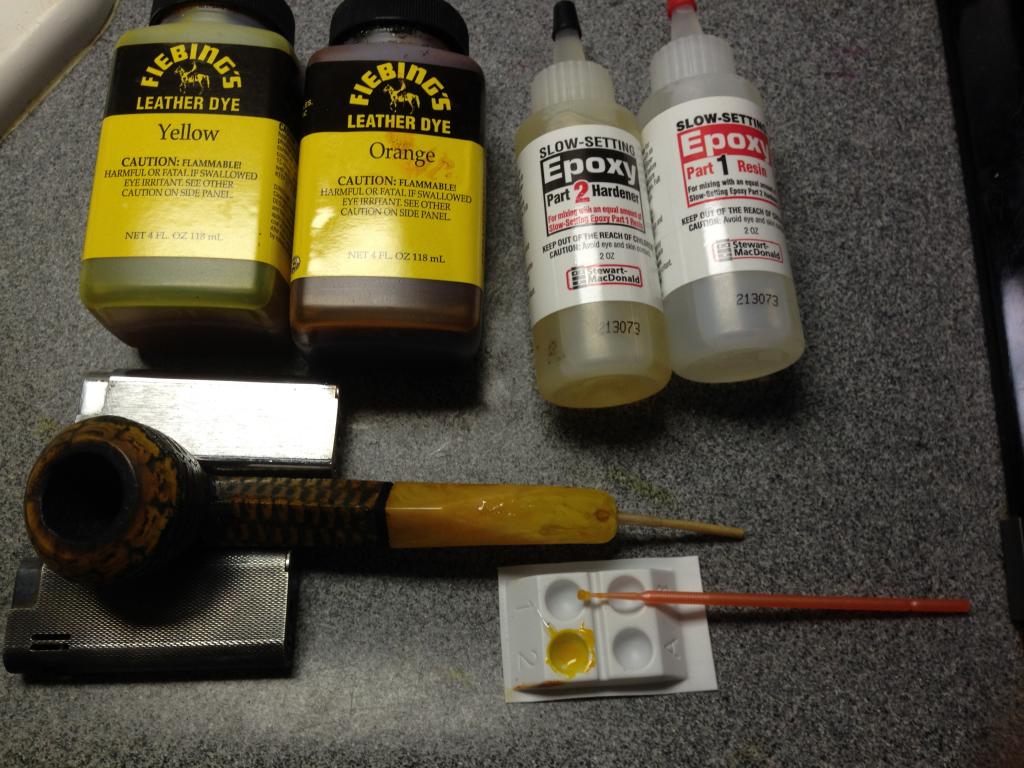
I tried mixing yellow and orange Fiebing’s Leather Dye with clear superglue, but the dye caused the glue to set instantly, even before I could mix it.

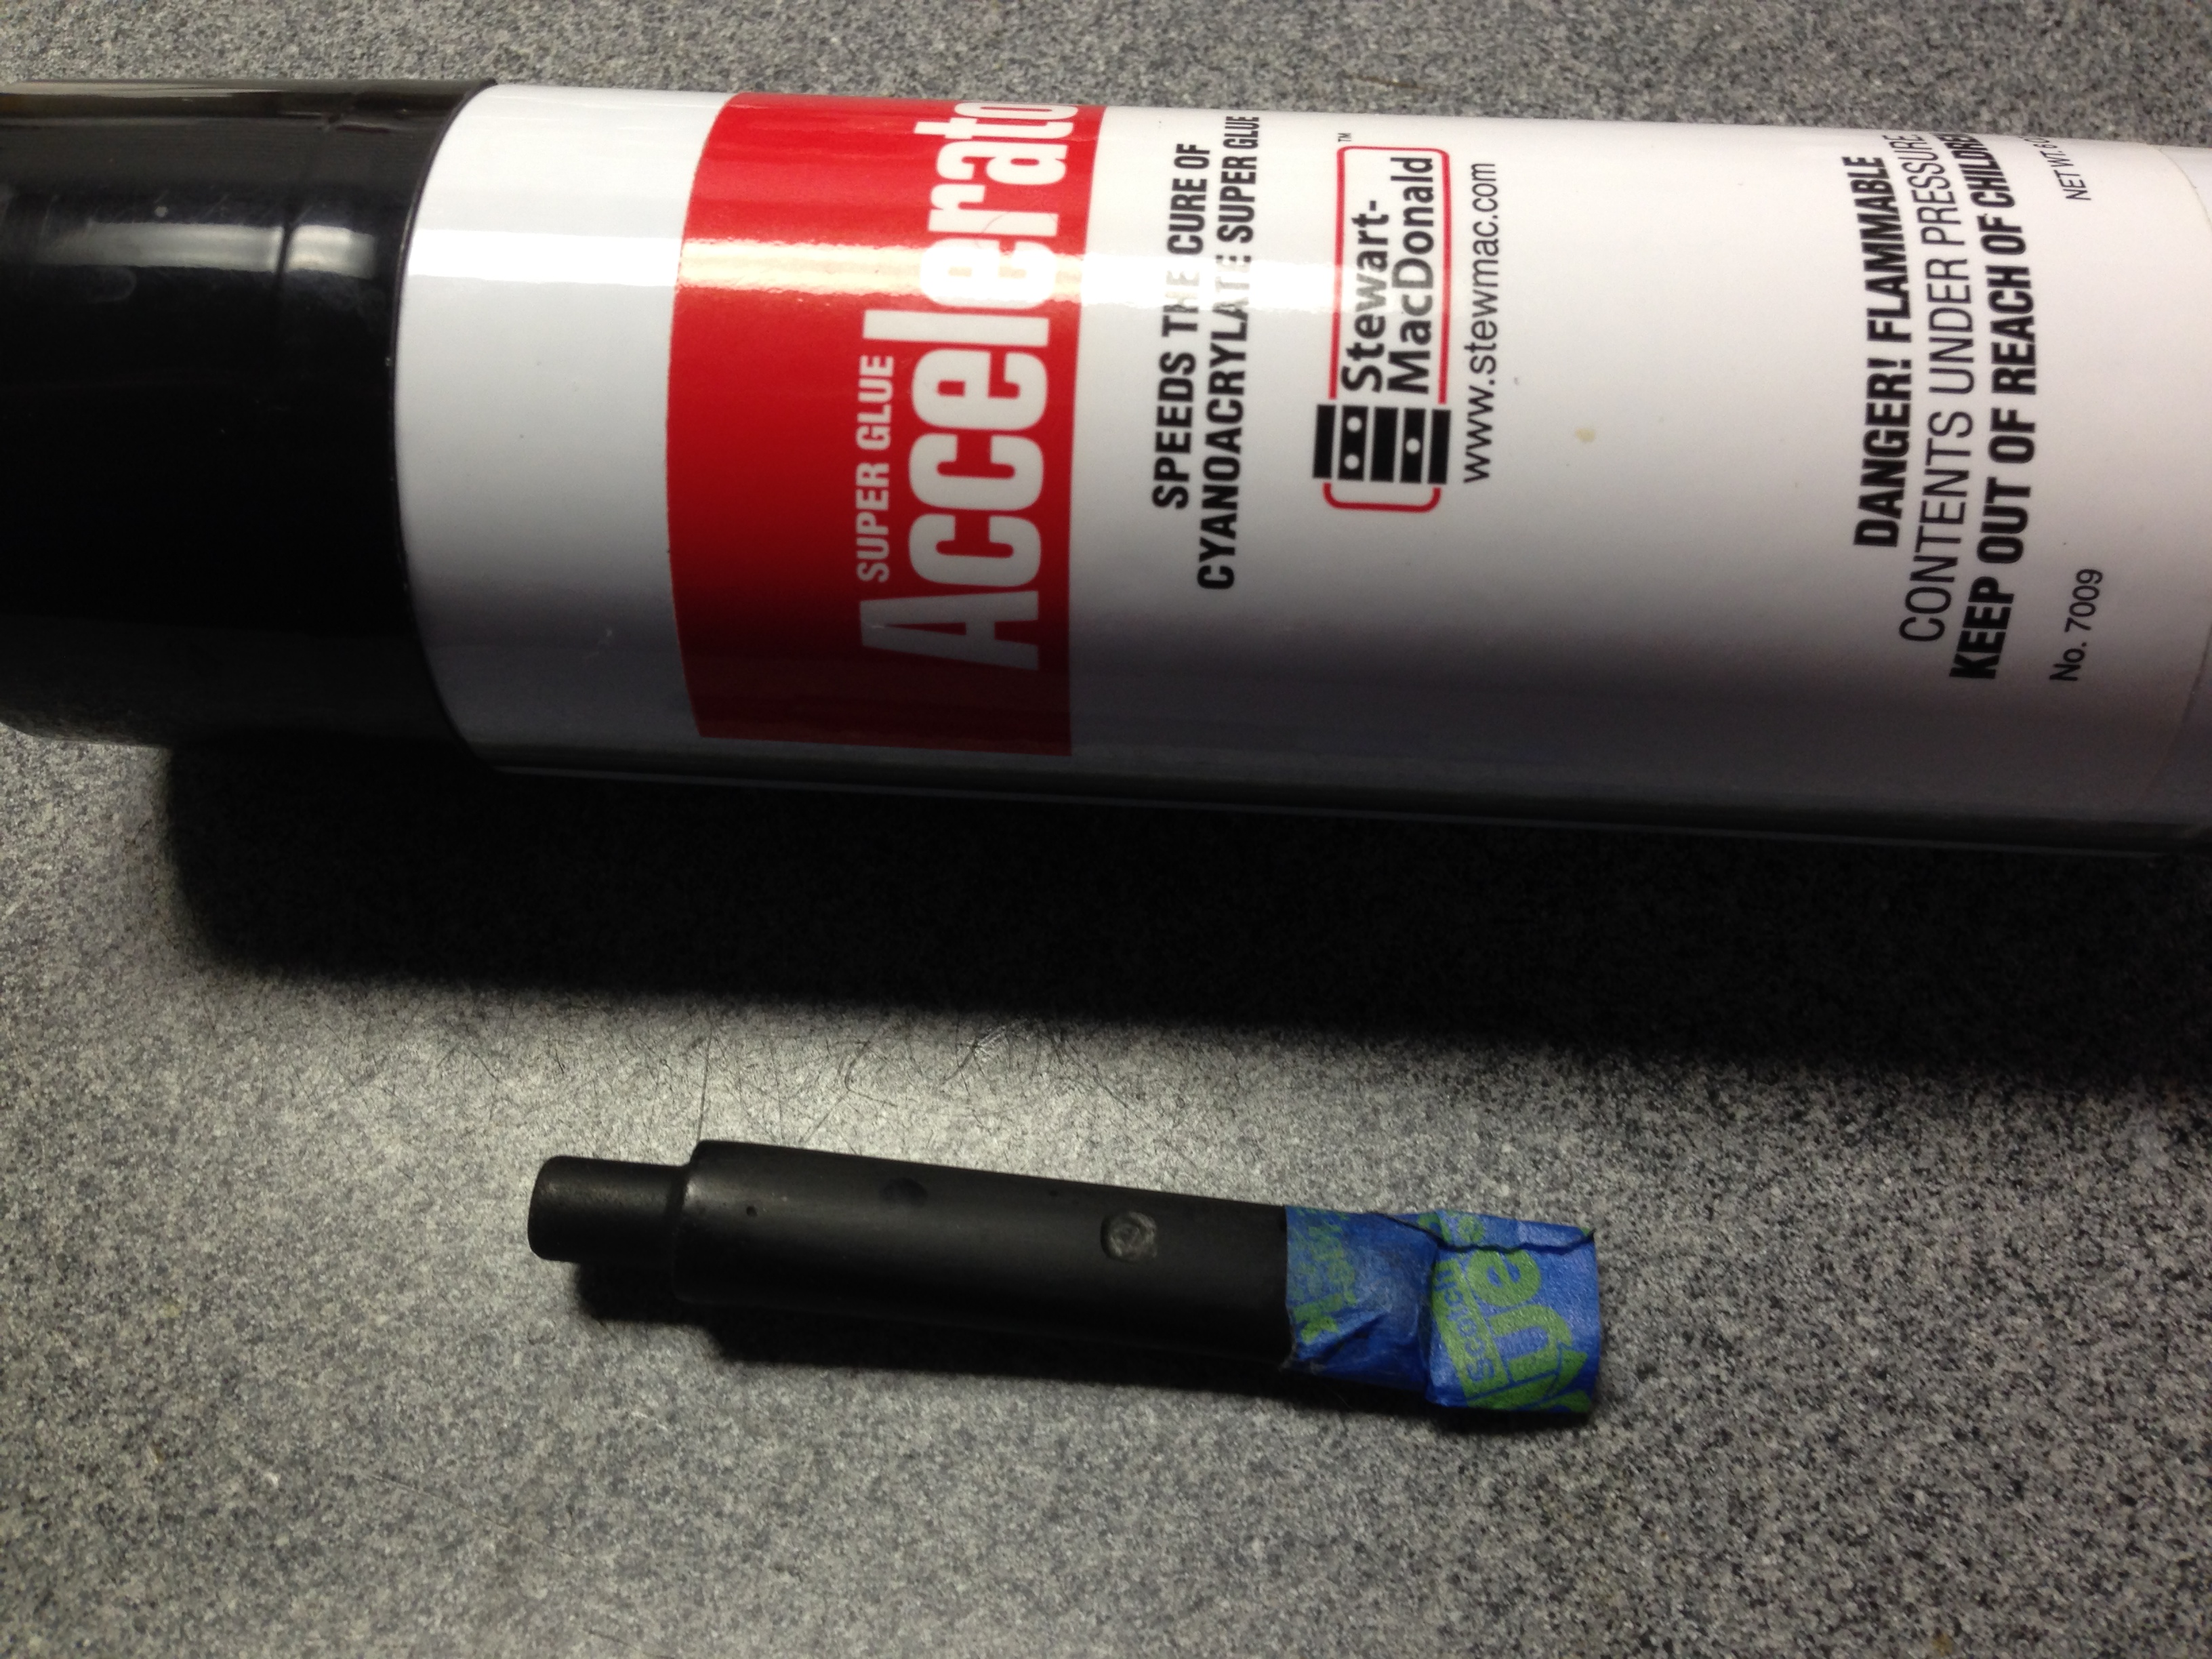
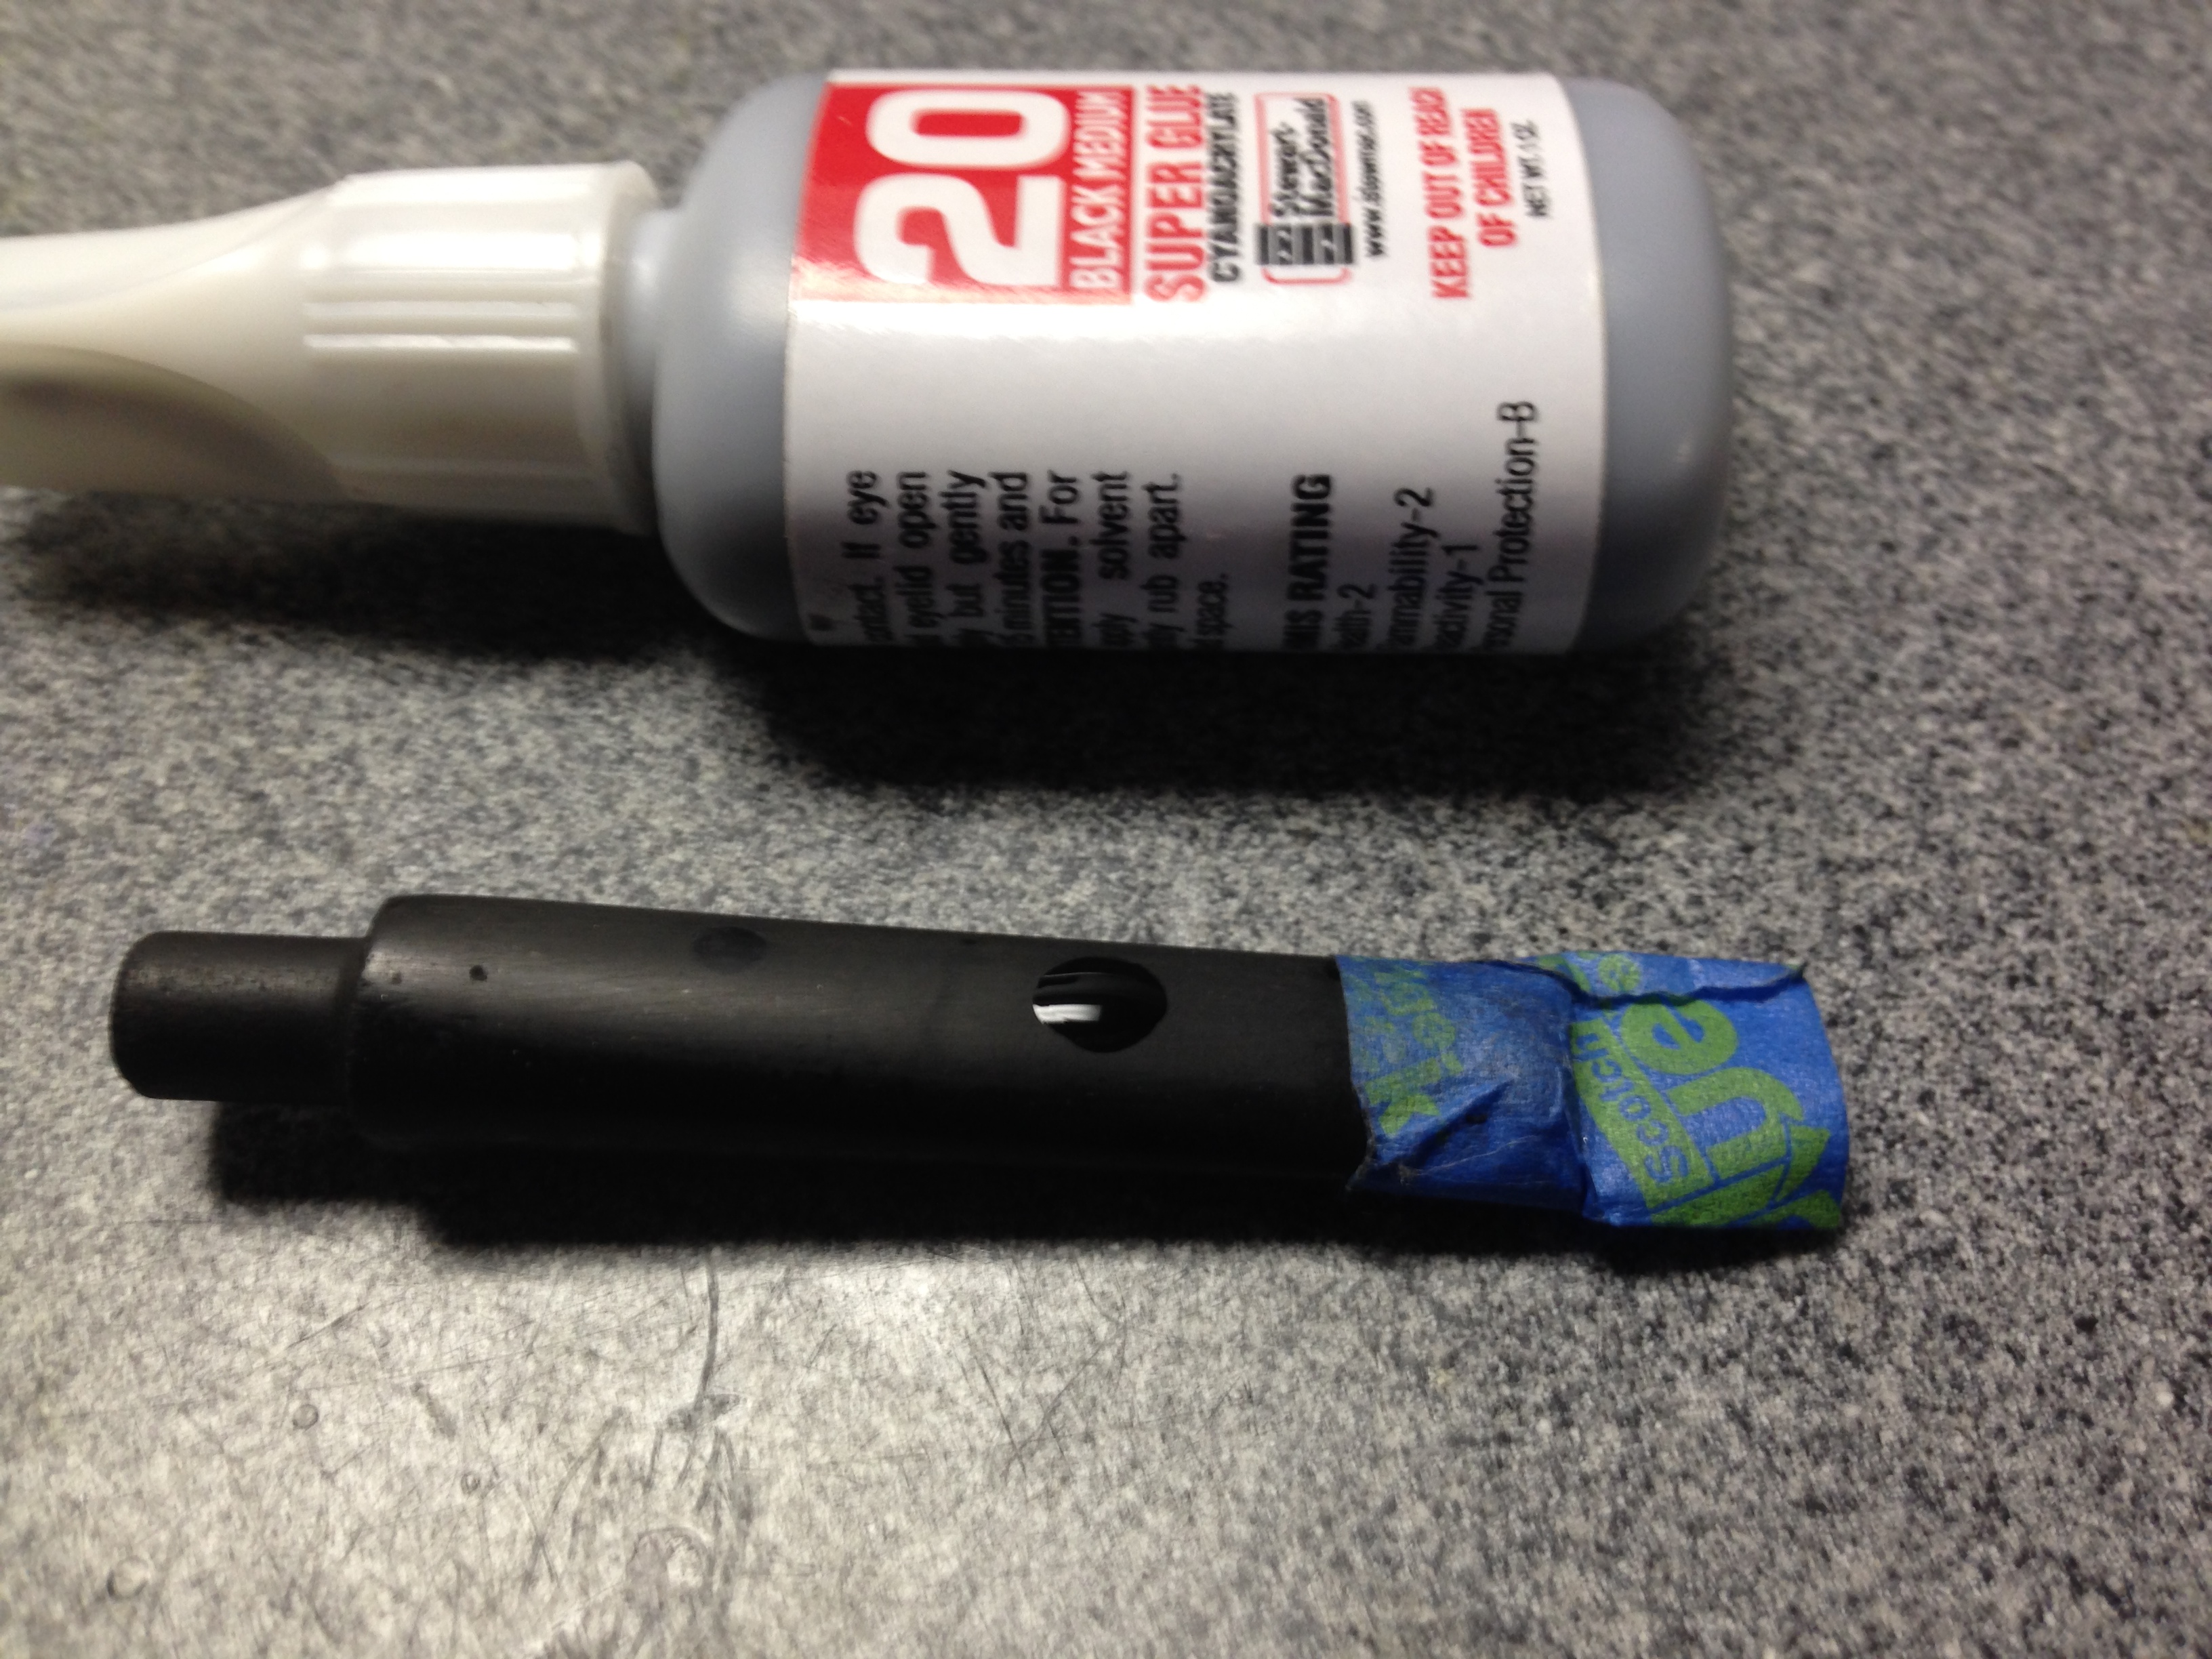
Next, I tried StewMac 2 part clear epoxy with Fiebing’s yellow and orange dyes, which mixed well.

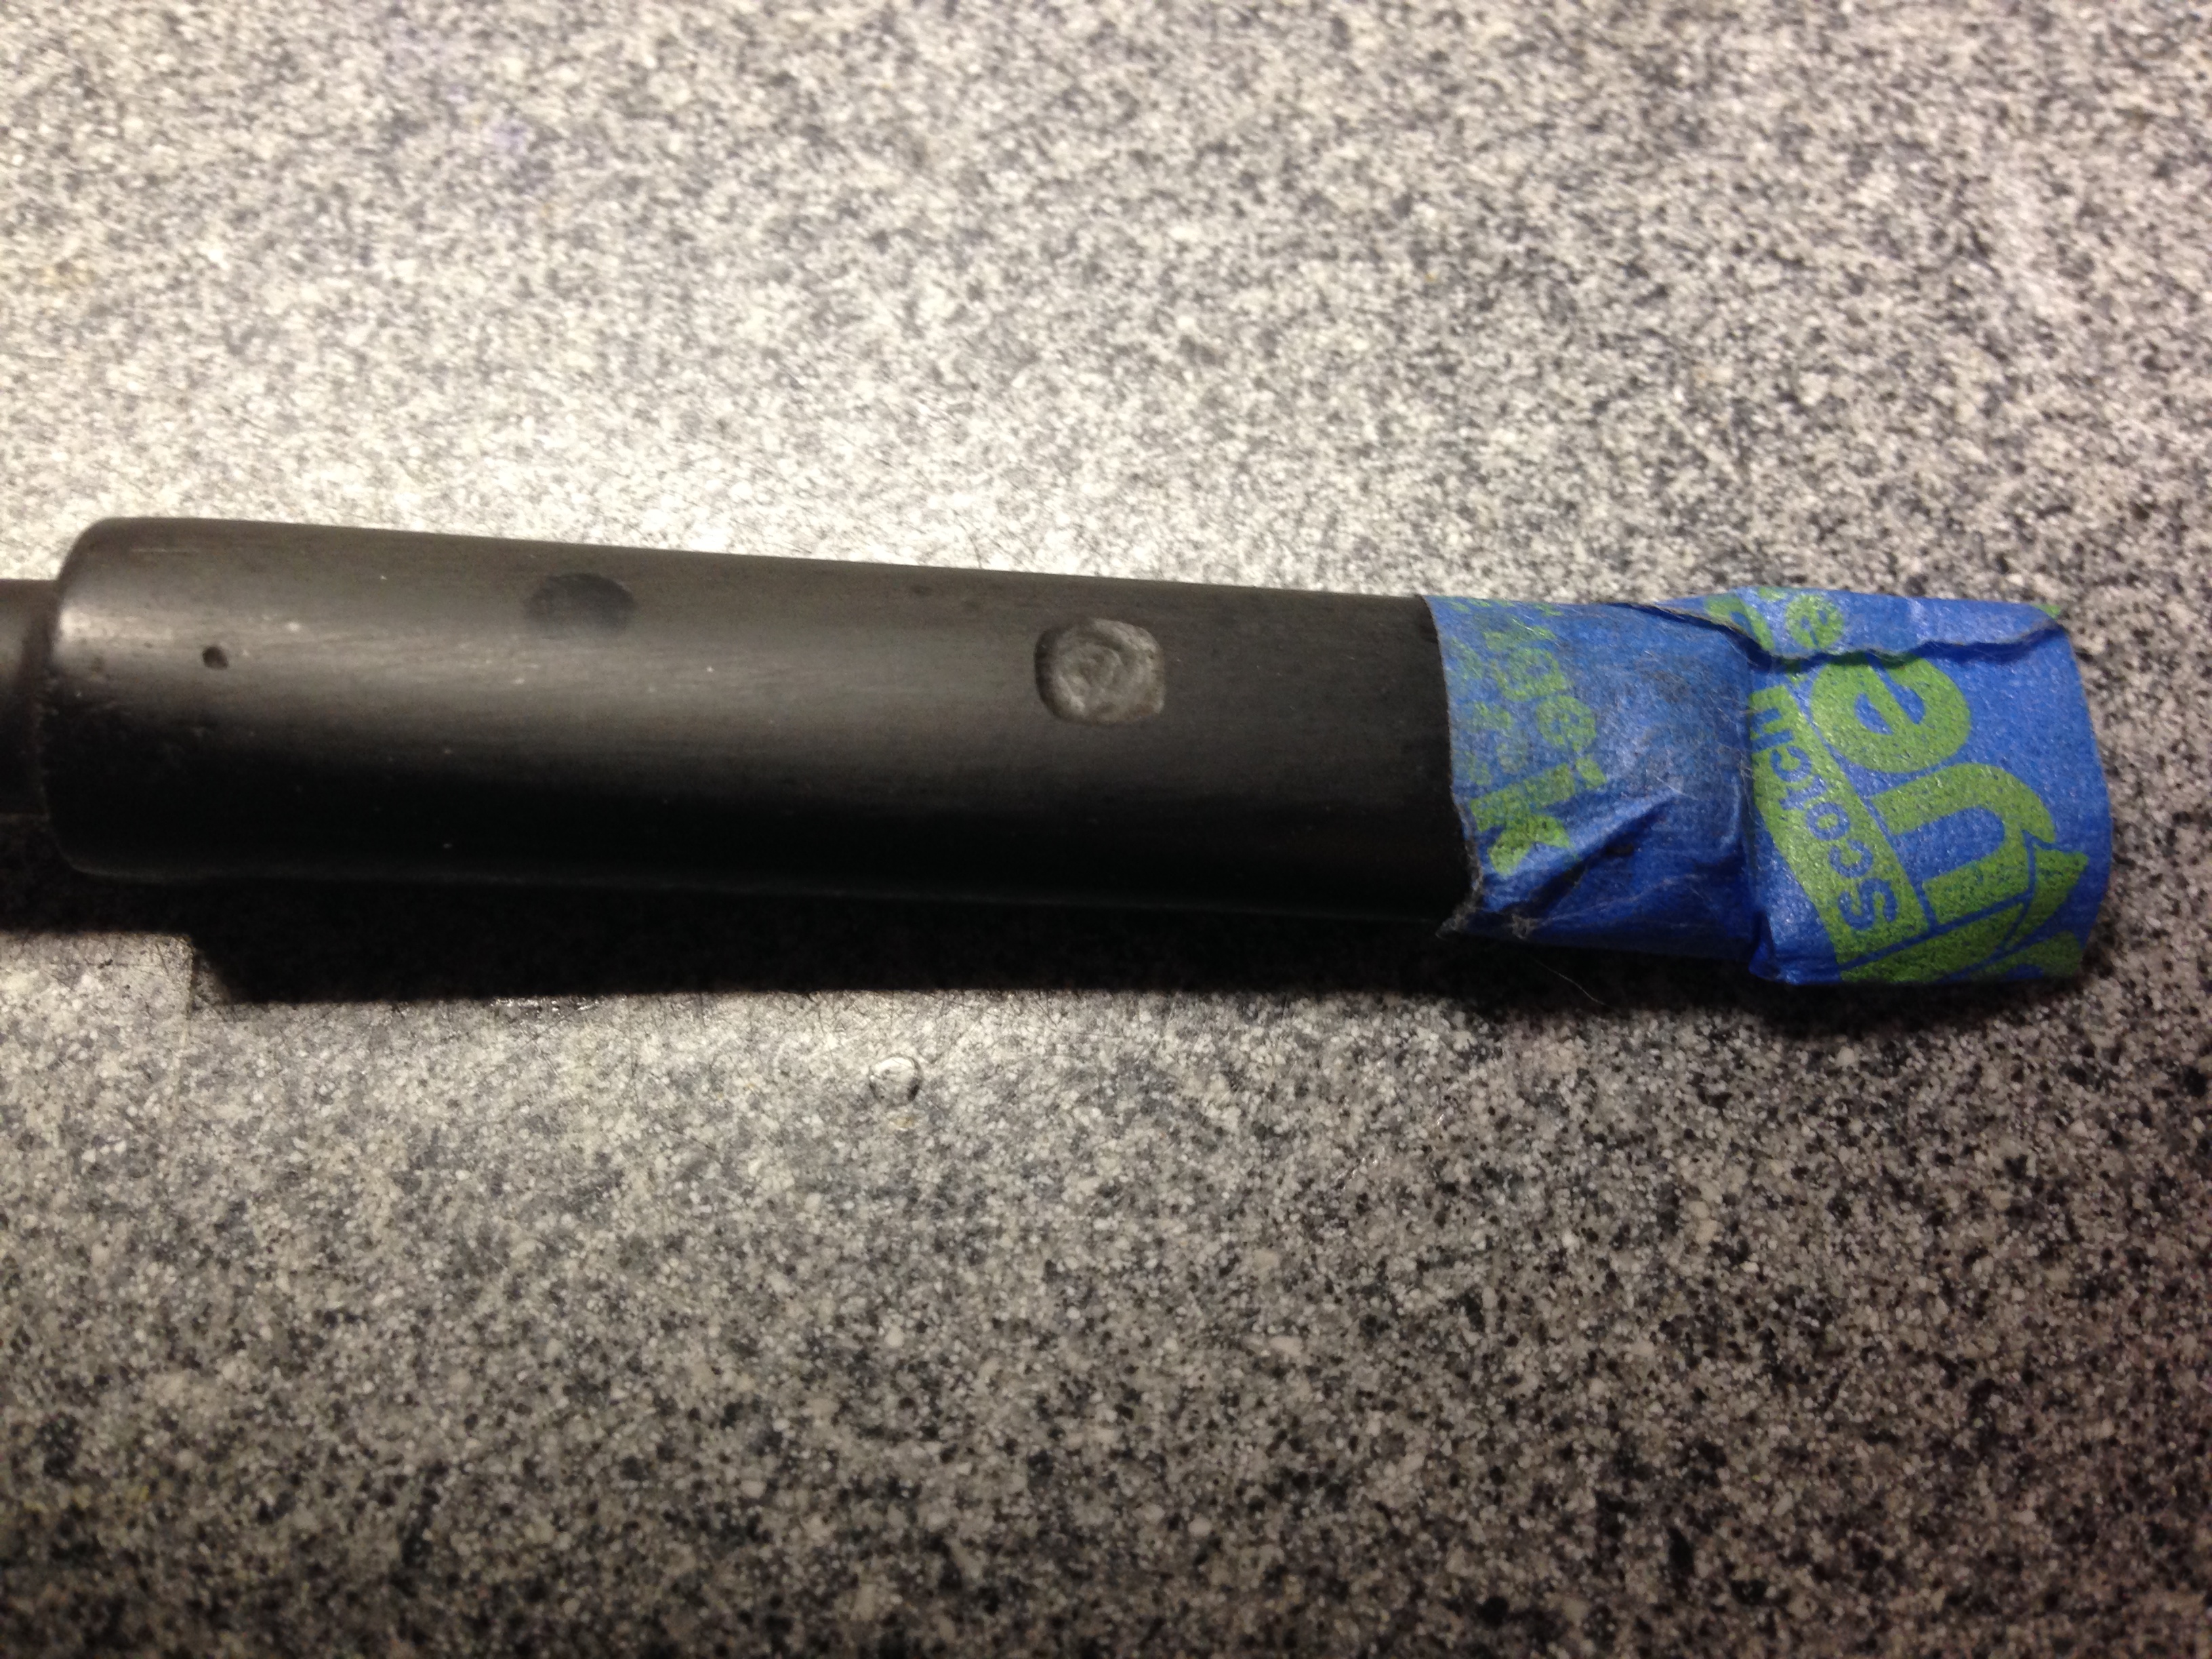
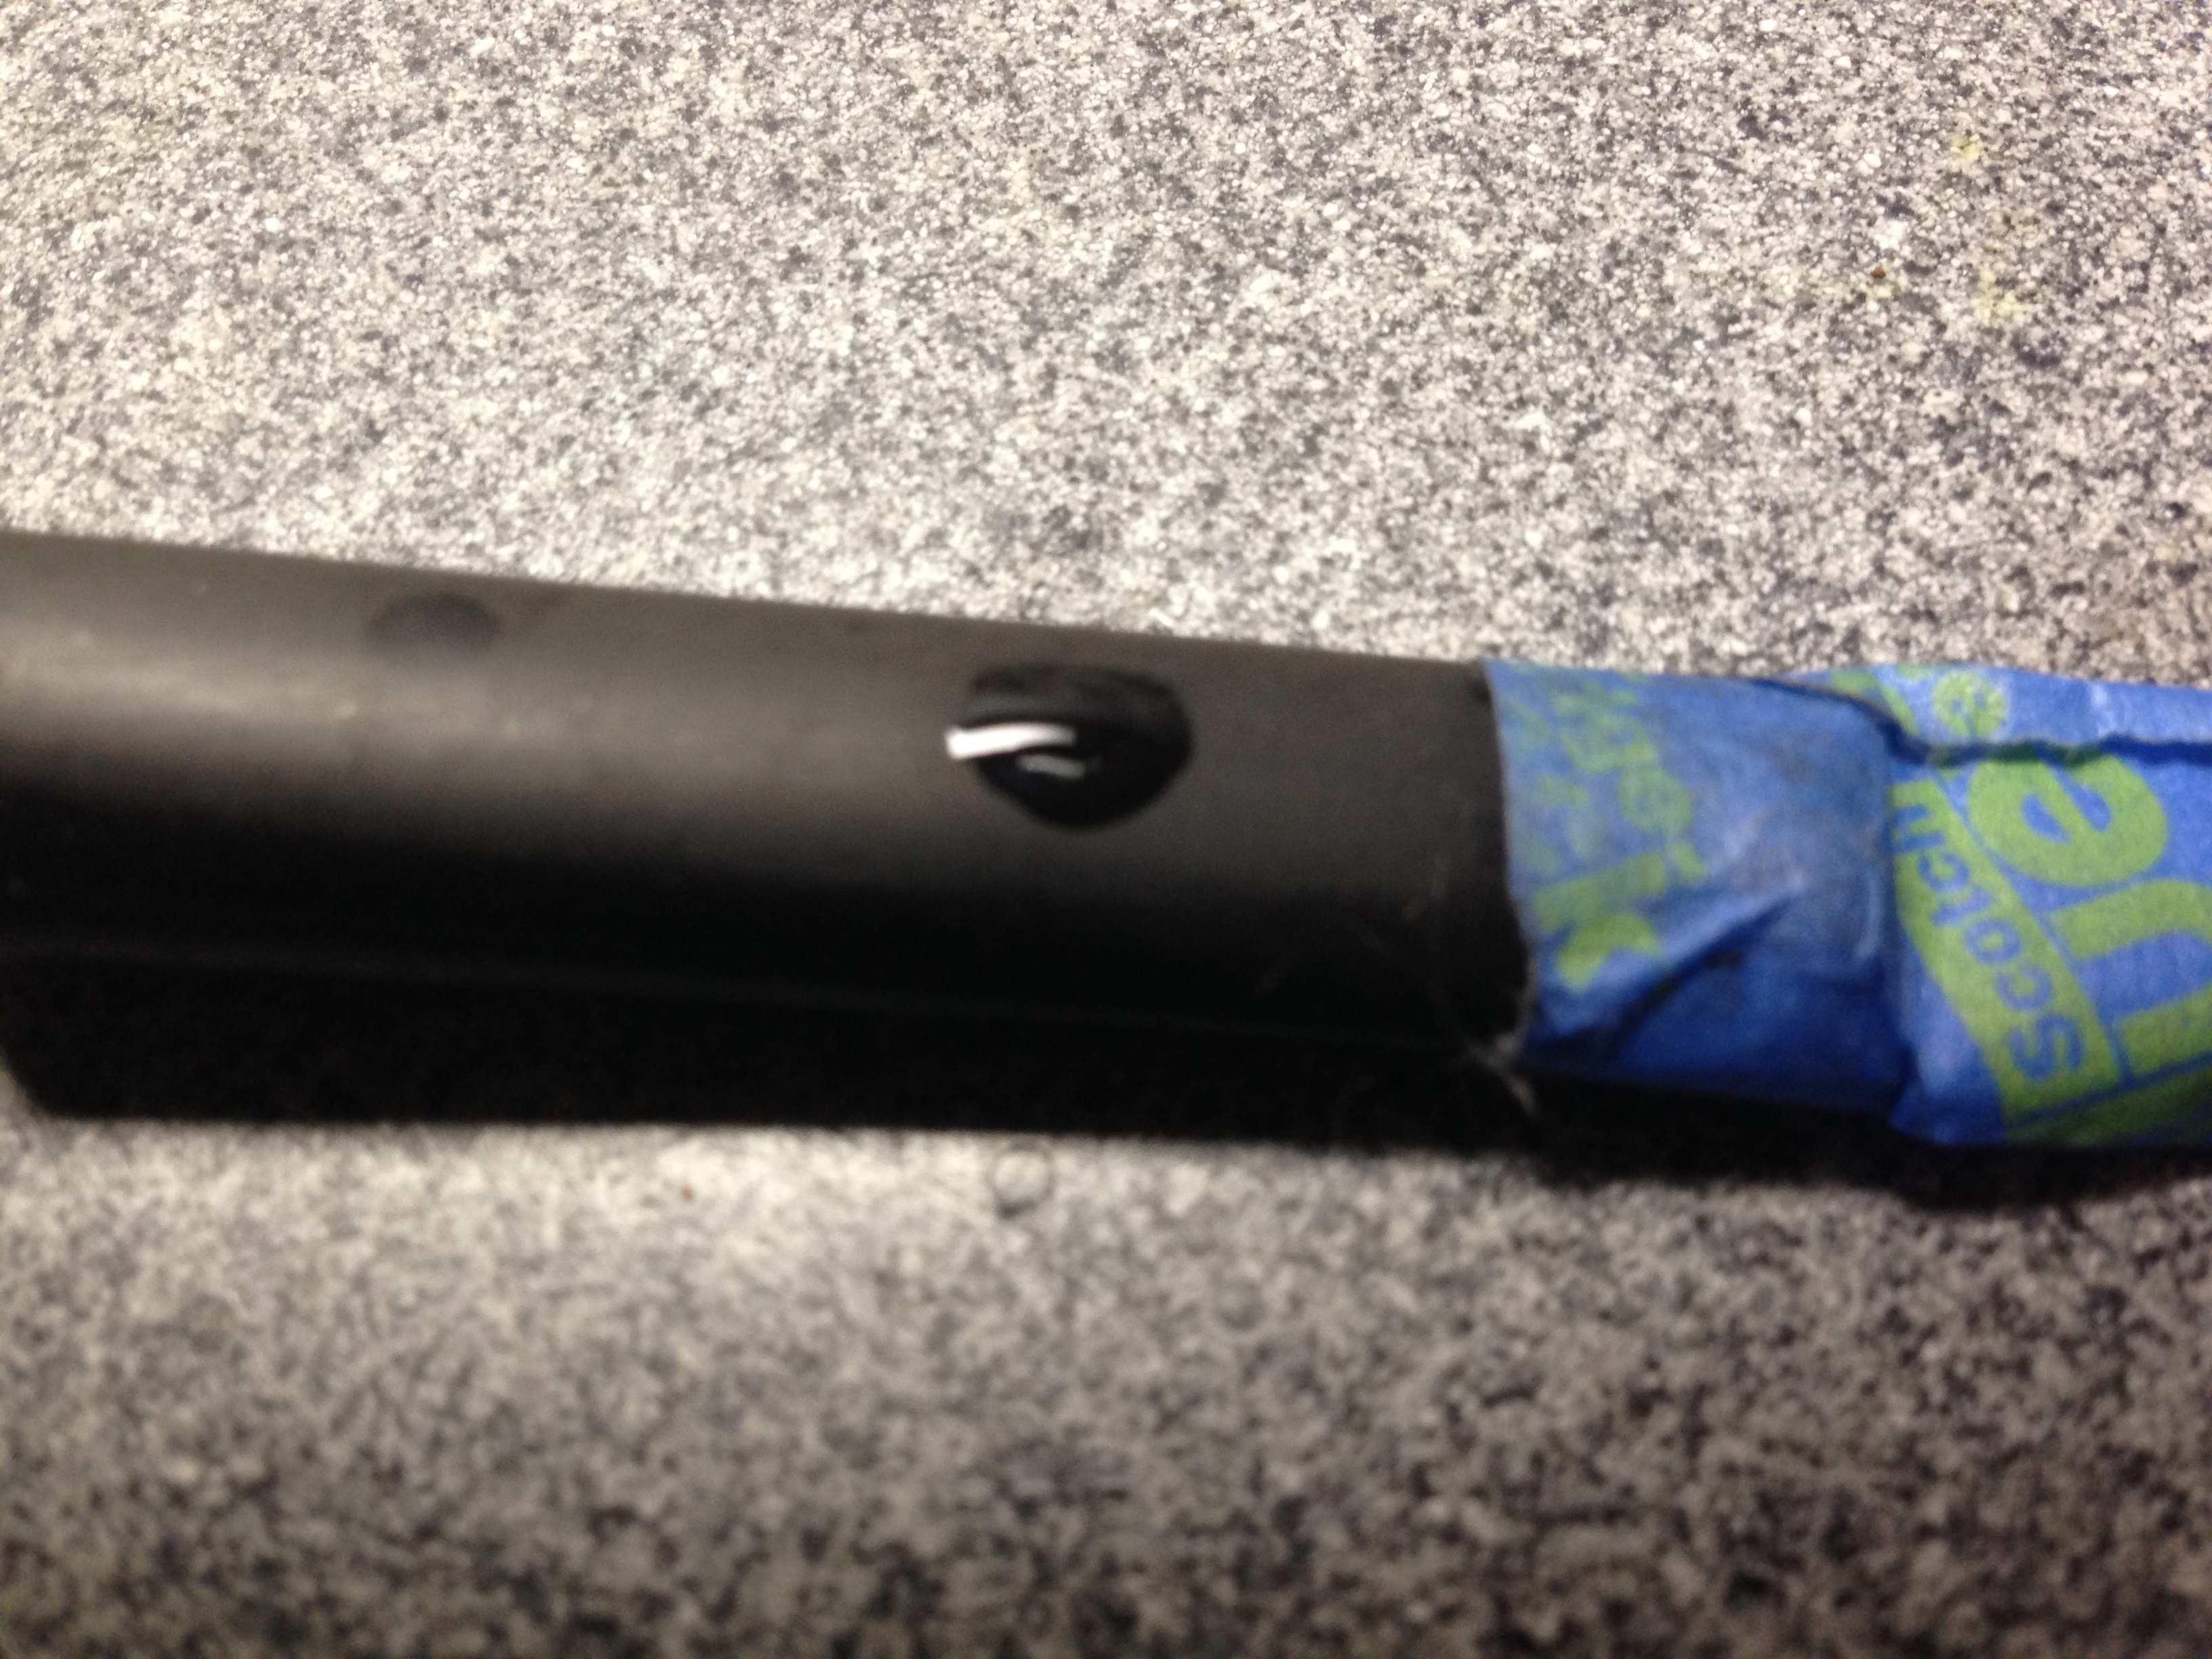
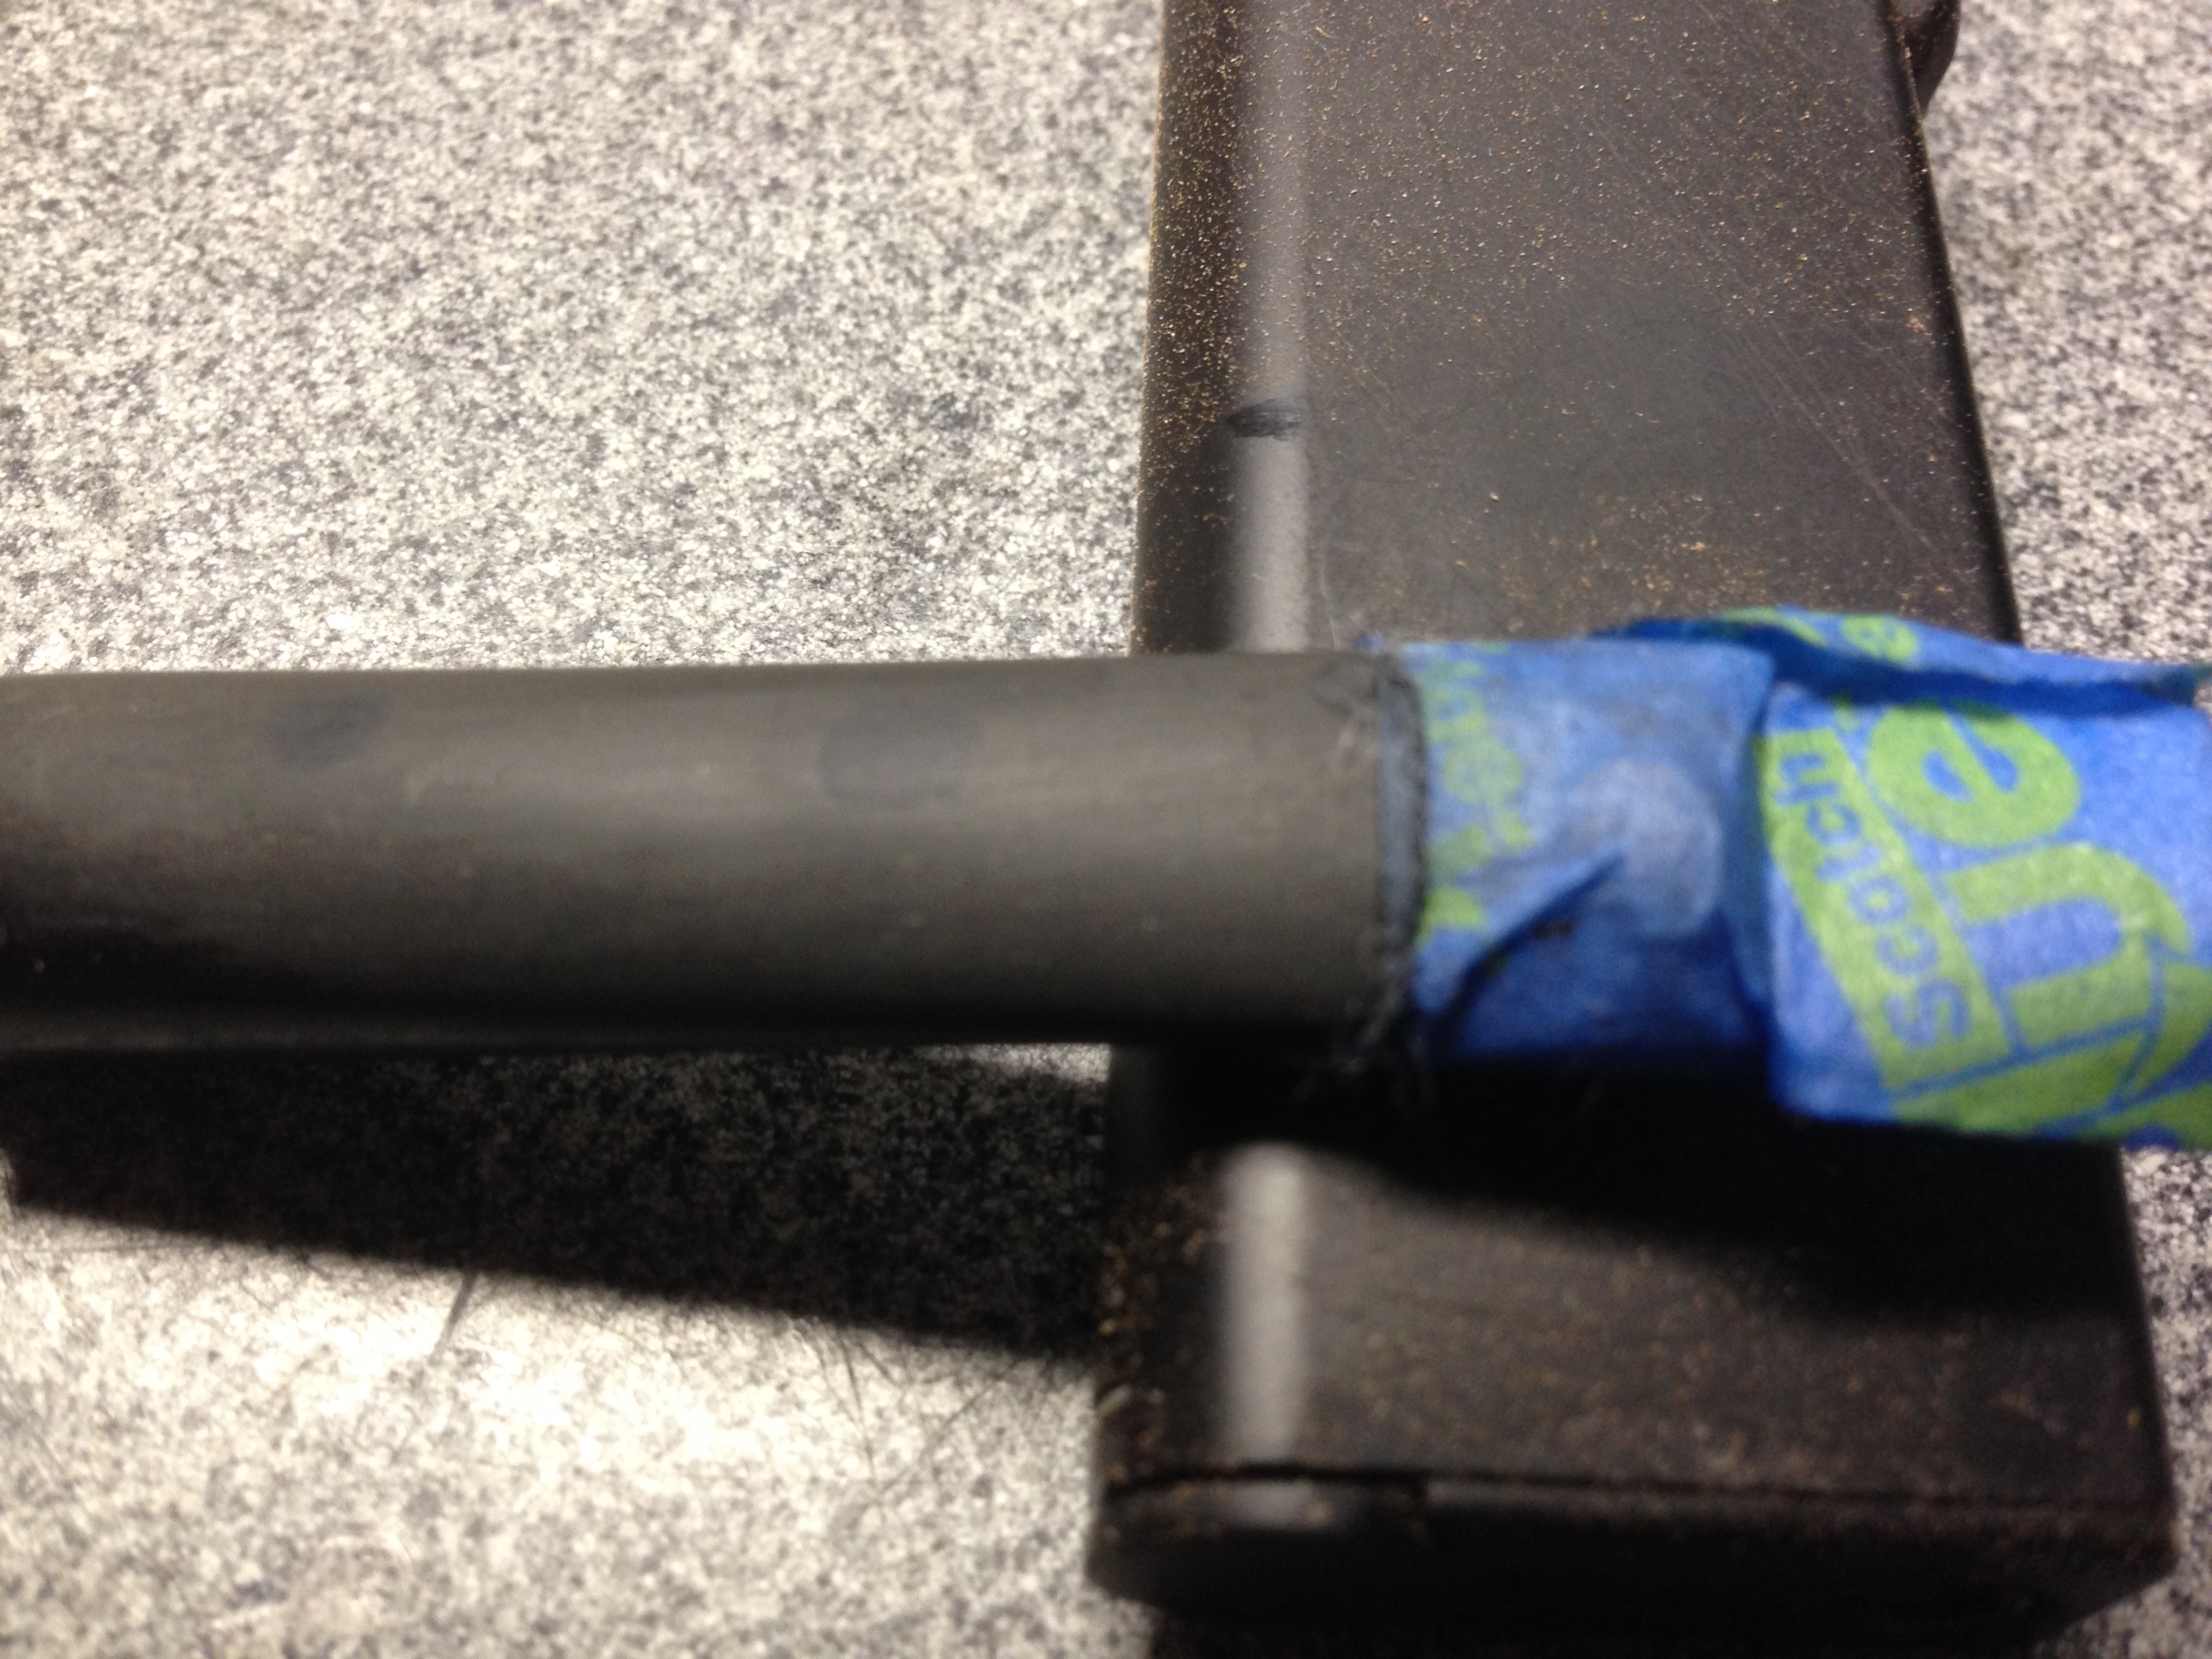
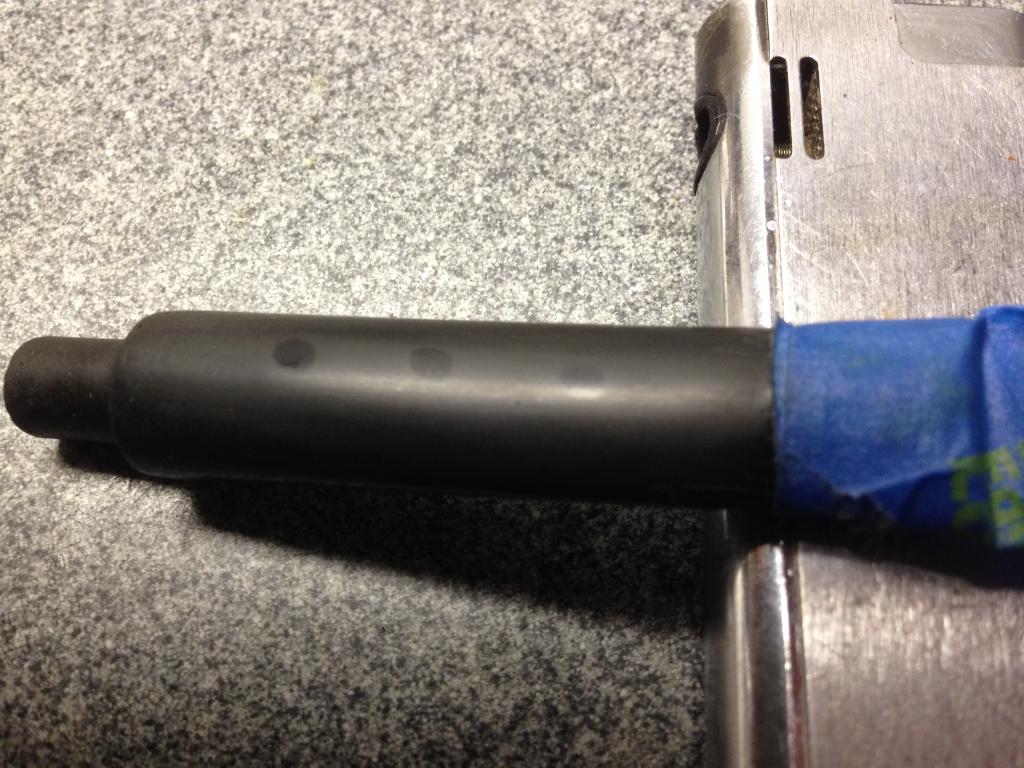
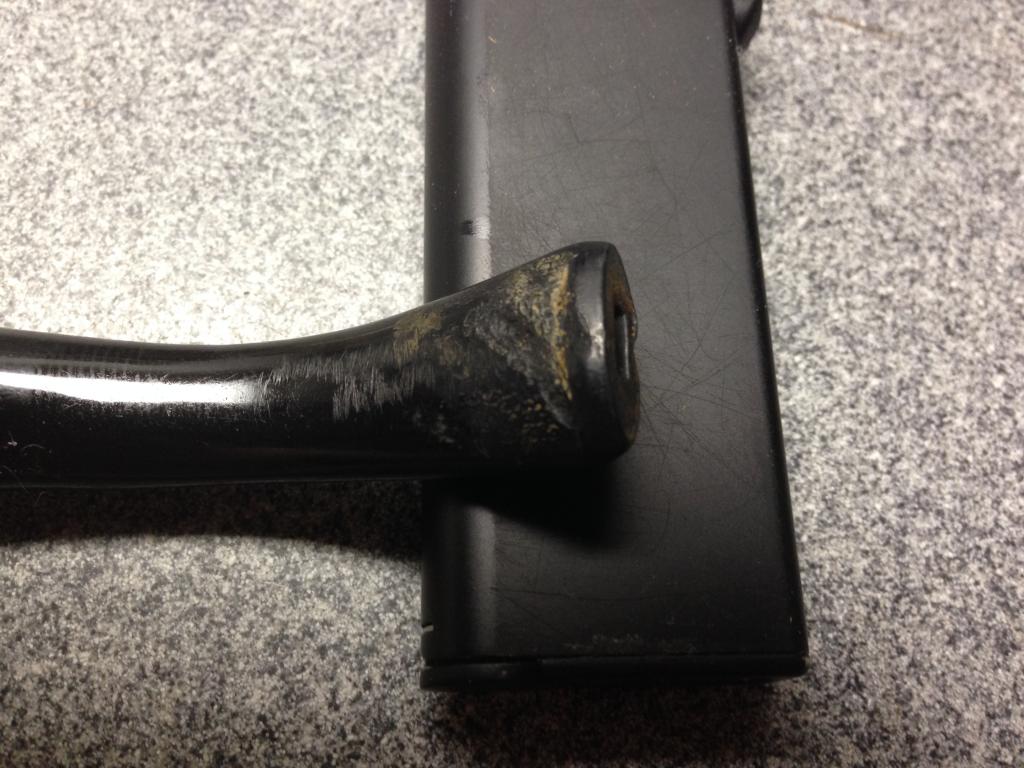
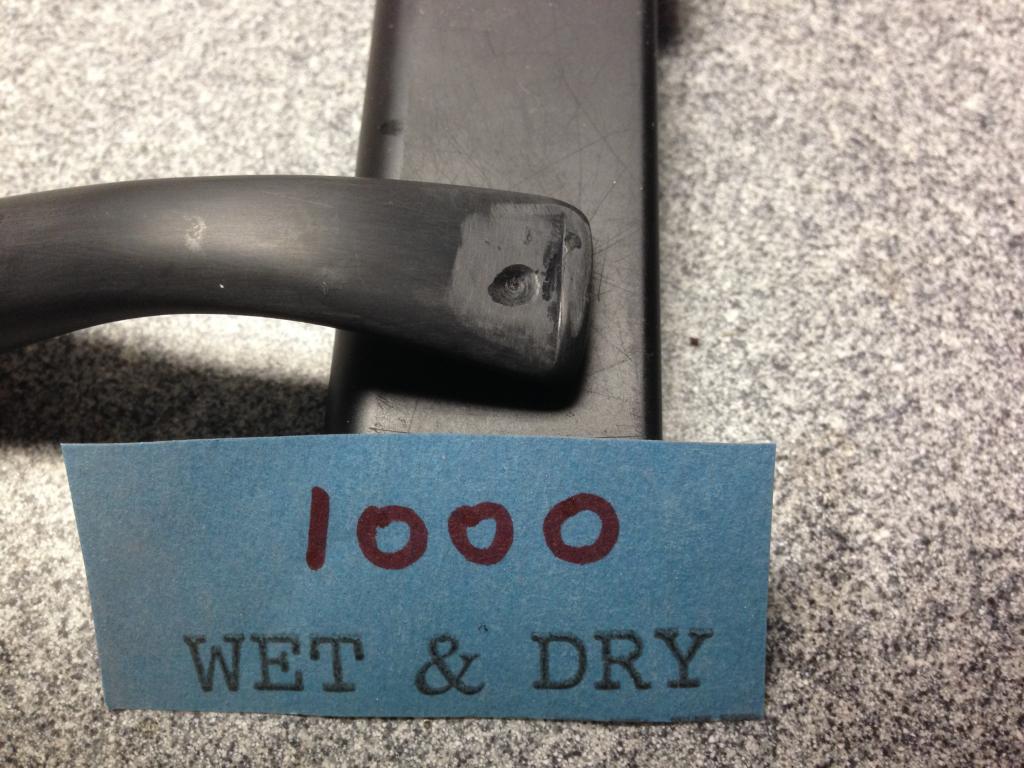
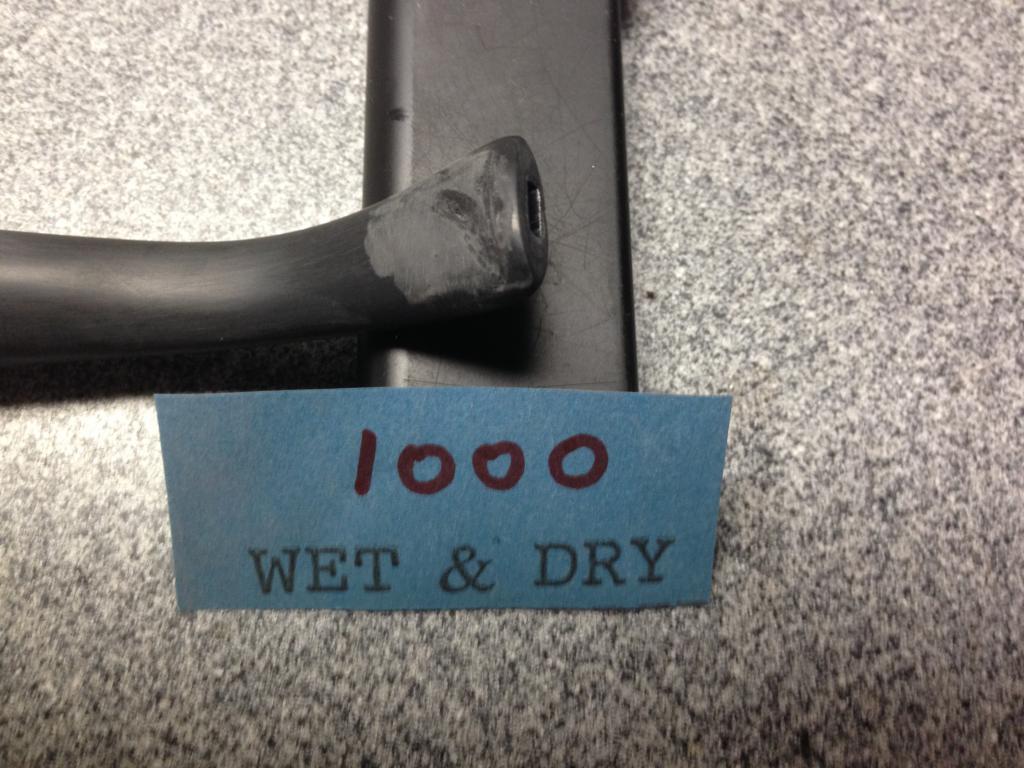
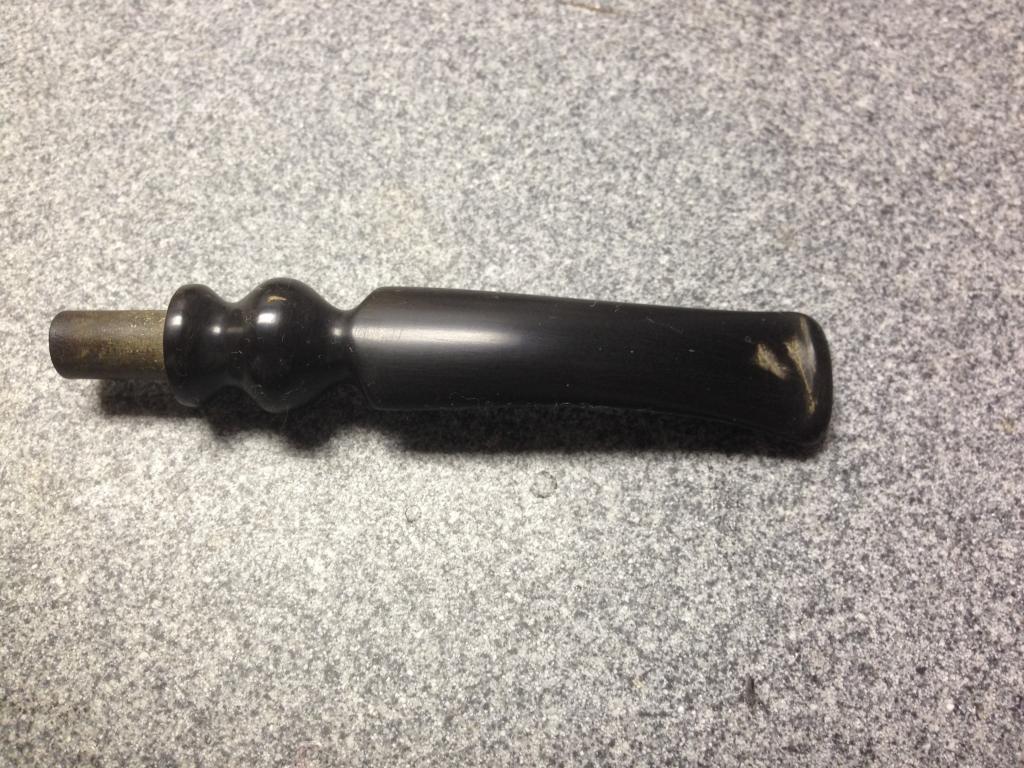
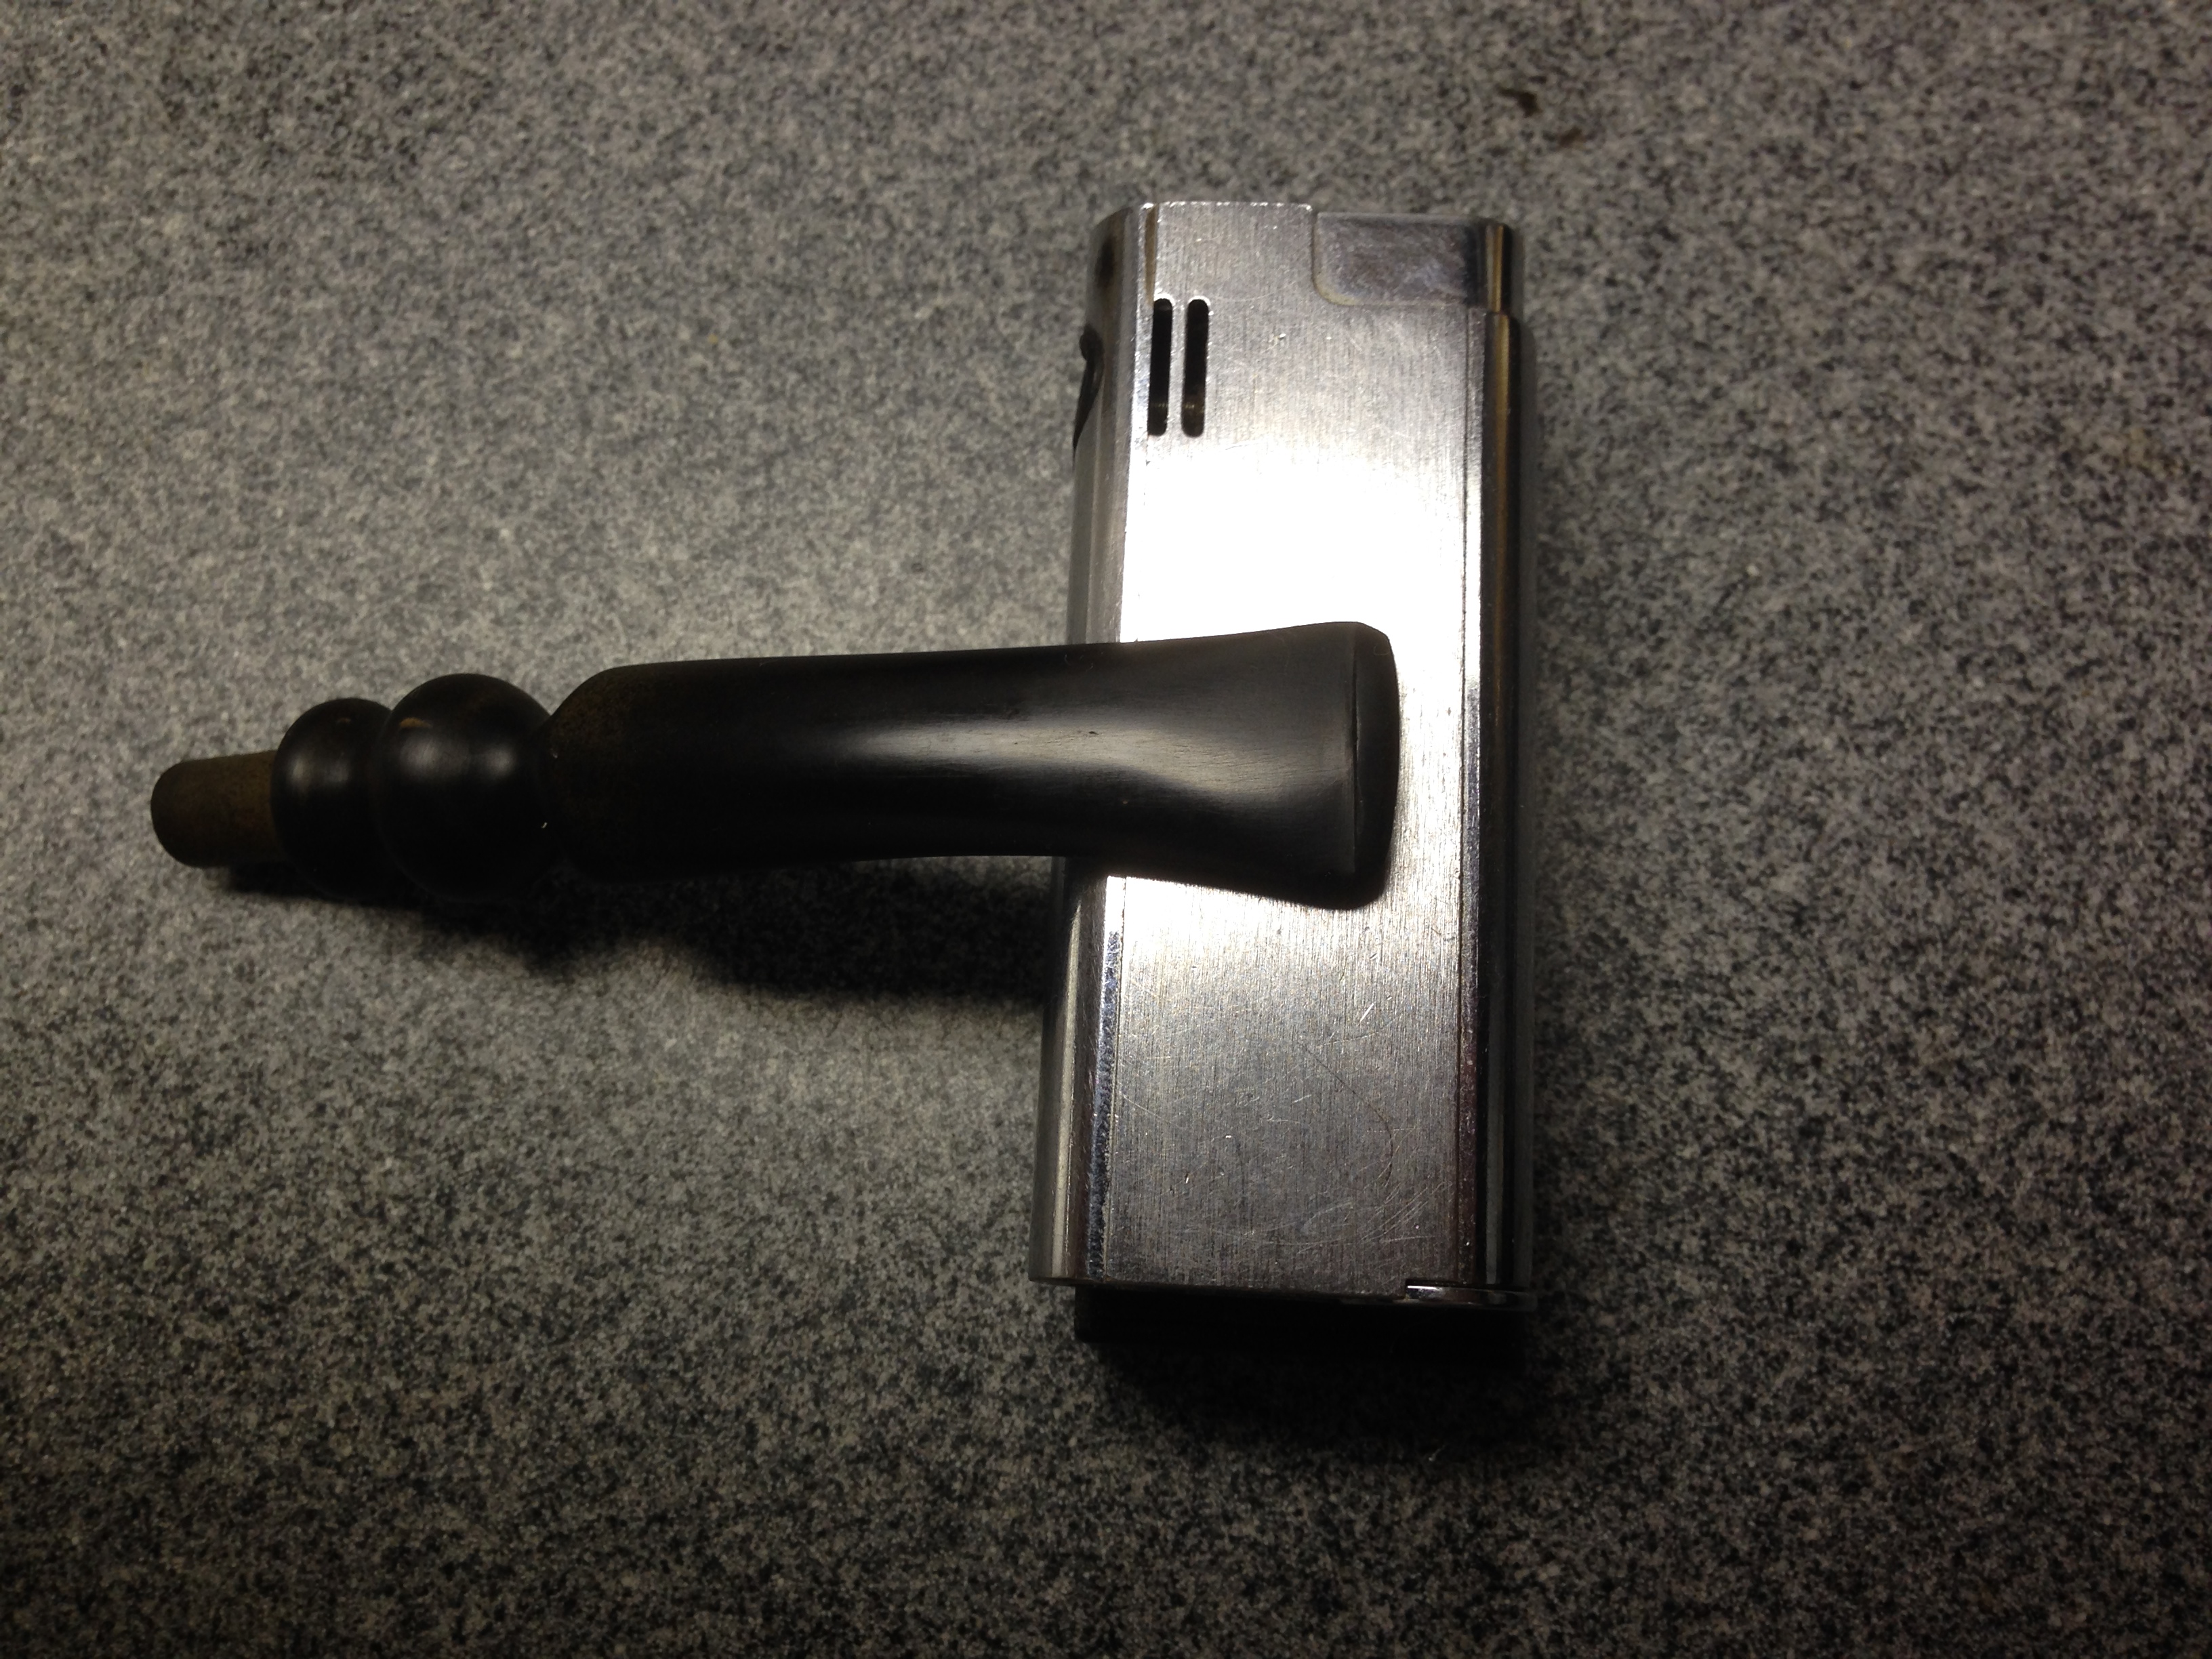
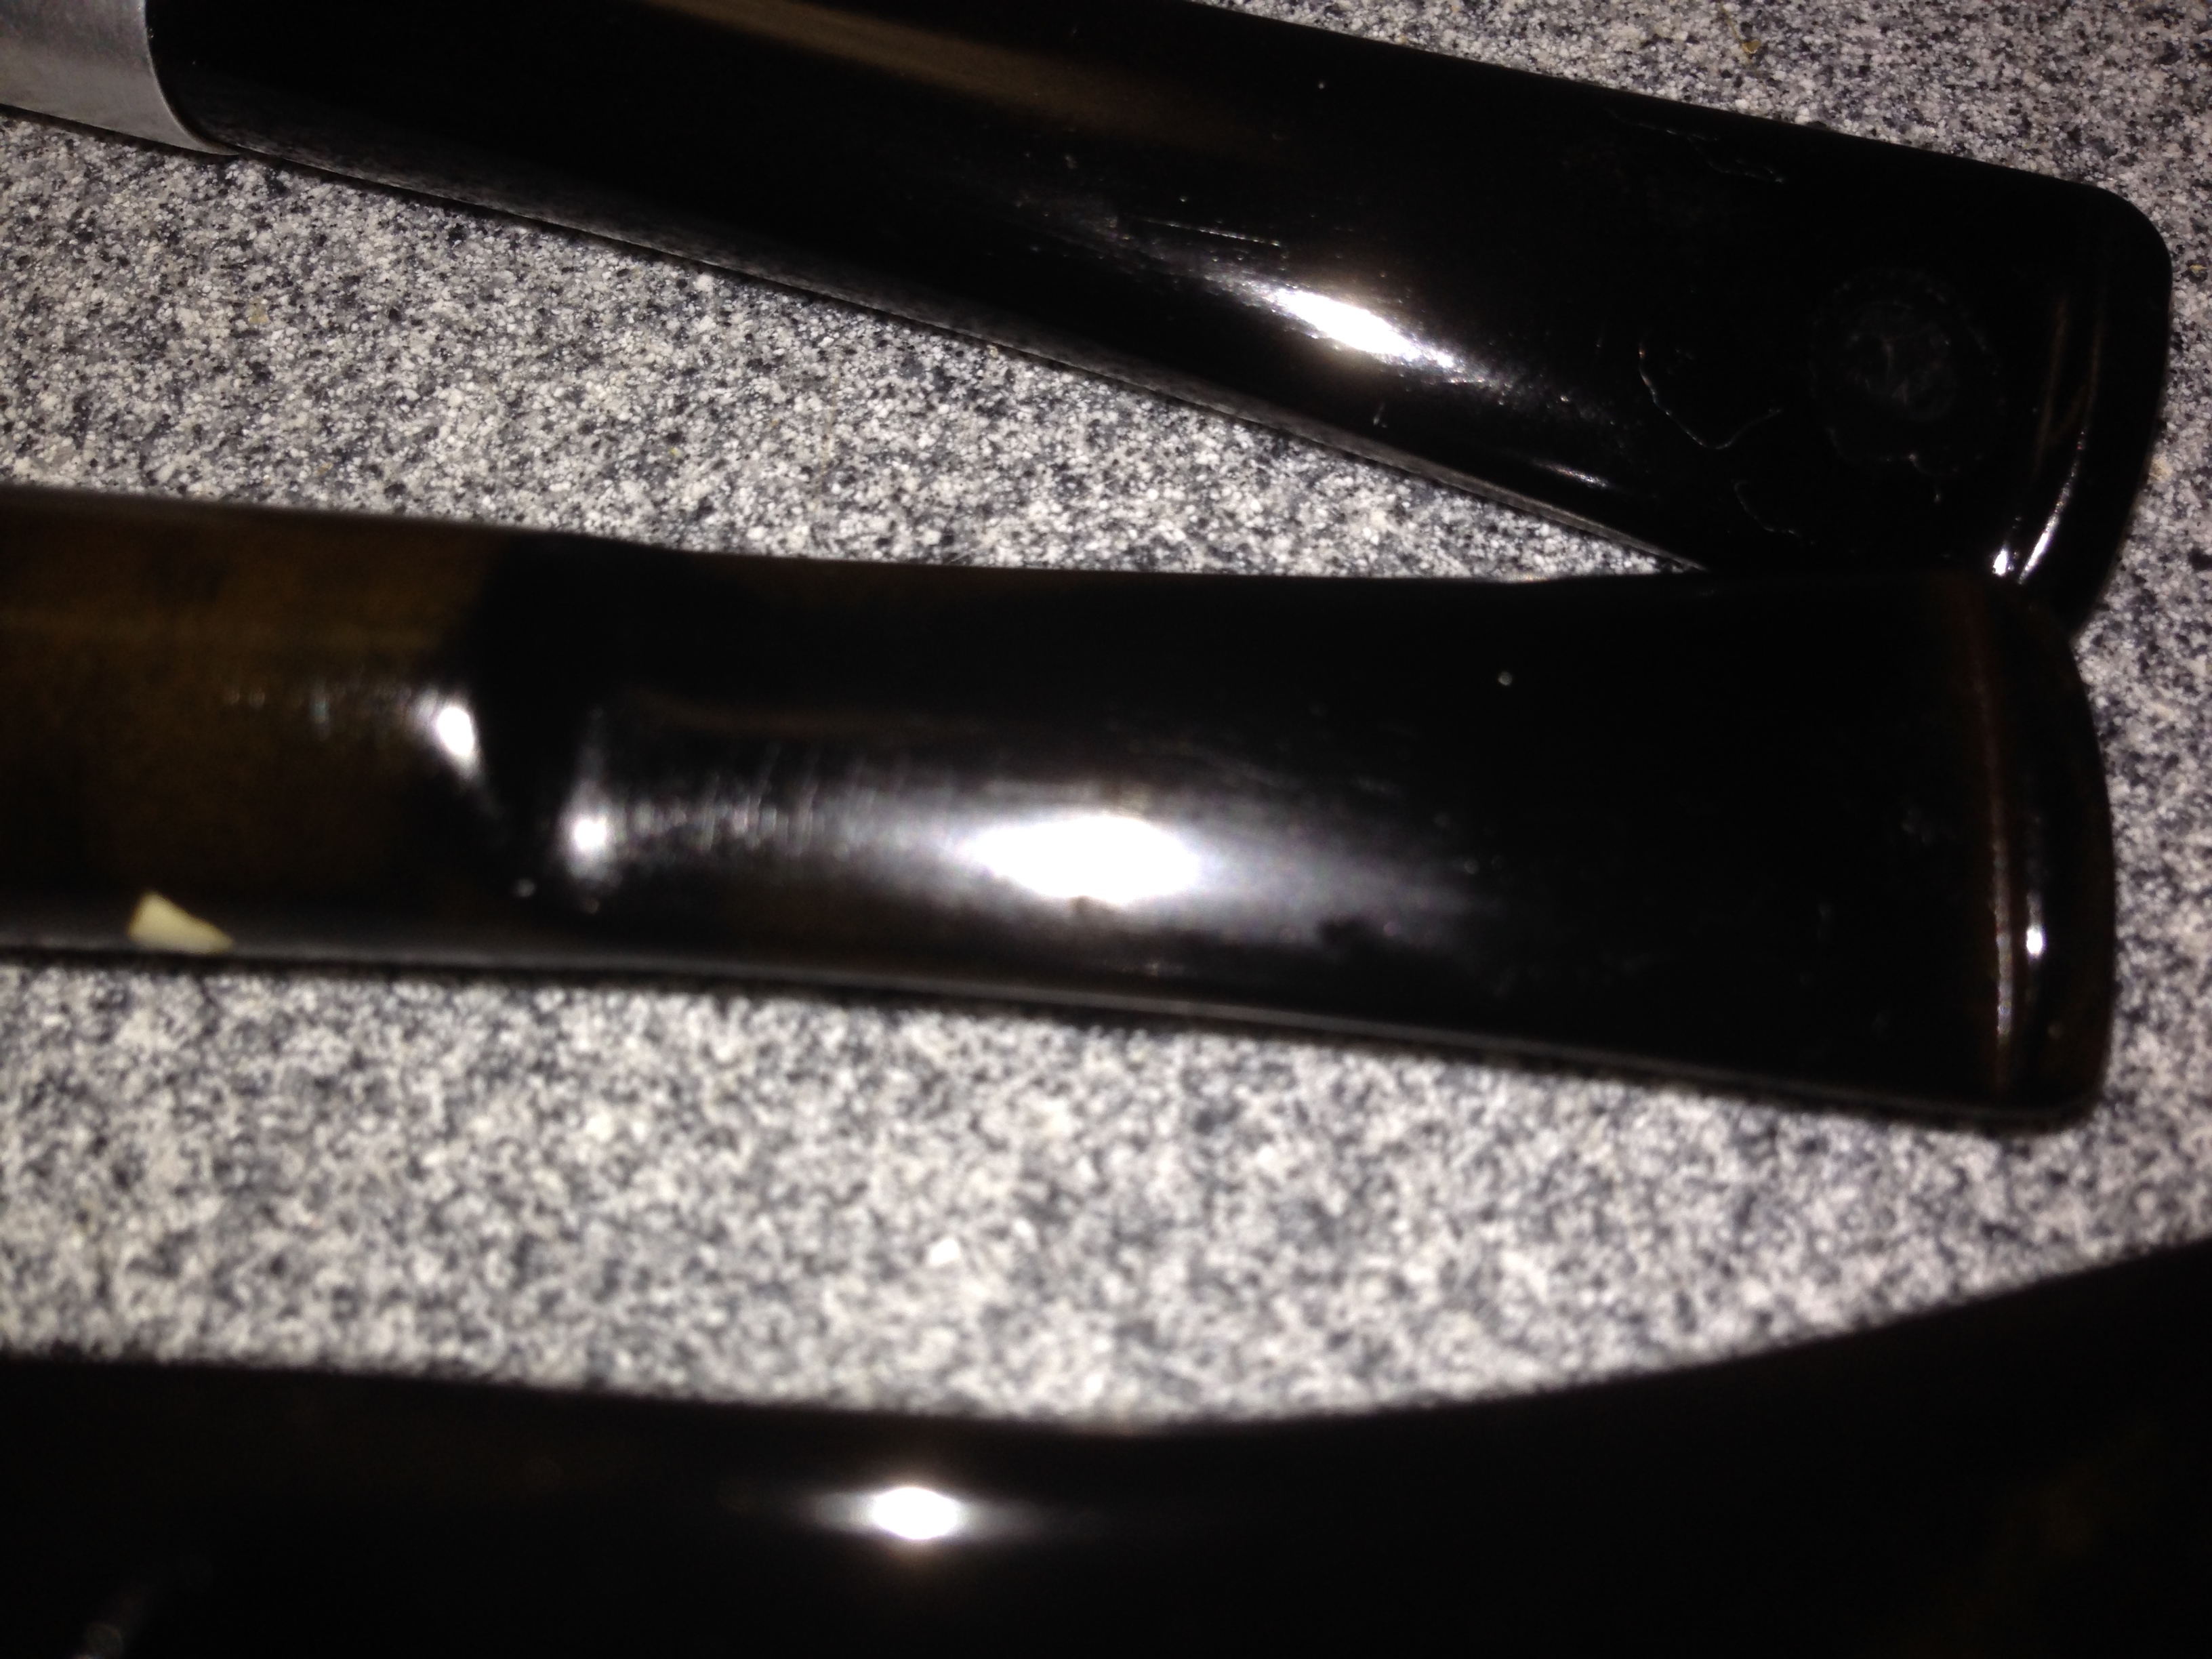
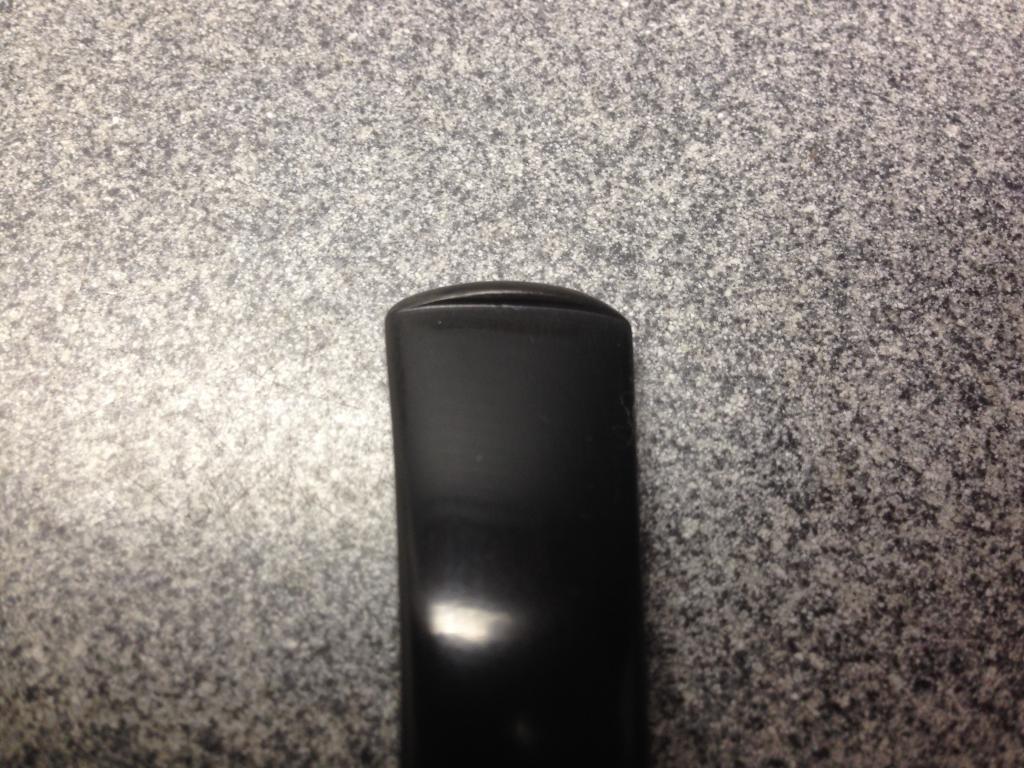
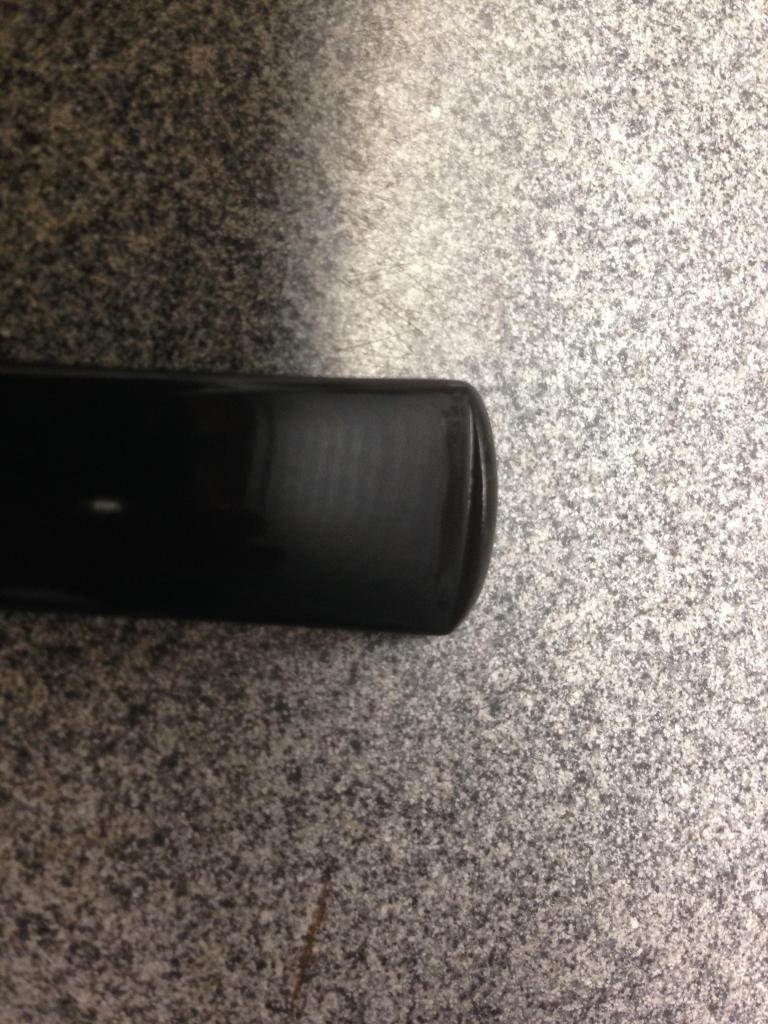
Before photo of only one side of the stem, but I worked on both sides:
Photo #1
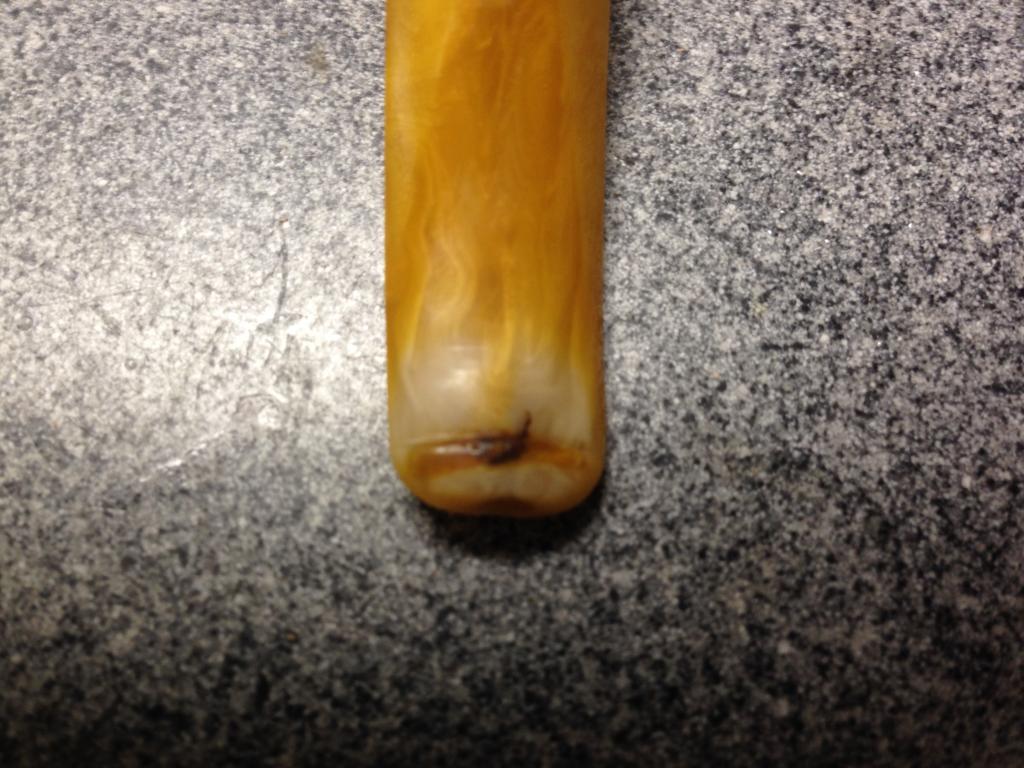
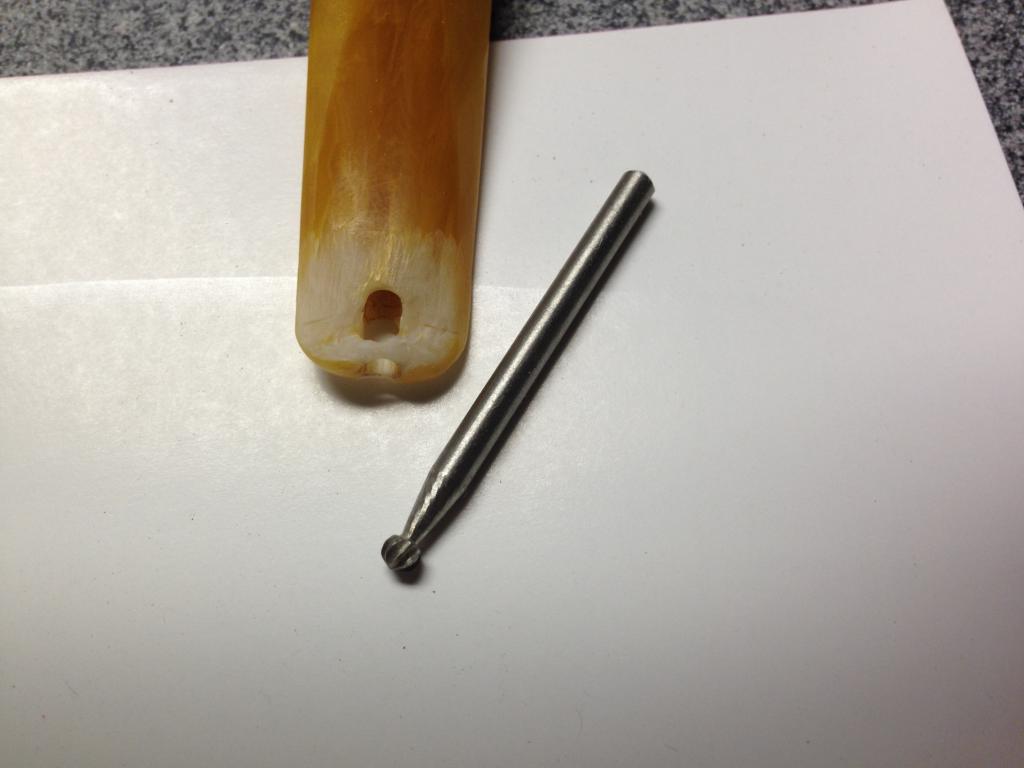
I used a round bit in my dremel to remove the previous amber superglue patch and discoloration. Also, I roughen-up the area in front of the bit to try to re-color that area.
Photo #2
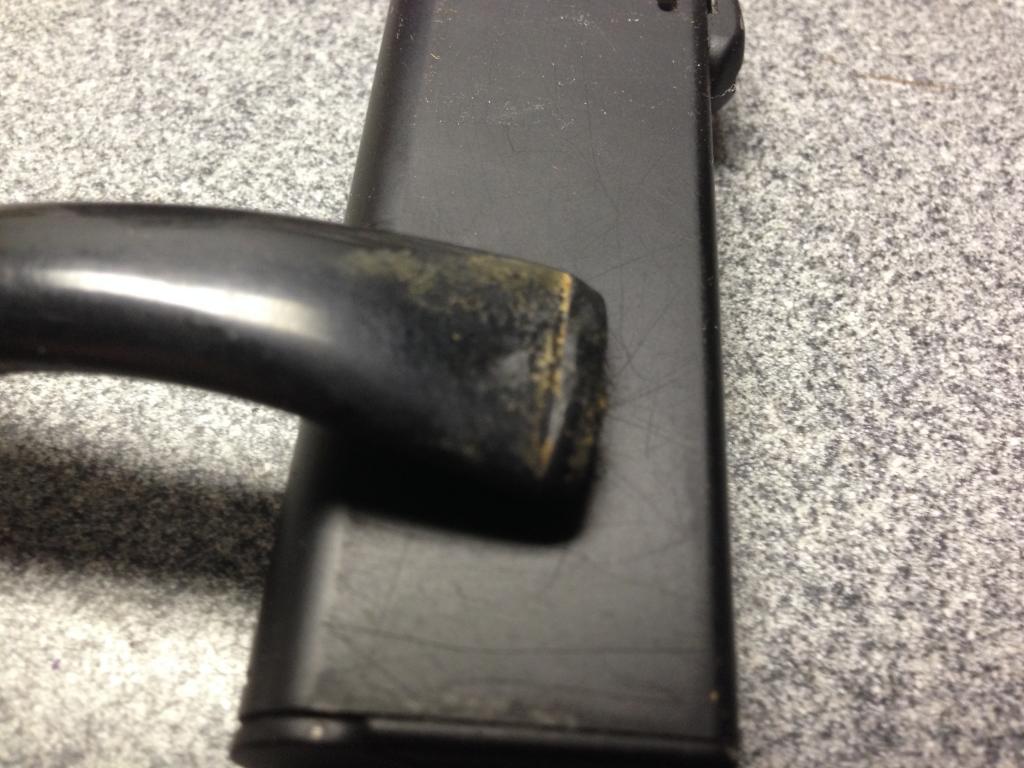
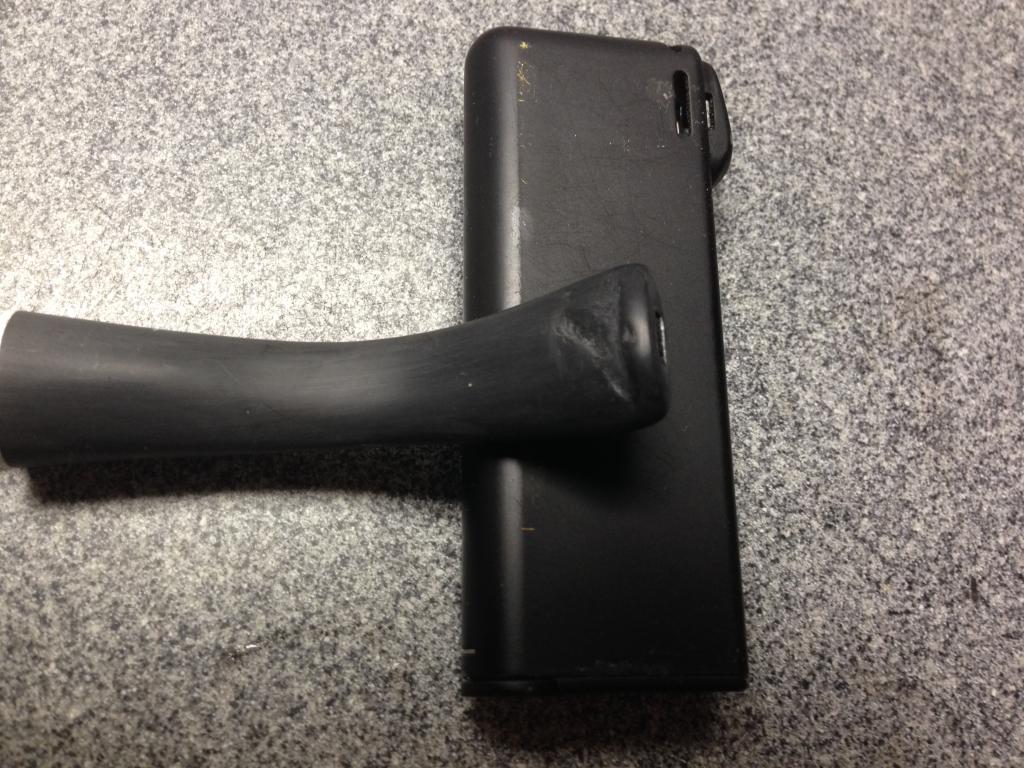
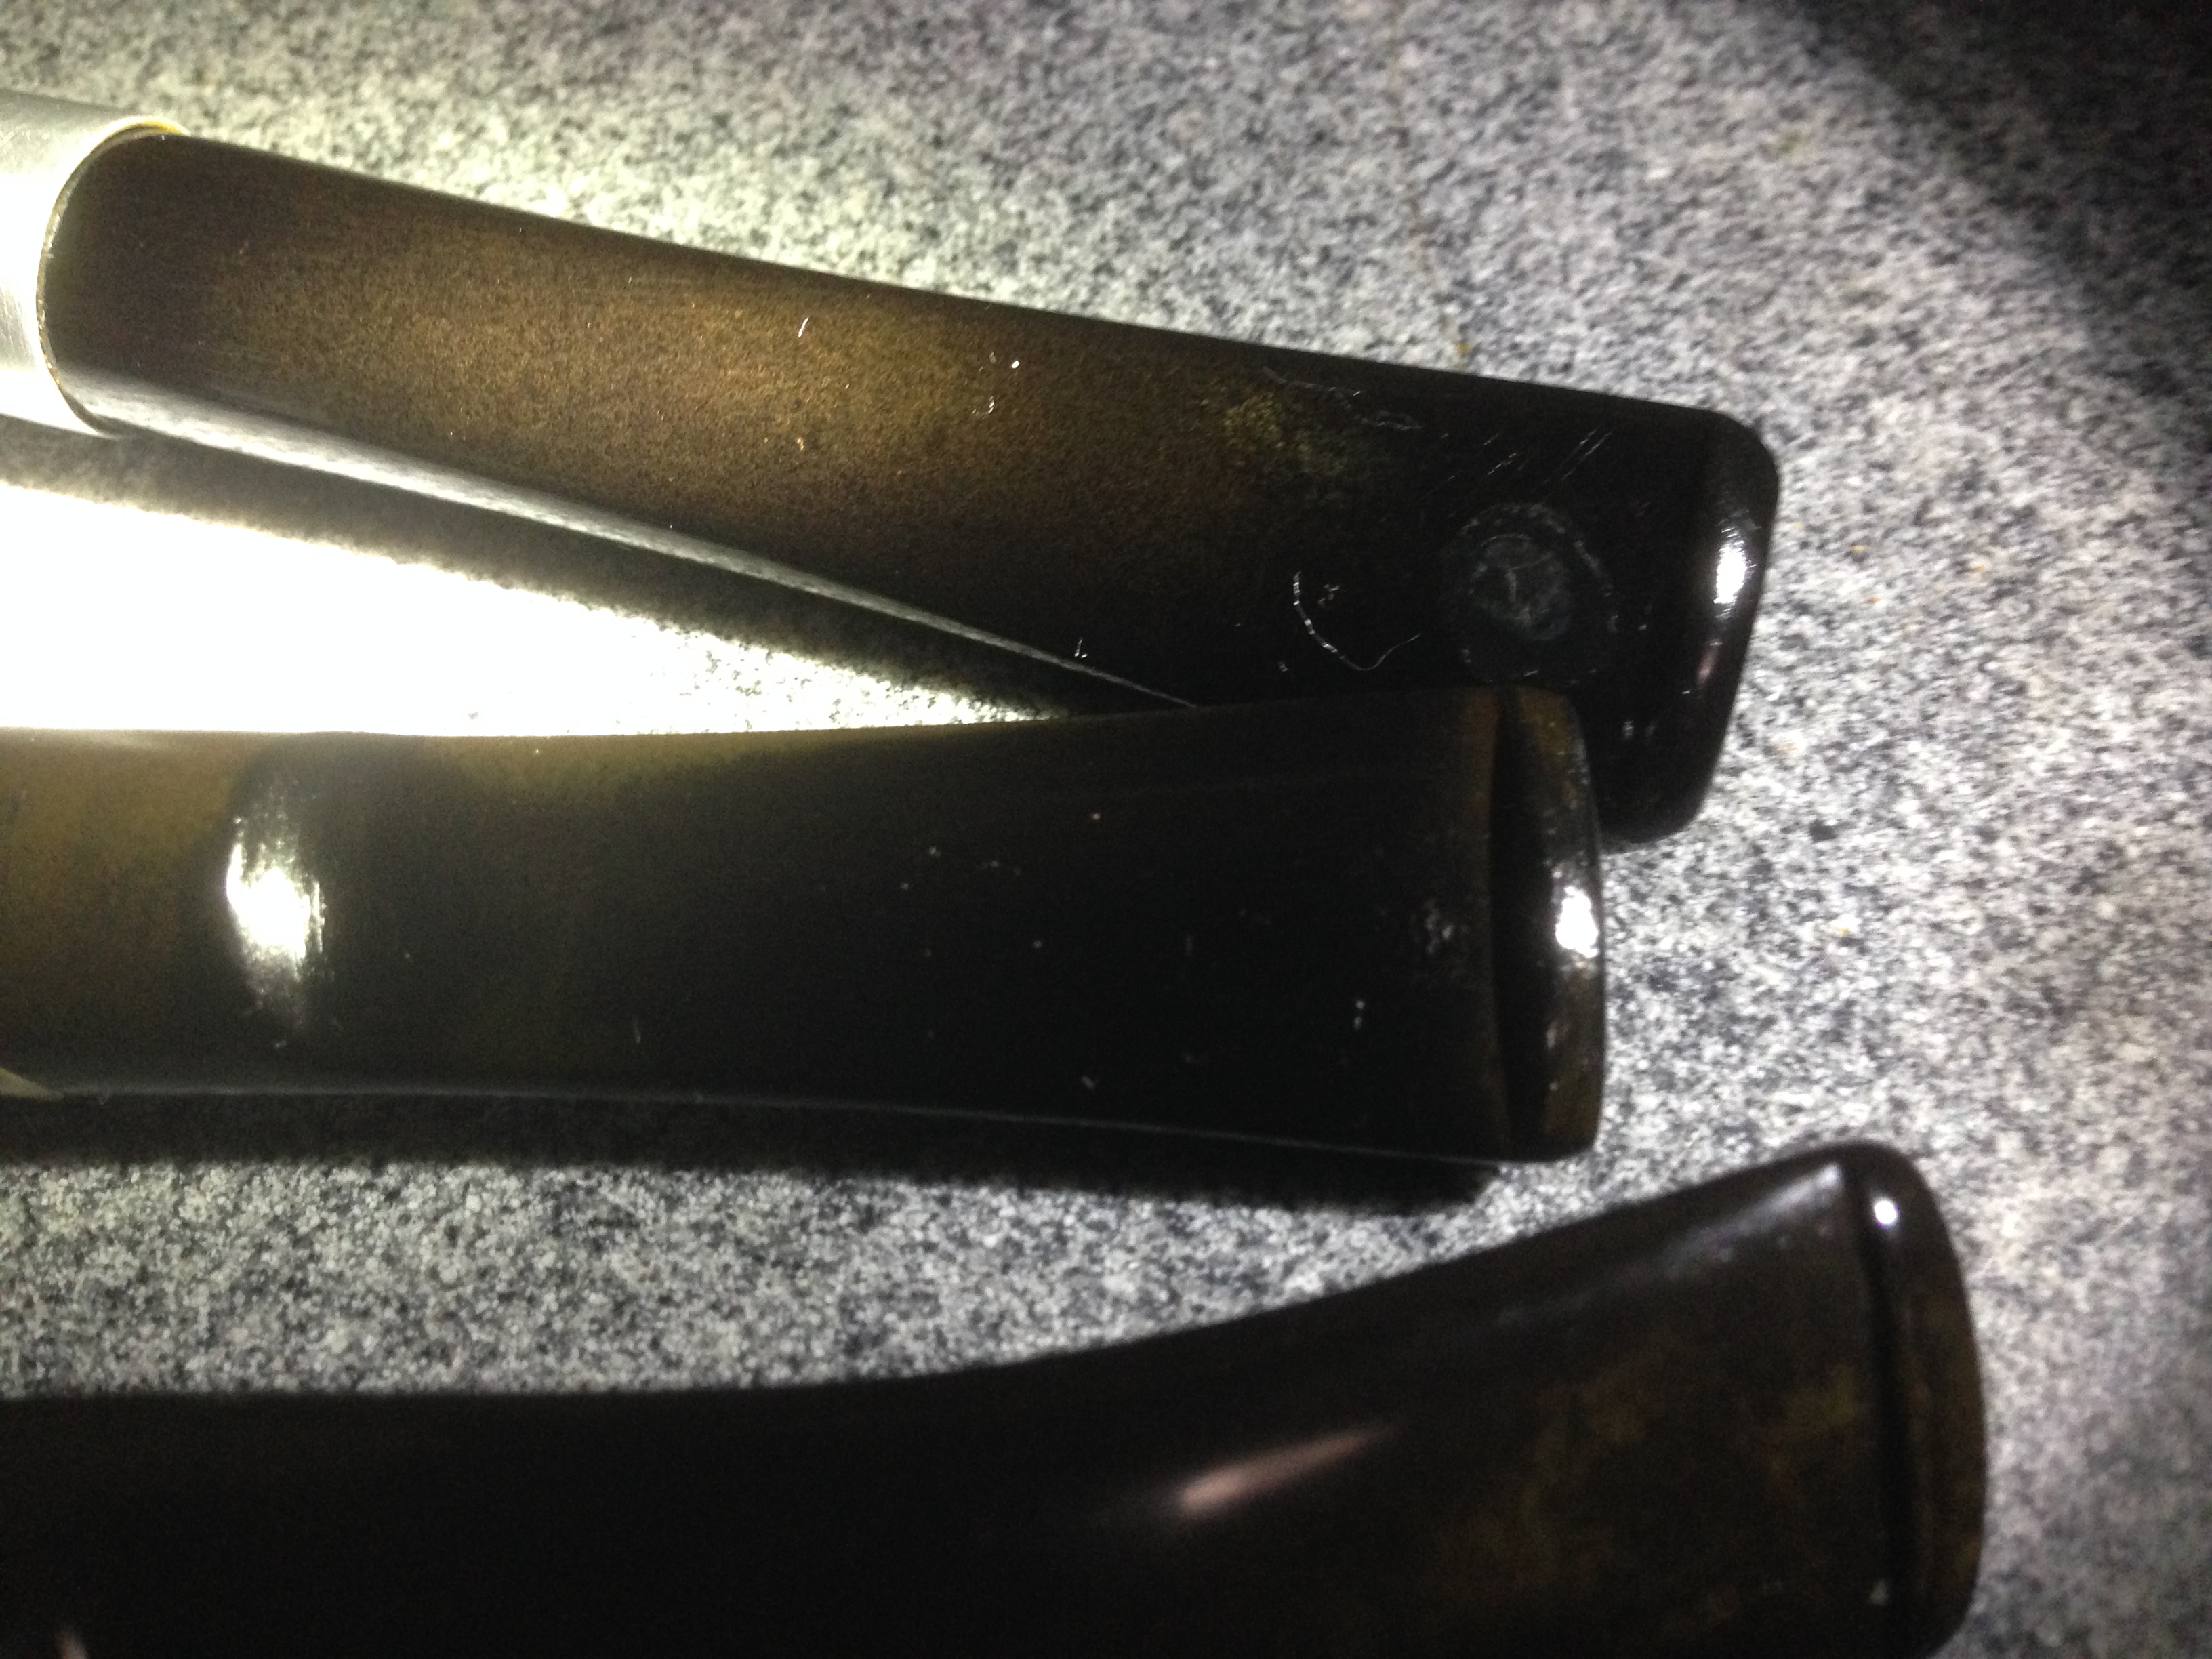
I tried several combinations of yellow and orange dye until I got close to the color of the stem
Photo #3
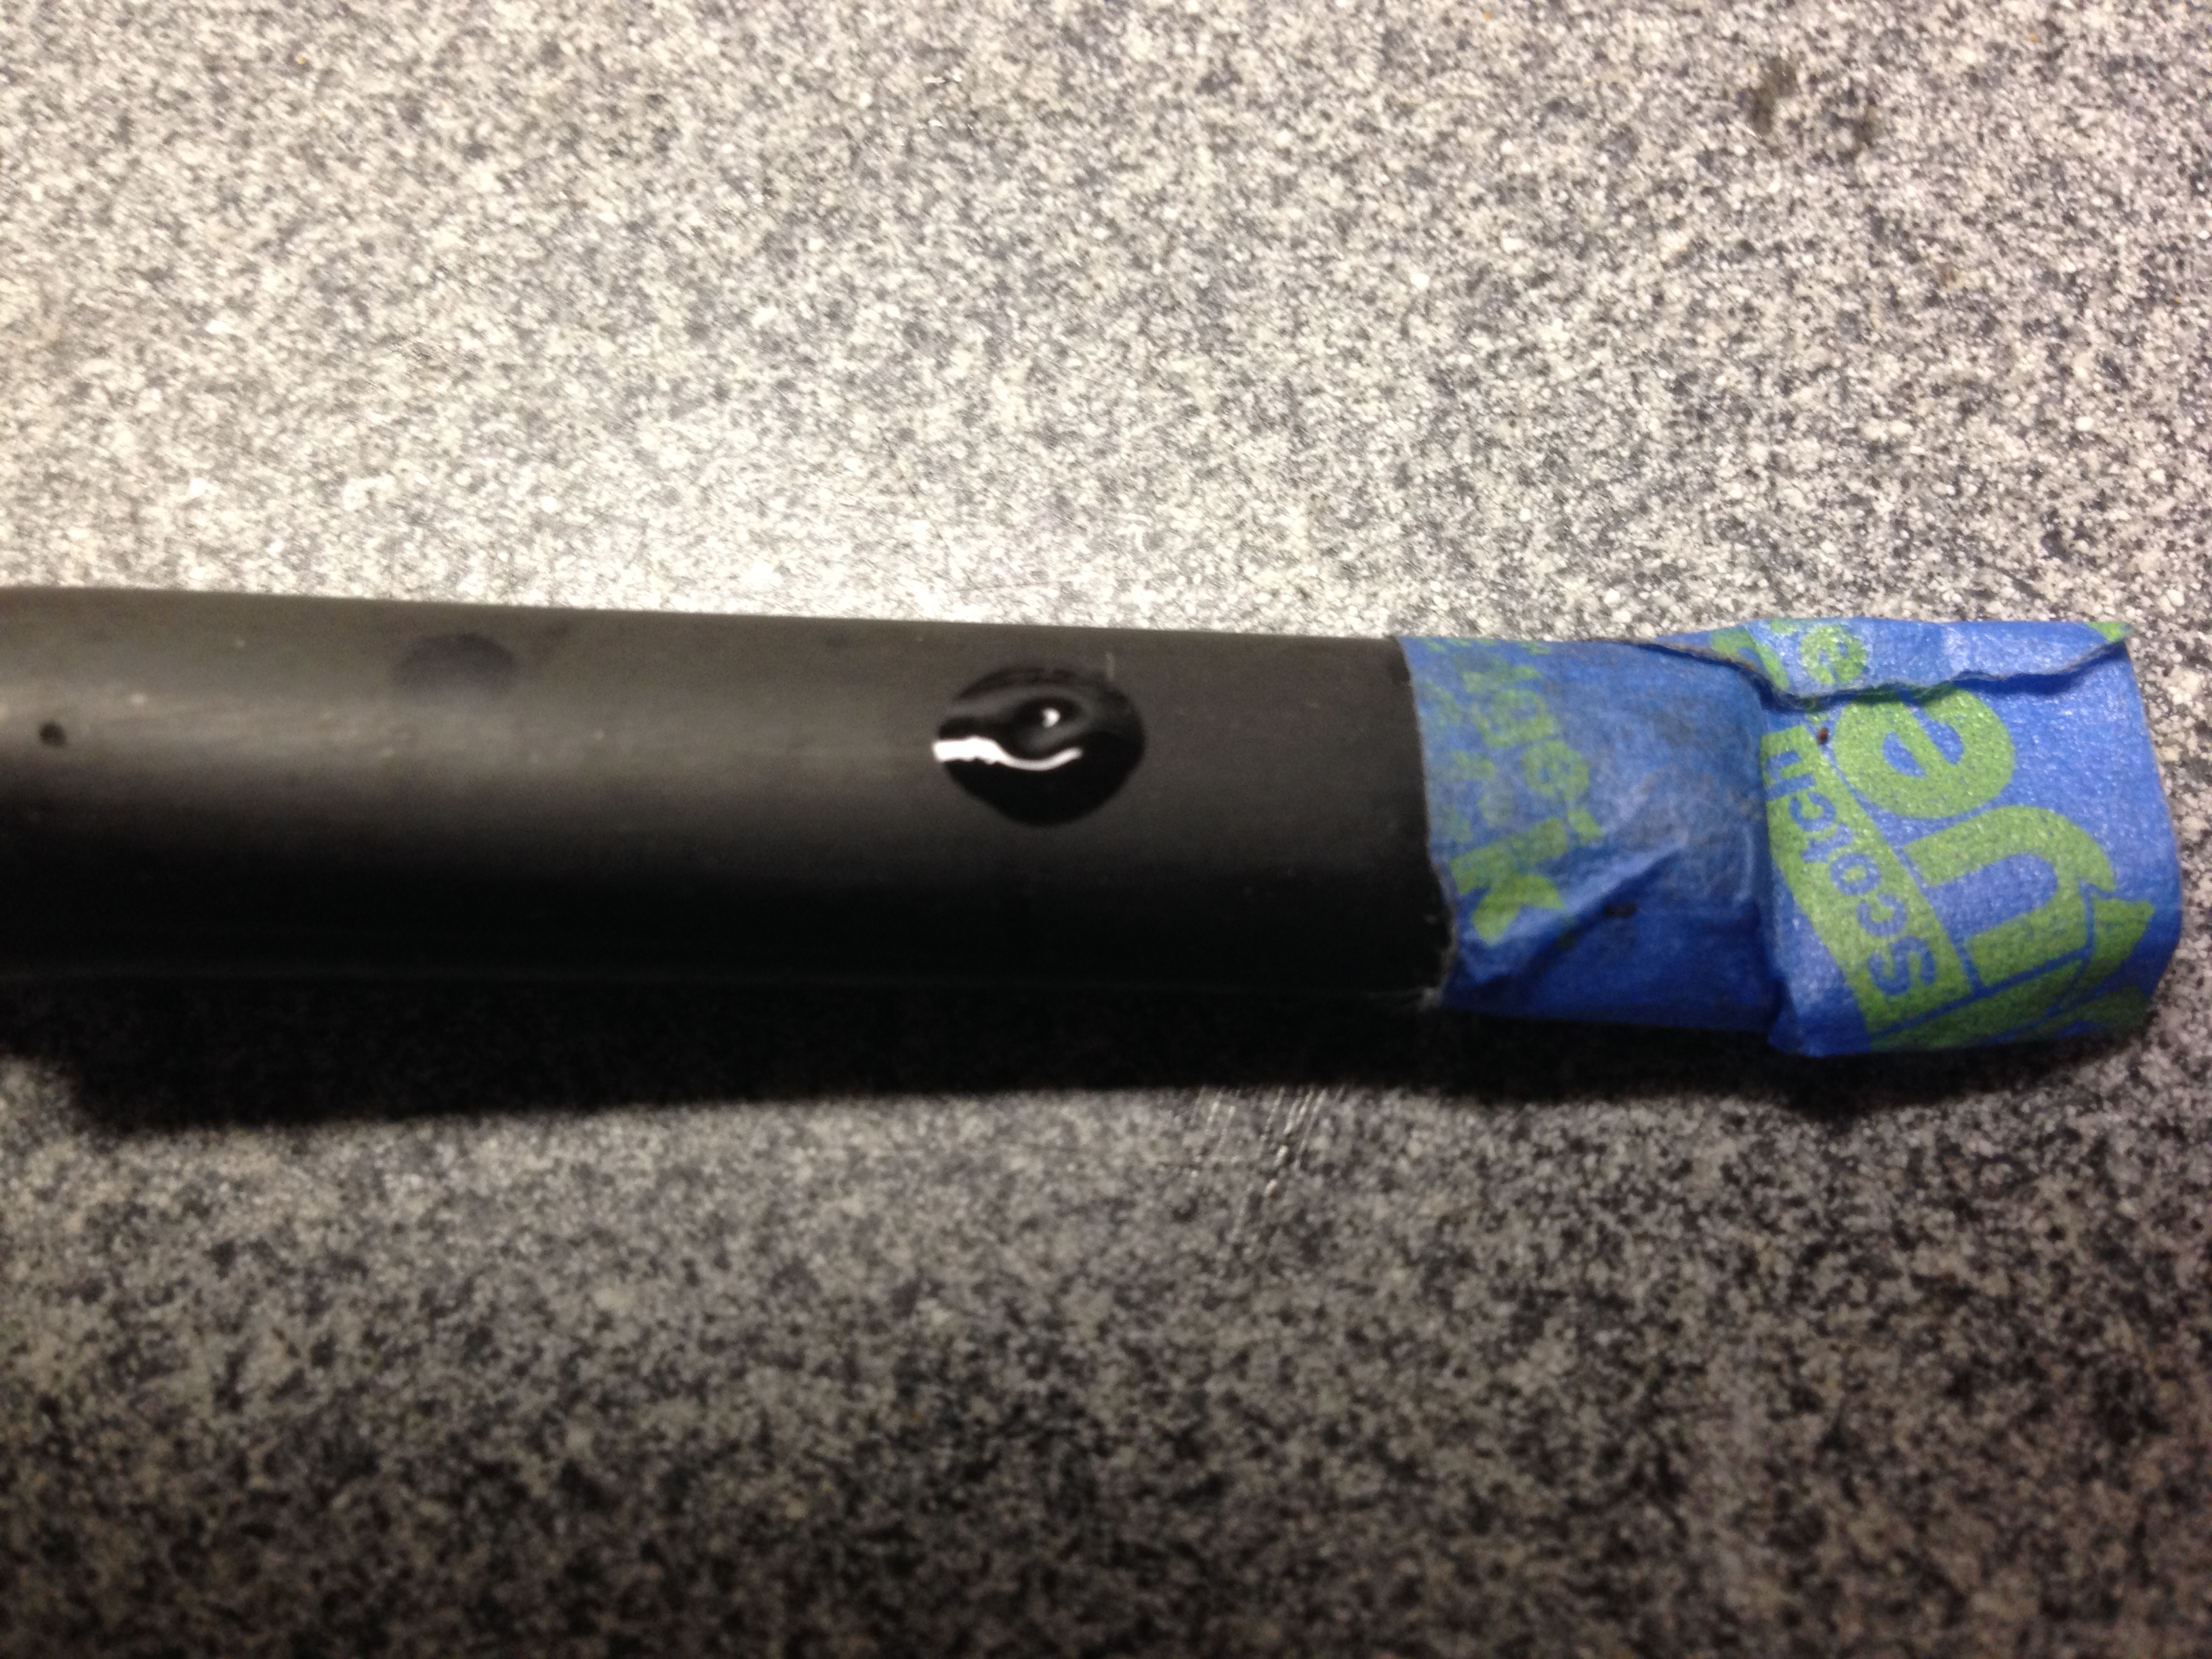
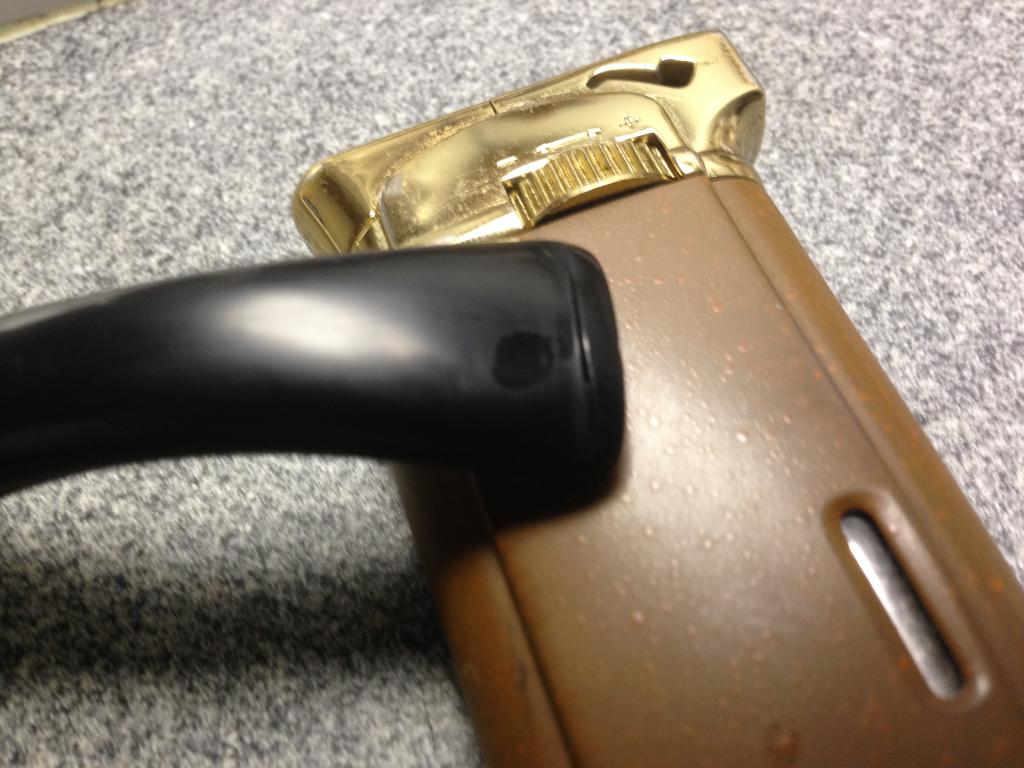
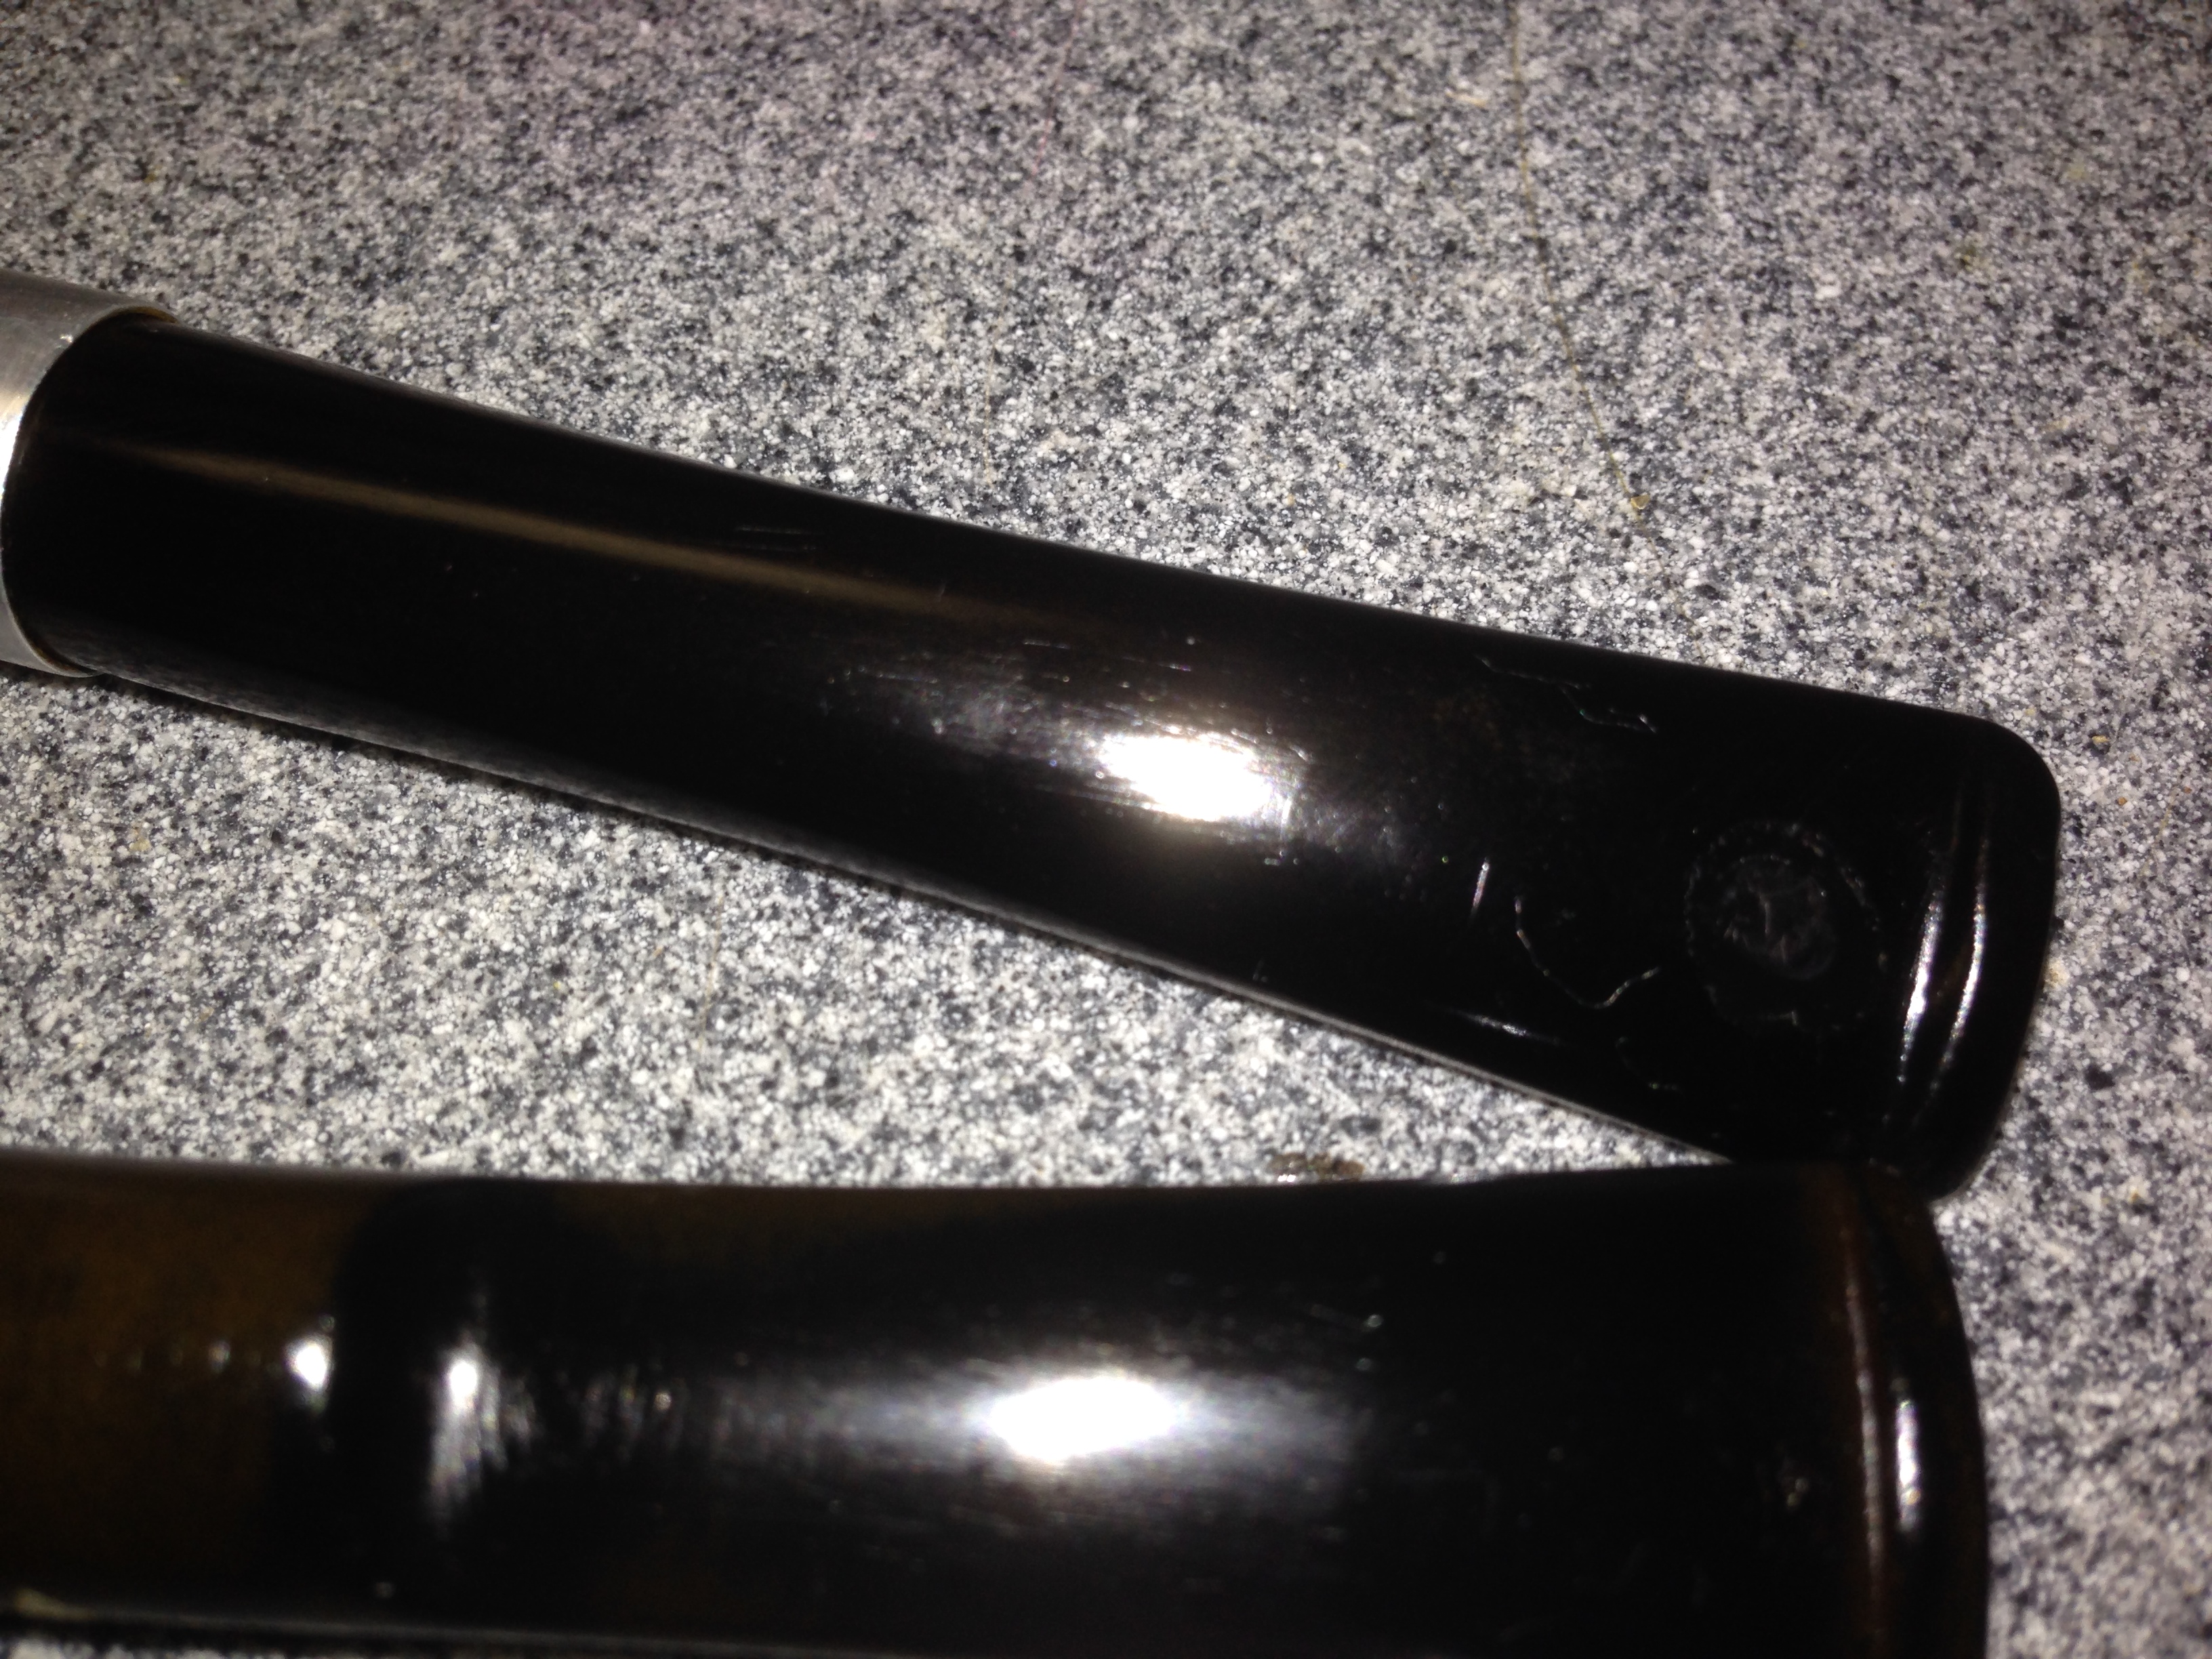
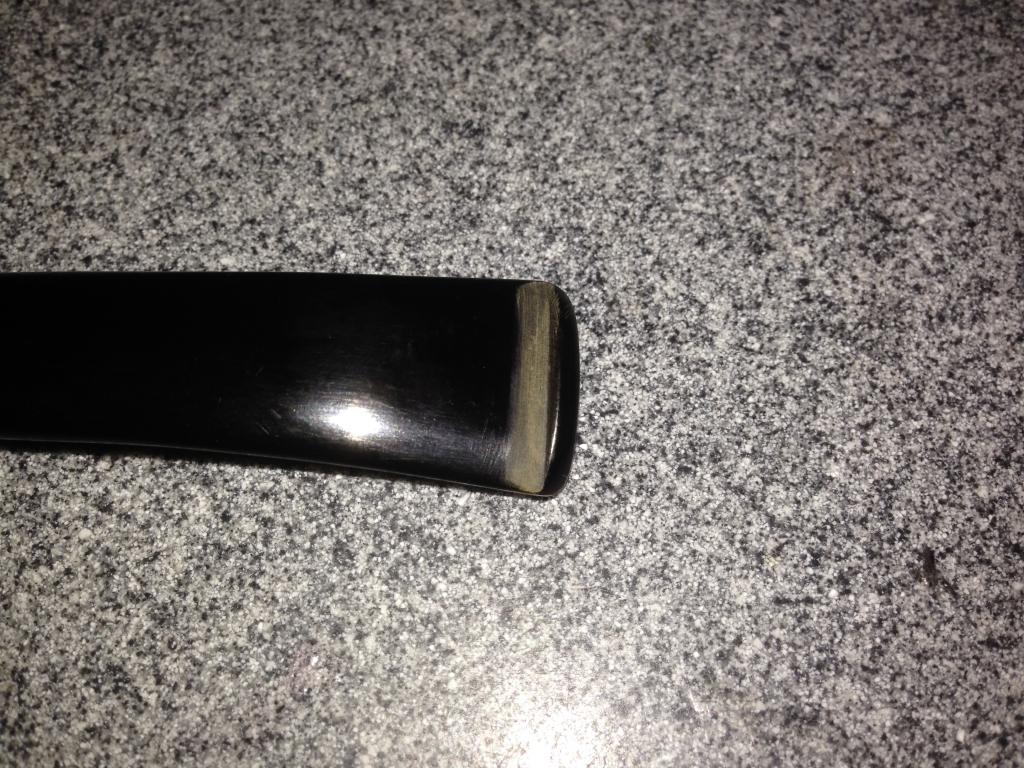
Close up photo looks like it may work
Photo #4
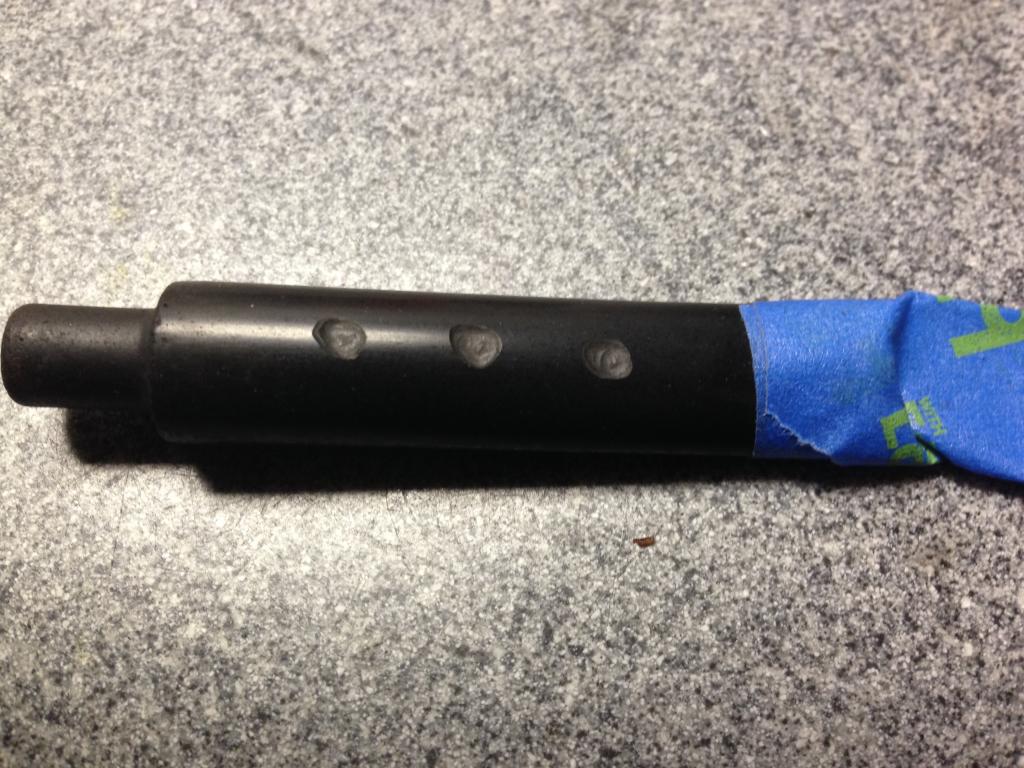
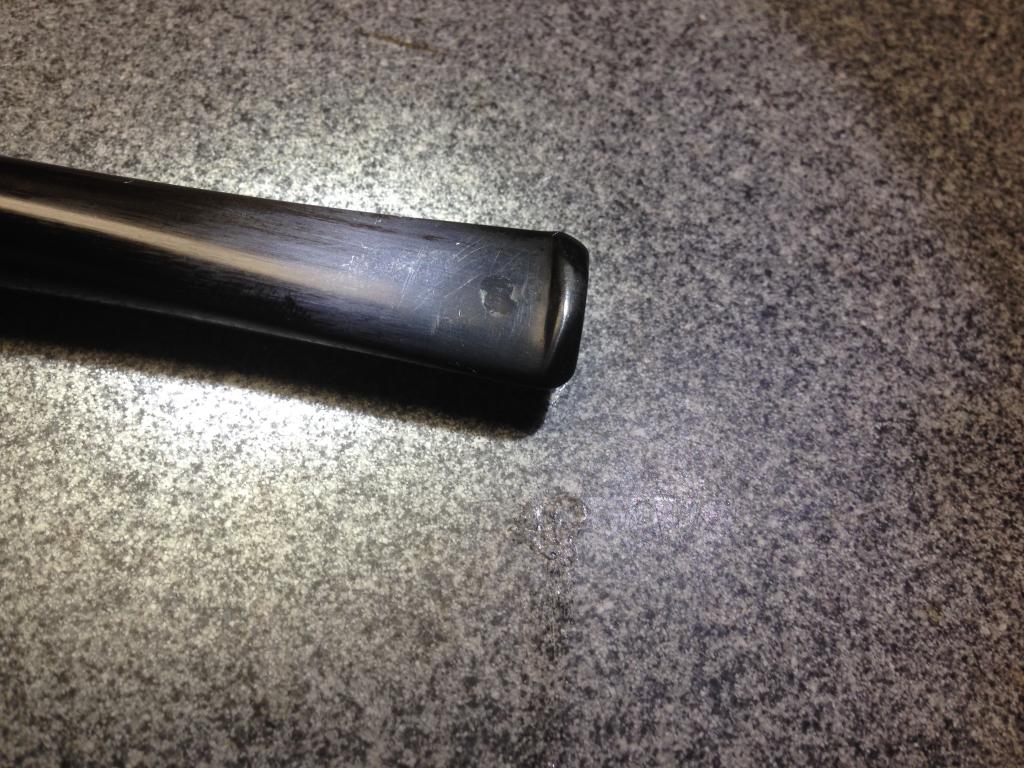
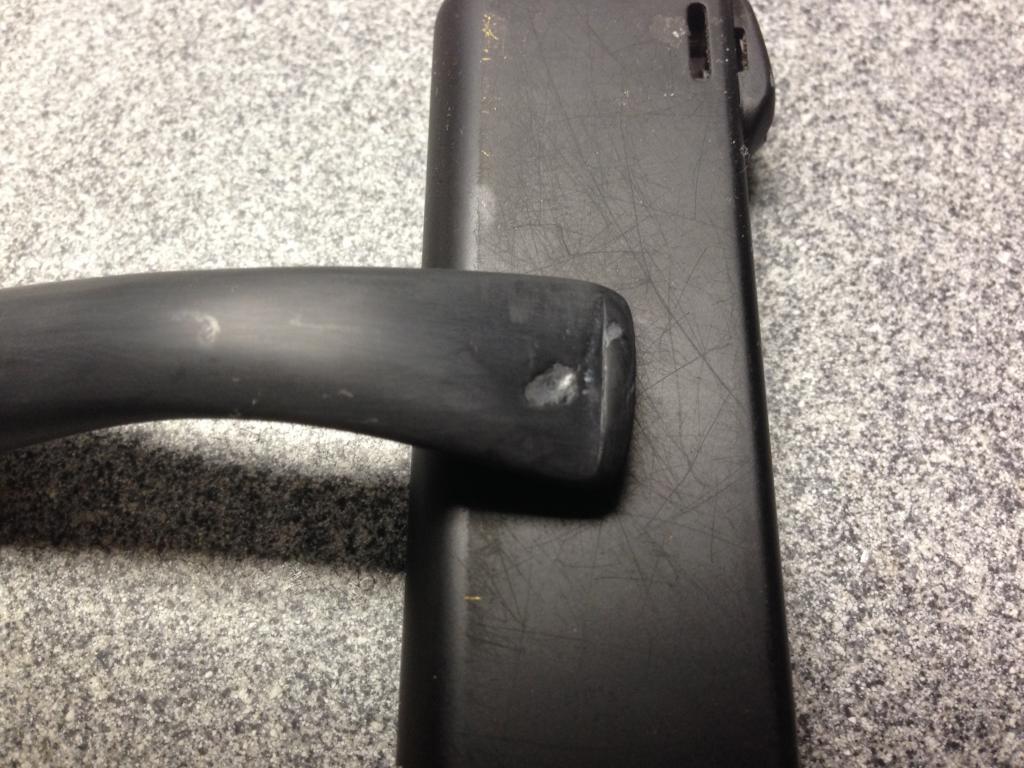
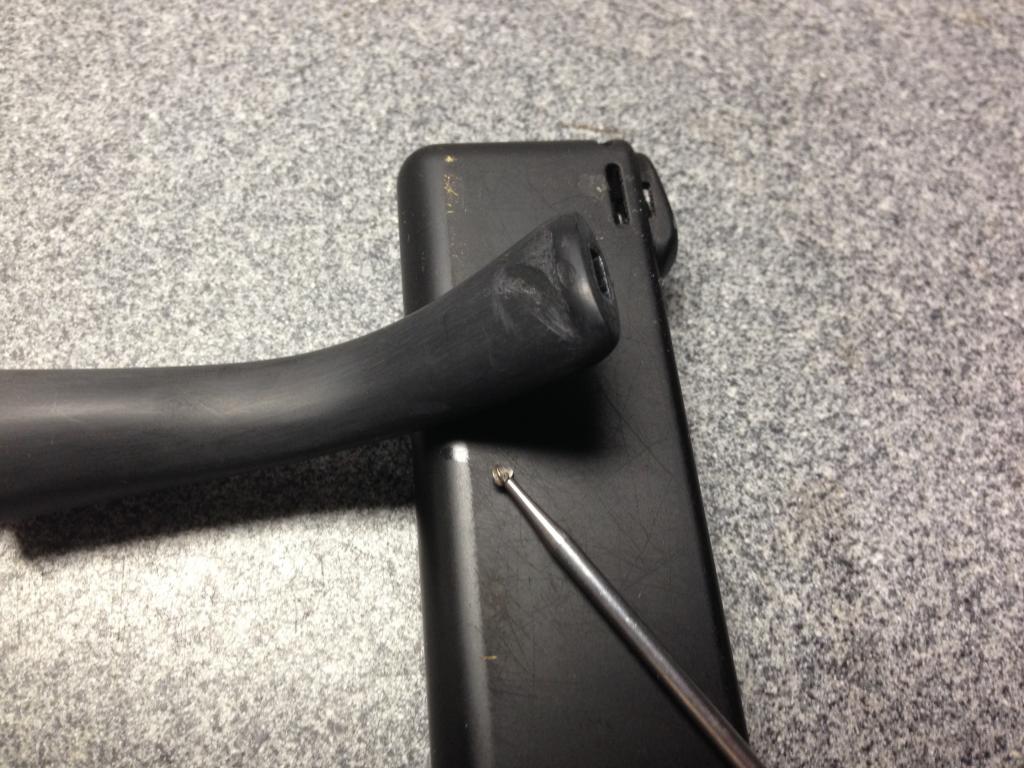
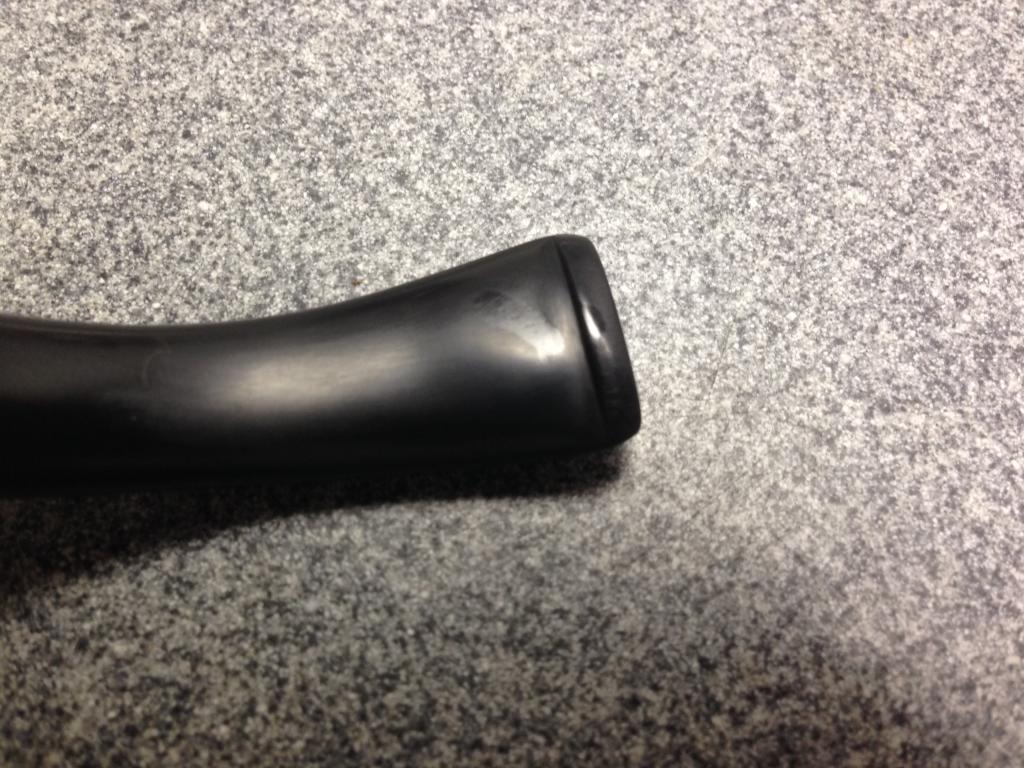
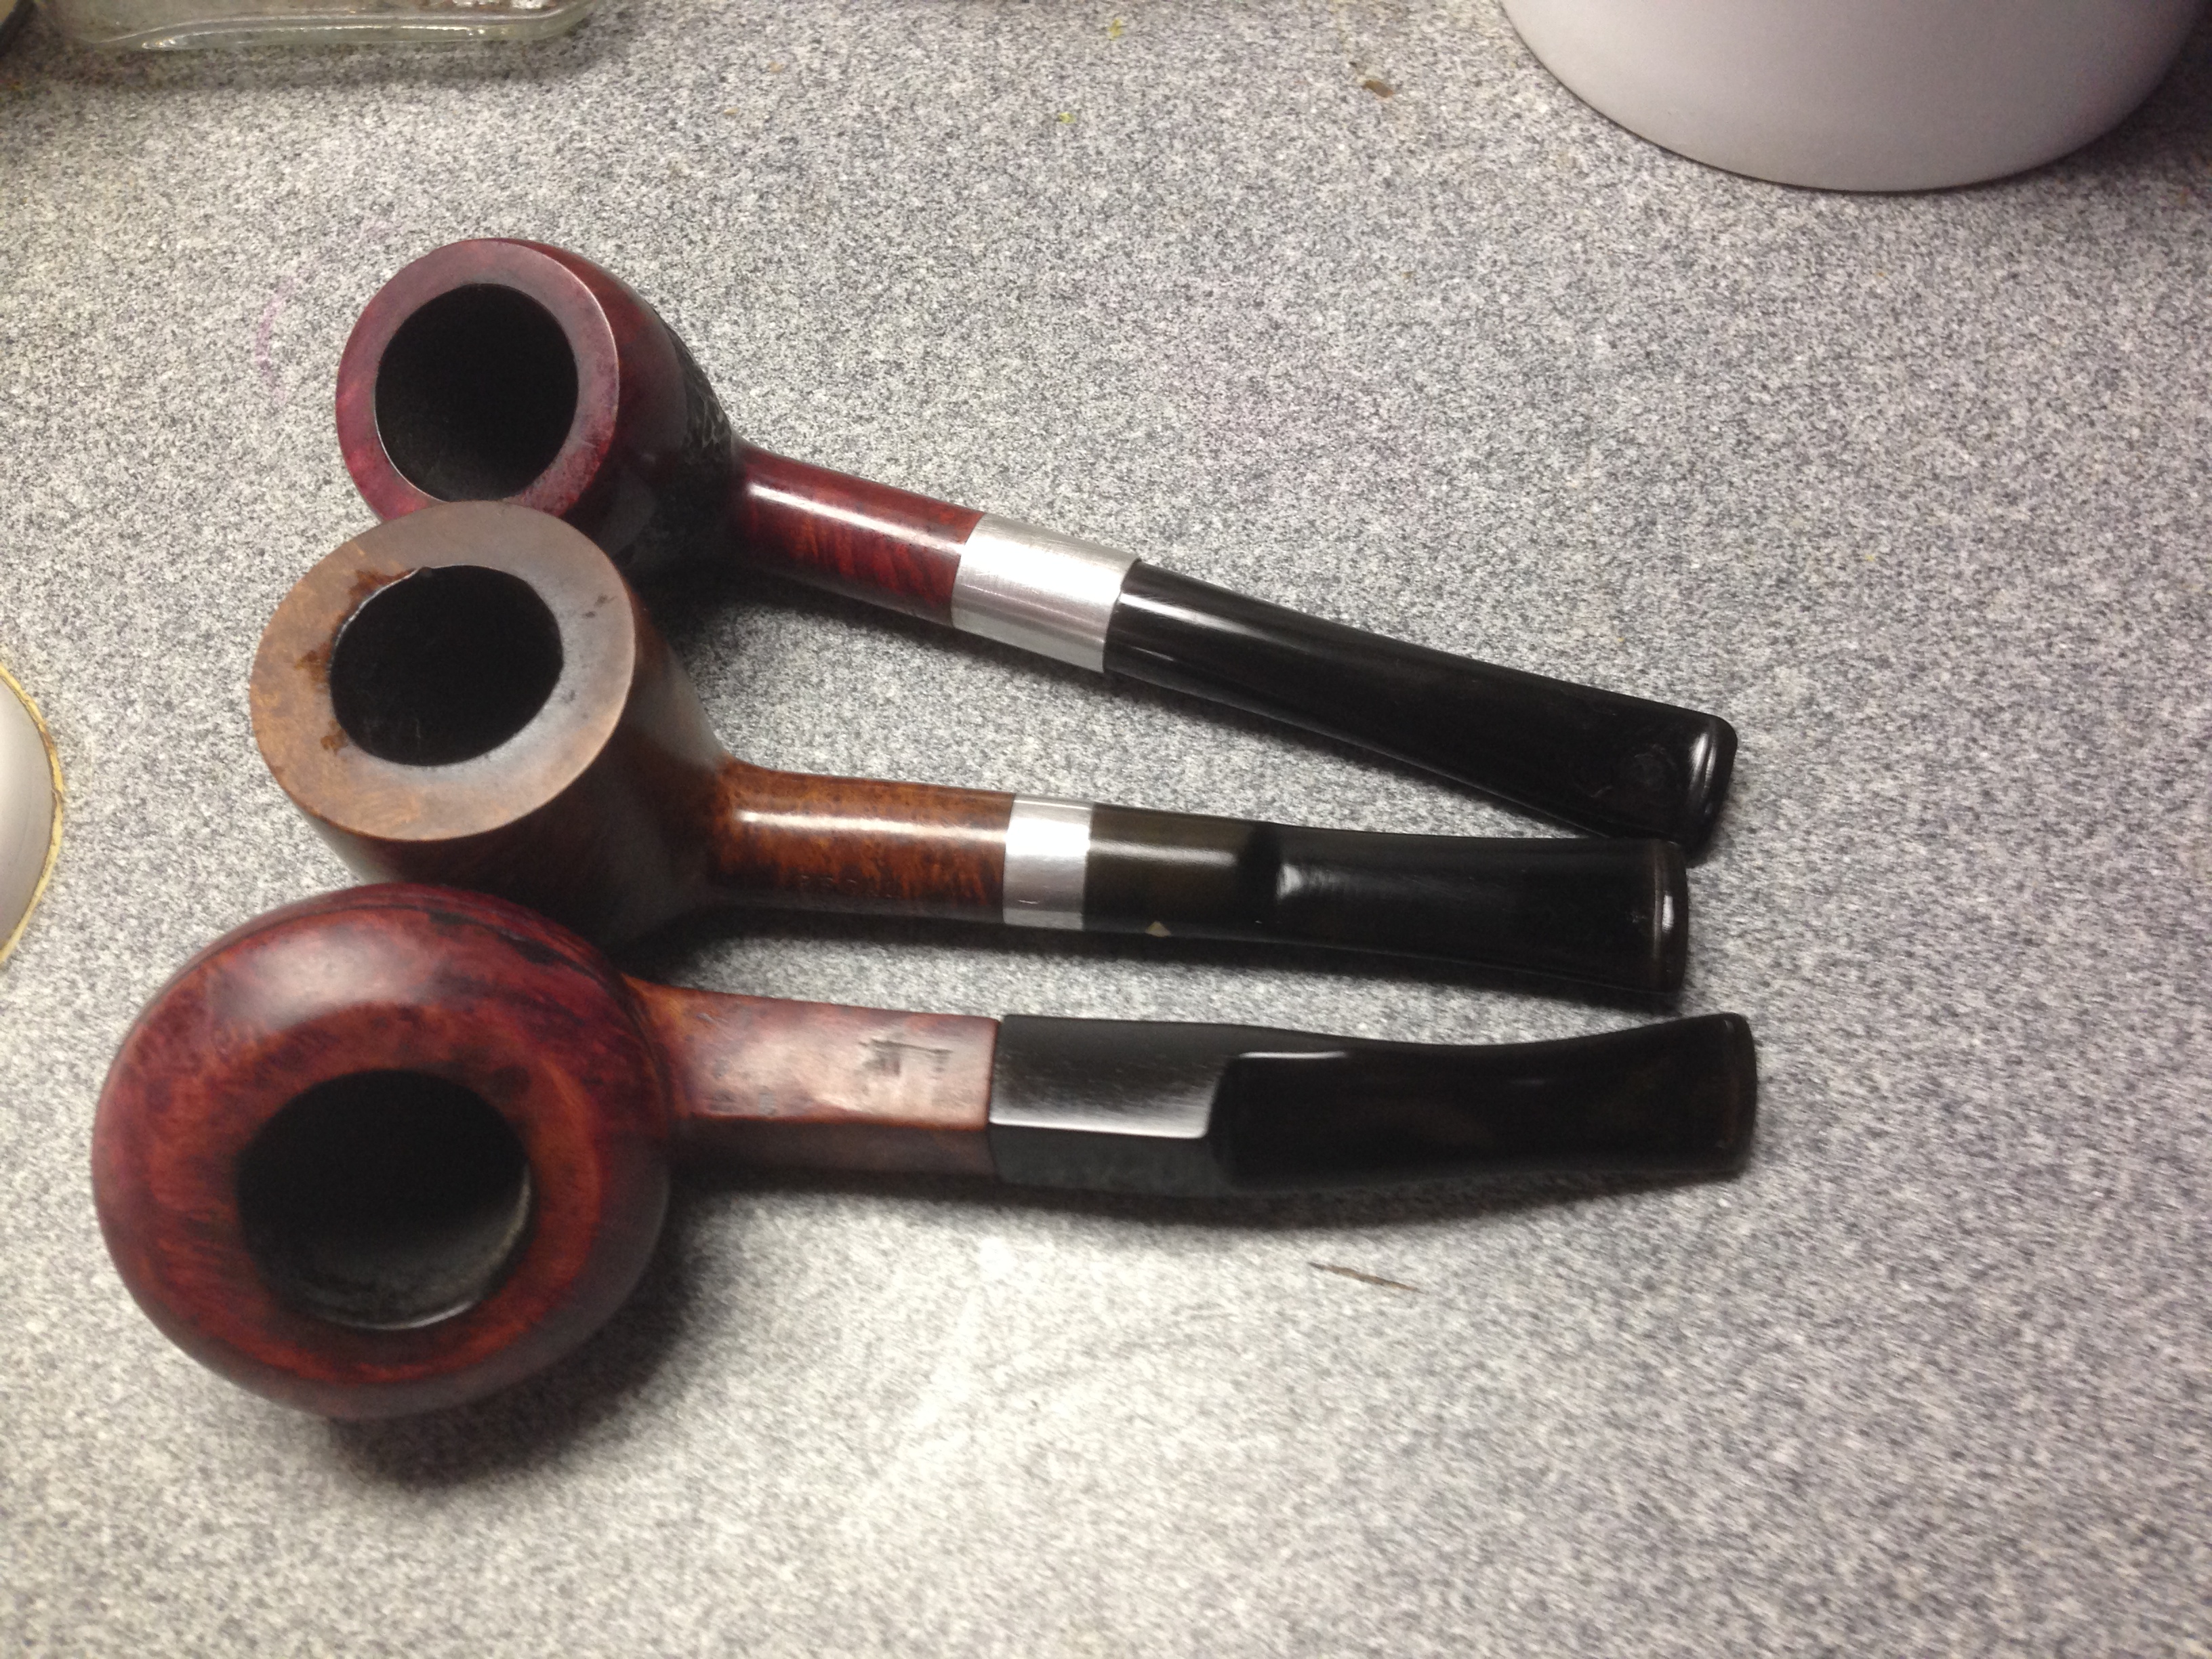
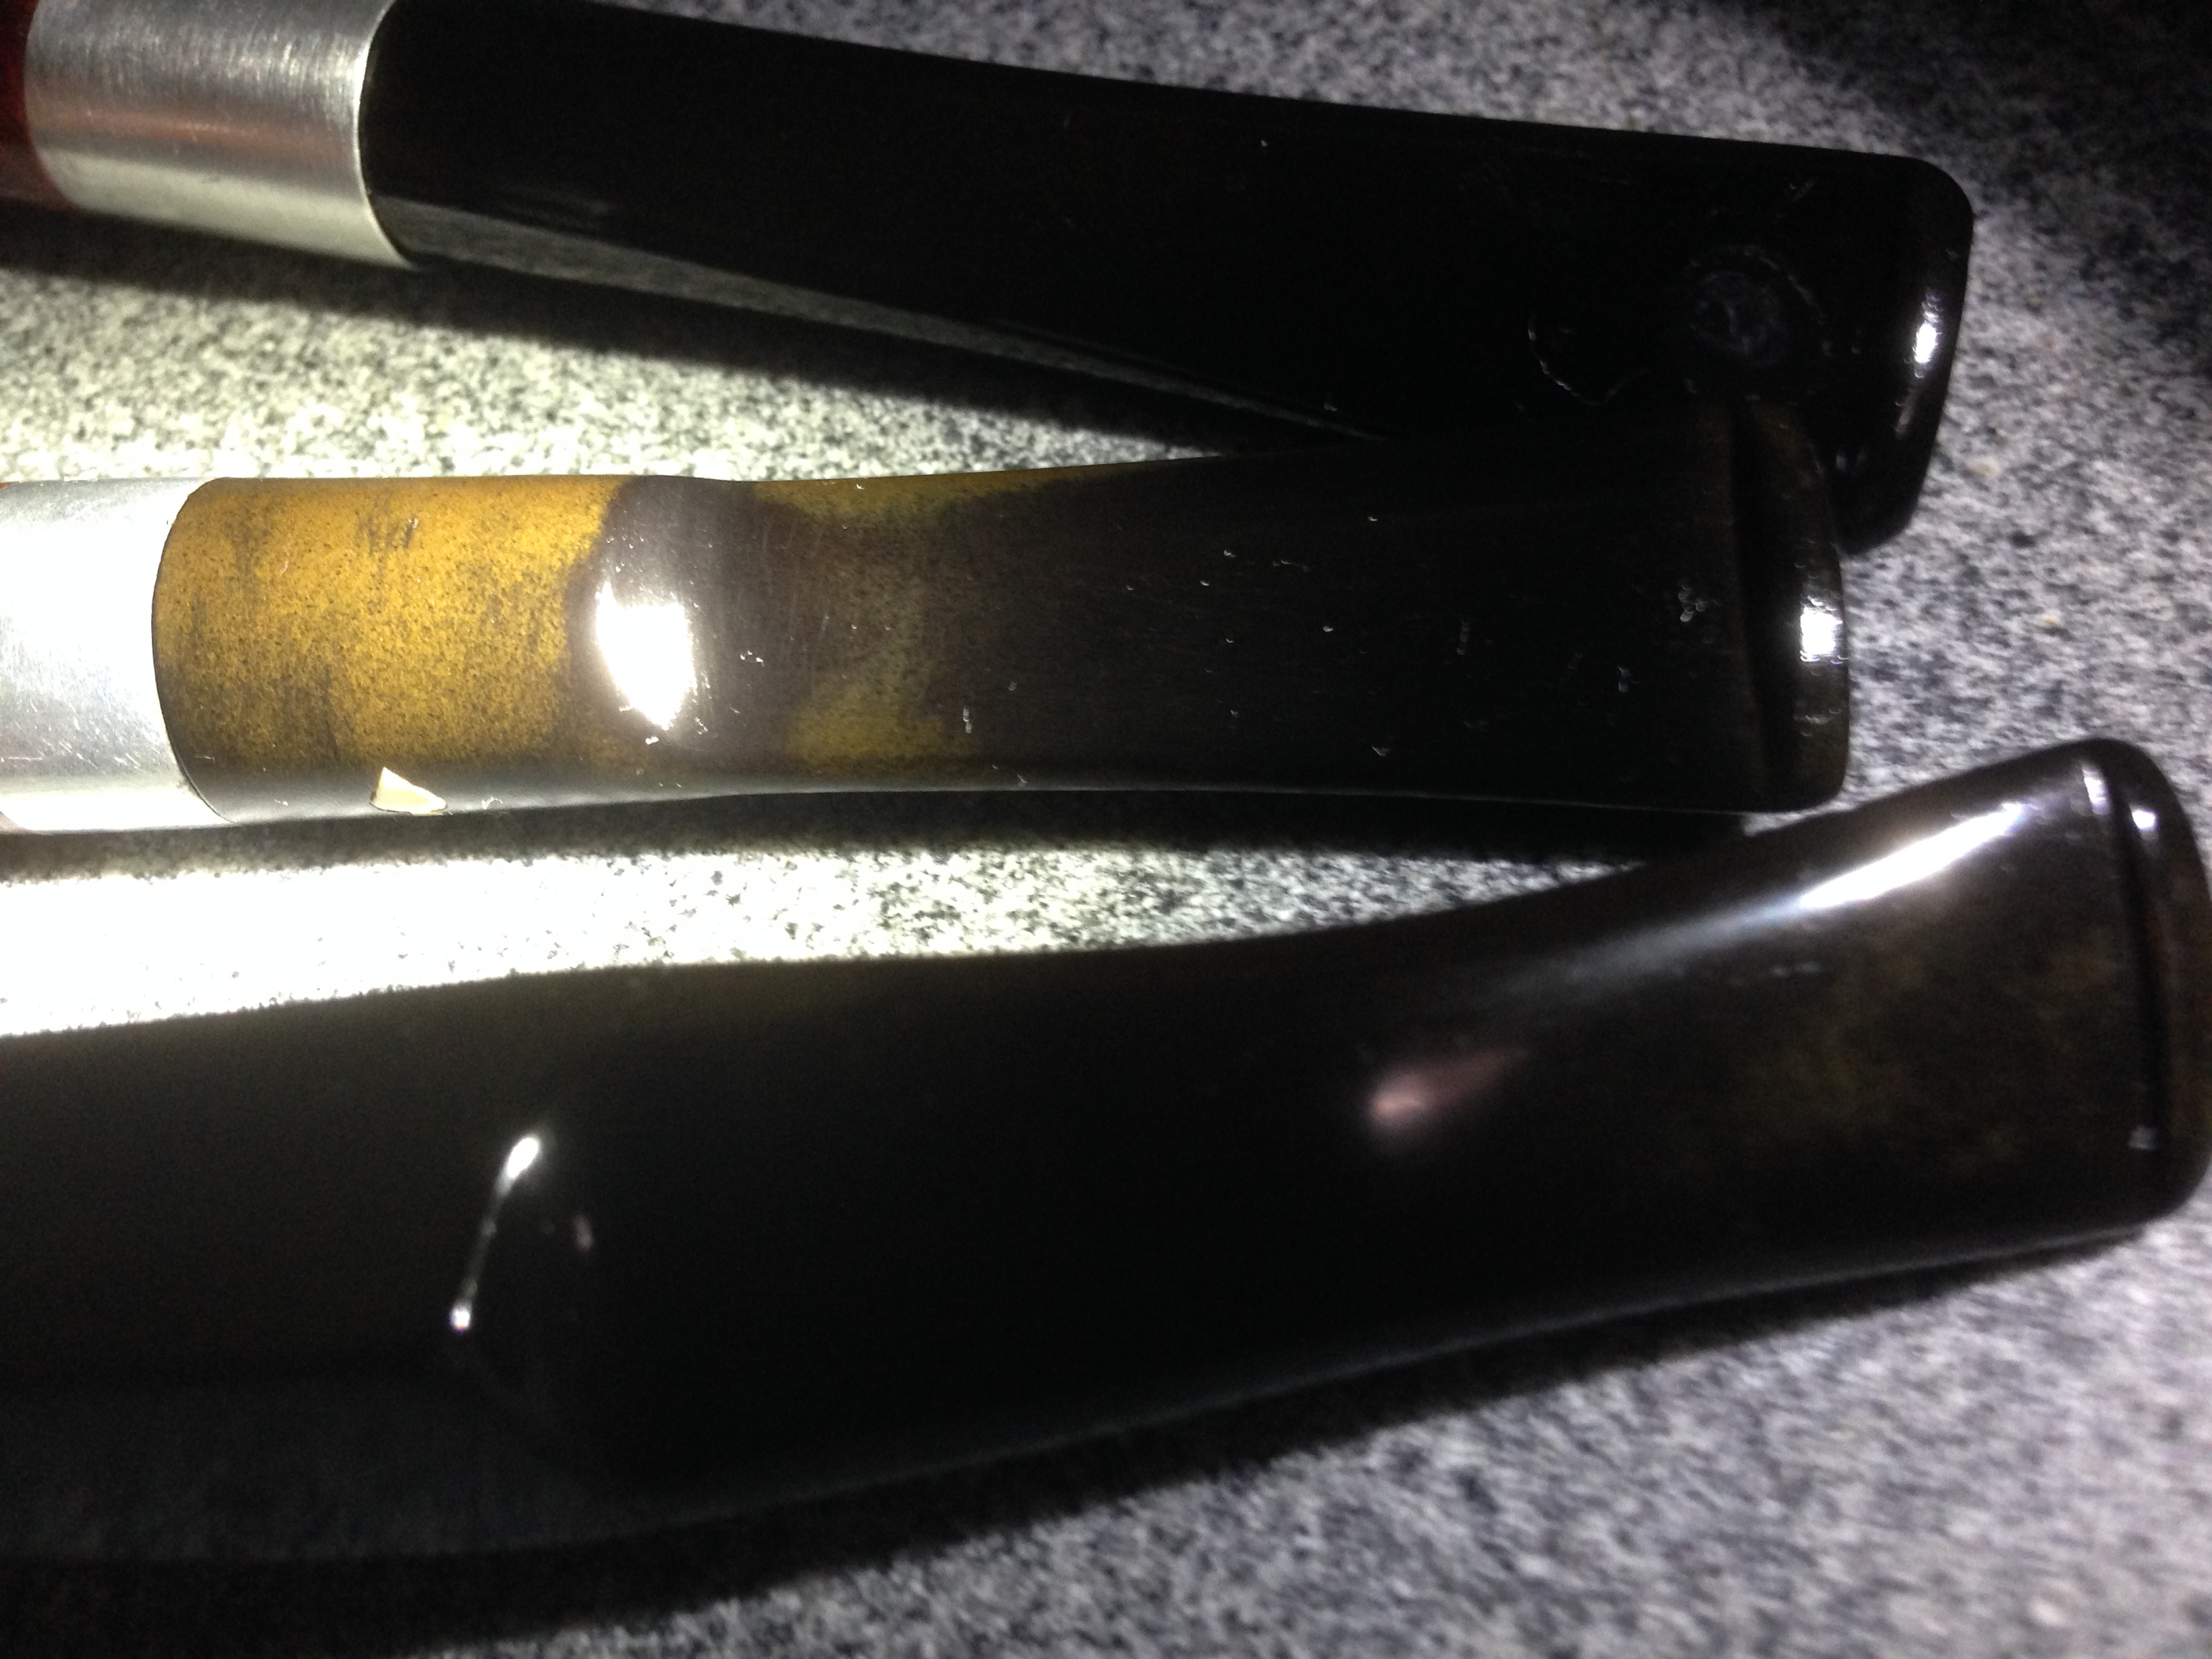
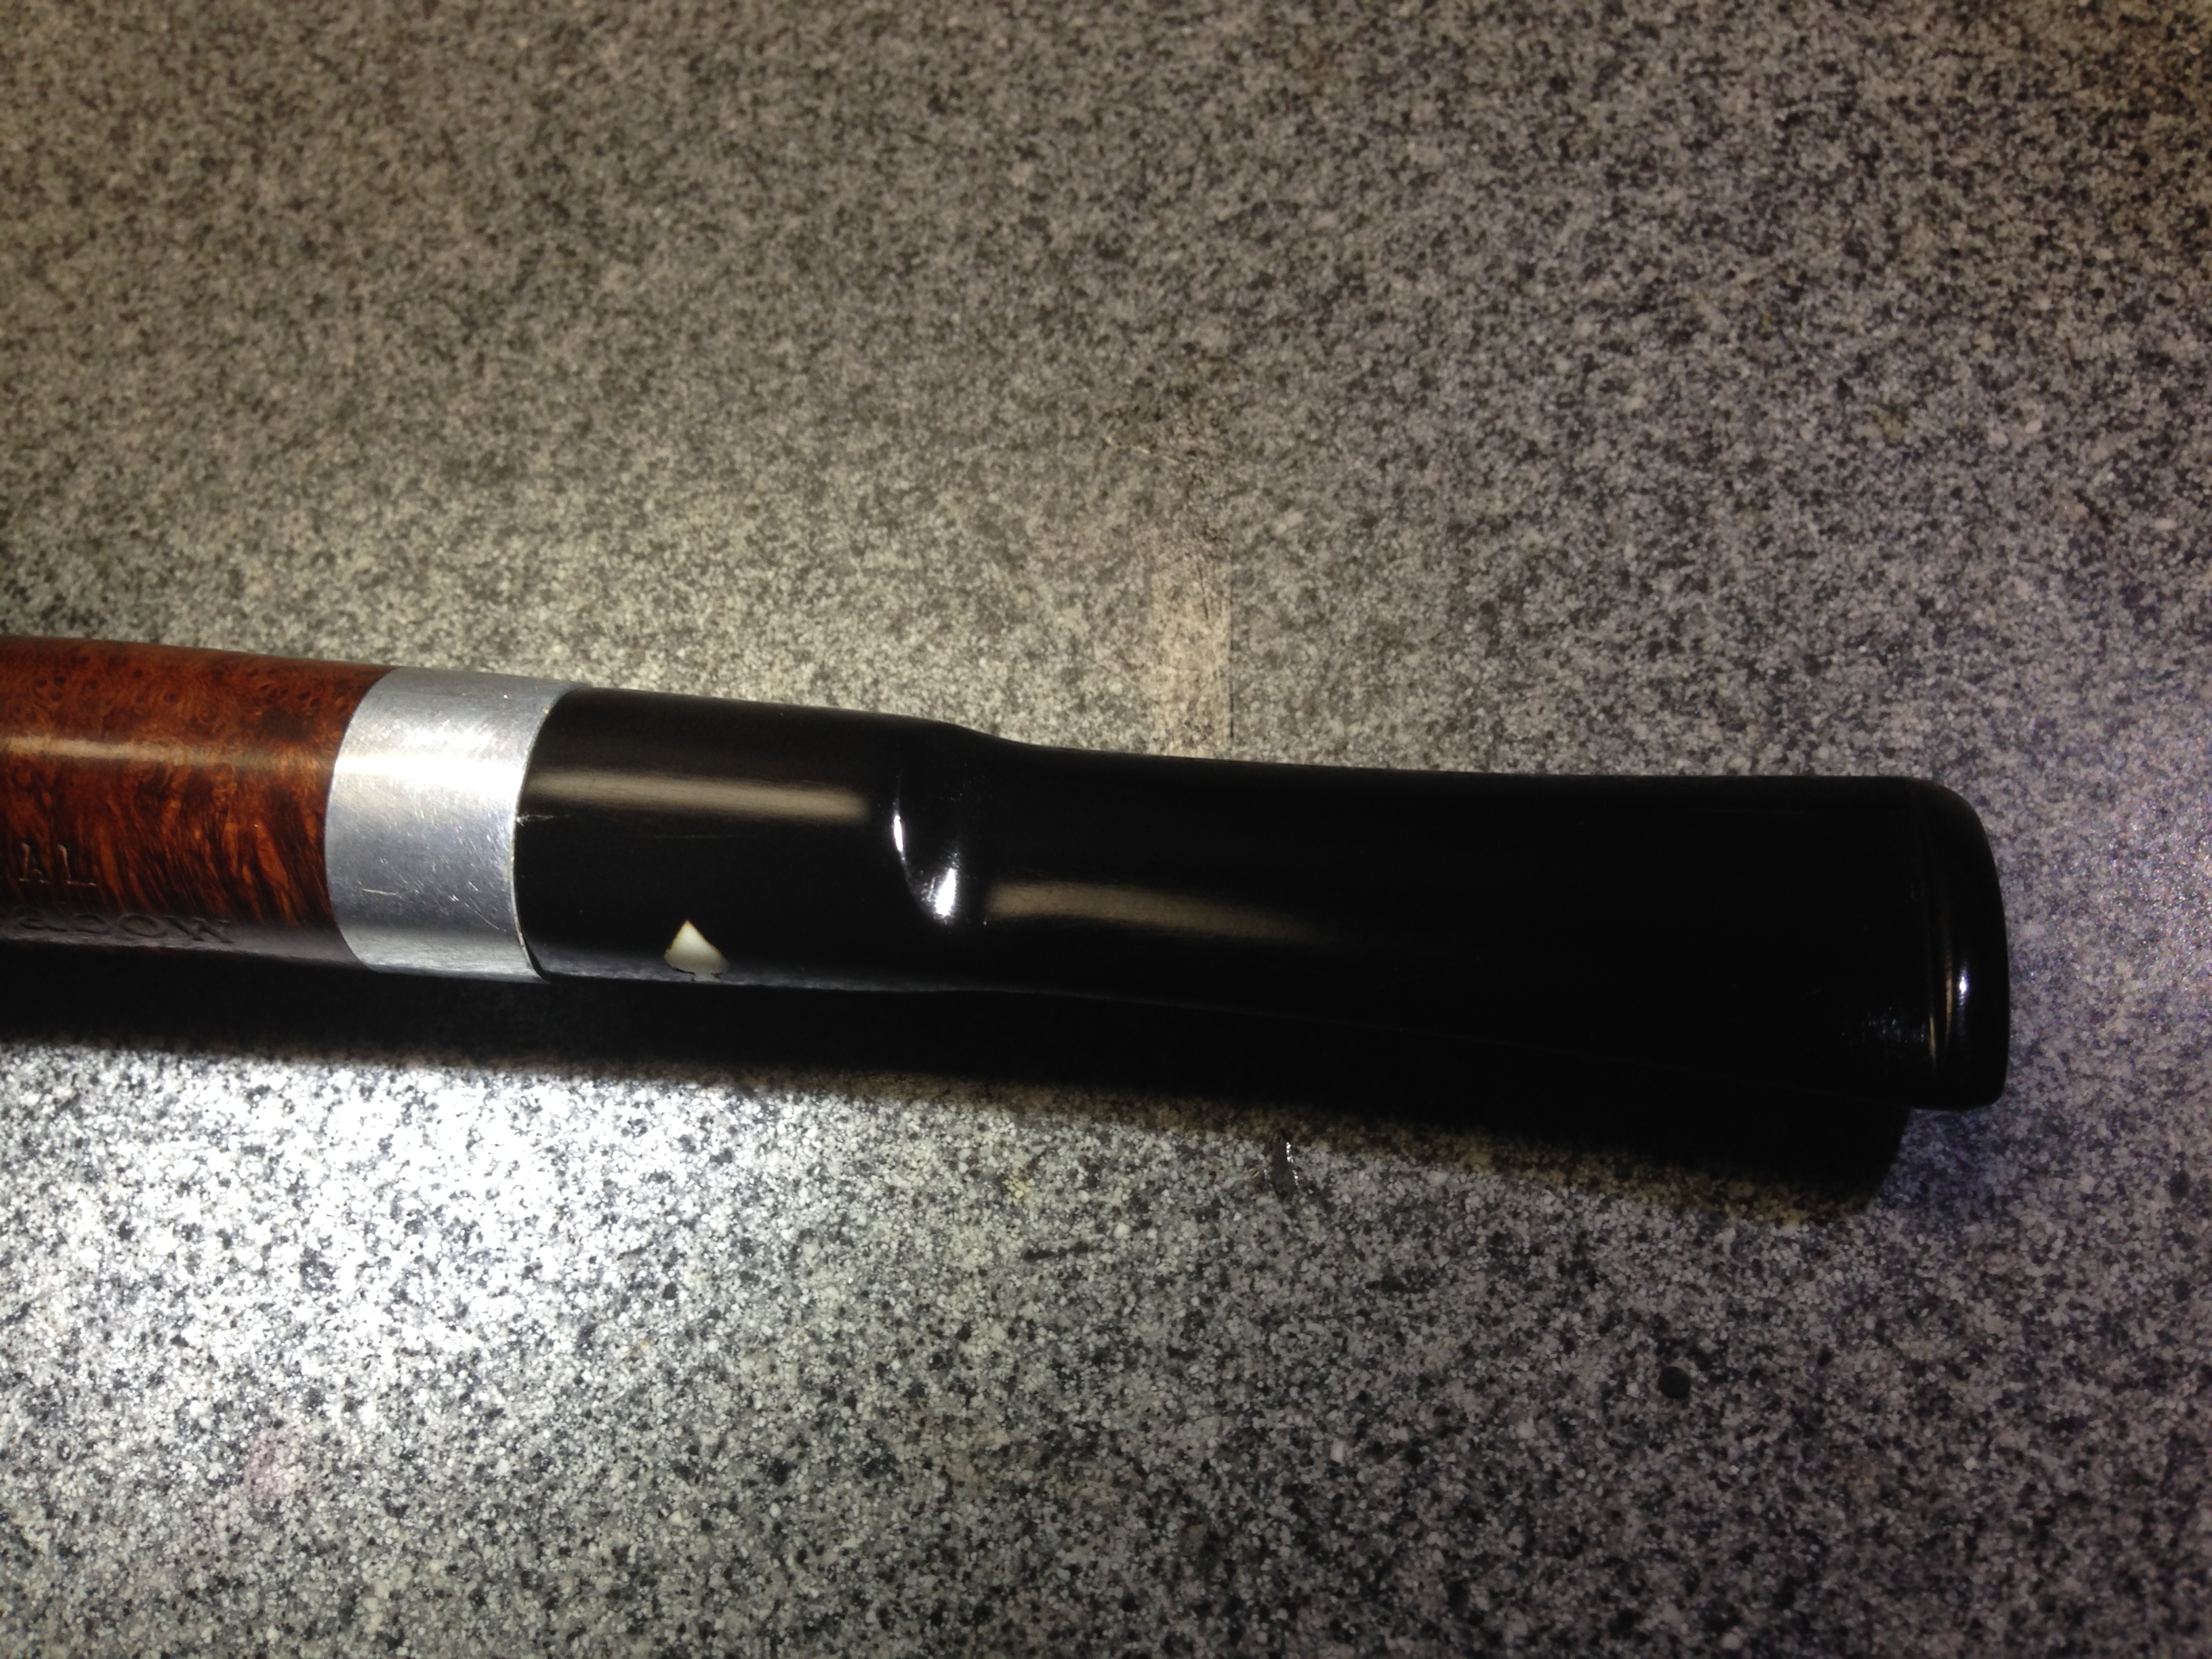
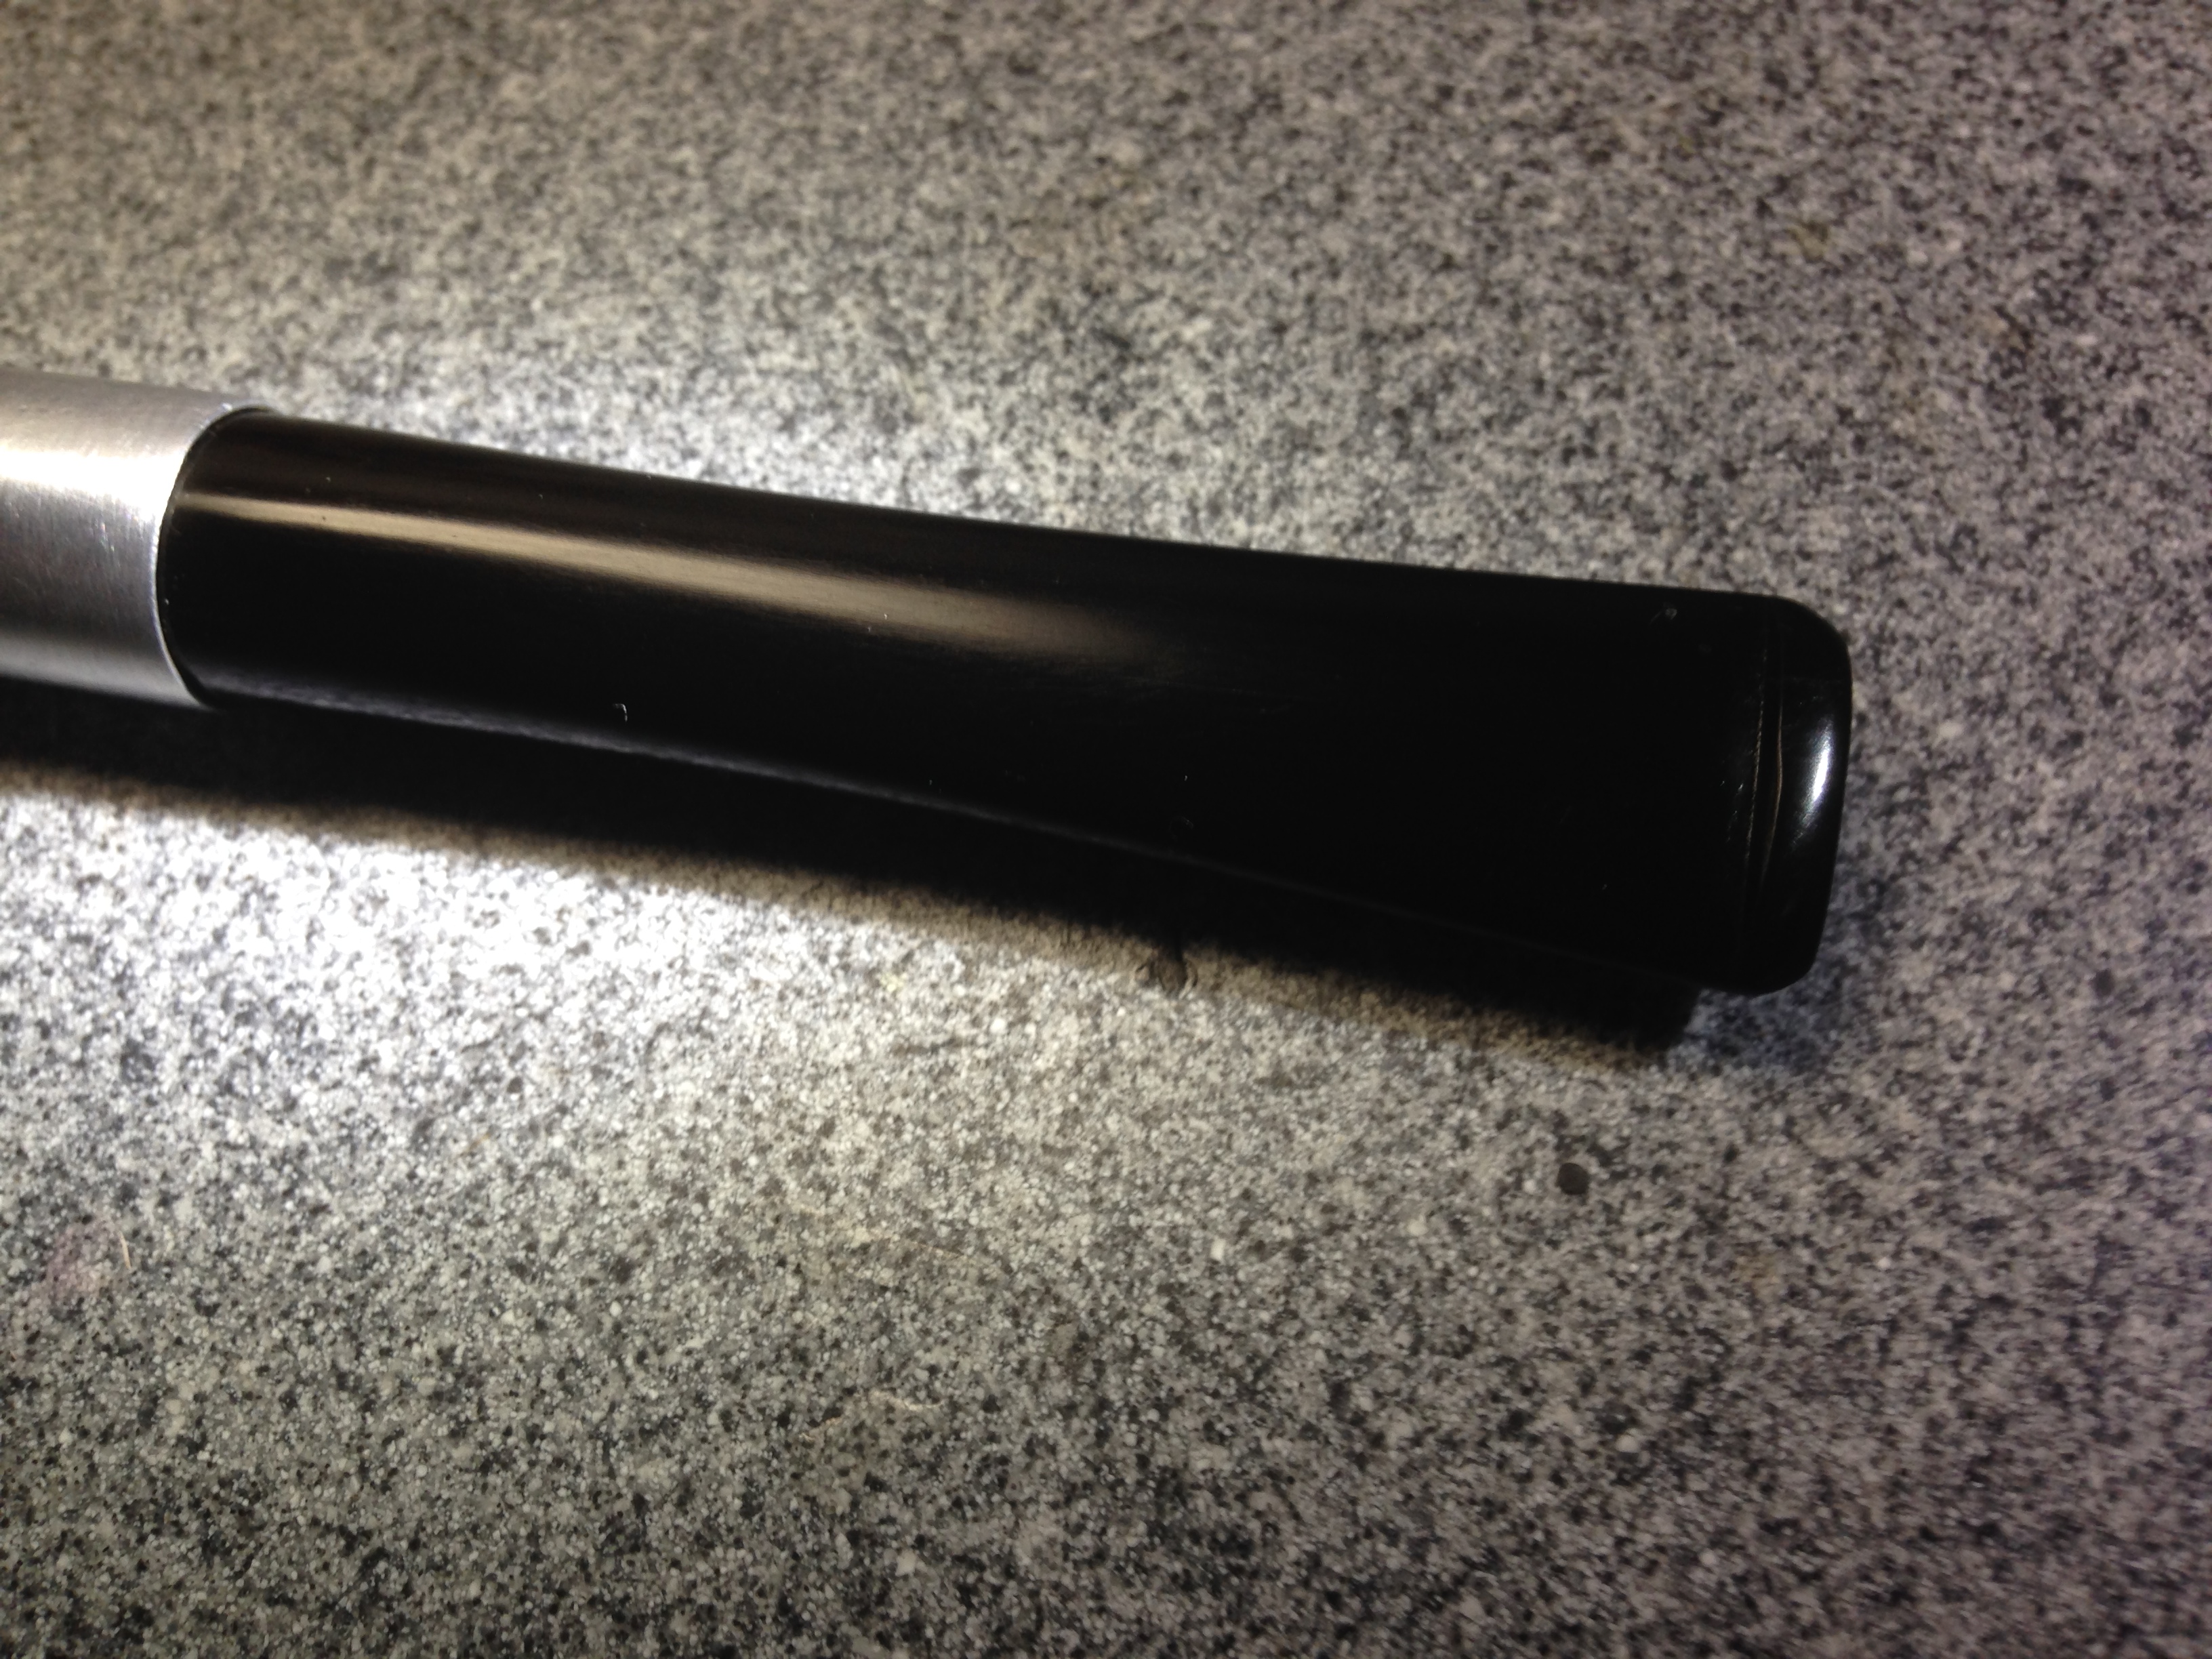
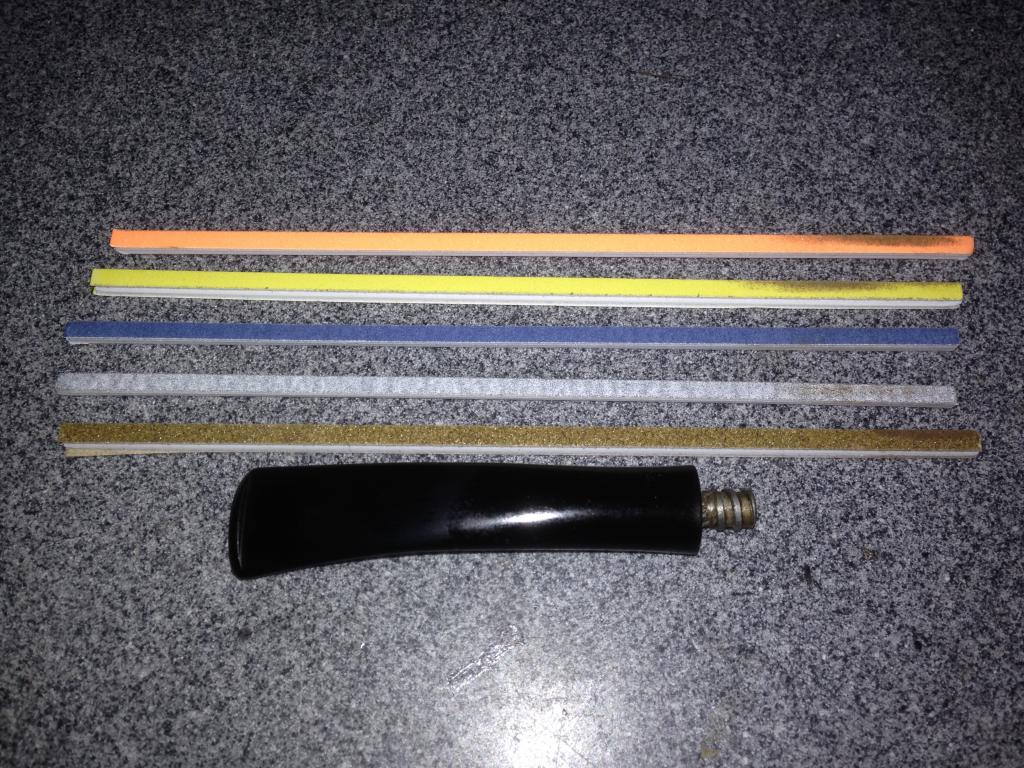
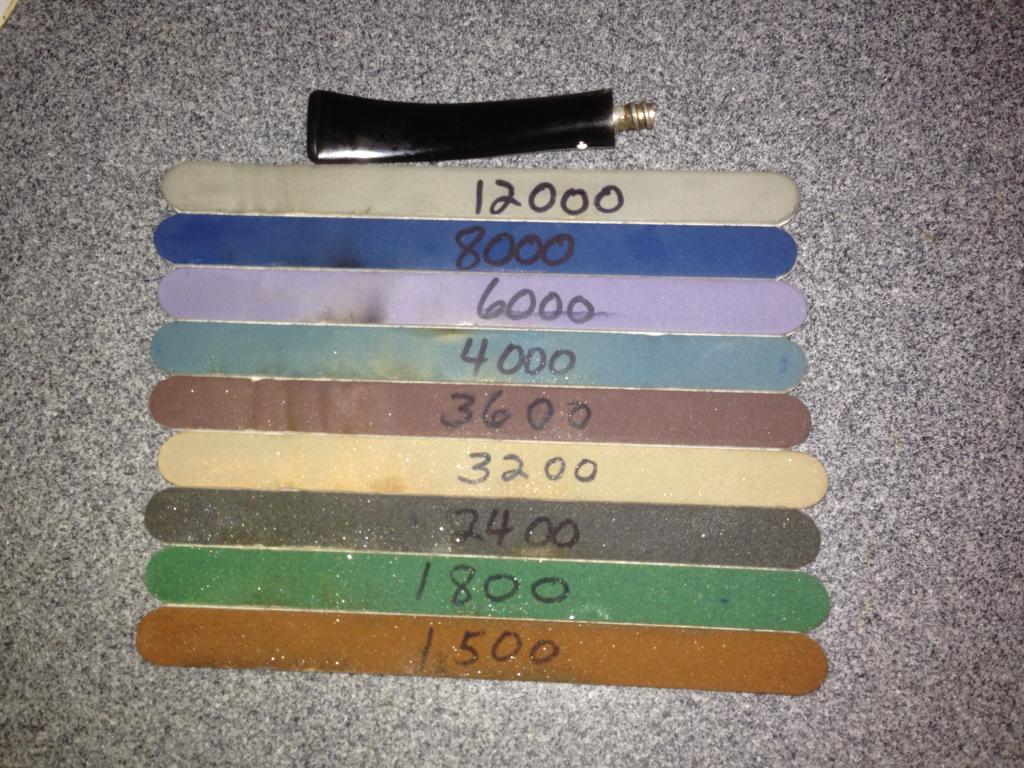
After shaping the bit with needle files and sanding/micromesh the epoxy.
Photo #5
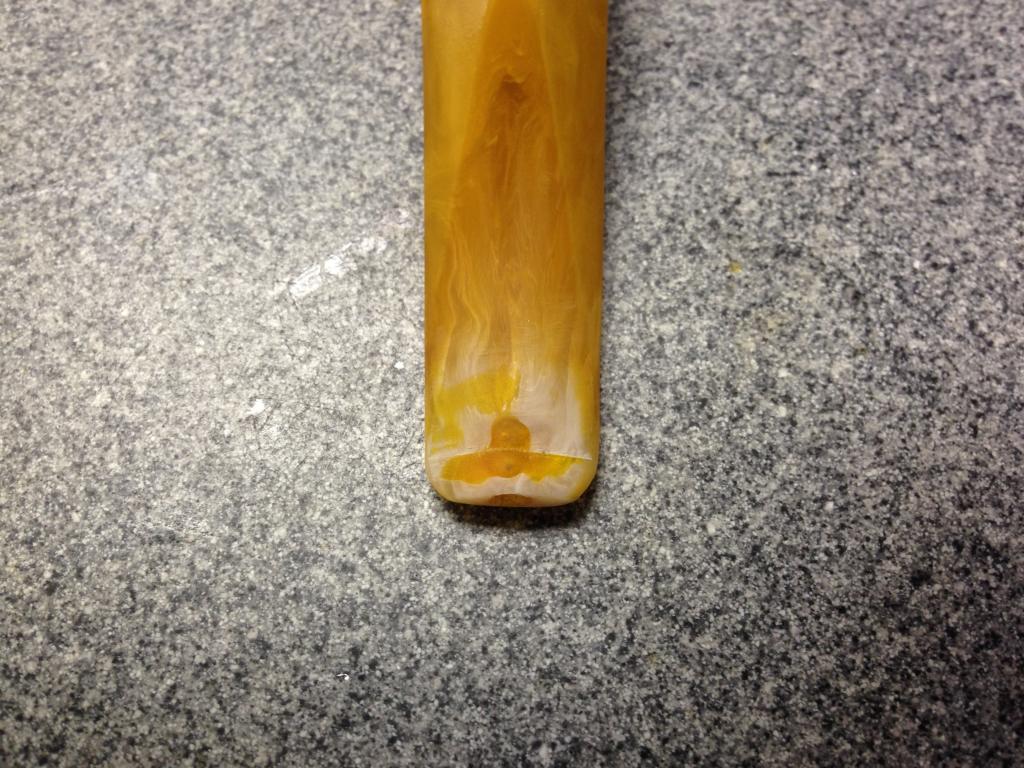
This didn’t work out so well, either. Not only the color isn’t good but, also, the epoxy feels soft and rough to my teeth and lips.

We learn from our mistakes, so I’m going to continue experimenting with this.

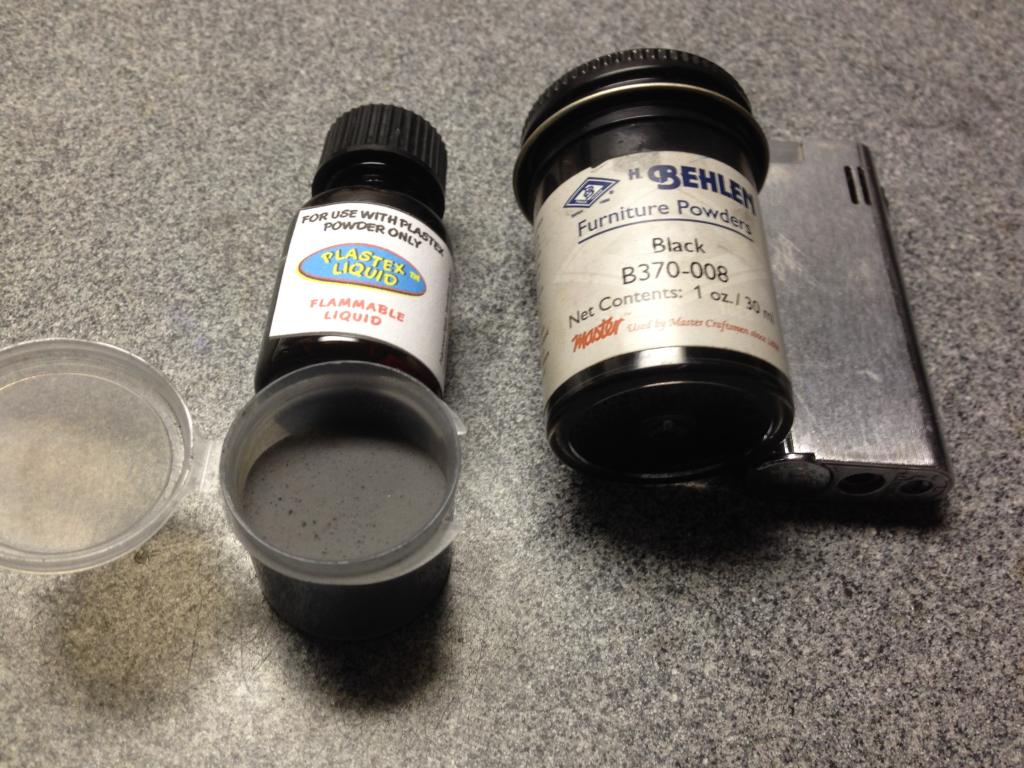
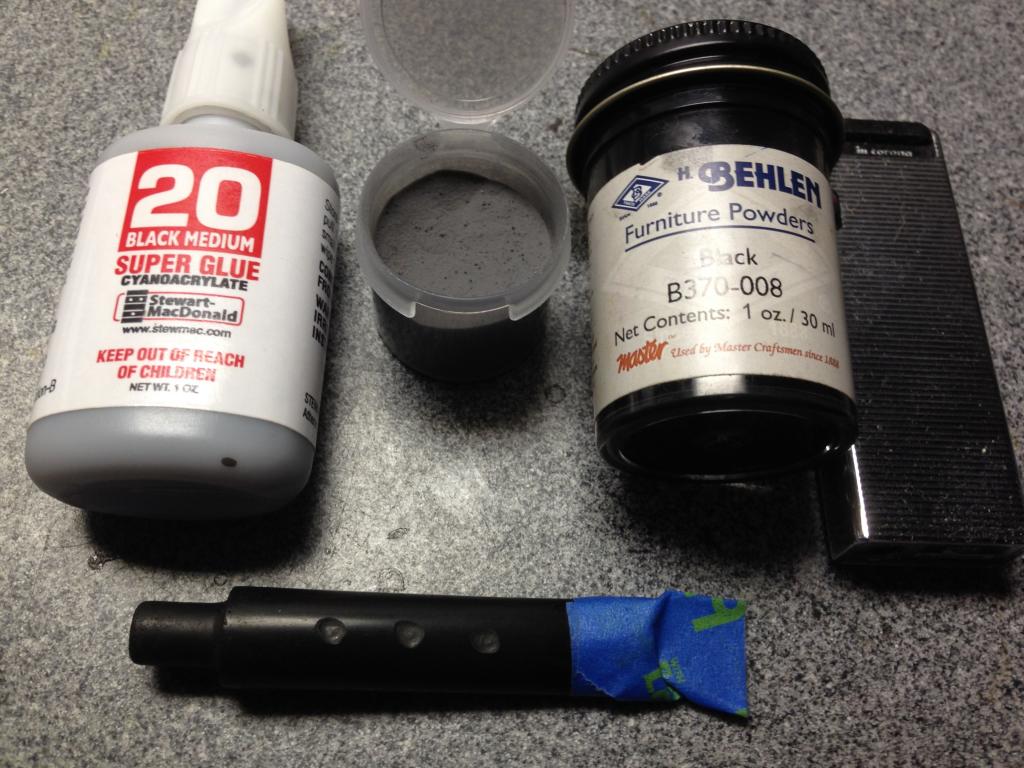
Next, I’m going to remove the epoxy and try patching a third time by mixing dye powders with clear superglue.

I would appreciate it if anyone has other ideas to try for this stem repair.

Black Superglue Experiments – Joyal Taylor (aka holymolar)


Blog by Joyal Taylor

I have been waiting for this article since the product was mentioned on Pipe Smokers Unlimited Forums. Mark Domingues (who contributes on the blog) and Joyal both ordered the powder to try out. Both said they would experiment with it and report back. Joyal spoke with Mark and they agreed that he would post the results of his experiments. I have used Black Super Glue for a long time now in patching tooth marks and bite throughs on stems. I have dealt with the shrinkage and the long curing times and lived with them. Joyal has done all of us a service in doing this experiment and writing up the process and results of his work. Thanks Joyal for taking the time to work through this and document your process. It is well worth a read.

Experiment #1 – Black Superglue with Accelerator:

I used a round Dremel bur to cut a divot in a vulcanite stem, to simulate tooth marks.
Photo #1.JPG
I sprayed the area with accelerator and allowed it to dry for 5 minutes before adding superglue
Photo #2.JPG

Photo #3.JPG
I let the superglue cure for 30 minutes. As expected, the glue shrunk.
Photo #4.JPG
I sprayed more accelerator on the area and added another coat of superglue.
Photo #5.JPG
Then I sanded the patch with wet sandpaper (220 – 600 grit).
Photo #6.JPG
Later, I used micromesh pads (1500 – 12000 grit) and polished with white diamond and carnauba wax. It polished and shined so well that I couldn’t get a decent photo because of the camera flash.

Experiment #2 – Black Superglue with Plastex, as well as Behlen’s Furniture Powder:

I used a round dremel bur to cut three divots in a vulcanite stem, to simulate tooth marks.
Photo #7
Black Plastex and Behlen’s Black Furniture Powder.
Photo #8
Will use from left to right
Patch 1 – Black Superglue only
Patch 2 – Black Superglue w/ Black Plastex
Patch 3 – Black Superglue w/ Black Behlen Furniture Powder
Photo #9
Patch 1 – cured for 8 hrs, it shrunk. Added 2 additional layers and let the final layer cure for 24 hrs.
Patch 2 – cured for 8 hrs, no shrinkage but the surface was pitted
Patch 3 – cured very quickly, 5 minutes, but the surface was pitted
Photo #10

Photo #11
Sanded the patches with wet sandpaper (220 – 600 grit). Fortunately, I had overfilled Patches 2 & 3 and the sanding smoothed out the surfaces. Extra layers were not necessary.
Photo #12
Later, I used micromesh pads (1500 – 12000 grit) and polished with white diamond and carnauba wax. The patches polished and shined so well that I couldn’t get a decent photo because of the camera flash.

Discussion:
Adding Plastex to Superglue reduced the curing time (it didn’t shrink and one layer filled it up). Also, the Plastex adds strength to the patch and could be good for large patches and holes.

Adding Behlen Furniture Powder could be used if you’re impatient (it has something in it that causes the Superglue to cure very quickly). Too much powder will cause the glue to cure so quickly that there isn’t enough time to place it into the divot.

I haven’t tried it yet, but using the Accelerator first, then Black Superglue with Plastex could be a good way to go.

Plastex can be ordered from: http://www.plastex.net/
Behlens Furniture Powder can be ordered from: http://www.shellac.net/furniture-powder.html or http://www.highlandwoodworking.com/b…owders1oz.aspx

Black Superglue Patches (ring around the collar) – by Joyal Taylor aka holymolar


Blog by Joyal Taylor

This is the third article by Joyal (known online as holymolar). Again it is with pleasure that I put this on the blog. Joyal had emailed me that he was working on this piece for the blog. I was looking forward to reading his thoughts on this. Others have mentioned the problem to me when they used the black super glue. Joyal has done some good experimenting and I am pretty certain he has gotten to the root of the problem. Thanks Joyal for taking time to write-up your experience and tips on this patching process. This is a what rebornpipes is all about – taking ideas and experimenting and improving them. Without further introduction have a read on what Joyal has learned.

The first few times that I patched stem holes and deep tooth marks with black superglue, I ended up with white margins like these: (very evident when a flashlight is shined on the patch at an angle).
Photo #1

Photo #2
At first, I thought that I must have contaminated it by sanding before the glue had totally set. But now, I’m convinced it was because I didn’t remove all of the oxidation beforehand. I’ve learned a few tricks with black superglue patching.

Here’s the before photos of a Dr Grabow stem that I recently patched. It’s not a high quality vulcanite but a relatively soft rubber.
Photo #3

Photo #4
Tip #1 – Absolutely ALL oxidation and oils must be removed before patching. There are many ways to remove oxidation but, for this, I prefer the most aggressive method that I know – A bleach bath for an hour or more. Then a 1 hour alcohol bath to remove the bleach smell and taste. The bleach causes surface pitting but, in my mind, that means it has removed the deepest oxidation. (Sometimes I’ll follow with a Oxyclean bath as well). After the bleach and alcohol, lots and lots of sanding is necessary to smooth down the pitting. I use 220-800 grit with water.
Photo #5

Photo #6
Tip #2 – Clean out the hole with a small round burr in a Dremel. Remove all oxidation and discolorations from inside the hole. “Feather” the edge which makes for better blending of the glue/stem junction and it also removes any microscopic particles of oxidation that may be hiding in the ragged edges.
Photo #7

Photo #8
Tip #3 – Now use 1000 grit sandpaper on the edges to smooth it out some more. Remove any dust or oils with an alcohol wipe.
Photo #9

Photo #10
I sand down the overfill (220-2500 grit) until it’s even with the surface. (If necessary, I’ll freshen up the bit with needle files). Then micro mesh (4000 -12000), carnauba, and buff.

Here’s the after photos on that Dr Grabow stem before final polishing/waxing – .so it can be seen better without the glare of the camera flash on fully polished stems. No more “ring around the collar”.
Photo #11

Photo #12
Sometimes, on good quality vulcanite, I have difficulty seeing where the patches were.
Photo #13

Photo #14

Oxidation – Warning. You’ll Wish You Hadn’t Seen This – by Joyal Taylor (aka holymolar)


Blog by Joyal Taylor

This is the second article by Joyal (known online as holymolar). It is with pleasure that I put this on the blog. Joyal does some great work in restoration and in his own words “You’ve probably realized already that I particularly like restoring stems”. Thanks Joyal for your take on the process of cleaning up deeply oxidized stems. I look forward to more articles on your work. Without further introduction here is Joyal.

Check out the stems on these 3 restored estate pipes. They look OK, don’t they? Polished, shiny, no obvious oxidation.
001
Let’s look closer.

The upper stem seems OK.
002
On the middle stem, is that oxidation near the shank end and also in the bit crease?
003
On the lower stem, how did I miss that oxidation toward the bit end?
004
Let’s turn out the lights and shine a flashlight (at an angle) onto the stems.
005

006

007
HOLEY MOLEY, BATMAN!

Where did all of that oxidation come from?

I’ve got to start all over on these stems.

That deep oxidation can be removed – if you’re willing to spend a lot of time sanding, especially with the coarser grits. Start with a 2 hour Oxyclean bath to soften the oxidation. Then 220 grit wet/dry sandpaper with water. Then follow with 400, 600, maybe 800 and 1000 grit. Finally micro mesh pads (1500-12000), then final polish and buff.

Is it worth it to go after that deep oxidation? Maybe, maybe not. That’s up to you.

Followup on removing the oxidation on the stems.
Since I had already used Oxyclean on these stems, I got more aggressive the second time around. I put the stems in a bleach bath (50% diluted with water) for 1 hour. One of the stems wasn’t done so it went back in the bleach (at full strength) for 2 additional hours. Then I soaked the stems in an alcohol bath for 1 hour to neutralize the bleach smell and taste. Then I spent about 1 hour, on each stem, wet sanding (220, 400, 600, 800 grit) and micromesh (1500-12000). The following photos were taken before carnauba wax polishing/buffing. It was a lot of work but time well spent because the stems feel as smooth as satin to my lips and tongue.
Photo #1

Photo #2

Photo #3

Cleaning/Polishing the Stem Crease Area by Joyal Taylor


Blog by Joyal Taylor

It is a pleasure to be able to introduce this first blog post by Joyal here on rebornpipes. I read with interest several of Joyal’s posts on Pipe Smokers Unlimited online forum. His love of refurbishing and his abilities were something that I immediately resonated with. When I read the post he made about the use of the sanding sticks and micromesh sanding sticks to clean up the crease on a stem I was hooked. I thanked him for the research and creativity that lead to these new to me tools of the trade. I asked if he would mind writing this up for the blog and this afternoon I received the post. Thanks Joyal. I look forward to reading many more of your posts here and on the forums. Without further introduction here is Joyal’s post.

I’ve smoked pipes for about 30 years. A few years ago, I semi-retired and started looking for hobbies. Fishing is great but not for an everyday activity, at least for me. One day I looked at some of my pipes and realized that they were looking beat up and abused. I tried restoring one but quickly realized that I didn’t know what I was doing. So I began researching pipe restoration and tried again and again. Soon I was fully into it with various tools and dyes. It has become an everyday activity that gives me things to do with all of my semi-retired free time.

I find that the most frustrating area to clean up, on an oxidized stem, is the 1-2 mm in front of the bit. Sometimes oxidation and dirt gets in that area and it’s difficult to get it out. I’m always trying to find better, quicker, and easier ways to do various aspects of pipe restorations. If you don’t need to use needle files and dead edge files to reshape the bit, here’s an alternative to cleaning up the crease area in front of the stem bit, without really altering it.

Before photo of a stem that needs a little cleaning/polishing in front of the bit. There are more dramatic examples but this is the only one I had at this time.
Photo #1
I found some small thin sanding sticks that fit nicely into the area (100,180,240,320,400 grit) http://www.billingboatsusa.com/803-flx0101-mini-hobby-and-craft-sanding-sticks.html
Photo #2
Here’s what the area looks like after using all of the sticks – gently.
Photo #3
Next I polished the area with micro mesh sticks (1,500-12,000). I find that these are easier to use in this small area than the micro mesh pads. http://www.woodcraft.com/Product/2080764/29708/Micro-Mesh-12-x-5-34-Colored-Sanding-Sticks.aspx
Photo #4
These final two photos were taken before wheel polishing/buffing because the shine doesn’t allow for a good photo.
Photo #5

Photo #6
This entire cleaning/polishing doesn’t take as long as it may seem – probably less than 10 minutes.