Blog by Steve Laug
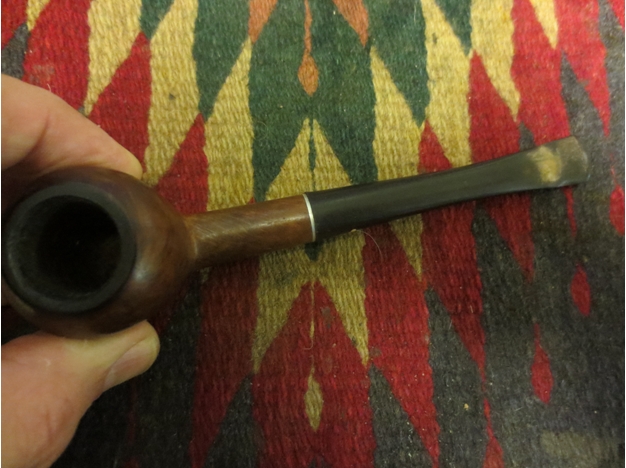
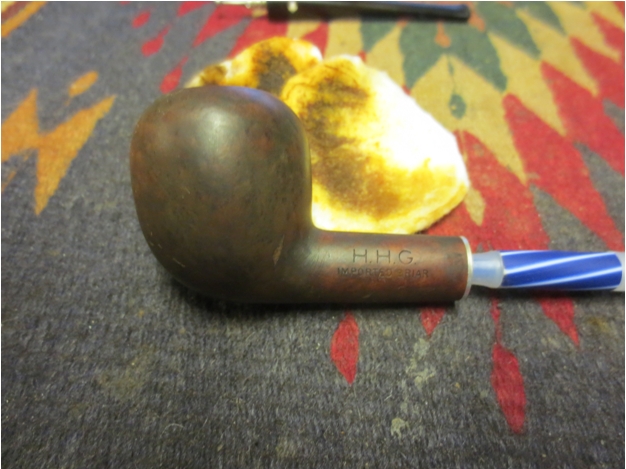
When I took this old bowl out of the box – last of two pipes to refurbish in my box – I looked at it and wondered what the point would be to clean it up. It had three large and visible fills on the bowl back left side and bottom of the shank and bowl. The finish was shot and it did not have a stem. I sorted through my can of stem and found a threaded Kaywoodie stem that had a short stinger and some scored threads. I tried it in the metal mortis on this pipe and it actually fit perfectly with no overage. The stamping on the old bowl remains a mystery to me – it is stamped on the left side of the shank as follows: HHG over Imported Briar. There is no other stamping at all on the pipe. So far I am unable to find any information on it at all. Who Made That Pipe has the listing but says maker unknown. I do know that the Imported Briar stamping makes it likely that the pipe is an American made pipe post WWII. Other than that I am at a loss. The two fills were solid and undamaged and the putty was a light brown. The finish was shot and opaque. It was hard to see what the grain looked like underneath. The rim was darkened but undamaged.
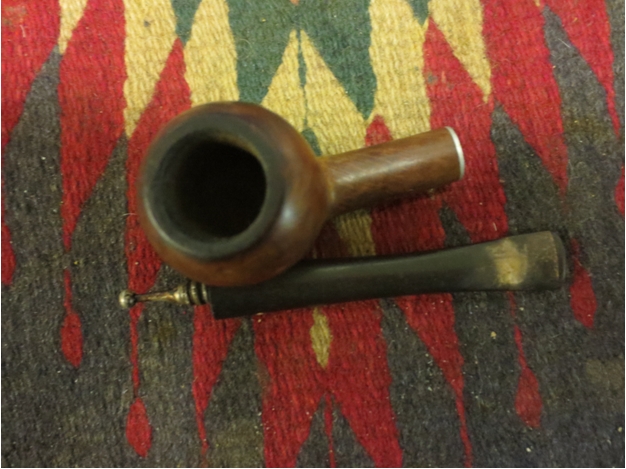
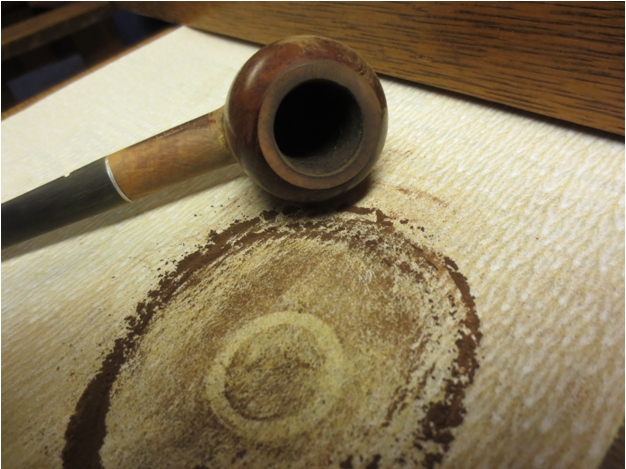
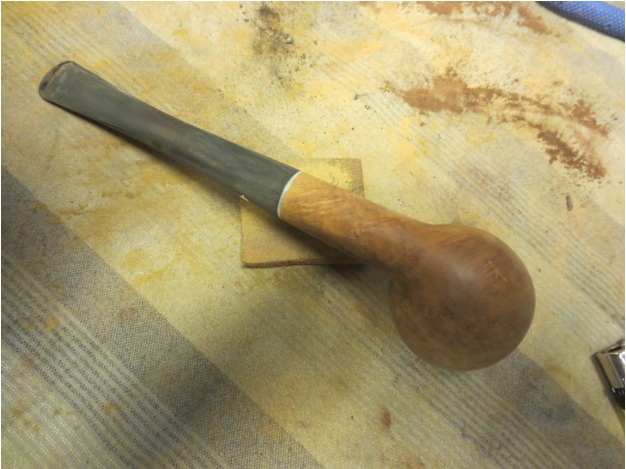
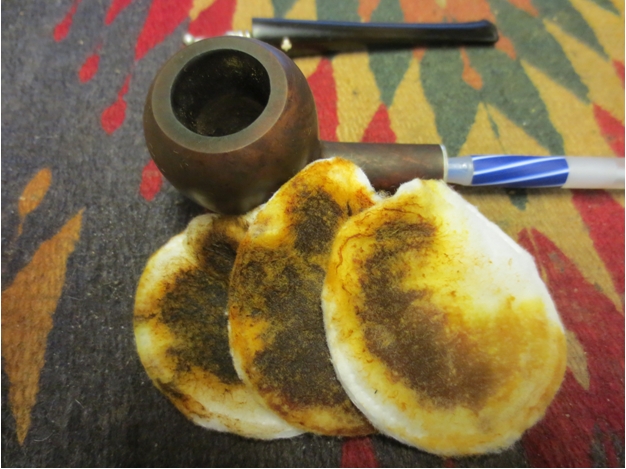
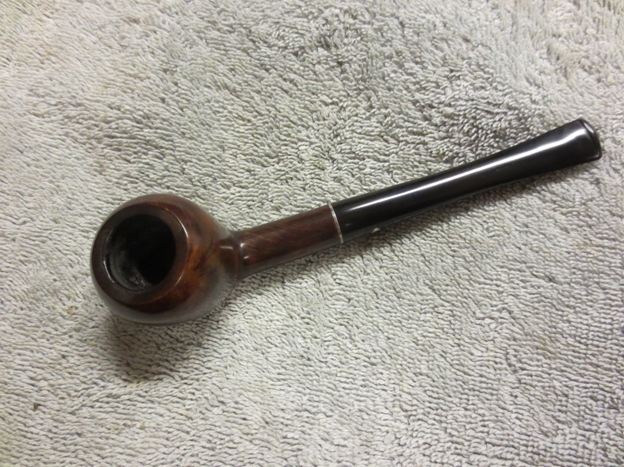
 The photo below shows the three fills that were very present on the bowl. The potential grain shows through on the bottom of the shank and led me to have a little hope that underneath the opaque ruined finish would be some nice grain.
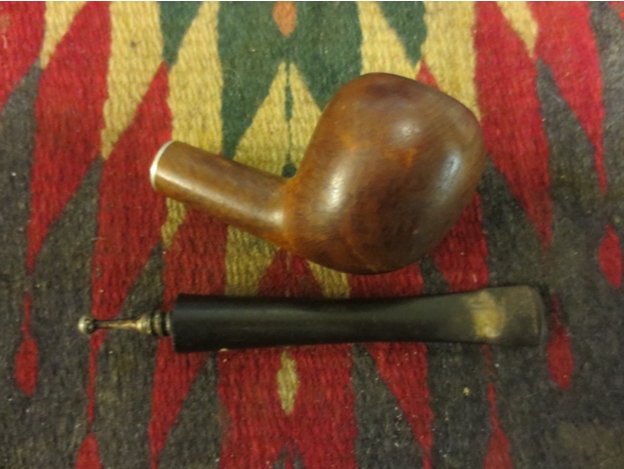
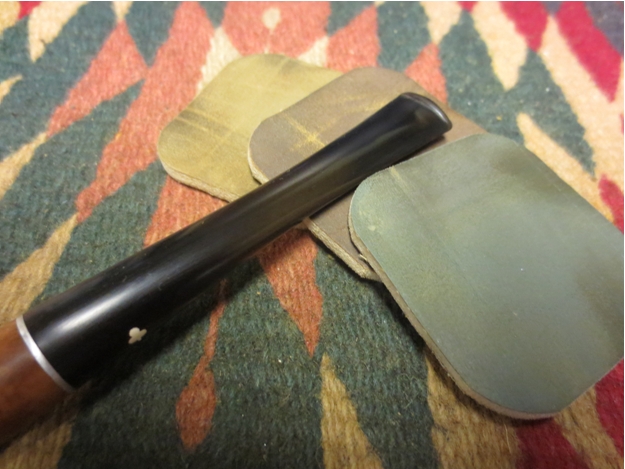
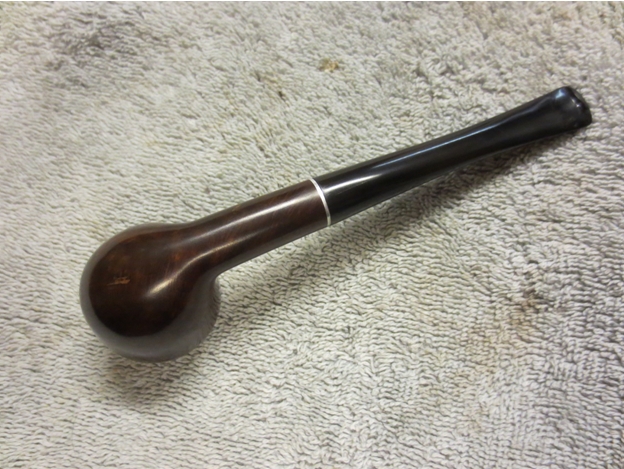
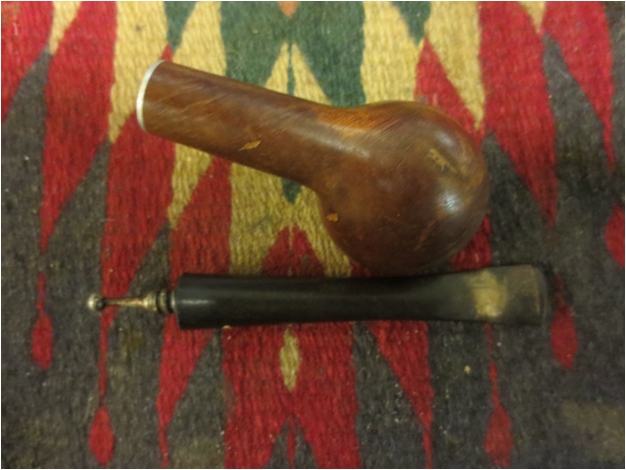 I screwed the stem in place on the shank to have a look at the shape and fit with the pipe. It actually looked quite good with the long, slender stem. The stem had oxidation and calcium build ups on the top and bottom but would clean up nicely.
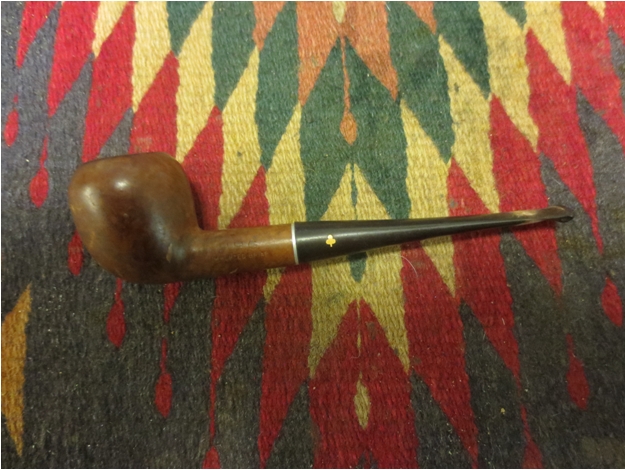
 I wiped down the bowl with alcohol (ran out of acetone) and scrubbed the surface to remove the finish. Without the acetone I would need to sand the bowl. I set up a topping board and used 220 grit sandpaper to remove the thick darkening on the rim. I lightly topped it so as not to change the profile or look of the pipe.
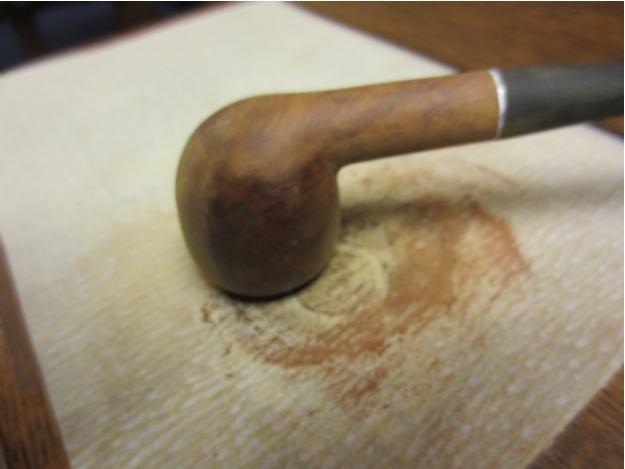

 I sanded the bowl and stem with 220 grit sandpaper and then with a medium and fine grit sanding sponge to remove the remnants of the old finish on the bowl and the buildup of calcium on the stem. Some nice birdseye grain was underneath the finish on the right and left sides of the bowl.
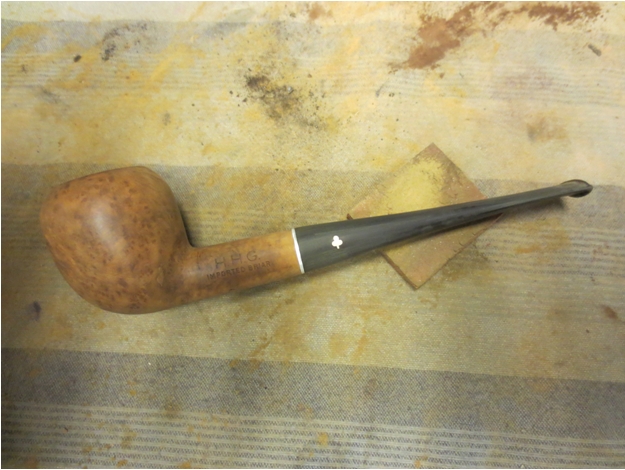


 I cleaned the metal tenon with alcohol and then sanded the rough areas on the threads to clean up the aluminum damage. I sanded the stem with 220 grit sandpaper and medium and fine grit sanding sponges to remove the tooth indentations that were underneath the calcified buildup. I used a Bic lighter to paint the surface of the stem and lift the tooth dents. Once they had lifted I redefined the crease of the button with needle files. I sanded it with micromesh sanding pads – wet sanding with 1500-2400 grit pads and dry sanding with 3200-12,000 grit pads. I rubbed it down with Obsidian Oil between each set of three sanding pads. When I finished sanding with the 12,000 grit pad I buffed it lightly with White Diamond and gave it another coat of Obsidian Oil. I set it aside while I worked on the bowl.
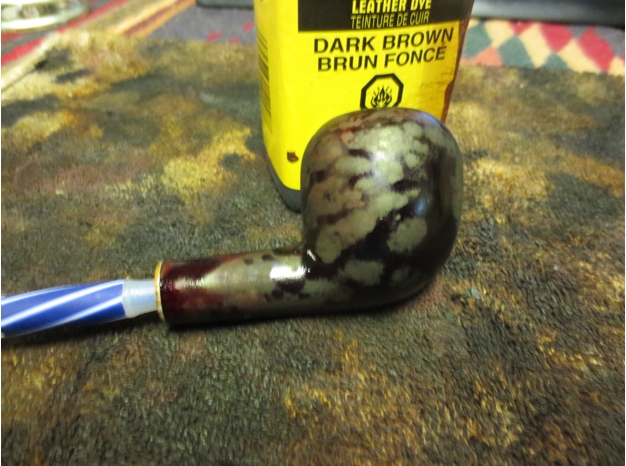
 I wiped down the bowl one final time with alcohol before staining it with a dark brown aniline stain. I applied the stain and flamed it and repeated the process until the coverage was even.
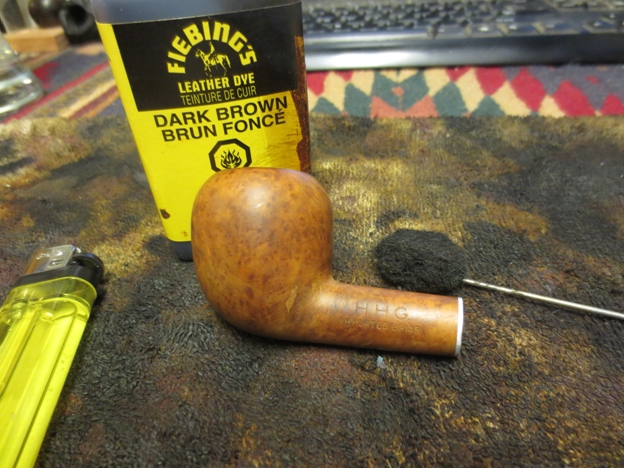
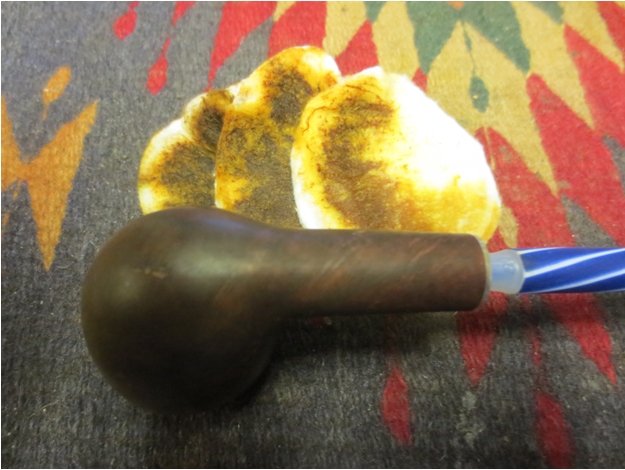
 I wiped down the bowl with alcohol on cotton pads to remove some of the dark heavy colour of the brown stain and to make it more transparent. Once I had it to the point where I could see through the stain to the grain I quit wiping it down. The trick was to make the stain transparent enough to highlight the grain but at the same time minimize the three fills.
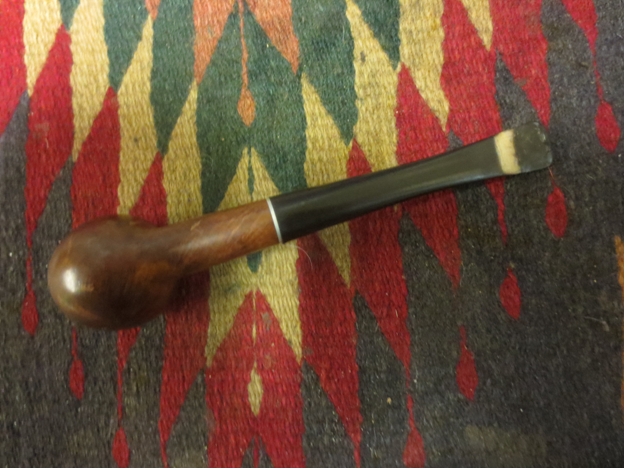
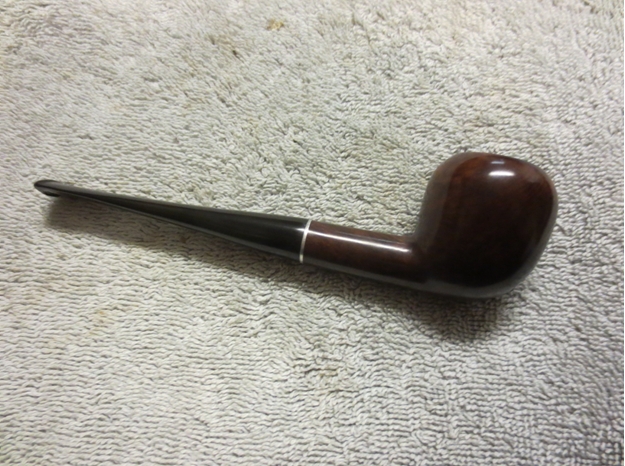
 Once I had the stain at the place I wanted I put the stem back on the pipe and took it to the buffer. I buffed the bowl with red Tripoli to polish and buff through the dark areas that remained on the stain coat. I buffed the bowl until it met the look I was aiming for. I then buffed the bowl and stem with White Diamond and gave them multiple coats of carnauba wax. I buffed it finally with a soft flannel buff to raise the shine. The finished pipe is shown below. It actually came out quite well and should provide a great yard pipe for someone down the line. I expect this will be another pipe that I gift to a pipeman I meet along the way.
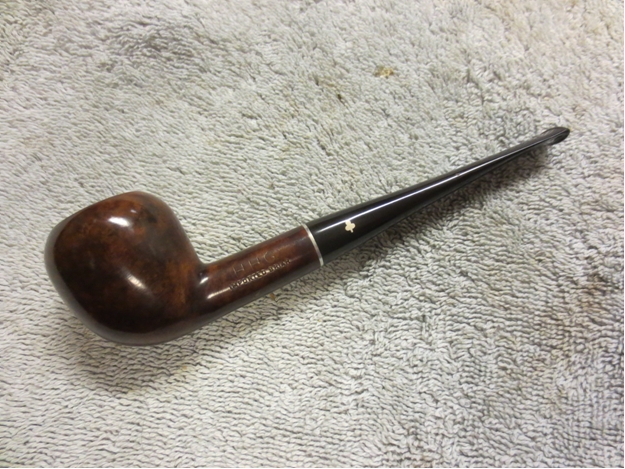
 If anyone has some clues as to the maker of this pipe let me know. It turned out to be worth working on after all. I am pleased with what came out of an otherwise ignoble old pipe bowl without a stem that had been sitting in my box for quite awhile as I ignored it and worked on other bowls and stems.
