Blog by Steve Laug
I received a gift box of pipes from a friend on Smokers Forums this week and it contained 23 pipes that presented a variety of challenges for repairs. Looking them over, I found that there were quite a few pipes with stampings that I was unfamiliar with. There were brands and sub-brands that were new to me. I chose to work on one of those I knew nothing about first. I had never heard of the Herbert Love Shop of Edinburgh. The stamping intrigued me. On the left side of the shank it was stamped Herbert Love of Edinburgh and on the right side it was stamped The Queensferry. On the underside of the shank it was stamped horizontally along the shank with the shape number 422. On the left side of the saddle portion of the stem it had a faint HL stamping.
I did my normal search on Pipedia and Pipephil’s site to see if I could find the stampings or the cursive HL on the saddle of the stem. There was nothing to be found. I posted a request for information on Pipe Smoker’s Unlimited Forums specifically asking several of the members there that are from Edinburgh to see if they had any information. I received a response from a collector of English pipes that included the photo and article on another Herbert Love Tobacco Shop in Glasgow. I also received a response from one of the Edinburgh folks, Chris with this information: … it closed down many years ago. It was on Queensferry St. (the road to the old ferry across the Forth before the rail and road bridges were constructed) at the West End, handily situated next to the iconic ‘Old Man’s Pub’, “Mather’s Bar”. At that time there were three pipe shops in Edinburgh (HL’s, one on George 1V Bridge and another in Leith); now only the latter exists… All I remember about the shop itself, apart from it being very old-fashioned, was that they used some interesting old scales for weighing out the loose tobaccos.
Here is the link to the article that I received about the closure of the Glasgow shop. http://www.heraldscotland.com/last-smokers-paradise-closes-1.828258 Sadly I could find no photos or information online regarding the now close Edinburgh shop to include in this post. If anyone reading has information be sure to let us know in the comments section below. Thank you.
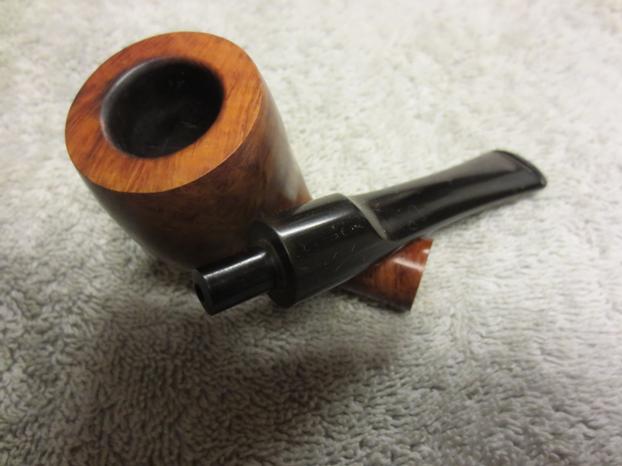
When I brought the pipe to the worktable it is in pretty rough shape. The finish was damaged and spotty. The rim had a burn spot on the inner edge and the top at the front of the bowl. This damage also made a dip in the surface of the top of the rim. The bowl was filled with a crumbling cake that was uneven. The stem was oxidized and looked greenish yellow in colour. There were bite marks and tooth chatter on the top and bottom sides of the stem next to the button. The internals of the stem and shank were not too dirty and would clean up quite easily. There was no sweet smell of aromatics or the smoky smell of Latakia in the bowl so ghosting would not be an issue. 
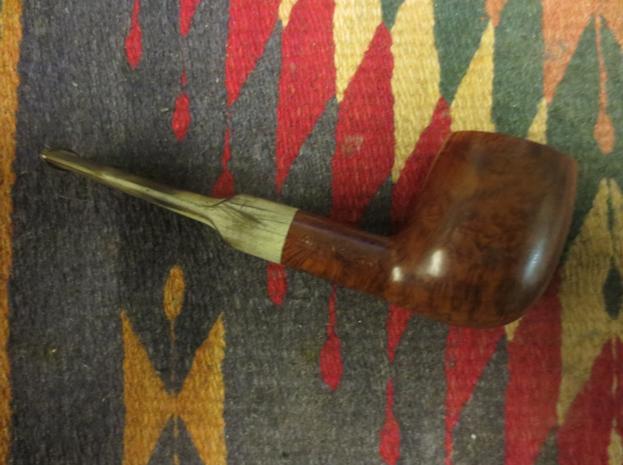
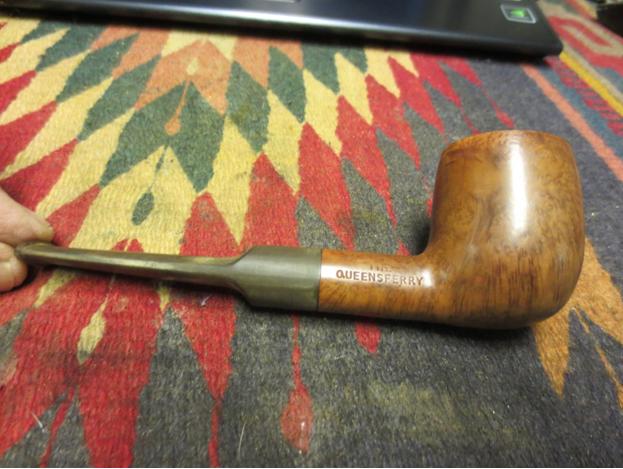
 I took close-up photos of the shank on both sides to show the stamping. The left side bore the Herbert Love of Edinburgh and the right side the Queensferry. From my queries I had learned that the Queensferry was actually the street the shop was located on. Herbert Love Tobacconists seemed to be quite widespread in Scotland – I found them in Aberdeen, Glasgow, Aylesbury, and Edinburgh. There were also hints of it being found in other locations as well.
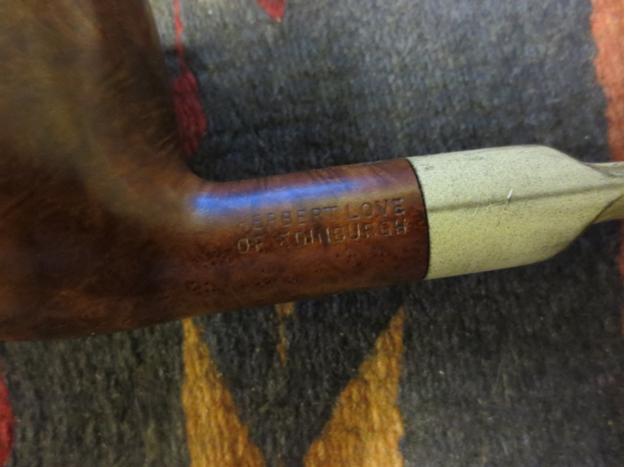
 I scraped some of the oxidation away on the left side of the saddle stem and found that underneath was some faint stamping that read HL in script. I checked the right side and top and bottom for further marks and found none.
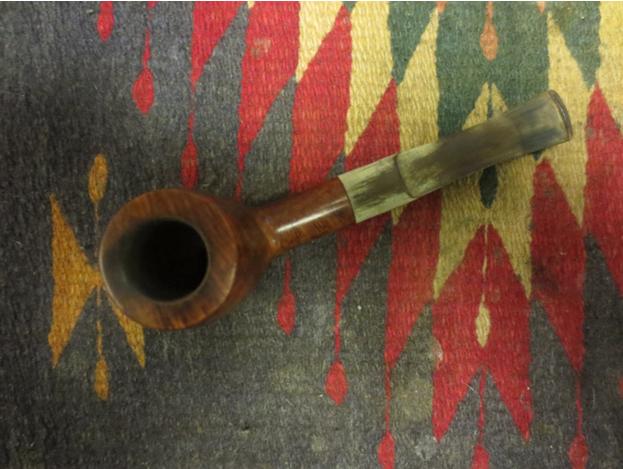
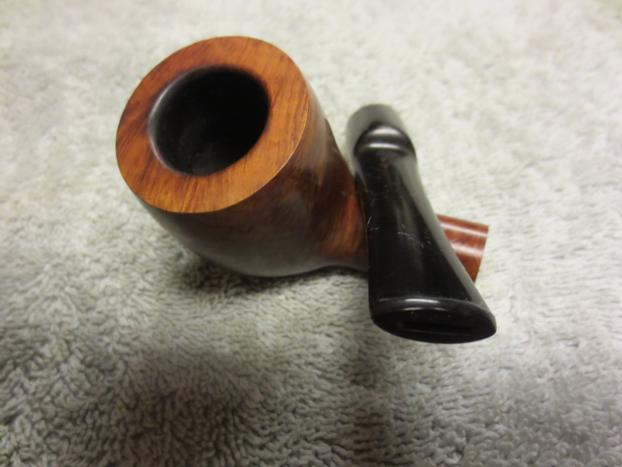
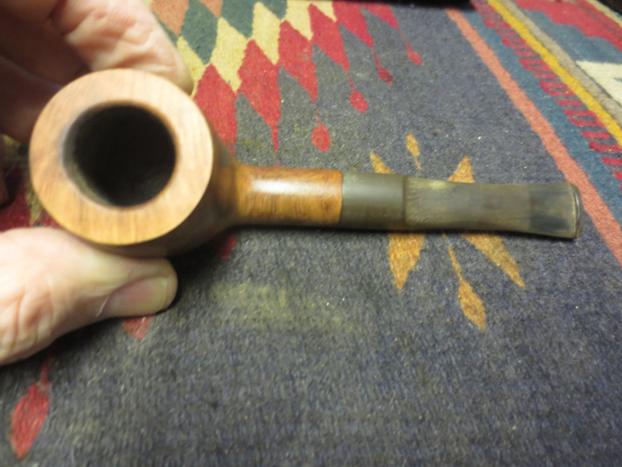
 I took a close up photo of the rim and bowl to show the damage from the burn on the surface. You can see that it is deeper than the surface of the rim and extends from the inner edge to the outer edge of the rim.
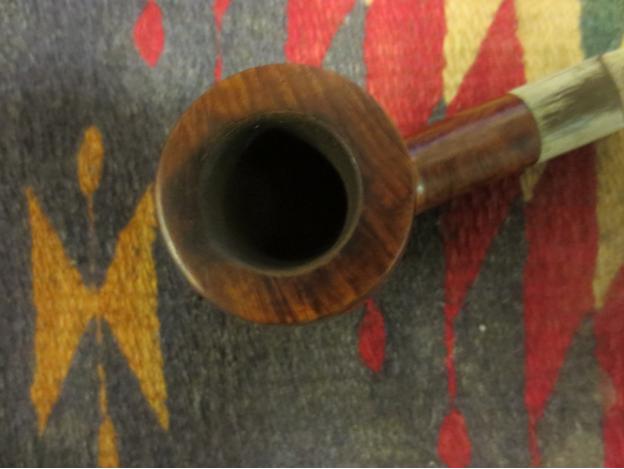 I reamed the bowl with a PipNet reamer using the cutting head that fit the bowl properly. I took the cake back to bare wood on all sides of the bowl so that I could address the rim damage on an even and hard surface.
 The next photo shows the cleaned up bowl and further shows the damage to the inner edge and top of the rim.
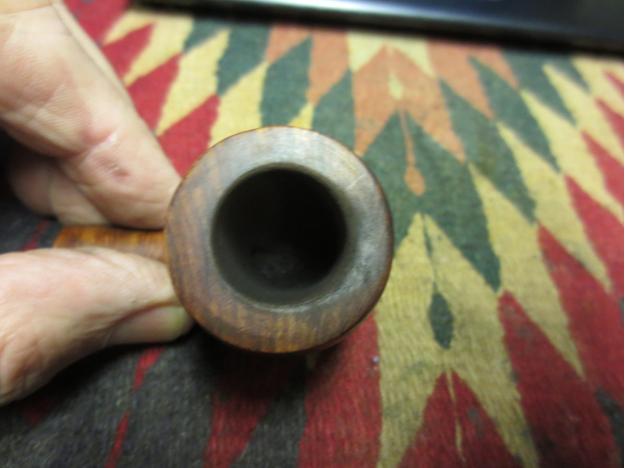 The first step in addressing this kind of rim damage is to top the bowl to even out the dip from the burn. I wanted the top surface to be smooth so that I could then chamfer the inner edge of the rim with a slight bevel to deal with the burned front edge. I used a flat board and a piece of 220 grit sandpaper to top the bowl. I sanded until the top of the rim sat flat against the board. As usual I collected the briar dust in my box for repurposing on fills and repairs.
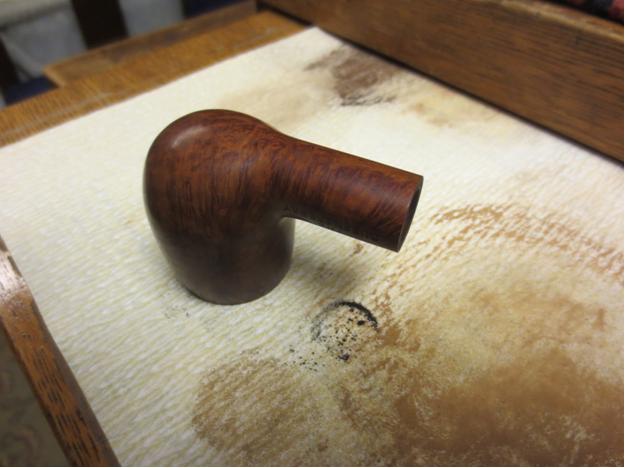 The next photo shows the top of the bowl after sanding and smoothing out the rim. It really shows the extent of the damage on the rim.
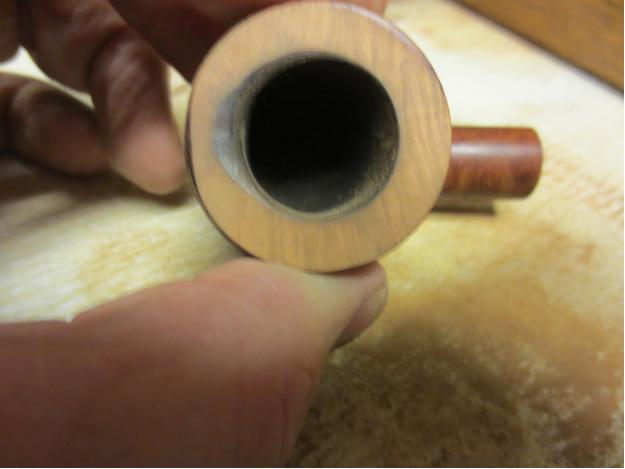 I decided to keep topping the bowl until I had evened out the rim and removed as much of the top damage as possible without dramatically changing the profile of the bowl. The next photo shows the bowl rim after I had finished topping it with the 220 grit sandpaper. It still would be sanded with 400 grit wet dry and fine grit sanding sponges before the surface was finished. While I worked on the bowl the stem was soaking in a bath of OxyClean to soften the oxidation.
 With the top of the rim smoothed out I worked on the inner edge with a folded piece of 220 grit sandpaper. I chamfered or beveled the inner edge to minimize the damage and to give the entire inner edge a similar look.
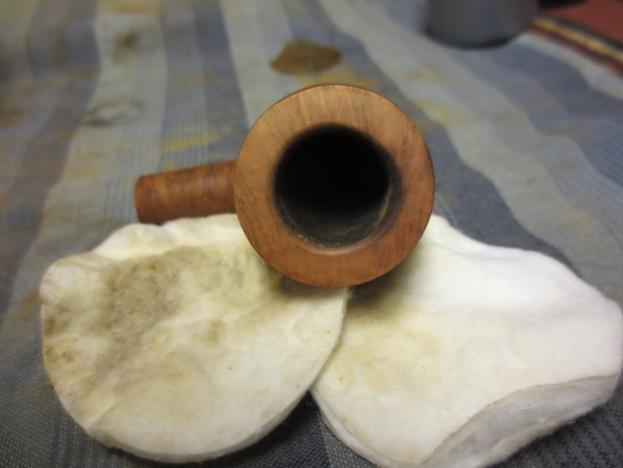
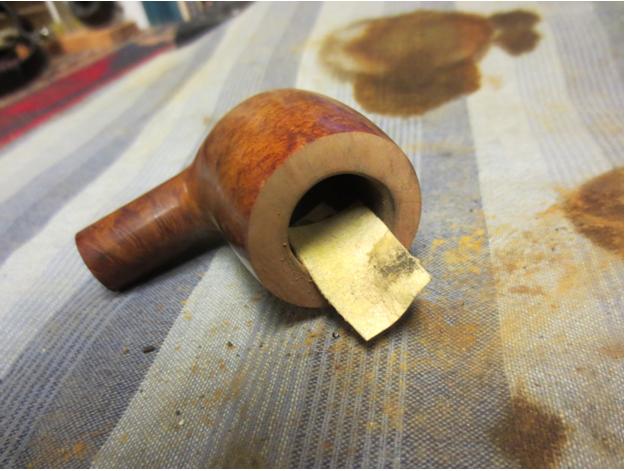 The next photo shows the beveled inner rim and how that process served to minimize the effect of the burn mark.
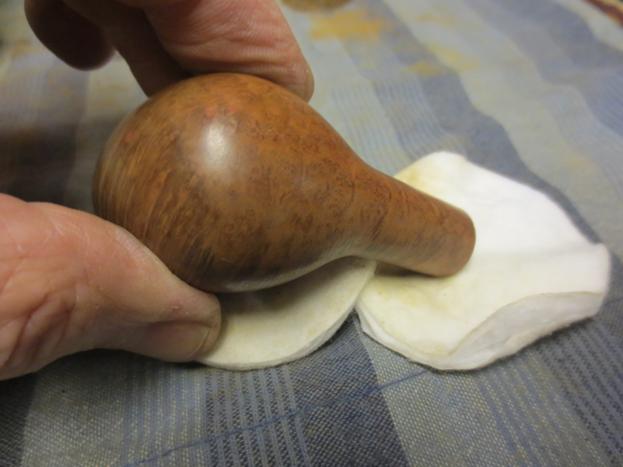
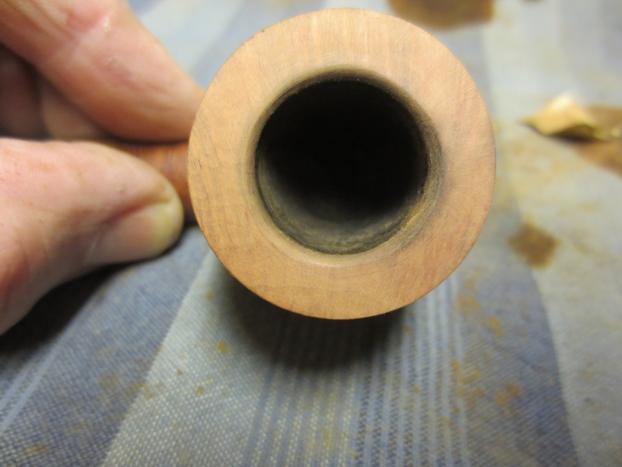 With the repair to the rim finished I wiped down the bowl with acetone on cotton pads to remove the finish and facilitate matching the restain on the rim with the colour of the rest of the bowl. It also removed the damage and spotty finish that covered the bowl. It appeared to have a thin varnish coat over the stain that came off quite easily with the acetone.
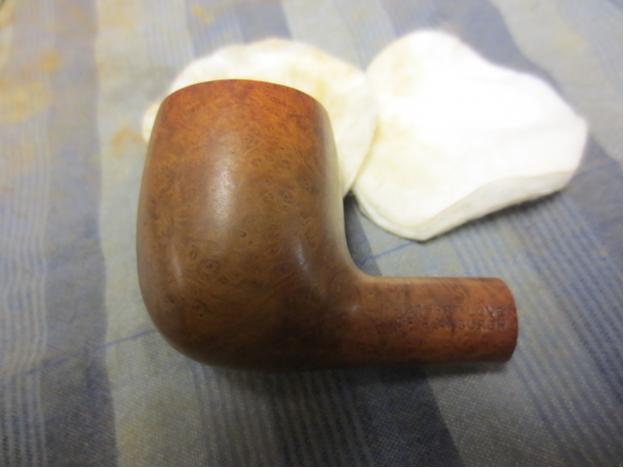
 I used the Guardsman stain touch up pens to stain the rim. I chose the lightest coloured stain to get a proper match for the first coat of stain. When it dried I would then stain the entire pipe with a medium walnut aniline stain. The stain pen was the first step in matching the colours of the bowl.
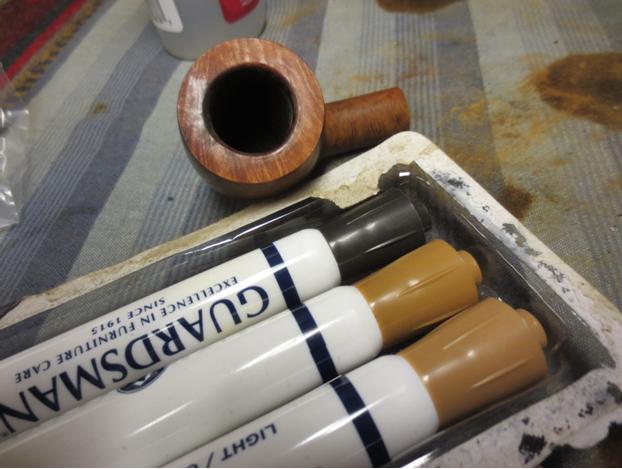 I cleaned out the shank with pipe cleaners, cotton swabs and isopropyl alcohol to remove the tars and oils in the shank. It was an easy clean up so I decided not to use a retort on this one. It took very few swabs and pipe cleaners before the mortise and airway was clean.
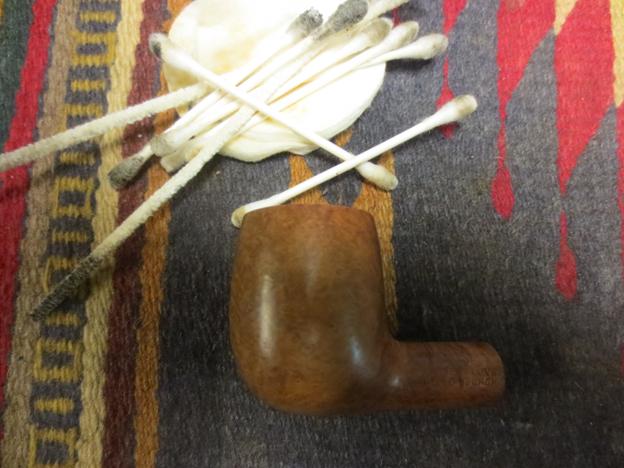 With the bowl at this point in the process I set it aside and took the stem out of the OxyClean bath. It had been soaking for several hours while I had worked on the bowl. The bath had done its magic and when I rubbed it down to dry it much of the surface oxidation came off and the deeper oxidation would easily be removed with a light sanding.
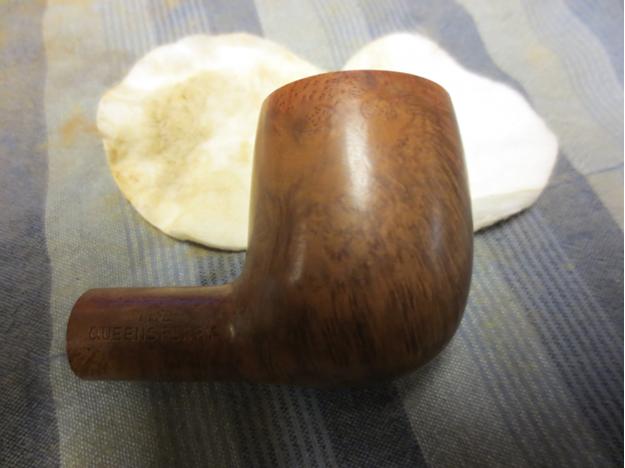
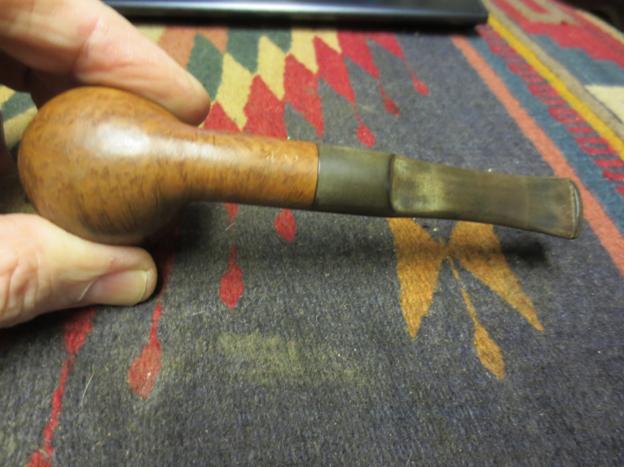
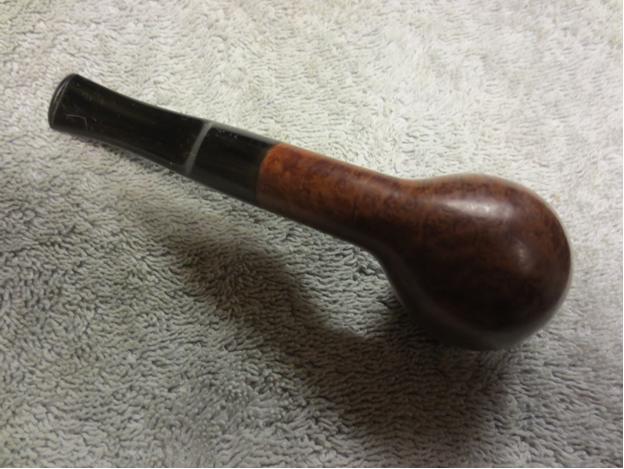
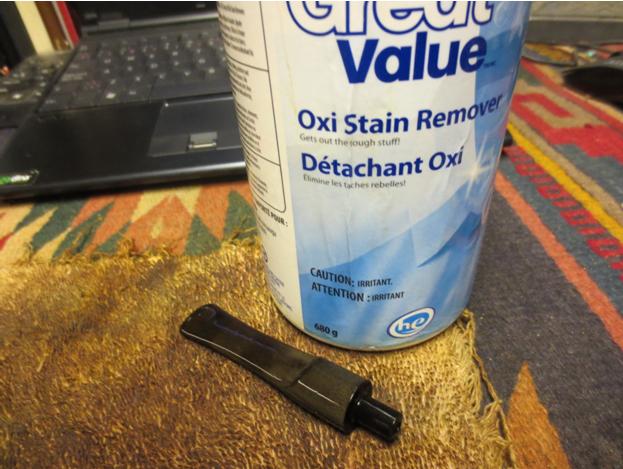 I put the dried stem back on the bowl so that I could finish staining the bowl. I used a medium walnut aniline stain, applied it and flamed it. I lightly buffed the bowl with White Diamond to even out the stain coat. I took some photos to show the progress. Note in the first photo the HL cursive stamp that is on the surface of the stem.
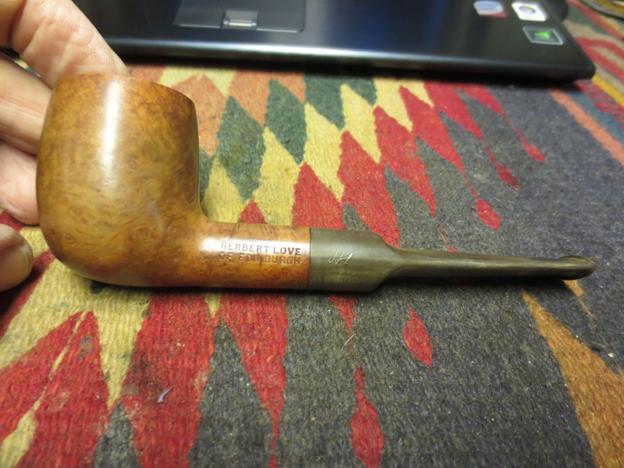
 I decided to use the Bic lighter trick that I have written about in other articles on the blog and painted the stem with the flame of the lighter to burn off more of the oxidation. It also helped to raise the tooth dents on the top and bottom of the stem next to the button.
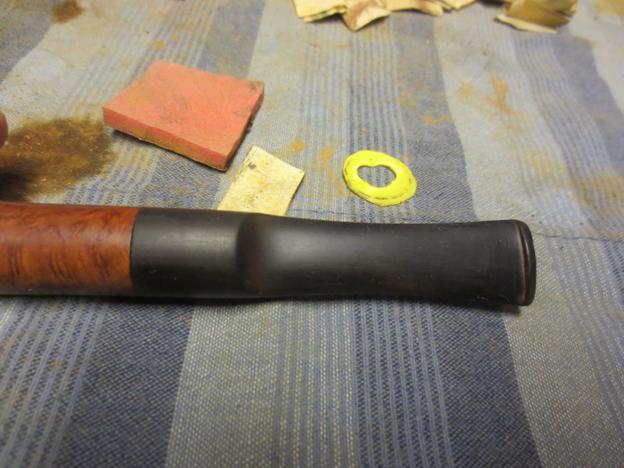
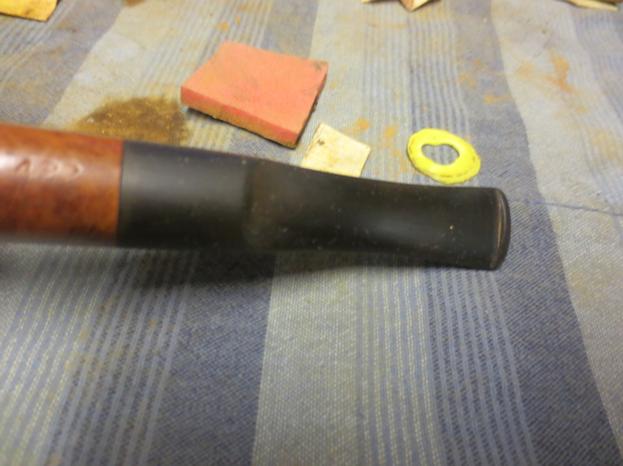
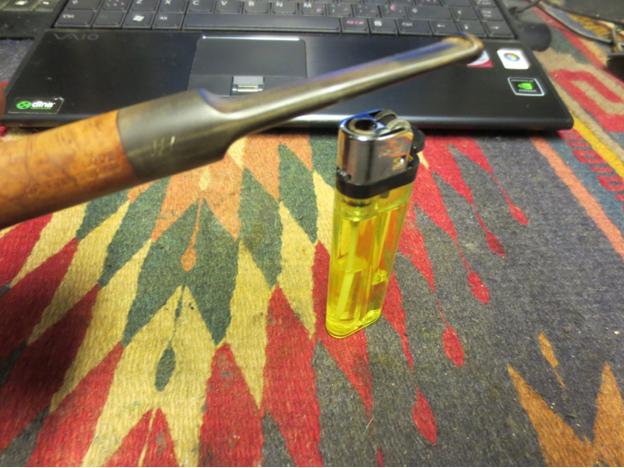 I put the plastic washer on the tenon between the stem and shank so that I could sand the stem and not damage the shoulders of either shank or stem. I lightly sanded the stem with 220 grit sandpaper and then with a medium and a fine grit sanding sponge to remove the remaining oxidation and tooth chatter.
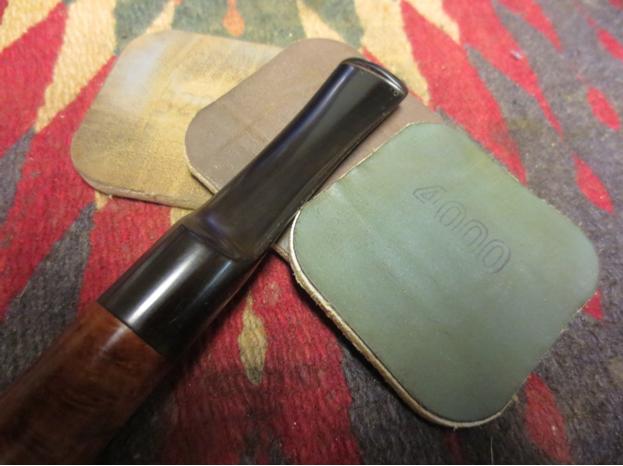
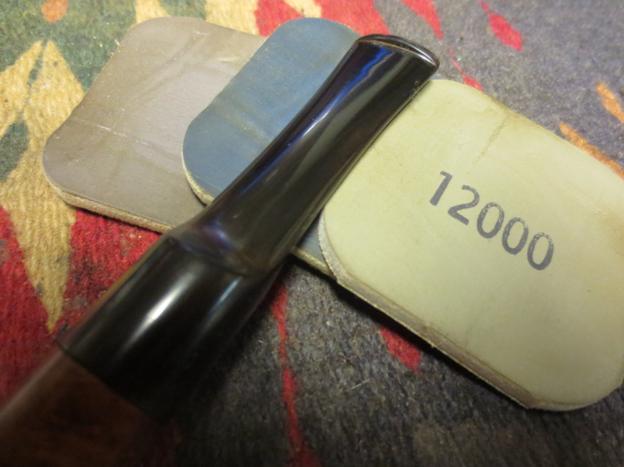
 I sanded the stem with my usual micromesh sanding pads – wet sanding with 1500-2400 grit pads and dry sanding with 3200-12,000 grit pads. I rubbed the stem down with Obsidian Oil between each set of three pads. When I finished sanding with the 12,000 grit pad I rubbed it down one last time with the oil.
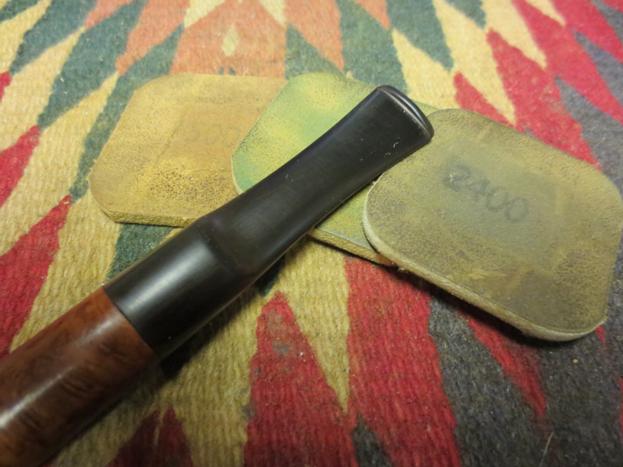
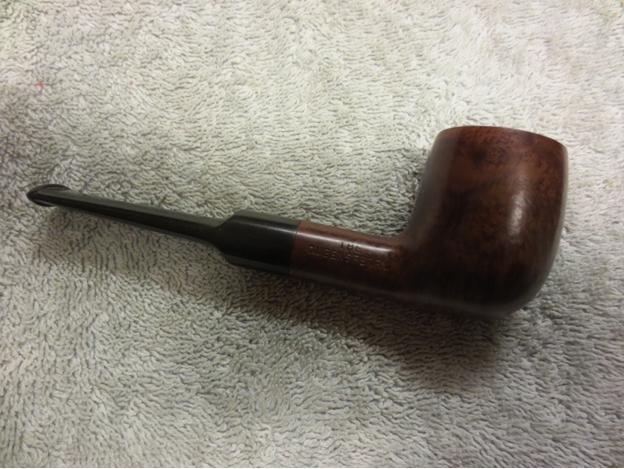
 I buffed the pipe with White Diamond and then gave it multiple coats of carnauba wax and buffed it with a soft flannel buffing pad to raise the shine. The stamping on the stem was very faint to begin with and when I removed the oxidation it is still present but is not deep enough to repaint.
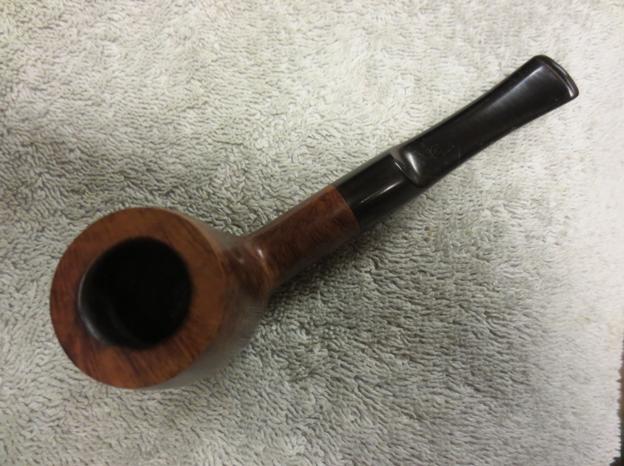
 The last three photos give a closer picture of the top of the pipe – showing the rim edges and surface more closely. In comparison with where I started with this pipe the new look is dramatically better. The burn mark is much less visible and the grain on the rim looks sharp. The outer and inner edge are clean and crisp.