Tag Archives: Dr. Grabow pipes

Reworking a Dr. Grabow Riviera


Blog by Steve Laug

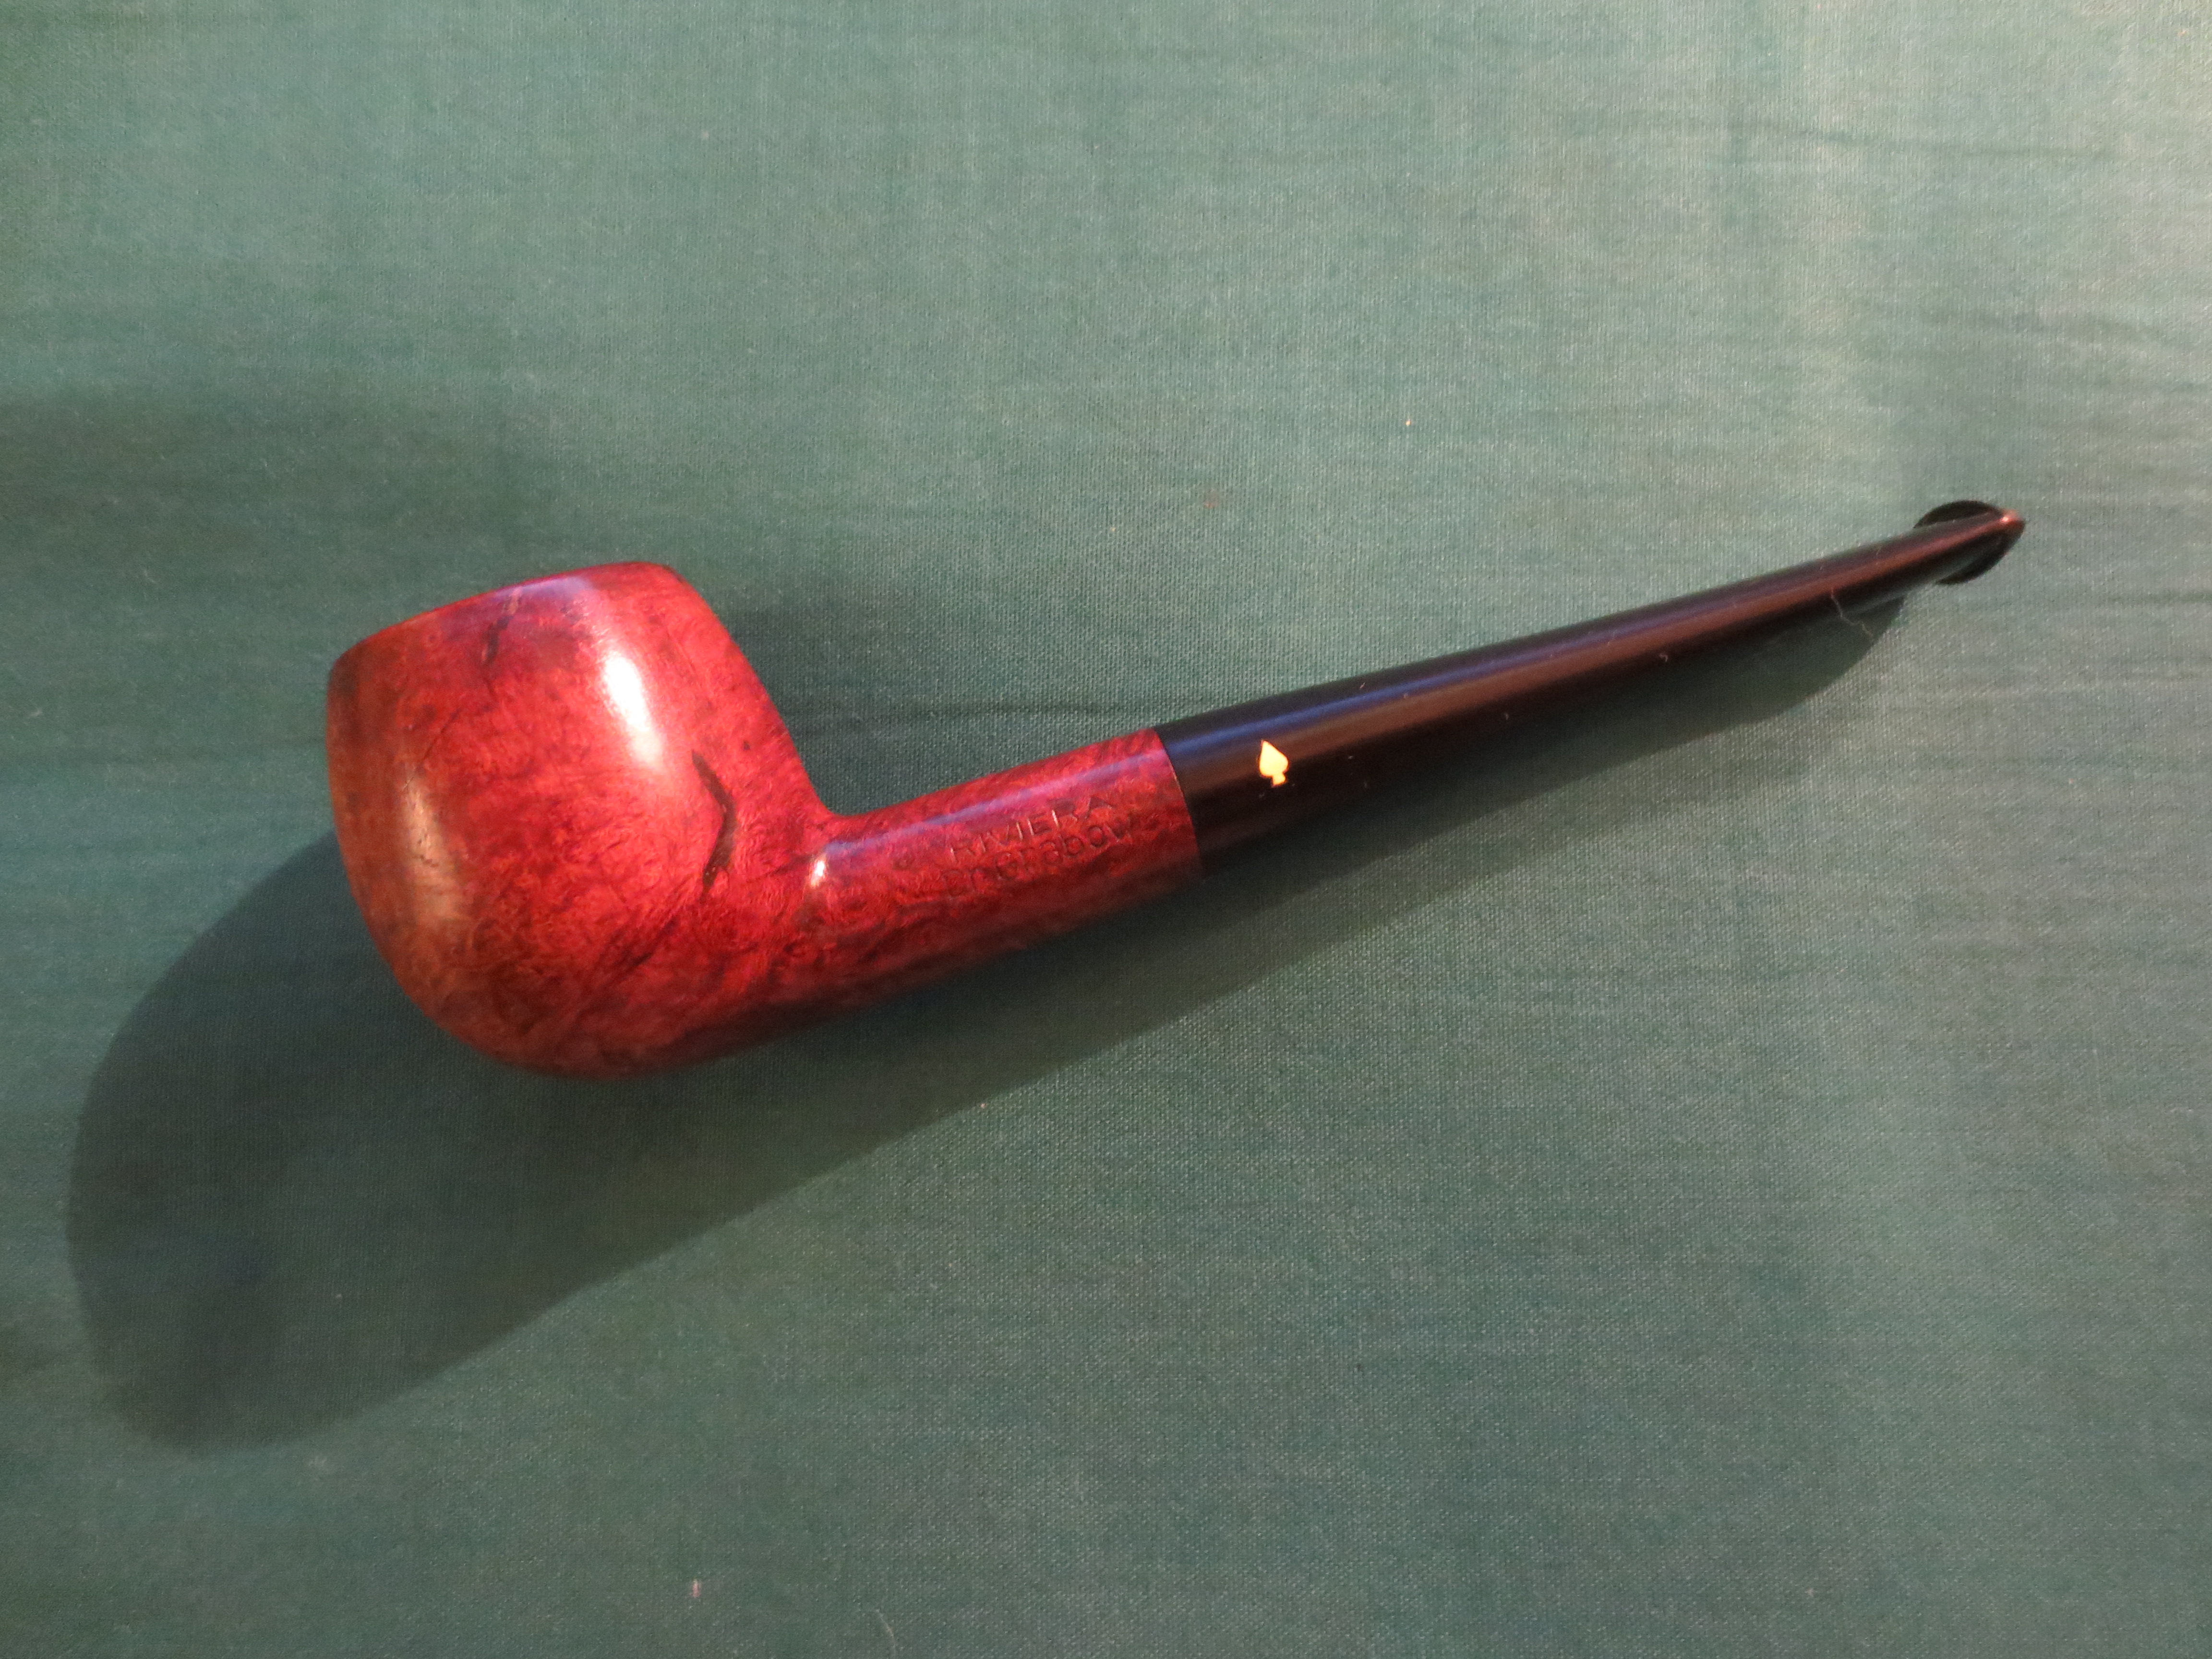
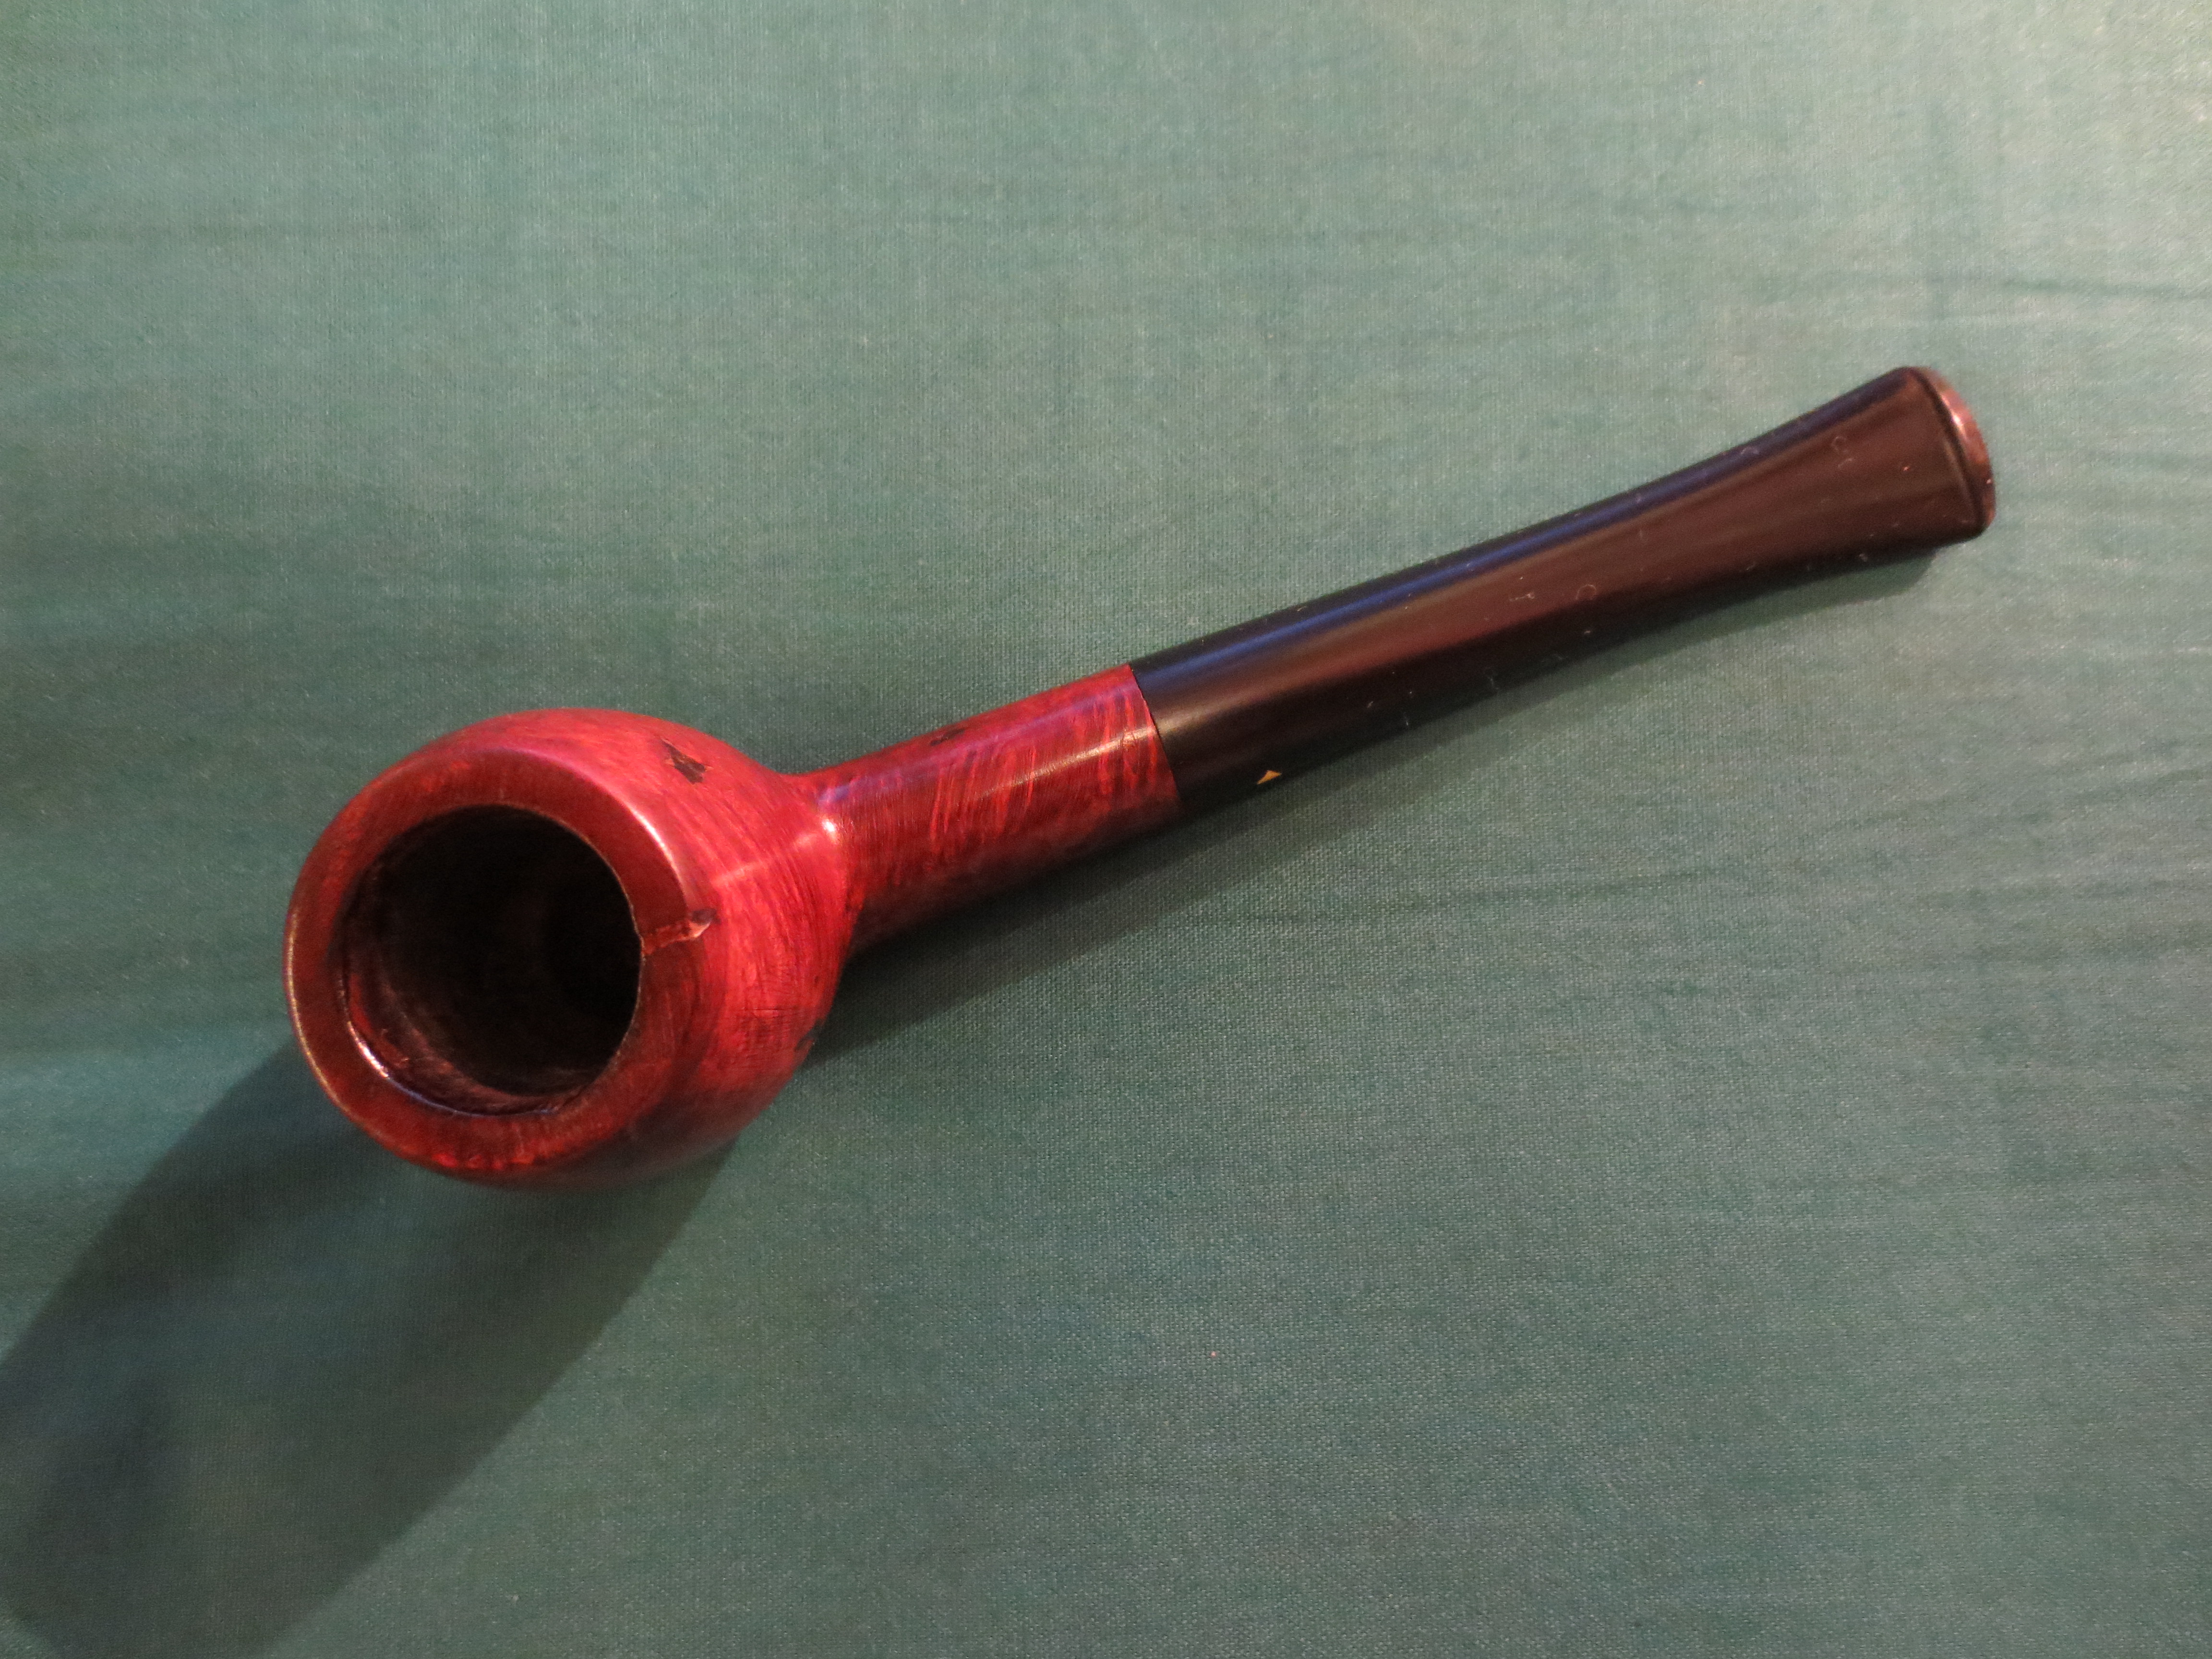
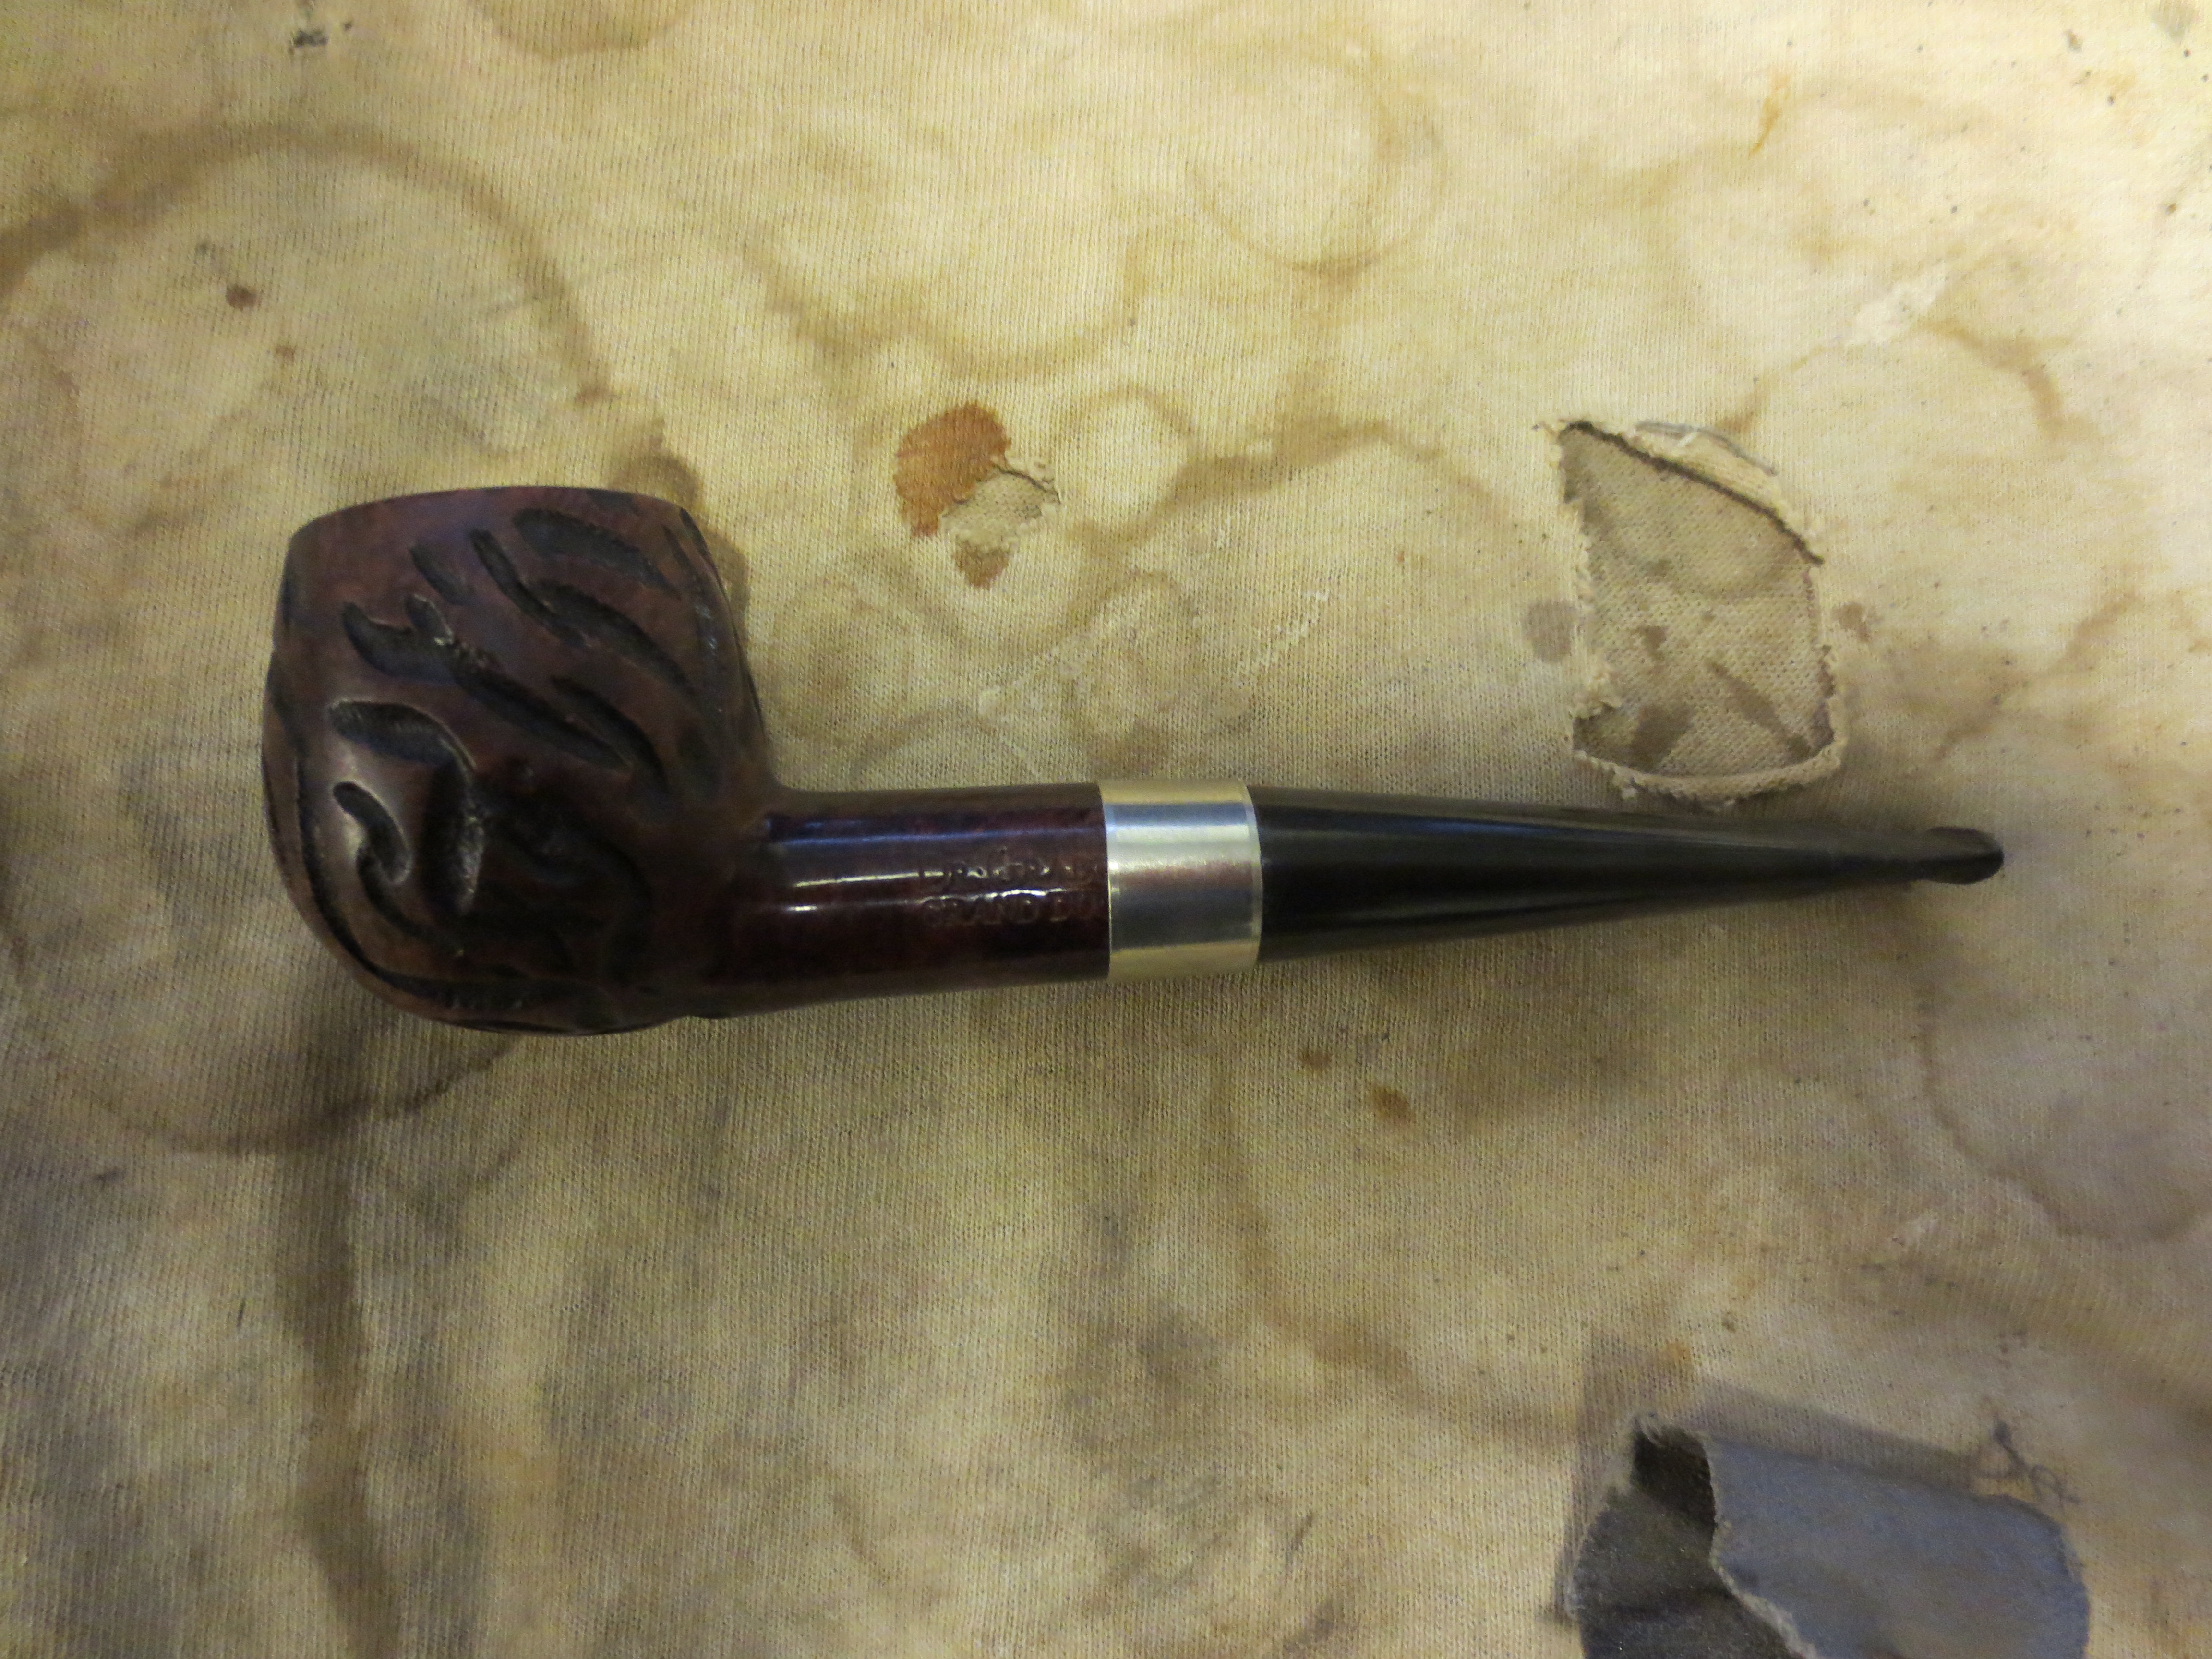
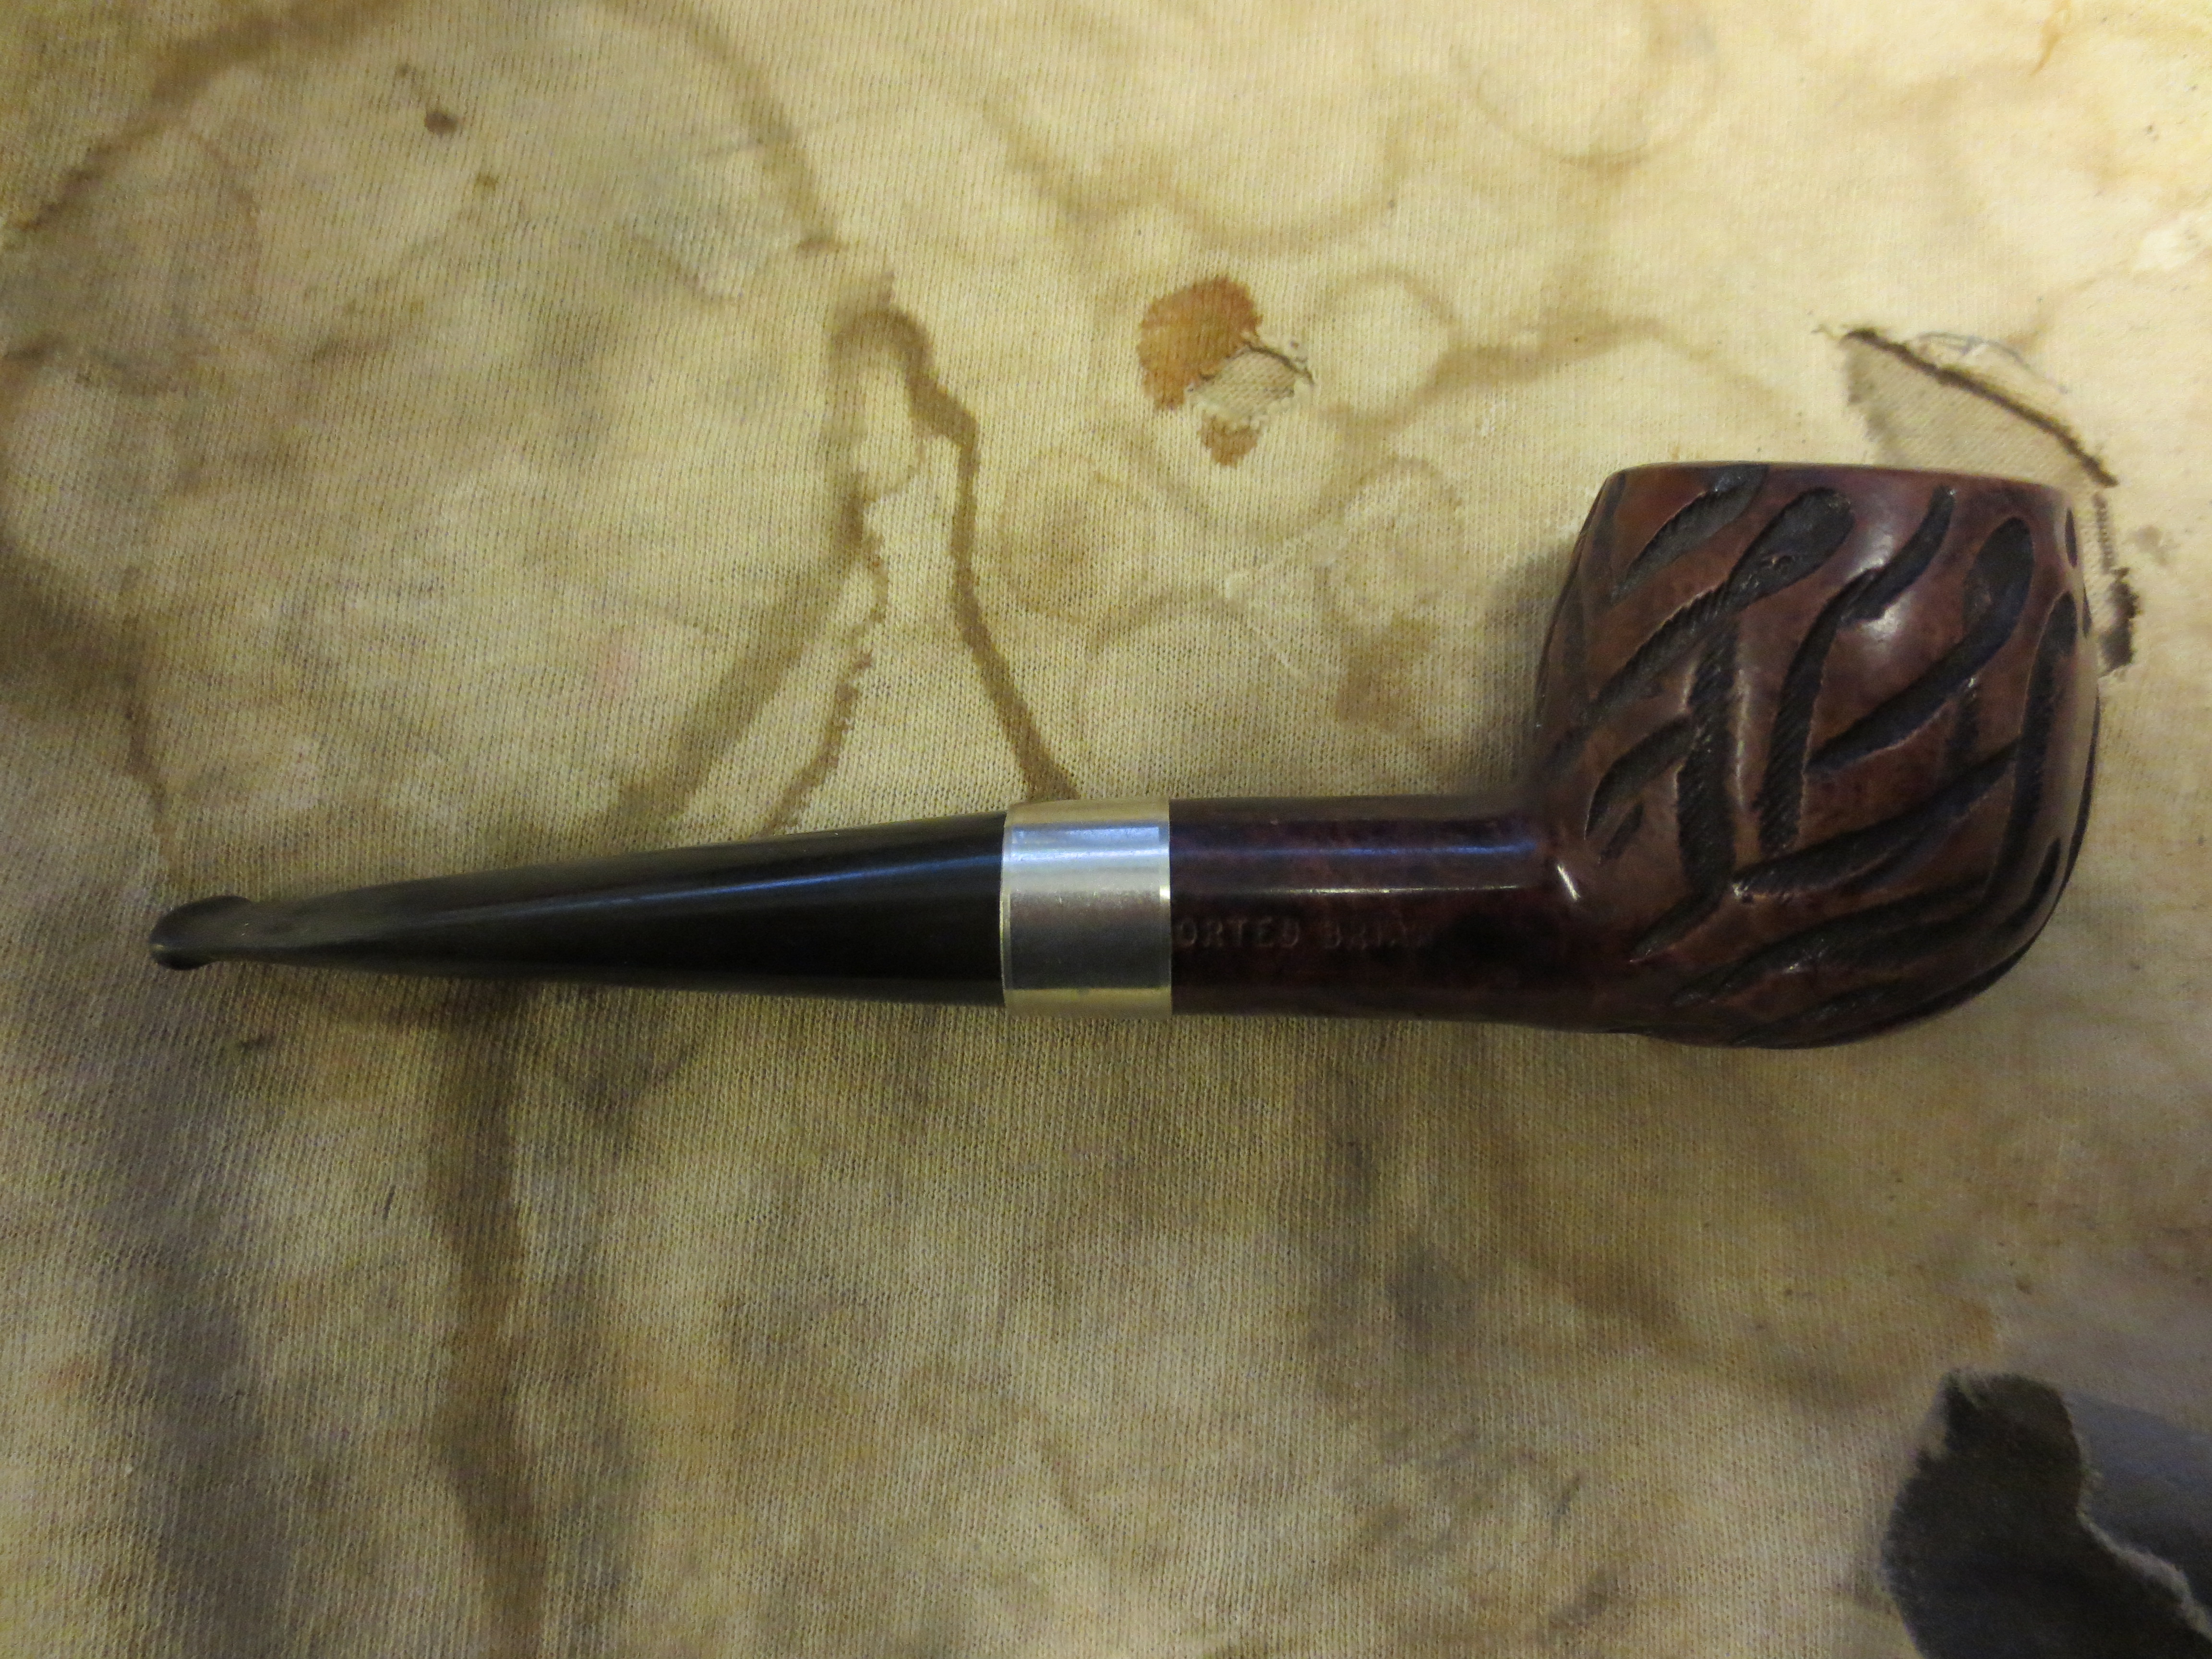
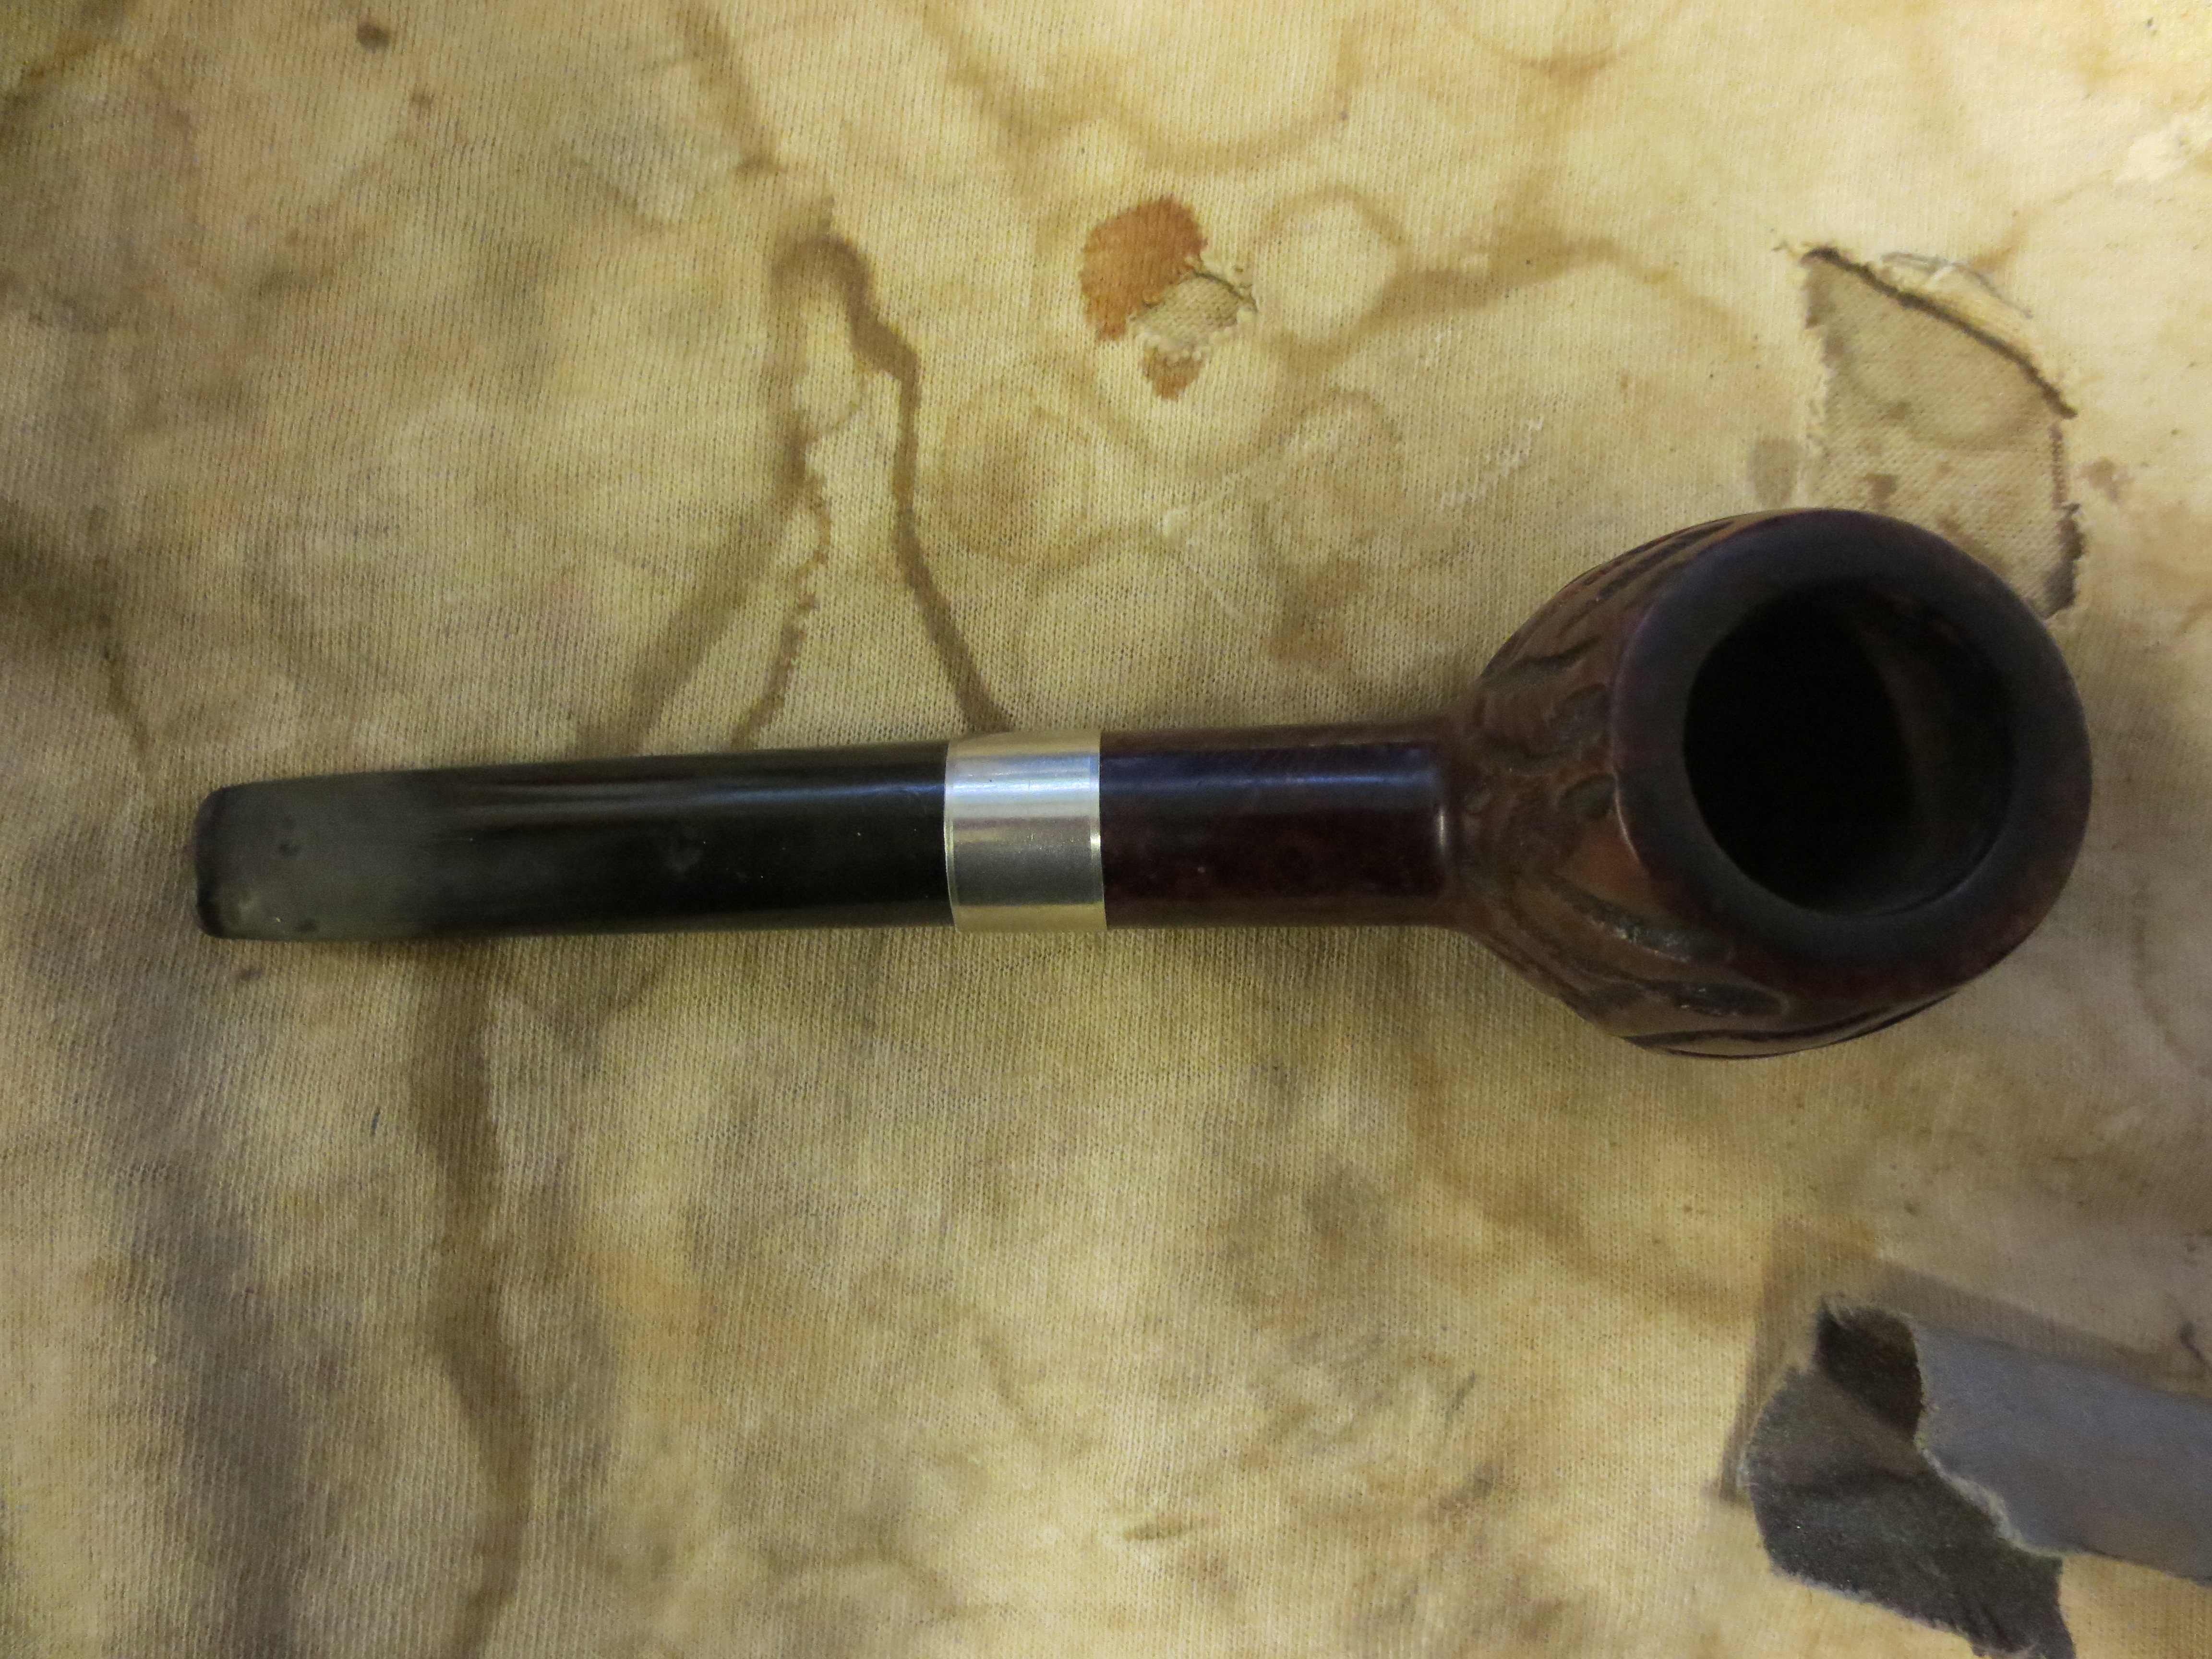
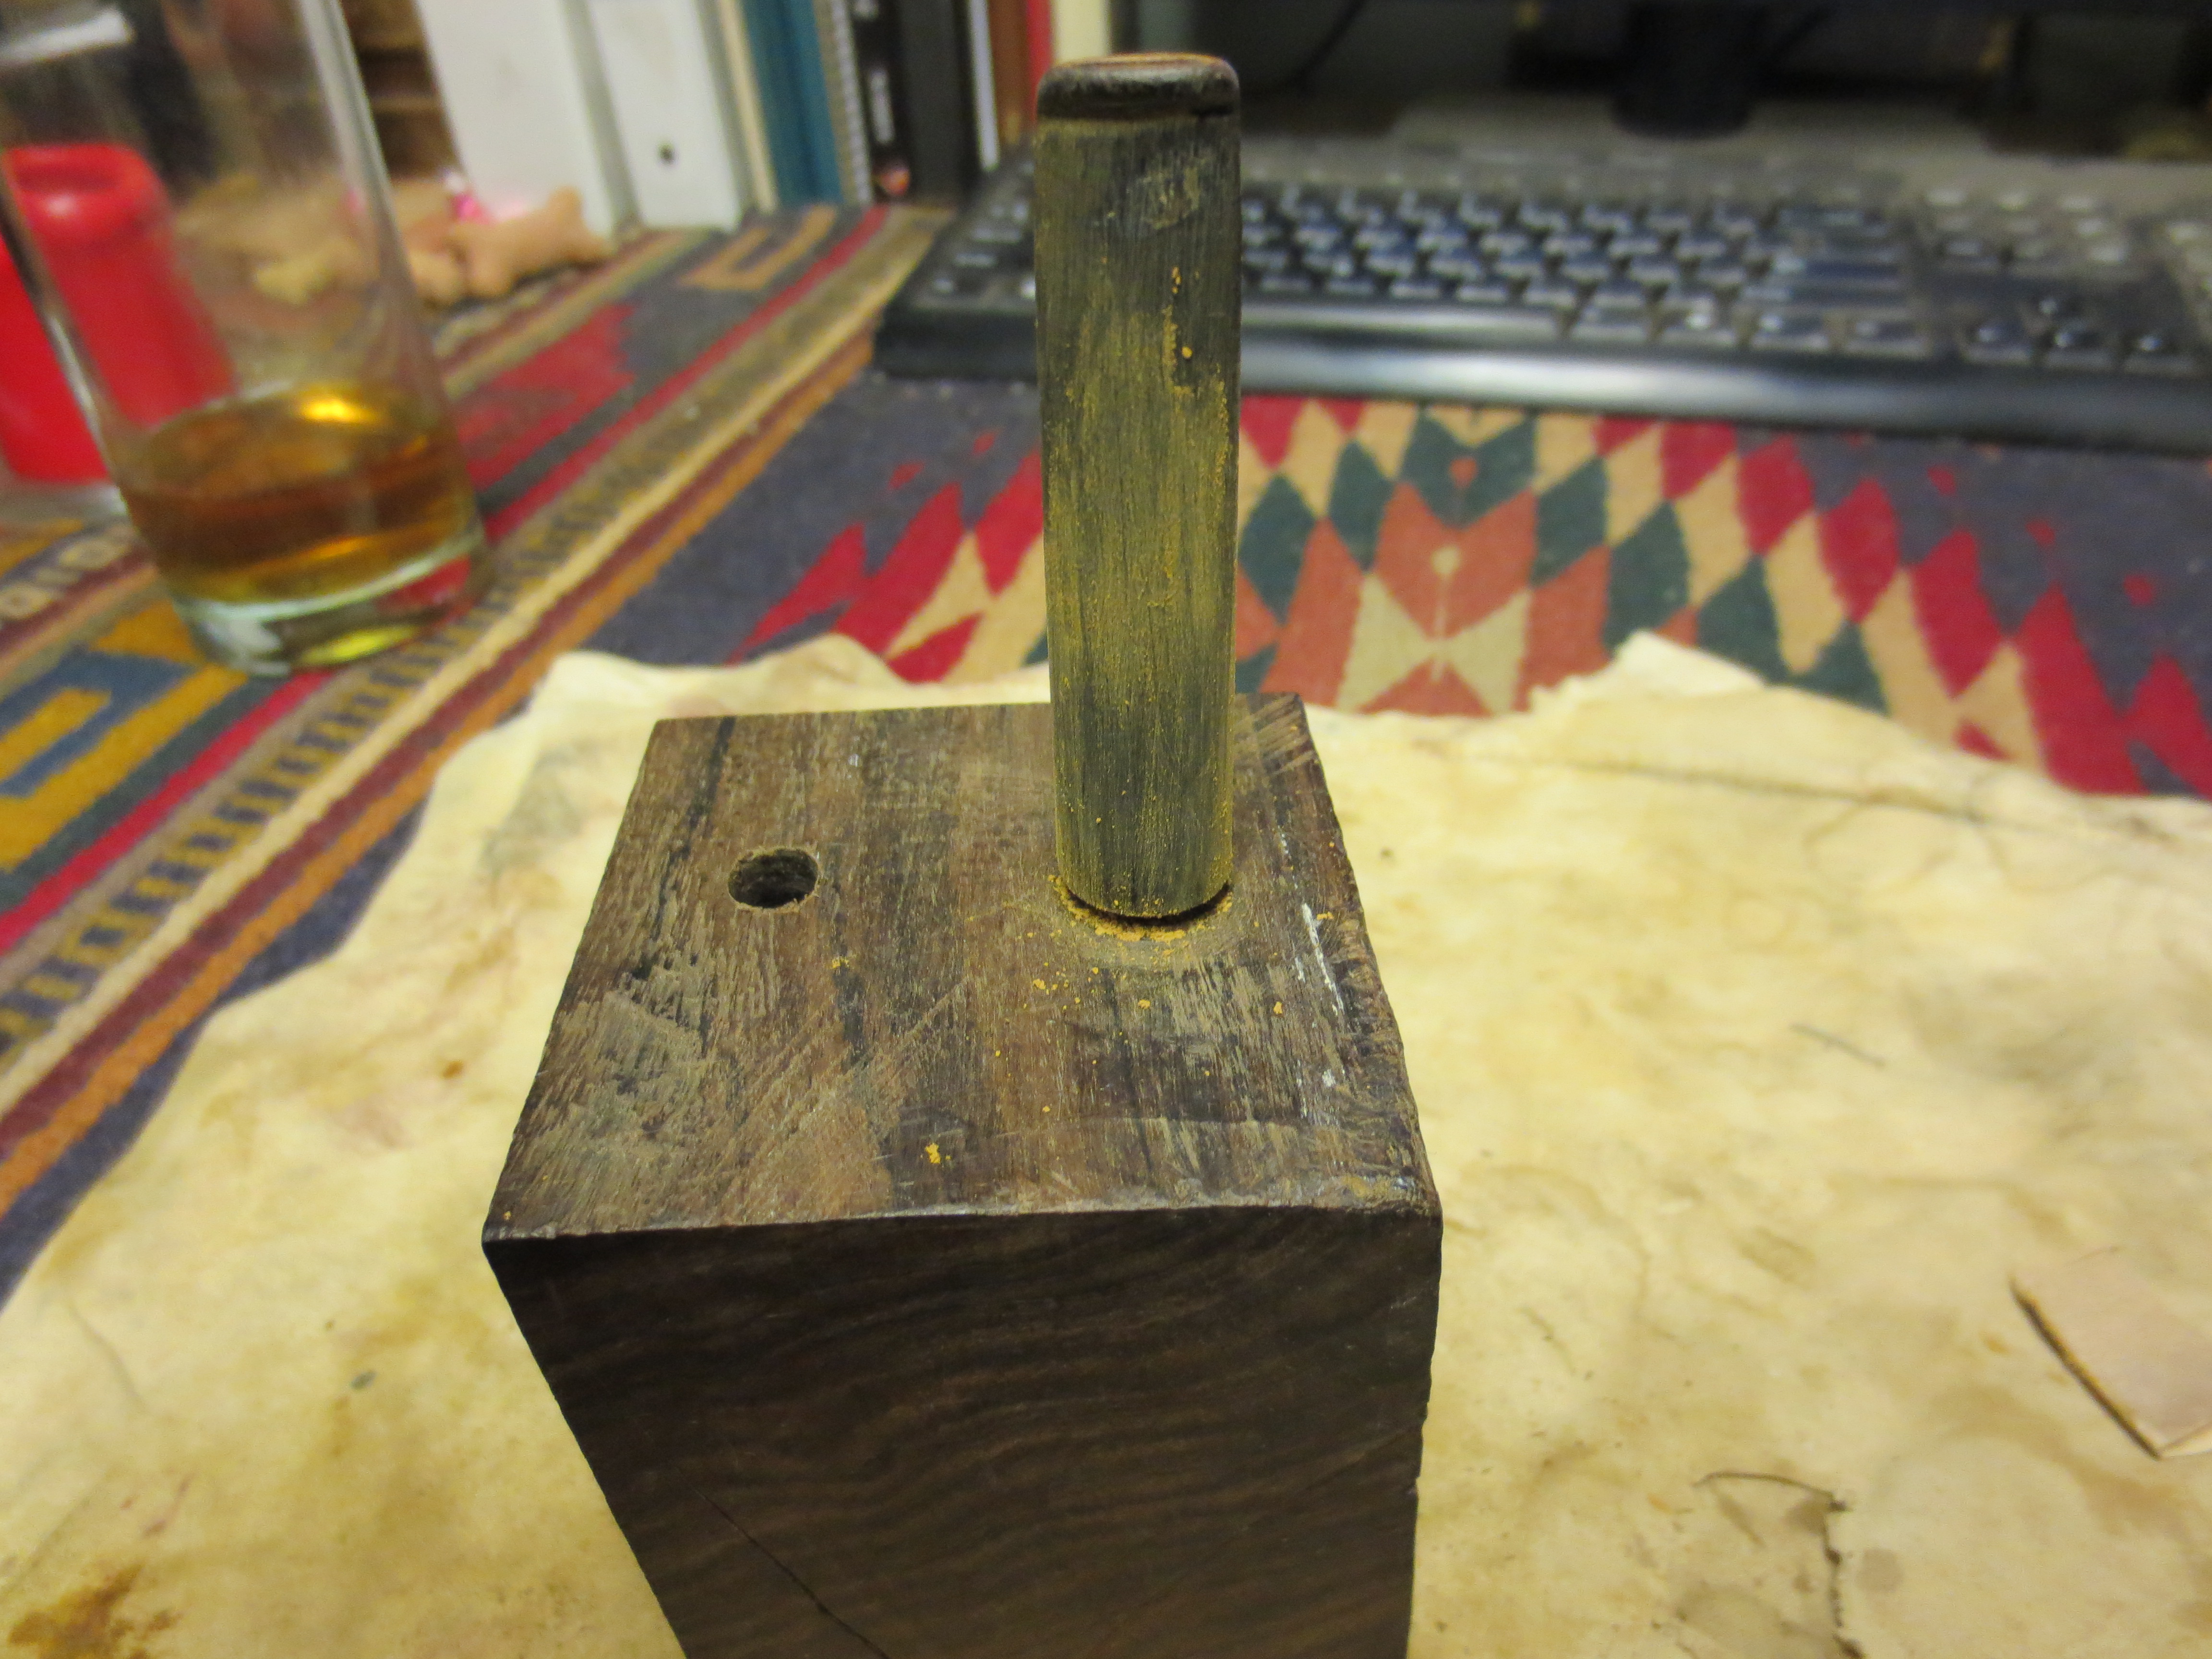
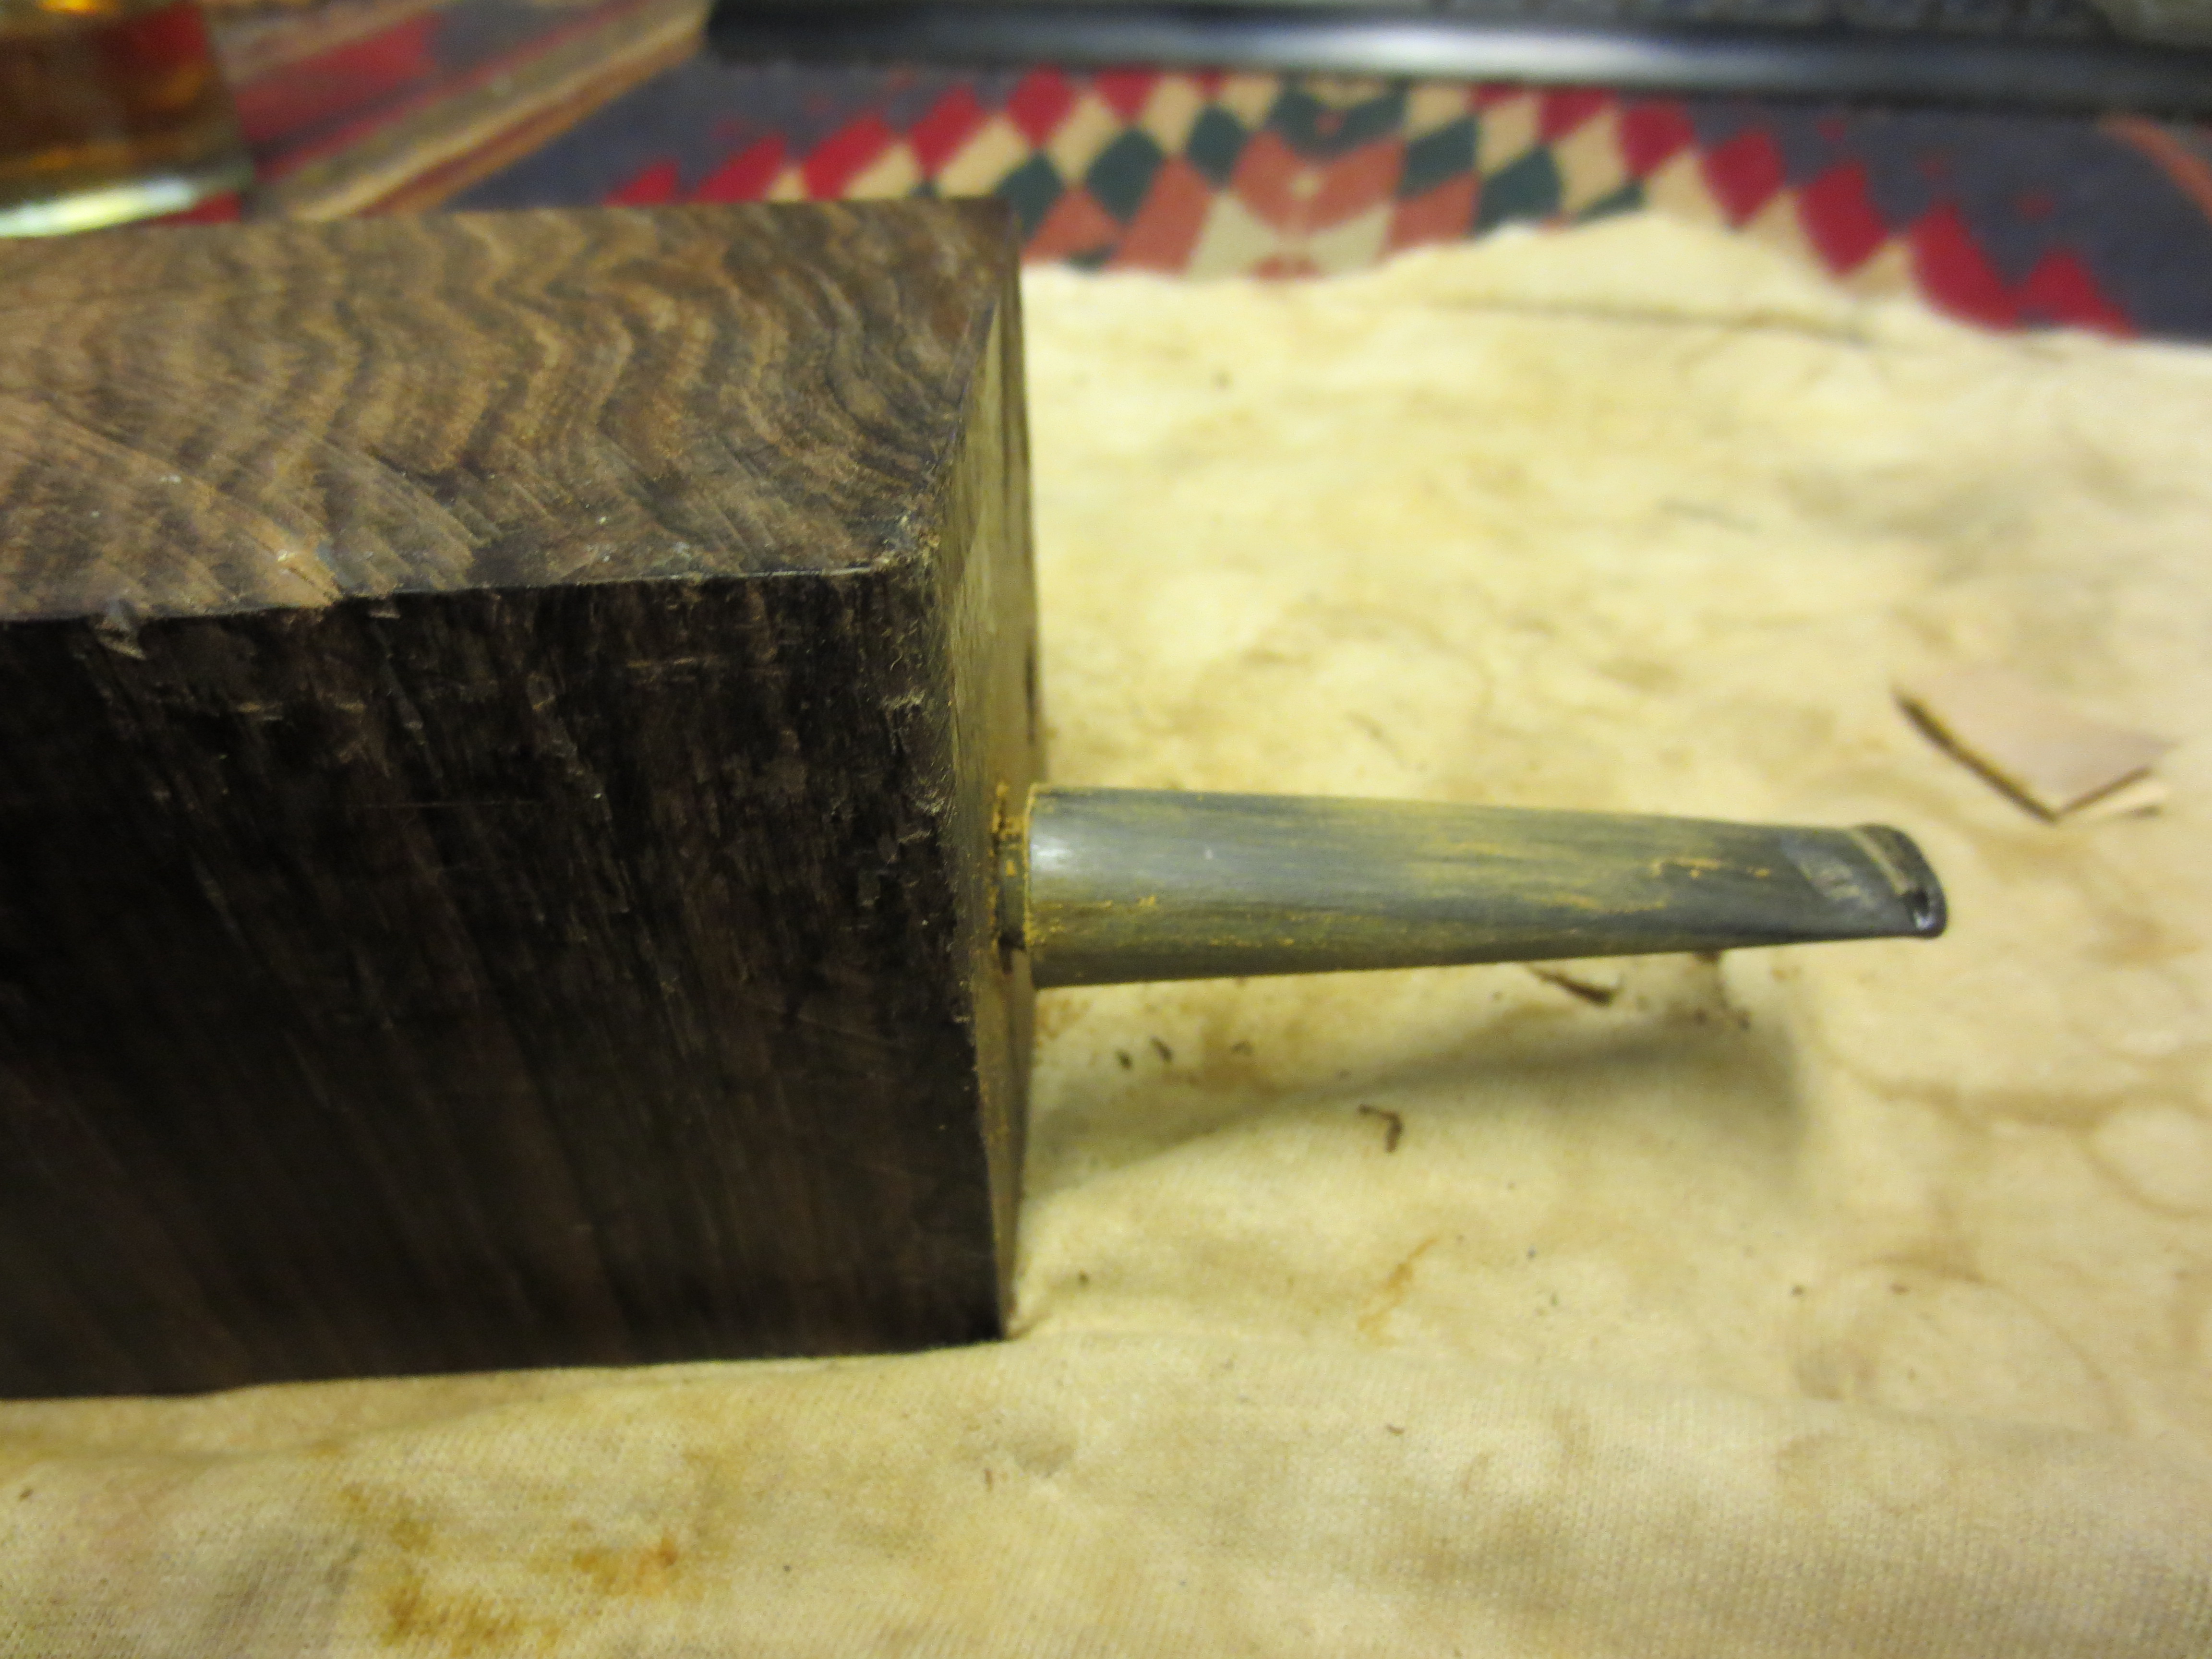
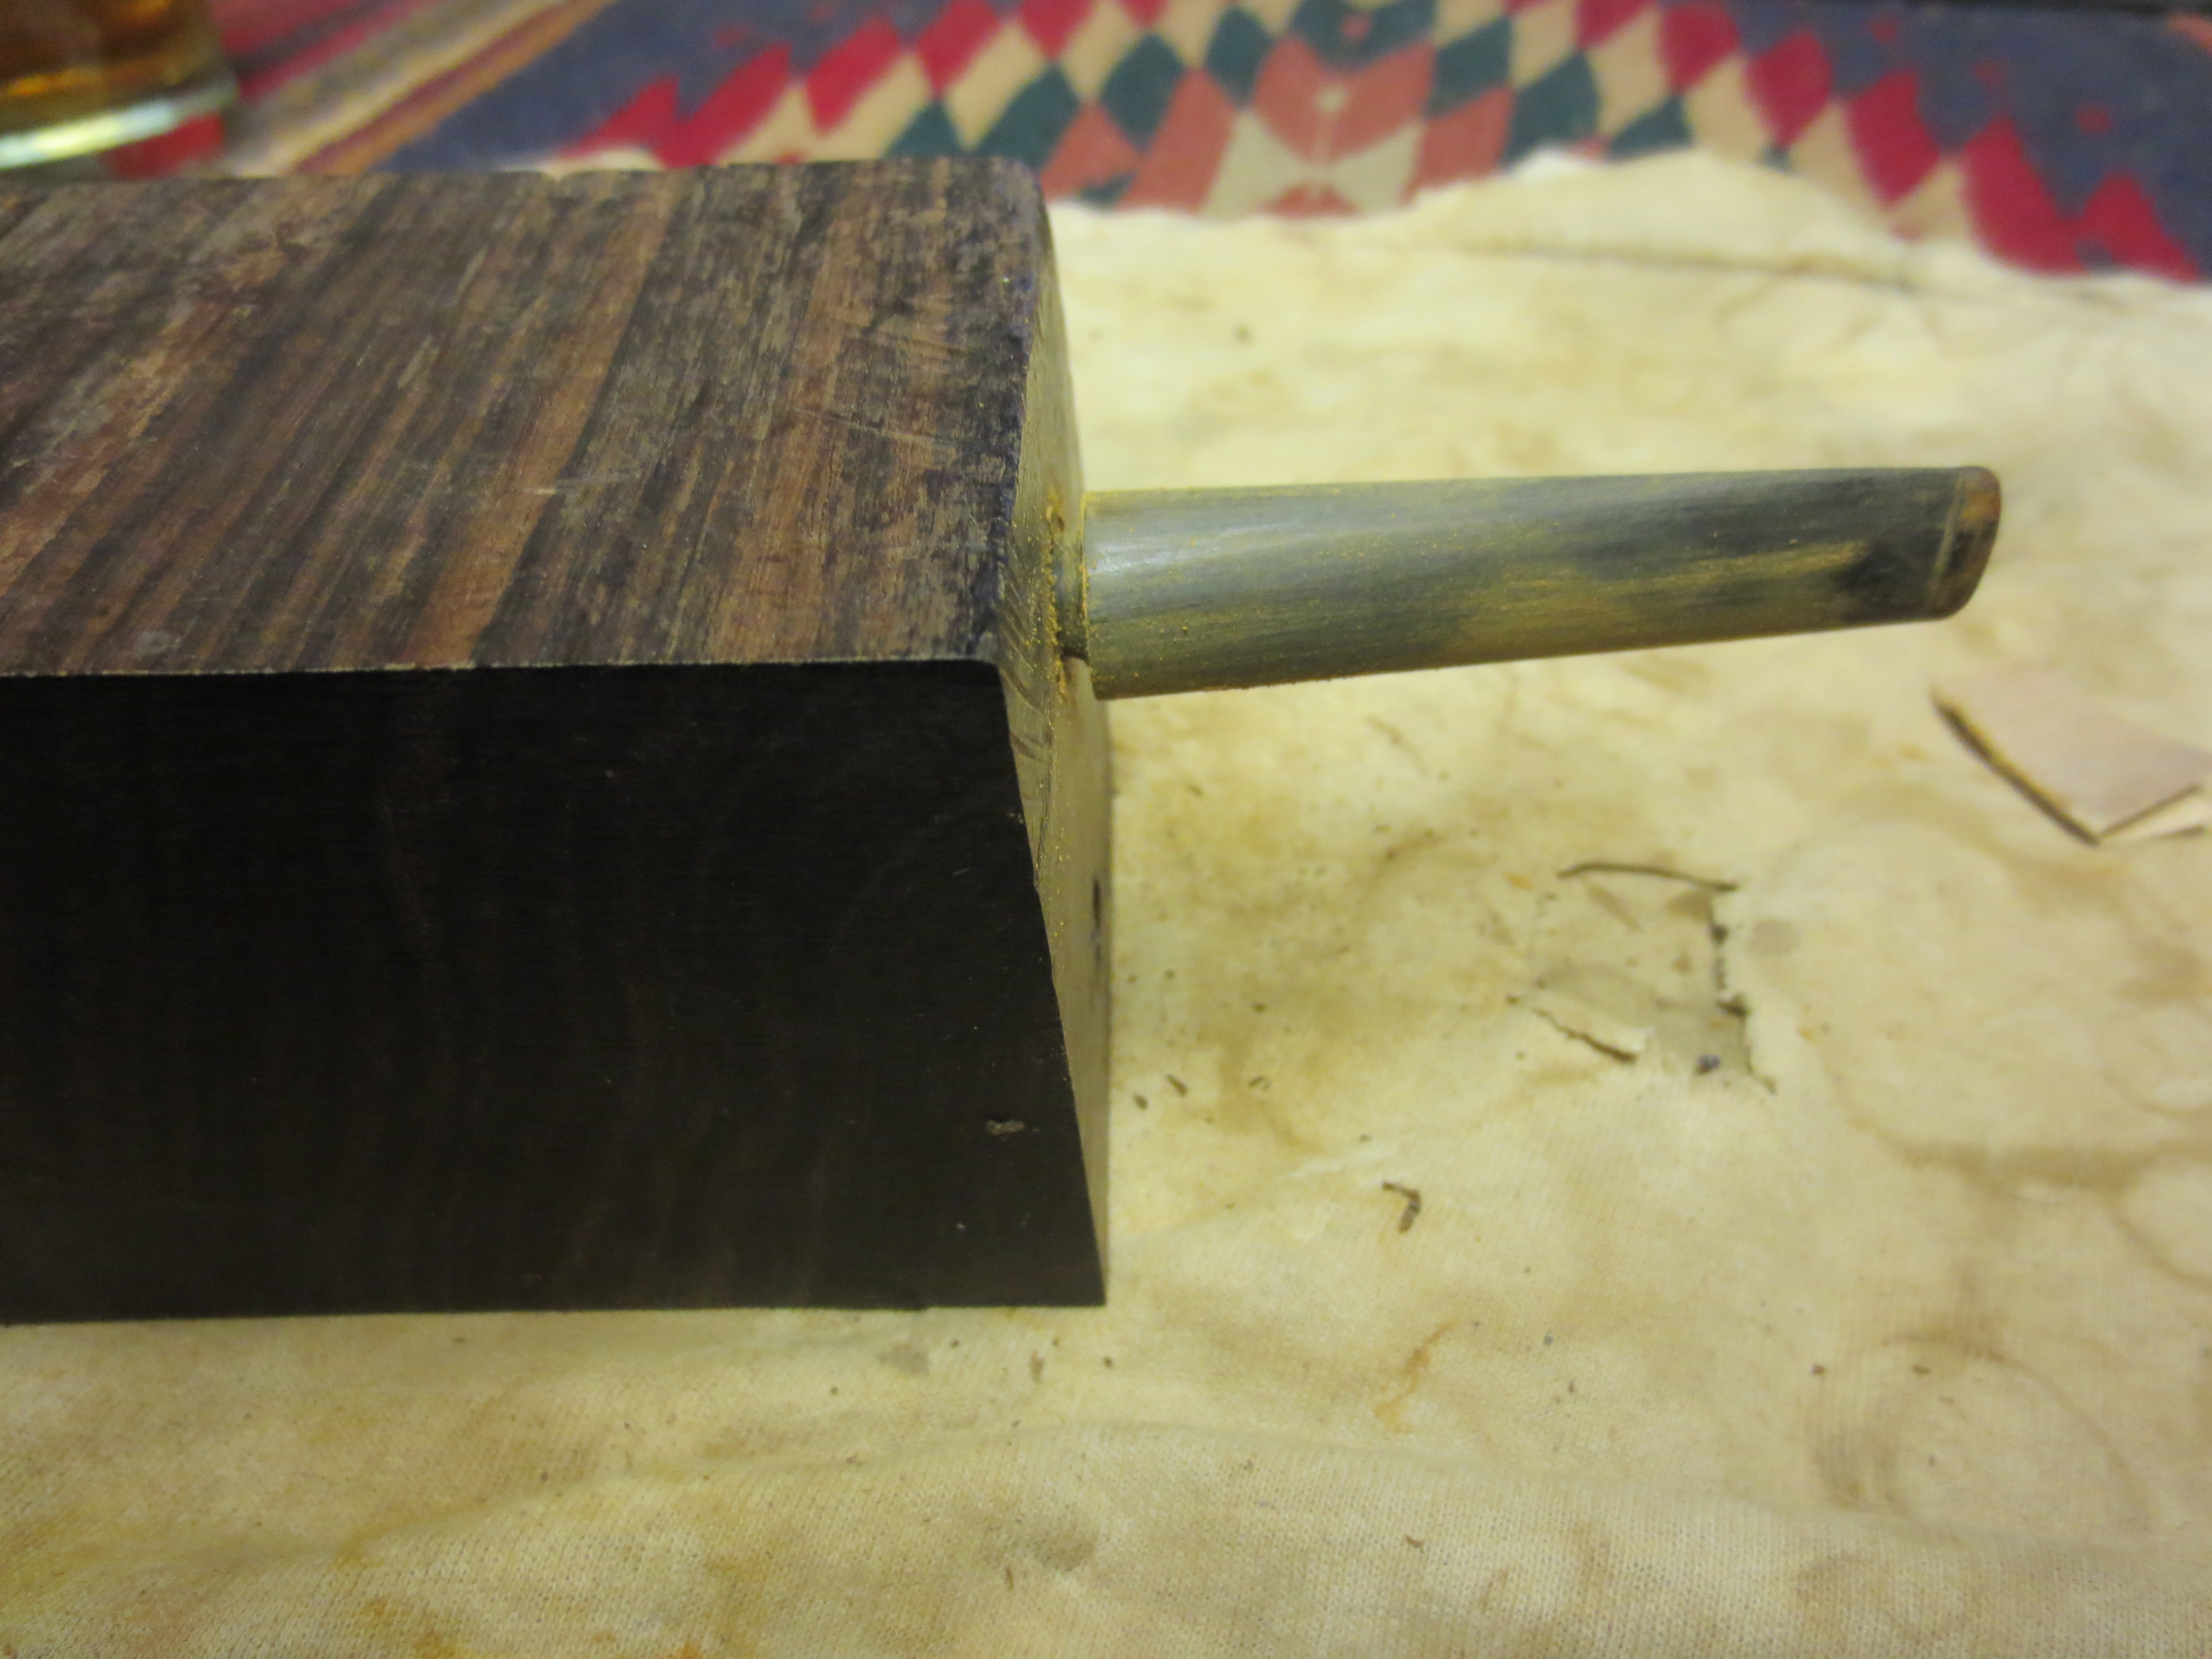
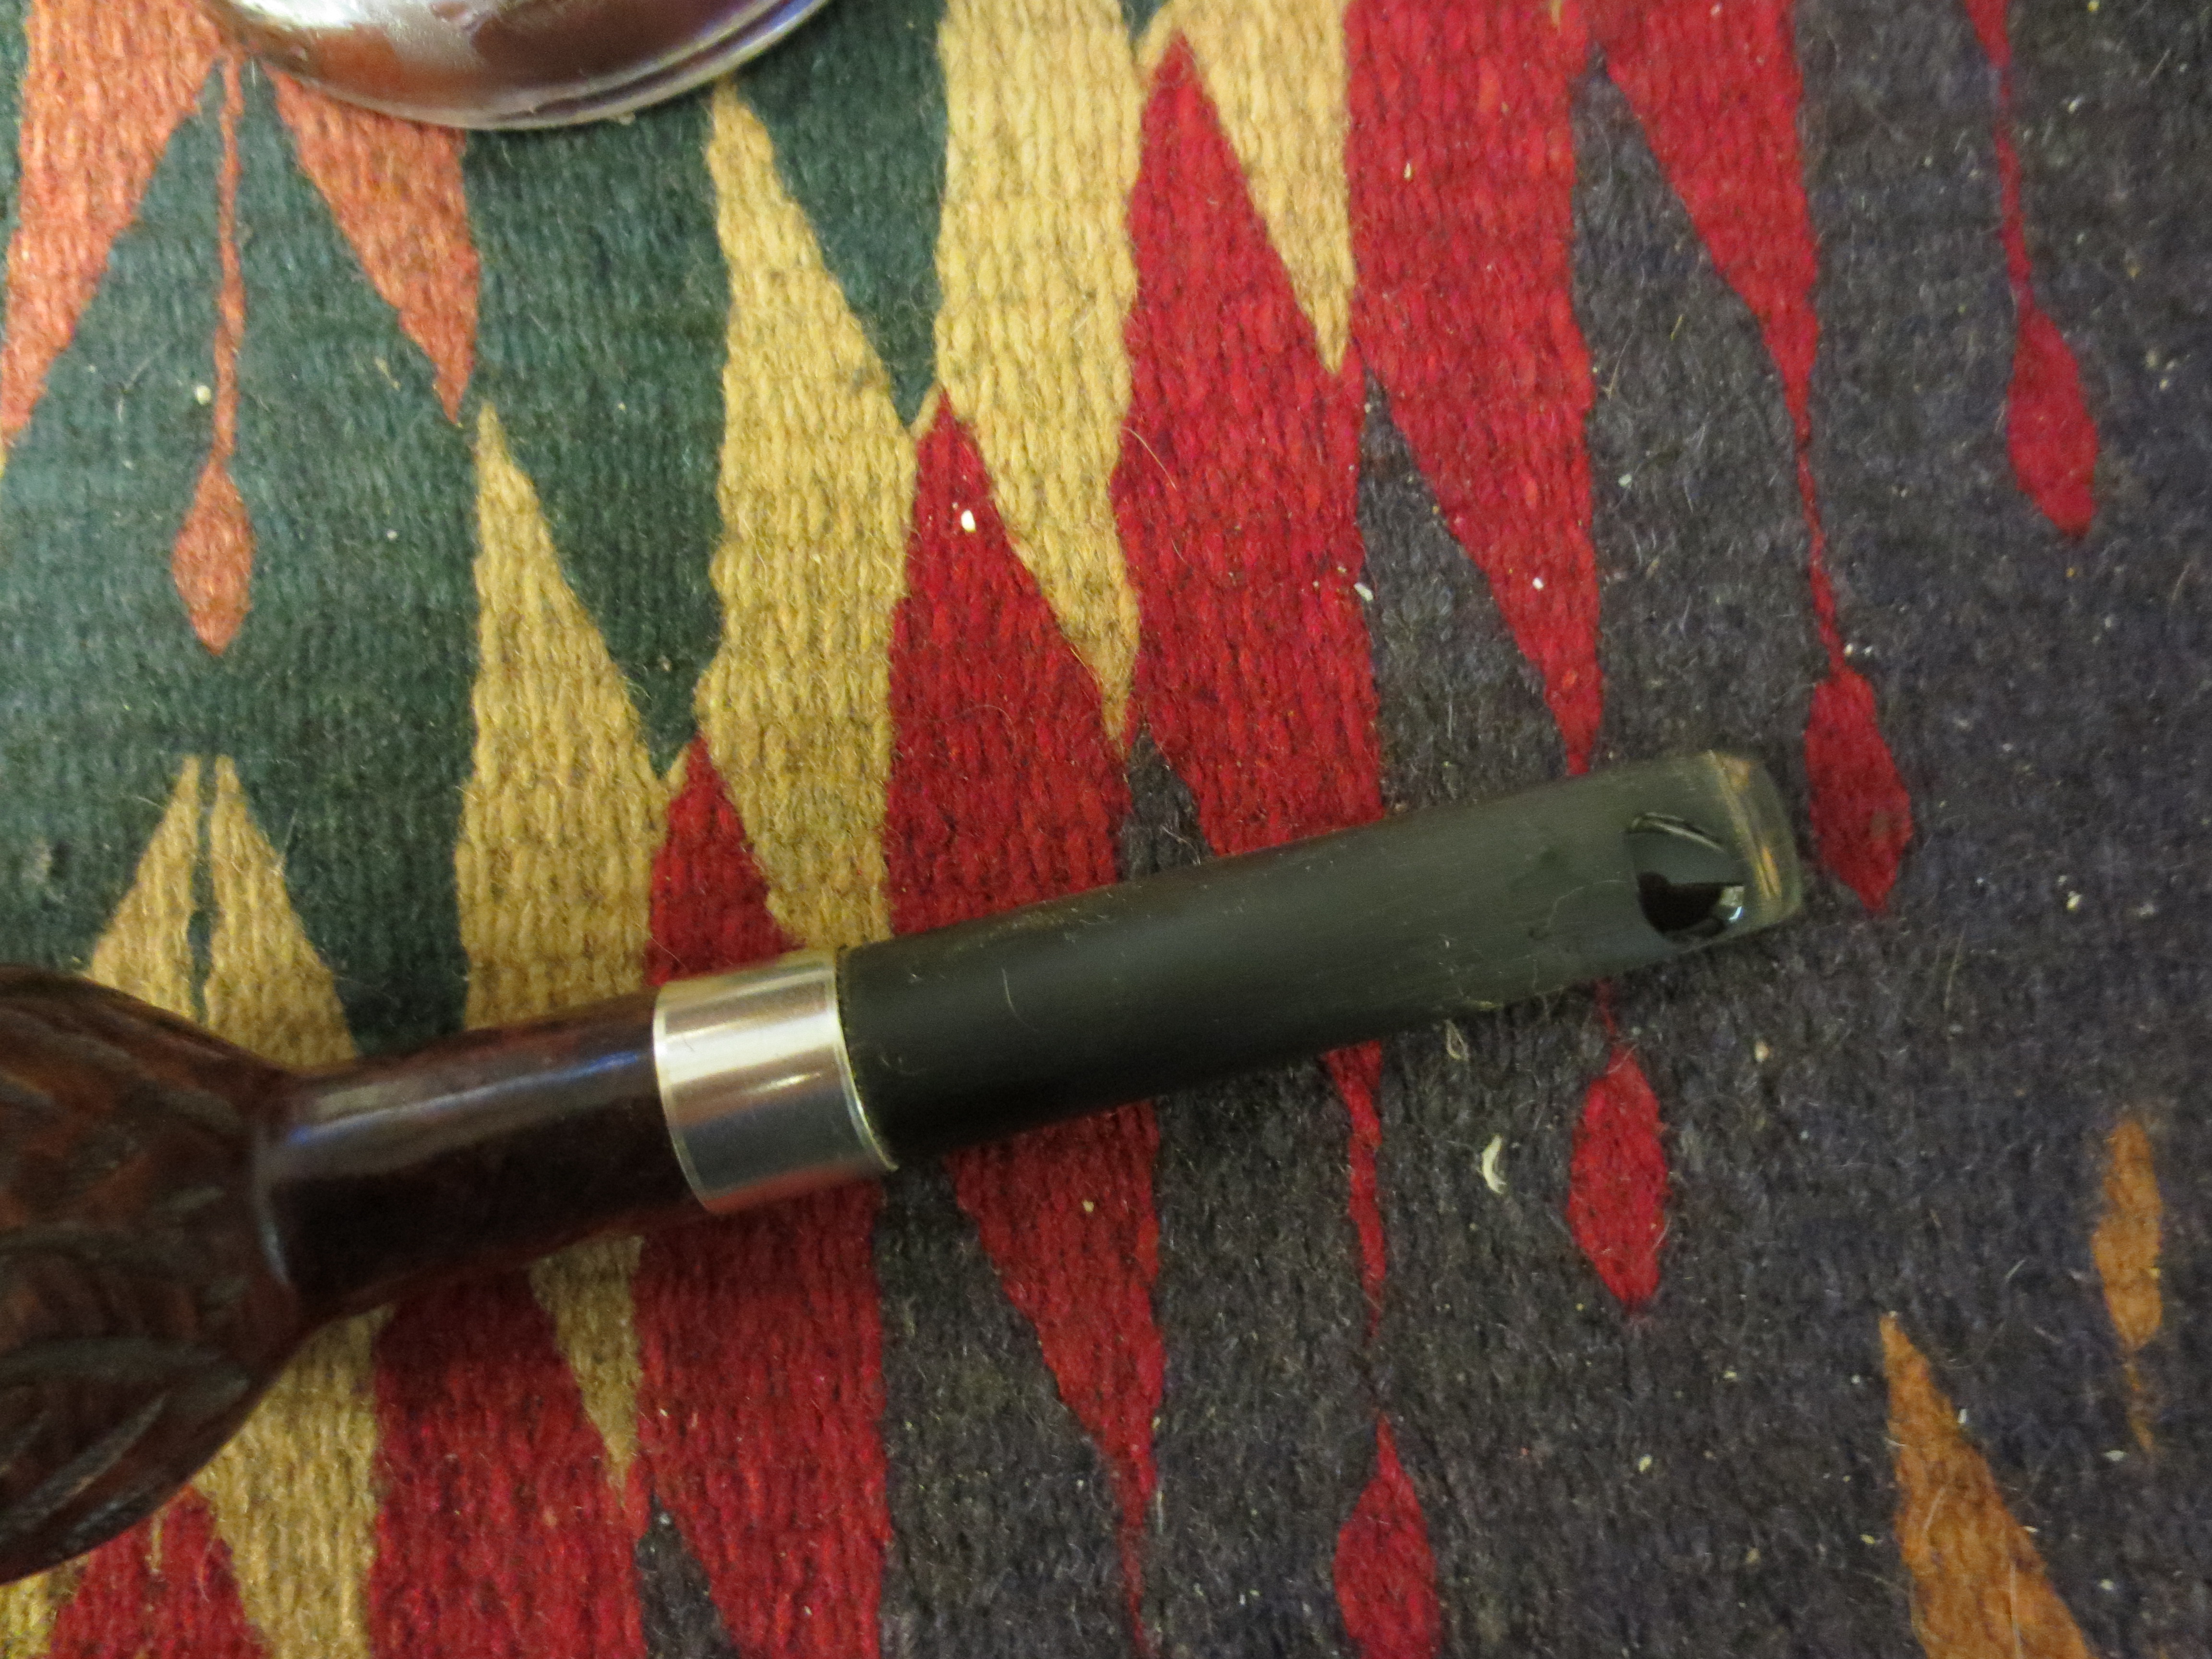
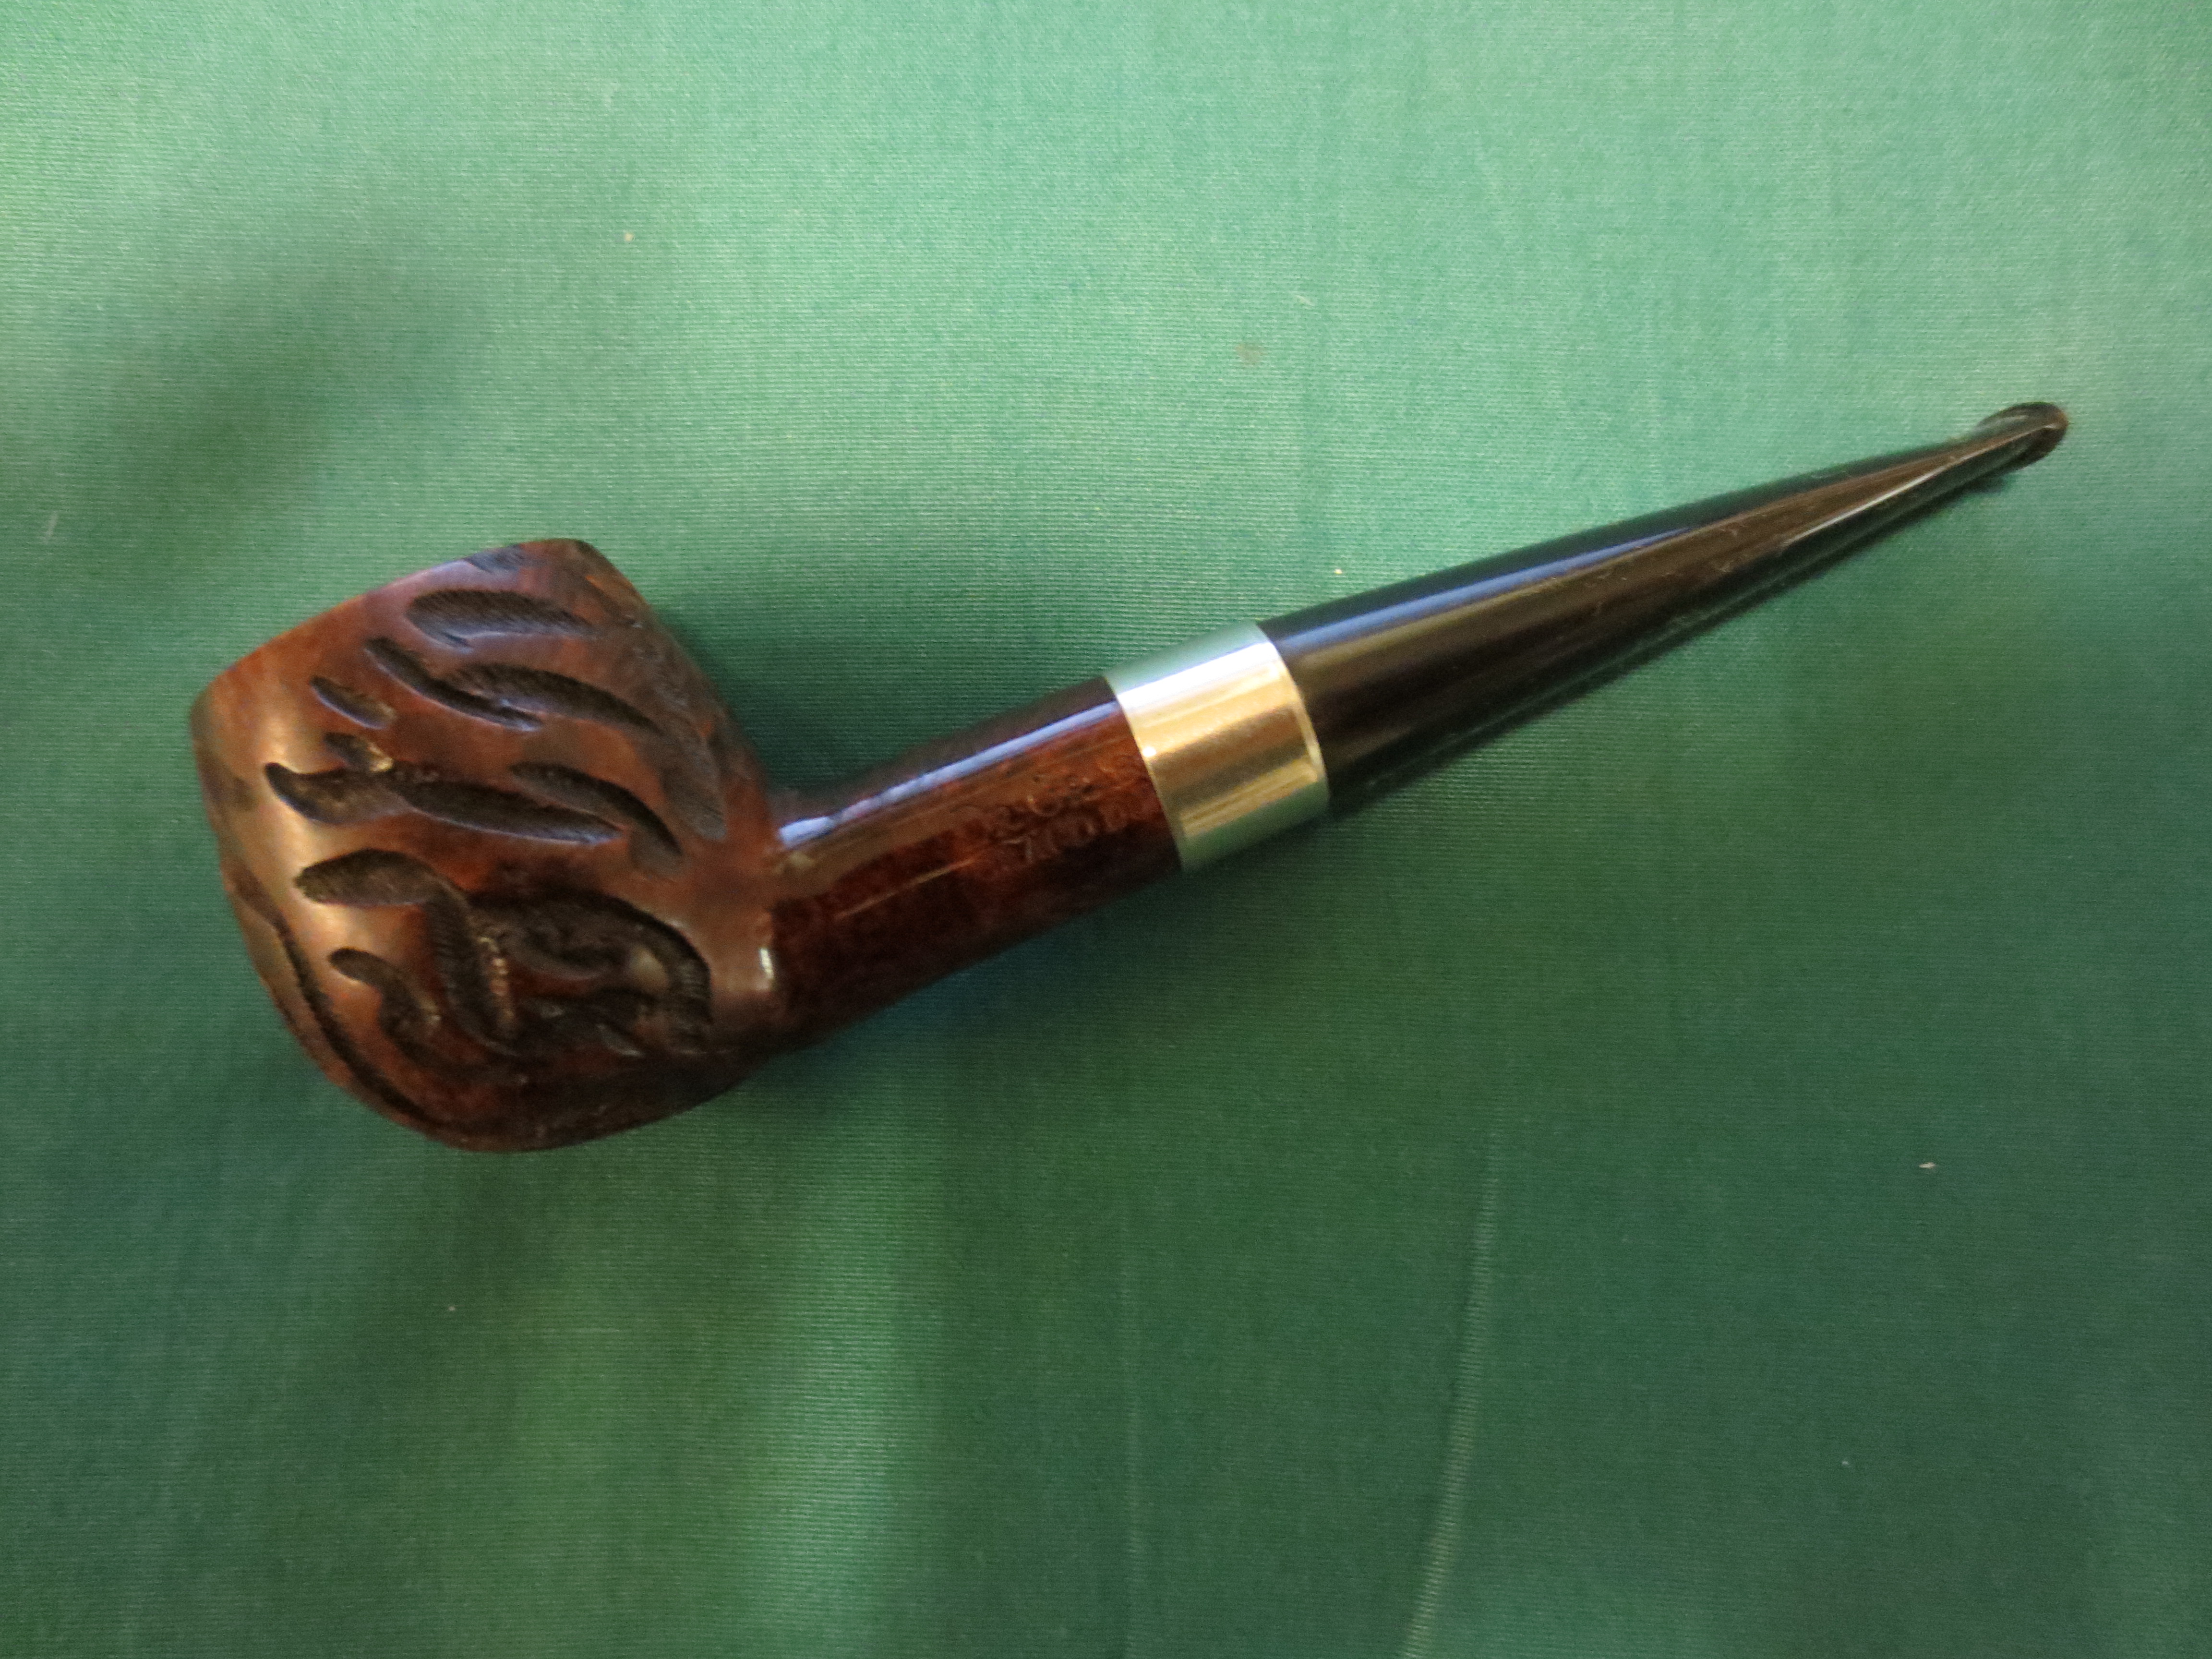
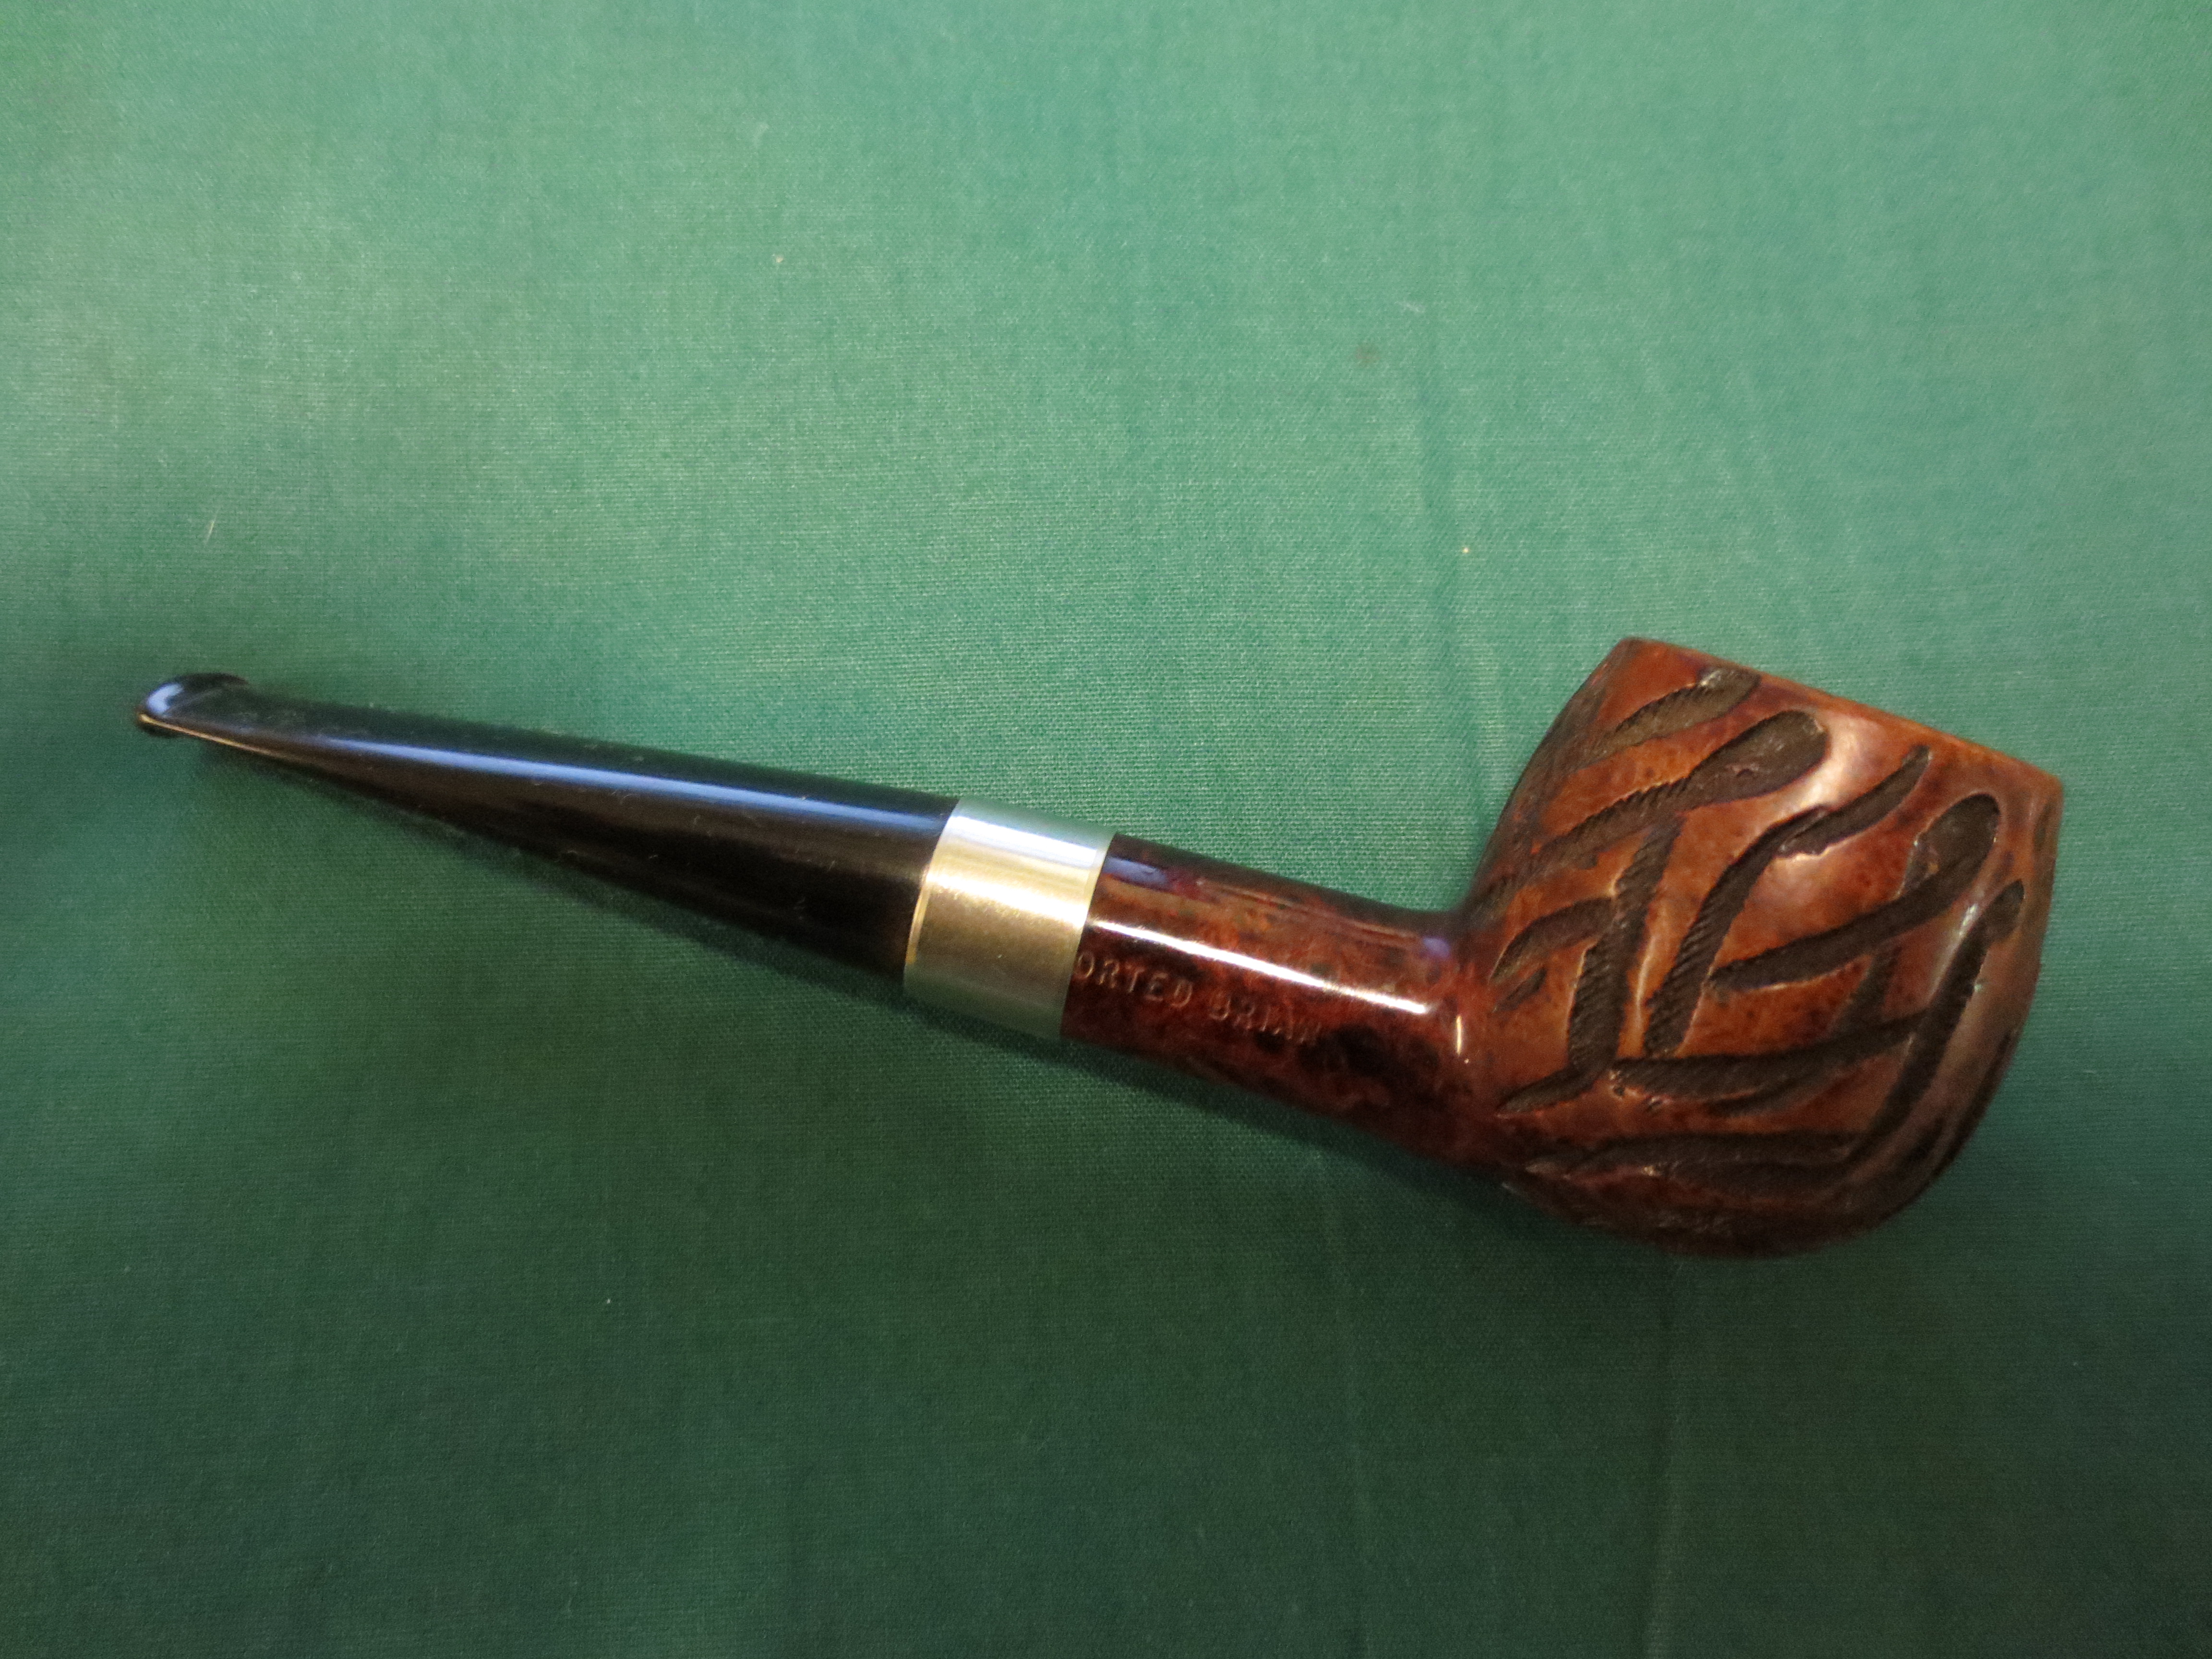
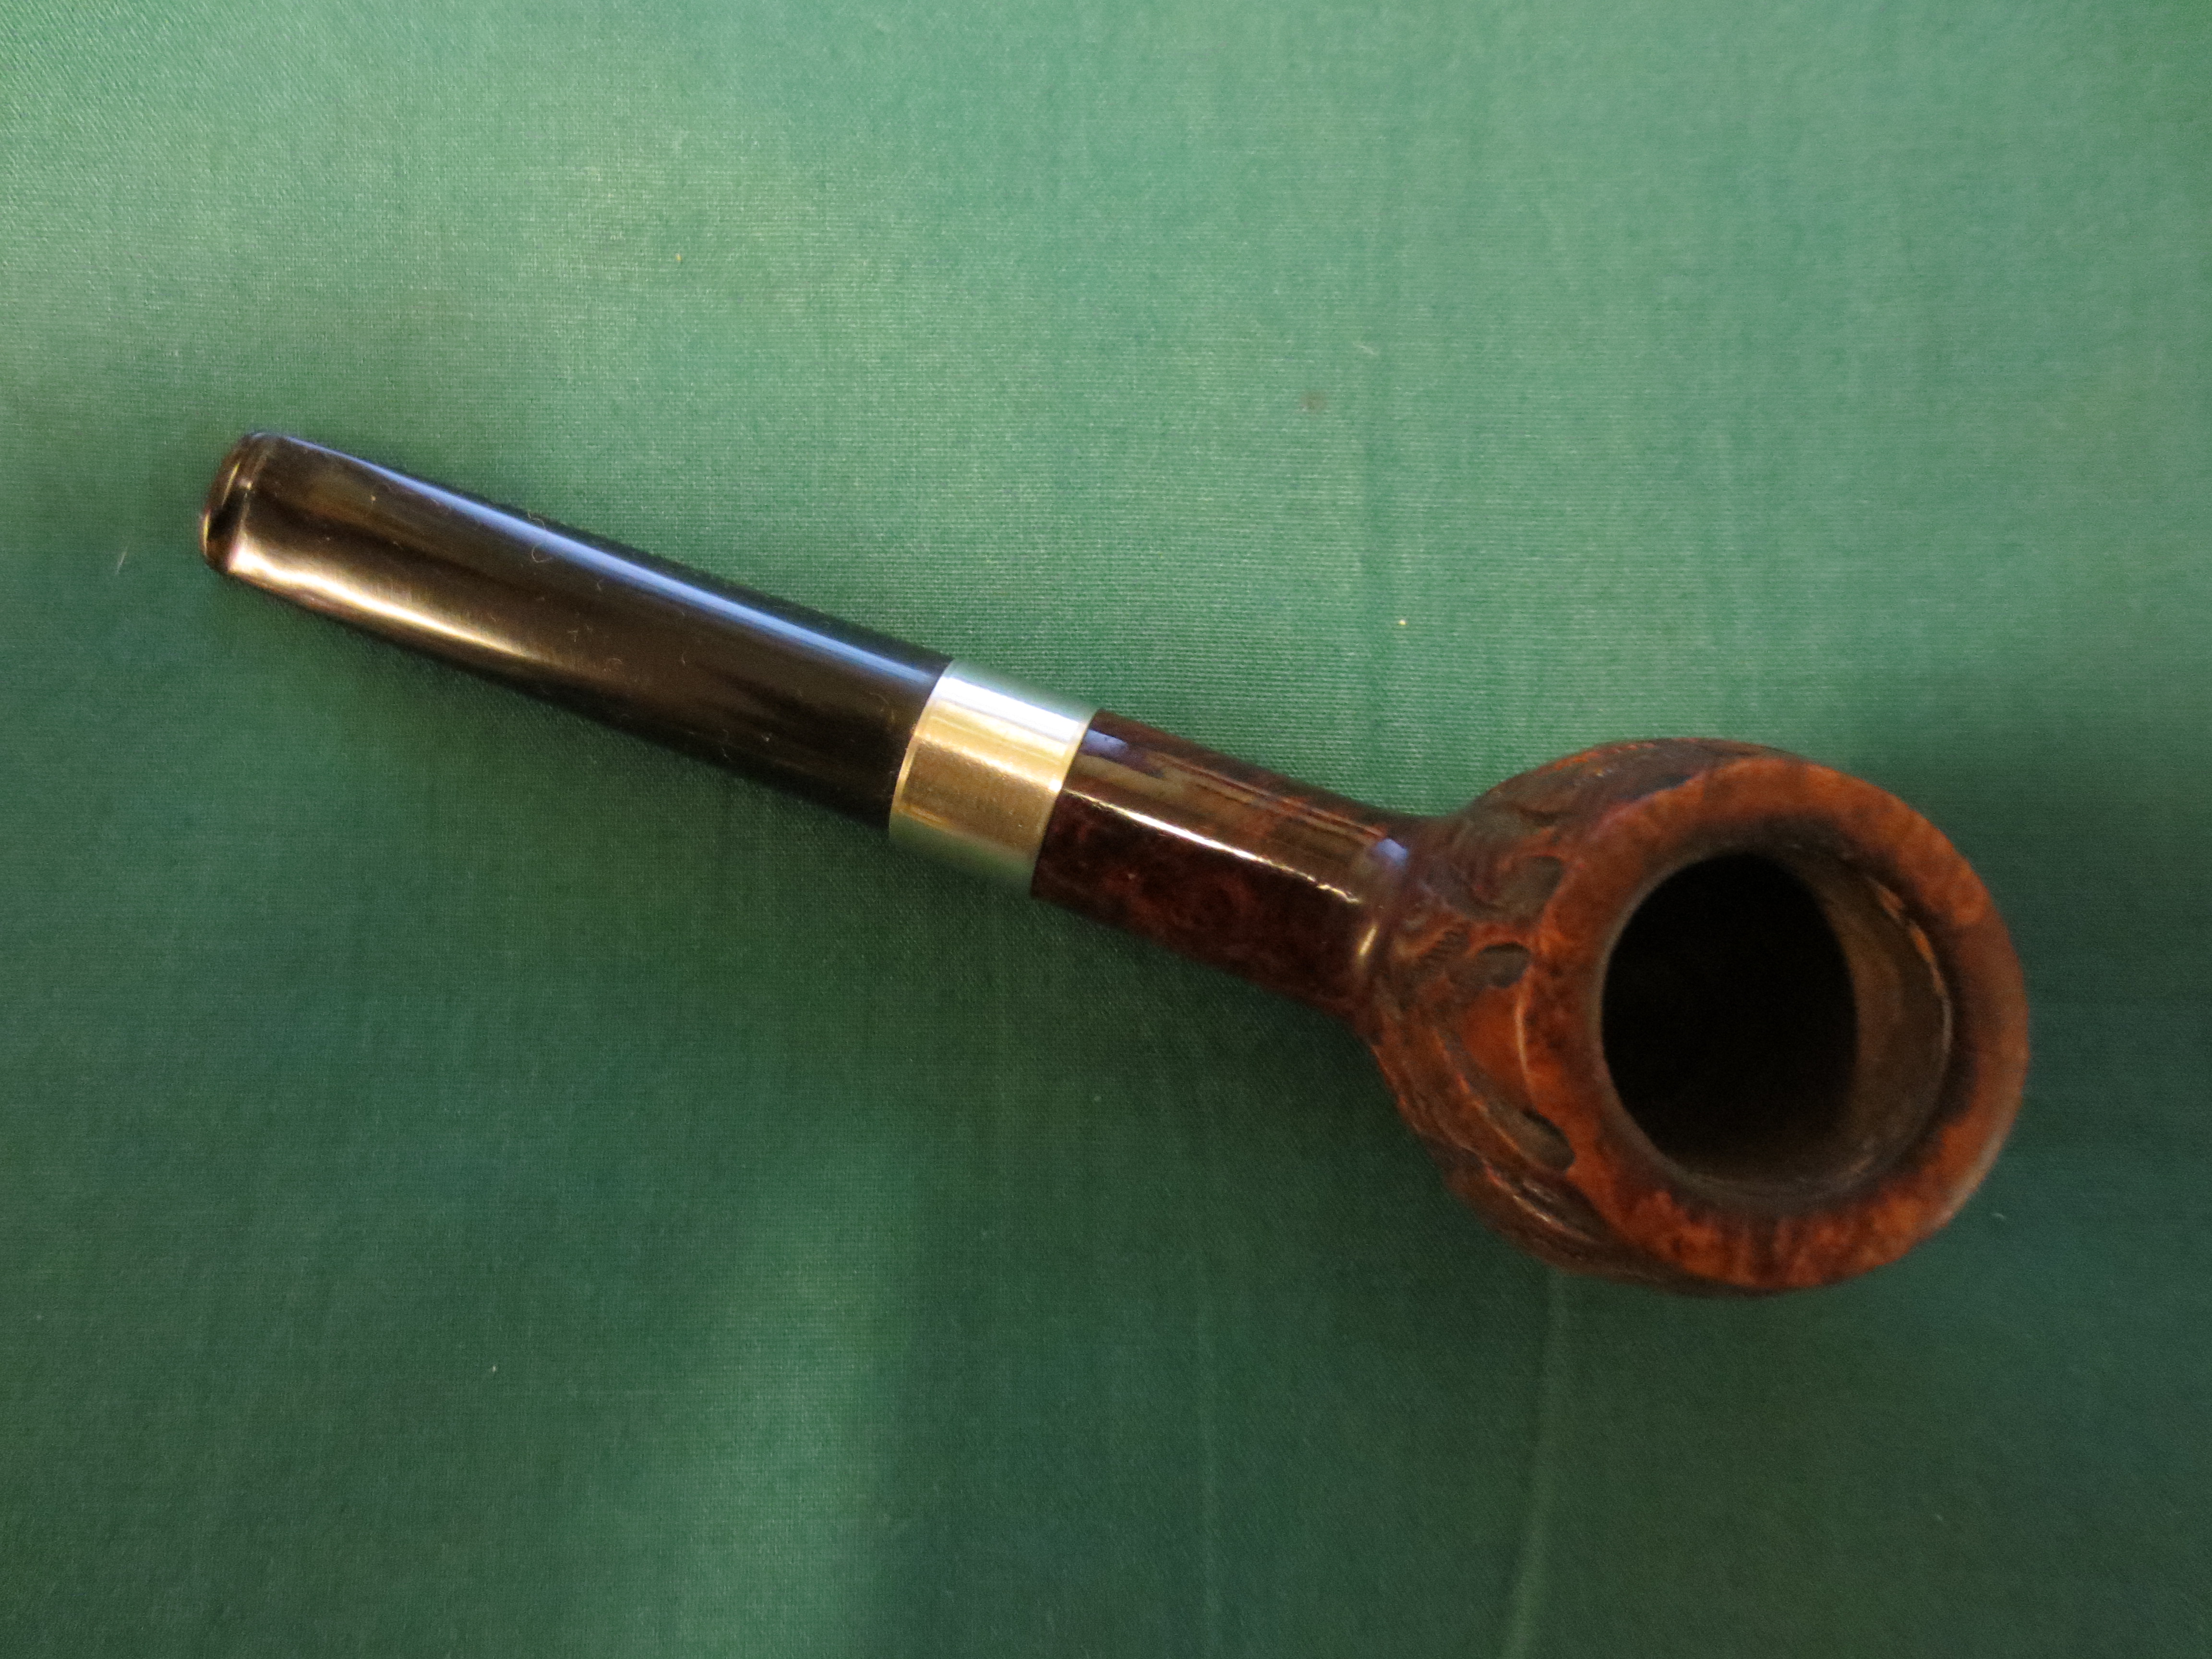
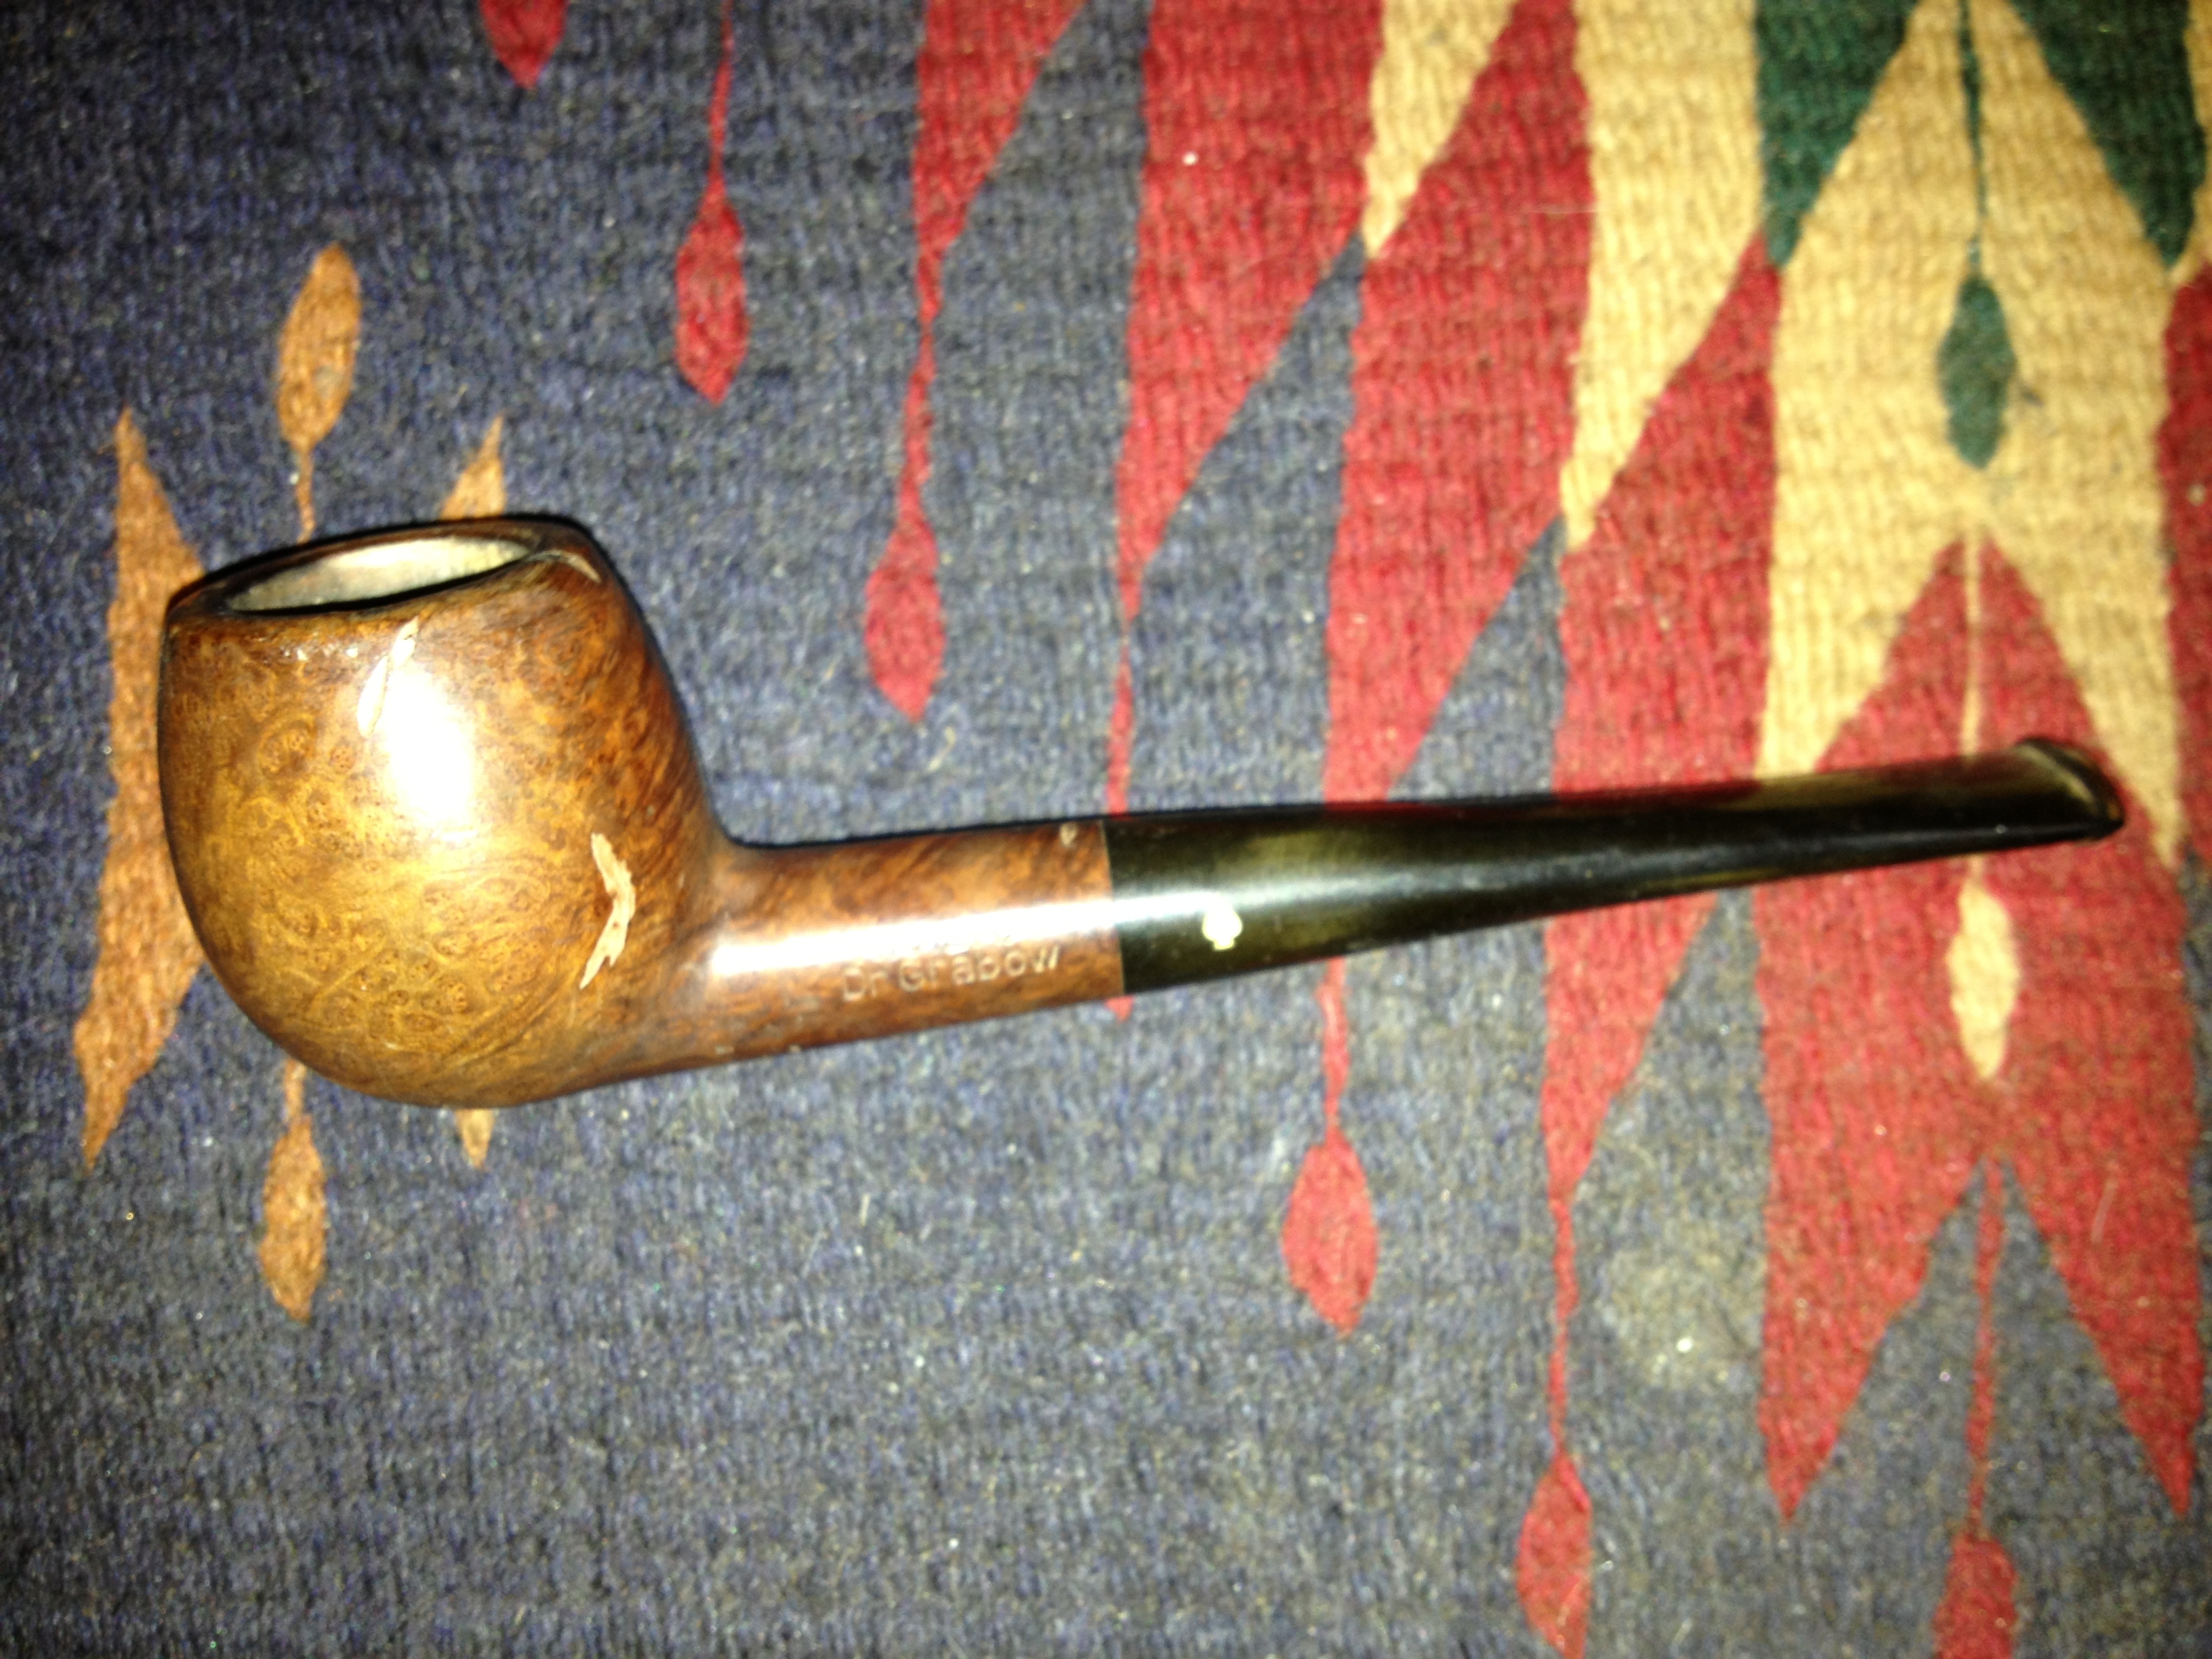
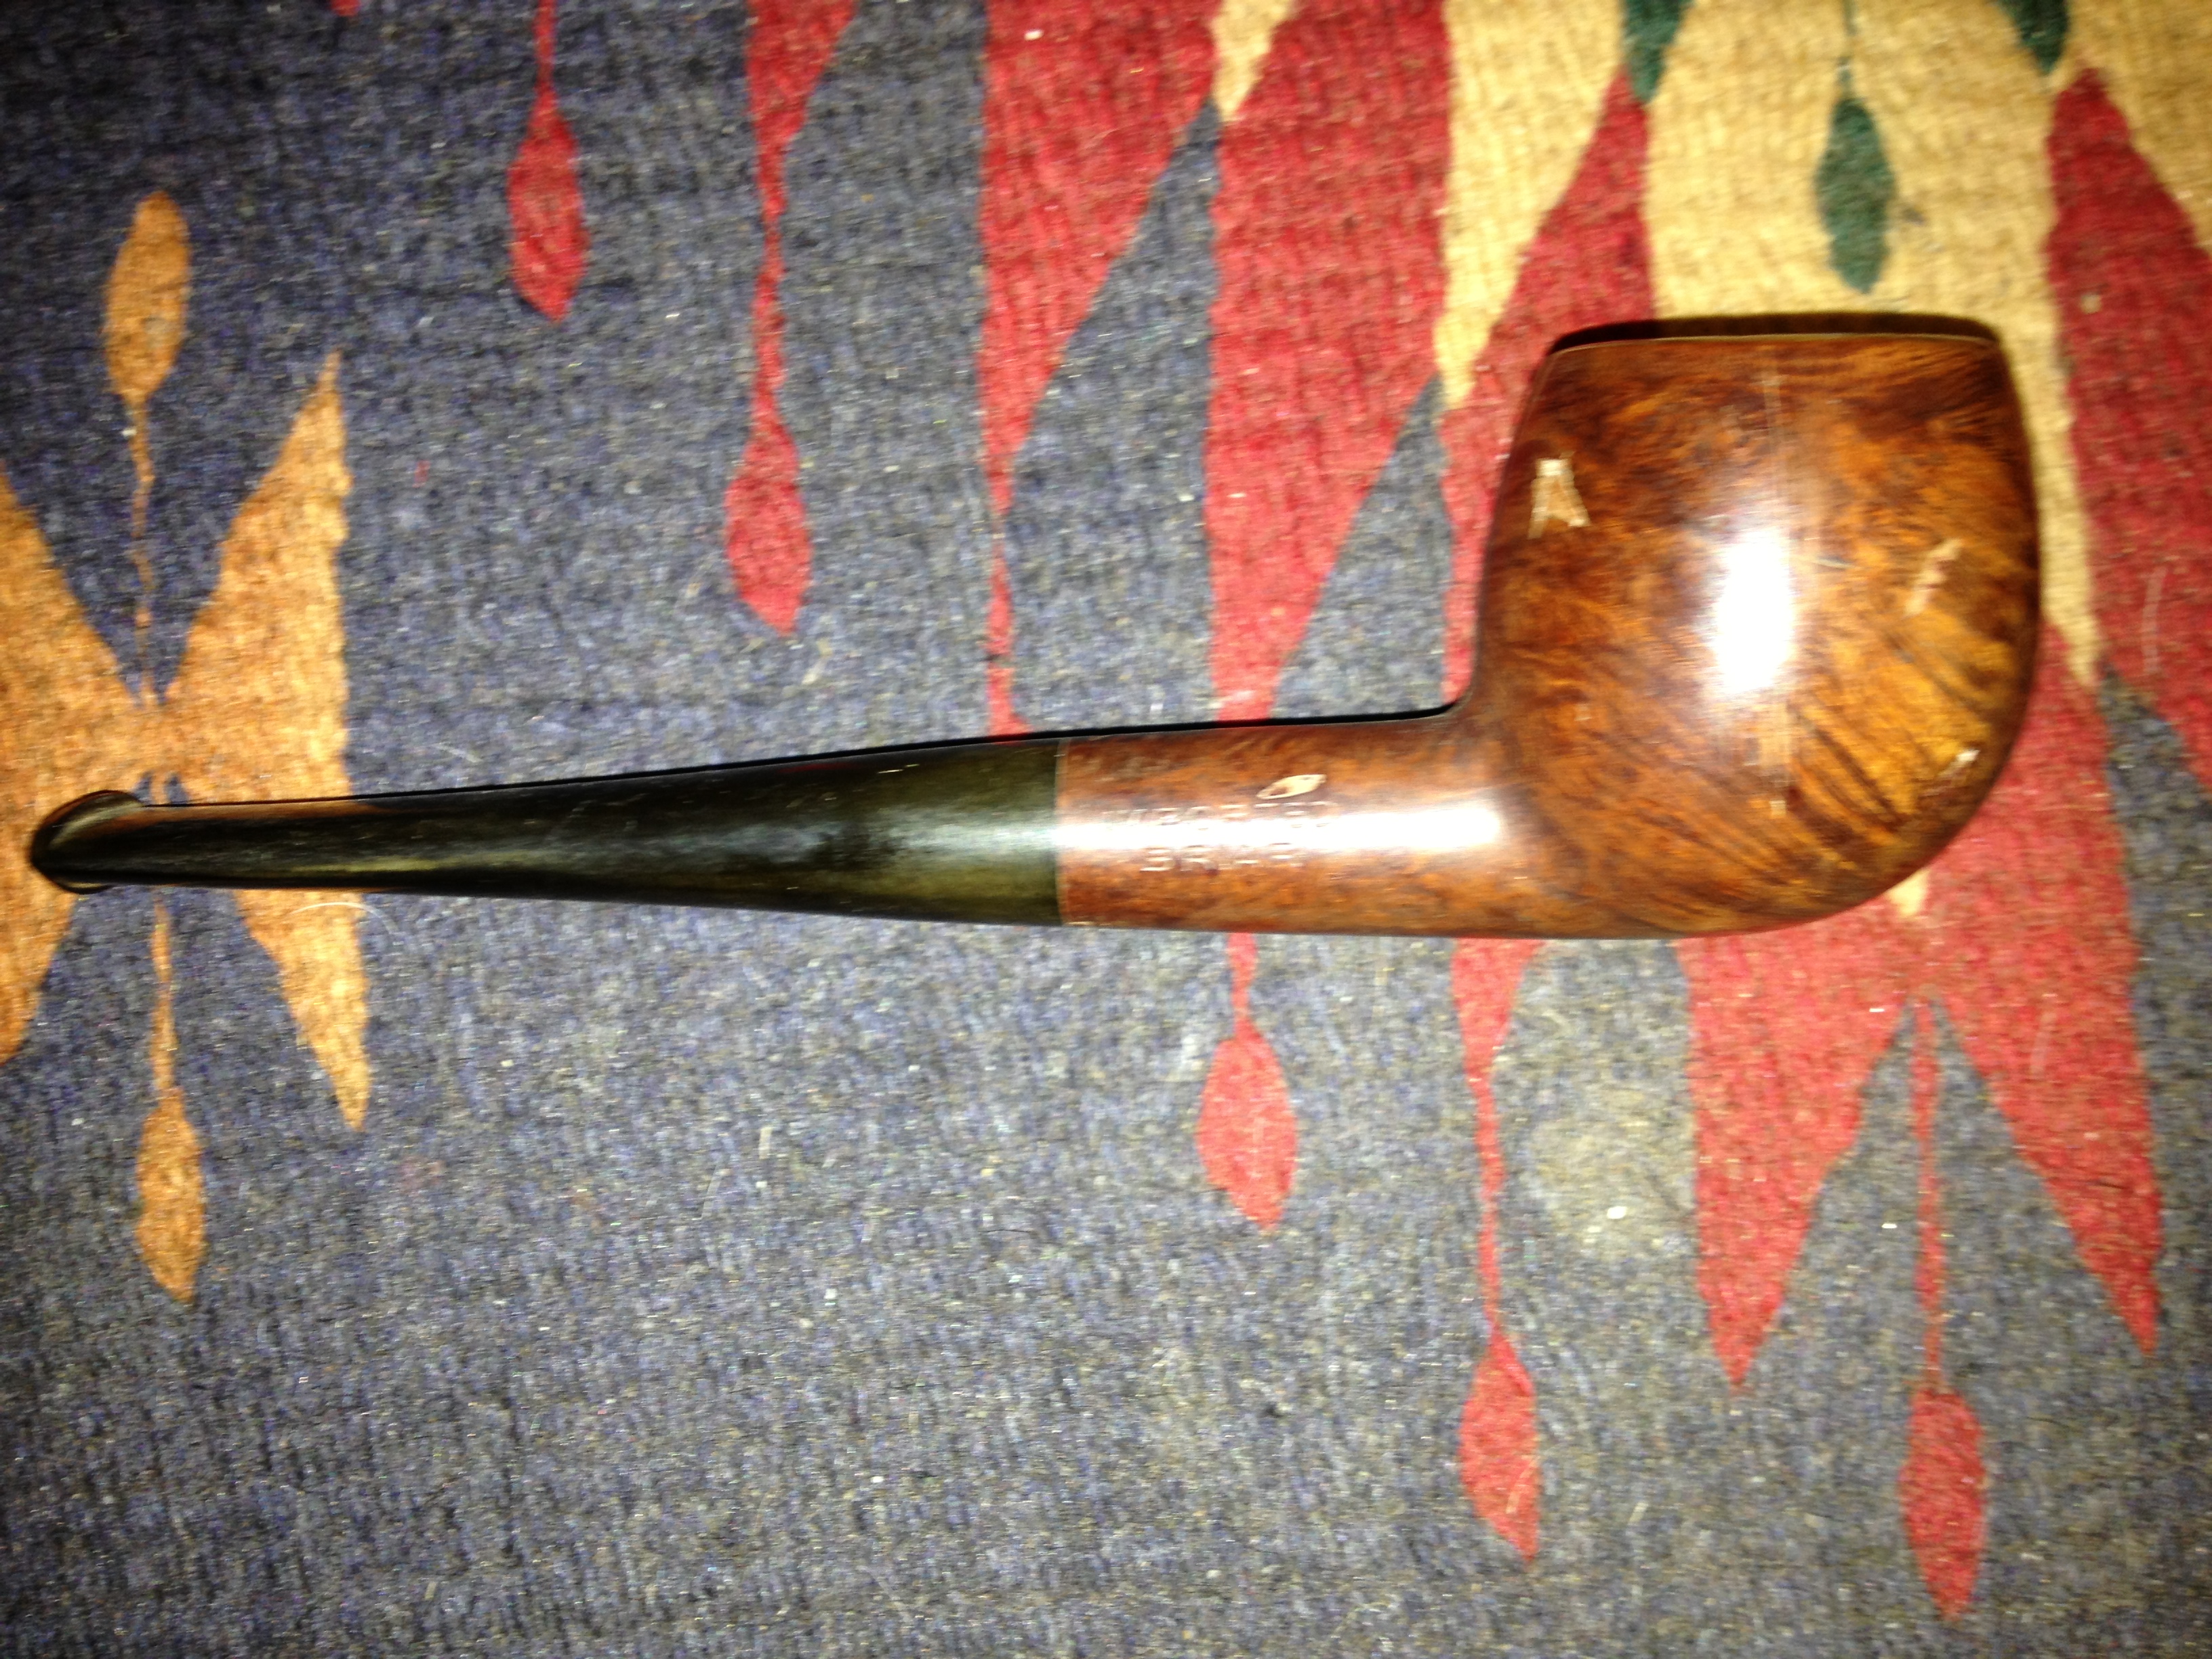
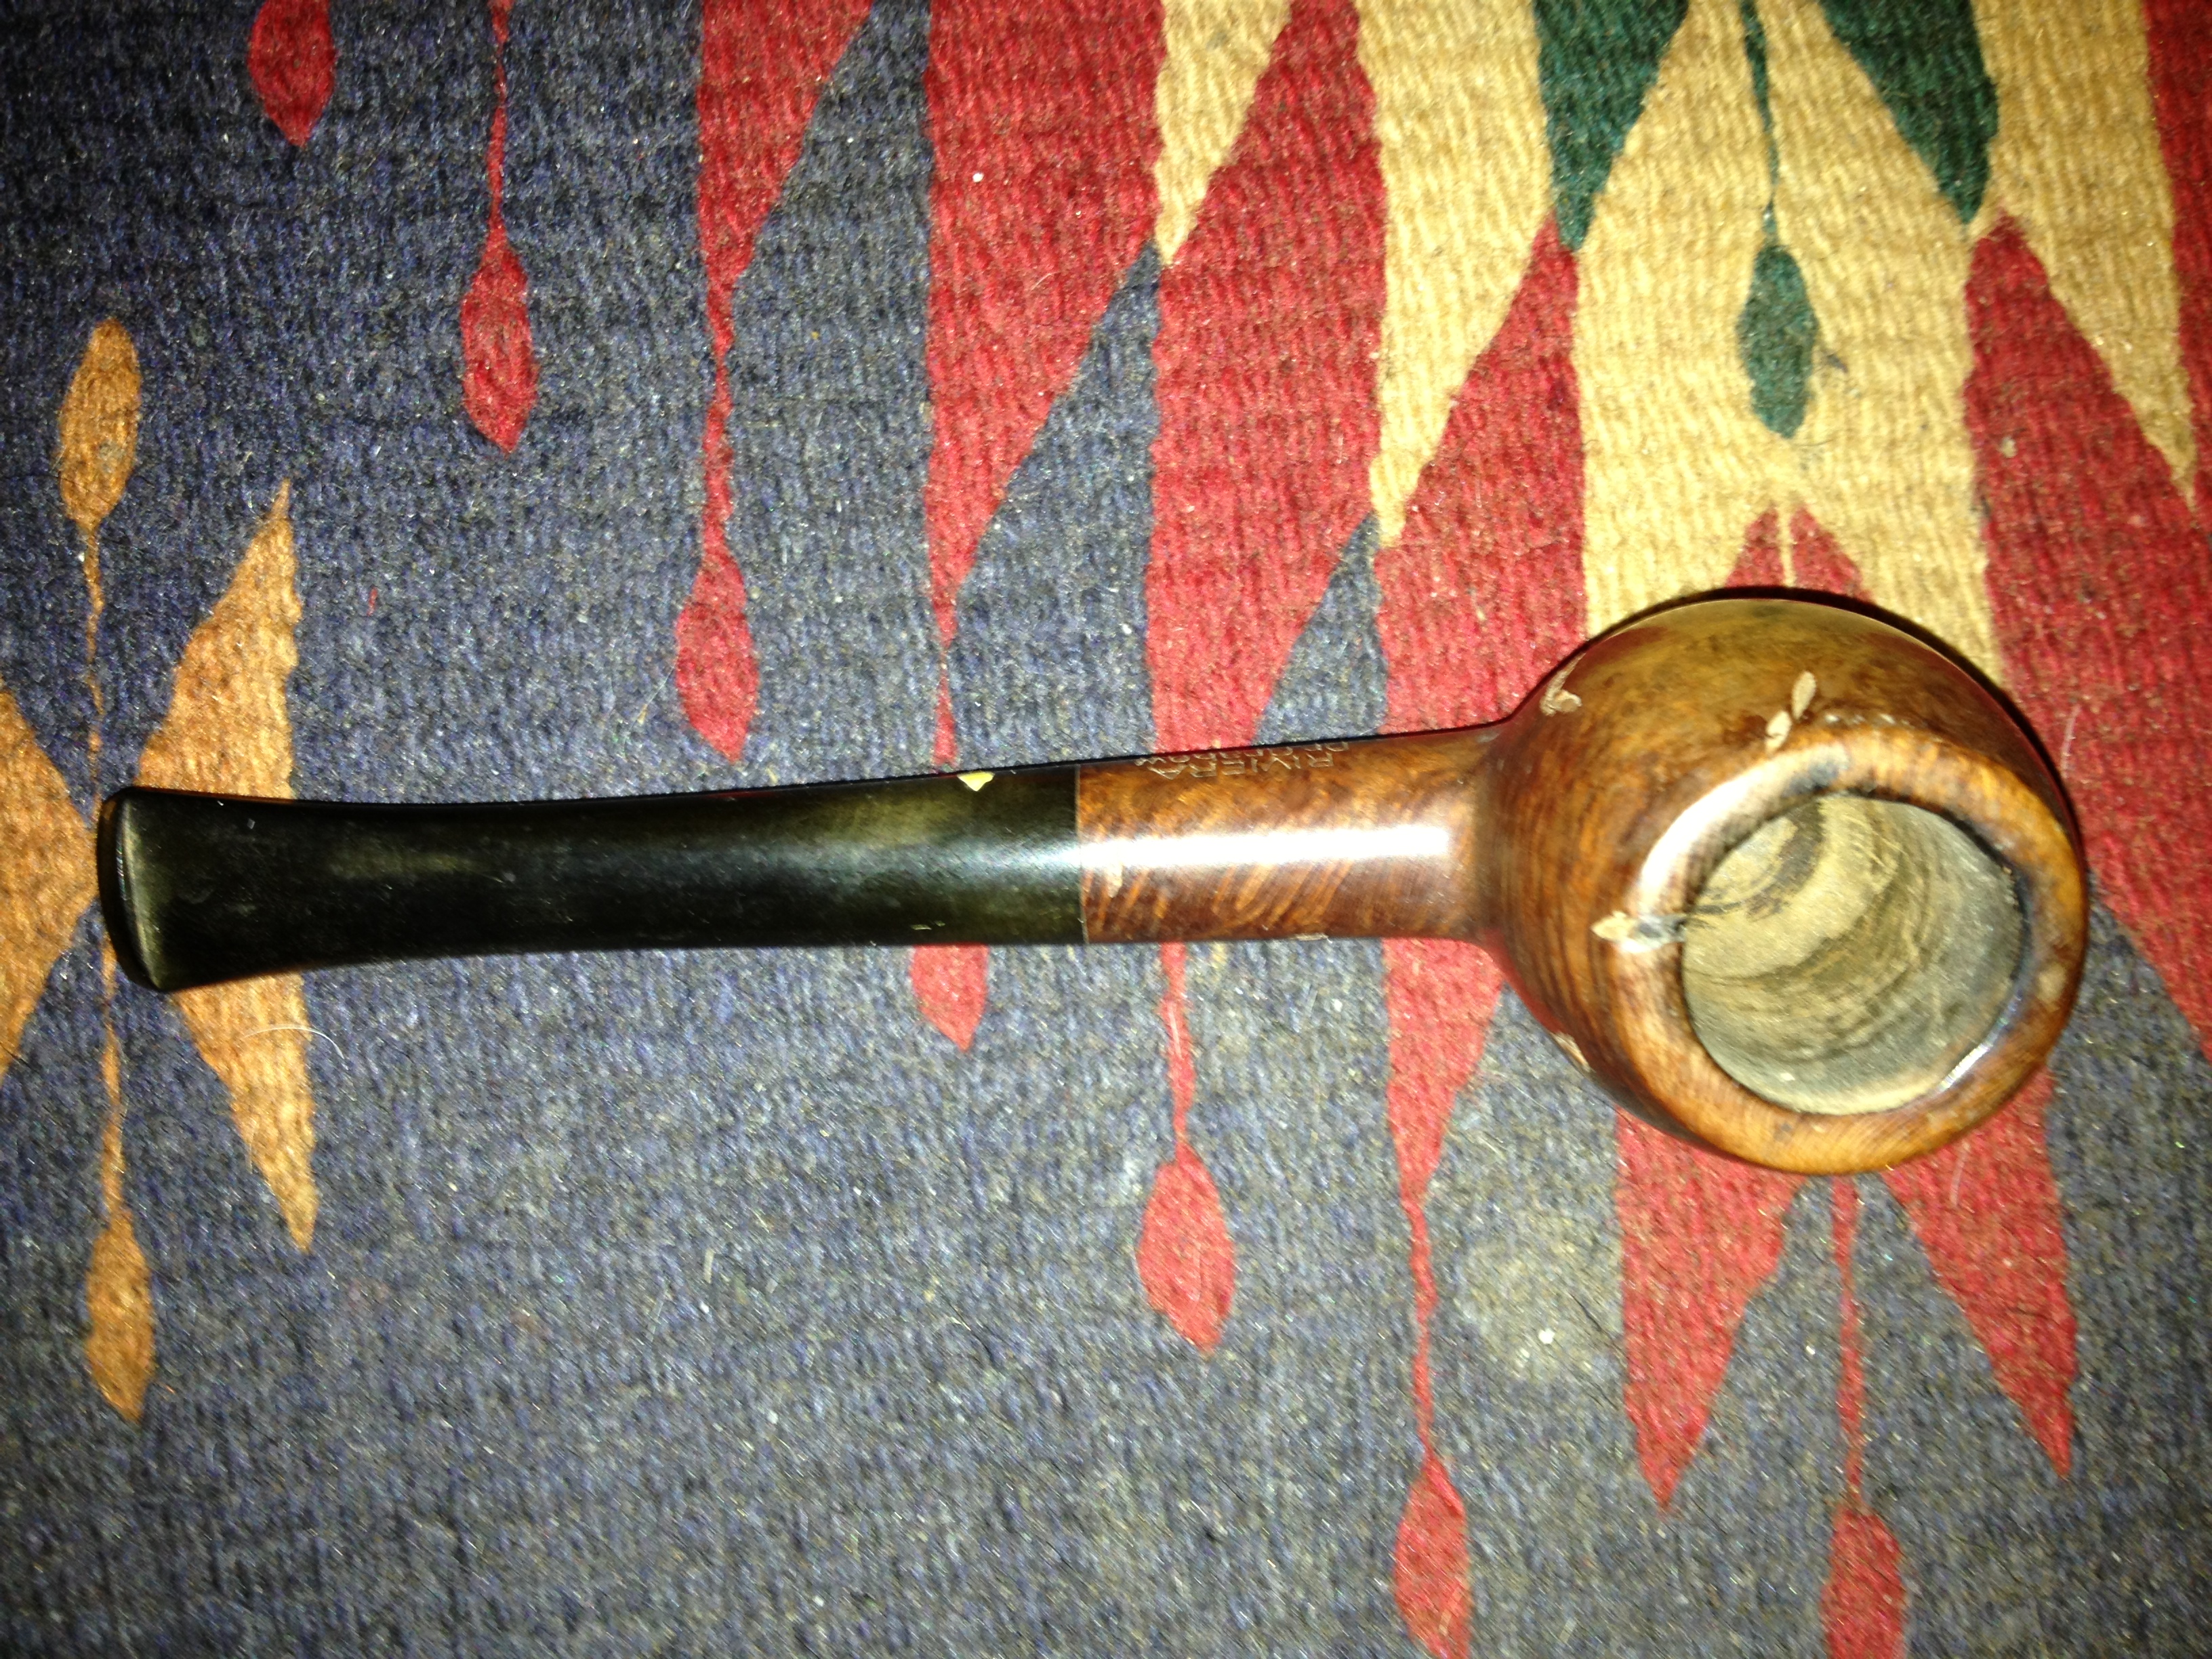
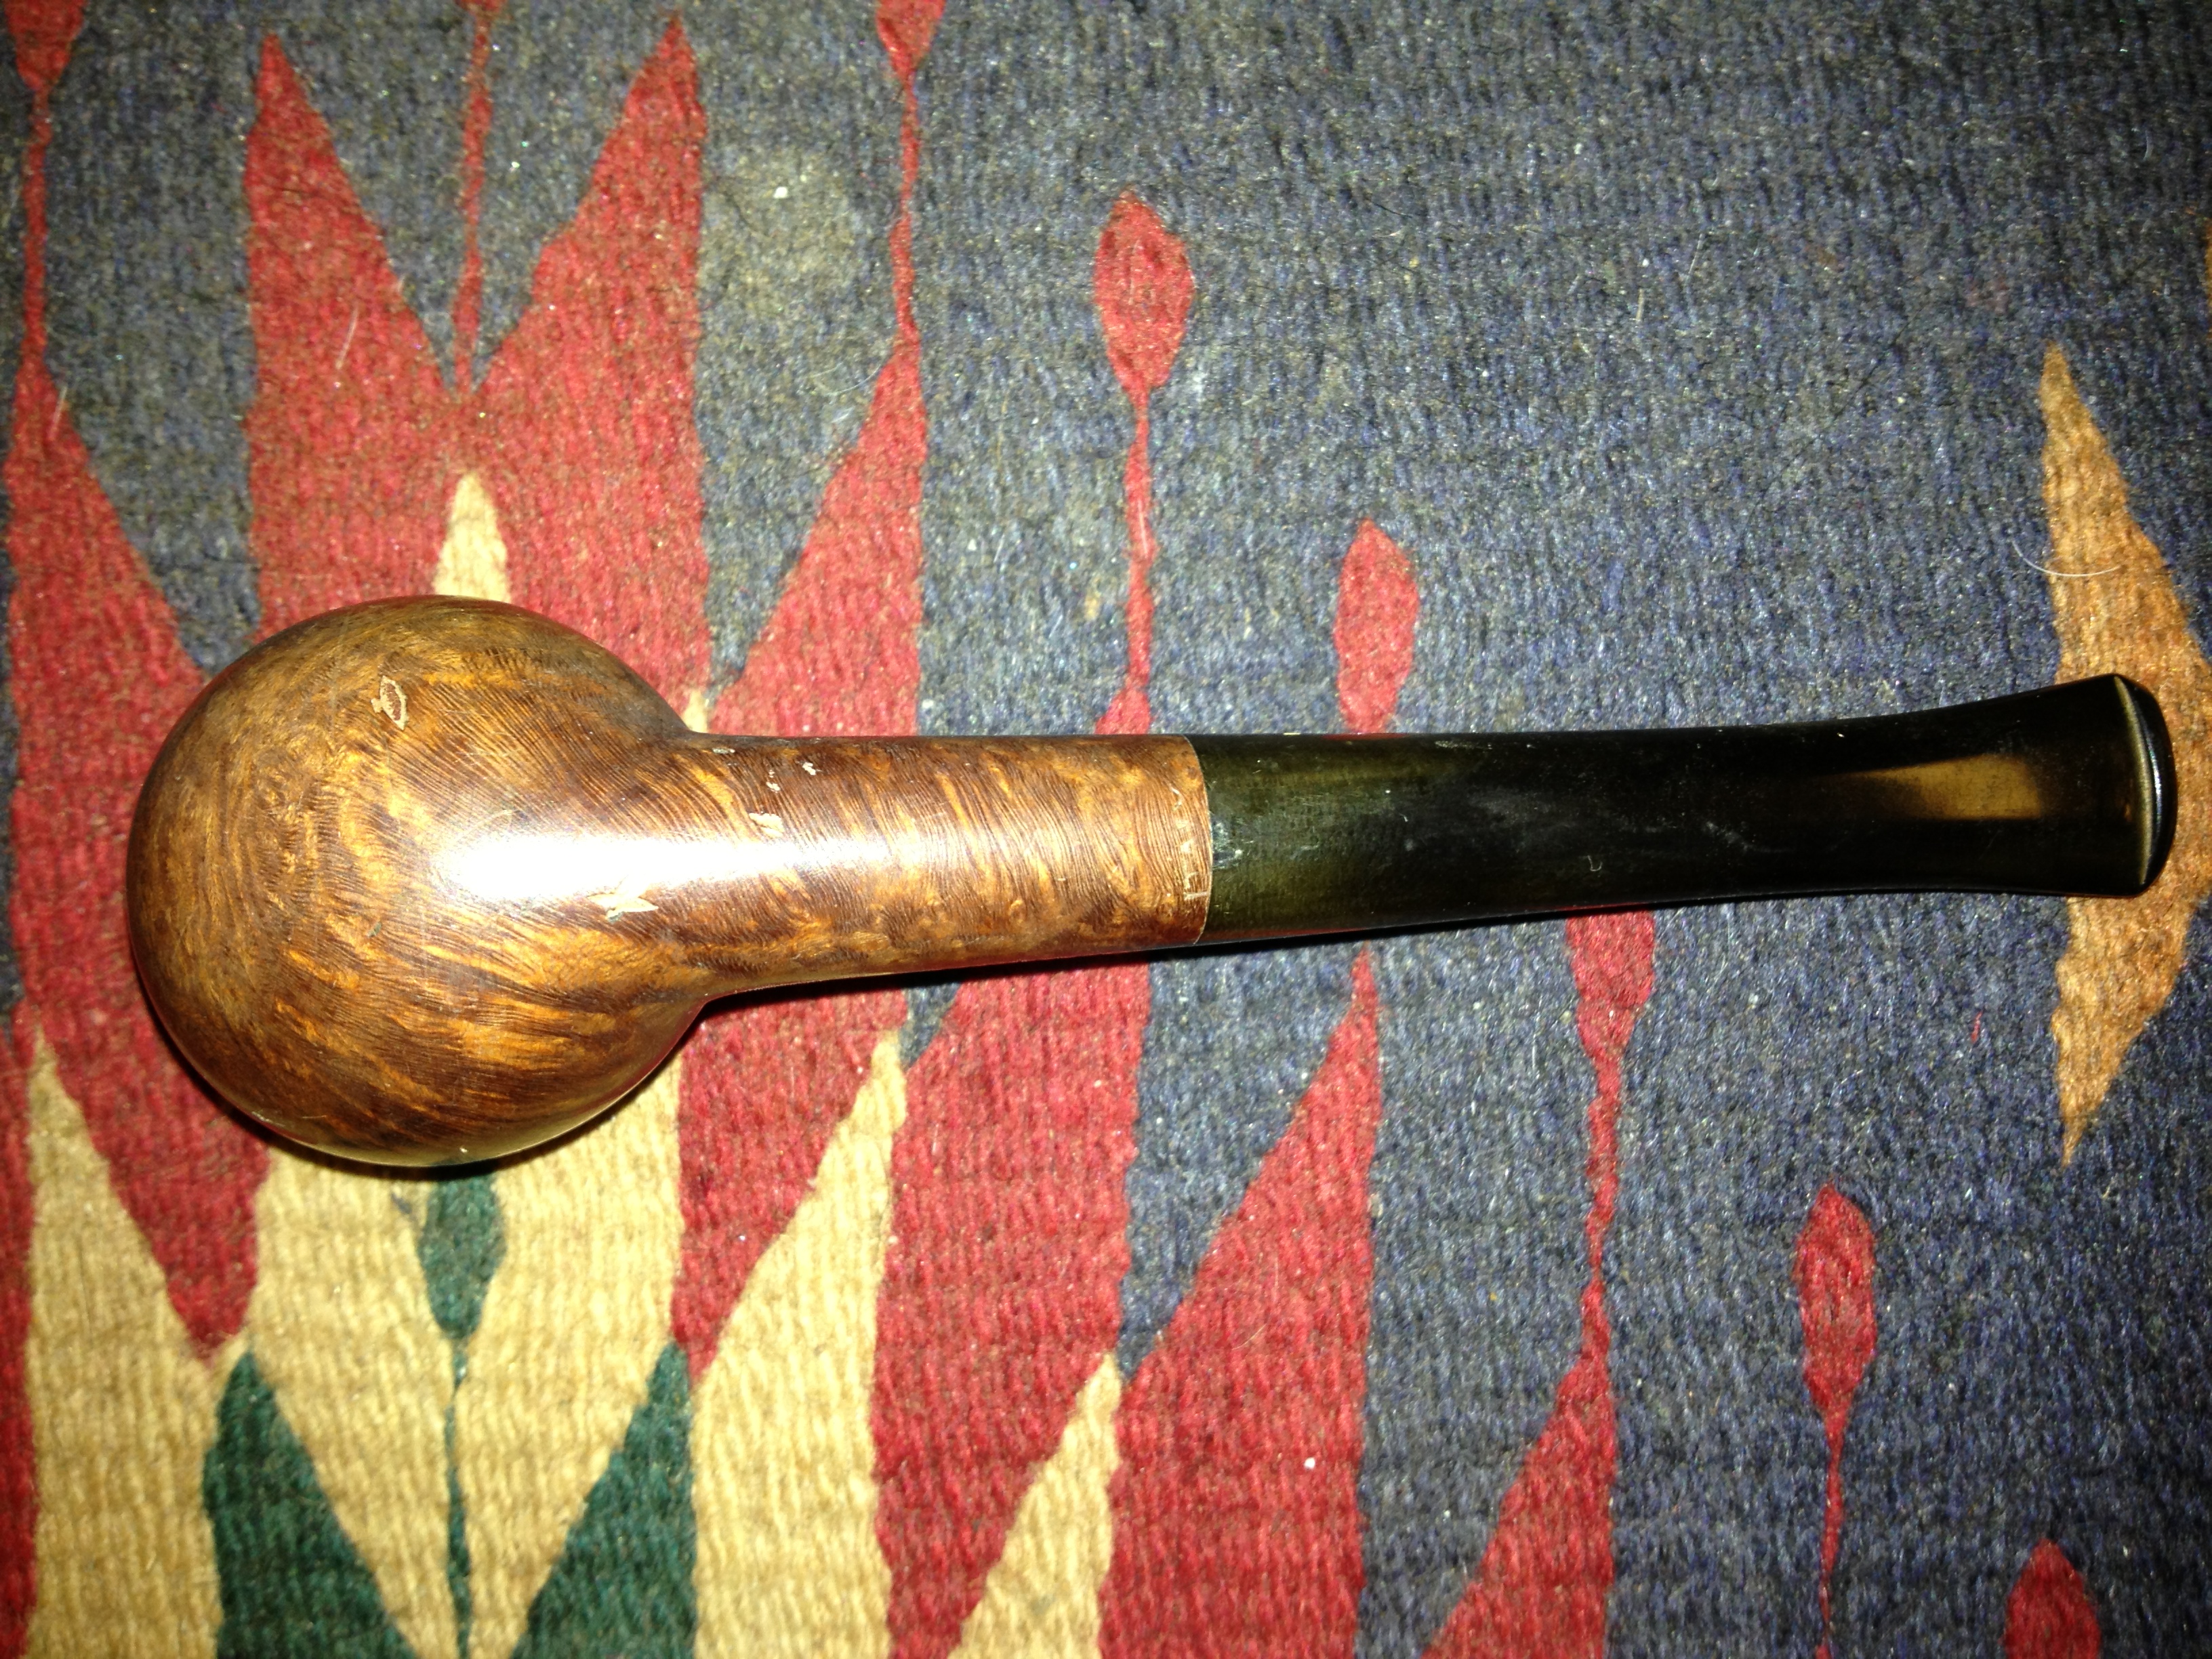
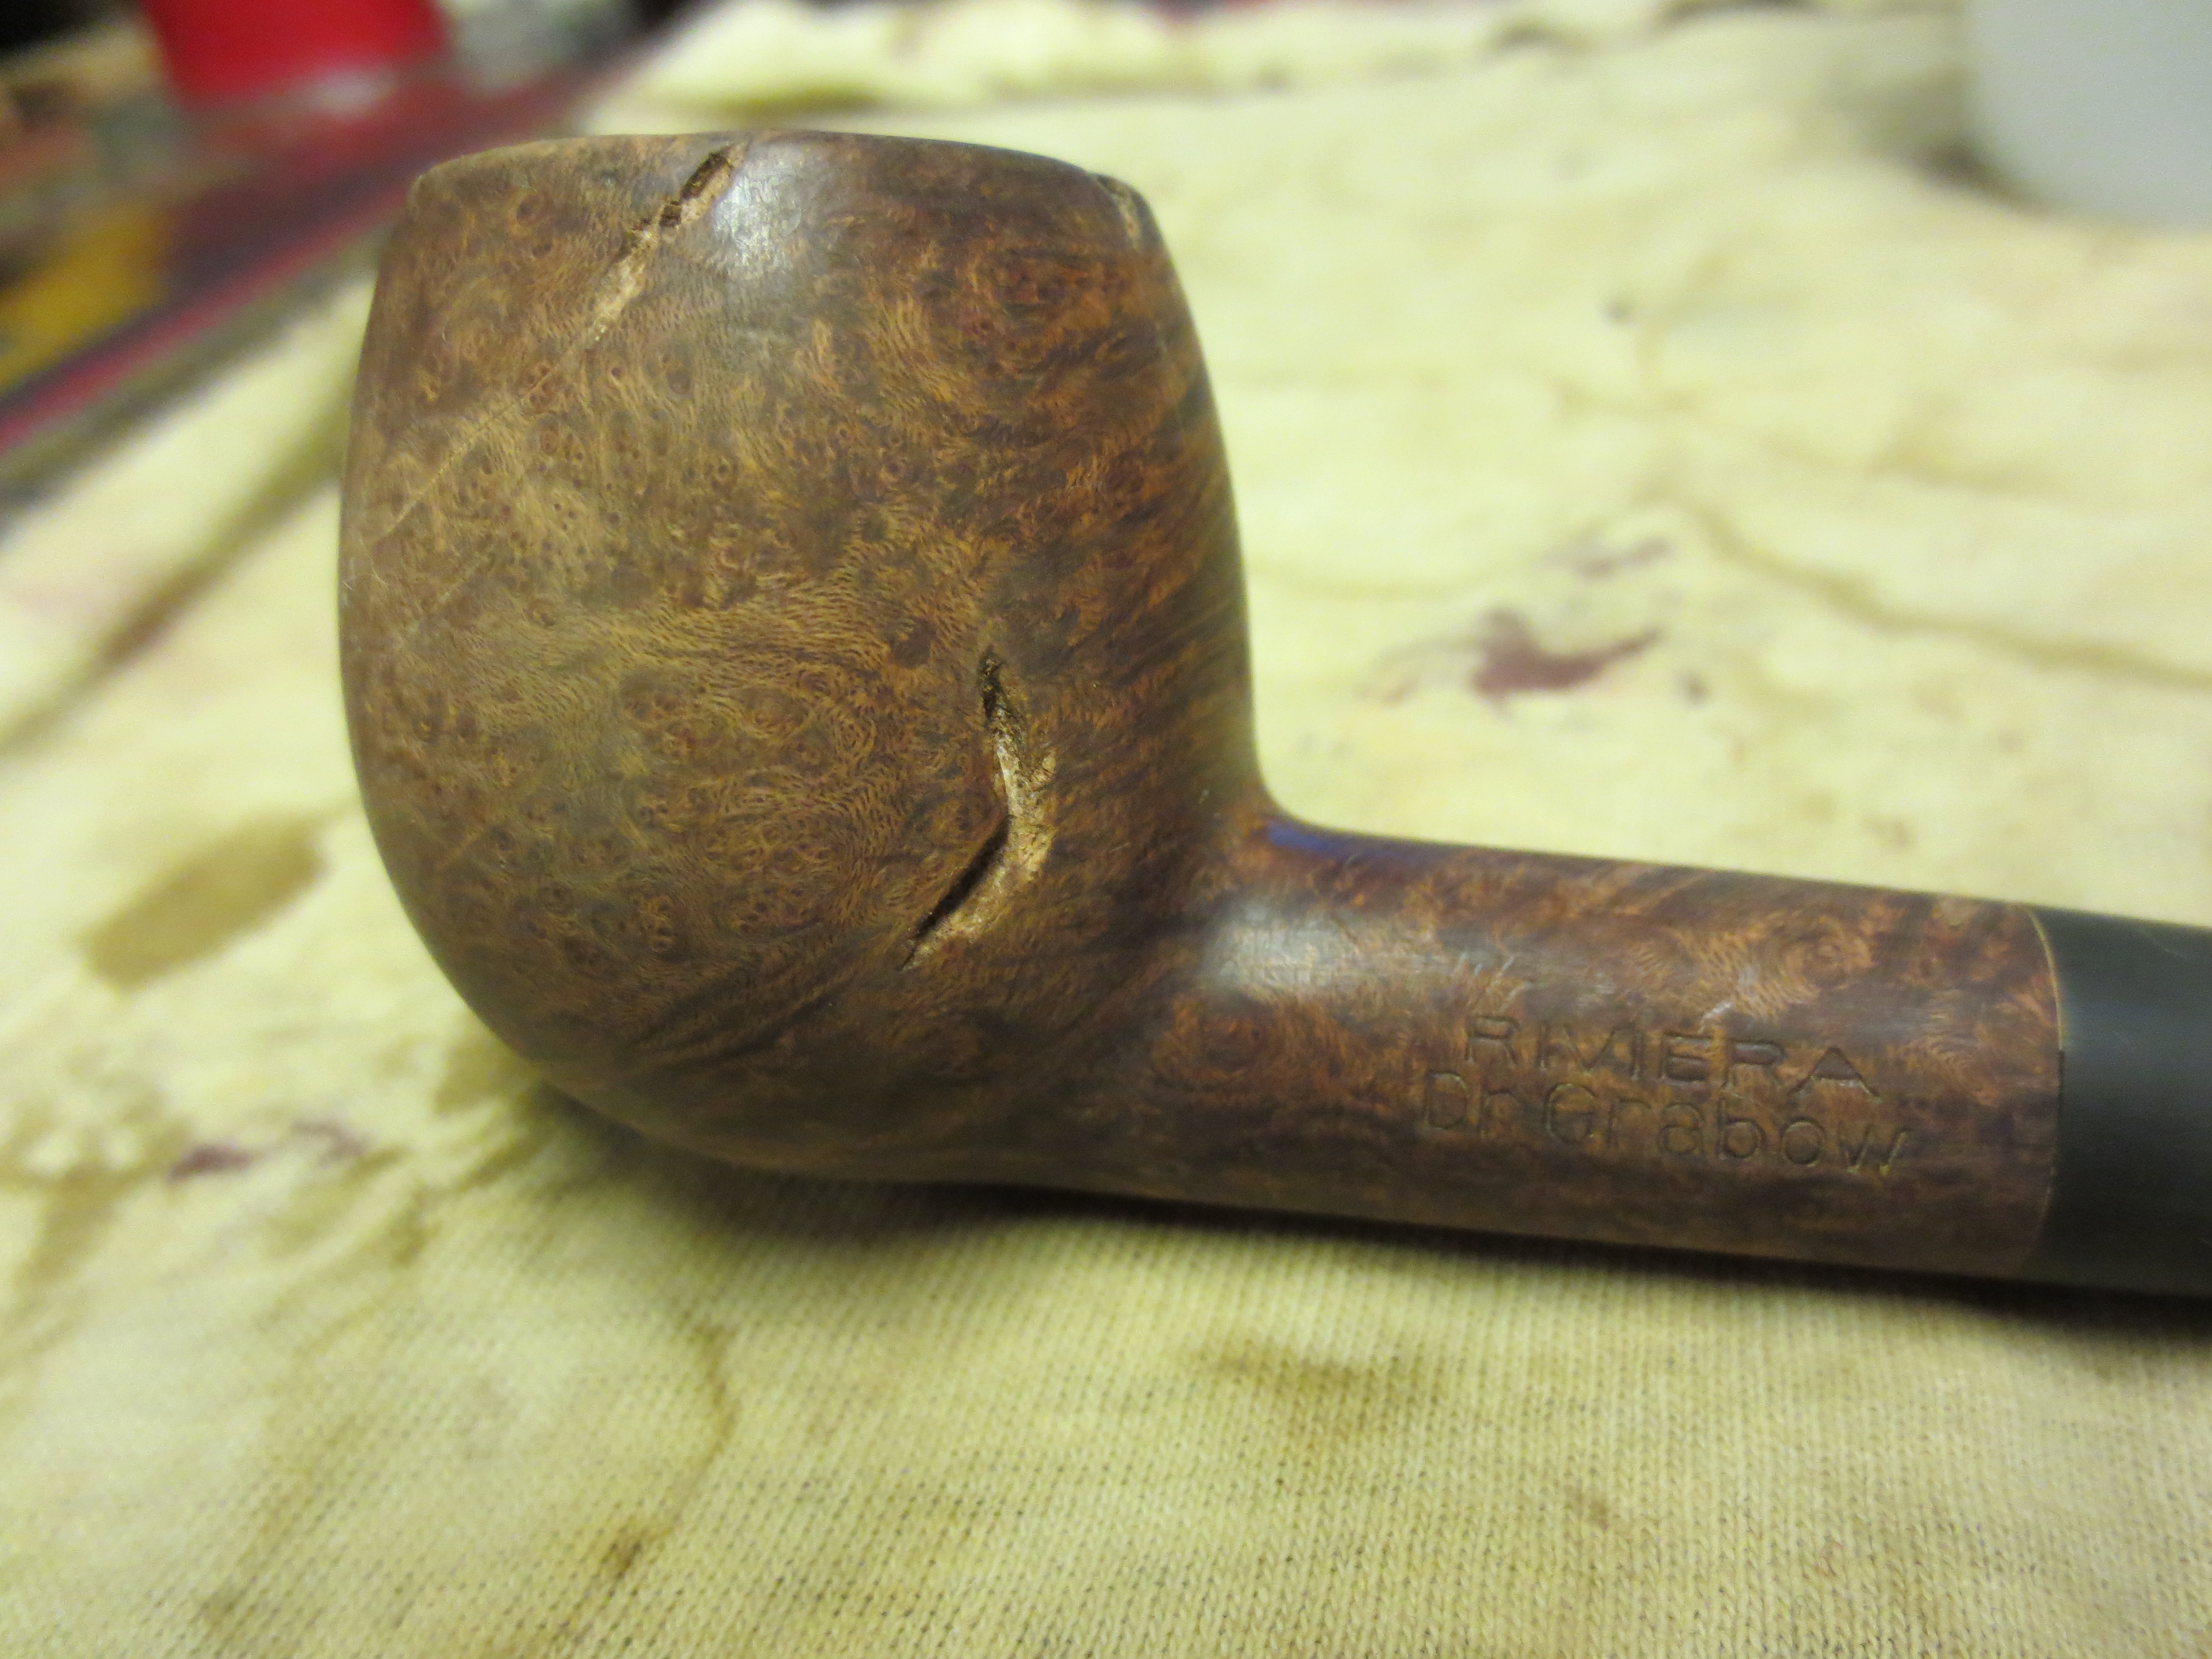
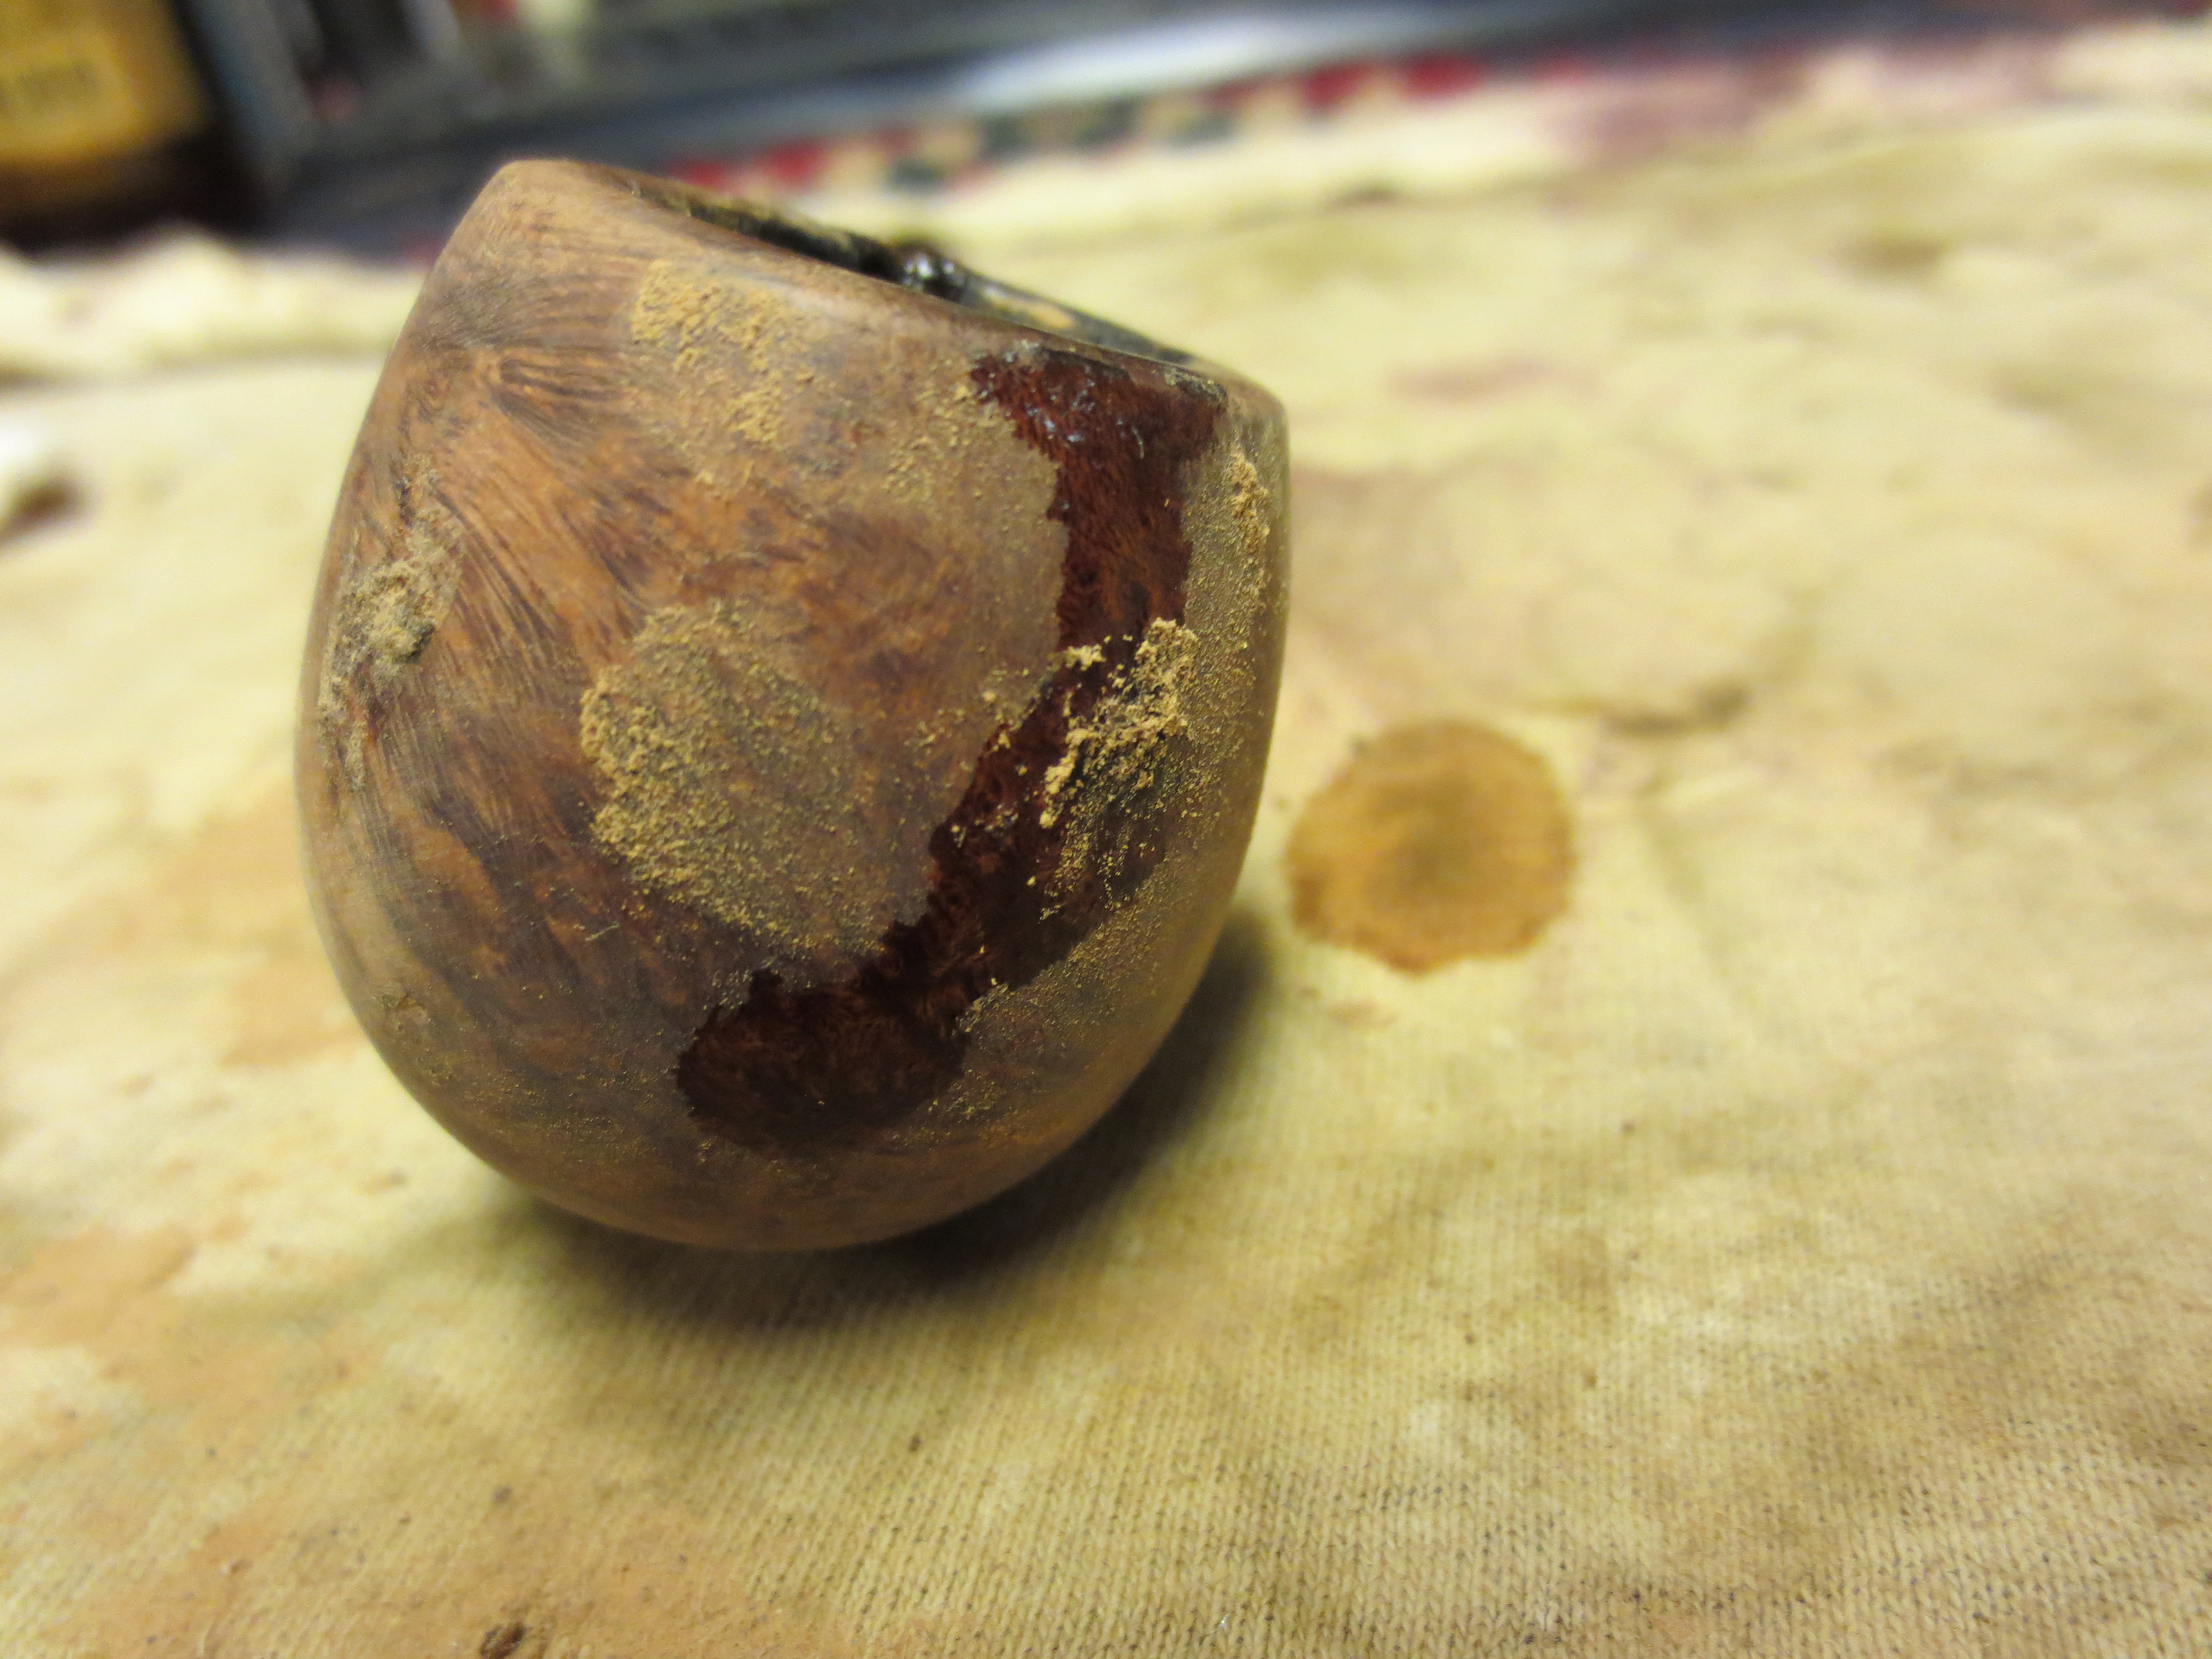
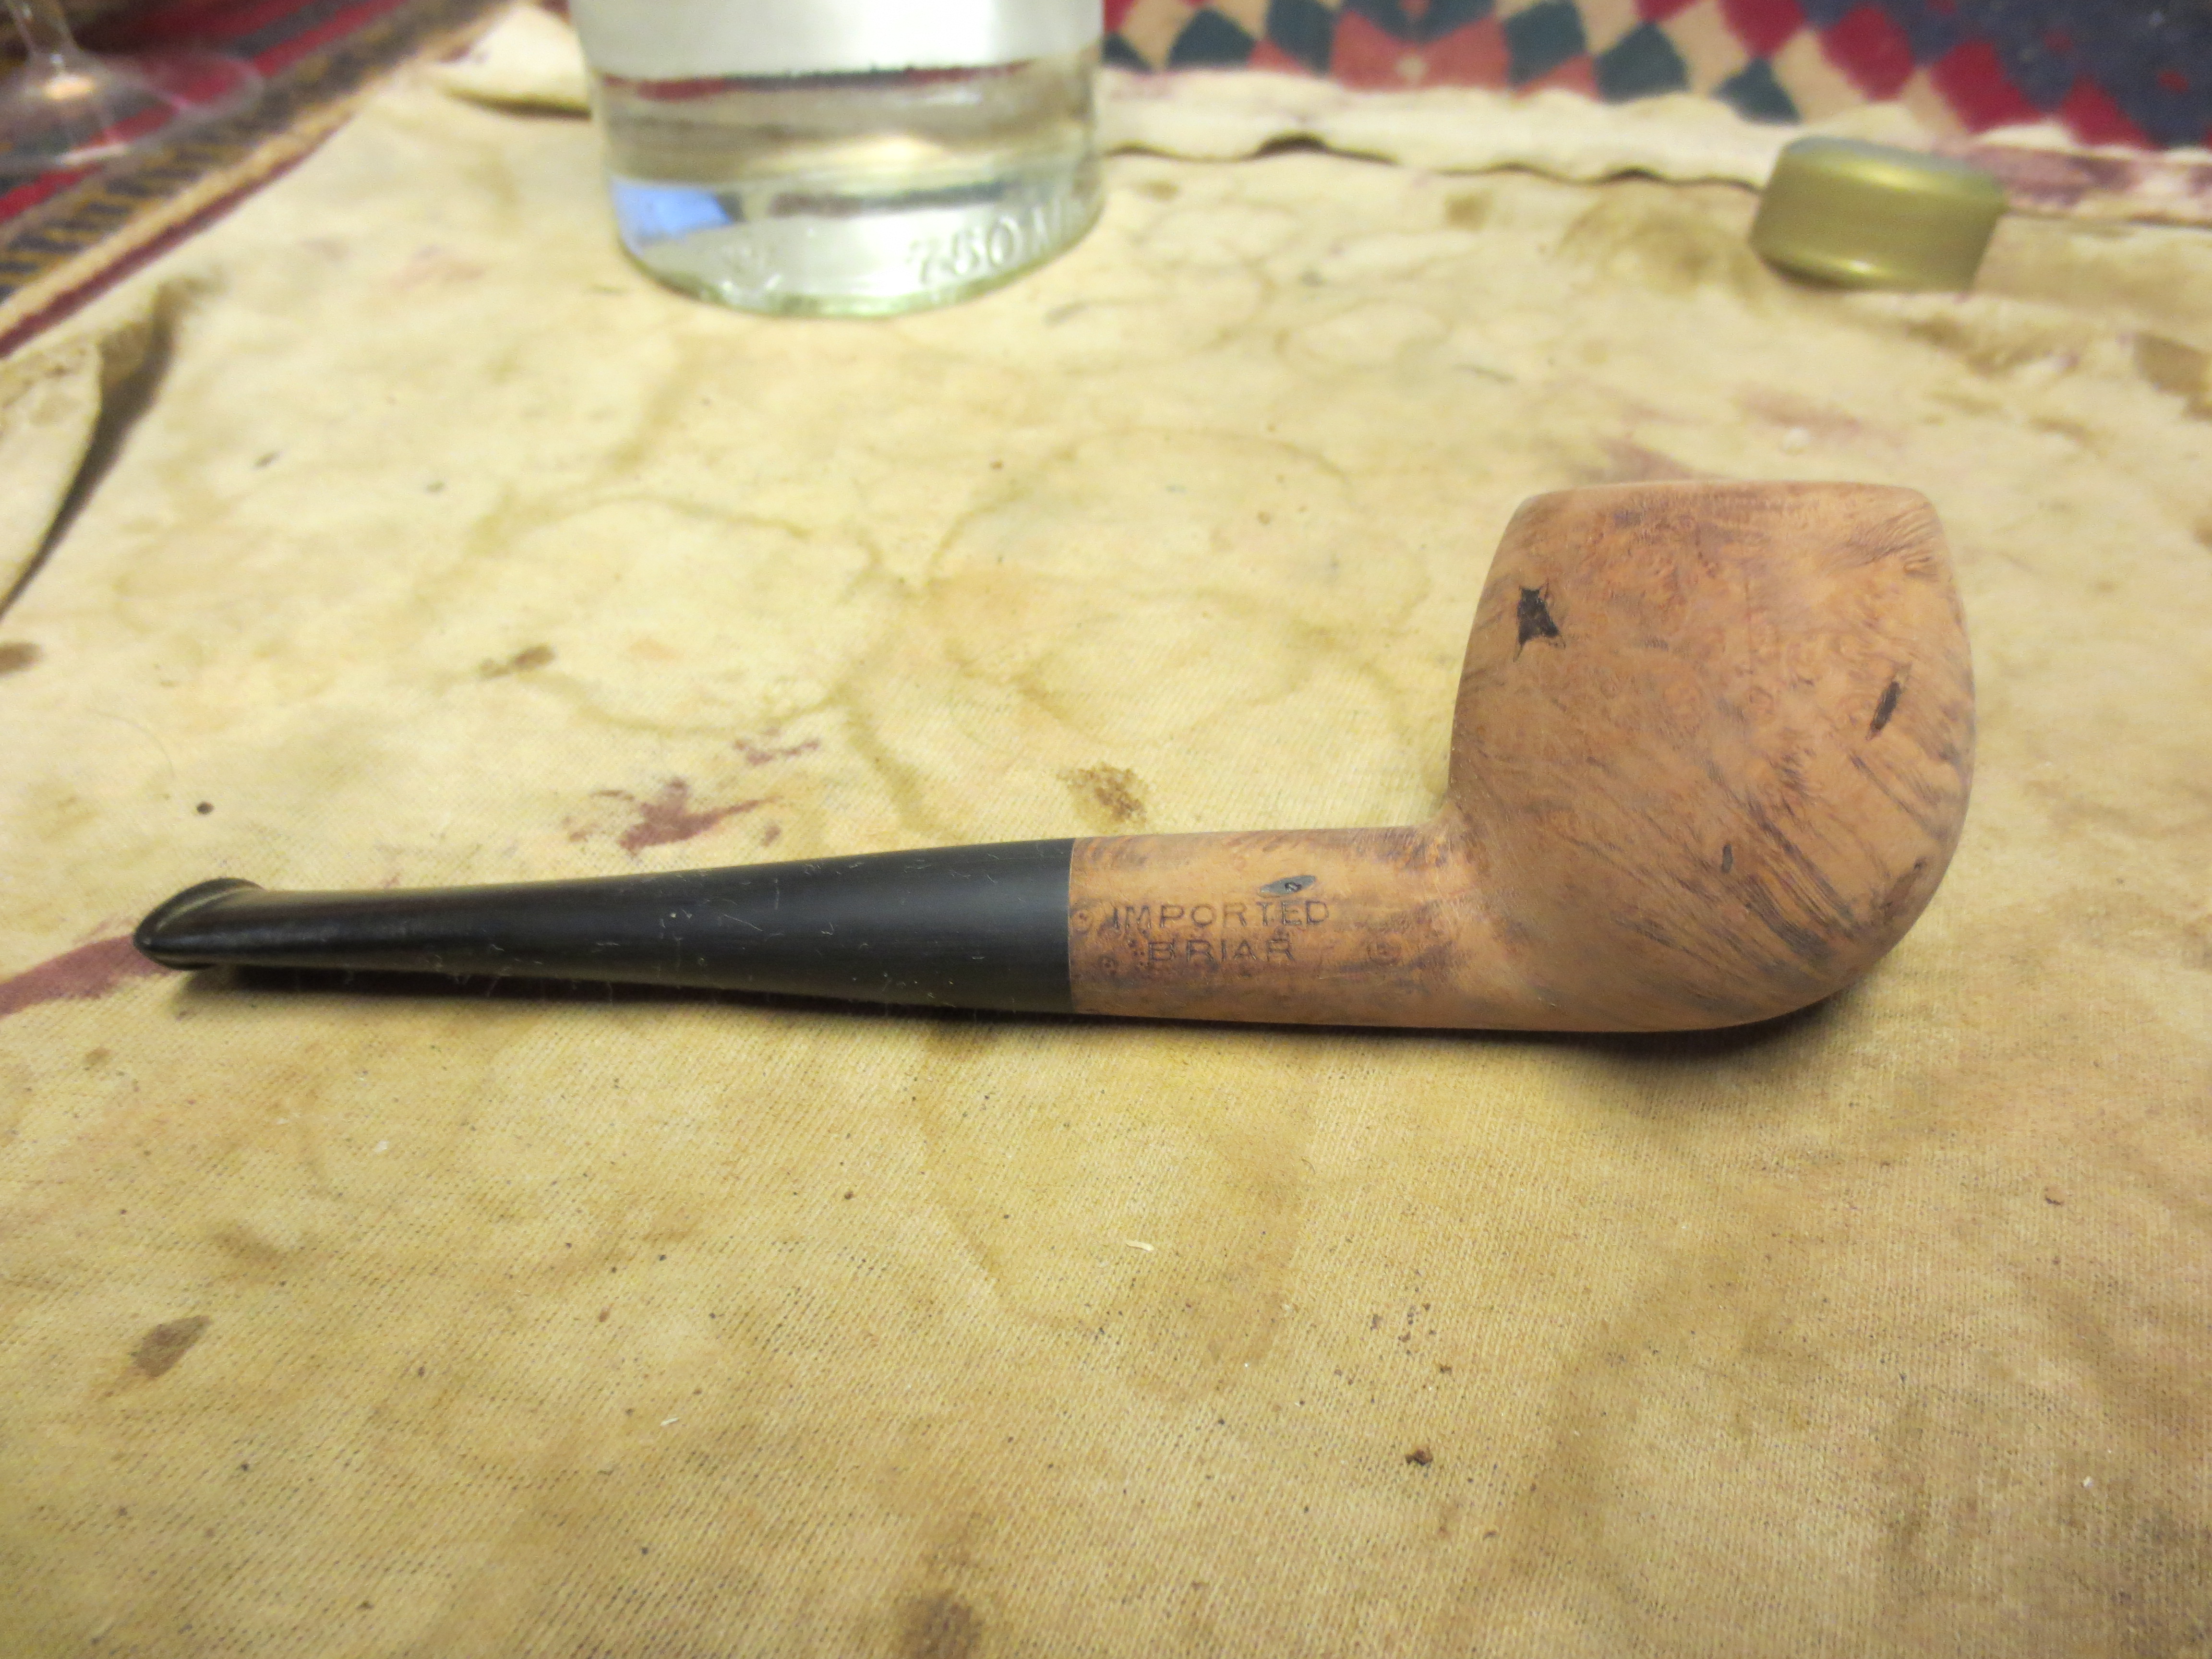
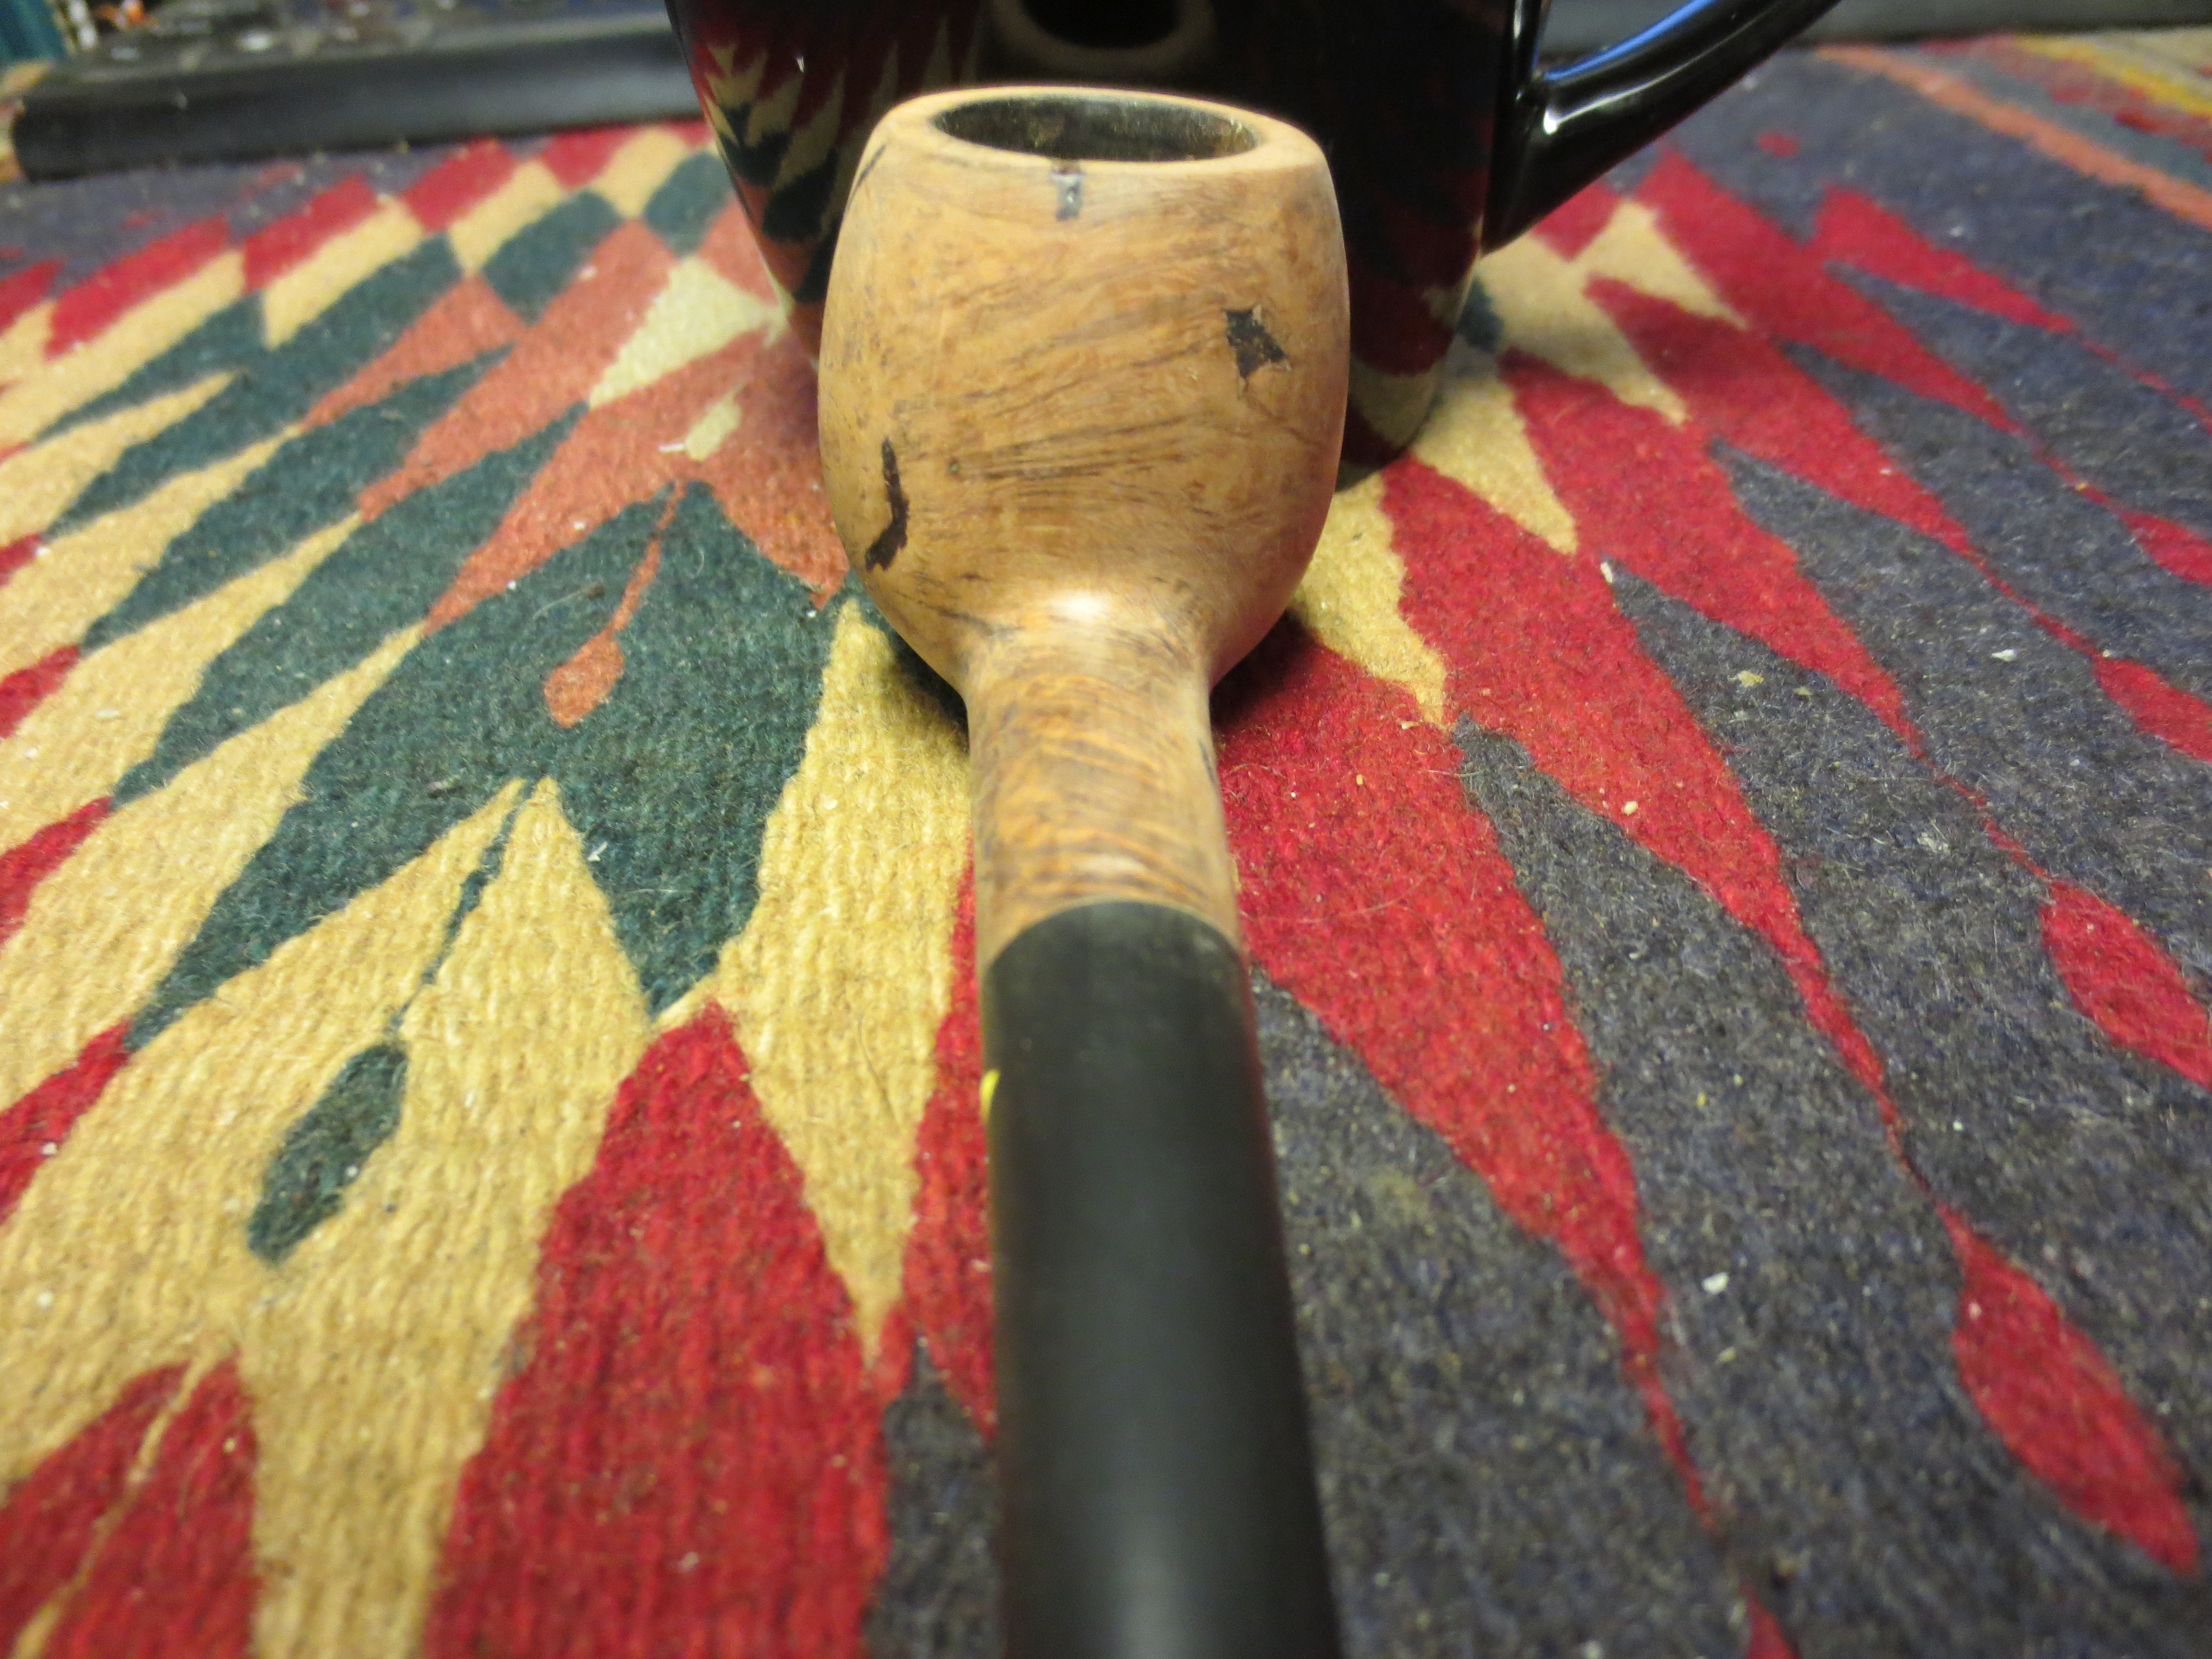
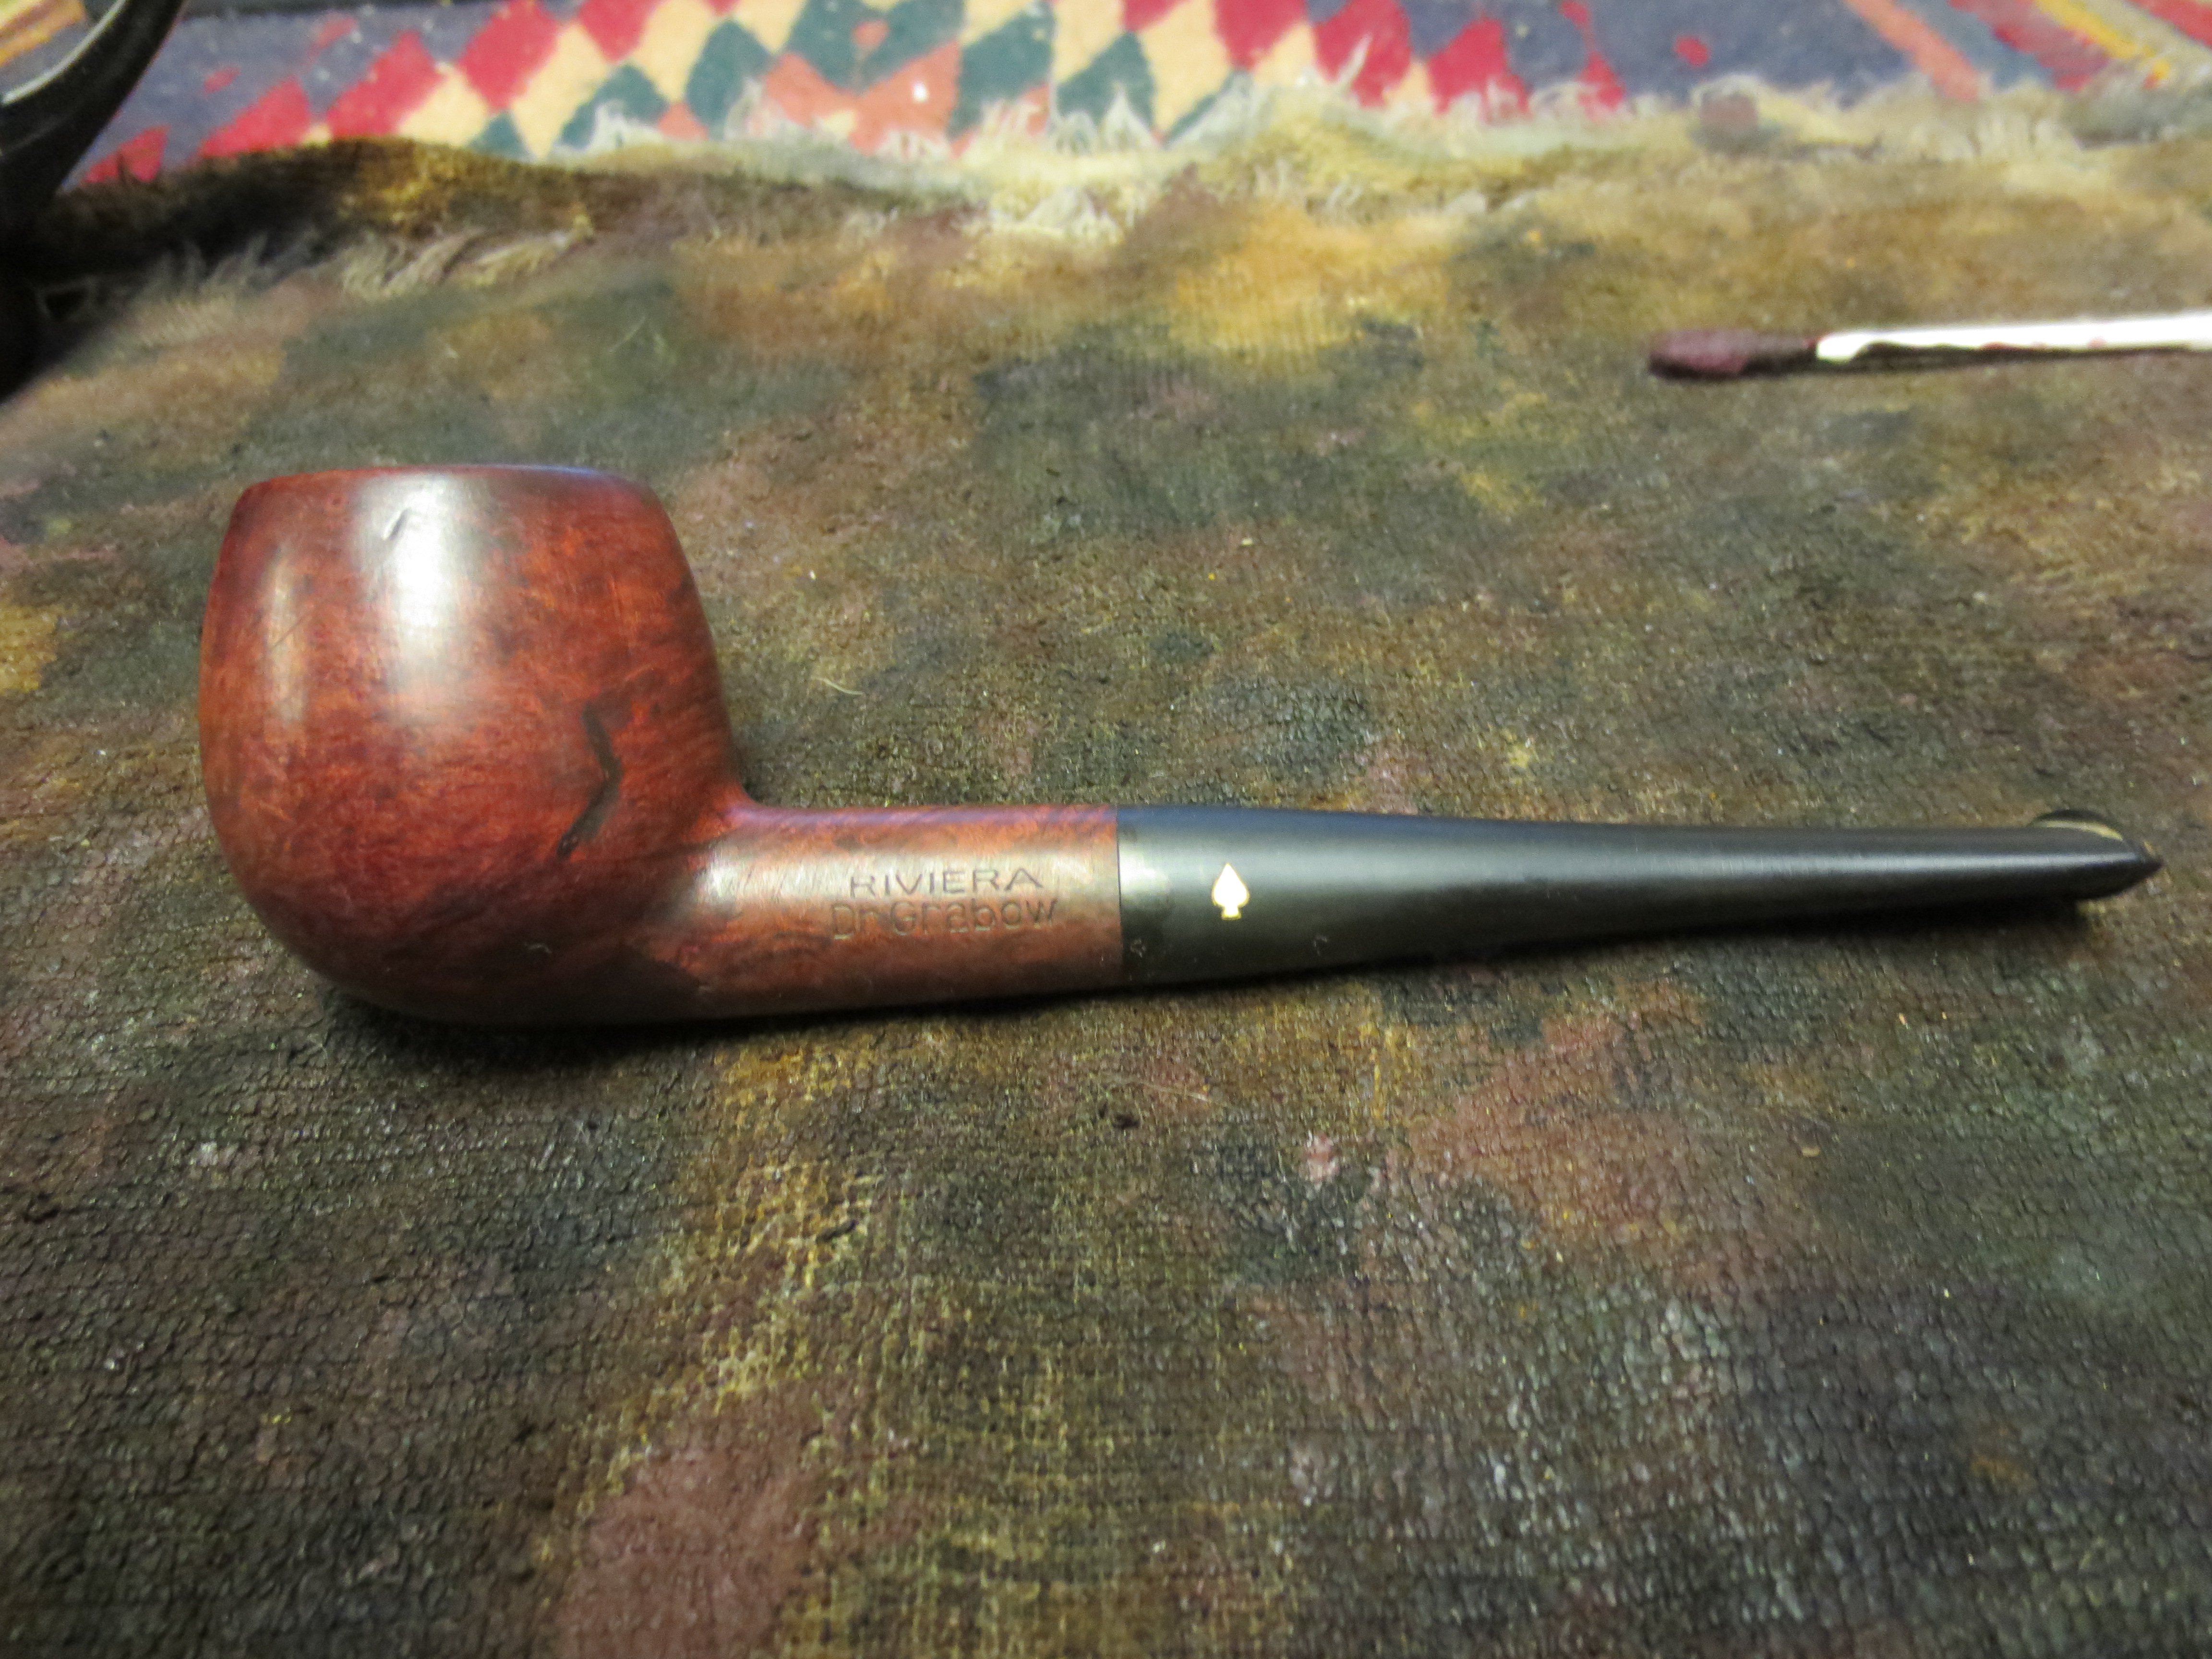
I am finally down to the last five pipes in my refurbishing box. I have a bunch more on their way here but I would like to finish up this lot before they arrive as they have been sitting here for a long time always getting passed over and laid aside for more favorable looking options. Last evening I decided to rework this old Dr. Grabow Riviera. It was a pleasant shape but an ugly piece of briar. I removed the stem and was amazed that it was a push stem with a well made tenon. The drilling was spot on and the internals were really well done. The draught on the pipe was excellent. The bowl was clean and the drilling in the bowl was nicely done as well with the airway perfectly centered on the back bottom edge of the bowl. The externals however left much to be desired. The first series of four pictures below show the bowl with the many fills that are on the outside of the bowl. These were not tiny fills by any means; in fact the majority of them are quite large. I had to make a decision on whether to refill them or to rusticate the pipe. Last evening I just was not in the mood to rusticate the pipe. Sometimes I just feel like working over a bowl but this was not the night for doing that. So I decided to pick out the fills and rework them with briar dust and superglue and restain the pipe. The stem was in pretty decent shape also – no bite marks or tooth chatter, very clean with a minimum of oxidation.

IMG_0250 IMG_0251

ImageImage

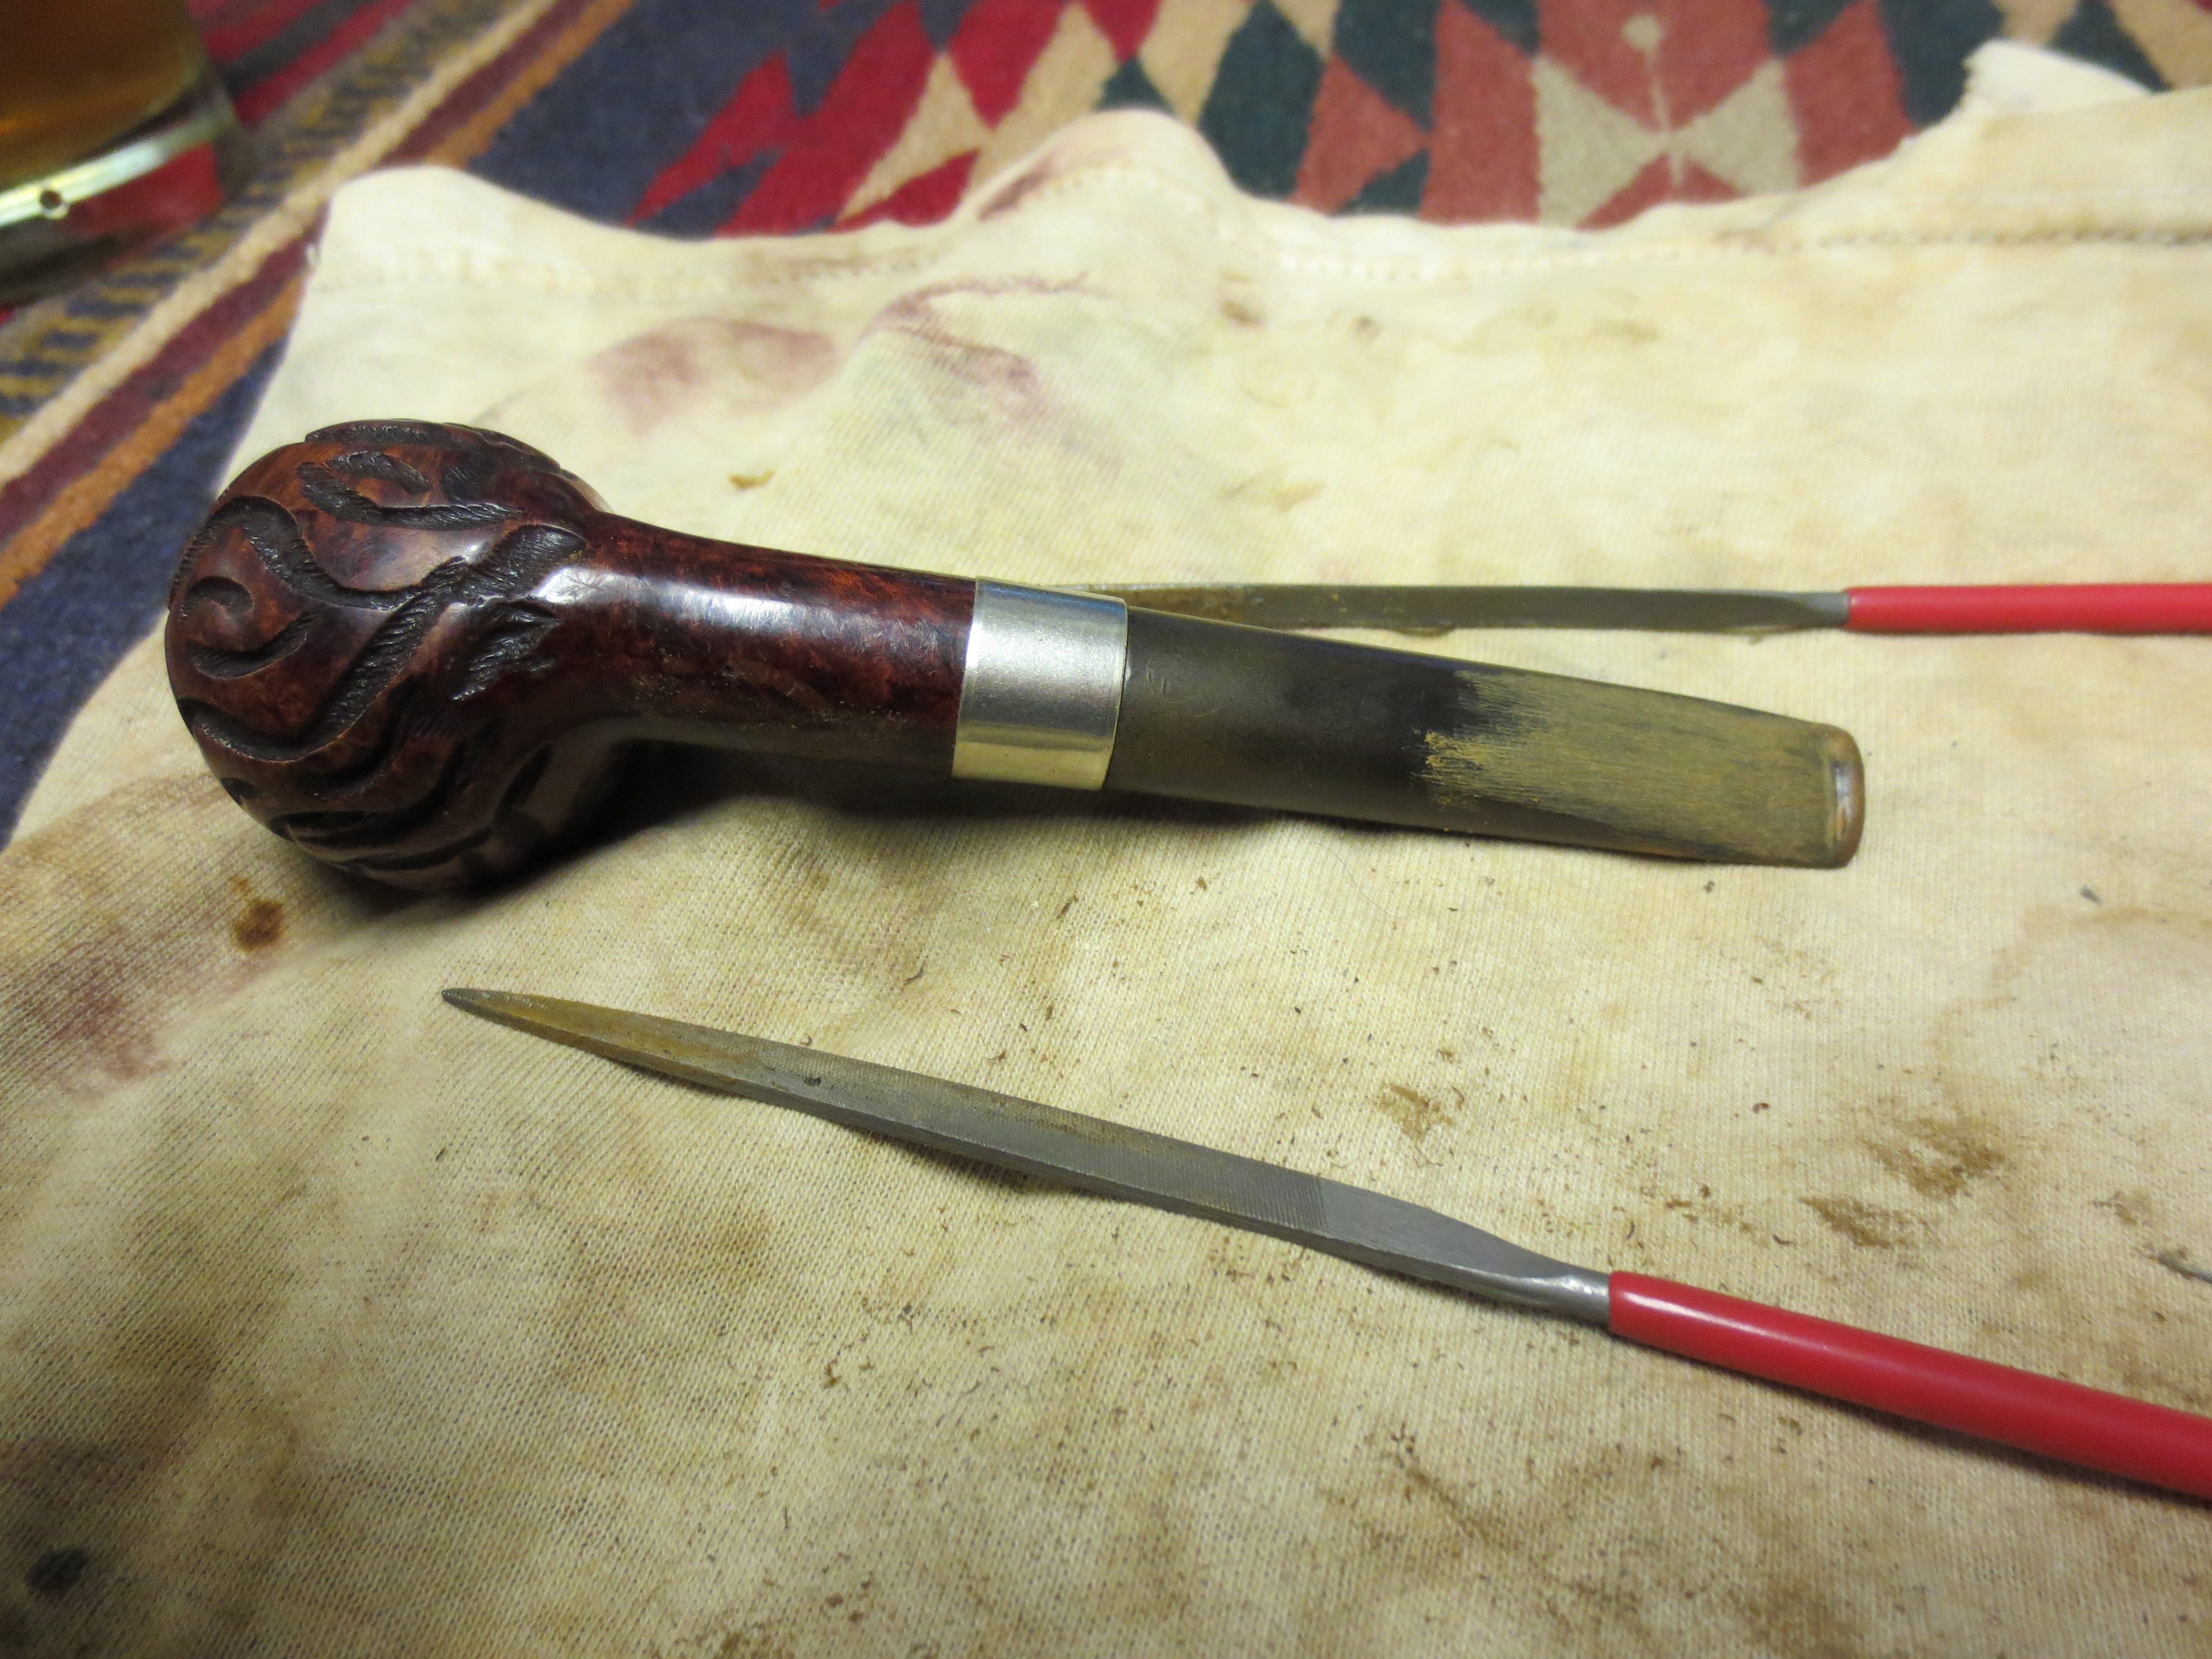
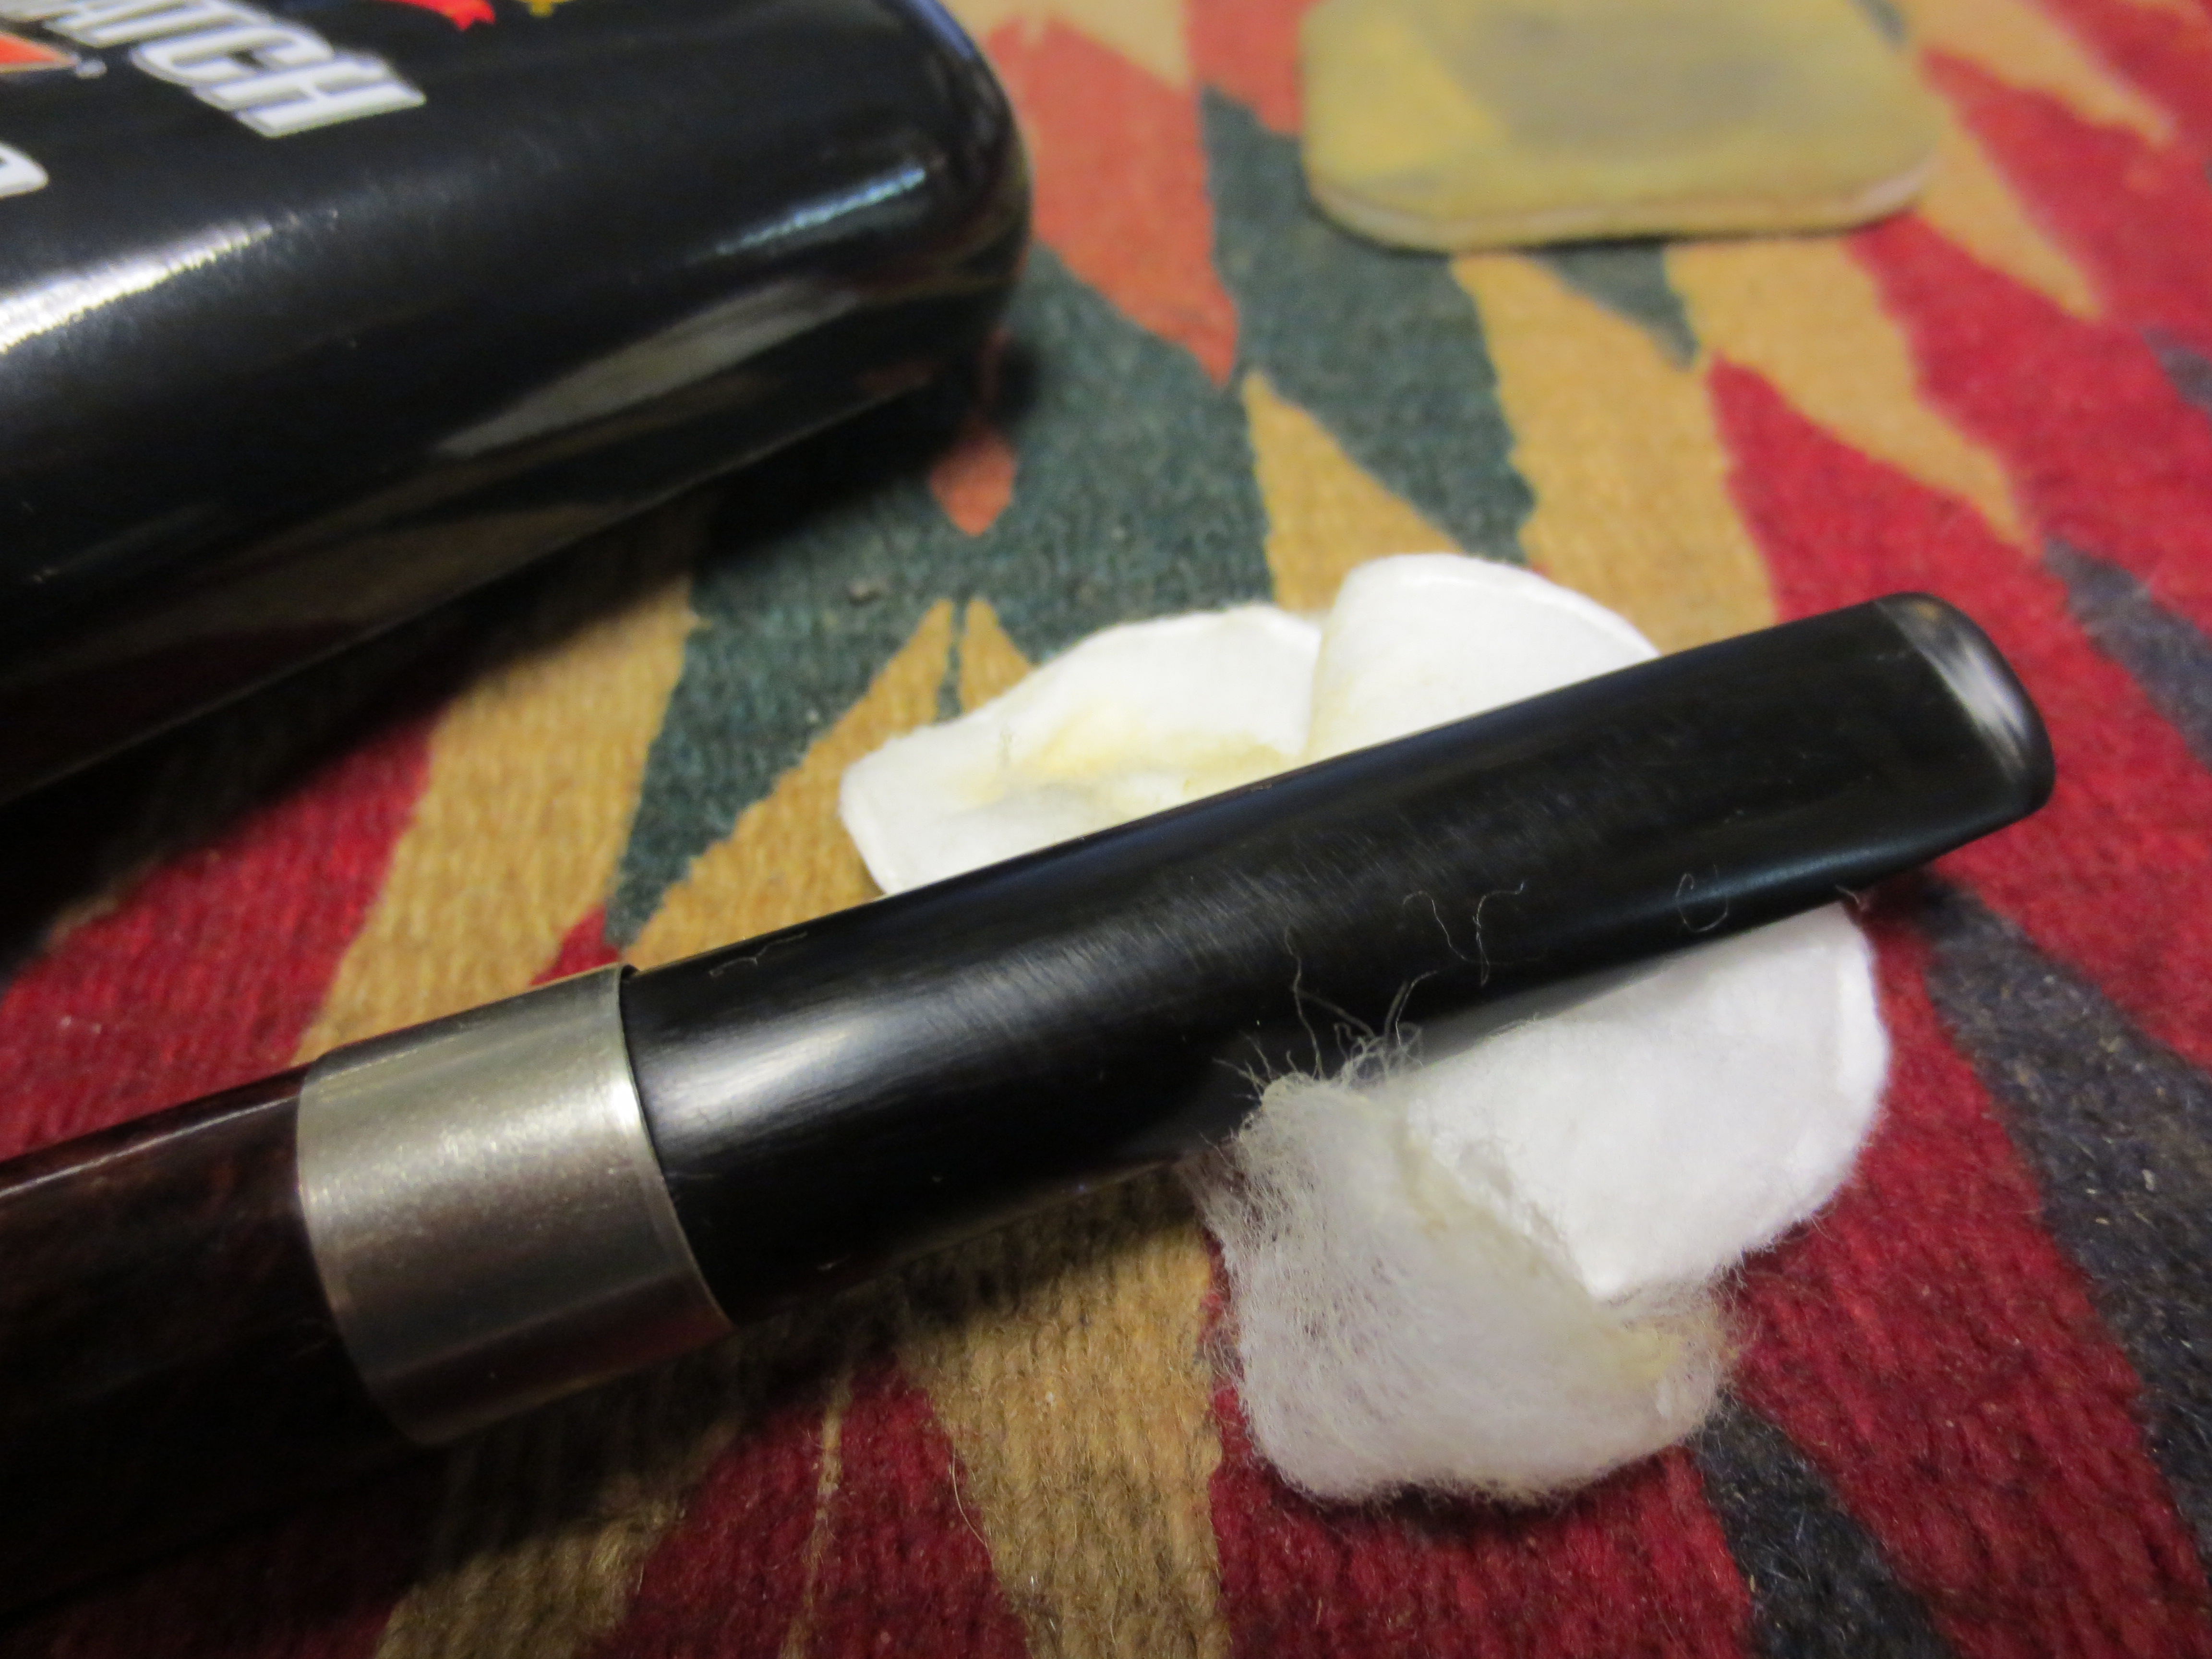
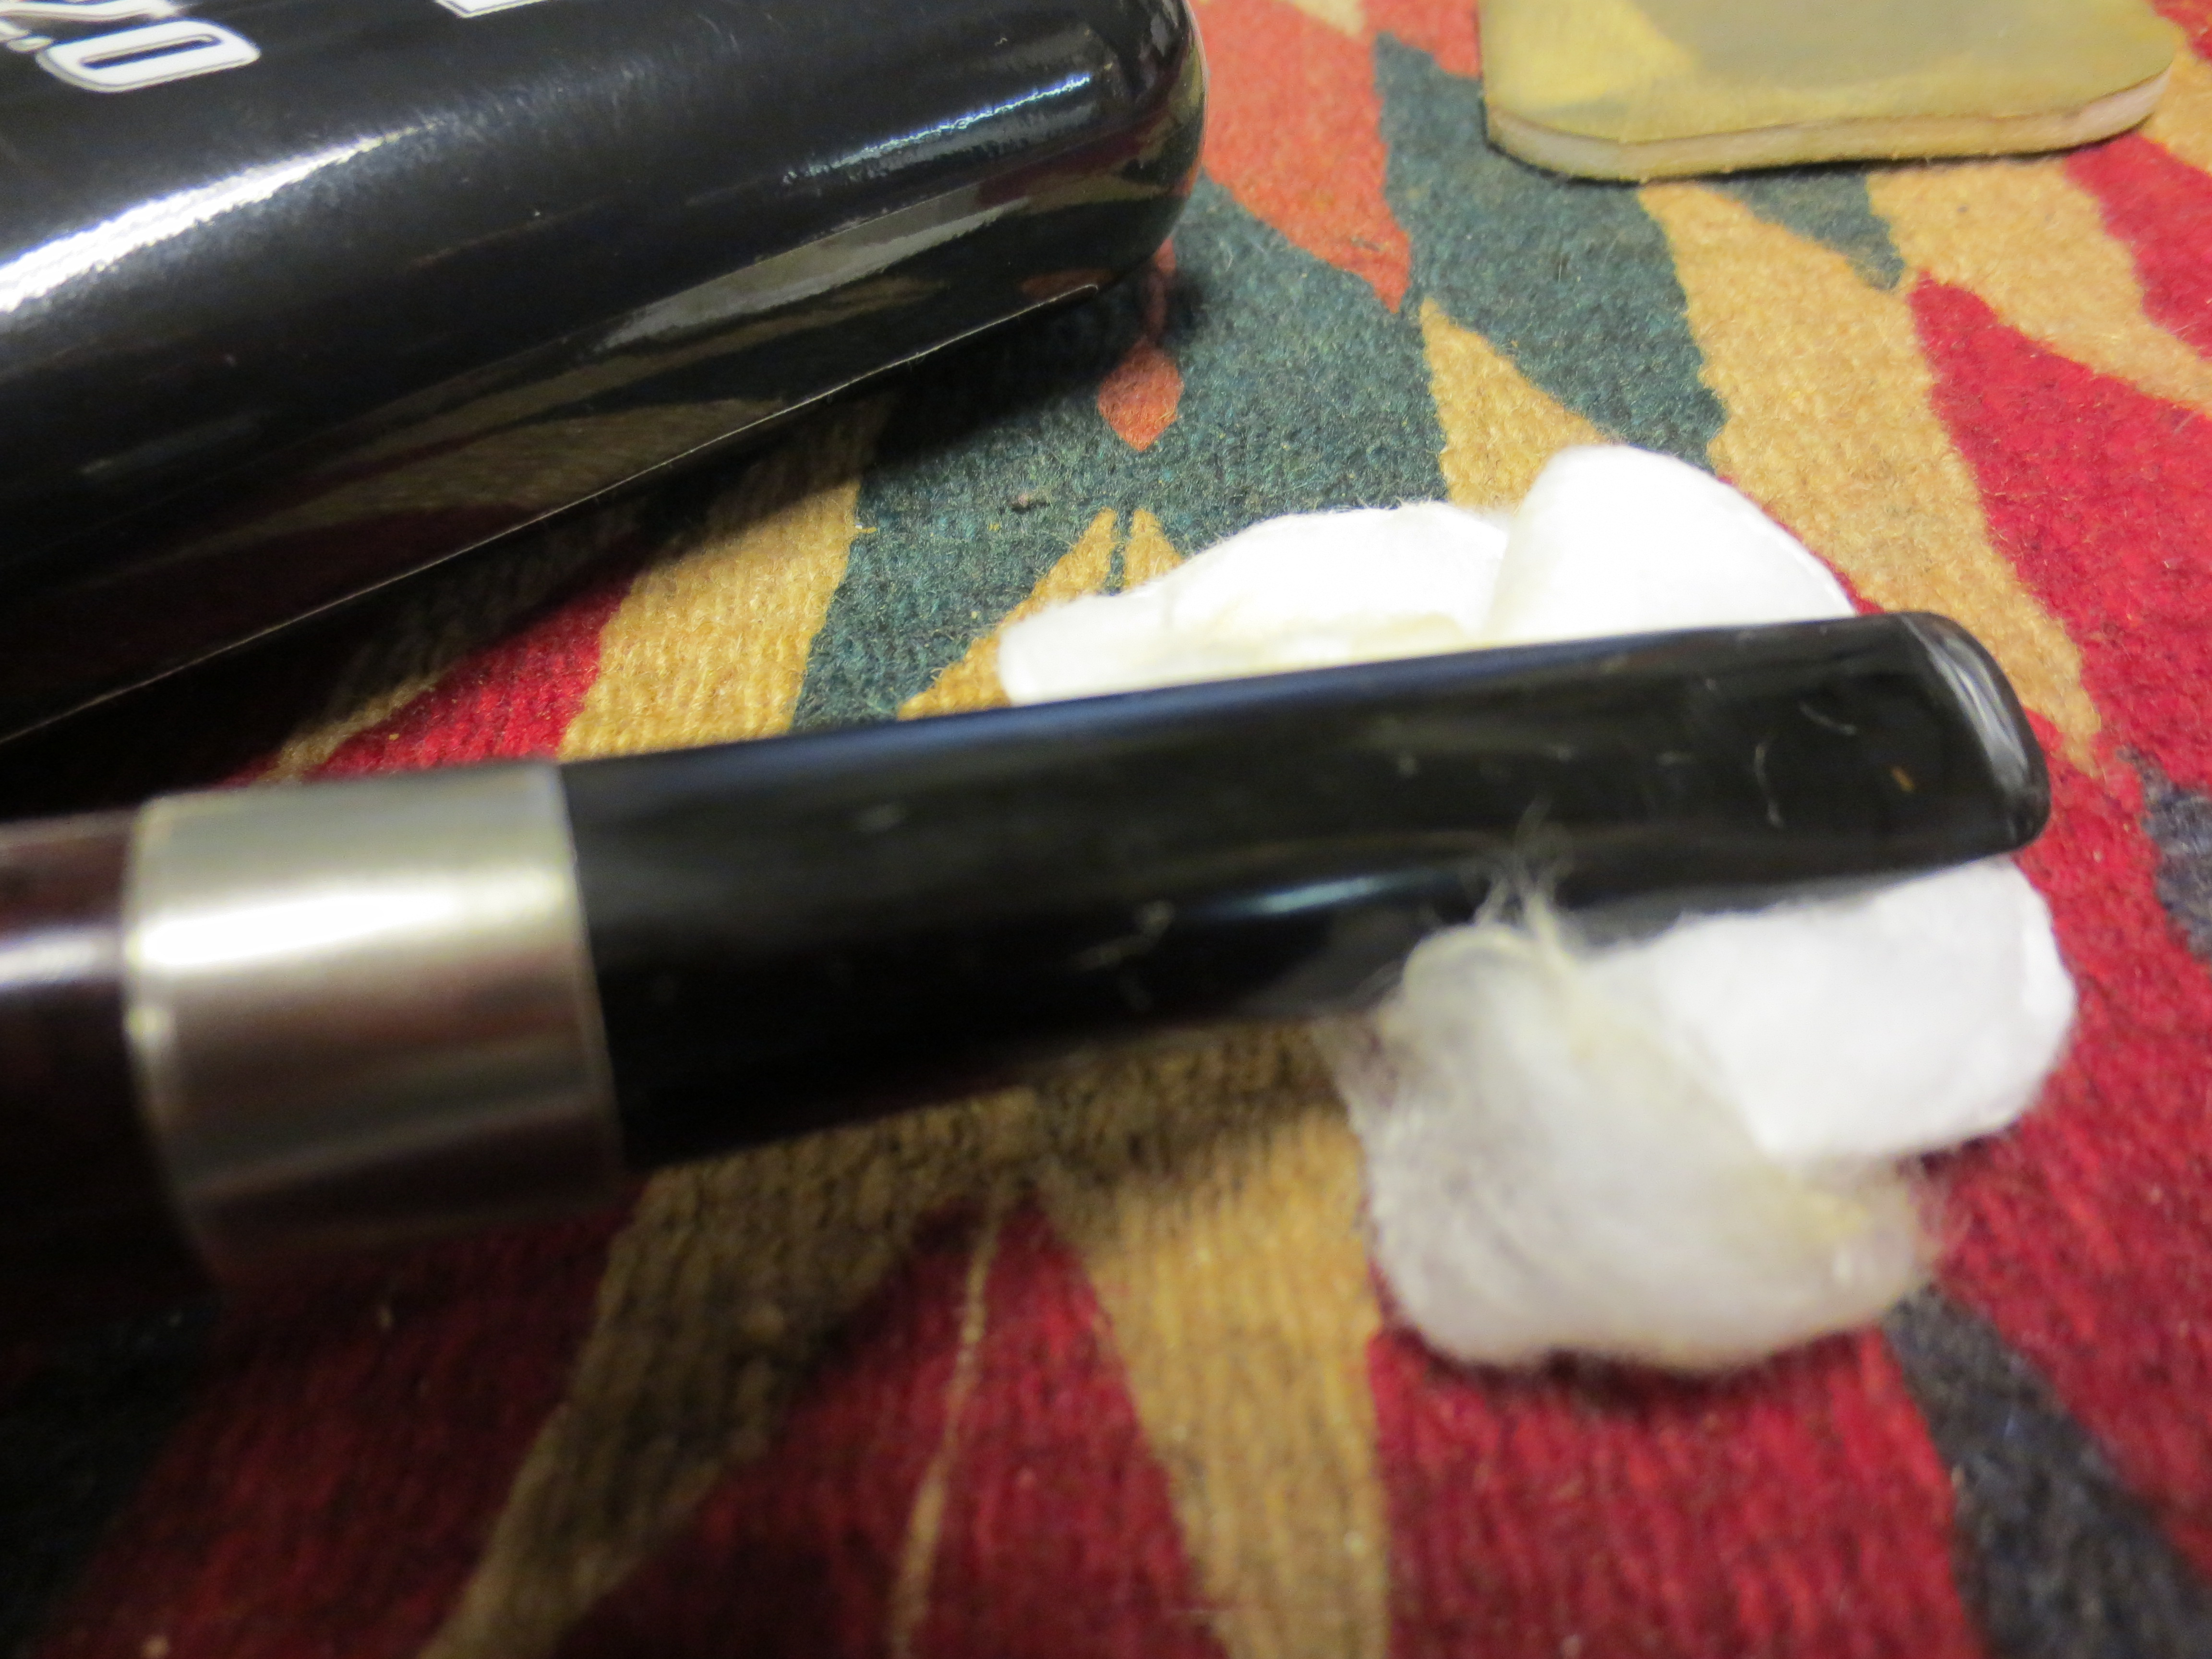
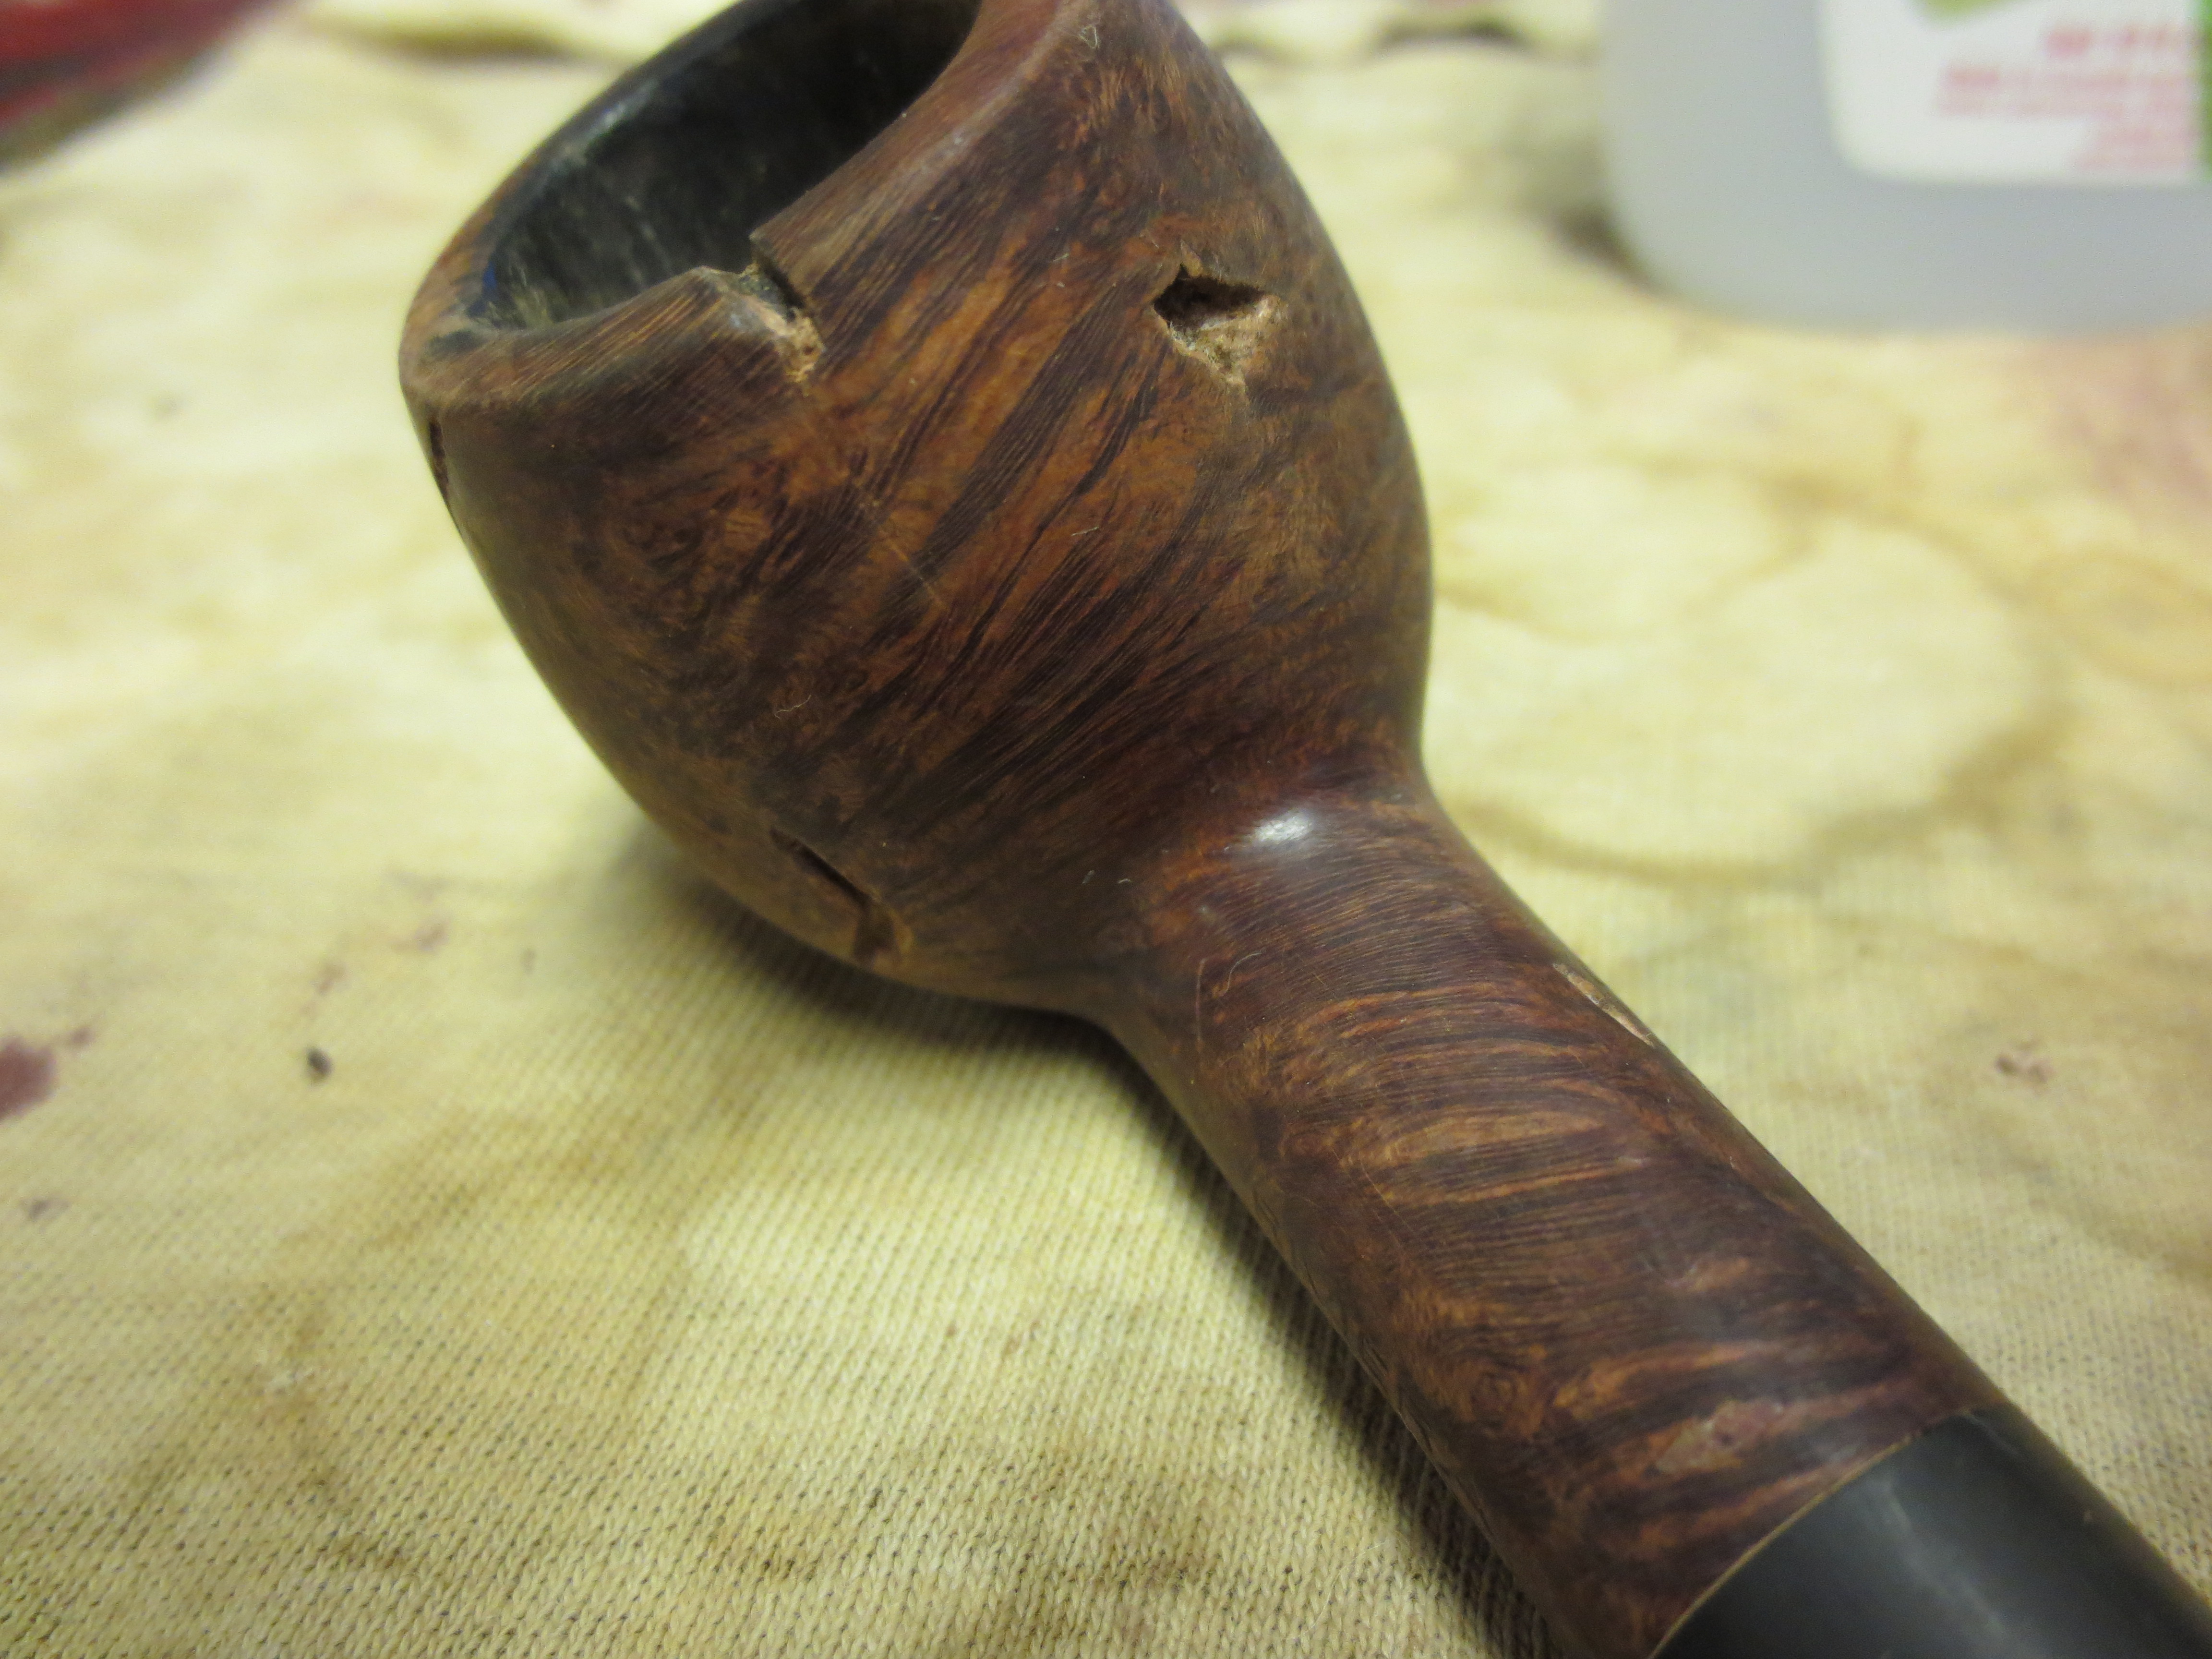
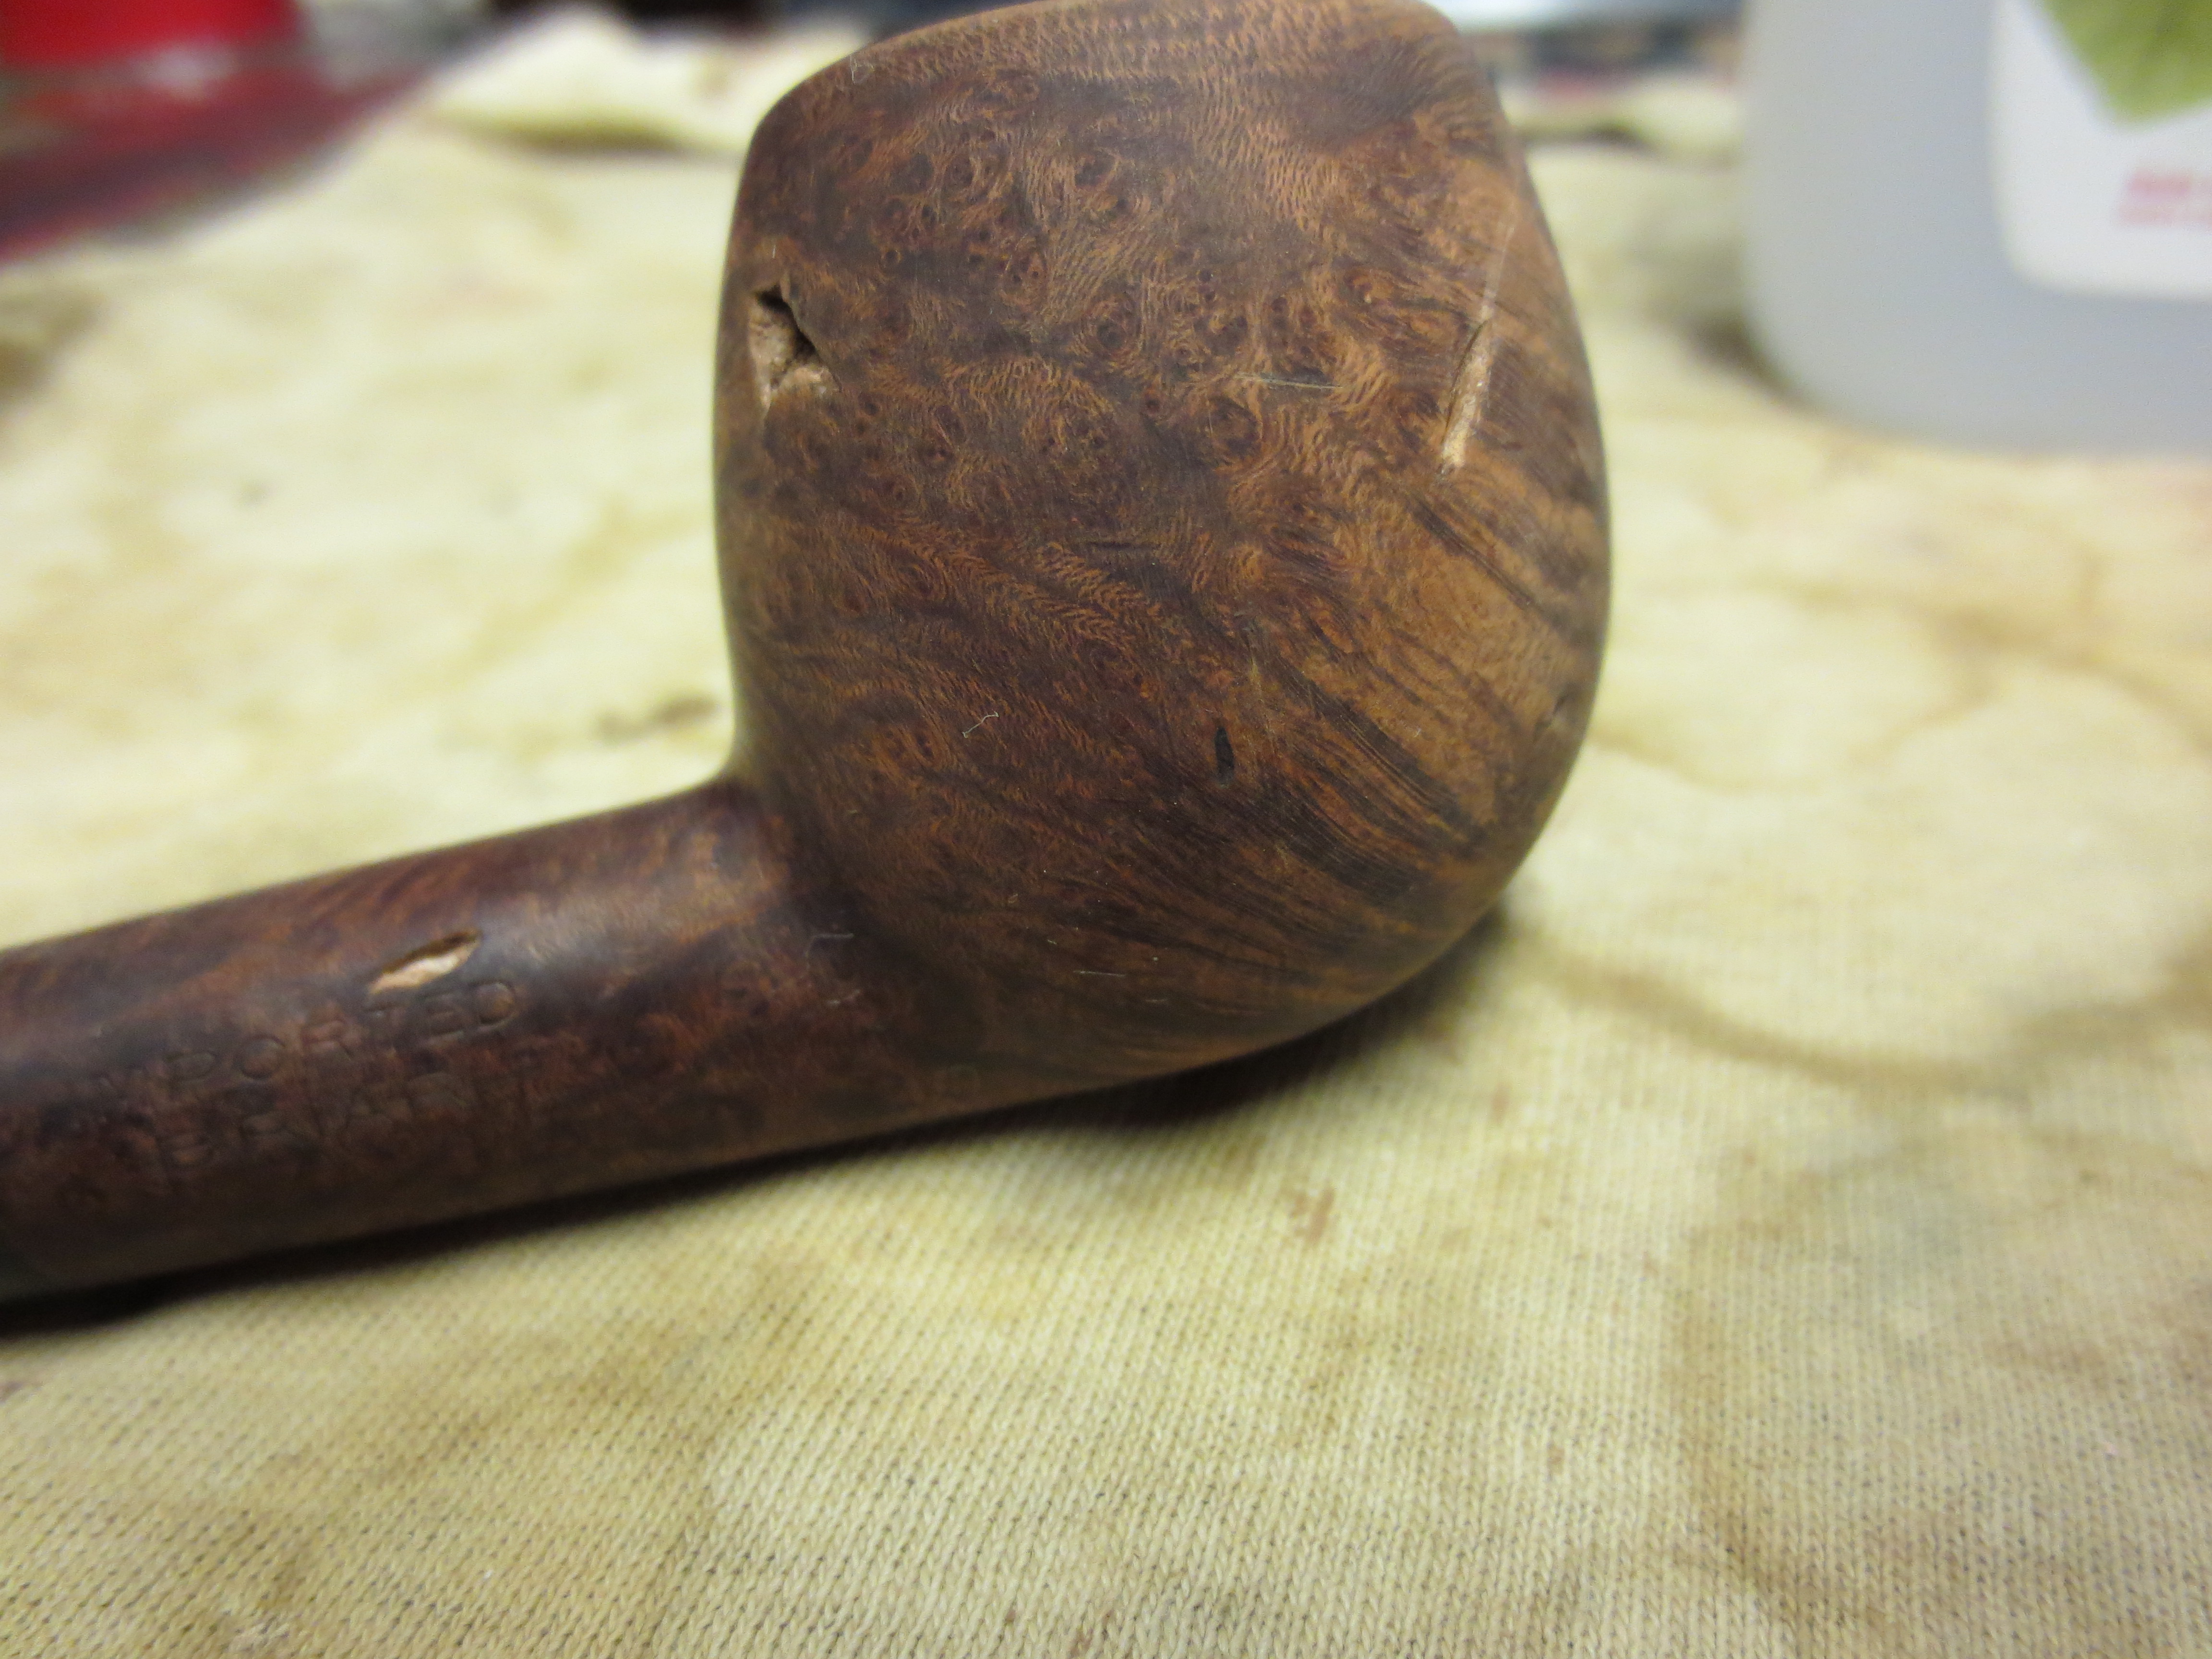
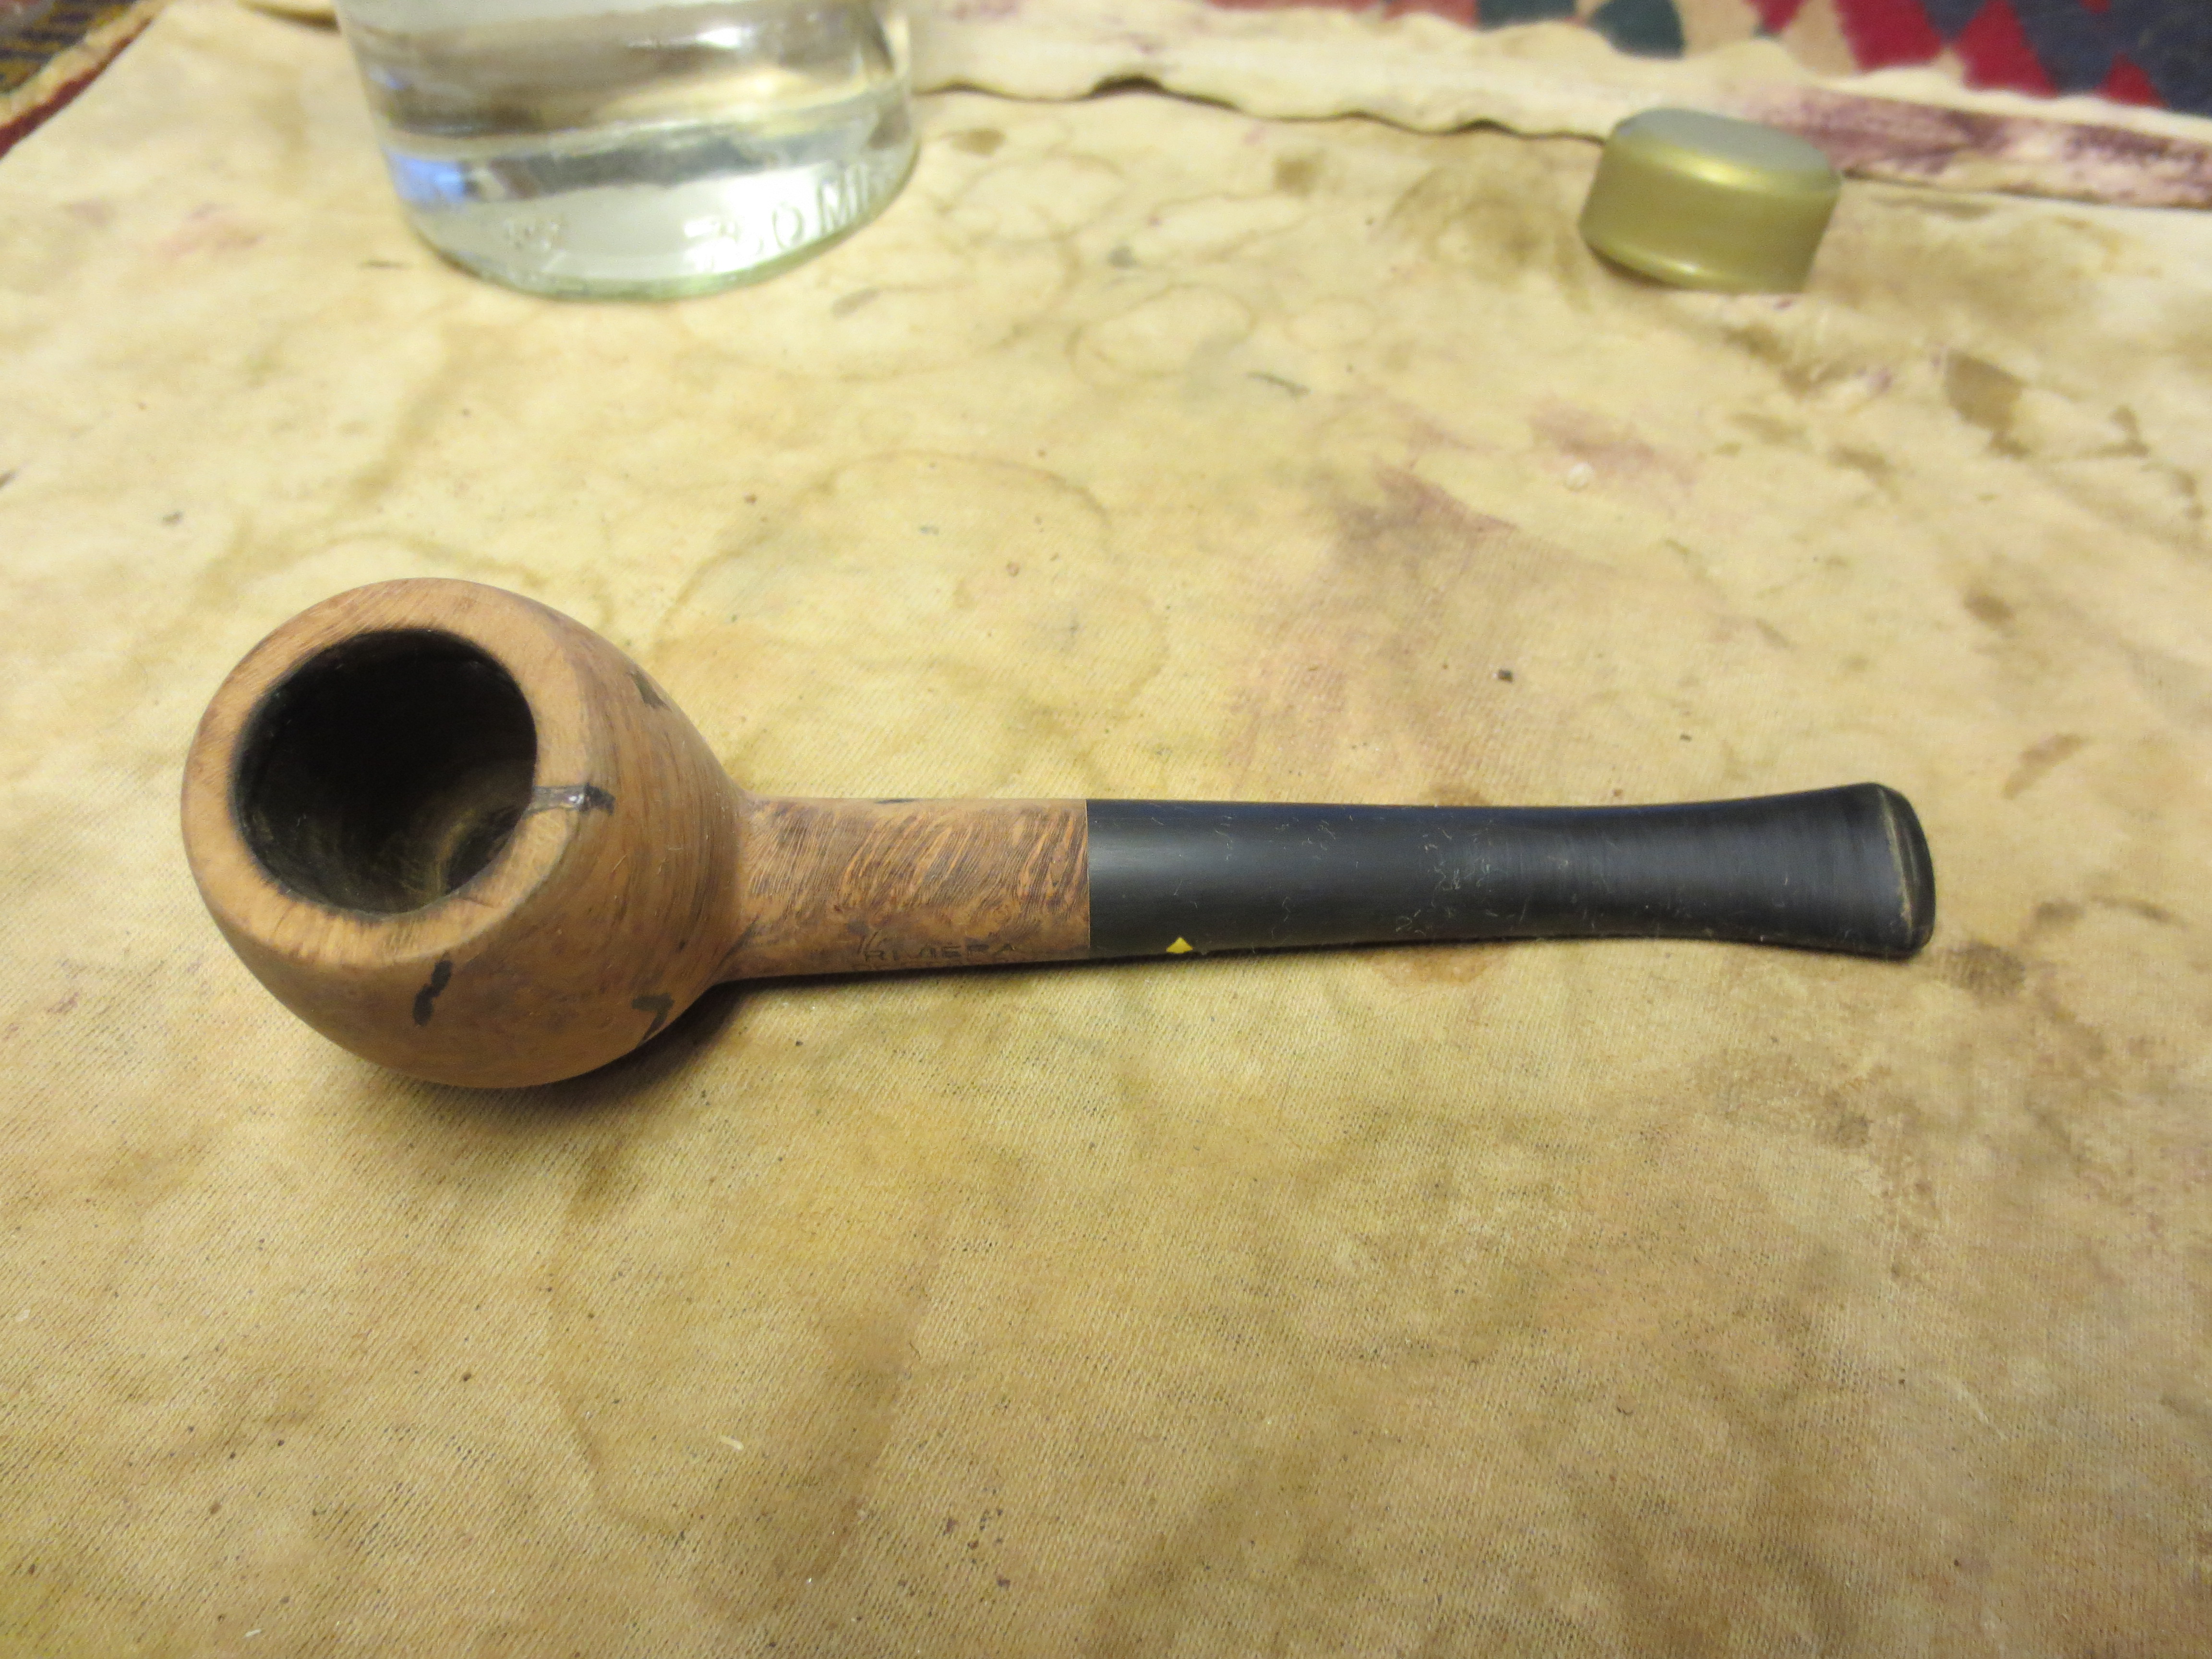
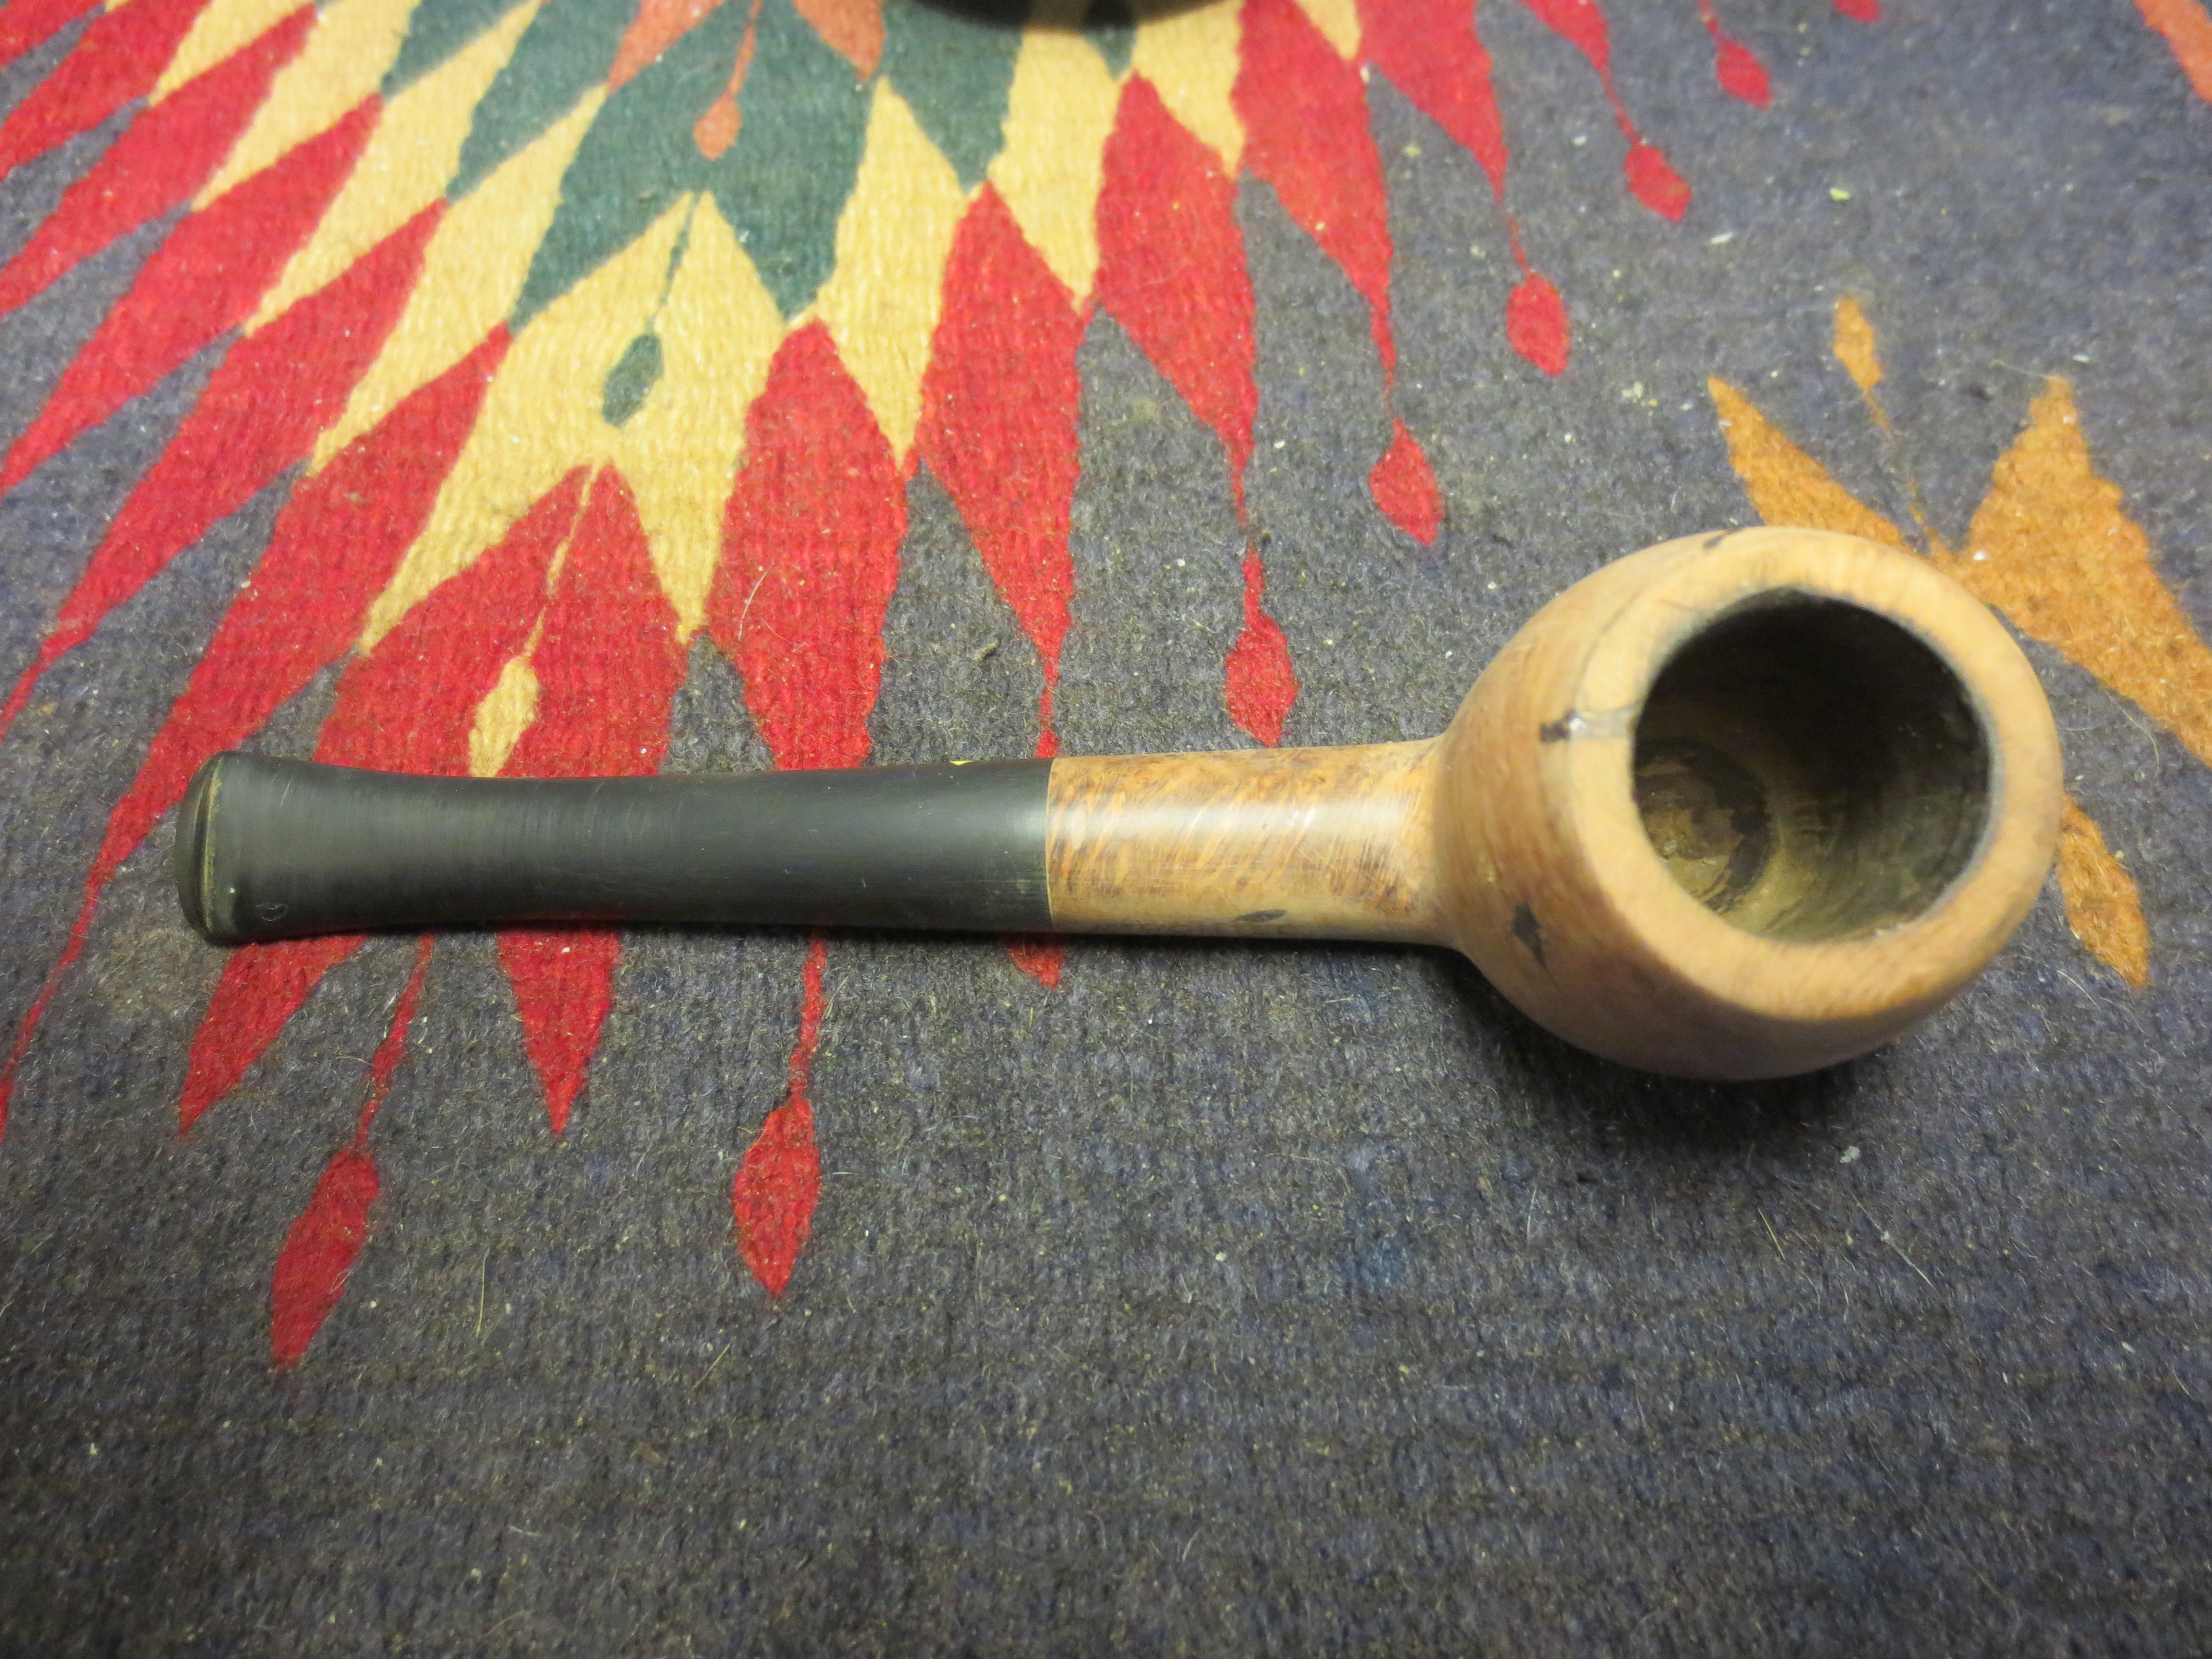
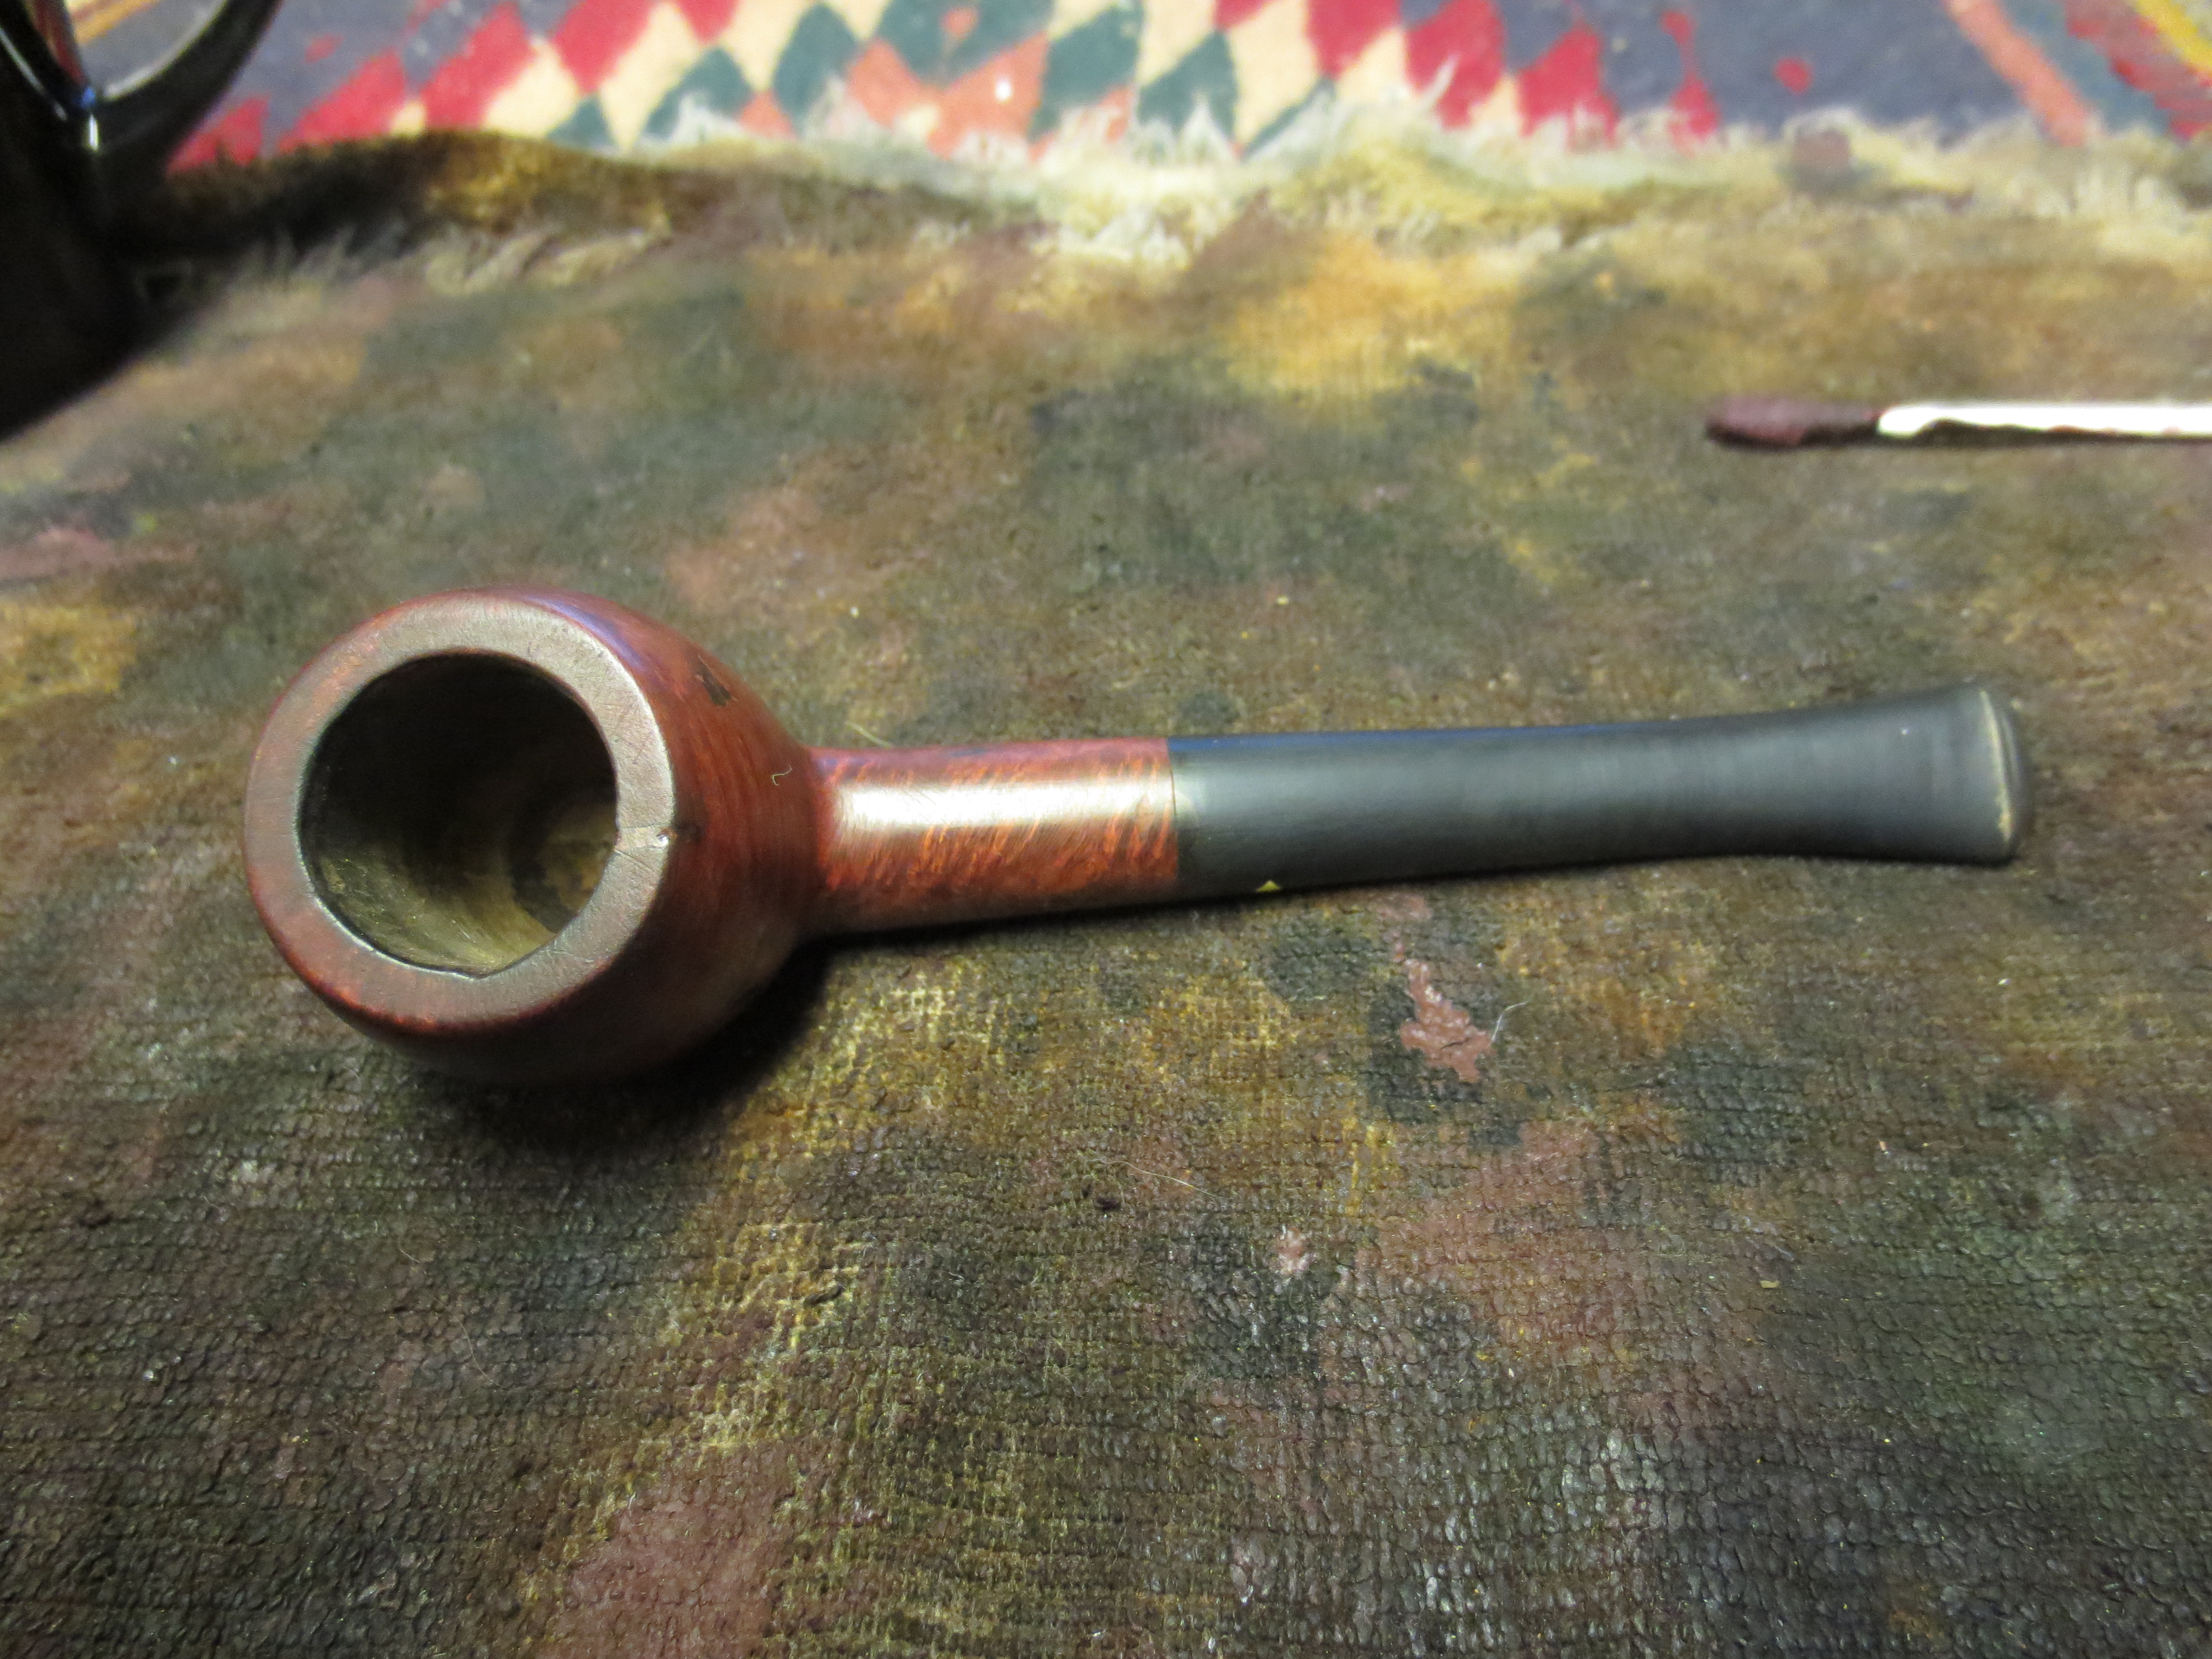
The next series of four photos show the bowl after I have picked out the fills with my dental pick. I actually have a good time picking out the ugly pink putty or as in this case bright white putty. The holes that were filled were not deep but they were on the larger side. Once I picked out the putty I wiped down the bowl with acetone to clean up the mess. I always try to scrunch the cotton pad down into the hole to draw out the last of the putty dust. The worst fill to work with was the one on the back side rim. It was like a saw cut in the rim. It was quite deep and intrusive going from the outside to the inside of the bowl.

ImageImageImageImage

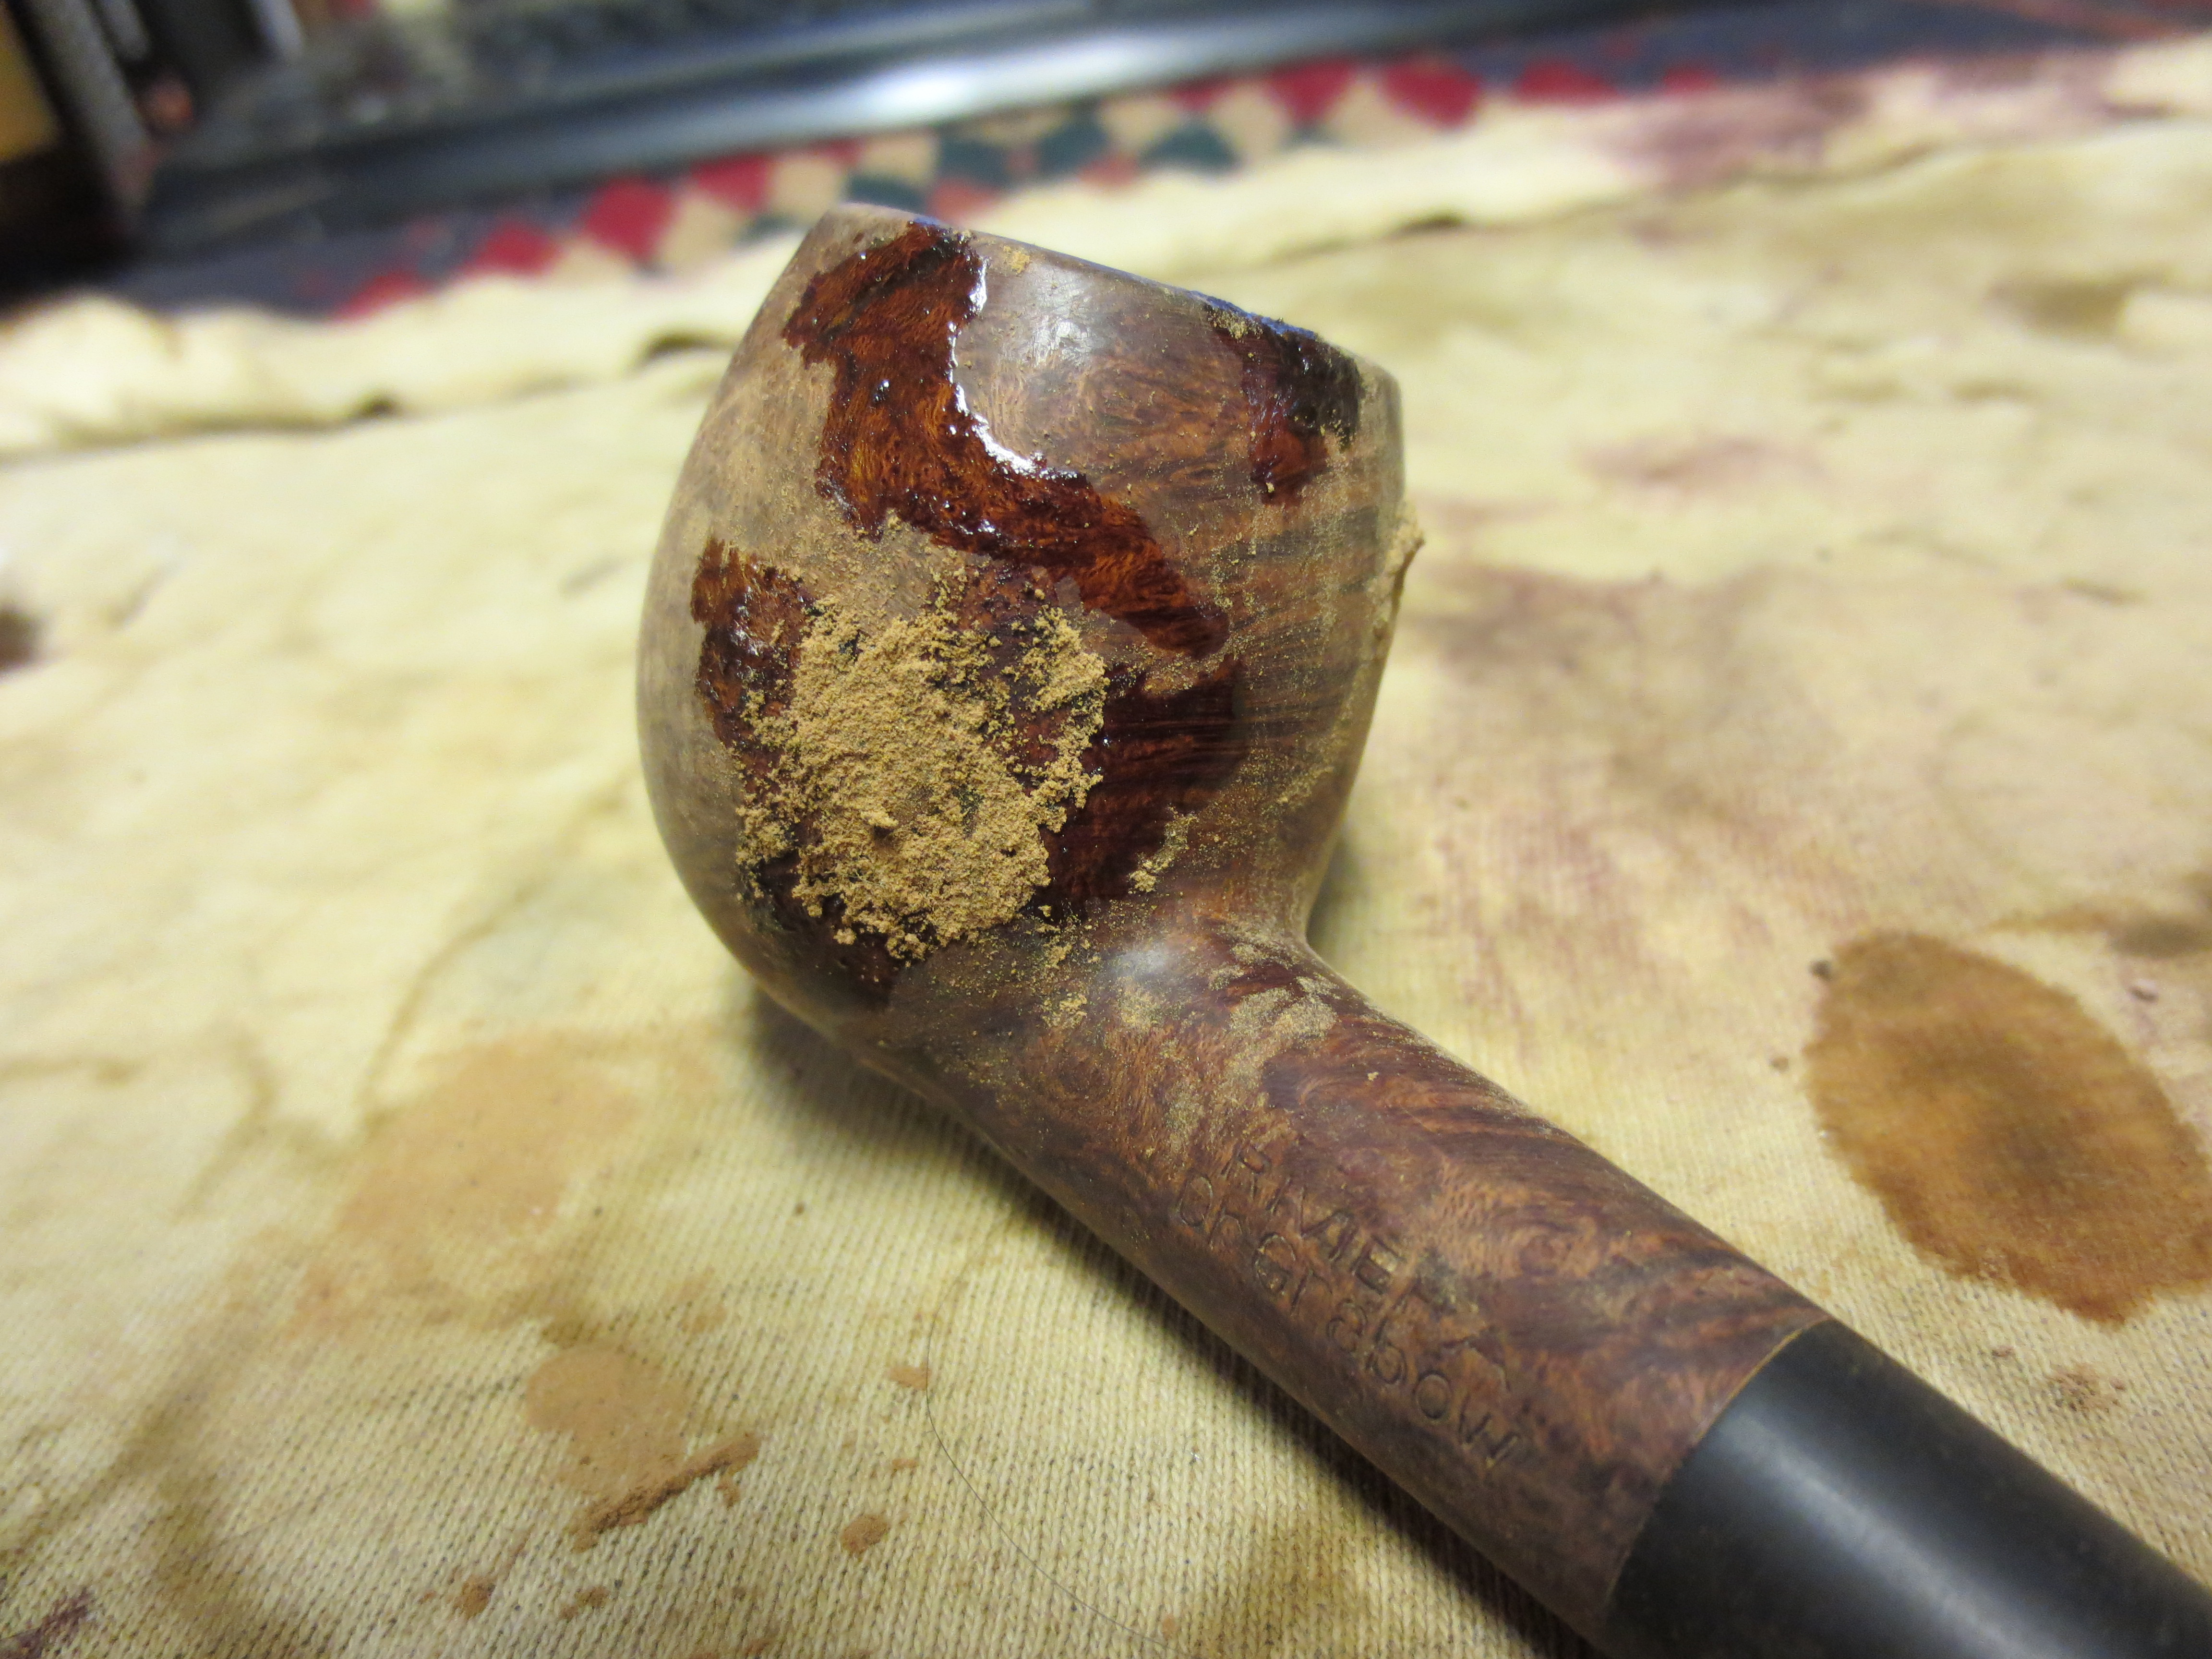
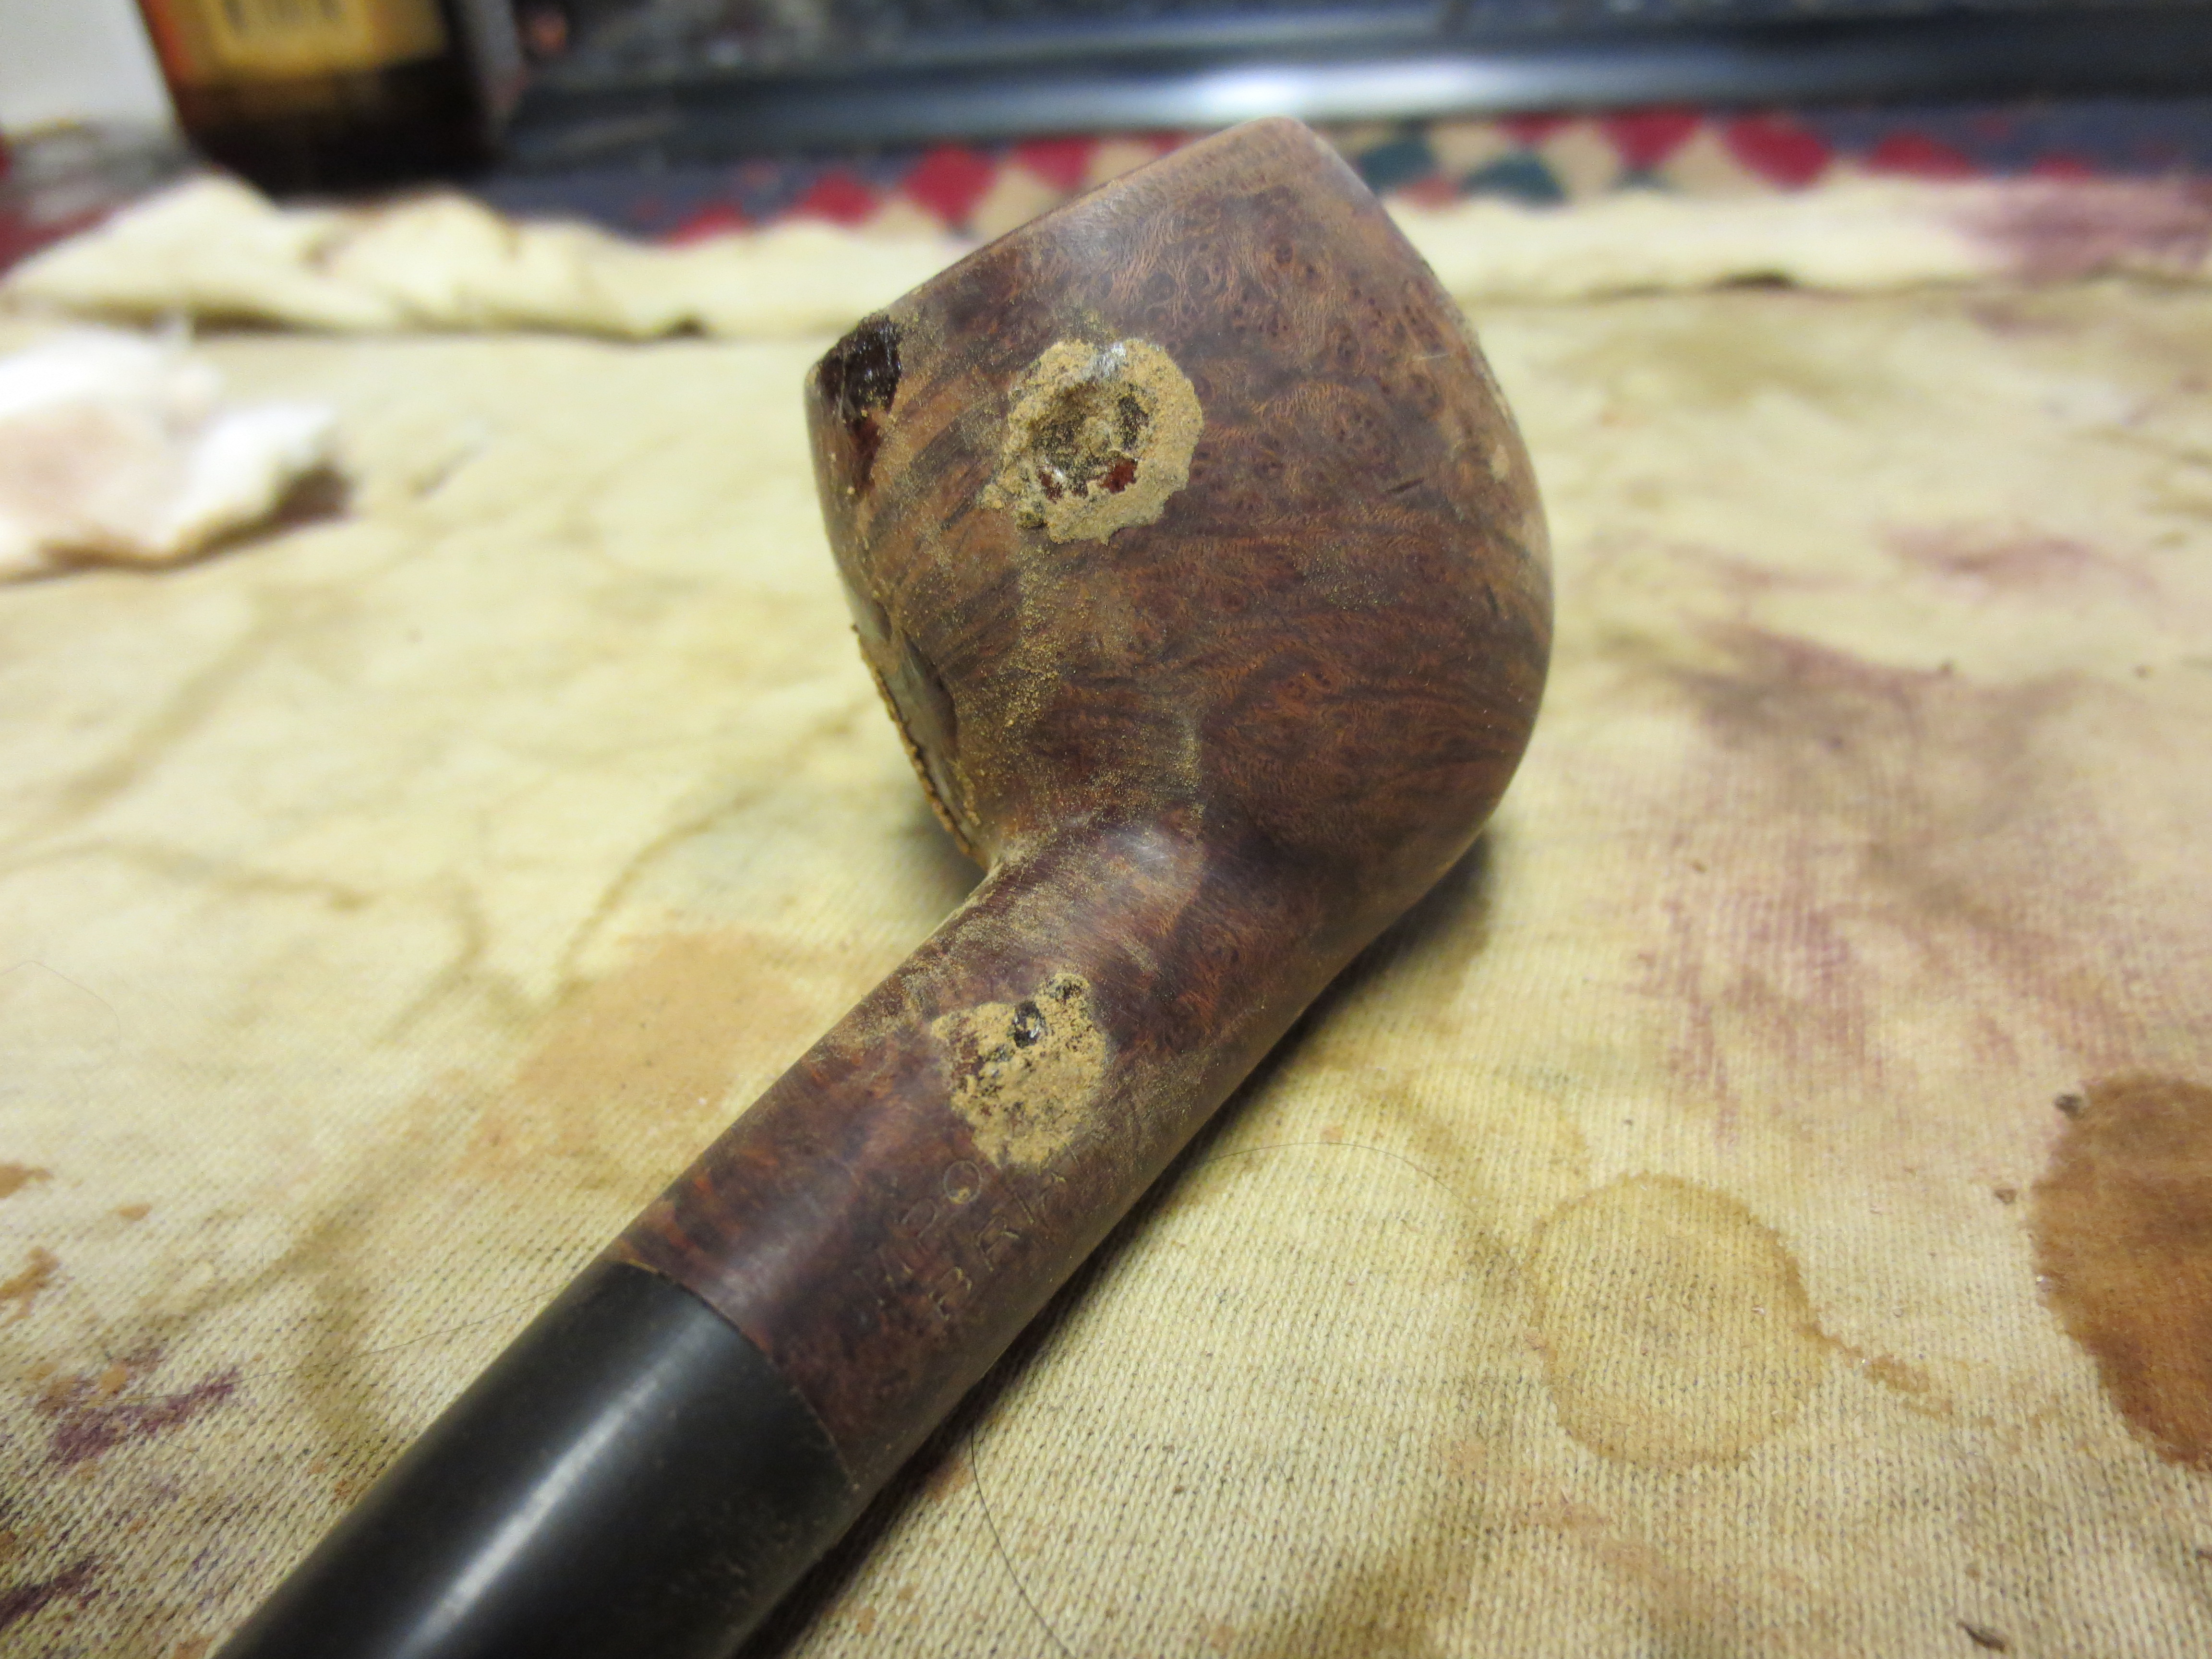
With each of the cleaned out holes I used my dental pick to tamp in briar dust. I try to tamp in the dust until the hole is packed and the dust forms a bit of a bulge on the hole. I find that once I drip in the superglue the dust settles in and the new fill is closes to the surface of the bowl. I also purposely overfill so that I can work to smooth out the fill with sandpaper and blend it into the surface of the bowl. The next three pictures show the patches on the bowl. You will notice the overflow of superglue on the surface of the bowl in the pictures below. This is fairly easily removed as it dries quickly and does not permeate the surface of the bowl.

ImageImageImage

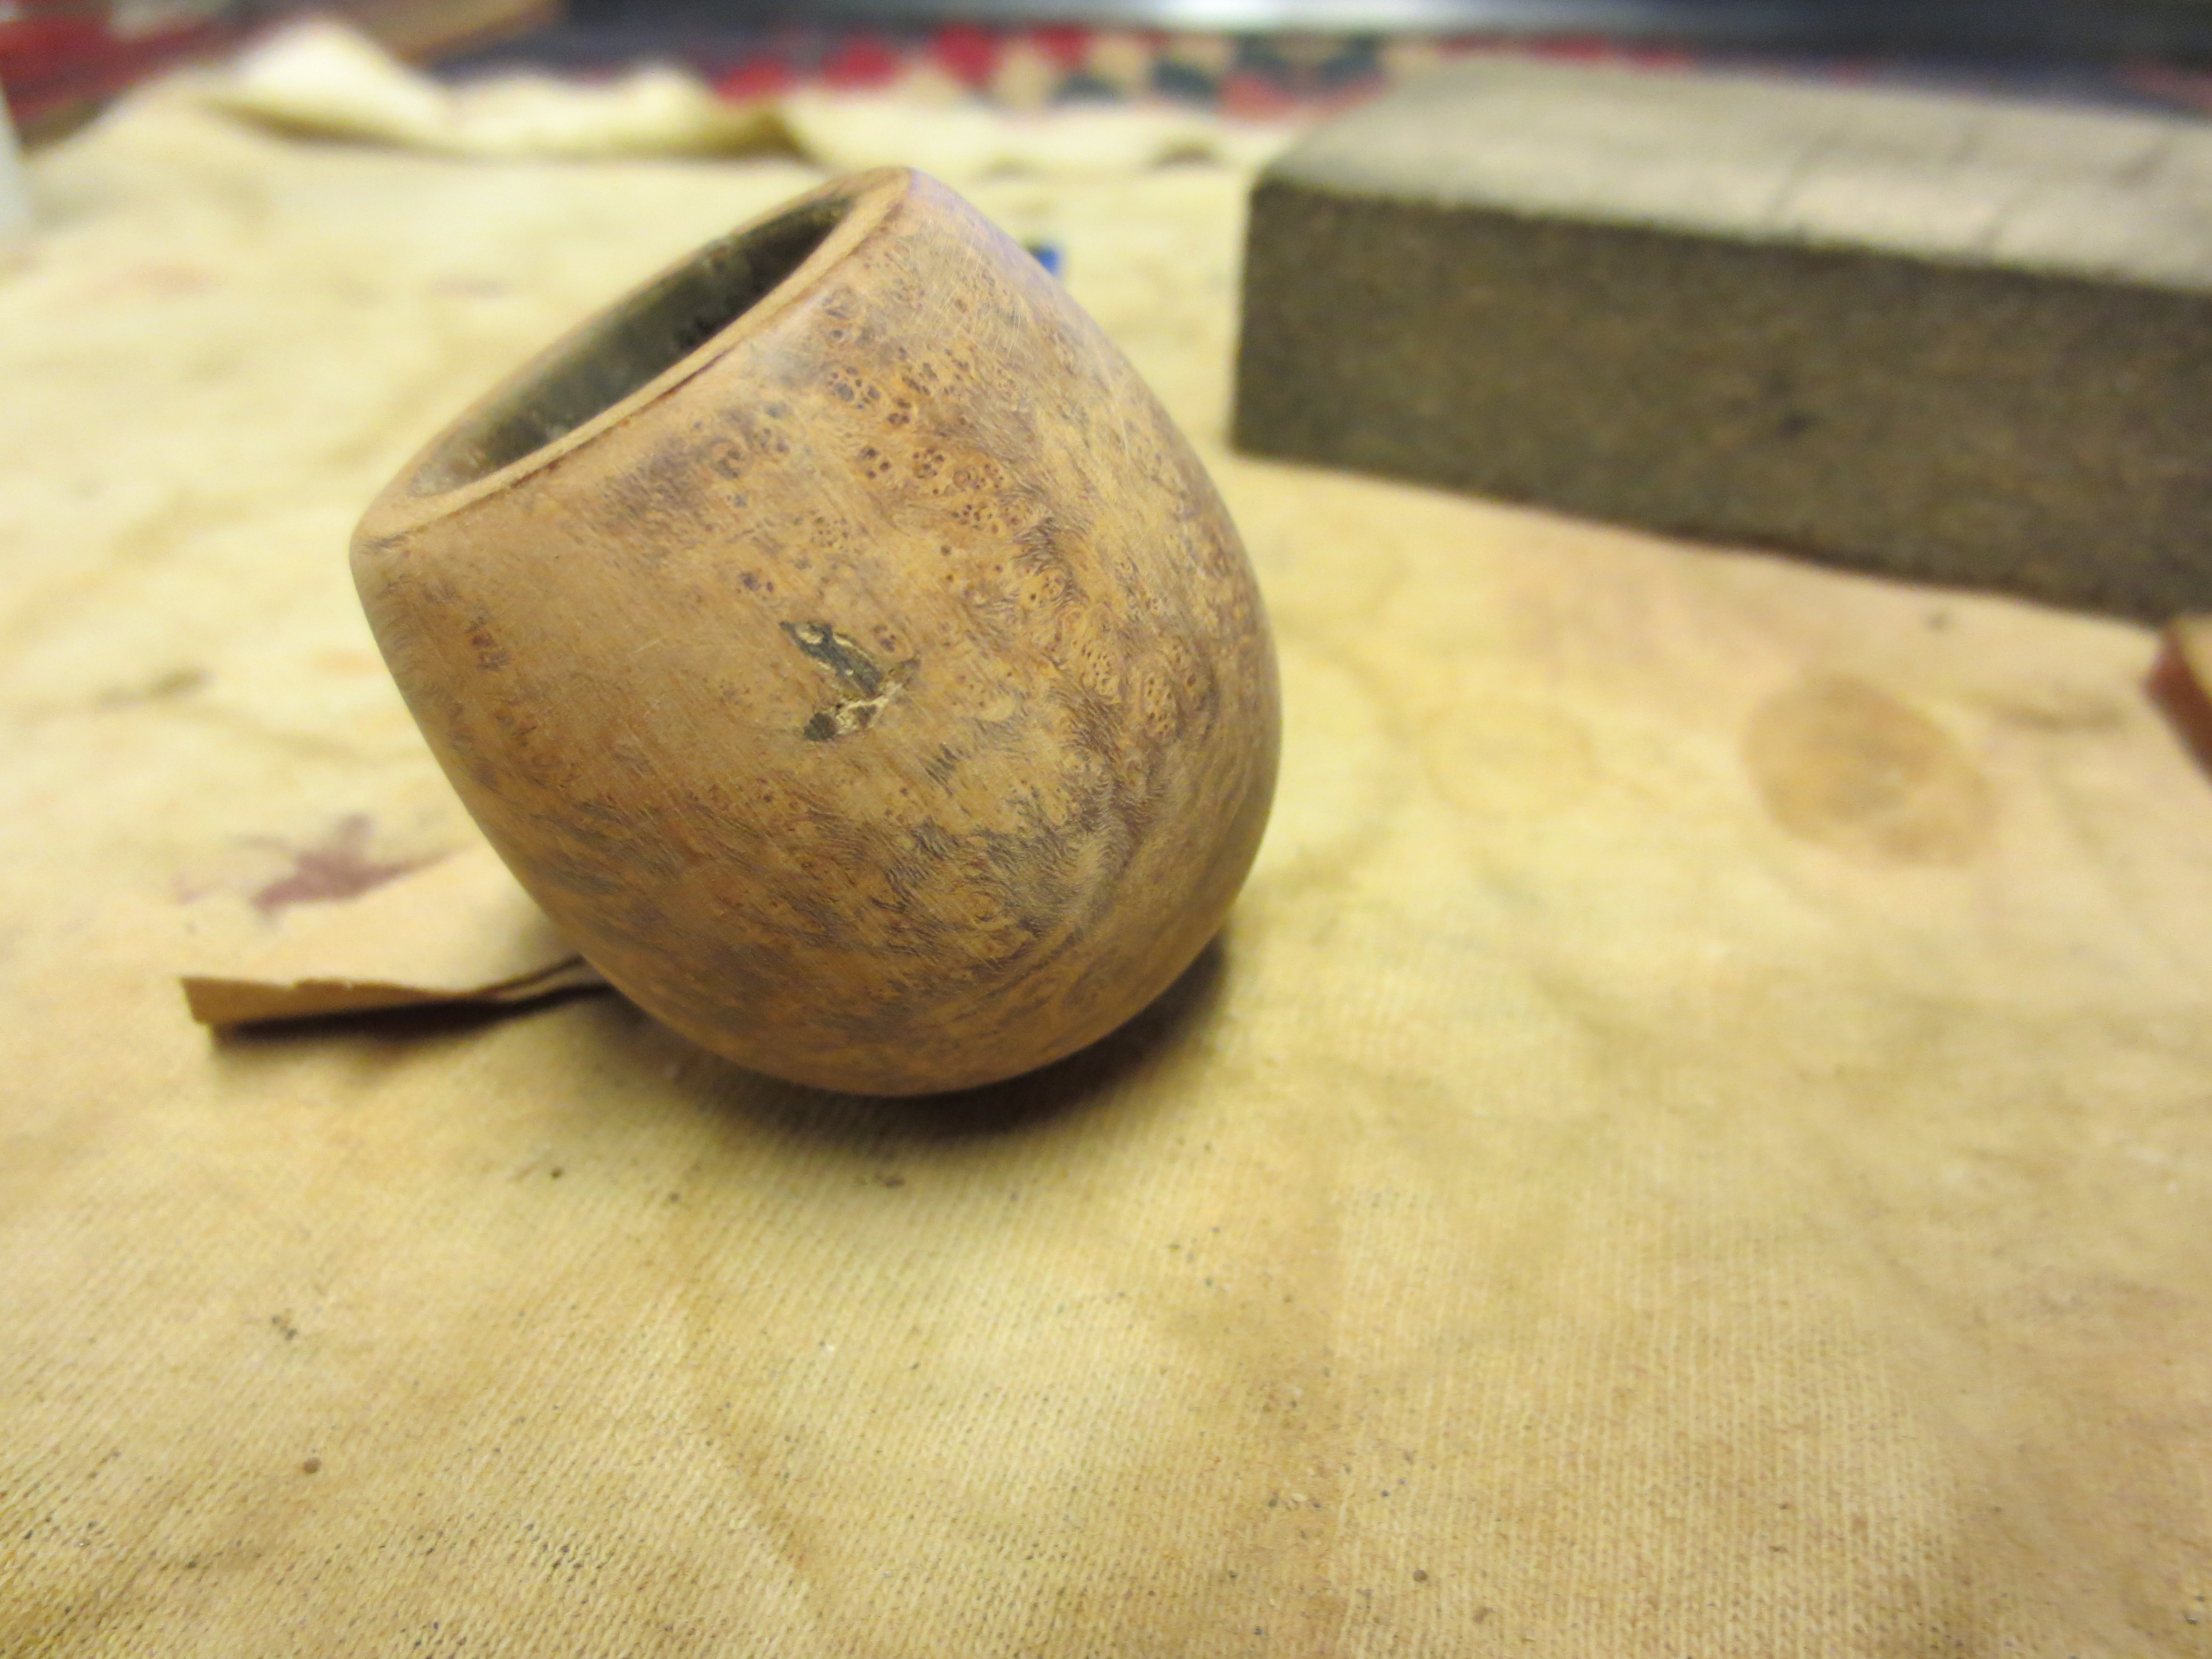
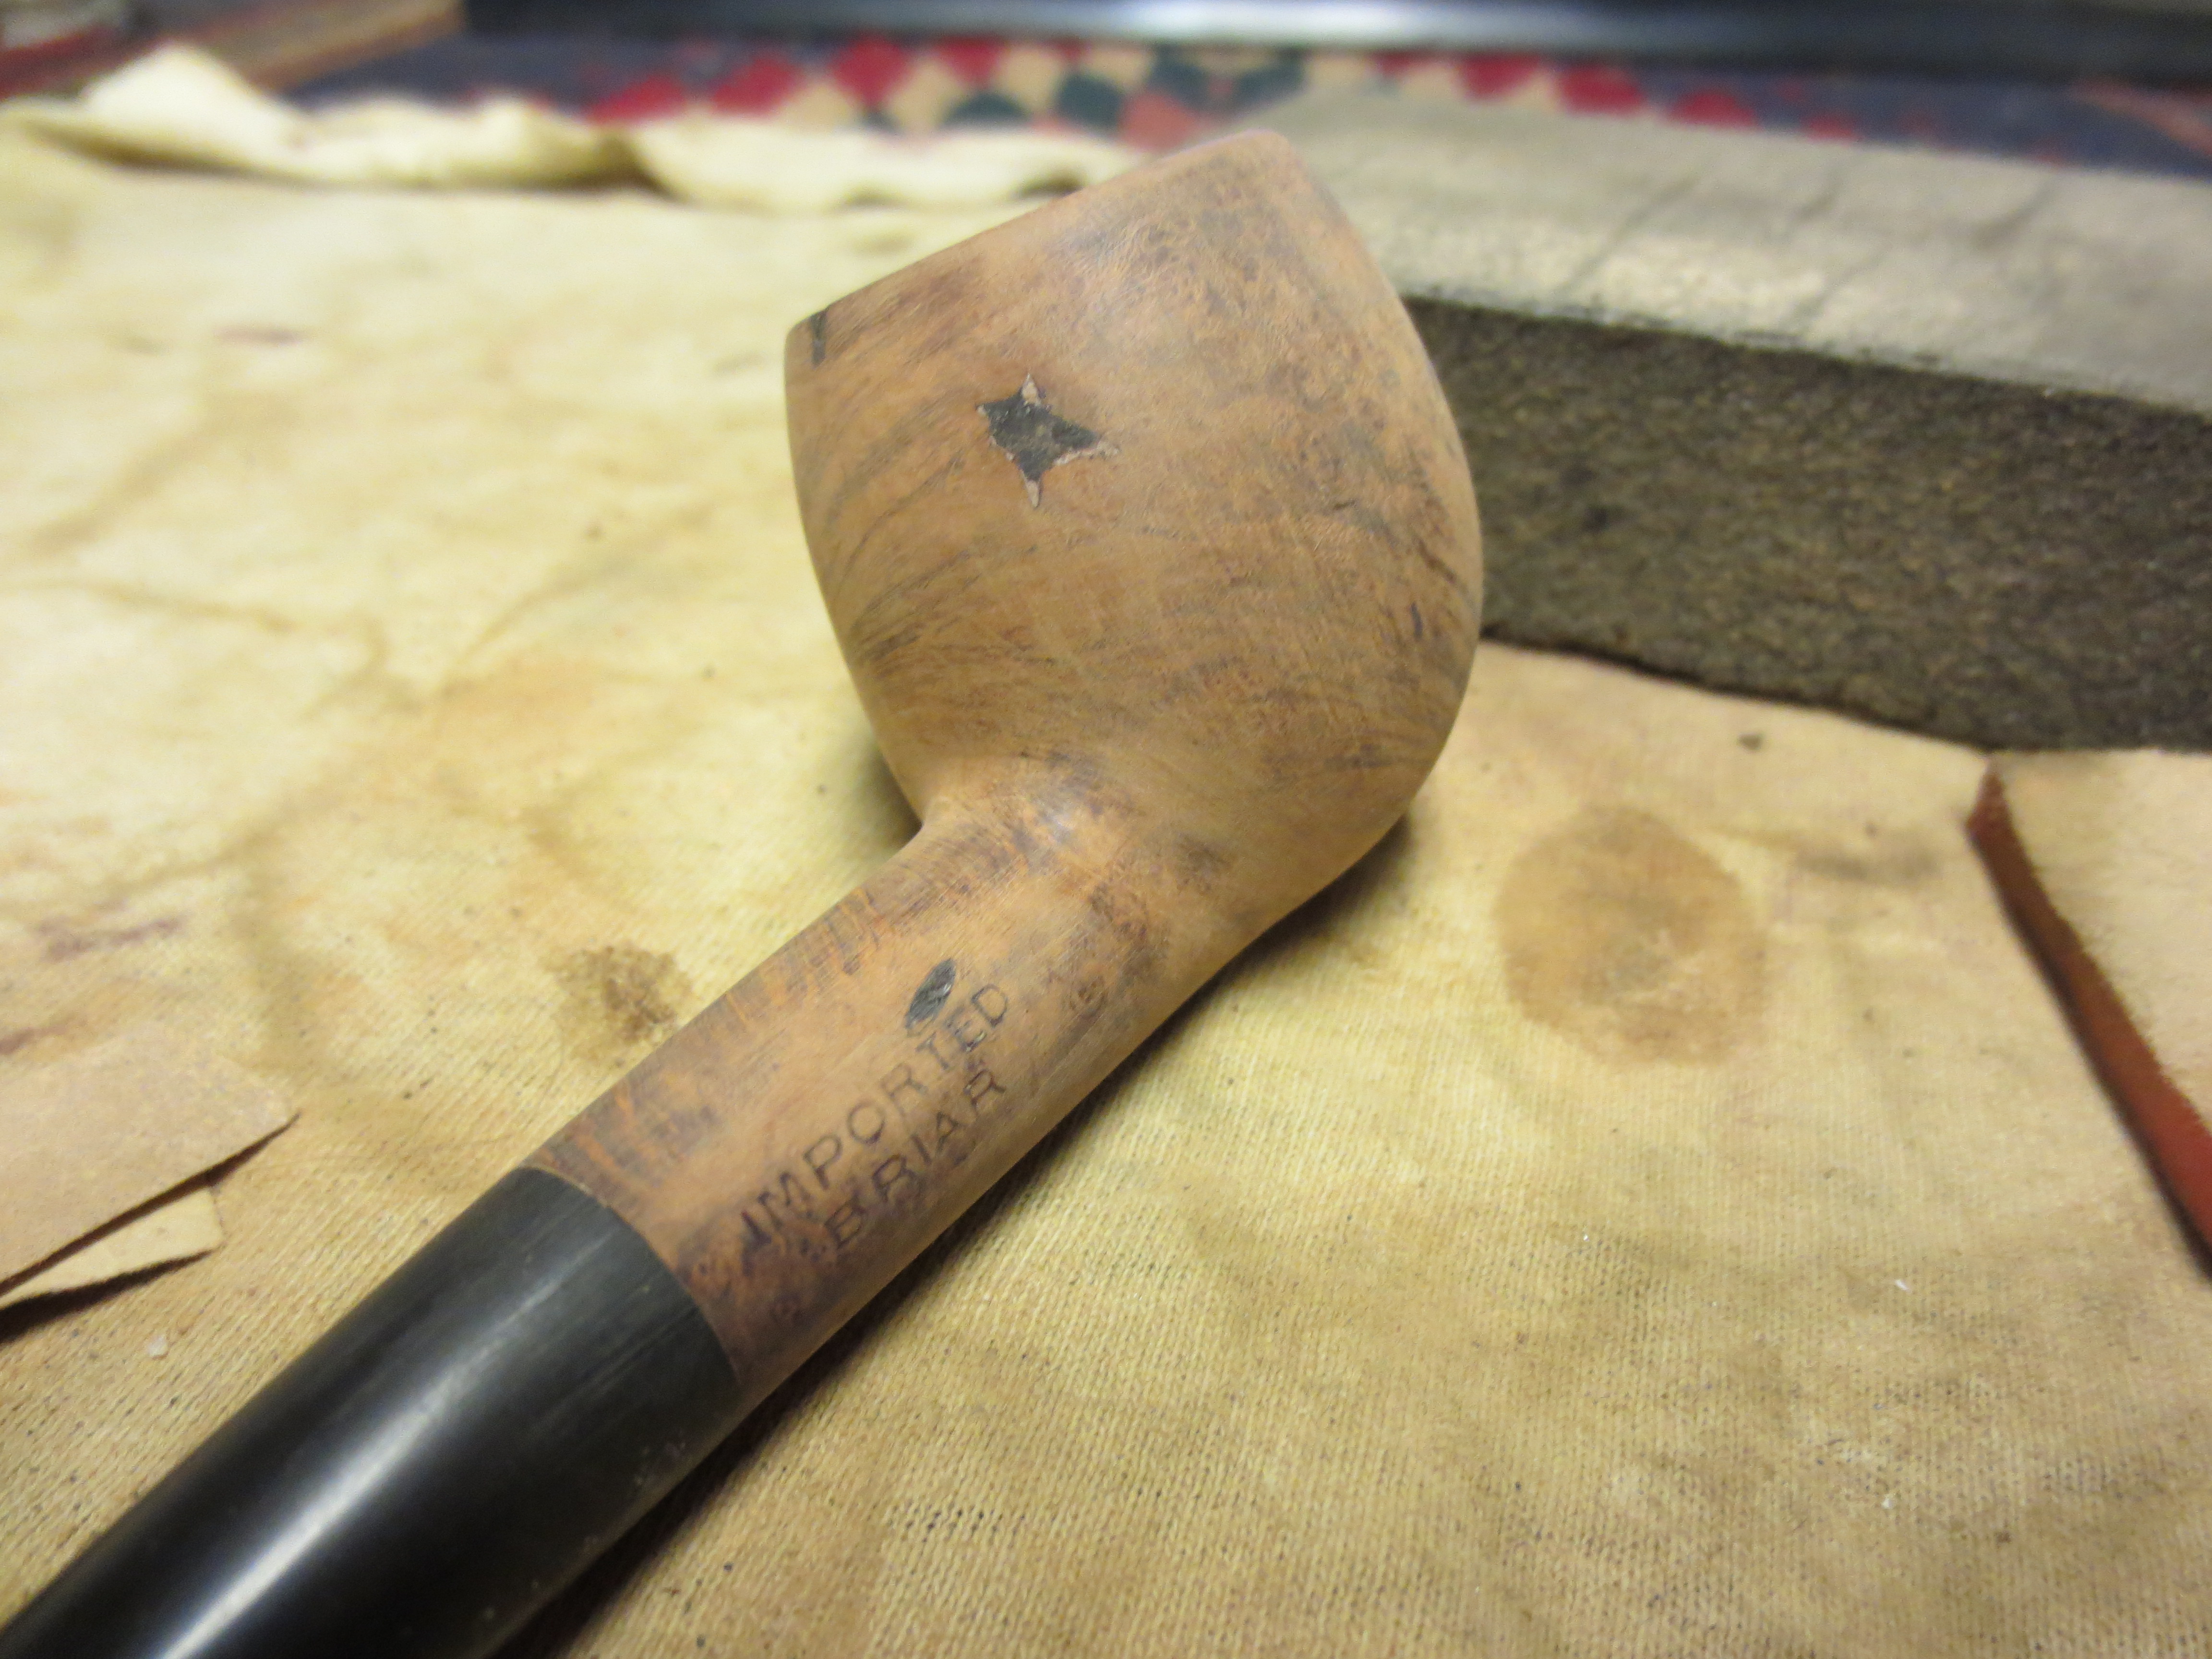
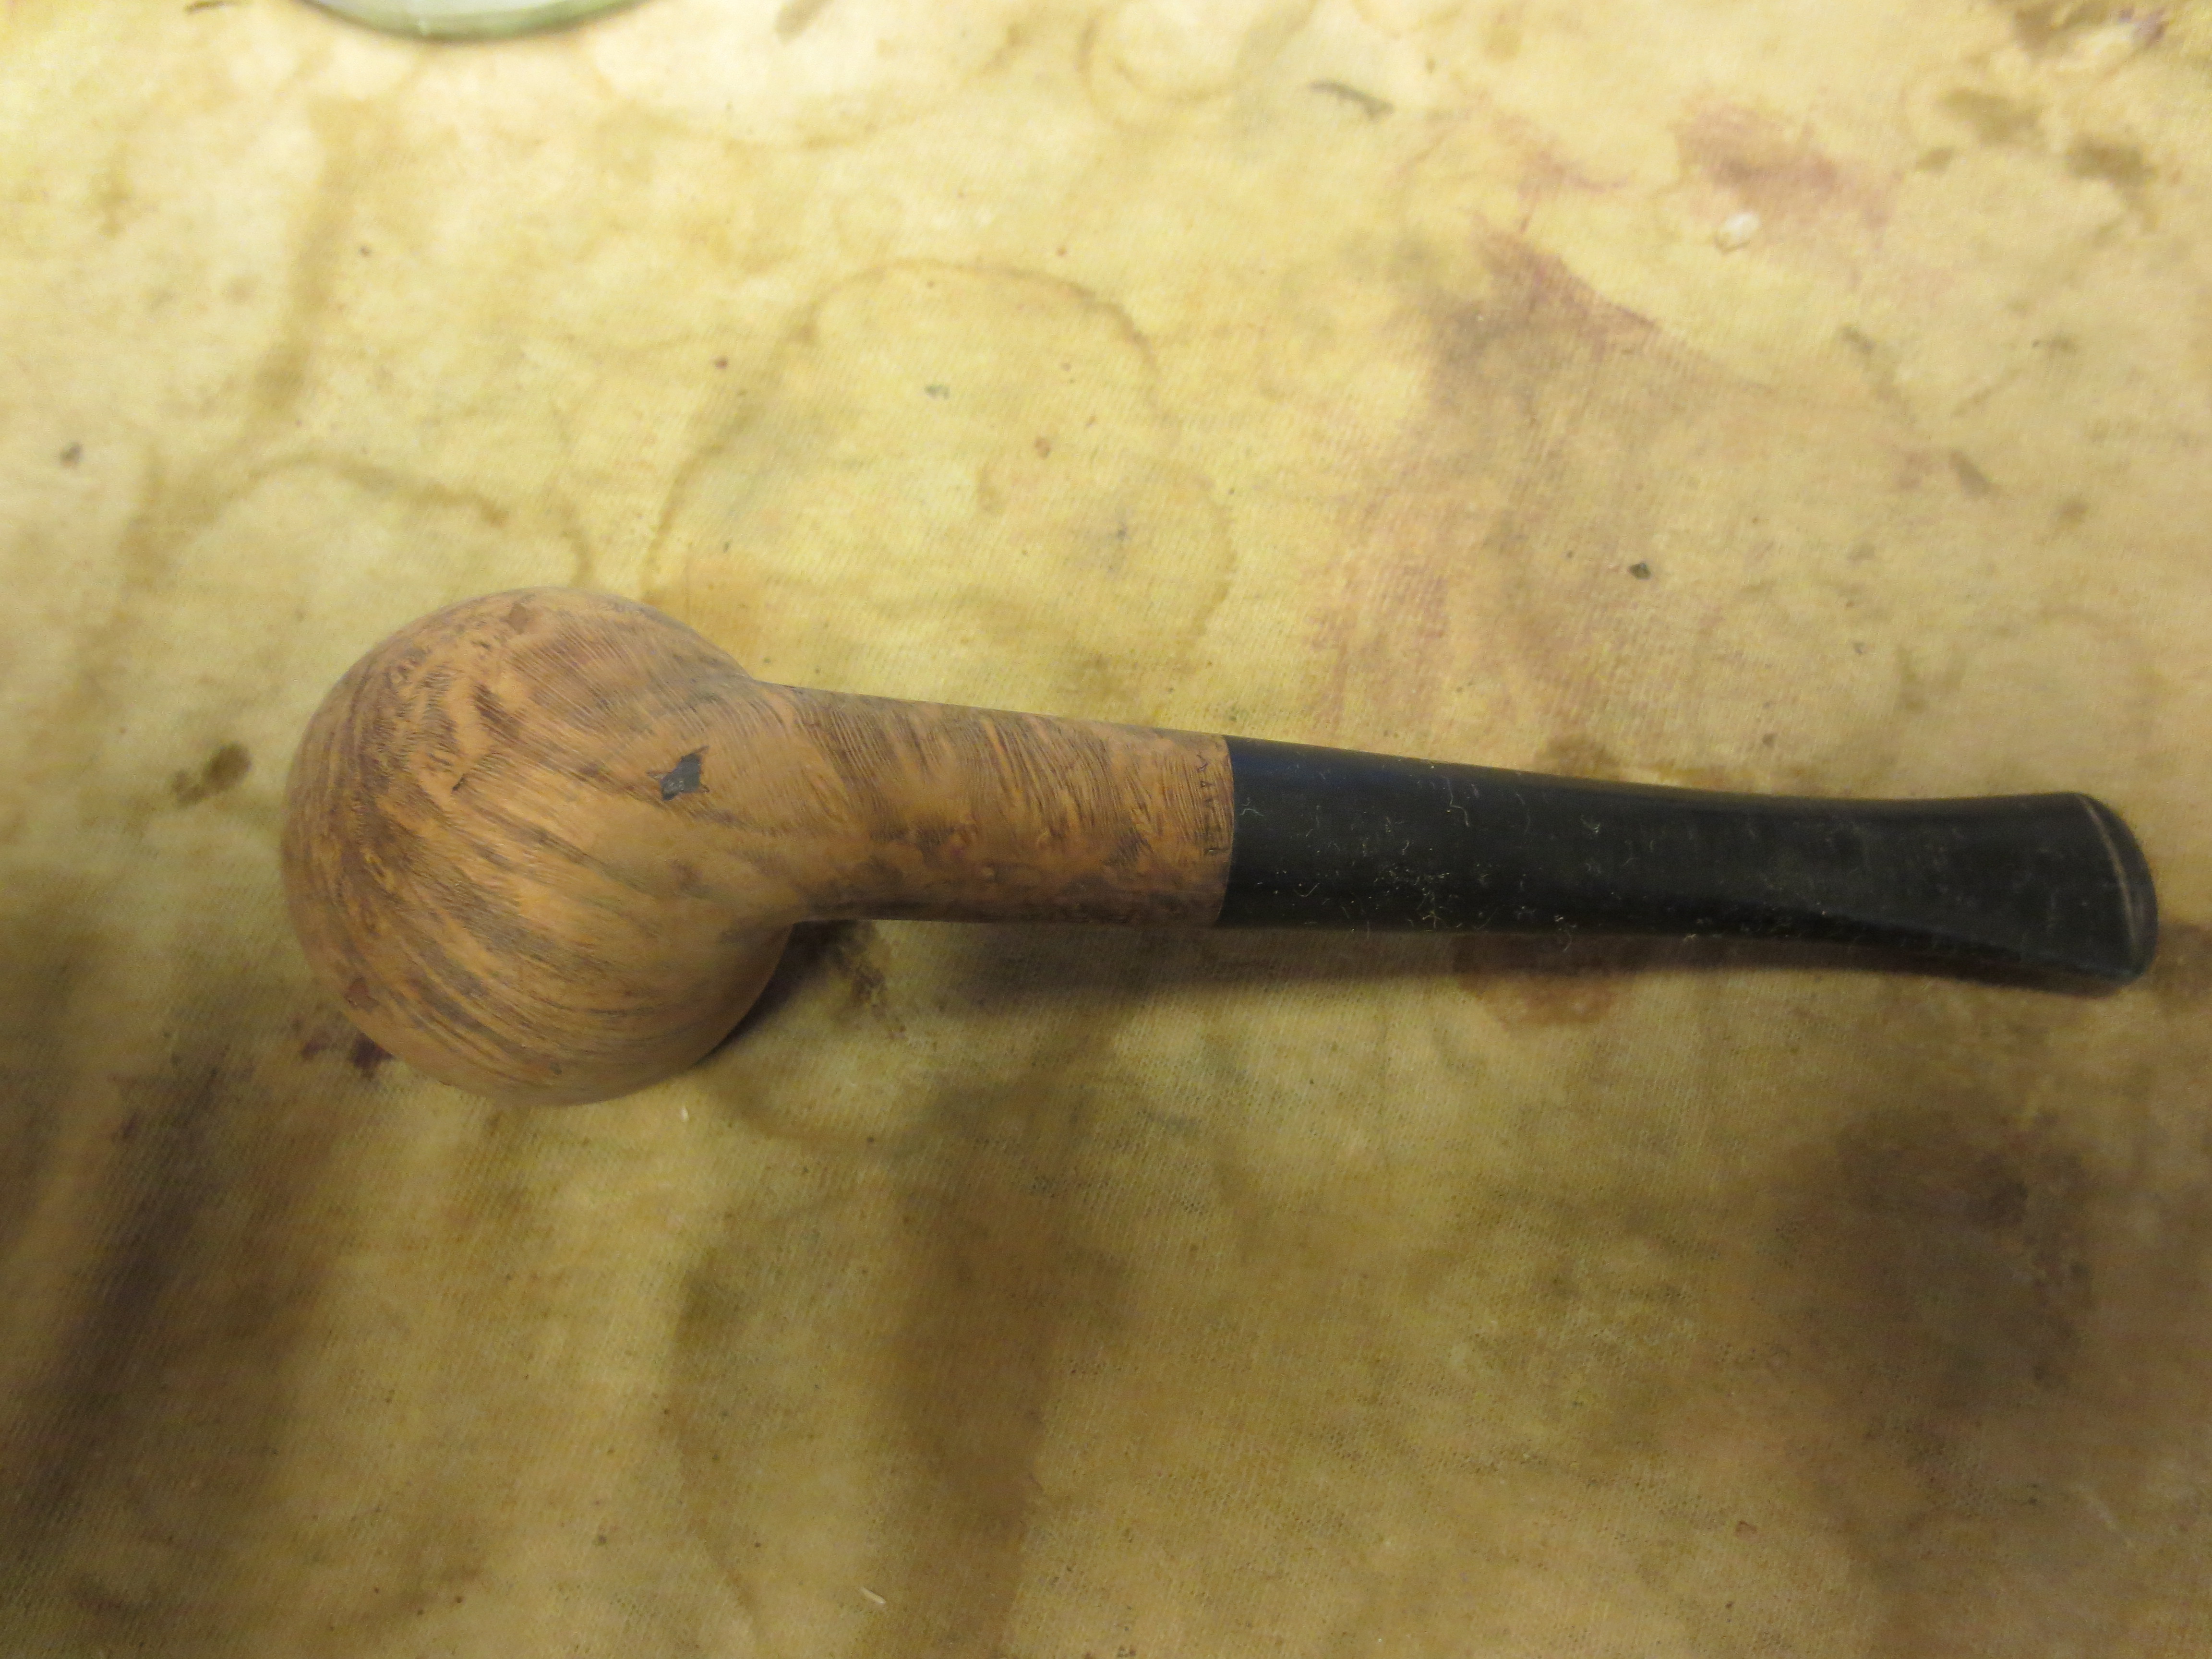
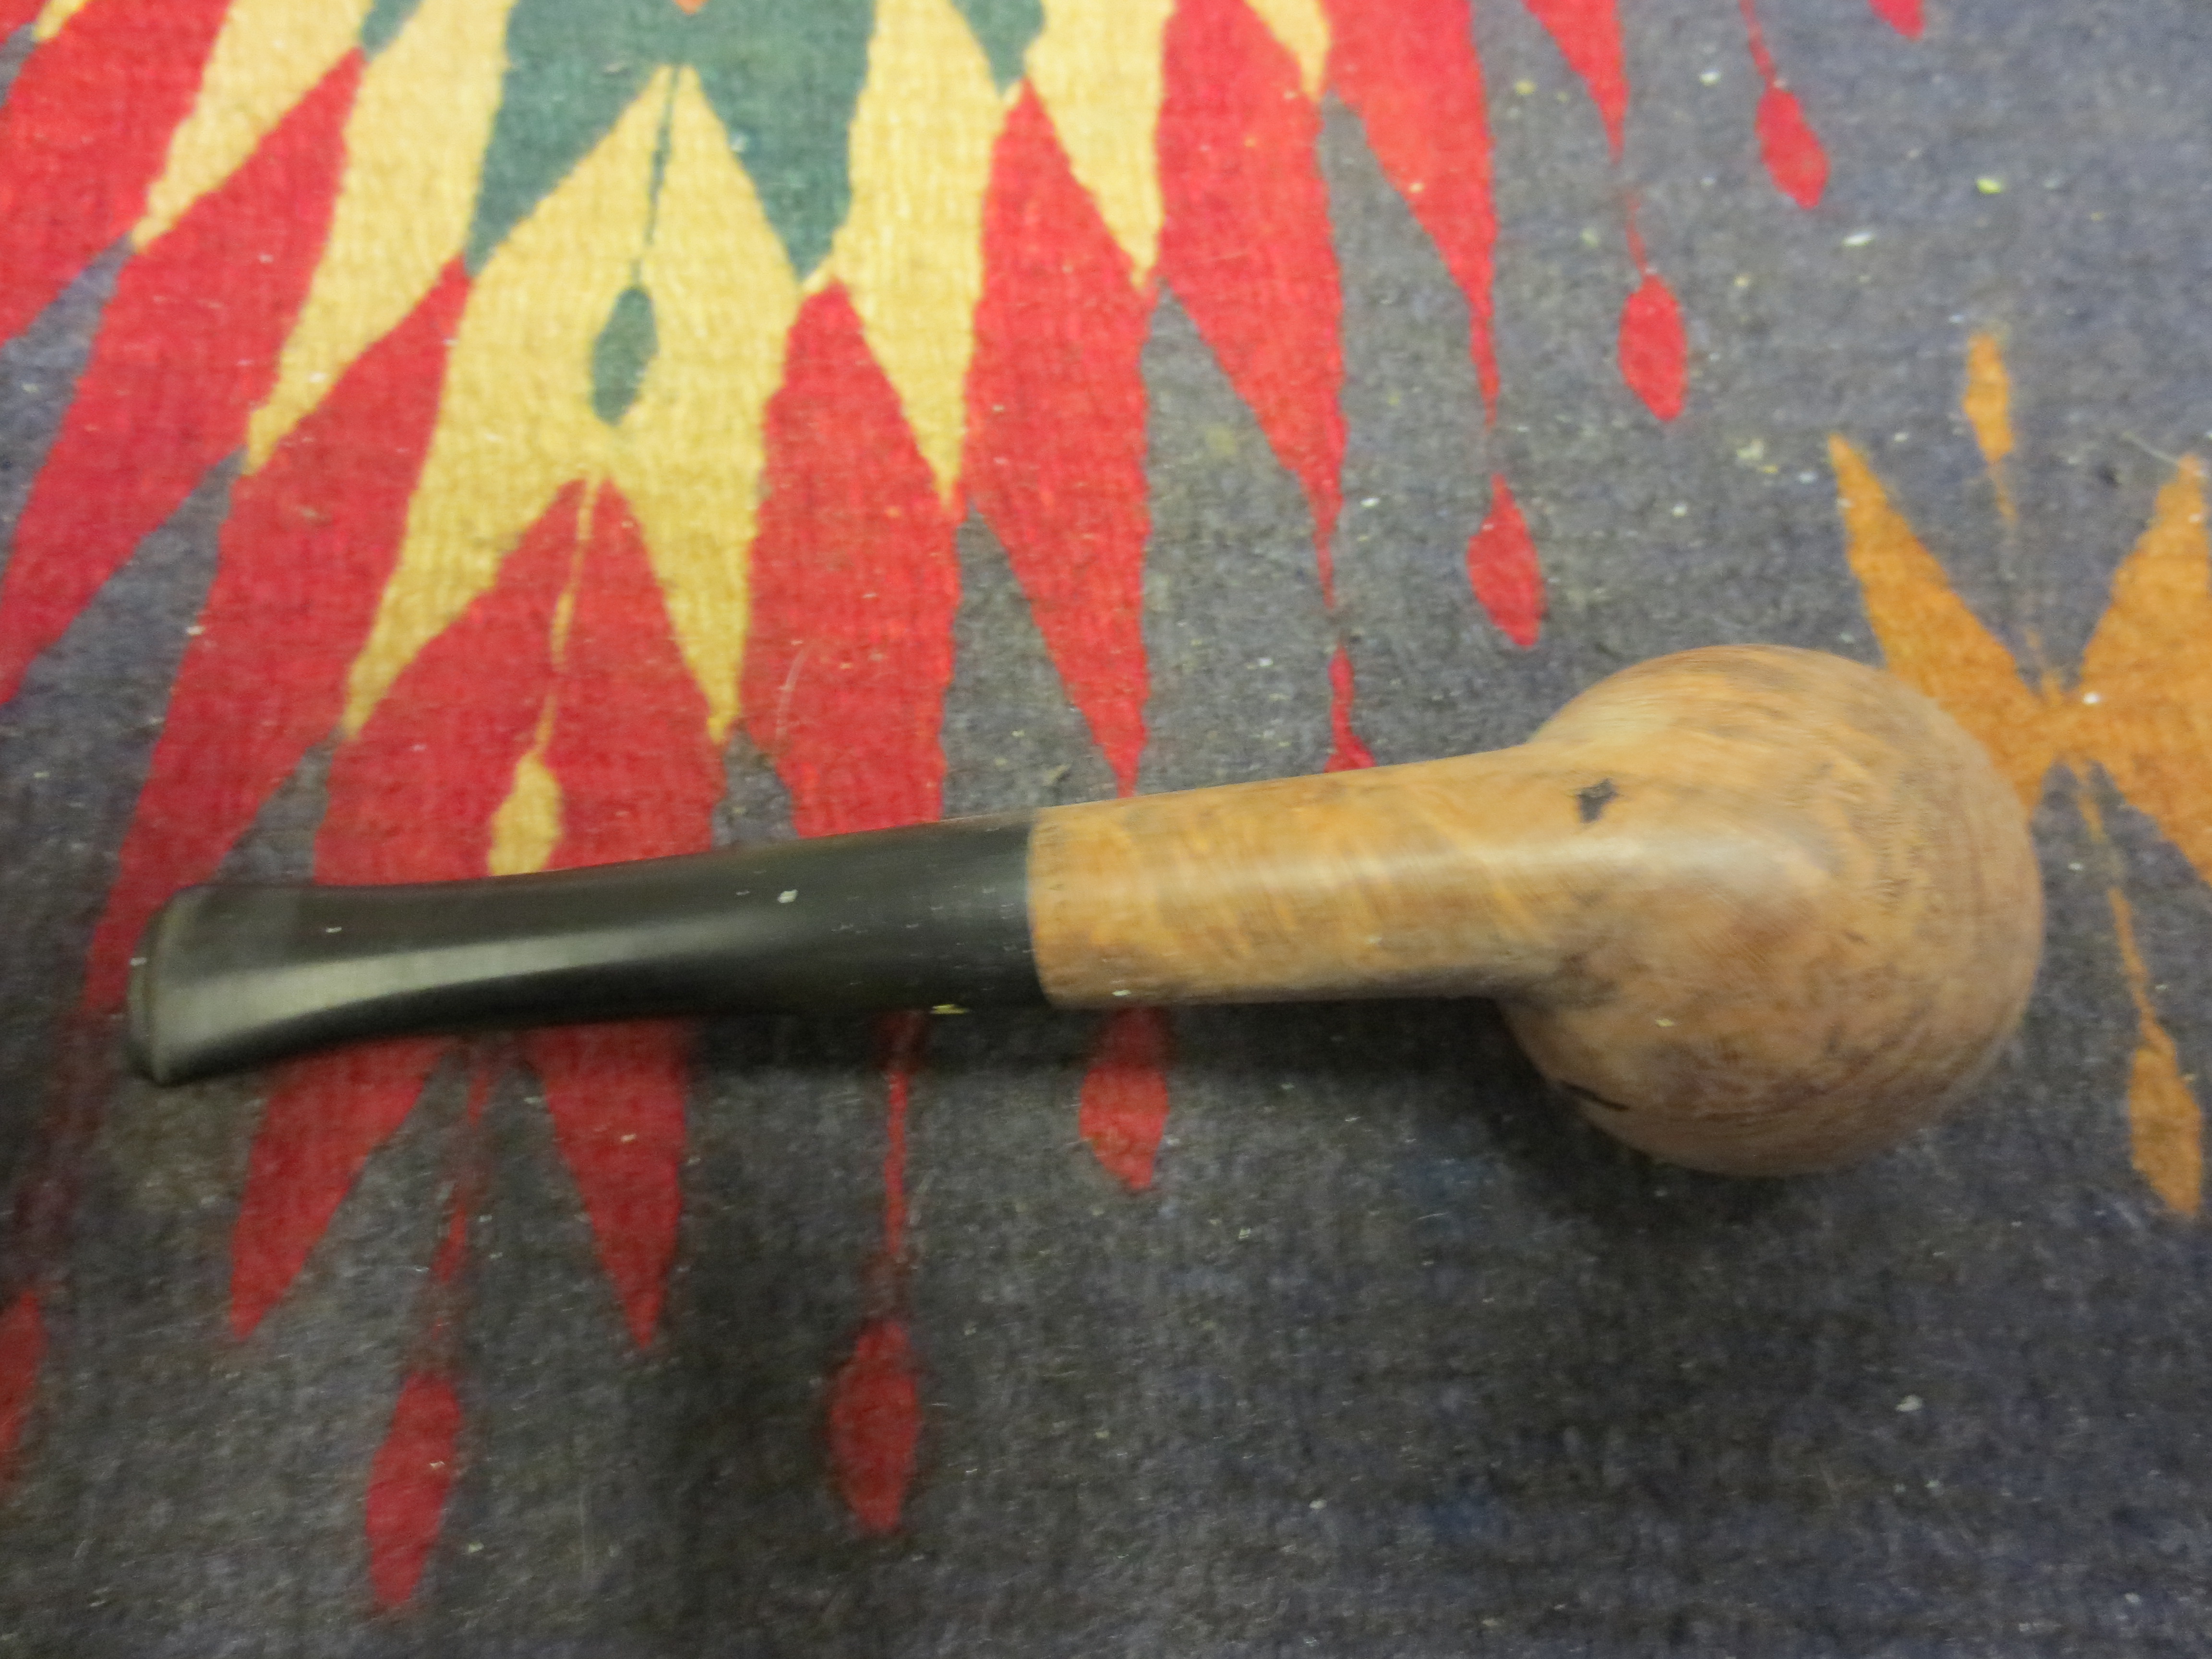
The next series of thirteen photos show the progress of sanding the patches back to the surface of the bowl. In this case I was planning on refinishing the bowl anyway so I sanded the whole bowl back to bare briar. I began by sanding the patches with 240 grit sandpaper and then 320 grit sandpaper. Once the overfill of briar dust and glue was sanded fairly smooth I sanded itwith a medium grit sanding sponge and then a fine grit sanding sponge. I wanted to get rid of the excess fill and also to remove all the scratches in the surface of the bowl. I wet sanded the bowl after this with 1500 and 1800 grit micromesh to ready it for staining. I wiped it down with acetone on a cotton pad. The final pictures show the pipe as it is ready for restaining. You can see that the white putty fills are now dark patches on the bowl. I find that those these dark patches still show up they are easier to blend into the stain and somehow do not seem as intrusive to my eyes as the white patches.

ImageImageImageImageImageImageImageImageImageImageImageImageImage

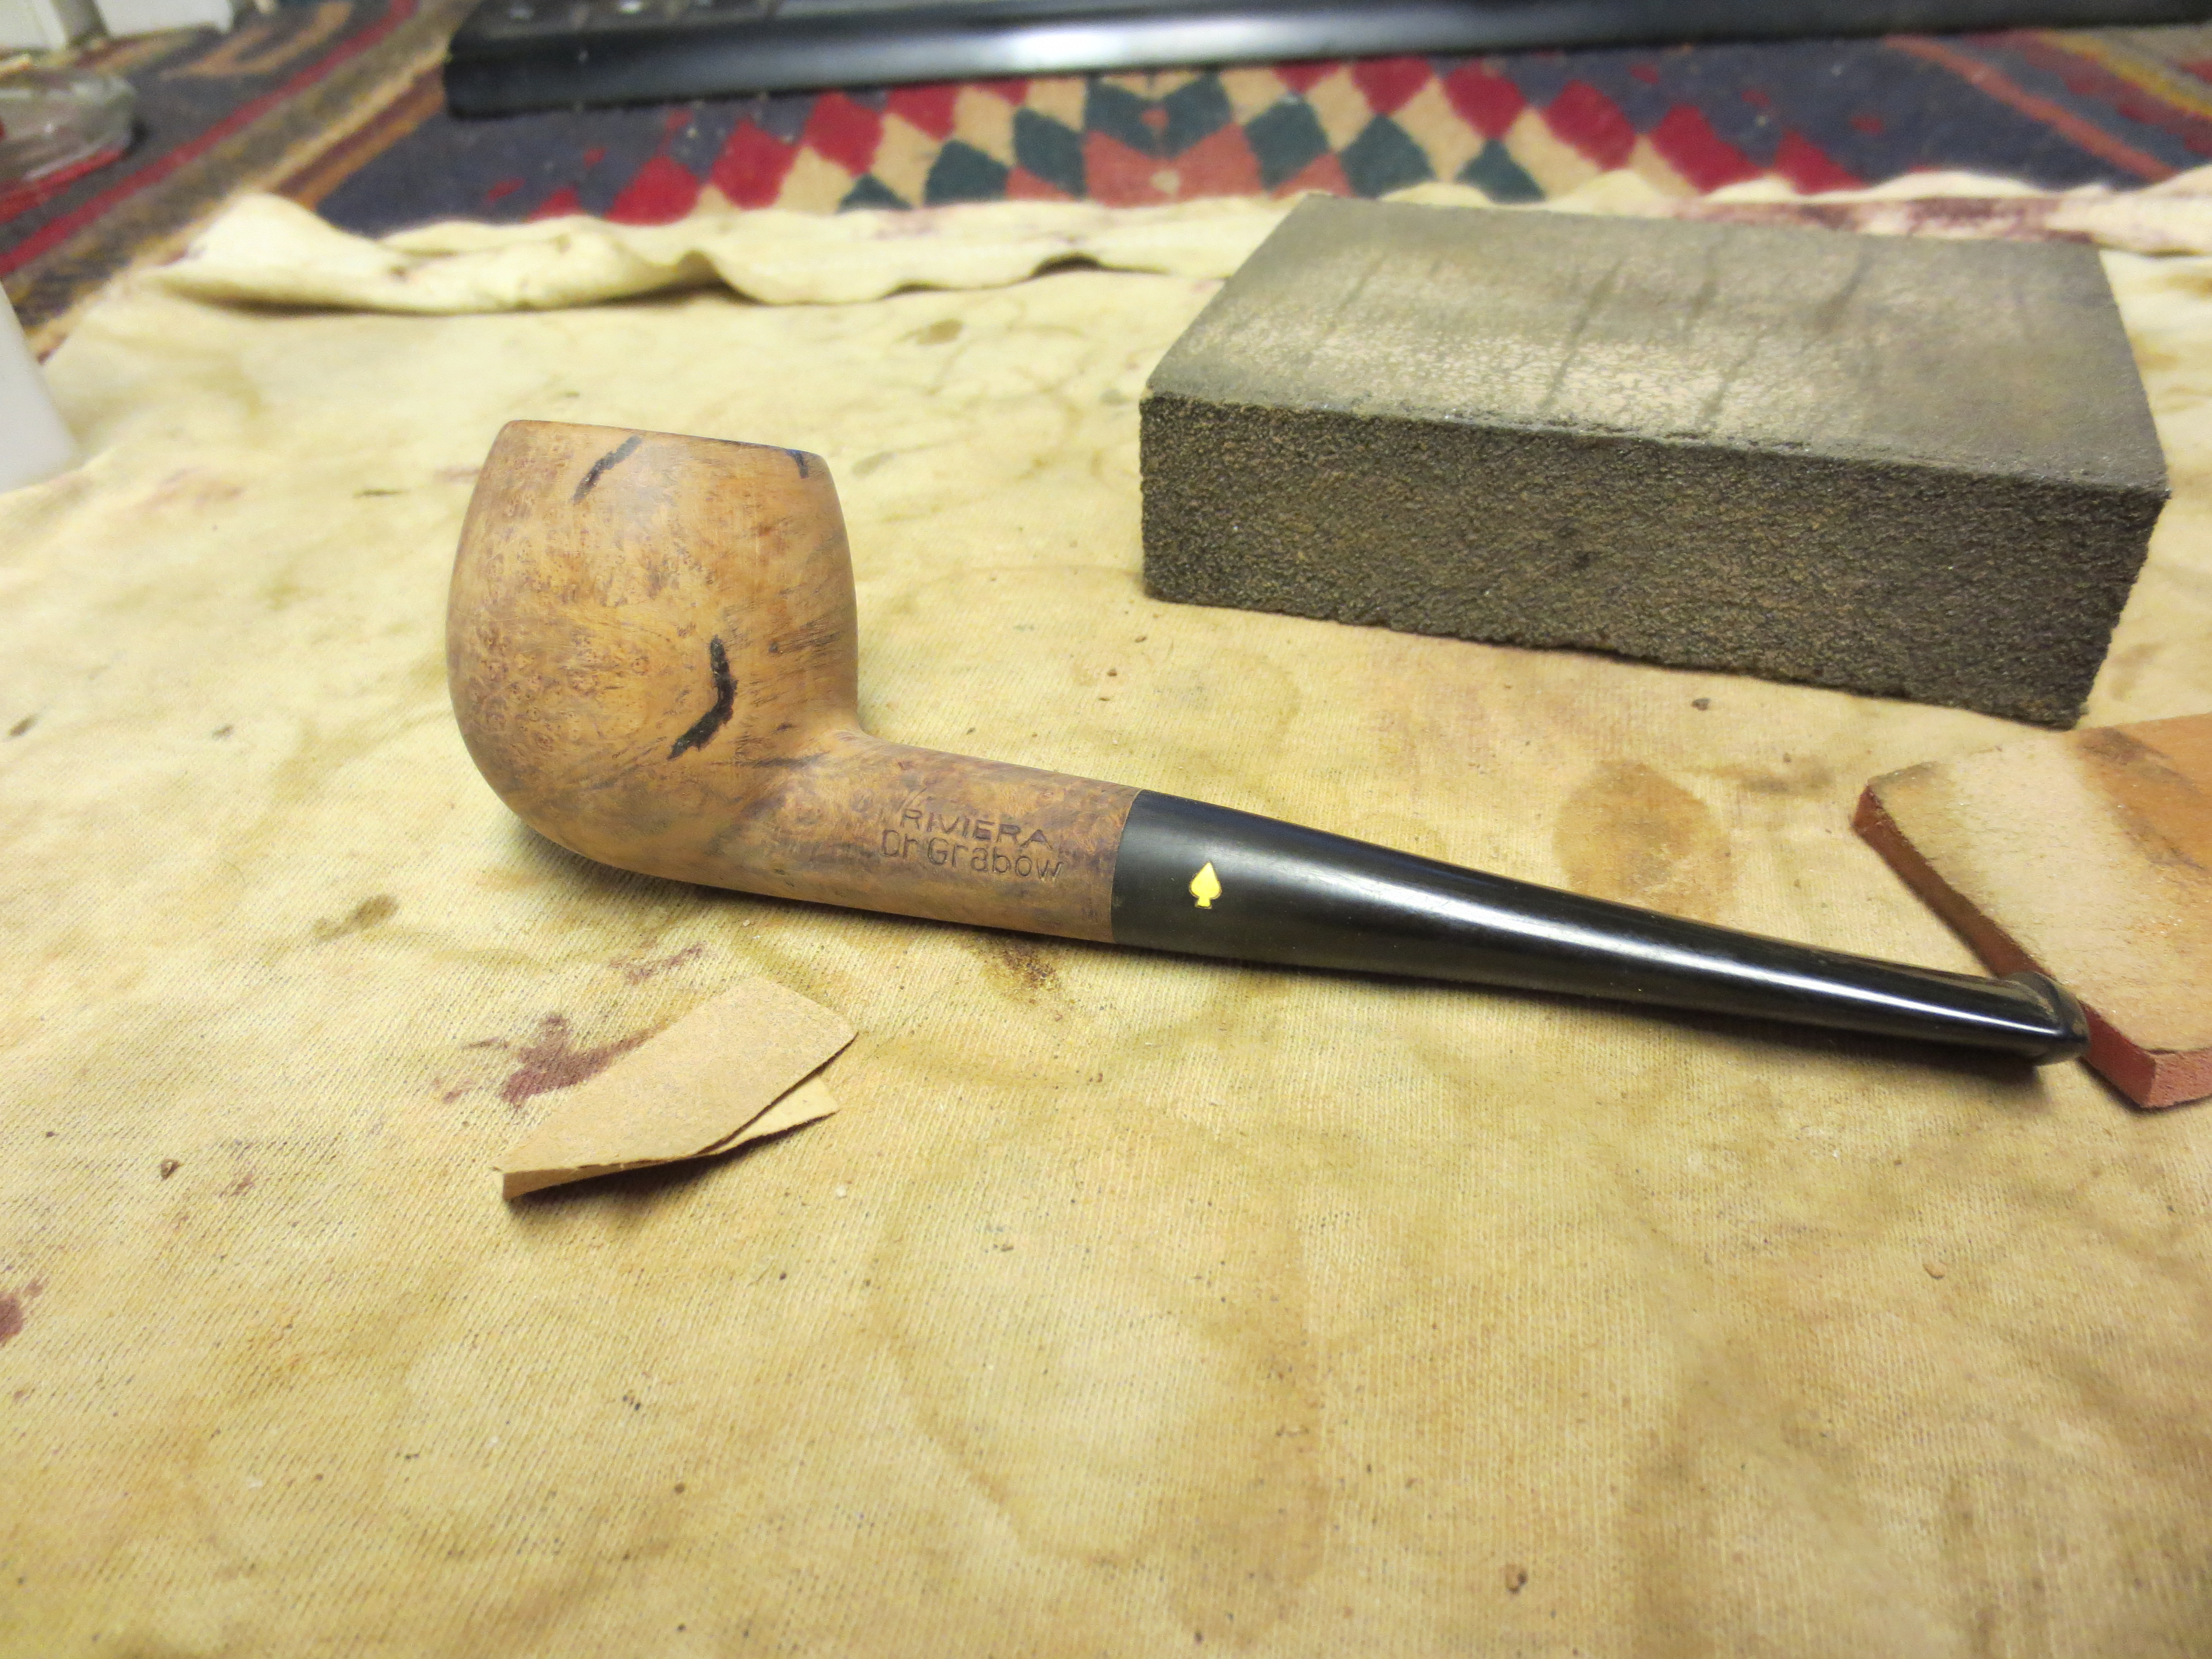
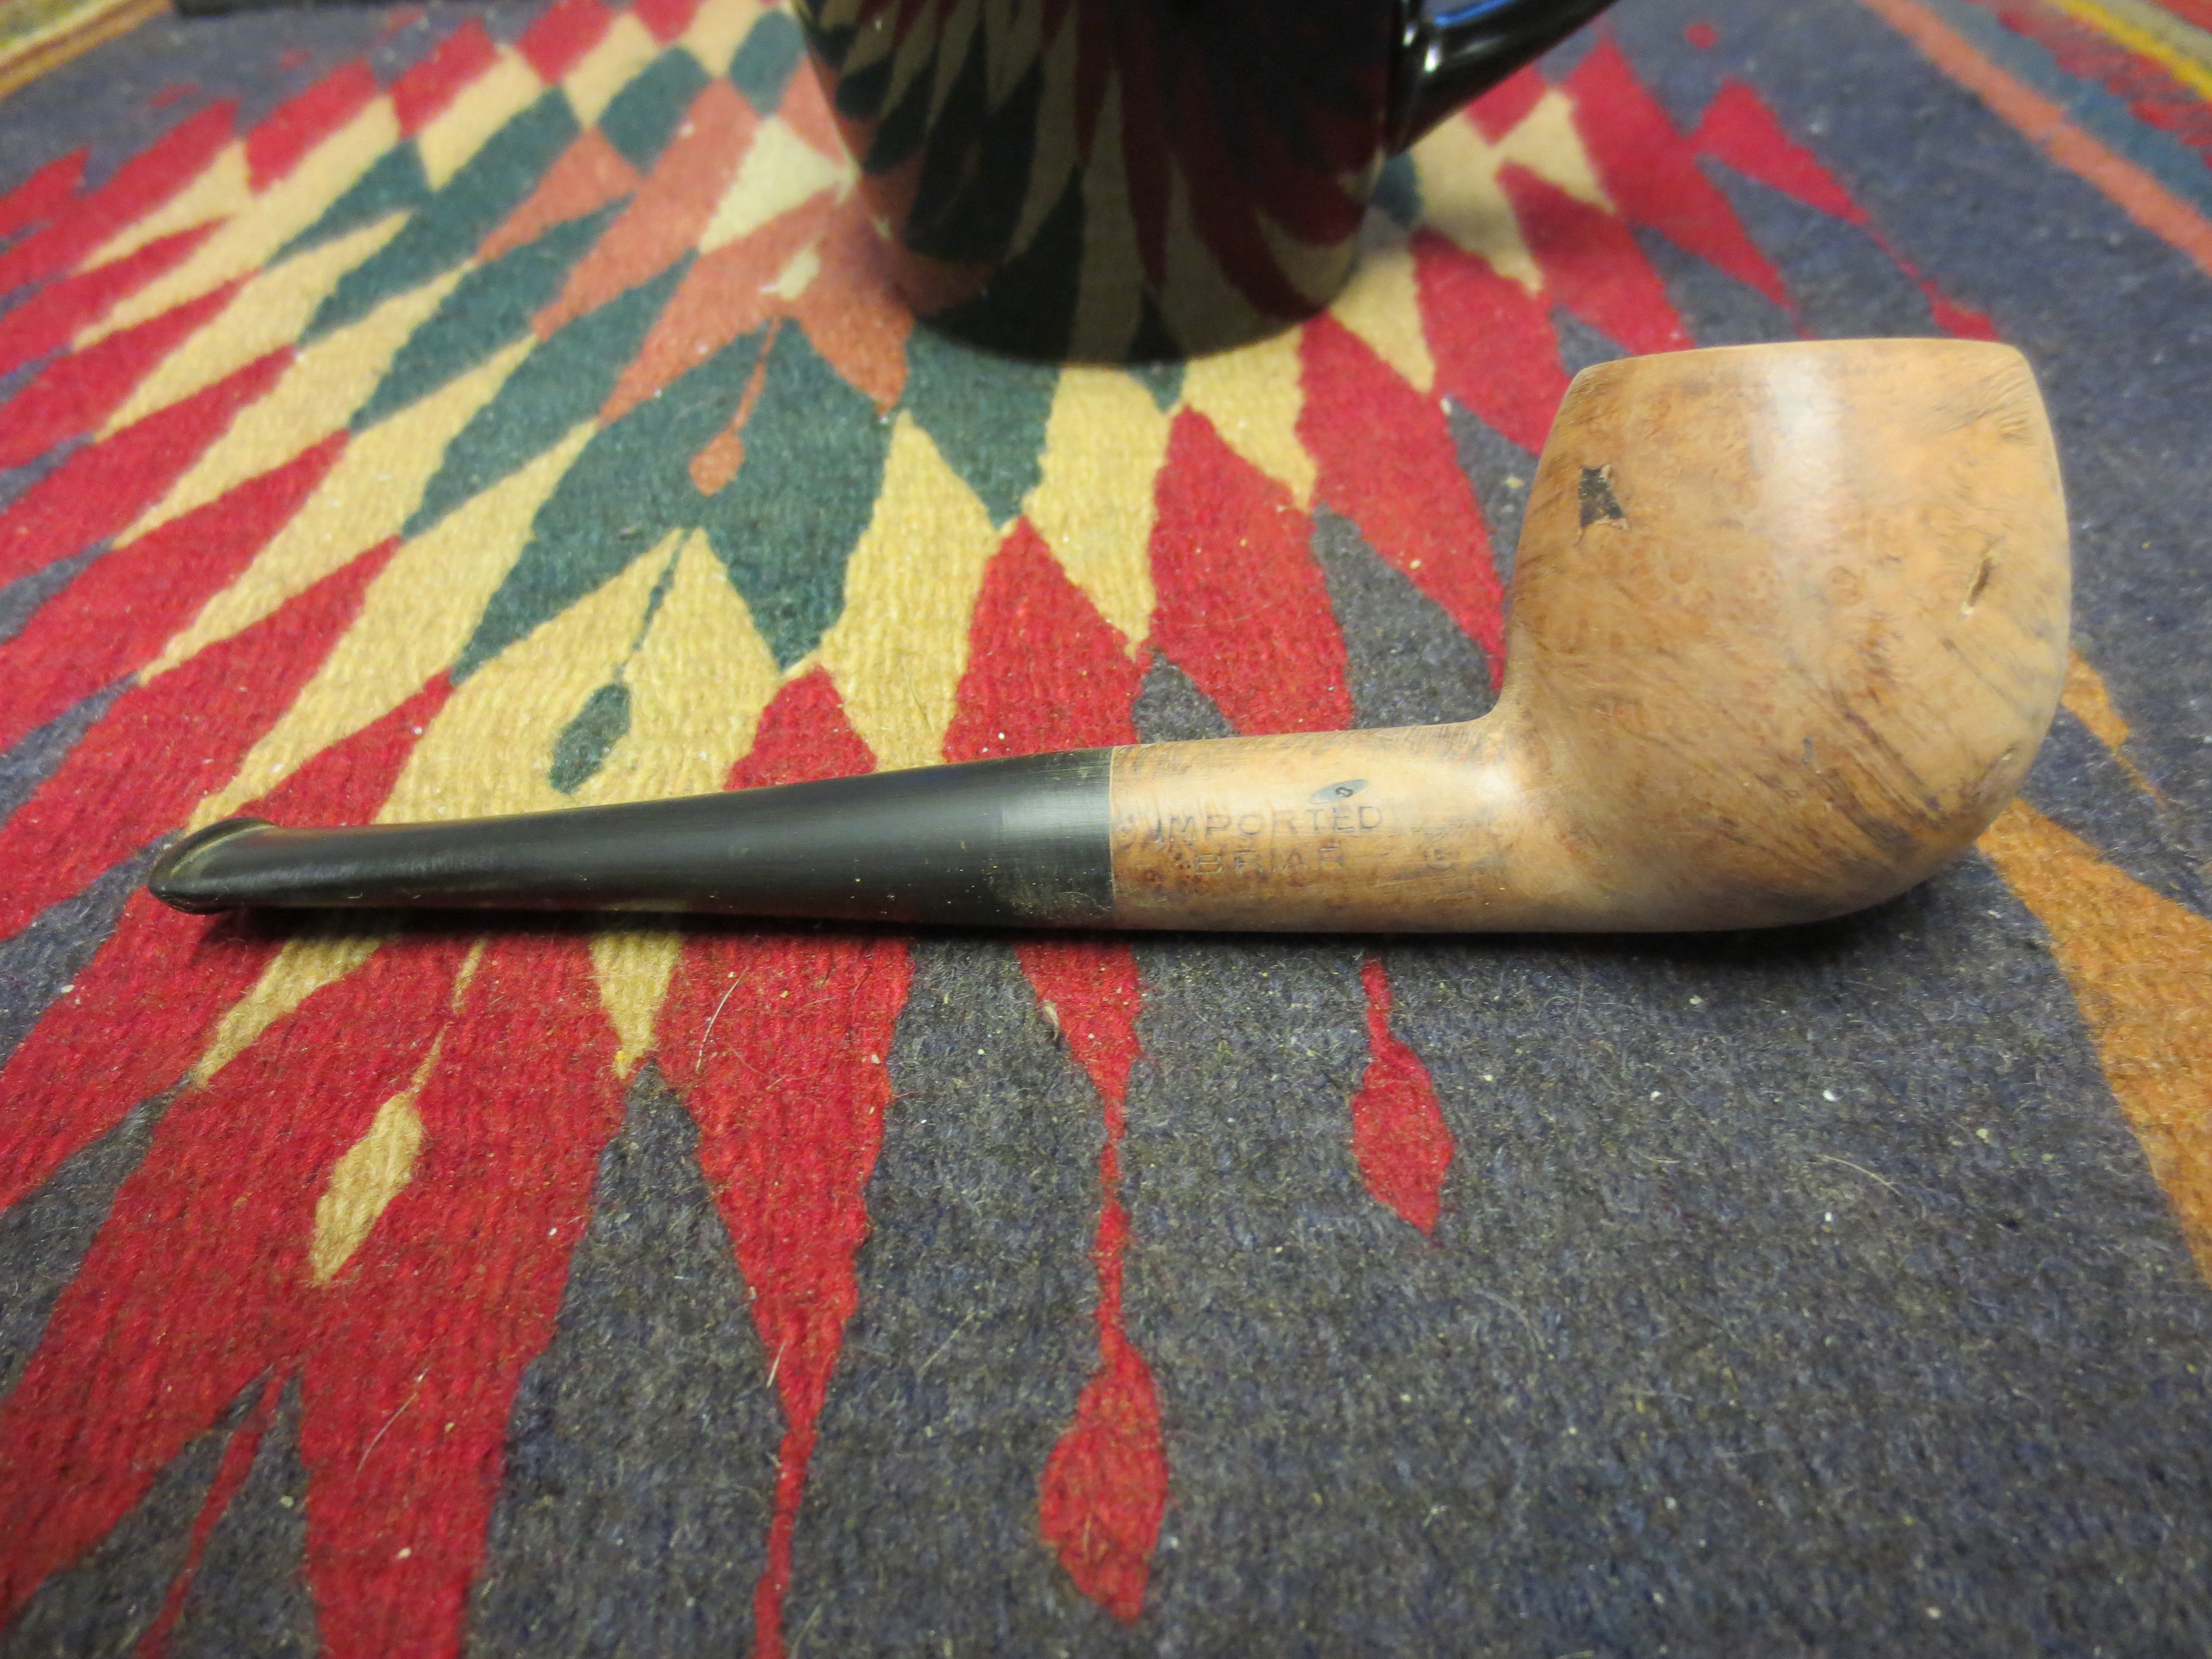
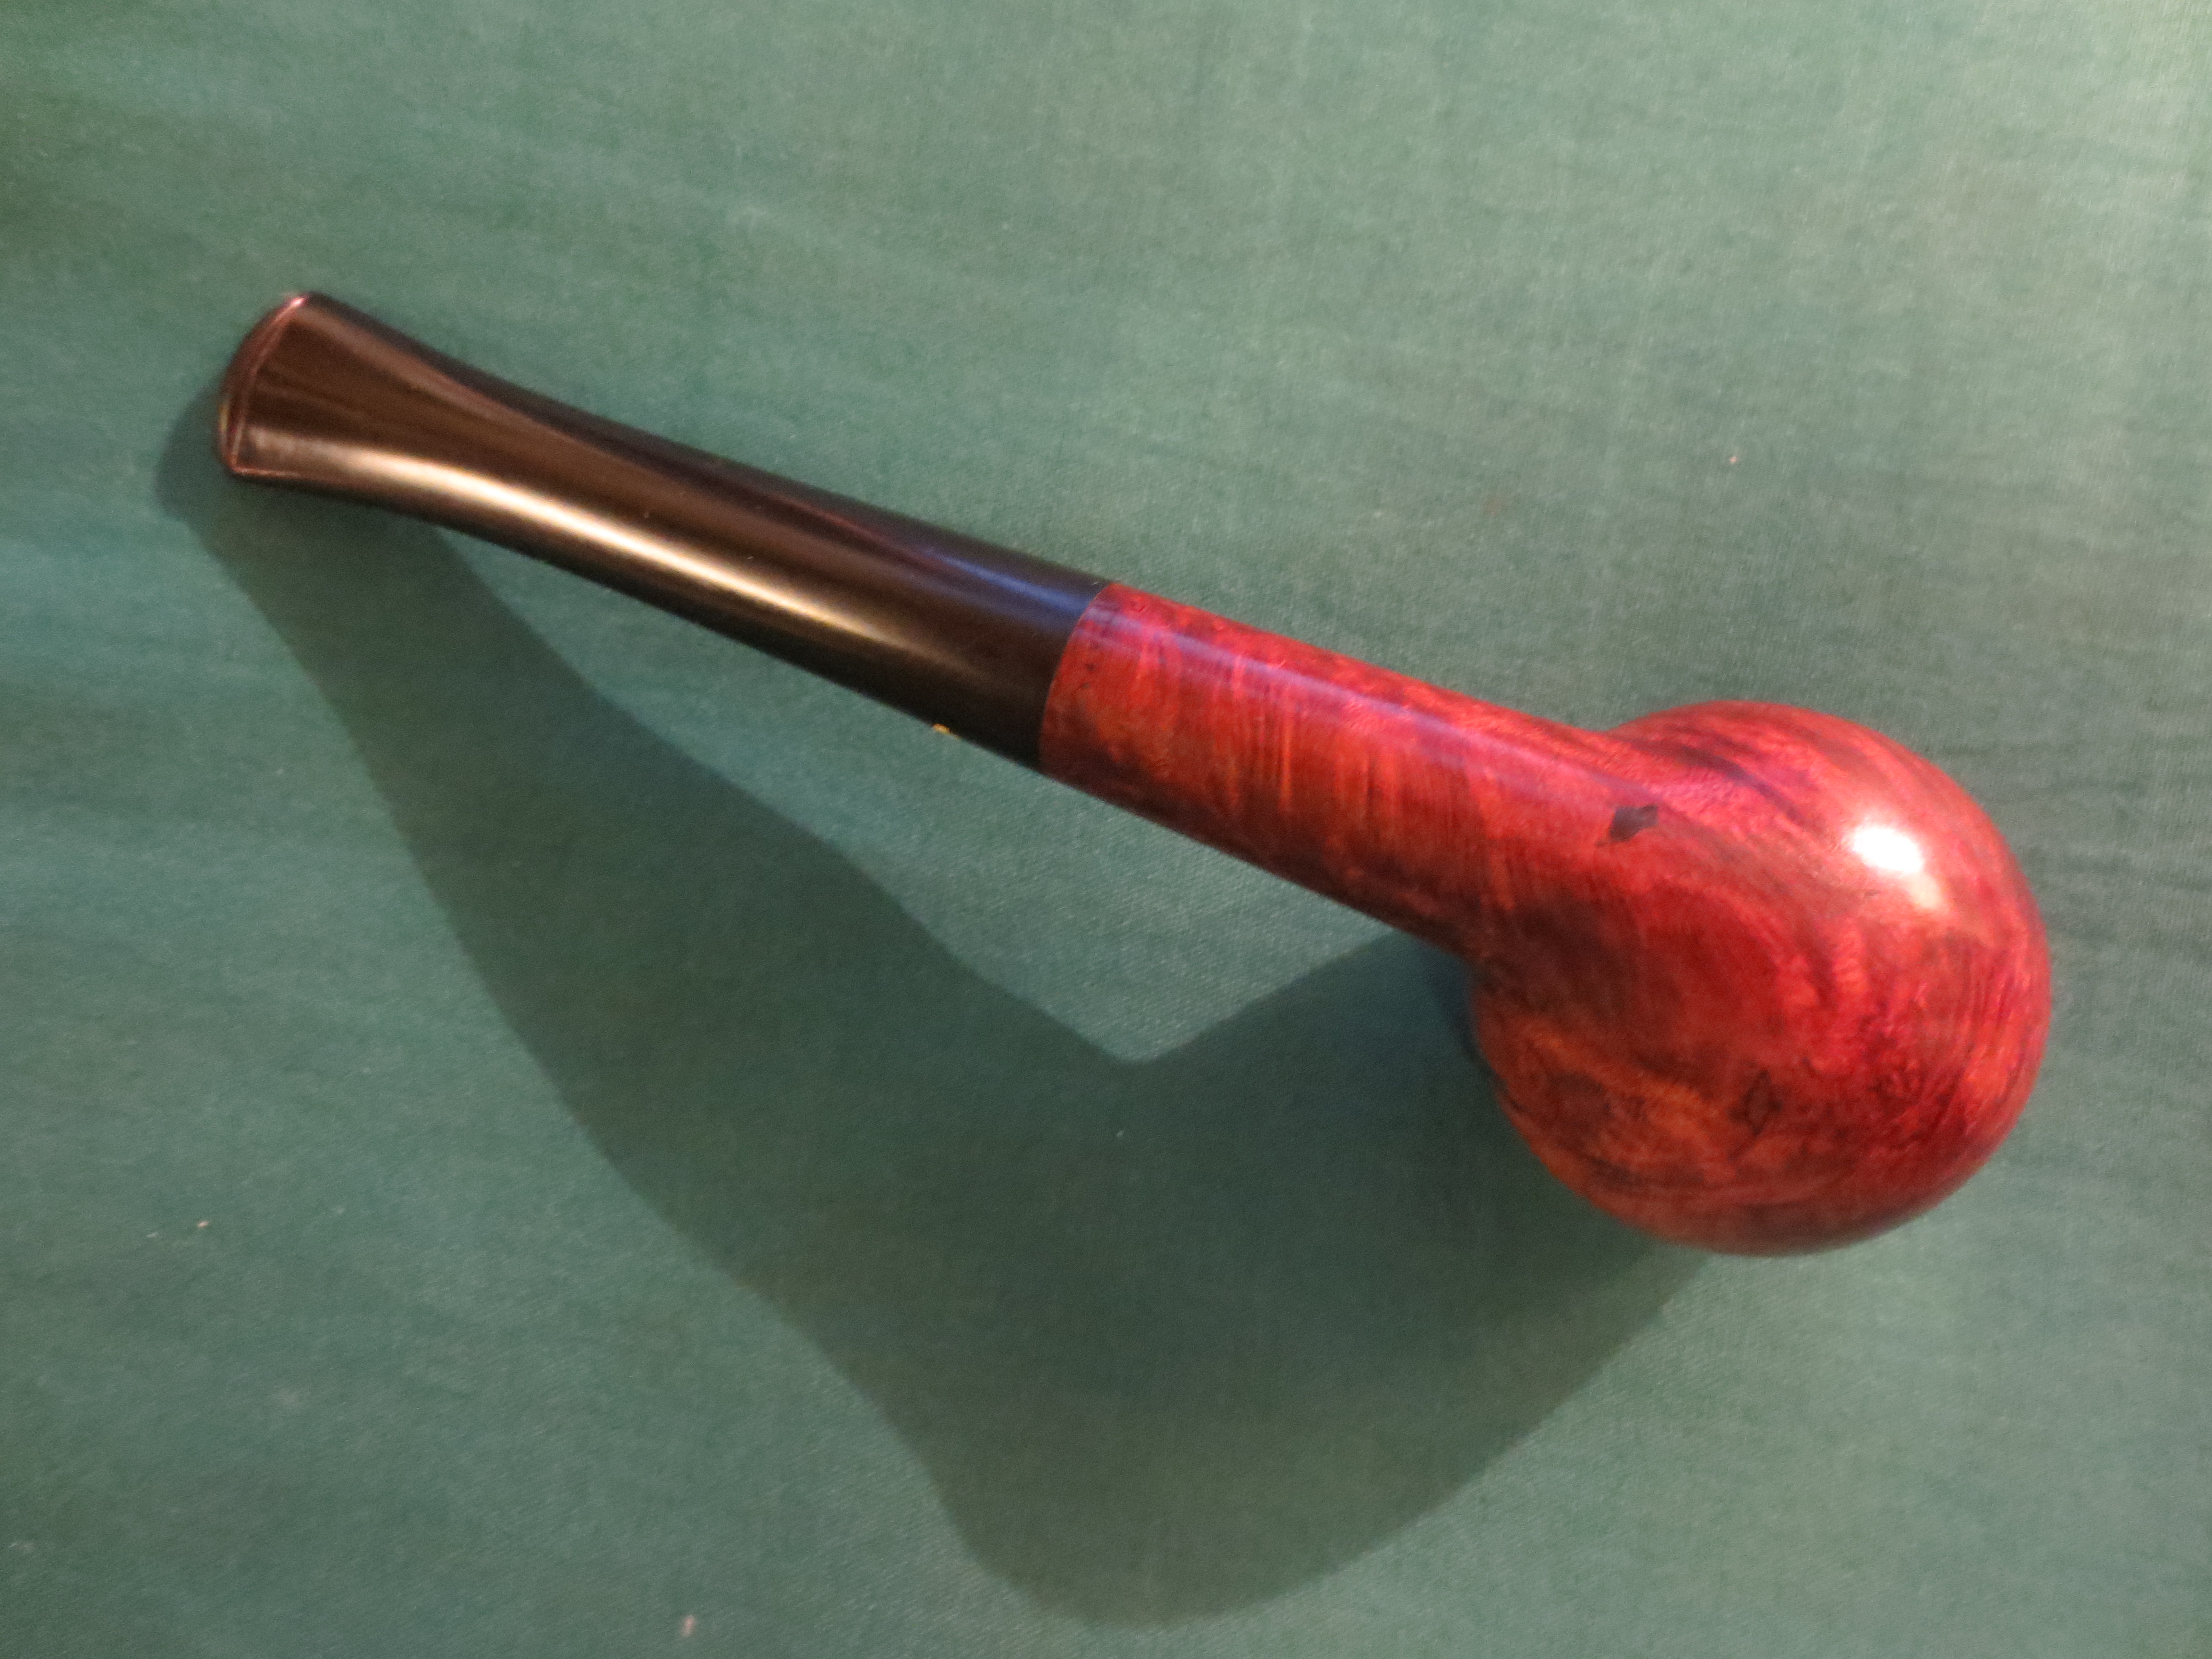
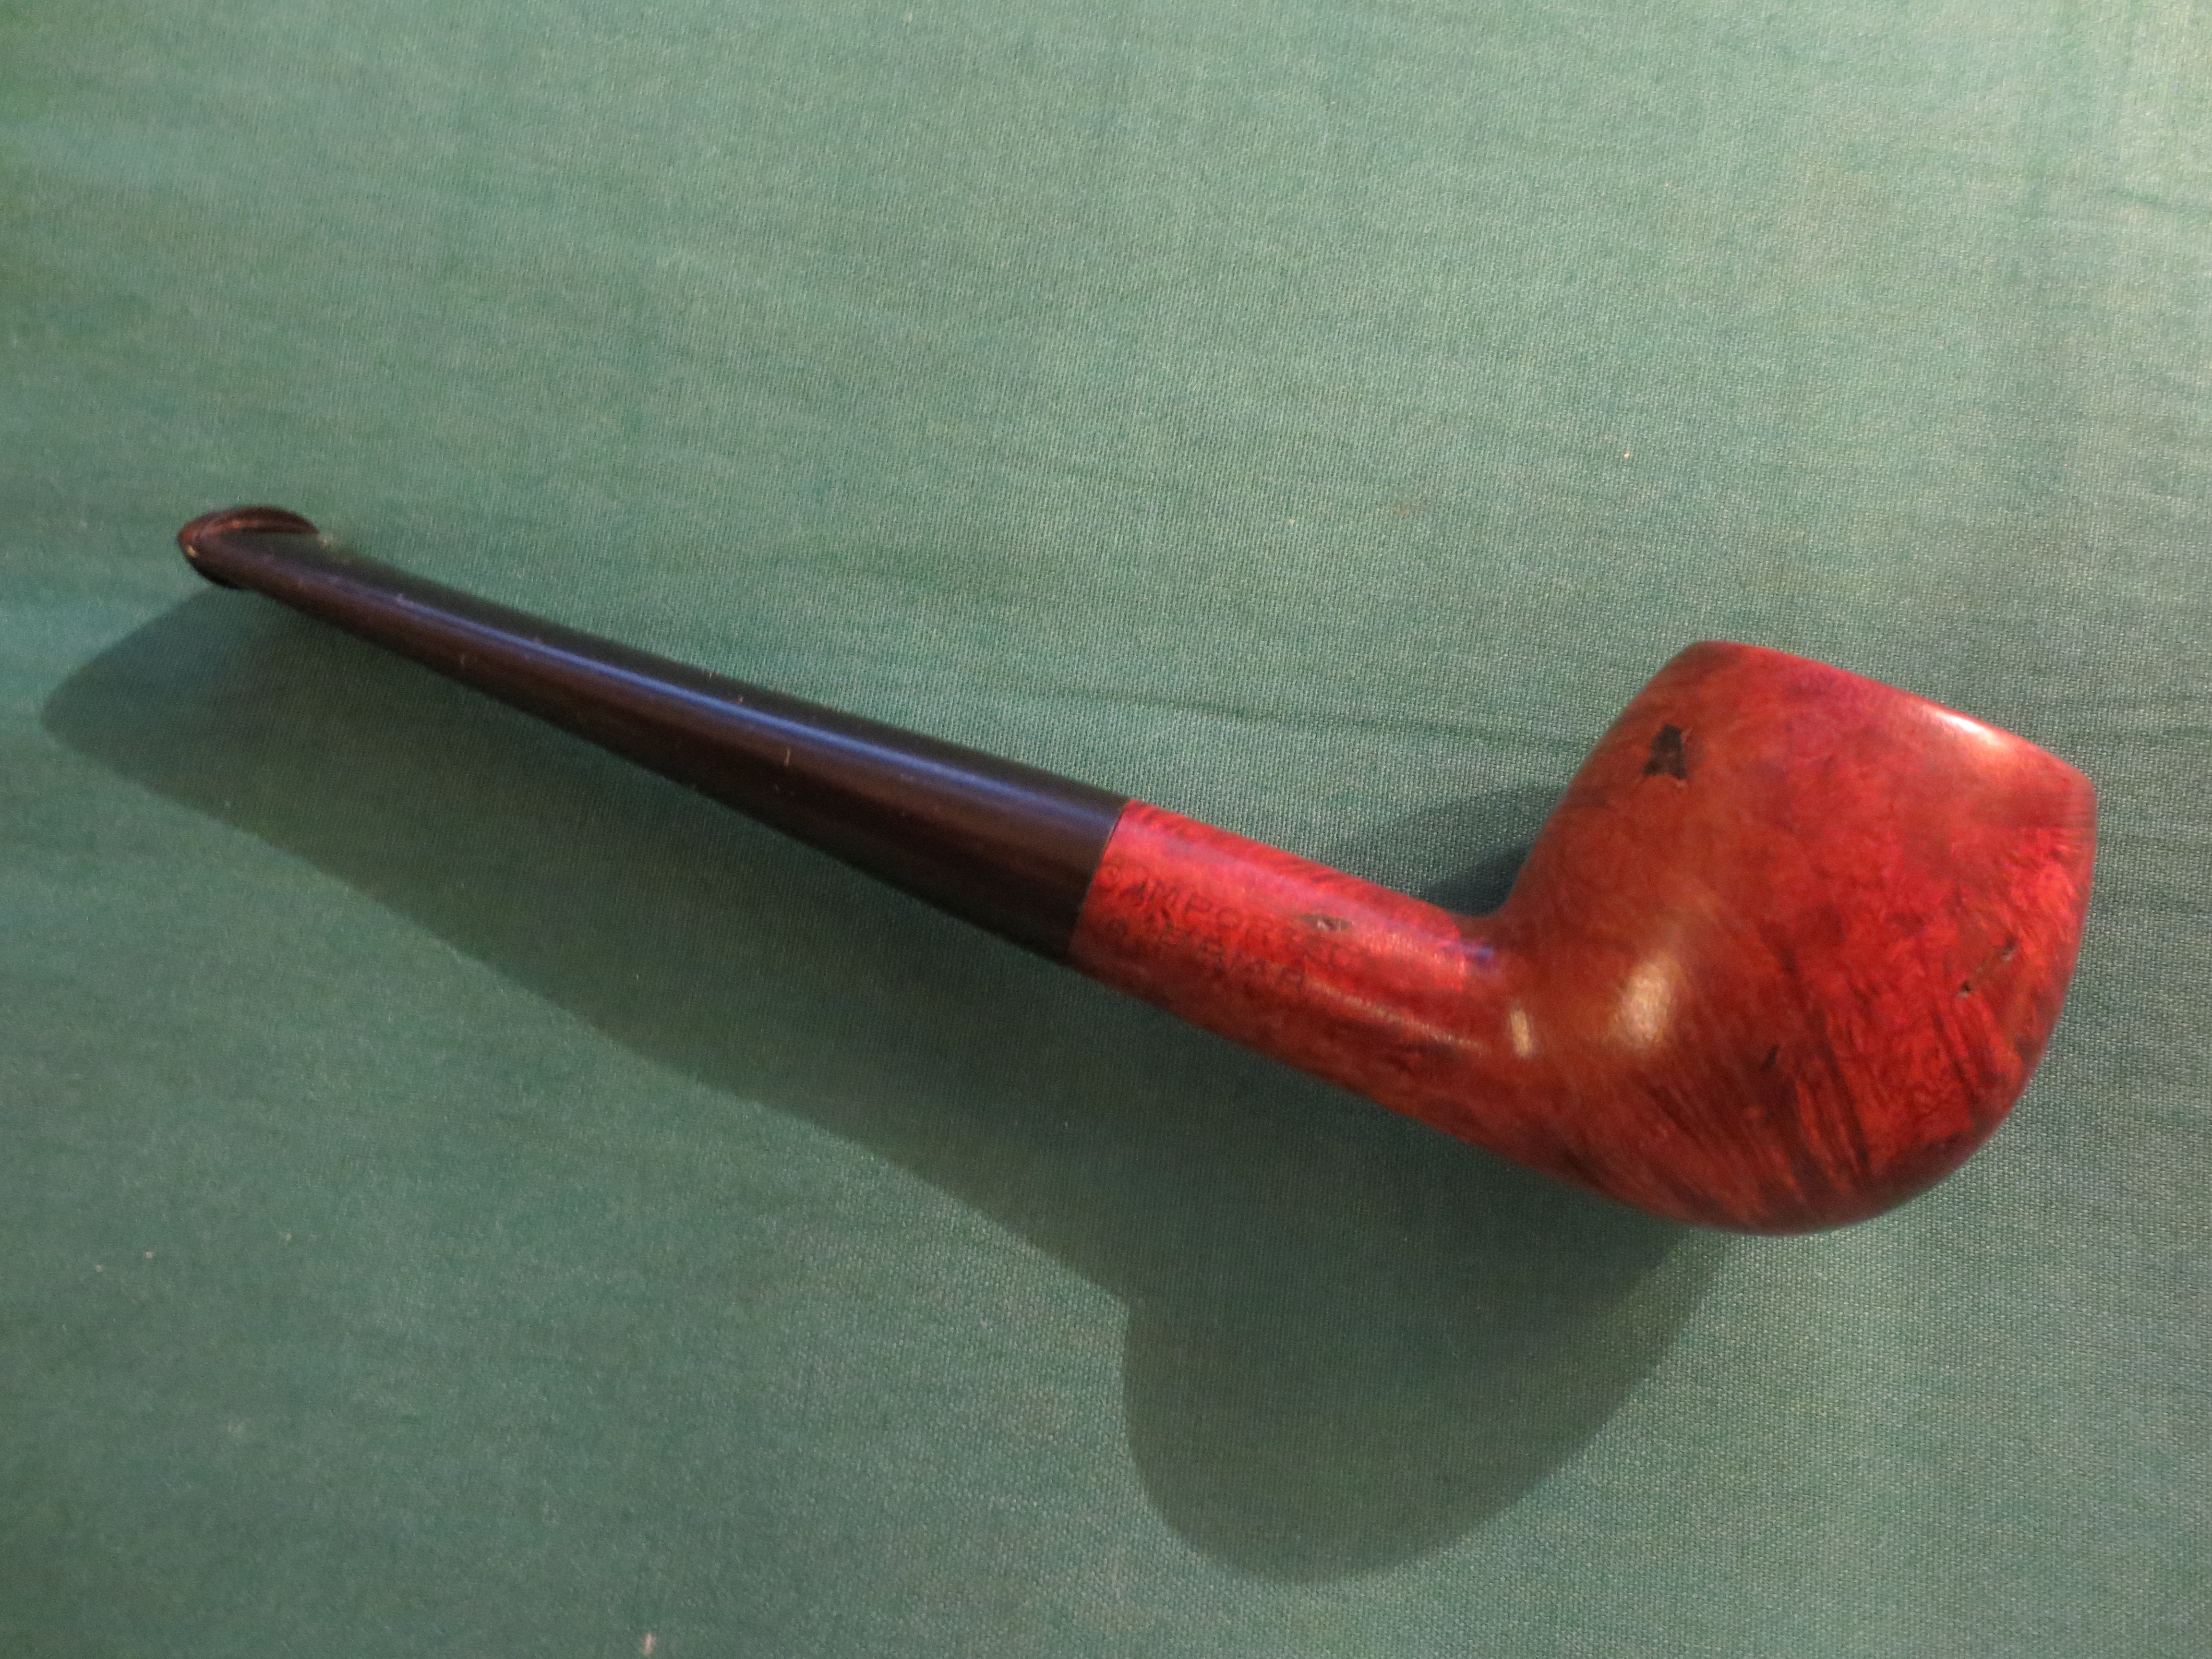
I decided to stain the pipe with an oxblood aniline stain. I applied it with a cotton swab, flamed it, restained and reflamed it. Once it was dry I hand buffed it with a soft cotton cloth before taking it to the buffer. The next four photos show the pipe after the staining and initial hand buff.

ImageImageIMG_0428 IMG_0429

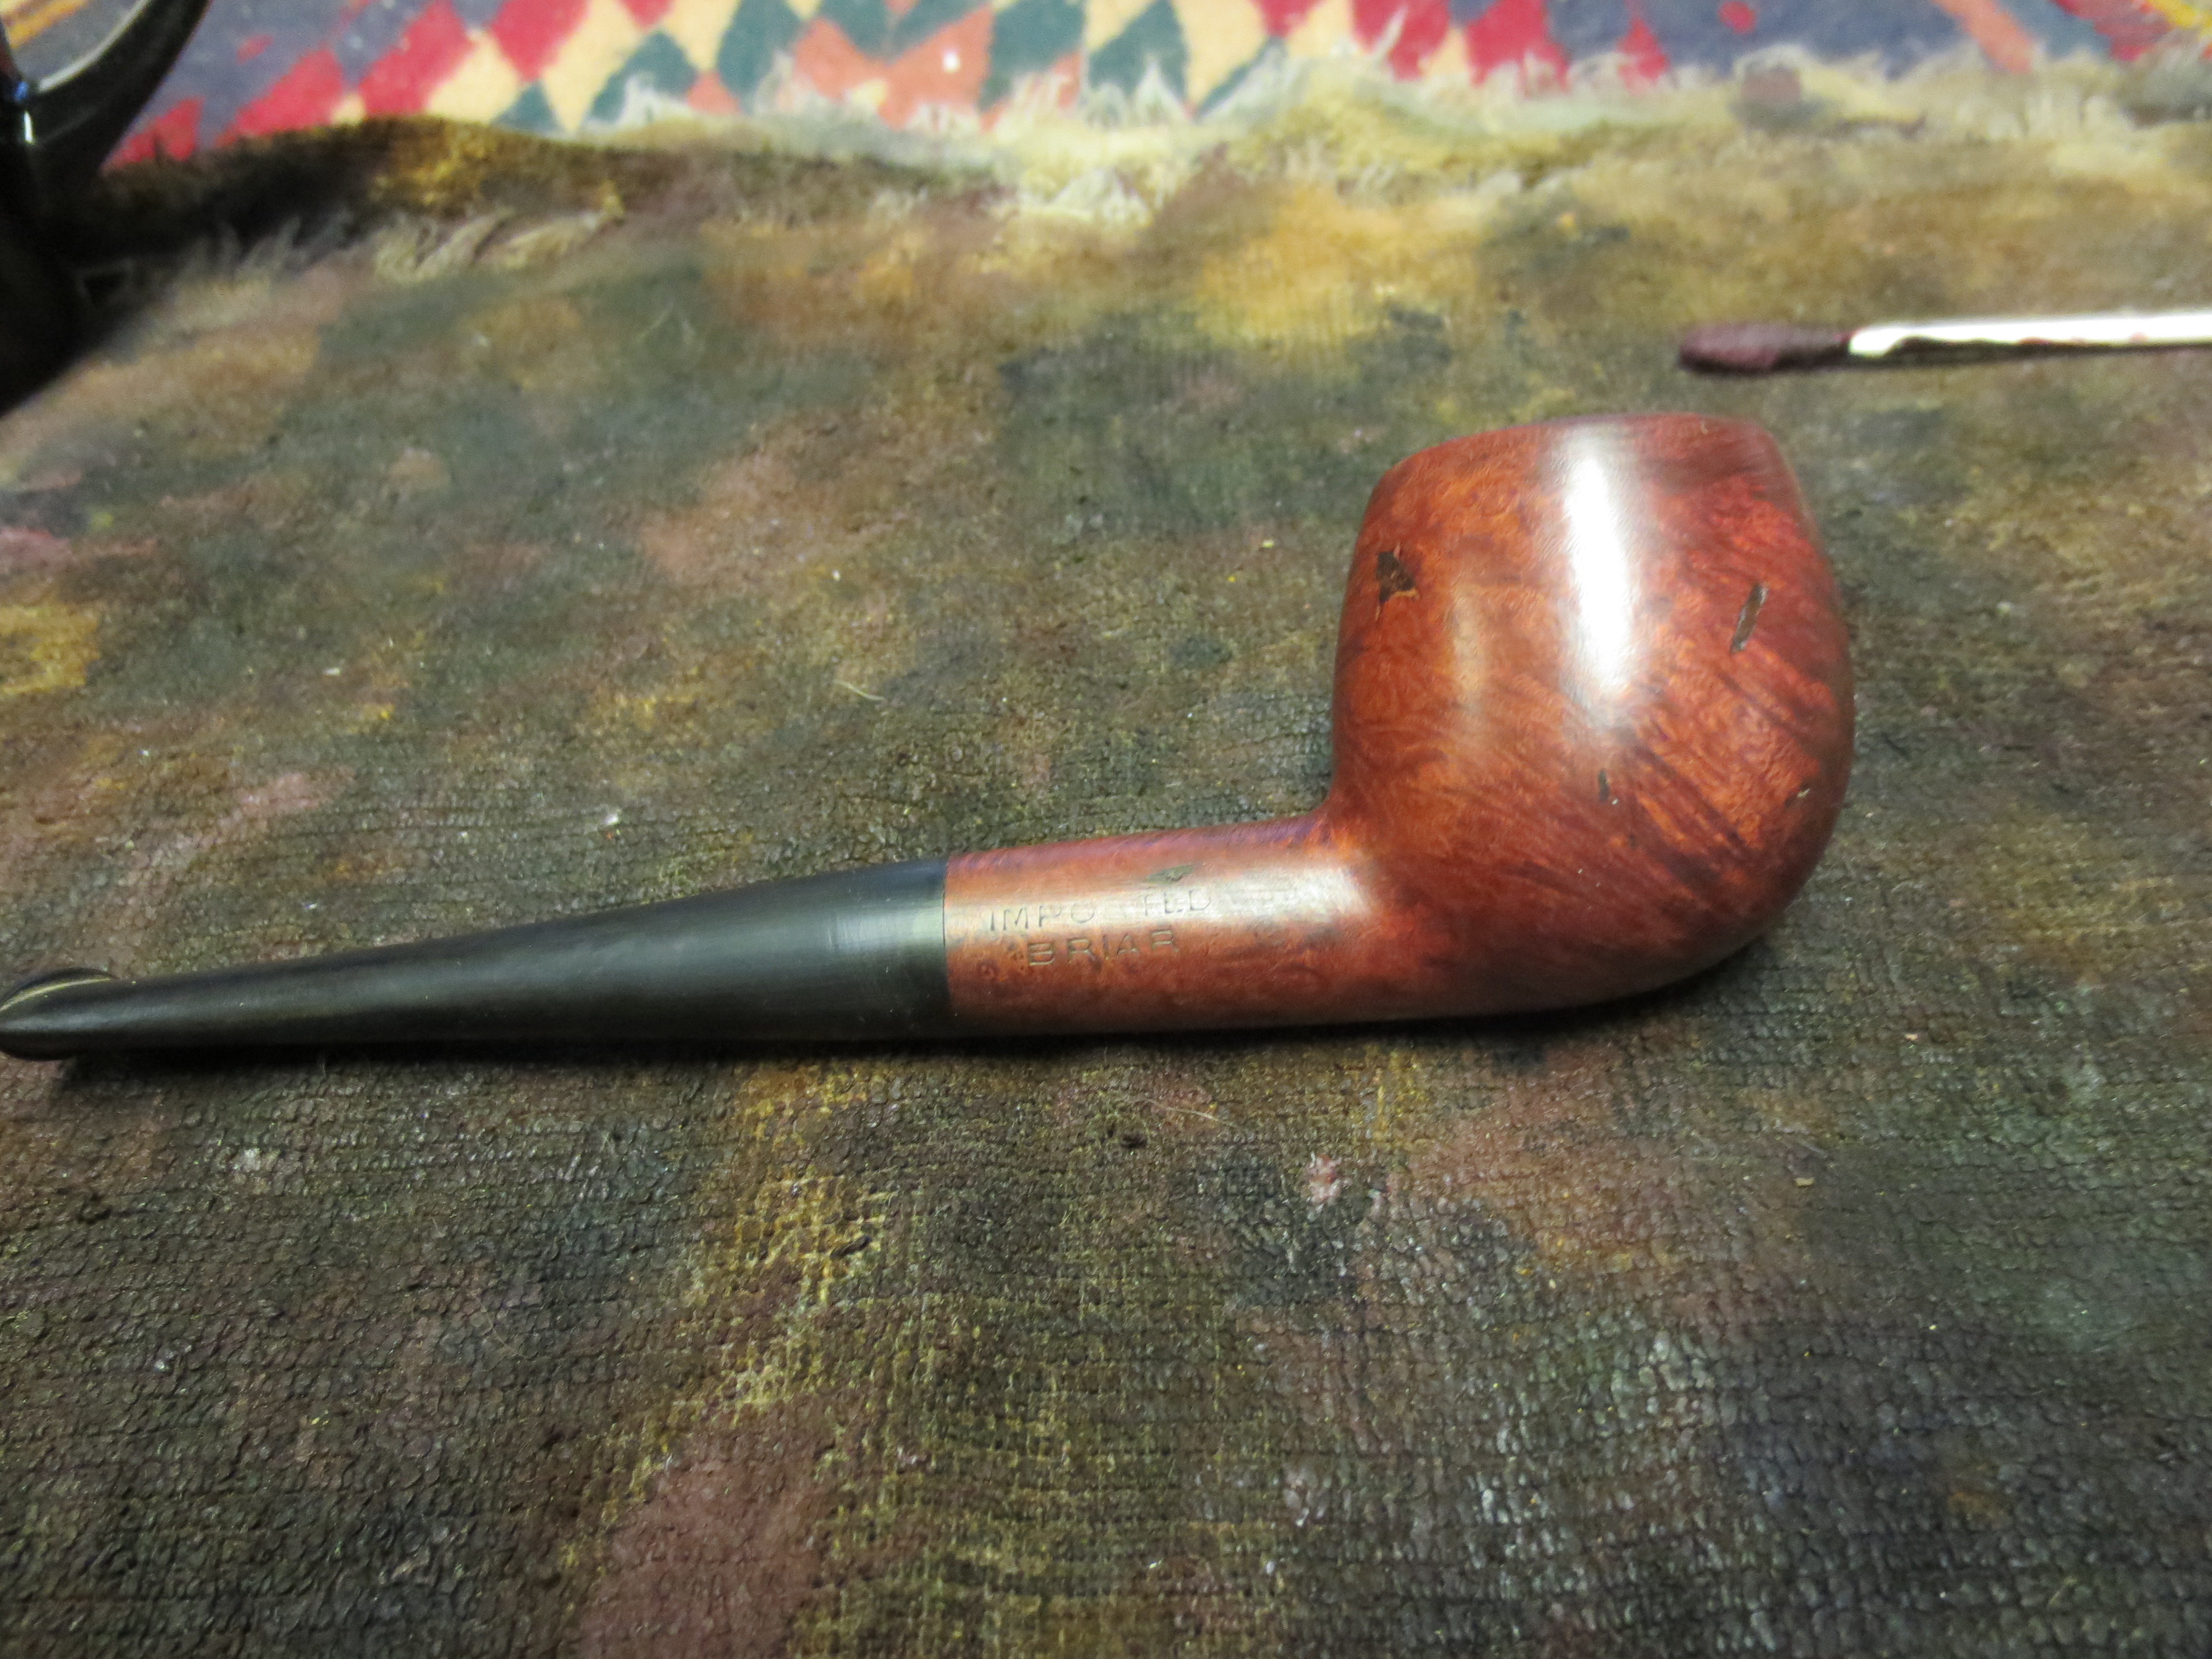
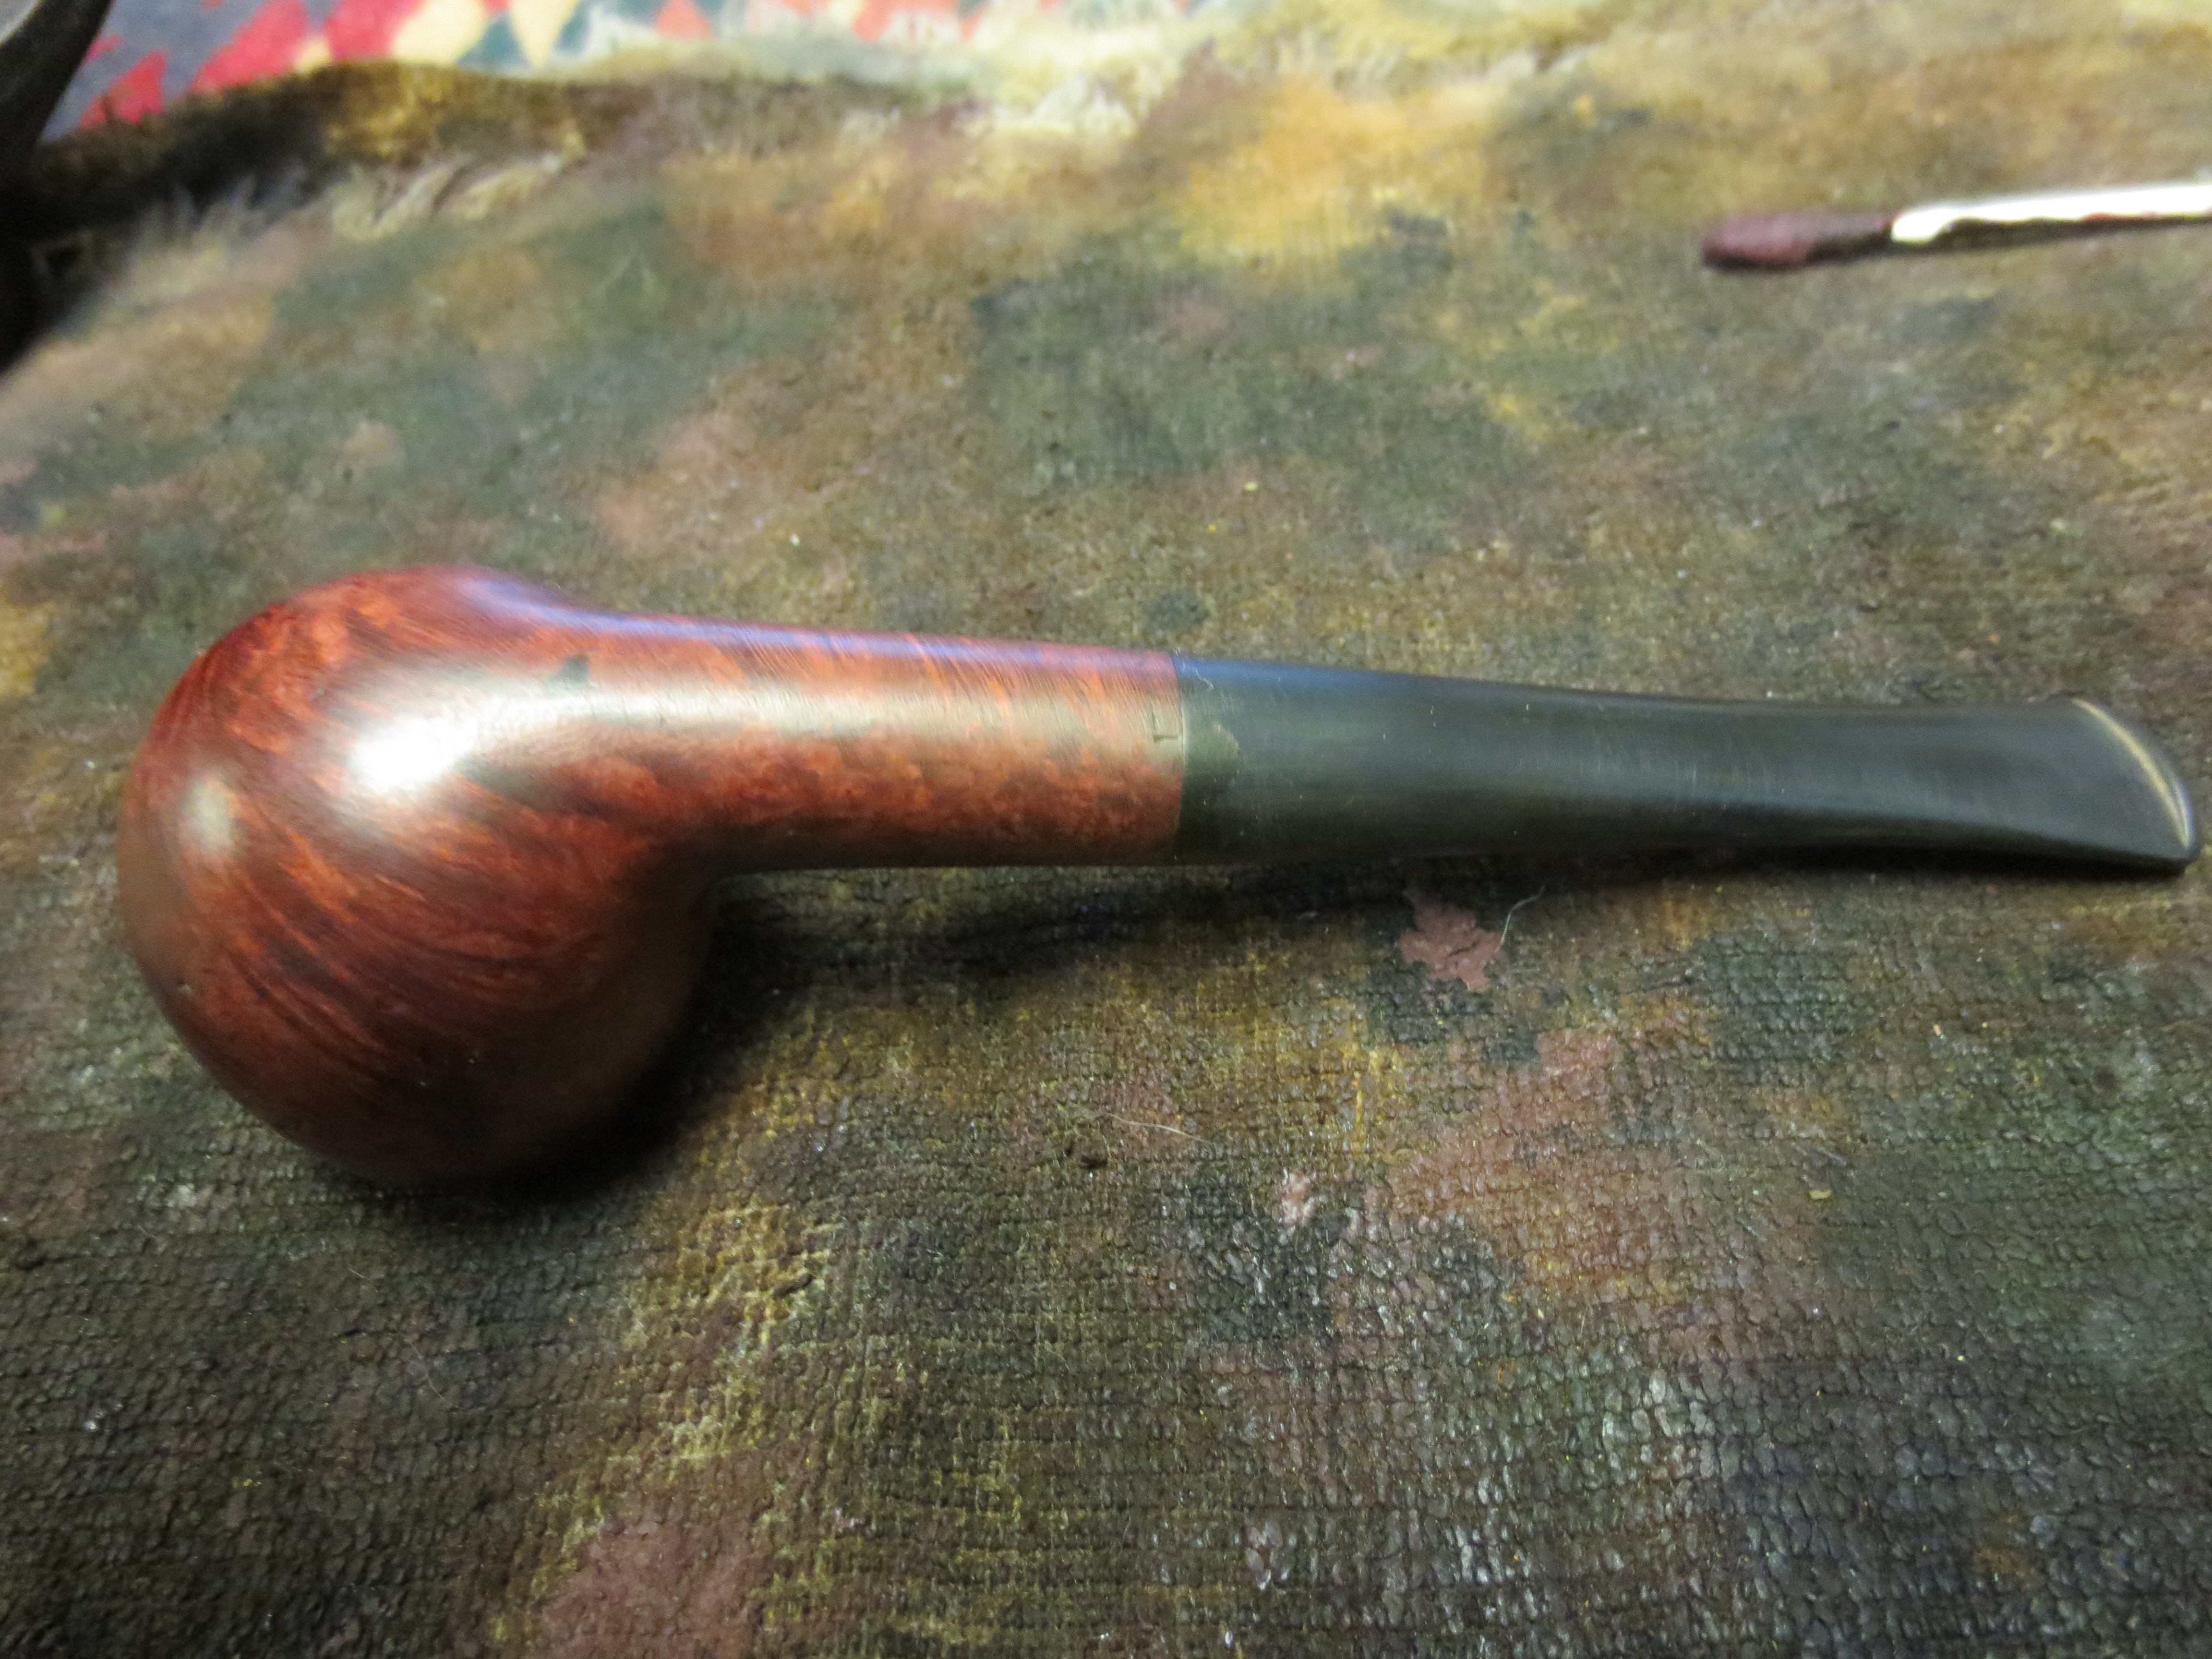
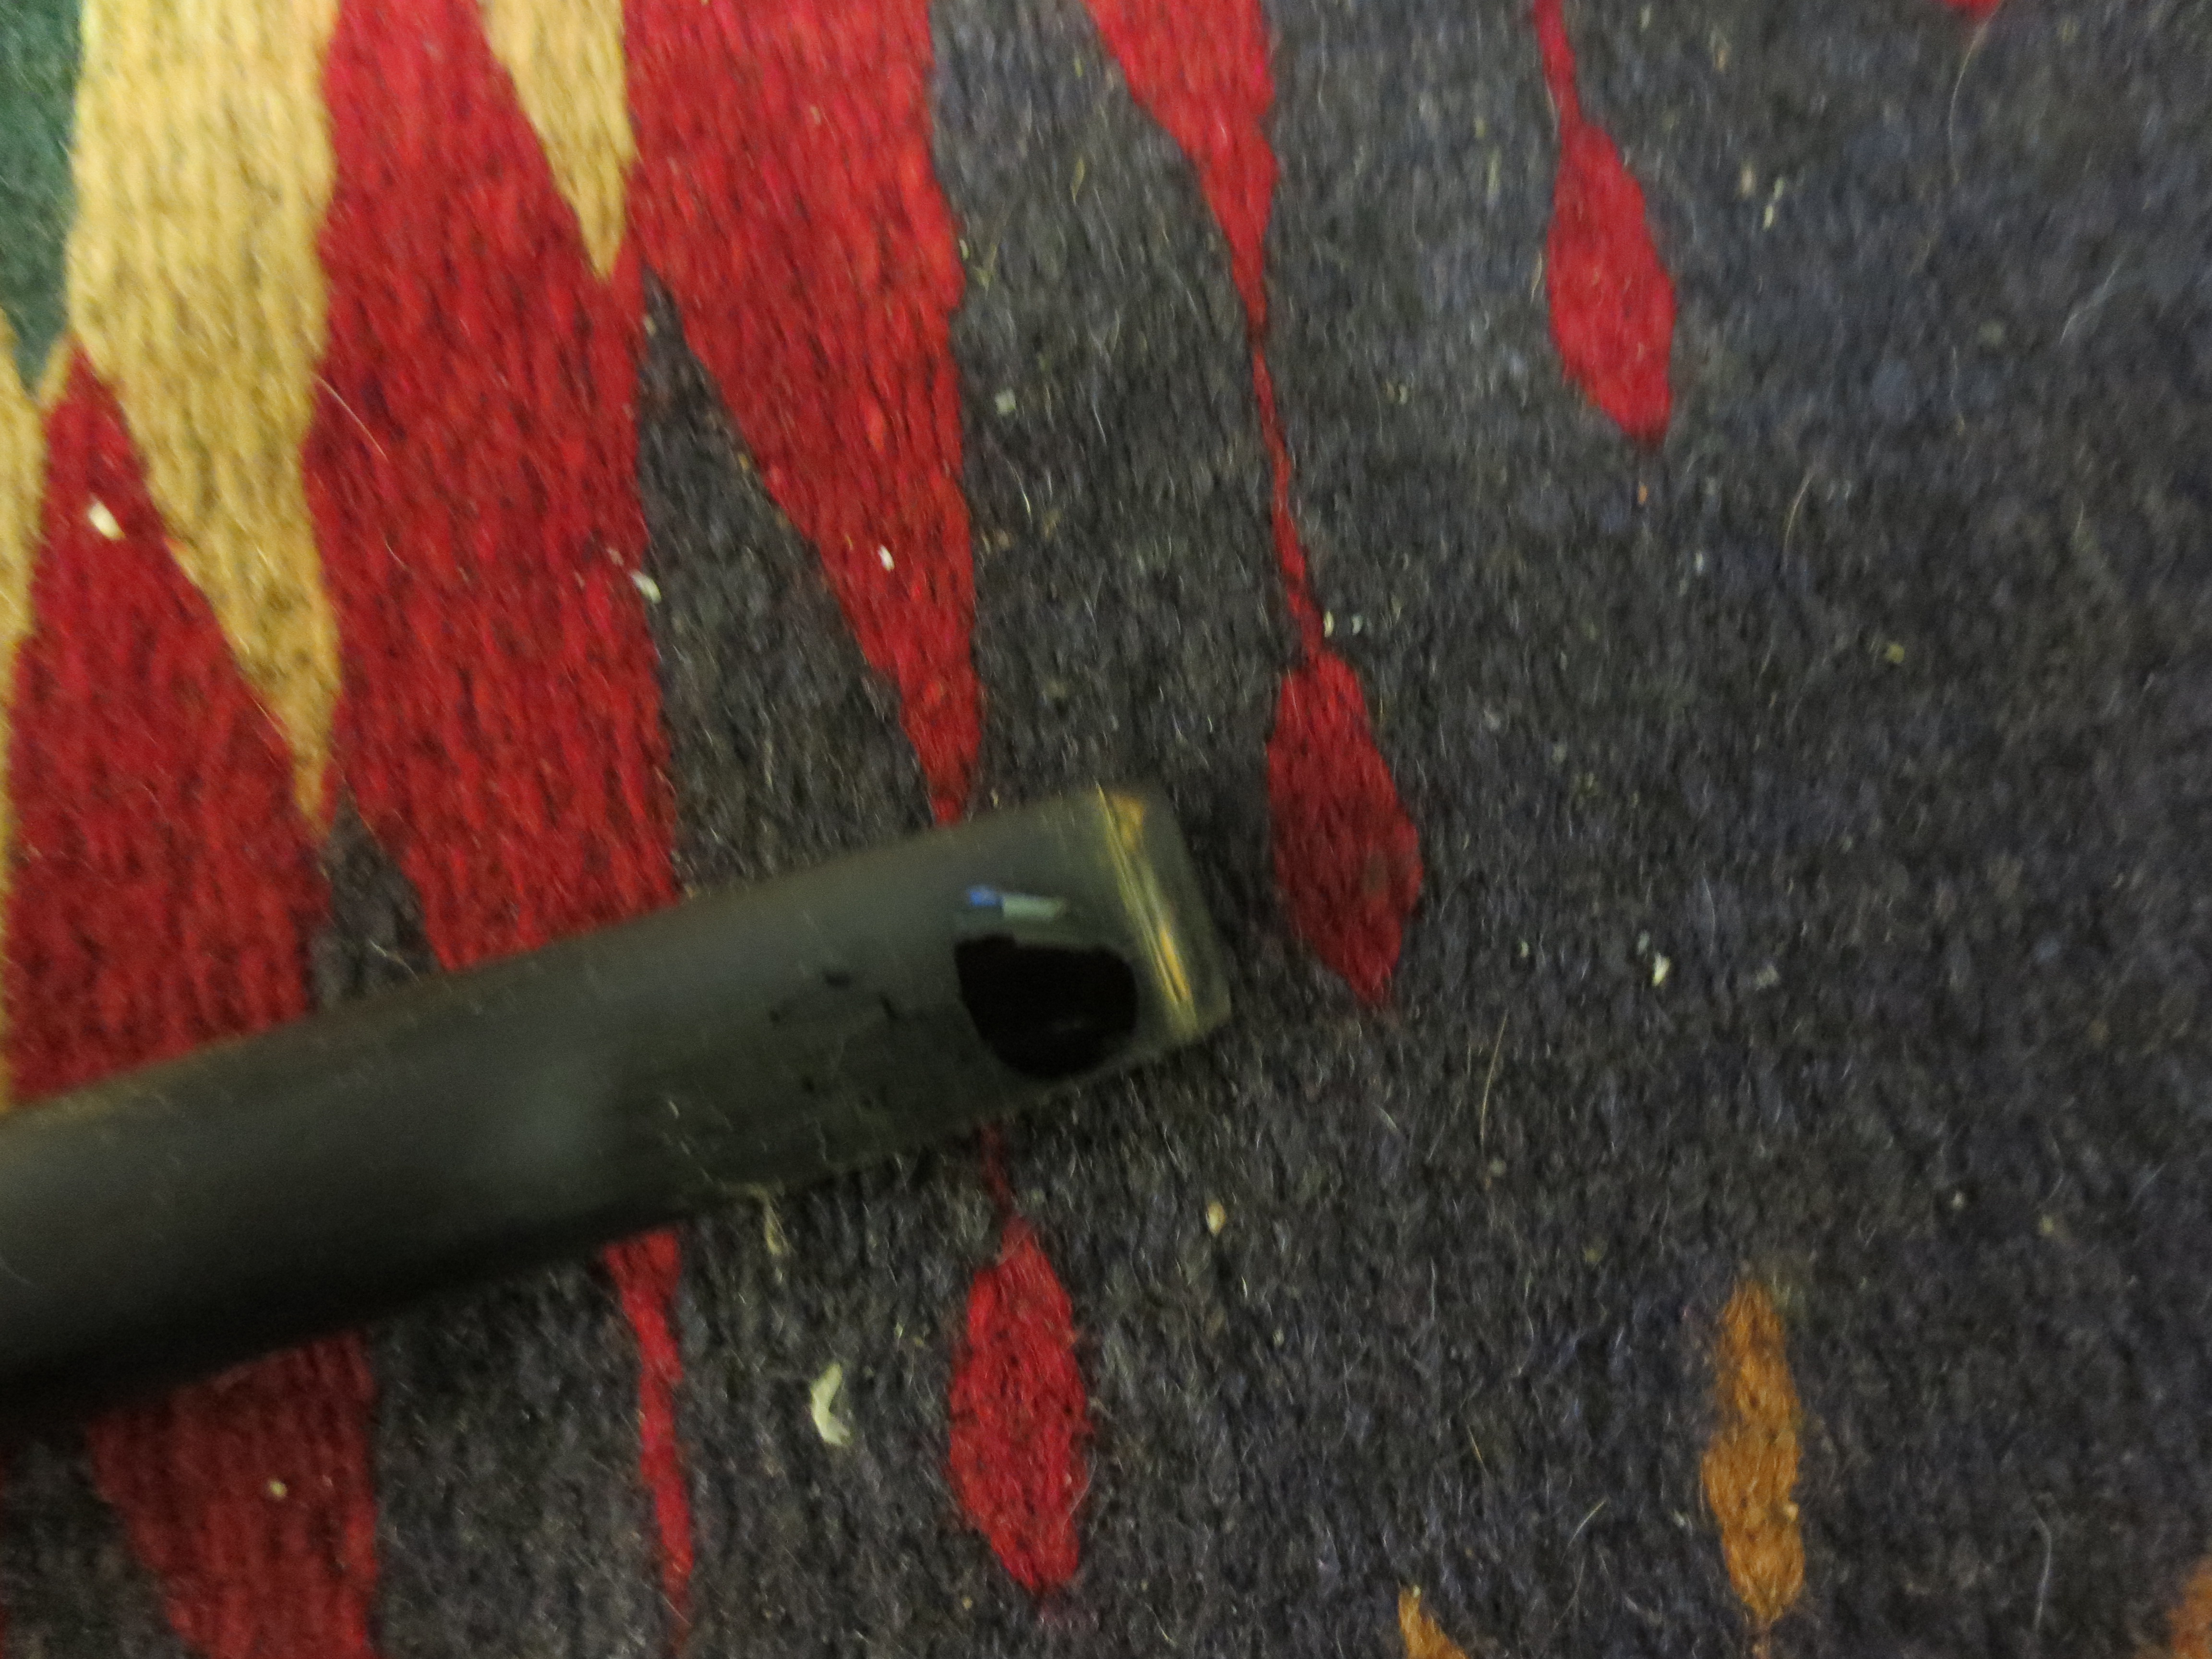
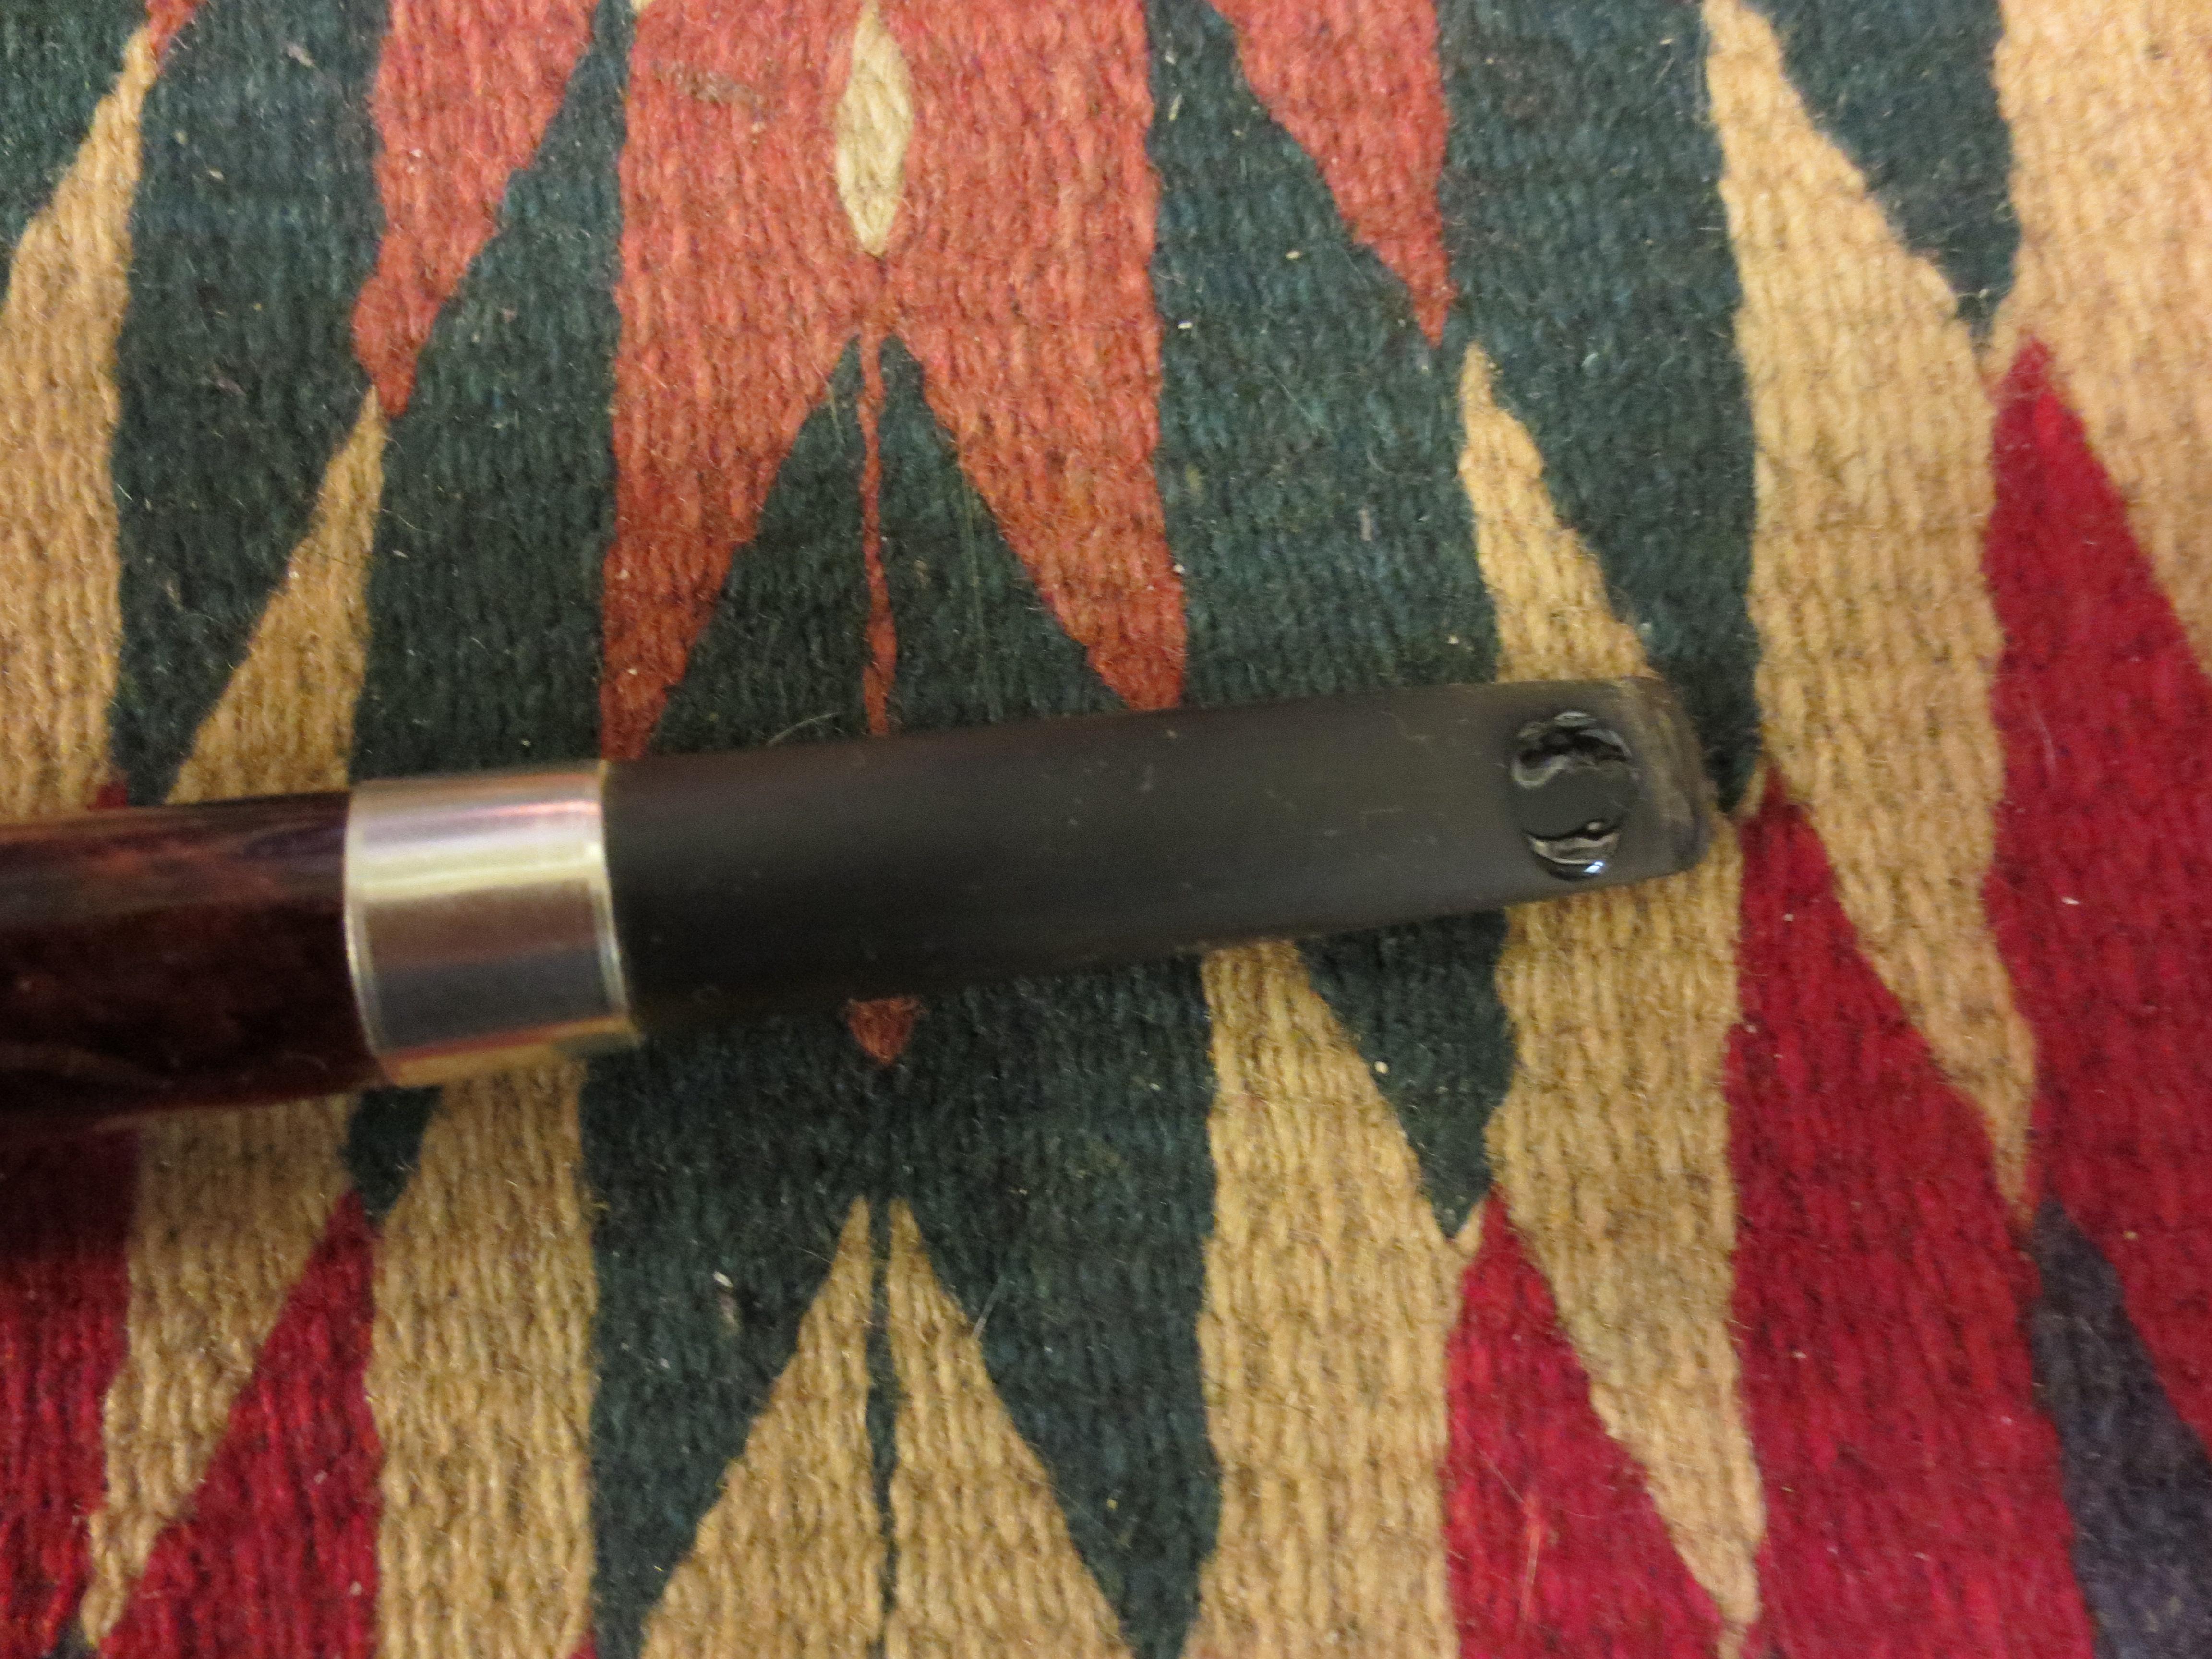
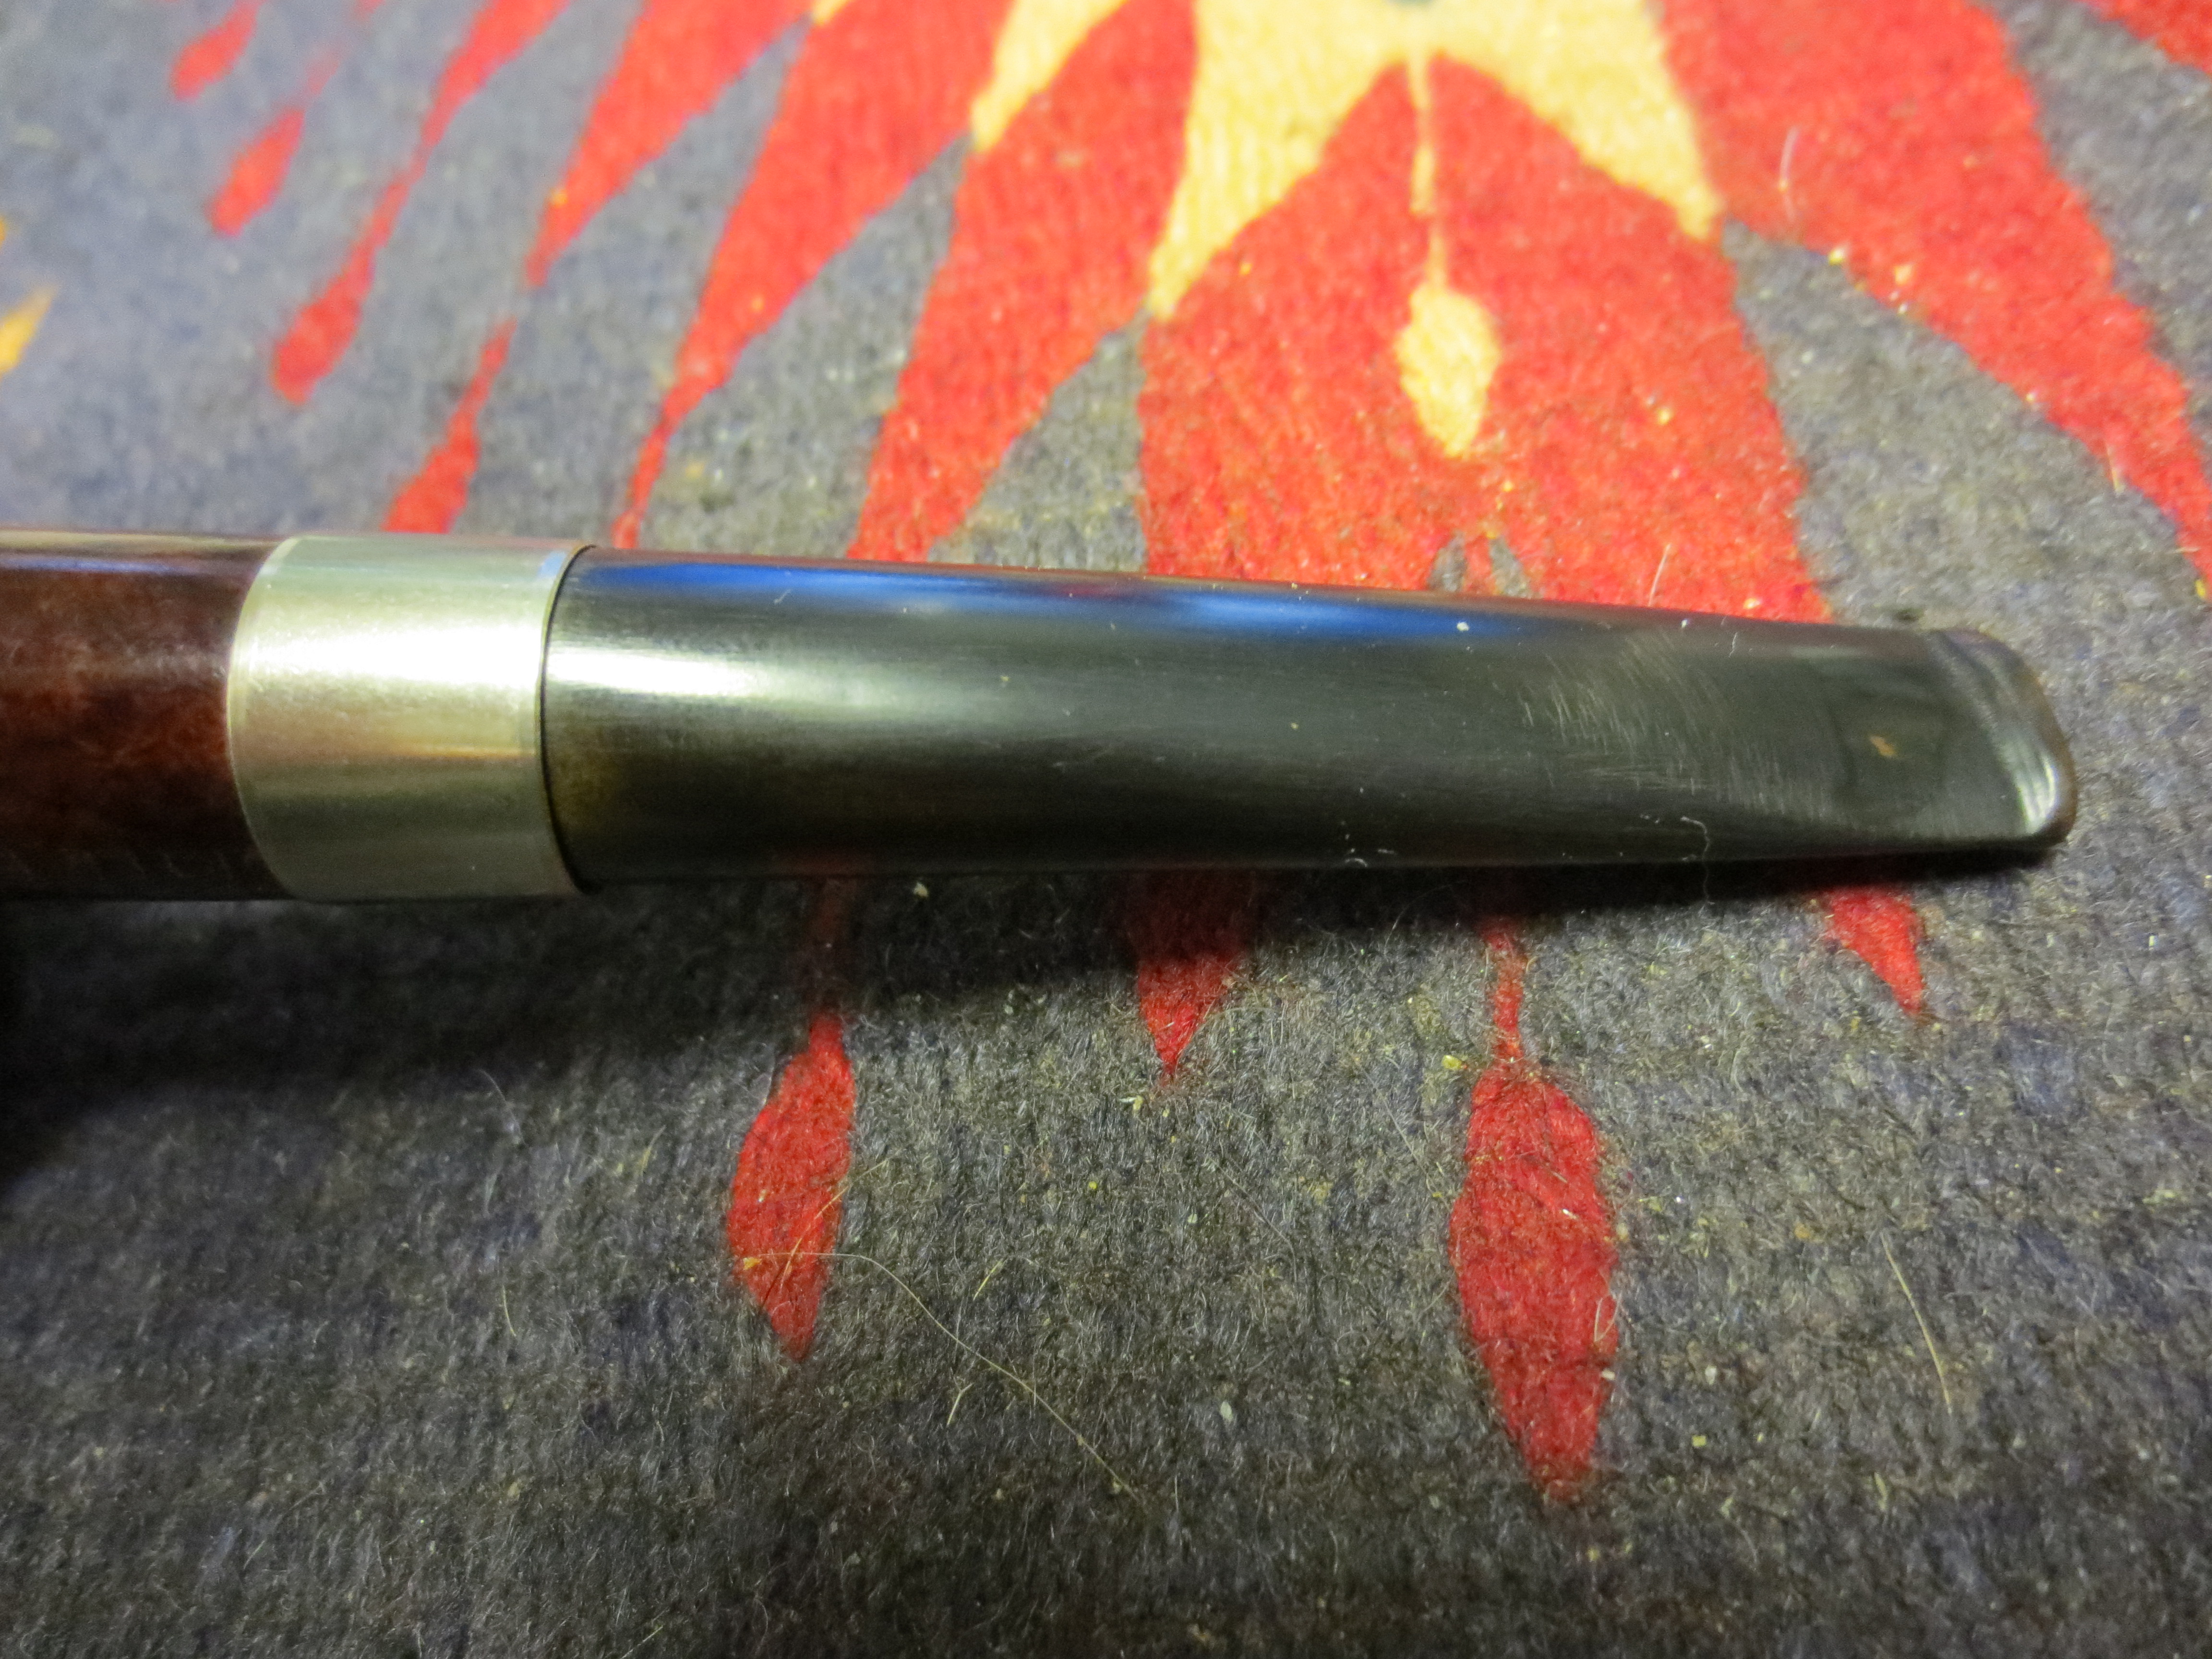
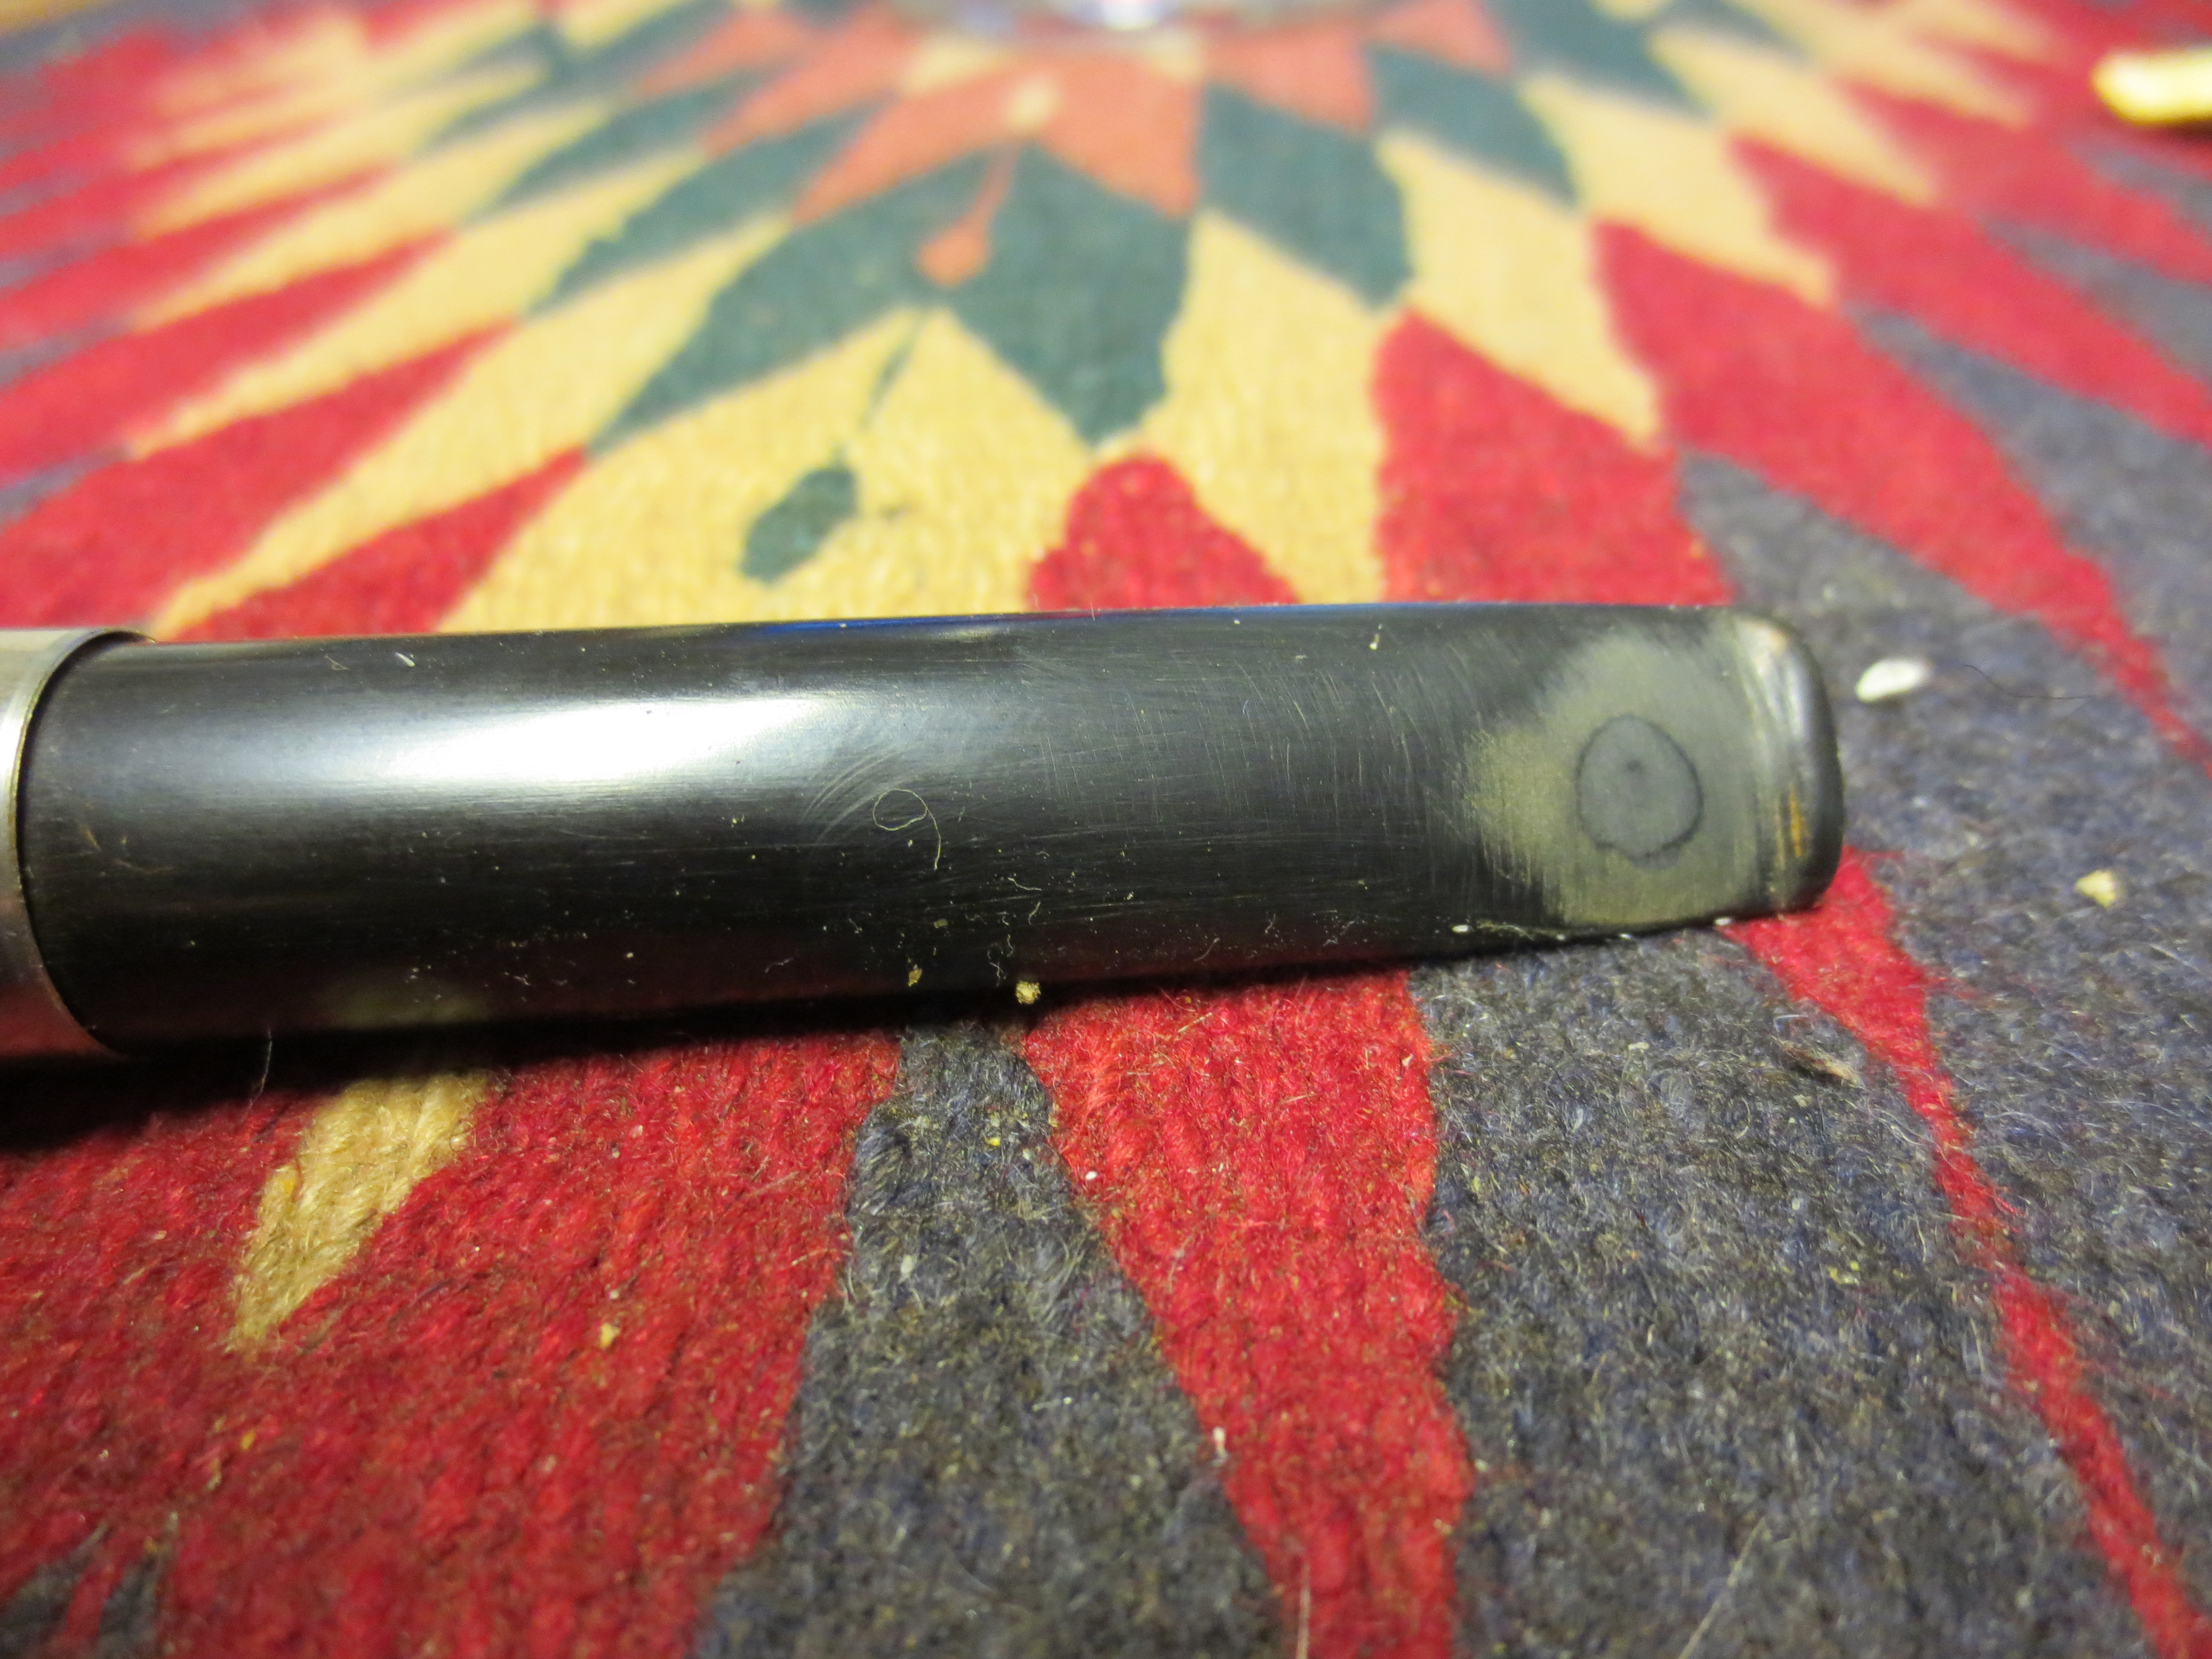
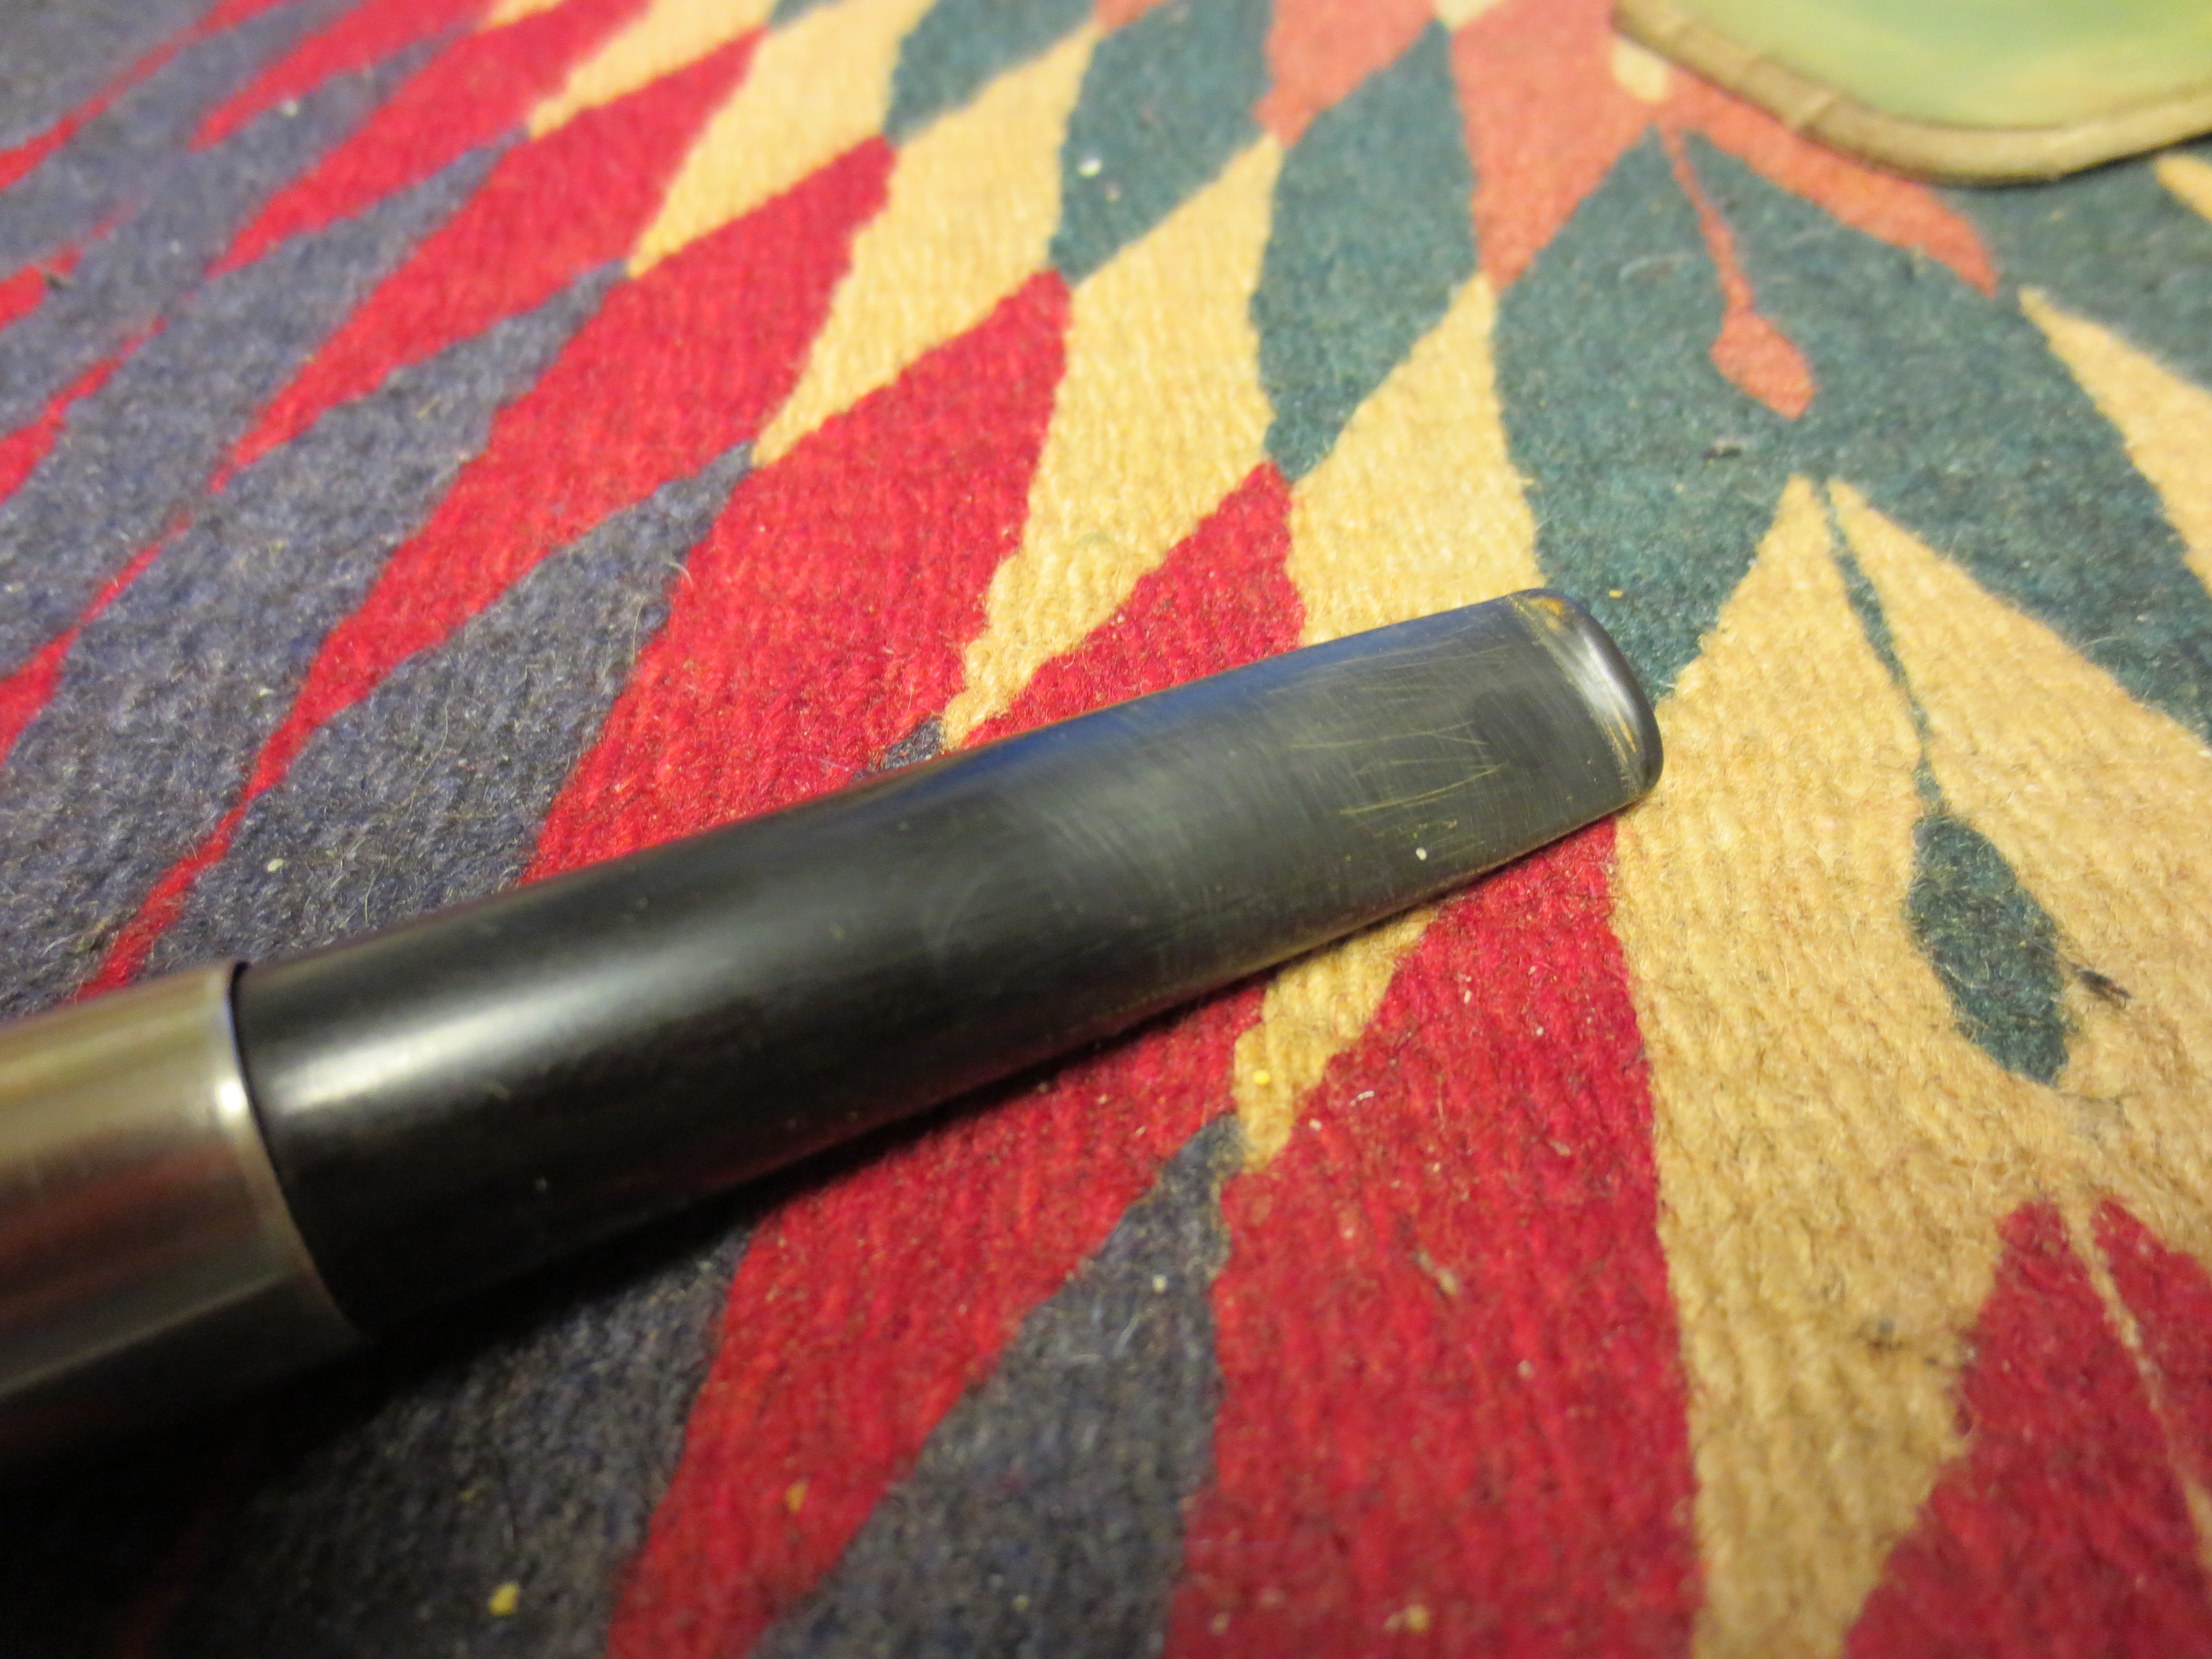
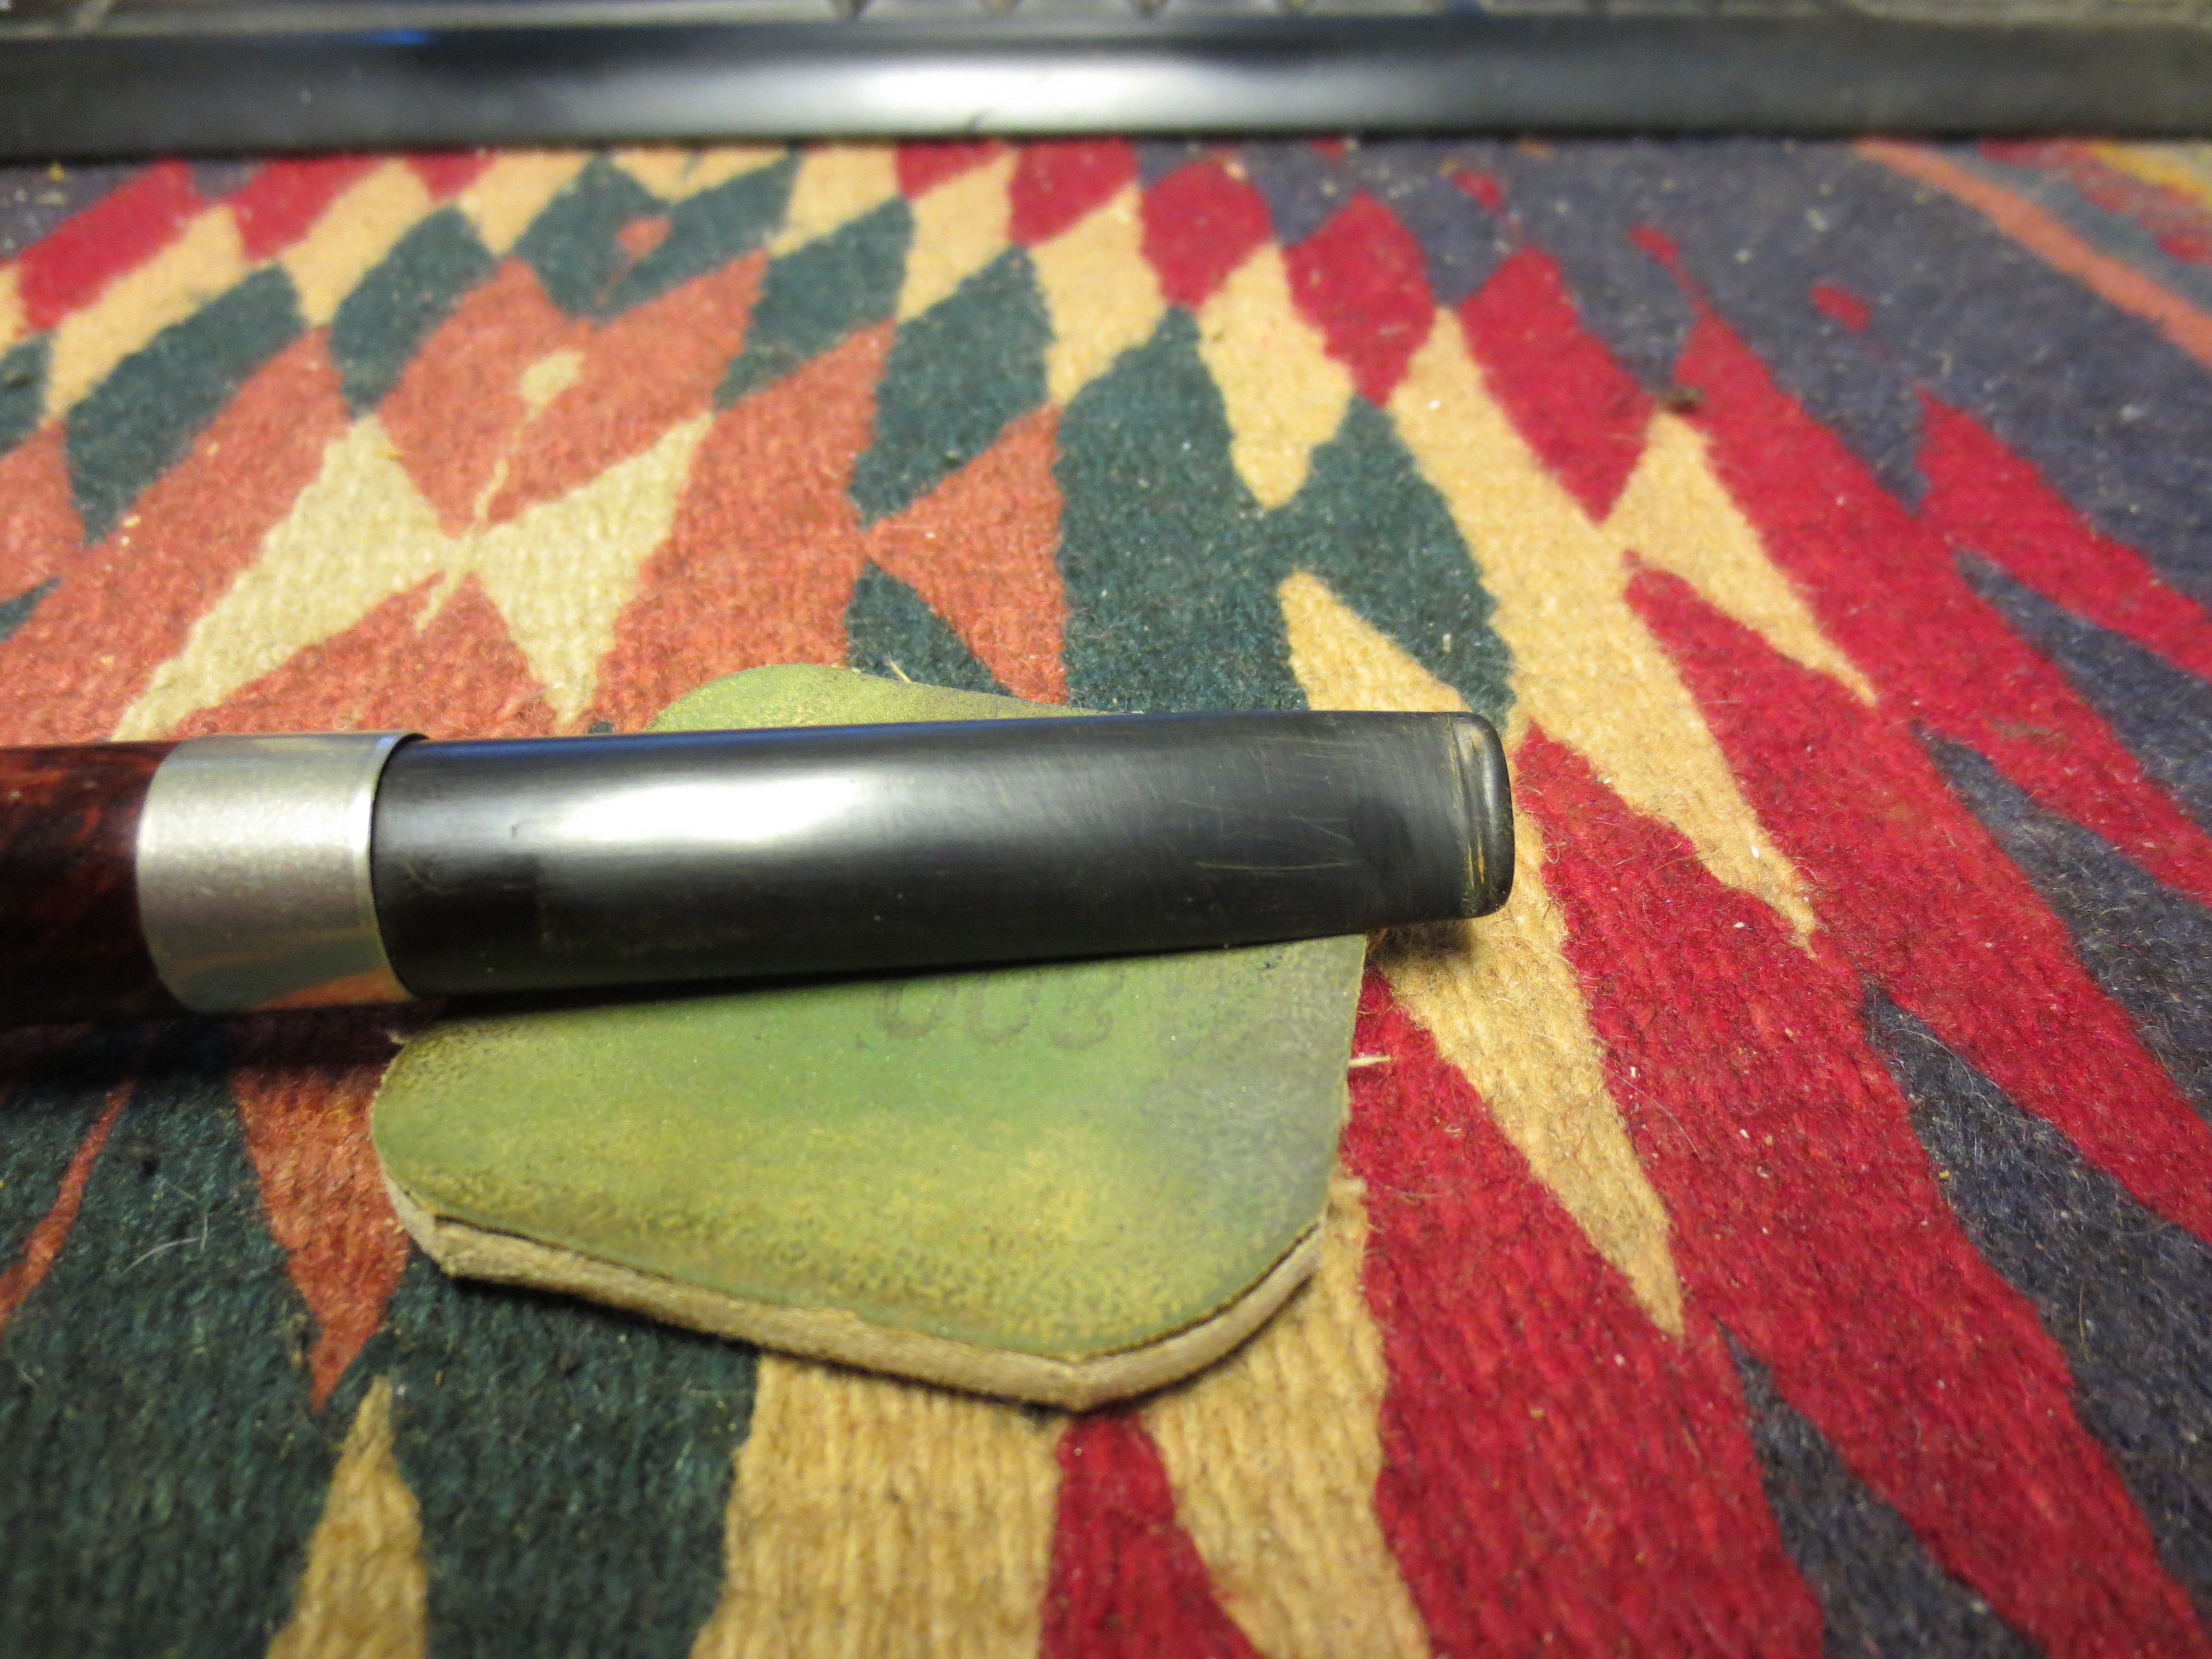
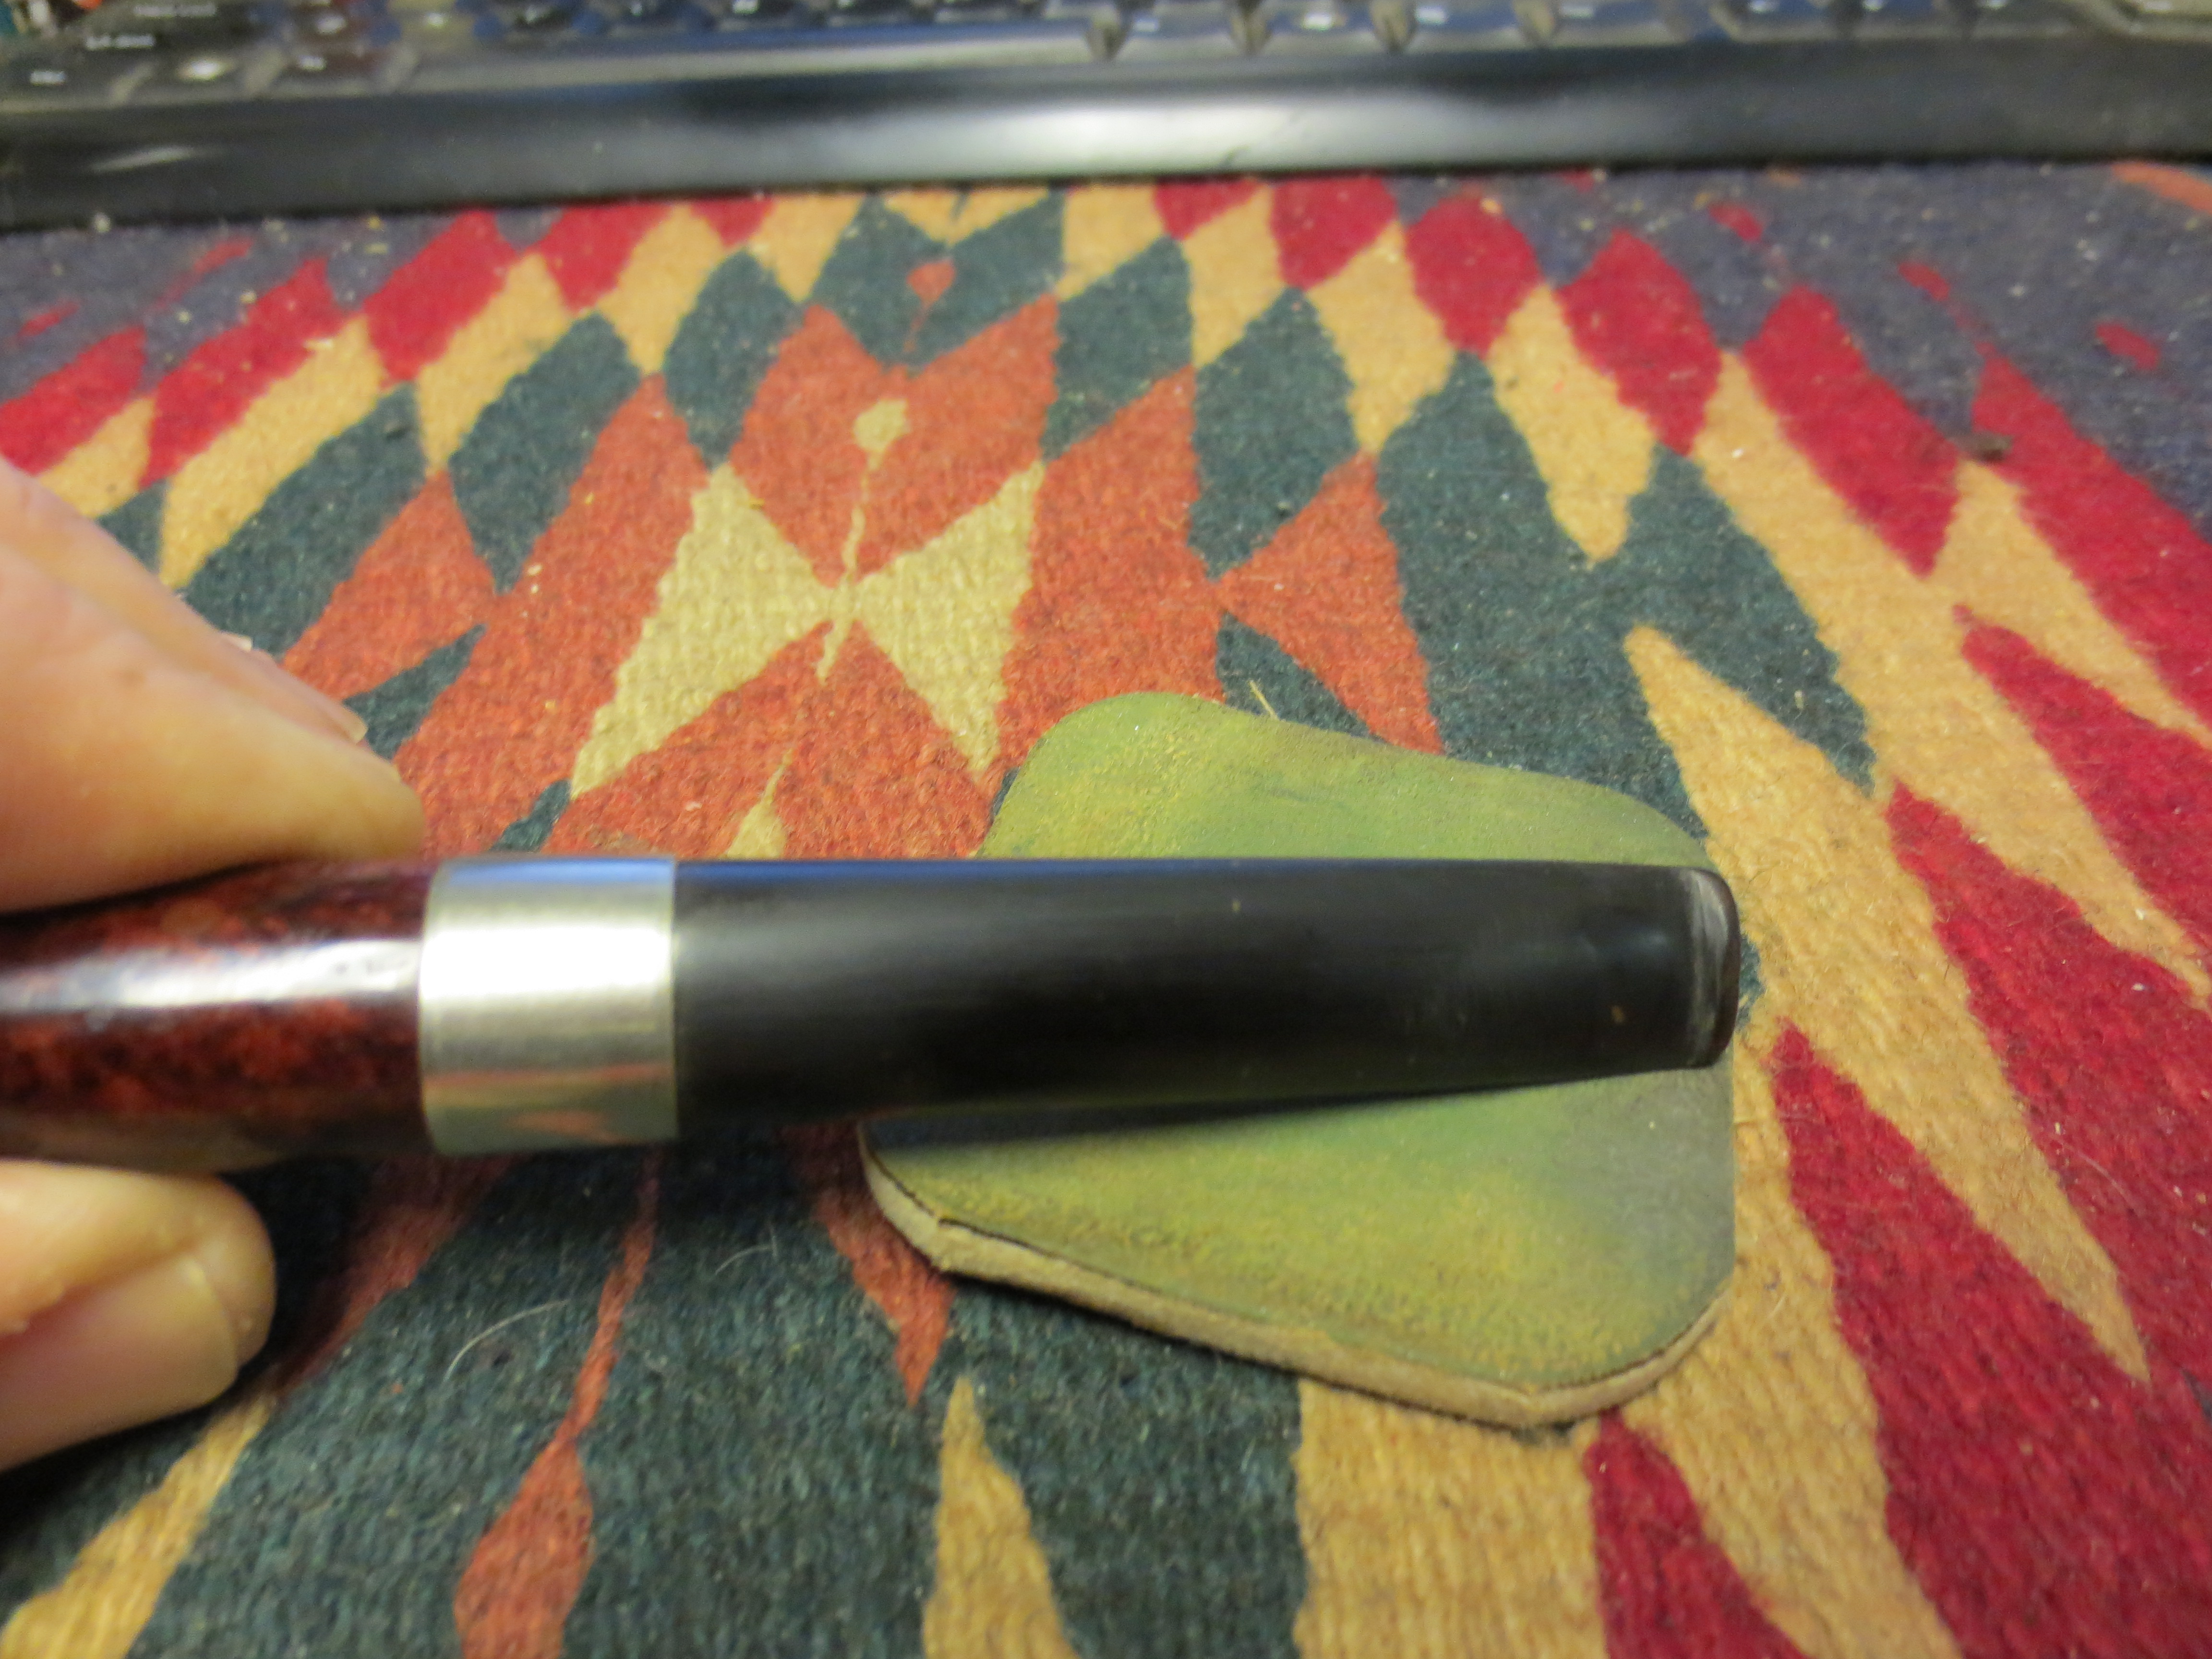
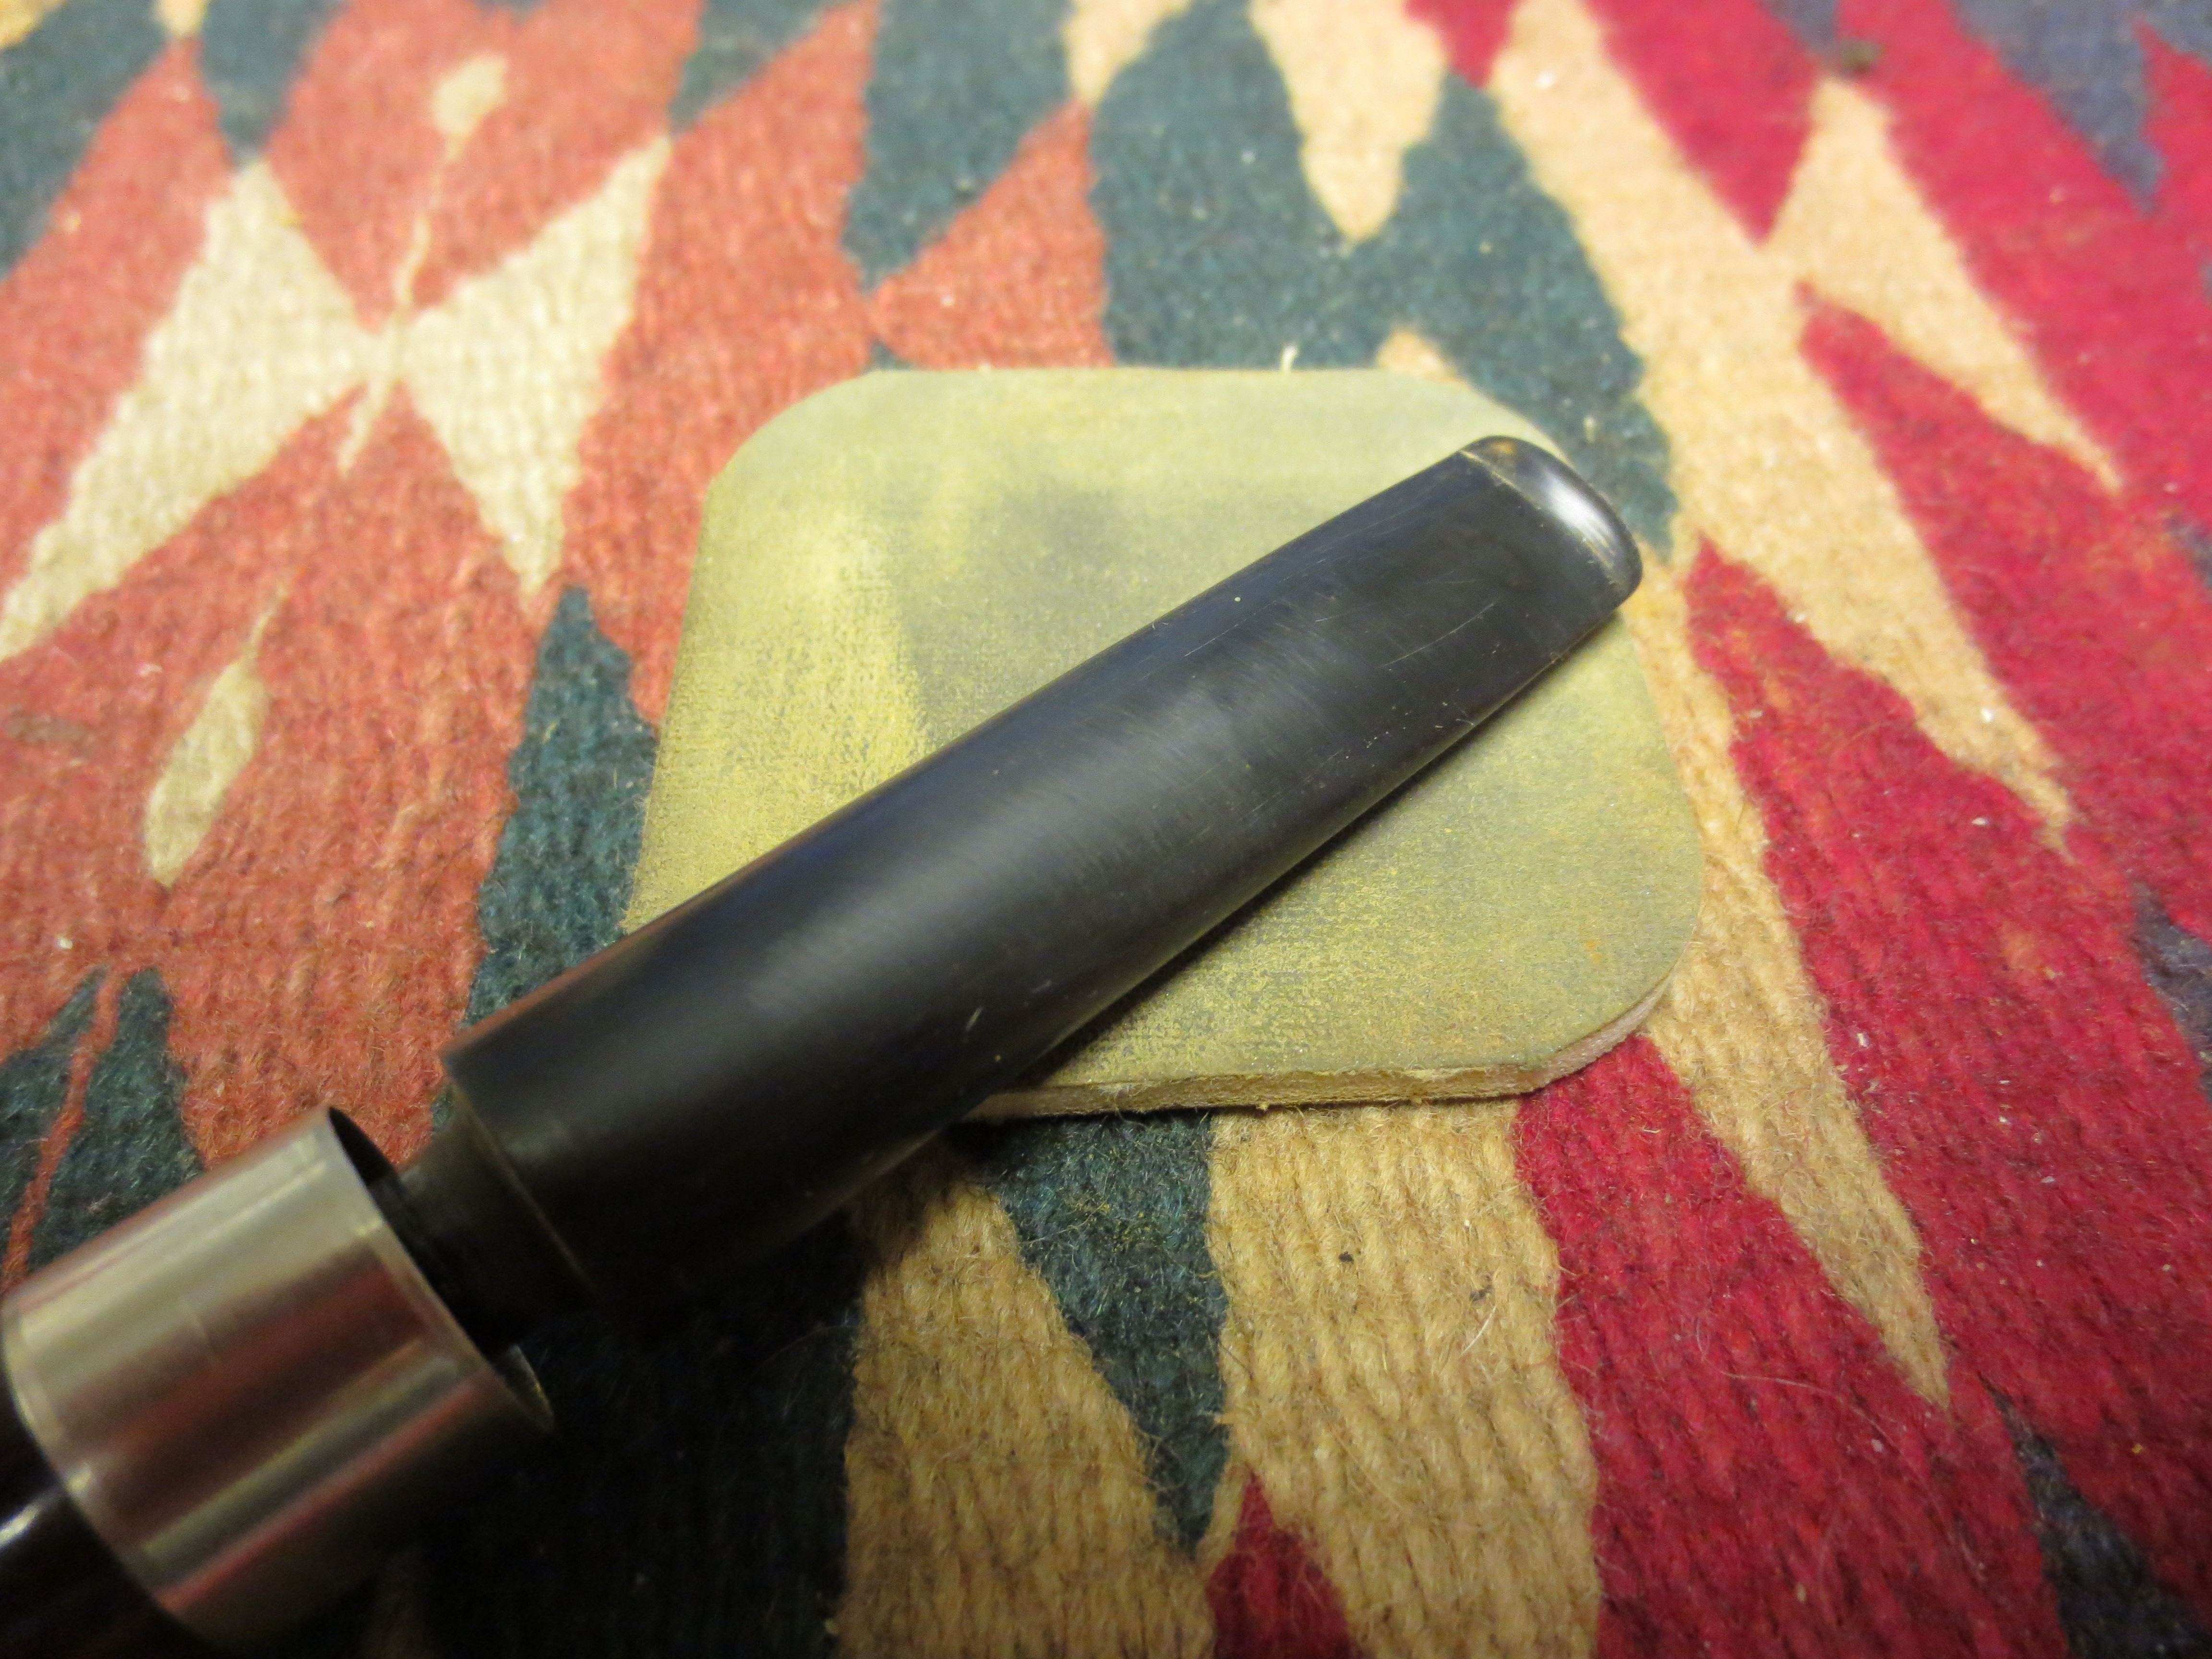
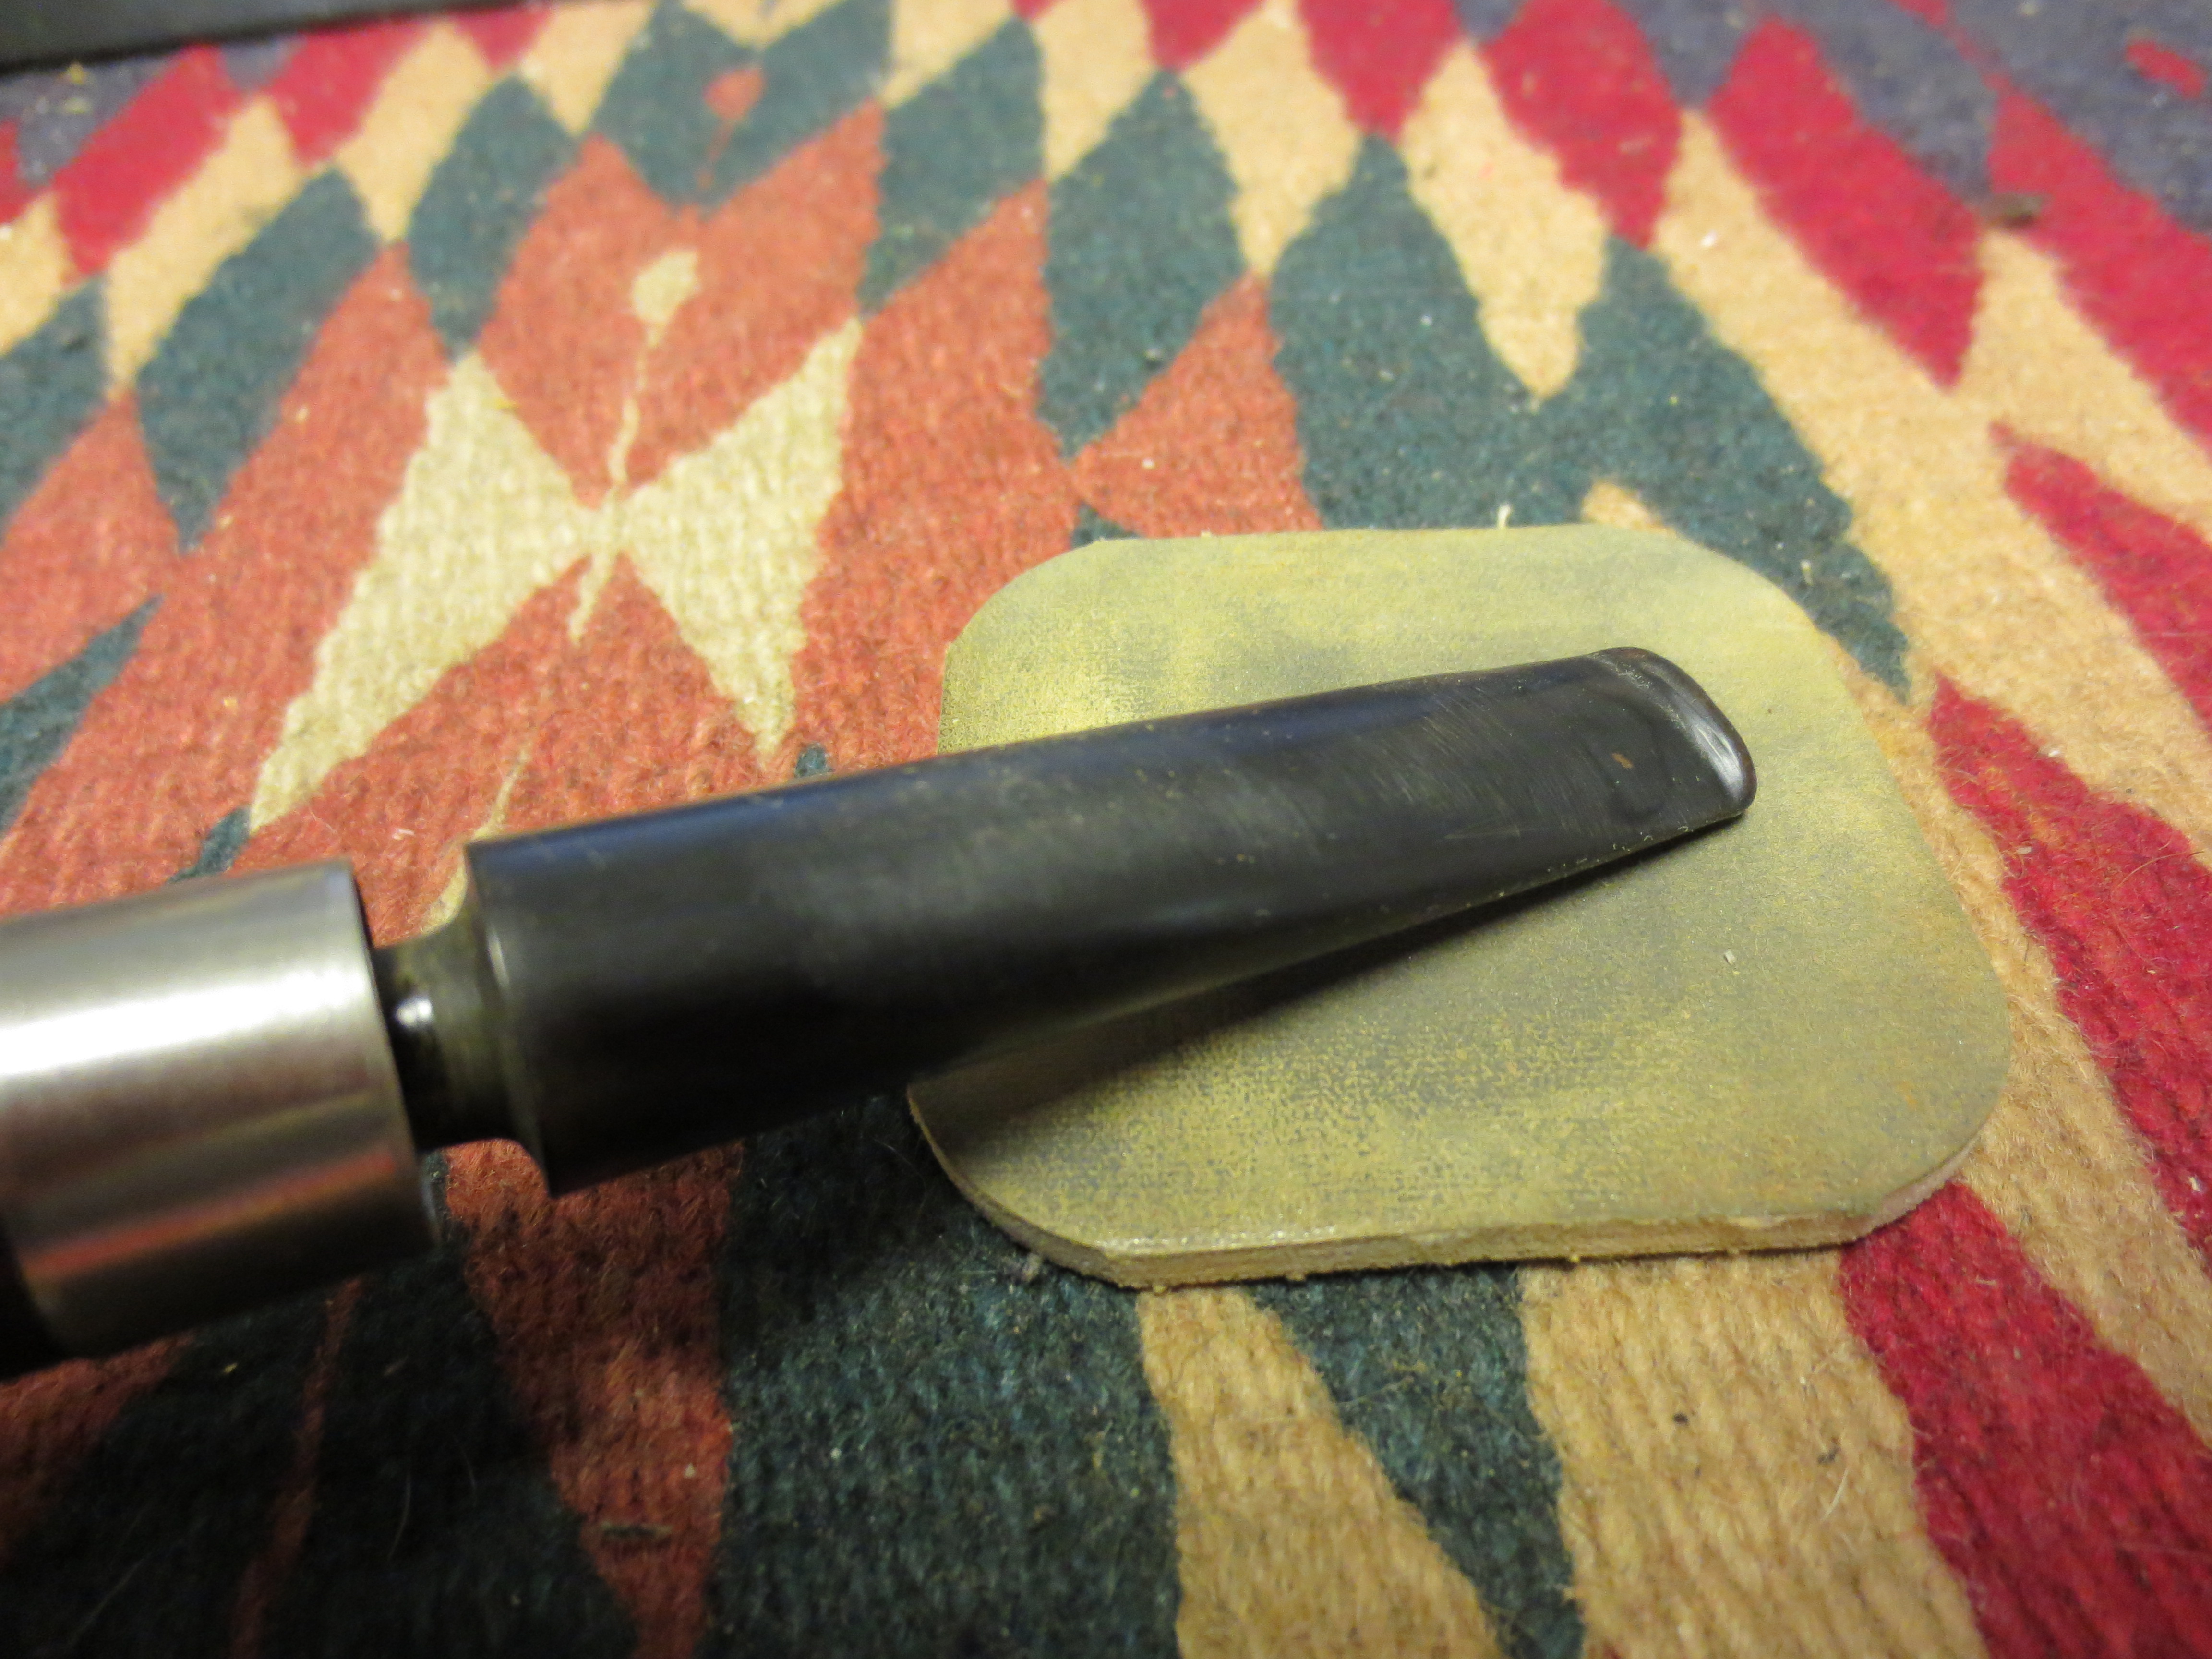
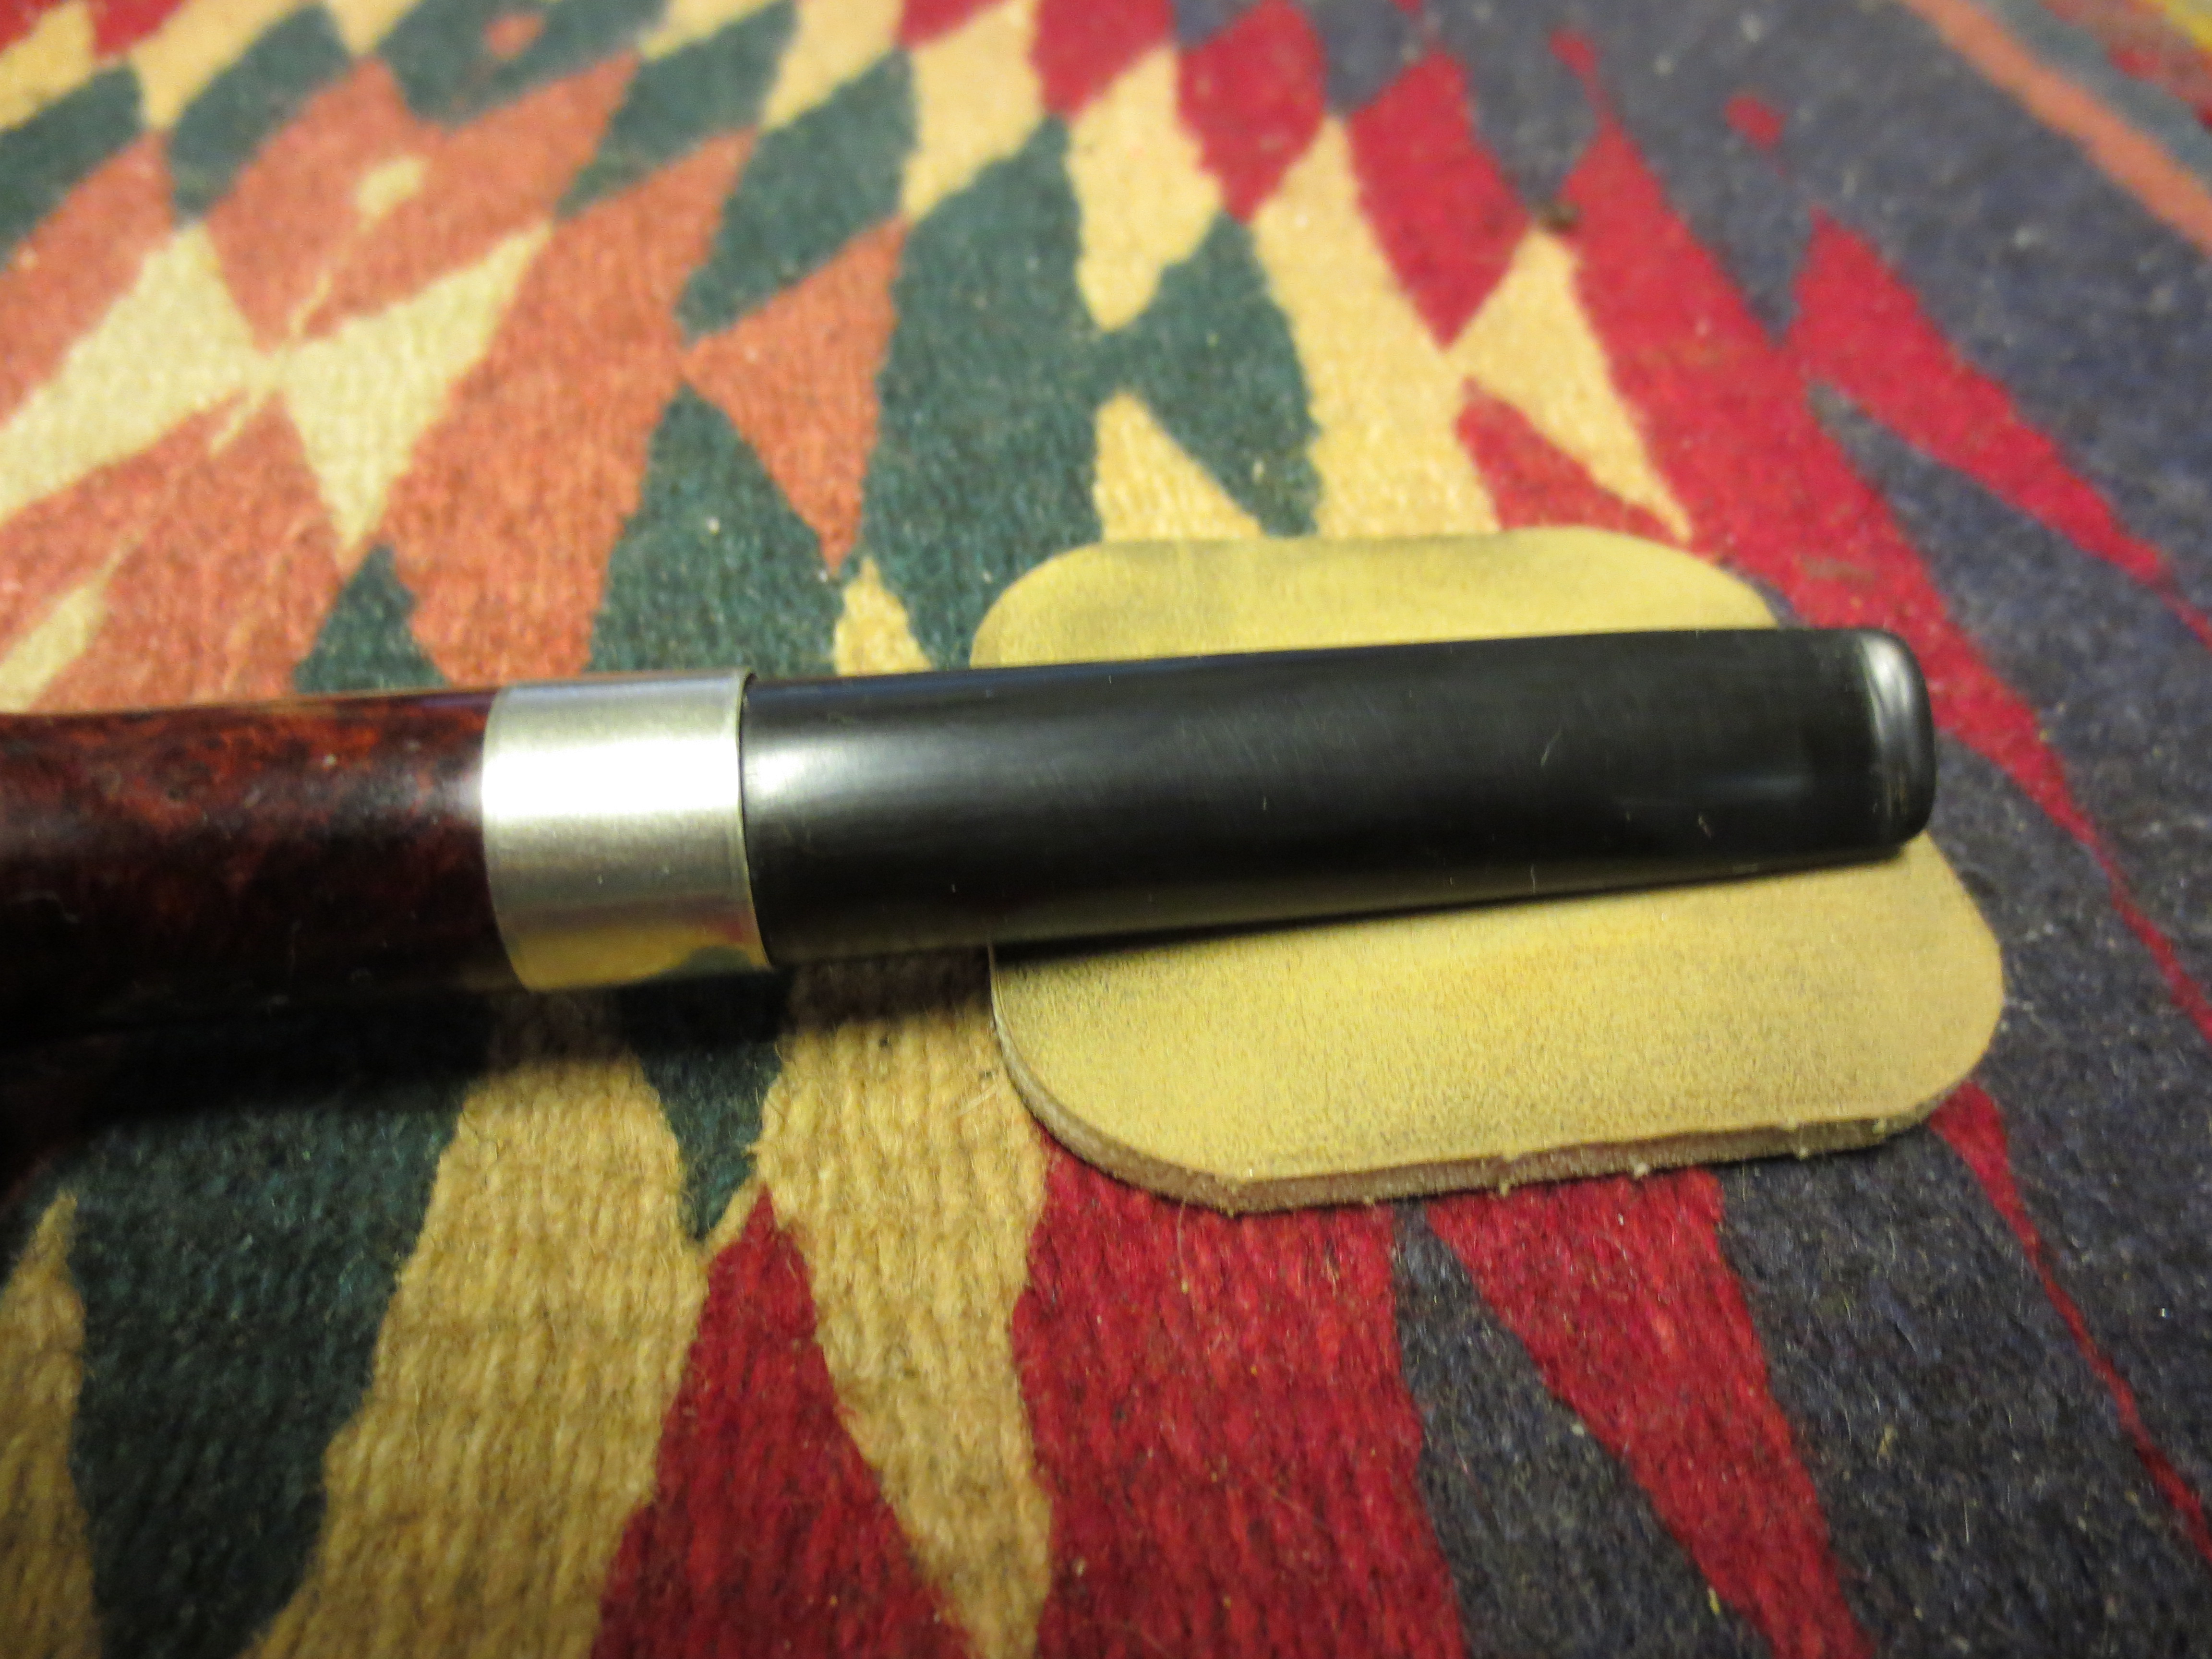
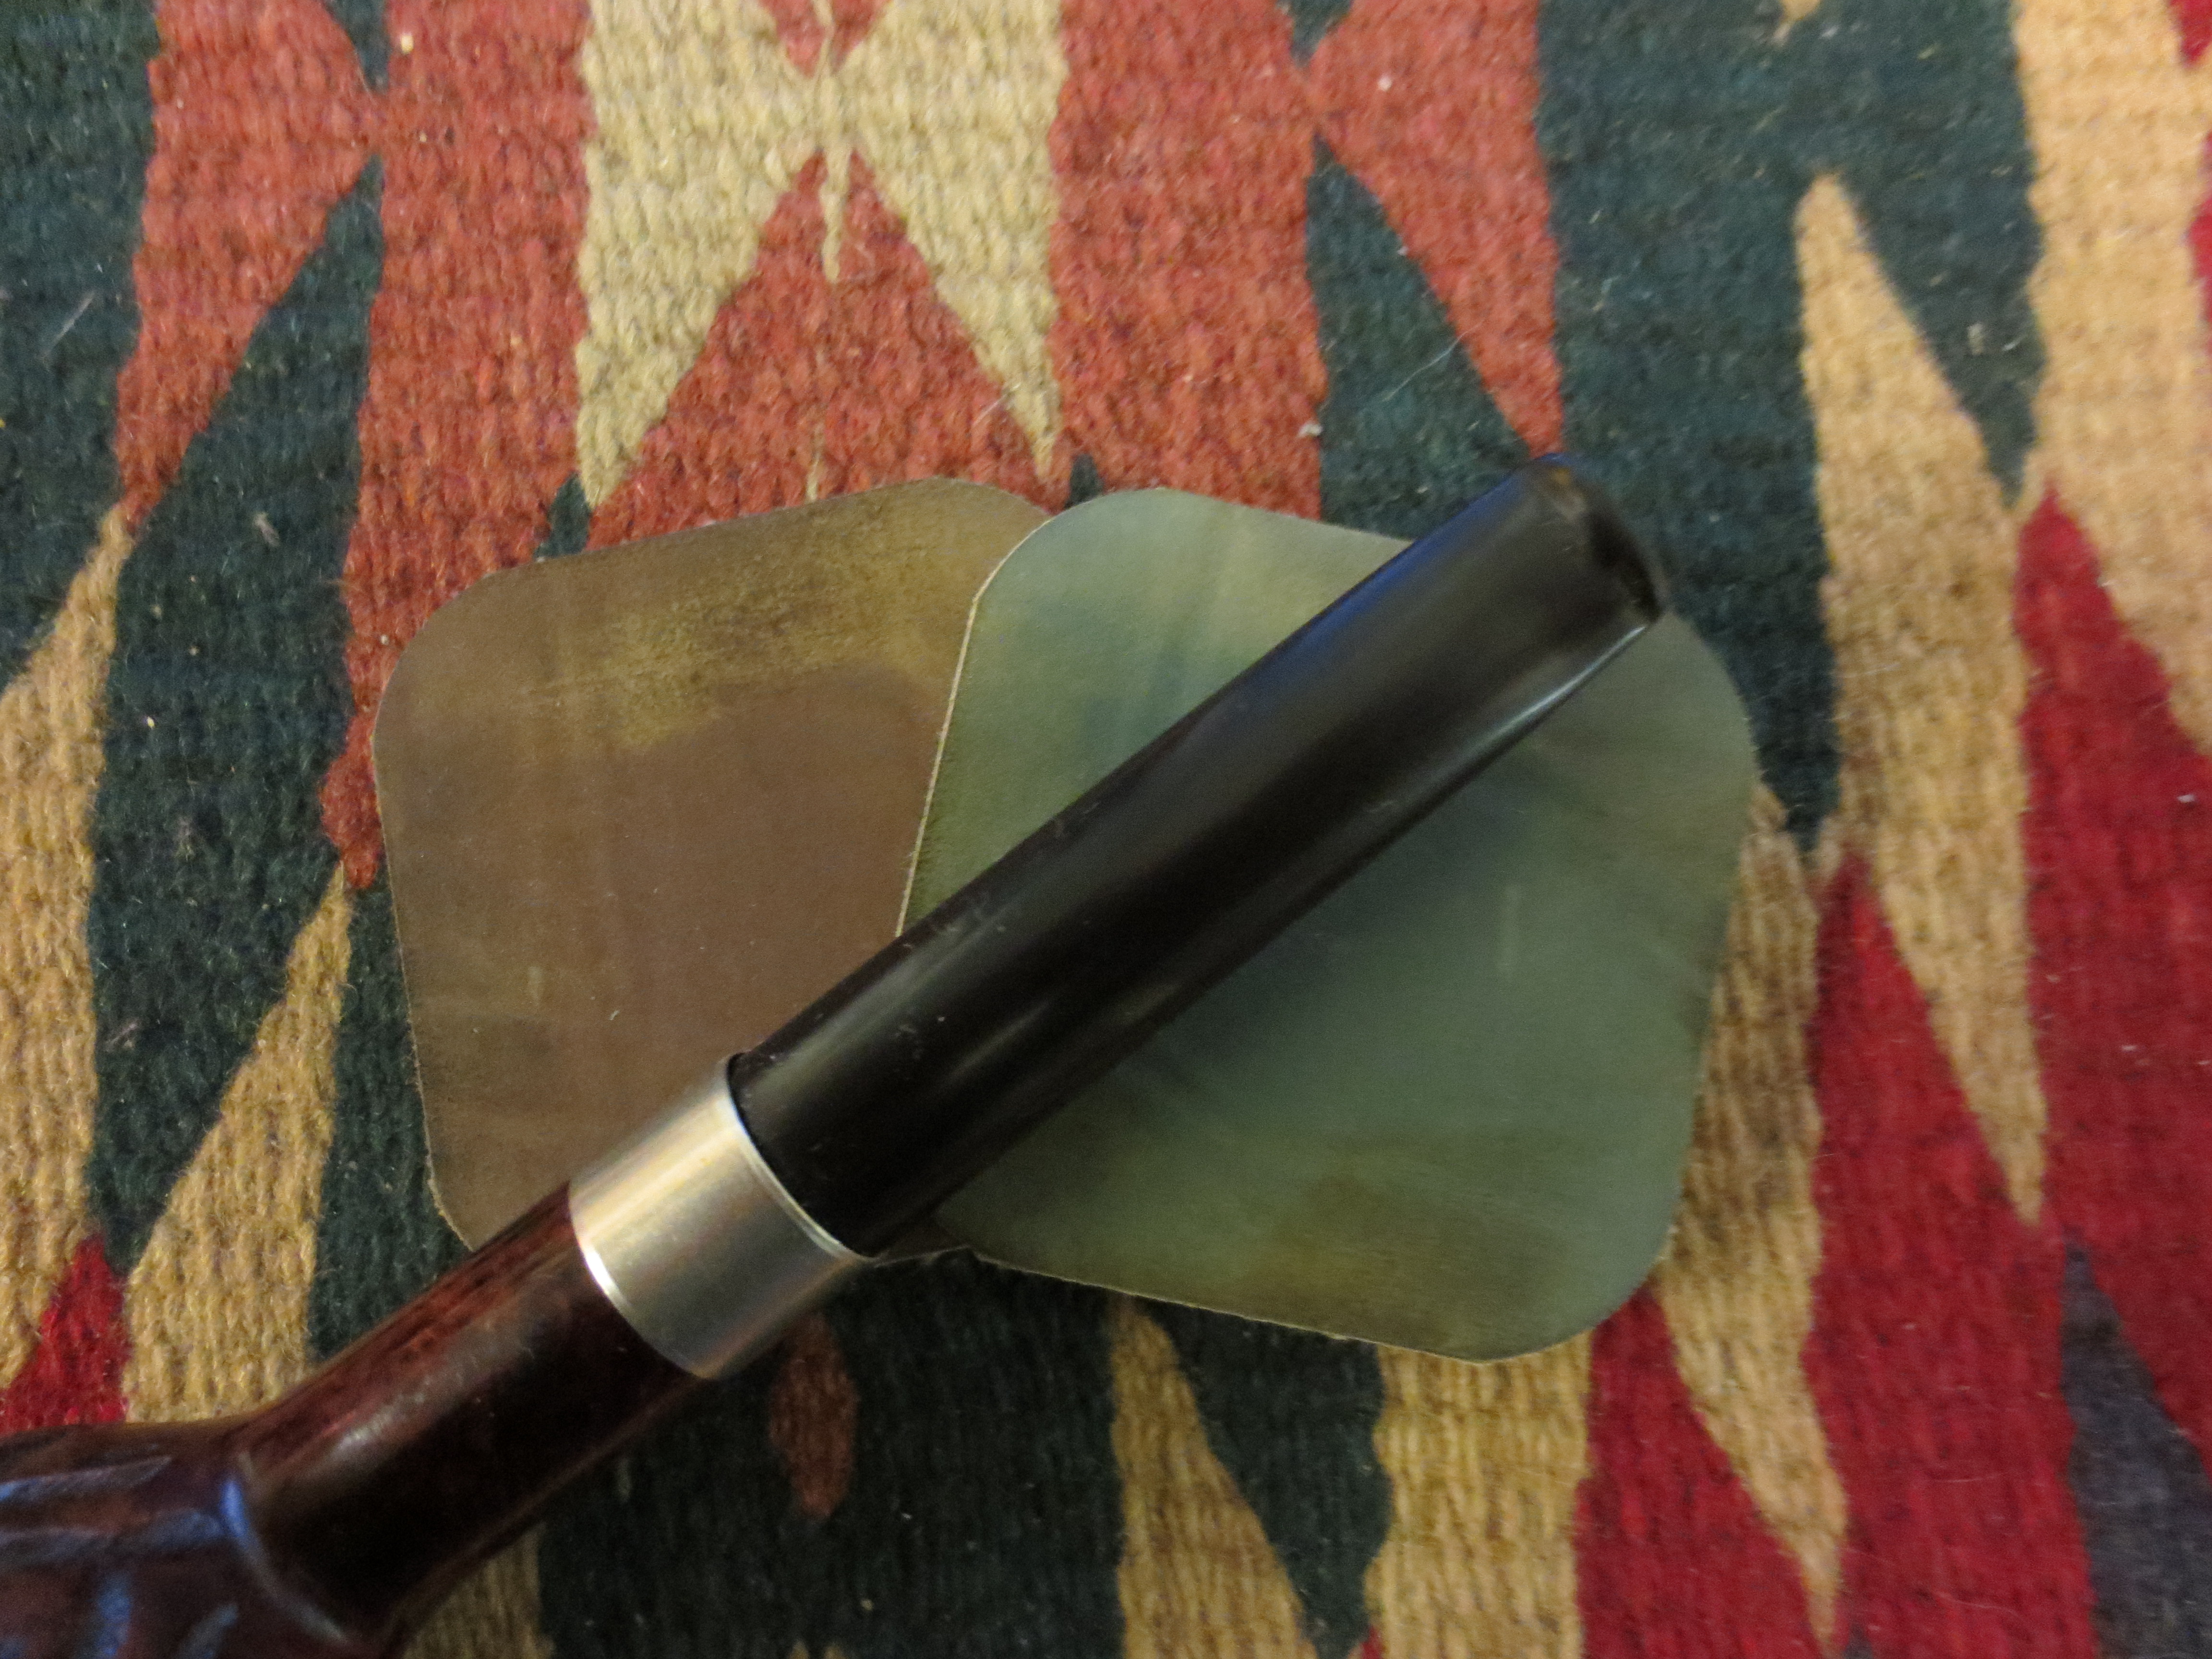
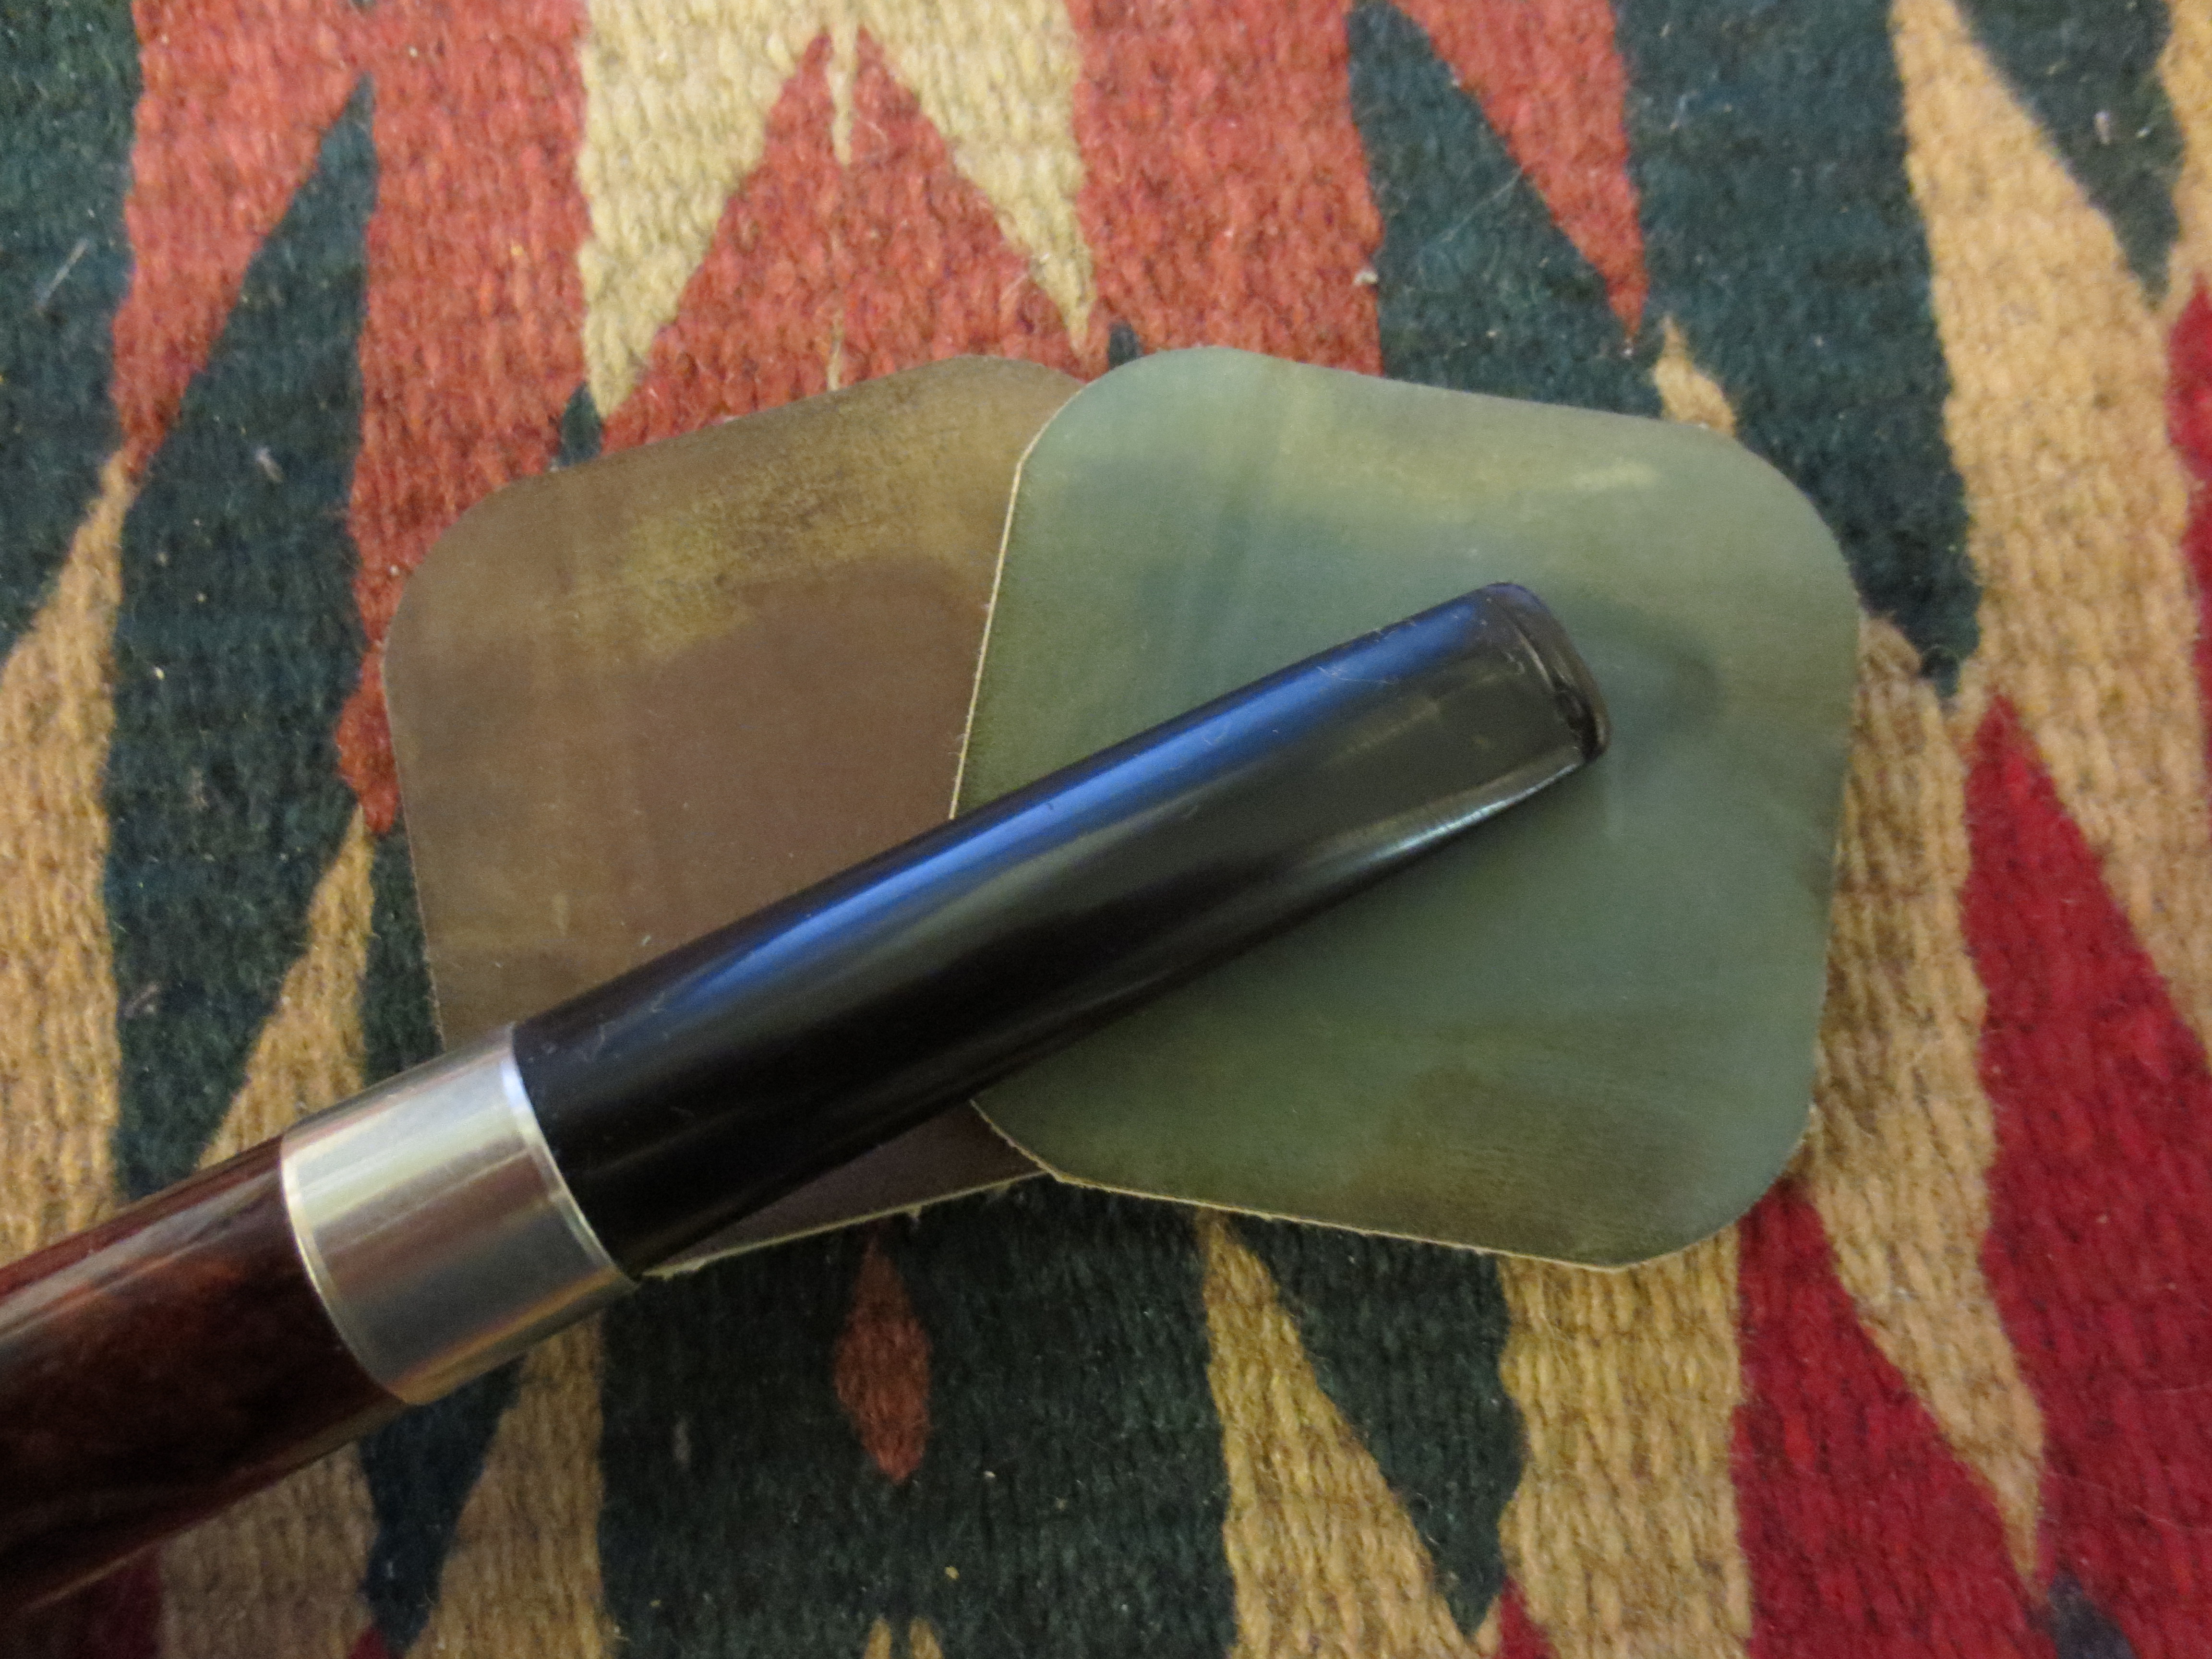
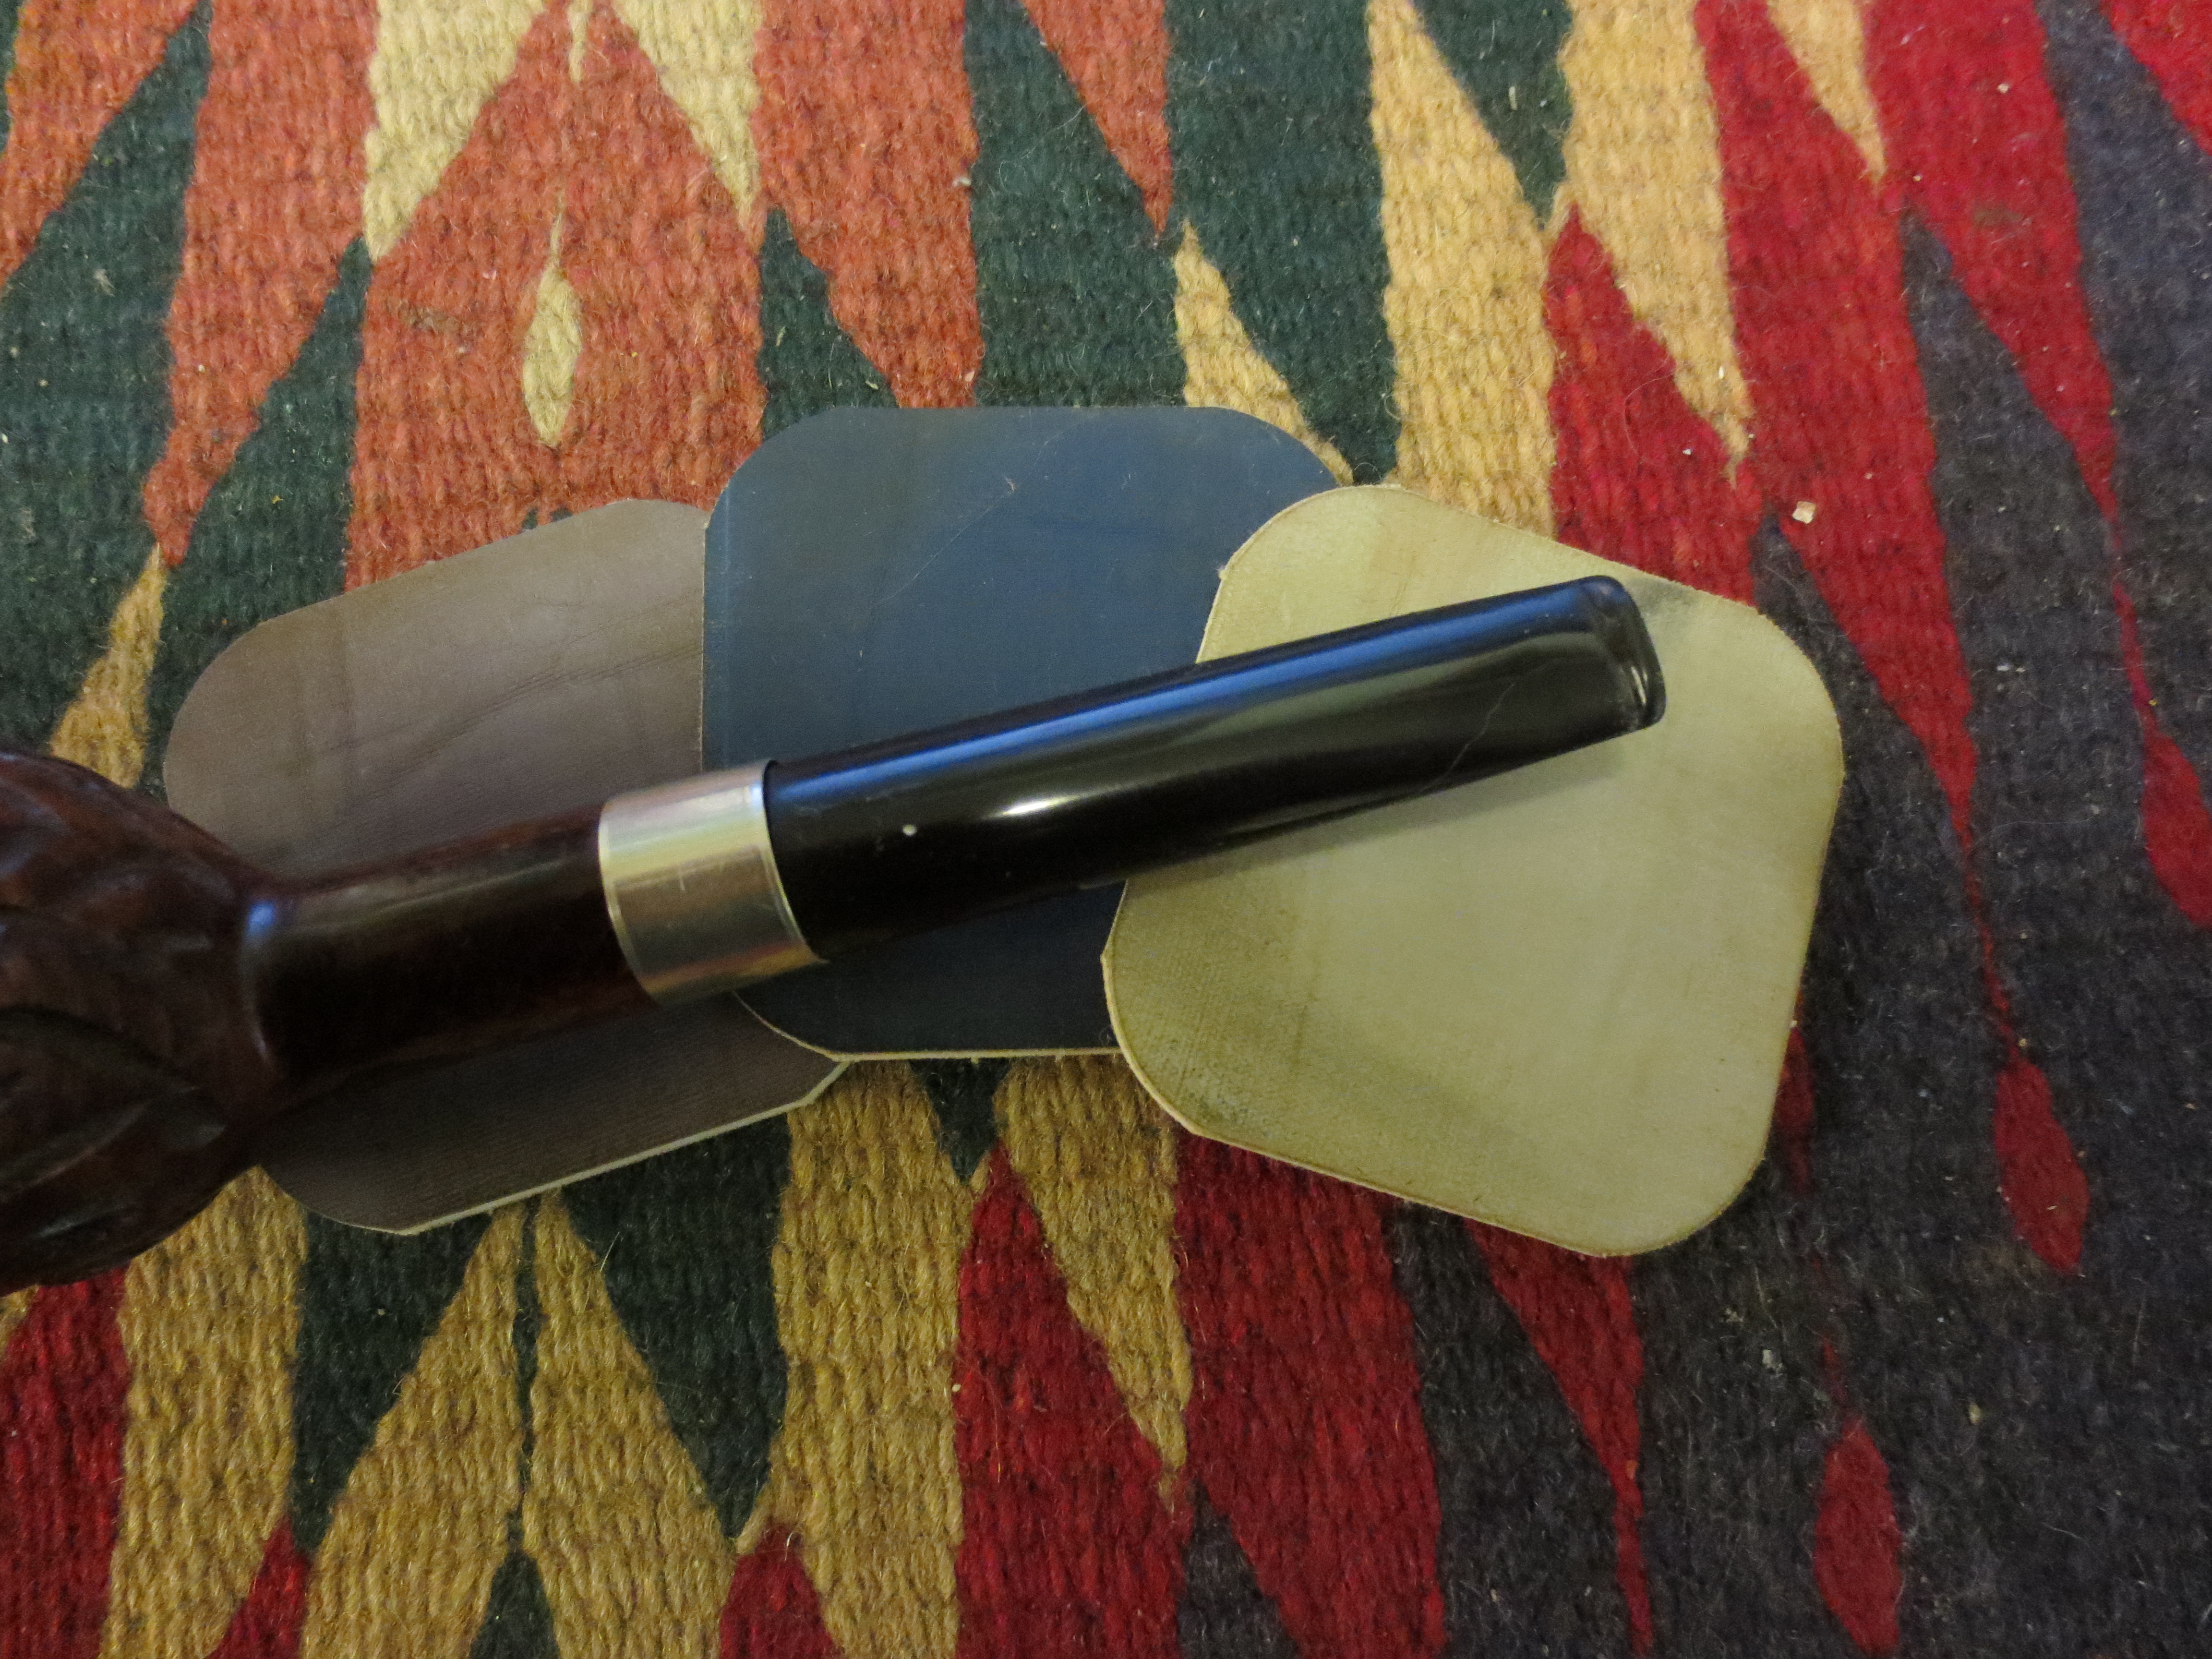
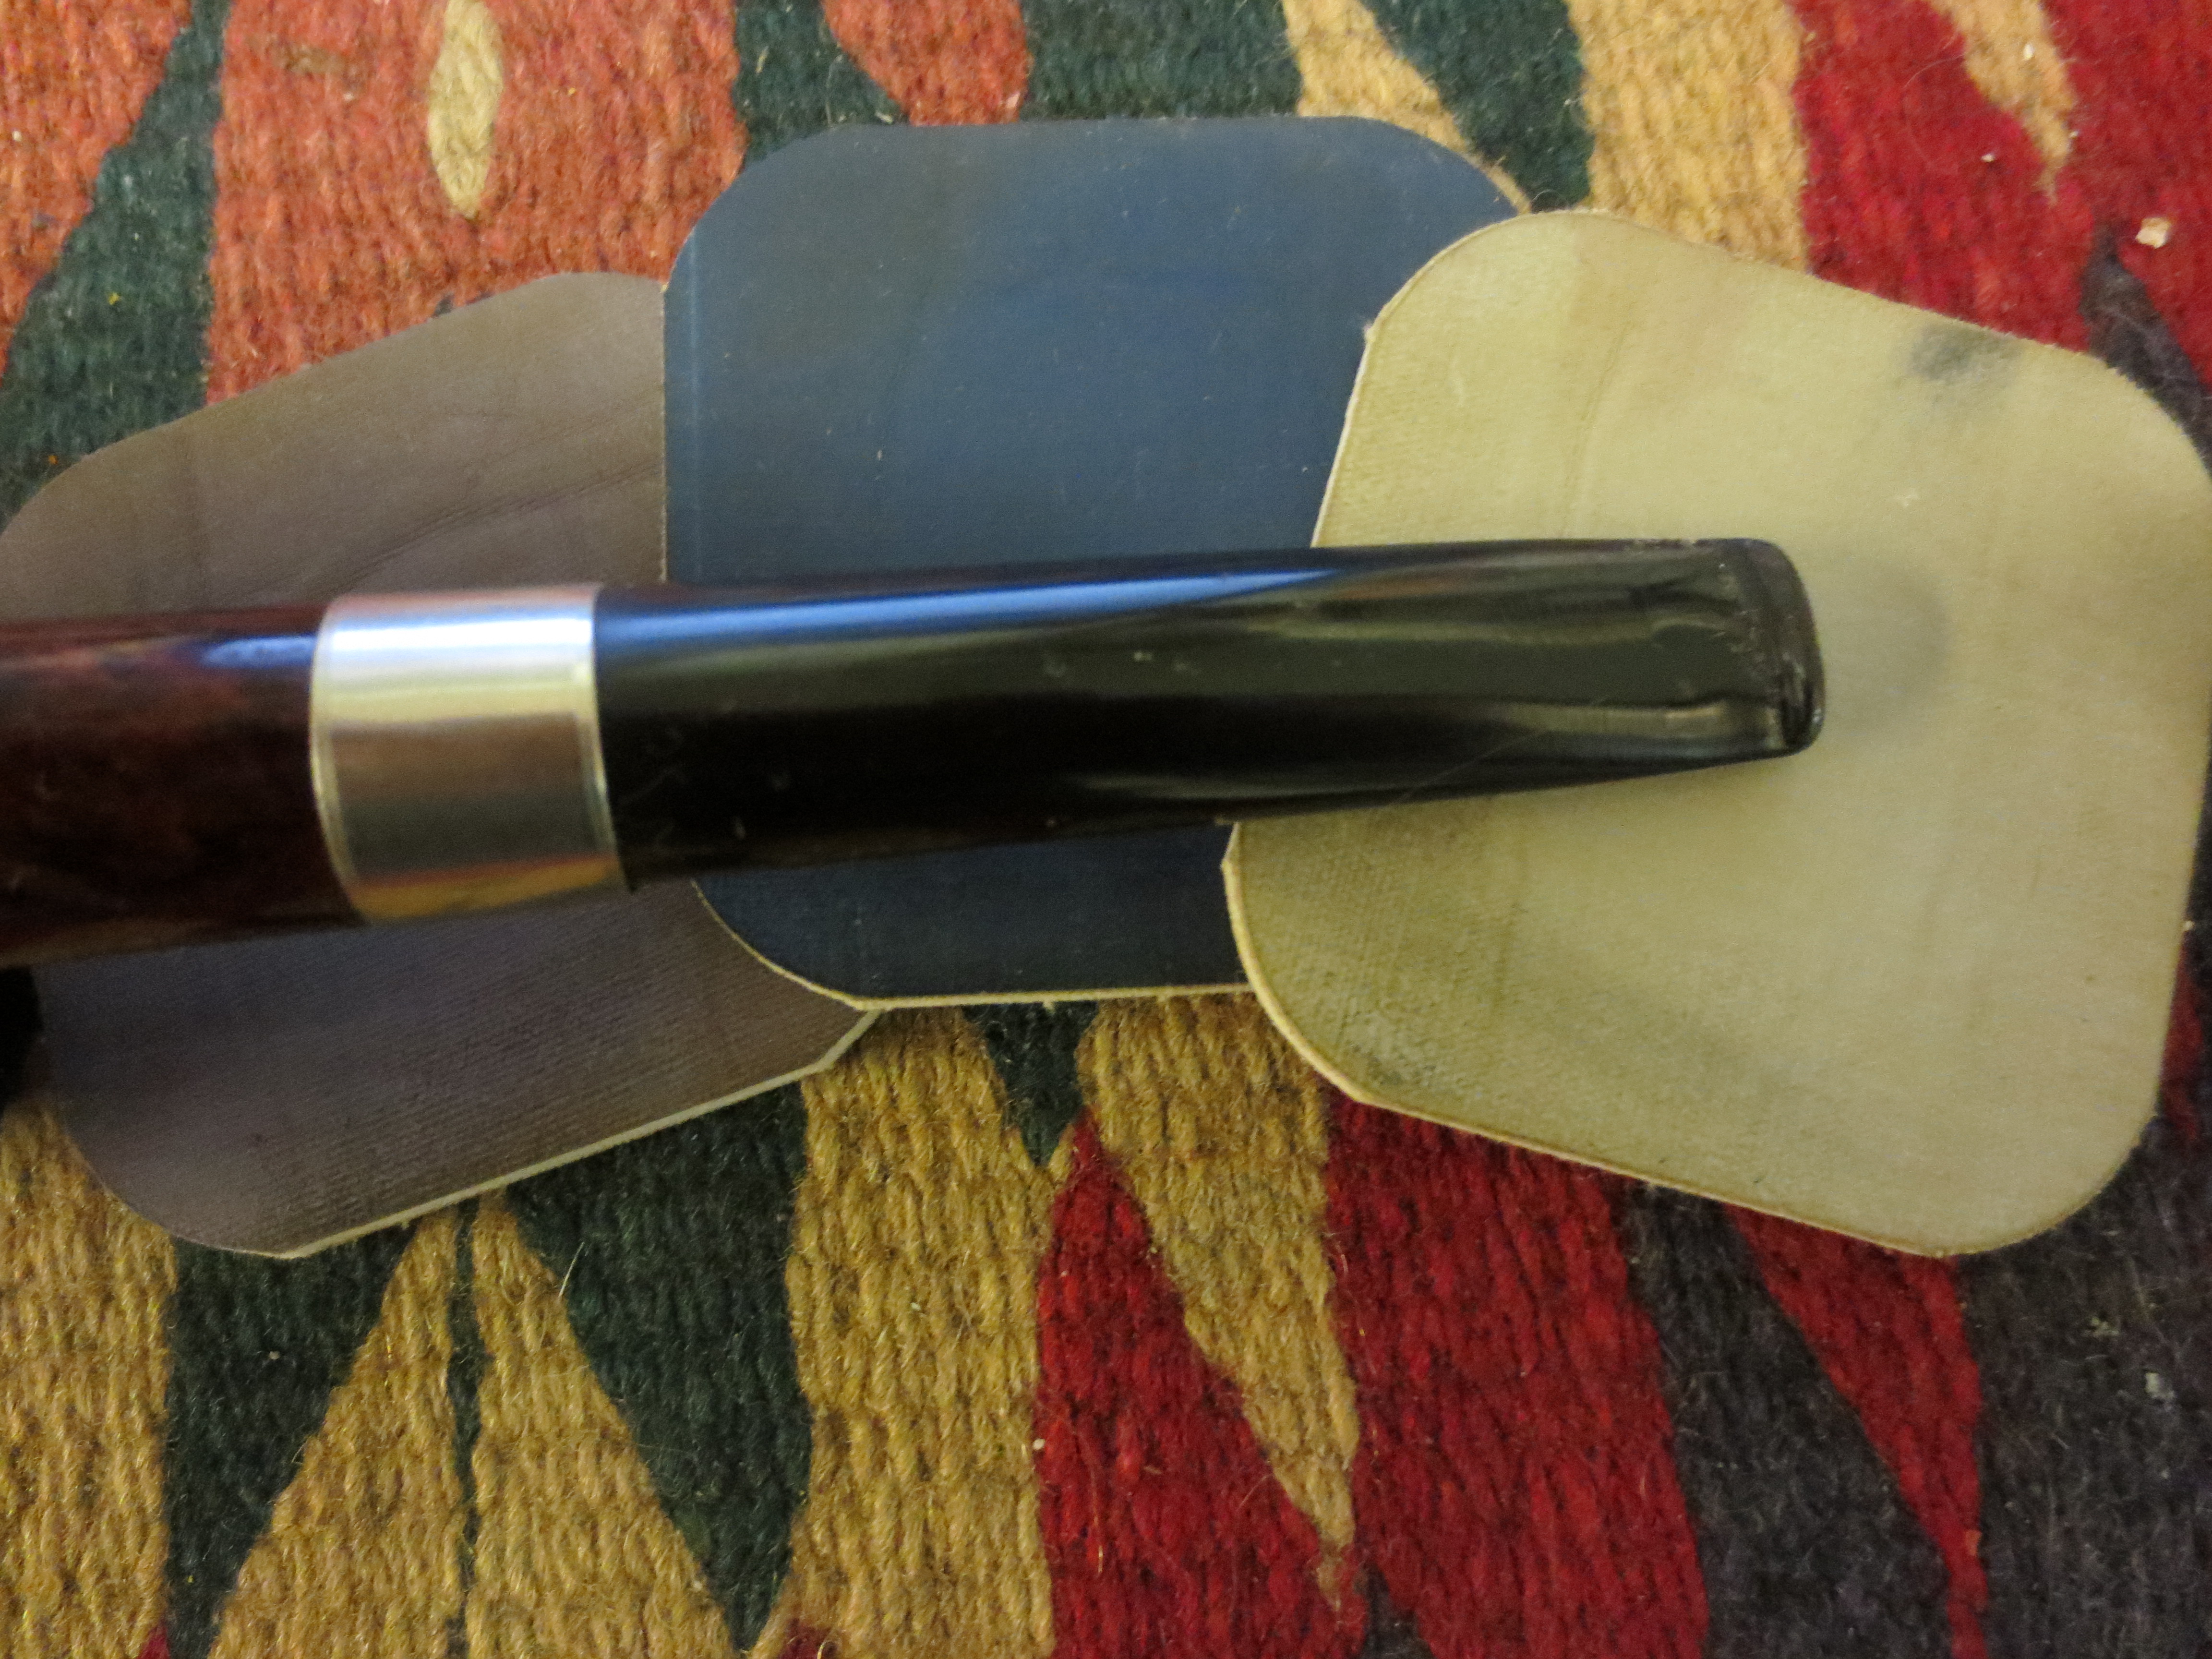
After staining the bowl I worked on the stem. I sanded it with a fine grit sanding sponge and then worked through the micromesh sanding pads from 1500-12,000 grit. I wet sanded with the first three grits (1500, 1800 and 2400 grit) and then dry sanded with the remaining grits. I took it to the buffer and buffed the stem and bowl with White Diamond before applying several coats of carnauba wax and then buffing with a soft flannel buff. The next series of four photos show the finished pipe. In my opinion the fills look far better than when I first started on the pipe. They now are tolerable in my sight and I believe this will make a fine yard pipe or rotation extender for some new pipe smoker. It is cleaned and ready to smoke.

IMG_0430 IMG_0431 IMG_0432 IMG_0433


Repairing a Stem on a Dr. Grabow Grand Duke with Black Superglue


I took on this project to demonstrate how I use black superglue to repair deep bit marks/bite throughs on vulcanite stems. I had this old Grabow stummel in my box and I found a stem that looked good on the bowl. The bowl had a small hairline crack in the shank so I pressure fit a band on it for a repair. The bowl needed to be topped so I did that after banding. I restained the top to match the bowl colour. I used a dark brown aniline stain that I mixed with isopropyl alcohol until I got the match I was looking for. I stained and flamed the rim to set the stain. The stem was in pretty rough shape but I decided to use it anyway and take it on as a project. The button was almost gone from the deep bite marks. There were three bite marks on the underside of the stem near the button and on bite mark on the top of the stem. I decided to use the boiling water trick to try to raise the dents as much as possible. These were deep bite marks and the edges were rough so my guess was that they would not come up to the surface with the heat. I then sanded the surface of the stem with medium grit emery paper to remove the surface marks and dents and then smooth out the area of the deep bite marks. I work to have a semi rough surface for the superglue to bond with so I am not sanding it smooth as much as working it over to make it clean. The next three photos show the state of the stem after I had sanded it and readied for patching.

ImageImageImage

Once I had sanded the surface smooth I used my needle files to recut the sharp edge of the button and rework the flow and angles of the button. I also used the needle files to carve the surface of the stem and provide a gentle slope to the new button area. I have found that often when recutting the button and defining its shape it is easy to cut a trough and make a hump in front of the newly shaped button so I always start about half way up the stem and use the file to change the taper to flow to the edge of the button. This served the dual purpose of removing high spots on the bite marks and to help identify the actual holes that would need to be patched. The next two photos show the file work on the stem.

ImageImage

Once I had the slope correct and the button shaped I put the stem in the ebony block I had drilled with a mortise to allow me to sand the rest of the stem without rounding the shoulders of the stem. I wanted the stem shank junction to be smooth and well fit. I also wanted the oxidation removed from the stem before I patched it with the superglue. I did not want the oxidation to remain in the holes that I would patch or on the surface of the stem. I sanded it down and removed the oxidation. I spent extra time around the bite marks. I also picked out any loose debris in the marks with a dental pick and then wiped it down with alcohol to remove the dust and provide a clean surface for my patch work.

ImageImageImage

The next series of three photos show the patch in place. I use black superglue that I pick up from Stewart-Macdonald http://www.stewmac.com/shop/Glues,_adhesives/Stewart-MacDonald_Super_Glues.html I have found that it really works well. I drip it on the cleaned hole and make a bubble of superglue. This particular glue dries slowly so I do one side of the stem at a time. I let it dry for over an hour before turning it over and doing the same thing on the other side of the stem. Once I have made the patch I set the stem aside to dry overnight. I do not want to touch it or sand it until it has had that time to cure and become hard. I have tried sanding sooner but always end up patching the holes a second time because of my impatience.

ImageImageImage

Once the glue has cured and is hard it forms a small bubble of black on the surface of the stem. I sand the bubble flat to the surface and taper of the stem. I use a 320 grit sandpaper to accomplish this sanding. At this point in the process I am not looking for shininess or polish I am only trying to blend the patch into the surface of the stem. The next five photos show the process of sanding down the bubble and the look of the resulting patch on the stem. The tooth marks are gone and in their place is a black patch that with a bit more polishing and sanding with micromesh will blend into the stem well and give a new polished look and comfortable feel to the stem.

Image

The underside of the stem. Notice the patch near the button after sanding with 320 grit sandpaper. The patch on the underside is larger than the one on top but it not as deep.

Image

The bubble of black superglue on the top of the stem. The white dust on the stem is not a problem as the bubble is dry at this point and ready to sand.

Image

The top side of the stem after the initial sanding of the bubble. It is almost smooth and needs to be wet sanded with the micromesh sanding pads.

Image

Top side of the stem after the patch has been wet sanded with 1800 grit micromesh sanding pads.

Image

The top side of the stem after the patch has been wet sanded with 1800 grit micromesh sanding pads. There are still scratches that remain in the stem on both the top and the bottom that more sanding will remove. The patch will also blend in better as the stem itself begins to shine.

The next series of photos show the stem as I sand it with the various grits of micromesh sanding pads. Between the 2400 and the 3200 grit sanding pad I scrubbed the stem with Maguiar’s Scratch X2.0 to polish out some of the remaining scratches.

Image

The top side of the stem after wet sanding with 1800 grit micromesh sanding pads.

Image

The underside of the stem after wet sanding with 1800 grit micromesh pads.

Image

The top side of the stem after wet sanding with 2400 grit micromesh pads. The patch is beginning to be harder to see on the surface of the stem.

Image

The underside of the stem after wet sanding with 2400 grit micromesh pads.

Image

The top side of the stem after I polished it with the Maguiar’s Scratch x2.0. The patch is blending in very well on the top side. If you did not know where it was it would be hard to see.

Image

The underside of the stem after polishing with the Maguiar’s. The patch is also beginning to blend in very well on this side of the stem as well.

Image

The top side of the stem after I had dry sanded it with the 3200 grit micromesh pads.

Image

The underside of the stem after dry sanding with the 3200 grit micromesh pads.

Image

Topside of the stem after sanding with 3600 and 4000 grit micromesh pads. The patch is virtually hidden to the camera at this point as the stem begins to shine.

Image

Underside of the stem after sanding with 3600, 4000 grit micromesh pads.

Image

Top side of the stem after sanding with 6000, 8000 and 12,000 grit micromesh pads.

Image

The underside of the stem after sanding with 6000, 8000 and 12,000 grit micromesh.

The next series of four photos show the finished pipe after buffing with carnauba wax and a soft flannel buff to give it a shine. The pipe is restemmed, repaired and ready for it next smoke.

ImageImageImageImage