Blog by Steve Laug
I was on a work trip in Alberta when I received an email from a woman named Nancy who picked up my email address from the blog. She wrote to tell me about a pipe that had come into a thrift store she worked at. Here is the first email I received.
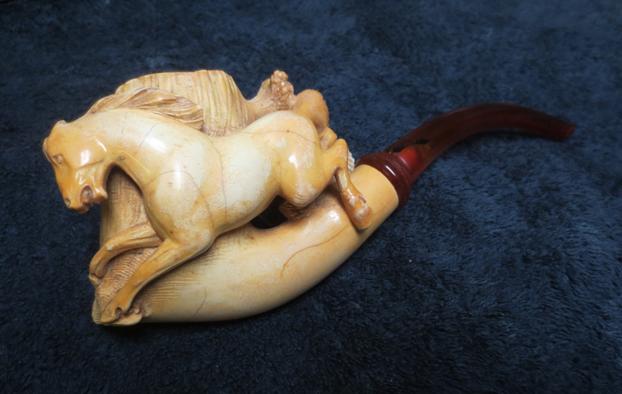
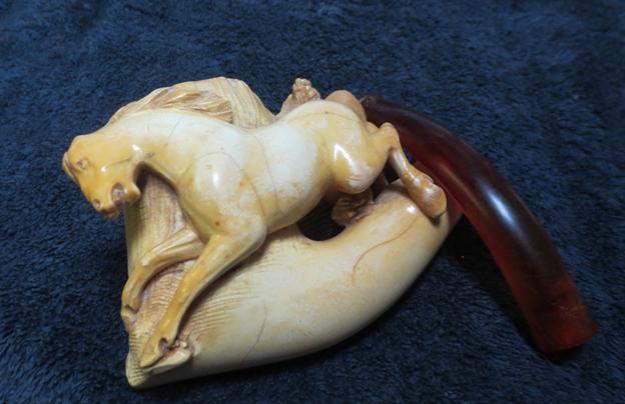
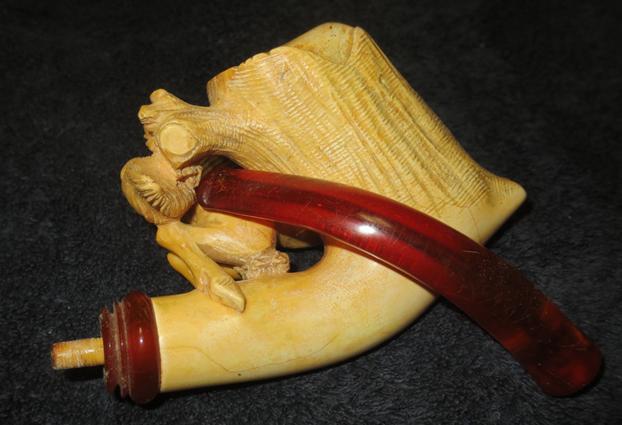
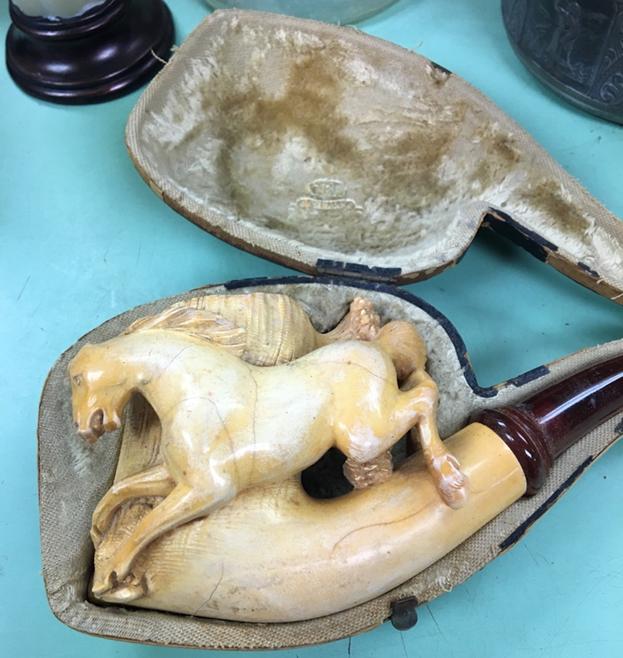
Hello Steve, I volunteer at a thrift store & we received this pipe as a donation. I knew it was too old & precious to sell for a few dollars. It’s in pretty rough shape with cracks but still beautiful in its additional case. It is a horse leaning against a tree stump with a long stem that looks like Bakelite. Is this something you would want to have & restore? I can send pictures if you’ll give me an email. Thank you, Nancy
I wrote her back and asked to see the photos of the pipe. She immediately replied and sent me the following three photos. It looked like the pipe may be a CPF Best Make Meerschaum. The case appeared to have been the original for the pipe.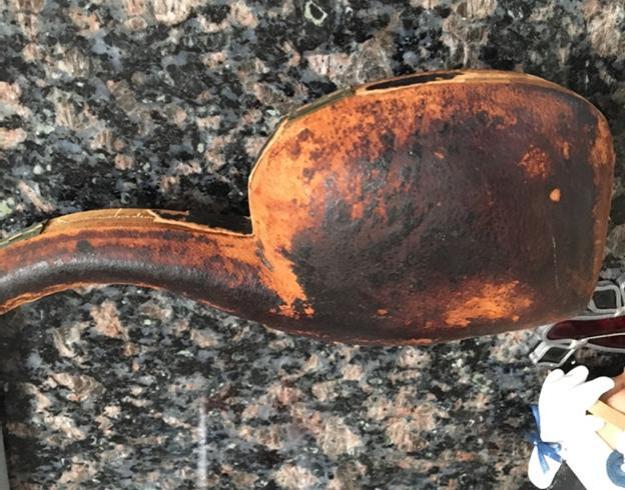
 After looking at the photos on my cell phone I wrote her back and made an offer on the pipe. She quickly responded with the following email:
Yes, that sounds good. The money will go to Assistance League of Yuma. We are a non-profit, all volunteer organization. There are 120 nationwide. We have Operation School Bell which provides 3 new outfits, shoes, books, hats, etc. Just to let you know where the money will go. 😍 I would love to see a picture of the pipe when you are done. I’m so glad to find a good home for it & that it will be restored. Thank you! Send me your address & I will get it ready to send. Thx, Nancy.
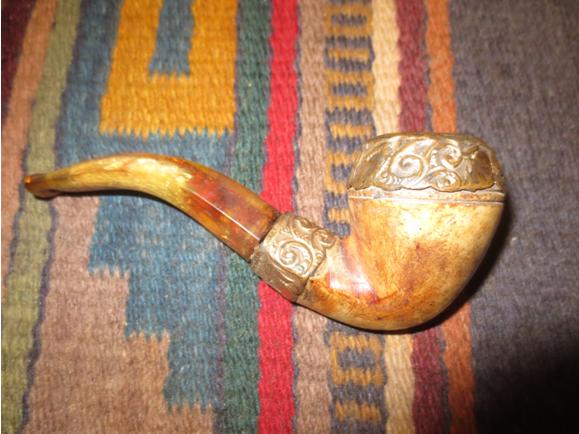
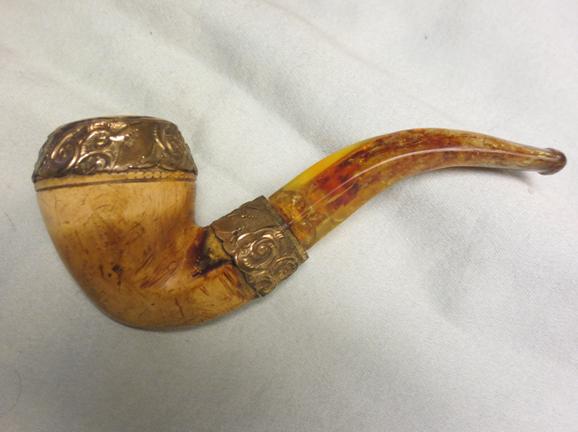
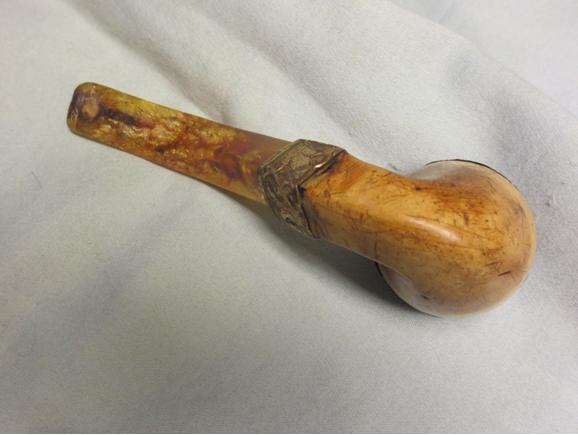
I finished the 2 week trip in Alberta and the day after I returned the pipe arrived. It was far bigger than I expected from the photos. Somehow in my mind it was a typical carved meerschaum pipe but when I opened the box it was quite large. It is 8 ½ inches long, 3 ½ inches tall, with an outer diameter on the bowl being 1 ¾ inches and the bowl itself being 15/16 inches in diameter and 2 ¼ deep. It is a handful.
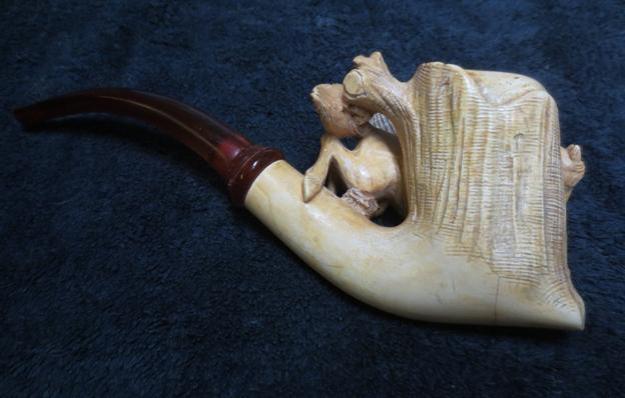
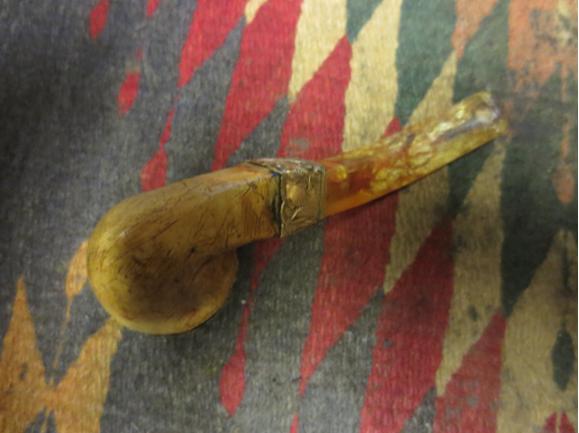
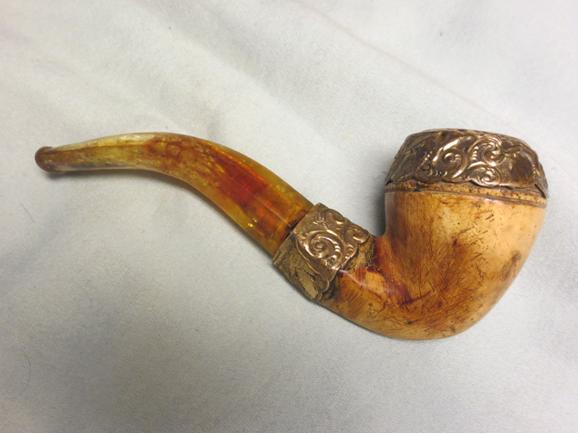
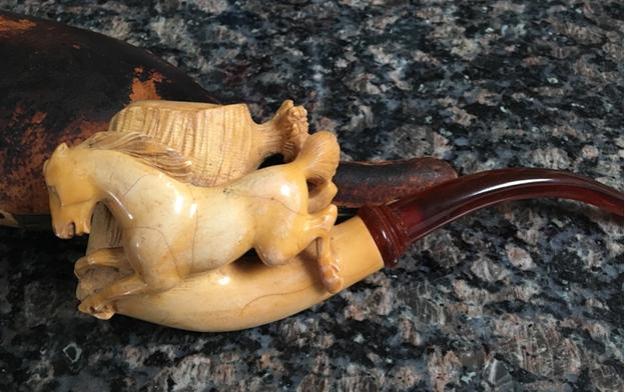
The condition was better than I expected. The cracks in the meerschaum were on the surface of the horse and the right side of the shank. I was expecting more open cracks but these were tight and seemed to be almost a spidering from the spots where the carved horse was connected to the bowl. The center of the back had tiny cracks radiating down the front and rear haunches of the horse and the place where the rear hooves were connected to the shank had a crack radiating both directions. These cracks on the shank also continued around the bottom of the bowl and shank. Fortunately none of them were deep and really added to the aged look of the pipe.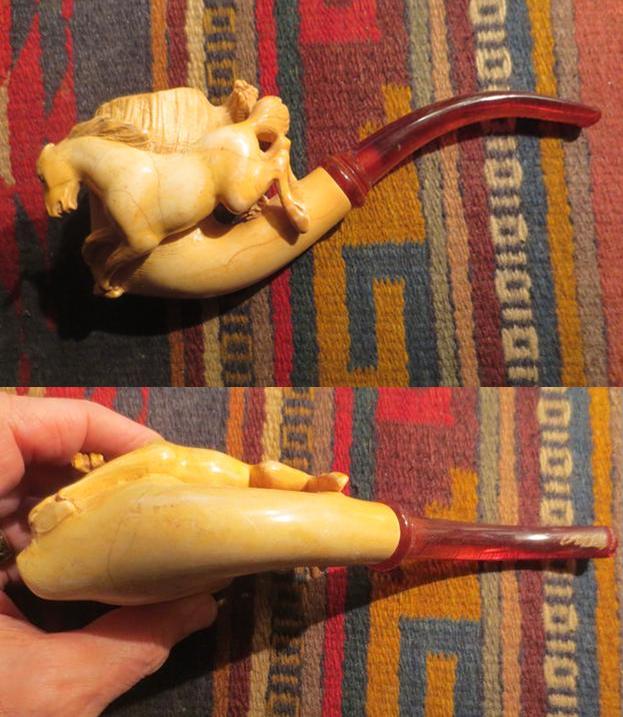 The left side of the shank and bowl (a carved stump) was in excellent shape with no cracks. The rim of the pipe had some darkening and a buildup of tars and oils on the top back side of the rim. There was a light cake in the bowl that would be easily removed with a pipe knife. There was some dust and debris in the grooves of the stump and the mane and tail of the horse.
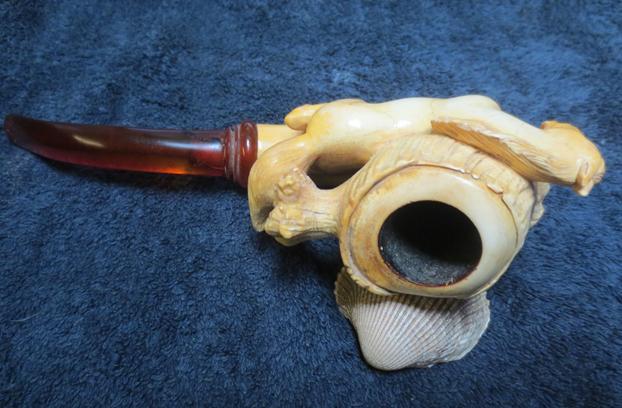
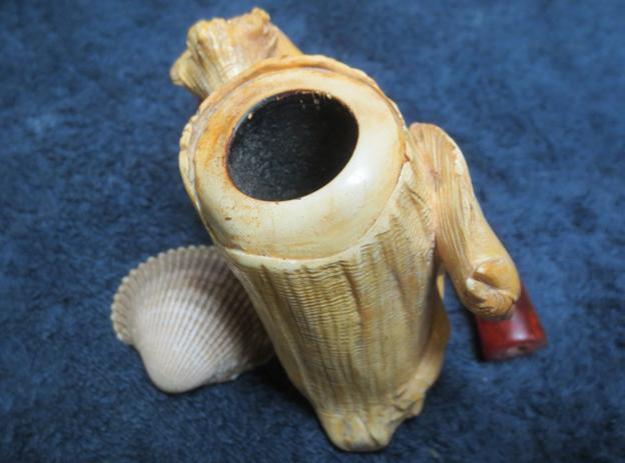
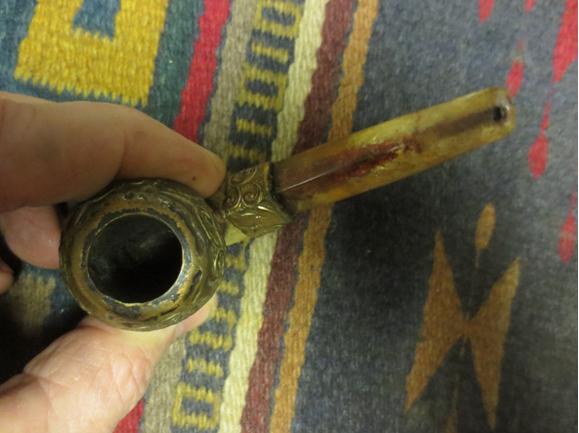
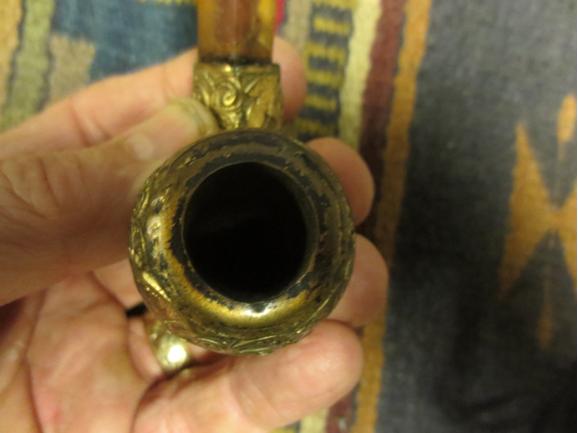
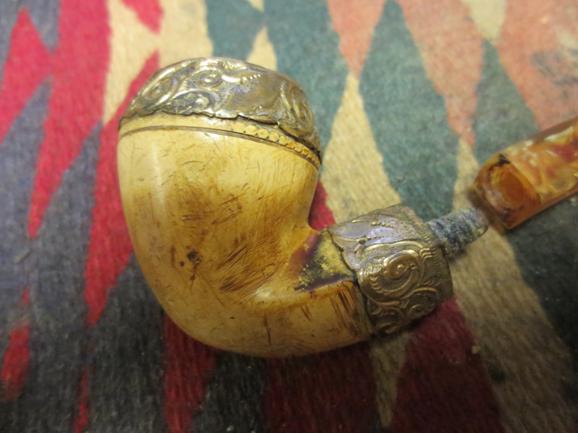
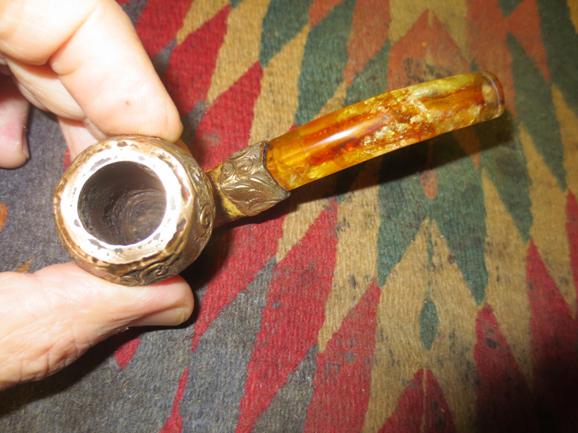
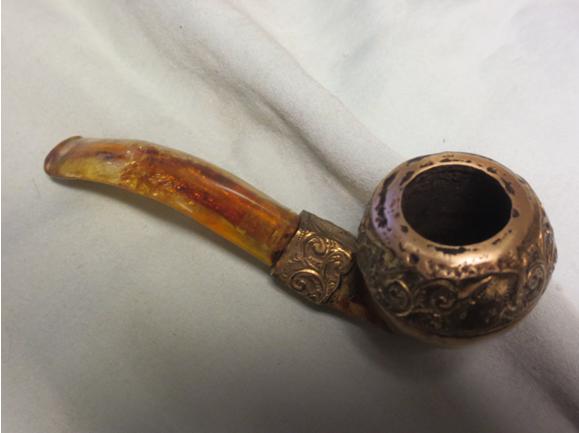
 I took a close up photo of the top of the bowl to show the cake in the bowl and the condition of the rim top. On the back side of the bowl there is a branch extending toward the stem that has the horse’s tail attached to it.
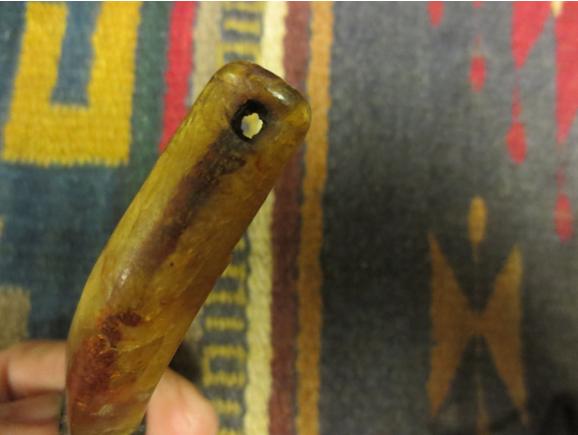
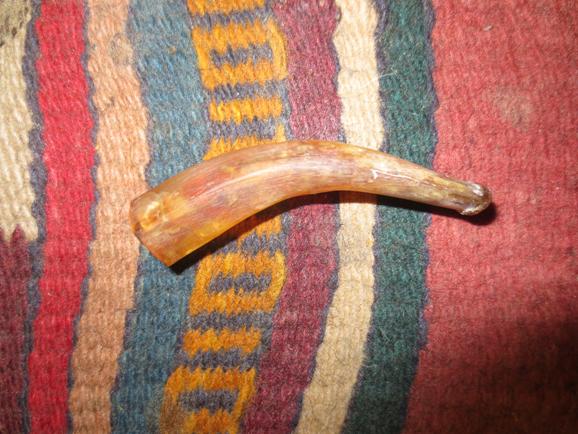
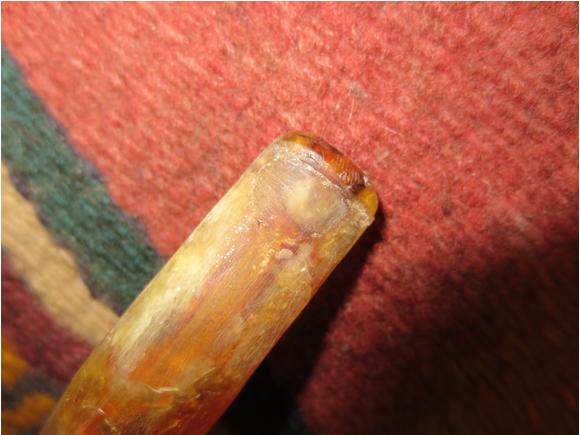
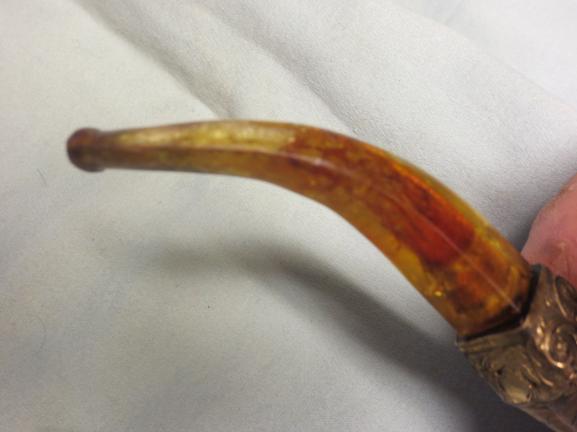
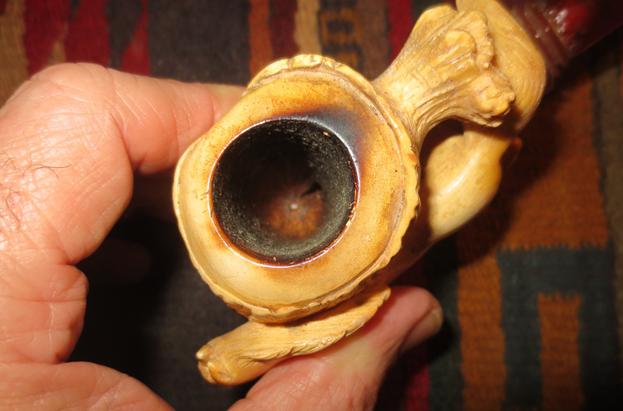 The condition of the Bakelite stem was a bit worse than I expected from the photos. It had a lot of tooth chatter and tooth marks that extended from the button for about an inch up the stem. It was rough on both sides of the stem. The button was also worn from tooth marks. There were a lot of tiny spidering cracks all over the surface of the stem that gave me some concern as I examined it. Time would tell if these would be more than a surface issue.
 The case was in rough shape though solid. The leather cover was worn off the wooden case but the hinges and clasp were still solid. The interior of the case had a worn faux fur lining that was almost worn away. I could still read the gold embossed logo in the top of the inside case – the CPF logo in an oval over an unfurled banner reading Best Make. The case was obviously made for the pipe so it gave me the needed information that this was a CPF meerschaum. Since I am a big fan of older CPF made pipes I was excited to see that this was one of them.
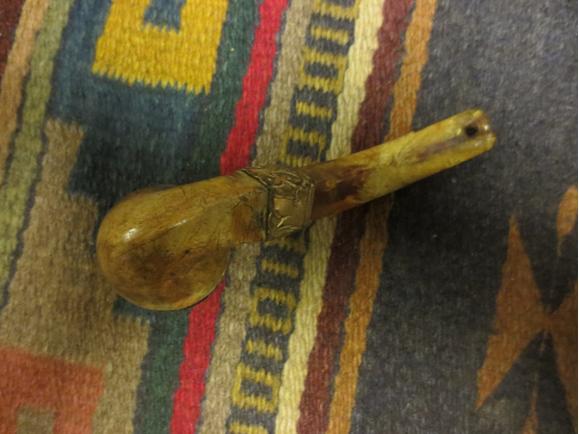
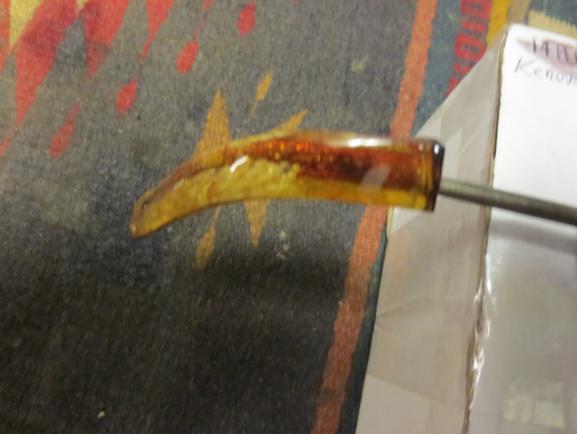
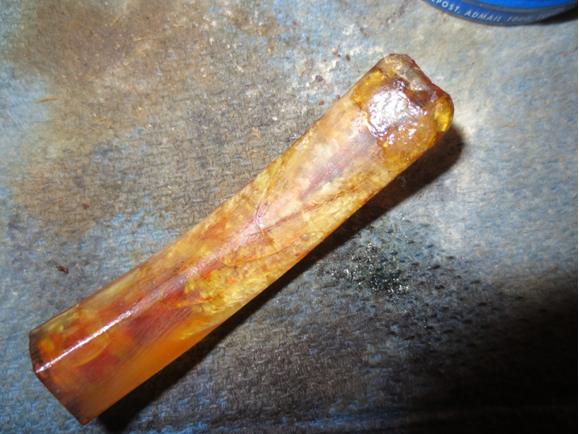
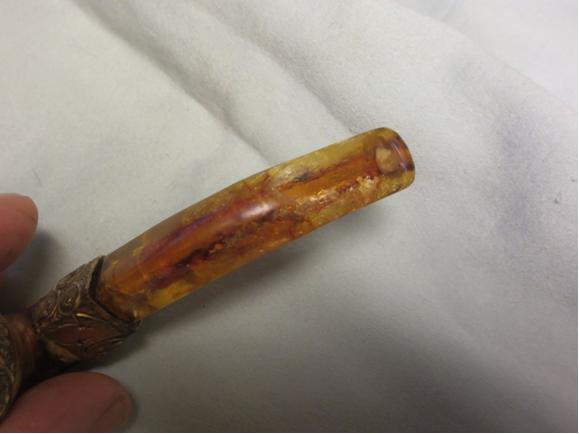
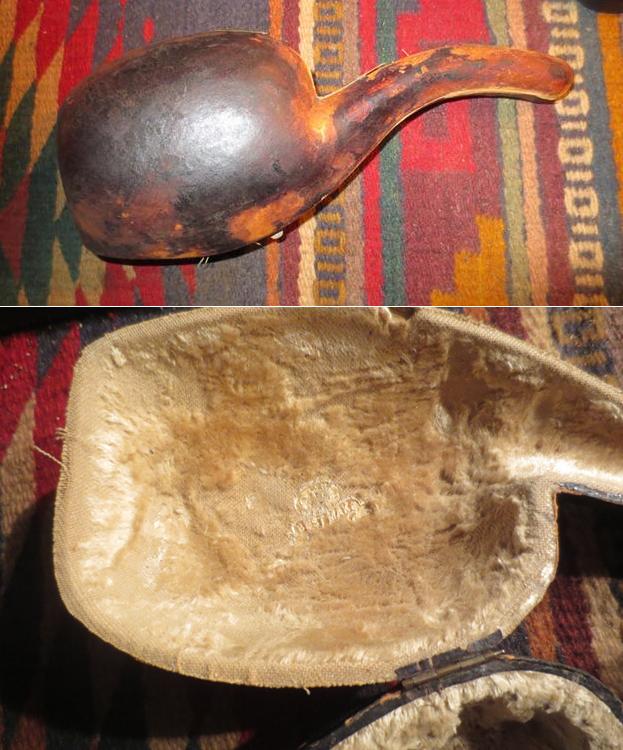 I sanded out the tooth marks and chatter on the stem from the button forward. With the sanding dust present on the rest of the stem you can see the spidering cracks on the rest of the Bakelite stem.
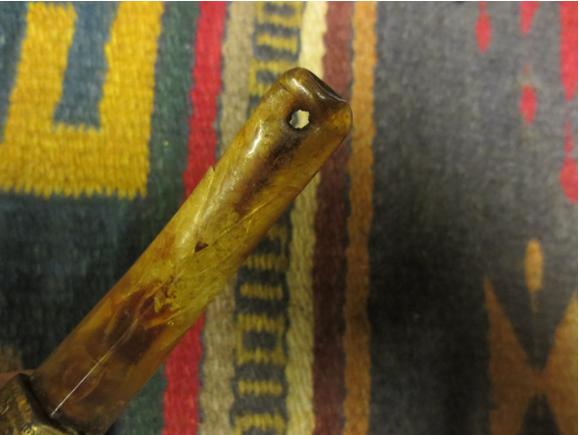
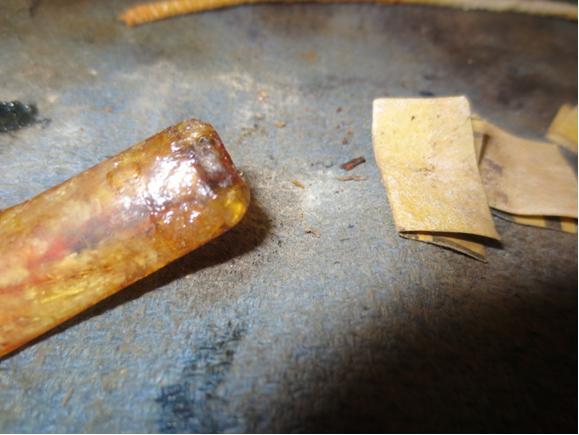
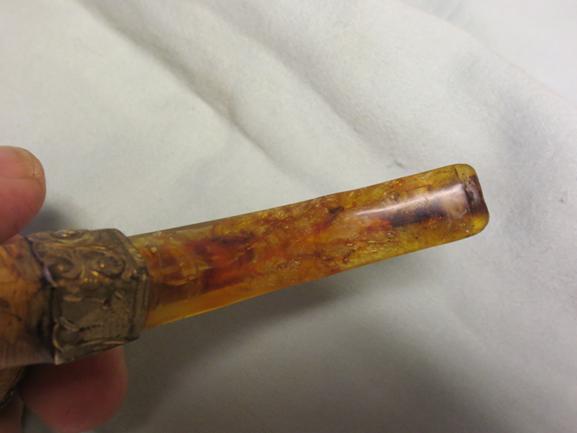
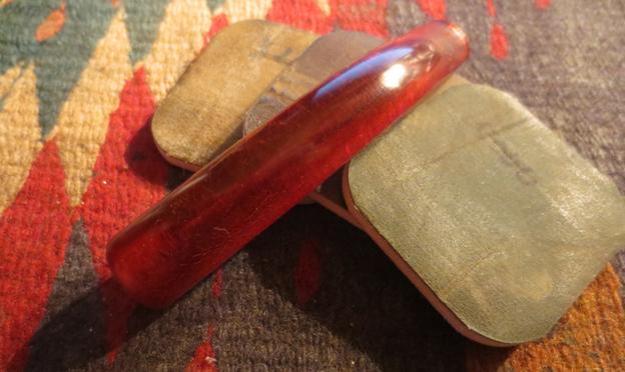
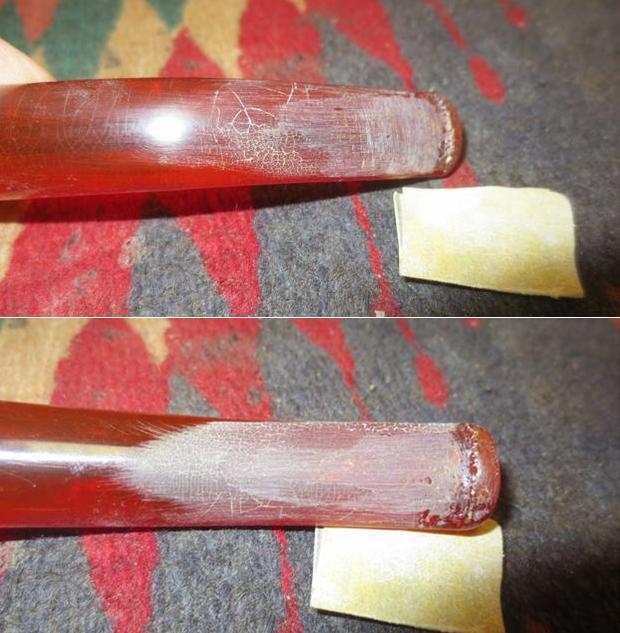 I sanded the shank end as well because there were chips missing from the edge of the stem where it sat against the shank. Again the spidering cracks are visible with the sanding dust.
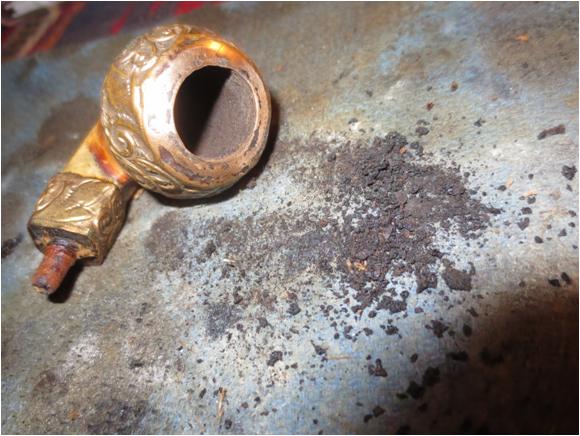
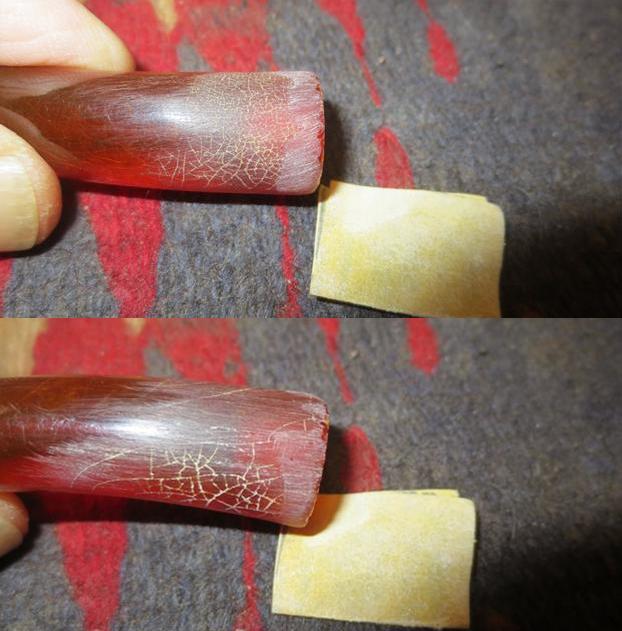 I cleaned out the airway in the stem and the shank with pipe cleaners and water. I also reamed the bowl with the Savinelli Fitsall Pipe Knife.
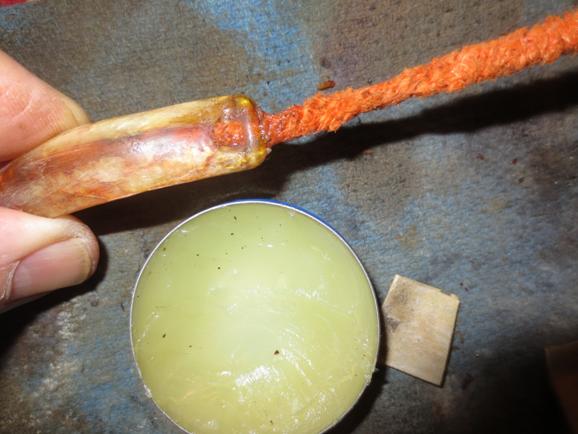
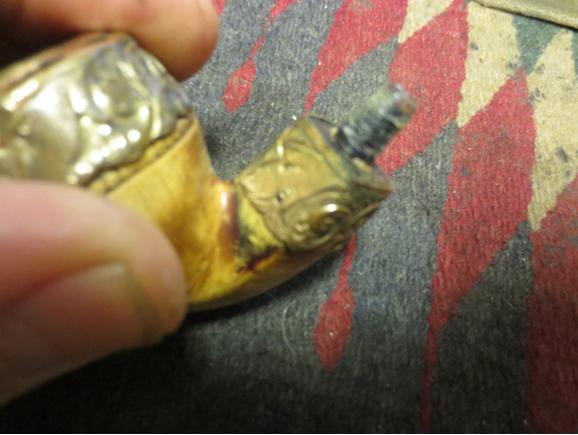
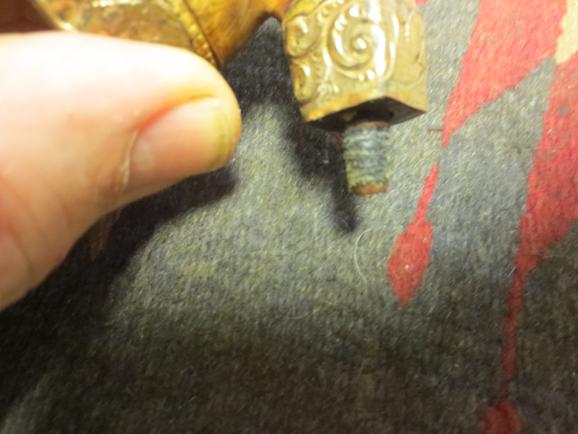
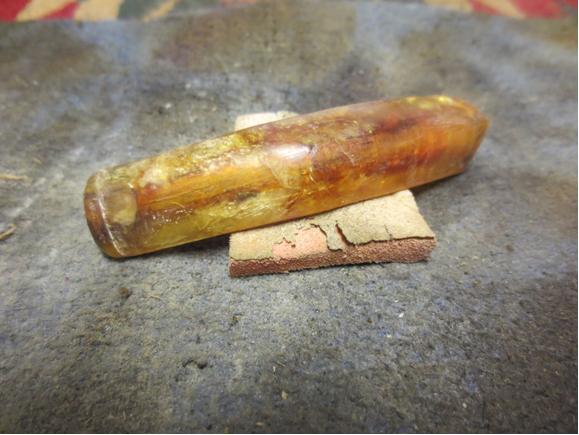
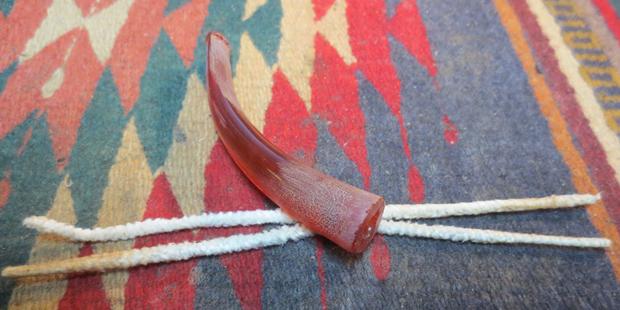 There was a Bakelite spacer on the shank as well that I unscrewed and cleaned up. The threaded tenon is integral to the shank. The next photo shows the three parts of the pipe.
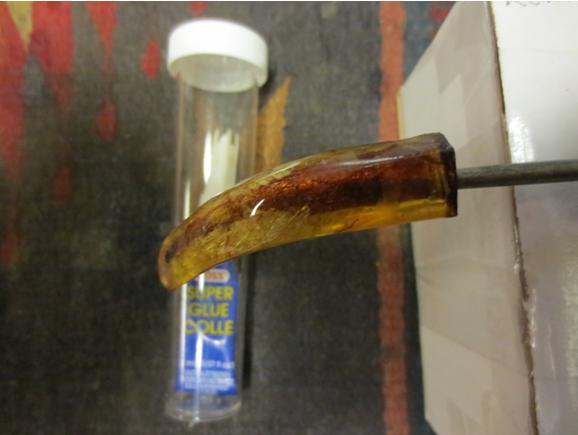
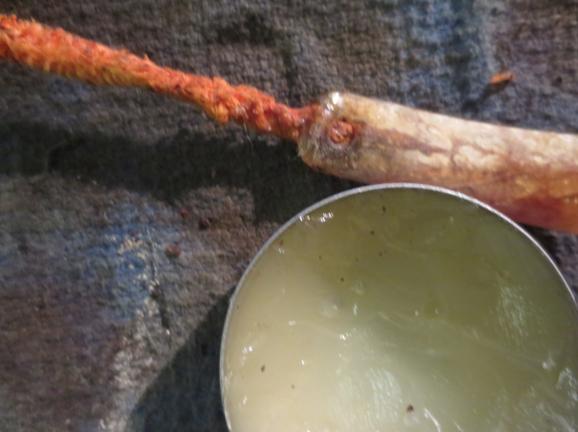
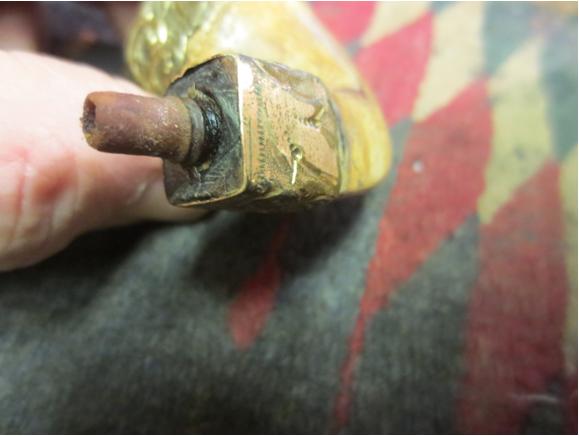
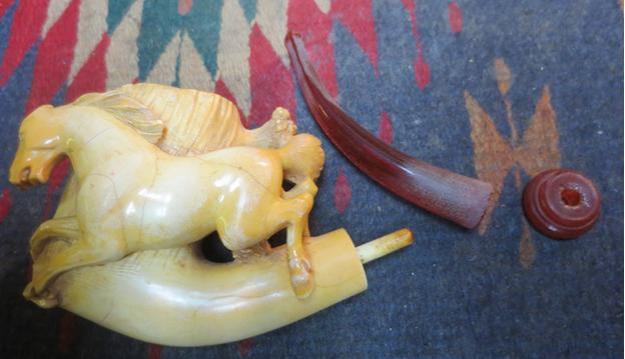 The stem had been held in place on the tenon with a packing of twisted paper. The threads in the stem had been stripped and worn over the years. The threads were still present in the stem but were very worn. I built up the tenon end with some clear super glue to allow the stem to grip the threads on the tenon.
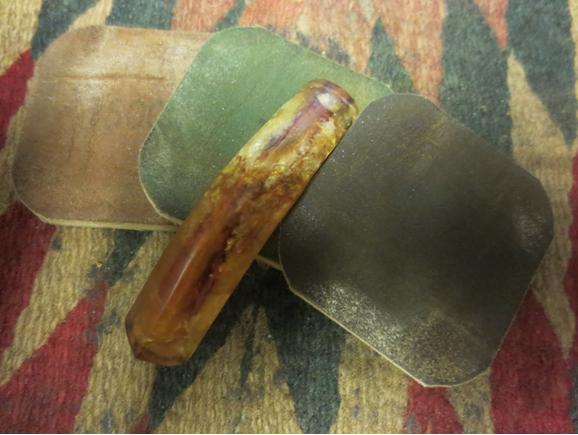
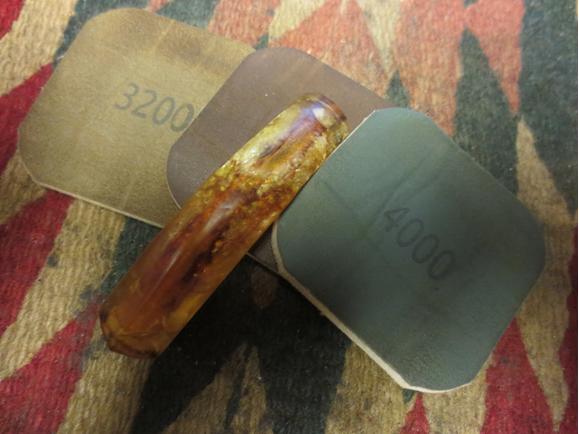
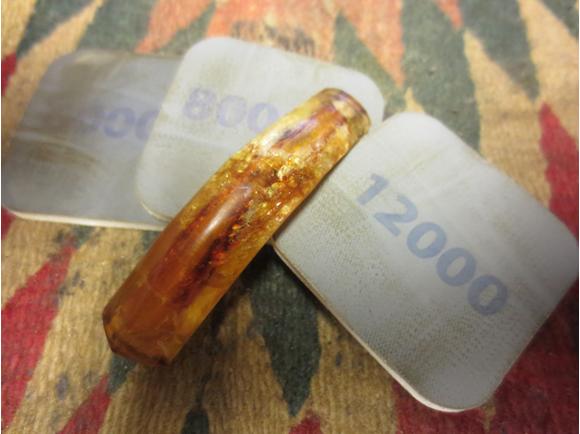
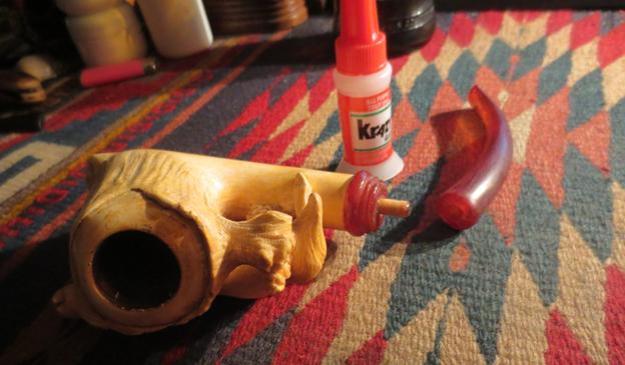 I sanded the stem with 220 grit sandpaper to remove as much of the spidering cracks as possible. Many were just on the surface. I polished the stem with micromesh sanding pads – wet sanding with 1500-2400 grit pads and dry sanding with 3200-12000 grit pads. I rubbed the stem down with Obsidian Oil after each set of three pads and after the final set gave it a last rubdown and set it aside to dry.
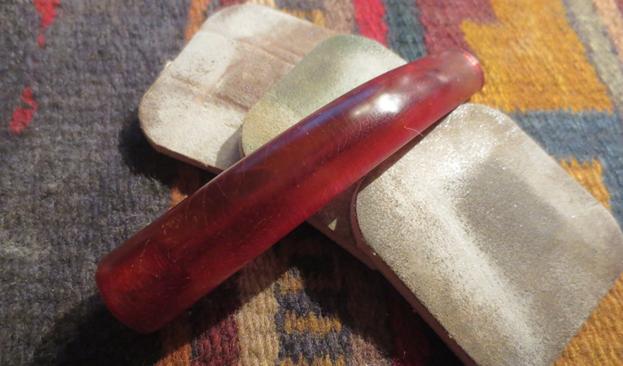
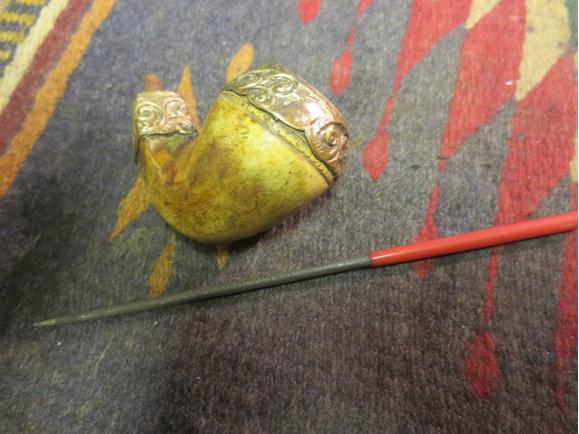
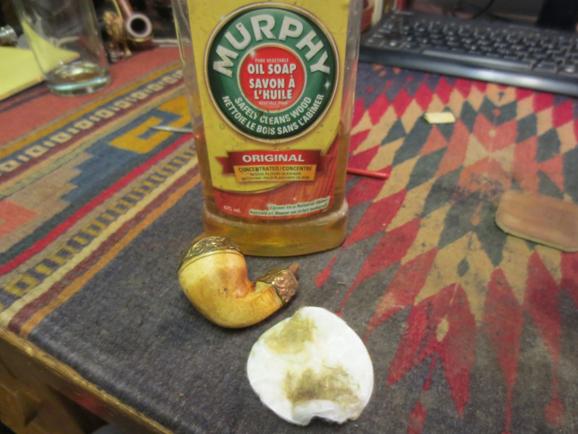
 I carefully scrubbed the surface of the meerschaum with a soft tooth brush and warm water to remove the dirt and grime. I polished the meer with micromesh sanding pads. I started with 1500-2400 grit pads and was able to remove many of the surface scratches and blemishes as well as the tarry build up on the rim of the bowl. I continued to polish it with the remainder of the micromesh pads from 3200-12000 grit to bring a shine to the patina of the bowl.
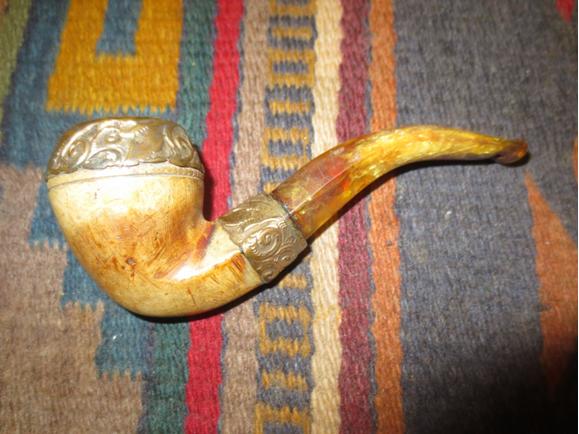
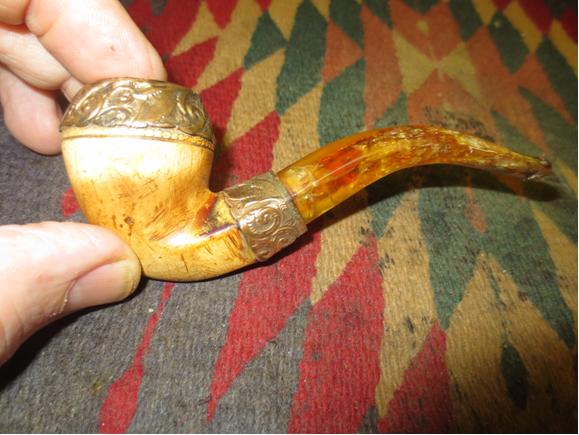
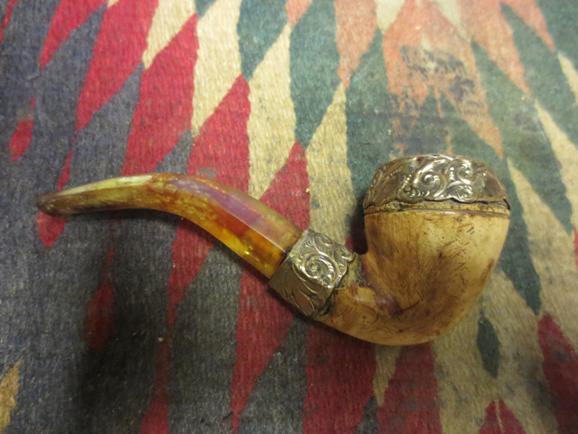
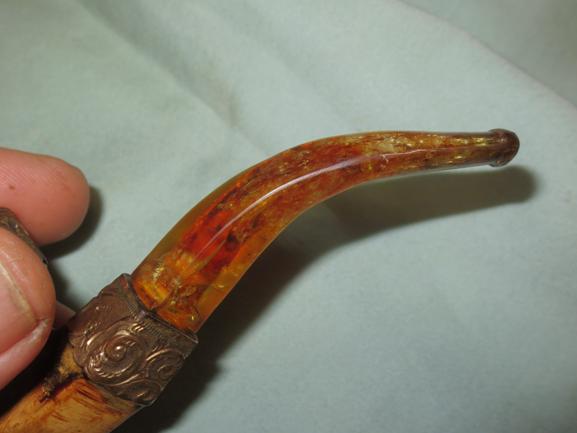
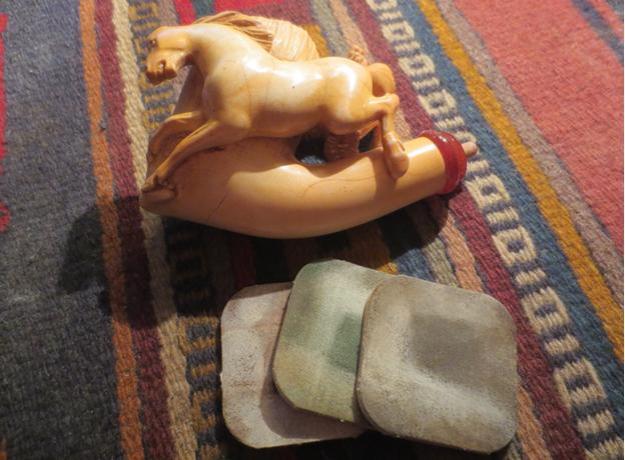 I buffed the bowl and stem with Blue Diamond on the buffing wheel carefully working around the horse. I lightly buffed the stem as well. I gave the bowl a rubdown of beeswax and hand buffed it with a shoe brush. The finished pipe is shown in the photos below. I am expecting that the coloration of the meer will come back to the surface once the pipe is smoked. Thanks for journeying with me.