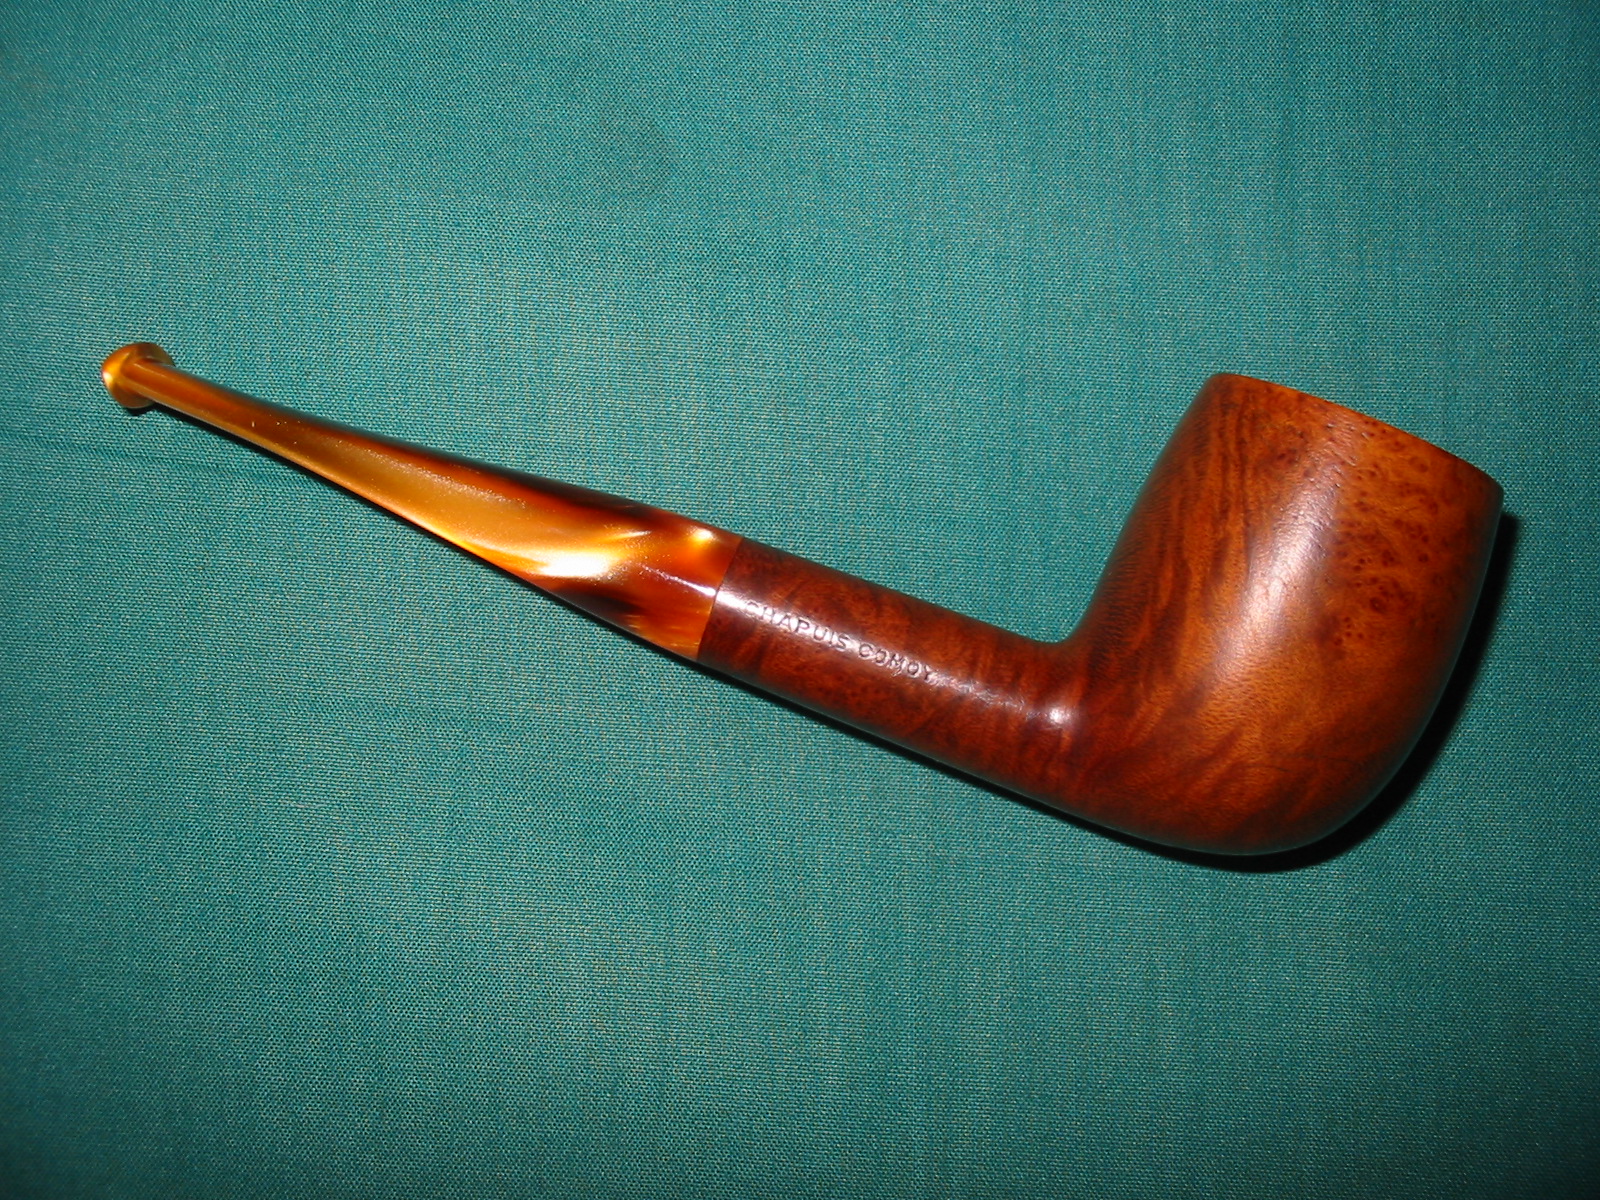
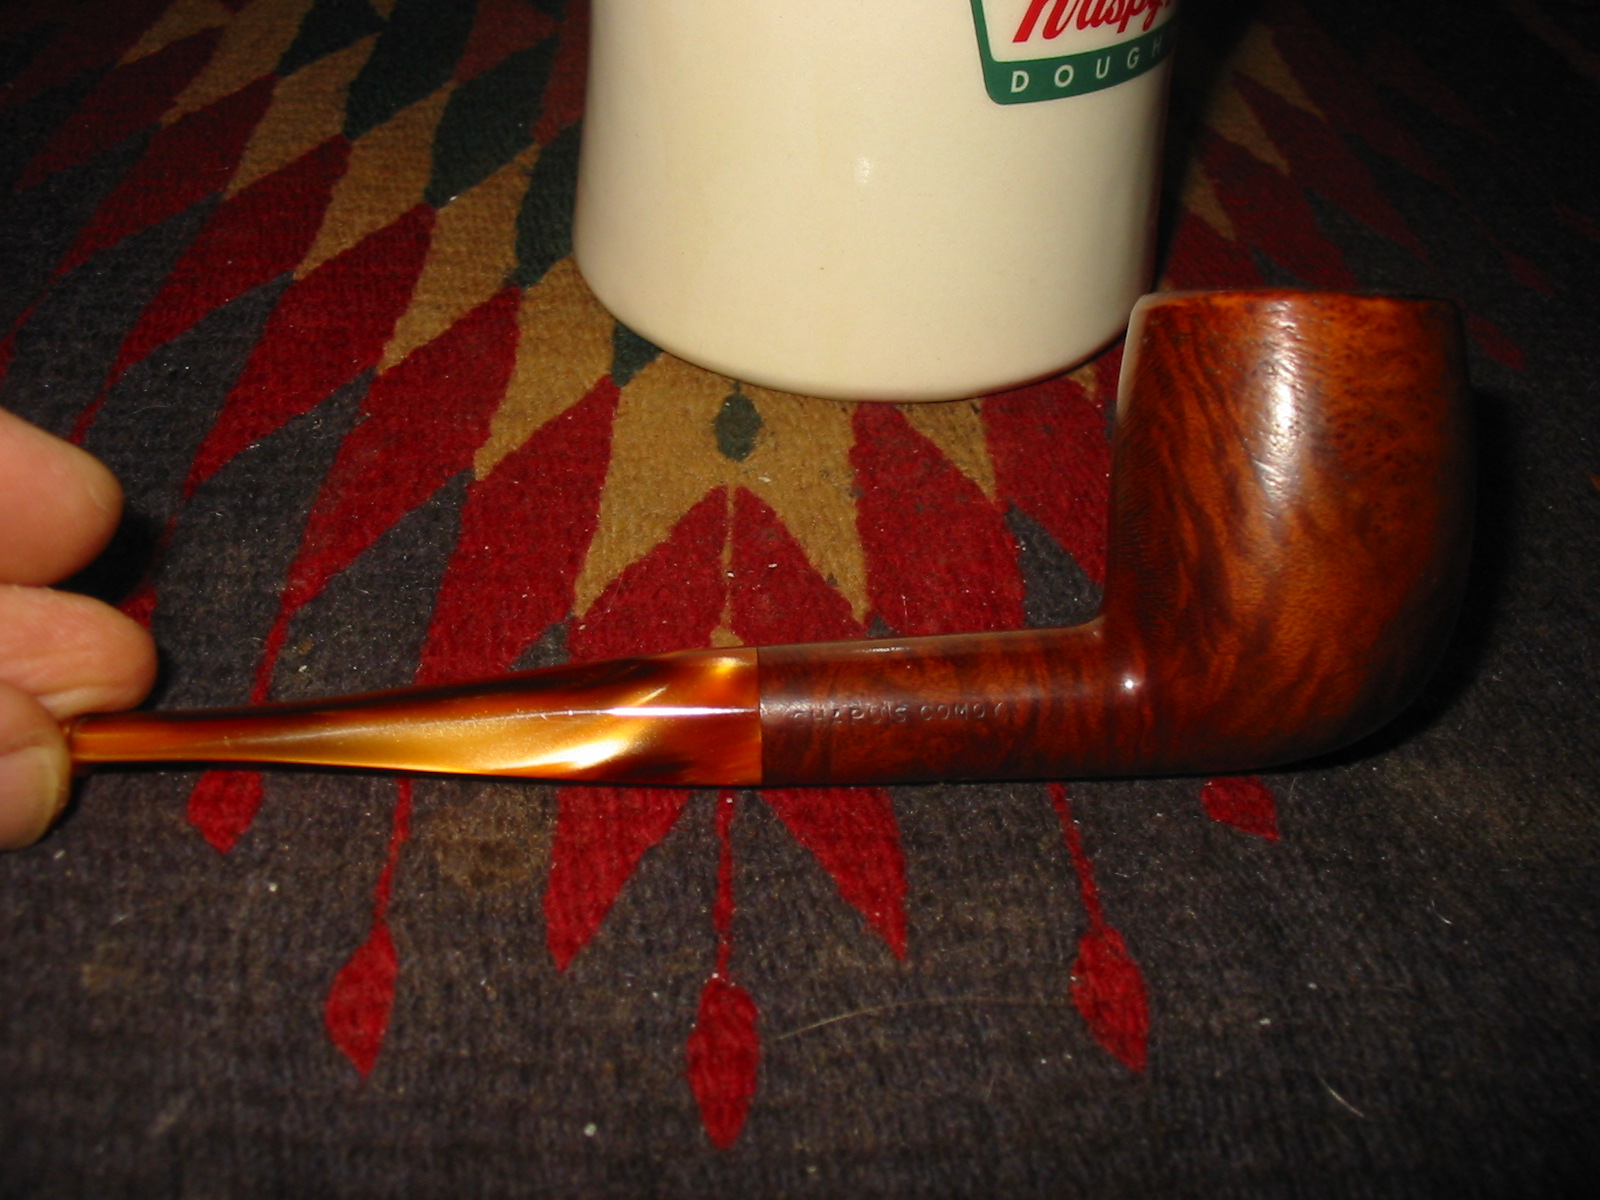
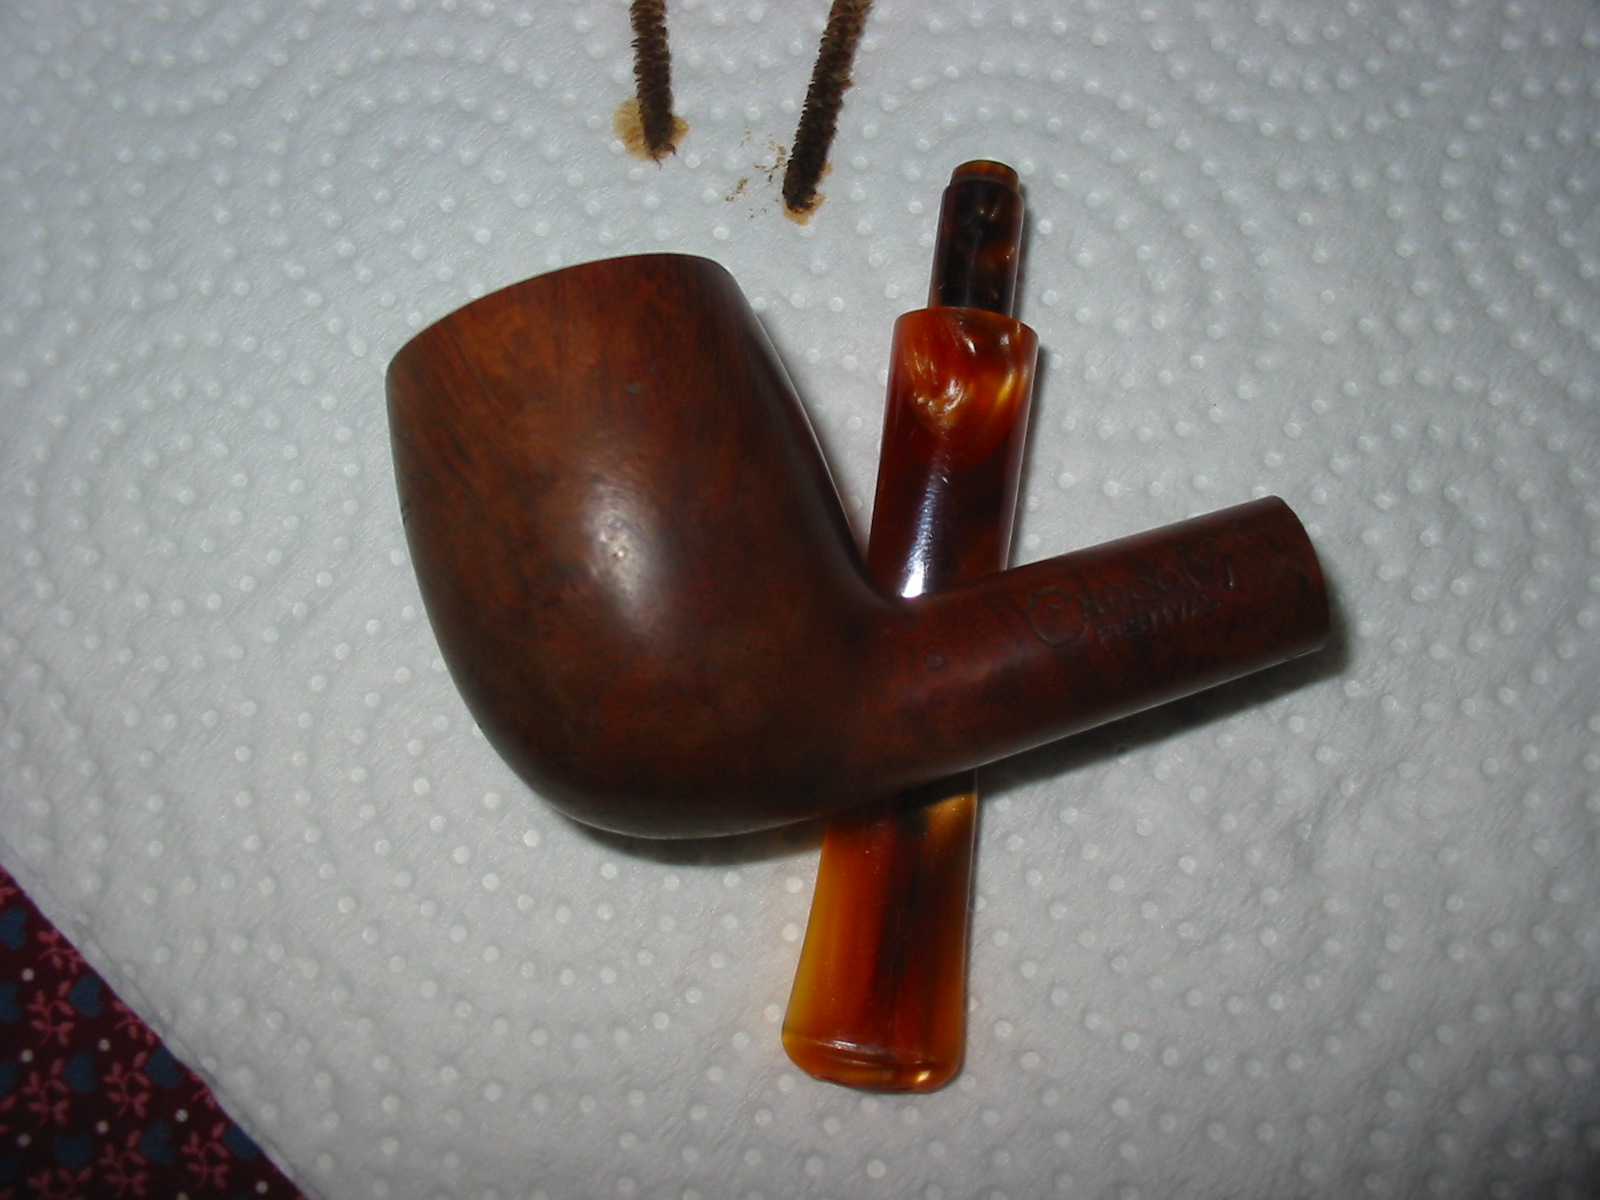
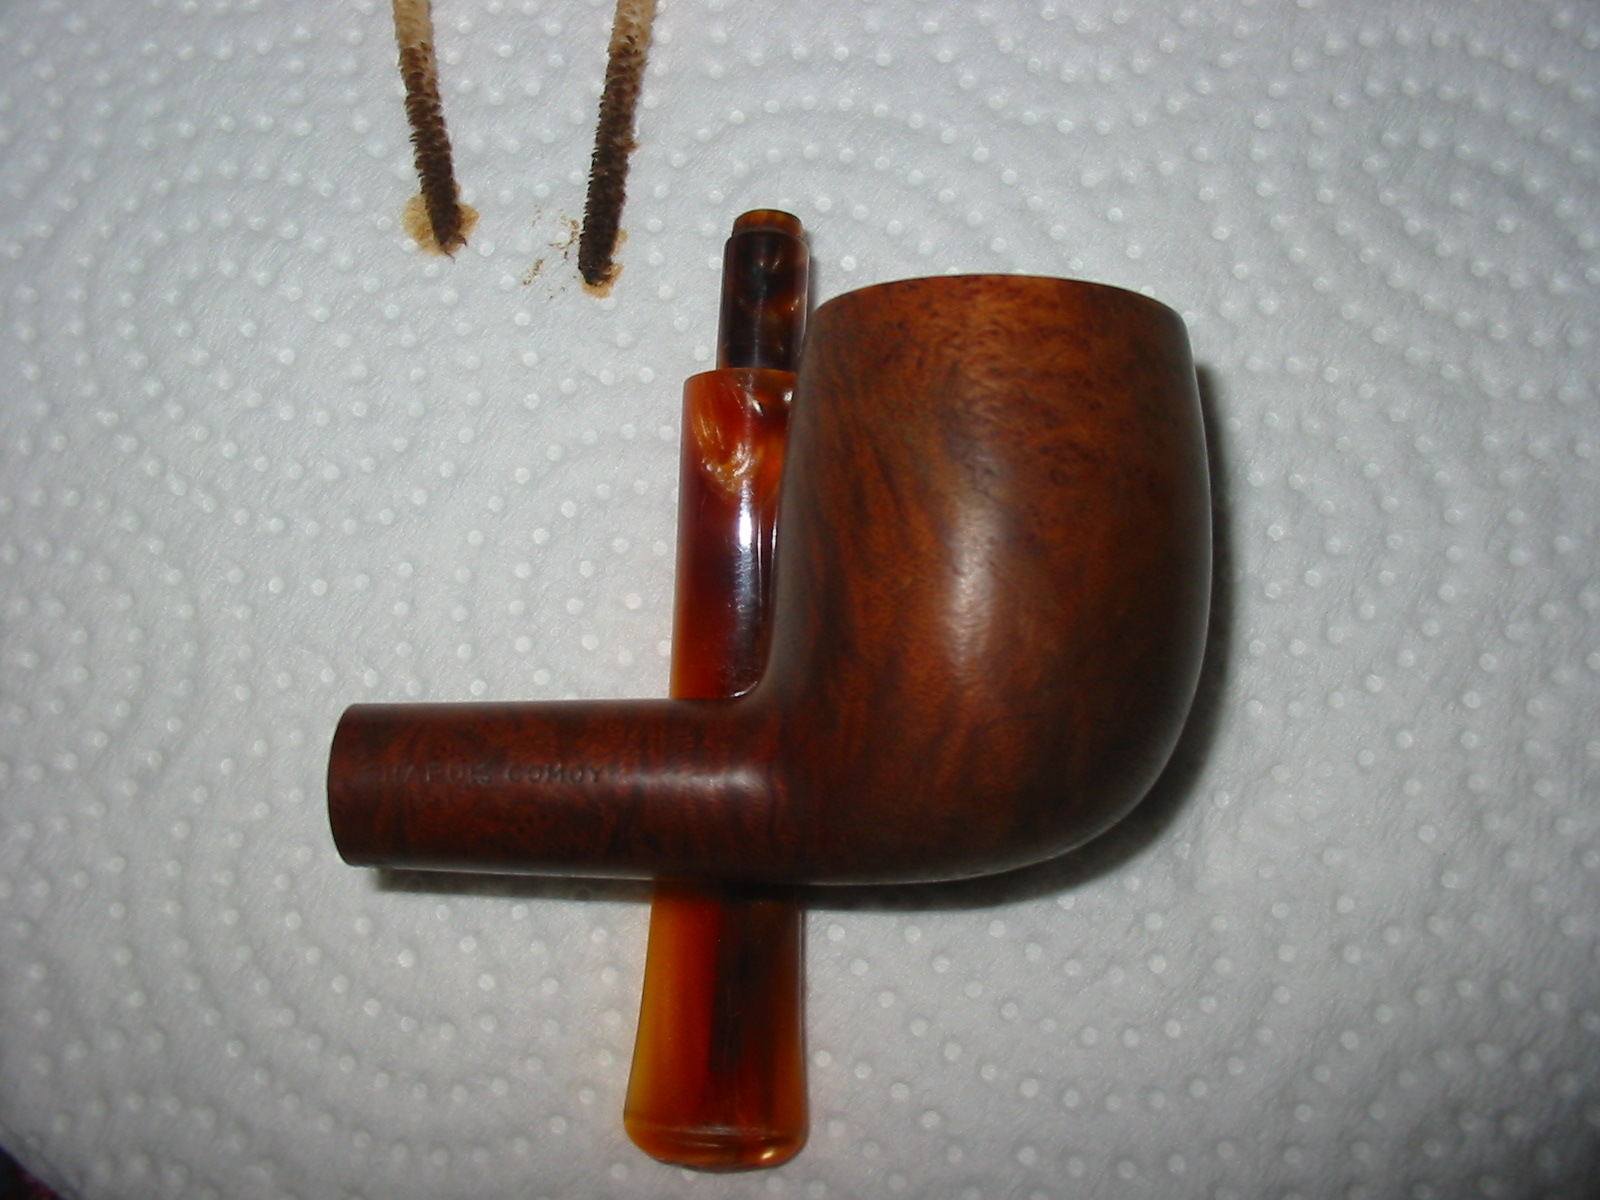
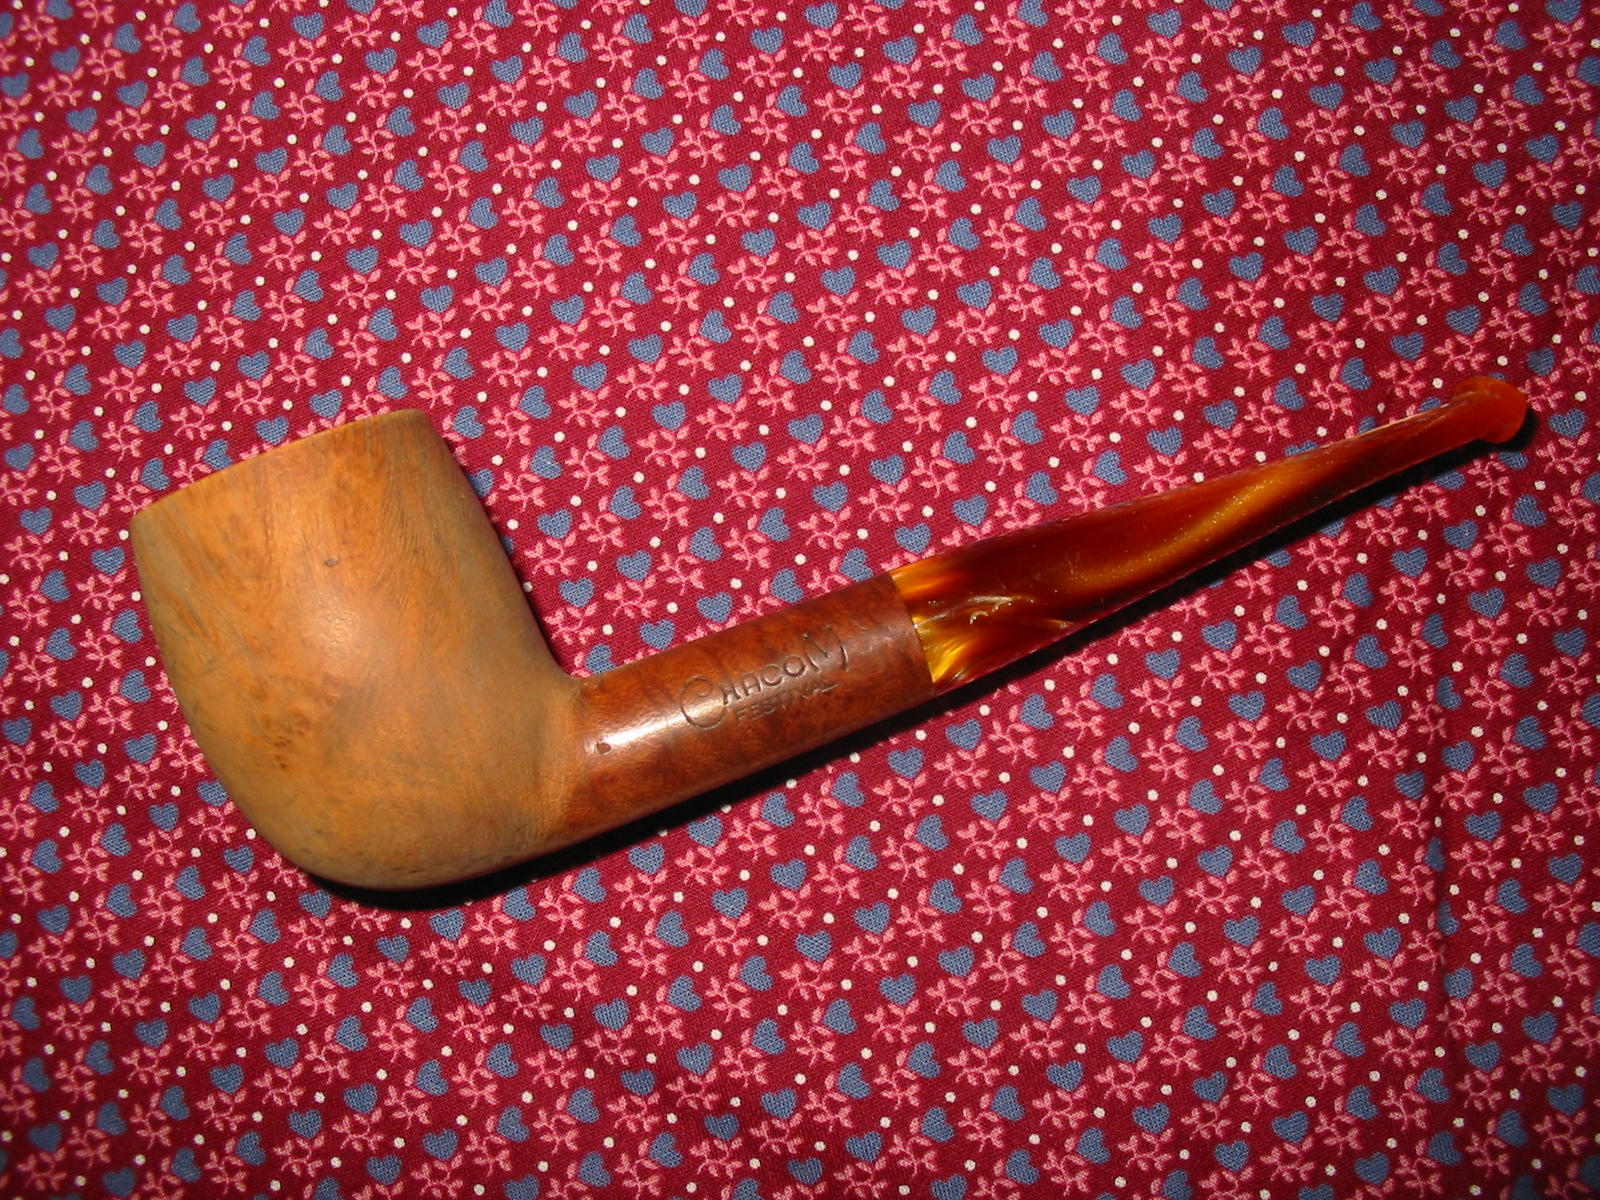
I have had this Chacom Billiard for quite a while and never done any work to it. It had a lot of rim damage and the outer edge had been rounded over. Looking at the brand online I could not find any with a rounded top so I decided to rework the top. It also had many dents and dings in the surface of the briar all around the bowl. It seemed like there were too many to be a onetime drop of the pipe but rather seemed like the pipe had been bumped around in a drawer or glove box in a car and picked up the dents. I have not smoked the pipe so I have no idea how it smokes but I have been in a mood to clean up many I have around that need a little more TLC. This one was also filthy inside the shank and the stem to the point that the airway in the stem was a black line like a stripe from the shank to the button. The stamping on the pipe is Chacom over Festival on the left side of the shank and Chapuis Comoy on the right. On the underside near the shank stem junction it bears the stamped numbers 291 – the shape designation. The 291 shape is a Comoy’s number. The acrylic stem is stamped CC on the left side near the shank. I am not clear on the relationship between Comoy’s and Chacom other than a few vague memories regarding the company separating and the Comoy’s moving to London and a portion staying in France and taking on the name Chacom. I do not recall the history or the connection.

I decided to do some research on the web to check out my vague recollections and gather details on Chacom pipes. I found a timeline for the brand on the Chacom website with a short history abbreviated. (http://www.pipechacom.com/en/pipes-traditionnelles/history.htm). It turned out that I was partly correct in my information regarding the connection but the timeline gives details to the name and the changes that it went through. I had no idea that Chacom was a combination of the first three letters of the Chapuis name and the first three letters of the Comoy’s name. I also had no idea of the detailed ongoing use of the two names that are stamped on my pipe. It appears that the dual name was stamped for many years and generations. I have copied some of the pertinent dates that give me data in understanding the stamping on this pipe. I have incluced portions that give a glimpse into the history of the brand. For more information or to follow-up on this I have also included the website above.
1870: Henri COMOY, prisoner of war in Switzerland met his cousins the Chapuis and together they consider the idea of an association.
1879: Henry COMOY immigrated to London with some of his technicians from Saint-Claude and establishes the first English pipe factory in England – H. COMOY & C° LTD. The Saint-Claude factory supplied them with briar and pipe bowls…
1922: After the First World War the association COMOY and CHAPUIS is realised and the Saint-Claude factory becomes CHAPUIS COMOY & Cie.
1924: Death of Henri COMOY. His sons Paul and Adrien assume the direction of the factories in Saint-Claude and London assisted by their cousins Emile and Louis Chapuis.
1928: London was able to produce their own pipes, and in order to develop the Saint-Claude factory, the brand CHACOM was created, using the first three letters of the COMOY and CHAPUIS family names. Up till 1939 CHACOM was offered only in France, Belgium and Switzerland in order not to cause confusion with the COMOY pipes which had the same shapes and qualities.
1932: The world economic crisis reached Saint-Claude. To weather this problem Chapuis Comoy & Cie joined with another company under the name of LA BRUYERE, forming the biggest pipe concern in the world with 450 workers. Big trucks were needed to transfer the briar blocks from the drying shed to the factory.
1945: After the Second World War CHACOM assumed its entire commercial liberty and launched a complete and modern range of pipes.
1946: Chacom became the principal brand in France and Belgium…
1957: In face of the commercial preponderance of the brand CHACOM the company La Bruyère returned to the name of CHAPUIS COMOY & Cie.
1964: Death of Adrien COMOY. His son Pierre succeeded him in London. Mr. REED was the Chairman and Managing Director in Saint-Claude…
1971: Having recovered its independence from COMOYS of London, Yves GRENARD, second cousin of Pierre COMOY, took over the Direction of Chapuis Comoy & Cie and at the same time the exclusive sale of H. COMOY & Ltd, in France…
1994: Chapuis-Comoy integrated ROPP Company.
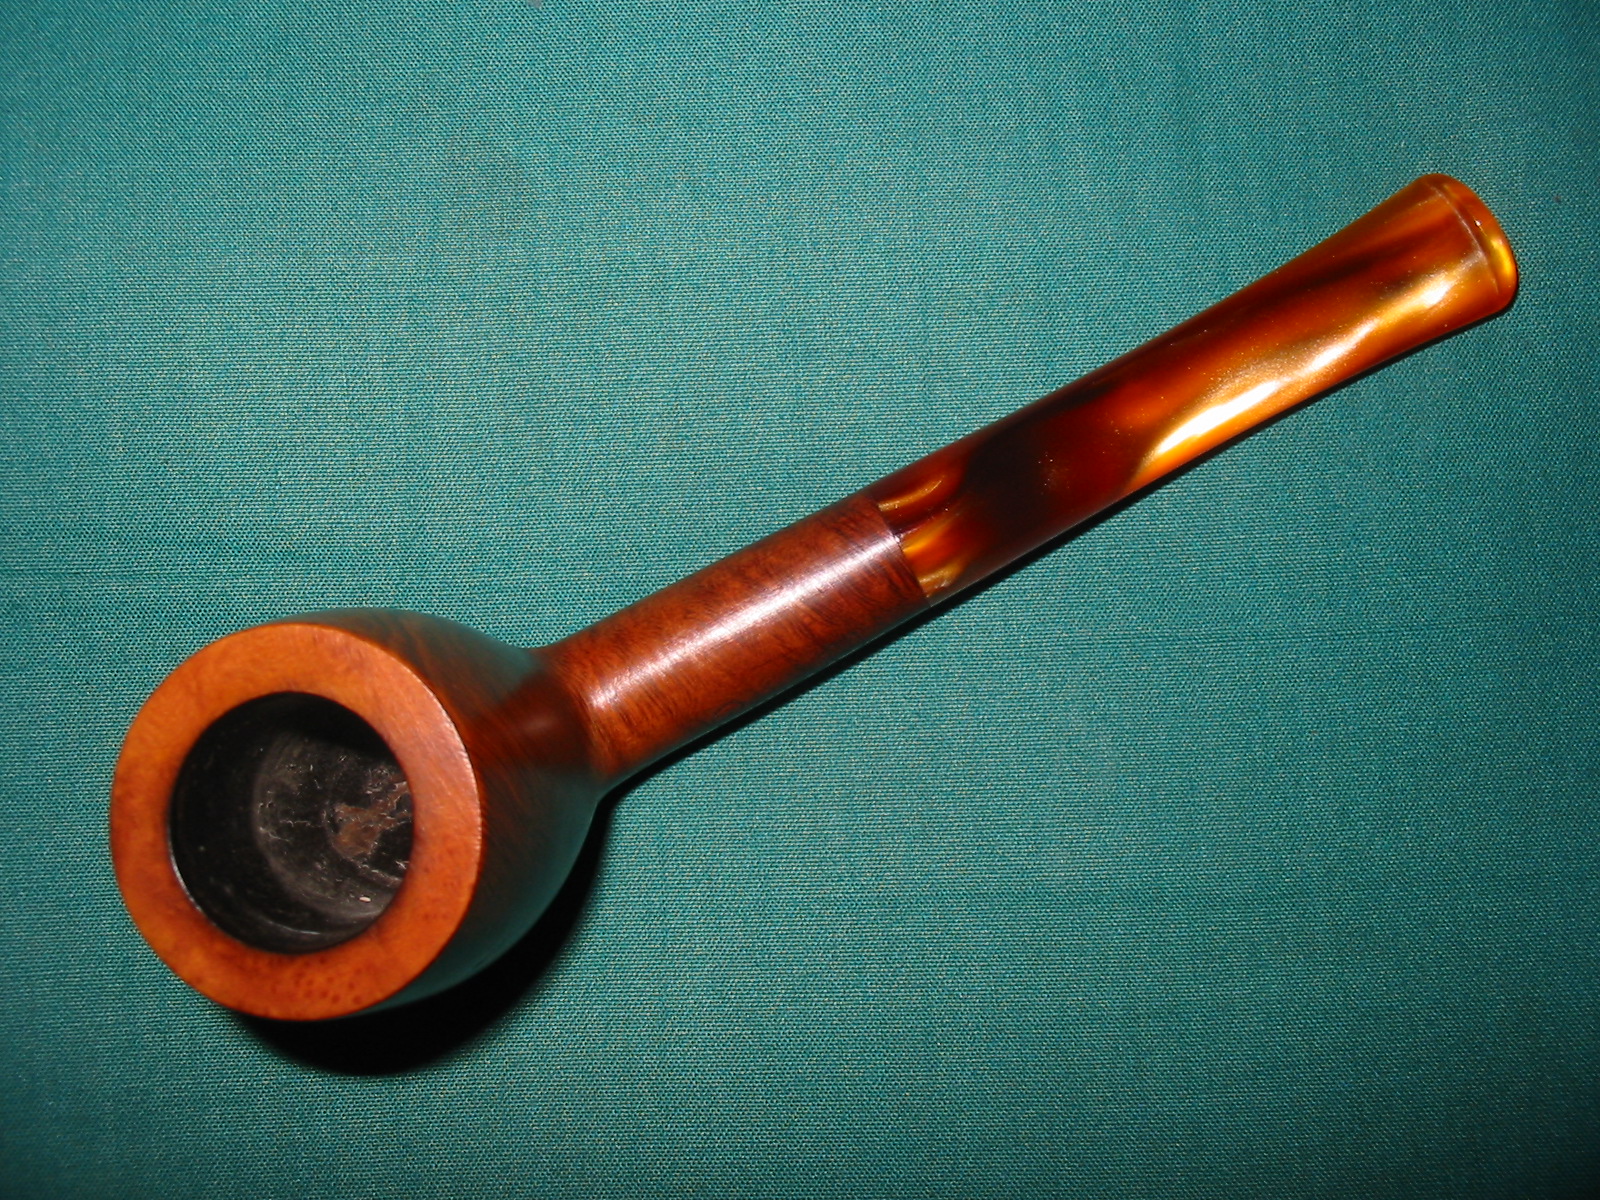
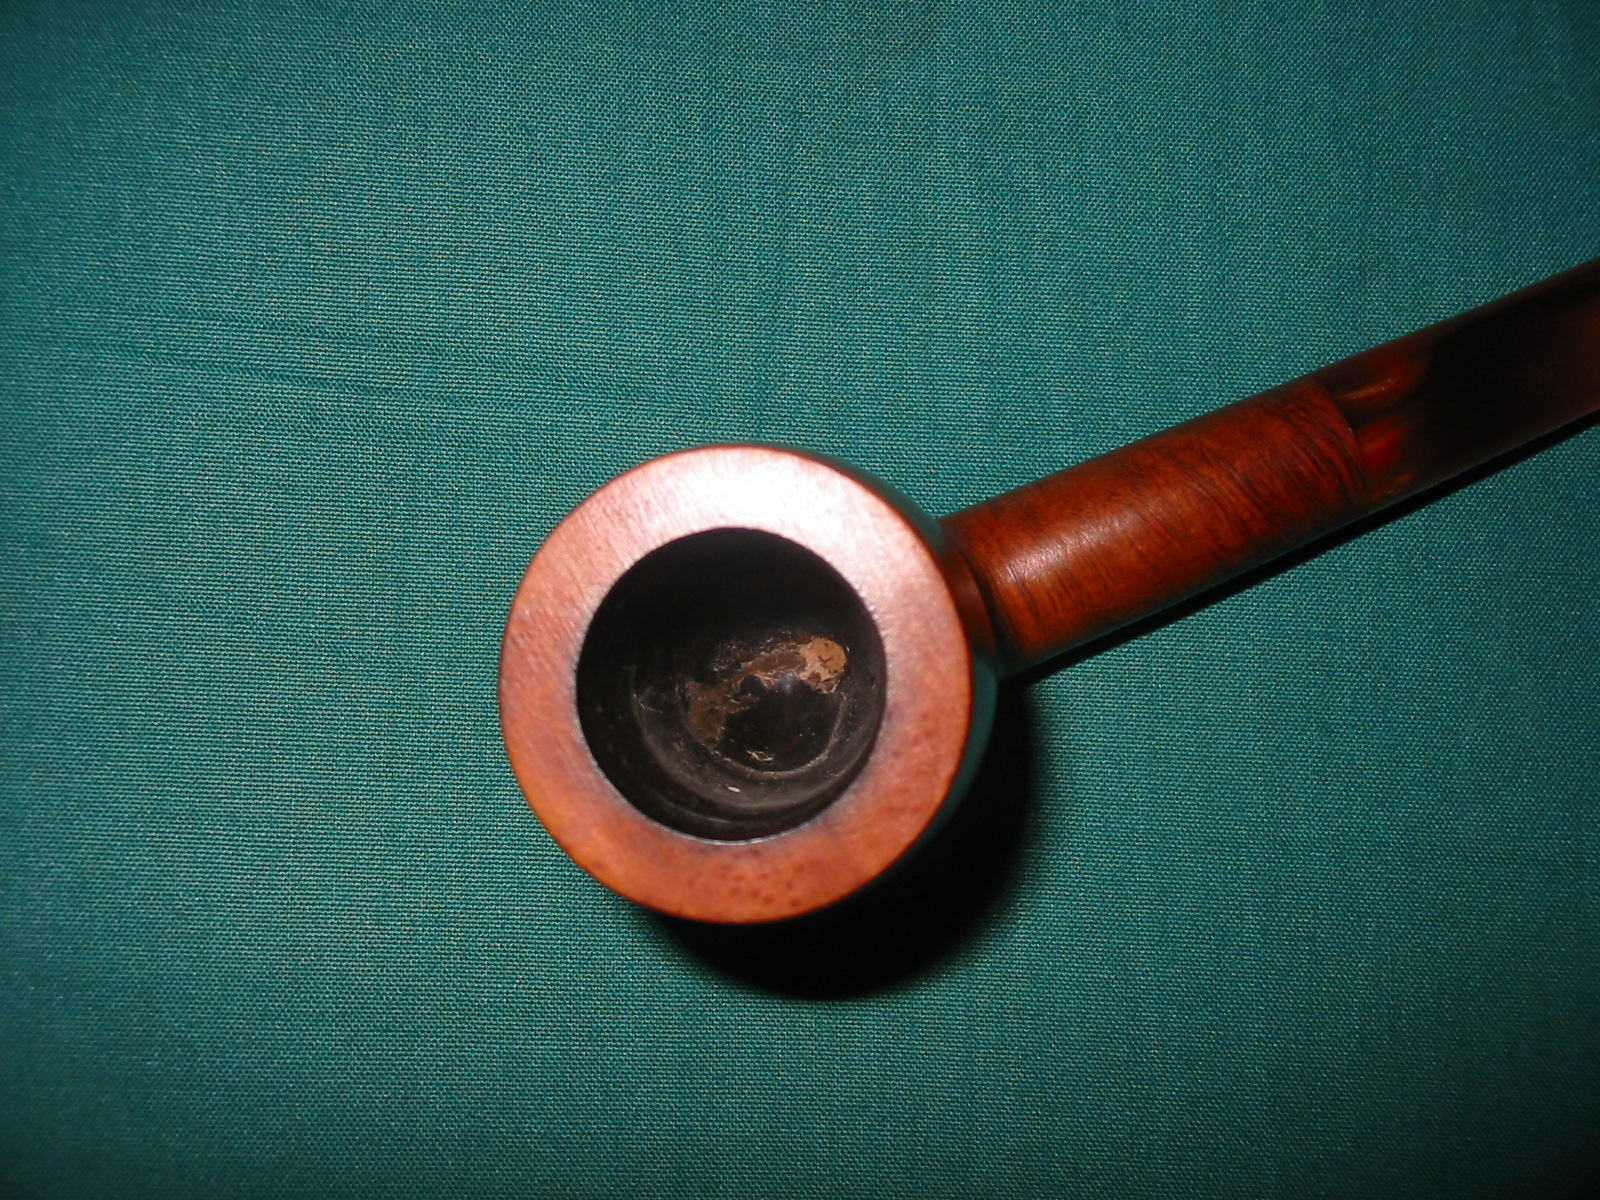
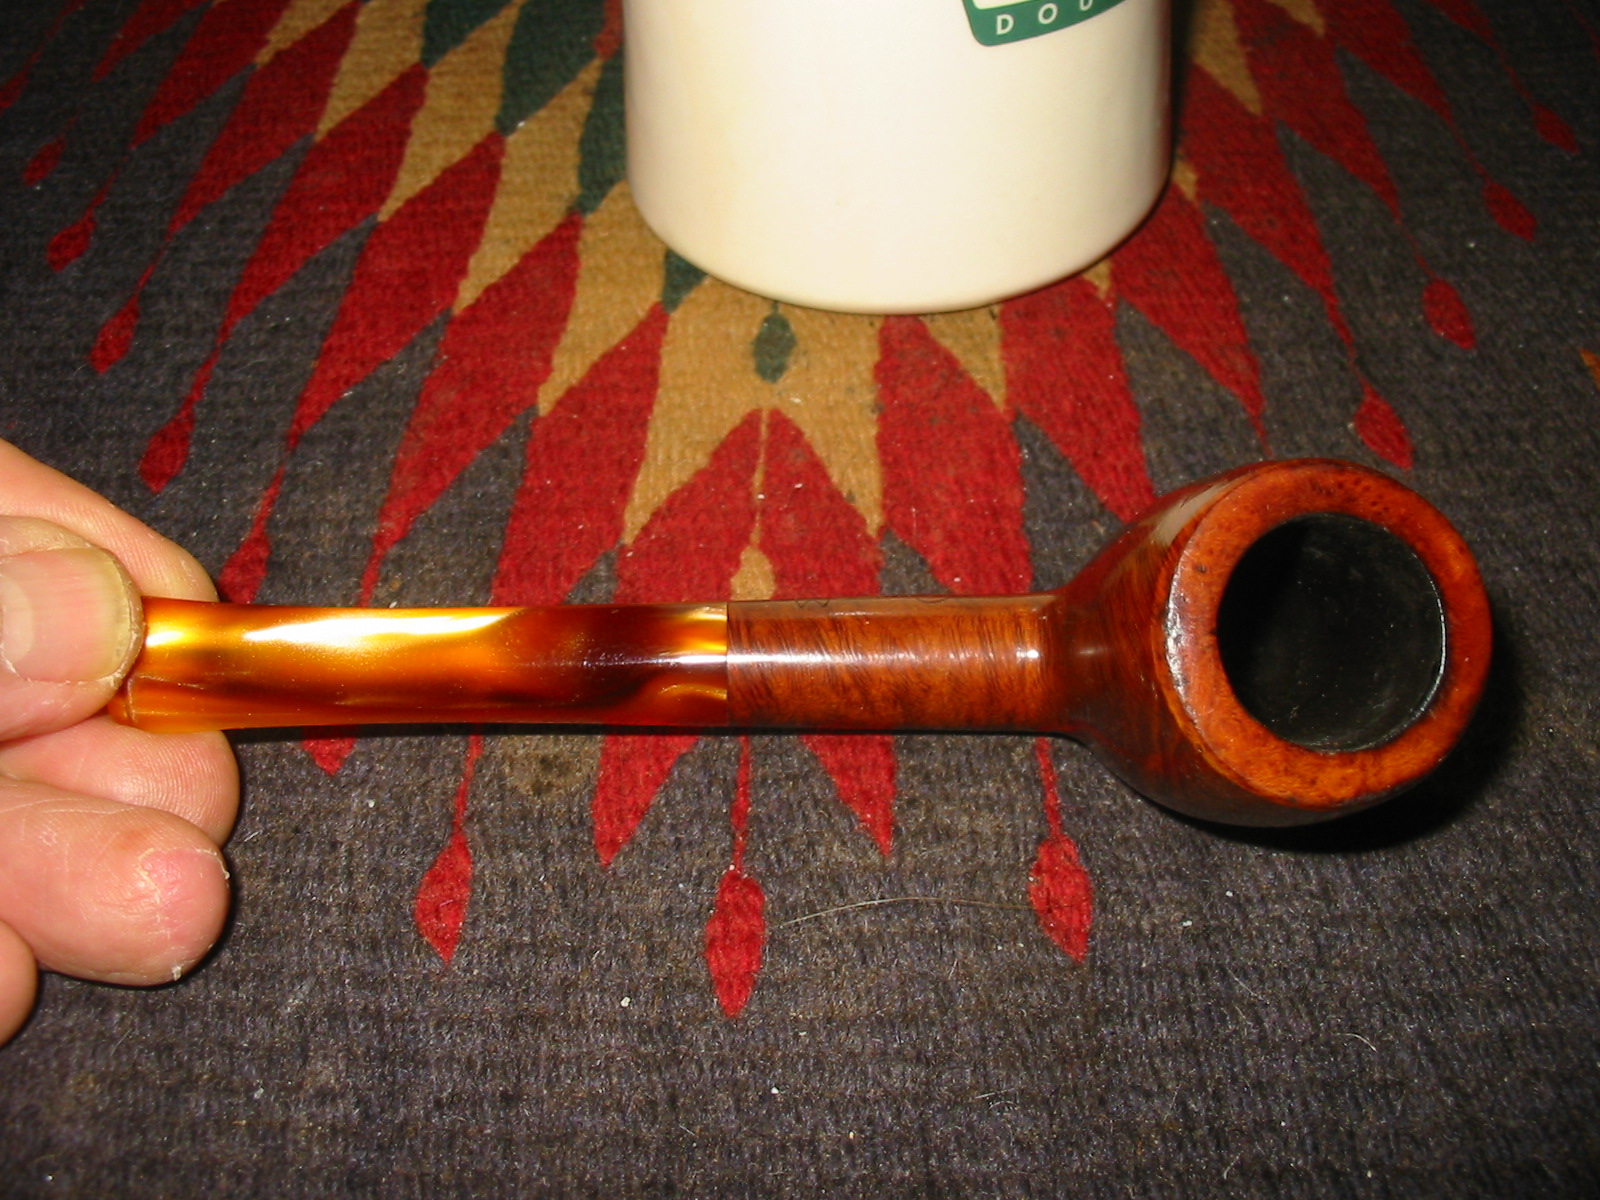
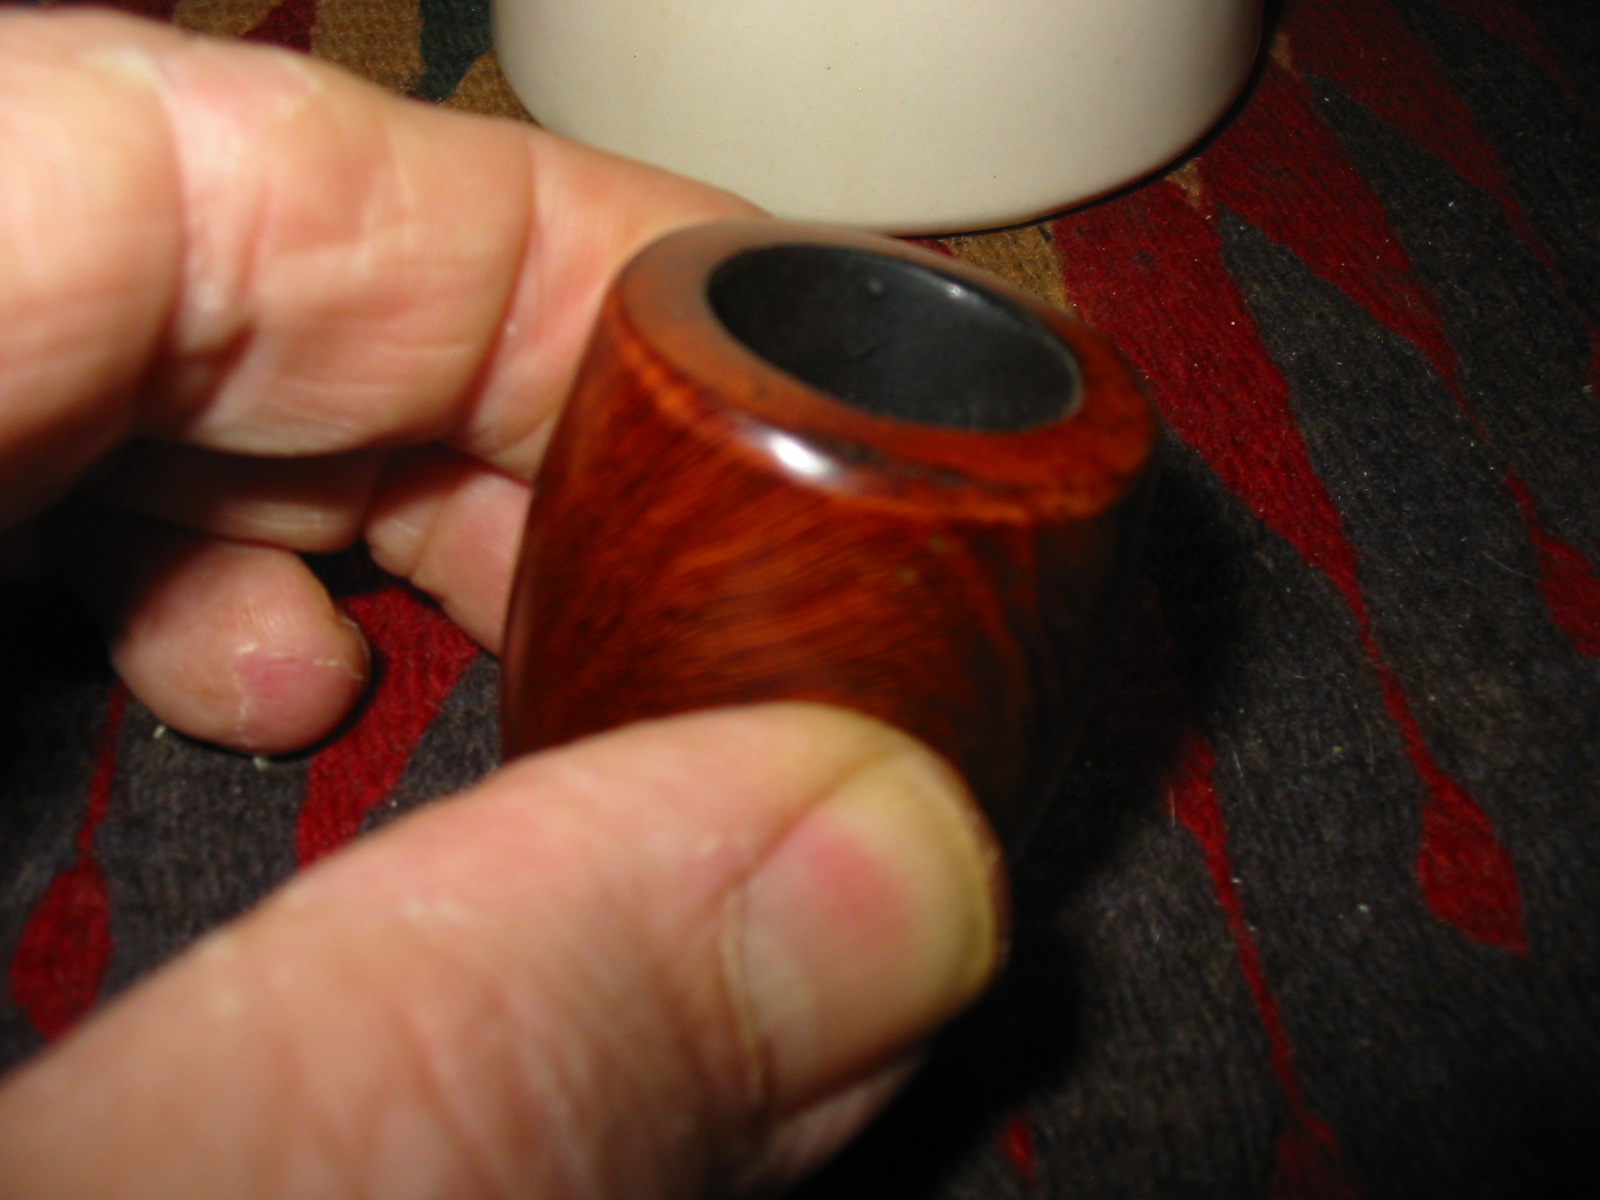
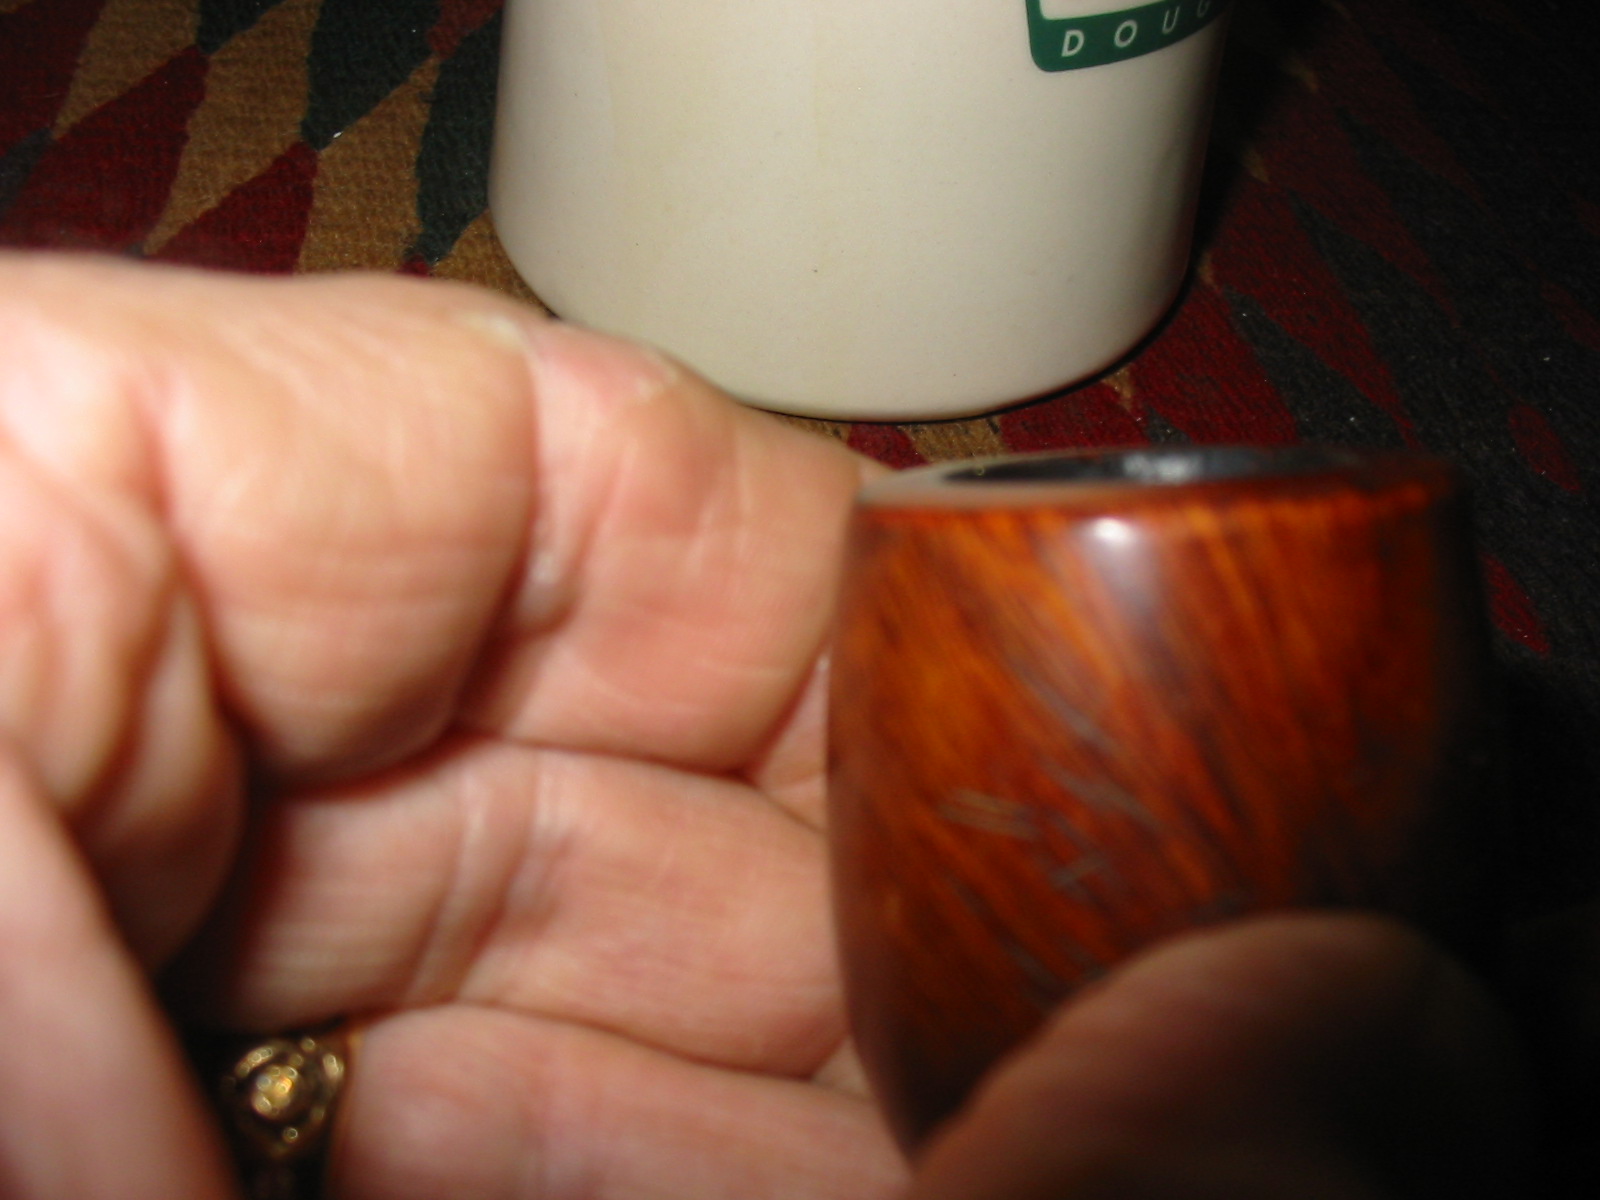
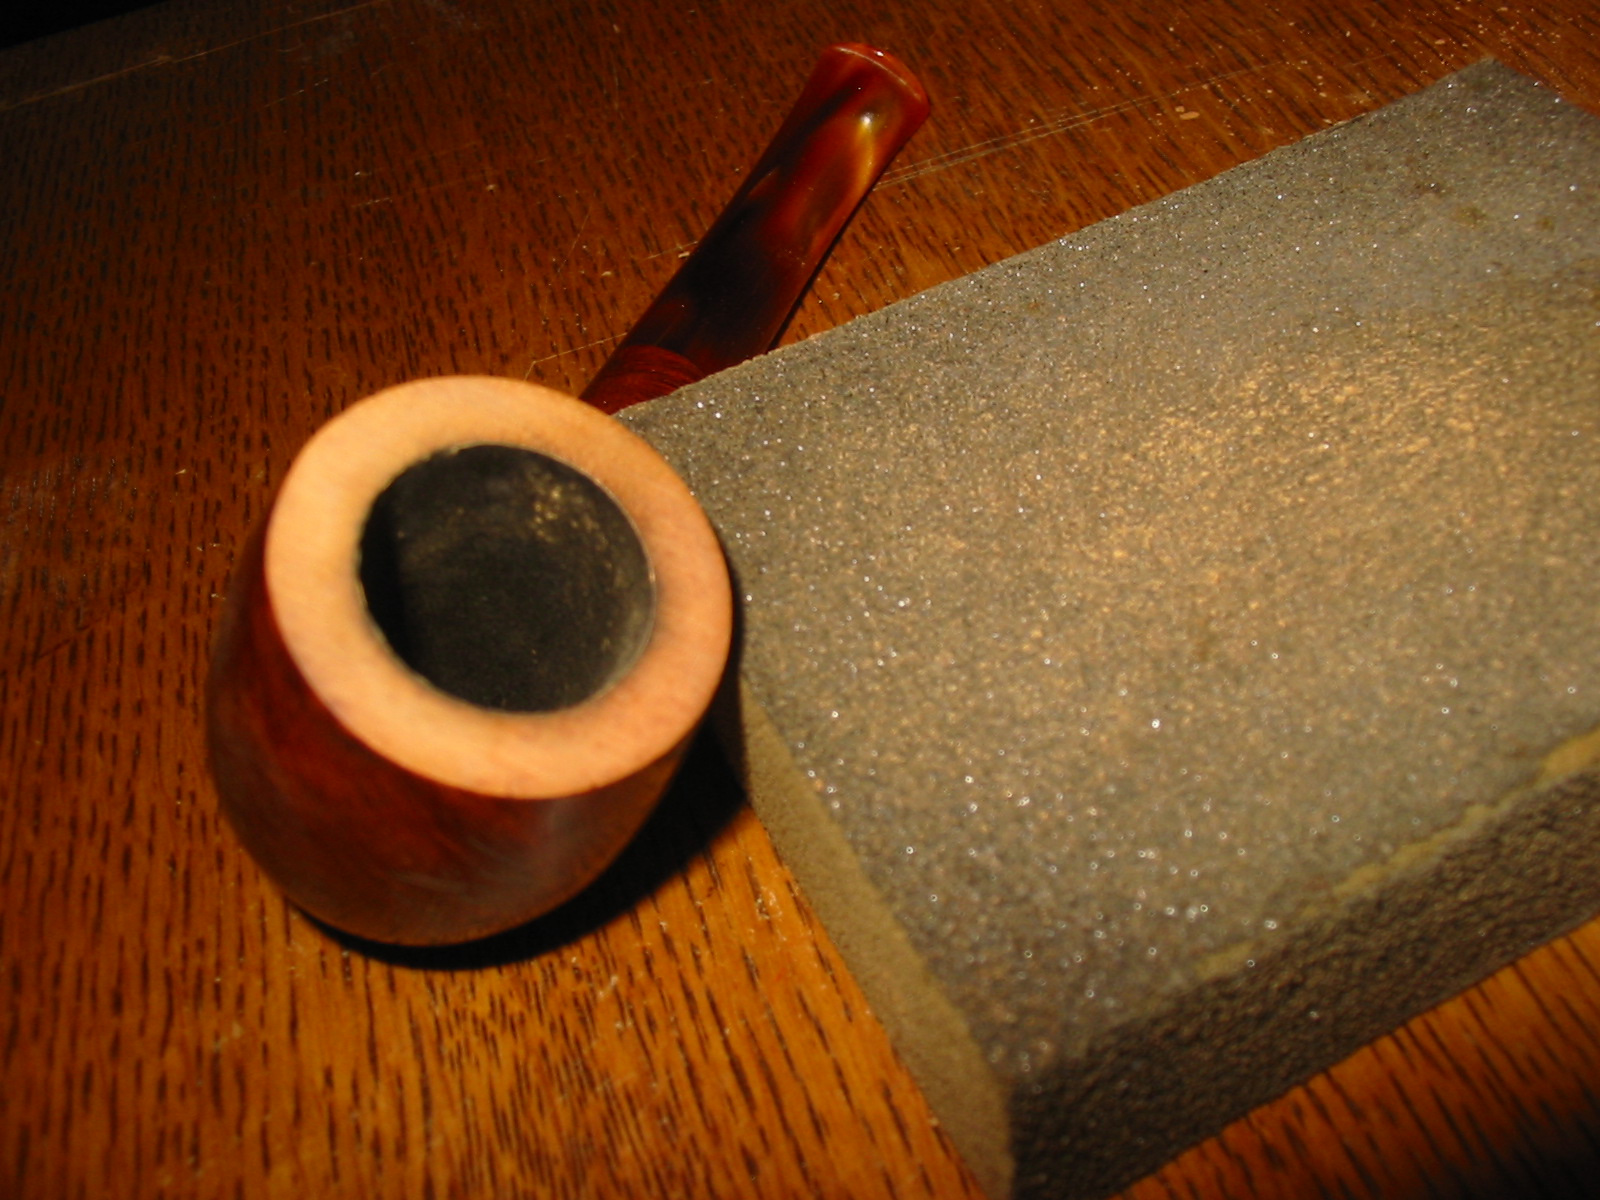
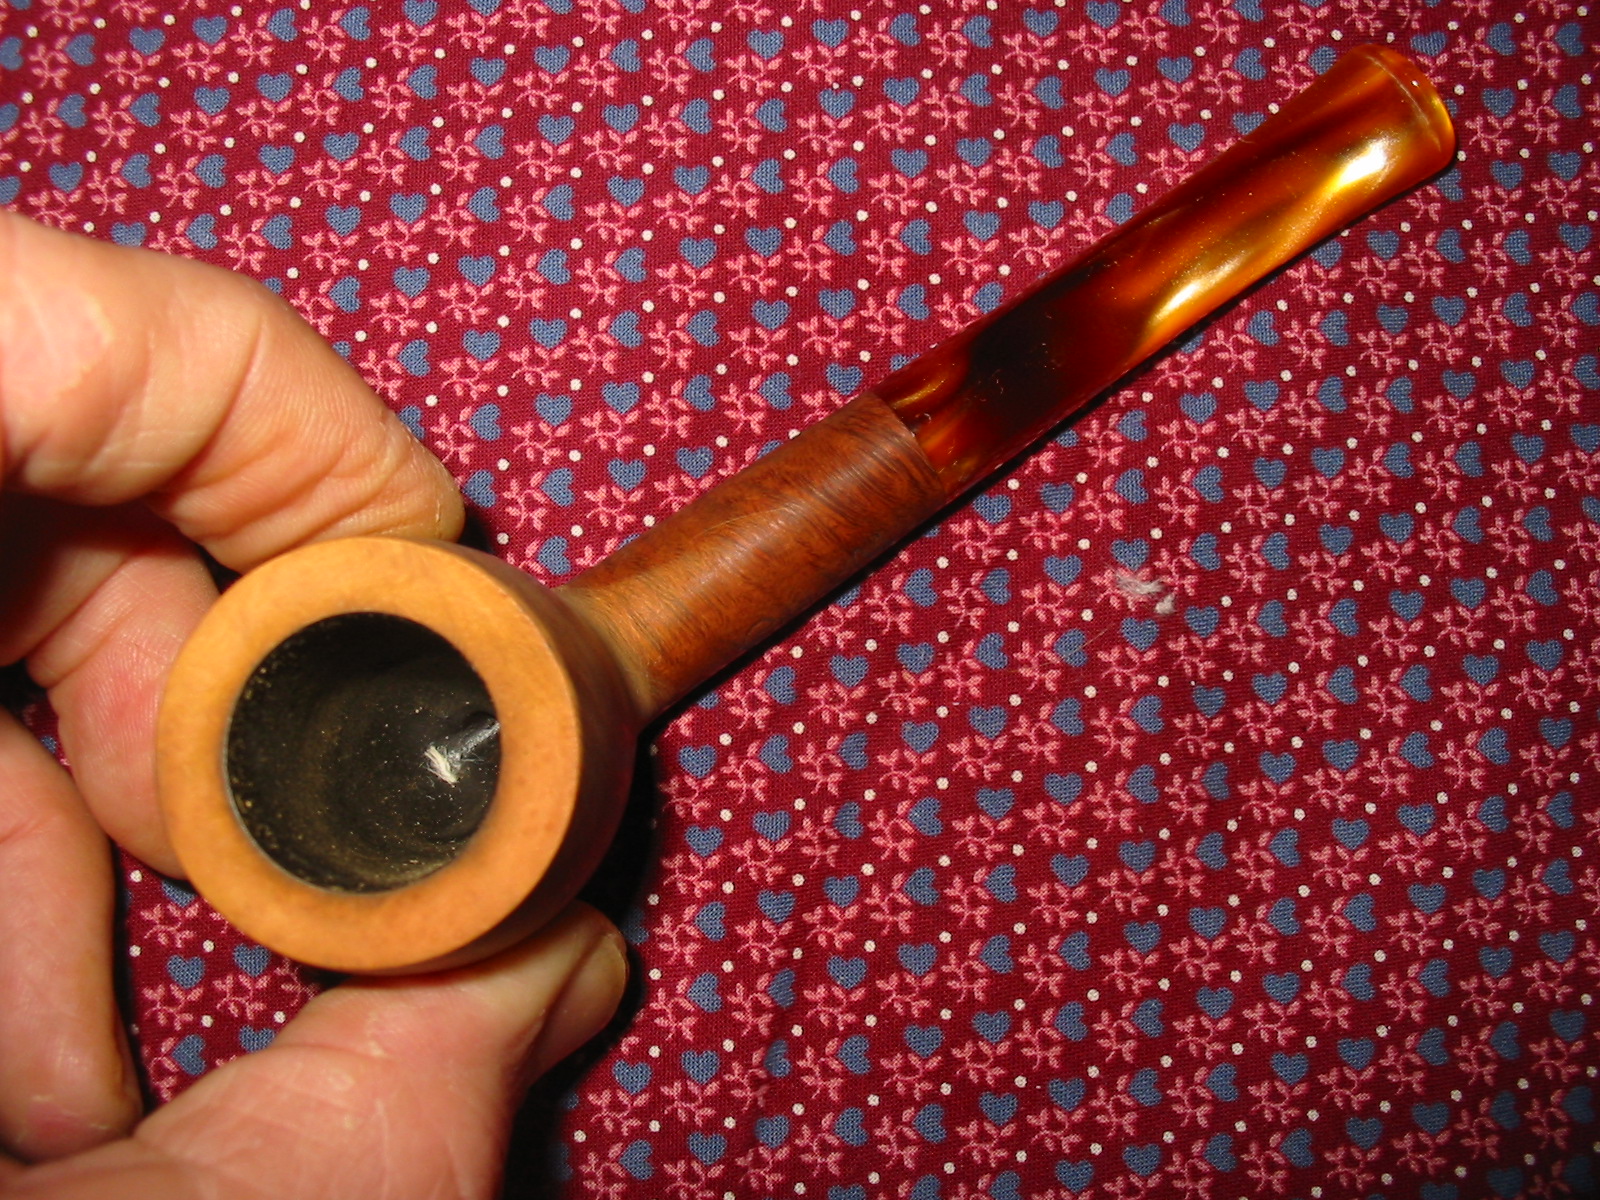
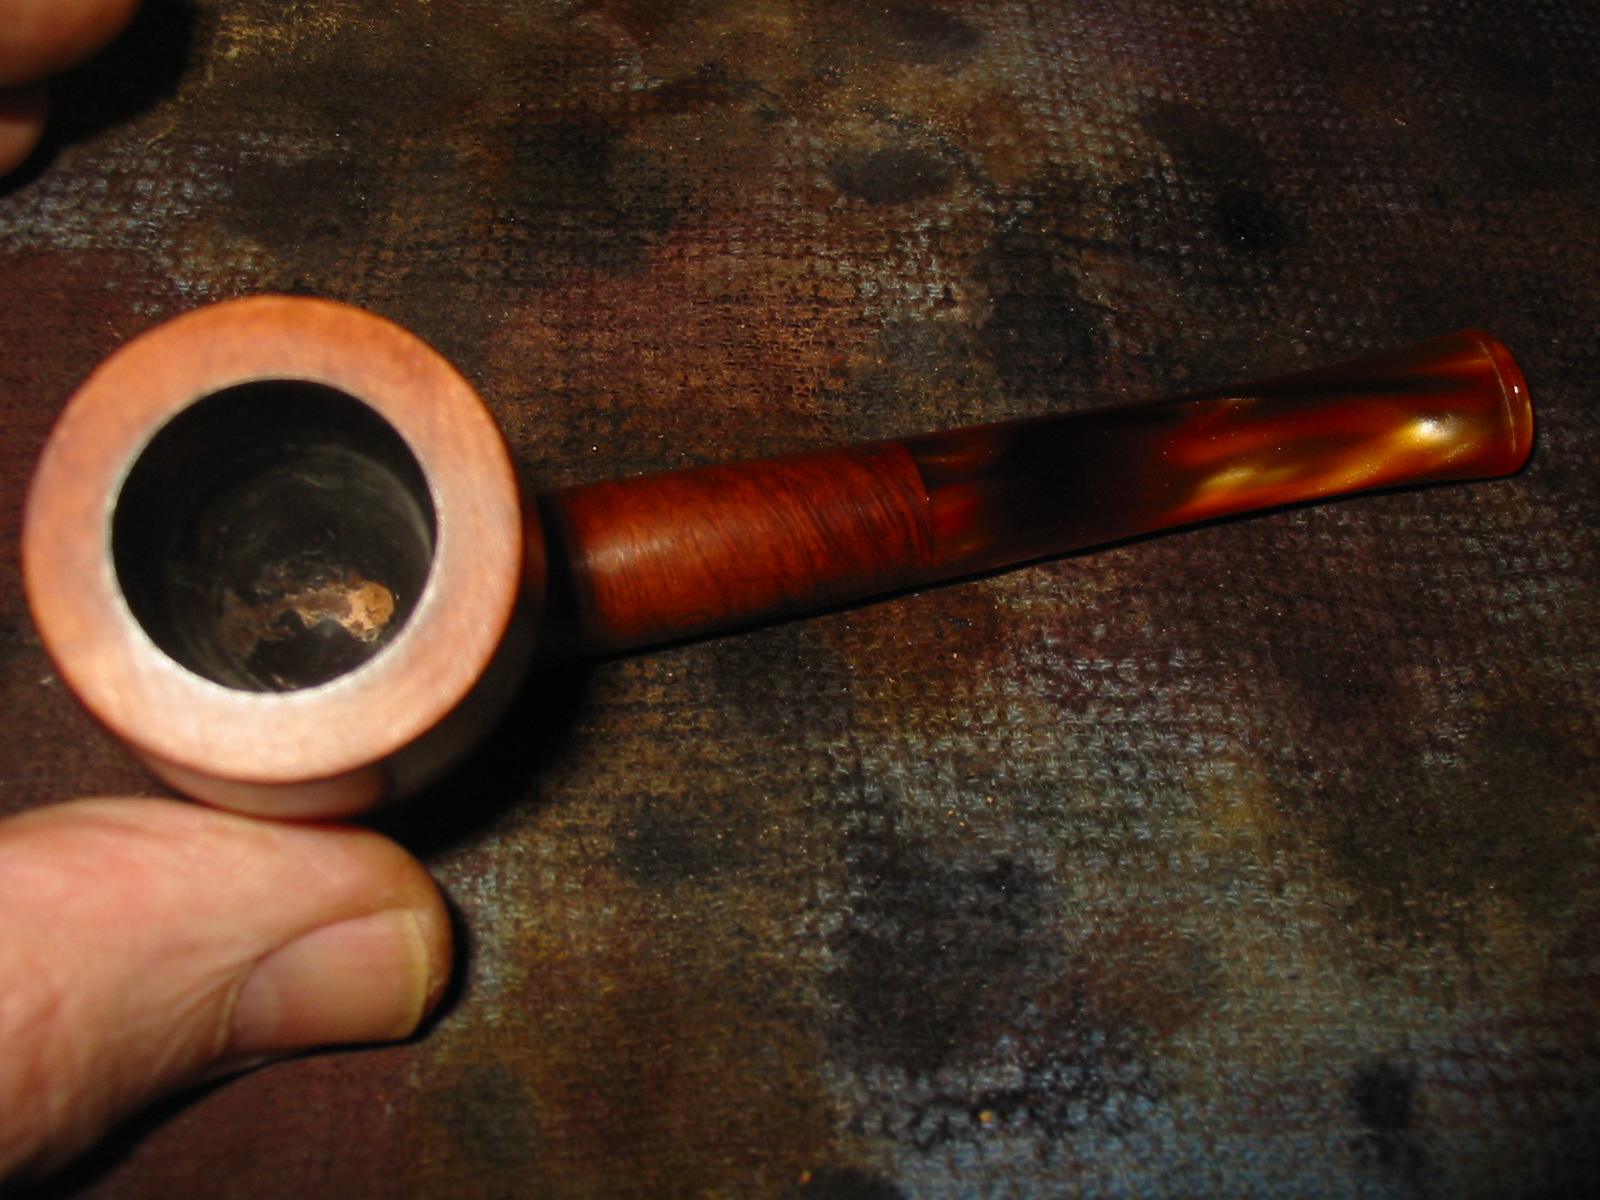
As can be seen in the next series of photos below the rim was damaged and the outer edges were rounded over instead of sharply defined and the surface flat.

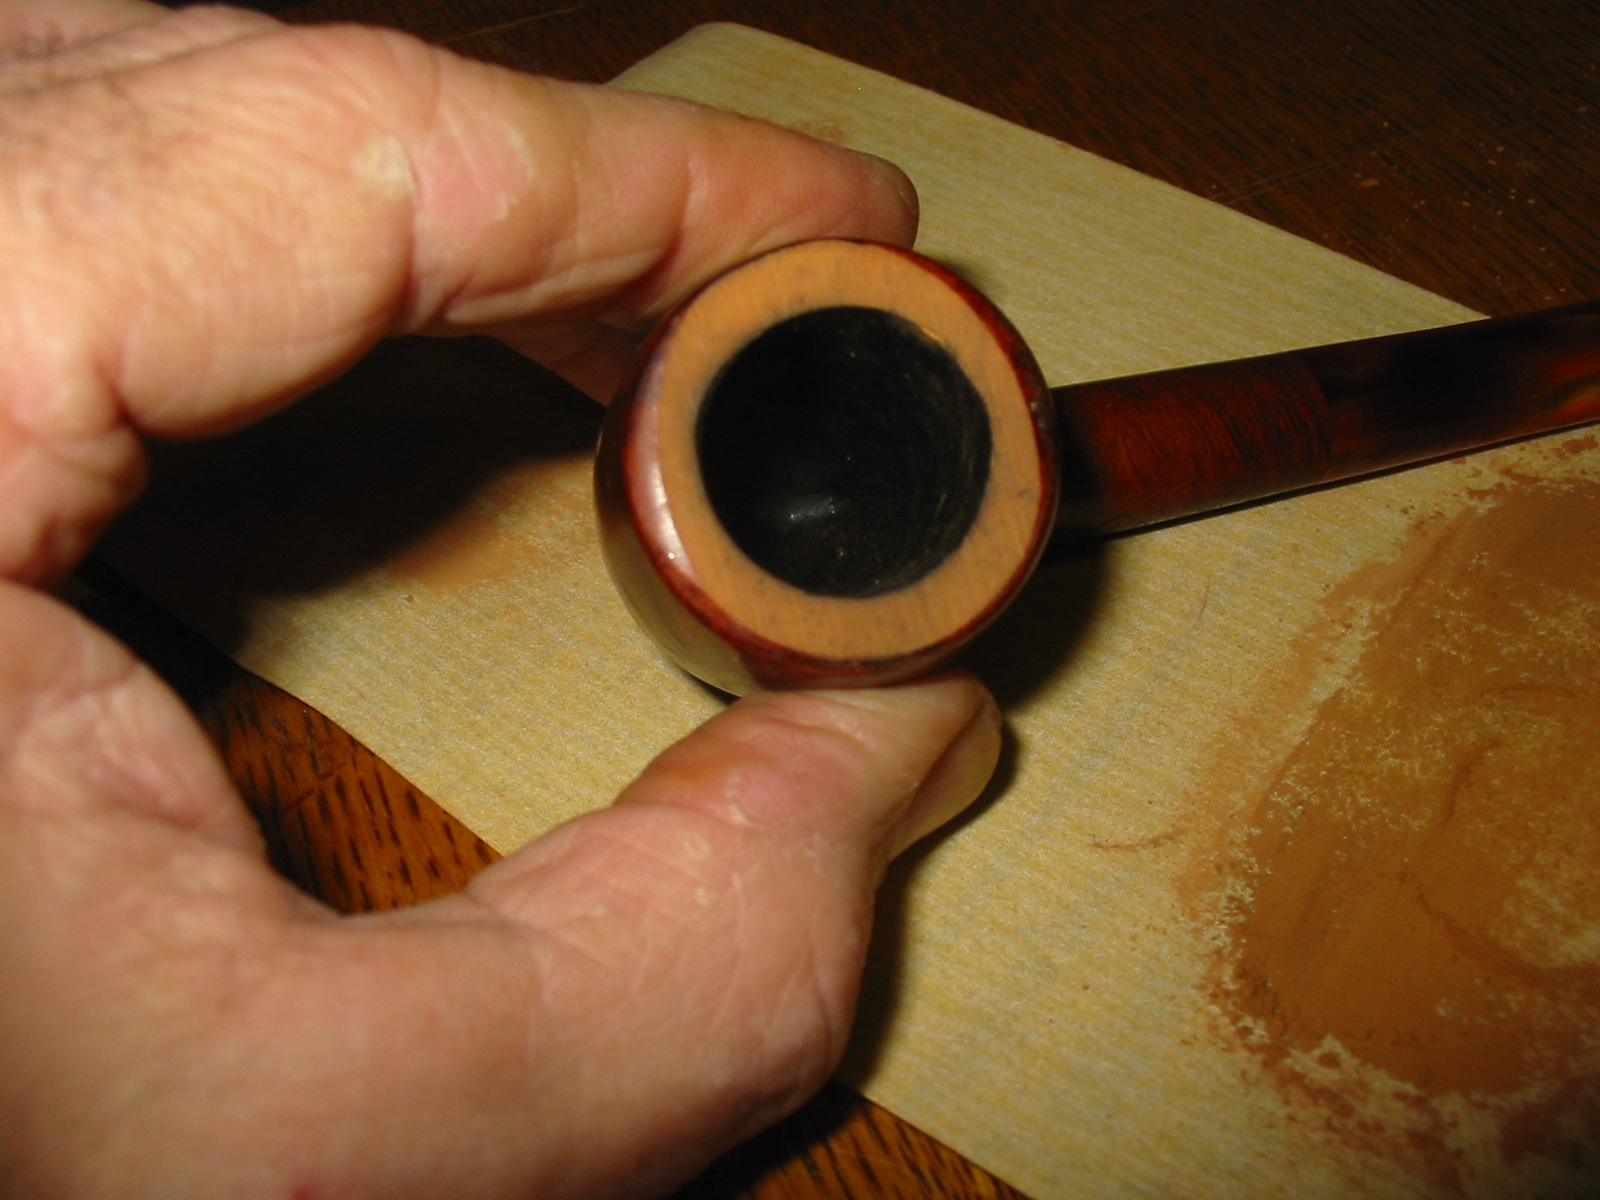
I set up my topping board and sandpaper and sanded the top of the bowl. I generally use a circular motion while pressing the top onto the sandpaper. I find that this minimizes the scratches and makes the easier to sand later. The next photo below shows the top after just a few rotations on the board and highlights the damages rim edges.
I continued to sand the top until the surface was smooth and the edges sharp and defined. I wanted to remove all of the rounding that was present on the outer edges of the bowl. When I finished with the sandpaper I sanded the top with a medium and a fine grit sanding block to further smooth out the surface and remove the scratches left behind by the paper.
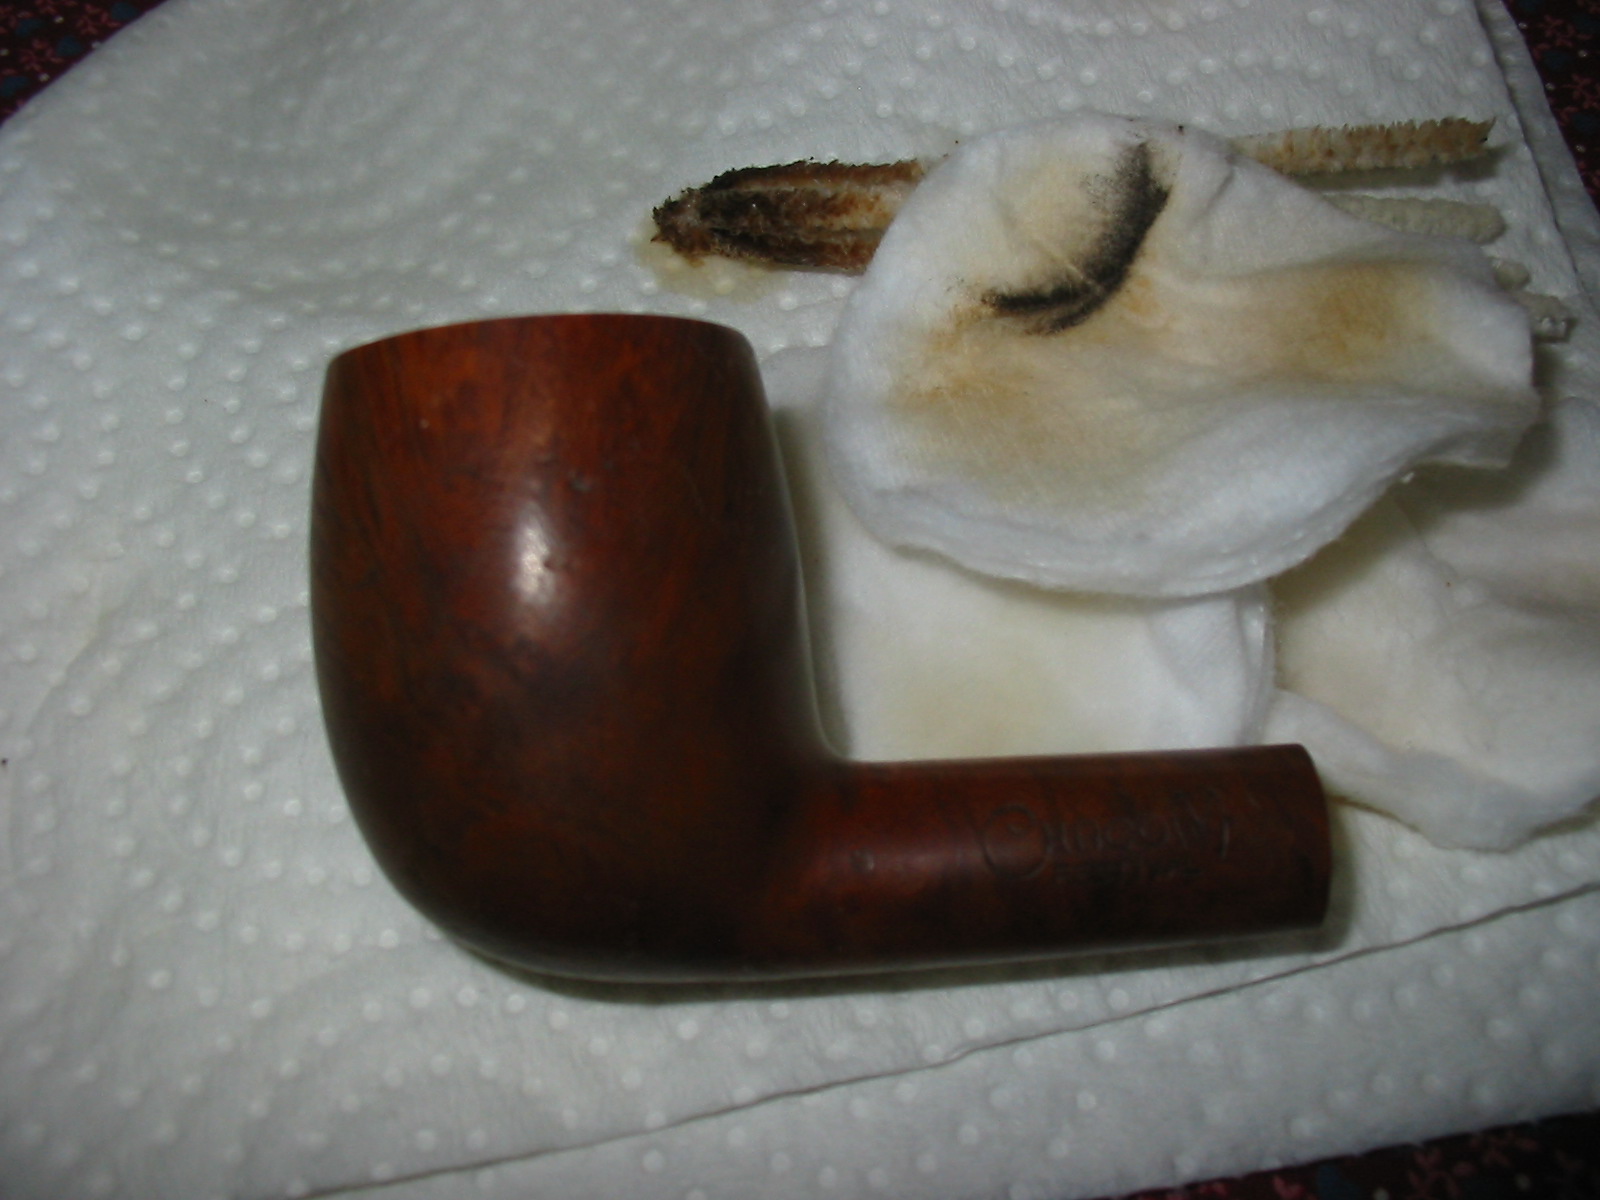
I wiped down the bowl with acetone on cotton pads to remove the finish. In this case there were so many dents in the briar that I wanted to remove the finish before I steamed out the dents in the sides of the bowl.


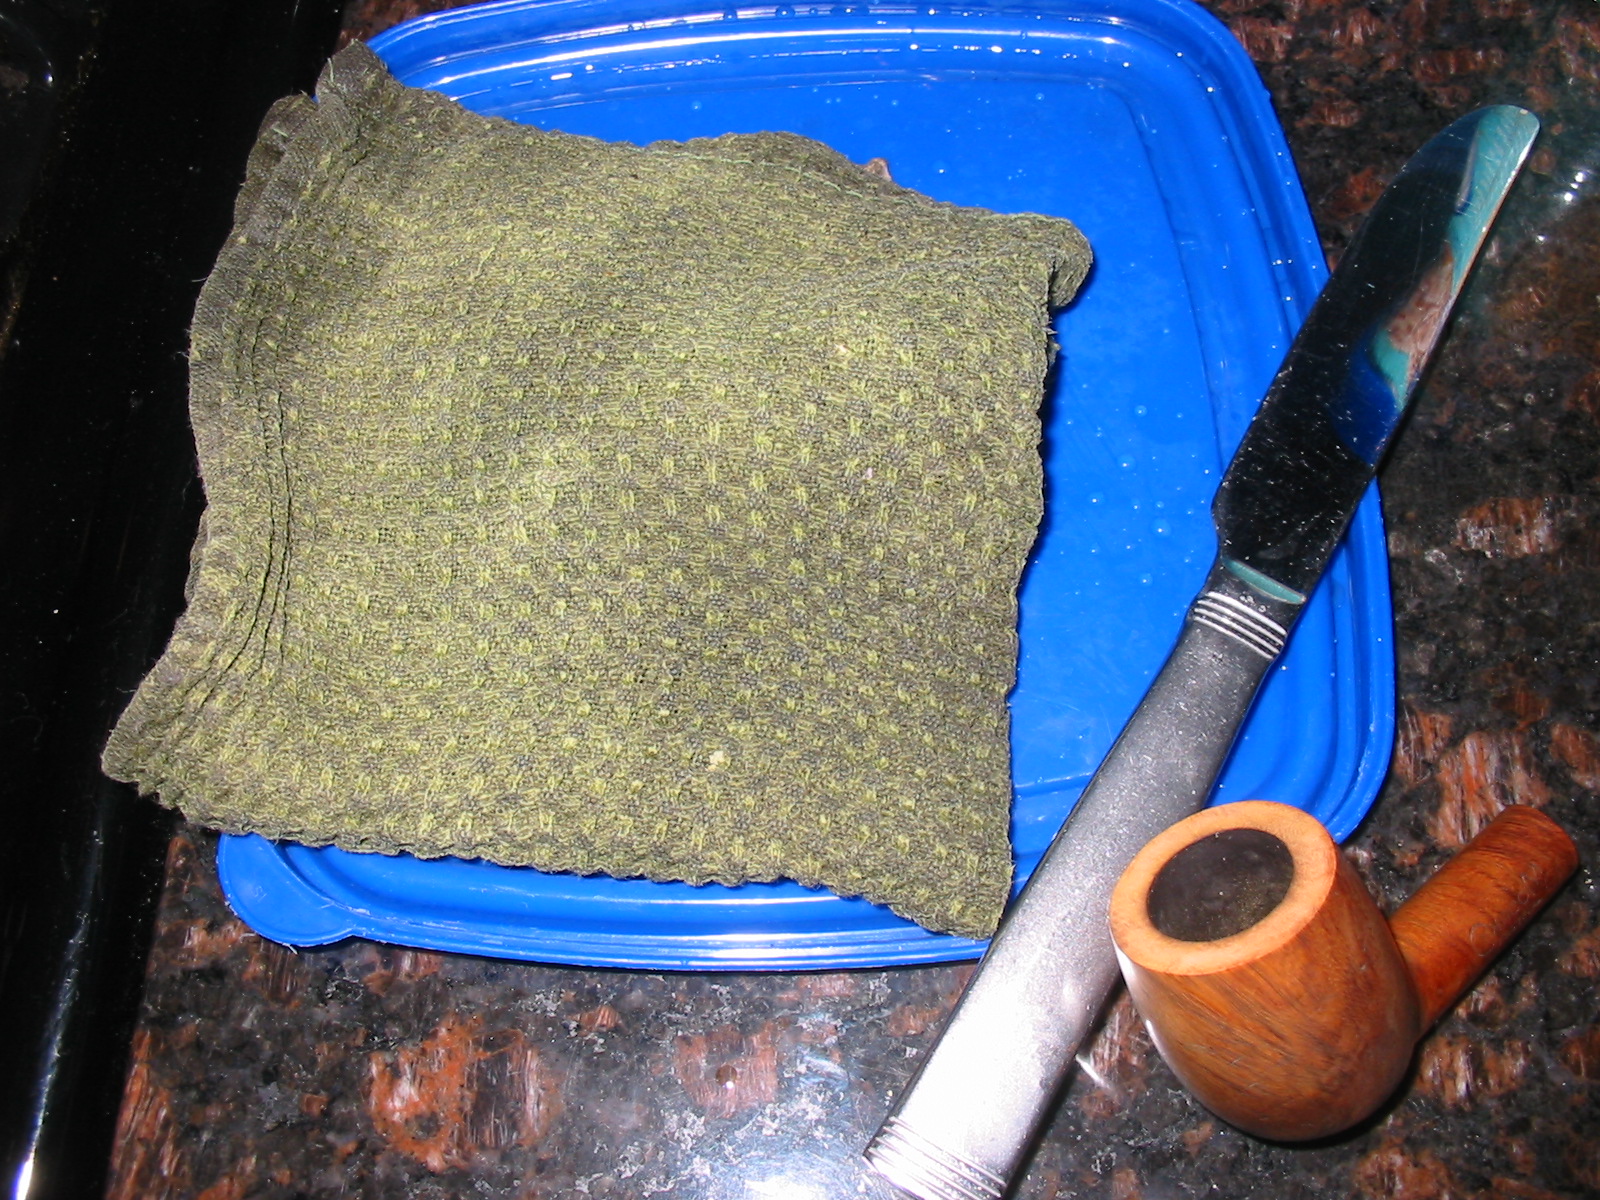
I took the pipe up to the kitchen to use the gas stove to heat a knife for steaming the dents. I generally try to do this when my wife is away as I use an old butter knife, a dish cloth and her stove for the work. I have found her hovering to make sure I don’t ruin her stove or knife or cloth for that matter, hard to deal with while I am focusing on the work at hand. It is far easier to do it when she is away – I avoid her concern and I find it goes more quickly!
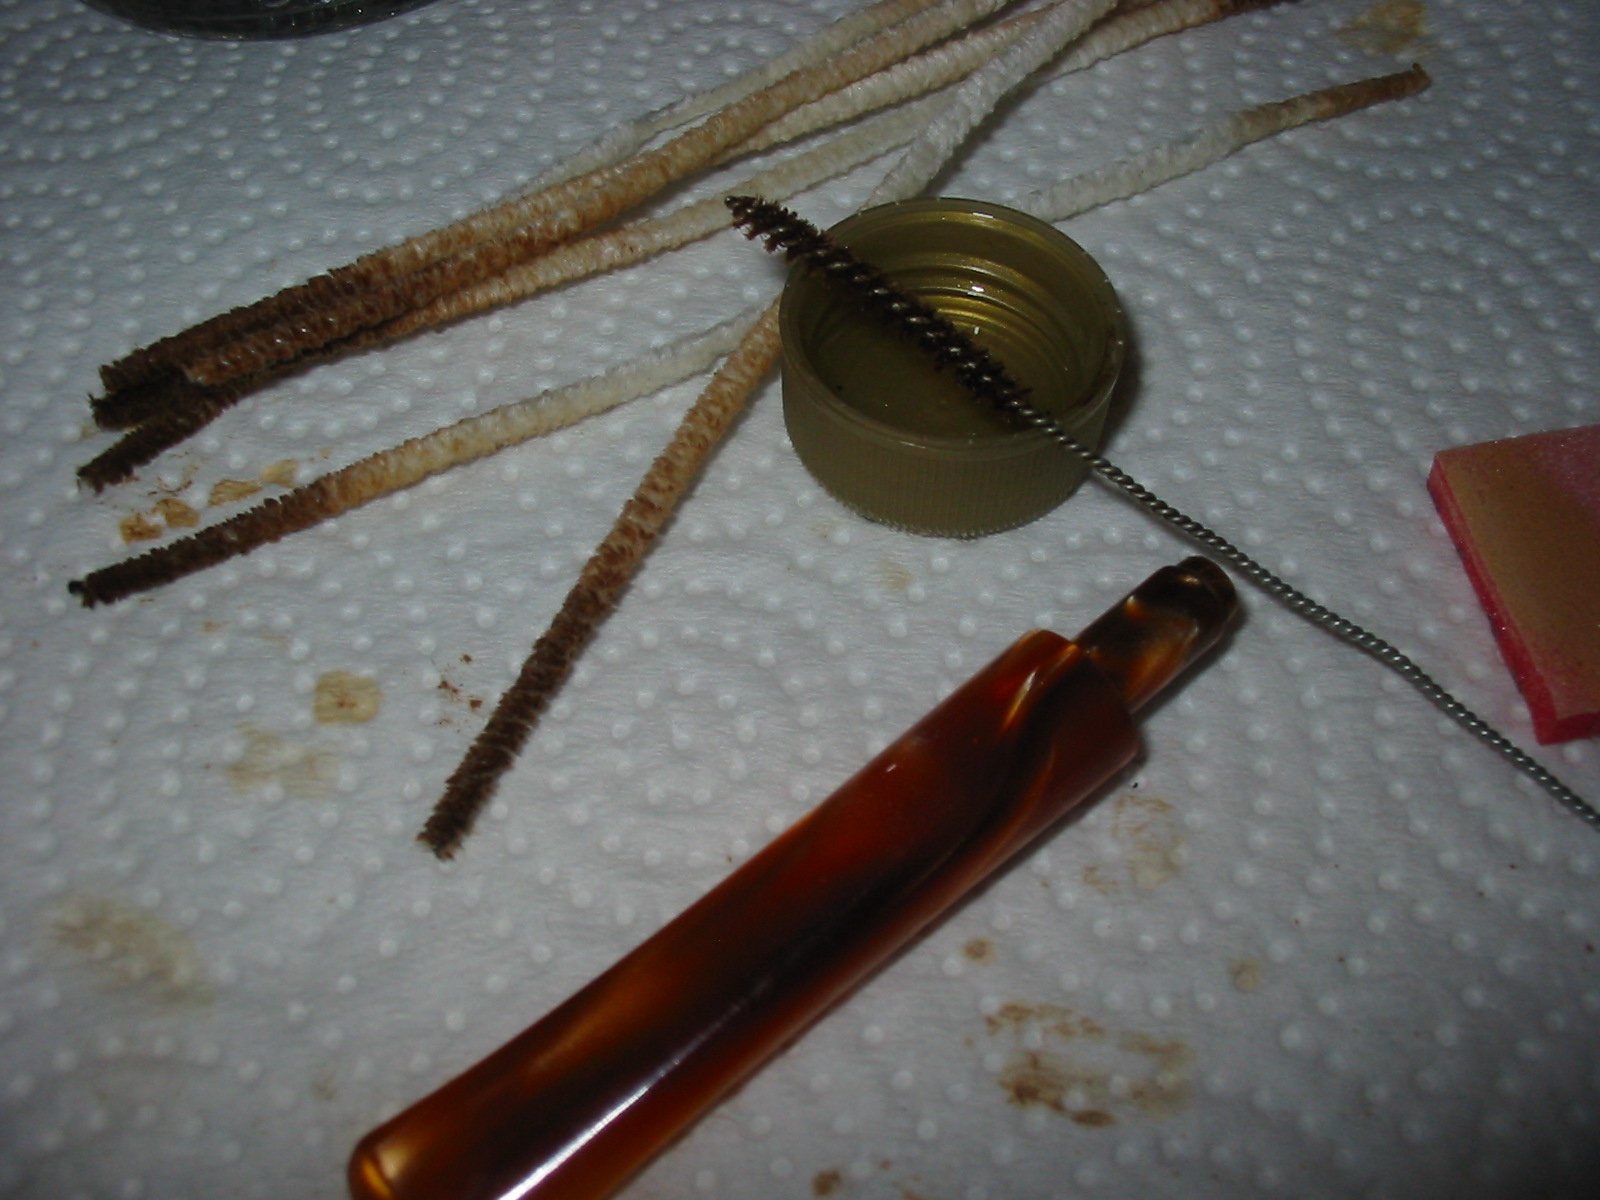
The next photo below shows the tools I used. I put the wetted dish cloth on a plastic lid so that I do not damage the counter tops. The knife on the right side of the photo is my weapon of choice in this process as the blade is long and wide so it covers a lot of dents.
The next photo shows the blade being heated with the gas flame. For some reason the flame is not visible in the photo but it is present. It does not take long to heat the knife to the temperature that works with the cloth to create steam.

The next photo shows the next step in the process. When it is hot enough I place it against the wet cloth that I have placed over the dents and hold the hot knife blade against the cloth and pressed against the dented briar. The application of heat to the wet cloth creates the steam that is needed to raise the dent in the briar.

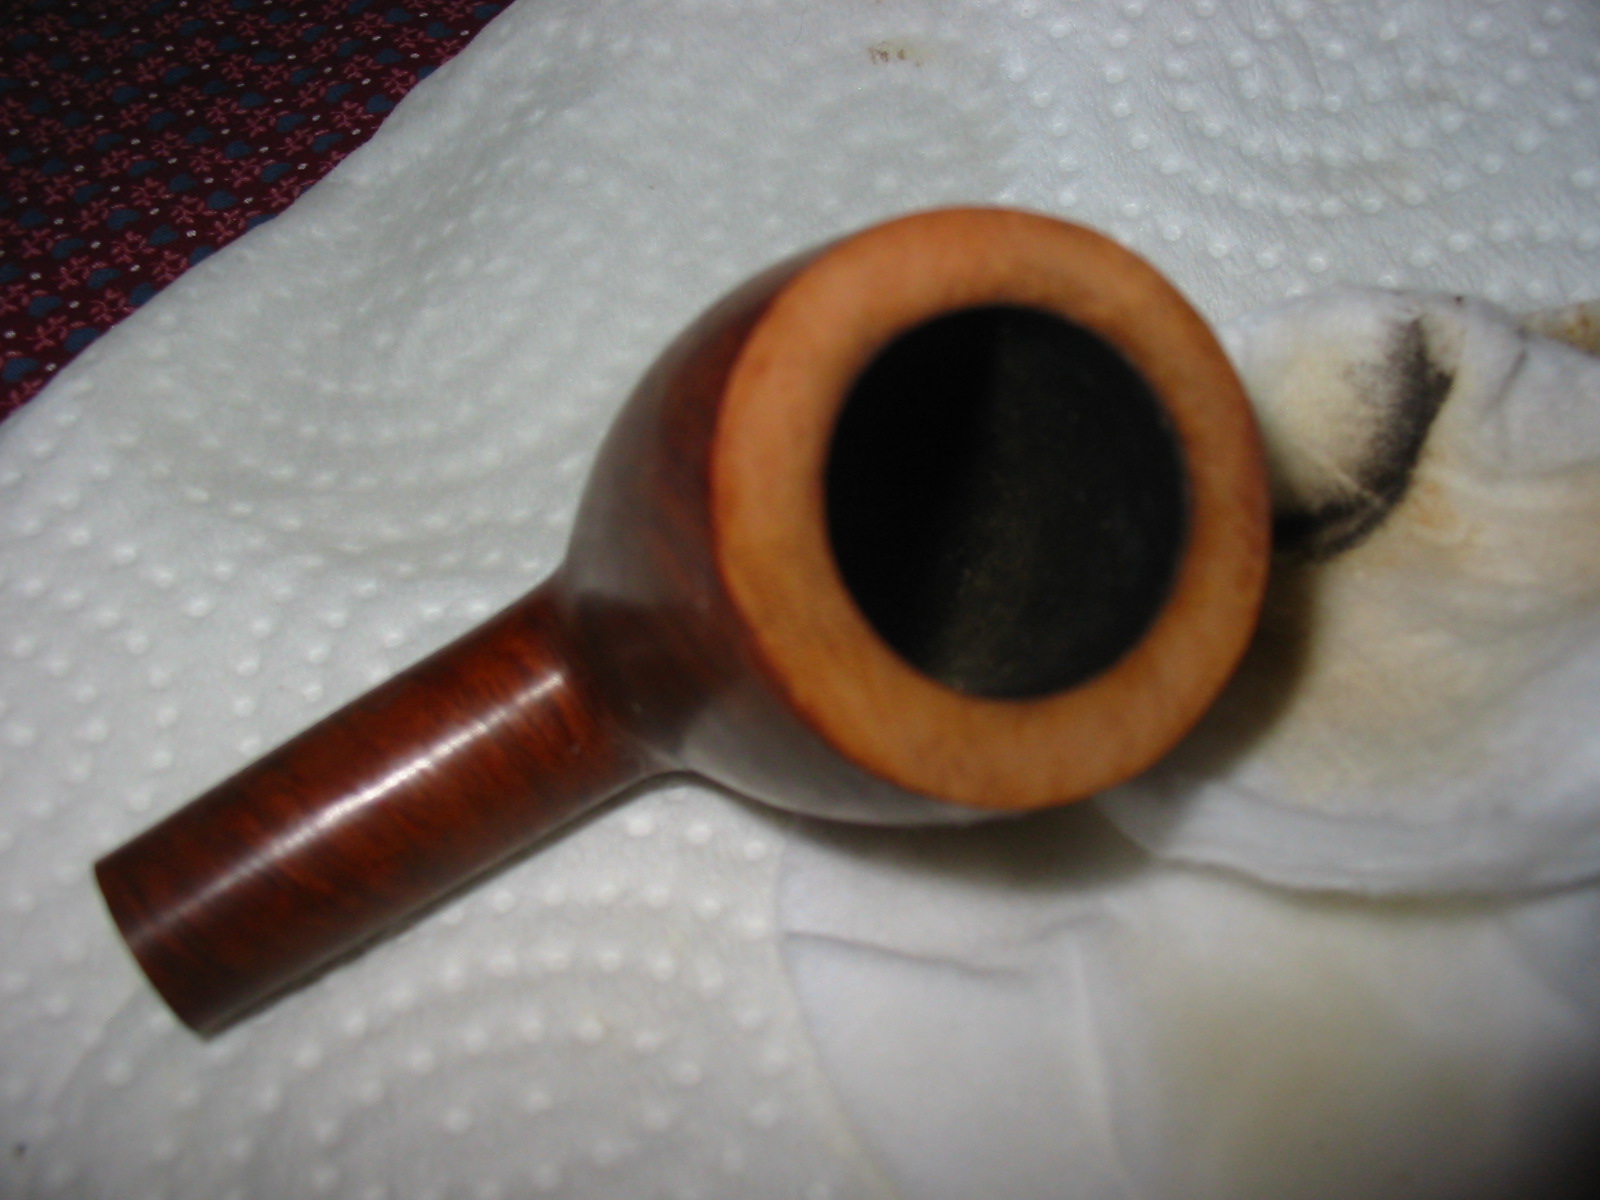
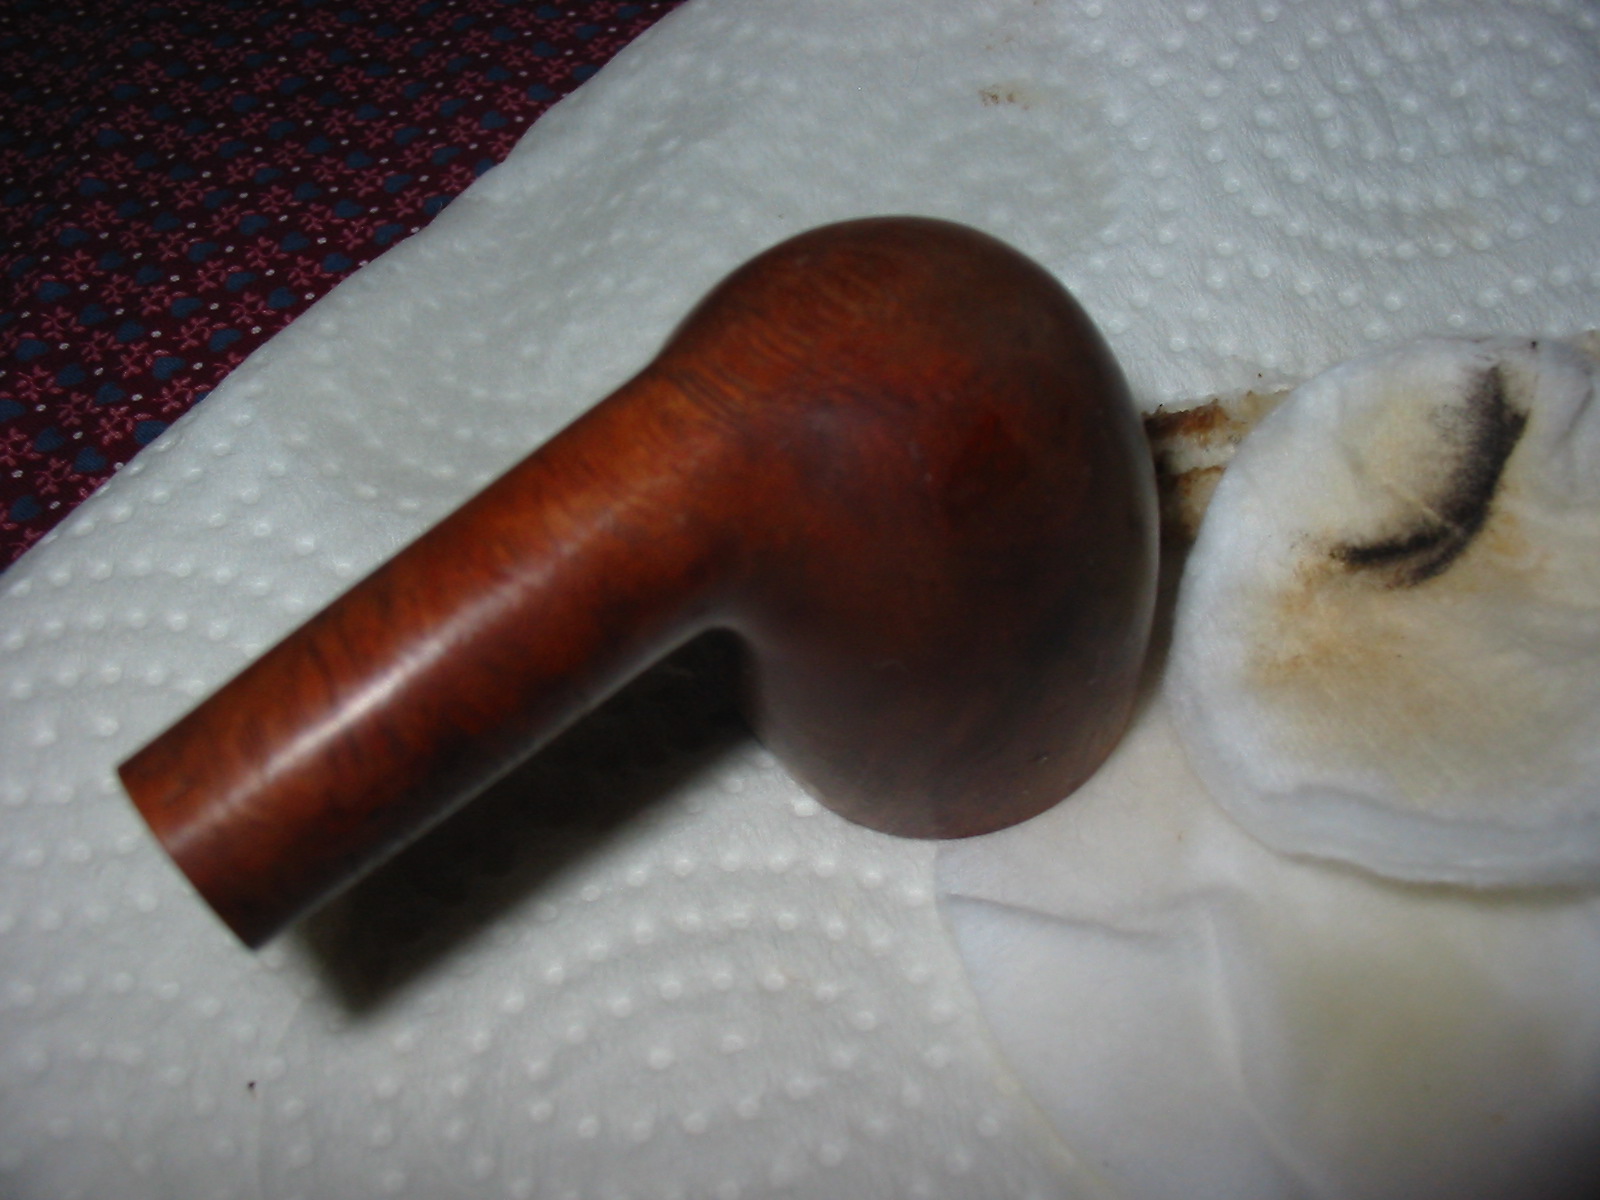
The next series of photos show the bowl after steaming out the dents in the surface. The majority of the marks are gone after the process. Those that remain were minimal and I dealt with them by sanding the bowl. I used a medium grit sanding sponge and a fine grit sanding block to sand the briar of the bowl and smooth out the surface dents that remained.
The airway on the acrylic stem was black. I thought at first this was a part of the striations in the acrylic but that turned out to be wrong. I cleaned the stem with a shank brush, many pipe cleaners and Everclear until the pipe cleaners finally came out clean. The shank brush cleans up easily with soap and water when I am finished. The airway looked far better when cleaned.
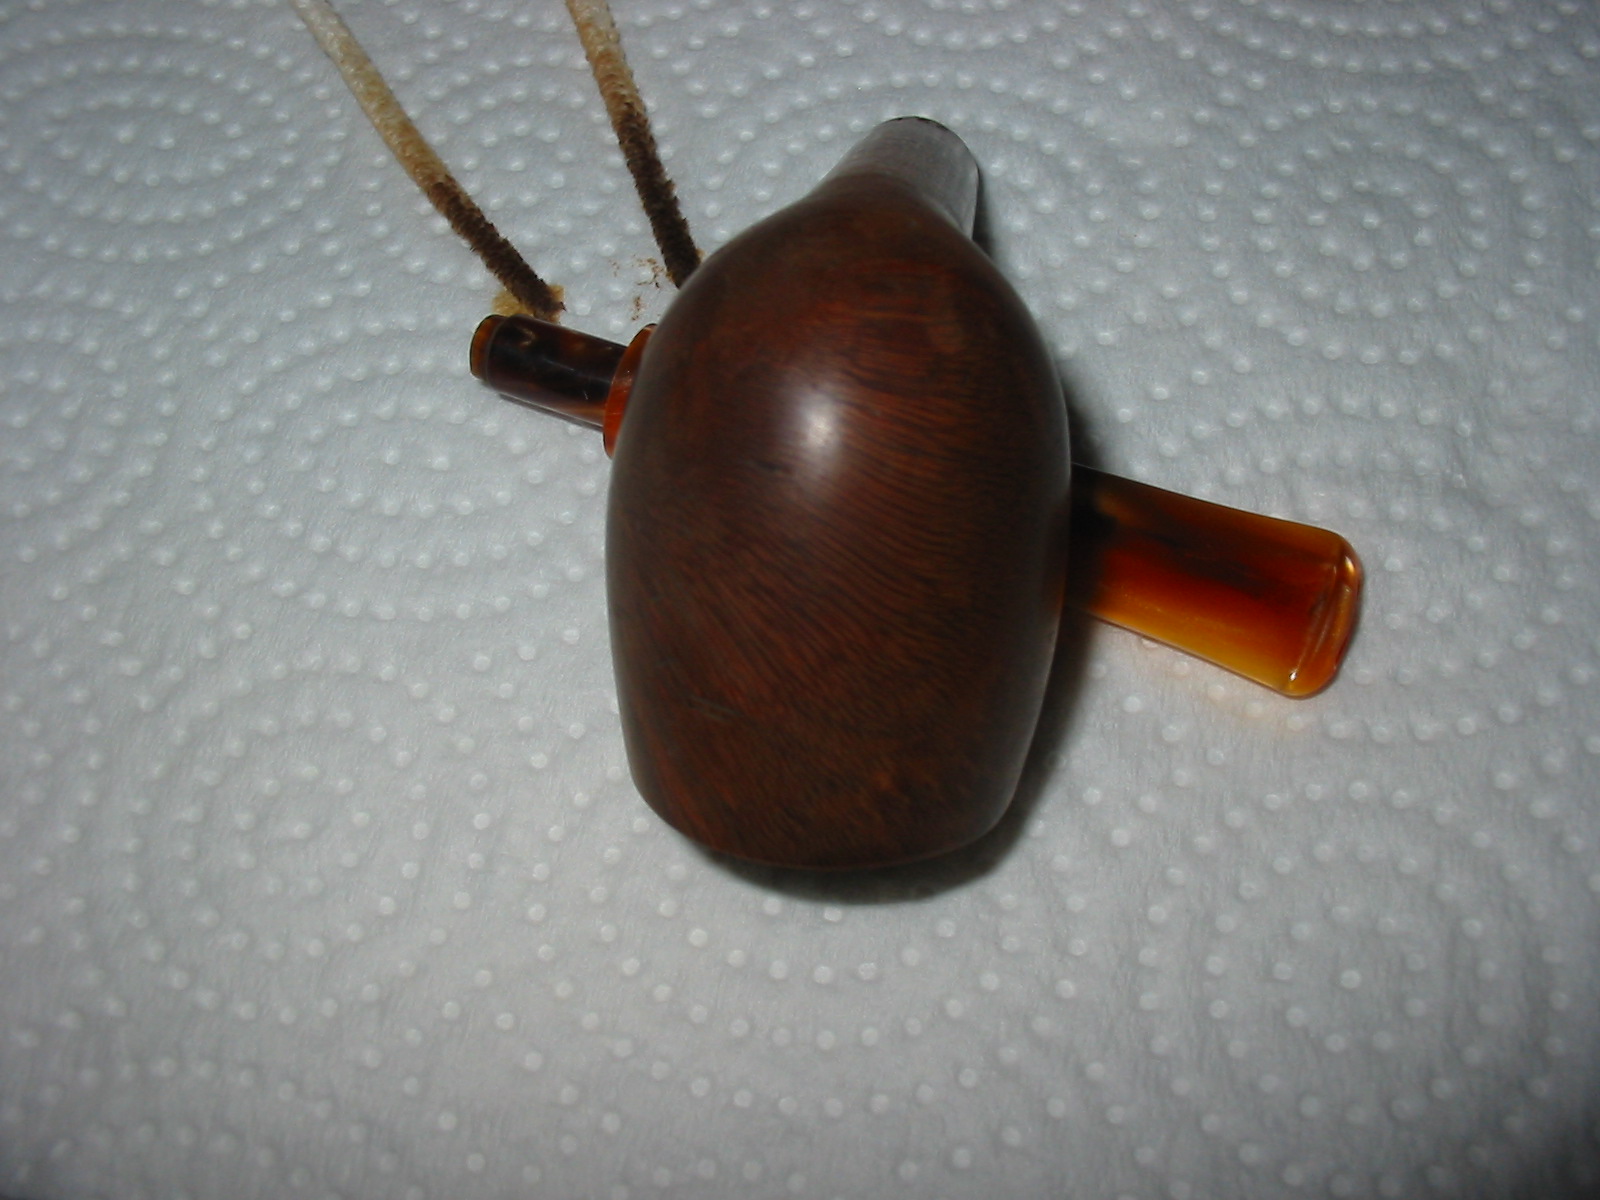
The next three photos show the pipe, cleaned and ready to be stained. I wiped it down a final time with Everclear to remove any dust or grease from my hands and took it to my work table to restain it.

I stained the pipe with MinWax – using a Medium Walnut stain first and then applying a Red Mahogany stain over that. The photos below show the bowl after I have stained it with Medium Walnut. Once applied the Red stain it blended very nicely with the darker colours in the acrylic of the stem.
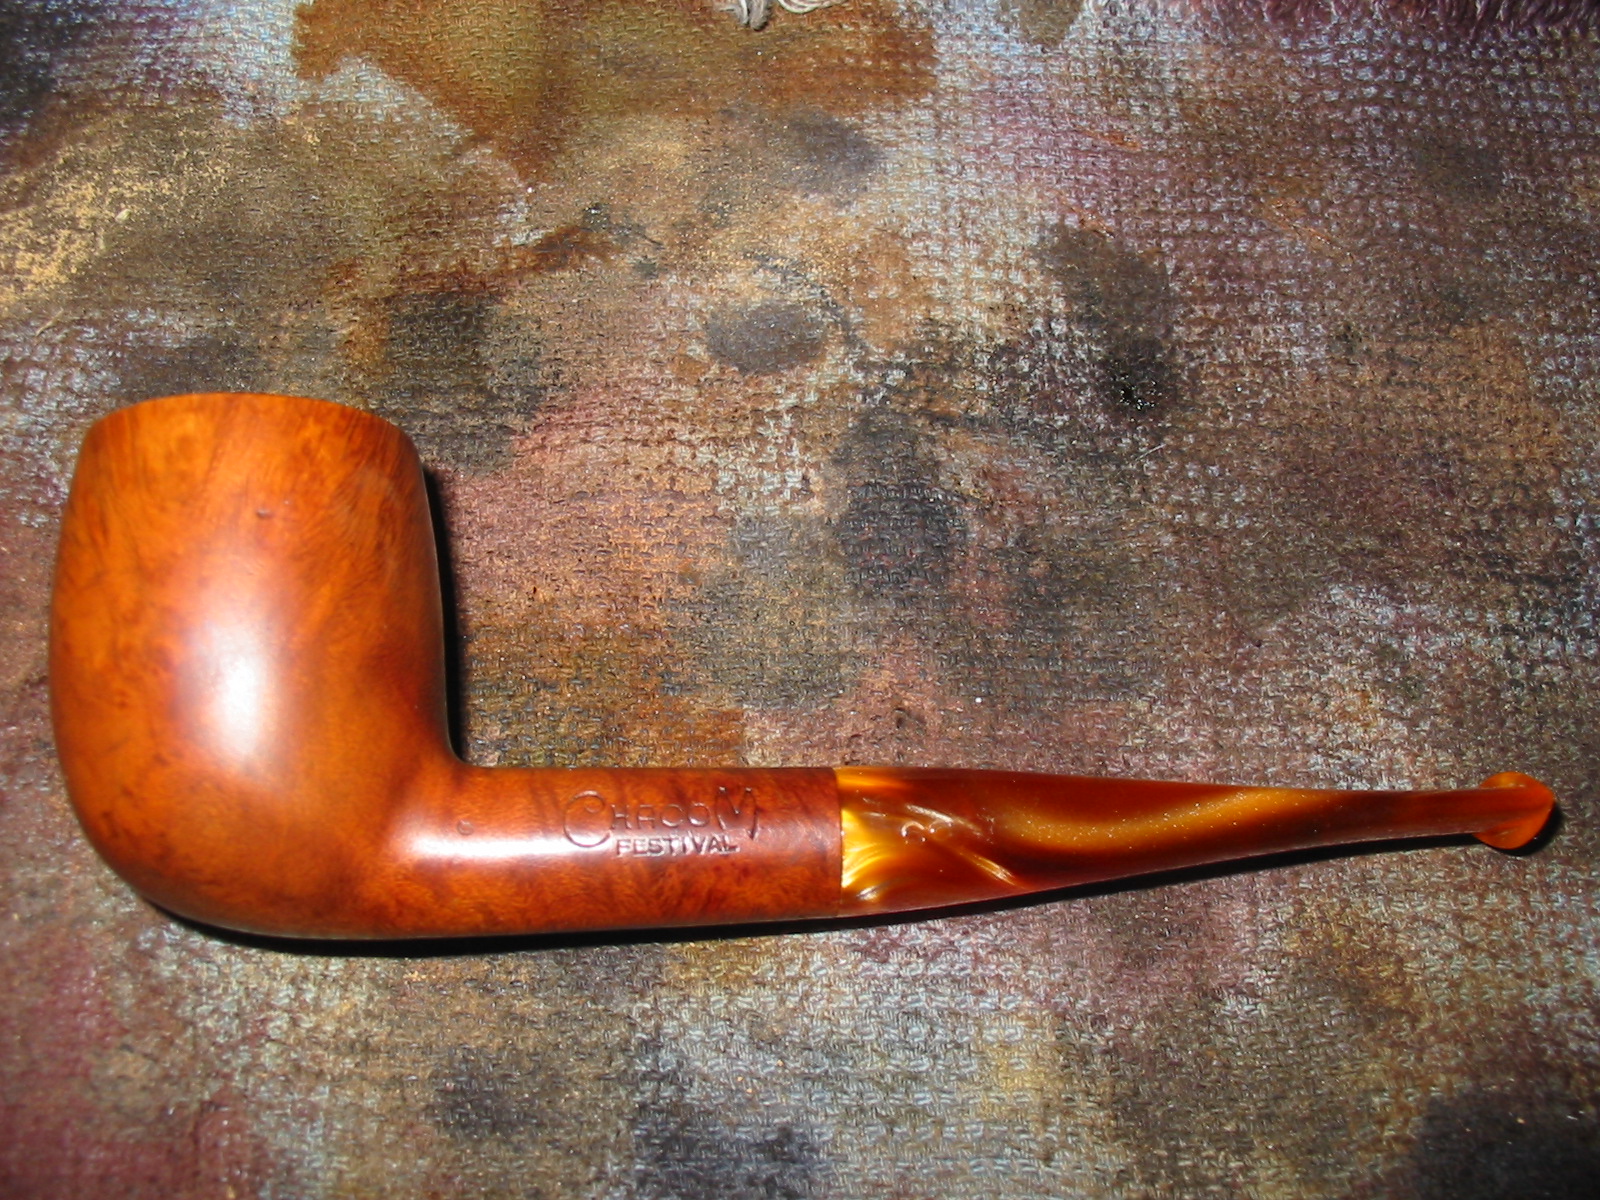

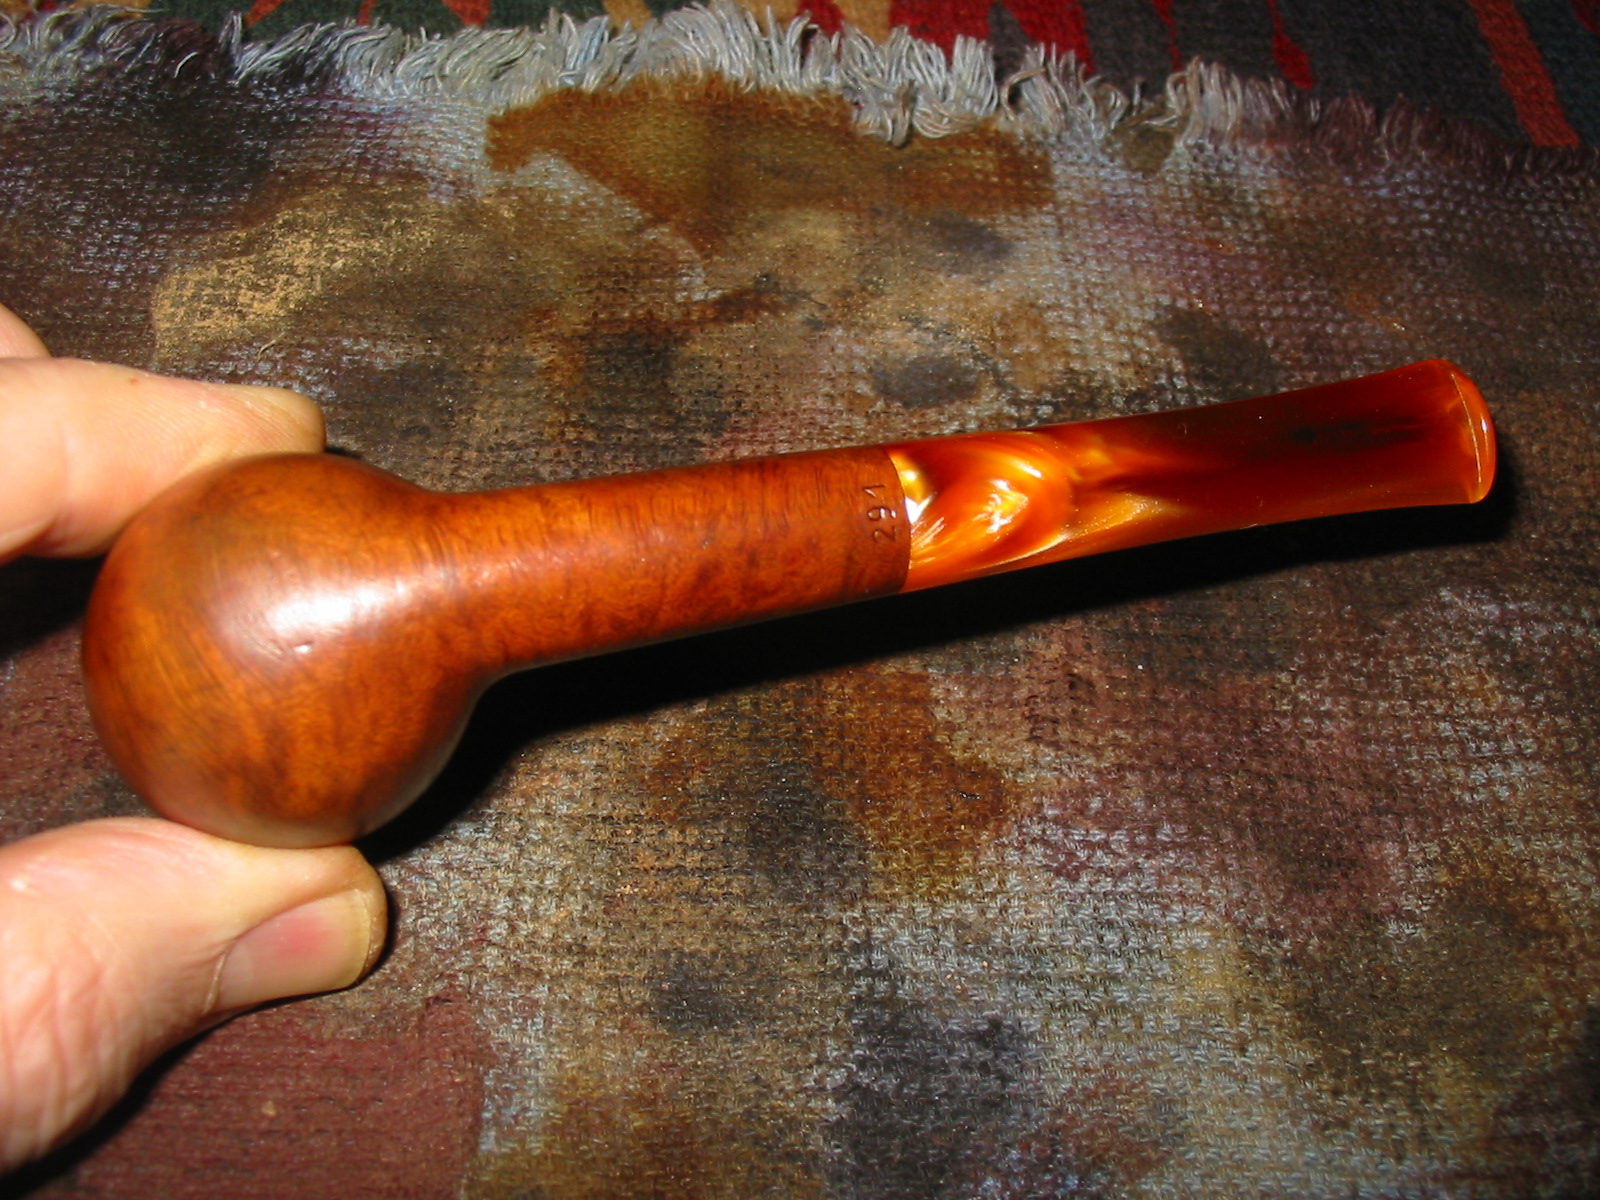
I buffed the bowl with White Diamond and then stained it with the red stain. I buffed it a second time with White Diamond. I buffed the stem and pipe again with White Diamond and then gave the pipe multiple coats of carnauba wax to give it a shine. I liked the way the finish is almost matte and does not have a high gloss to it. The addition of the red stain brought out the red tones in the briar and they match those in the acrylic exceptionally well. The acrylic stem is one of the most comfortable ones that I have seen or experienced and that is a pleasant surprise. The following photos show the finished pipe ready to fire up and enjoy.